HOLIDAY DONATION DRIVE - SUPPORT MSW - DO YOUR PART TO KEEP THIS GREAT FORUM GOING! (89 donations so far out of 49,000 members - C'mon guys!)
×


Cannon Fodder
-
Posts
147 -
Joined
-
Last visited
Content Type
Profiles
Forums
Gallery
Events
Everything posted by Cannon Fodder
-
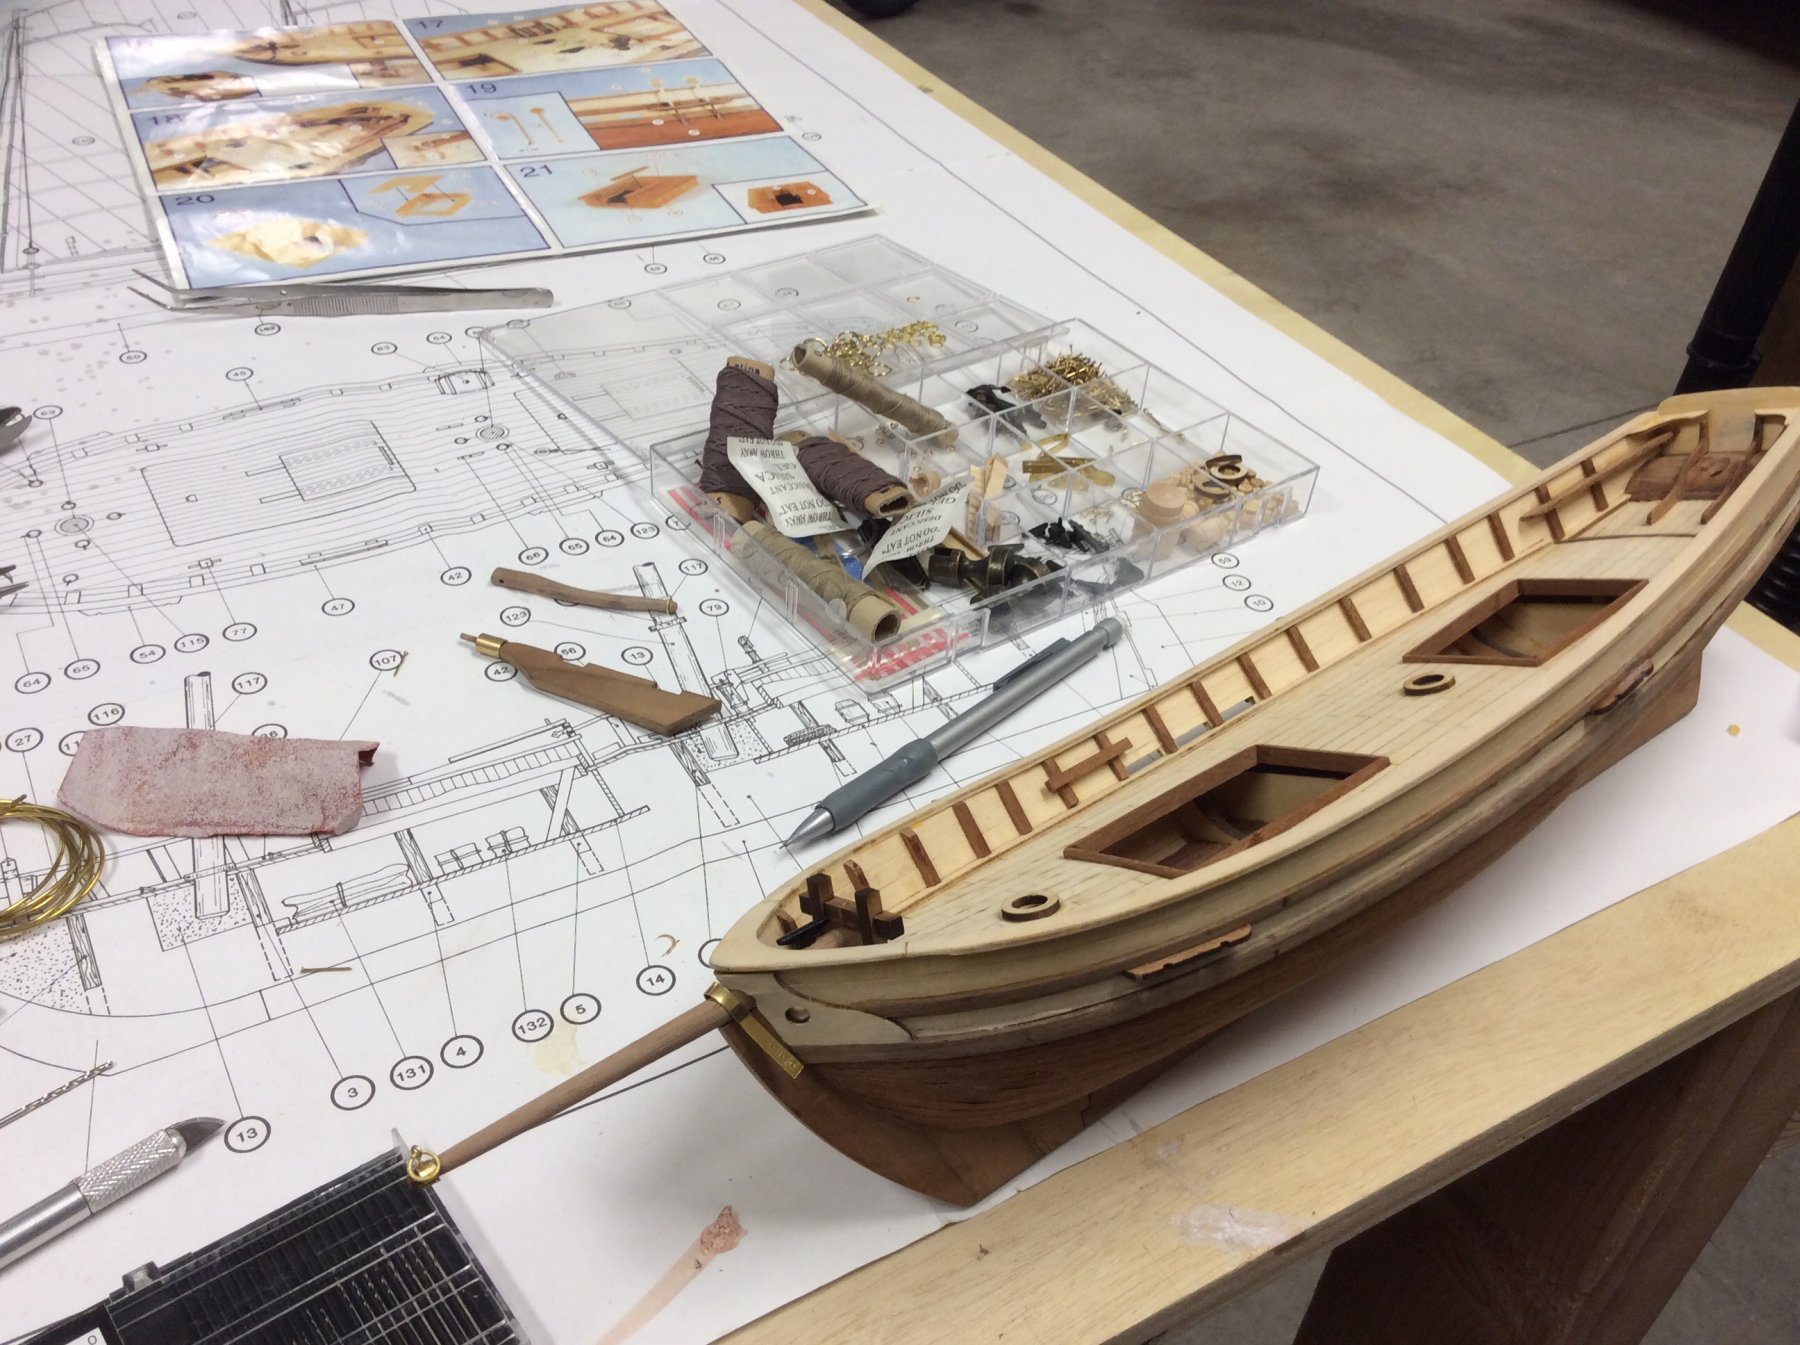
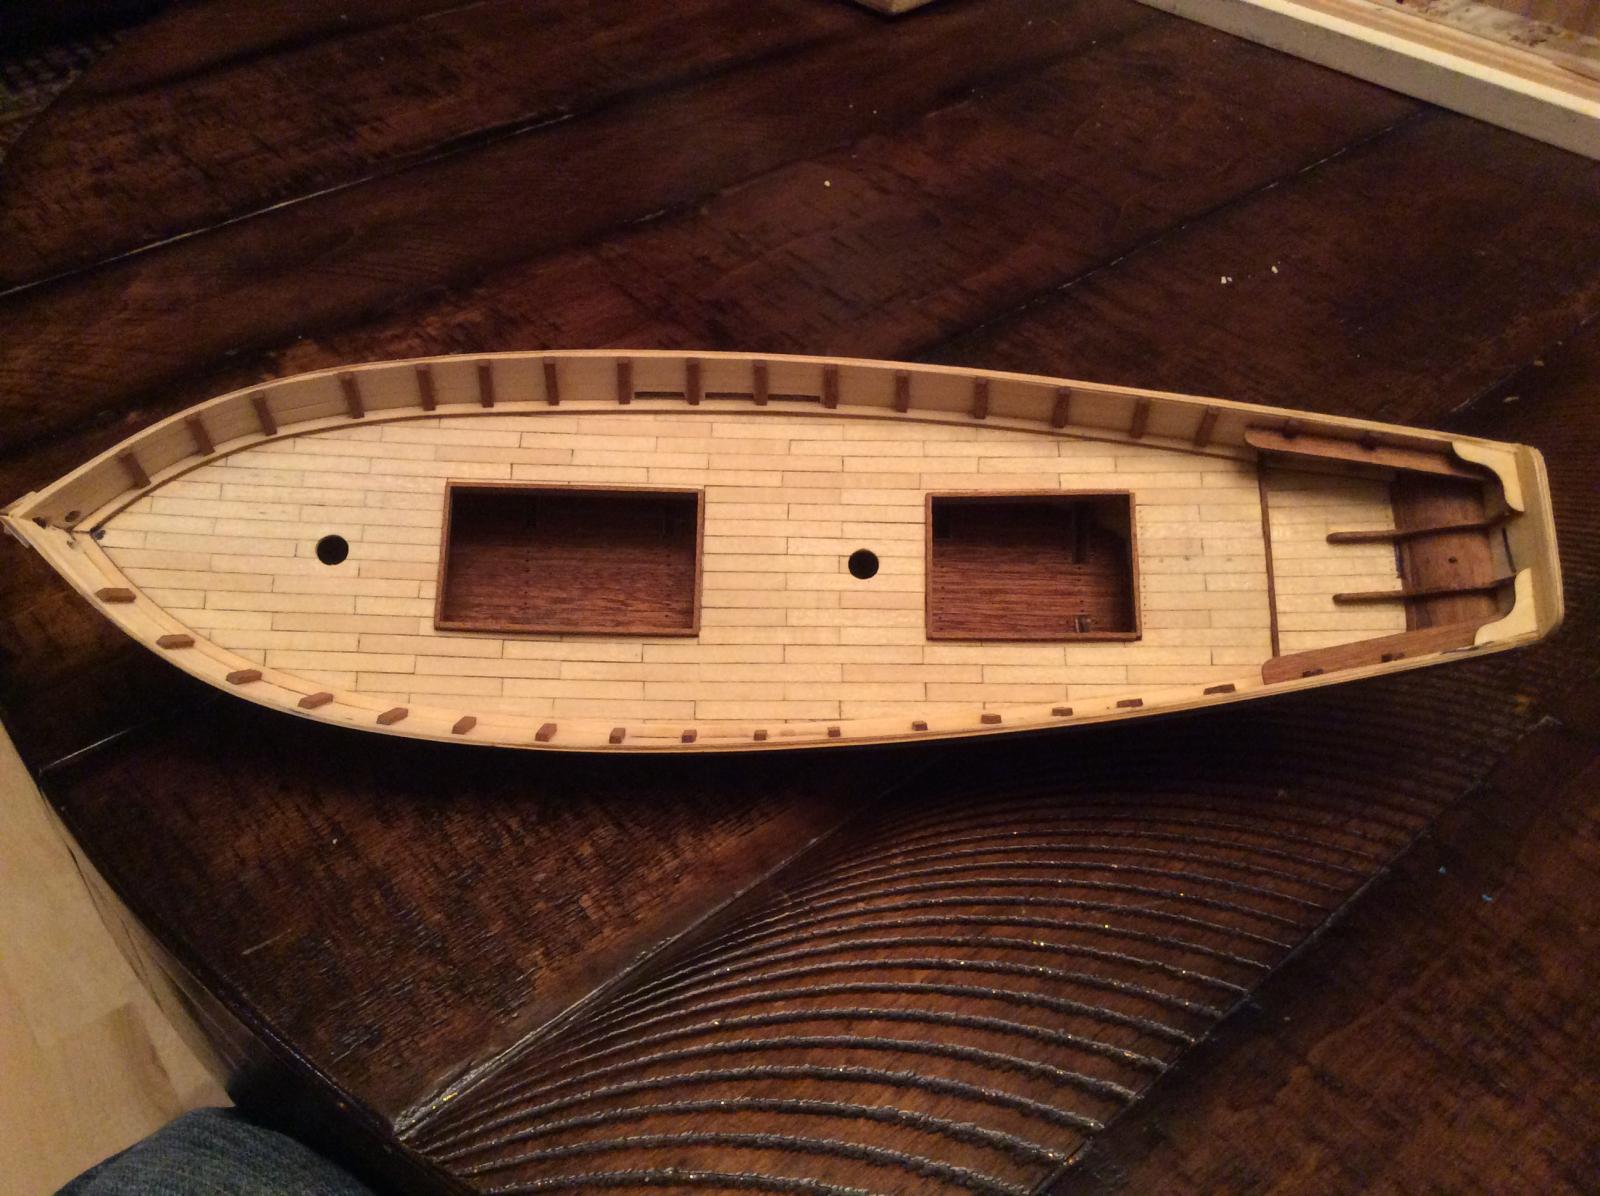
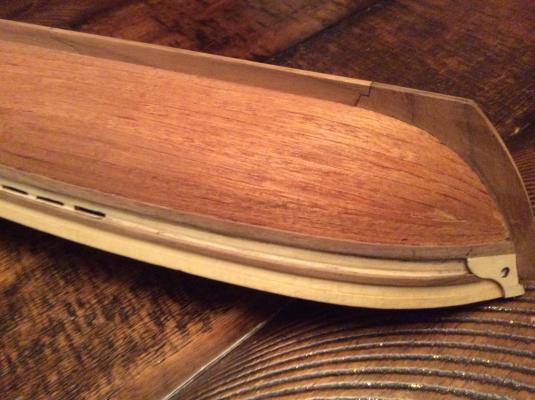
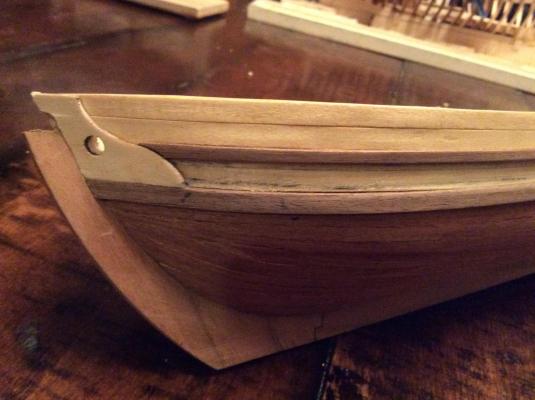
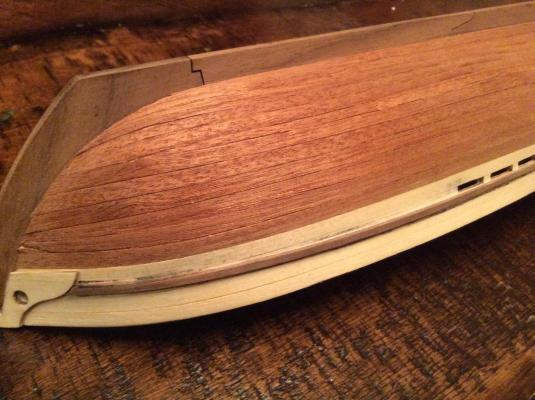
Finally got all the marker sanded out. Working on some of the deck details, bowsprit, and rudder, kind of all at once...

-
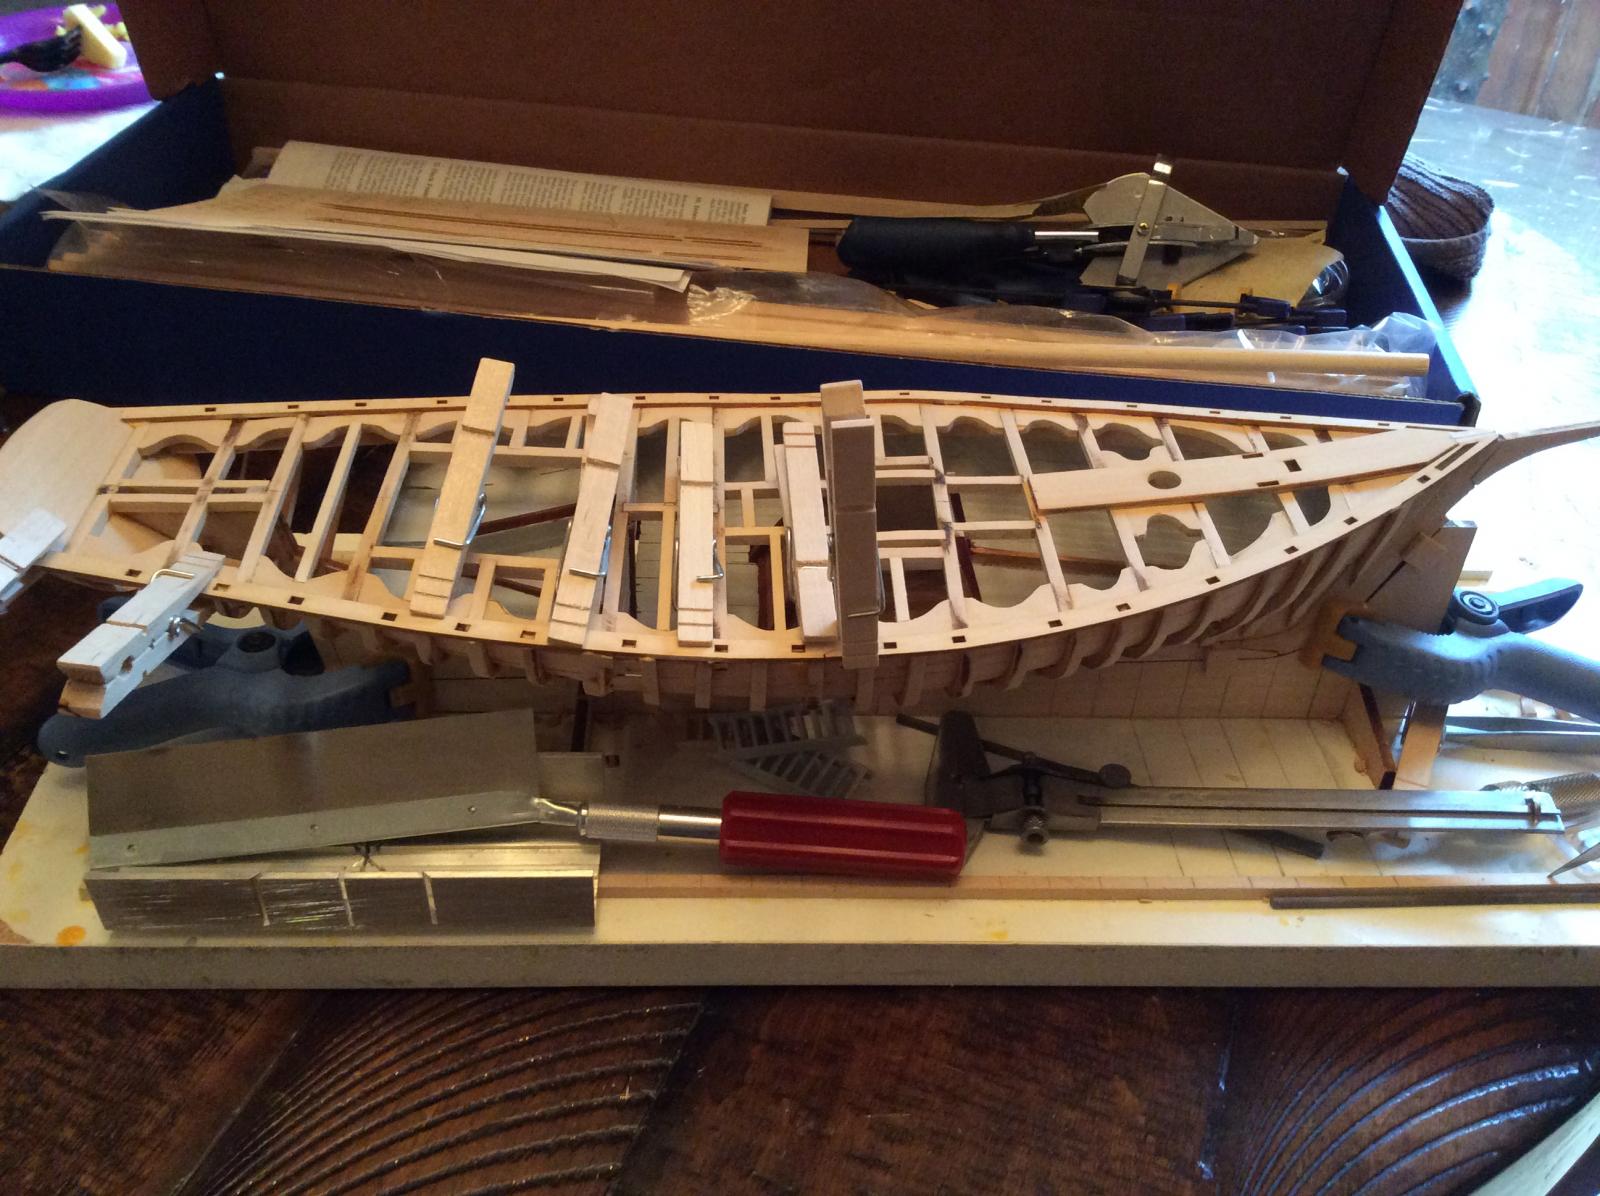
Planking has begun. Boy that was a dry spell and a really cold winter making the workshop unworkable. No I have a couple heaters installed and am back up and working,... now that the dead of winter is over. Pictures to follow soon I promise. Some damage and repair has occurred. Dropped one of the heaters on it. Doh! Happy to be back working at it after a terribly busy year.
-
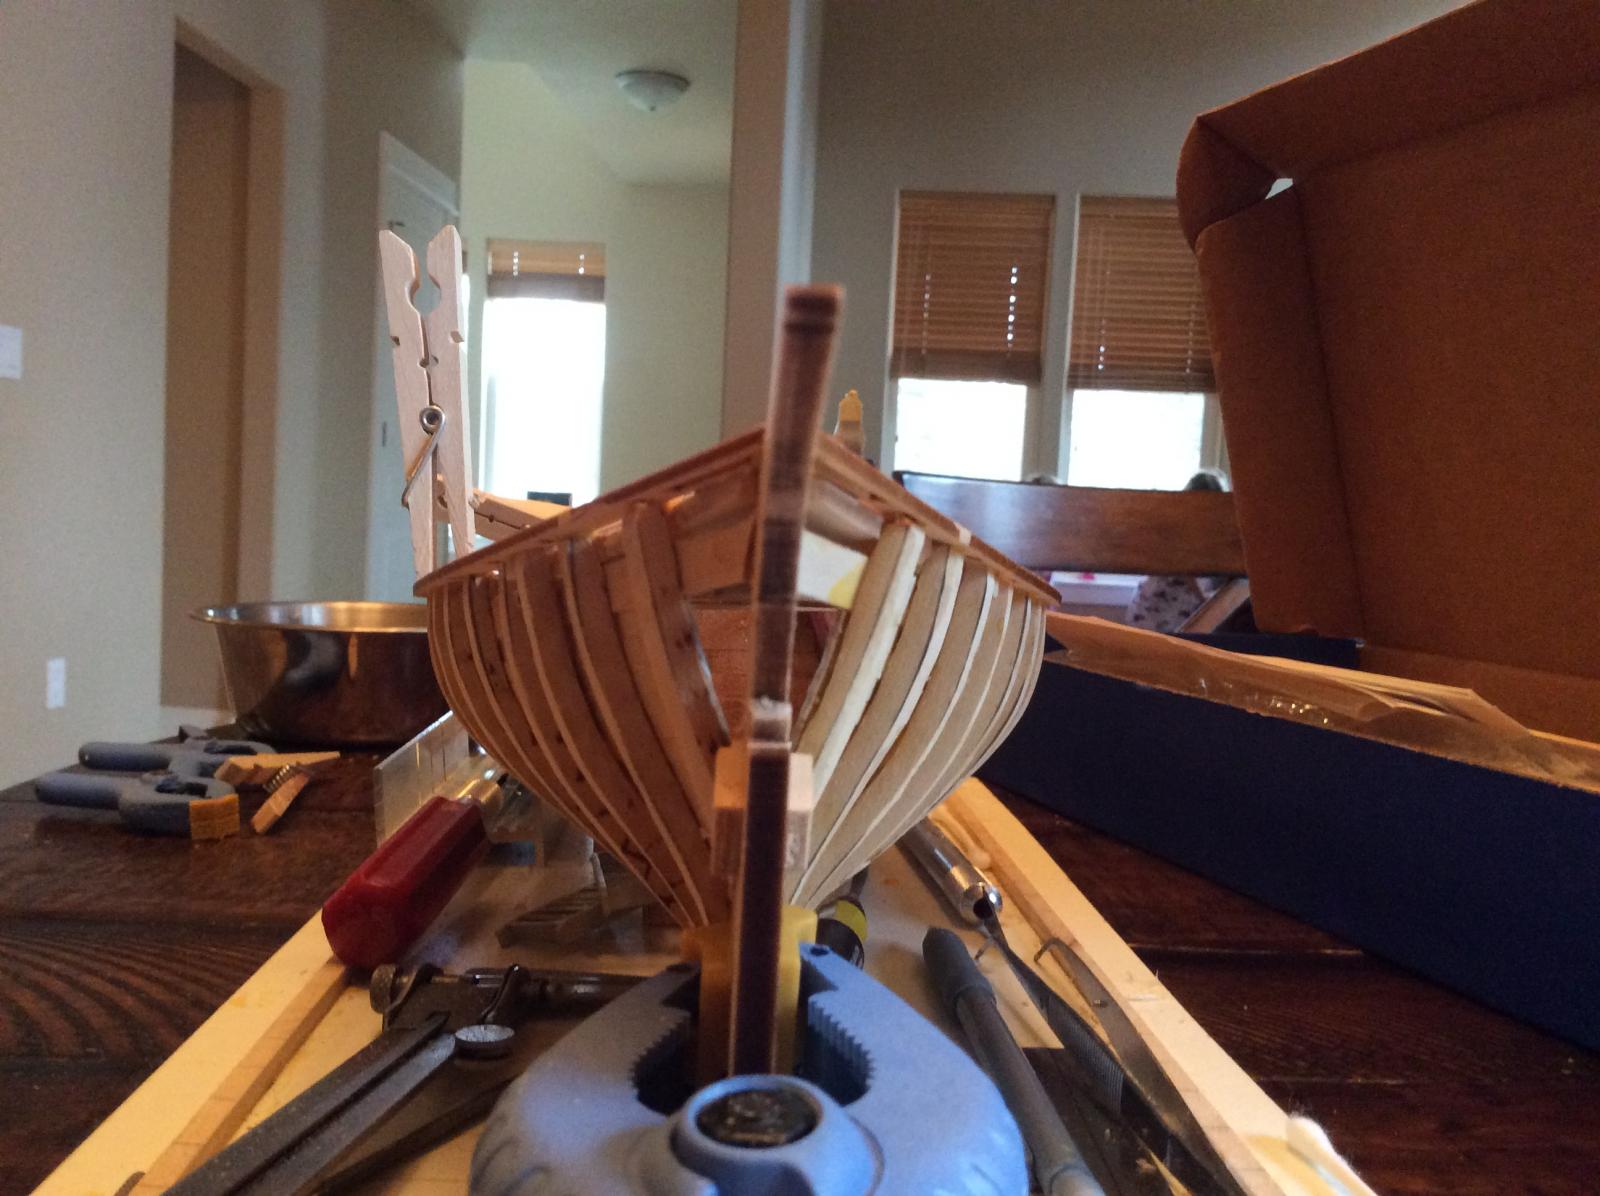
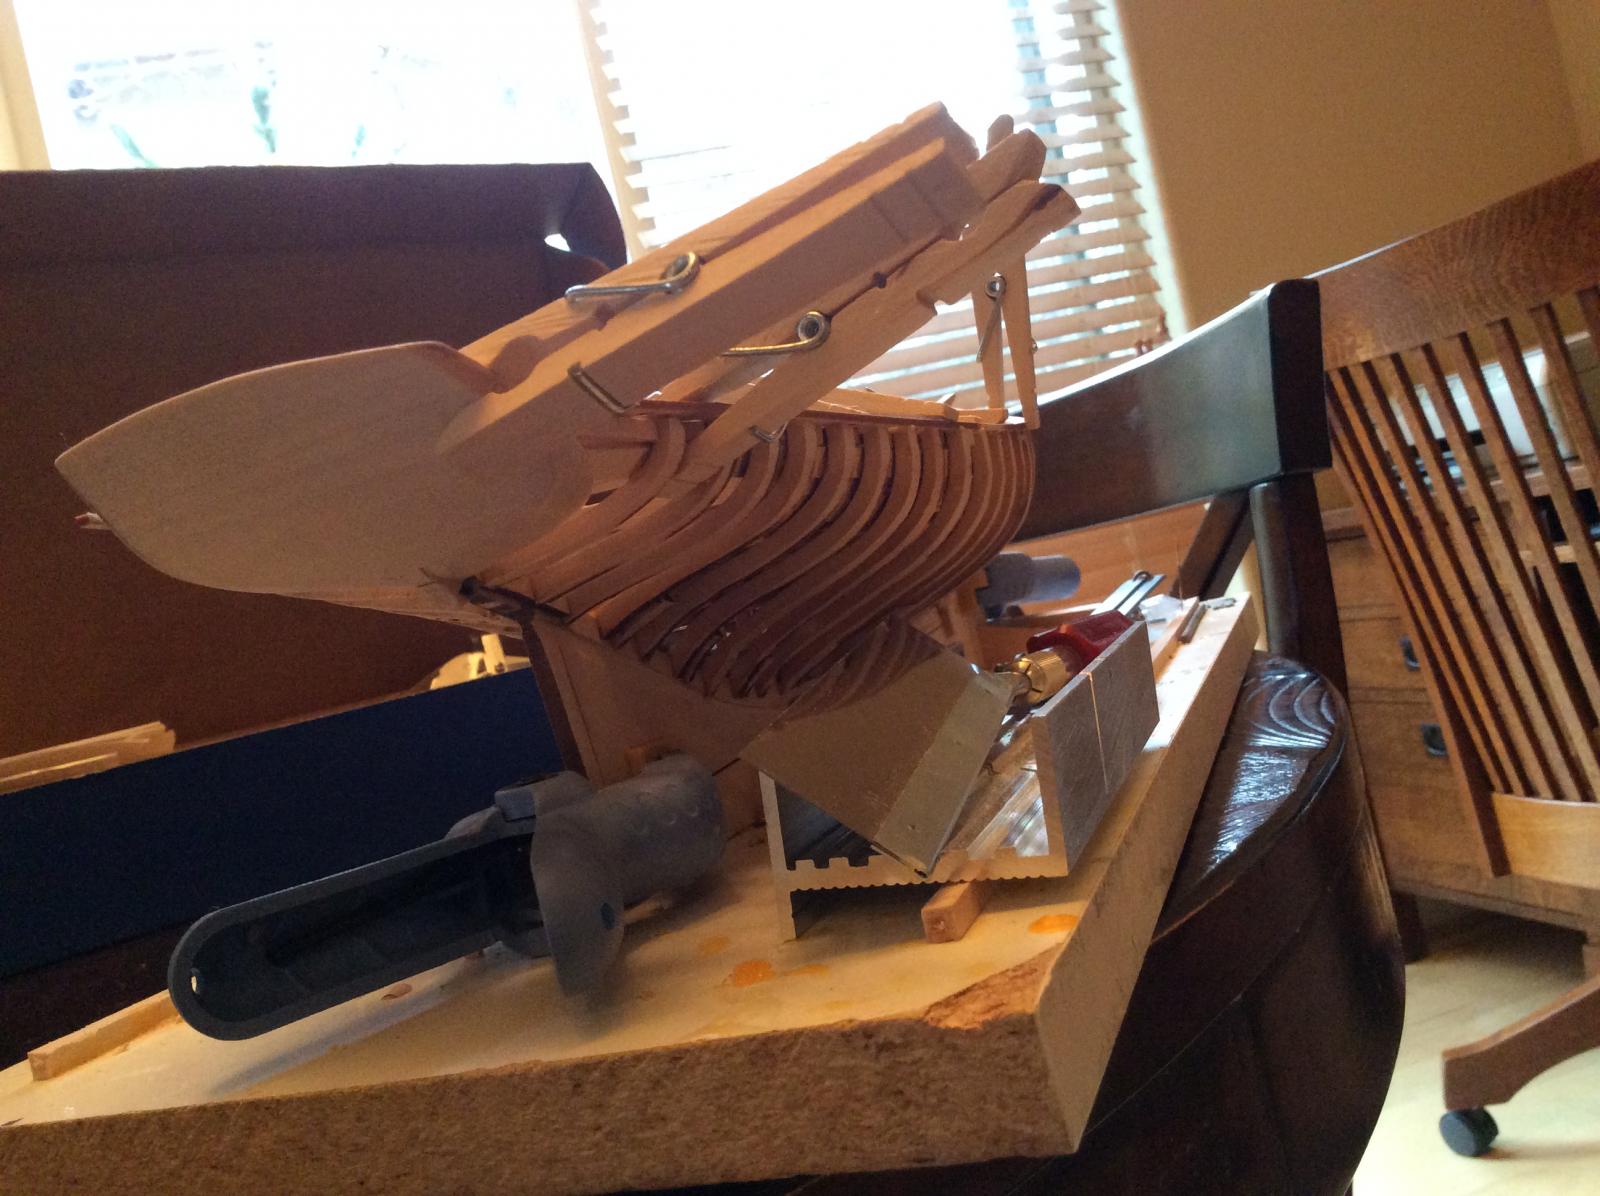
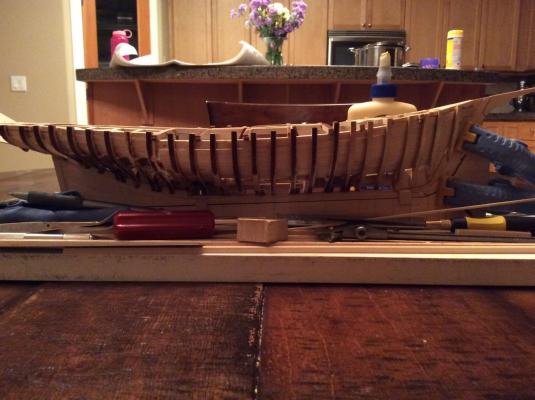
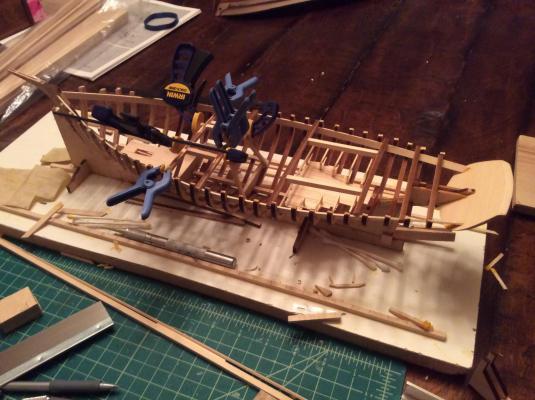
So I am trying to fair the hull in preparation for planking. I'm am finding that I don't think I have the right tool. What to people use that won't break the frames yet will remove the necessary material in a safe and controlled manner? I'm wondering if I finally need a Dremel. I've tried sandpaper in my hands, too soft. I've tried needle files. I've tried larger files. Those are too hard. The curves of the hull make it quite challenging, Convex and concave aspects. Small blocks with sandpaper on them. Have people had success with the pre-made foam type sanding block? Any suggestions?
-
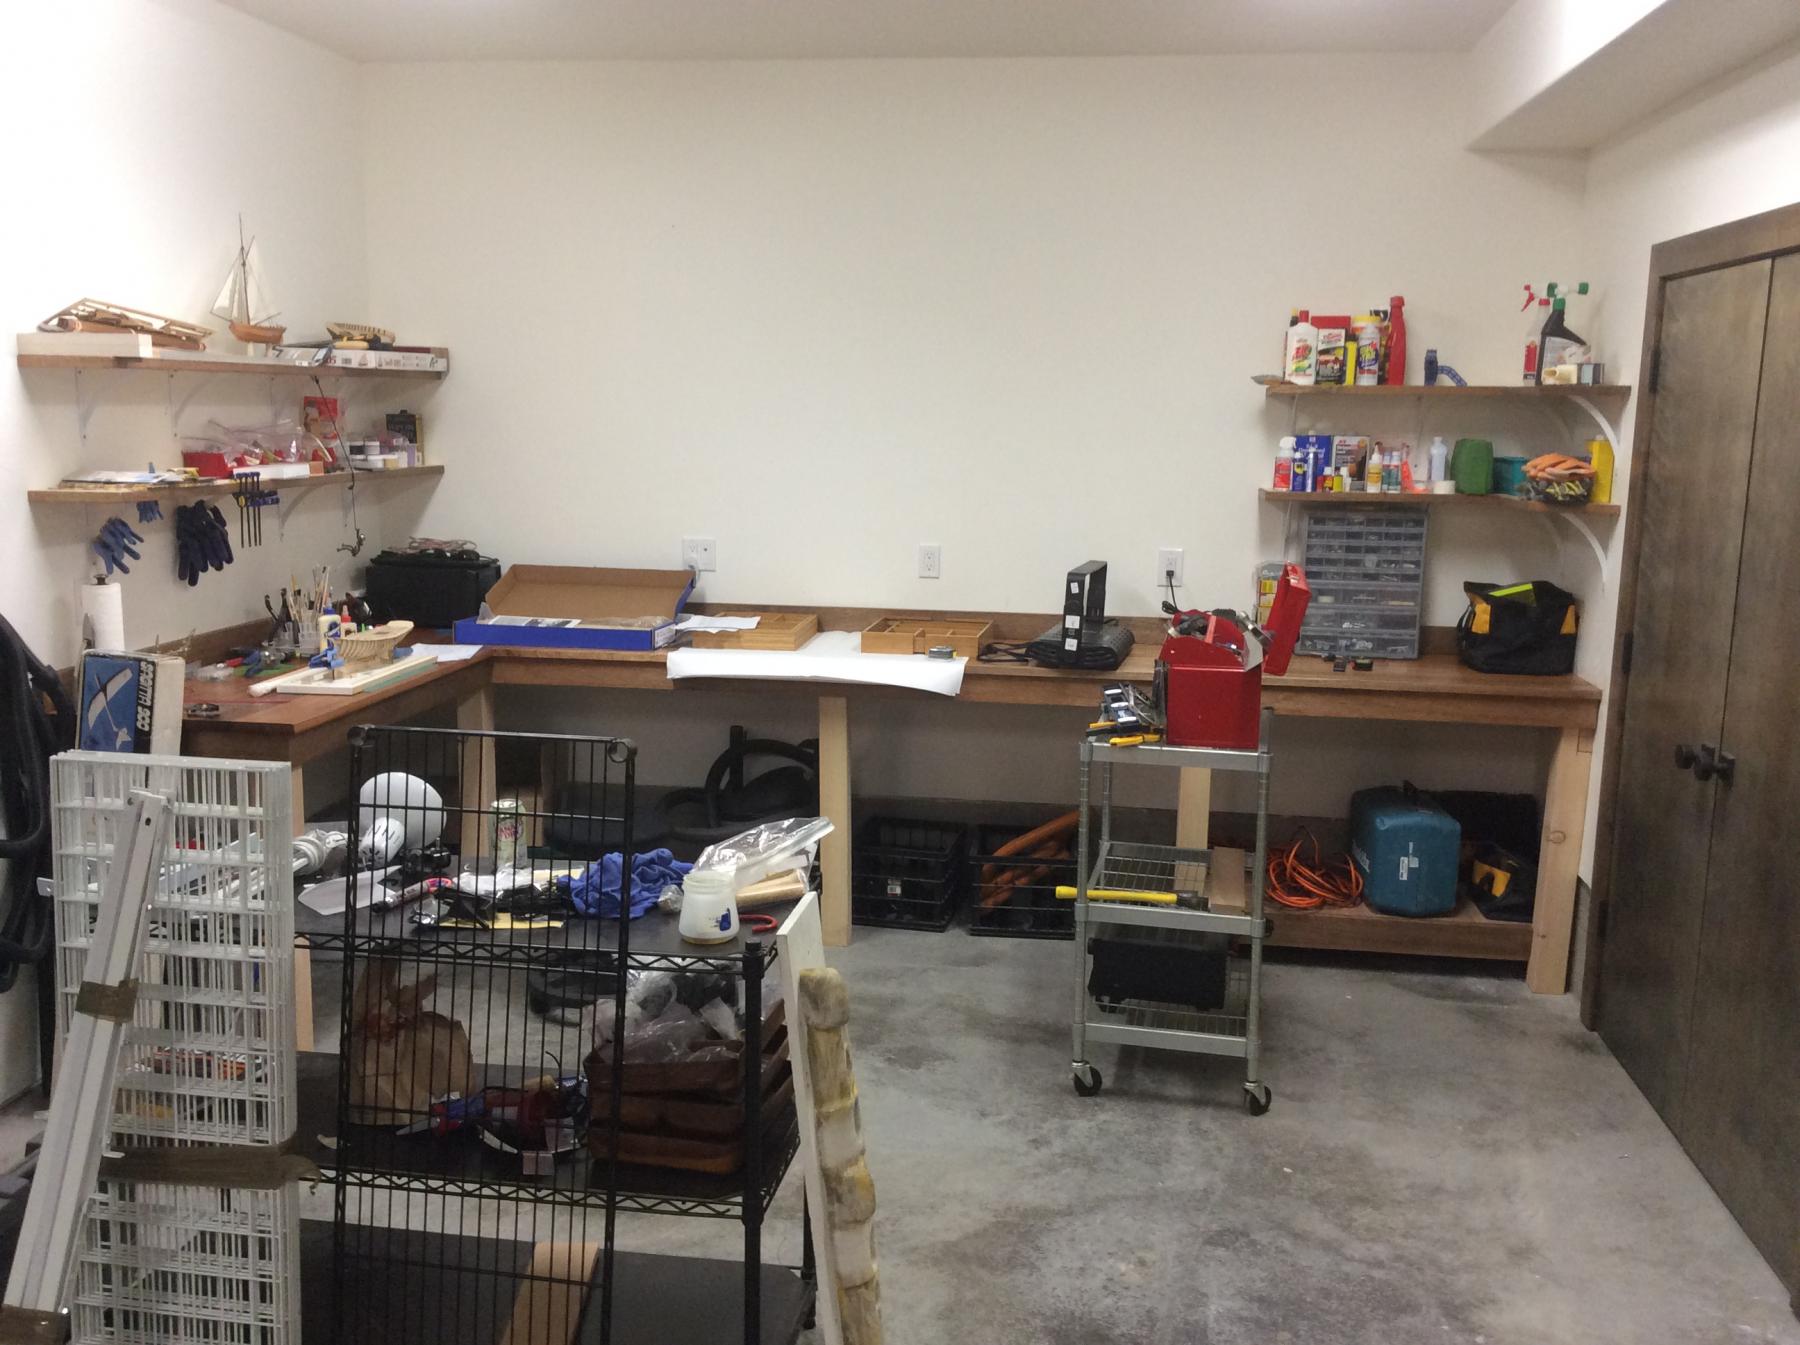
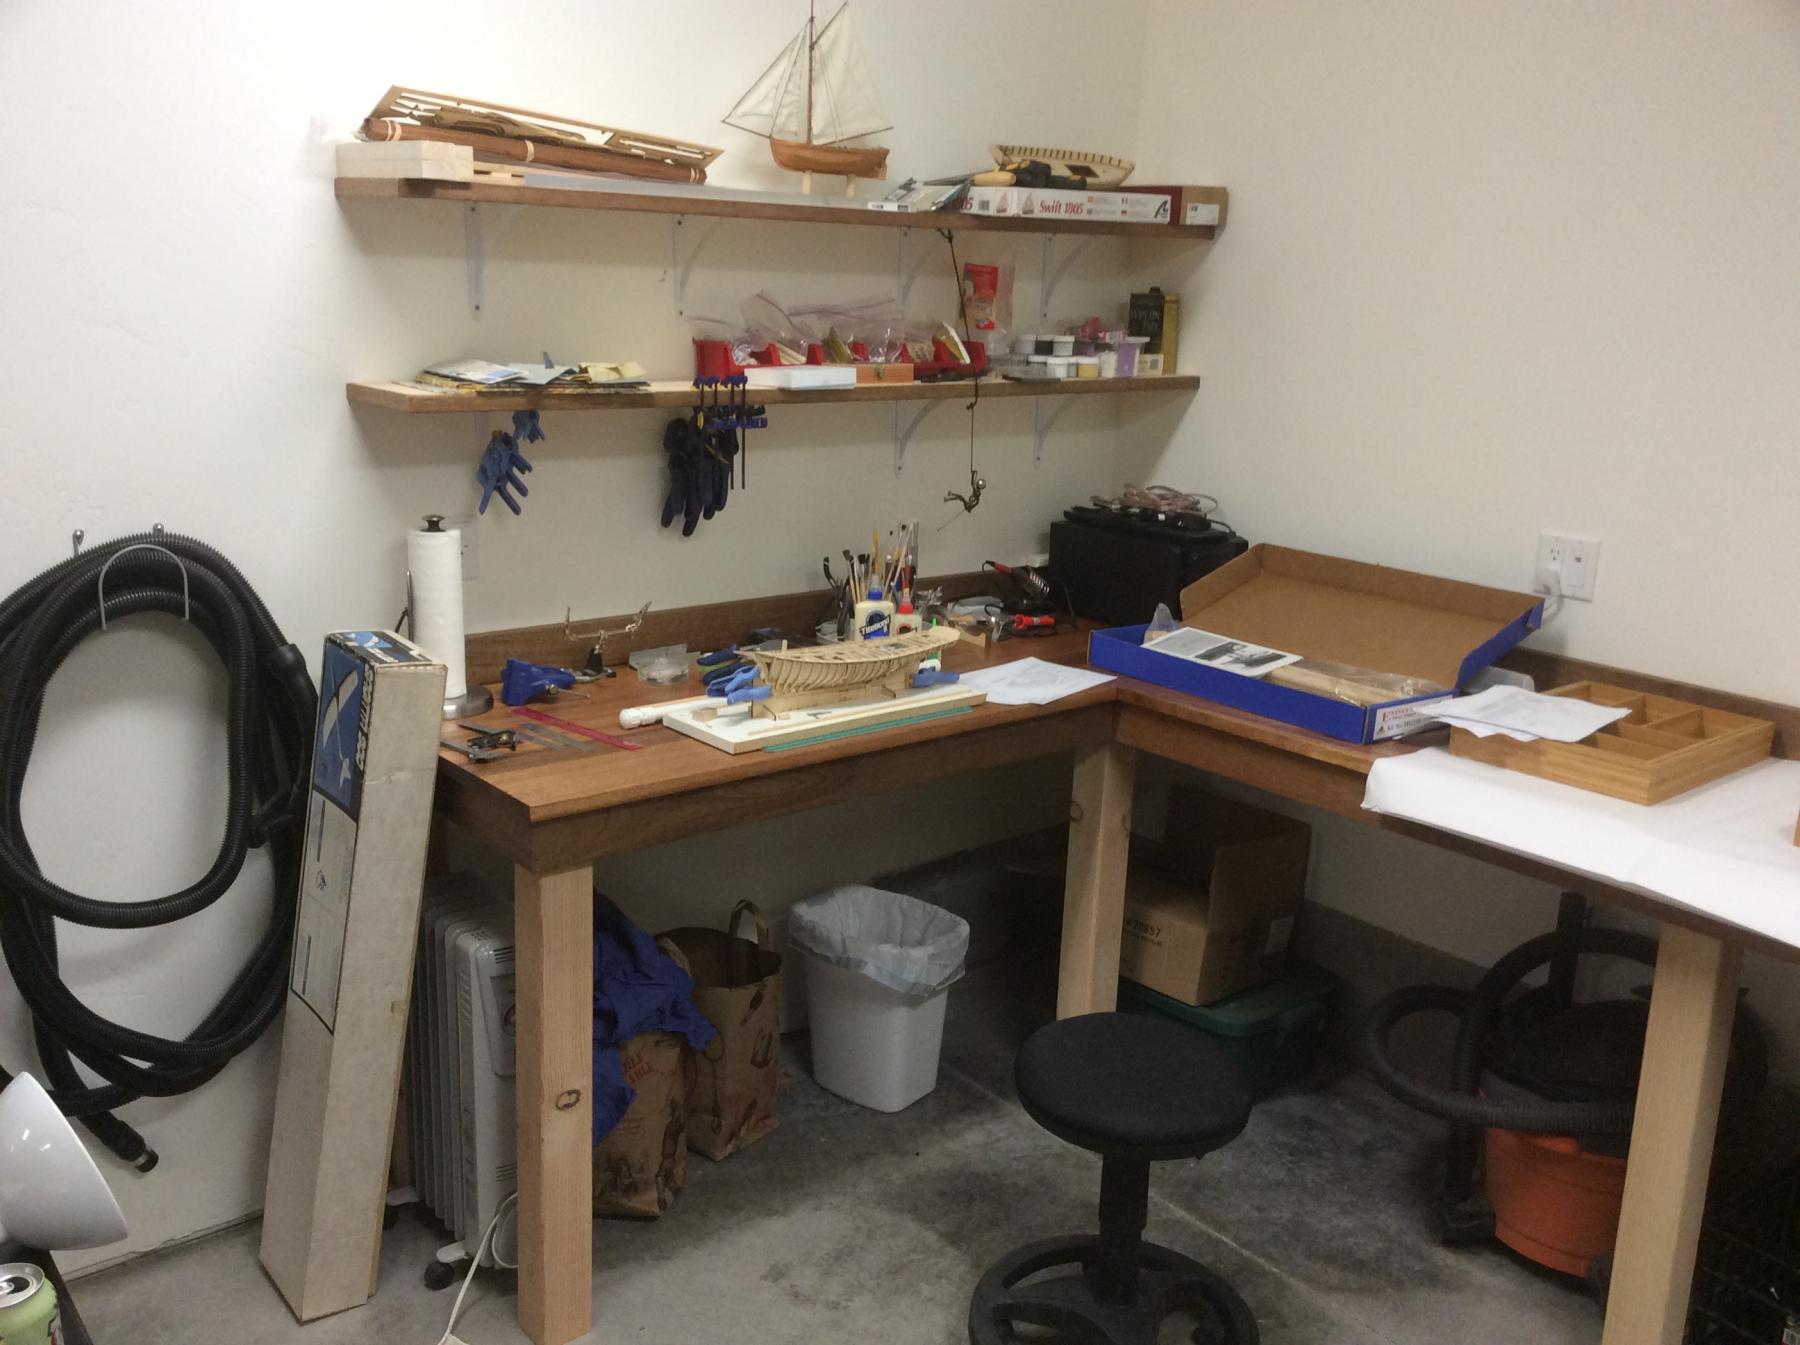
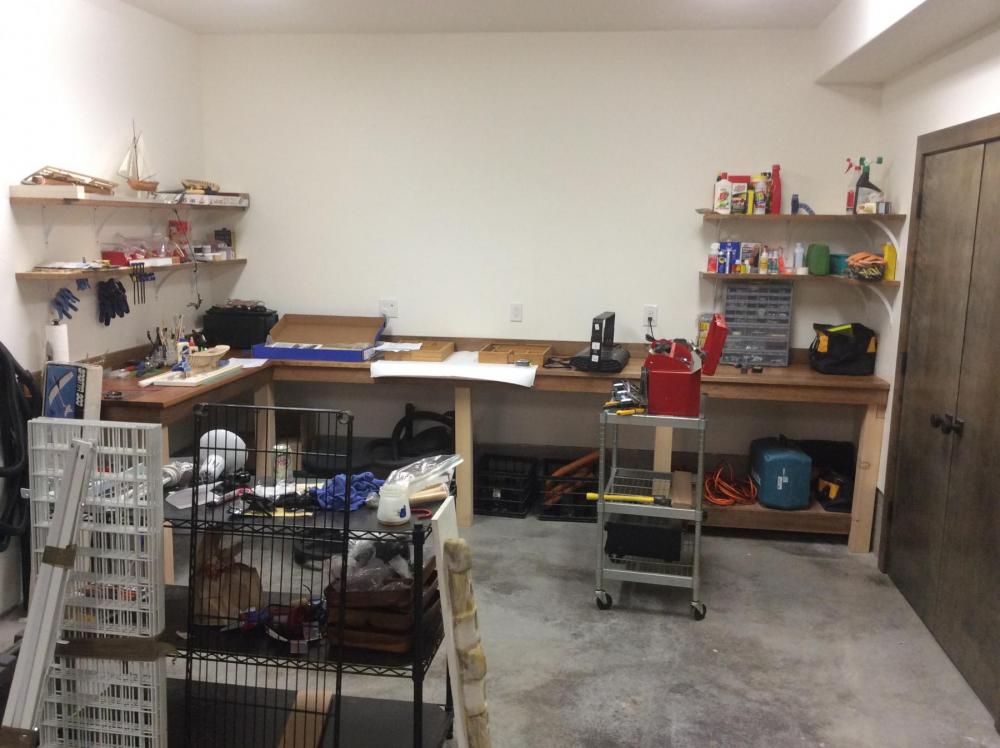
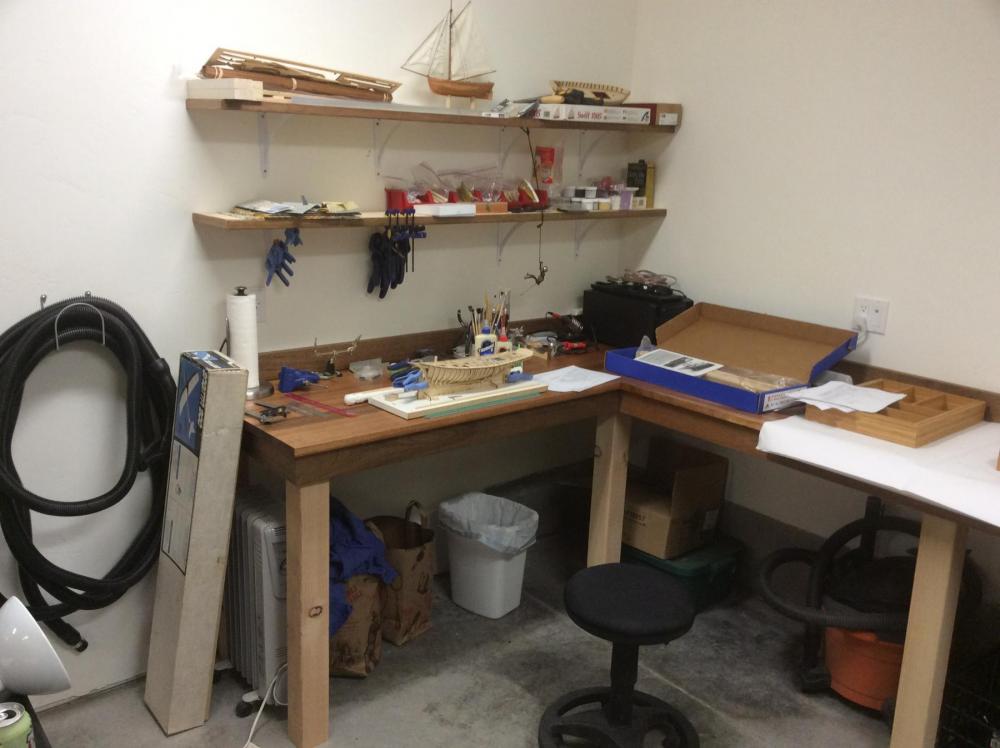
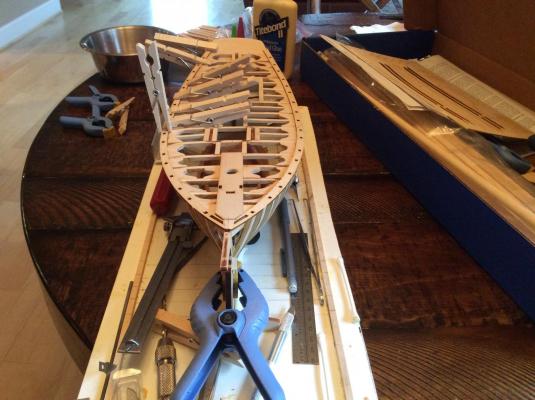
The beginnings of a workshop taking shape.
-
Shipyard packed up and ready to move t minus 6 days and counting...will post picks of my new work space once it's built.
-
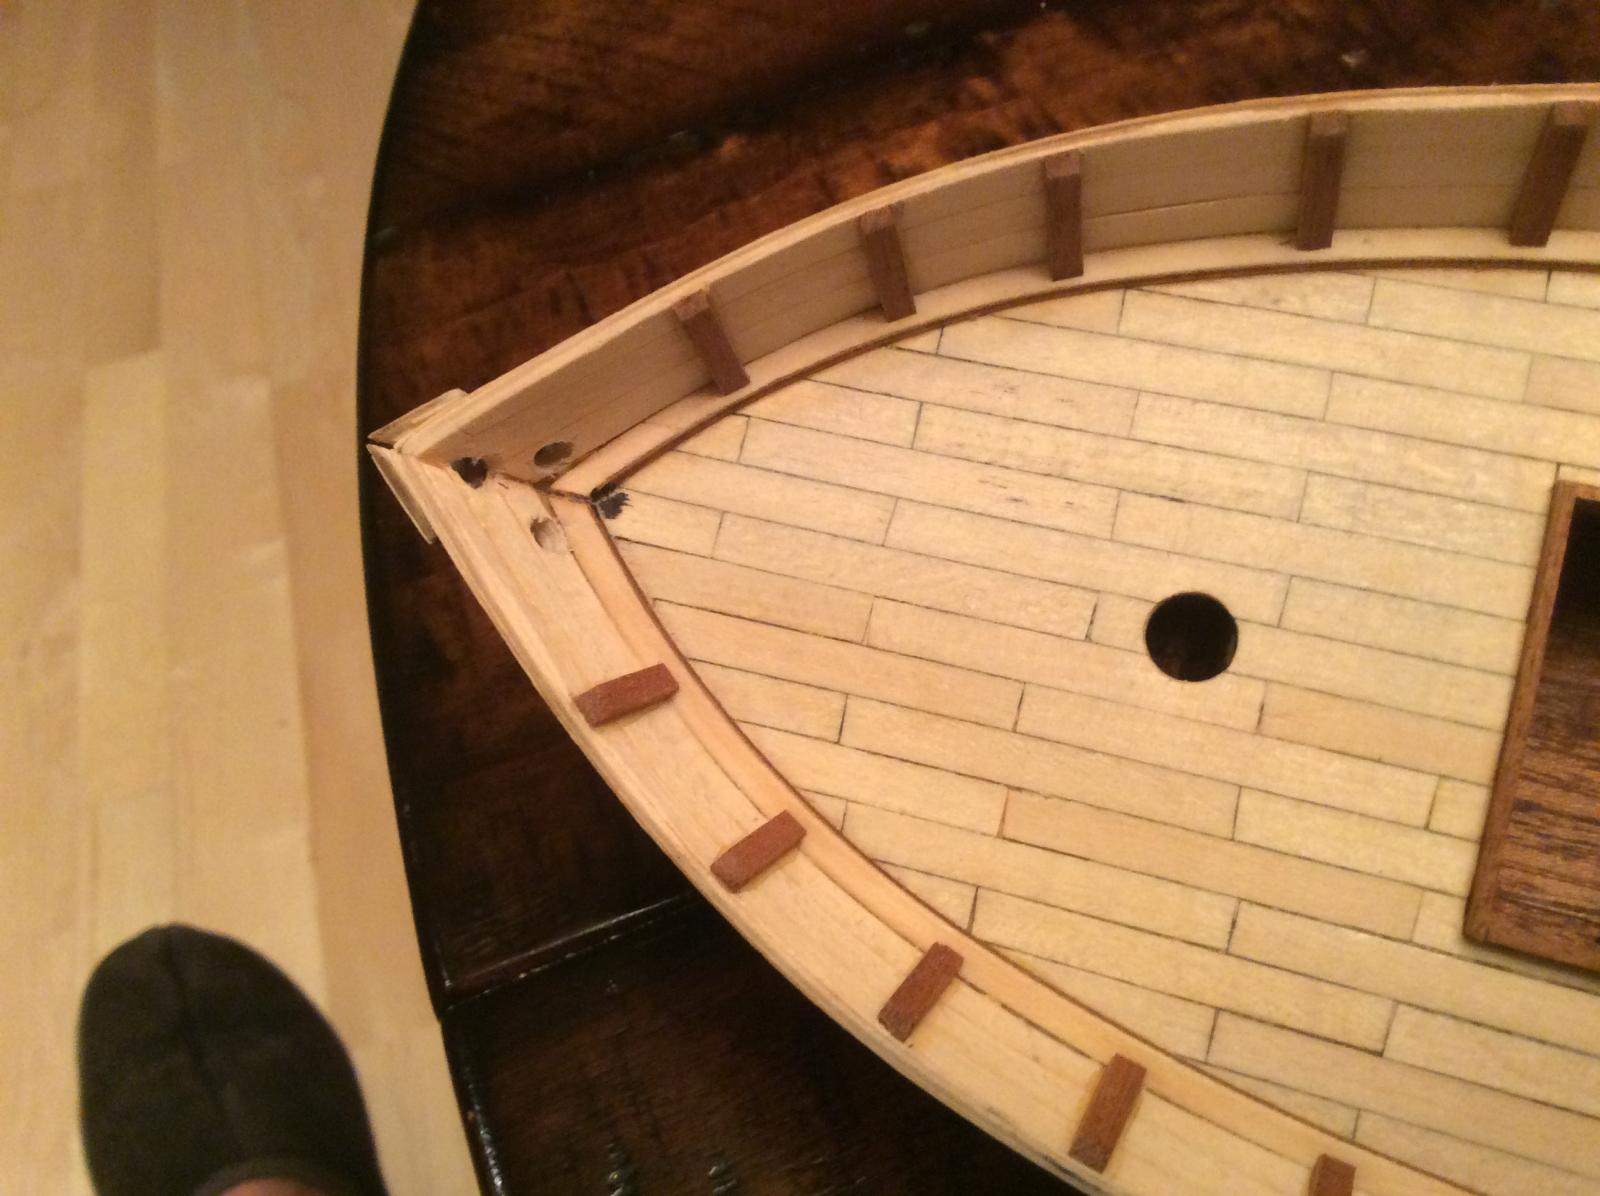
Any good build log just has copious amounts of pics, of the good and bad parts to learn from our mistakes. Those darn framing errors plague me still, trying to sand them out at multiple stages so I don't sand any one piece too thin. The bump is actually in the framing too. Kingplank is center but decking not...thinking about a fix to it.


-
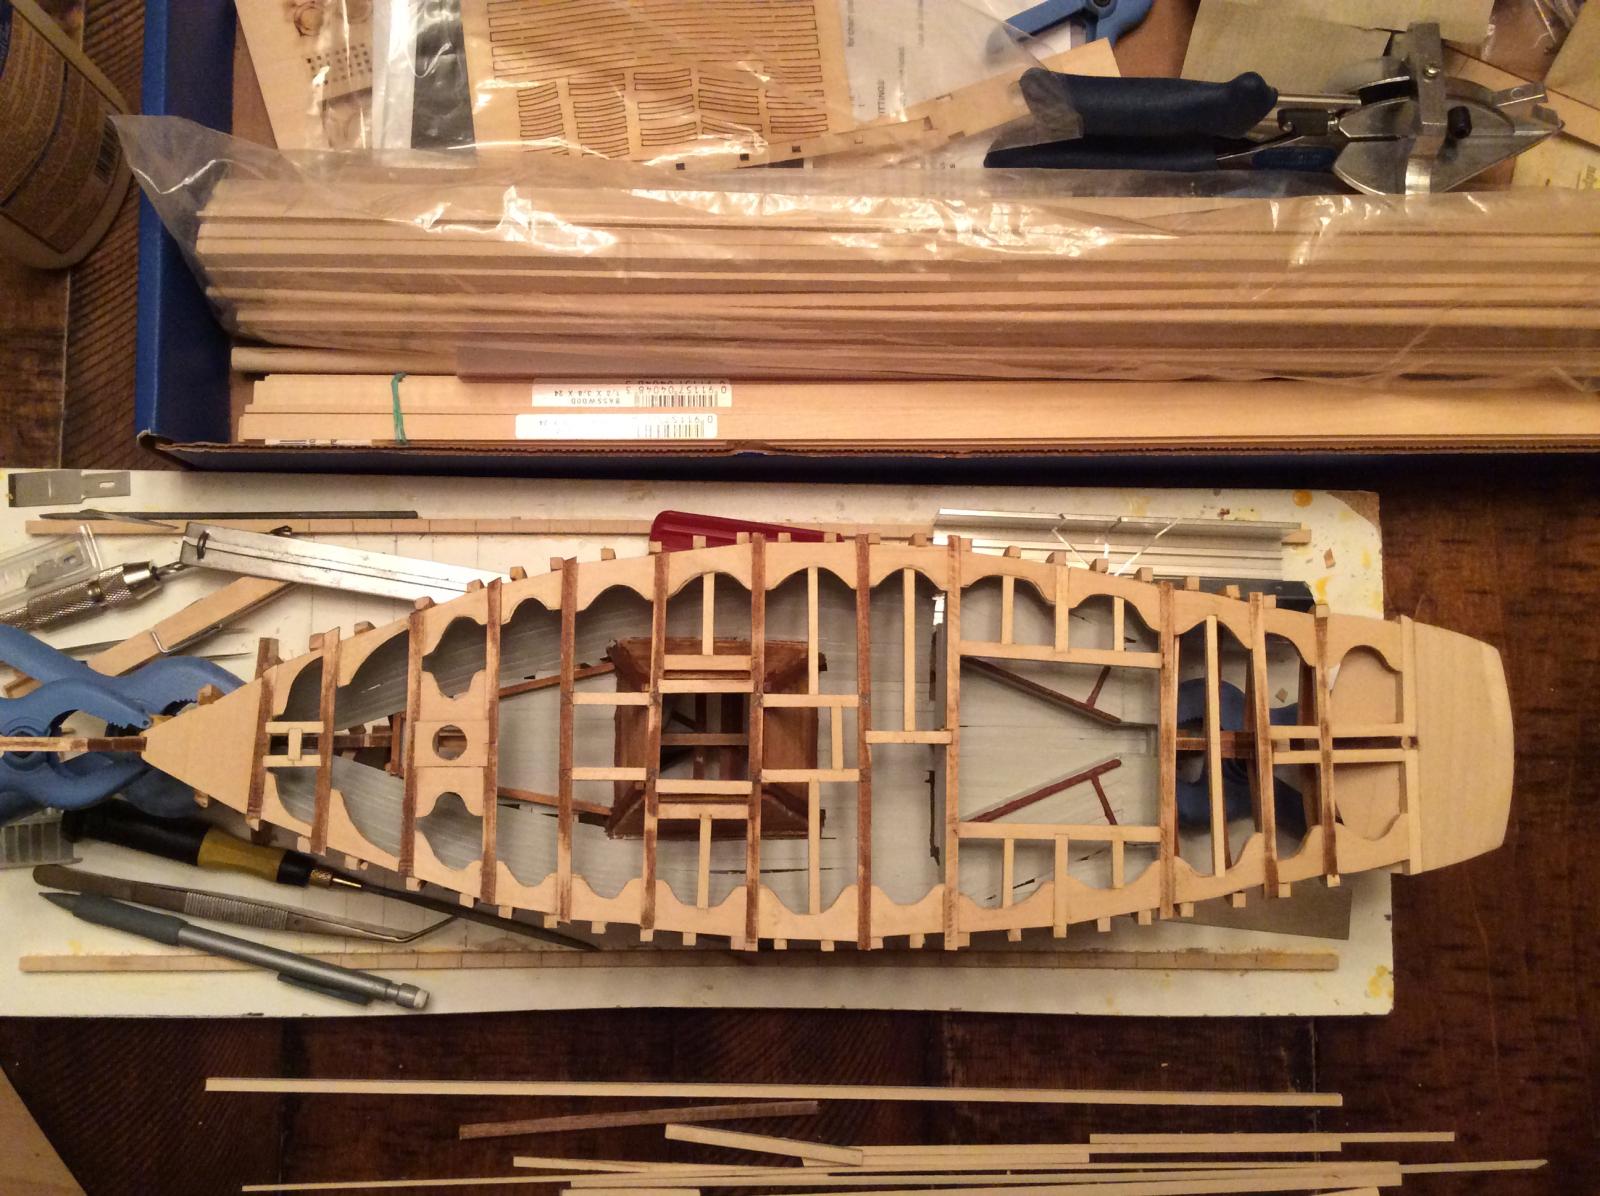
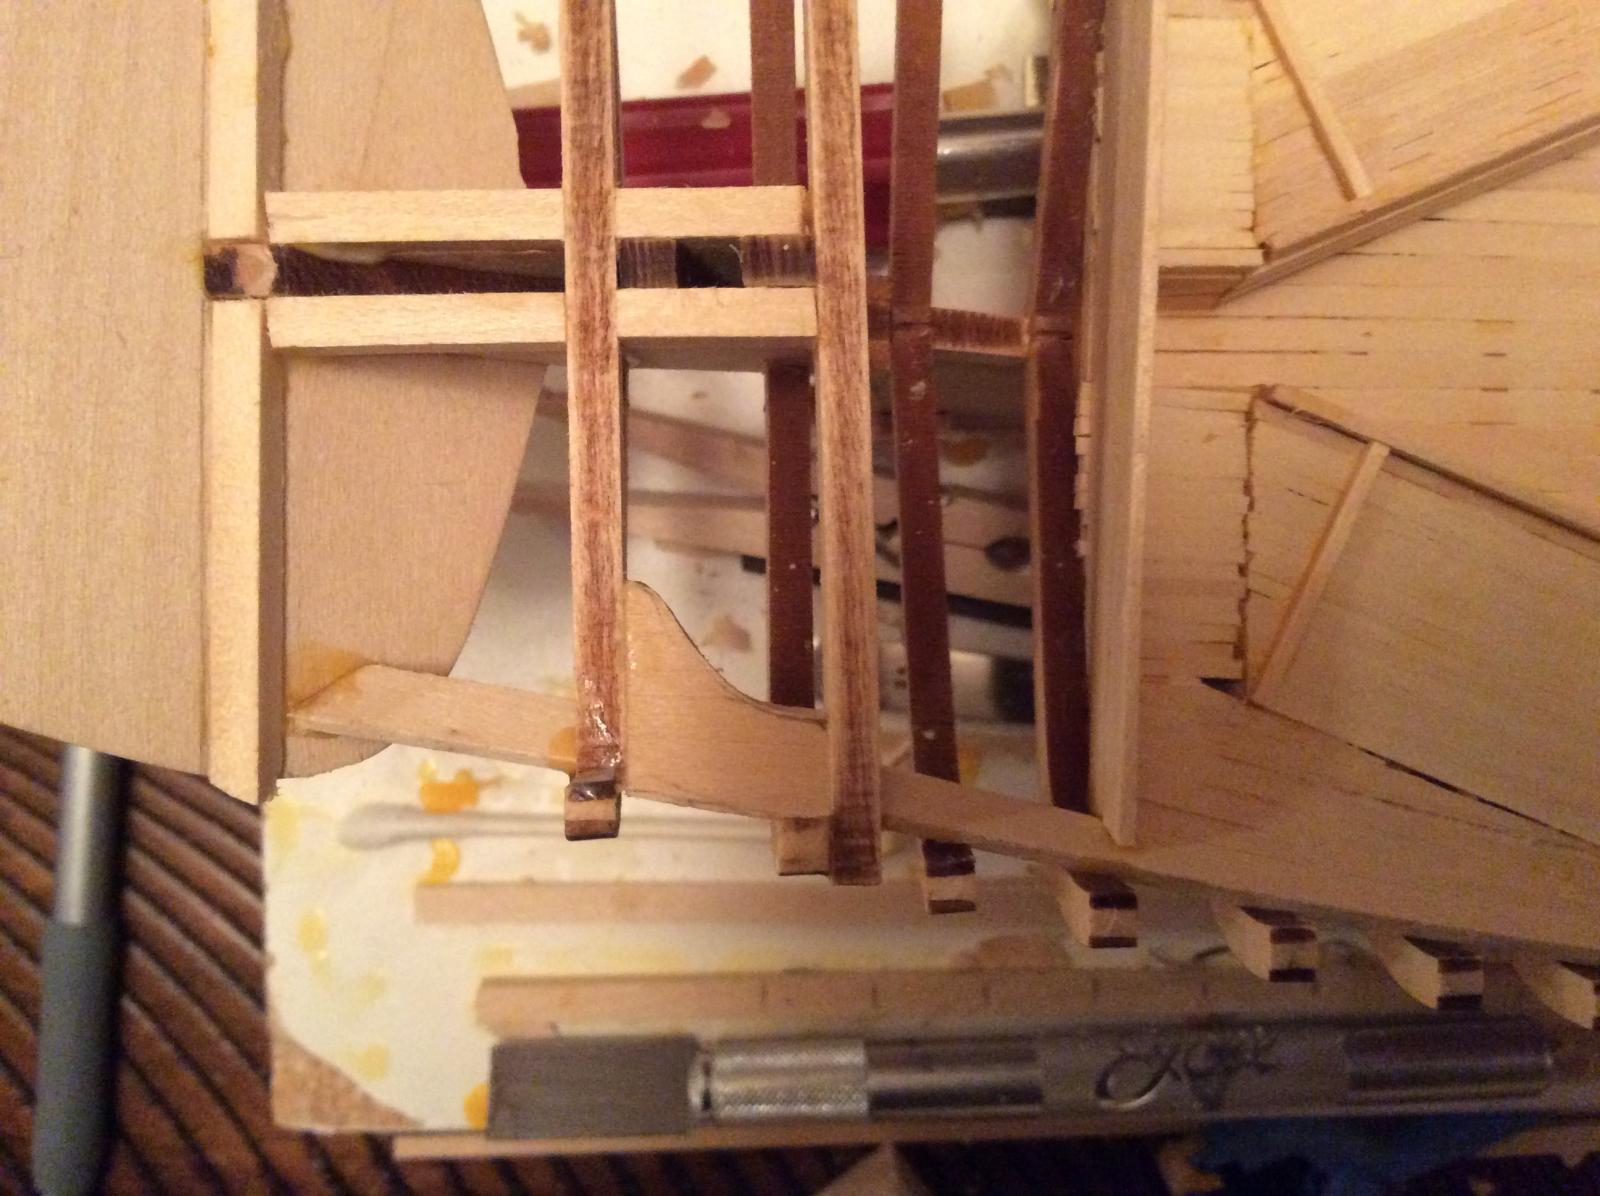
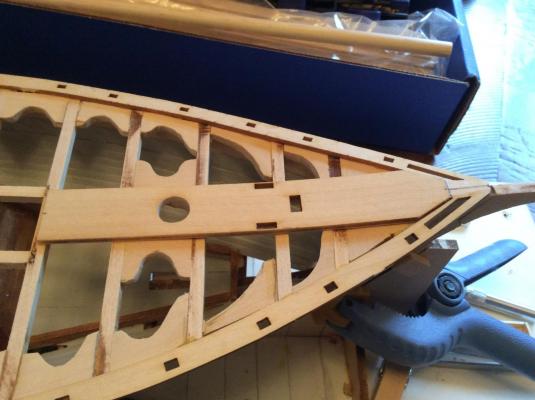
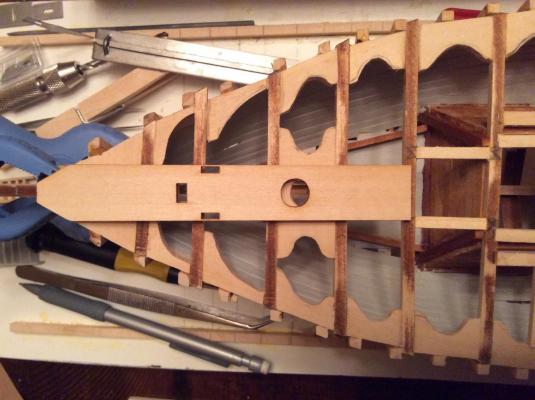
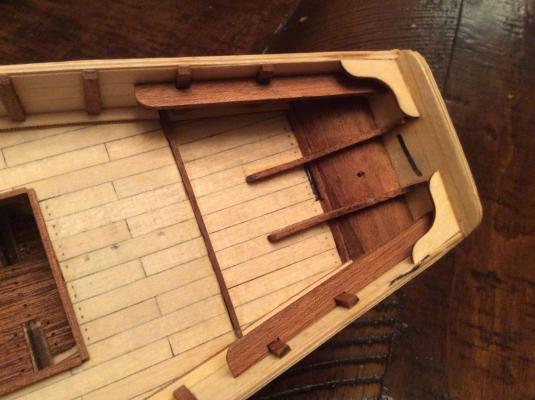
I met my goal of getting all of the lodging knees in place this evening. I however ran out of timber for the deck framing. There is one last piece that I will have to fudge with a slightly different size piece. Oh well. Totally not worth going to get more at this stage. I plan on planking the deck. I was actually contemplating doing a half plank and leaving open the other half to allow better view into the hull and its details. The deck framing needs some sanding for sure, and I was test fitting the next piece, the king plank...my mast hole is slightly off and it's all thanks to my shoddy framing I did. I am paying for my early mistakes already. I'll just have to adjust a bit. Cumulative millimeter or half millimeter errors in the first 5 frames I placed lead to a 3 mm discrepancy in the mast hole which would lead to a several degree tilt to the mast one does not need.


-
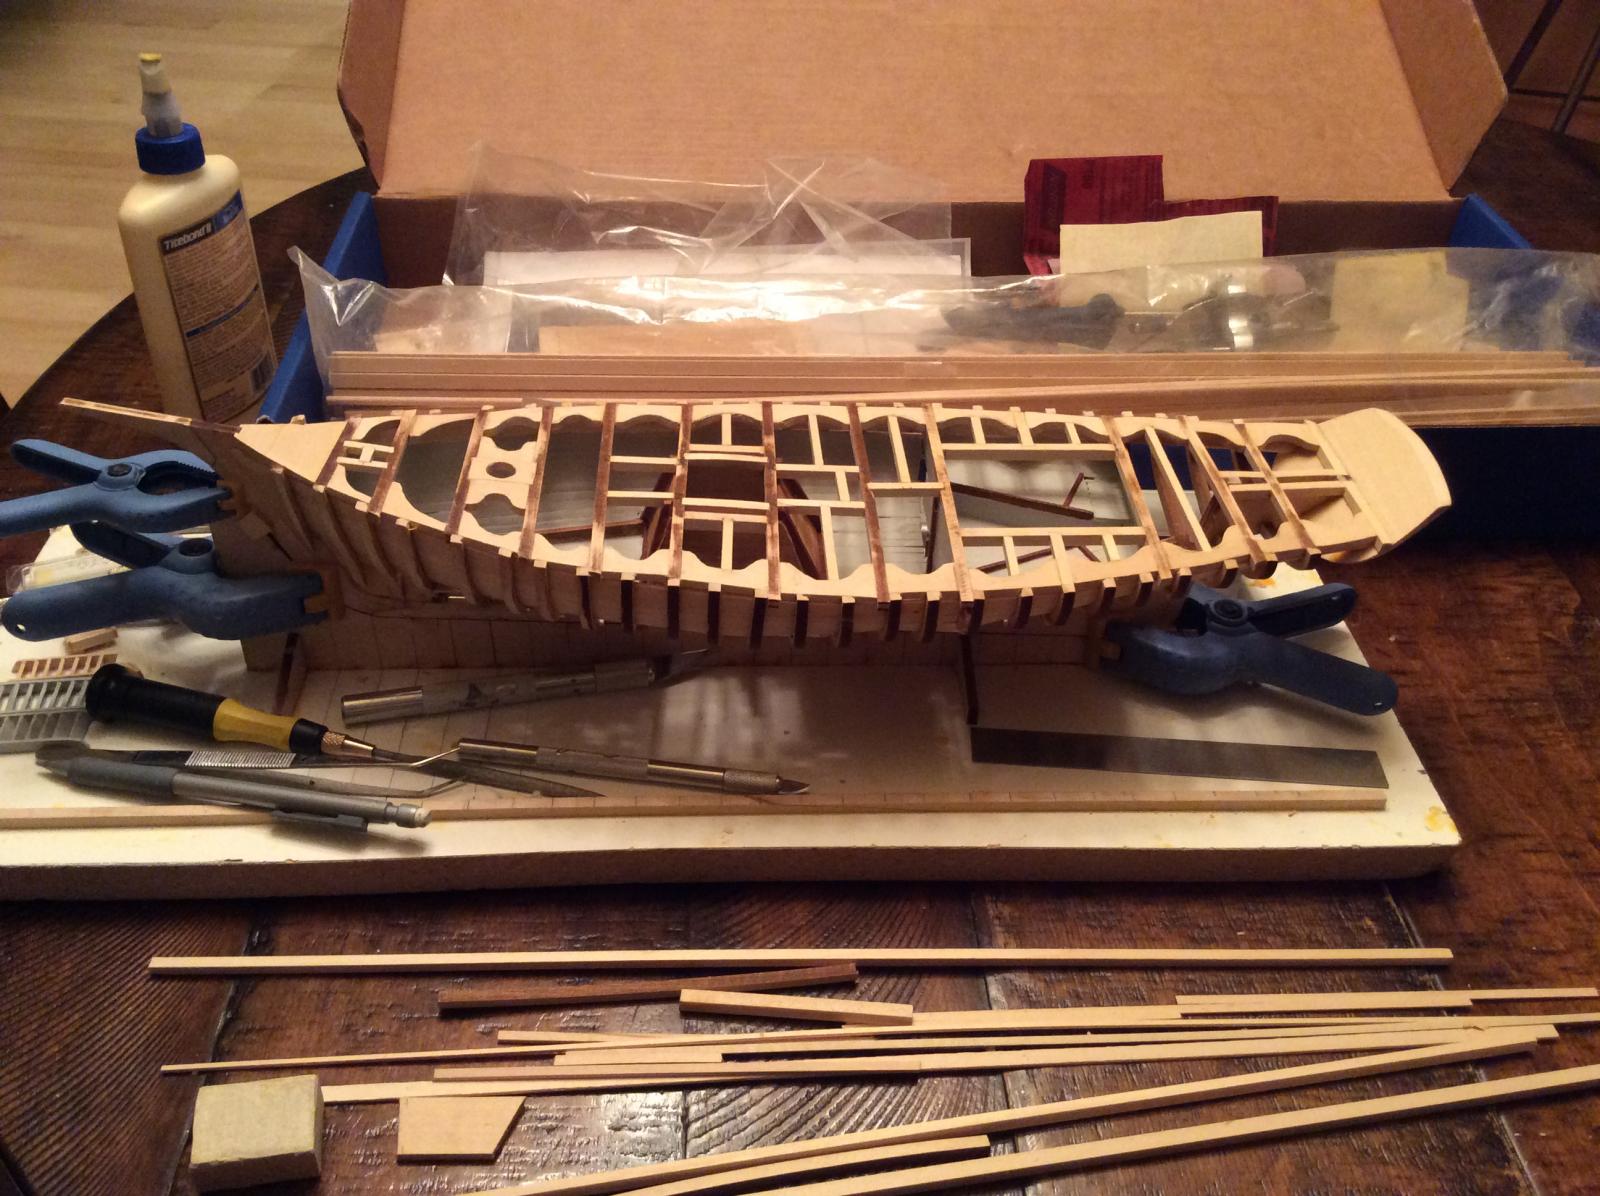
I am kinda dreading the fairing process as I know I have some wacked out frames. We are moving to our new house at the end of the month and I'll have to pack up the shipyard here soon. Not to worry I have grand plans for the shipyard at the new place.
-
I am just astounded at the precision and such attractive lines of this build. Well done Druxey! I hope one day I will develop skills of this nature.
- 641 replies
-
- 2
-

-
- greenwich hospital
- barge
- (and 1 more)
-
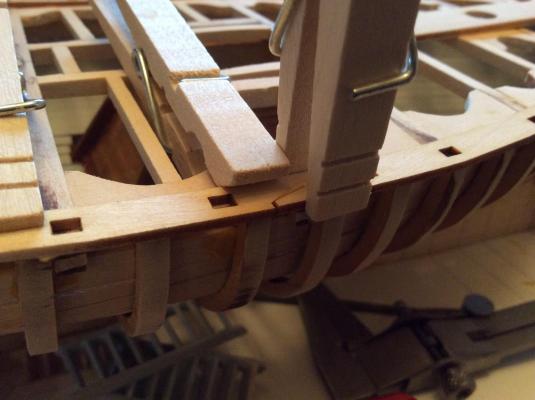
Thanks Dr. Per. I didn't even know of a #12 blade. of course no one carries them locally. Thank you internets. I have struggled with that carving, didn't even think about the blades I was using. Mostly #11 actually. I have probably made twice as many of those lodging knees due to breakage. I'll be glad when it's over. I am trying no to rush that last ones. I have test fit one of the covering boards and they are laying nice and flush once the frames are trimmed down with the lodging knees.
-
I've been able to get some more starboard lodging knees carved. I hate it when this happens...

-
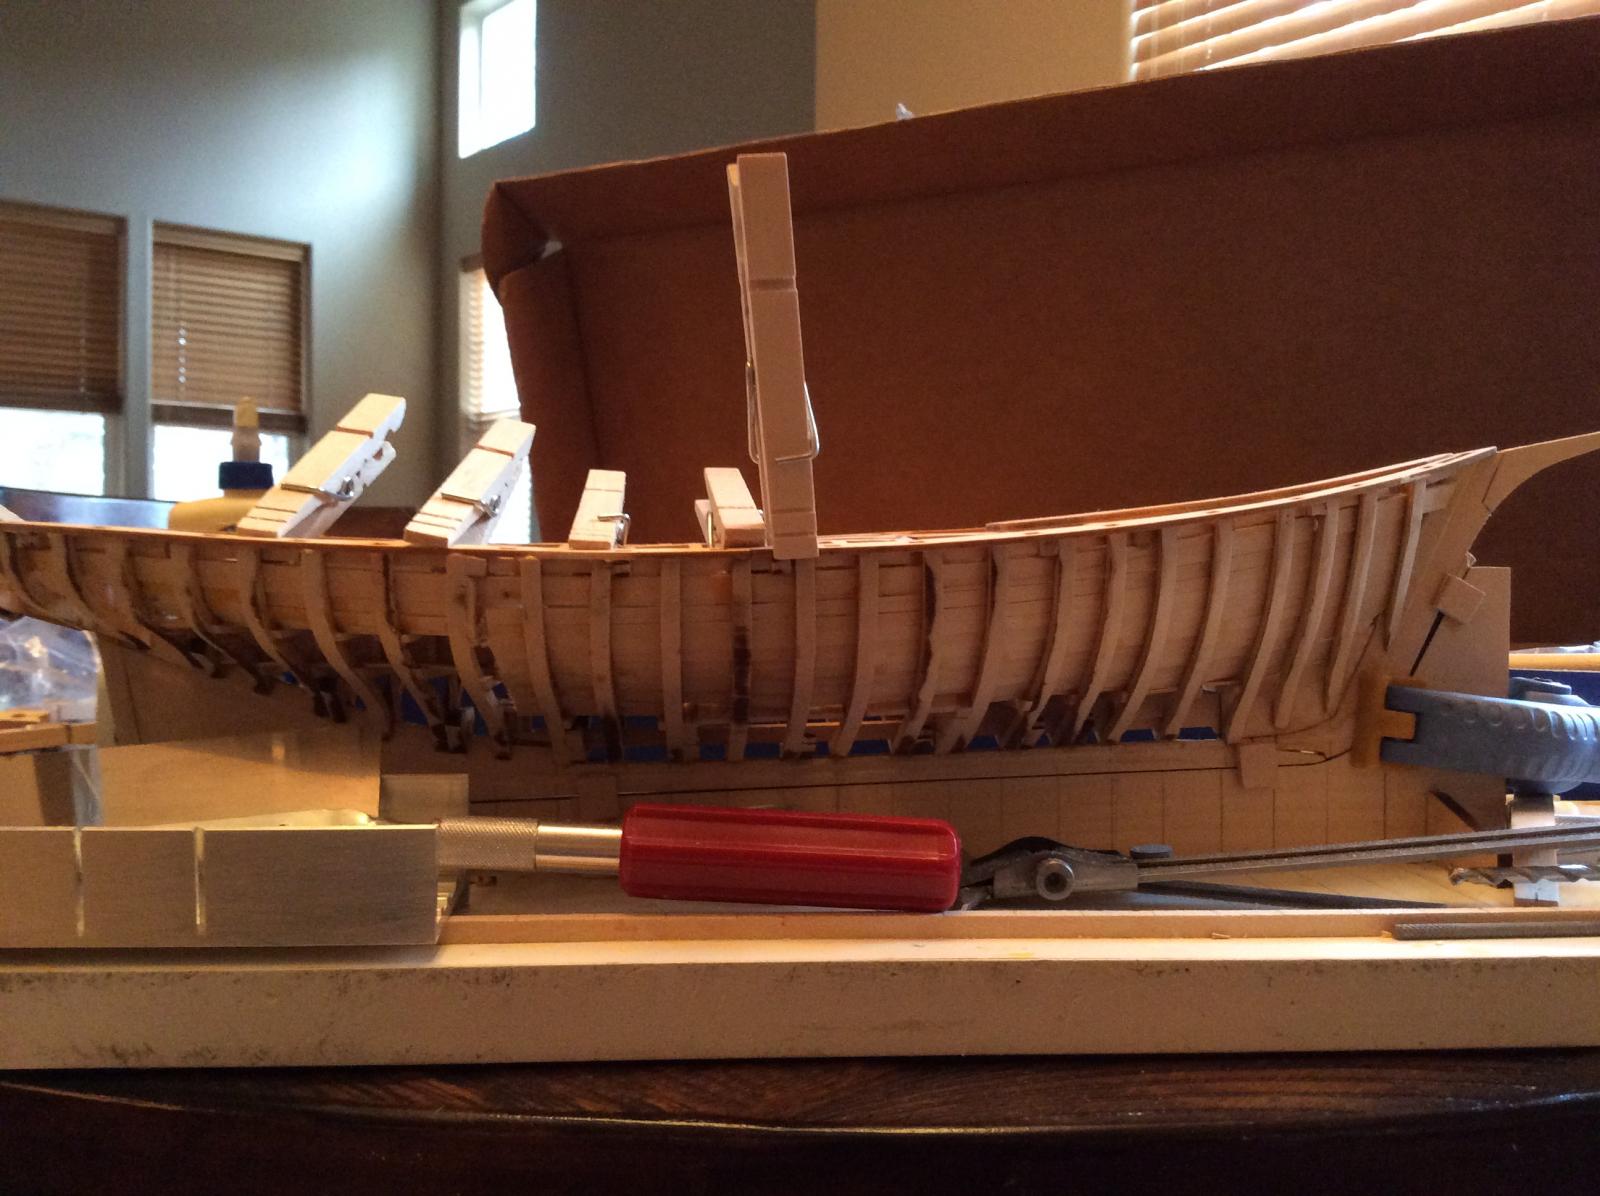
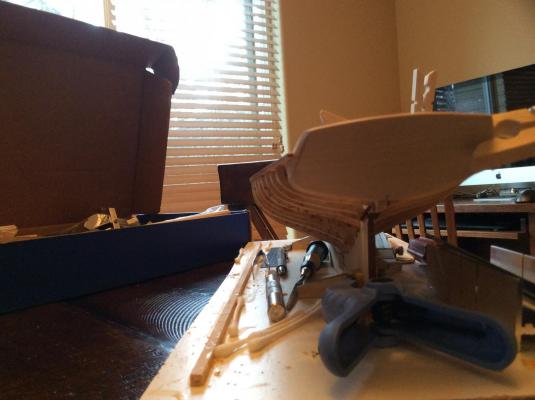
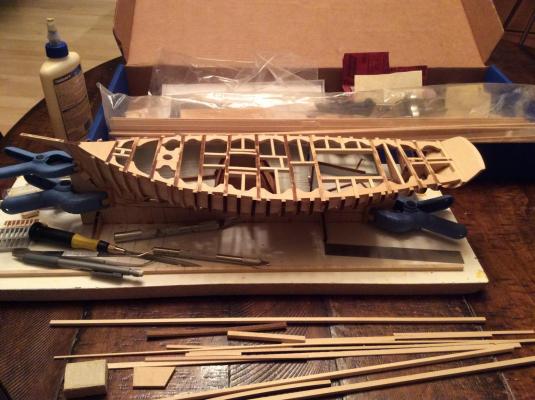
I've made some progress this last week or two. I've been working on the deck framing and the lodging knees. And my errors in the hull framing have become painfully obvious. I think I'll be paying for those mistakes later when I try and fair the hull before planking. The hull clearly has a bit of a twist to it. Not single lodging knee is like another, Lots of hand carving going on. Having lots of fun and been planning my eventual turn to the dark side(scratch building) or light depending on your viewpoint I suppose. Dreaming of power tools and frankly bigger pieces of wood, all these bits are hard to handle with my extra large hands.

-
As I have started this model as well, and you are far ahead of me, I will be following along. I was trying to look ahead about what the heck a king plank was and your log helped me out. I love your blocking.
-
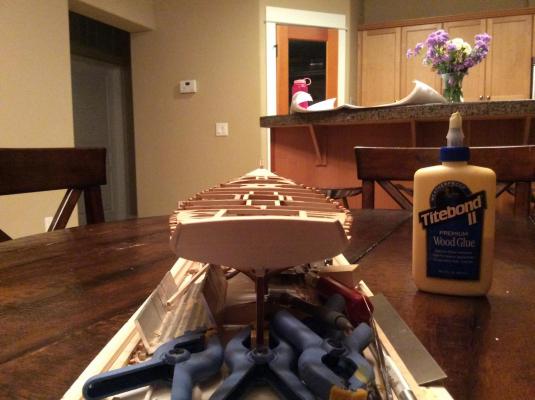
Thanks again Craig. I am thoroughly enjoying the build. I have decided to paint and stain! I've also glued my second lodging knee. It has also occurred to me just now to make two of each. Port and starboard. Also the plans show what looks like two pieces where I think I'll just make one piece and carve a line or something to model the joint although I do plan on just planking the whole thing... Dru
-
Thank you Craig and Elijah. I have finished planking the forward inner section and am looking ahead to the deck. I've taken a stab at the first of many lodging knees. This one is hand carved. I think a power tool might help. Alas I'll have to wait till we move in about a month to consider a dremel or scroll saw to help out in this department. I'm currently undecided about paint vs staining the model. I'll have to think on it yet.

-
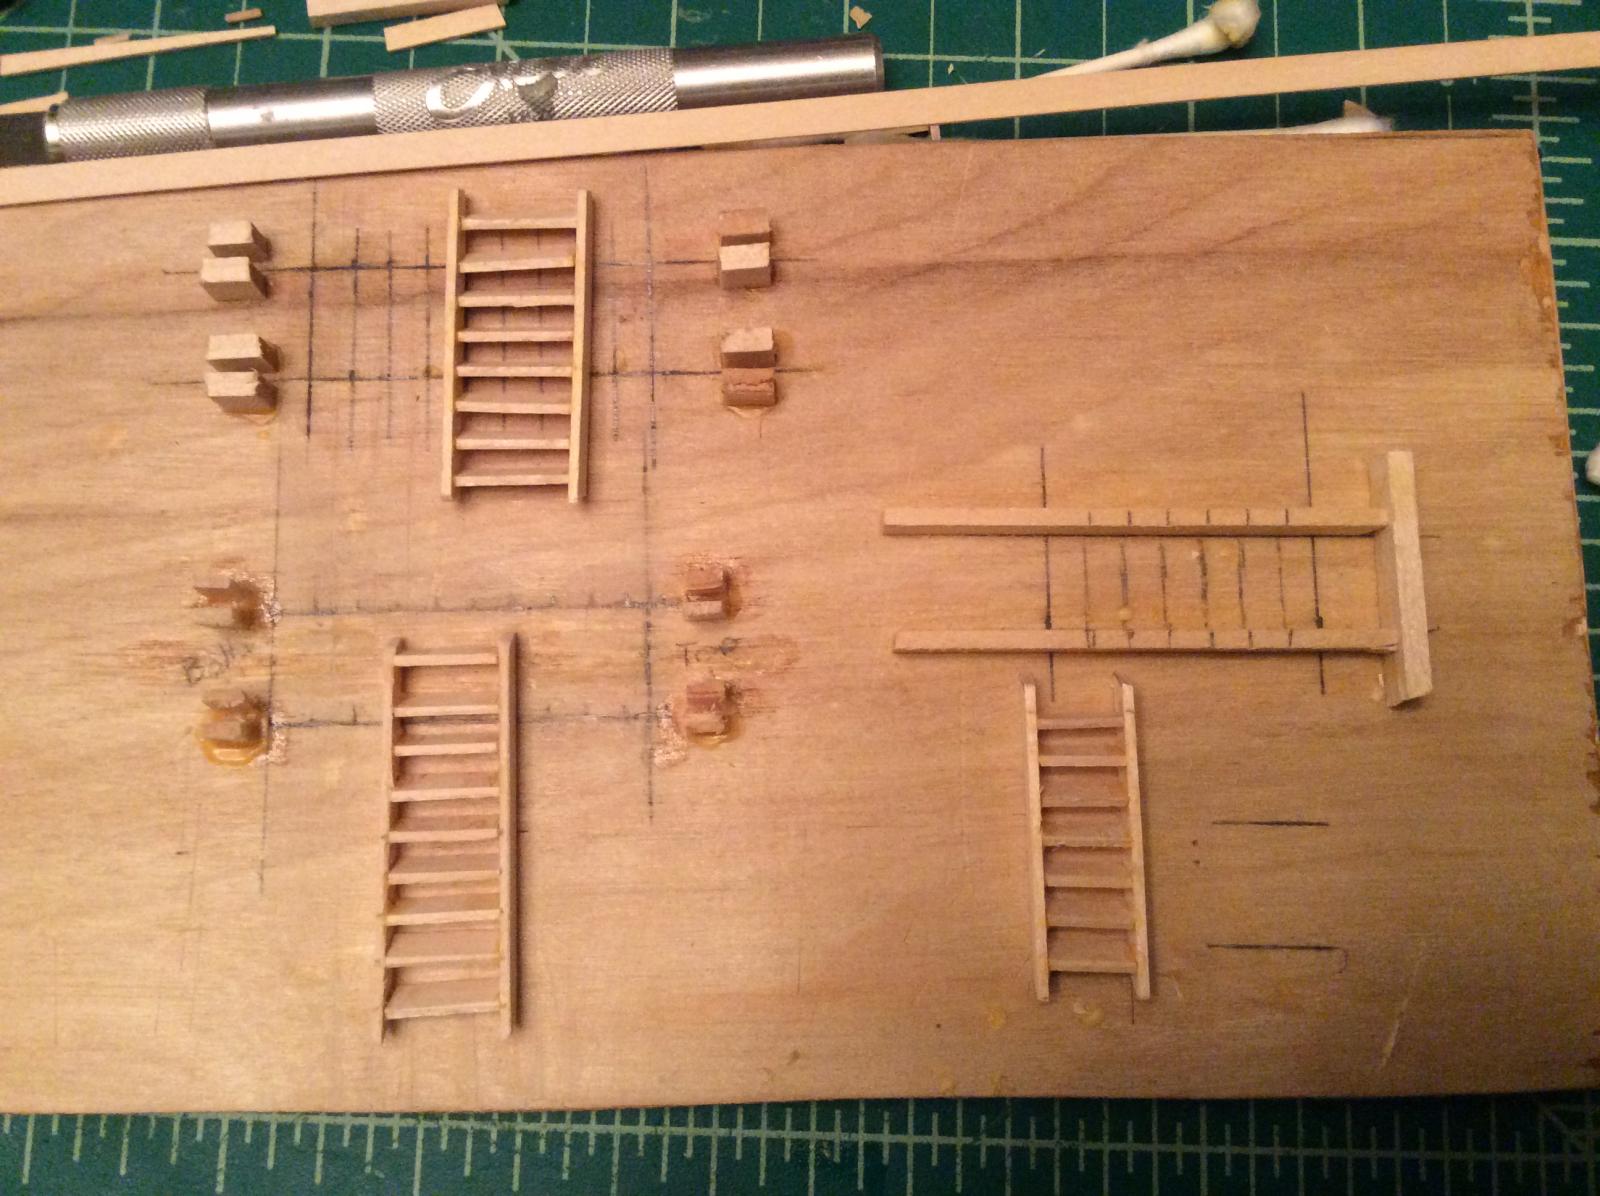
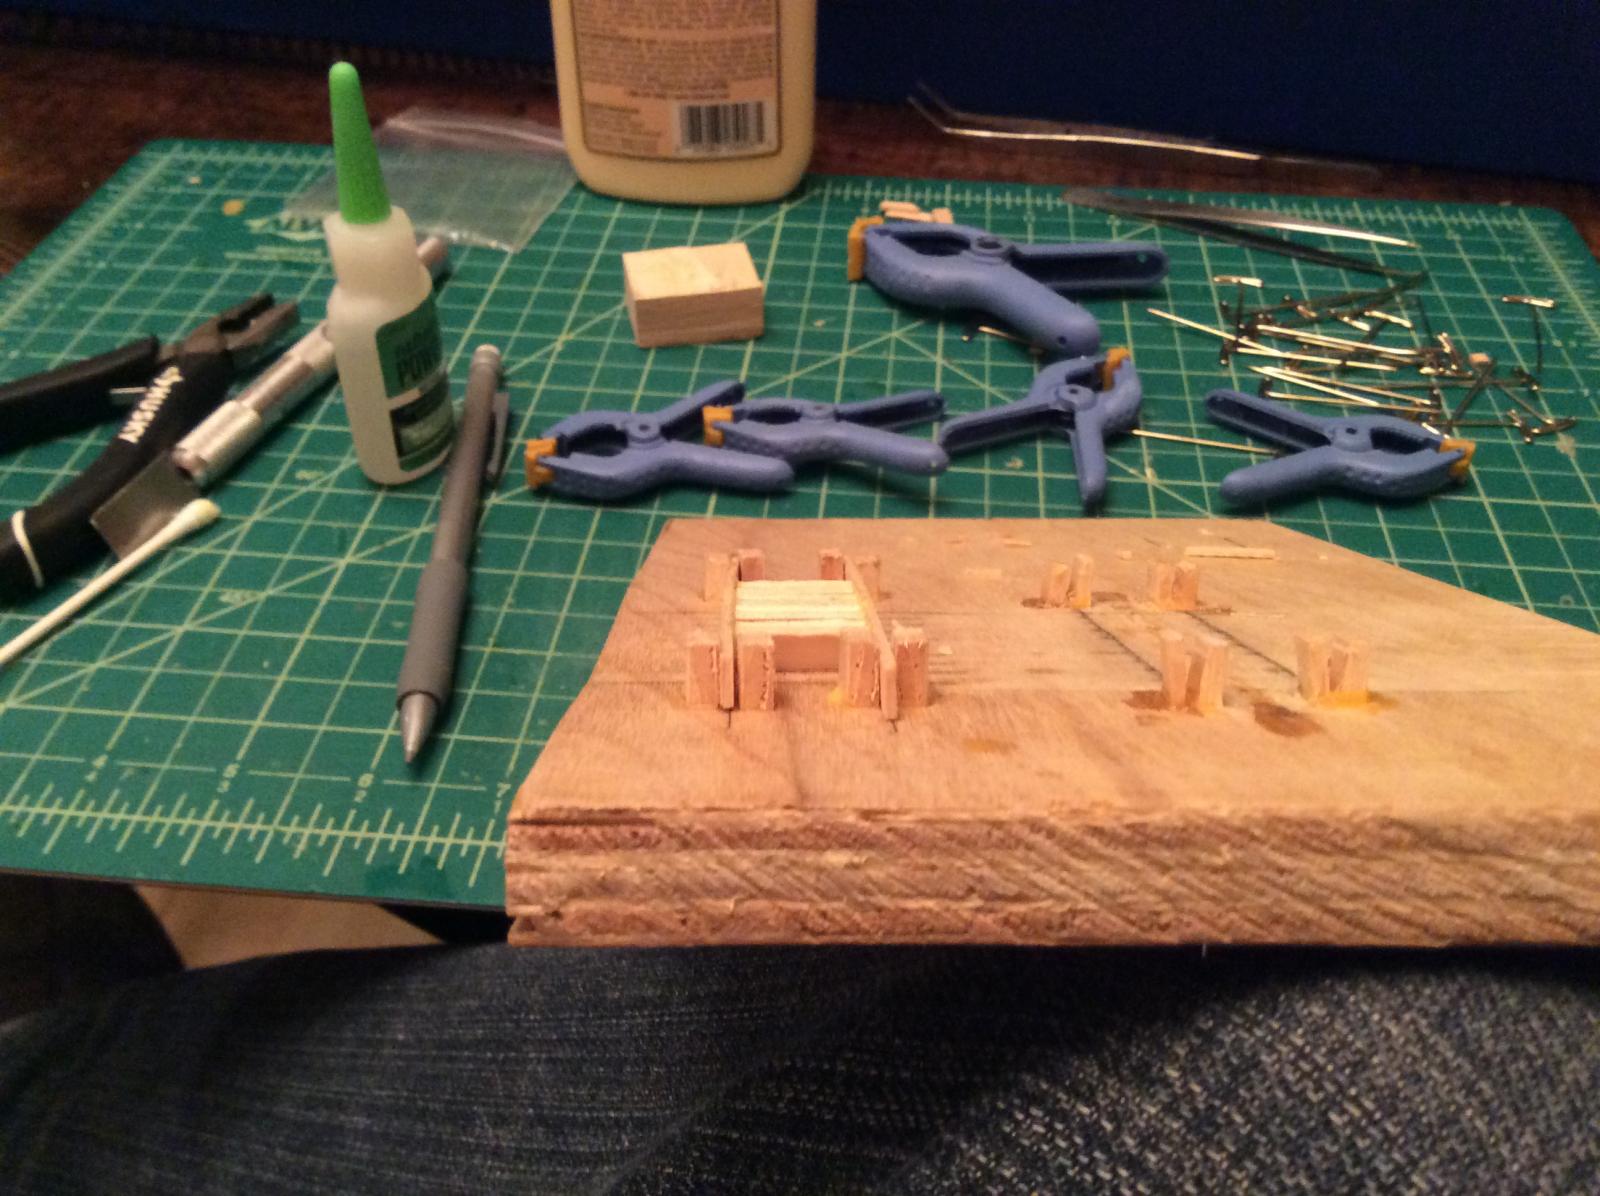
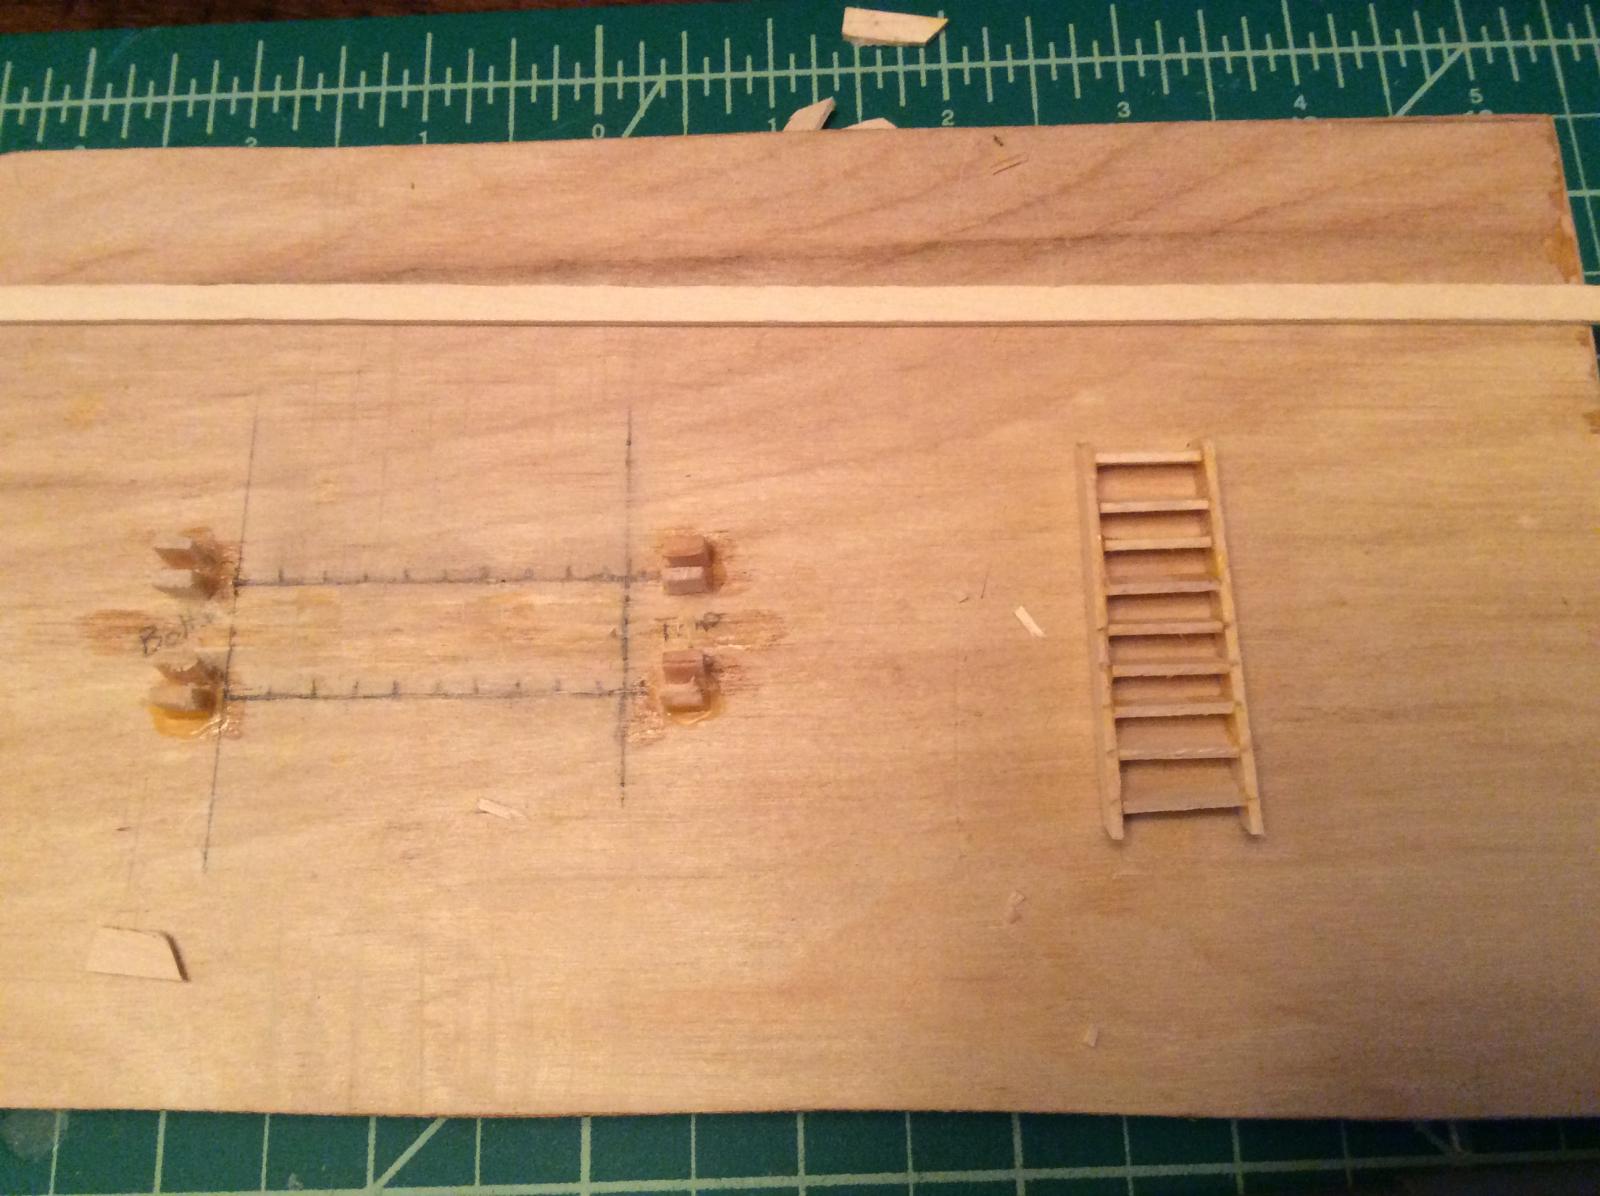
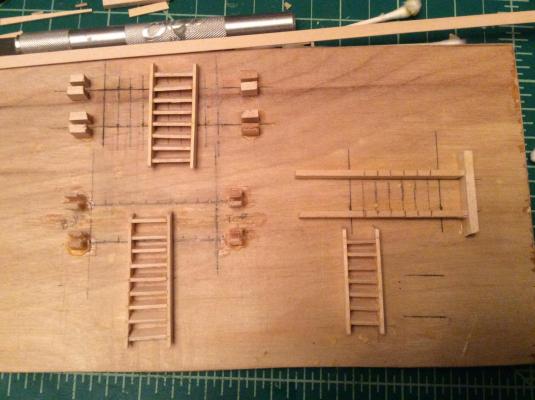
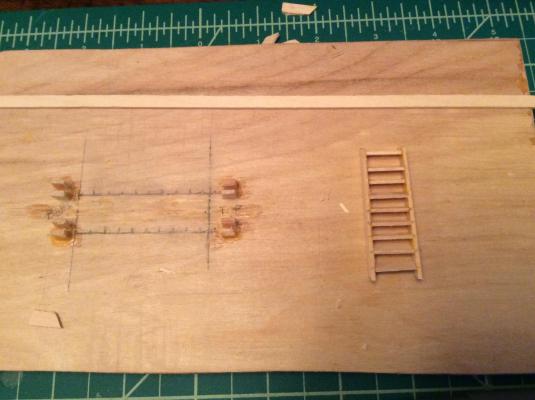
And the final products compared. I do think the third jig did best.
-
New jig. I've cut and prefit without glue this time to ensure a square fit. Best one yet.

-
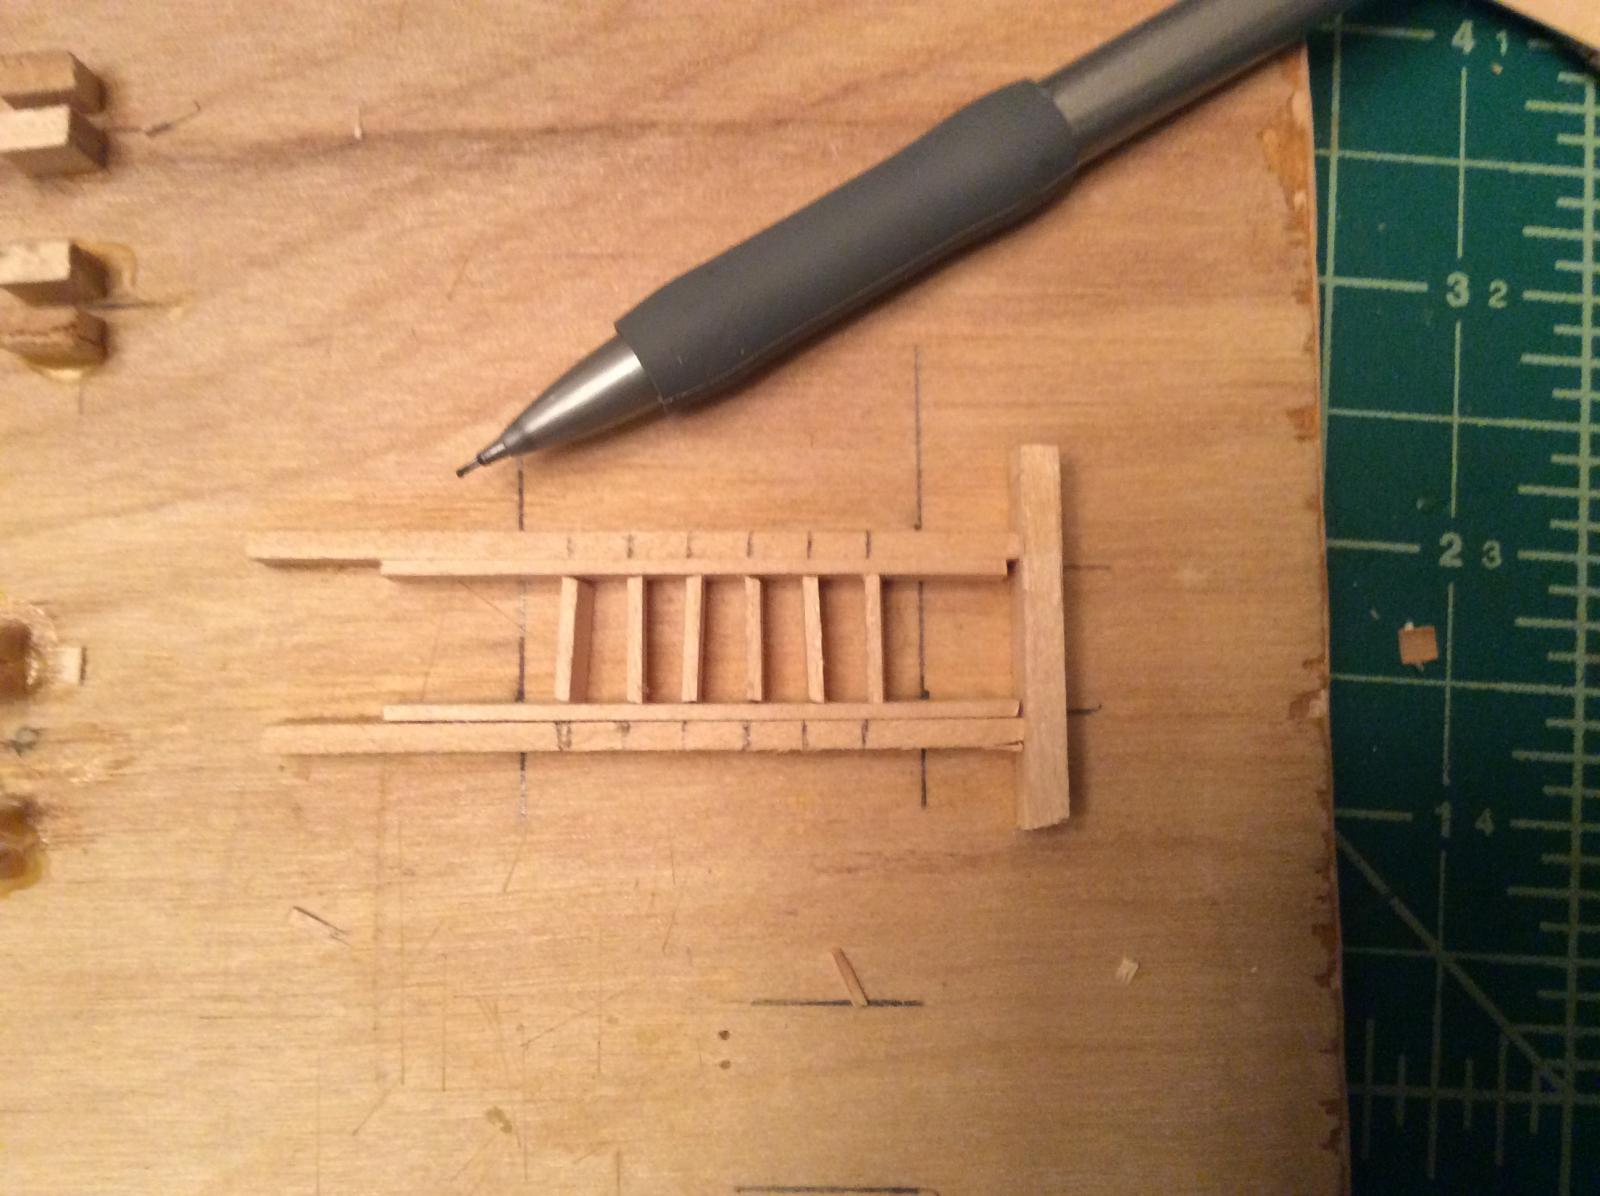
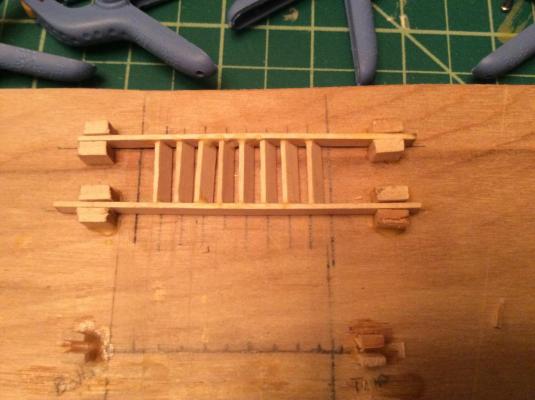
Second ladder drying. At this scale a millimeter makes a big difference. I still got a bit of a bow in the middle. The first ladder I worked from one end and the other end turned out a millimeter wider. This ladder I tried to work from the ends. Still got this stacking effect, each rung ever so slightly longer...

-
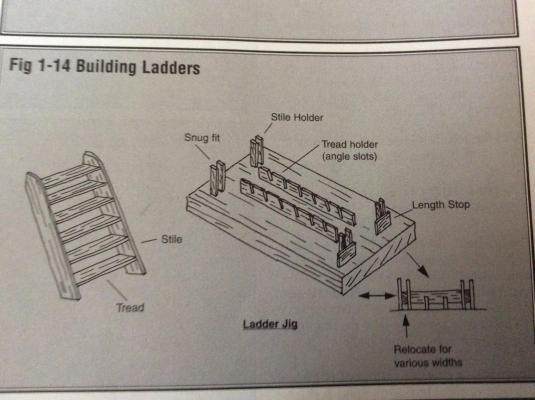
Ladder jig, after fourth iteration. And final product. Hopefully I can improve with the second and third ladder.

-
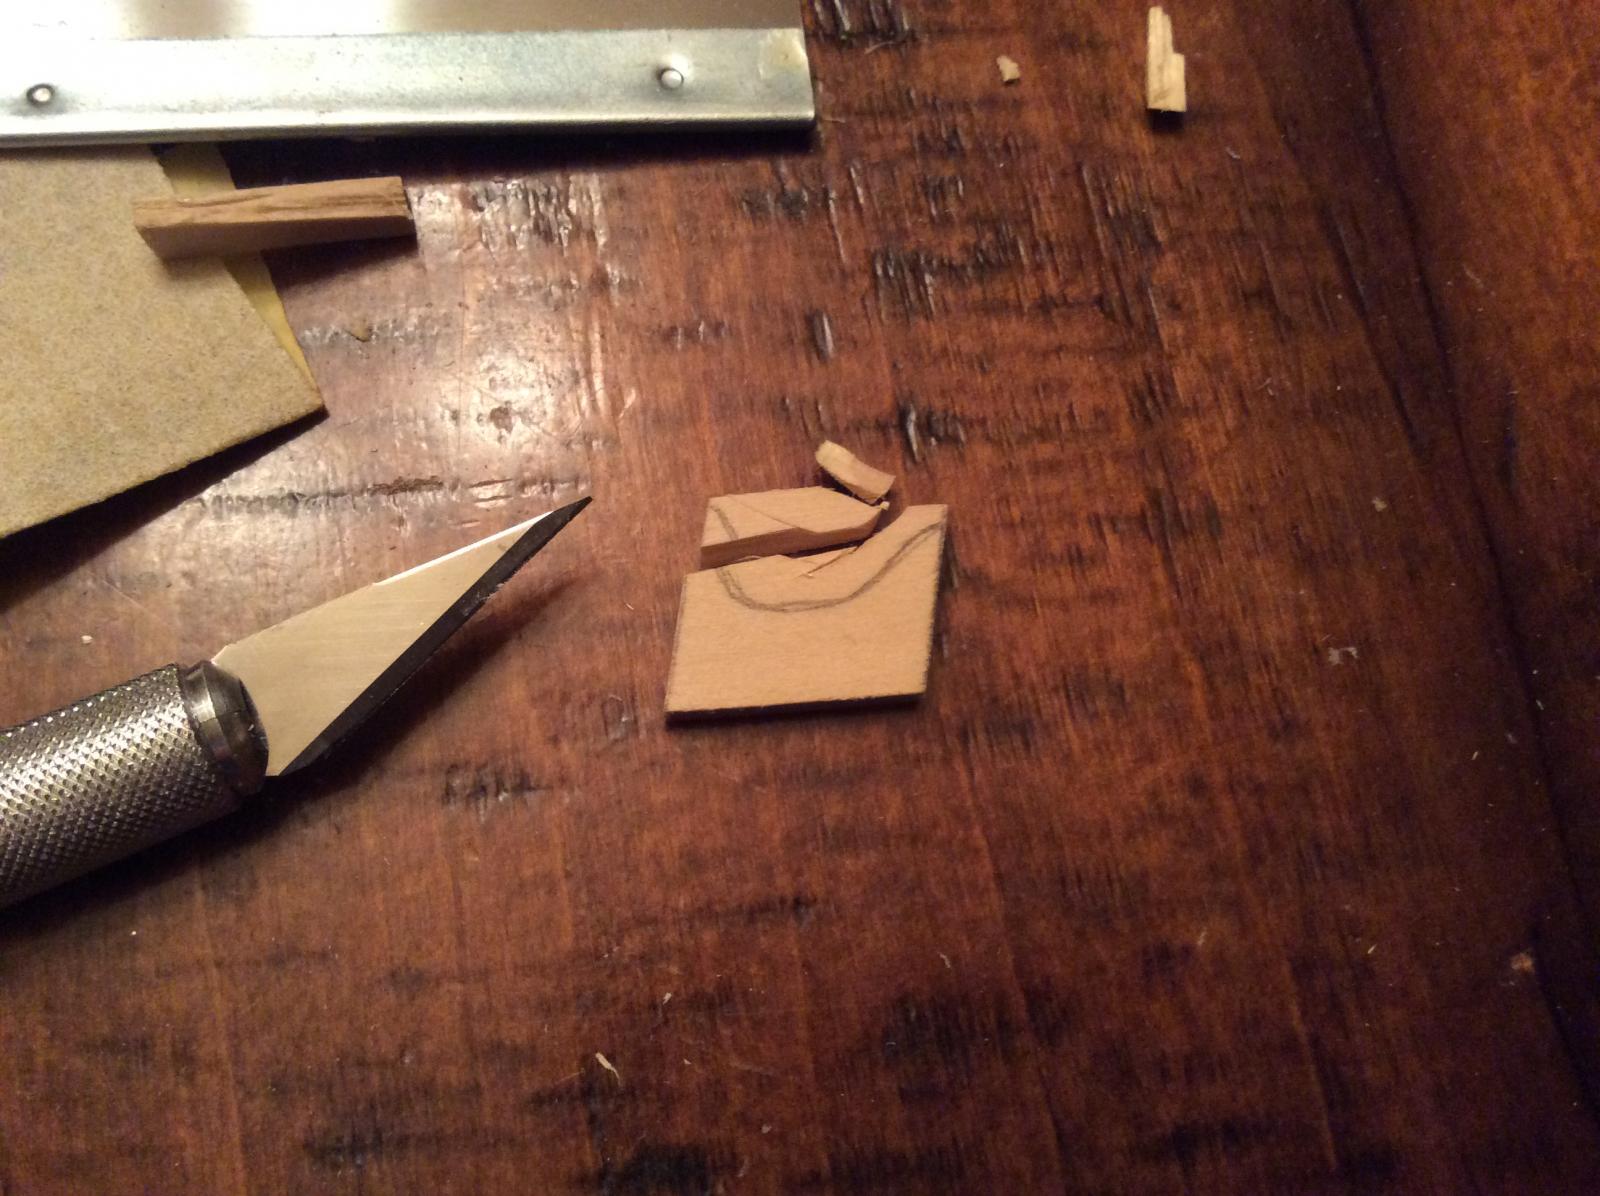
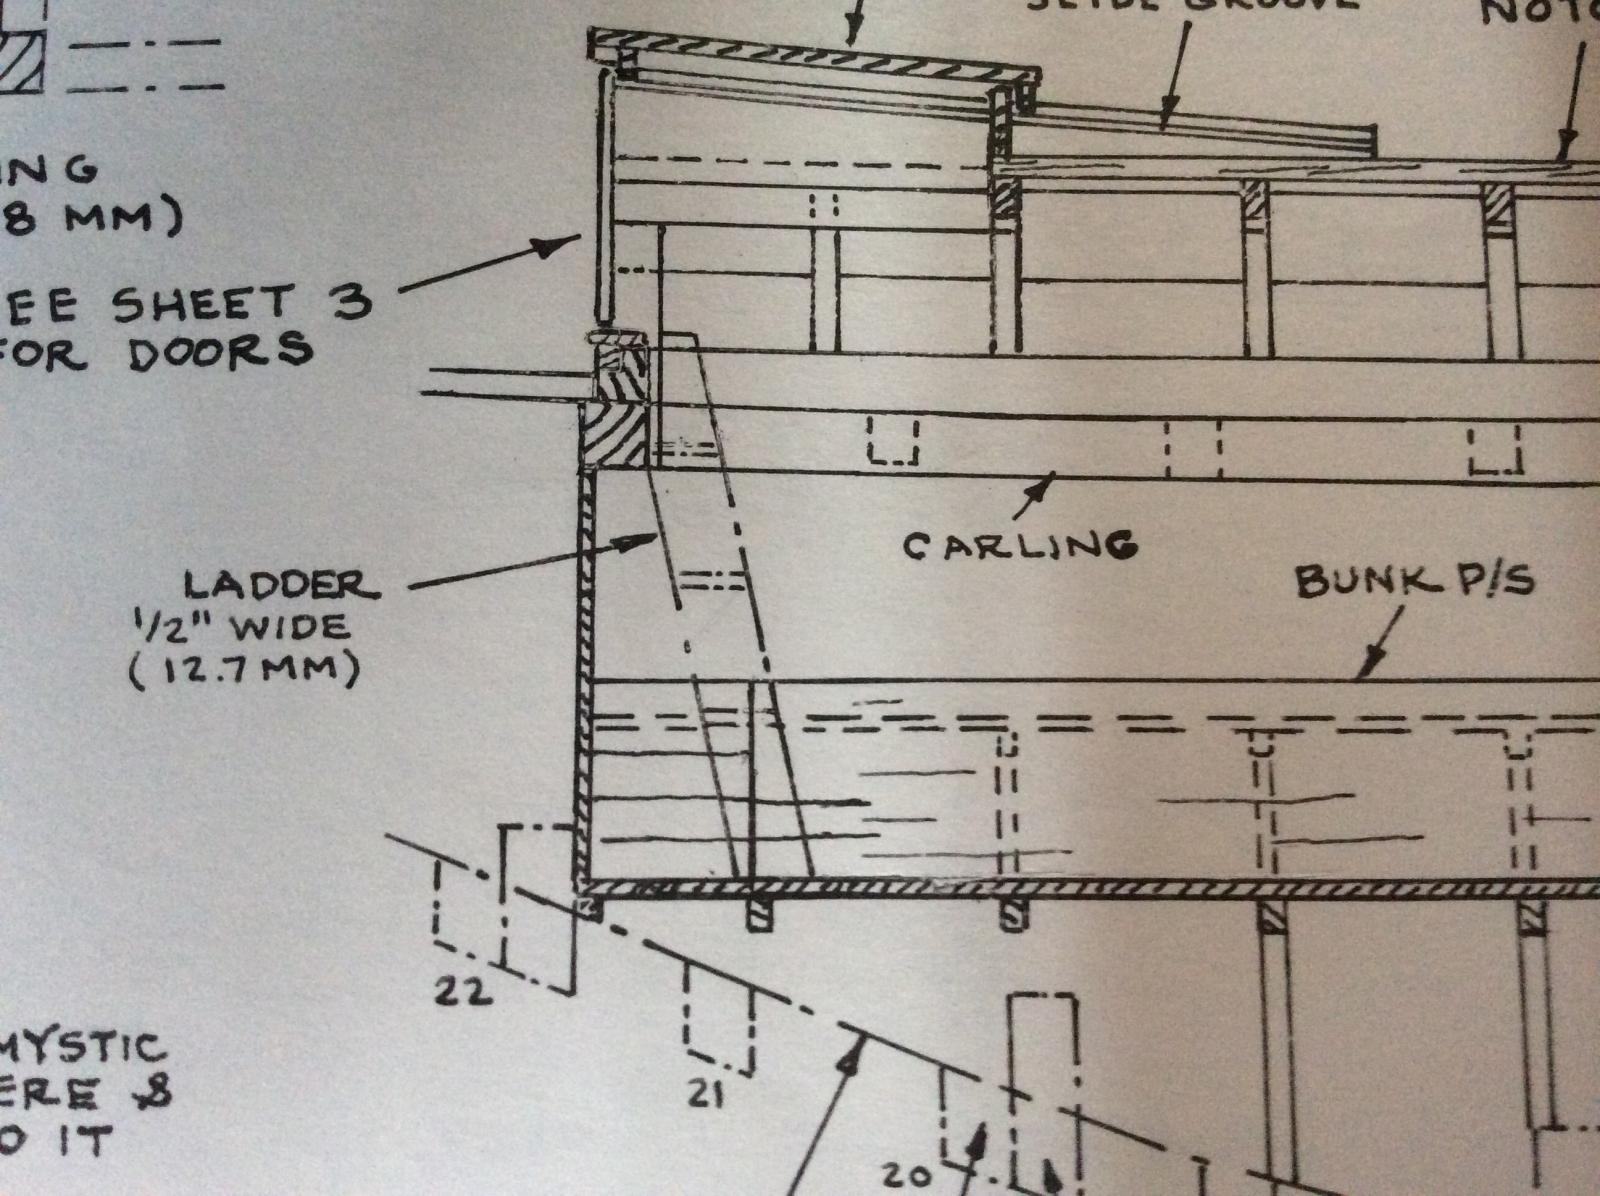
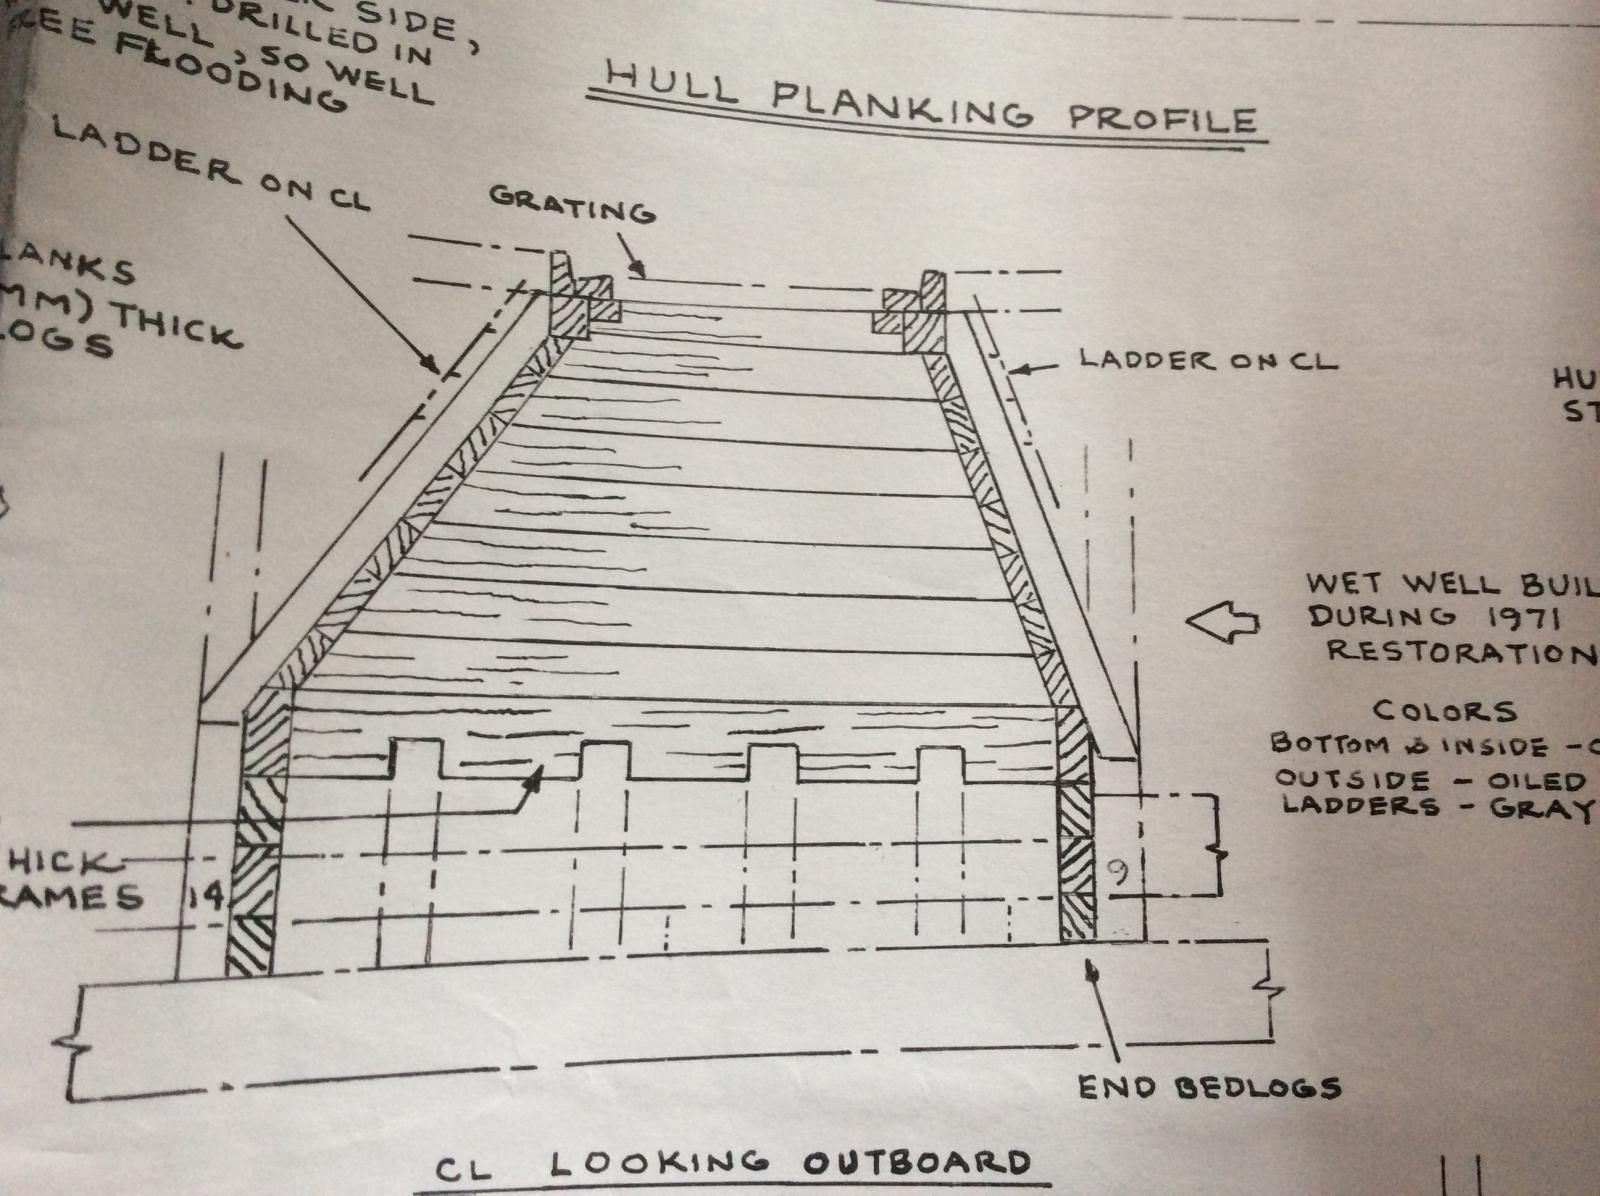
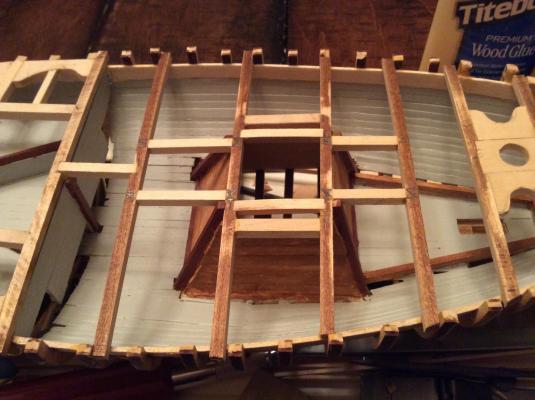
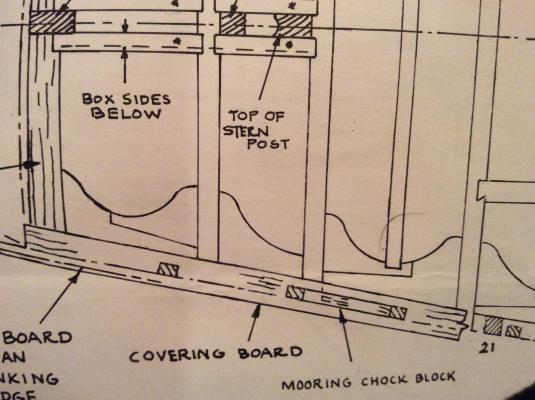
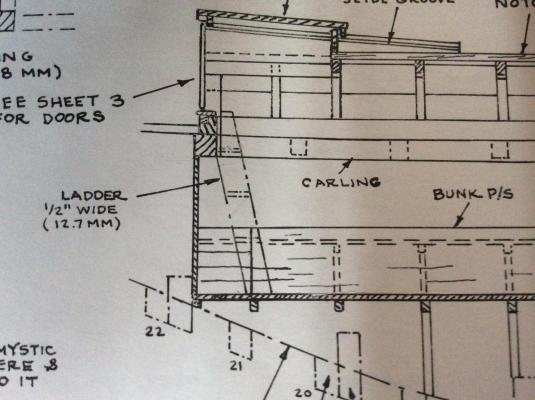
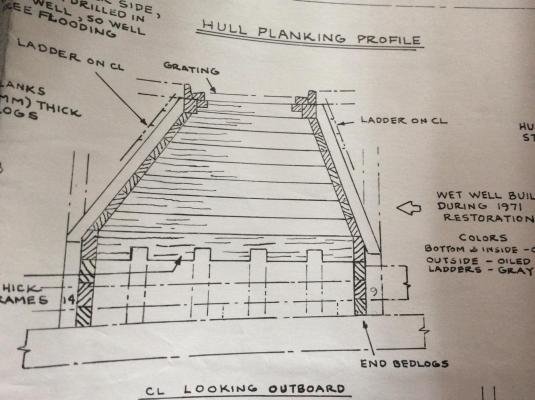
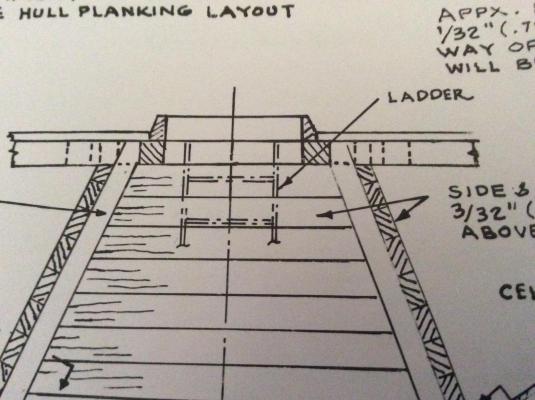
These are all the references I have to the ladders. There are three of them. One on either side of the wet well leading to the hatches and on in the cabin. I think it will give me measurements enough to draw out a sub plan for ladders and in turn create a jig. I'll have to play with what size timber to use.
-
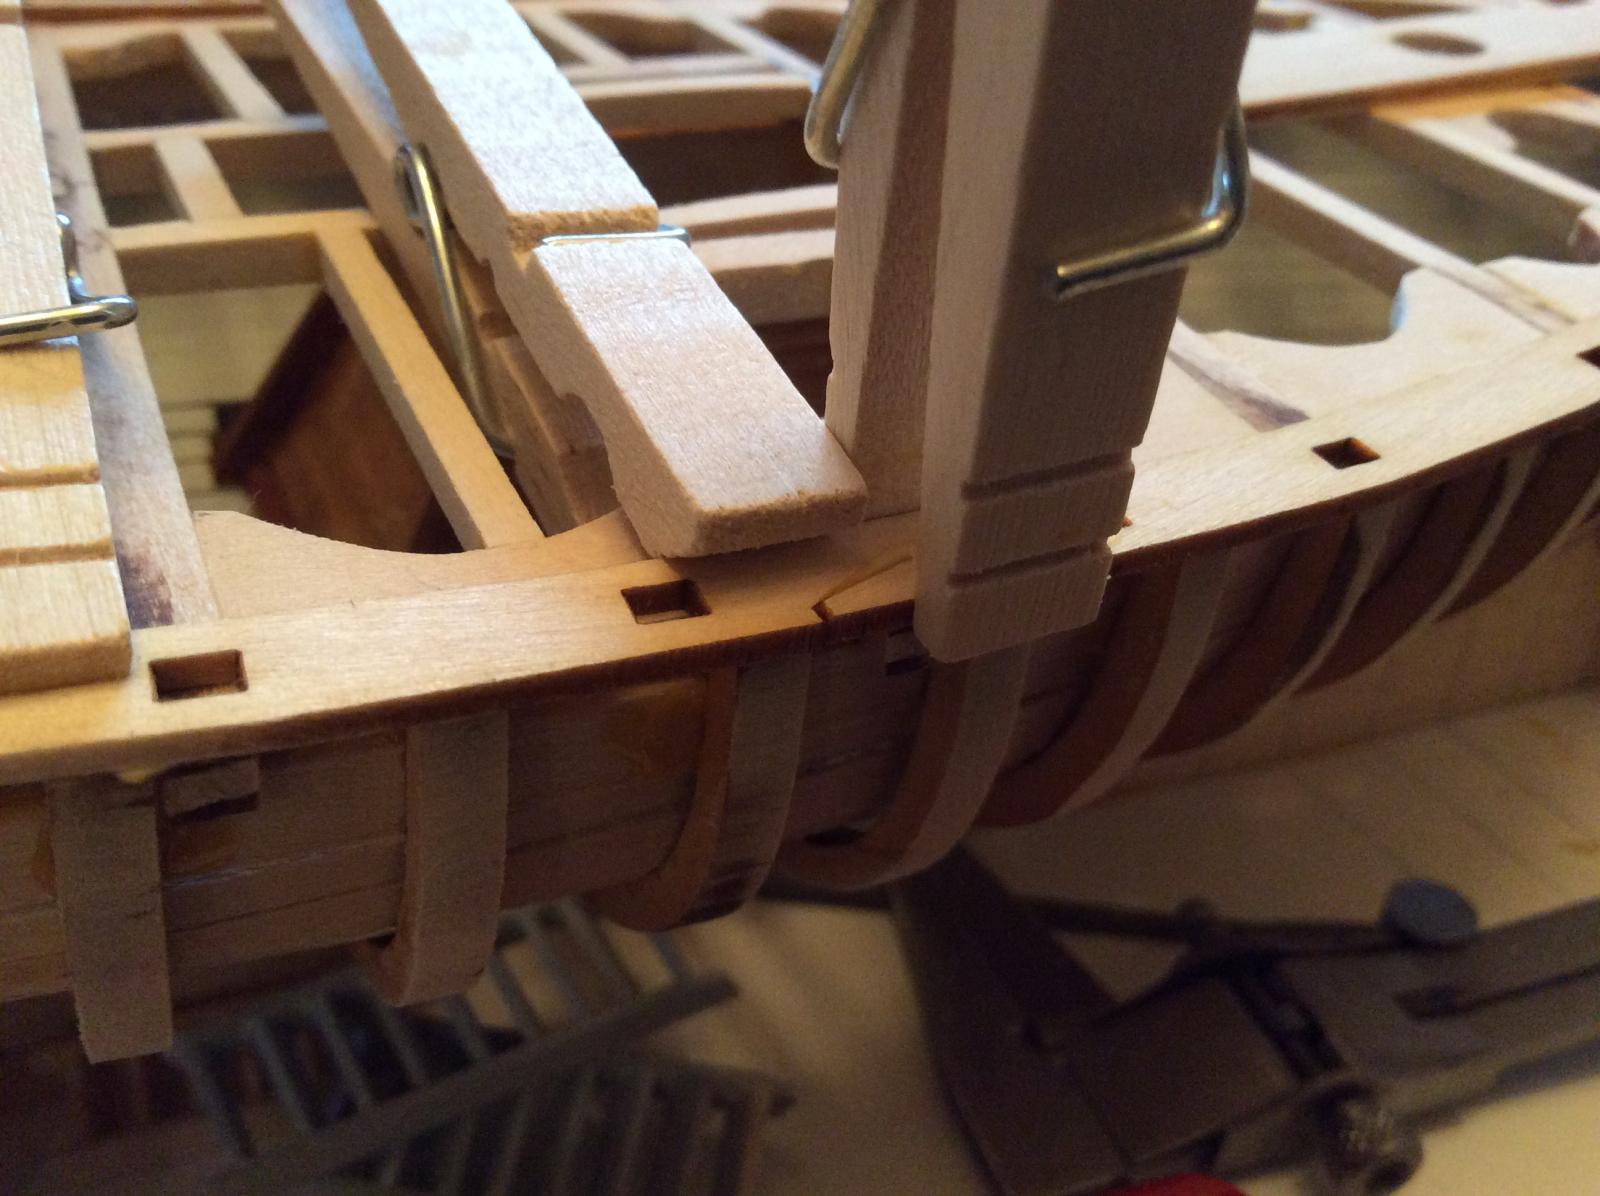
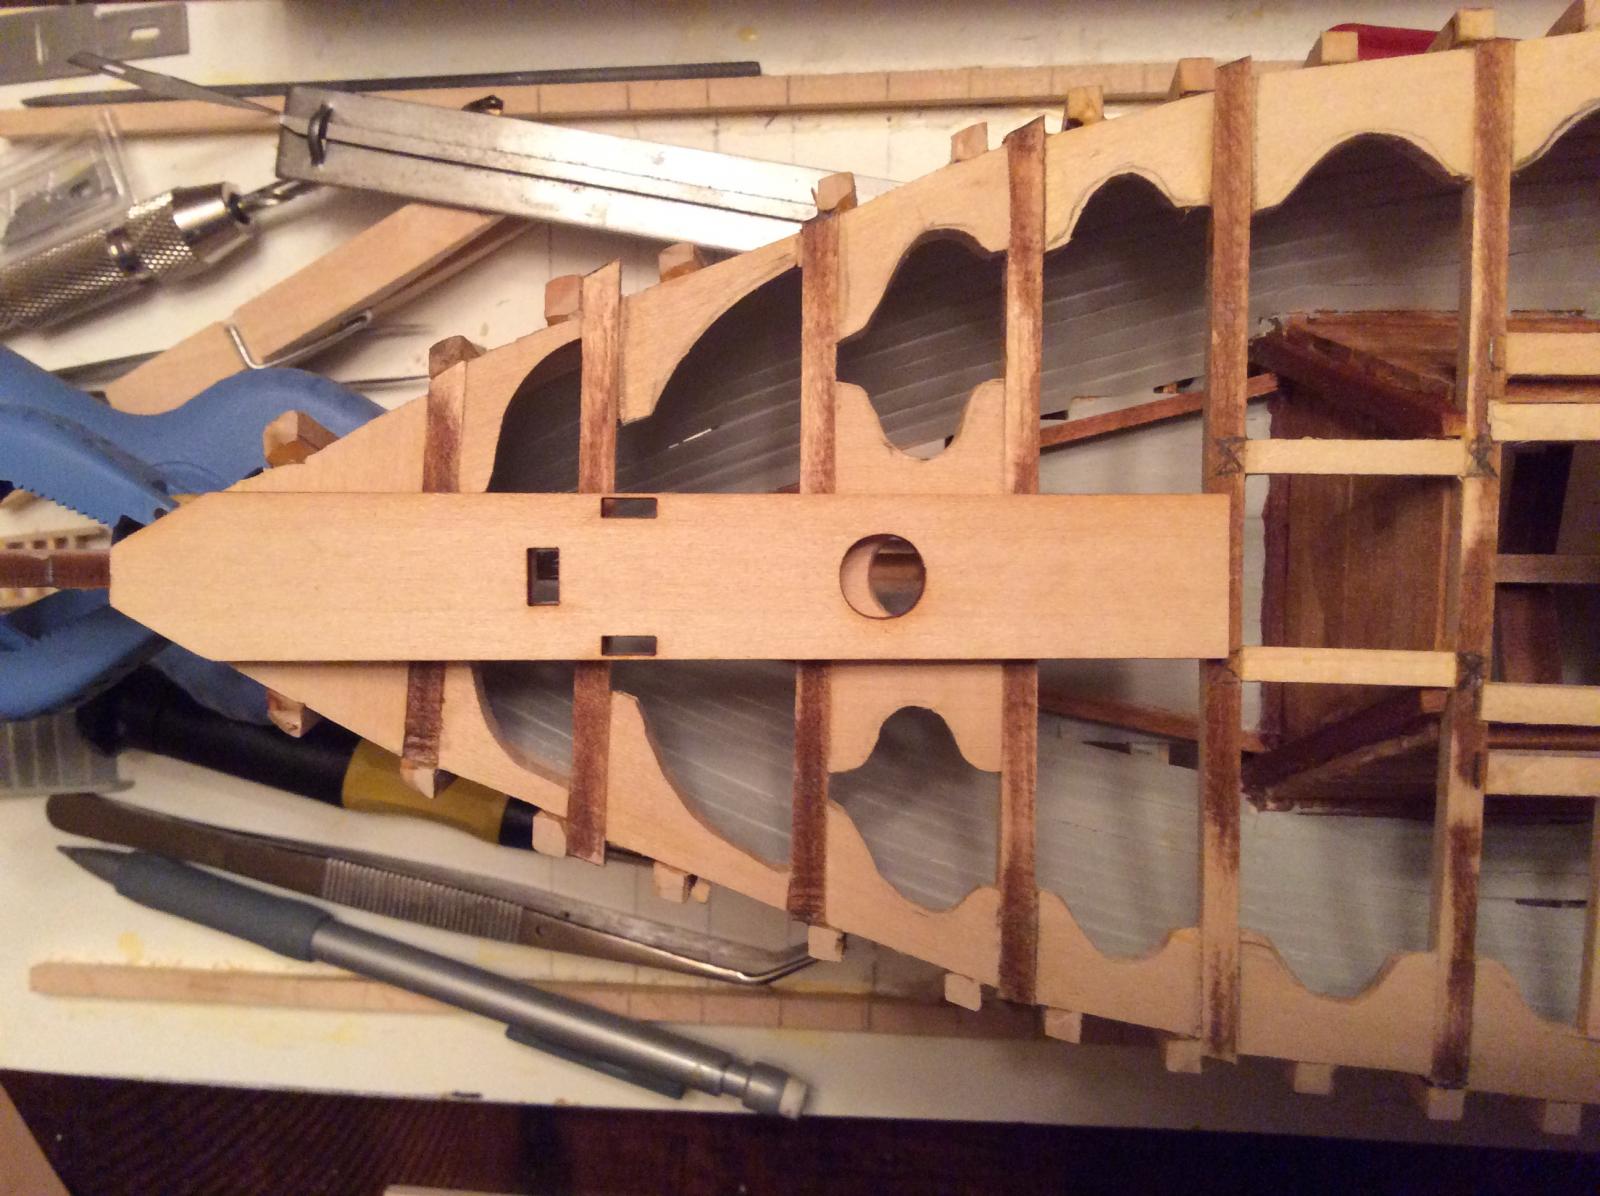
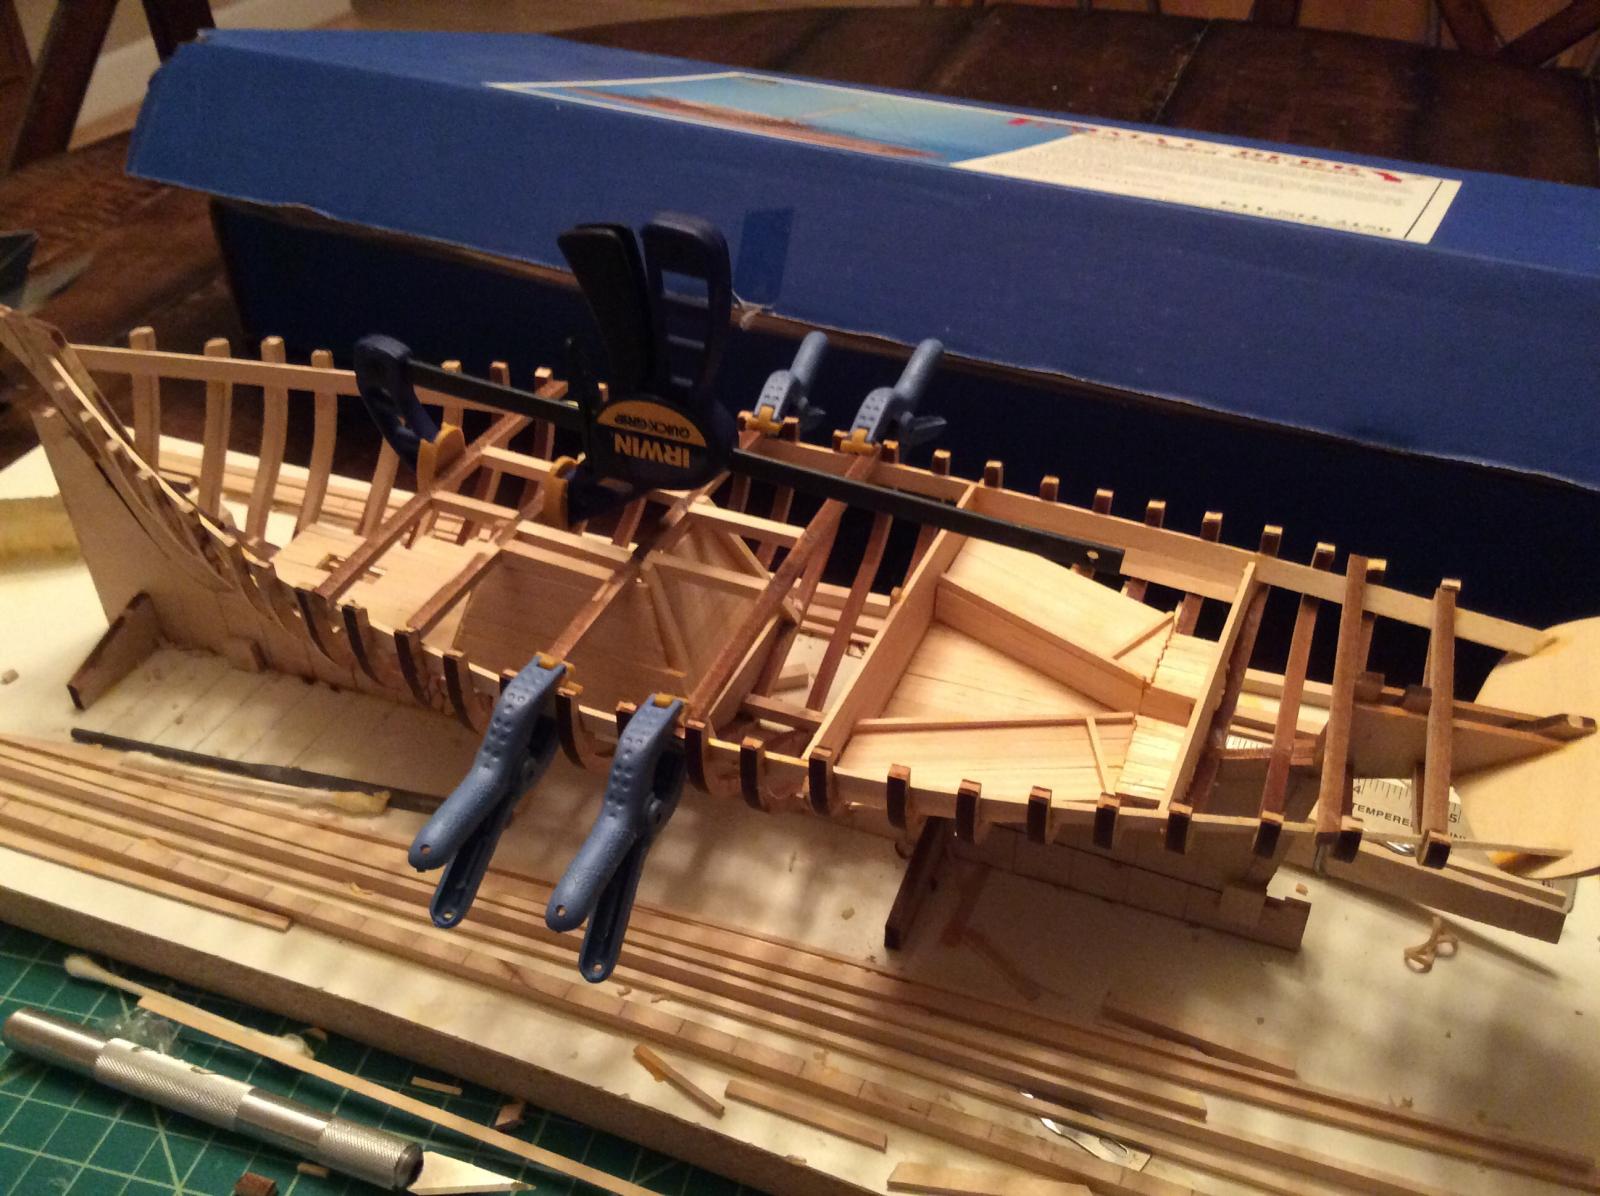
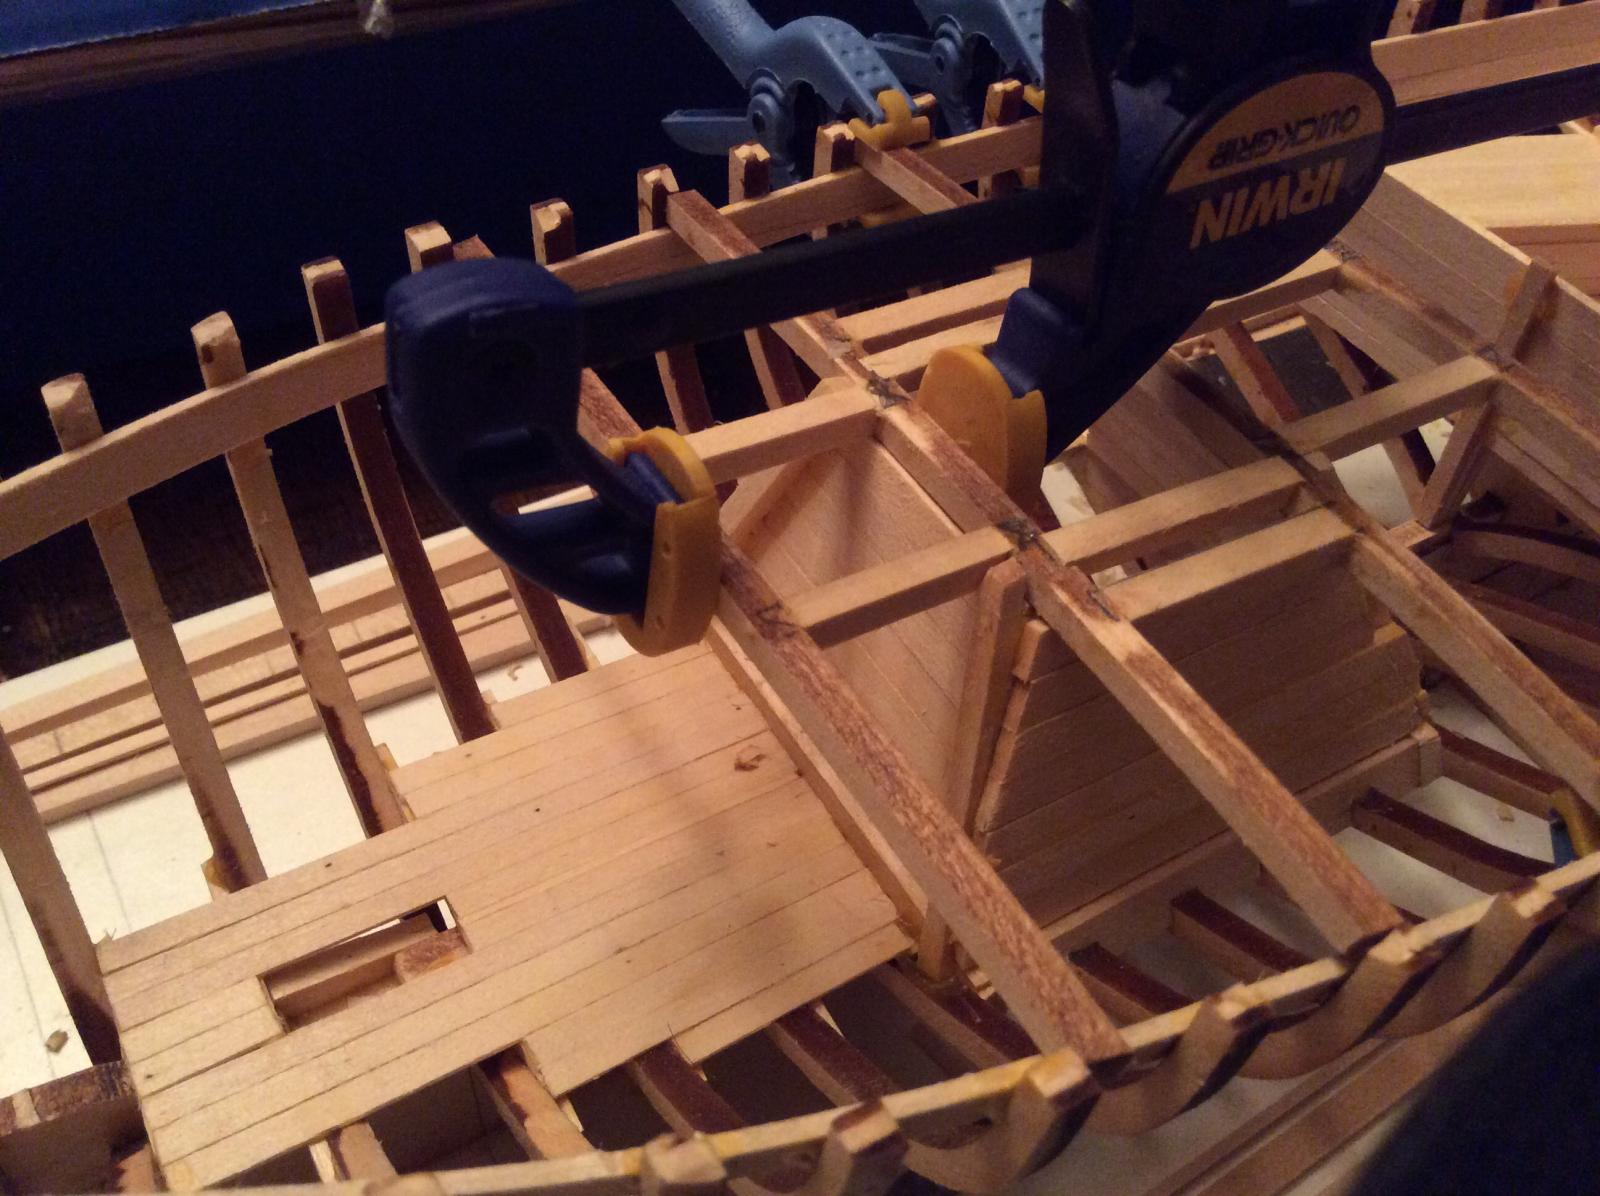
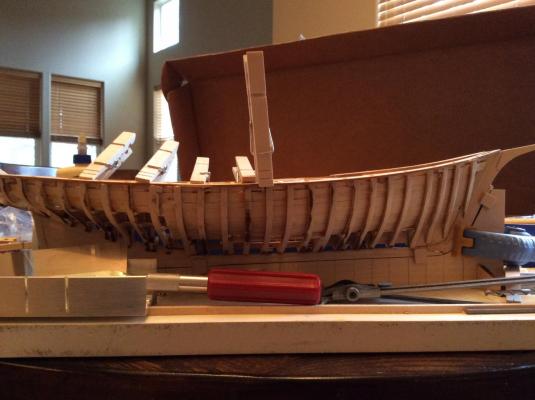
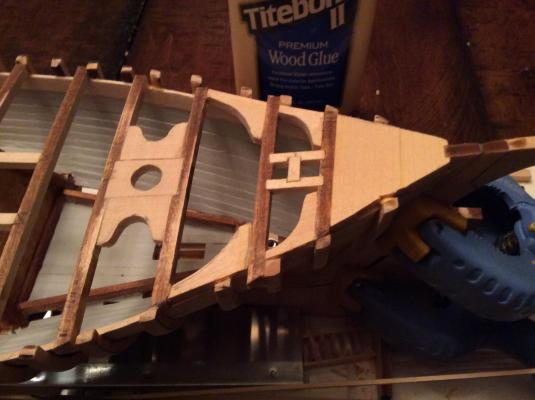
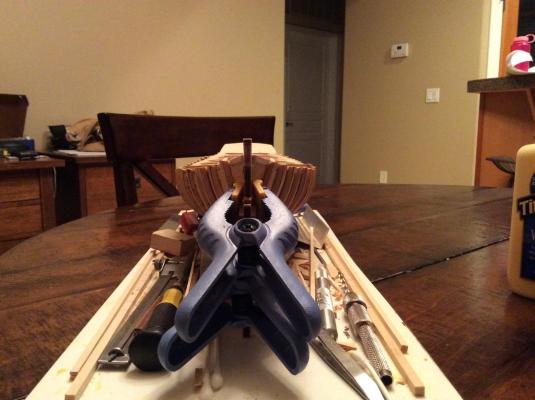
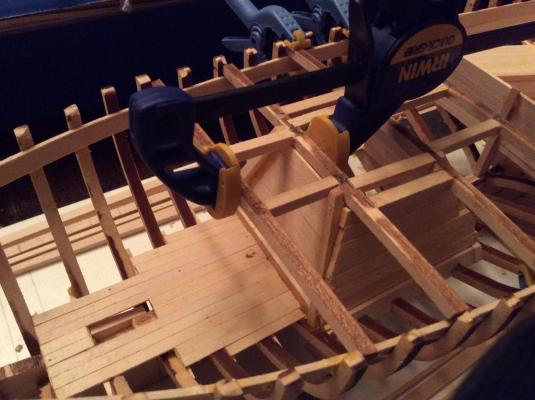
Those with astute eyes will notice that I opted not to cut the bevels on my frames completely, I tried for the first 6-7 pairs of frames but basically got impatient as it was taking too long to do all this work by hand....sorry no power tools allowed after the admiral goes to sleep. Although as long as the modeling takes it seems silly not to have done it properly according to the instructions. I have also opted not to fair the inside prior to planking. Even with the clamps installed I fear breaking frames. I hope with more time and the deck installed and the lodging knees installed I will be able to fair the outside of the hull without mishap. I am about 5-6 weeks from moving again, this time into a real bonefide shop space. The third car space in a three car garage and we only own two cars! I hope to purchase my first scroll saw to set up in the new shipyard. 1/32 scale ladders.... Any advice, does a jig actually work?
-
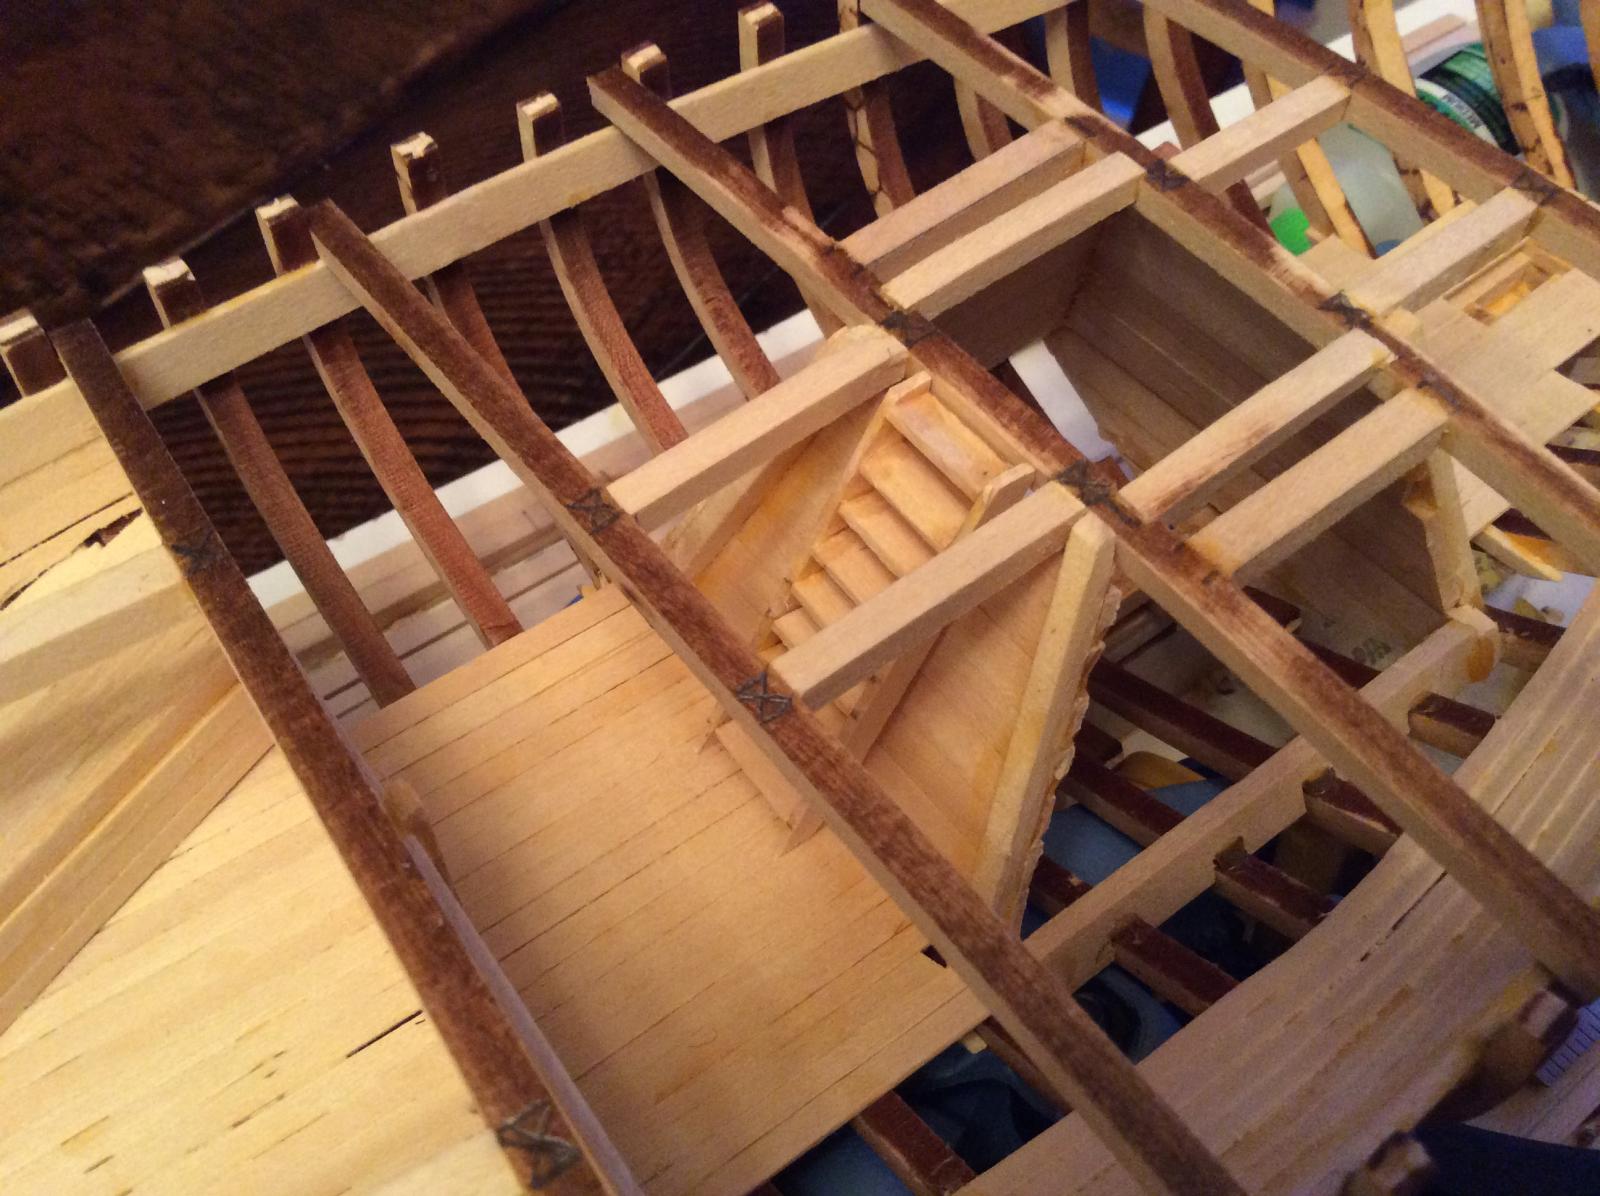
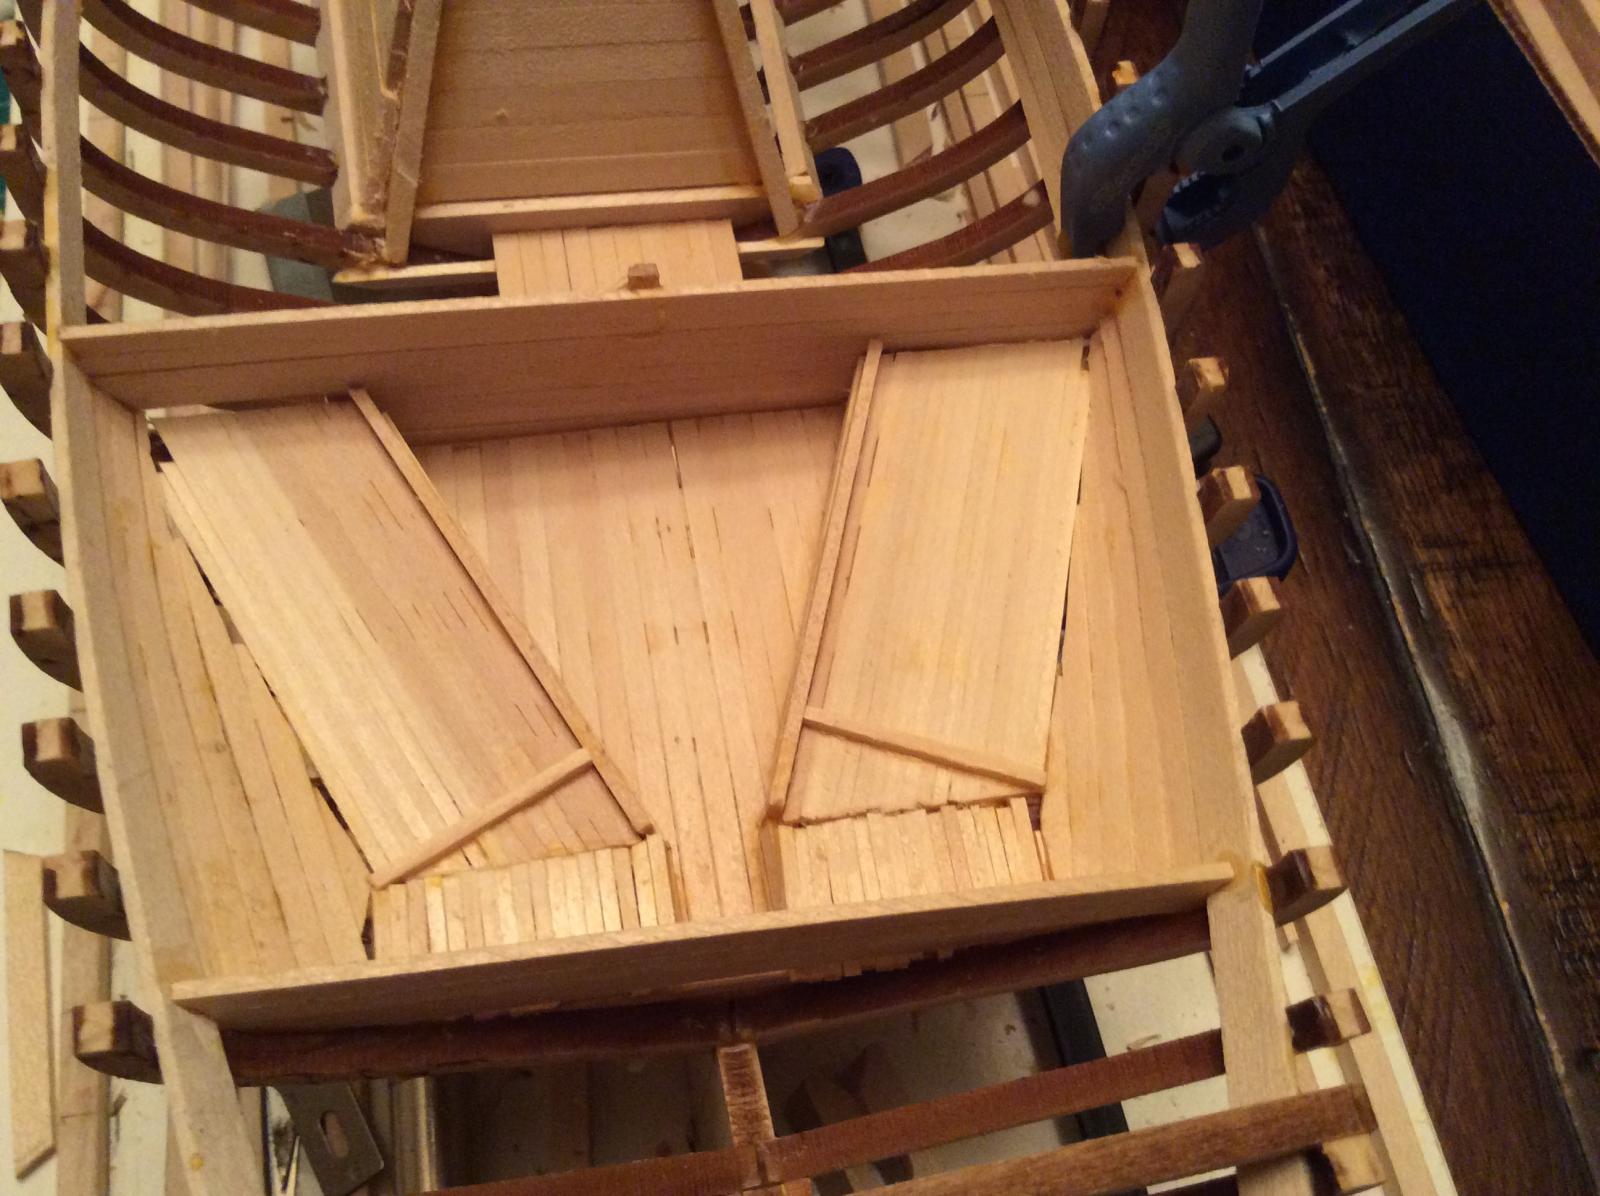
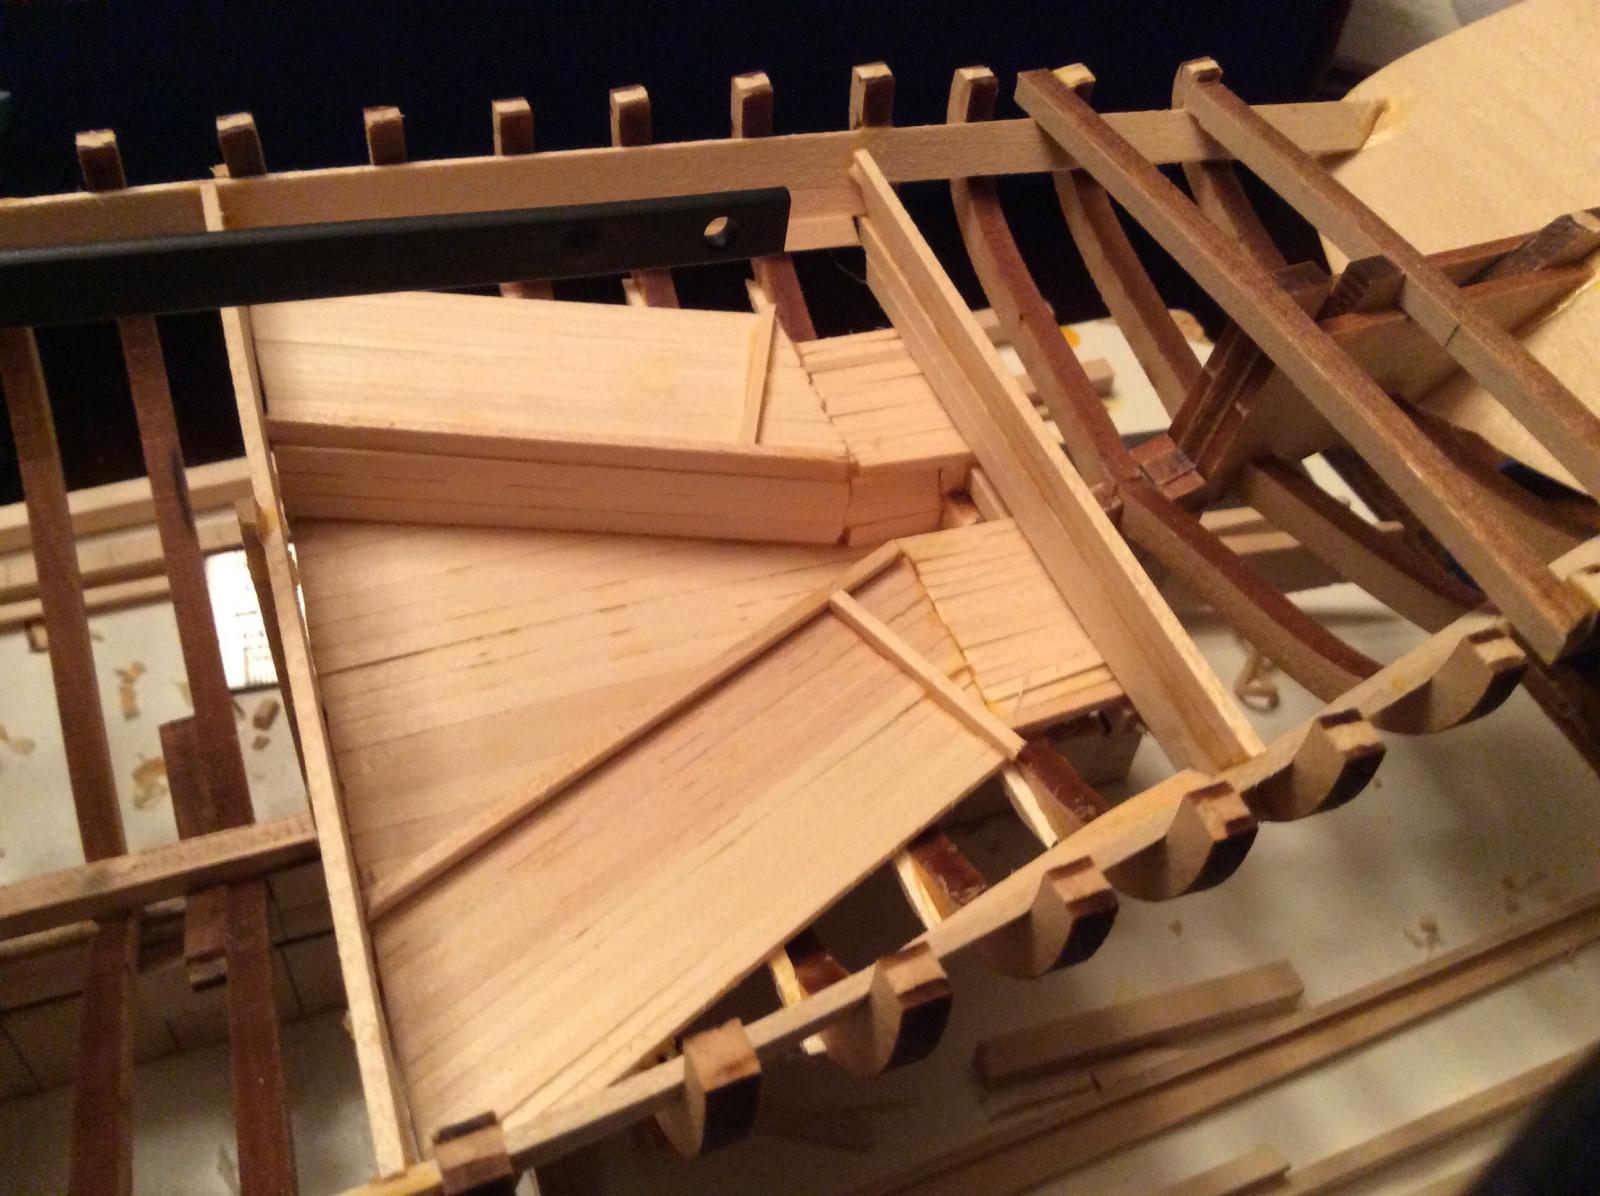
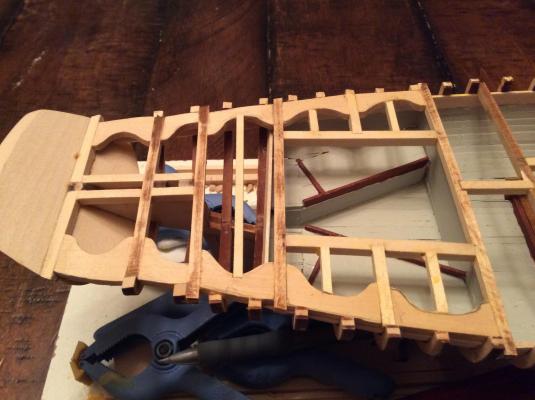
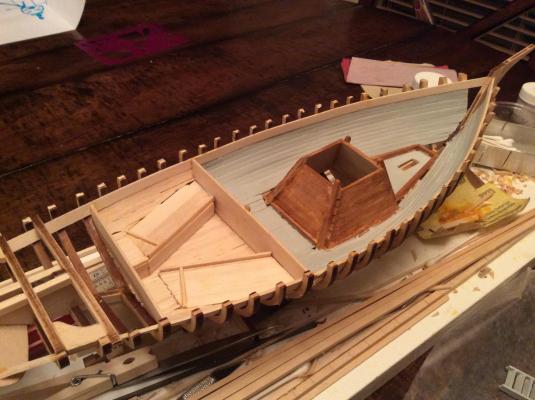
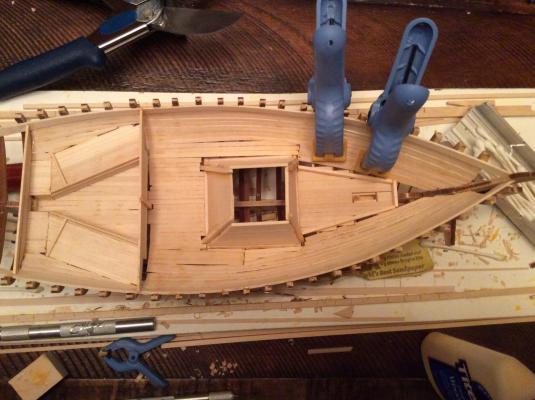
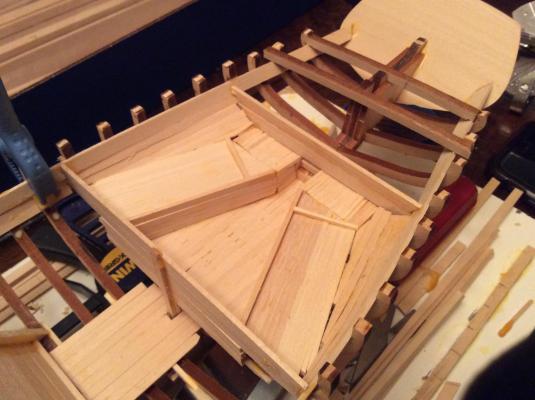
I've finished planking the cabin, procrastinating on ladders... And started planking the ceiling in the forward section.


-
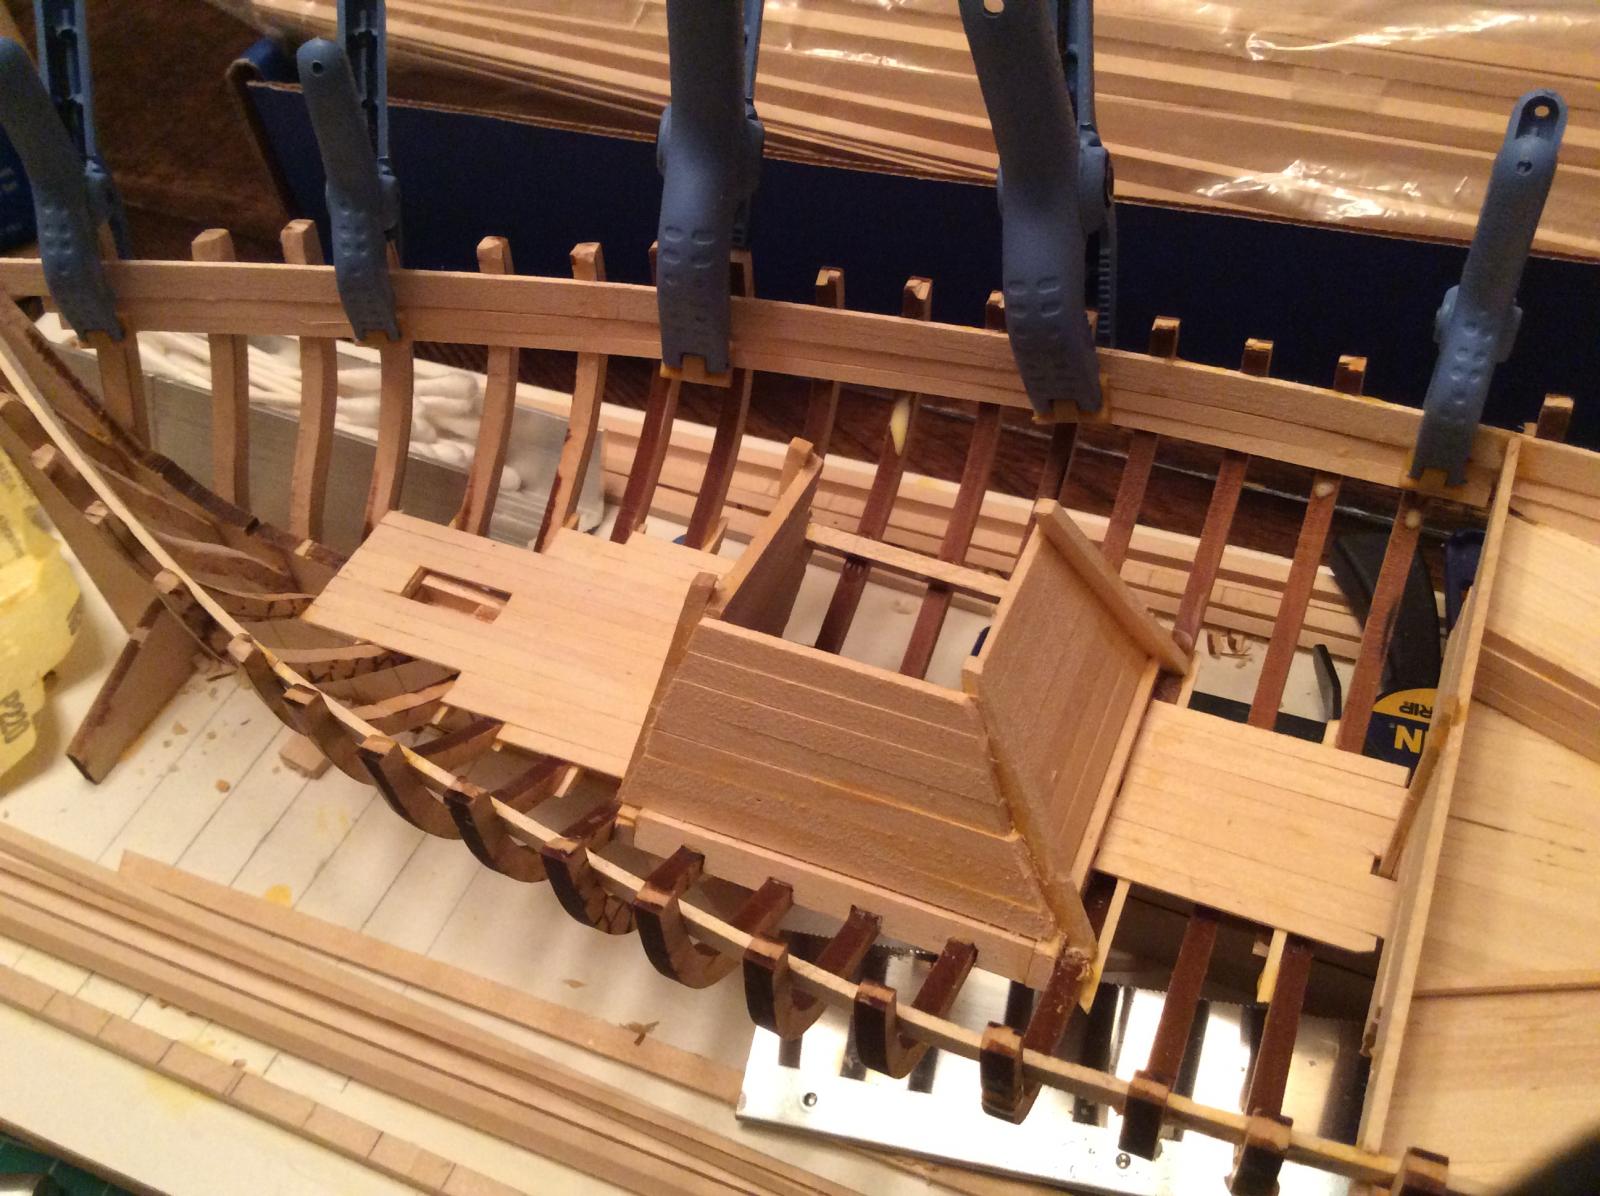
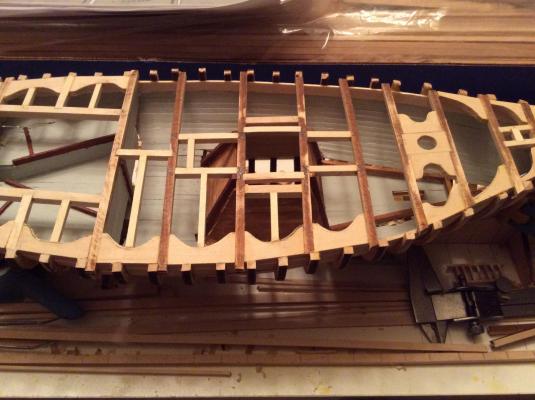
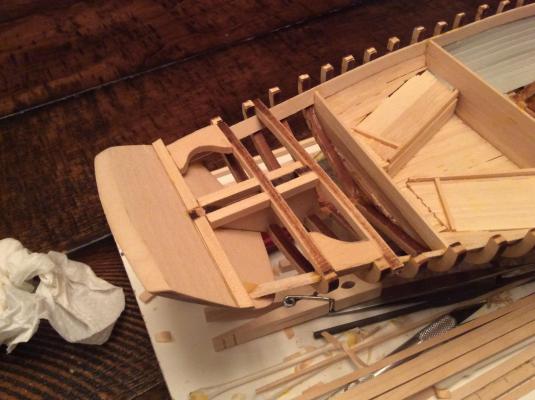
I've opted to do some of the interior detail, at least just for kicks, even if in the final build it will be minimally seen. Those bunks were challenging. The wet well awkward at best. I'm going to give my best at attempting ladders next...


-
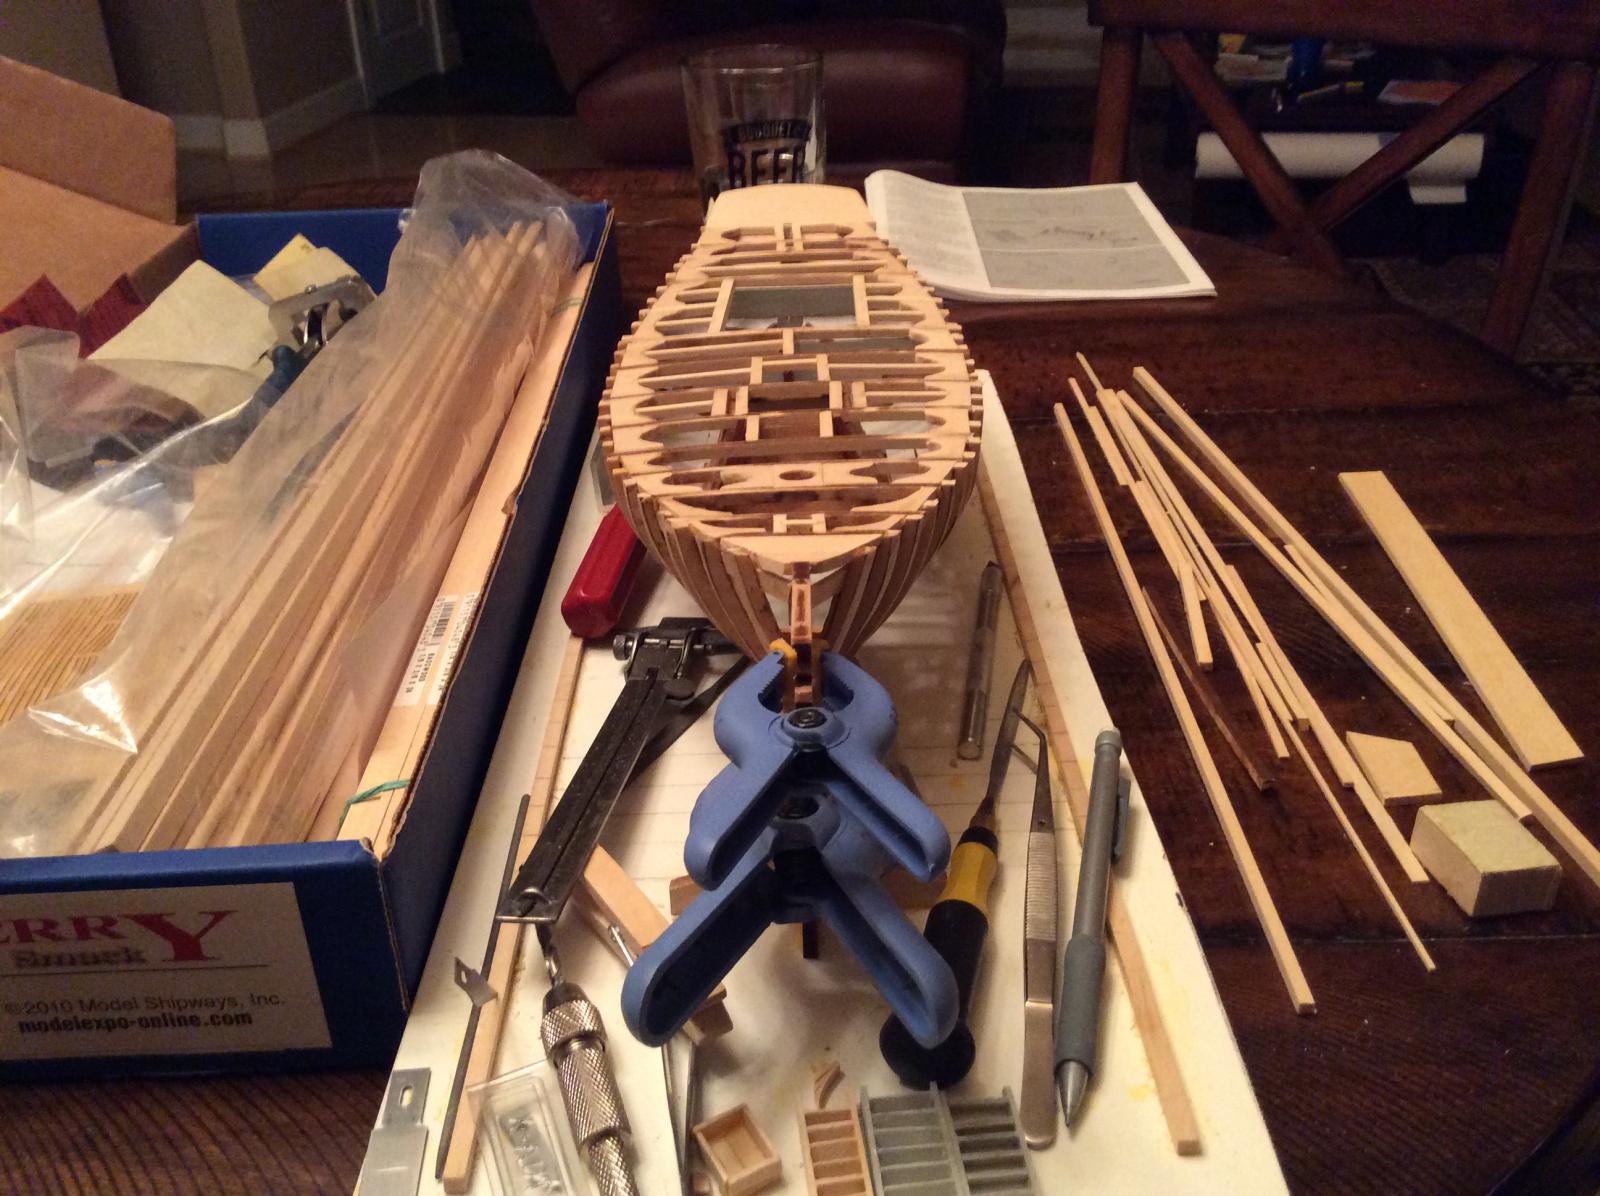
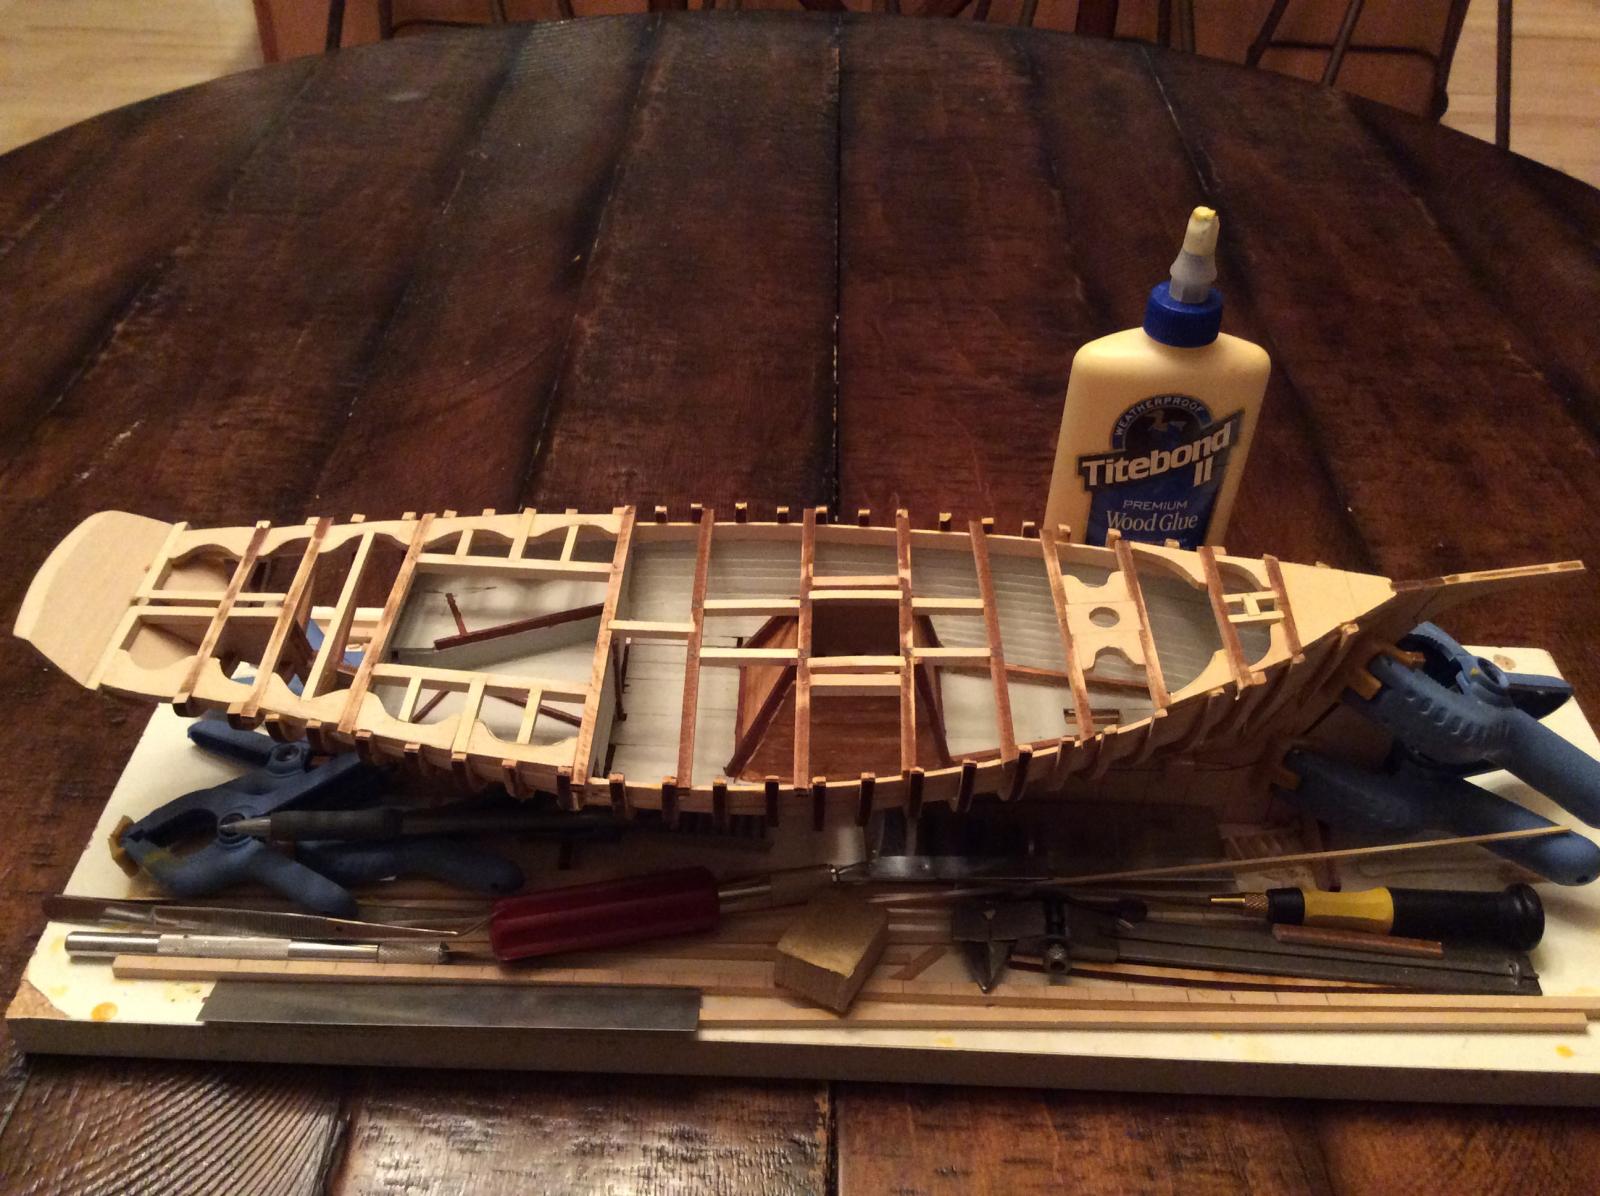
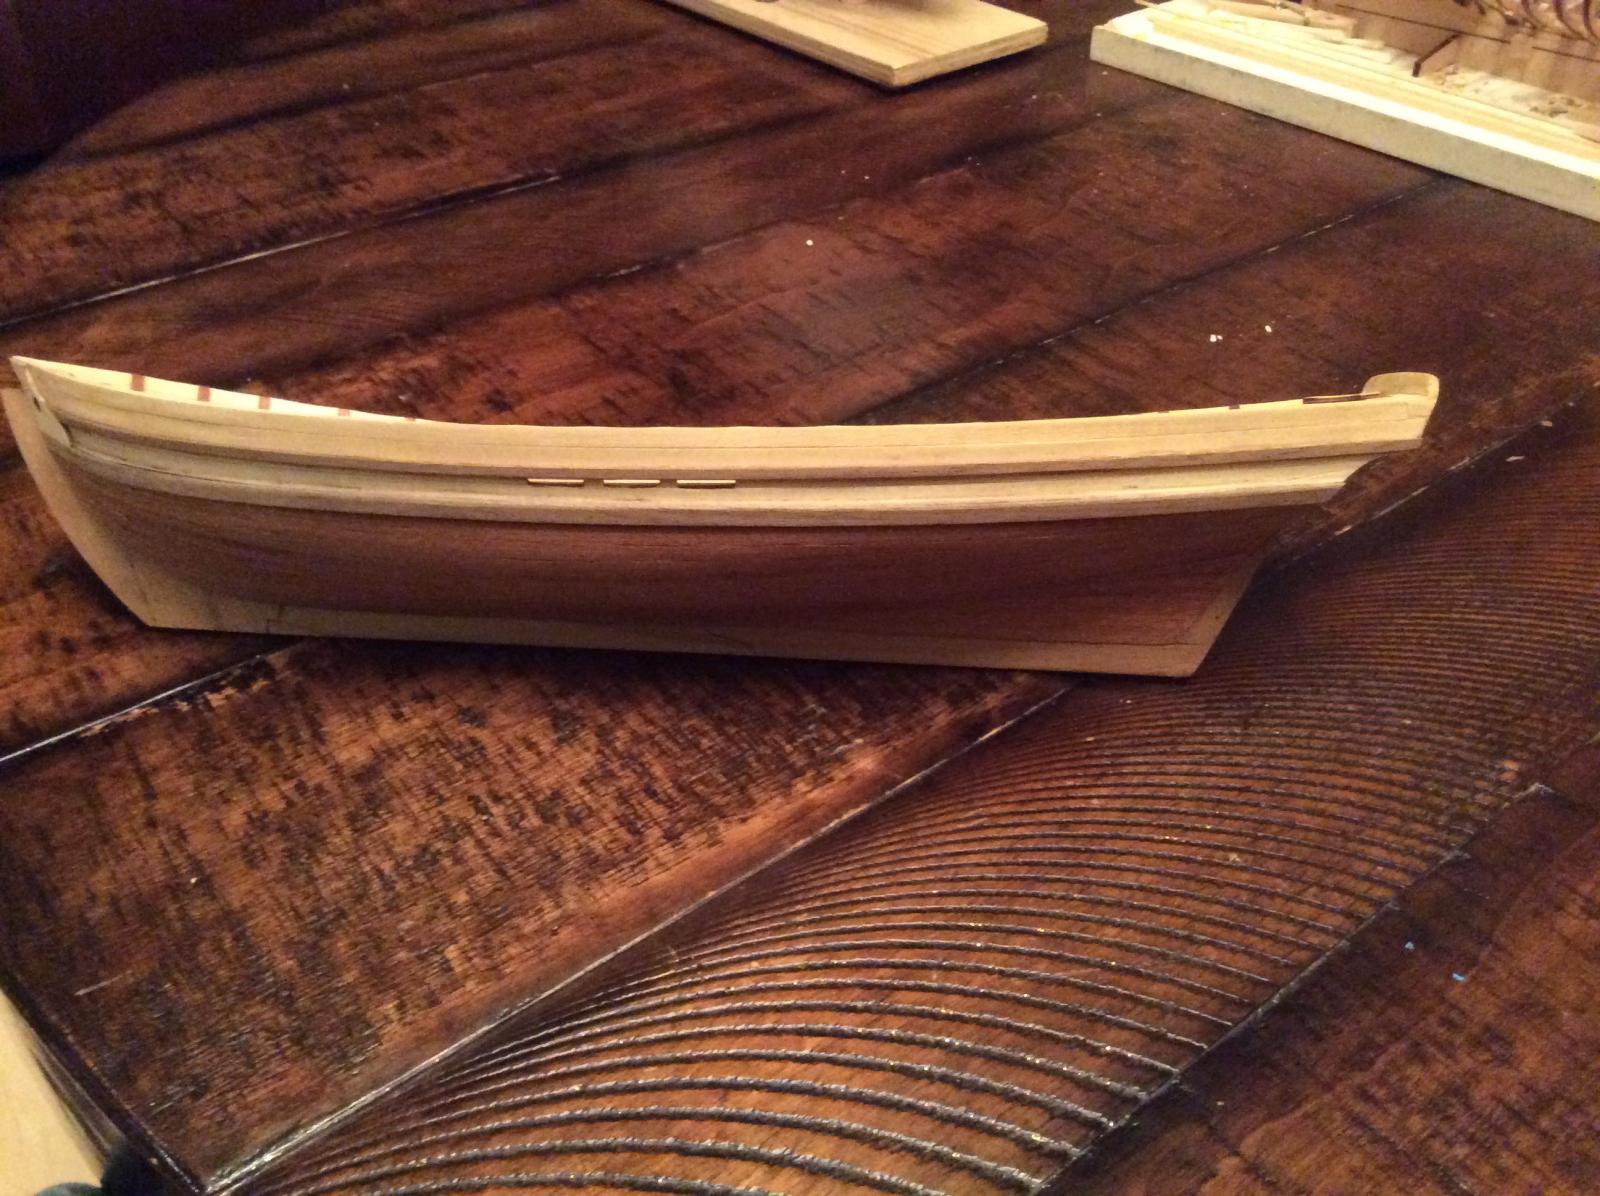
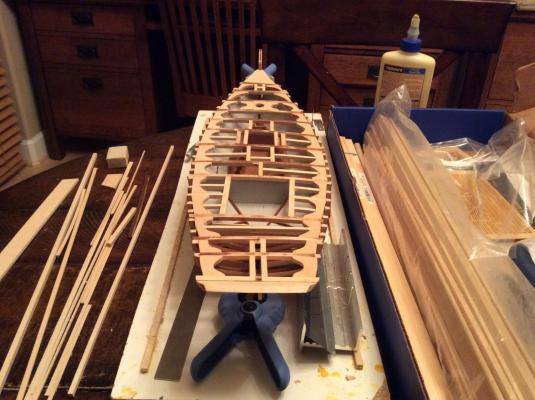
I started a new build The Emma C. Berry. I have been regulated to a couple hours on the weekends lately and the garage is too cold to work in, I have to put it away every night. I am very excited about building out my new shipyard in the new house we are building. We are 4-6 weeks out from completion and will be moving yet again. The admiral and I are more settled in our jobs now so hopefully this move will be less stressful. I've been following a couple of other build logs to get to this point.

-
Here is the current state of this build. It is on hold due to my 4.5 yo daughter getting a hold of a black felt tip marker and making some enhancements. I was able to sand much of it off, but there is still work to be done. I am also still stick on the wood business from above. I started a mother model in the meantime.


- 84 replies
-
- 5
-
-
- swift
- artesania latina
- (and 1 more)