HOLIDAY DONATION DRIVE - SUPPORT MSW - DO YOUR PART TO KEEP THIS GREAT FORUM GOING! (89 donations so far out of 49,000 members - C'mon guys!)
×


Cannon Fodder
-
Posts
147 -
Joined
-
Last visited
Content Type
Profiles
Forums
Gallery
Events
Everything posted by Cannon Fodder
-
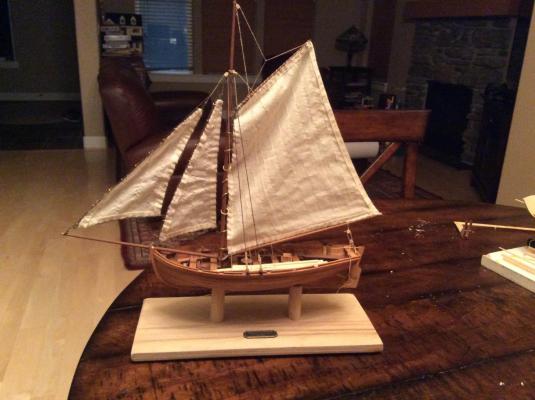
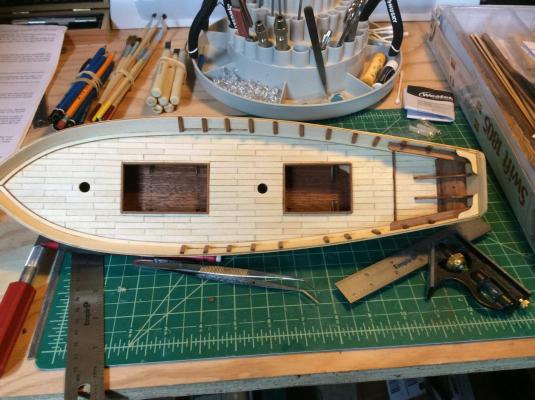
Completed model, just looked and saw I hadn't posted the completion. I need to stain the oars, and maybe the base but I'm in no rush as I've moved onto the Swift and the Emma C Berry.
- 37 replies
-
- 3
-

-
- jolly boat
- artesania latina
- (and 2 more)
-
I'll have to redo these as I ran out of wood. They were poorly spaced as well.
-
I found the wood section of the forums and will be replacing it all with walnut strips from Hobby Mill. I kind of suspect what I was using was walnut anyways.
-
I ran out of wood 2x3mm sapella while lining the bulwarks. Any suggestions as to a good source?
-
Adivedog- I started with an HB but that was too light too, and went softer even, anything softer that a 2B probably would get the same effect
-
Well I got a job, I've been home with a 3 and a 4 year old all my myself. Admiral has been down in Bend starting with her new ship for the past couple of weeks. The ship building is all packed up and ready to go. I want this month to end already... I did finish the second planking before packing it up. I'll be sure to post pictures when I unbox again. I found it harder than the first planking. That thin veneer was brittle and split really easy, very difficult to shape.
-
finished the second planking and now I gotta pack it away. Hopefully for not more than a month or so. I'll need to carve out a corner in the new garage. Then I get to have a second unboxing...
-
This is not a dead build, we are moving to Bend, Oregon and have sold our house. Looking for new work, wishing I was building.
-
Nice work MD. I am going slow on the second planking too on my Swift, mainly cause we are moving though and I'm trying to find another job! I love it. I hope mine comes out as purty.
-
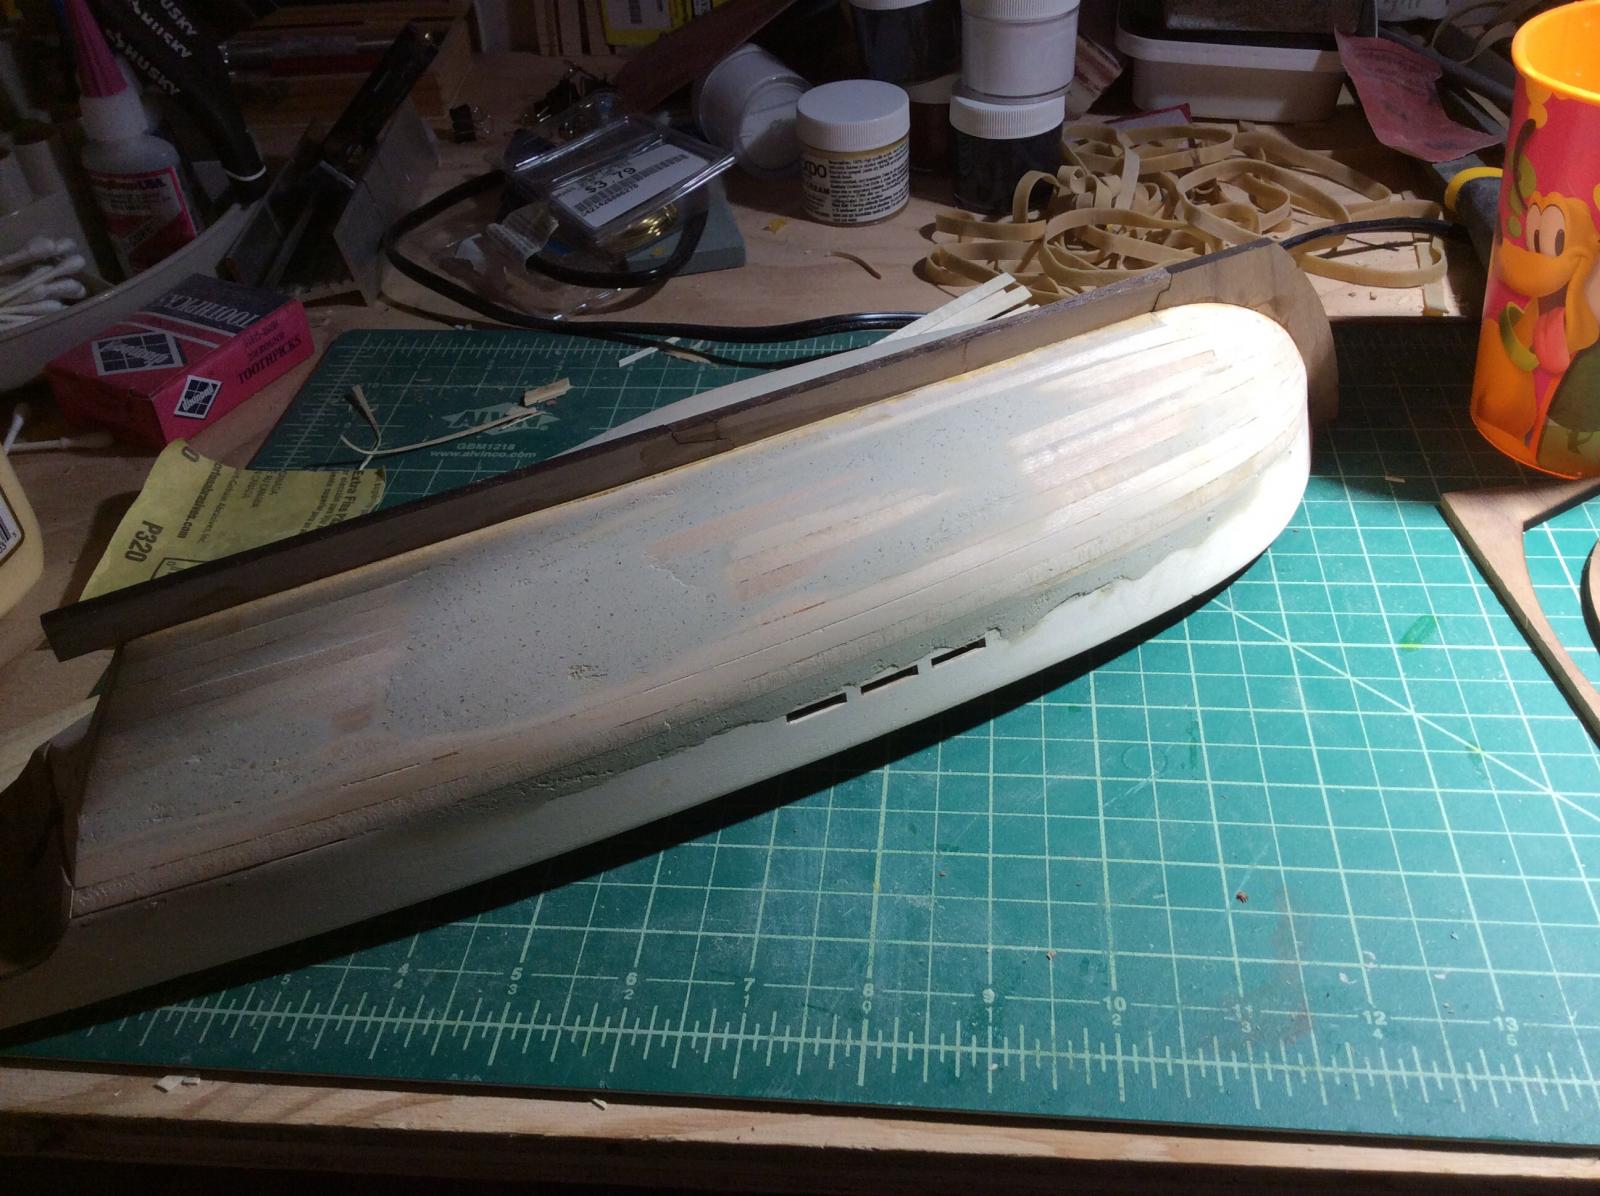
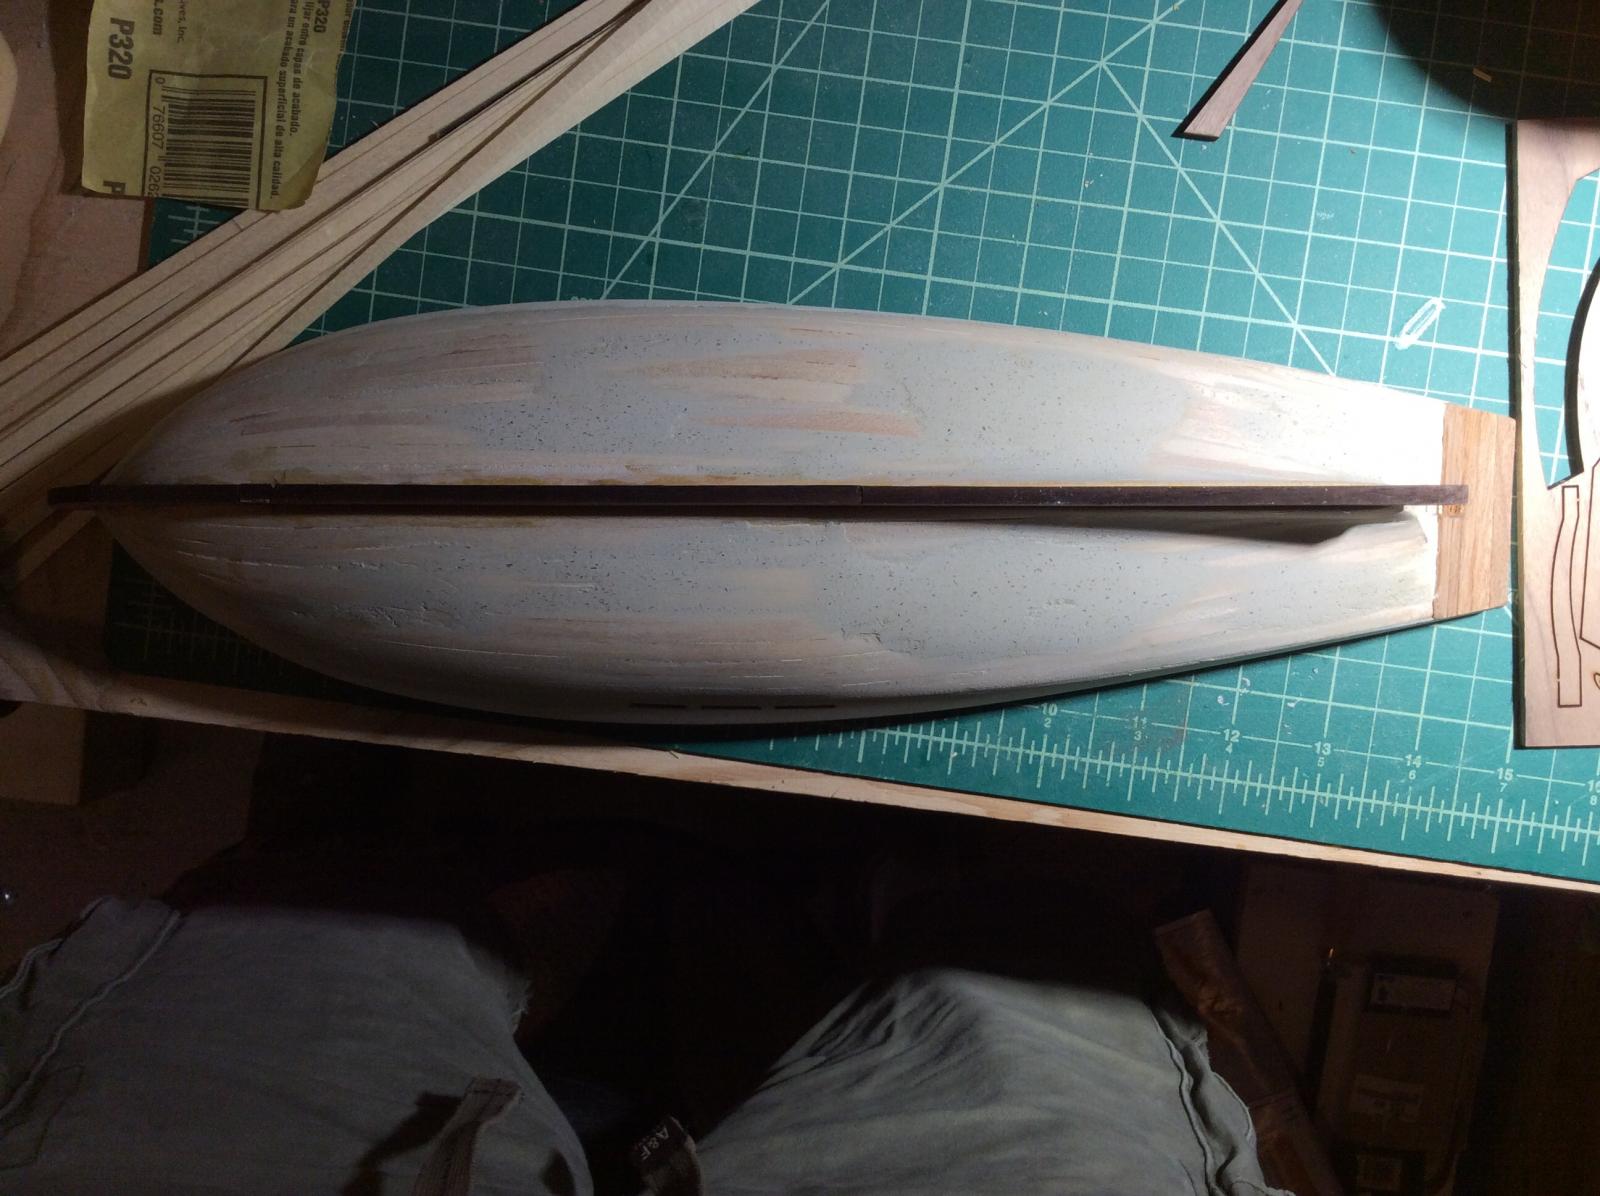
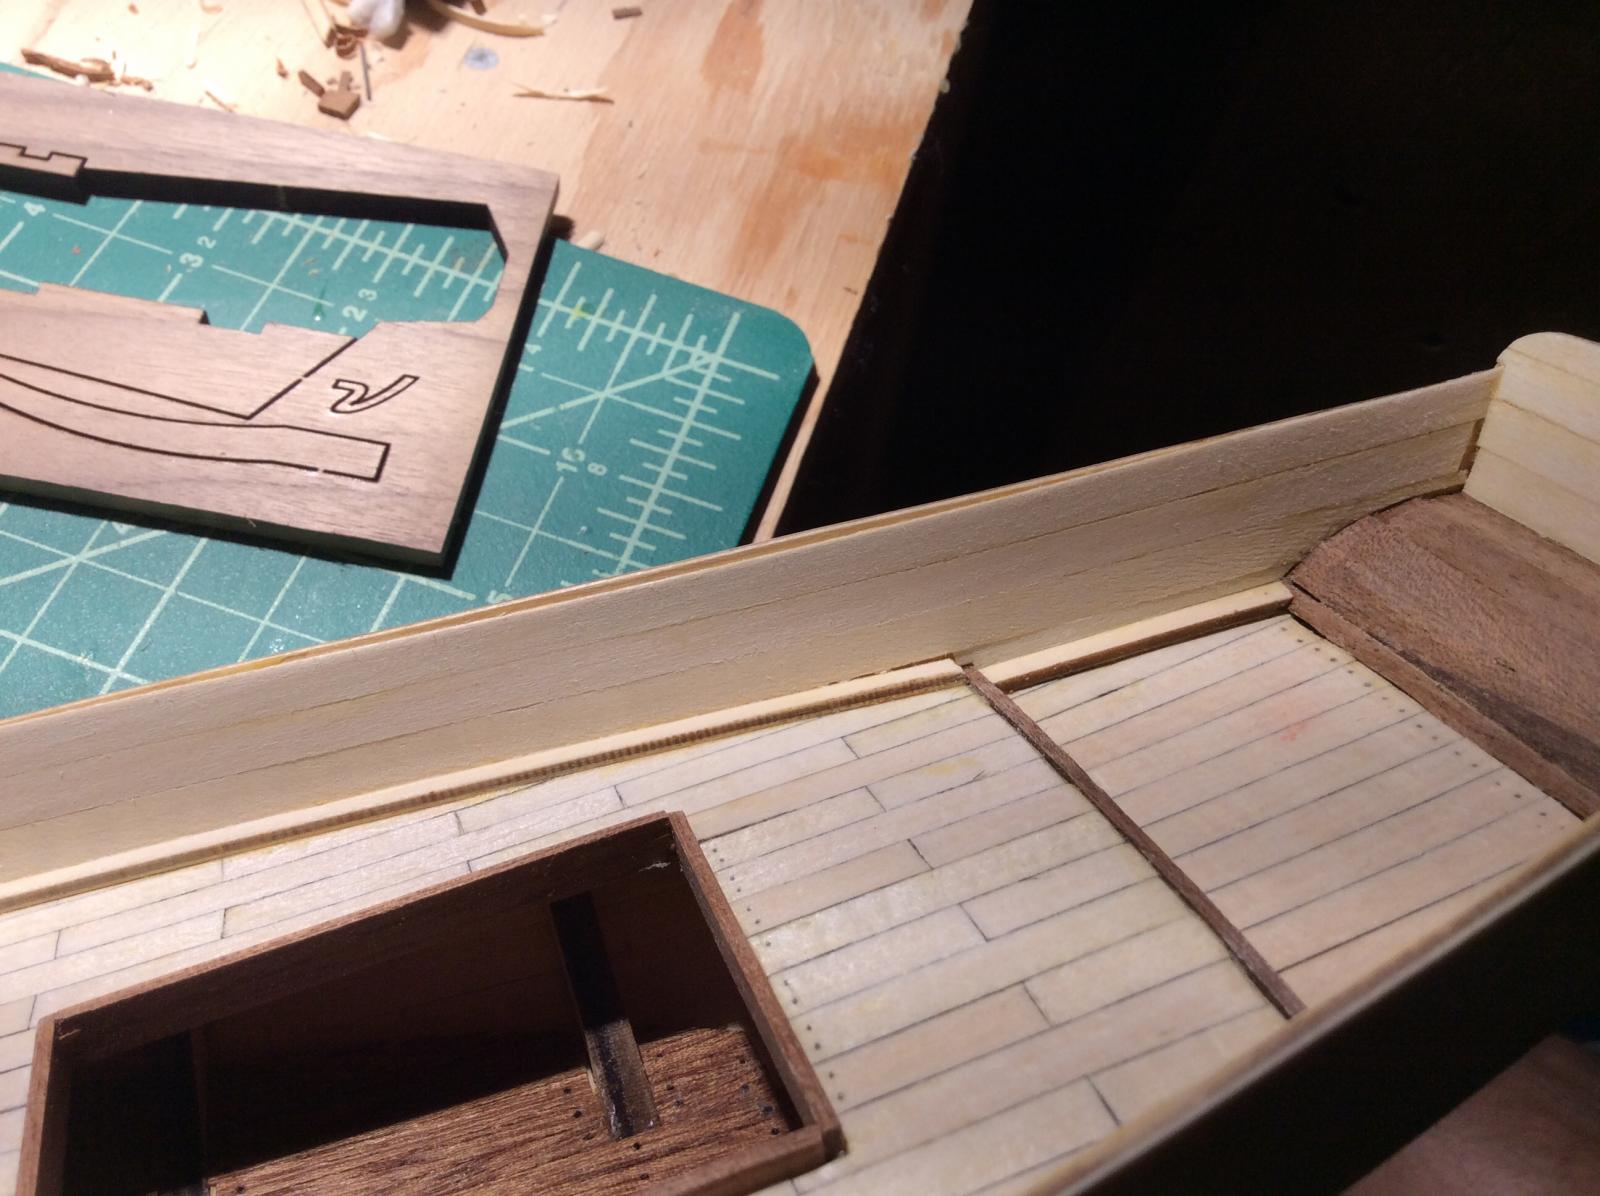
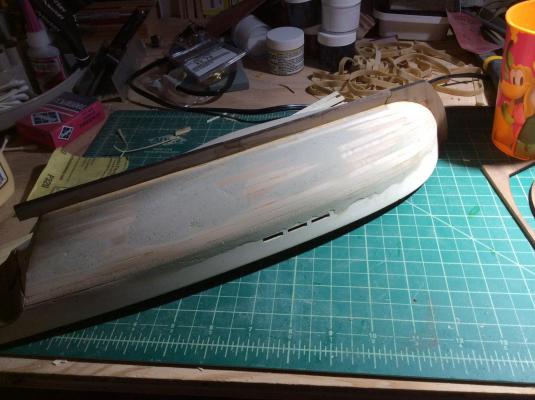
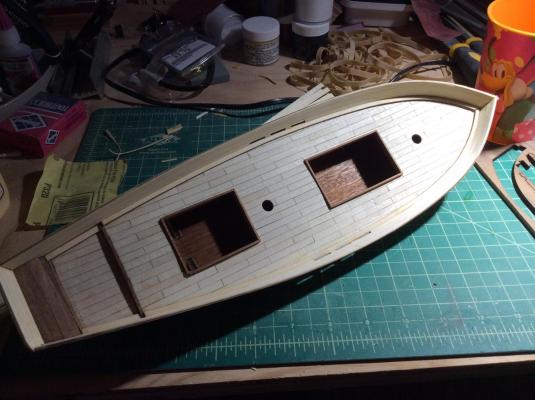
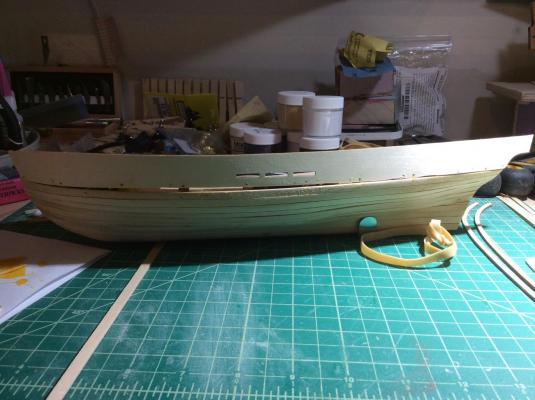
I am back from a week in Mexico with an update from the past month. So I was able to complete the work on the bulwarks and get the hull sanded and filled. I am gaining skill in fitting the wood together without gaps. I'm doing a much better job of this with this build vs the Jolly boat. I have also completed planking the inner bulwarks and have attached the keel. How do you not get so much residue of the PVA everywhere? I have thousands of q-tips but it still seems to hang out? I am using them dry.


- 84 replies
-
- 6
-
-
- swift
- artesania latina
- (and 1 more)
-
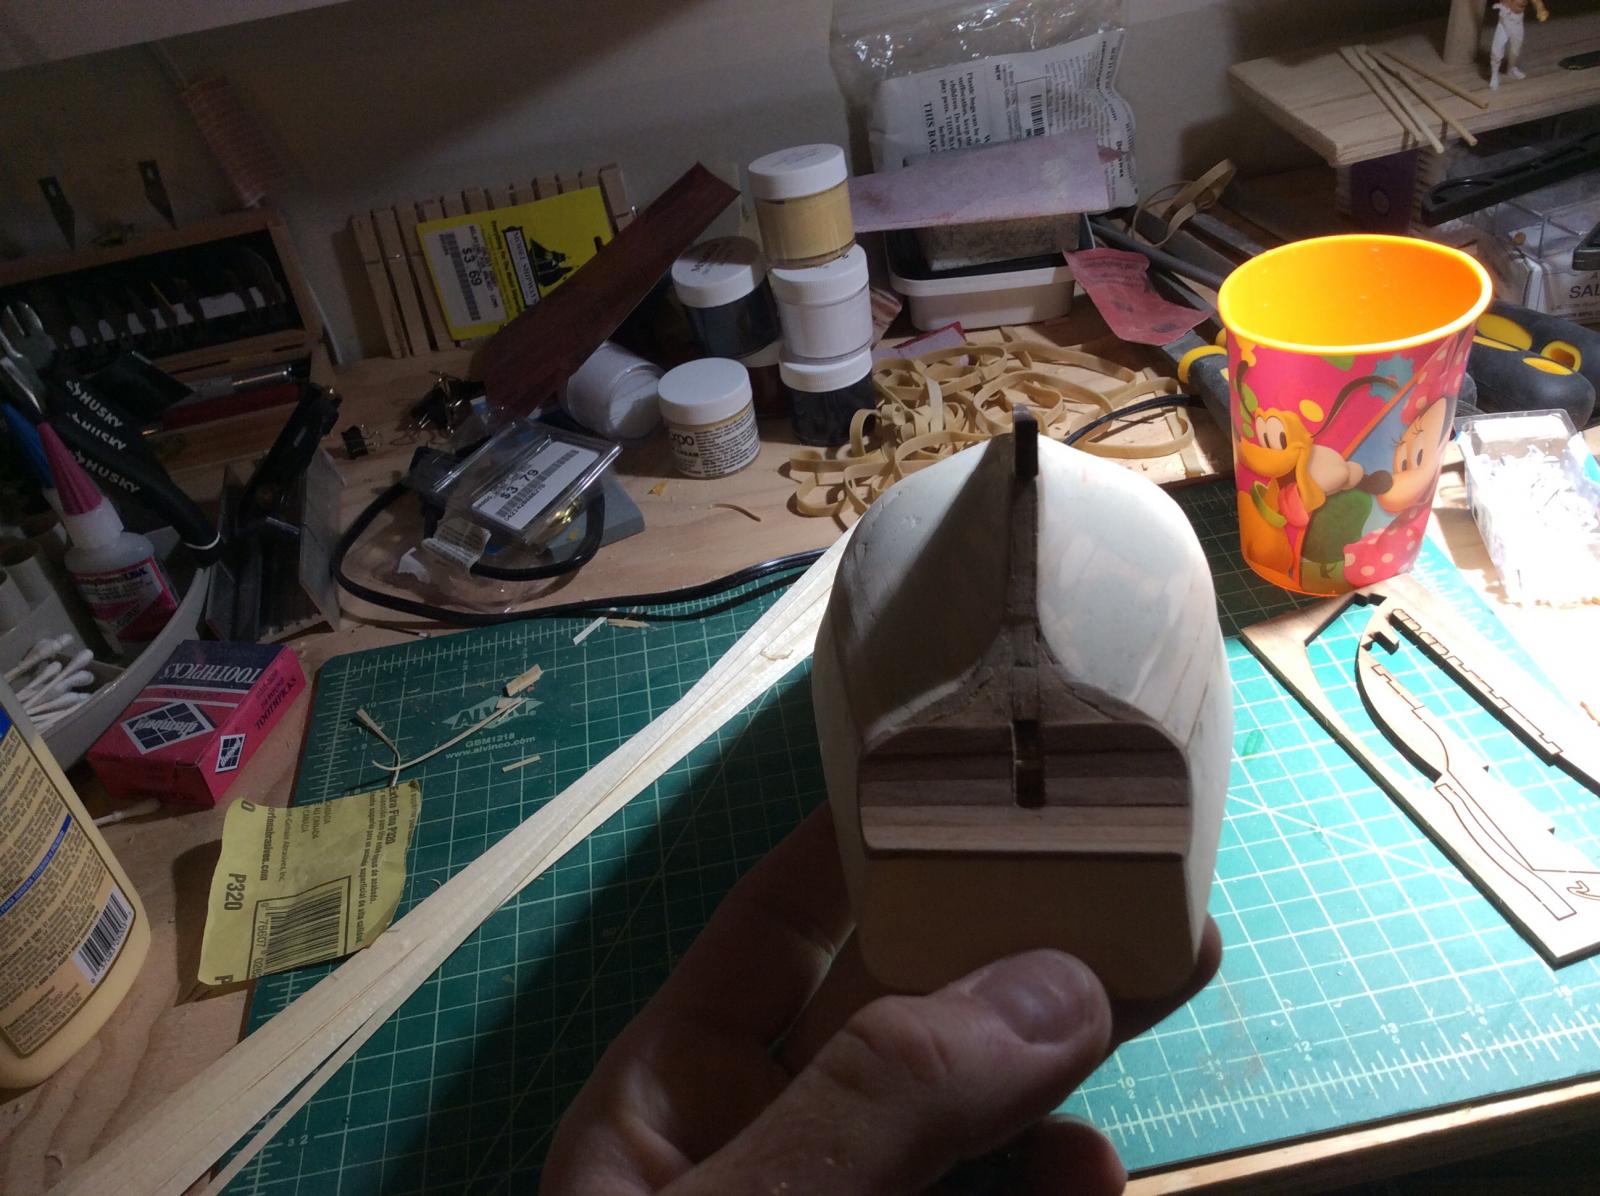
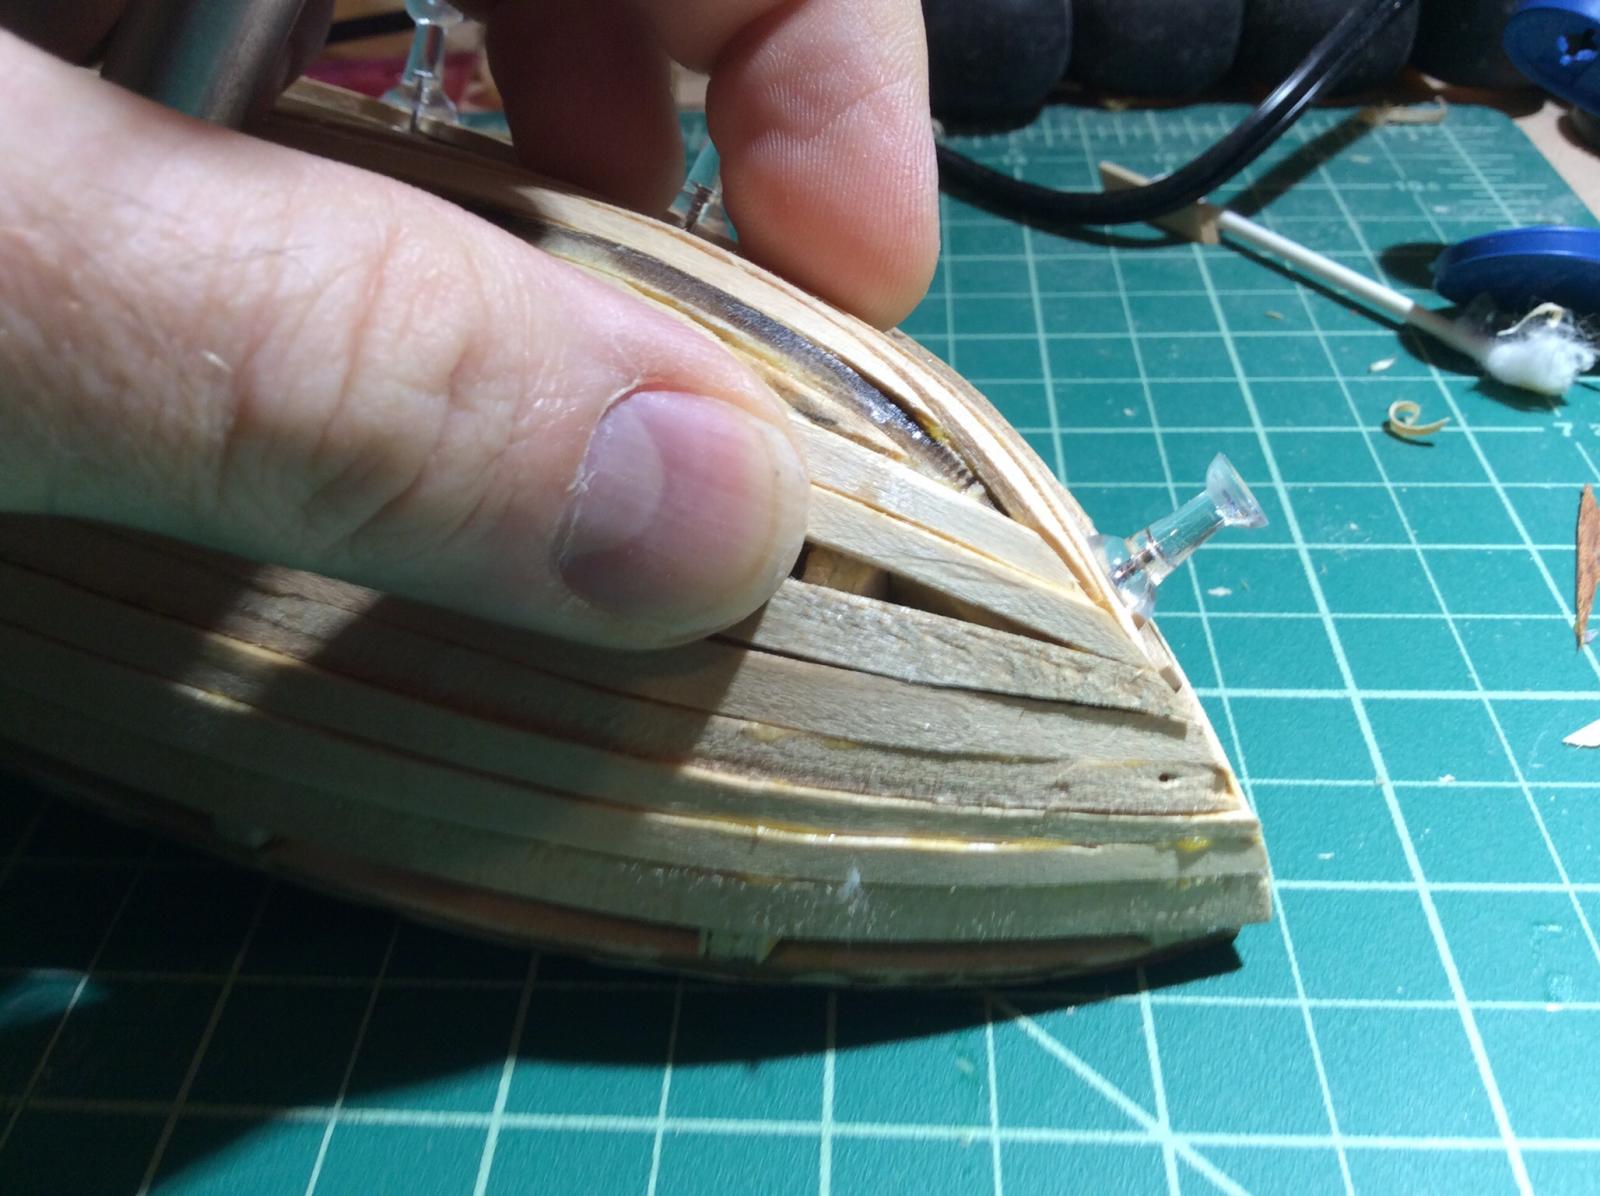
Hey look at that. You covered the hull. Success. That is a big hull. Has anyone told you that? I bet you learned some things along the way. Also success! The bow blocks shouldnt be too bad. Nice work.
-
I found the bulwarks far to awkward to clamp on there and ended up using the hobby nails provided to get them to say put with PVA glue underneath.
-
I actually can't wait to cover up what I've done to the Swift I am working on with some veneer.
-
I think we are all on our own learning curve. I too have followed no rules on the first plank. I hope in future boats to improve along the spectrum.
-
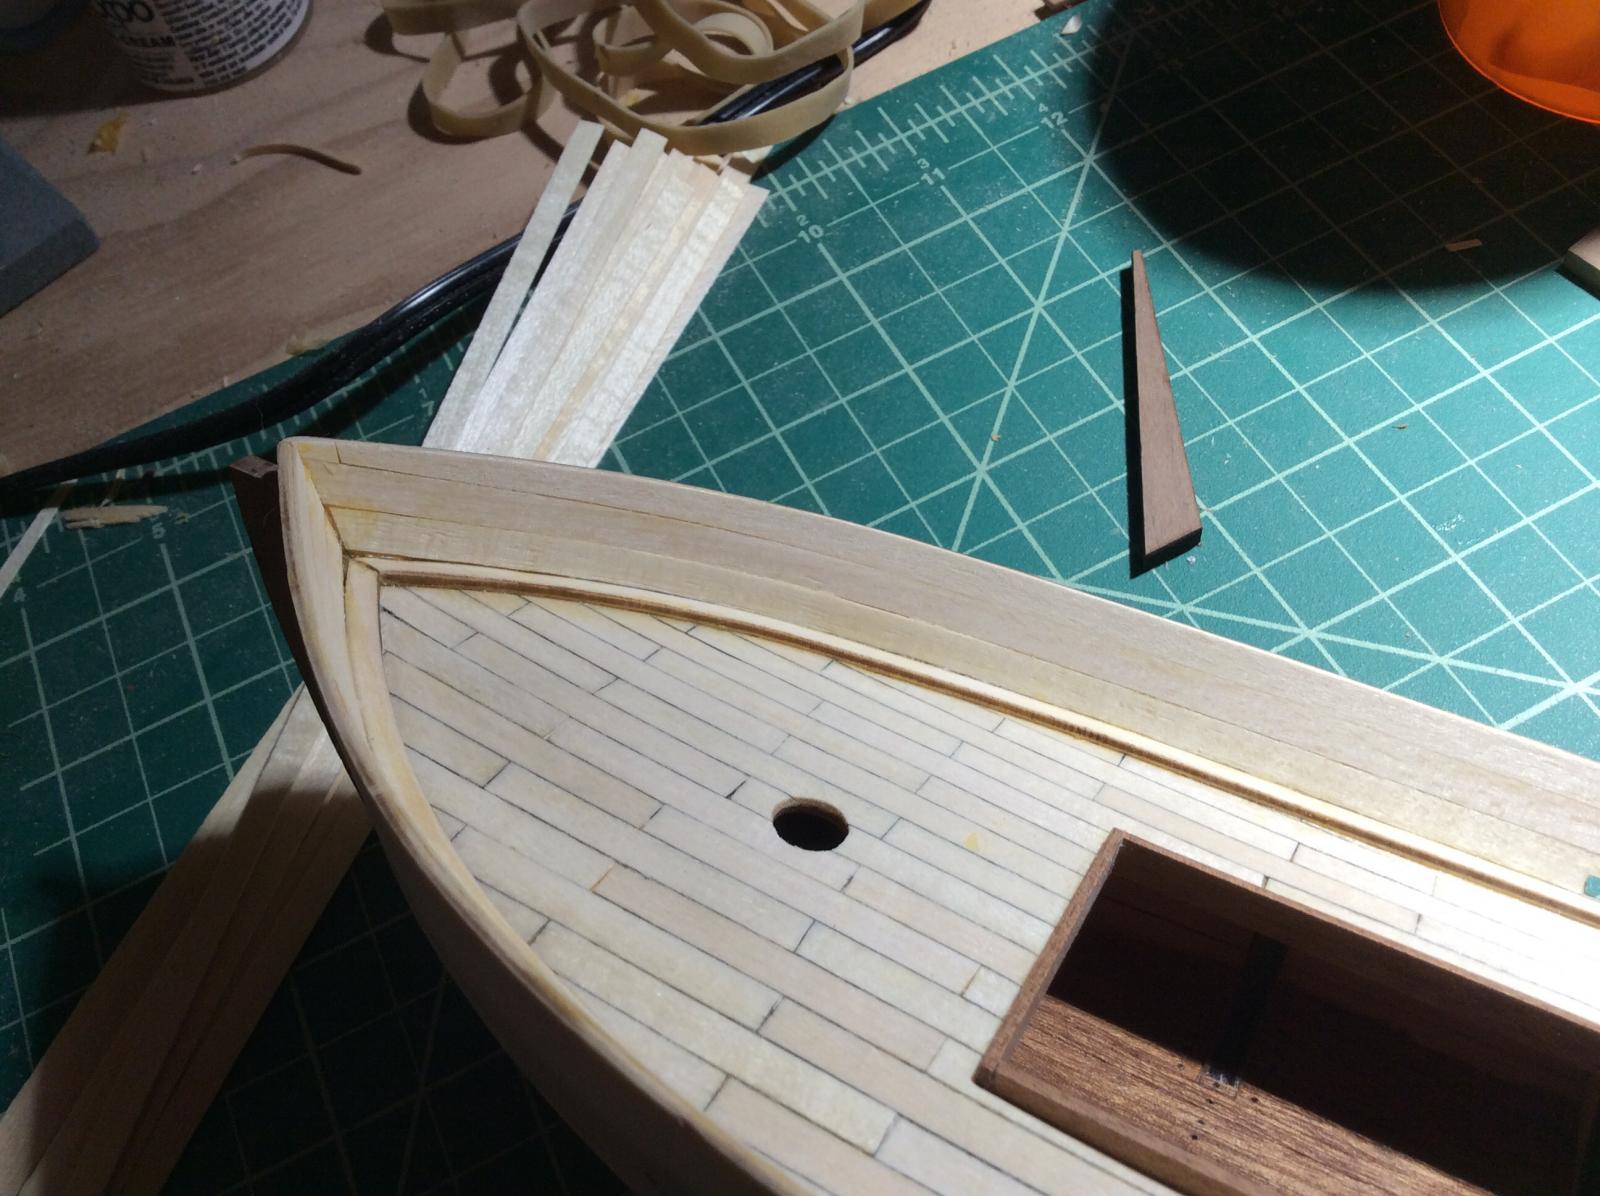
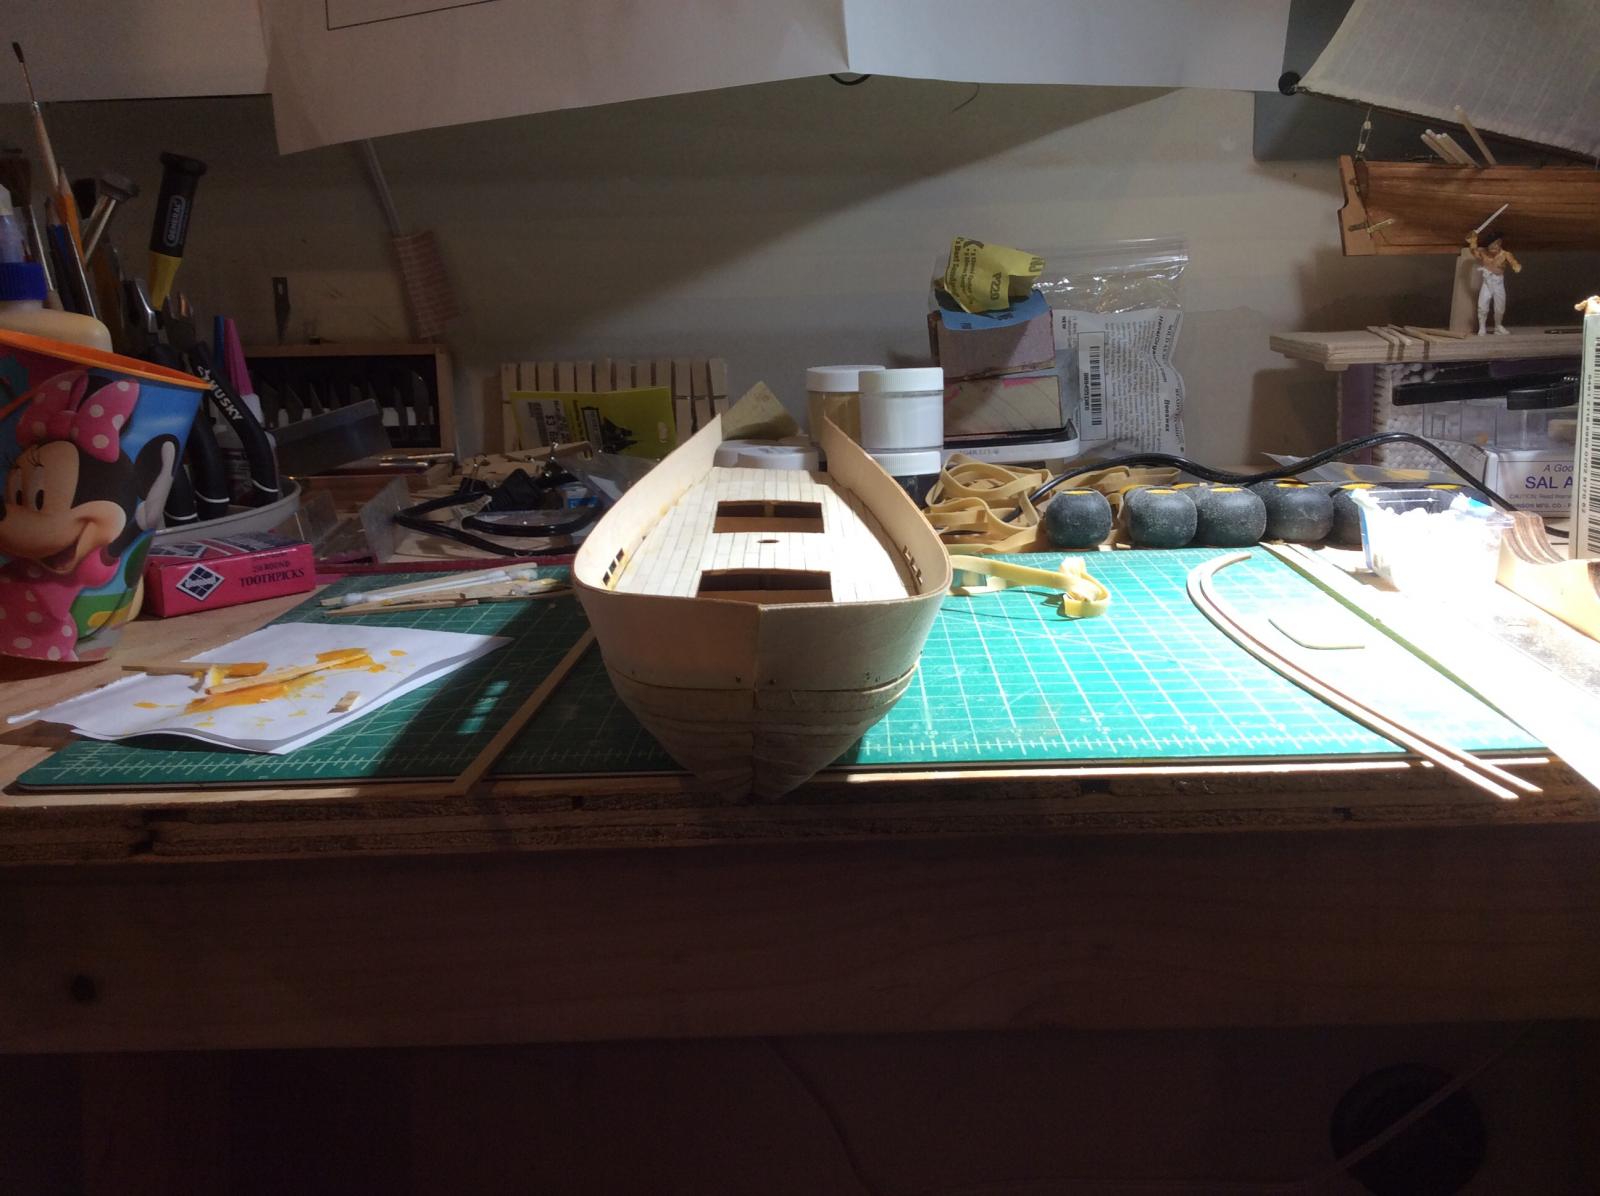
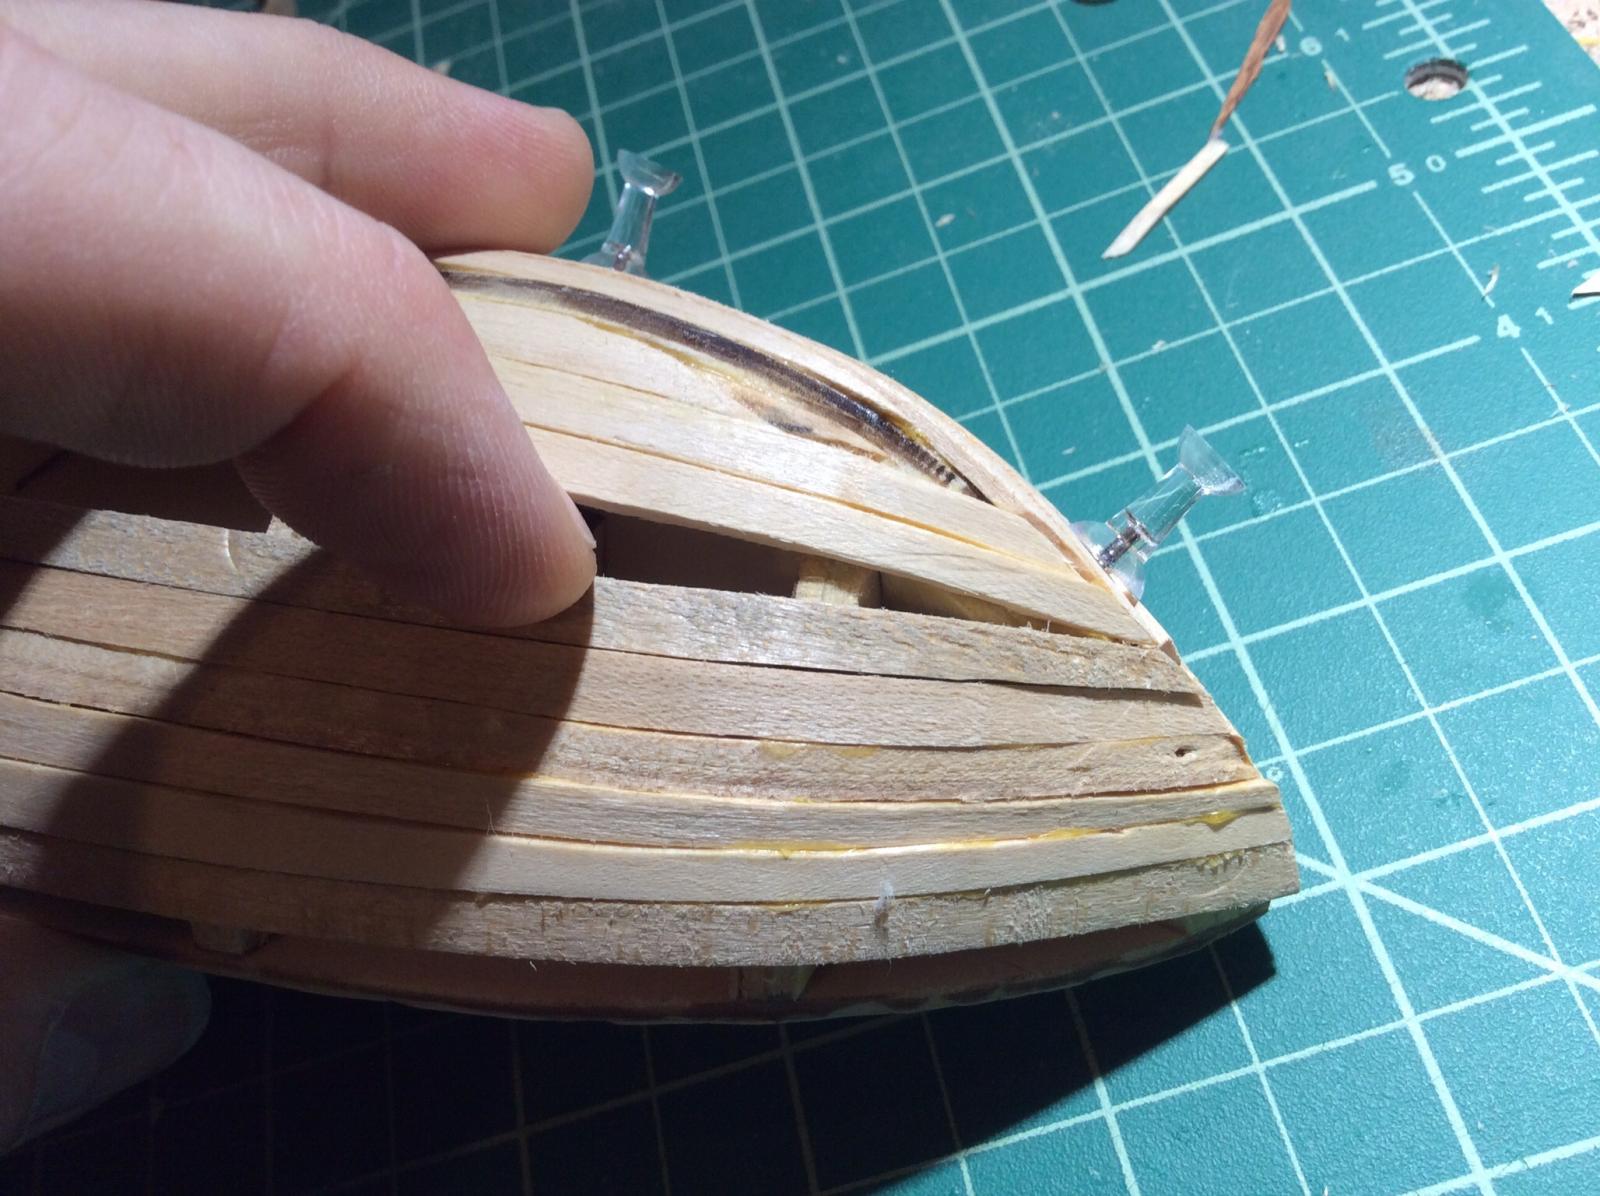
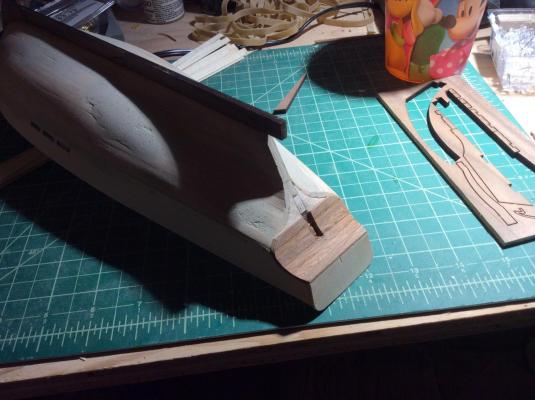
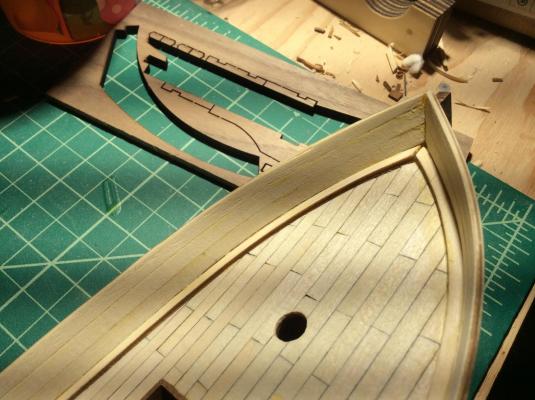
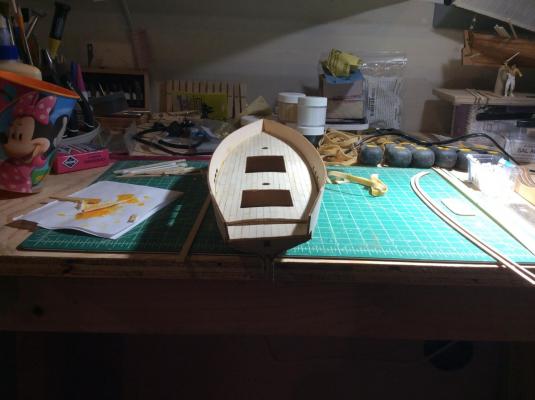
Photo update, this is the second attempt at the bulwarks. The first attempt they ended up sticking out too far to the stern, I neglected to trim them in the bow, and all wonky in terms of the 3D curve they are doing. And the transom was going to be a bear since the stern was not even close to upright. I have some gaps to fill. Here is the worst. I believe it is mistakes on the hull early coming back to haunt. I think I can fix a lot with filler and slivers of plank and some later trim pieces that cover up the gaps and then if course the inner planking. Thanks for looking.

- 84 replies
-
- 1
-
-
- swift
- artesania latina
- (and 1 more)
-
Oi! struggled to get them glued on once. All crooked, back to square one. Had to strip em off, wasn't satisfied, slightly dismayed at the moment.
-
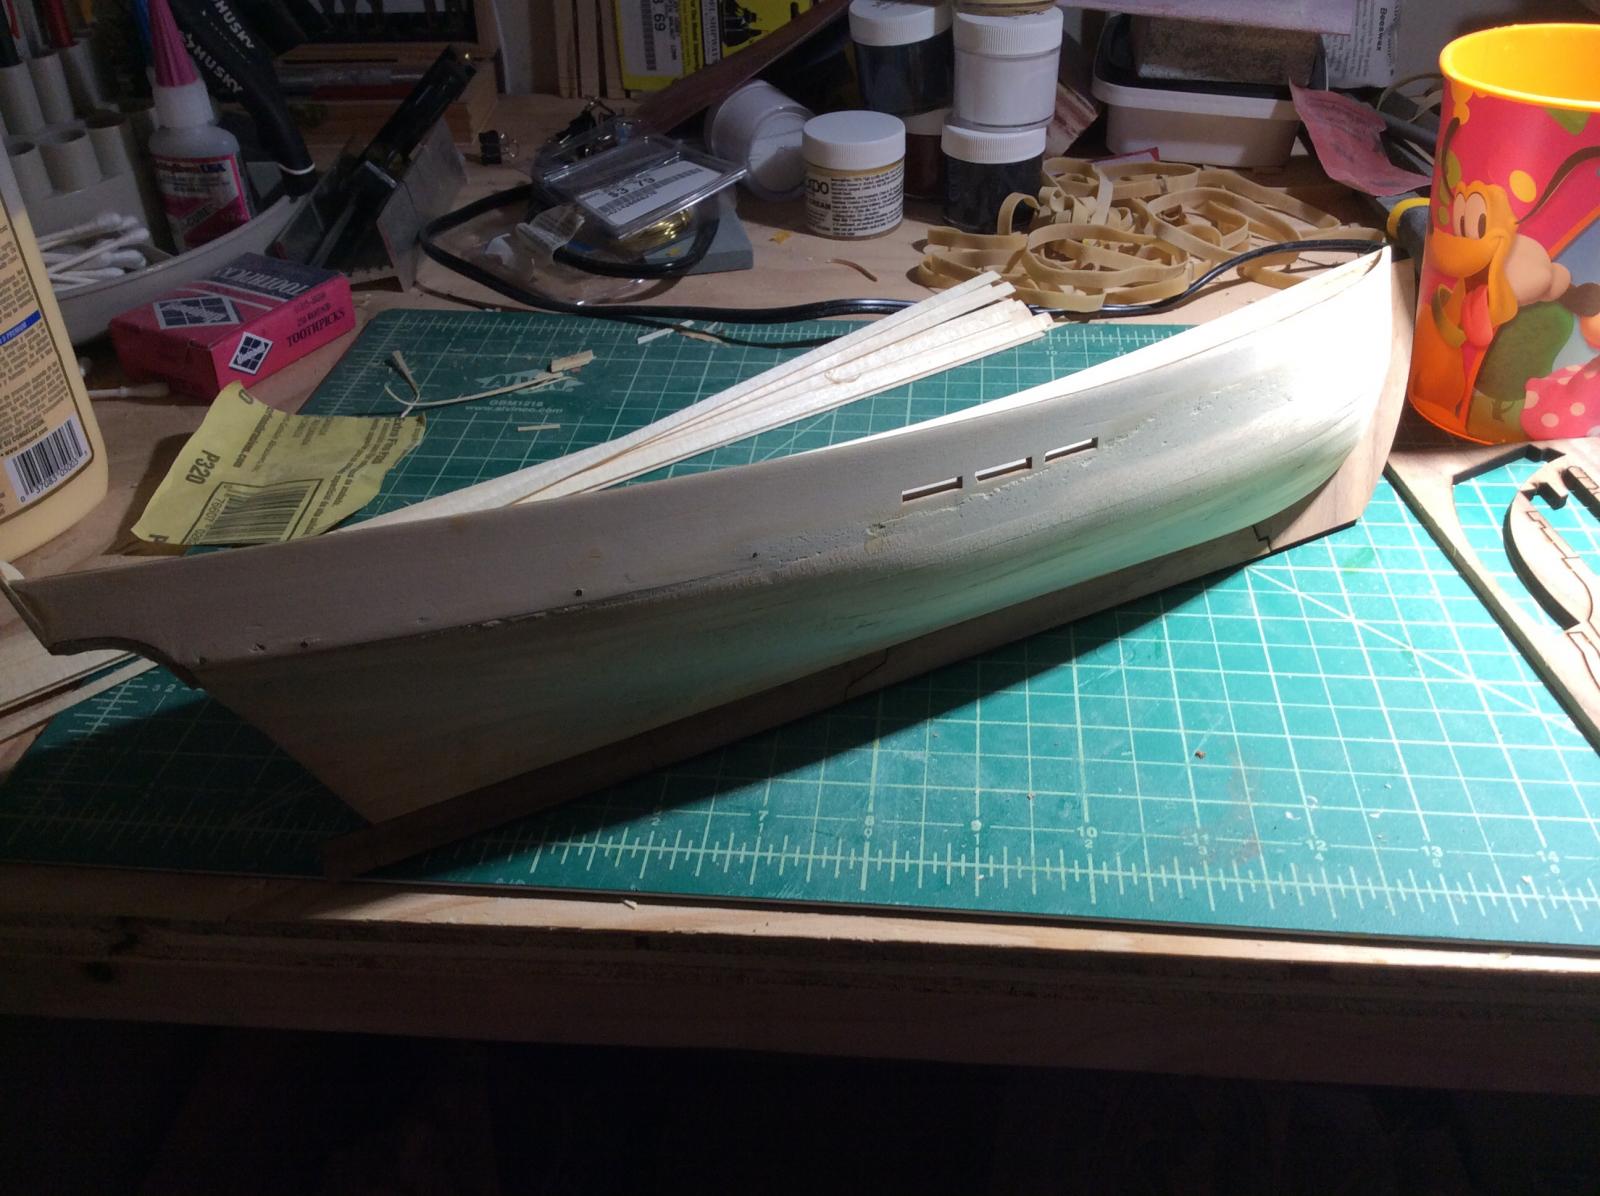
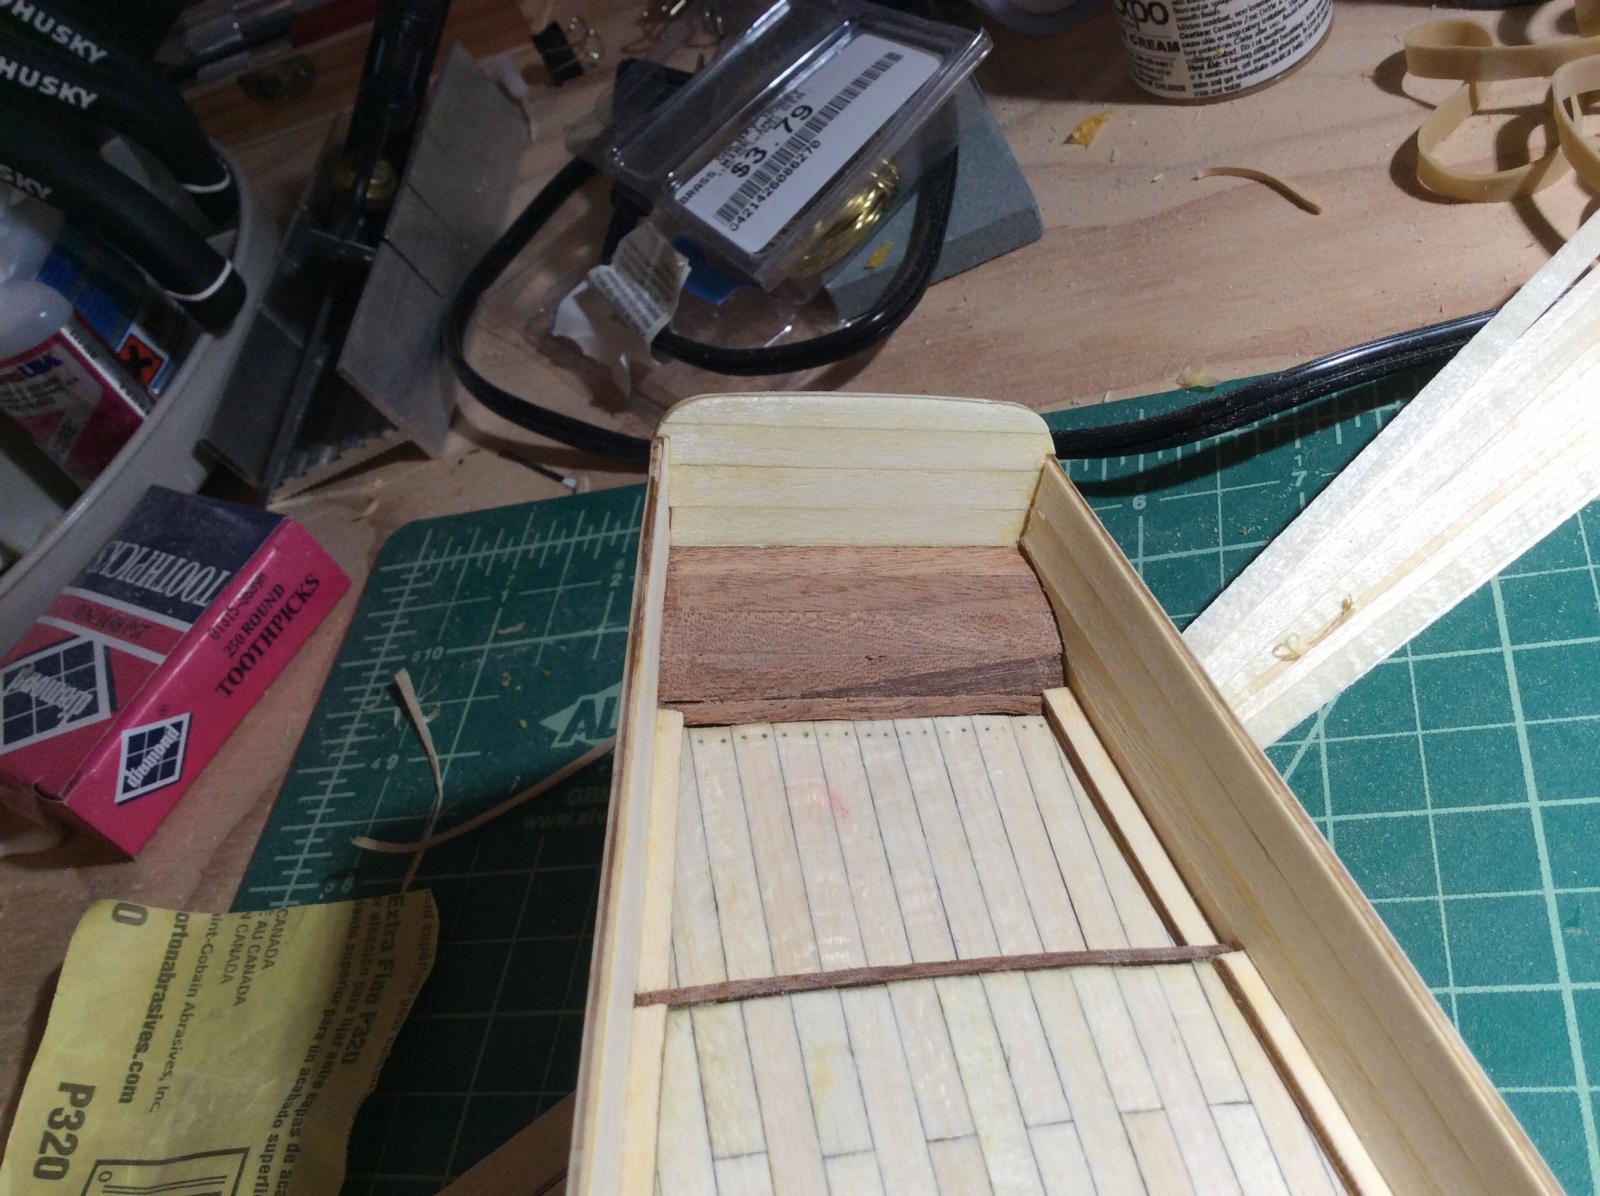
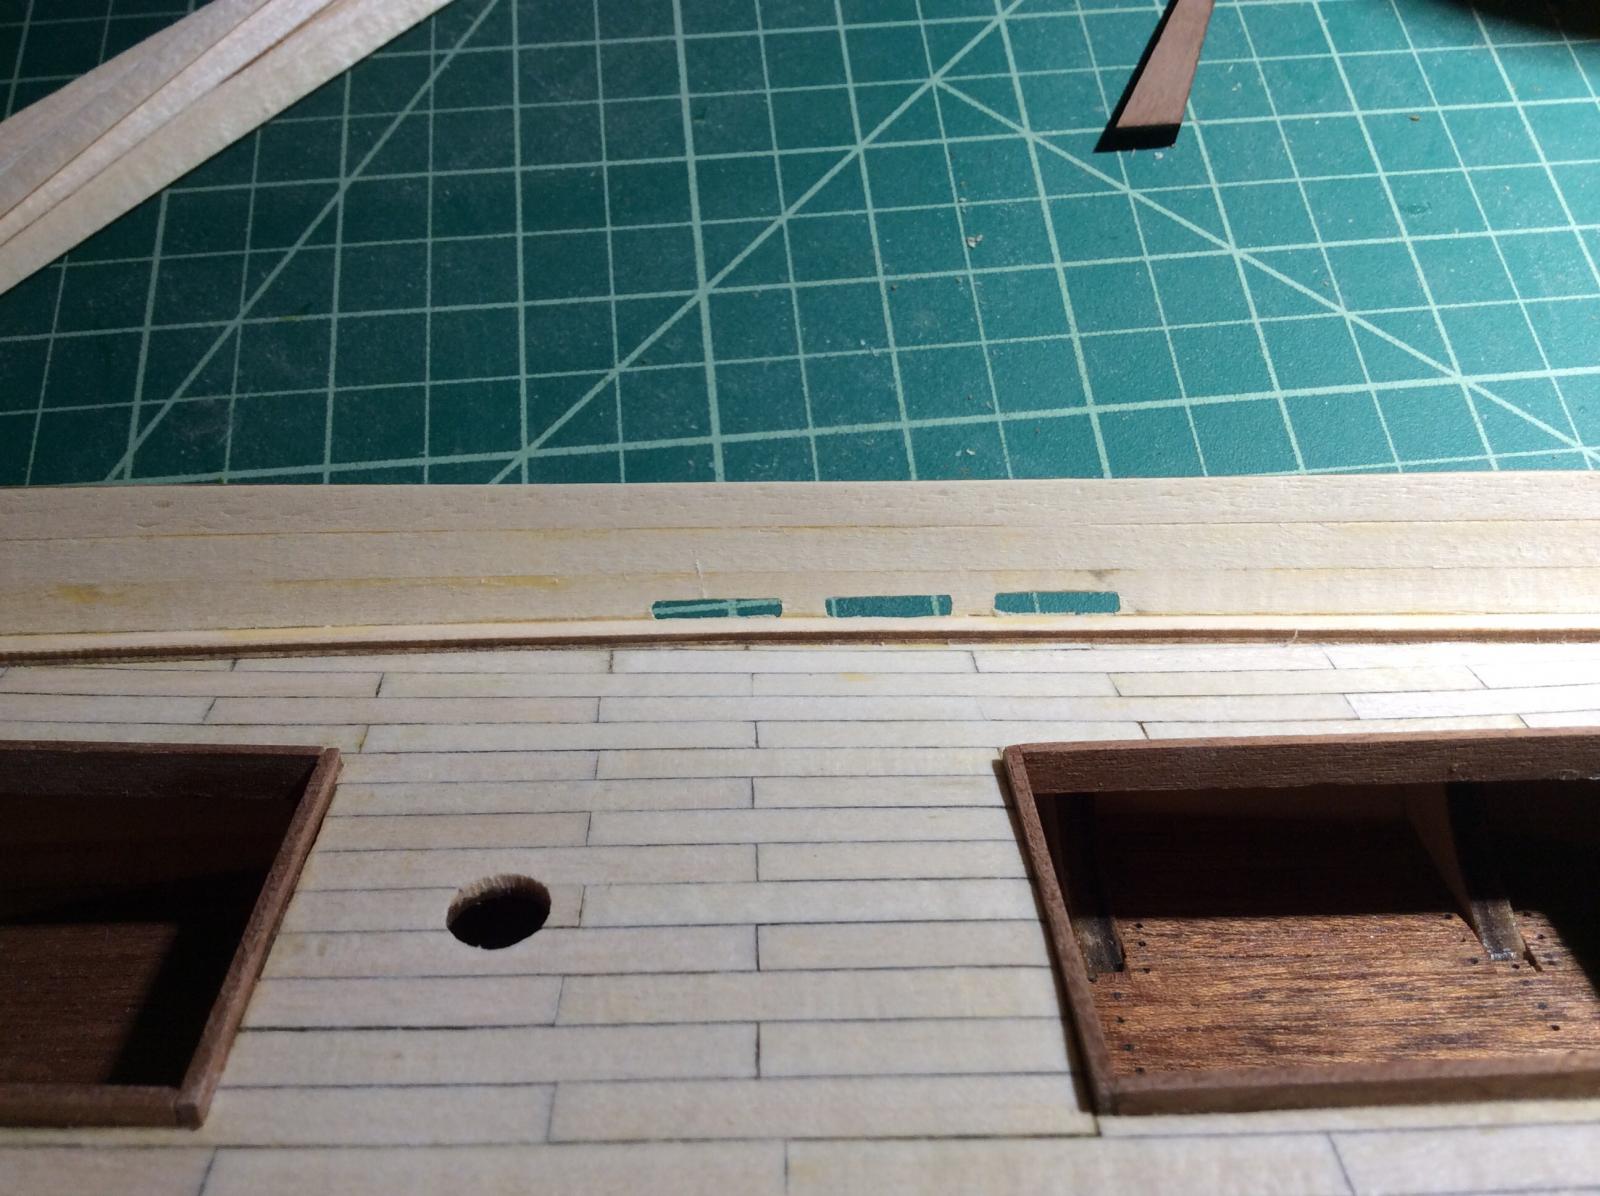
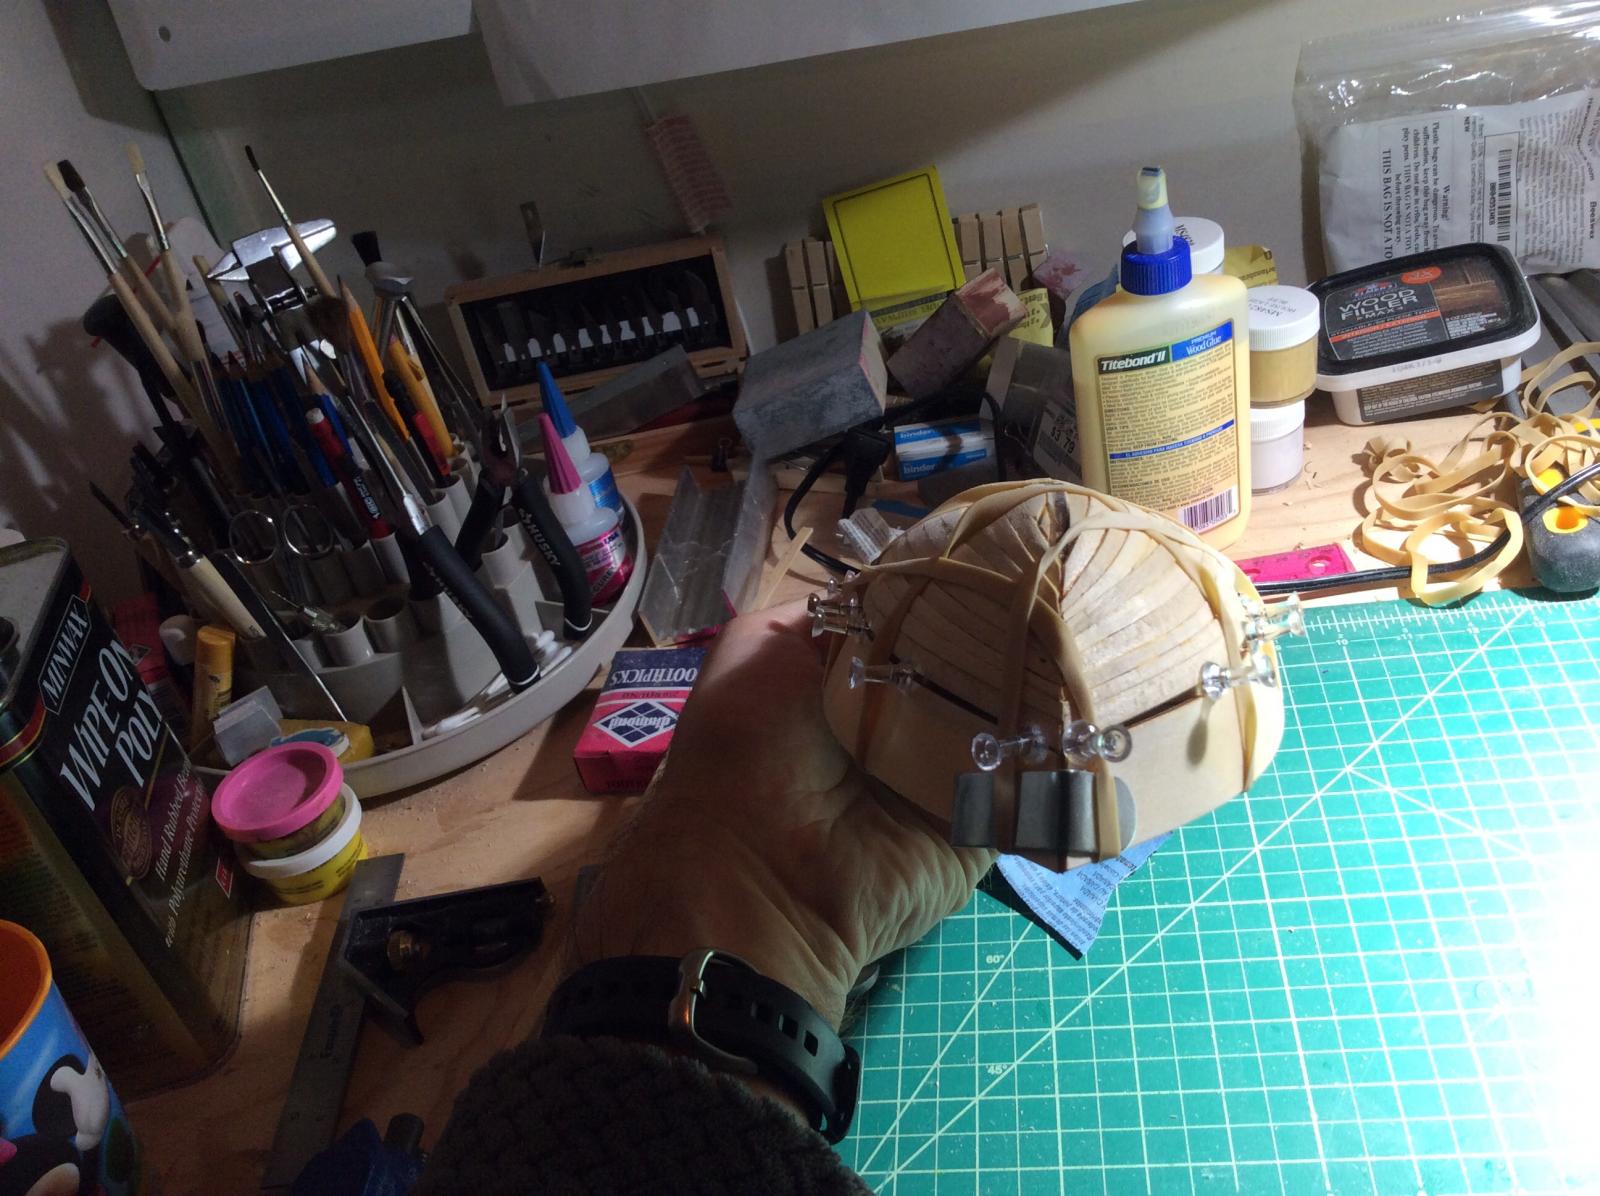
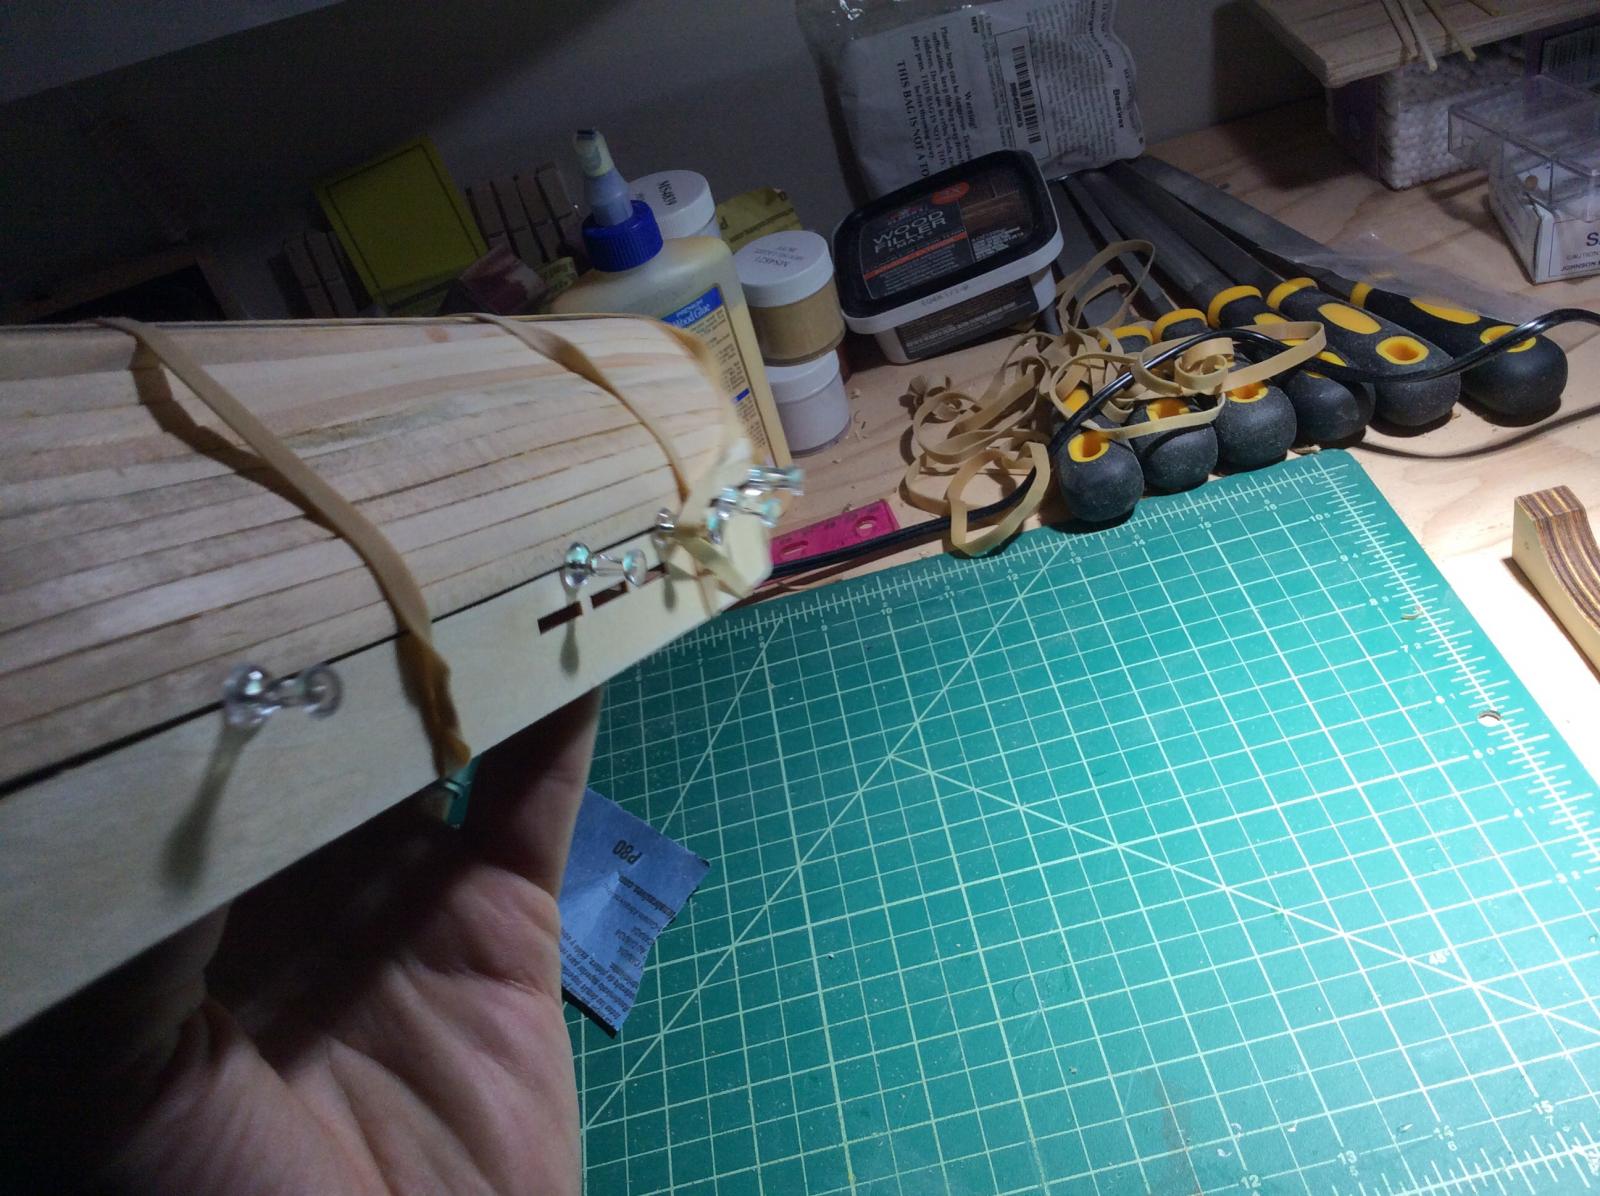
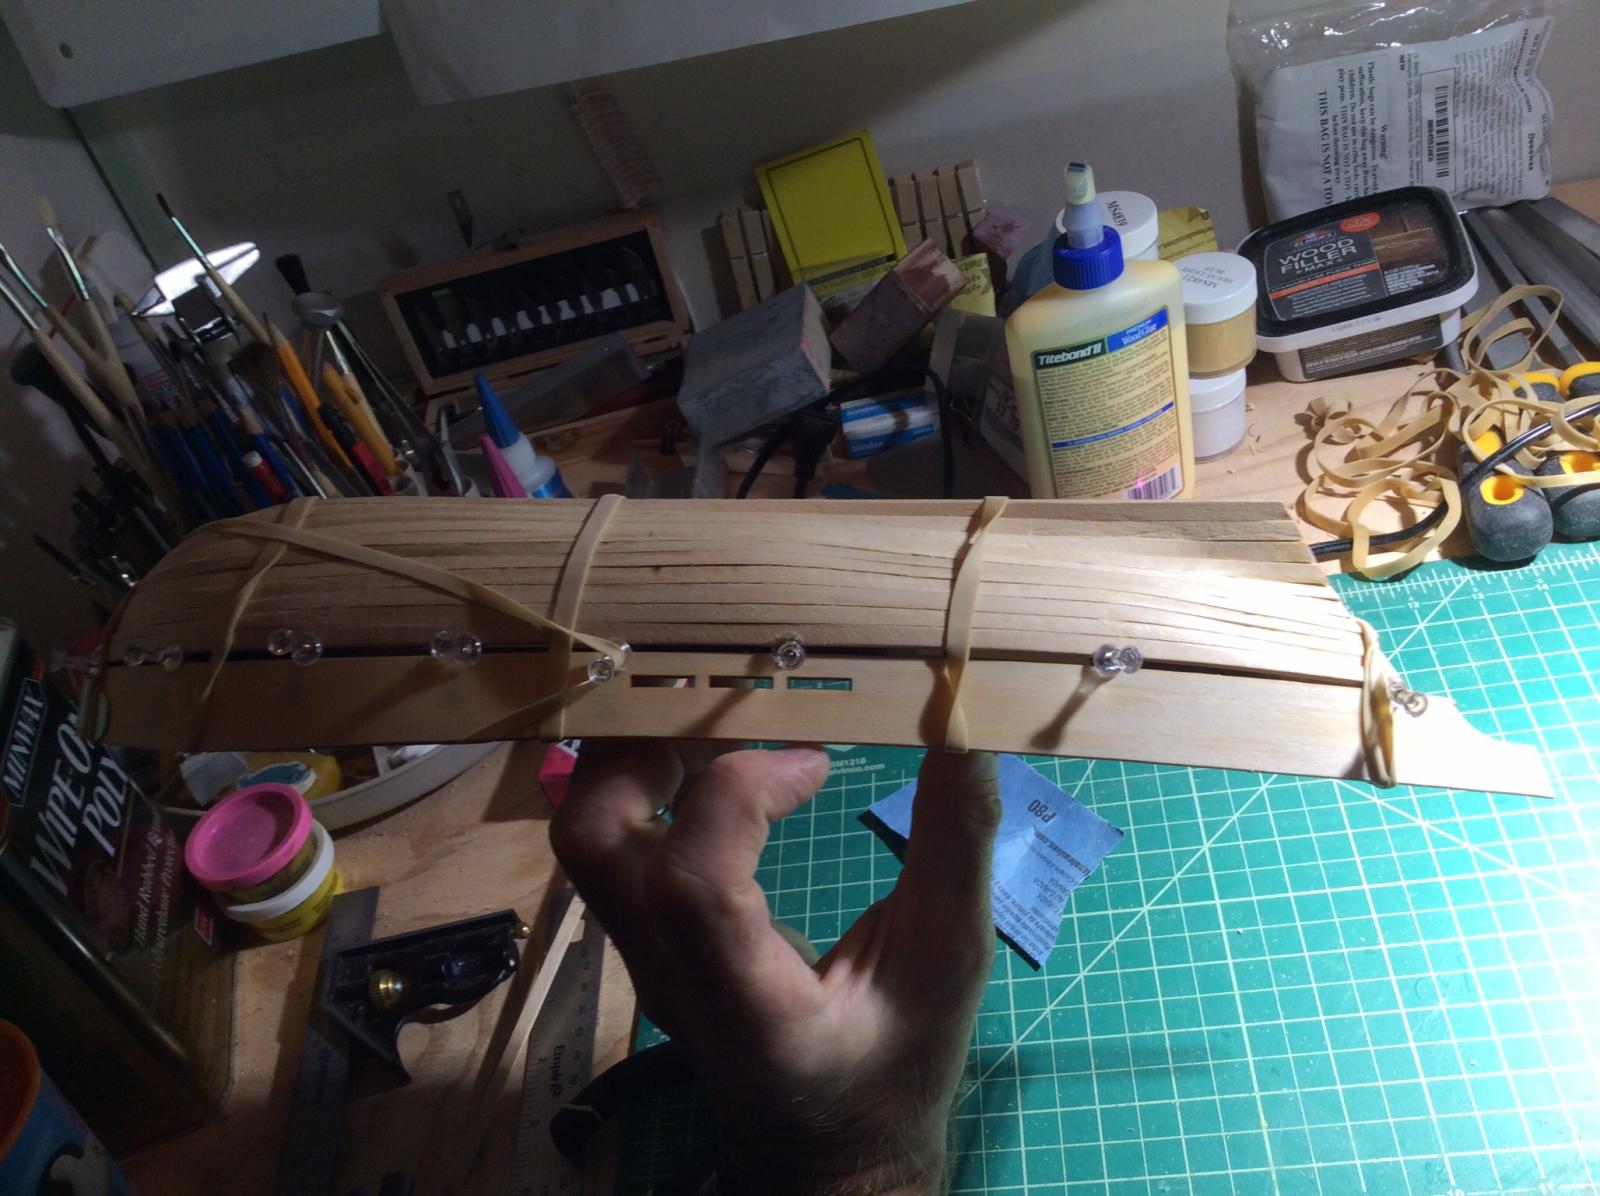
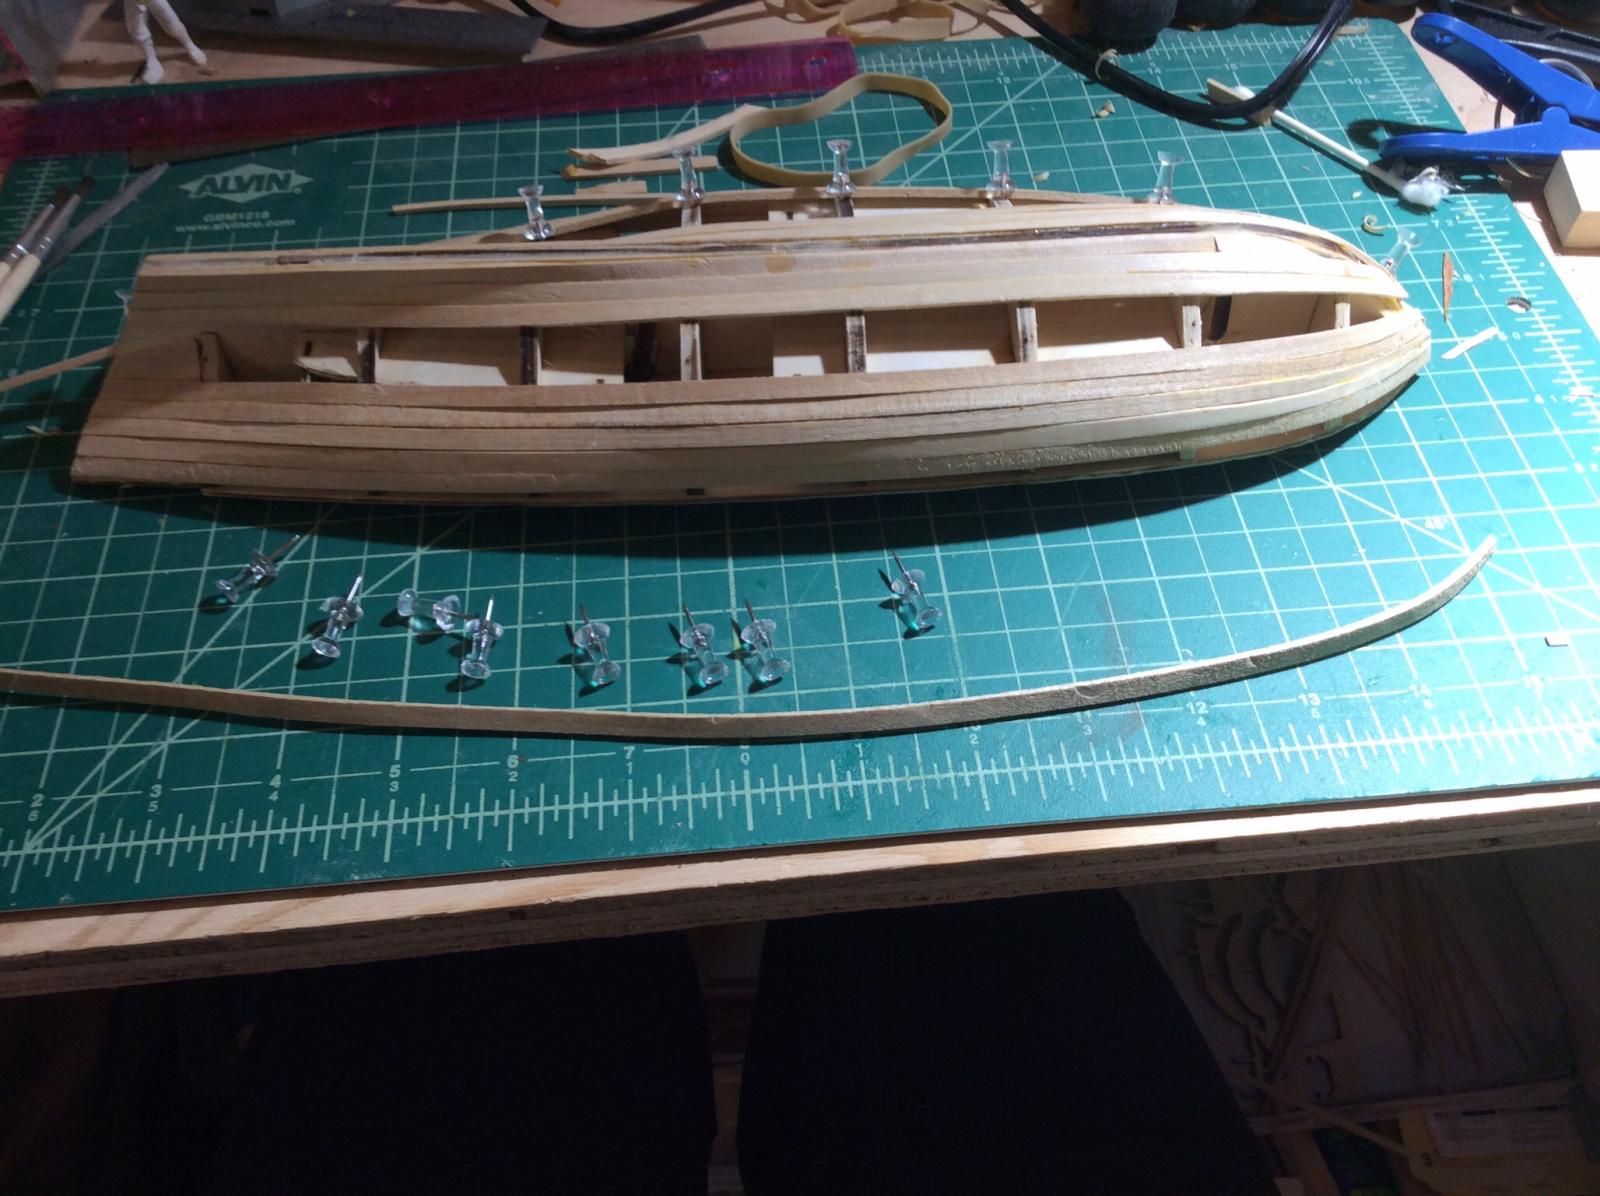
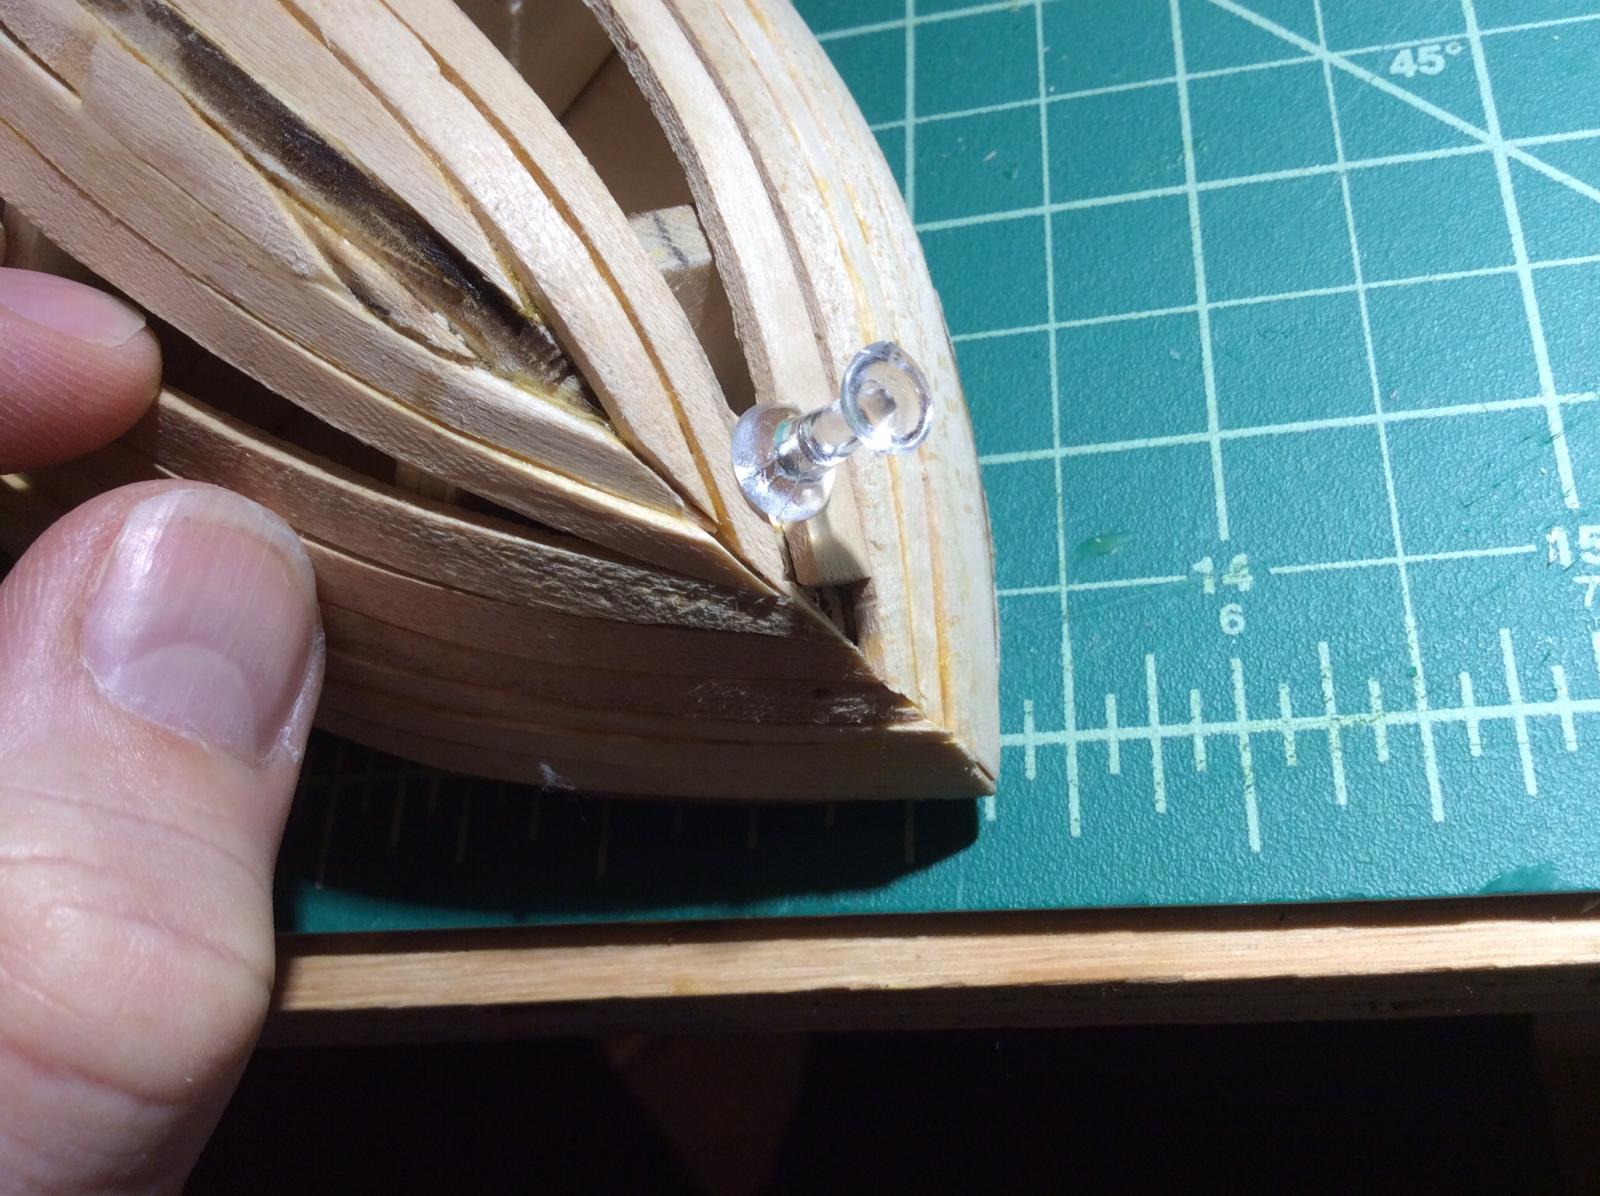
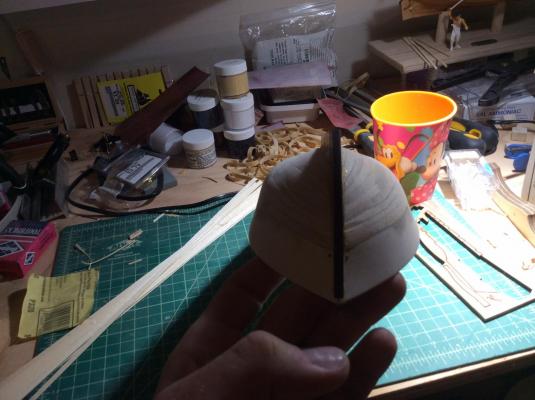
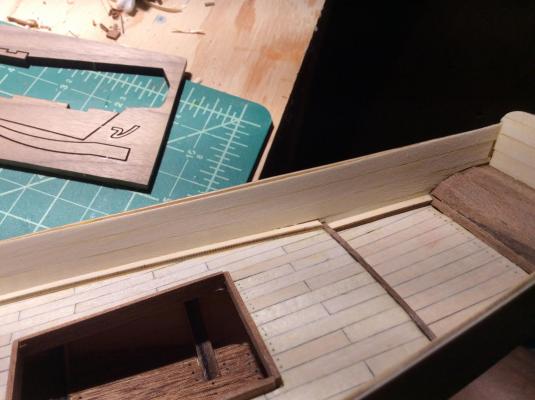
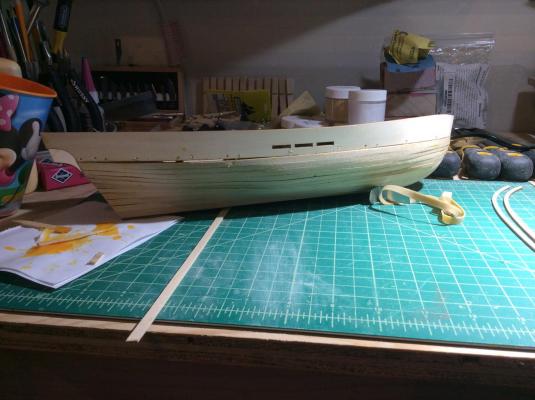
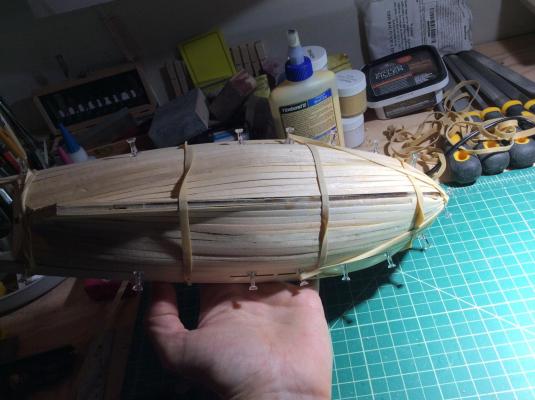
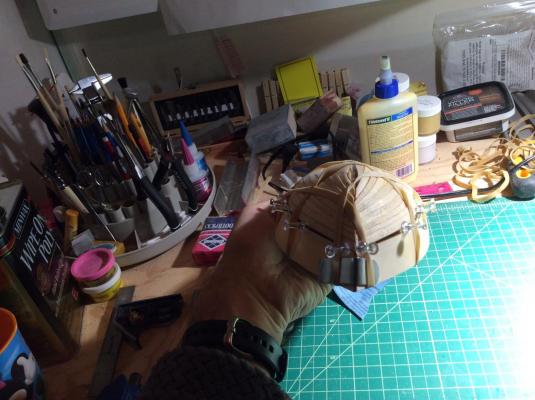
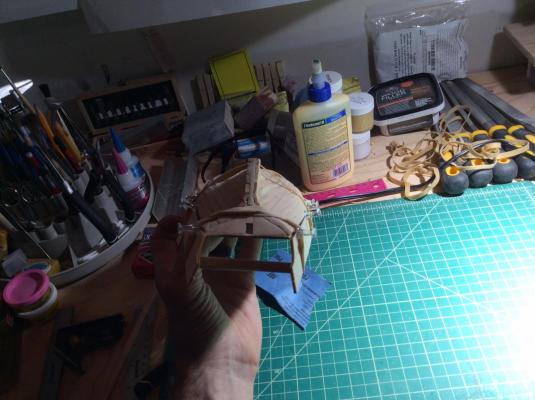
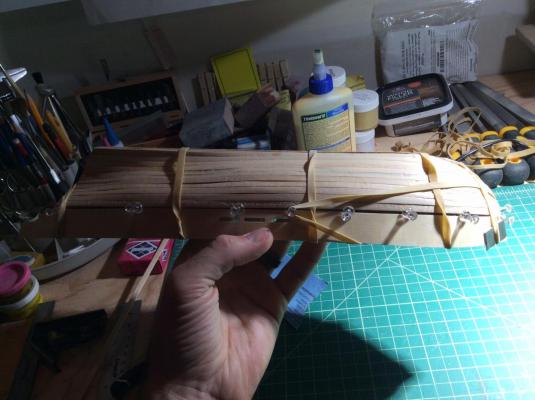
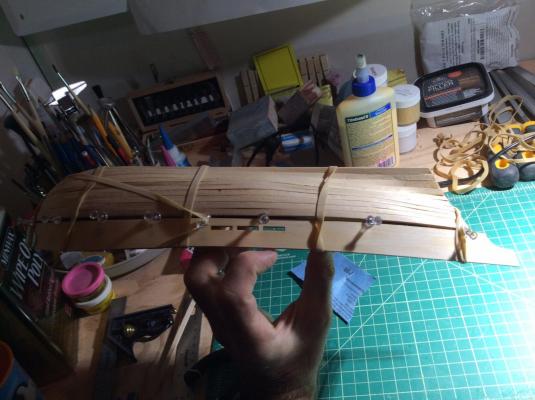
Planking done! And the method of boiling water two minute soak for the fitted side pieces, can't think of the name at the moment. Softened them quite well without fear of snapping for the bend in the bow. Pins, rubber bands and fitted brace spreaders worked pretty well to get it in place. Oddly the instructions say to plank them first!?


- 84 replies
-
- 1
-
-
- swift
- artesania latina
- (and 1 more)
-
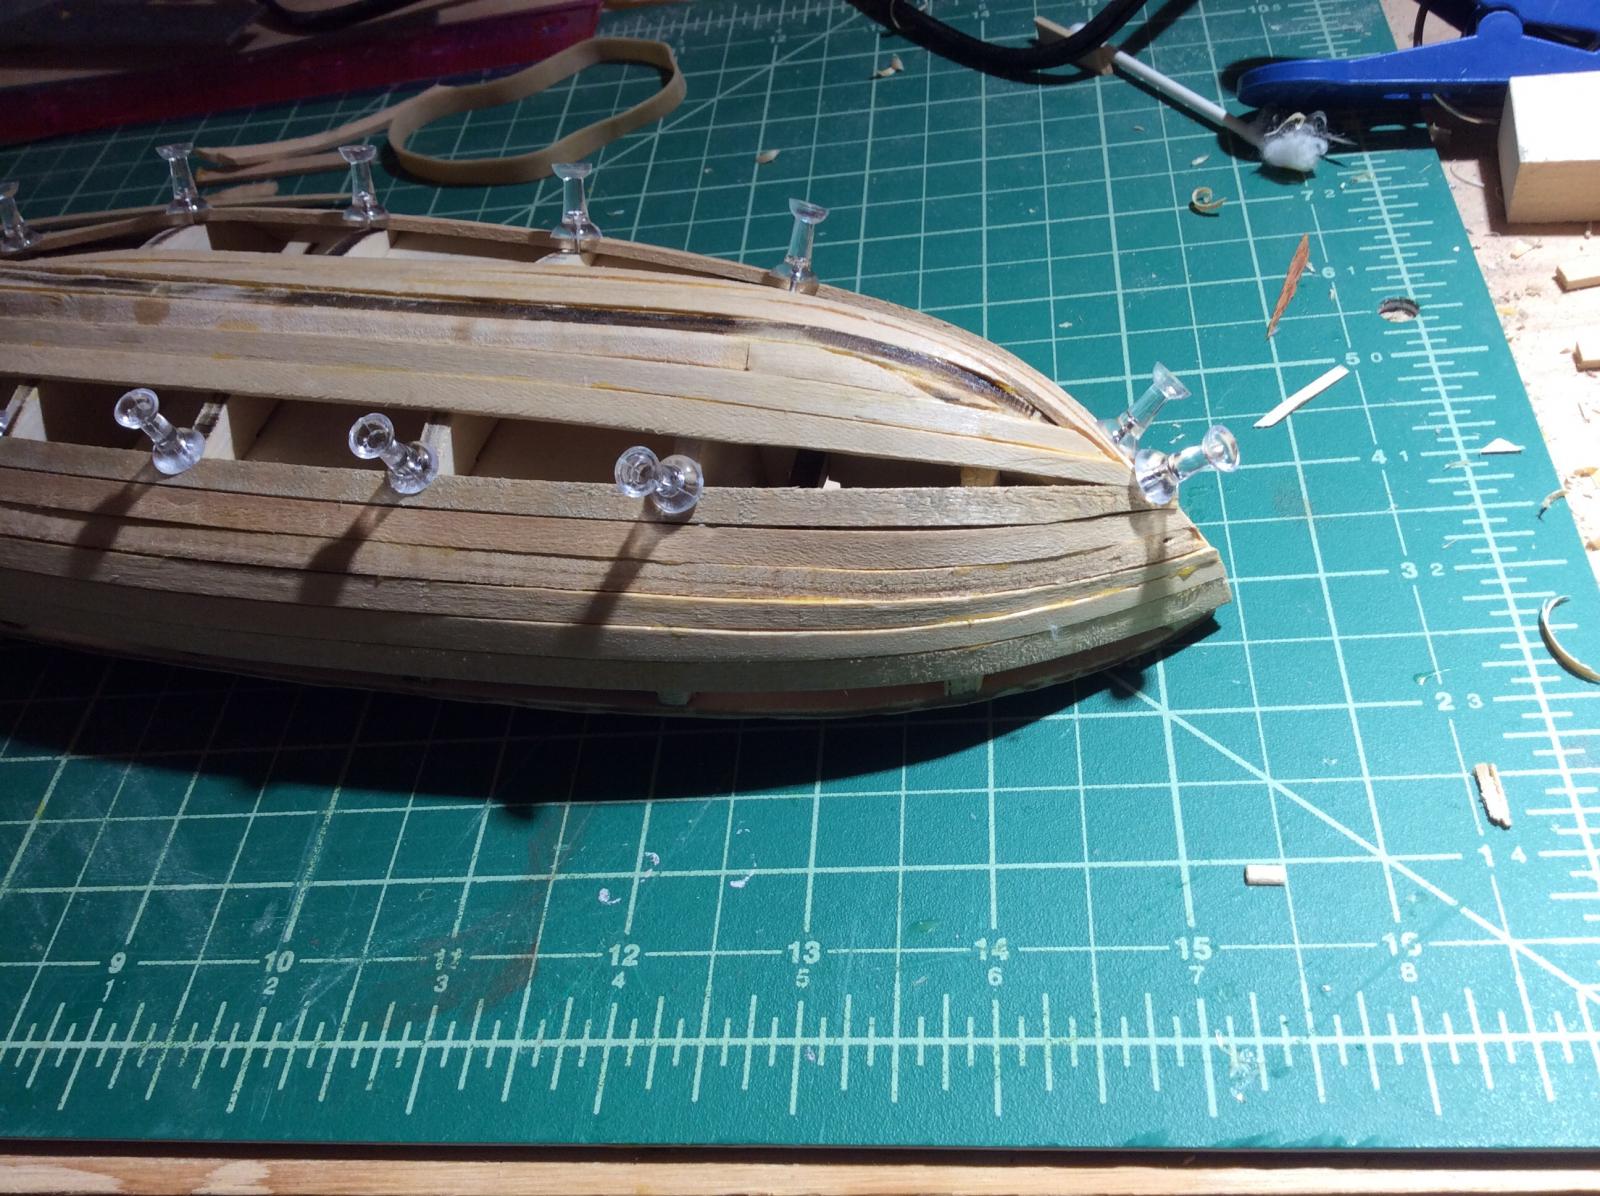
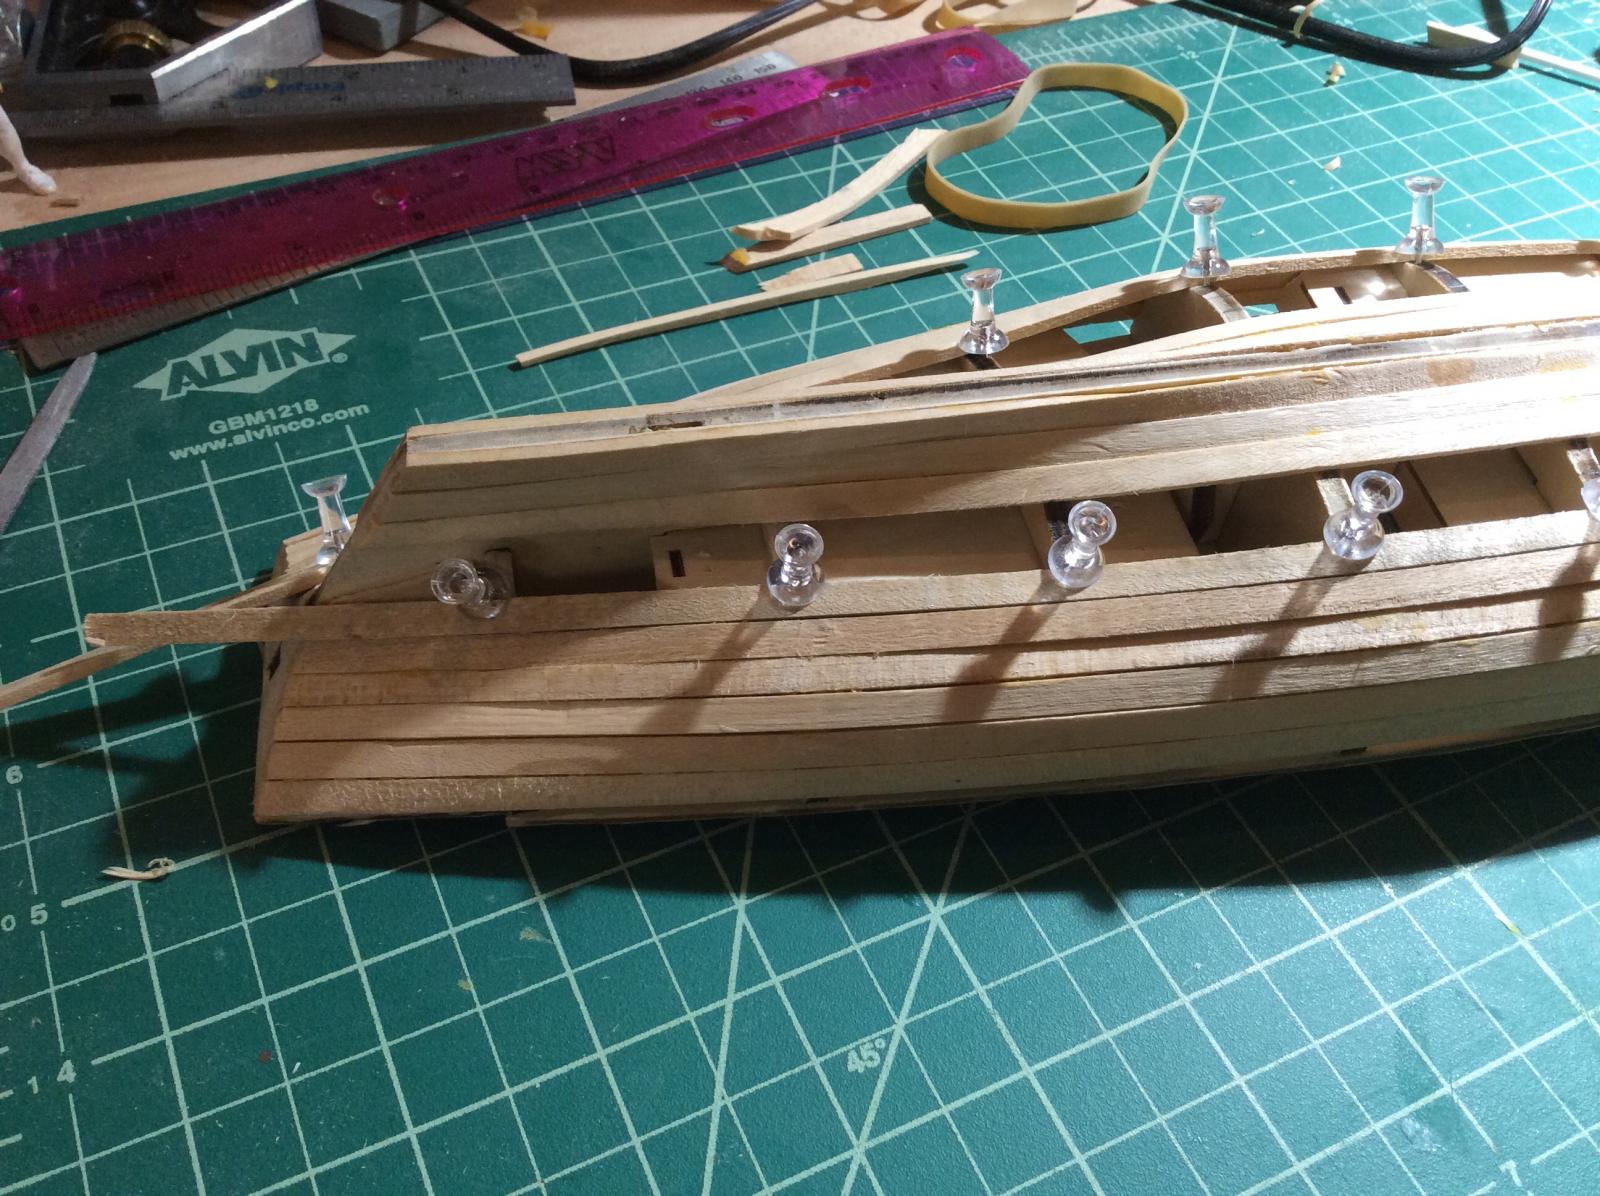
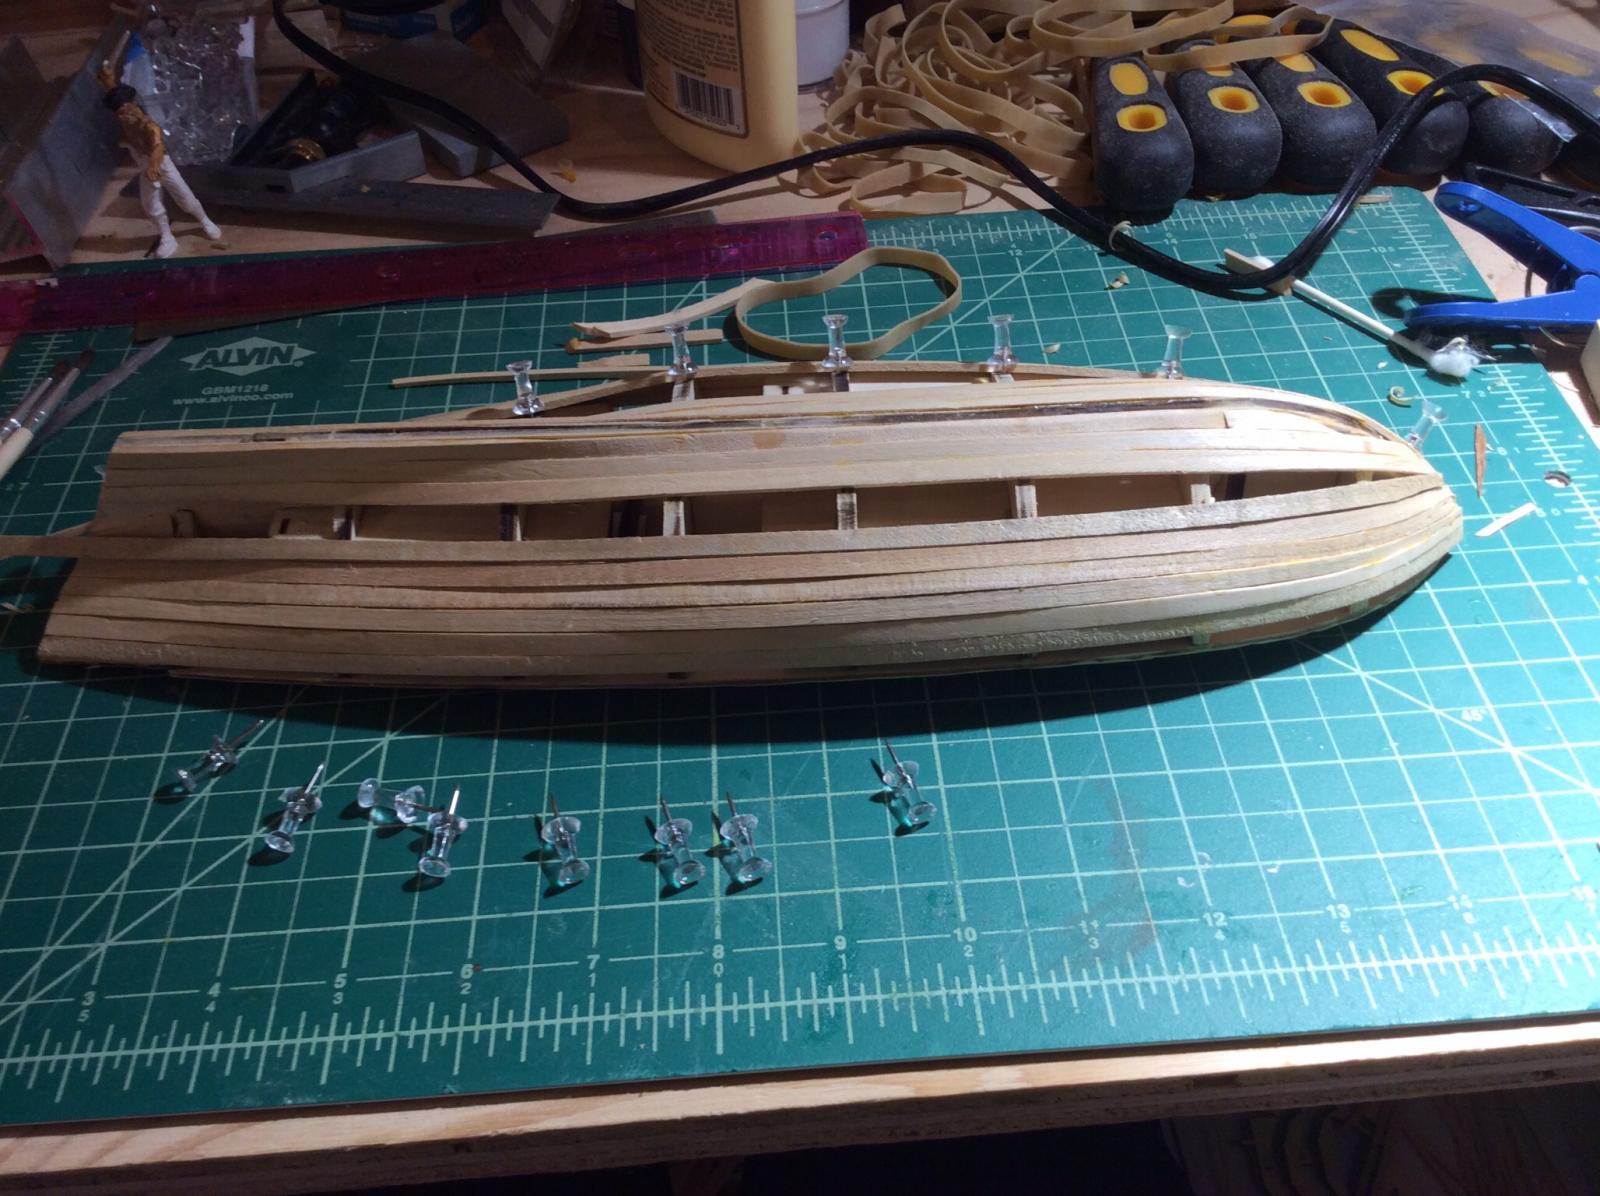
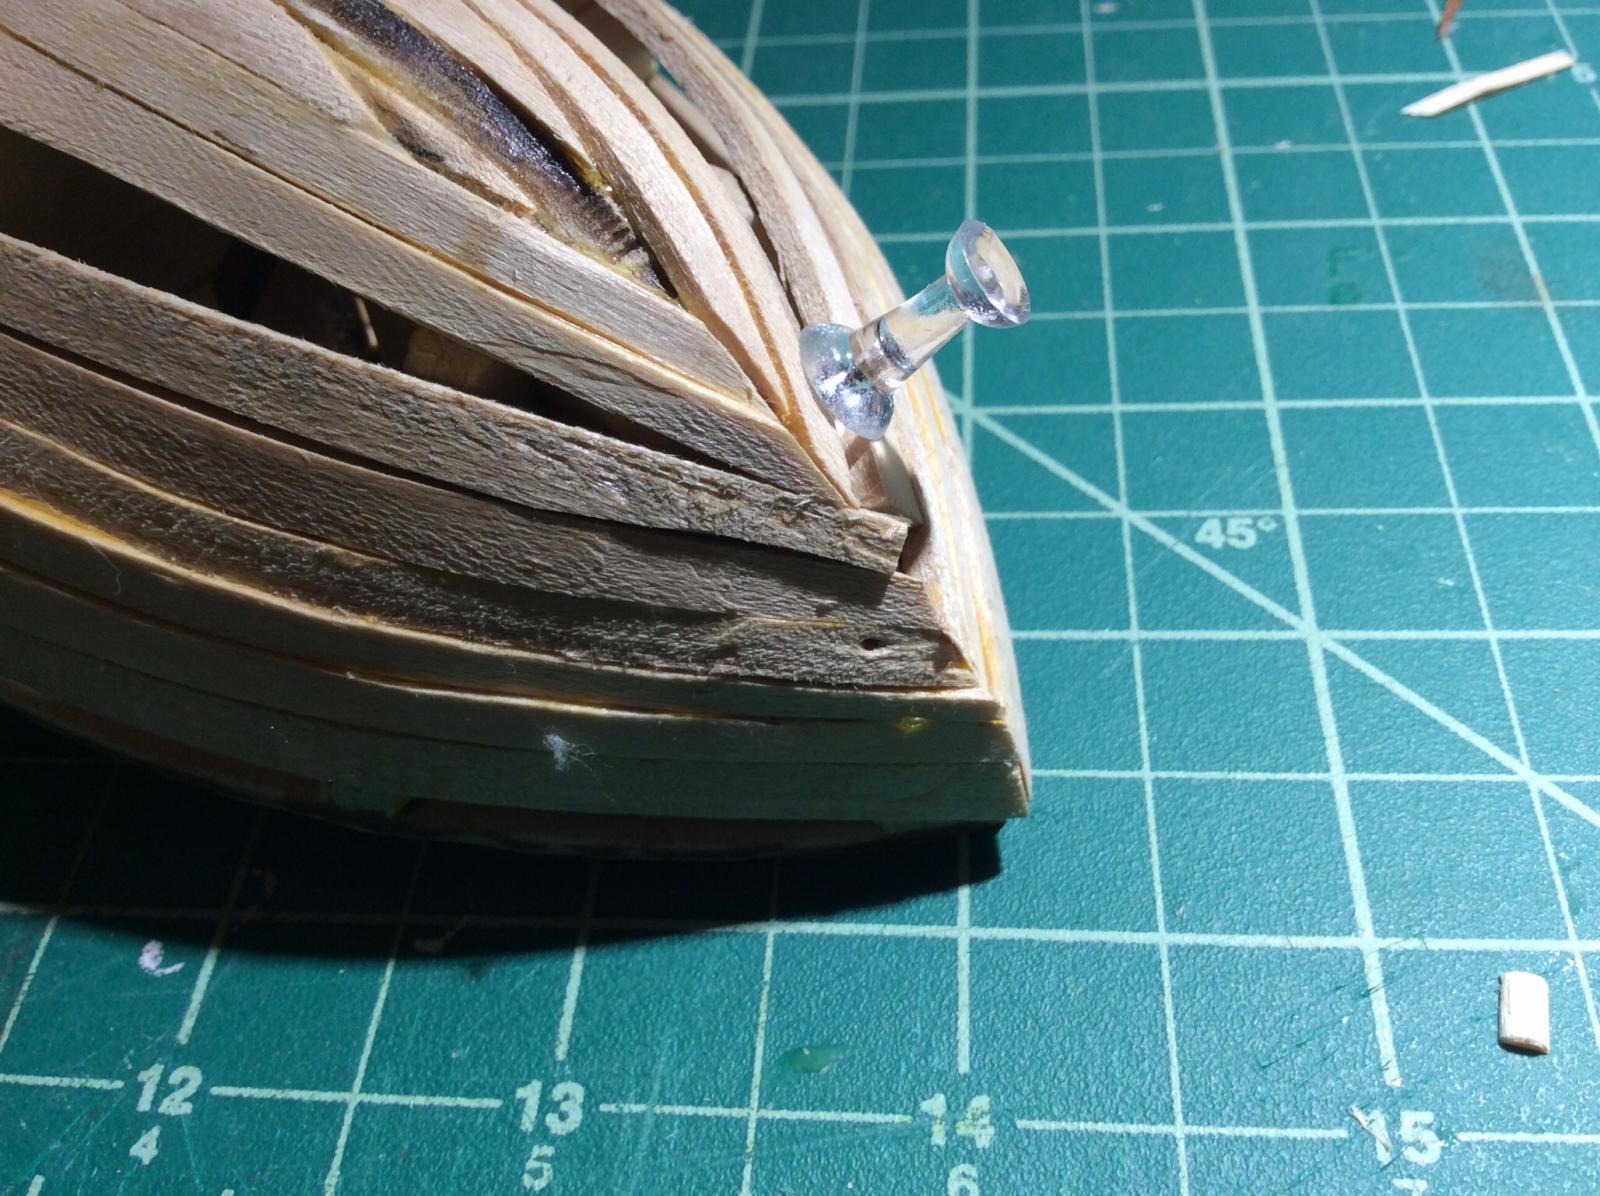
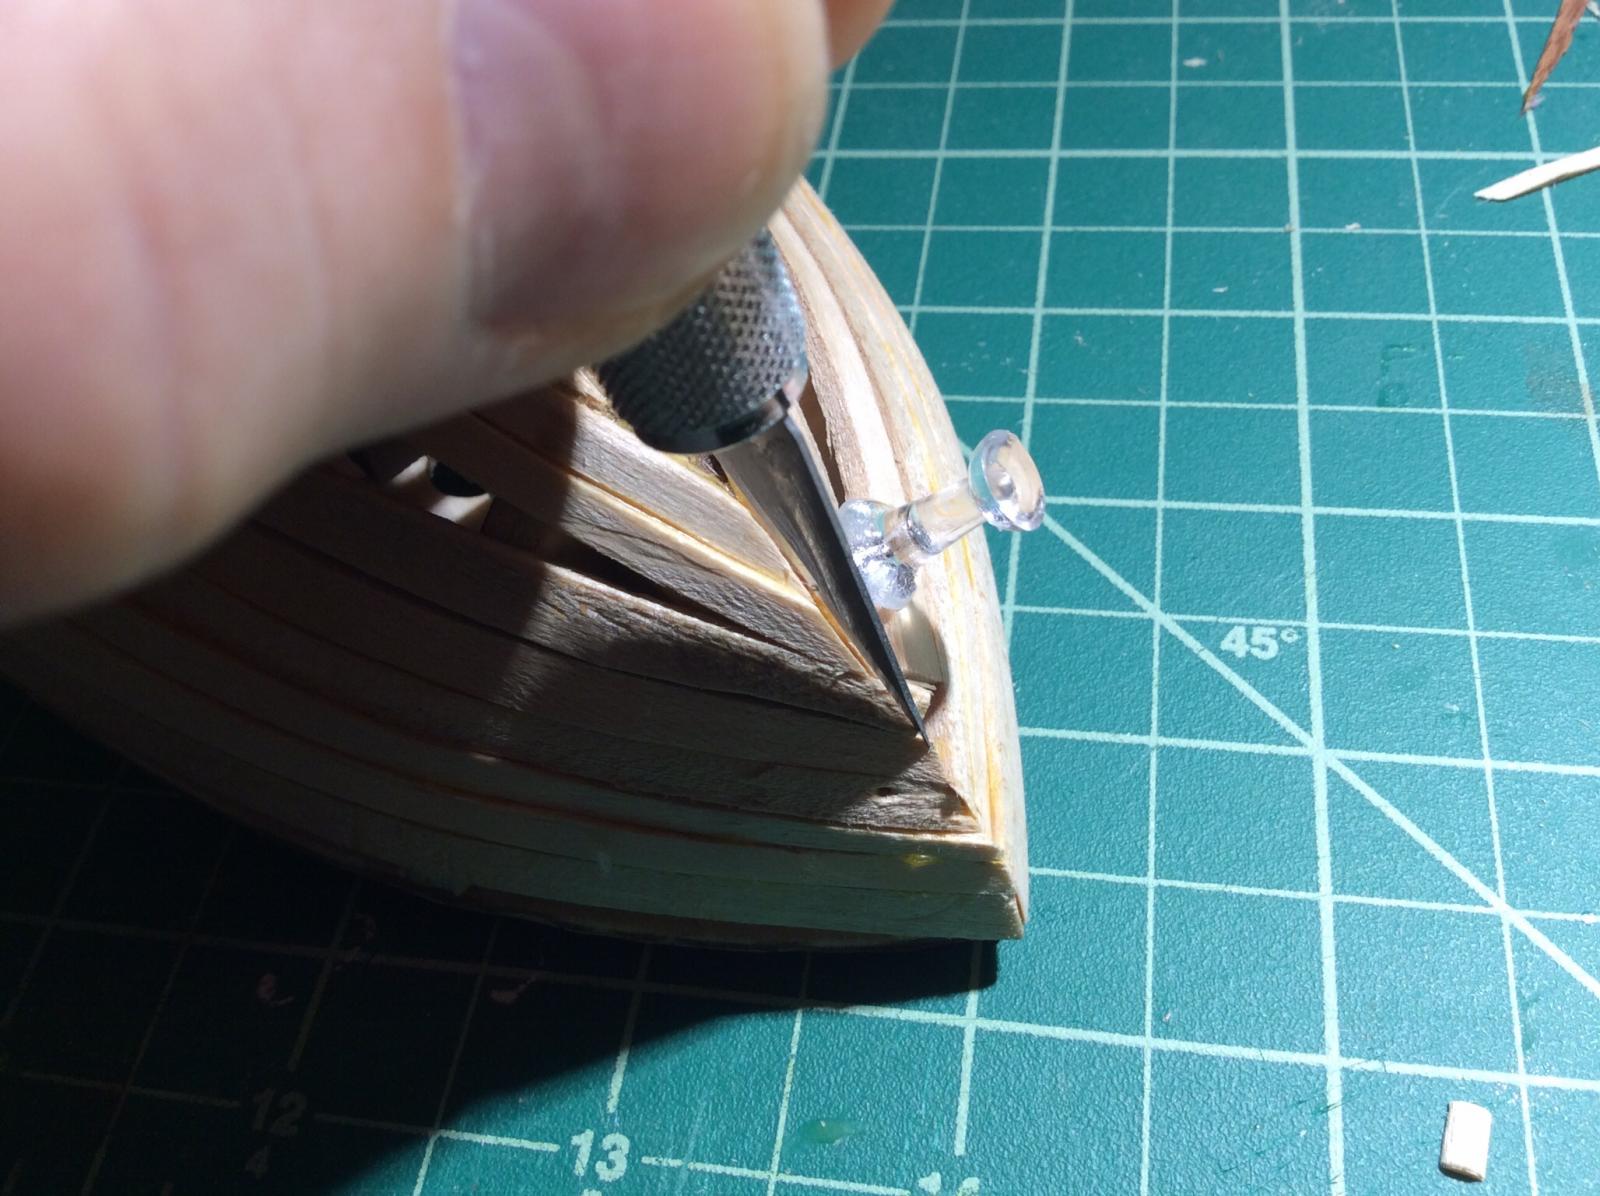
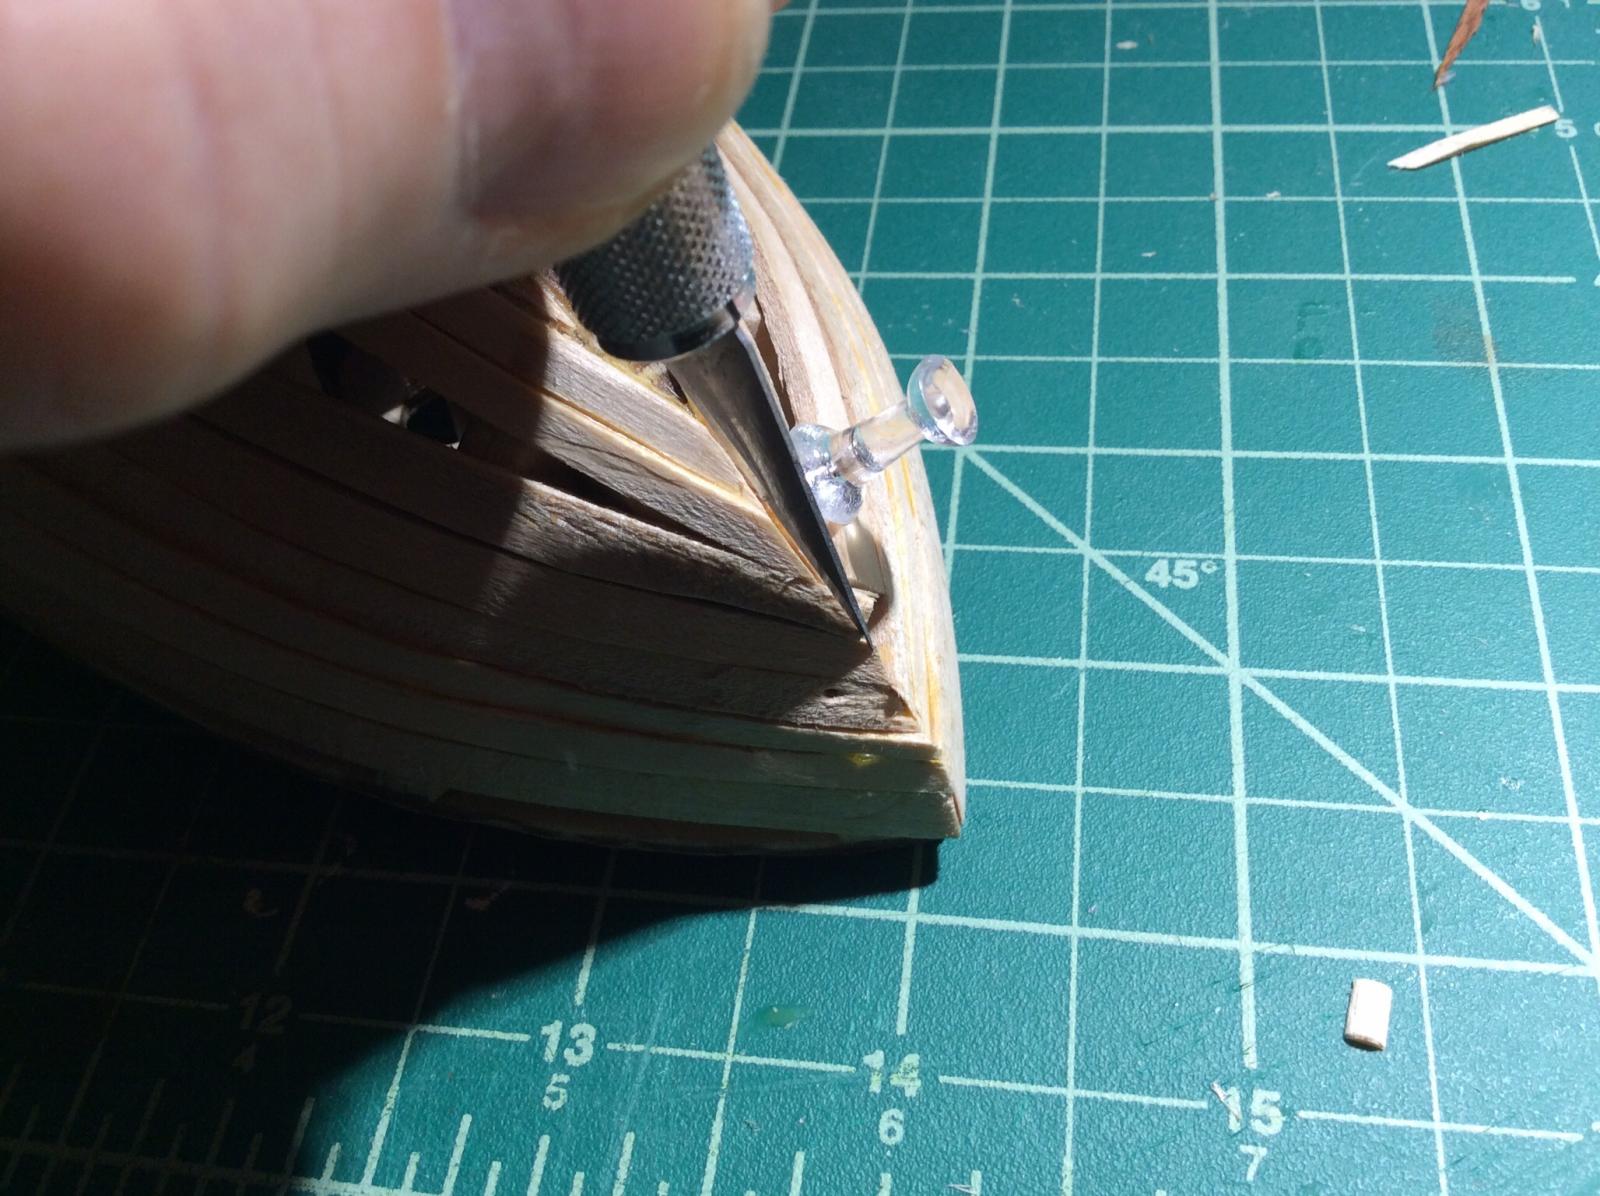
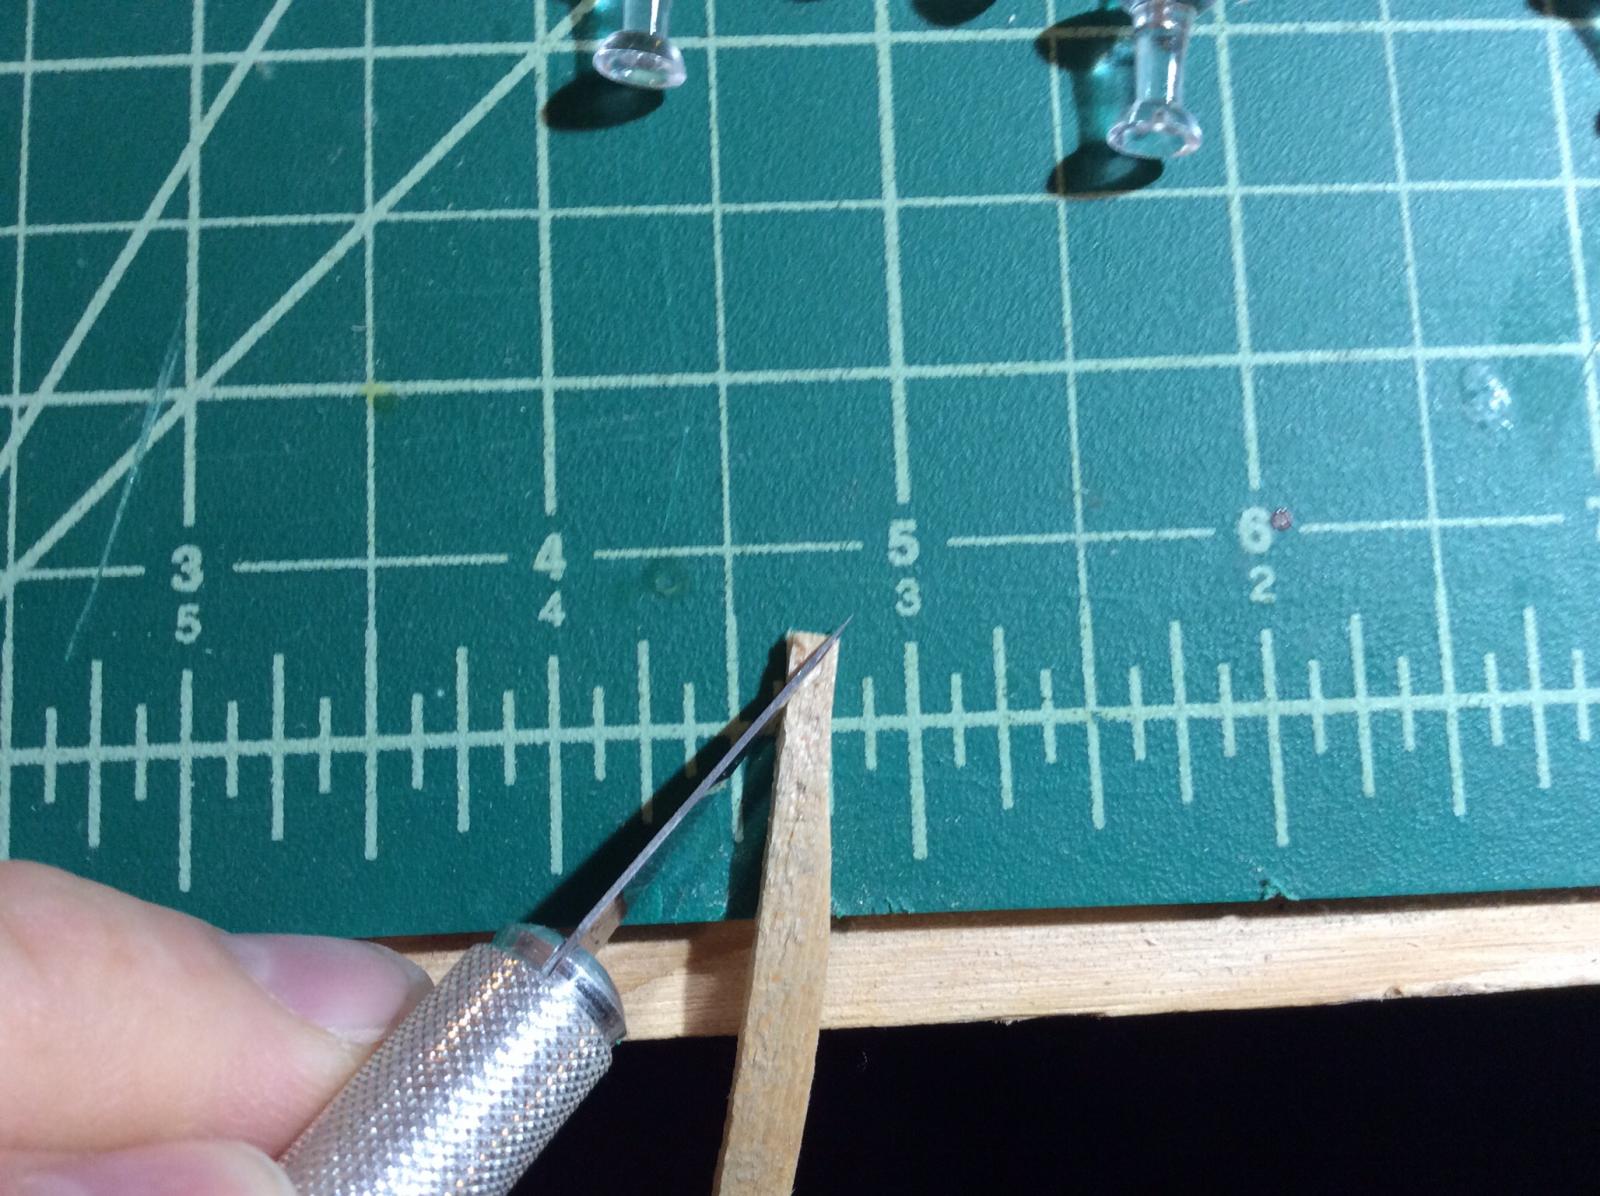
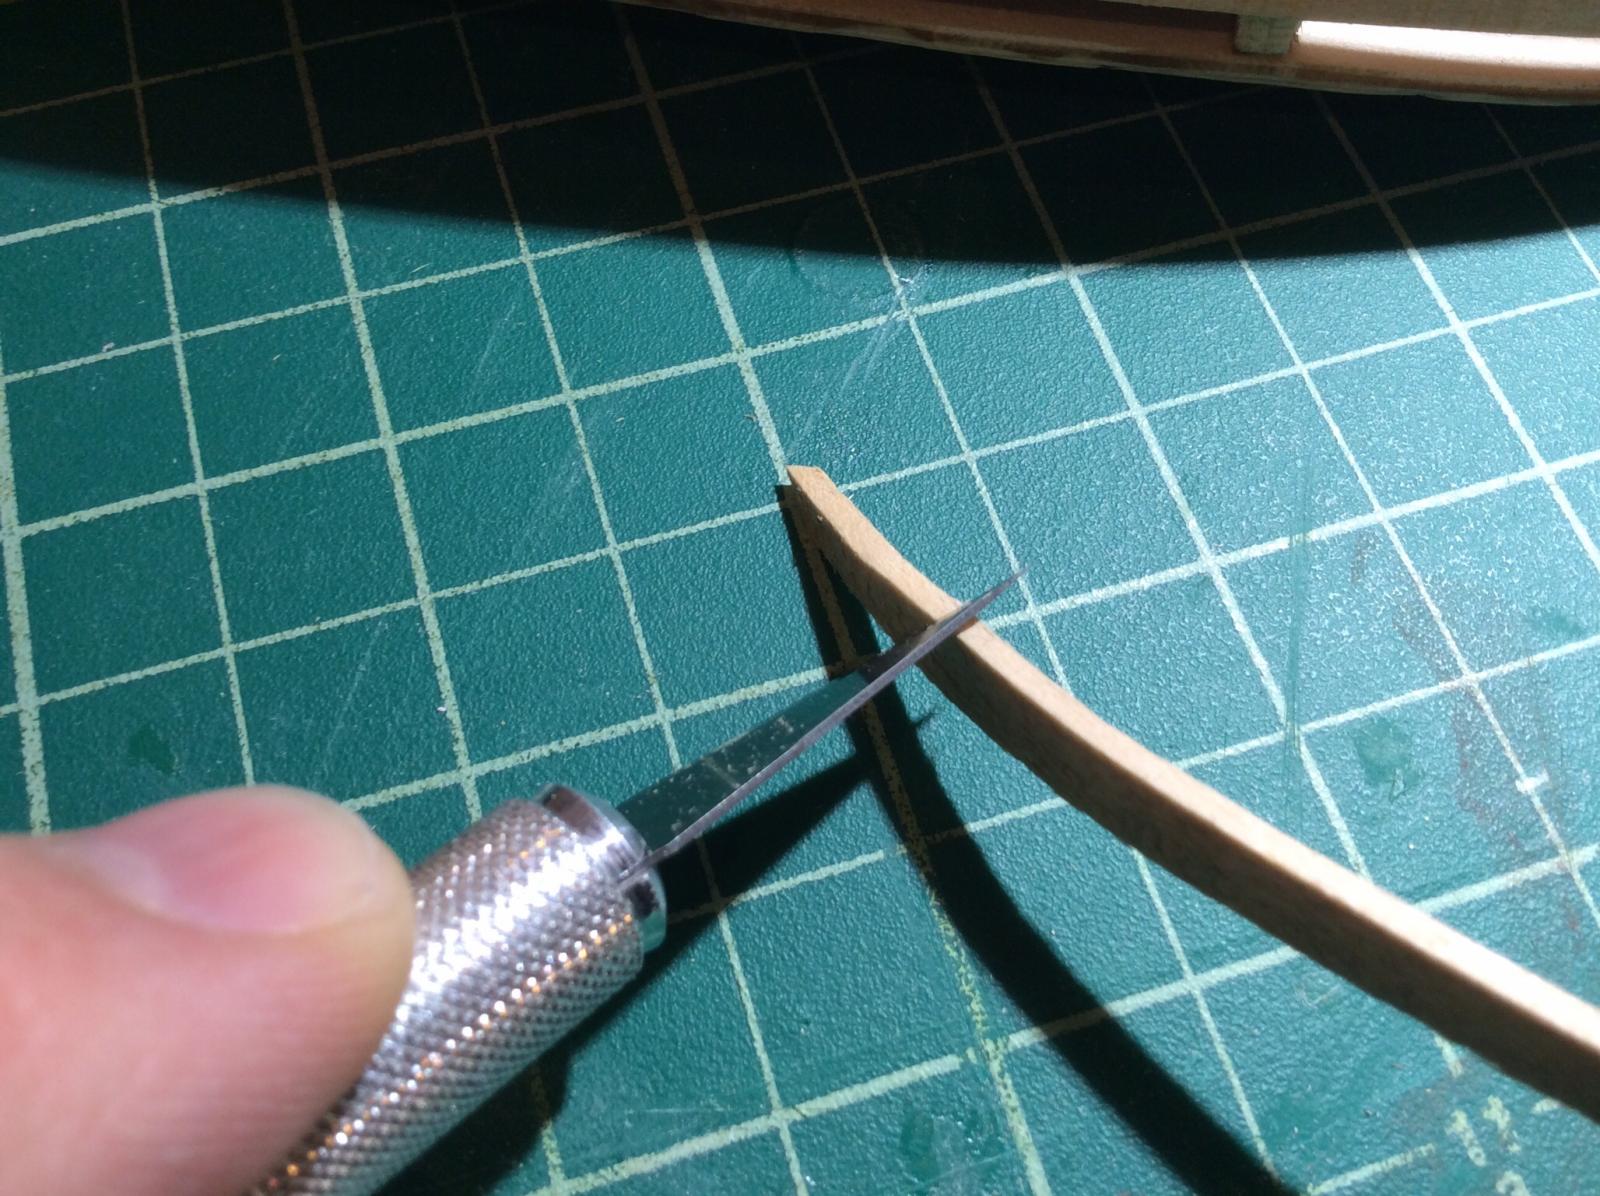
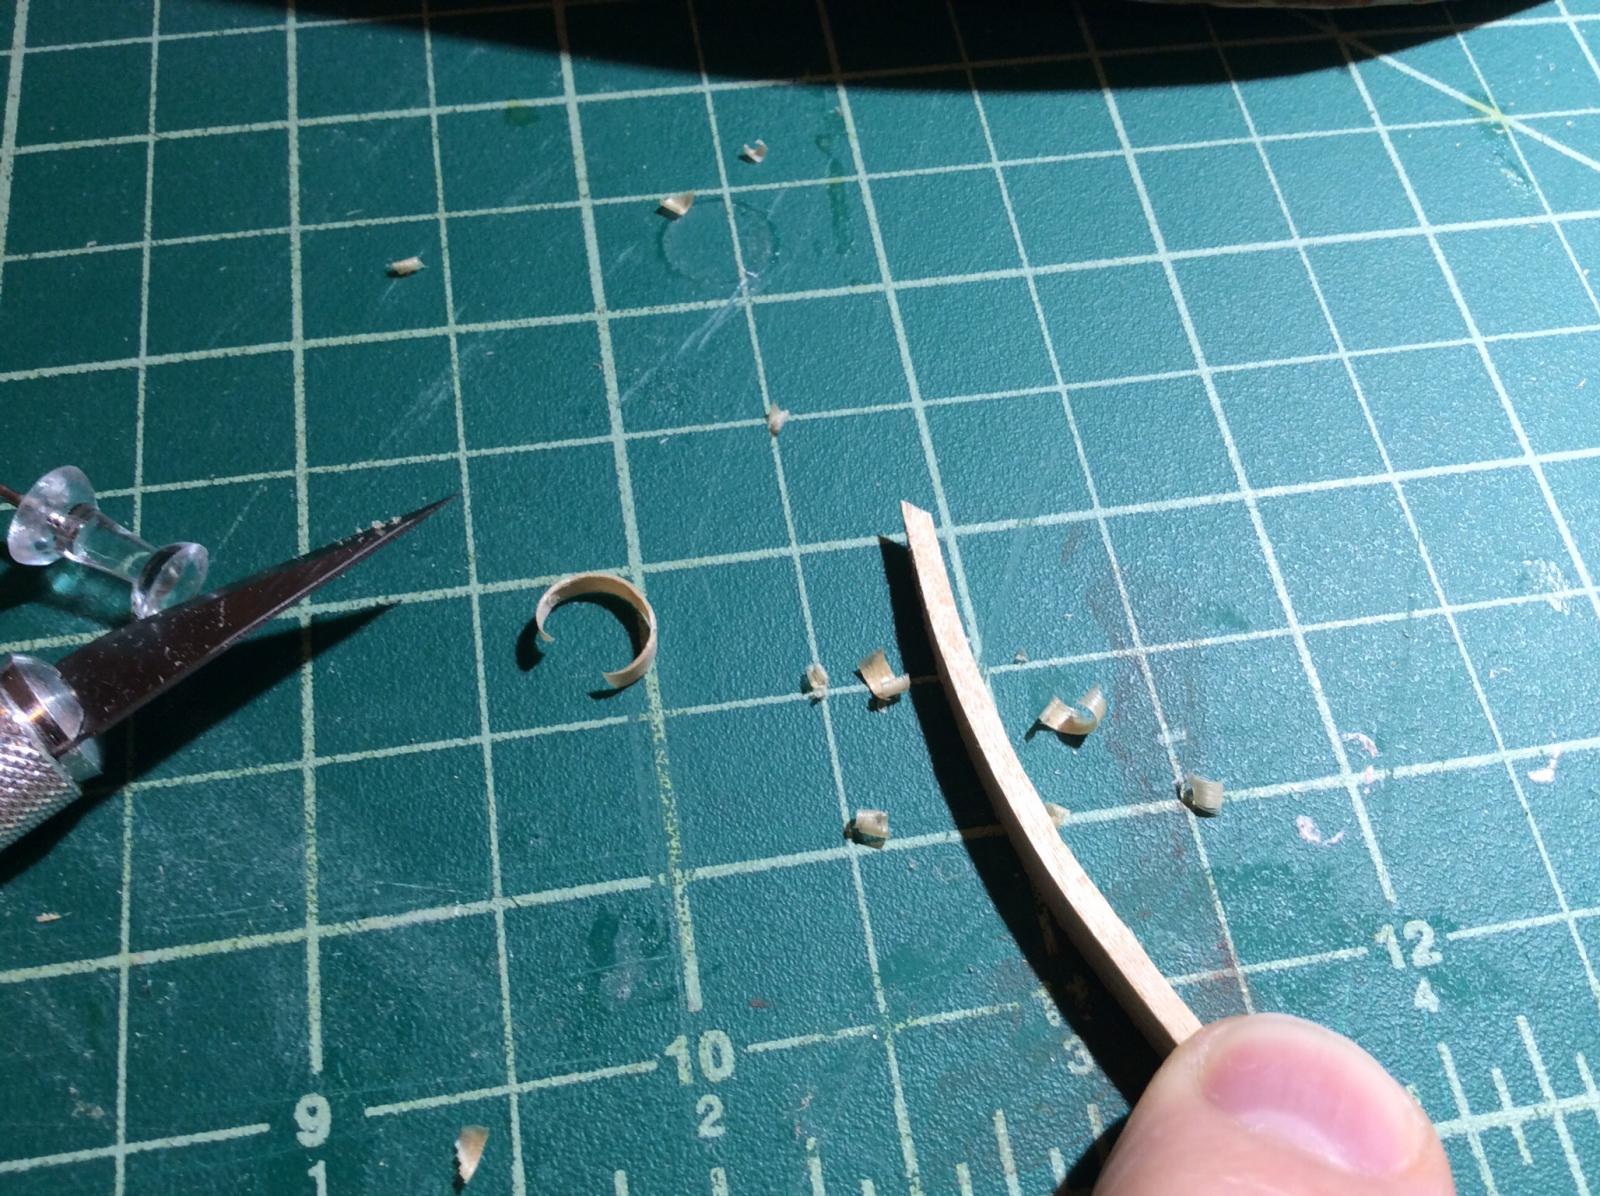
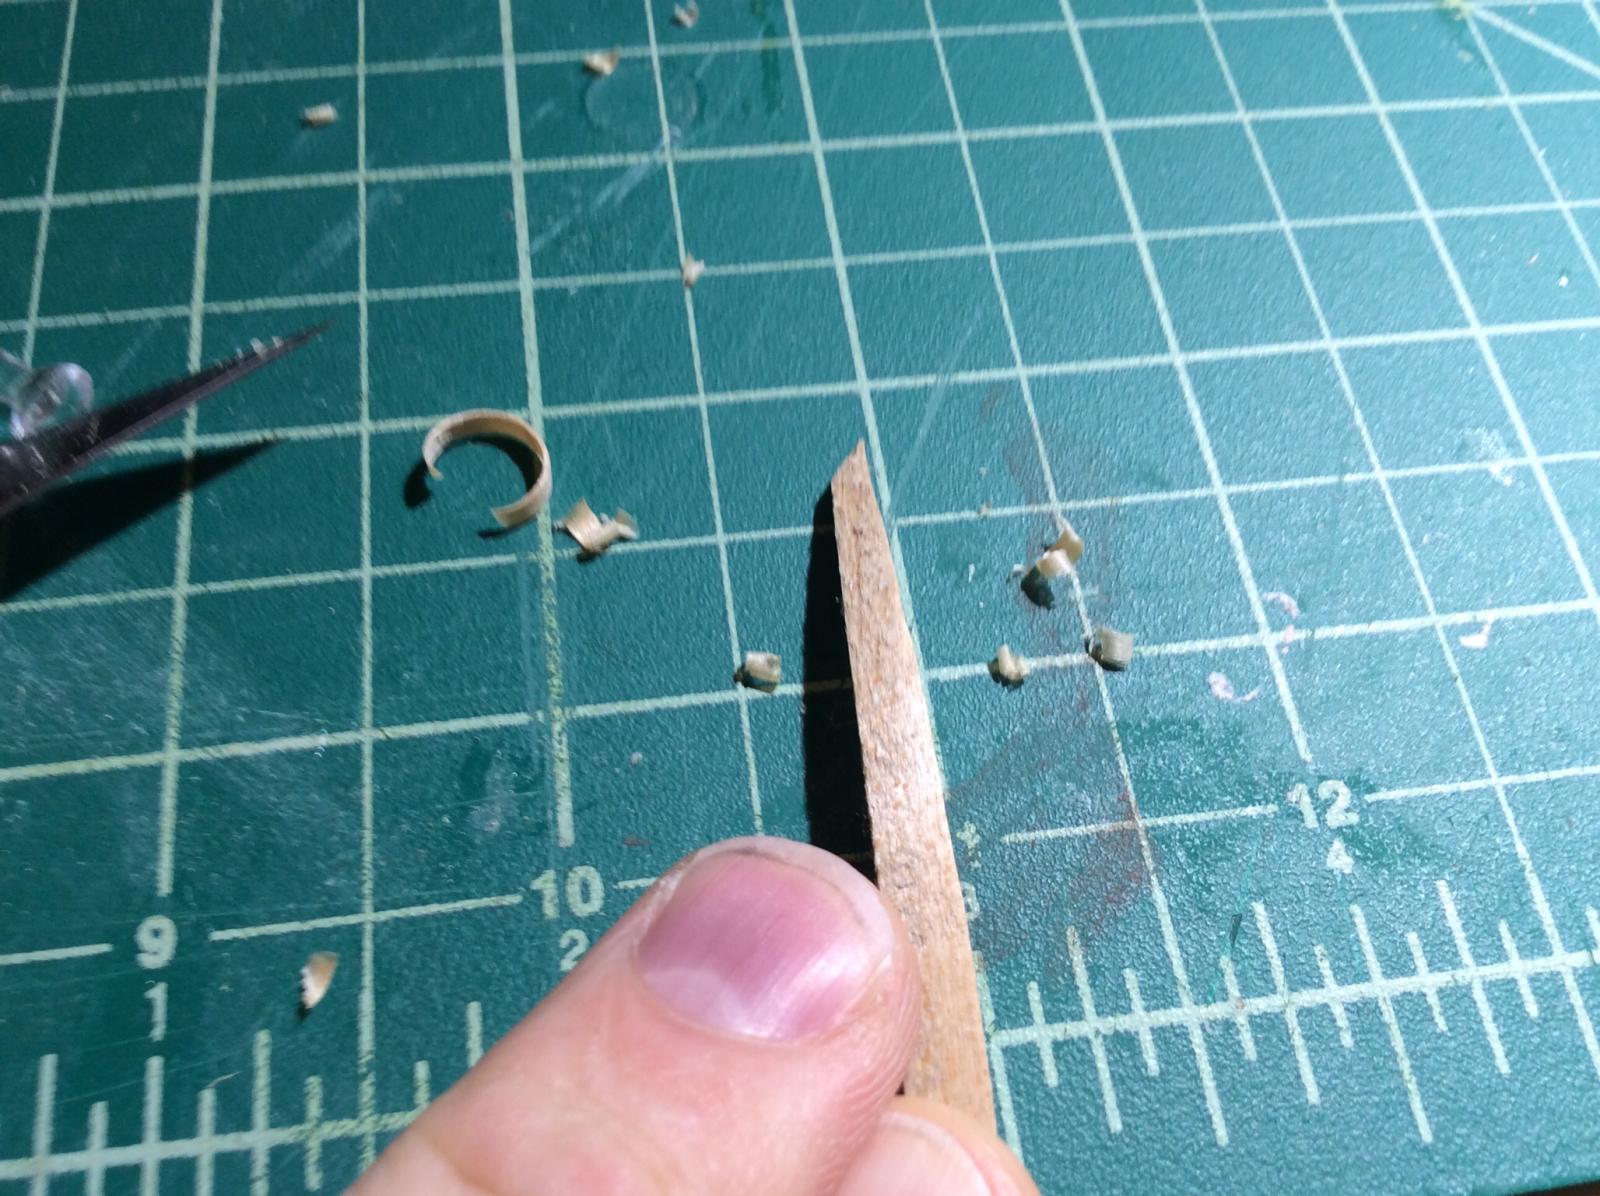
I like having the plank bent to shape before I shave it down. I use an x-acto blade. I shave off bits from the surface that I am trying to match with the plank that is already in place. I would sand with 220 grit after shaving. I would go back and forth many times until satisfied with the mating of the planks. Being care not to do too much each time. You can see the amount of material I took in the pics above. One fit I glue. I am developing a likeness for pins vs the clamps to get the plank to dry. Mostly it's a combo of the two.
- 84 replies
-
- 1
-
-
- swift
- artesania latina
- (and 1 more)
-
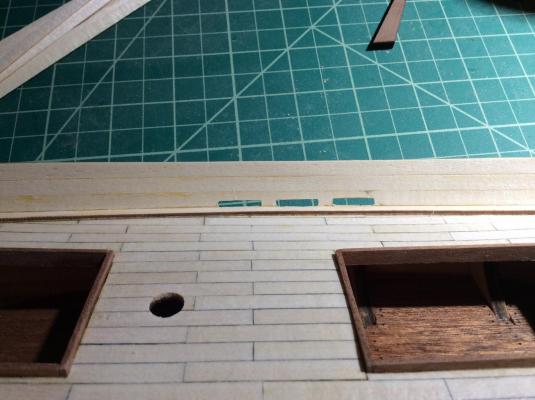
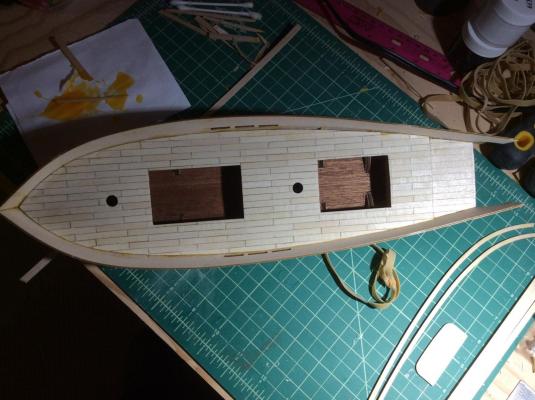
If you print the template that I linked in your build, it is also in the downloads section under planking at the top of the website as well, you will see the vertical line comes with the fan template, it represents where the spacing is 5/32 inch. Sorry I never show the whole fan, I did not make it, it here for free and linked in your build too. I do use it, it does represent the bottom of each measurement gap and the edge of that plank that I measure to, as measured off the hull, and I line up the top and bottom the slip of paper to the left of the starting point that I marked on the fan template. Go back to photo of where I got the line from. It's about finding your starting point on the fan template. The point where you have full width planks. This is the point you need to note the top and bottom on the fan template which you see I marked, I drew in the line because I had room for a partial plank. It also means I haven't tapered enough and will probably drop a plank, and if you pay attention in the pics I do just that between my first and second bulkhead. Count the tics.