Javlin
-
Posts
1,689 -
Joined
-
Last visited
2 Followers


About Javlin

- Birthday 01/05/1961
Recent Profile Visitors
3,647 profile views


-
 Canute reacted to a post in a topic:
Hawker Hurricane Mk IIb by realworkingsailor - Arma Hobby - 1/72 - PLASTIC
Canute reacted to a post in a topic:
Hawker Hurricane Mk IIb by realworkingsailor - Arma Hobby - 1/72 - PLASTIC
-
Canute reacted to a post in a topic:
Hawker Hurricane Mk IIc by Javlin - Fly Models - 1/32 - PLASTIC
-
Javlin reacted to a post in a topic:
Hawker Hurricane Mk IIb by realworkingsailor - Arma Hobby - 1/72 - PLASTIC
-
realworkingsailor reacted to a post in a topic:
Hawker Hurricane Mk IIb by realworkingsailor - Arma Hobby - 1/72 - PLASTIC
-
Haliburton reacted to a post in a topic:
Hawker Hurricane Mk IIc by Javlin - Fly Models - 1/32 - PLASTIC
-
Yep the same codes Chris this kit is coming along better than my first few hours into it glad I did not send her to the SOD.
-
My poor eyes in 1/72 PE just will not go that far or maybe it's just my patience?🤨
-
Javlin reacted to a post in a topic:
Hawker Hurricane Mk IIb by realworkingsailor - Arma Hobby - 1/72 - PLASTIC
-
Canute reacted to a post in a topic:
Hawker Hurricane Mk IIc by Javlin - Fly Models - 1/32 - PLASTIC
-
AJohnson reacted to a post in a topic:
Hawker Hurricane Mk IIc by Javlin - Fly Models - 1/32 - PLASTIC
-
Javlin reacted to a post in a topic:
Hawker Hurricane Mk IIc by Javlin - Fly Models - 1/32 - PLASTIC
-
Javlin reacted to a post in a topic:
Hawker Hurricane Mk IIc by Javlin - Fly Models - 1/32 - PLASTIC
-
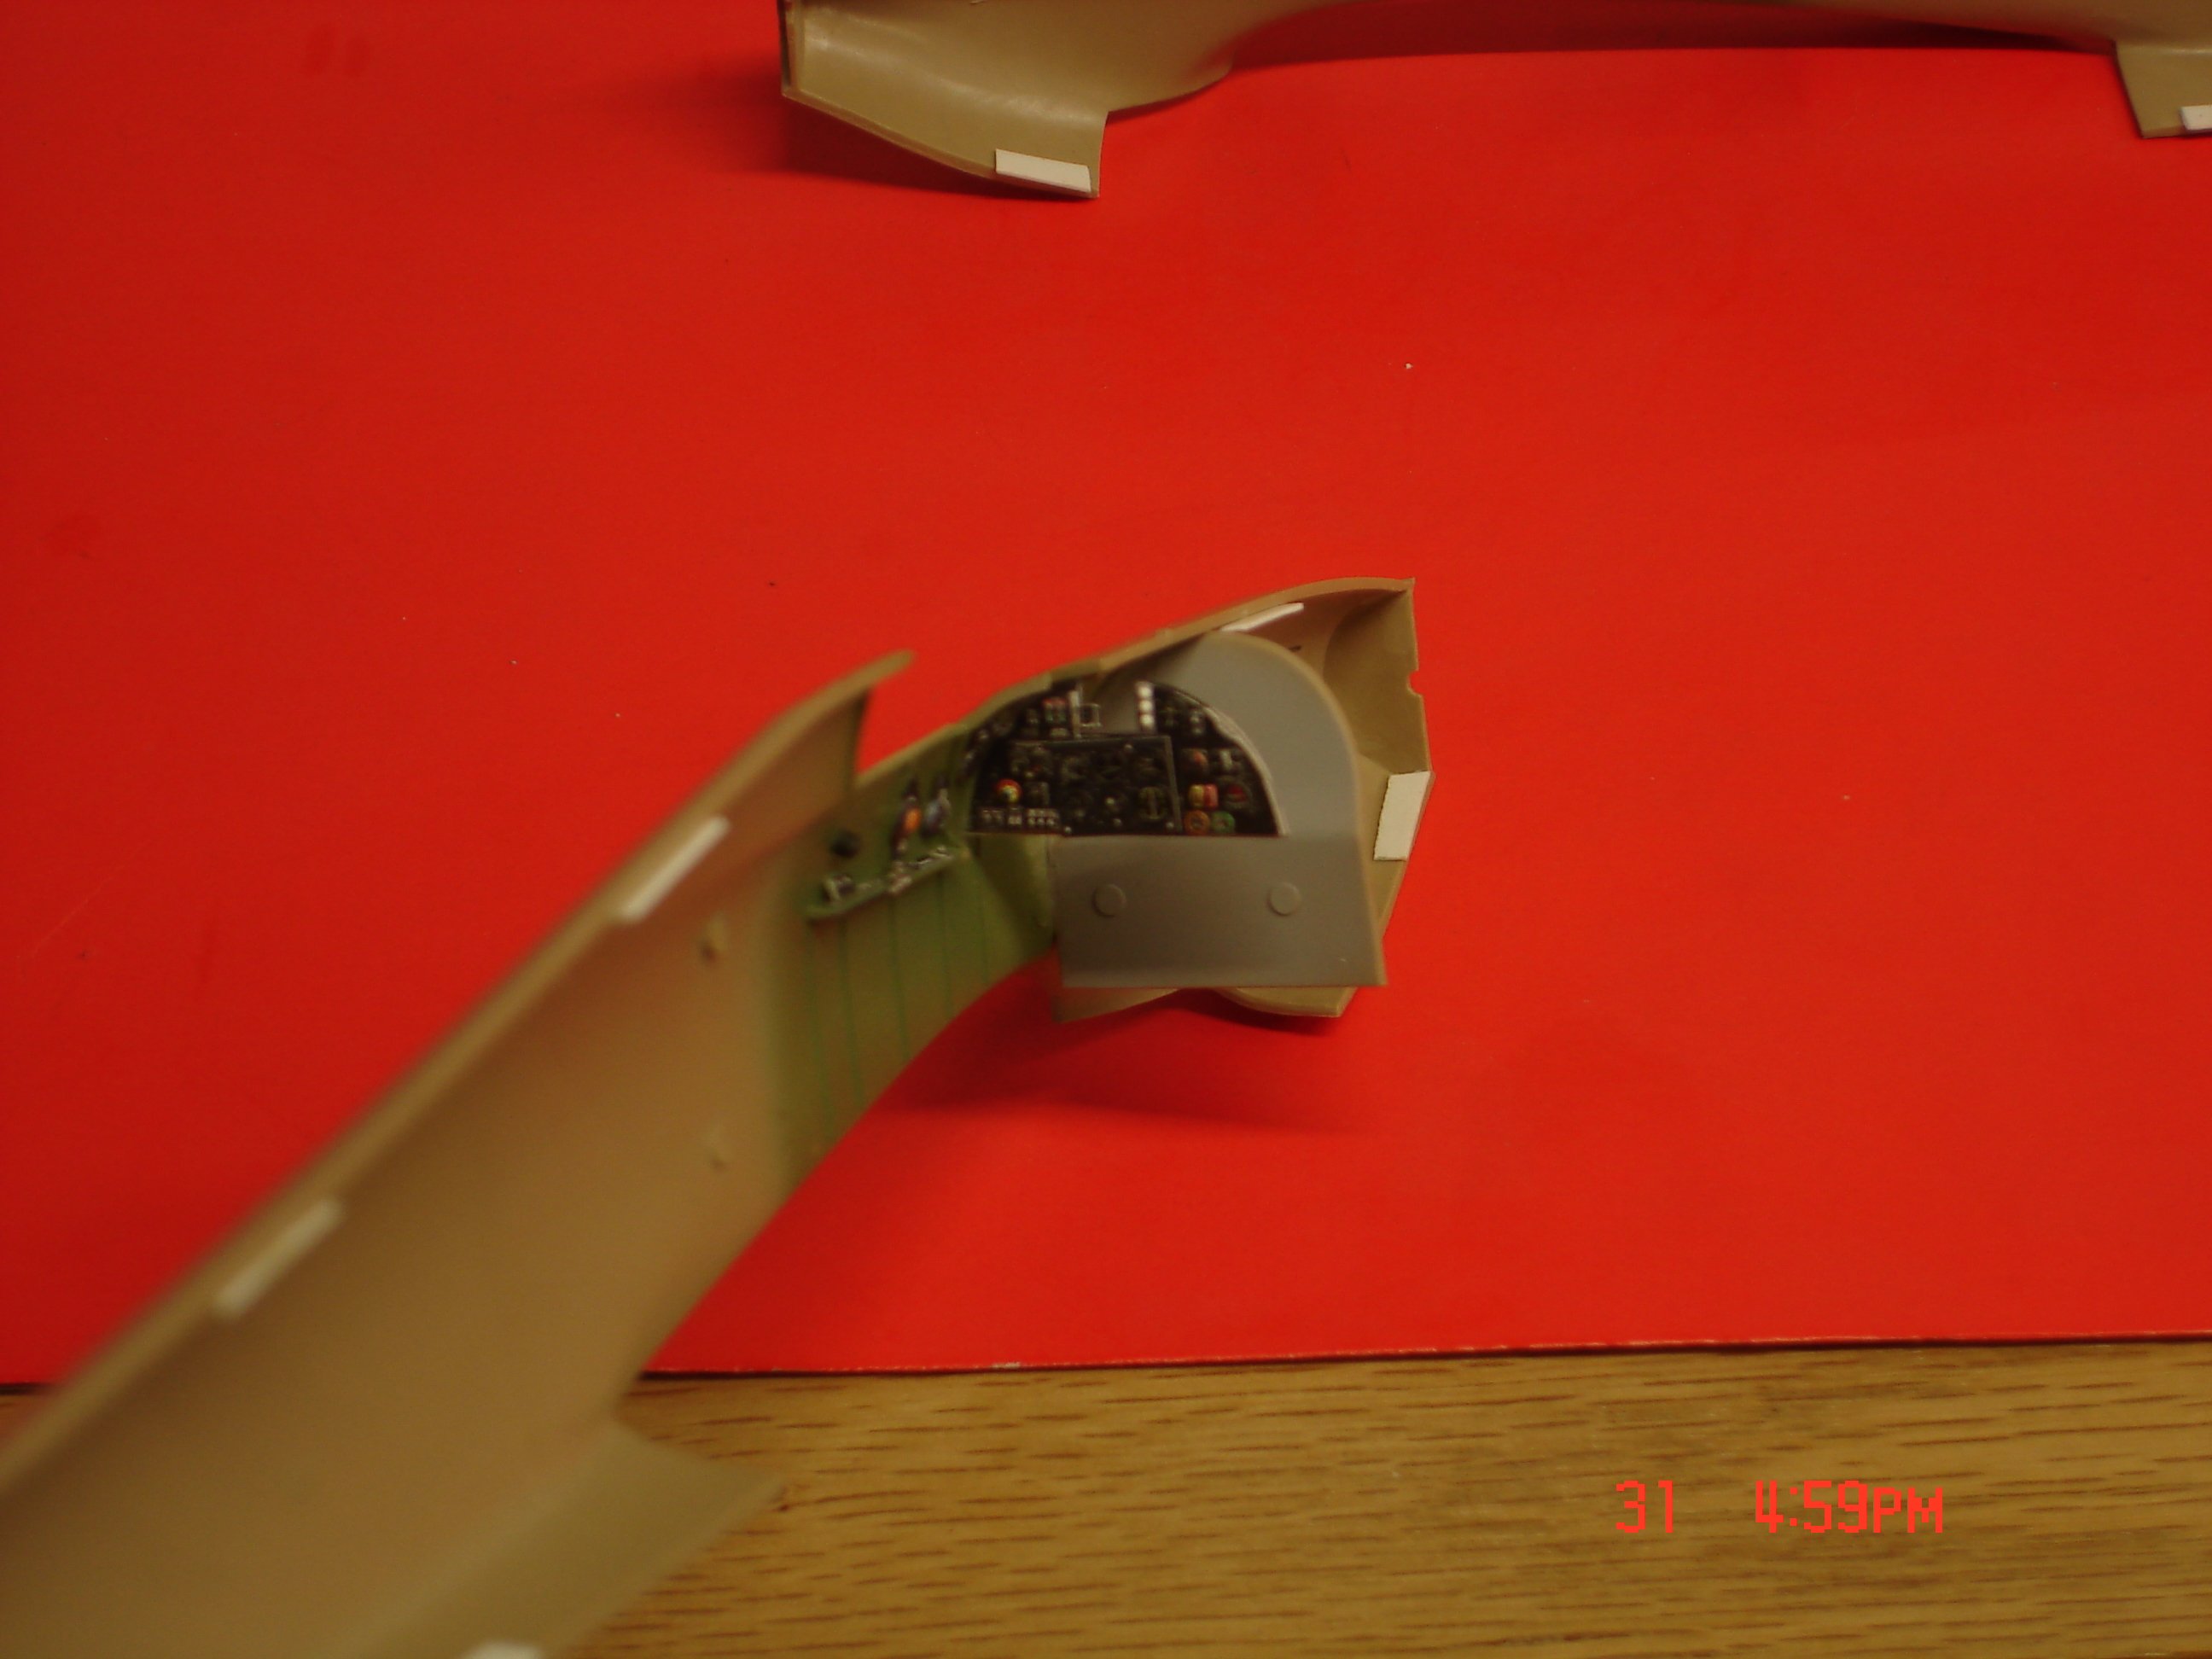
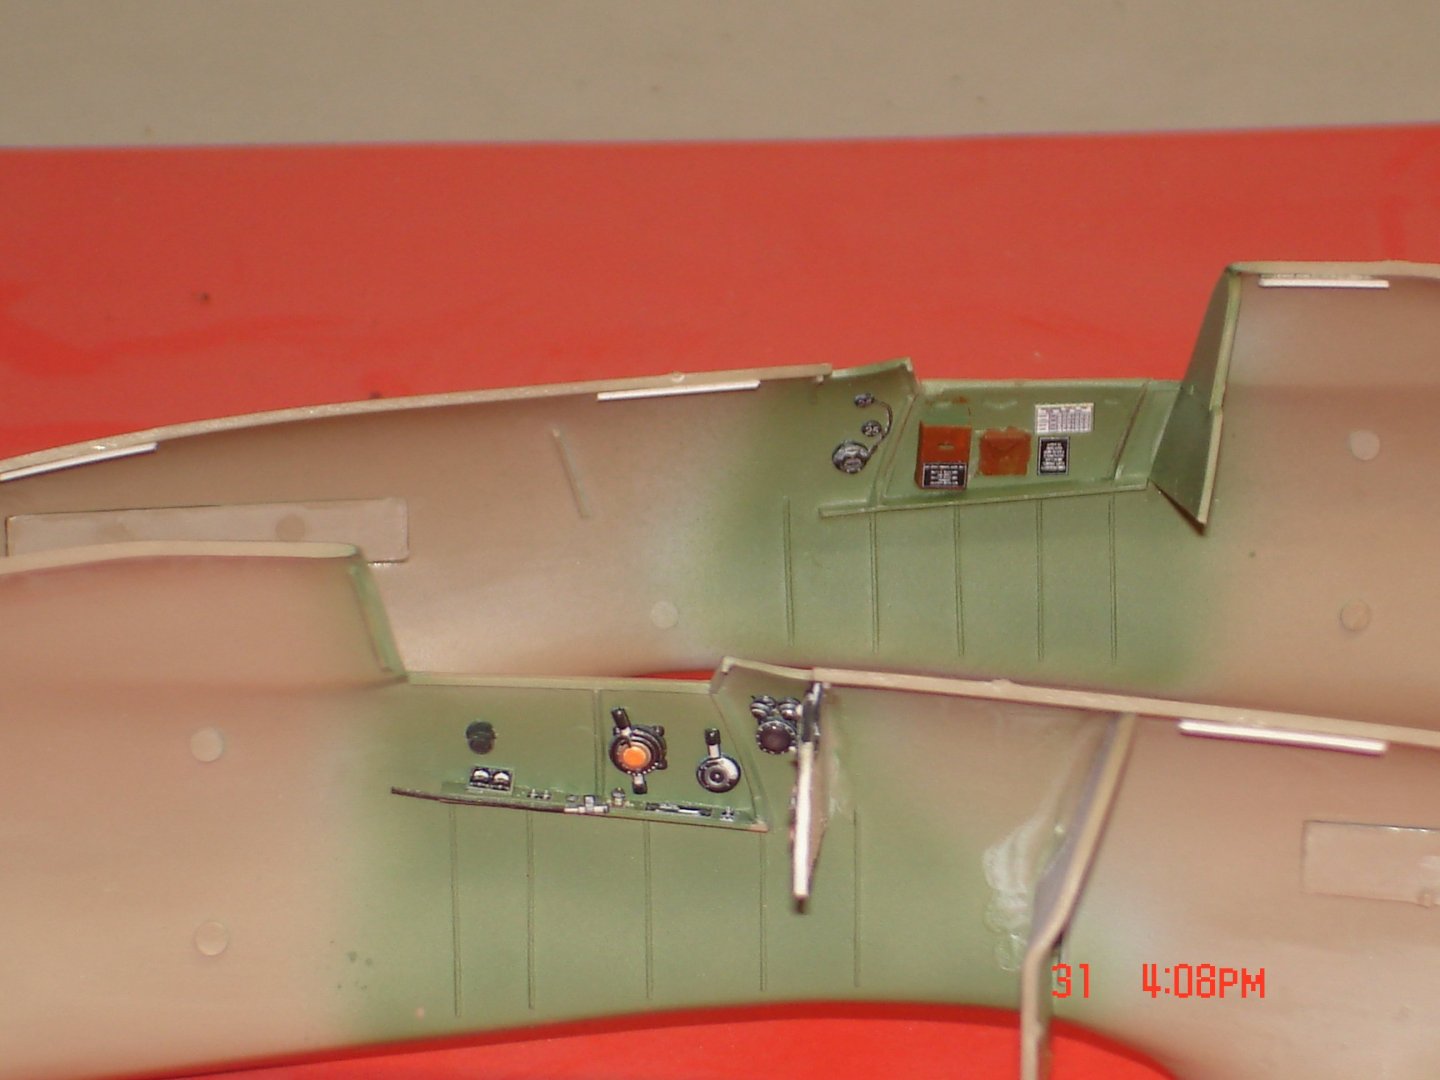
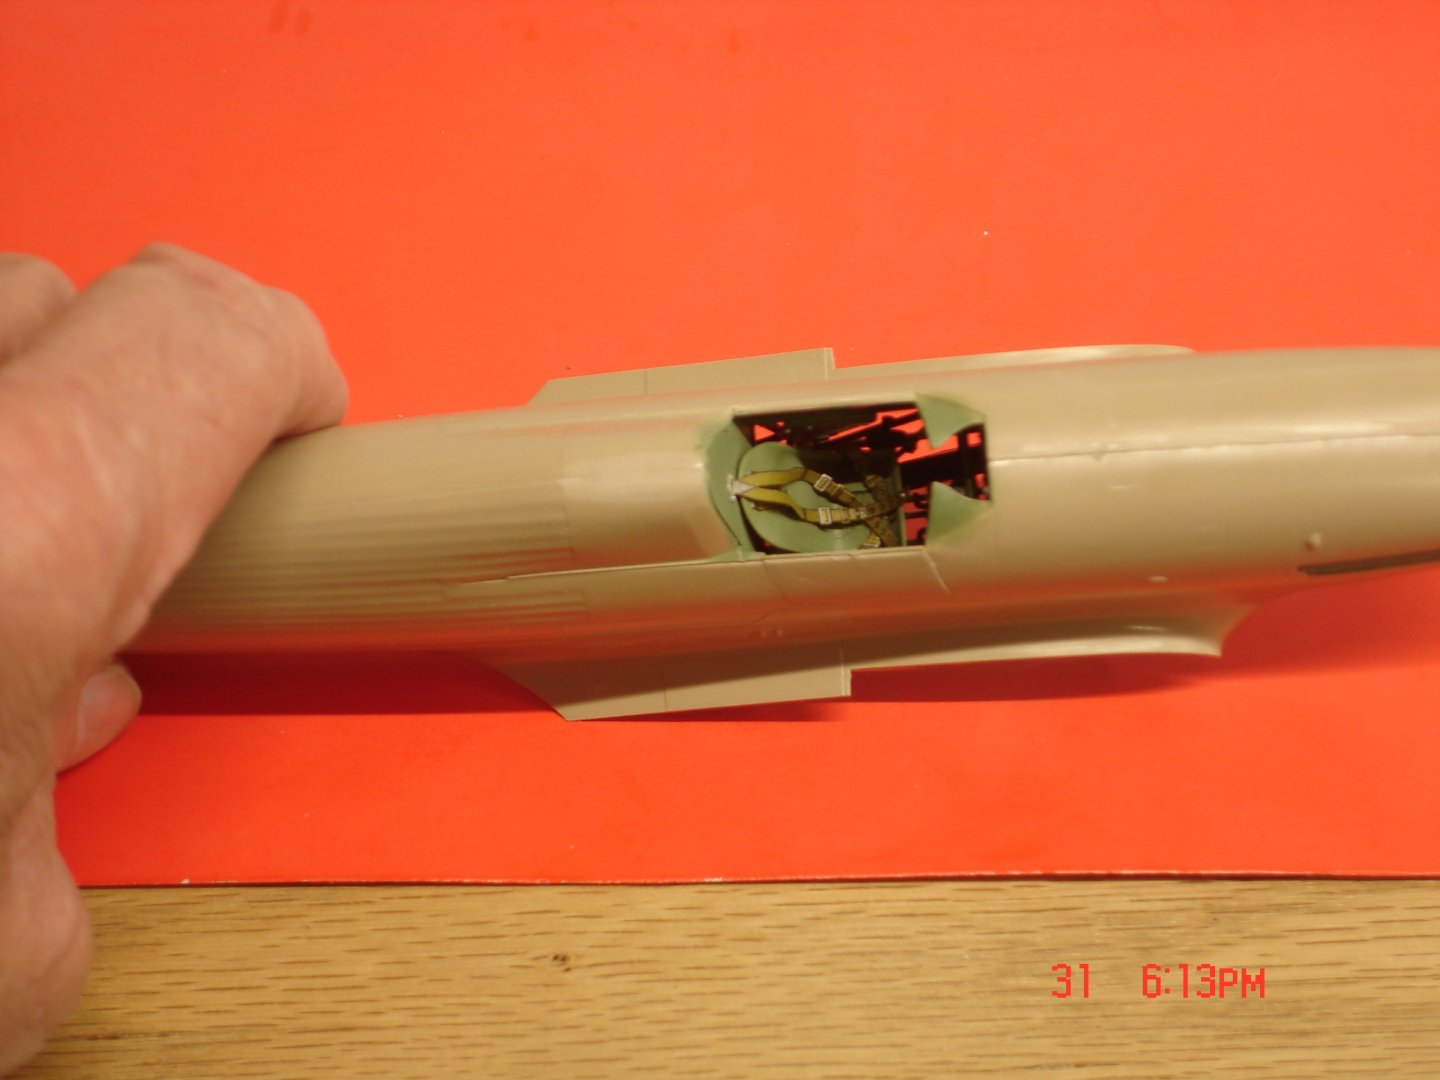
The pit is complete and the fuselage has been buttoned up it came out better than what was being perceived in my mine earlier this week.The Quintas helped quite a bit even though the IP pic sucks it was light years over the PE/film supplied.I did the seat belts a tad wrong but I liked the way they float so left will enough alone.


-
Javlin reacted to a post in a topic:
Seishu Maru by Landlubber Mike - Five Star - 1/700 - Resin and PE - IJA Crane Ship
-
 Javlin reacted to a post in a topic:
Seishu Maru by Landlubber Mike - Five Star - 1/700 - Resin and PE - IJA Crane Ship
Javlin reacted to a post in a topic:
Seishu Maru by Landlubber Mike - Five Star - 1/700 - Resin and PE - IJA Crane Ship
-
Javlin reacted to a post in a topic:
Seishu Maru by Landlubber Mike - Five Star - 1/700 - Resin and PE - IJA Crane Ship
-
Javlin reacted to a post in a topic:
Seishu Maru by Landlubber Mike - Five Star - 1/700 - Resin and PE - IJA Crane Ship
-
Javlin reacted to a post in a topic:
Seishu Maru by Landlubber Mike - Five Star - 1/700 - Resin and PE - IJA Crane Ship
-
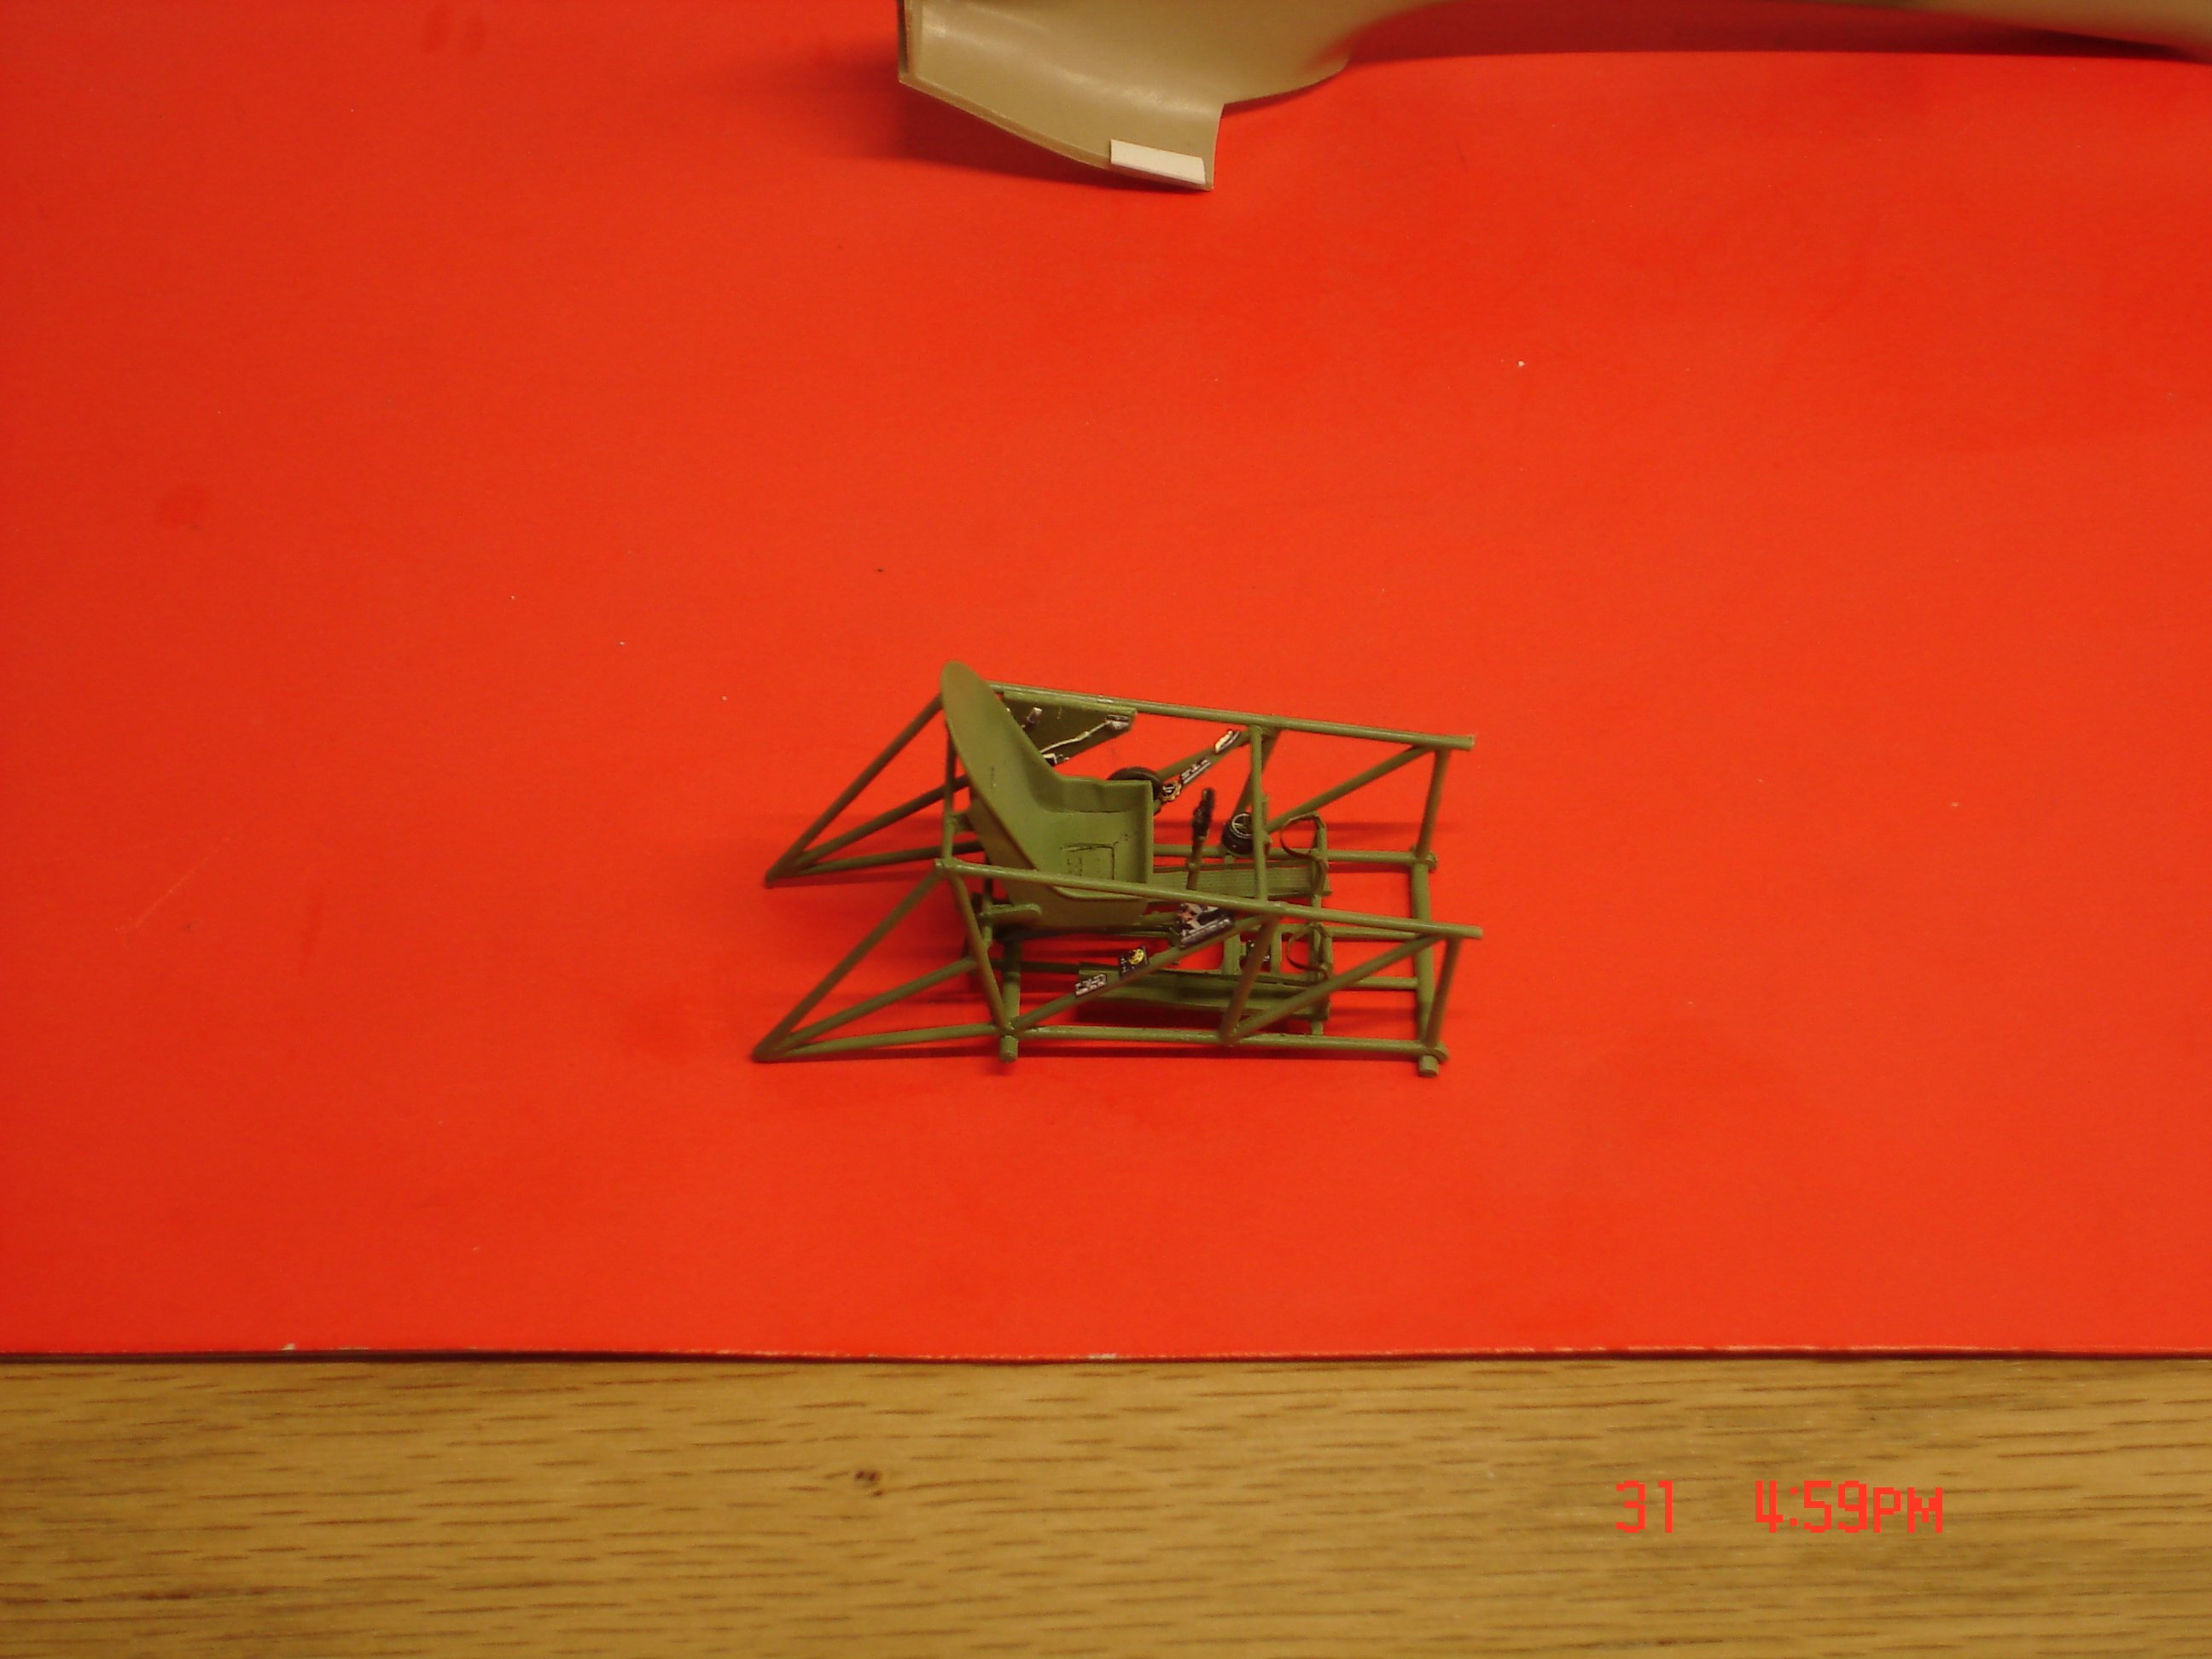
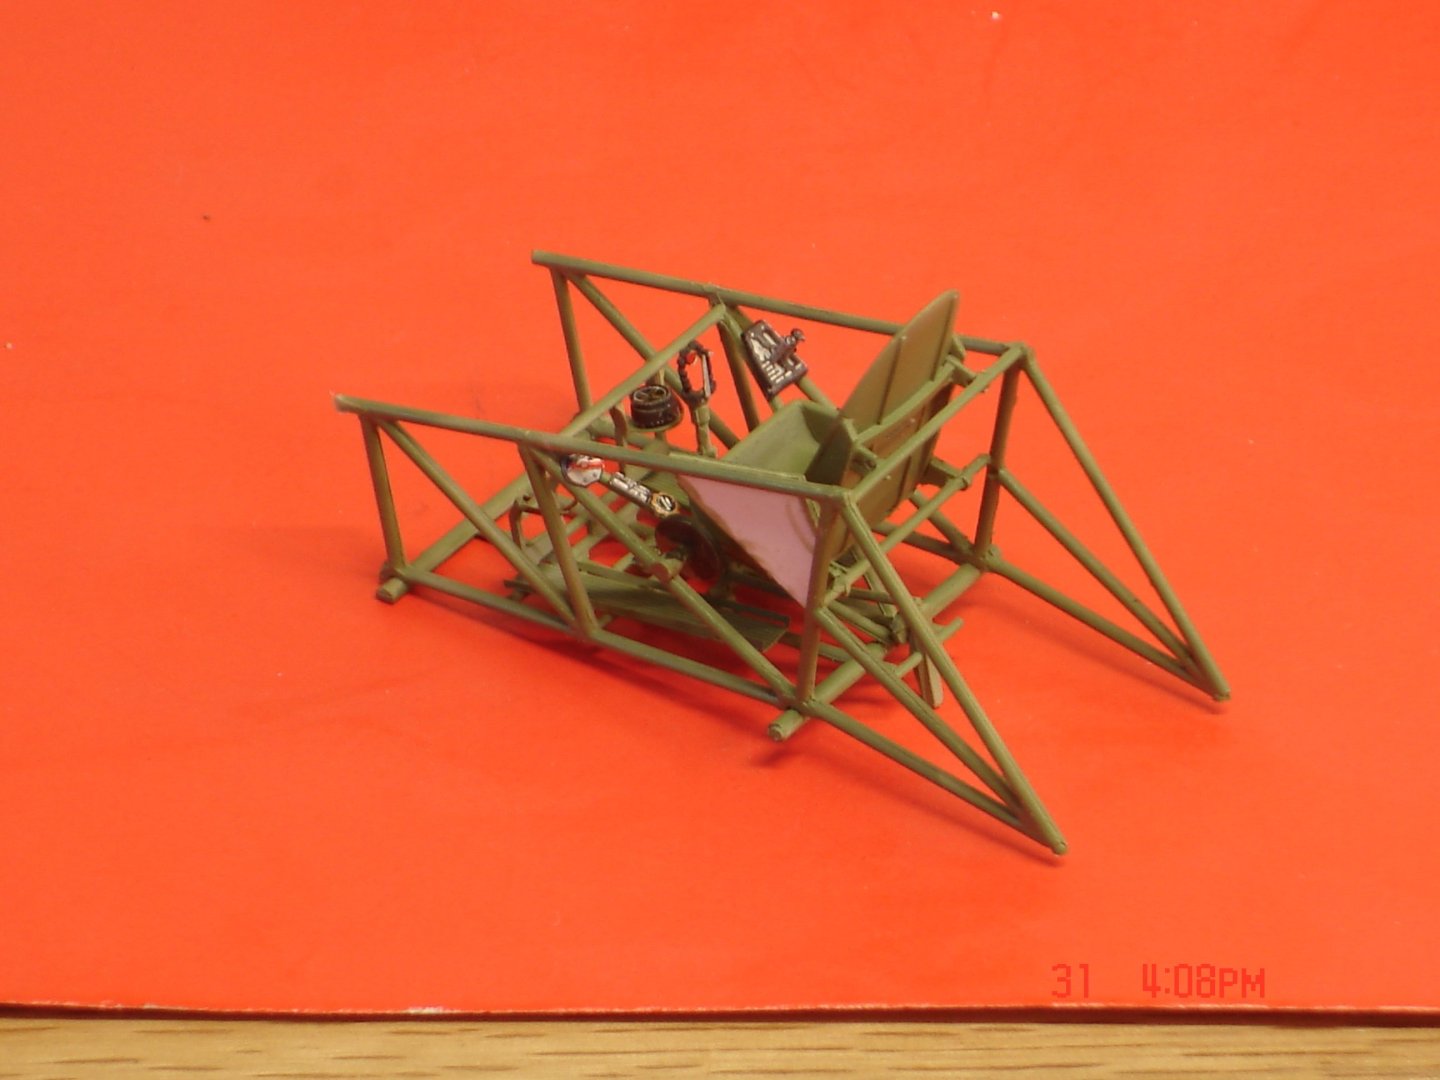
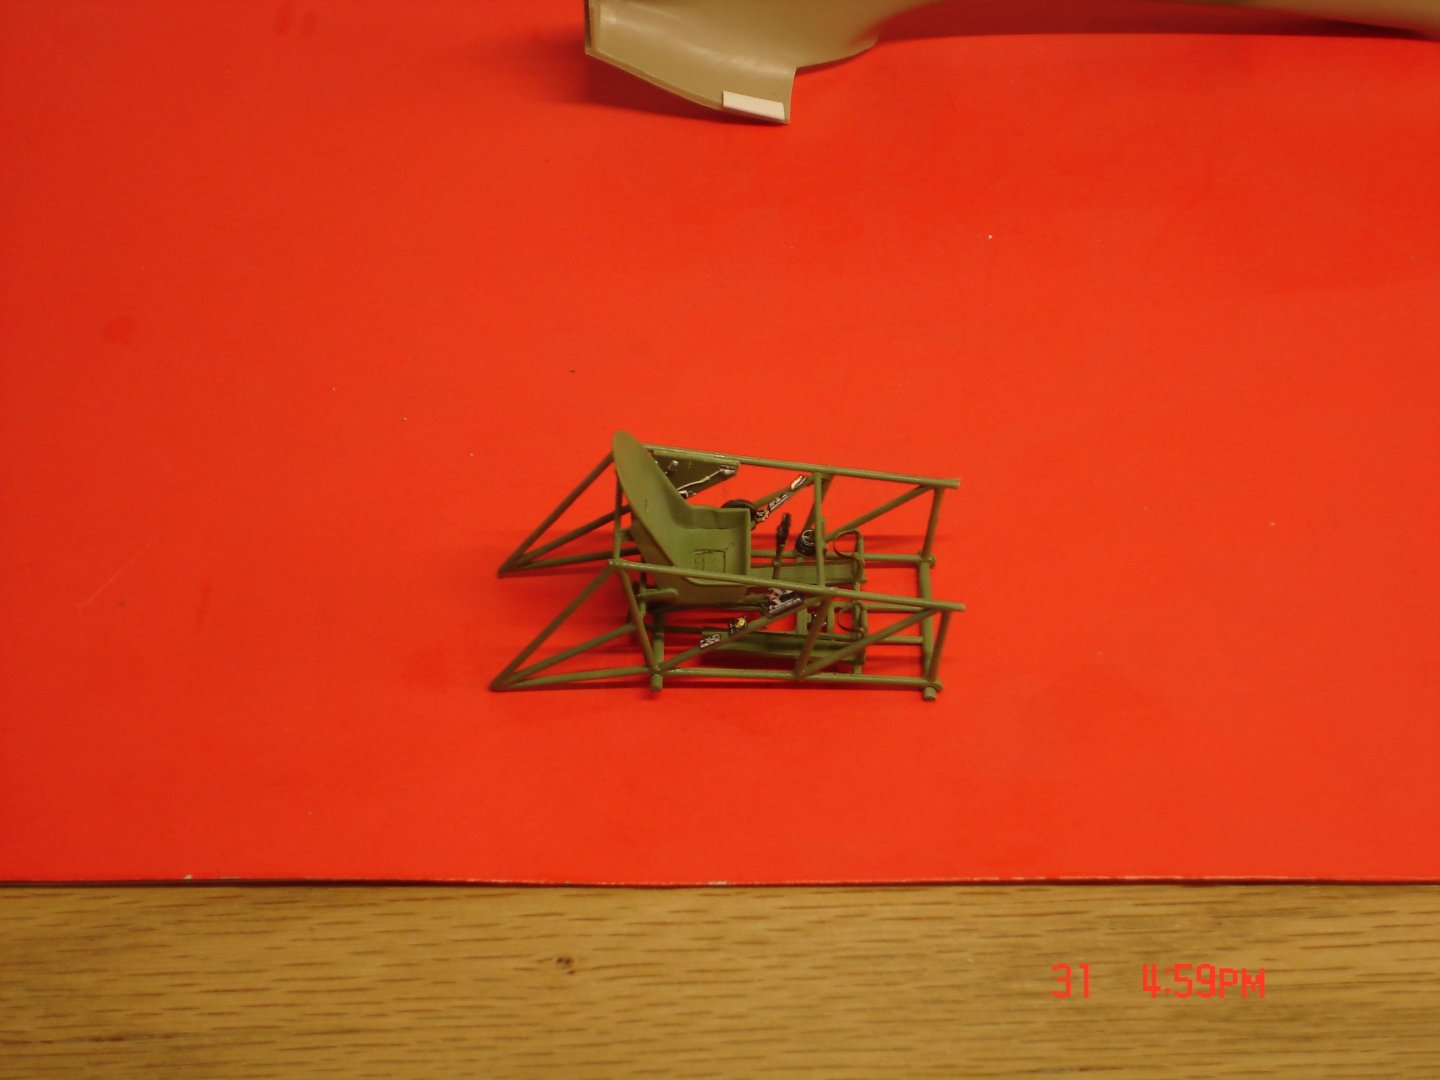
Alright got the main components of the copit done and about to spray the primer then the RAF GreenGrey.I have the Quinta's kit for the inside and will use the etch as an outline to plastic card to which the Quinta's will be located seeing most of these are all black..I am thinking by the beginning of next week I should be pass the pit and onto the rest of the main assembly....the easy part


- 6 replies
-
- 13
-
-
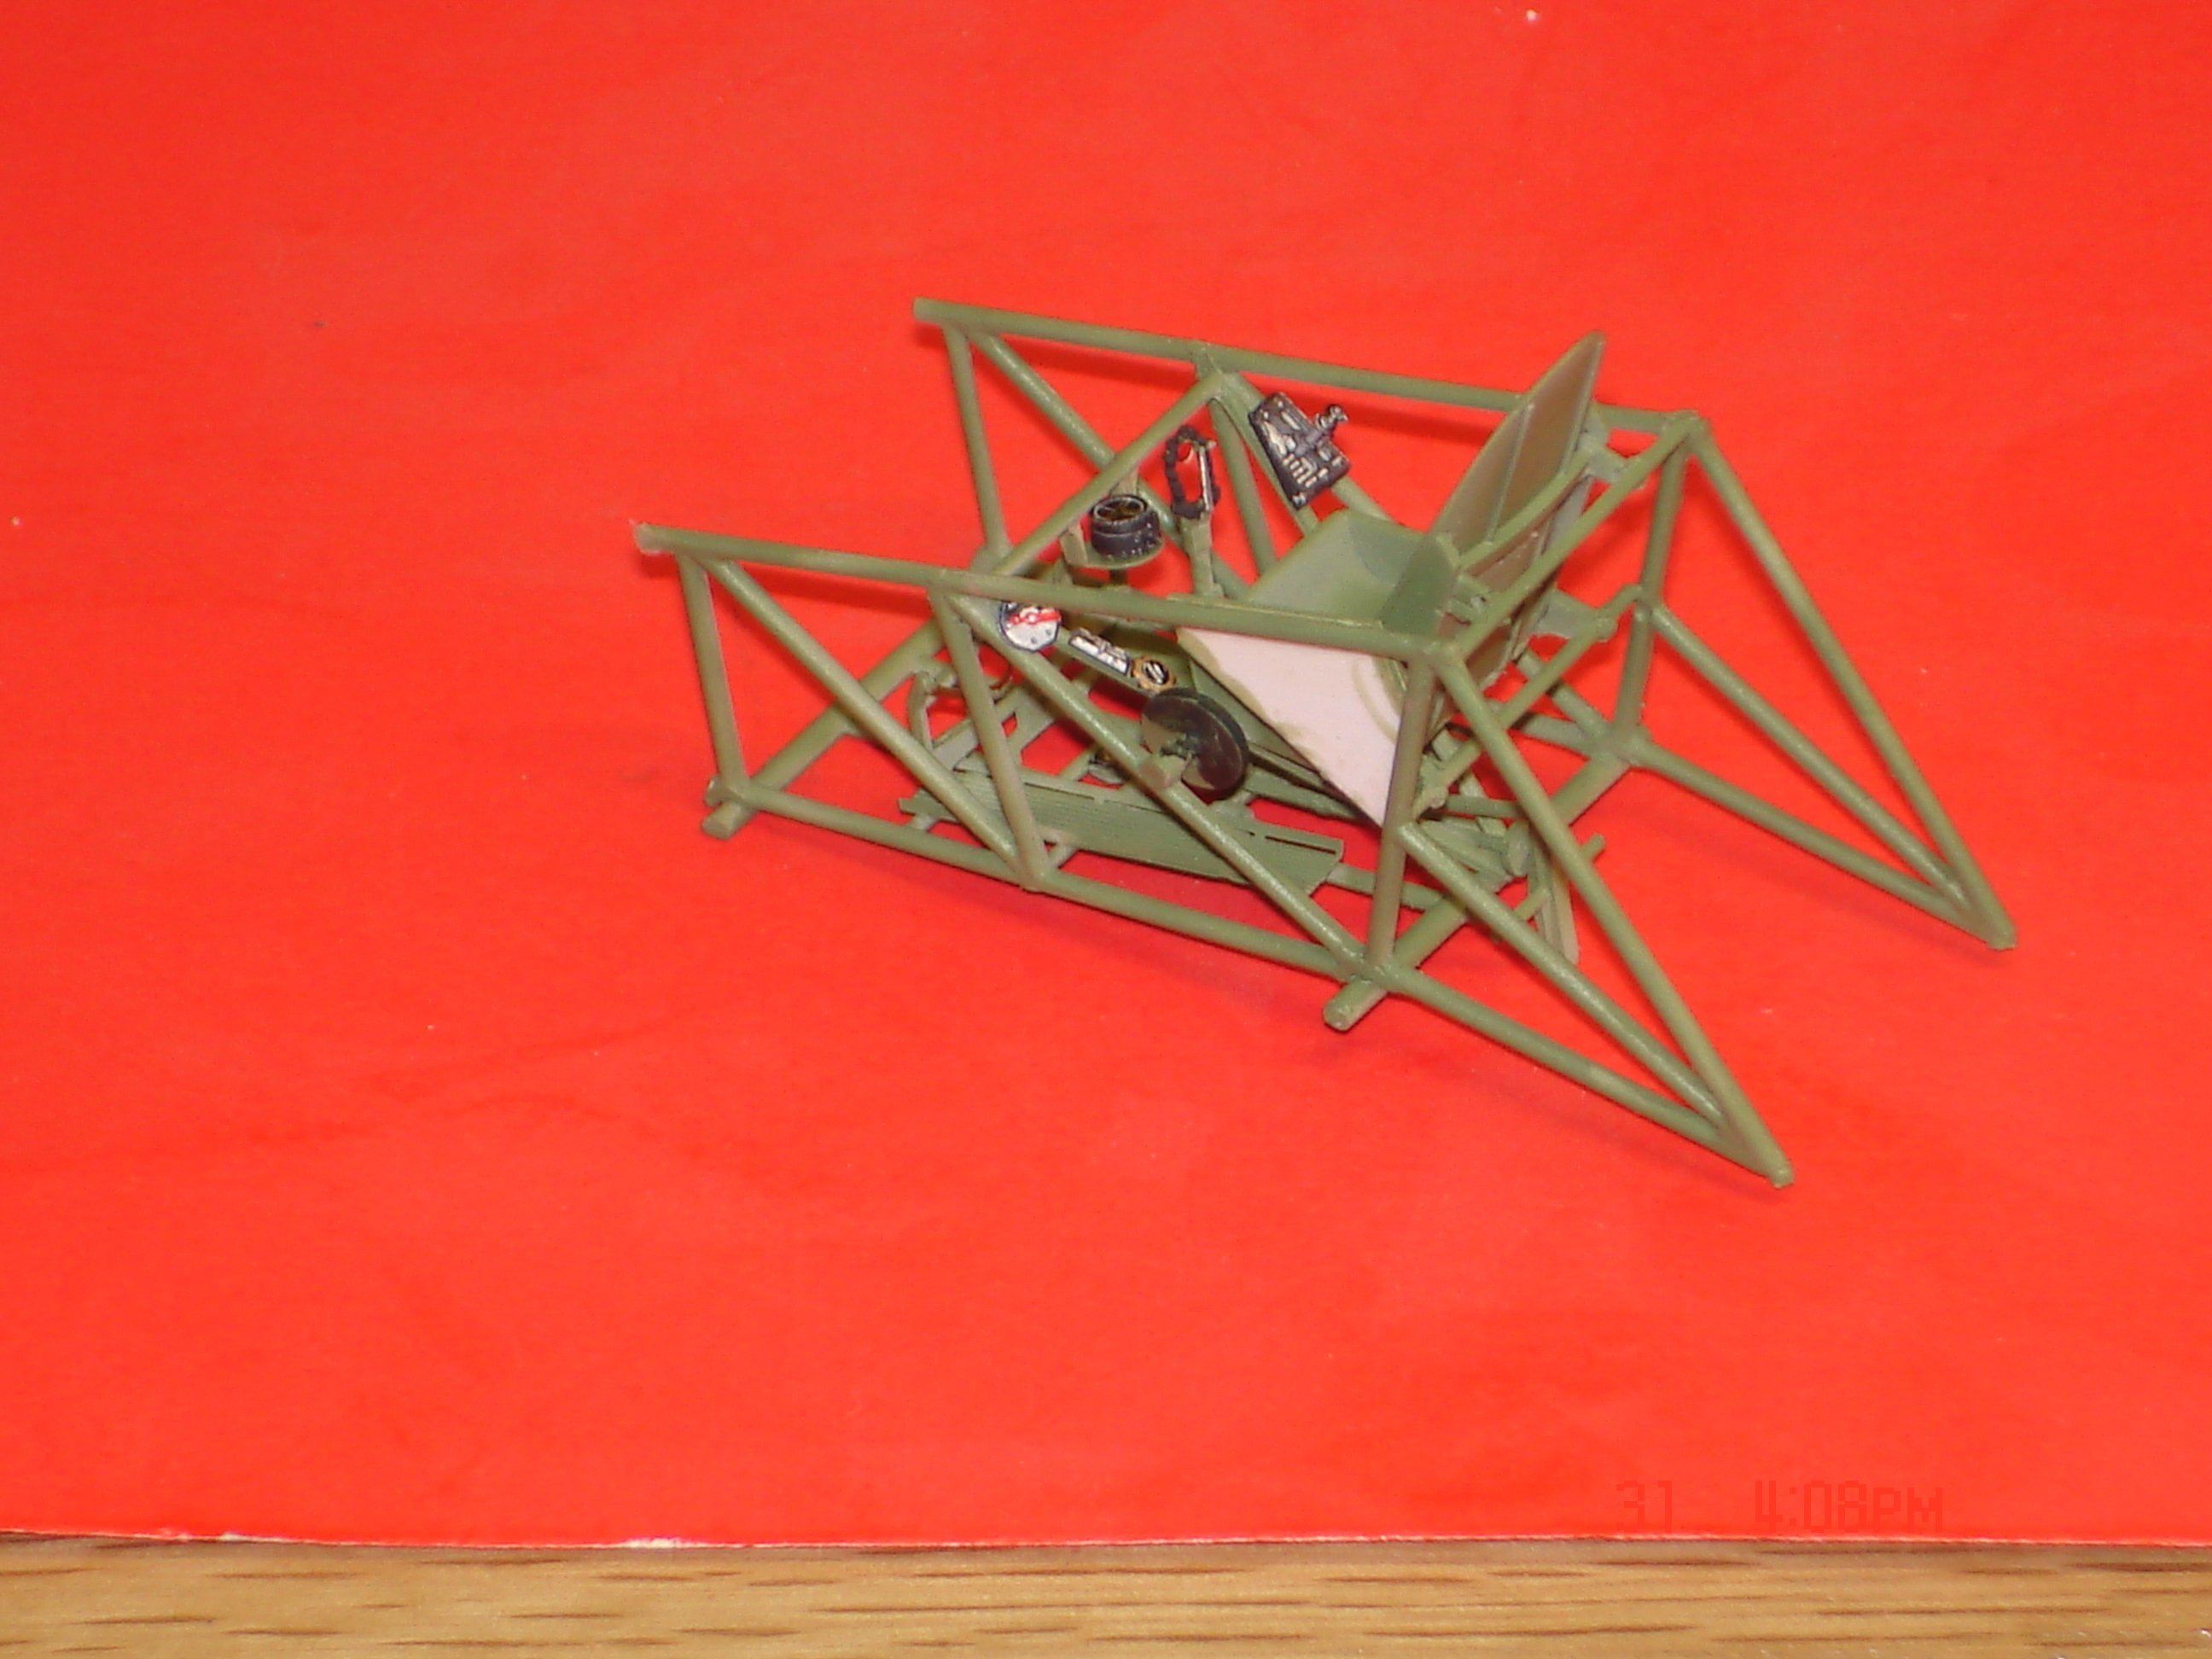
Now the the kit has put me through some challenges for sure one the plastic seems brittle the control stick broke into four pieces!I managed to make a new handle from scratch a tad small but it's going to have to do third attempt.The instructions well when they show part placement go look a couple steps ahead to be sure how they have it positioned.I had to unglue some parts to just slide the triangle underneath the control arms coming off the stick The copit is what I believe is the hardest part of the build and you will see the stick broke again


- 6 replies
-
- 10
-
-
I was over in Mobile at my LHS now HobbyTown and they had this kit 1/2 price @$42 .I know the kit has failings it seems but it really does not look that bad in the box and with Quintas it will be a big improvement on the pit.I already see some small thin wire on the joystick is in order the box cover of the a/c seems to my liking.I will try to take a few more pics as I build I am terrible at that hence the lack of builds from me being showcased🤨

-
Thanks Fellas appreciate the input glad to get this off the desk... now off to the sisters for Thanksgiving down in the Gainesville area.
-
Another one hits the cabinet not as good as the Hustler but pretty decent.I was able to cut away the most offending out register decal on the L/tail area while on the plane straight edge/razor/water.One can still see some register problems on the yellow arches but at this point it is what it is.The blue of the engine area I played with clear blue kinda worked just those areas usually had silver w/blue on top ...next plane.


- 13 replies
-
- 14
-
-
-
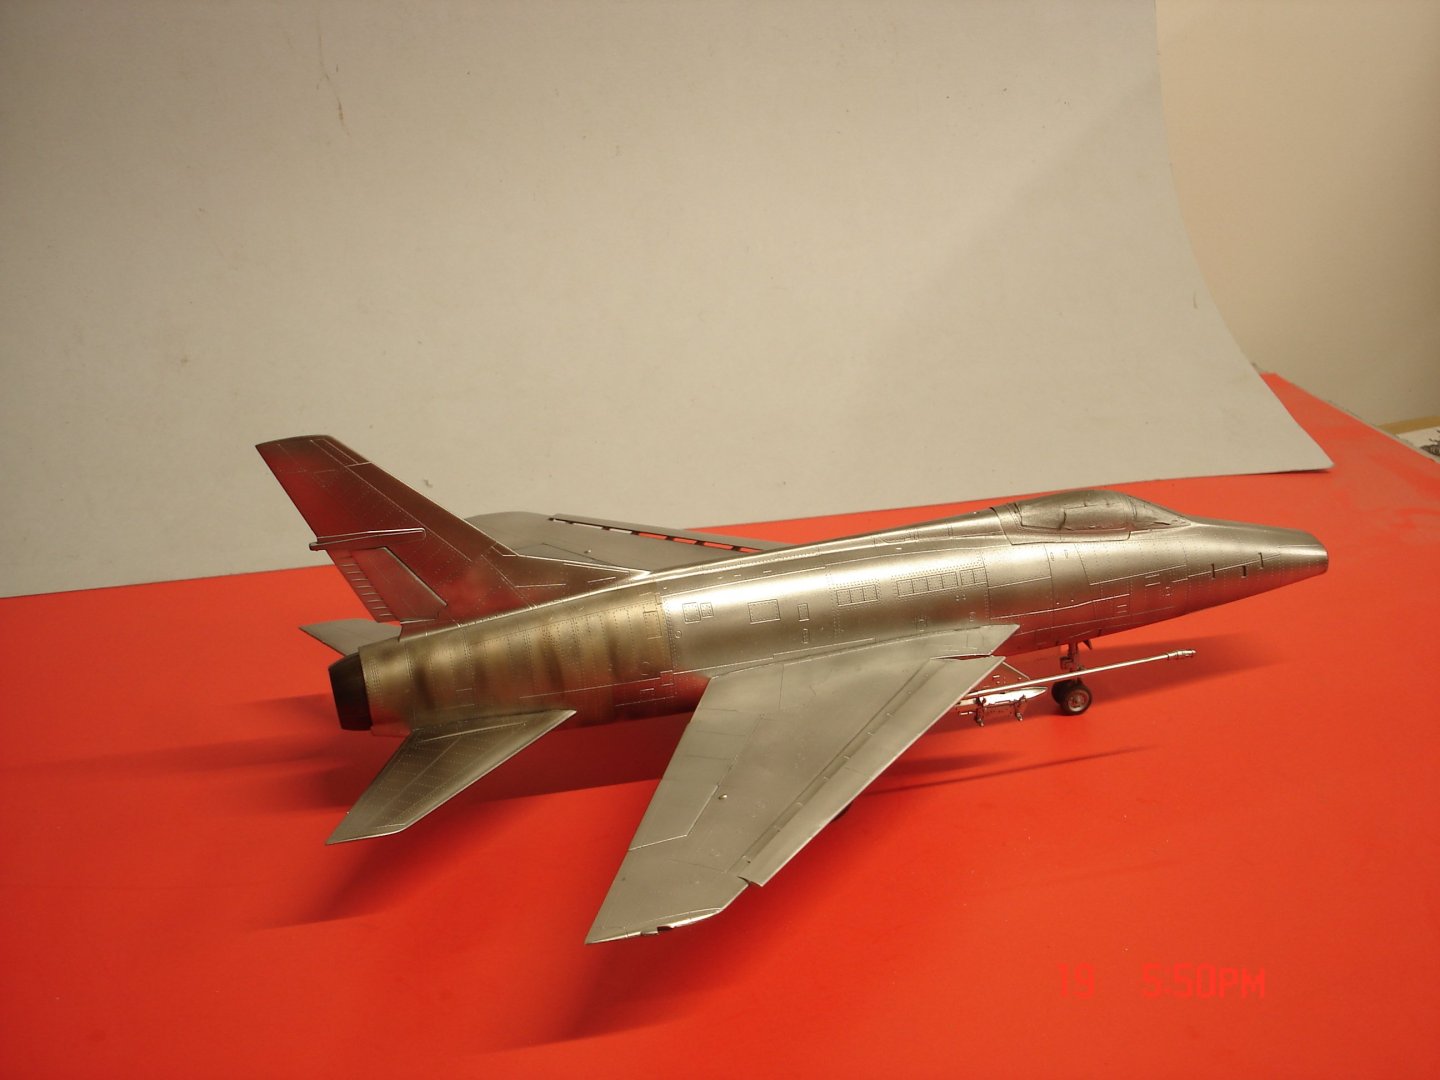
Mike I go MrColor 1500 primer grey as a base coat when dry buff with a worn out 800 grit scotch brite smooth it out.I then spray Tamiya acrylic either gloss or semi-black and then hit with the AlClad back again to a lacquer.This plane being so big I used gloss black from a rattle can something I just had on hand.
-
I used AlClad 105 (polished AL.),#101 Standard AL.(panels) and Steel.Thanks I have been wondering where you have been of late?
-
So lets start with that the decals suck 1/2 of the yellows are out of register and the same with the stars and bars.The red stripes on the engine area were just to then all the decals are so off to painting.I am having to handle this A/C way to much broke off one of the fuel pods no biggie just the point.I am at the point I want to just finish and move on.🤨


-
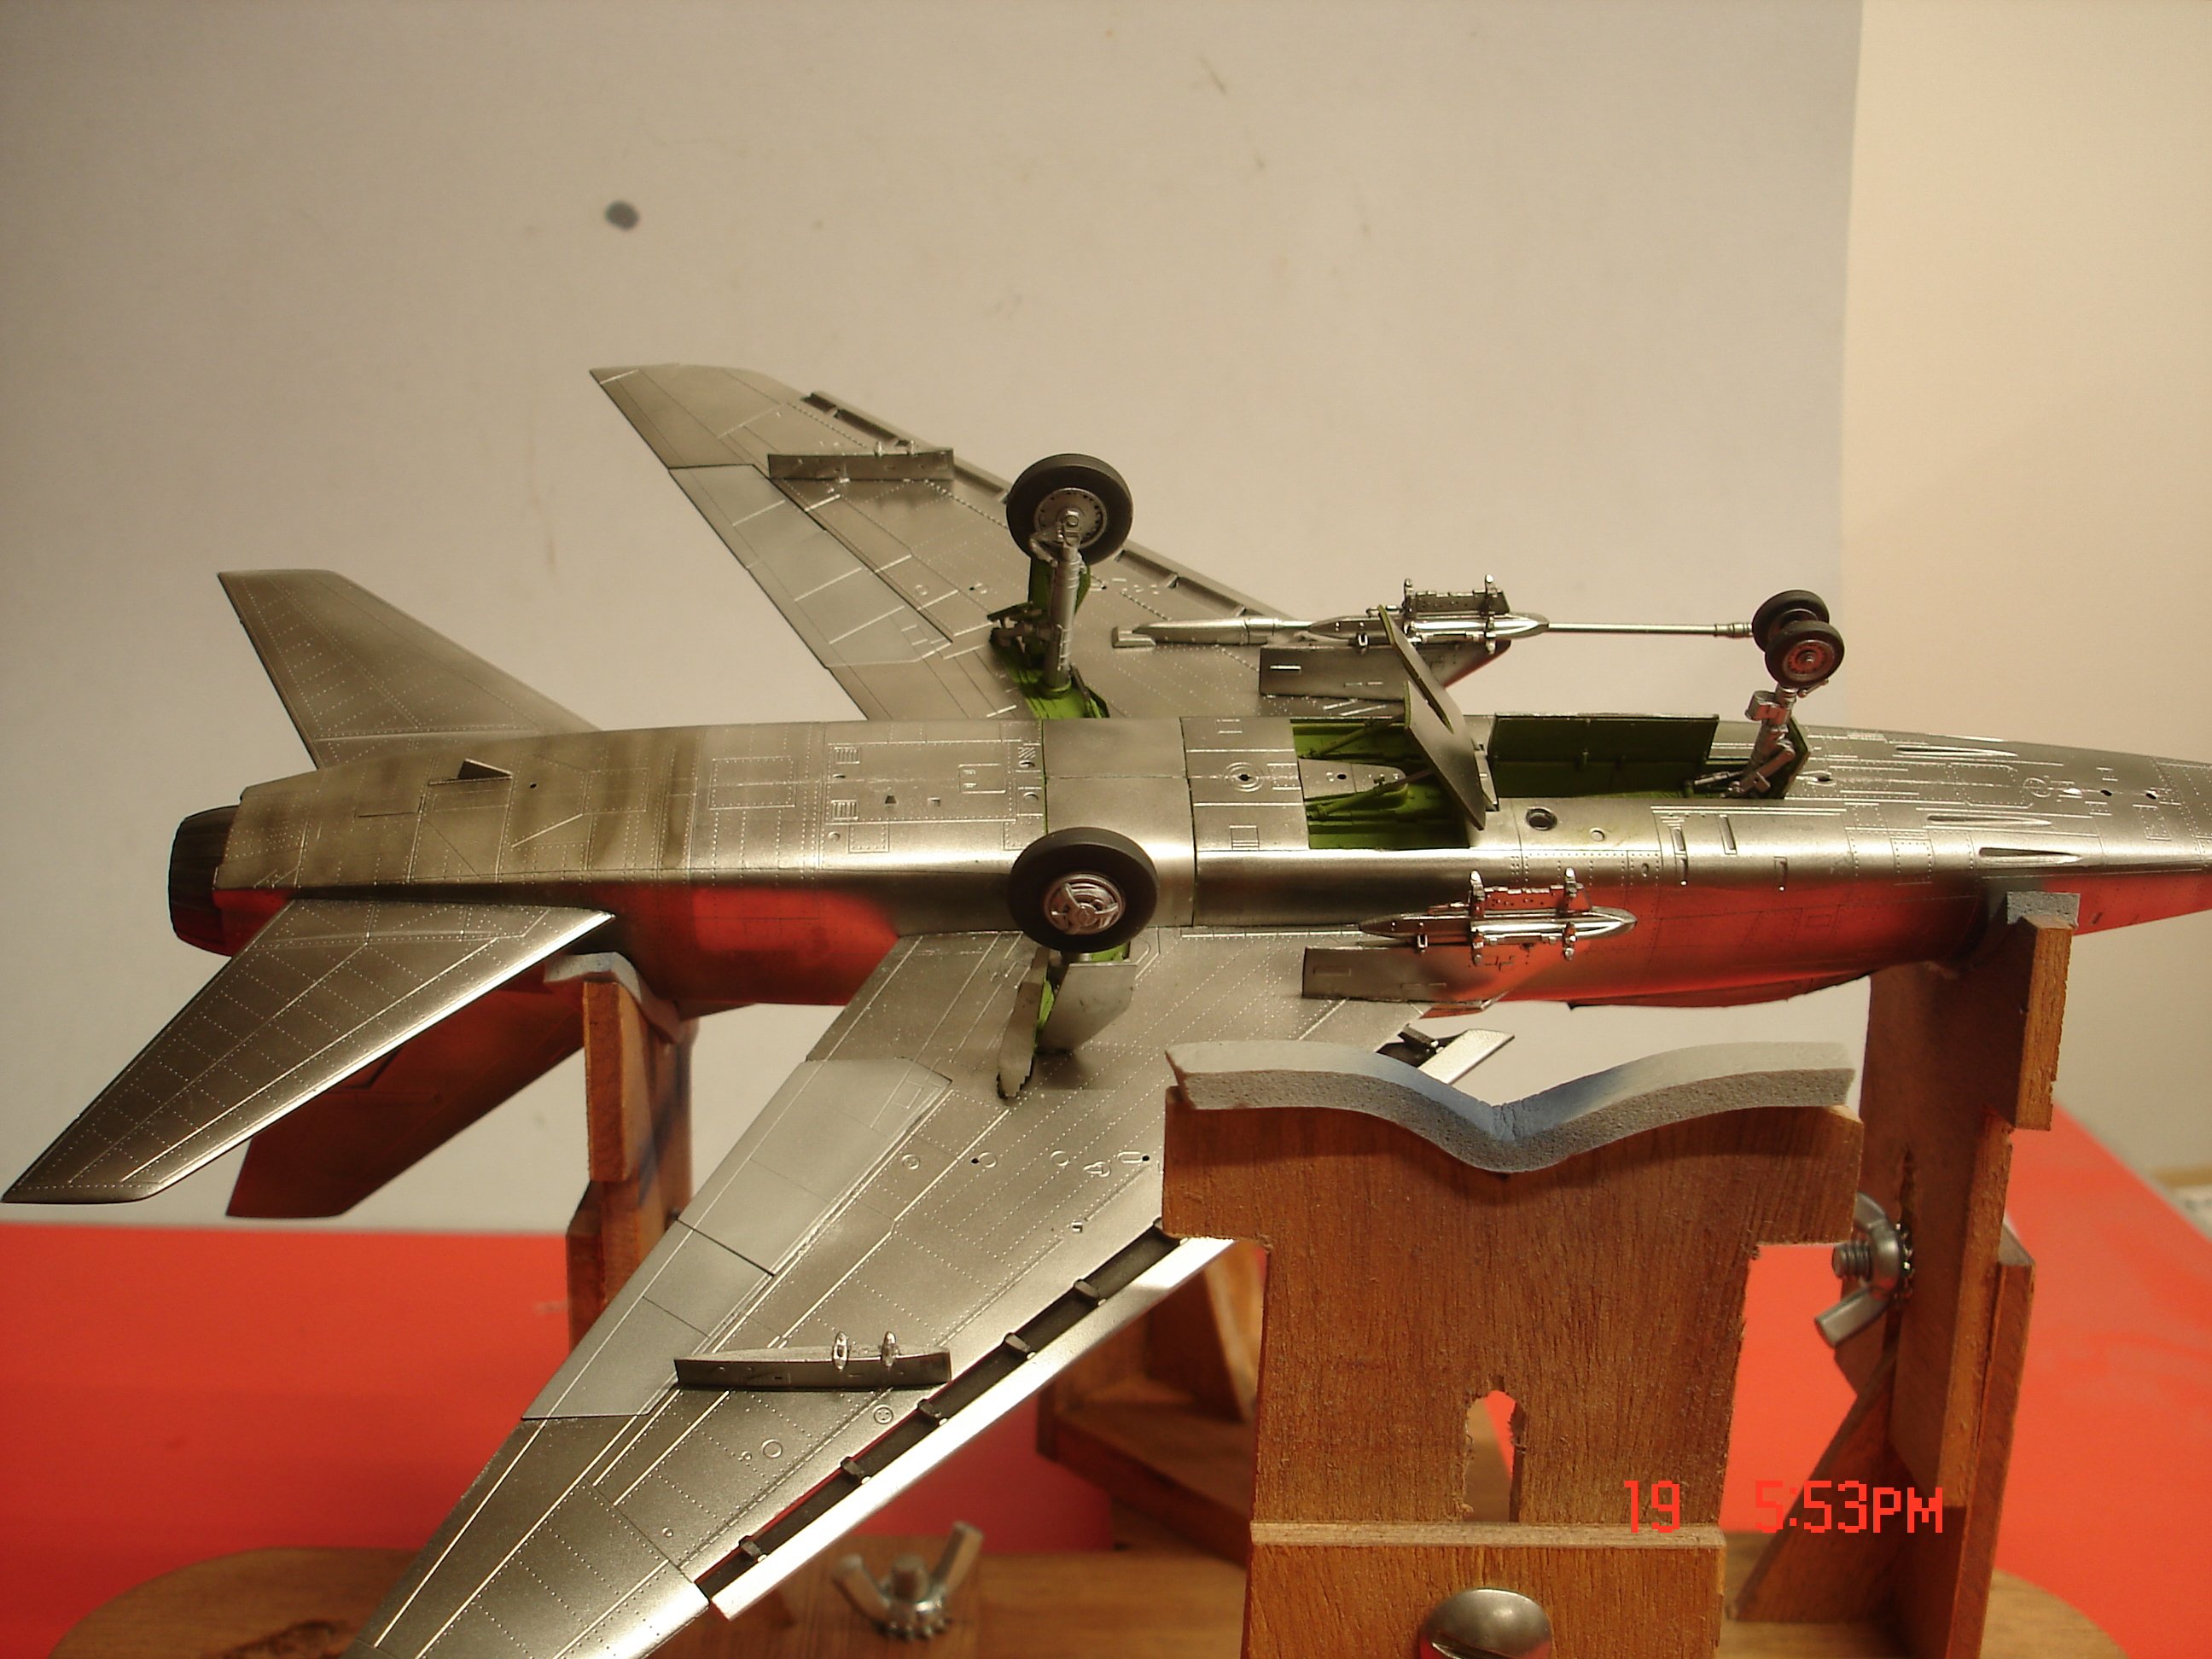
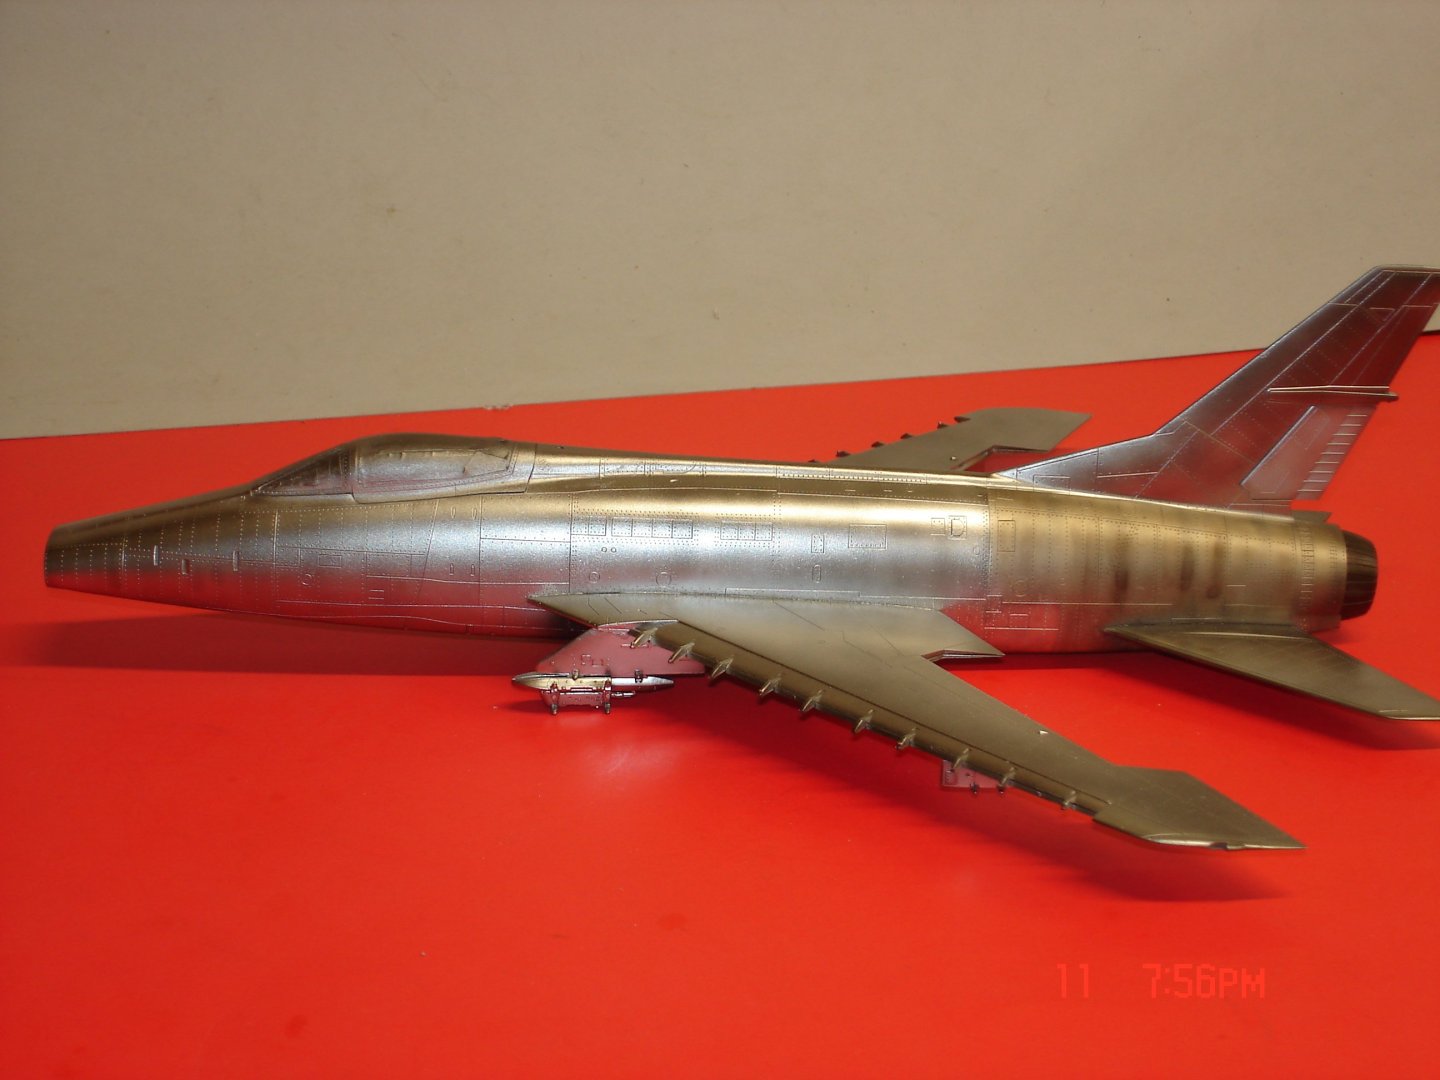
I am moving slowly along on this one the LG's are in place kinda tricky all three!The LG's need to be built while stilling drying to get the proper alignment of three different actuator arms on the main gear and two on the front.The instructions are not the best in drawing or location and to do one side a couple times hence work while drying.I am hoping the decals work well on these curves or I will have to come up with a plan B?I can find lots of D's/F's decals C's hmnn....🤨


-
Thanks Fellas she will be in the Iowa National Guard is what the decals represent if memory serves me right.🤨
-
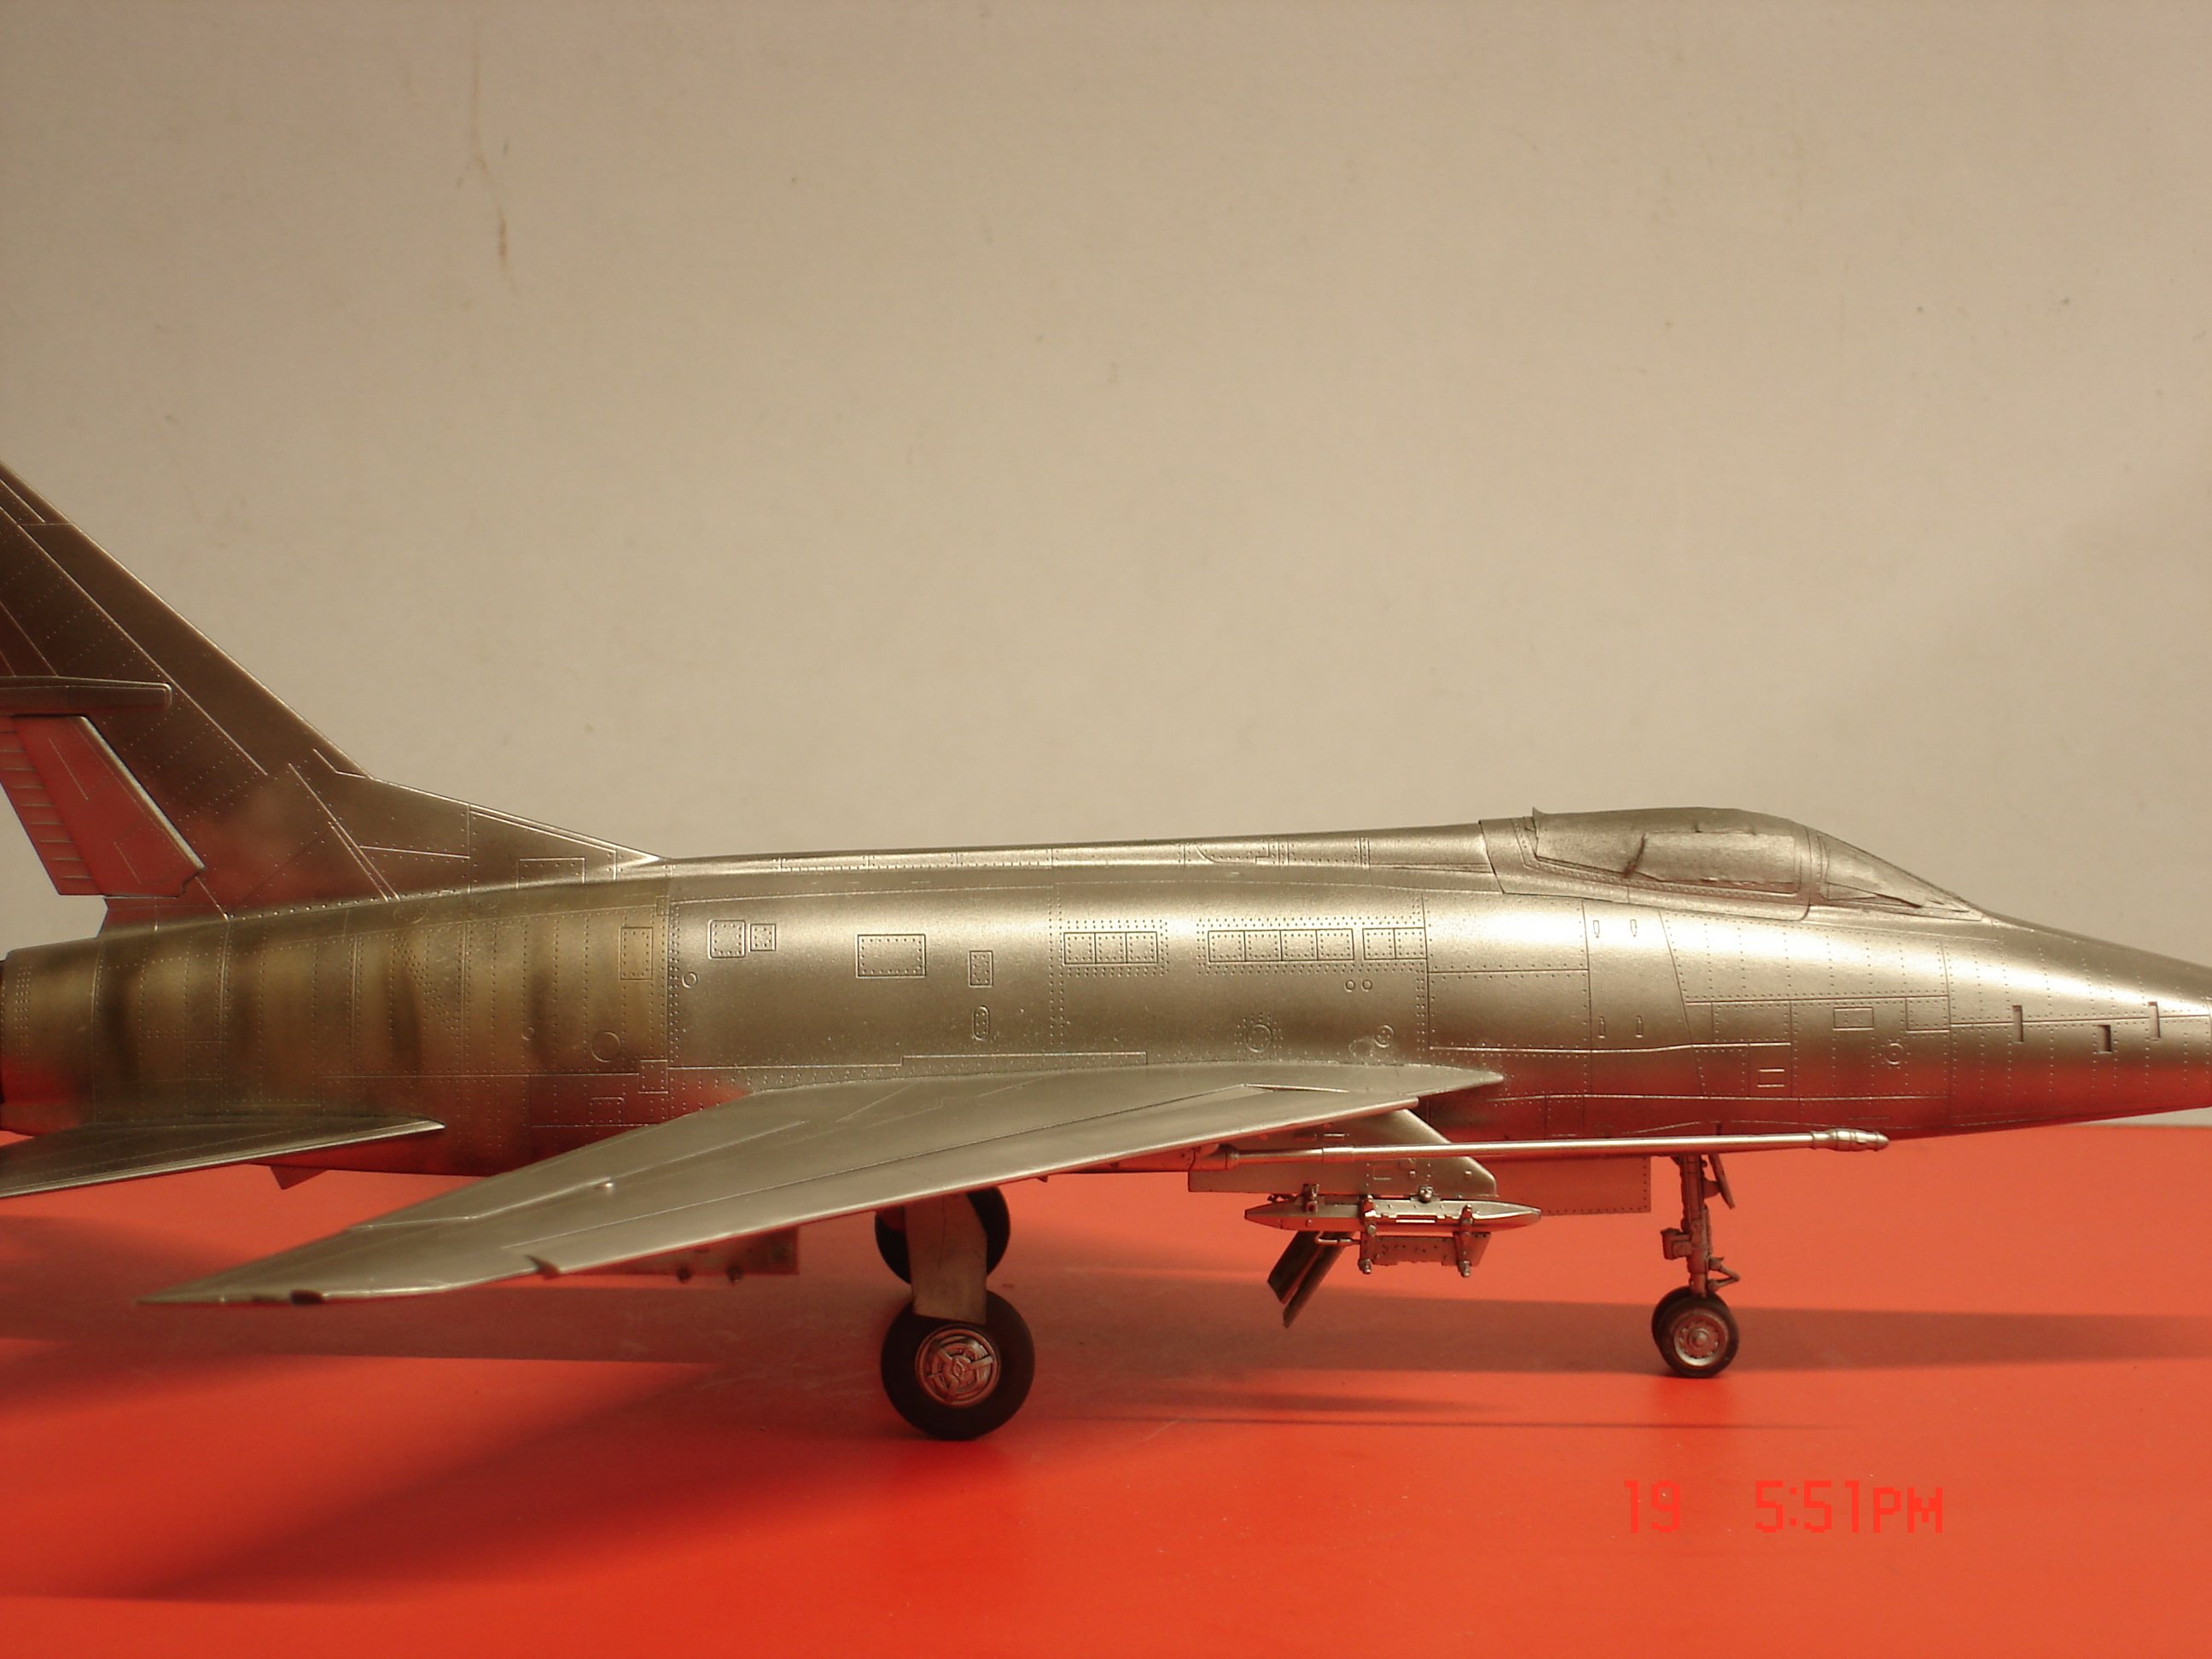
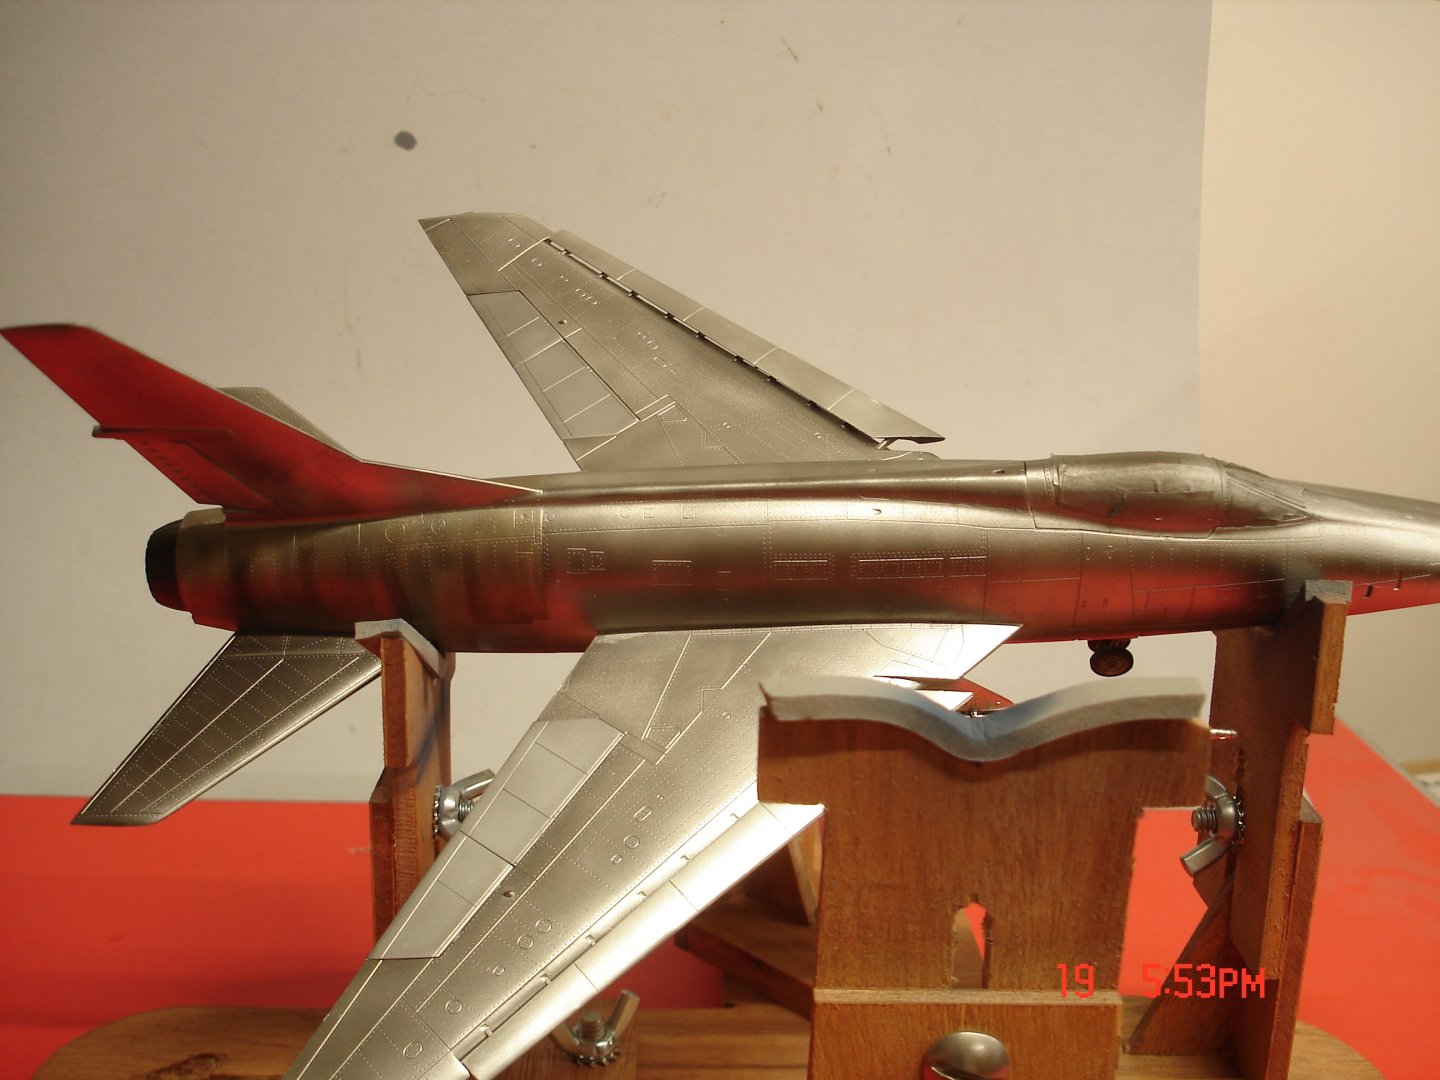
Now I have the Trumpter 1/48 F-100C main color is Alclad #126High Shine AL. Rudder is Alclad #101 Basic AL..The tail are was first Alclad Exhaust manifold,Pale burnt metal a darker Burnt metal all applied in a vertical motion if I had a blue vary sparing some of that would of happened.I had to do some touch-ups on the 126 from paint and I started noticing it was just a tad different and I started doing verticals on the fuse.I hope it last overnight and stays just breaks up the scheme to my liking. This build will be quick guys shoot I have maybe 3/4 hours thus far easy kit with a Nice fit
- 13 replies
-
- 11
-
-
Thanks Alan not much really happened on these planes panel wise but what you see.I saw two A/C on videos with those strange colored aileron's decided to incorporate it into the build used AlClad Steel first then it was every other panel I used SNJ powder with a q-tip re-taped and sprayed steel again.