HOLIDAY DONATION DRIVE - SUPPORT MSW - DO YOUR PART TO KEEP THIS GREAT FORUM GOING! (Only 51 donations so far out of 49,000 members - C'mon guys!)
×


jablackwell
-
Posts
304 -
Joined
-
Last visited
Content Type
Profiles
Forums
Gallery
Events
Everything posted by jablackwell
-
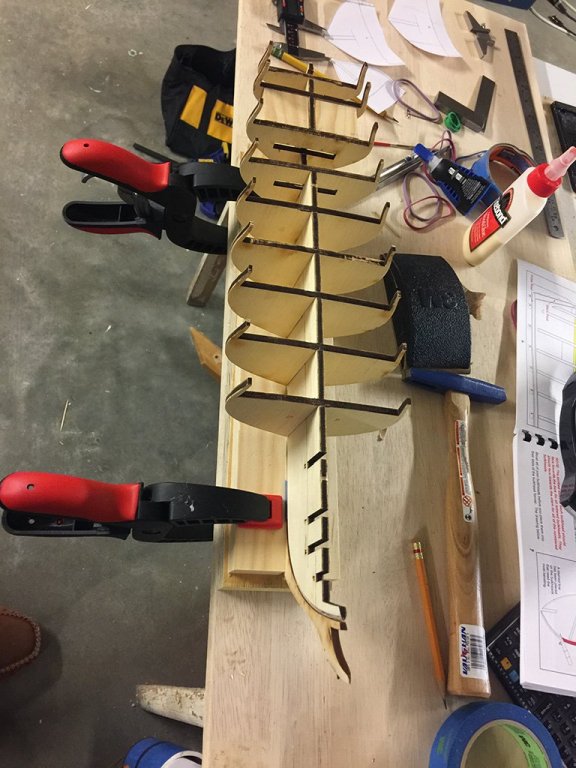
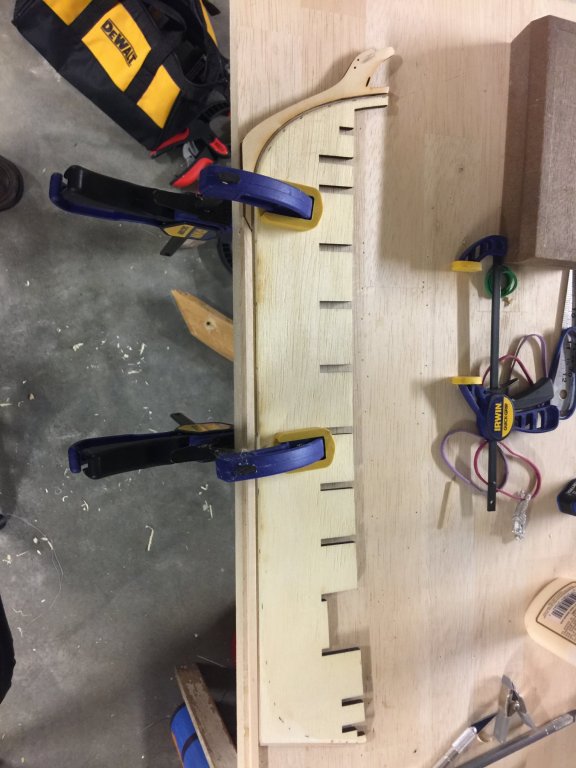
 Got a little work done on the Syren this week, between cooking chores for the big Thanksgiving thing. I have most of the bulkheads sanded and dry fit (no glue yet) and am working on the filler block concept. I also fashioned a jig to hold her straight while all this is taking place. I decided on a jig with one half bolted in place and the other fence made adjustable and managed by using clamps. This way I can keep it tight, but also remove the ship, when needed, with ease. Happy day to you all. ~john
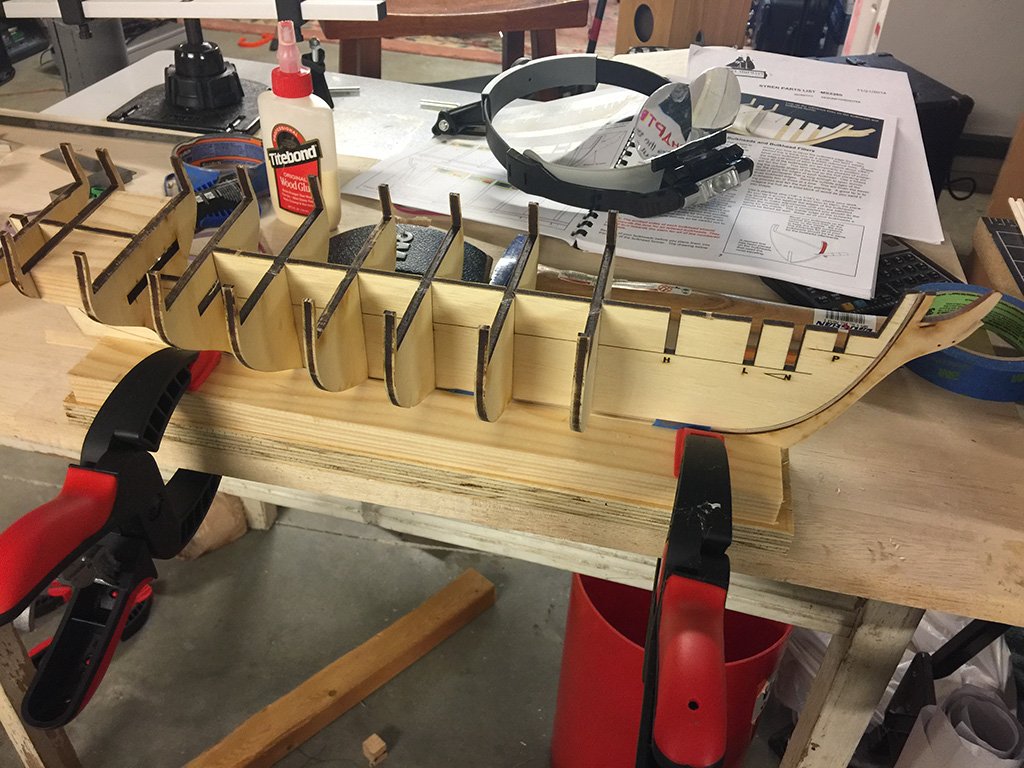
- 90 replies
-
- 6
-

-
- syren
- model shipways
- (and 1 more)
-
I hear that! But there is also a wonderful mix with BOTH... the infamous James Bond version: 3 ounces Gordon's Gin 1 ounce vodka 1/2 ounce Kina Lillet Lemon peel for garnish I am more of a vodka man. But I digress,,,,,, I will post build images soon ~john
- 90 replies
-
- 1
-
-
- syren
- model shipways
- (and 1 more)
-
Ahhhhhh! Well, that sounds like a good way to watch this build ;-) I love a good martini, but the question is this: Gin or Vodka? It's been a while since my last post, so perhaps I owe everyone a status. I am working on taking the bulkheads and sanding them down, then shaping them appropriately so that they sit on the keel board properly. I am tapping them into place and then cutting small pieces of 1x2 as filling blocks. My main line is a tiny bit curved, but the filler blocks will take care of that. Welcome to the build! I'll post some images soon. ~john
- 90 replies
-
- 4
-
-
- syren
- model shipways
- (and 1 more)
-
The length of the struts will depend on the placement and angle of the cabane struts. Make sure these are properly placed and angled out appropriately to match their attachment points in the upper wing. Once those are in place, you can attach the upper wing and check into the length of the interplane struts. These came out very close to their planned size for me, maybe a mm off. You have to cut them a little long in order to file them to a wedge fit into their parts CAW42. They should be tight, as in they will "lift" the lower wing a bit and they will attempt to pull down the upper wing onto the cabane struts tightly. They shold not bend the upper wing... that's too tight ;-) ~john
-
That's unfortunate: just call back to the folks at Model Expo, and they'll take good care of you. I would resist cutting and soldering Brittania Metal, but it can be done if you want to give it a try. ~j
-
I measured the width of the fuselage at the joining location for the lower wing.... then set that accordingly. The gap in mine was a tight fit. Note that you need to place a metal fittings (landing gear struts) between the wing's inner most rib and the fuselage. In my build, the fit was too tight, so I had to carve then file away a notch for the gear struts to slide into. It worked. ~j
-
Looks really good! I can only hope that mine goes as smoothly. Keep up the fine work. ~john
-
They call them Pulleys, yes.... but they are more like nubs or extrusions, or something....
-
Hi Mike, I started in the front for all of the control wire rigging. Getting the elevator and ailerons fixed in a level position was easy with some spare sewing thread to tie them in place. The control stick I secured using a jig made out of spare single-strand copper wire... a little flimsier than a paper clip. I then sat the plane on its nose on a block of 2x4 into which I had drilled a hole and placed a rod that fit into the engine mounting hole at the front of the plane. I didn't want the thing to fall over while rigging, and that nearly happened a couple of times anyway! In the instructions note the way they cable over/under the little protrusions on the control stick. This just will not stay put no matter how much you try. You could, I suppose drill fat holes there and thread the cables through them, but I didn't go through this level of care. It will depend on how much you actually intend to move the controls once the model is complete. Mine is for display only, so .... each to their own ;-) ~john
-
Hi Mike, That would work, yes, but there is some concern that CA will make the line brittle with age and cause breaks later in the model's life. Quite a few people here on MSW use a thinned PVA glue instead, and a toothpick or tiny brush to apply to each knot. ~john
-
Mike, The brace rigging for the empennage is distinct enough that there would be no advantage to adding its rigging earlier. Now, maybe you mean control cabling? That might be easier to do prior to running the whole fuselage bracing wire set.... but either way, it was not too difficult to handle with a couple of tweezers. I found the rigging of the ailerons more tricky with the plane, nose down on a jig. In fact, I really didn't like that part of the build at all.... but I suppose there's nothing one can do about it. That's just the way the bird was built. ~john
-
Mike, you can find some interesting results by searching google for "wooden model airplane prop". Check these out for example: https://www.hobbylinc.com/rc-airplane-wood-propellers ~john
-
Hi Mike, I did most of it. I skipped getting to the back of the instrument panel for all but the most visible piping (airspeed from the pitot tube is very visible, for example). The fuel lines are all visible, so important to get done. It is tedious. A pair of mini pliers and a lot of patience are needed.... but it is worth it. ~john
-
Hi Mike, That horizontal former is glued to the pre-cut plywood frame.... just above the cutout (flush with the top of the cutout). That cutout is for the lower wing (metal brace for the main spar) to fit into. ~john
-
Hi Mike, No - I didn't use the jig, though I would recommend it. I used the plans and used the time-honored tradition of pinning down the wood to the plans. You absolutely need a completely flat board on which to build. ~john
-
Mike, Nice work on the wings and aileron hinges. Recommendation: take some old sewing thread and tie the ailerons to the wing such that they are flat (in the same plane as the wing). This will protect them from damage, and will make running the control rigging a lot easier later on in the build. Have fun with the fuselage! ;-) Best, ~john
-
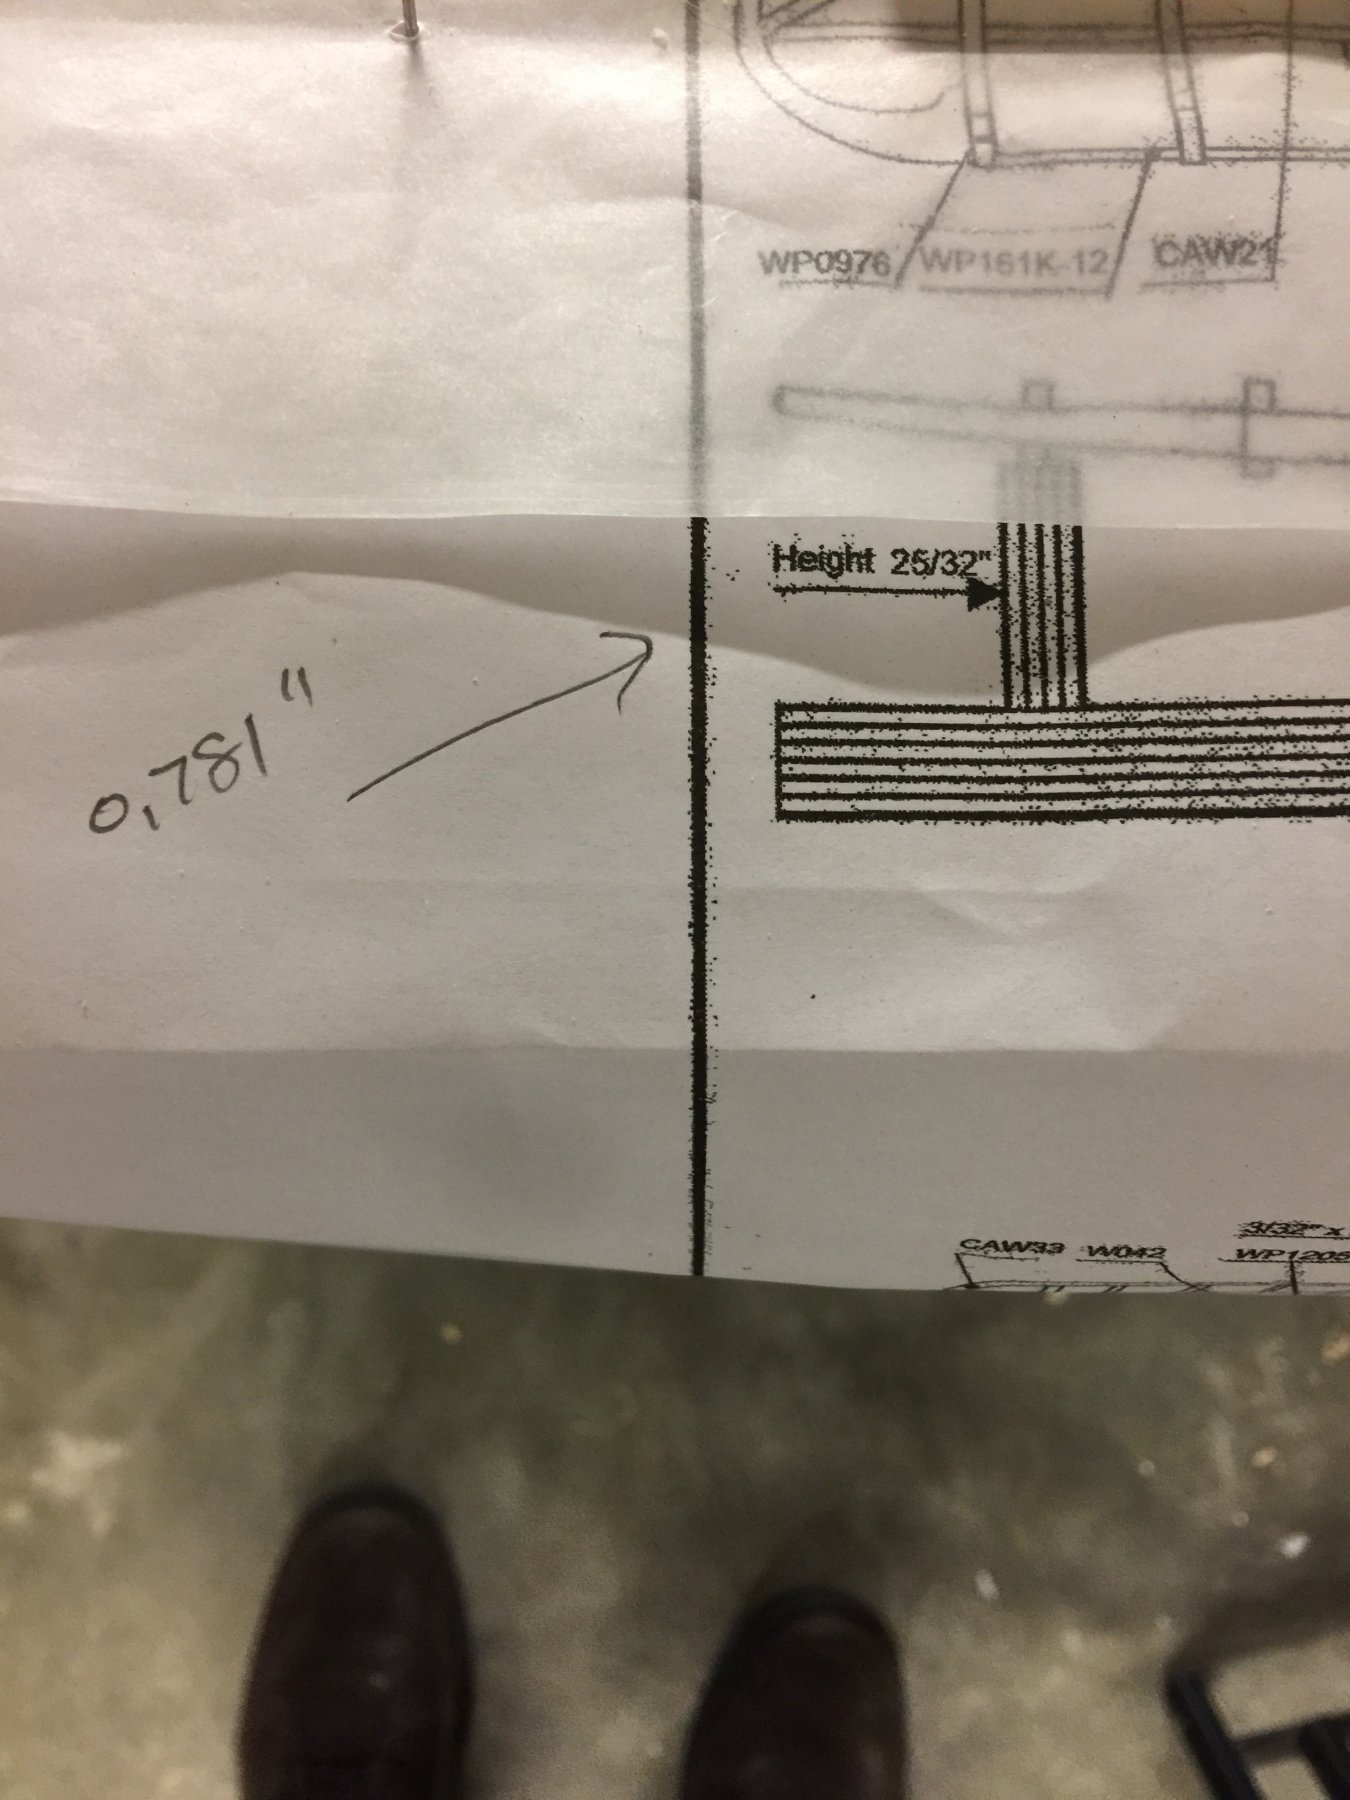
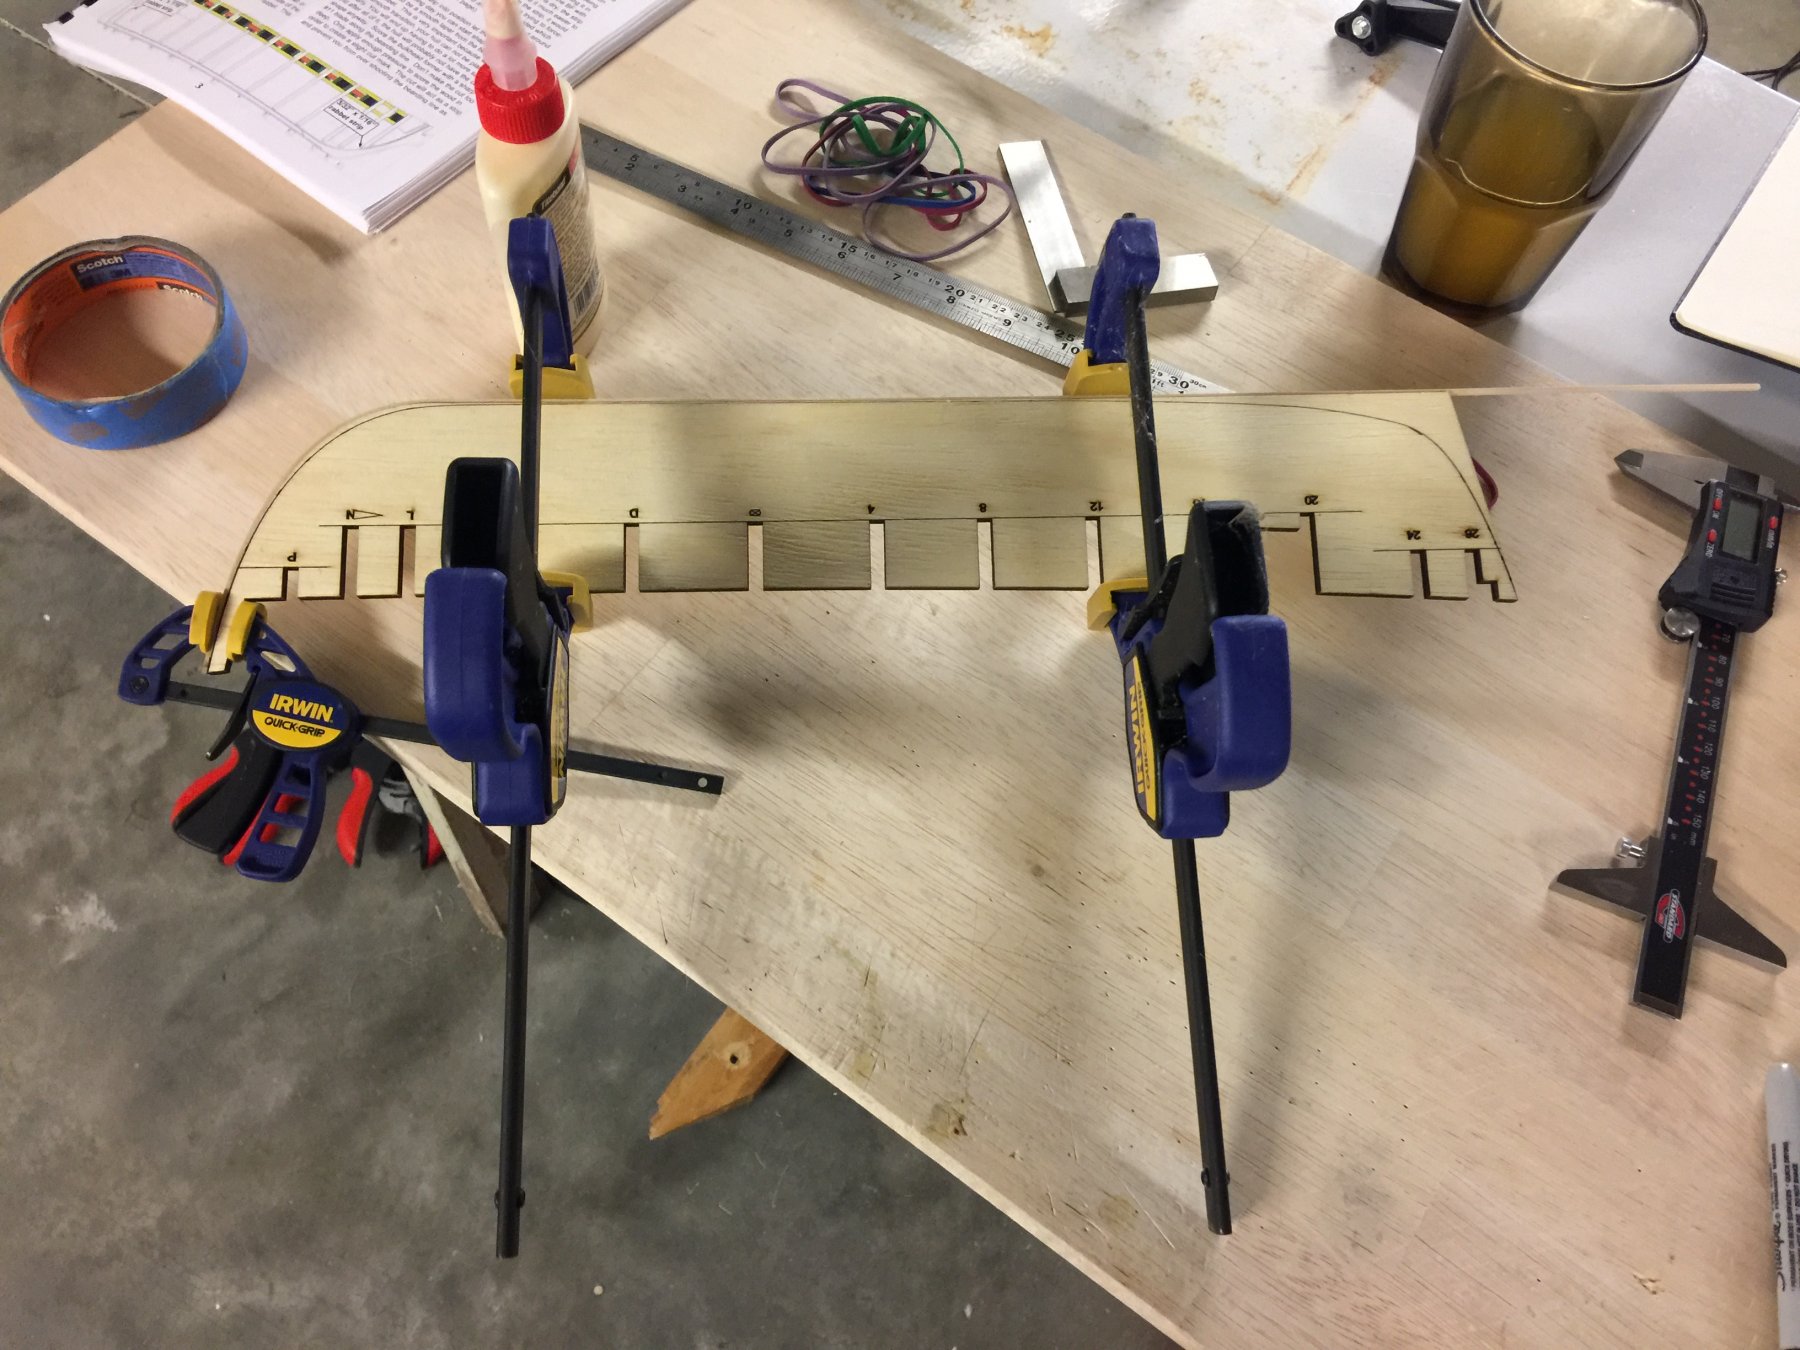
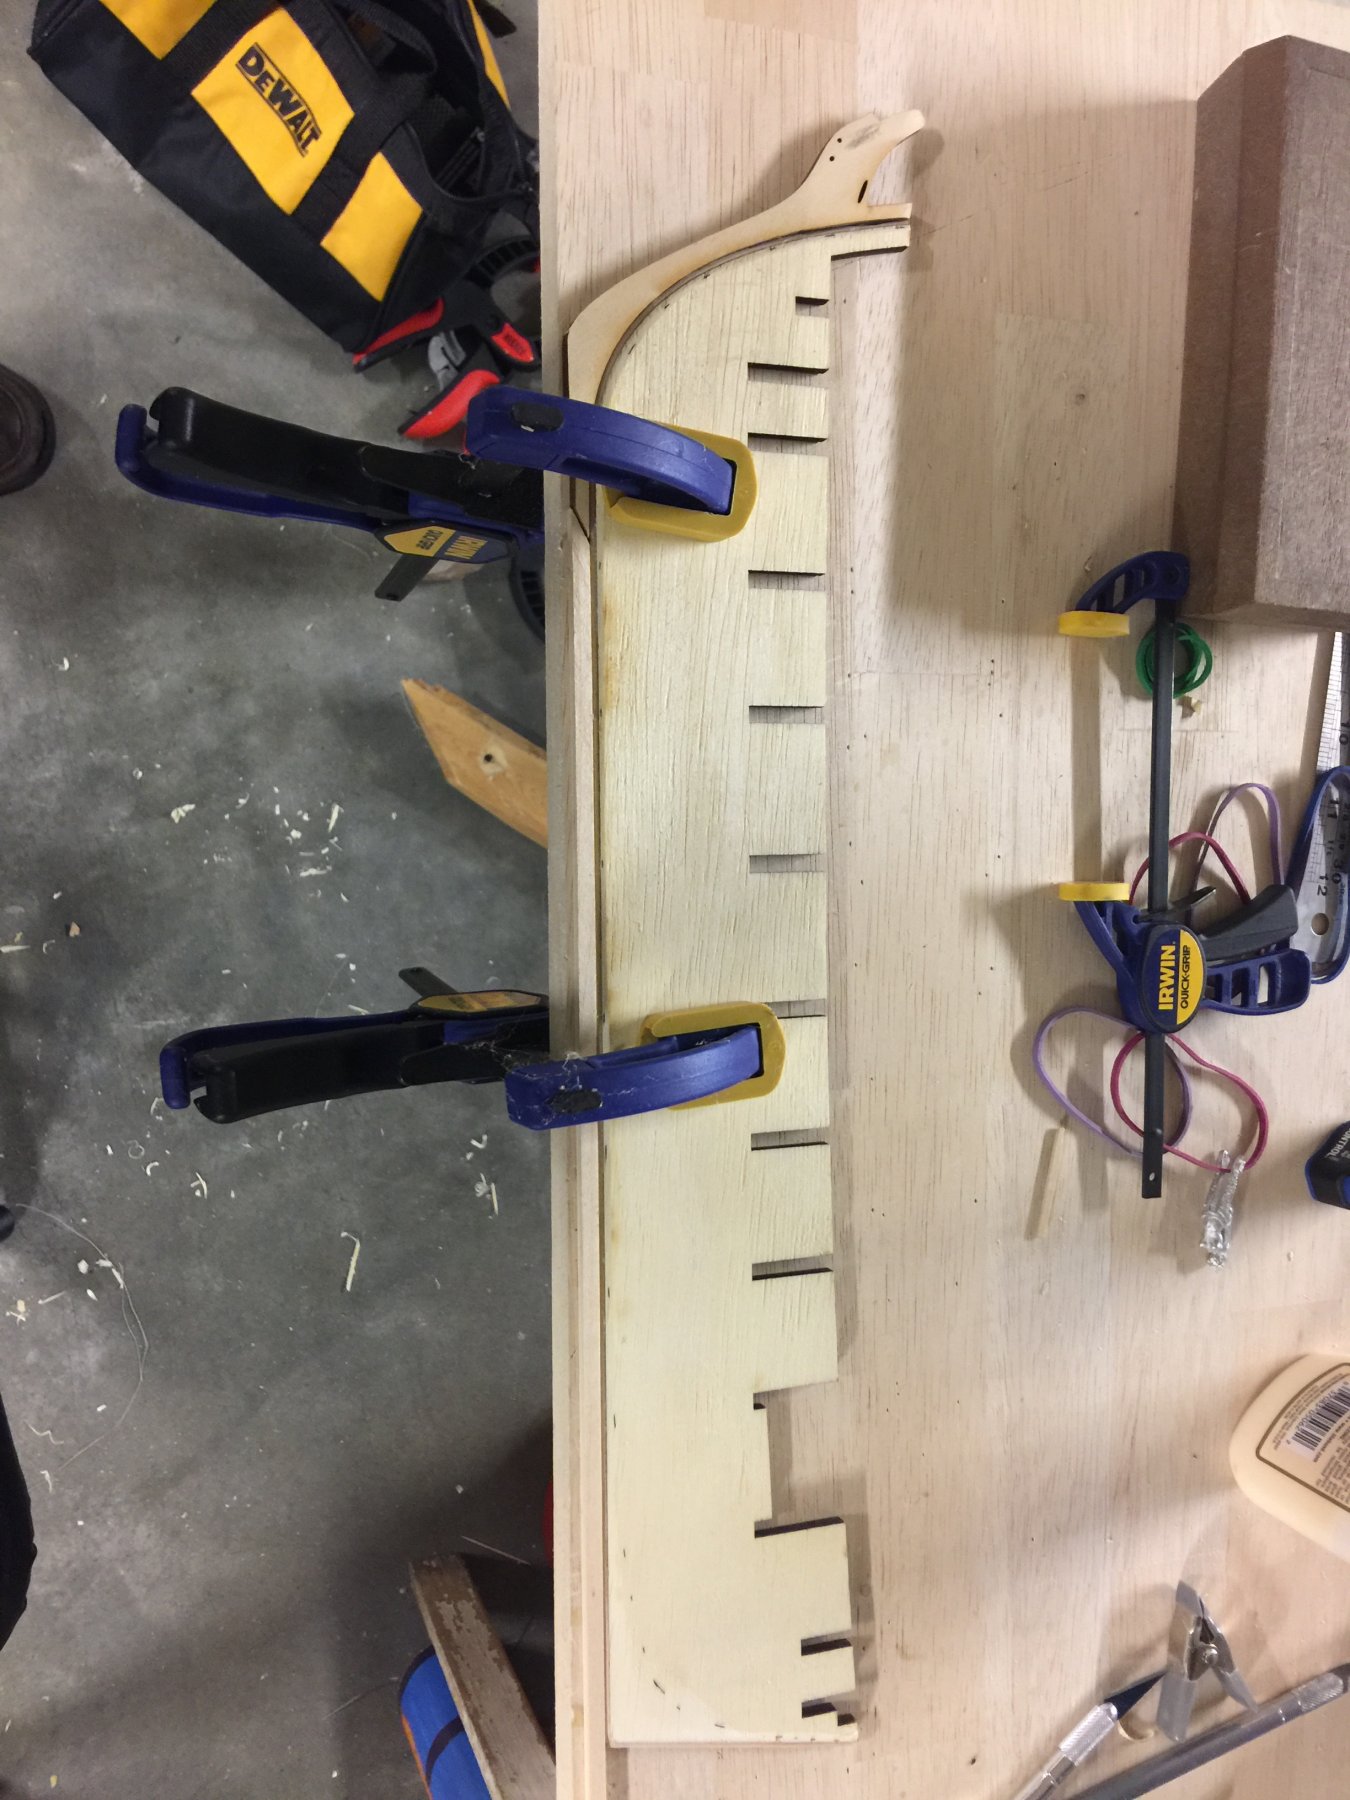
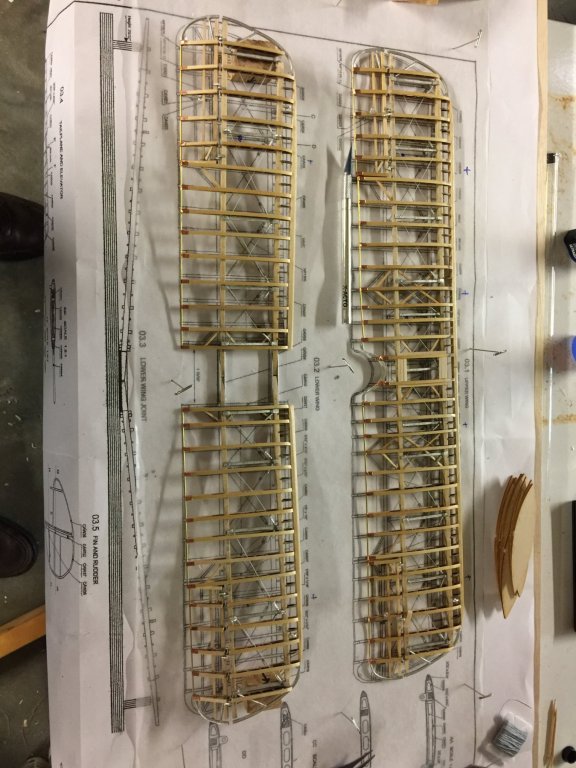
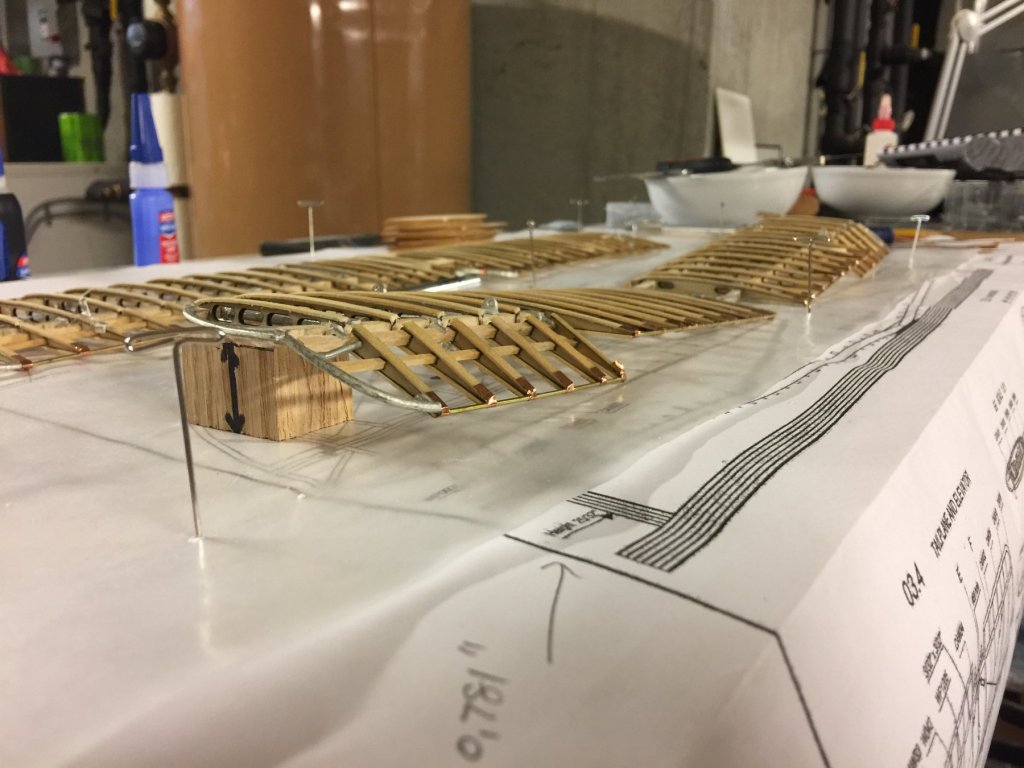
Hi Mike, The instructions for this state: "Create the lower wing dihedral by tapering the bottom ends of the front and rear spars so that when they are rejoined by parts CAW38 and CAW39 they will lie flat within the cast joints and the underside of the outermost ribs(CAW06) will be elevated 25/32" above the work surface." This means that you have to file or sand down the BOTTOM side of the lower wing's spar at the point where it attaches to the metal casting. I used two small wood blocks, each 25/32" high, placed under the last wing rib to get the angle set correctly. When I built the lower wing, my wing sides were not connected. The long wooden spar piece was left in two parts, with the center disconnected. That way, I did not have to saw them apart later. If you built this as one large wing, you will have to separate them into left and right wings using a knife or saw, being careful to cut precisely in the middle of the two spars. Images attached for you. ~john

- 138 replies
-
- 13
-
-
My plans matched. Press on! It'll be fine as long as you are symmetric about the installations. Also, Ken posted some guidance above. ~john
-
I had maybe a meter left. It is tight, especially if you tie individual knots for each turnbuckle. ~john
-
Hi Mike, I took the easy way out for the wing bracing wires and did the continuous run. I tightened each length and used a tiny drop of CA on a toothpick to keep their tension. This is not always recommended, as CA gets brittle with age and can cause the threads to snap. You could do the continuous run without glue, then just add a bit of thinned wood glue to the last knot. Visibility into the wing framing is such that this style of running the "wire" will be barley noticed. For the fuselage, I tied individual knots. The wiring is much more openly visible there. ~john
-
Mike: The great thing is that you can always slightly file or sand away the varnish where you need to glue. It works. You can also just spray the whole thing over when you are done.... that is one of the reasons I used a matte flat finish varnish. Spaceman Spiff (love the name btw): Yep _ I completely understand your commentary. The scale is not exactly the best to do accurate colors in any way. The green is the actual zinc chromate color that has been found on some example WW1 and (definitely) WWII aircraft parts. I have omitted the firewall, which would hide the interior from view altogether. There is a lot of artistic work to bring out detail rather than to show accuracy. Anyway, all this is noted in my posts for my build (not here on Mike's build log). Trying not to hijack his log here ;-) Best, ~john
-
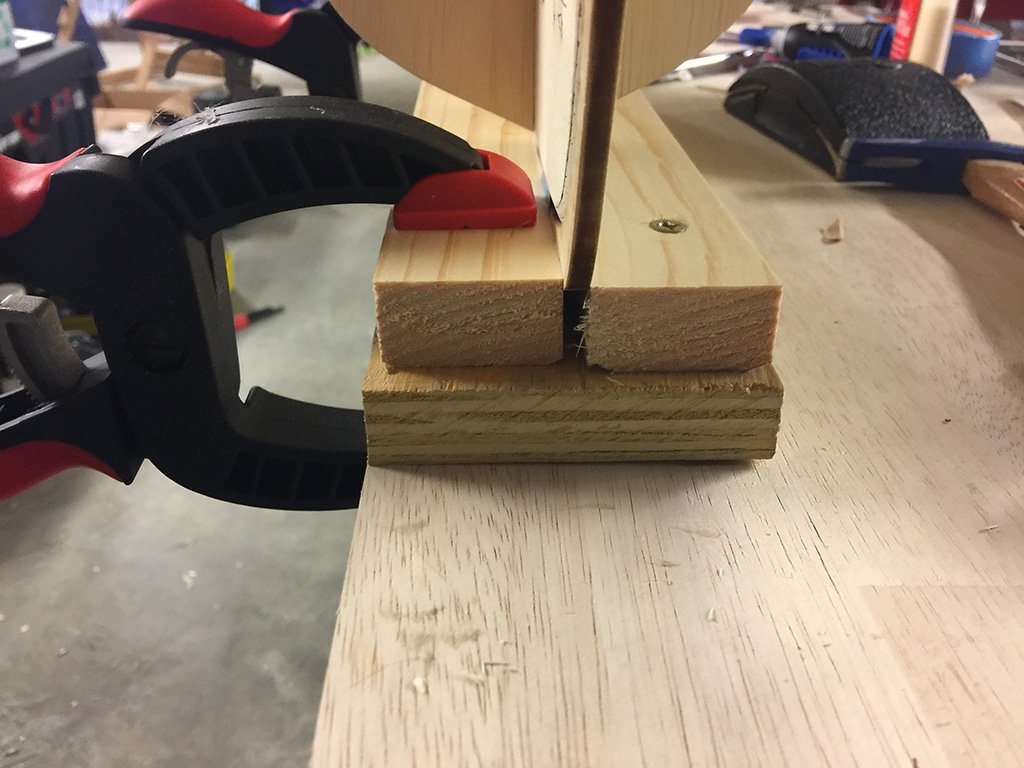
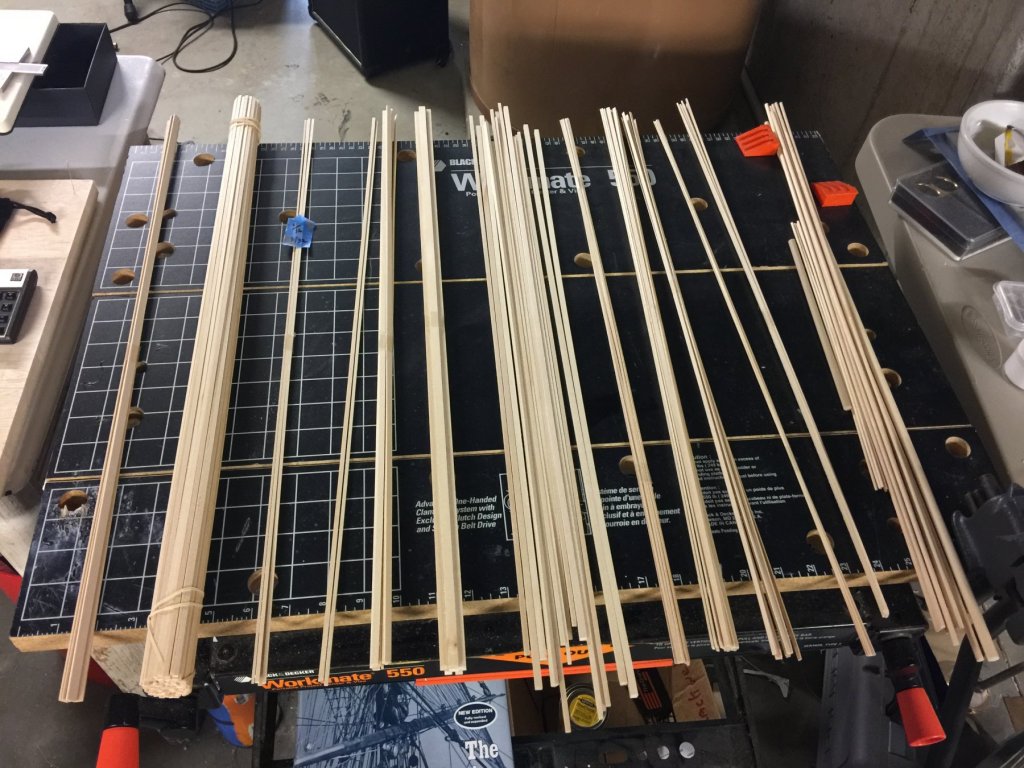
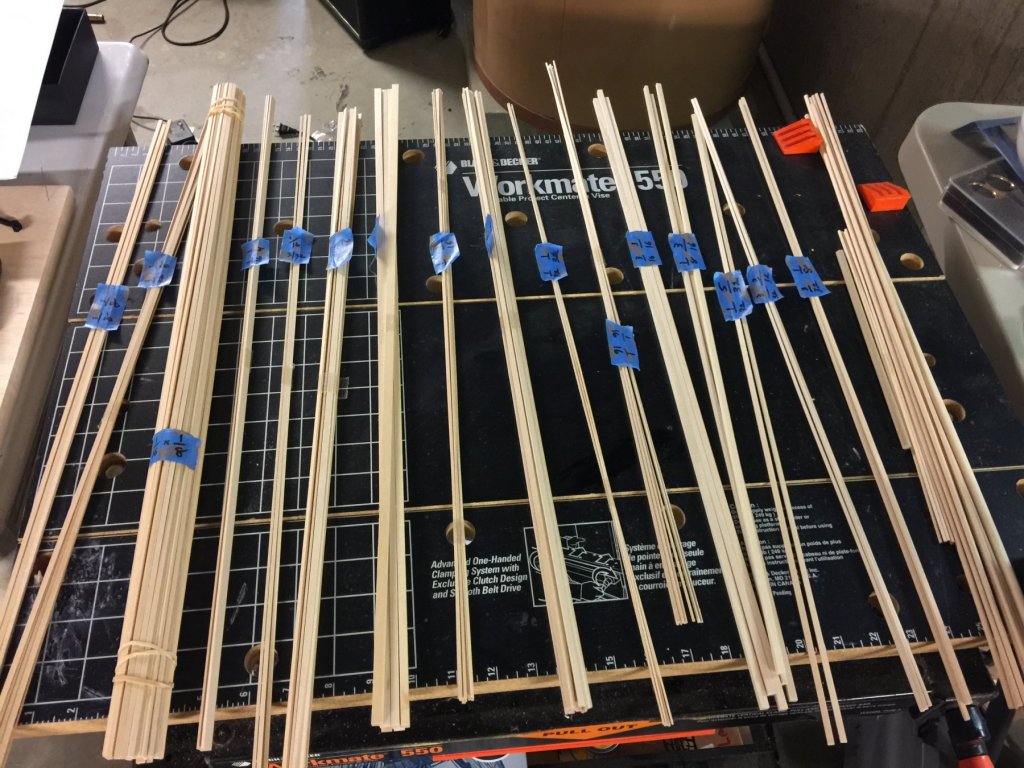
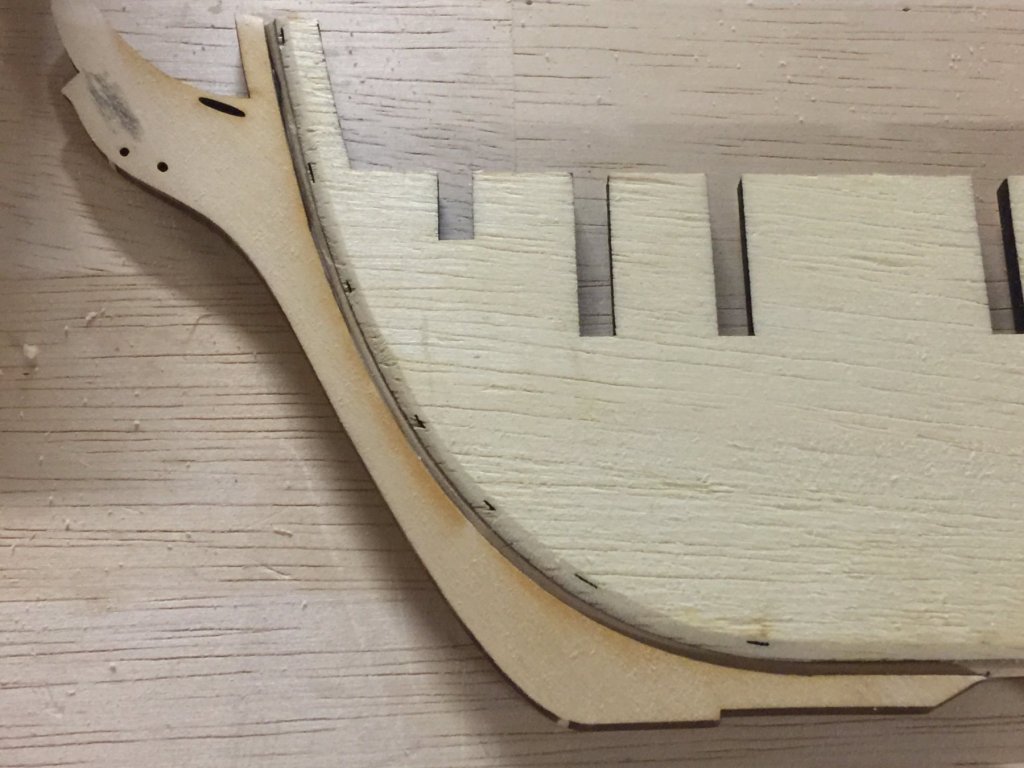
Making slow and steady progress here with the Syren. I spent some good time working on the rabbet, a first for me. I ended up becoming frustrated with wielding a sharp knife and took out a small finishing sander. That did the job remarkably well and in little time. The stern knee was then tapered to accept the figure head, and then glued on along with the 3/16" square keel along the bottom. I made sure to clamp the bulkhead former onto a flat workspace while gluing things to it... hopefully to help remove some of the slight warp that it has. I know this will be completely rectified when I get the bulkheads and filler blocks installed. Any little thing to help is good, in my opinion! For the filler blocks, I made a quick trip to Home Depot for a 1x2" strip of pine. I am ready.... I also spent time getting ALL the wood sorted and labeled for easier work in the shop. A Sharpie and blue masking tape made great labels... ;-) Some images below. ~john


- 90 replies
-
- 9
-
-
- syren
- model shipways
- (and 1 more)
-
Moving right along, Mike. So, I used a neutral flat varnish, actually a flat polyurethane for all the wood except the prop and the wing braces where I used a stain/poly blend. CA seems to attach itself nicely to the flat poly without any issues. I do recall having to file away some of the finish for one part, but that was about it. When using CA, I was using a gel type that doesn't flow well. ~j
-
Hi Mike - I did a lot of sanding, that is really all. I started with a Dremel and got more cautious and moved to rough then fine paper. The rounded leading edge of the prop is upper most when the prop is laid onto a tabletop. SO.... just a lot of thinning out of the blade. ~j