HOLIDAY DONATION DRIVE - SUPPORT MSW - DO YOUR PART TO KEEP THIS GREAT FORUM GOING! (Only 51 donations so far out of 49,000 members - C'mon guys!)
×


jablackwell
-
Posts
304 -
Joined
-
Last visited
Content Type
Profiles
Forums
Gallery
Events
Everything posted by jablackwell
-
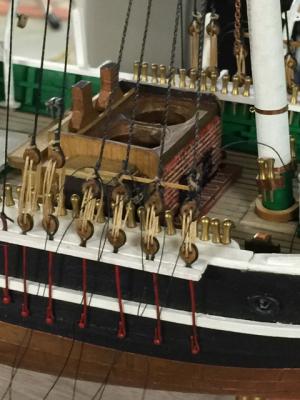
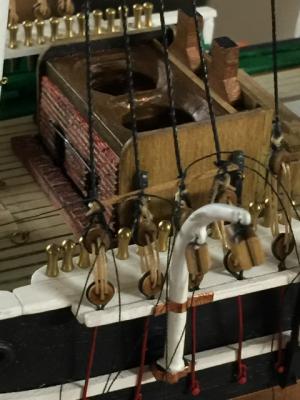
 Finished with all the ratlines! It is time to rejoice! Backstays are completed as well. Now, I think I will move to the whale-craft rigging between the masts before installing the stays. I am spending time researching this portion, as it is an important aspect of such a vessel. ~john
-
Old, mellow, beebop jazz works for me.... but not coffee! :-) That just makes a mess. <chuckles> One needs a steady hand for all the knots.
-
Thanks, Hamilton. I'm diligently working on the ratlines now. Can't wait to get to the rest of the rigging! :-) I am thinking get the whalecraft rigging installed between the masts first... then work on the rest. ~john
-
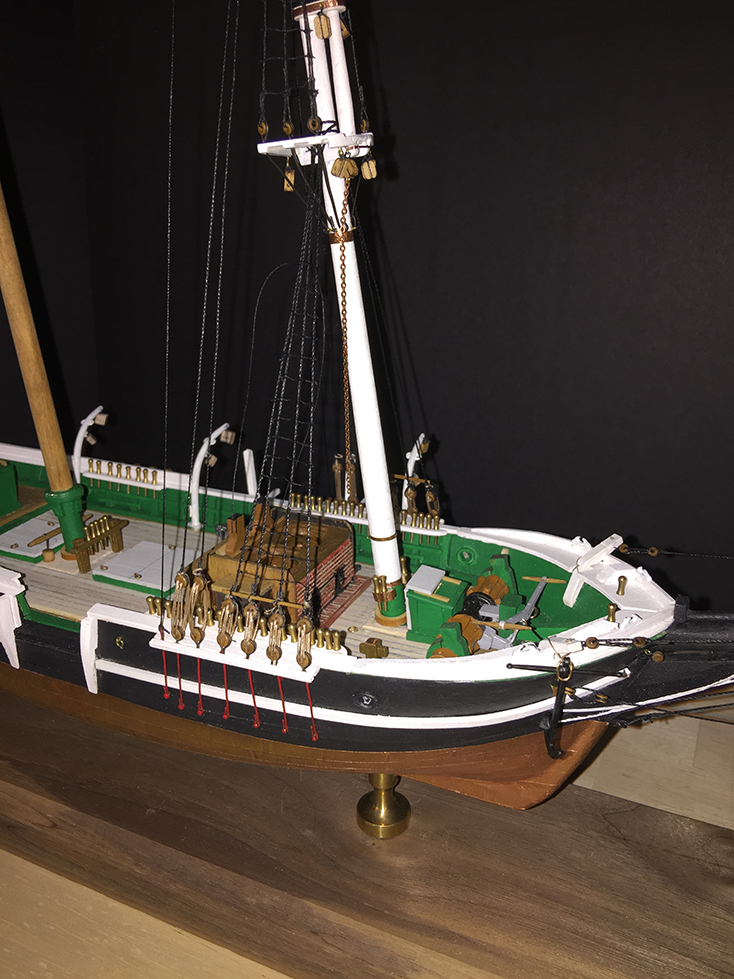
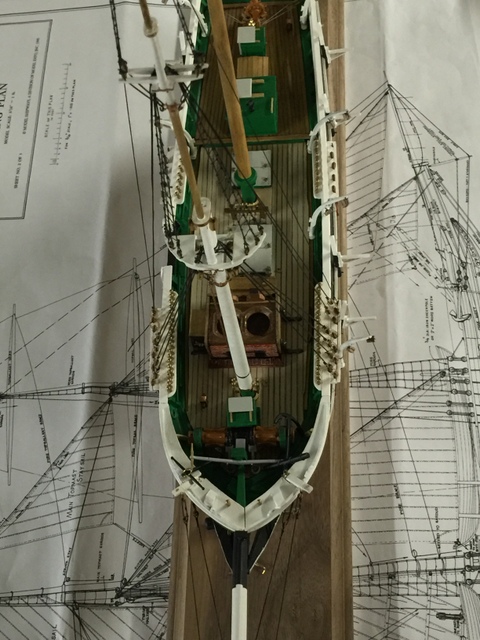
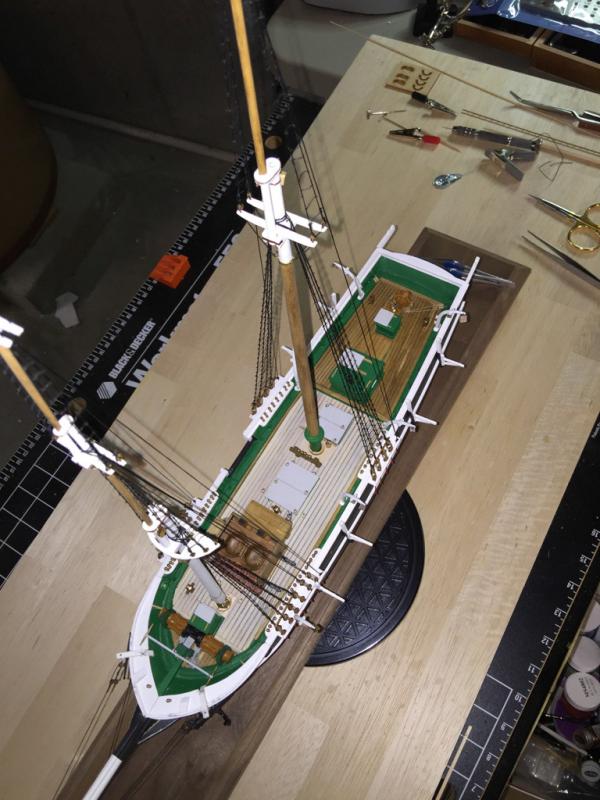
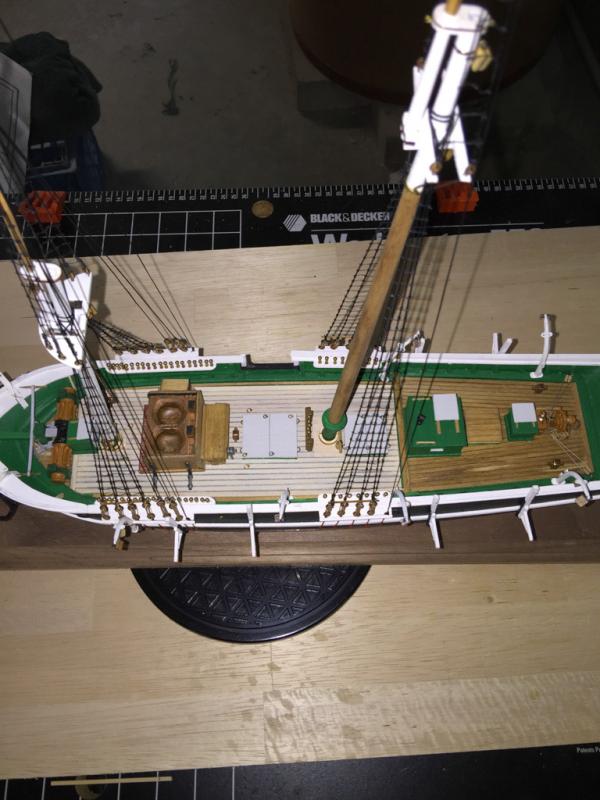
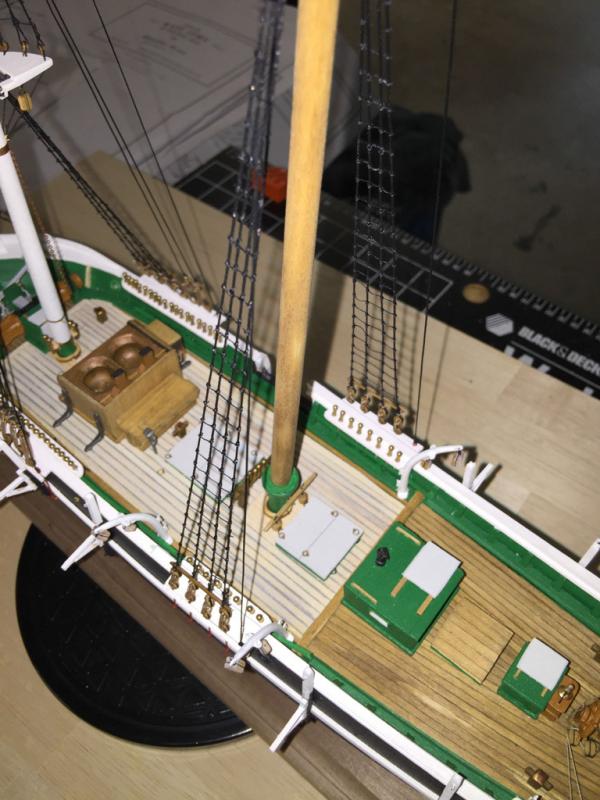
Slowly making progress with the hot summer days taking their toll on our sanity! With temps pushing 100F and high humidity, it's best to be working on the Kate Cory. The main mast shrouds are complete, and I can now happily begin work on the last ratlines before doing some backstays. ~john
-
Finished off the bowsprit rigging and the fore-shrouds. Now working on all those ratlines. Remind me to NOT put in the top shrouds before doing the ratlines. They just get in the way! Argh. I am considering removing the upper shrouds to allow me room for my big ole' fingers. <sigh> Live and learn! ~john

-
I love rigging in every way except the ratlines... which is where i am right now with the Kate Cory build of mine. When those are done it is smooth sailing and lots of fun to rig a sailing vessel... even more fun to make the rigging actually work the way it is supposed to on the real ship. The model just comes to life with every addition.
-
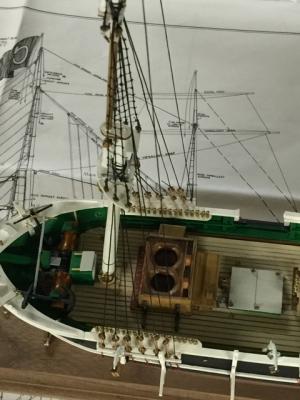
Interesting.... as HSM asks, are there any other views of this detail? The first and only thing that came to mind is that these might be a type of "bumper" to protect the boards from damage by the outrigged boats that hang off the davits? ~john
-
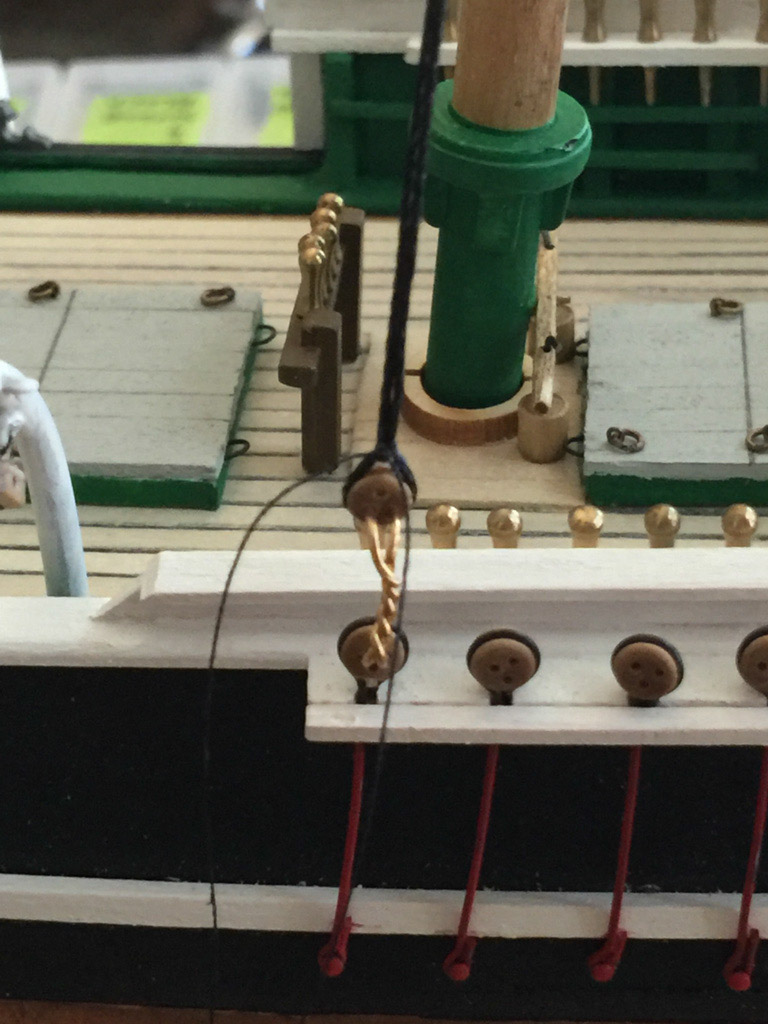
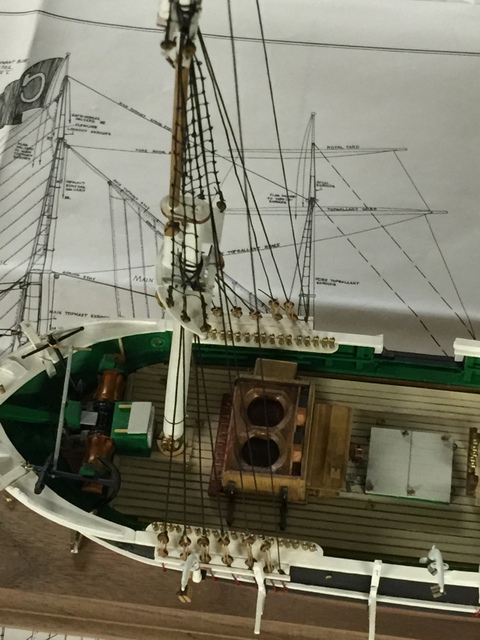
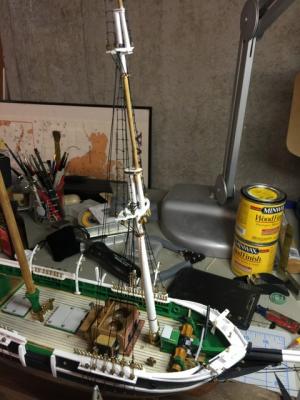
About time I got back into this build! We are on school break now, so no grading, teaching, etc, just sweet time! So I began to work on the standing rigging. The fore shrouds are in place along with some of the bow sprit work. Before getting too far ahead, I need to get those ratlines in place. Before those... sheer poles: ~john
-
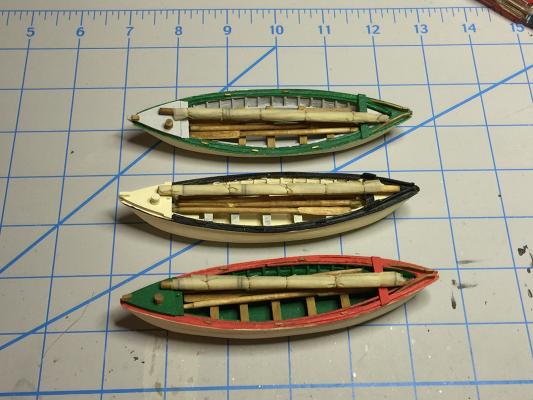
Here are the three active whaleboats complete with oars, masts and sails. These are the SilkSpan sails, which look pretty good furled. ~john
-
All, An update (it's been a while).... The whaleboats are almost done. I have been making their masts and wrapping SilkSpan sails around them. They look good... but I have learned that.... SilkSpan sails will not look all that great on the model unless they are furled. They appear much too translucent. I experimented with using pencil to draw in lines and details... too dark. I then tried a thin white ink Sharpie to do the same... better, but not great. In short, the material is the right thickness but so thin as to be too translucent. Options: Go with the SilkSpan and just furl the sails. Do not use SilkSpan: find a very thin cloth some place, a cloth that is to scale. No very likely. Do not rig sails at all. I am pondering. ~john
-
sealing solid hull
jablackwell replied to lionfish's topic in Building, Framing, Planking and plating a ships hull and deck
I used a Minwax polyurethane in a couple of coats until I got a good shine. The smooth surface allowed the copper sheathing to stick on nicely (mine was self-adhesive), and it has not come off yet! I hope it never does! Been over a year now. You can see the process in my build log of the Kate Cory down at the bottom of the first page of the log: http://modelshipworld.com/index.php/topic/6842-kate-cory-by-jablackwell-model-shipways-scale-164-second-ship-build/ Best, ~john -
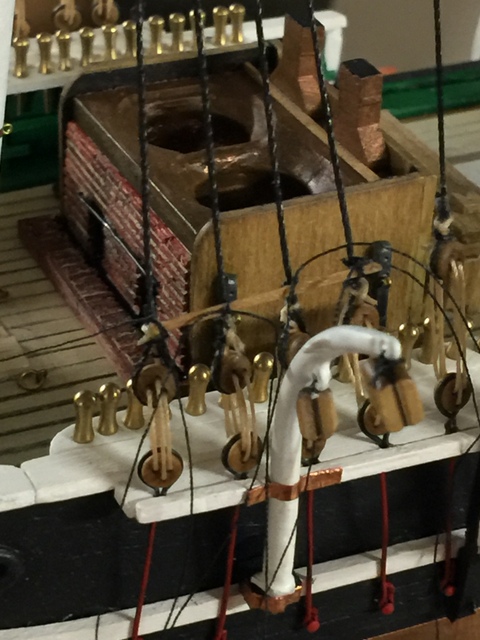
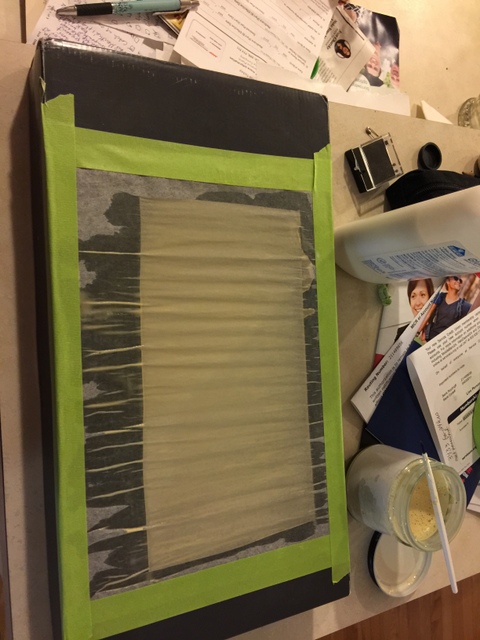
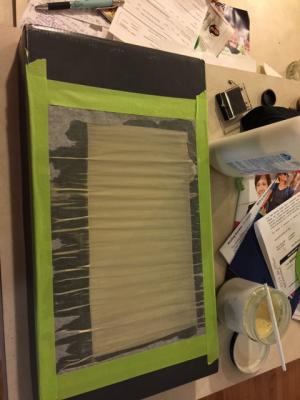
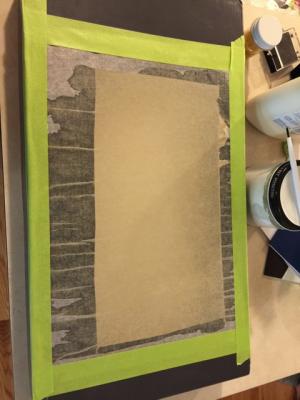
Been working somewhat slowly on the foremast shrouds and stays. In the times when I am not working on the standing rigging, I am putting some trials into the making of sails with SilkSpan paper, and having some success. I am following some of the posts by Blue Ensign on that sail making topic found here on his logs: http://modelshipworld.com/index.php/topic/152-le-superbe-by-blue-ensign-heller-plastic-built-as-le-praetorian-after-boudriot/?p=16686 If anyone has comments on sails in general, they are most welcome here. I am particularly interested in how people decide to let them hang: full open, furled, partially furled, etc, and what the practices were on regular sailing vessels. So without further ado, here are some images from the most recent build steps. The sail making is going well: some PVA glue watered down and mixed with ochre paint. They take a lot of paint/glue to fill... then when they dry, are very taught.

-
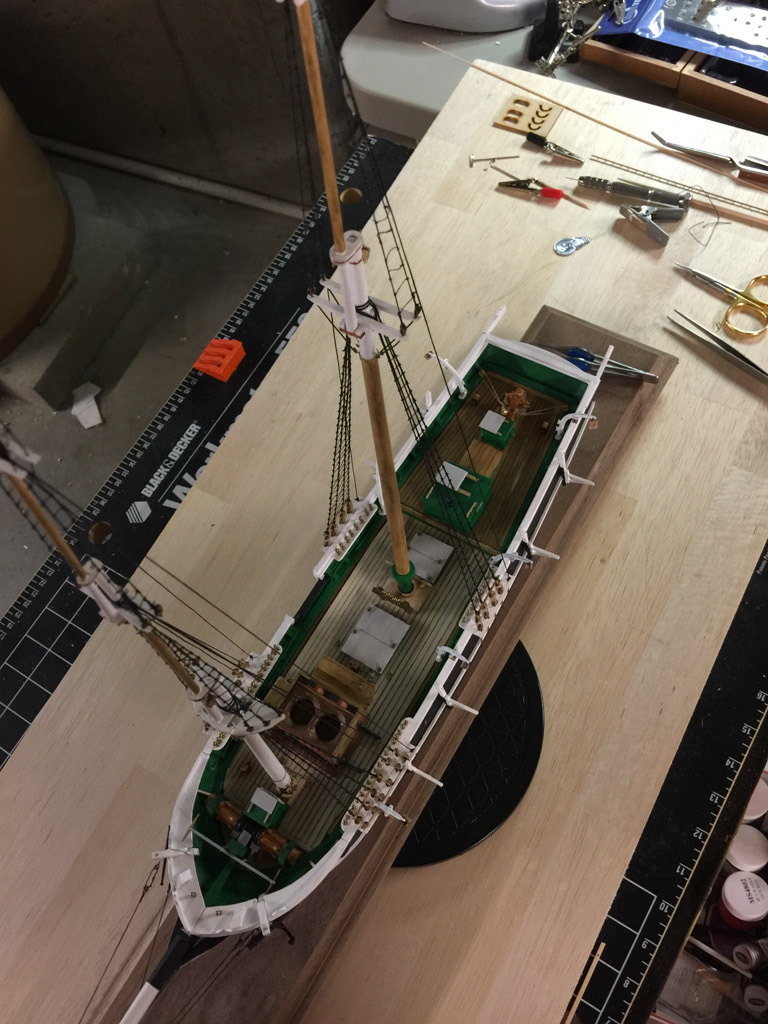
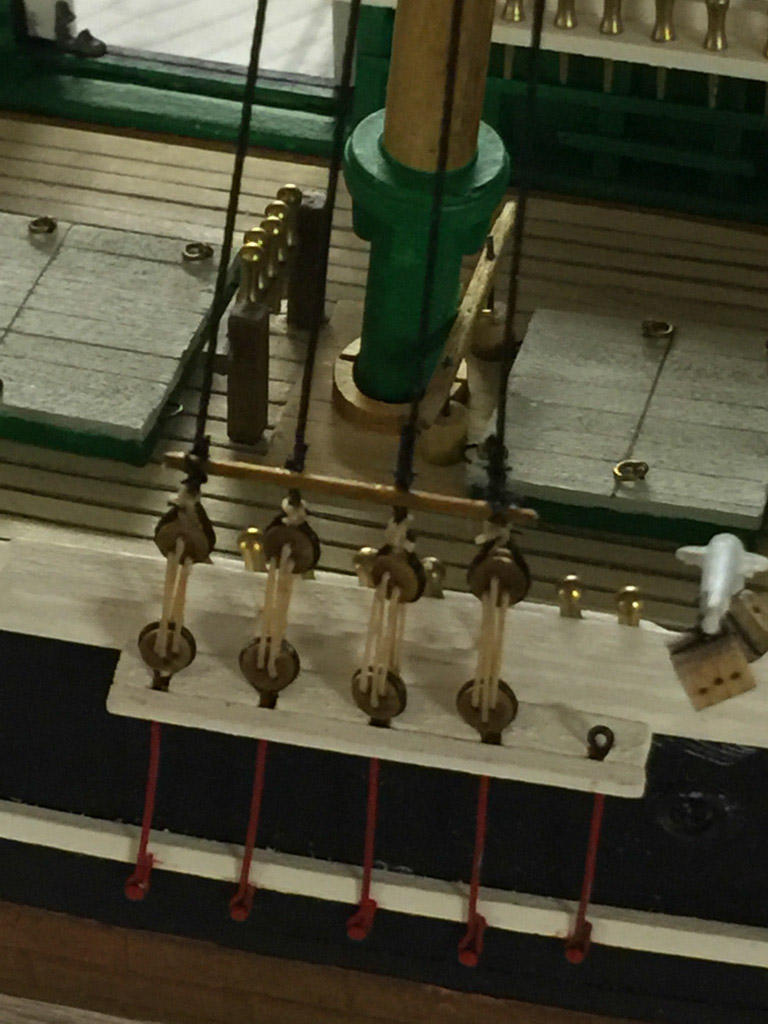
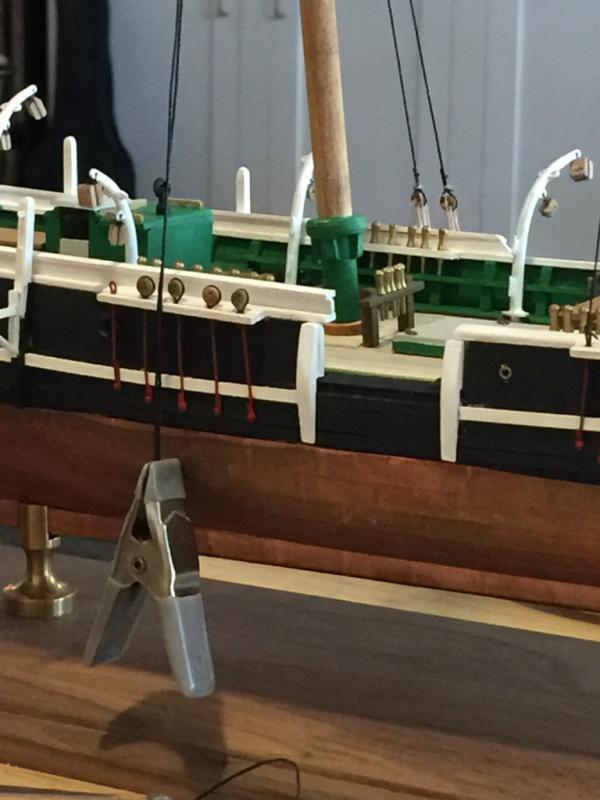
Much of the mast work is complete. I am now building some tools and such to make rigging a little easier. Here are two jigs to hold deadeyes in place while the shrouds are tied.
-
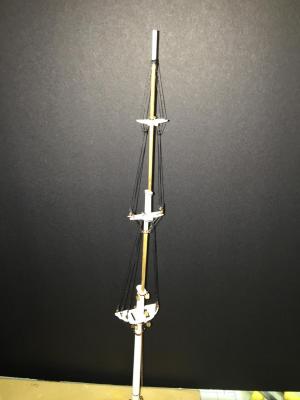
Sal, RPN is the only way I think mathematically these days. I learned it back in my early engineering days and never went back. Who nedes parenthesis!? All, I am still working on the ratlines for the foremast at this time. I have the mast set up in a block in front of the TV to watch old movies, tennis, etc, while I make little knots.... lots of little knots. I am going to work on the spars next then think about rigging in the shrouds and stays. Soon in that process, I want to get the whalecraft lines in place, well before I get into running rigging. I am also experimenting with SilkSpan to make sails for this model and have been inspired by some of the amazing work being done by others in this regard. A little paint with white glue, some time and a lot of attention to small details, and the sails would look very very nice. Augie: you mention (quite correctly) to be aware of the issues of moving around the boat once rigging gets into place: SO TRUE! This being my second model, the memories of the first experience have dulled a little, and I did encounter an error while rigging into the bowsprit. I snipped a true line and not the spare rope that needed cutting. Ooops. Had to re-rig. Ahhh, patience! Cheers! ~john
-
THAT is brilliant! Thank you for sharing this. Now it all makes a ton of sense. I was thinking that the whole assembly moved back with the shot. Thanks! Keep up with the fine build. ~john
- 659 replies
-
- 5
-

-
- syren
- model shipways
- (and 1 more)
-
Hi there,,,,, I have been watching this build log with great enthusiasm and appreciation. The Syren is next on my build list, so all the help I can get is huge! :-) So, a big THANK you for keeping this marvelous log. I have a question about the carronades on the Syren, or on any vessel with a similar style of installation. The back end of the "sled" which holds the cannon barrel has little wheels or some such: to allow for rolling the sledge back and forth for aiming, I presume... but also to allow the whole thing to come back for reloading, yes? The front of the sled rests on the foot rail or inboard planksheer by the looks of it. When the cannon is broughtback inboard to reload, does the sled then not fall off the planksheer? Or is there something else under there that I am not seeing? Just curious. Thanks! ~john
- 659 replies
-
- 2
-
-
- syren
- model shipways
- (and 1 more)
-
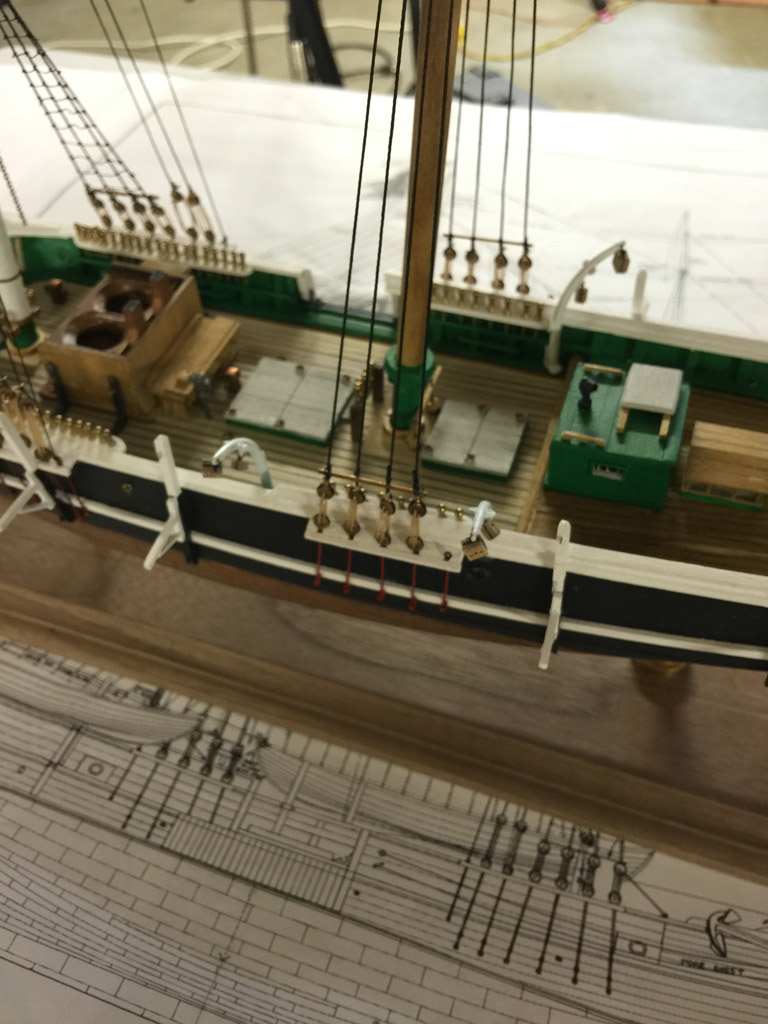
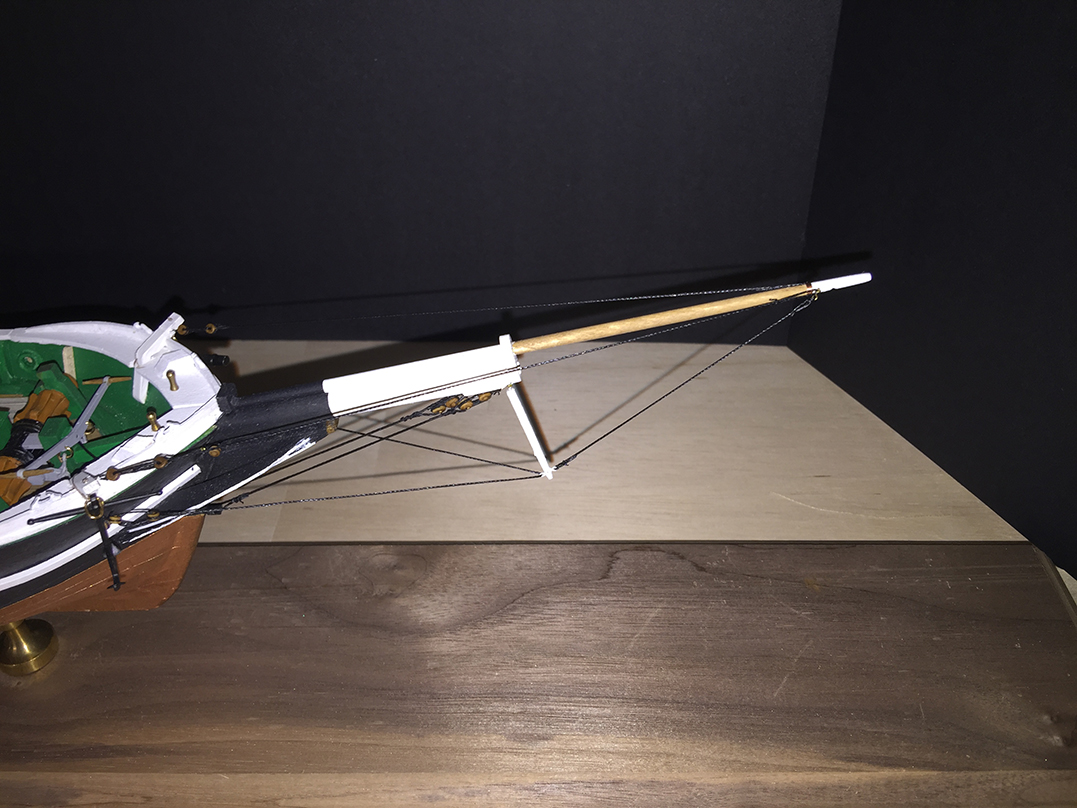
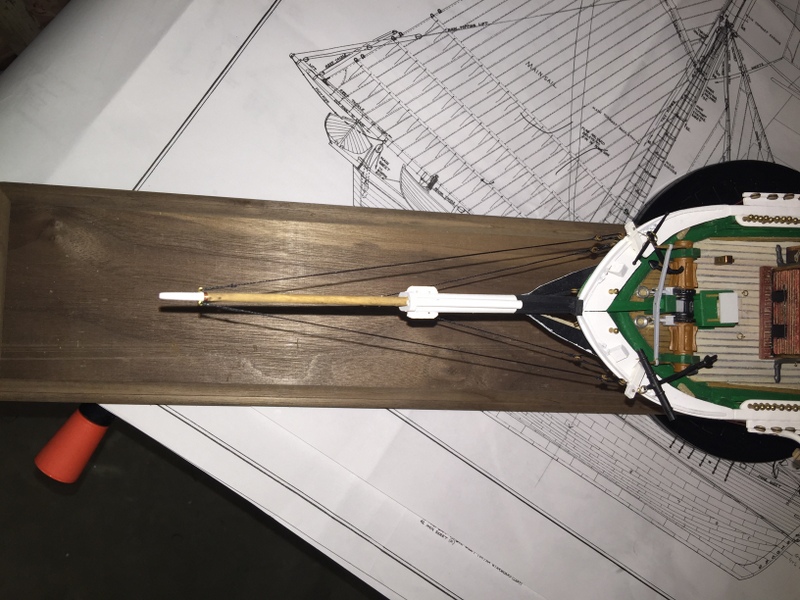
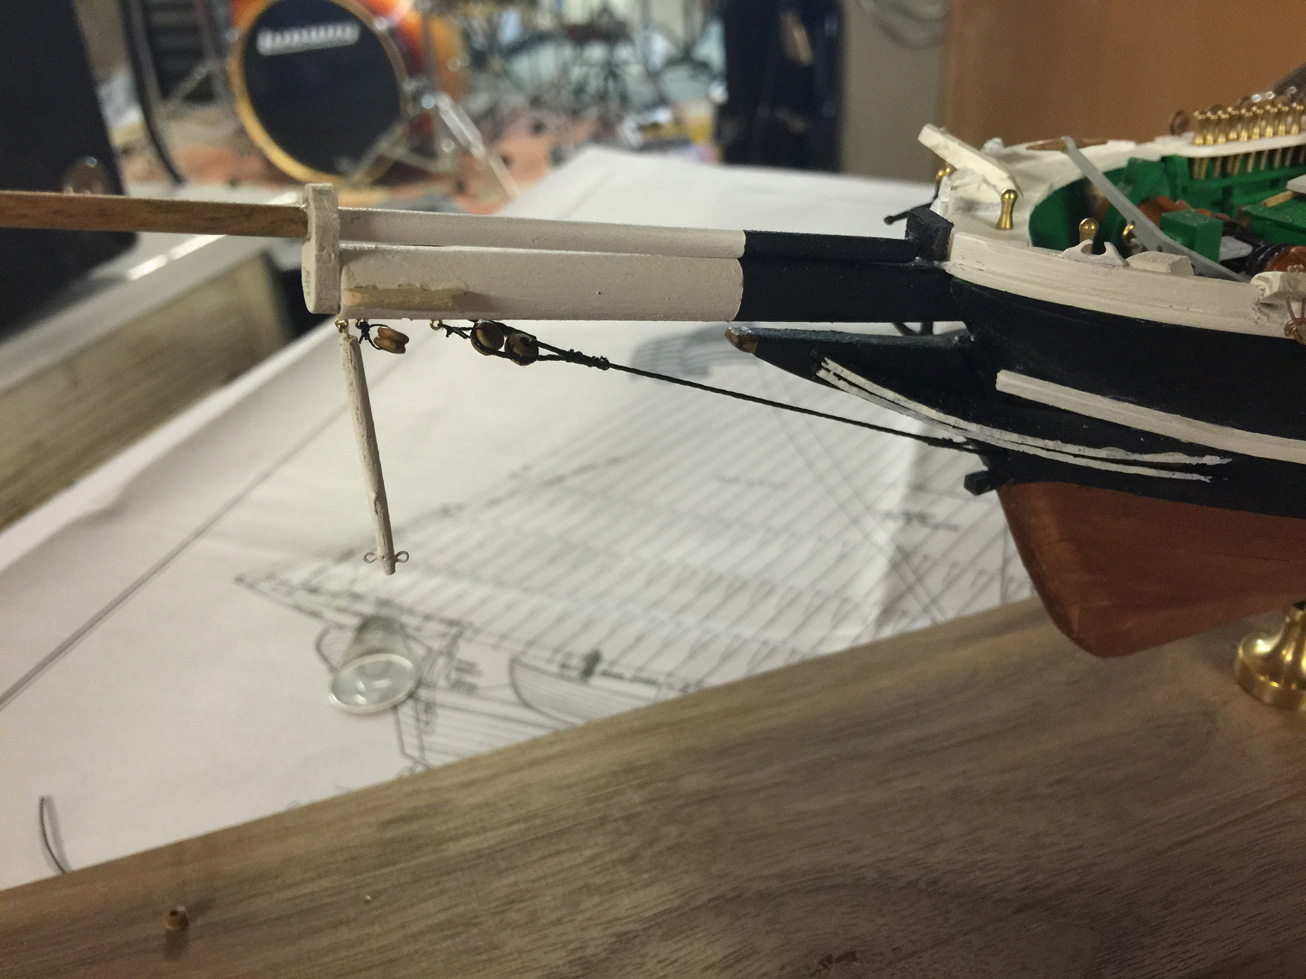
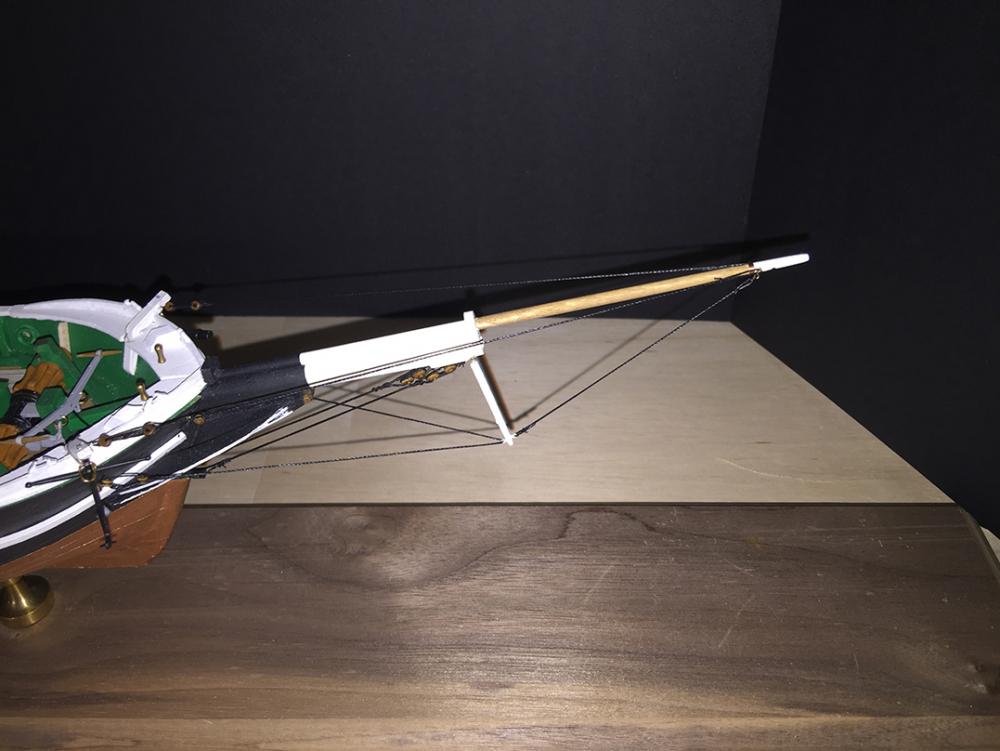
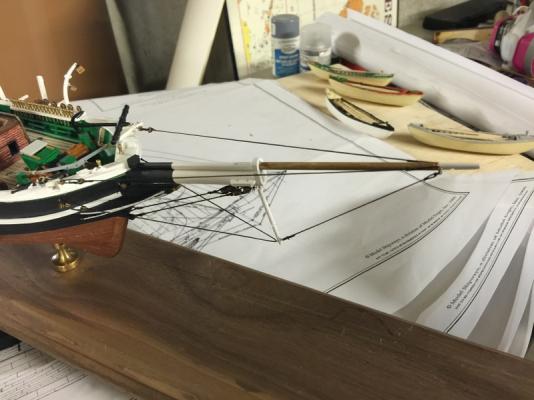
Spent this fine summer day working on the bow sprit and jib boom standing rigging. Had one instance of SNIP... the WRONG one. Ooops. but that was all rectified with a cold beer and some hours away from the model. Now the basics are complete and looking quite nice. Back to rat lines! ~john

-
Back on the project this week and working on two pieces alternating... back and forth to maintain sanity ;-) Ratlines and more ratlines... and more ratlines... and then the standing rigging on the bow. I love this part.

-
I am looking forward to watching your build. The Syren is the next model on my list once I complete the Kate Cory. It will be a step up for me with the plank-on-bulkhead format. Looking forward to it! Concerning the templates: Yes, this is a known issue here on Model Ship World. Not sure why it is not fixed at Model Shipways. If you search the forums here for "Syren template" you will see a slew of others who have encountered this. It all works out in the end. Best, ~john
-
Ok - I am off for a little while on a research trip to Tokyo and will be back in August. I spent some loving time working on the shrouds for the foremast today, and that is about as far as I'm going to get until later in the summer, alas. Can't take that model with me! Unti later! ~john
-
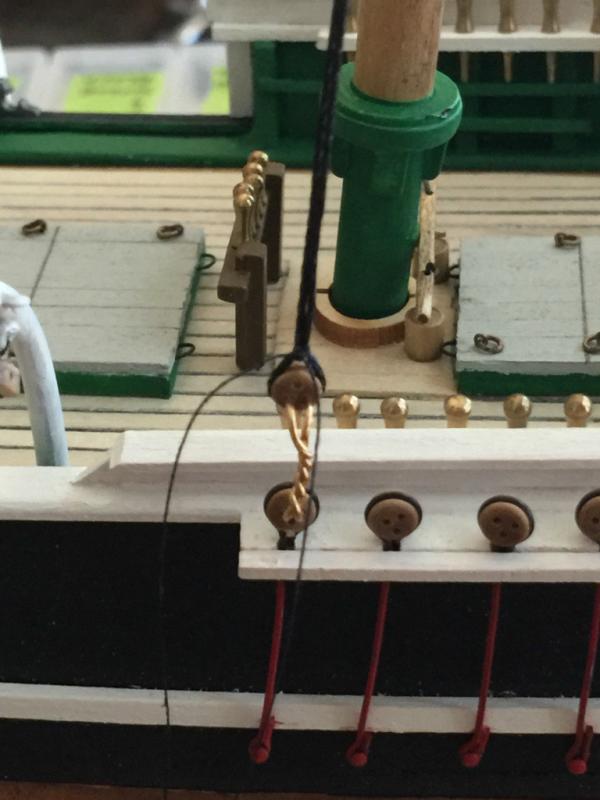
....and another text says to do what you suggested! Have one shroud that goes through the cap and to the other side, port to starboard. Isn't modeling fun!? ;-) Augie - thanks again - you have always been really helpful, and that is much appreciated. ~john
-
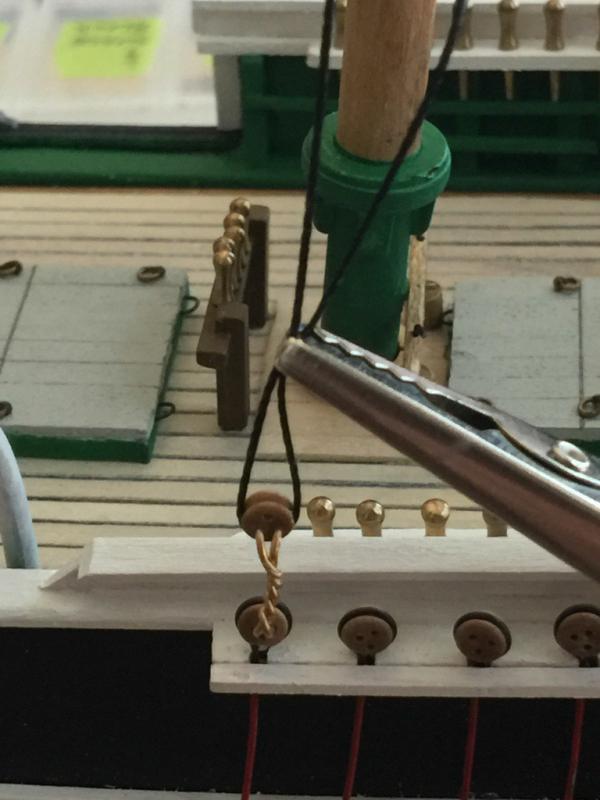
Sounds like a plan, indeed. Thanks Augie. There is mention of single, unpaired shrouds in the text The Masting and Rigging of English Ships of War calling those unmated shrouds "swifters" and, yes, you are correct, they were the aft-most. They say to use an eyesplice on their tops. ~john
-
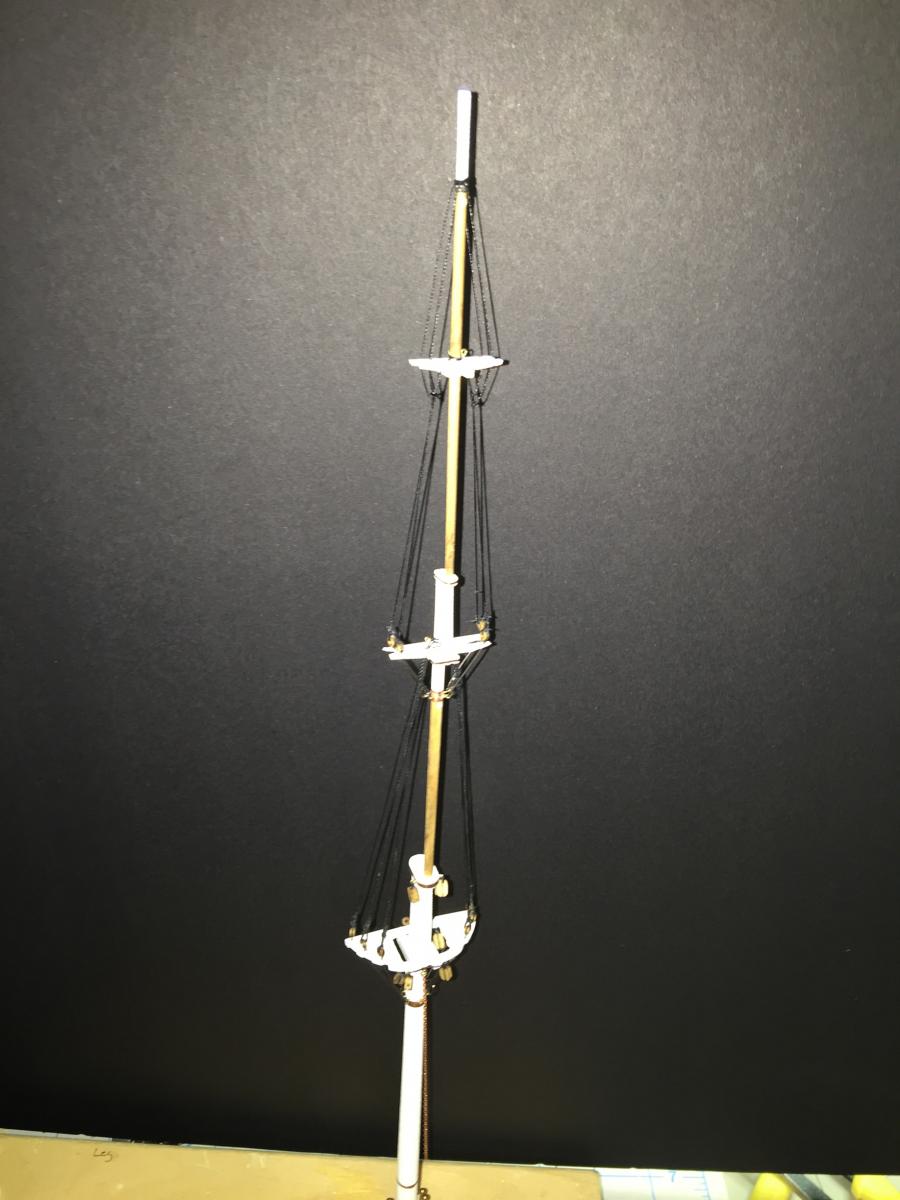
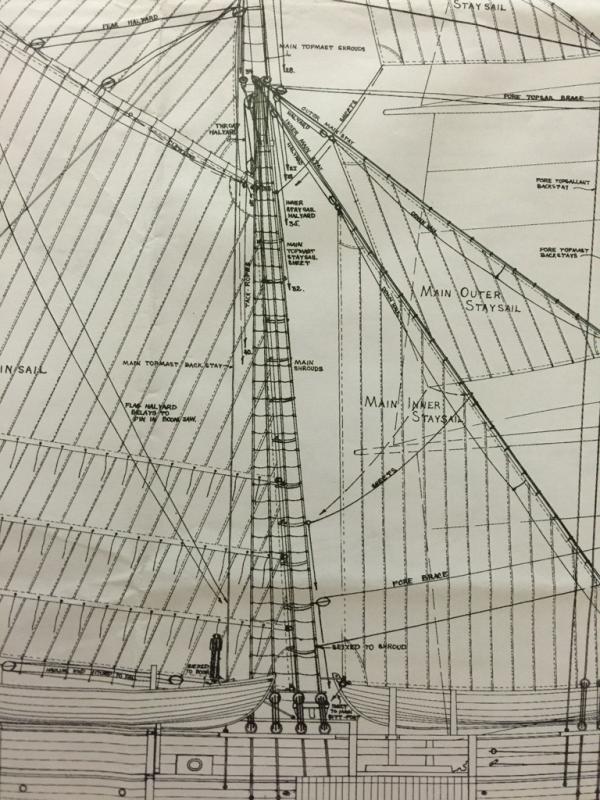
All, A question concerning topmast shrouds. The Kate Cory has three fore-topmast shrouds per side, port and starboard. How are these "attached" at the top (where the topmast meets the topgallant)? My understanding is that, when in pairs, two shrouds are one continuous line from base, to top, down to base again and then seized at the top. Now with this uneven count, I find myself stumped, and looking for the realistic methods of their installation and rigging. My inclination is that the 3rd shroud gets seized upon itself? Which shroud would that normally be? Foremost? Aft-most? None of the above ;-) Thanks All! ~john