HOLIDAY DONATION DRIVE - SUPPORT MSW - DO YOUR PART TO KEEP THIS GREAT FORUM GOING! (Only 51 donations so far out of 49,000 members - C'mon guys!)
×


jablackwell
-
Posts
304 -
Joined
-
Last visited
Content Type
Profiles
Forums
Gallery
Events
Everything posted by jablackwell
-
 Fabulous work on your build of the KC. Mind if I pull up a chair and enjoy the rest? ~john
- 109 replies
-
- 1
-

-
- model shipways
- kate cory
- (and 1 more)
-
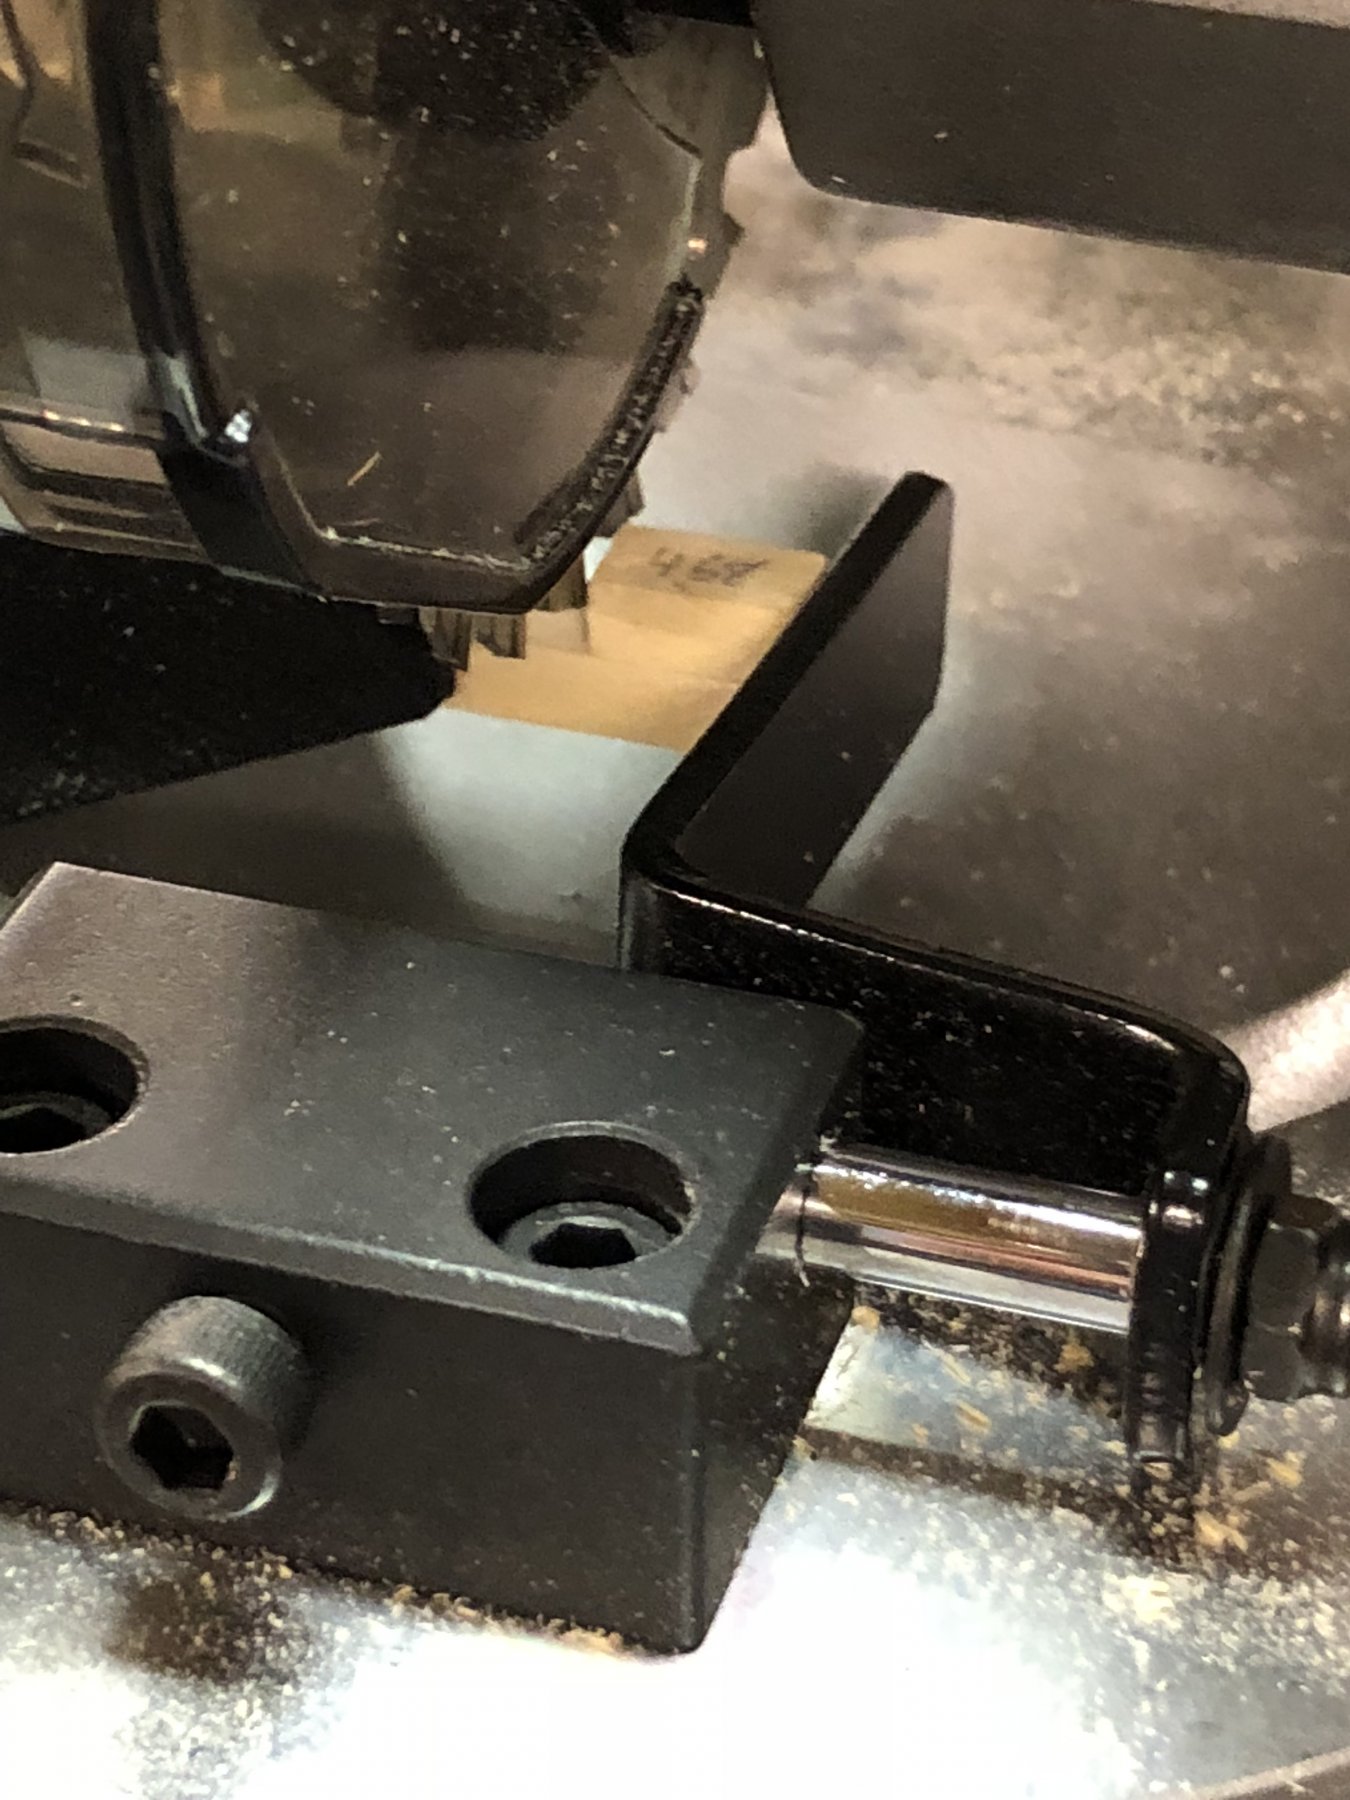
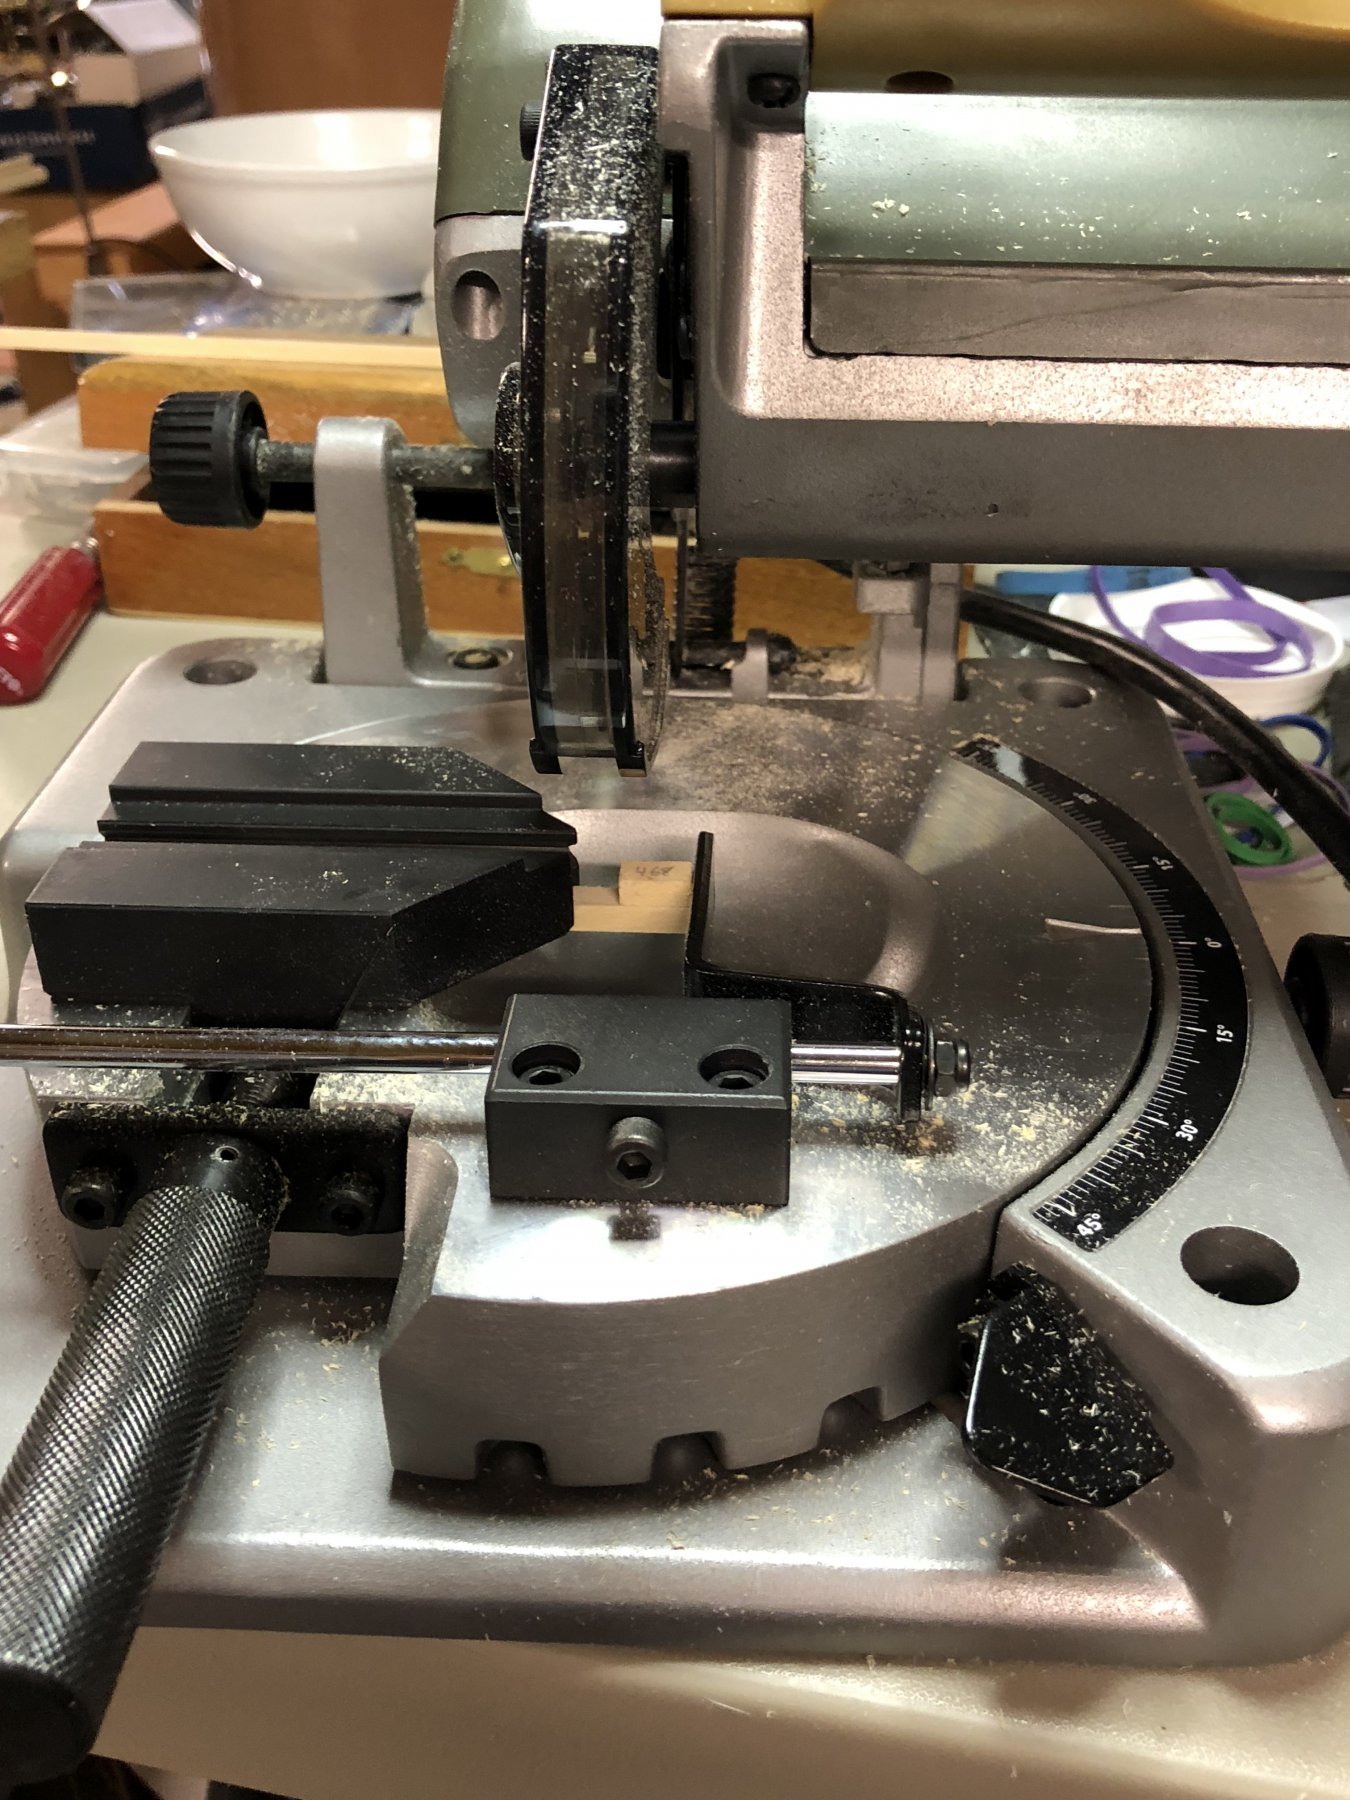
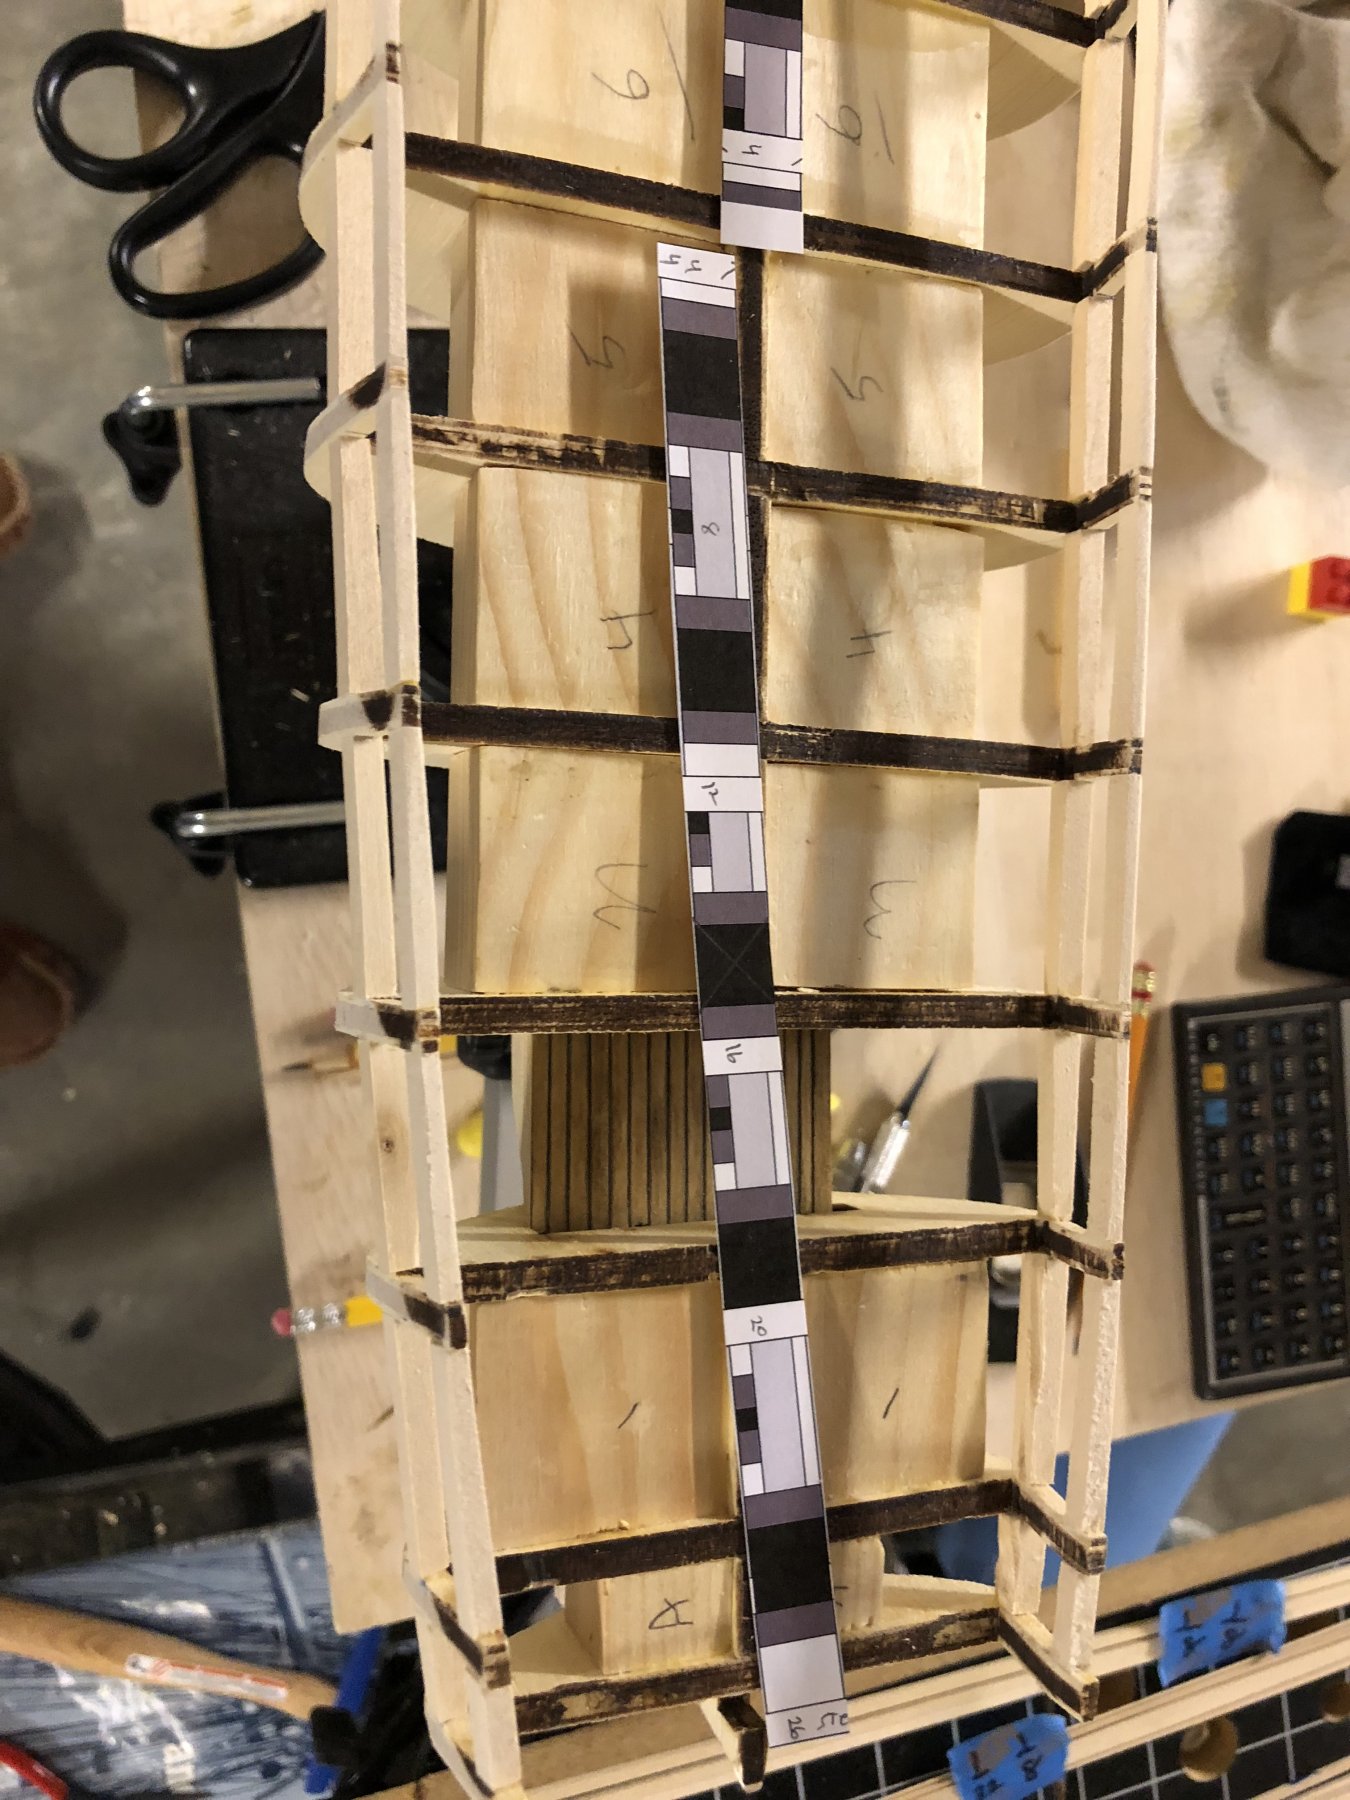
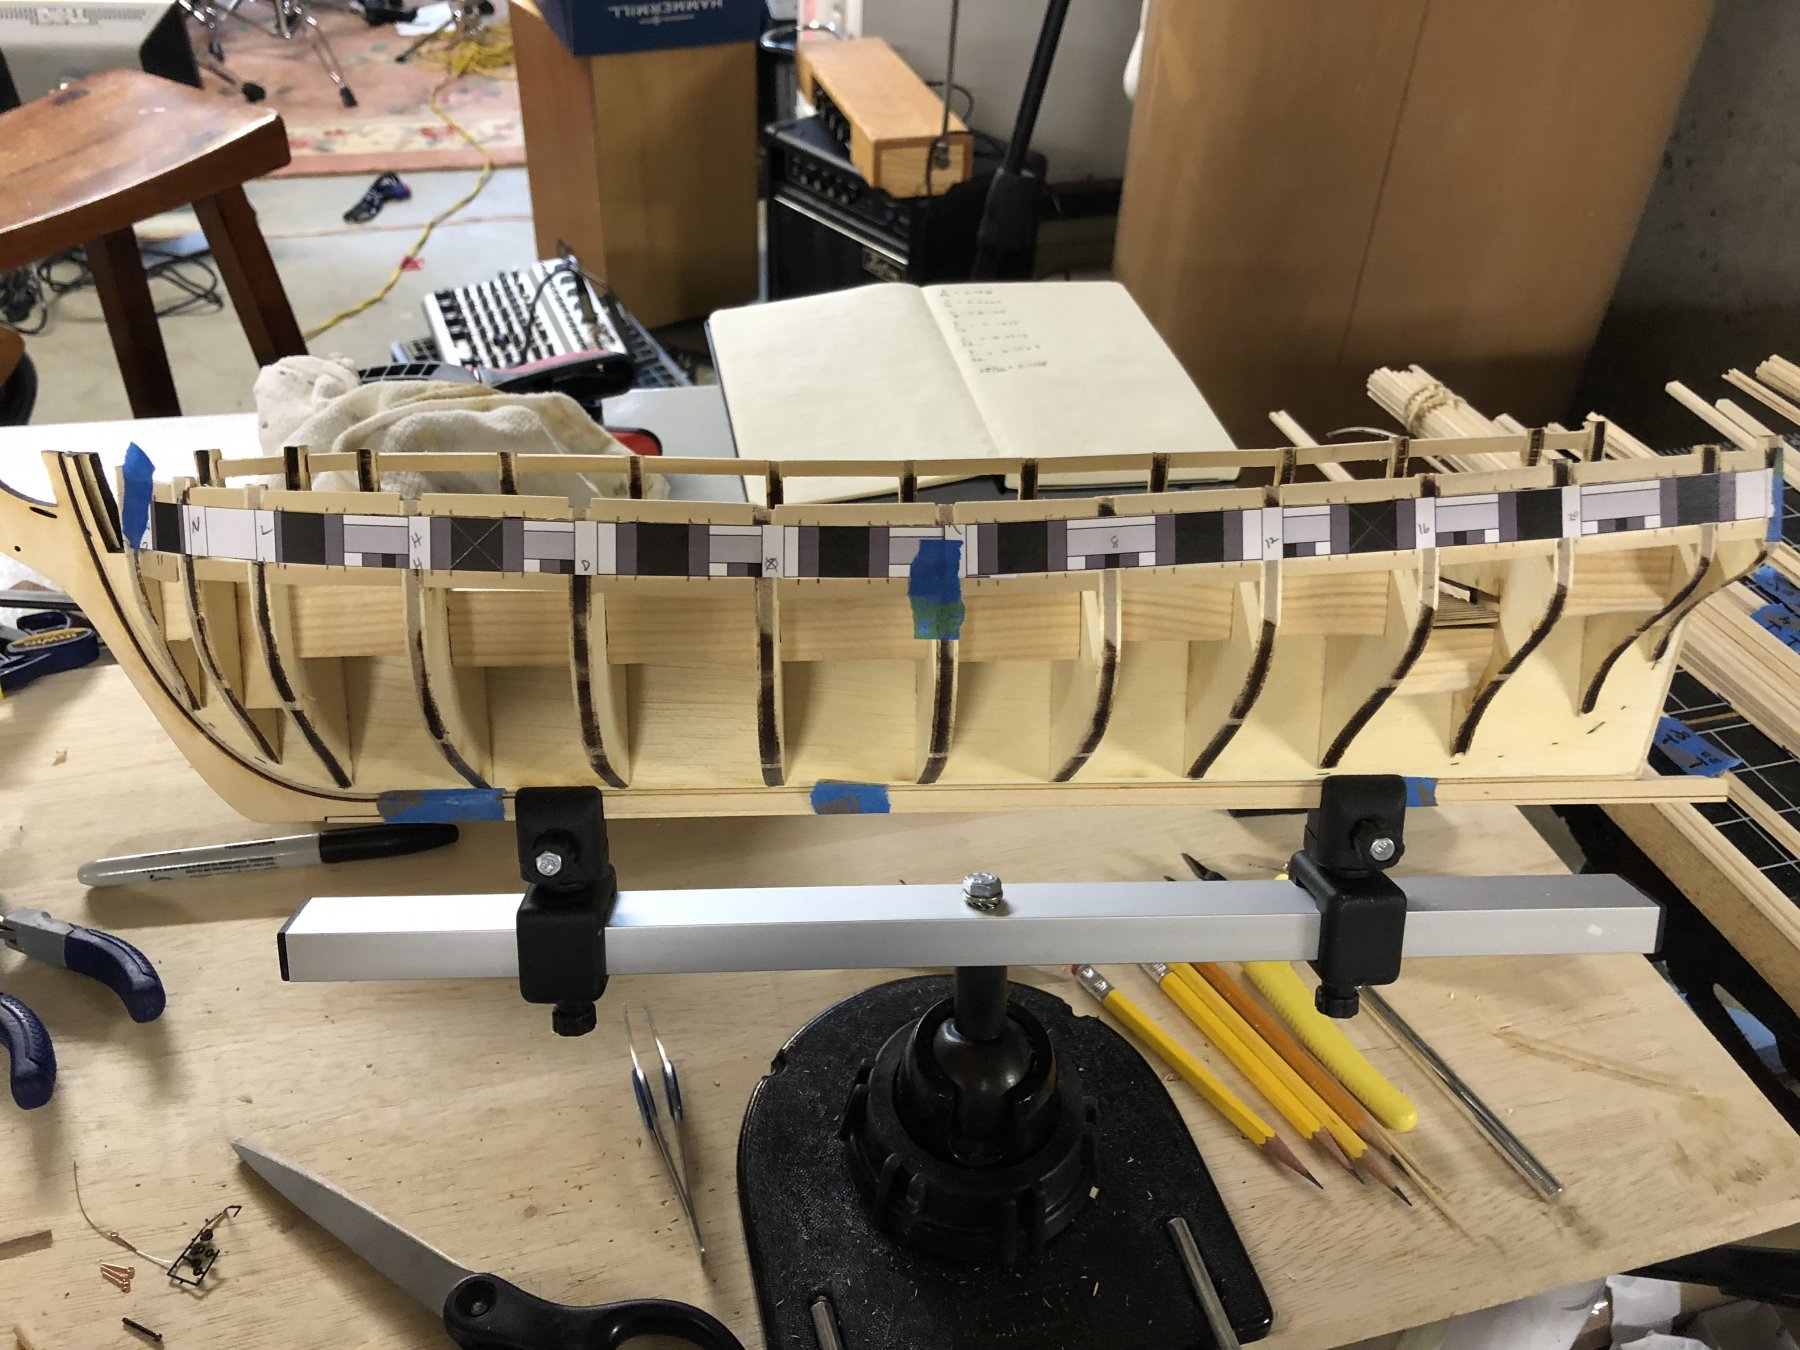
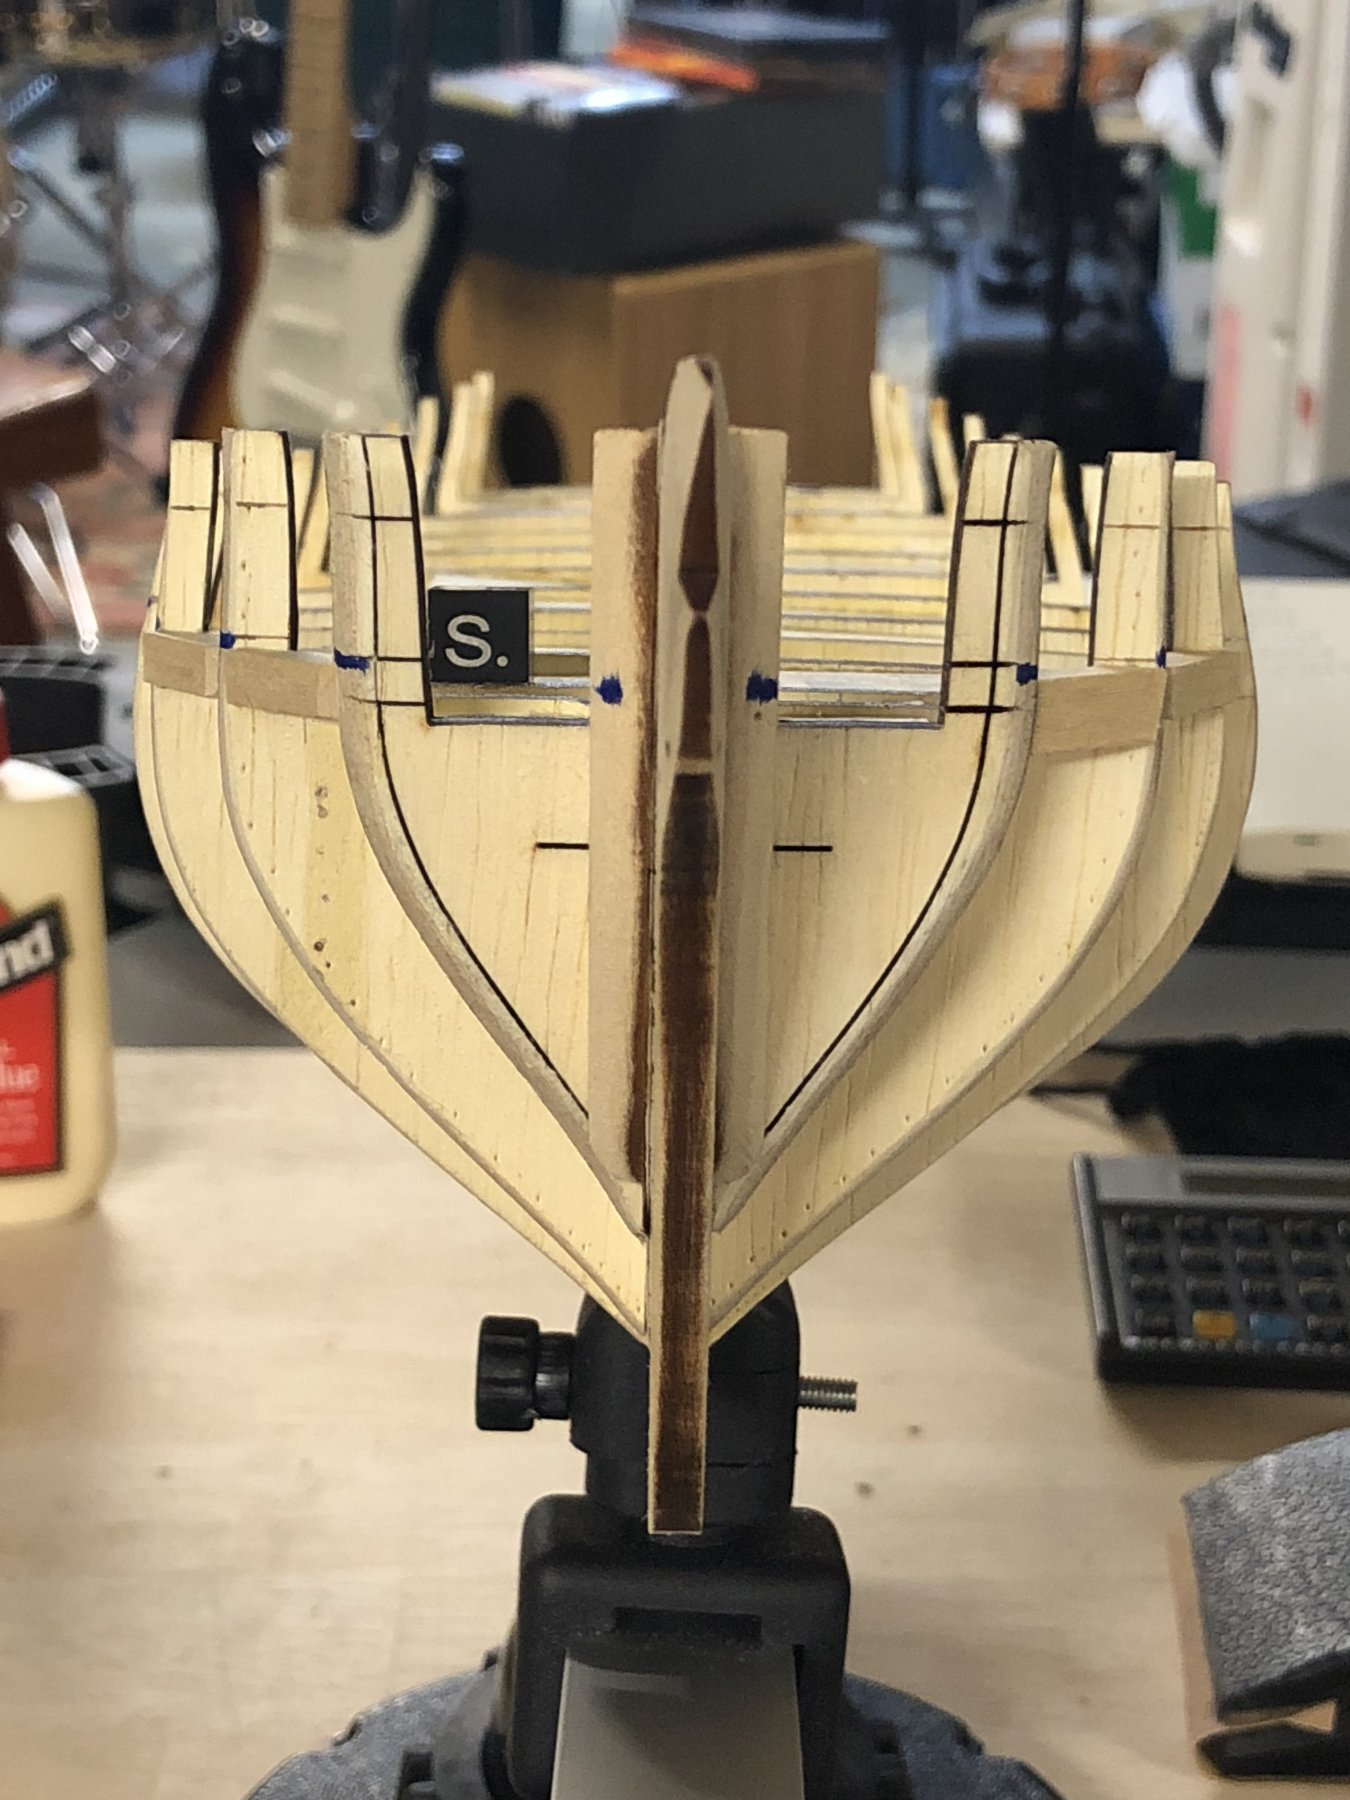
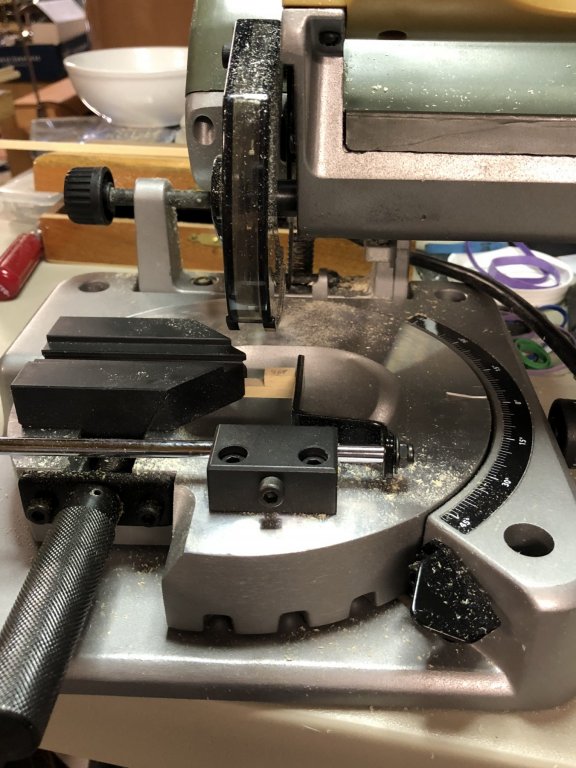
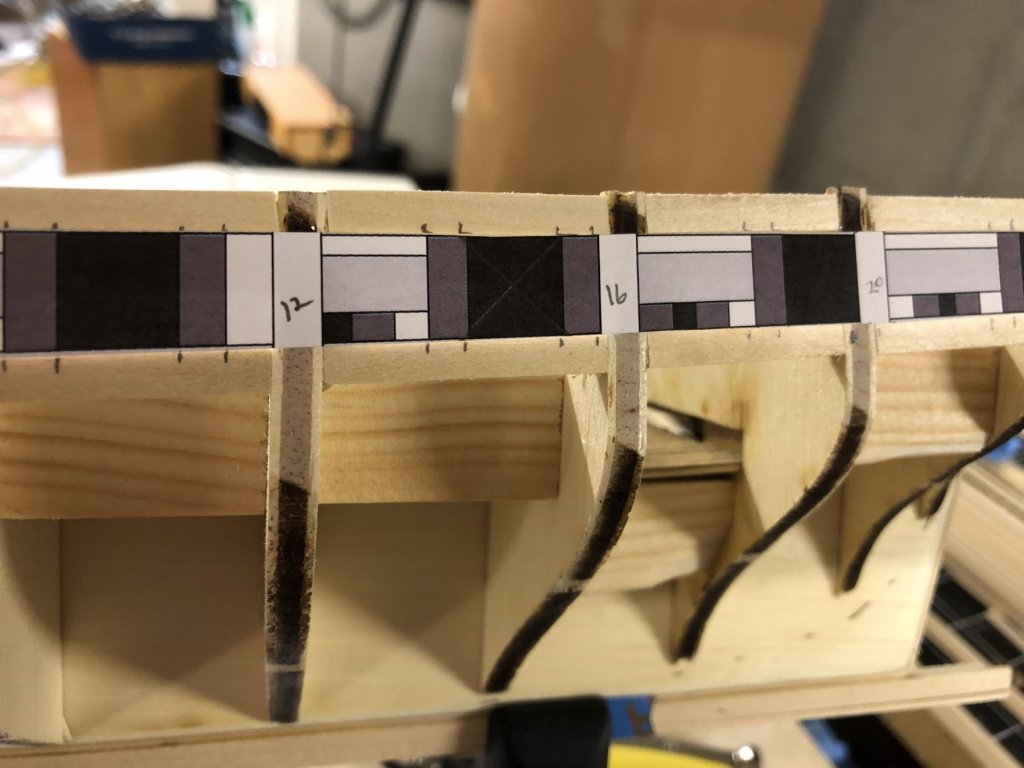
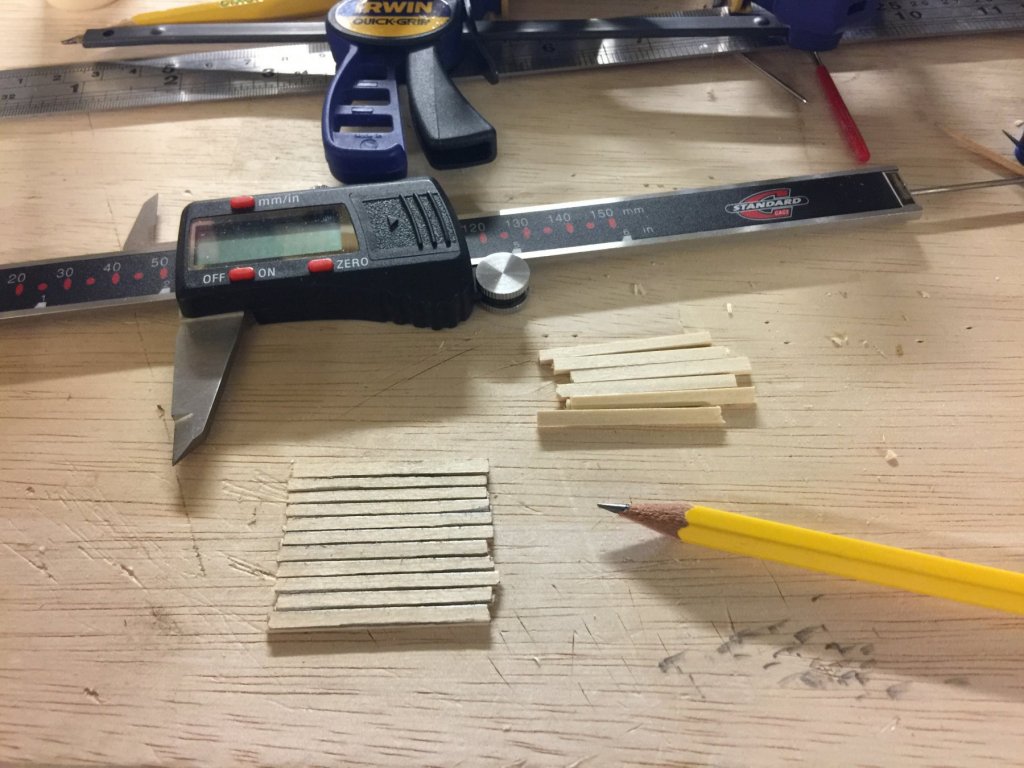
Made more headway this afternoon given the lousy NH weather we are having today.... expecting some 12-18 inches (30 to 45cm) of snow.... So... what better that work on the model?! - Sanded down the sills and lintels, and everything held together. Nothing broke, so I am happy. - Trimmed the gun port template and taped that into place. - Marked all the little bits that make up the vertical walls of the gun ports. - Set the mini chop saw fence to cut the gun port walls and chopped slew of those then started to glue them in. - By the way: I am LOVING my new Dewalt finishing sander. It has saved me a ton of time, and is delicate enough to get it done safely. - Some images follow....


- 90 replies
-
- 12
-
-
- syren
- model shipways
- (and 1 more)
-
The gun port lintels are complete. Now to sanding.... stand by! ~john

- 90 replies
-
- 10
-
-
- syren
- model shipways
- (and 1 more)
-
The Ludwig set is where I go when the model gets to be too much ;-) Cheers, ~john
-
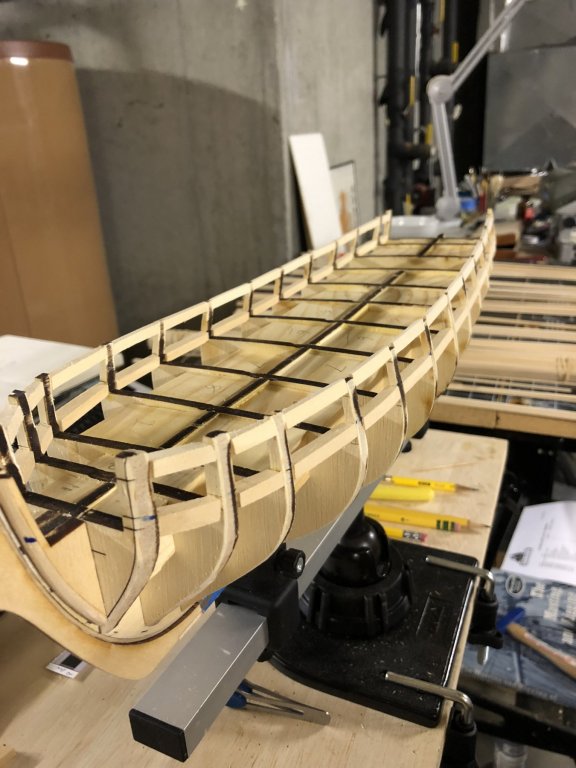
All, Got back into the model this week after a prolonged becalming. All is well. I finished off the gunport sills today and have built a couple of short wooden pieces to help act as a jig for the gunport lentils. I'm happy with the sills: they are level from port to starboard, and they make a nice smooth line down the side... This is all coming together nicely, though the sanding is coming in the future... lots and lots of sanding. :-) ~john

- 90 replies
-
- 7
-
-
- syren
- model shipways
- (and 1 more)
-
Excellent work, Bob. Thank you for letting me (us!) join you on this adventure. ~john
- 682 replies
-
- 2
-
-
- halifax
- lumberyard
- (and 1 more)
-
Thank you, Pat - I am always happy to receive comments, help and the like. The pencil/graphite issue is one I will be experimenting with. I did rub along both edges of each plank piece, which was too much... and I rubbed the graphite at an angle, which did indent the edge of the planks. The wood is soft and is easily shaped with pressure from the graphite. I am beginning think to try something less friable (graphite) and more permanent (ink?) then also see if it can withstand scraping as opposed to sanding. Trials to come. As for the Golden Oak, I think I will be looking for something lighter. ~j
- 90 replies
-
- 1
-
-
- syren
- model shipways
- (and 1 more)
-
Nicely done, Mike: she is a lovely model. Display with pride. ~john
-
Hi Harley, Thanks for the kind words. And thank you for the suggestion: one side! I should have thought of that. Indeed the caulking in the below deck was made by running the graphite along both sides of each plank.... and it does look too heavy. I was not concerned (yet) as this is all pretty well hidden below decks, but it will matter much more on the top. Thanks! I will rig a test bed and see how it looks. In the meantime, I am headed to Wash.D.C. for the week: work trip to the American Astronomical Society annual meeting. Should be interesting, but will keep me away from building this coming week. ~john
- 90 replies
-
- 2
-
-
- syren
- model shipways
- (and 1 more)
-
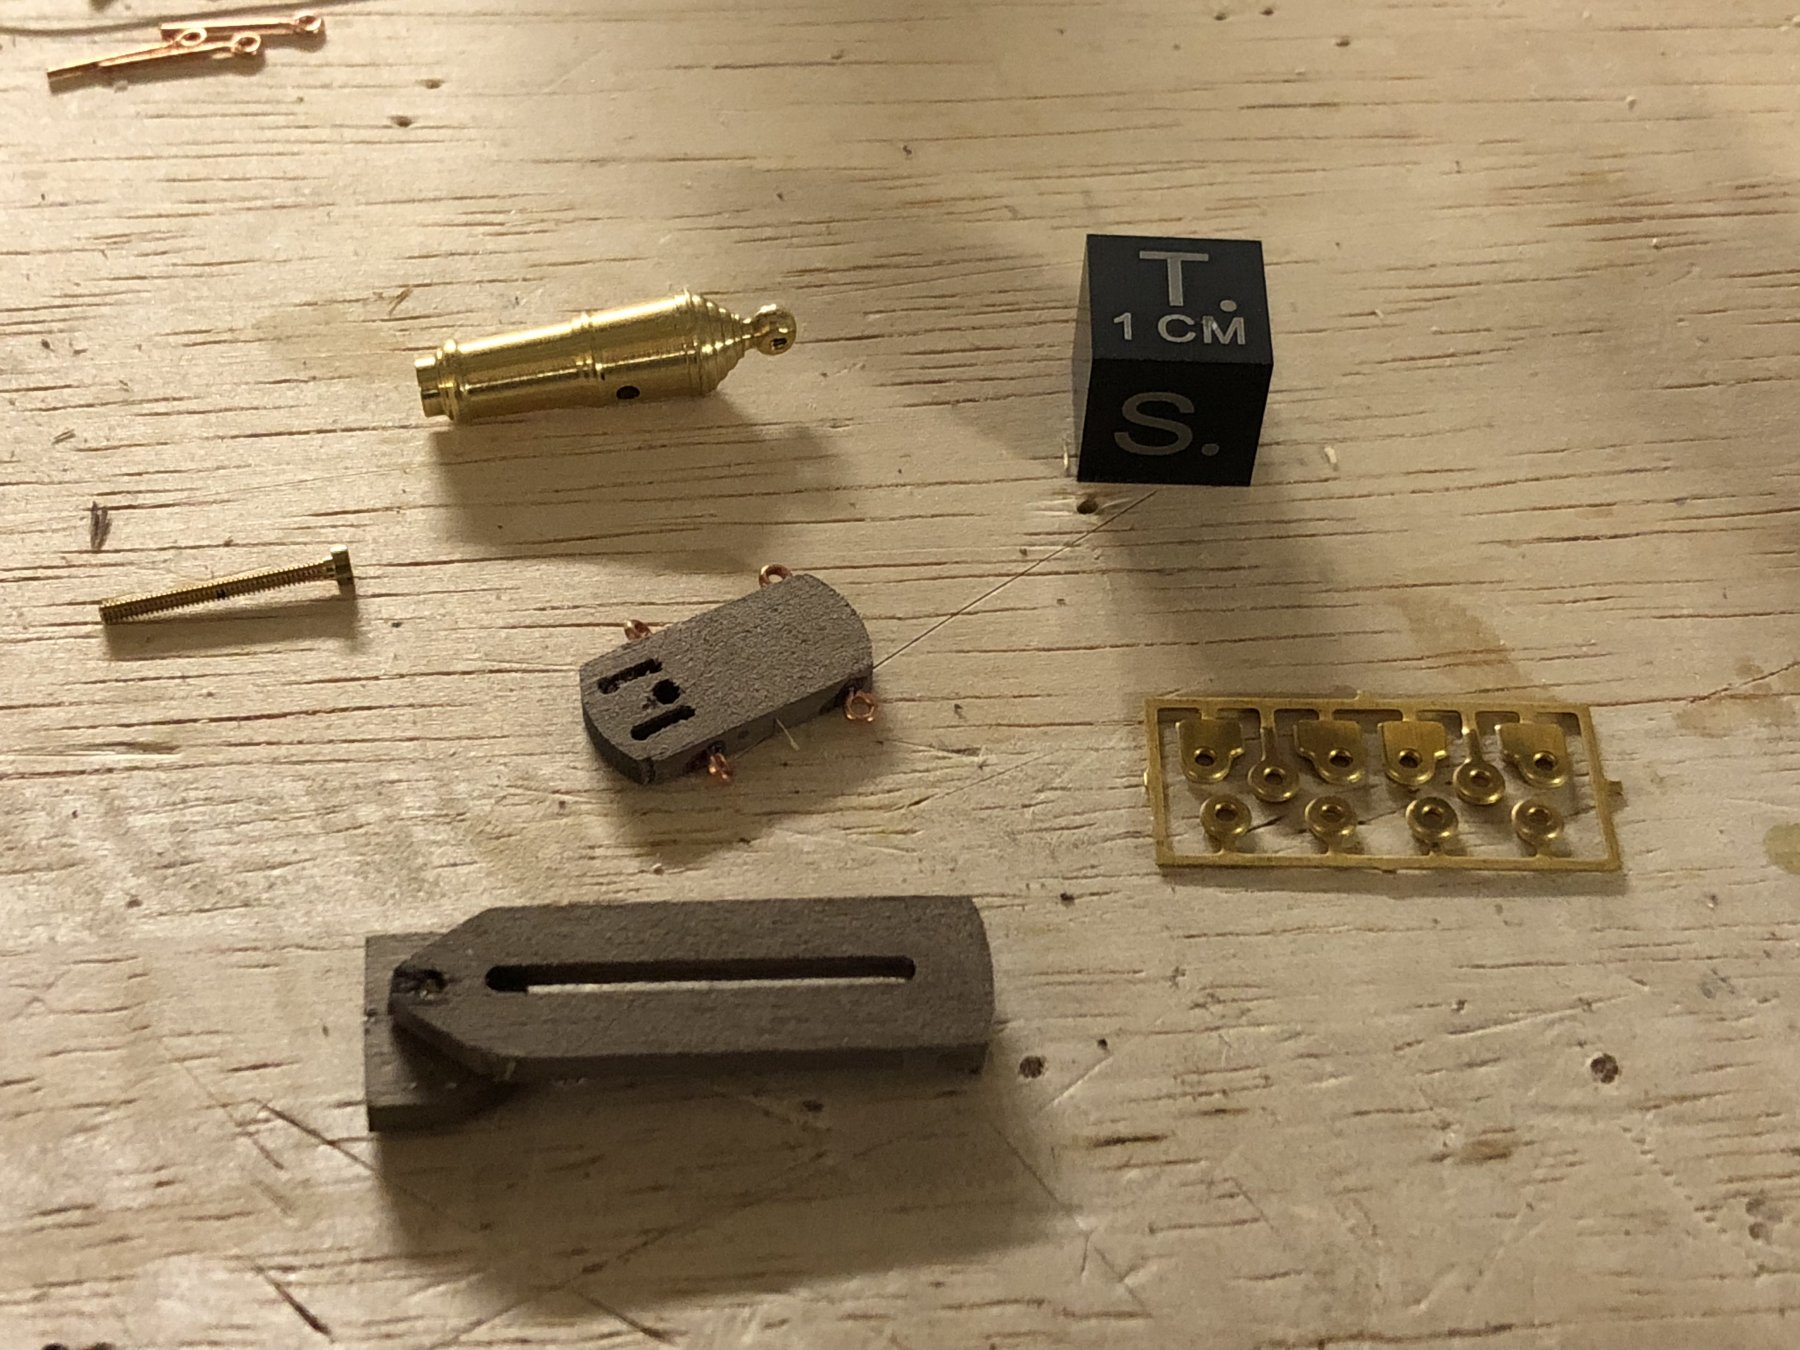
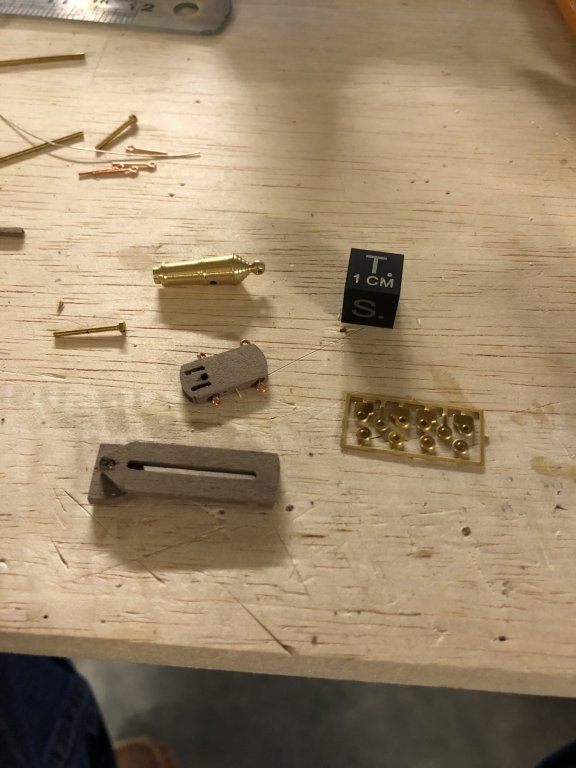
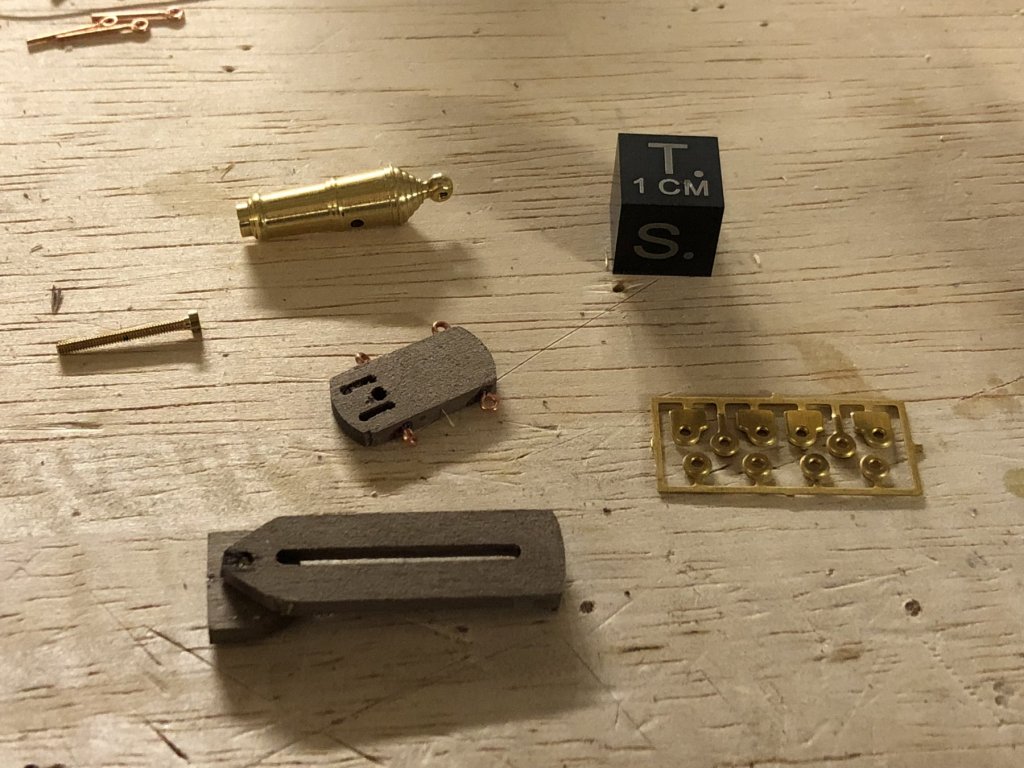
Ahhh Musicians! A great sub-thread here for sure. Nice looking set there Per! Never can have too many cymbals to play with. Dutchman: indeed! Another bodhránist out there? :-) I have my collection of those. I play monthly with an Irish group (whistle/flute, guitar, fiddle, and myself). We have a jolly time. We are more like Flook (great band). One drum from Brendan White and the other two from Christian Hedwitschak. To the build: I am slowly making progress on the sills.... and I am dabbling with a carronade micro-build (Caldercraft) to see if I like them enough for the Syren. They are a little pricey.... So some images.... ~john

- 90 replies
-
- 4
-
-
- syren
- model shipways
- (and 1 more)
-
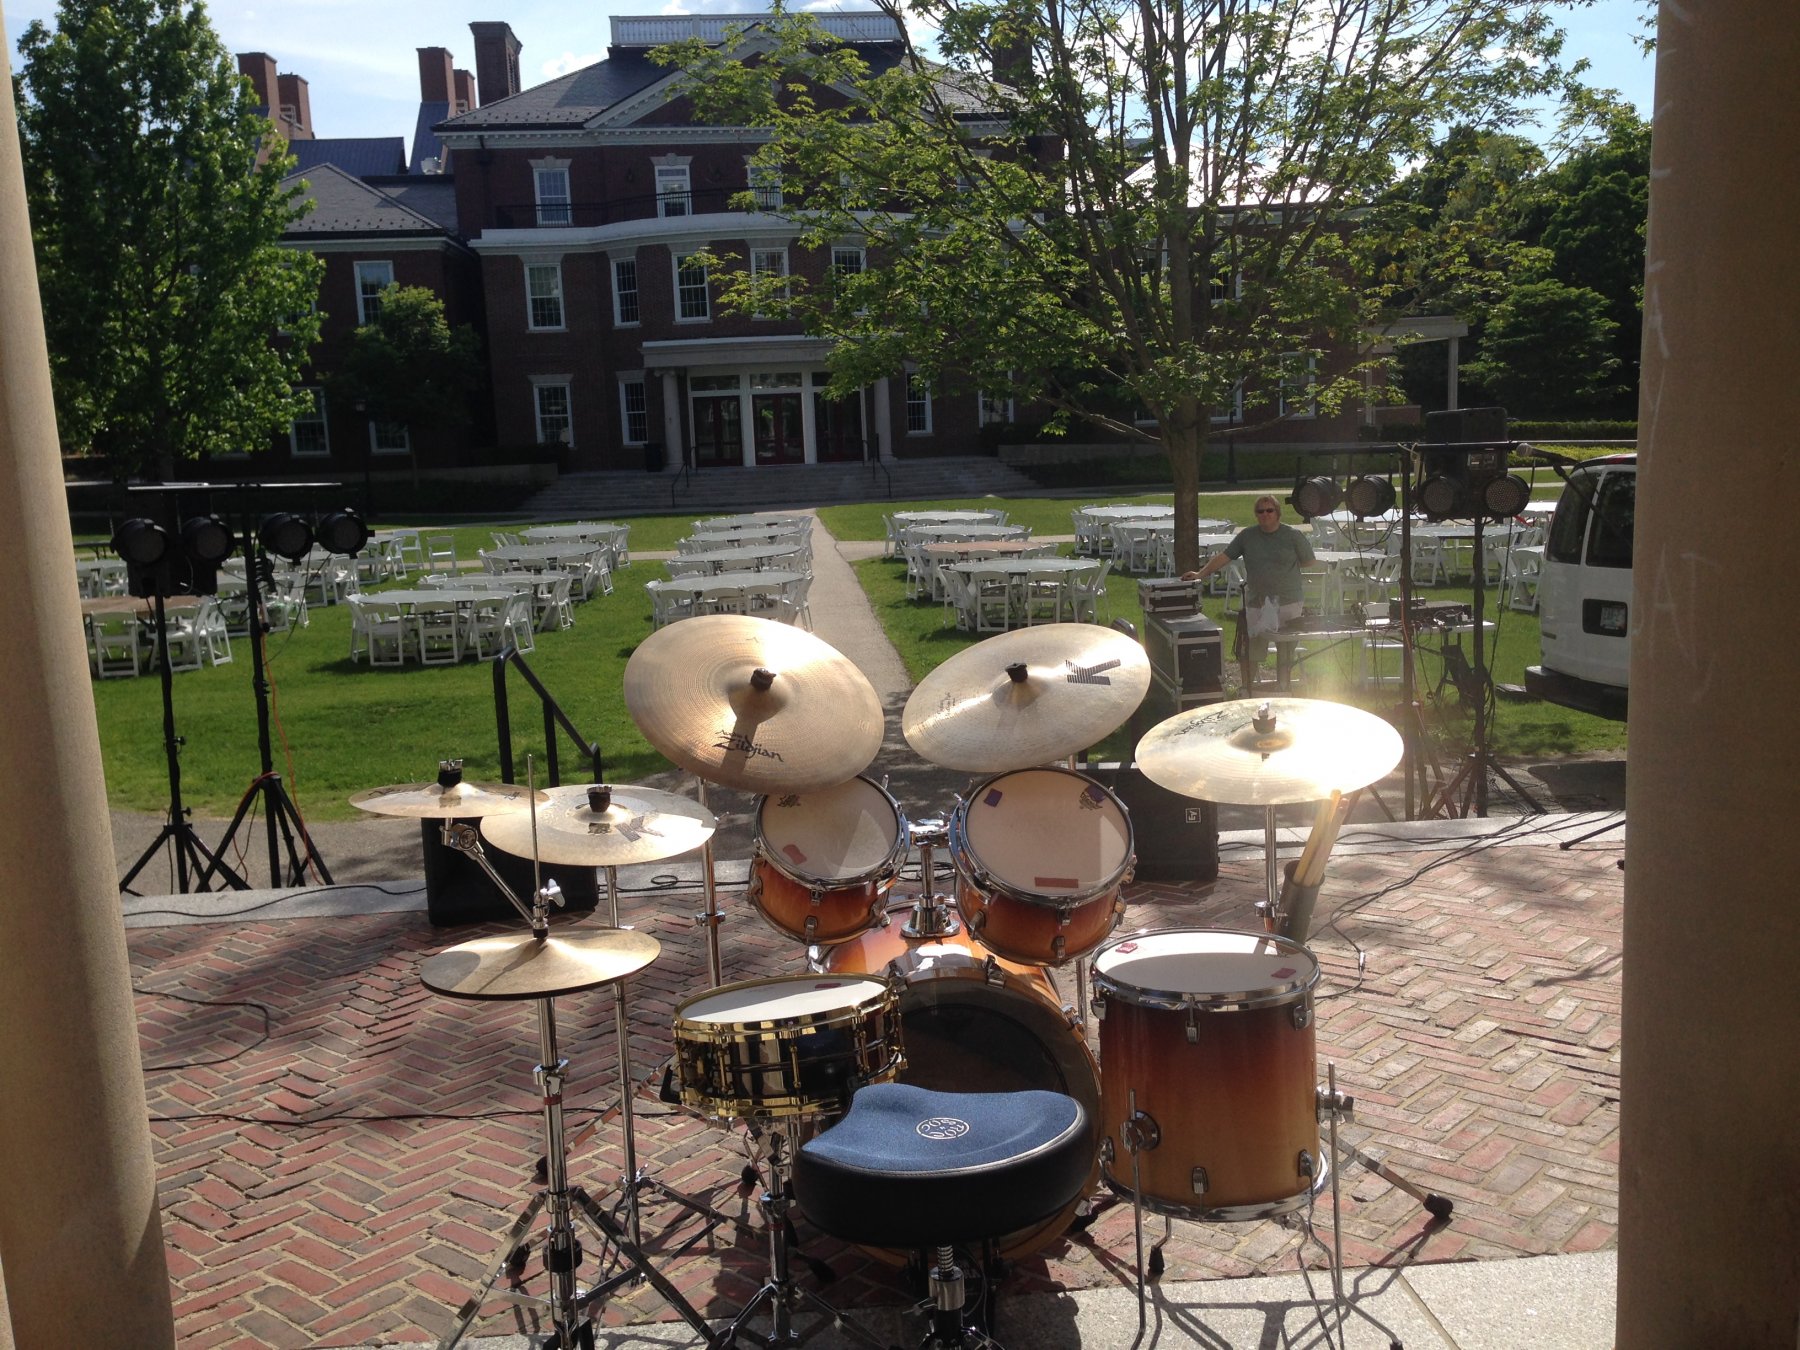
Hi Per, Indeed - the basement is a treasure trove of instruments and activities. The Ludwig set is a ca.1990 rock-maple core 5 piece kit, but I have replaced the snare with a Black Beauty (which I love). I am mostly a Zildjian-type, so lots of good cymbals all over the place. Everyone in the family plays an instrument of one kind or another. I am 80% percussion, 15% guitar and 5% flutes. My kids play guitar, bass, fiddle, mandolin. My spouse is mostly voice and cello. Makes for fun times with a variety of bands. I'll attach an image of the full set from a concert setup.... ~john

-
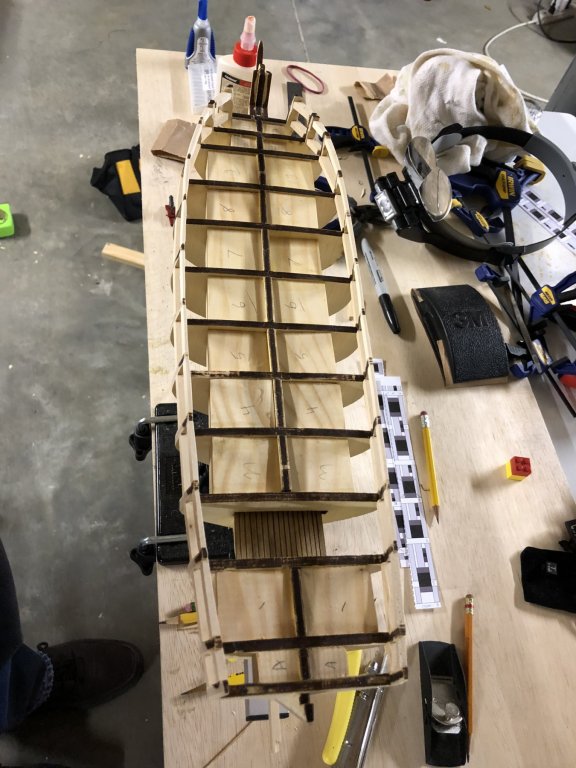
This is going to be slow going for me.... I am now working on the gunport sills. This morning, I ran a batten to locate the sills, made the mark along each bulkhead and started to figure out the sill shapes. I plan on cutting each one to shape, a little larger than needed, then sand down from there. For strength I am using PVA glue for best bond and strength, especially since these parts are on the fragile thin pieces of the bulwarks. This will then take time to dry, etc. Here's the foremost sill in place and aligned as best I can. ~john

- 90 replies
-
- 5
-
-
- syren
- model shipways
- (and 1 more)
-
Jesse, I can only hope that my build will look anywhere as nice as yours has turned out. I like your netting just fine.... :-) ~john
- 1,306 replies
-
- 7
-
-
- syren
- model shipways
- (and 1 more)
-
Thank you for the heads-up on the waterway height and carronades.... I will check that out before I make deck/waterway installations. Your planking coloration is wonderful by the way. Nice! ~j
-
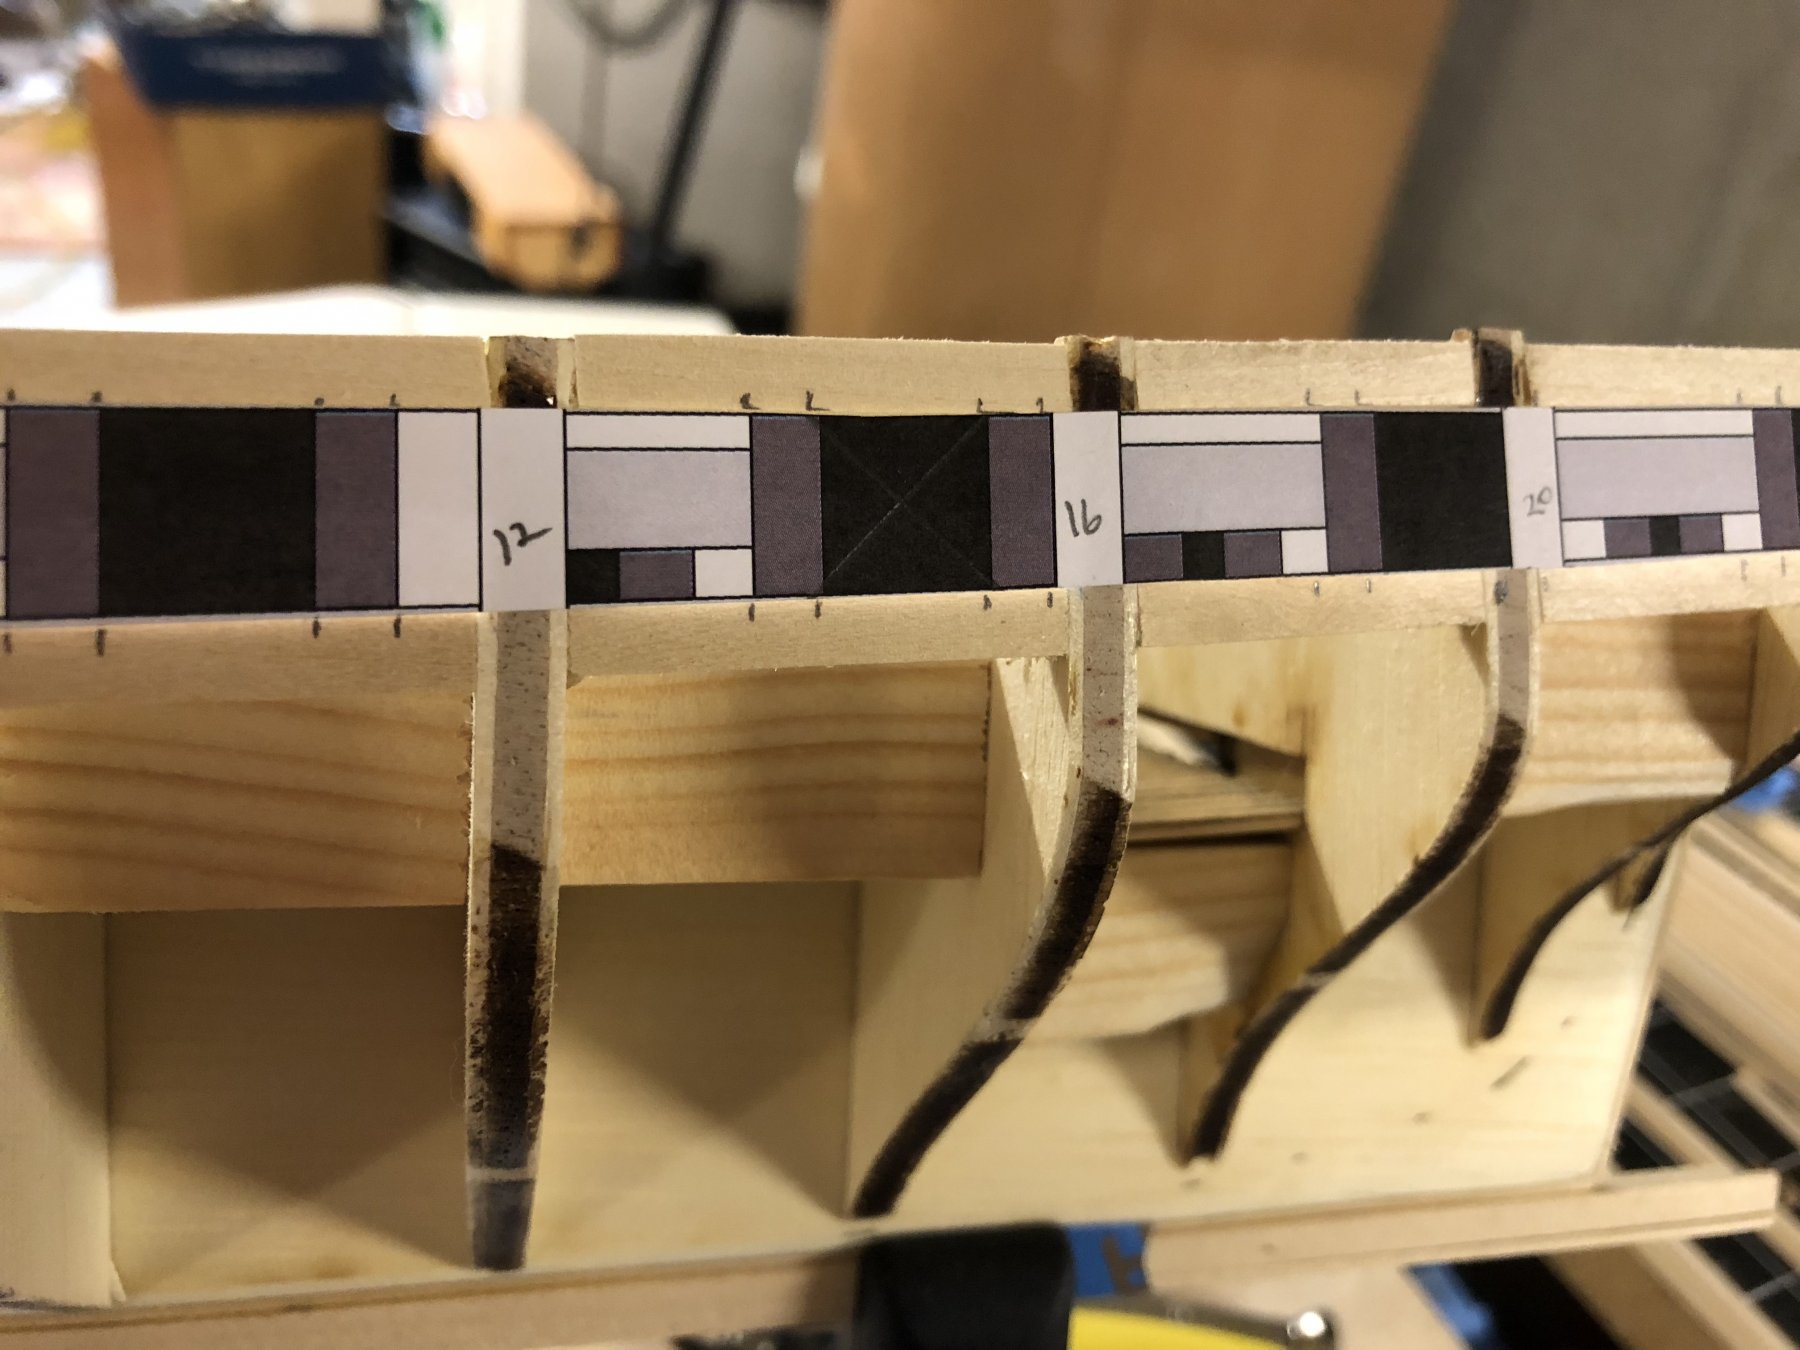
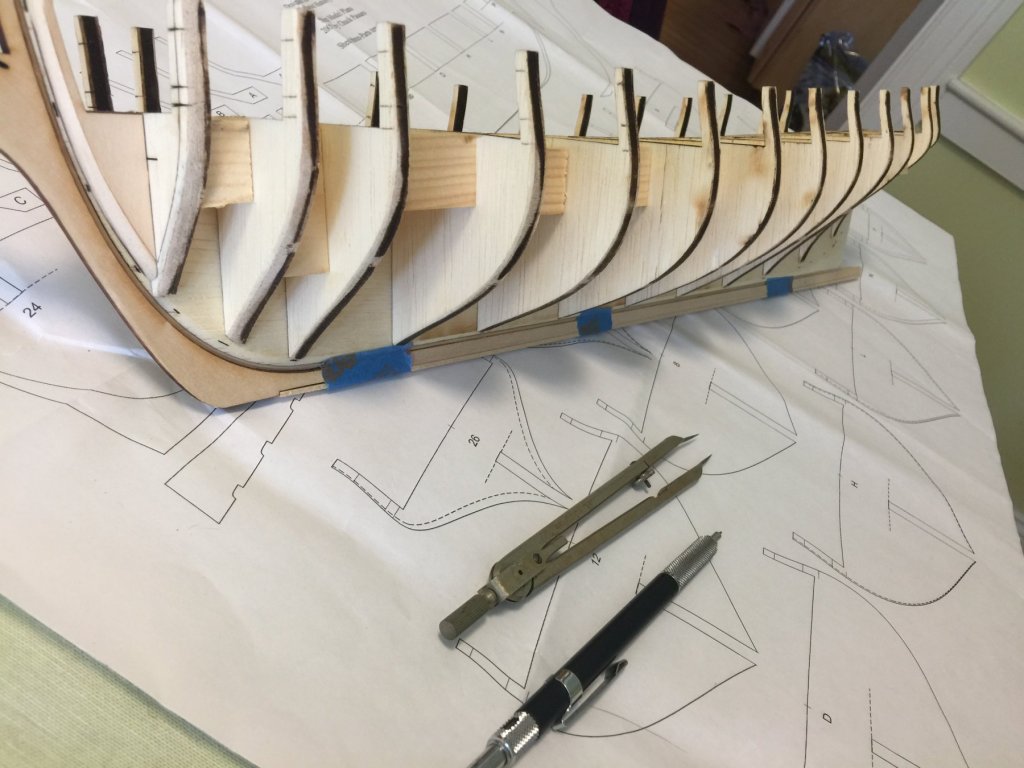
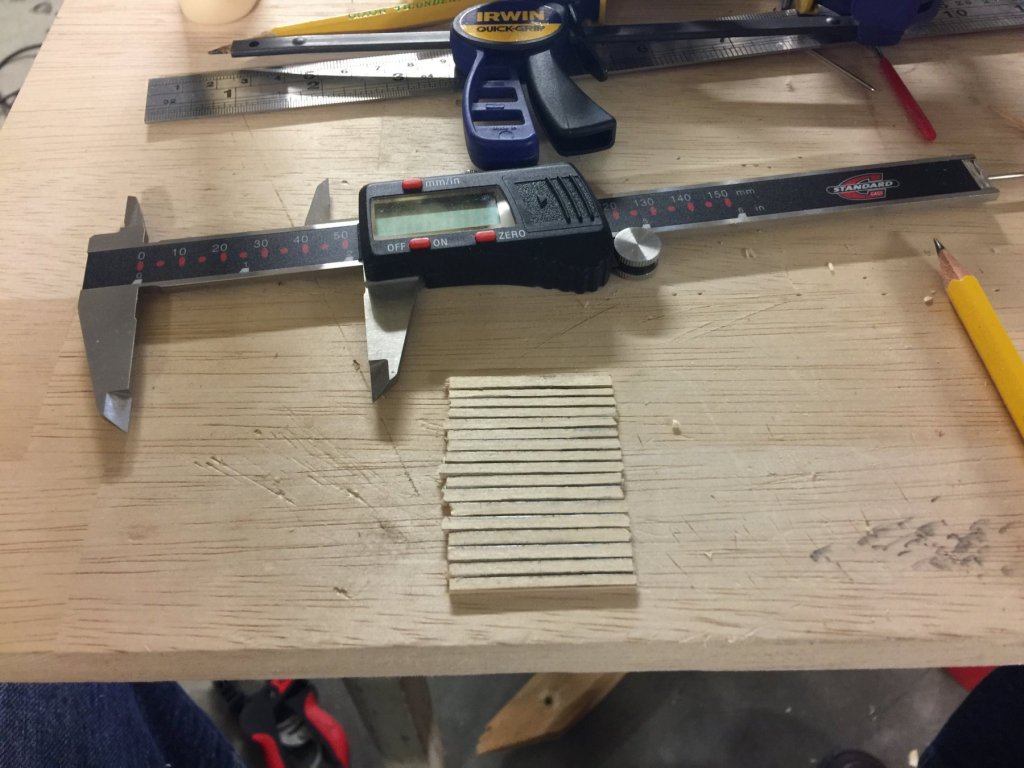
With some free time on my hands (It's 7F outside (-14C or 259K) and no flying for me!), I got back to the Syren. Moving now into the third chapter and looking at creating the gun and sweep ports when I noticed that my sanding had been, how shall I say this<?>, a little too zealous?! I removed a slew of the laser cut measure lines for this.... so out with the calipers and plans... I had to re-mark them all. Sometimes I feel like I have a toad for a brain. Ready now to move ahead. ~john


- 90 replies
-
- 10
-
-
- syren
- model shipways
- (and 1 more)
-
Hi Mike - not sure which knot I used at the time, but I used a knot then a dab of white glue to secure it. ~j
-
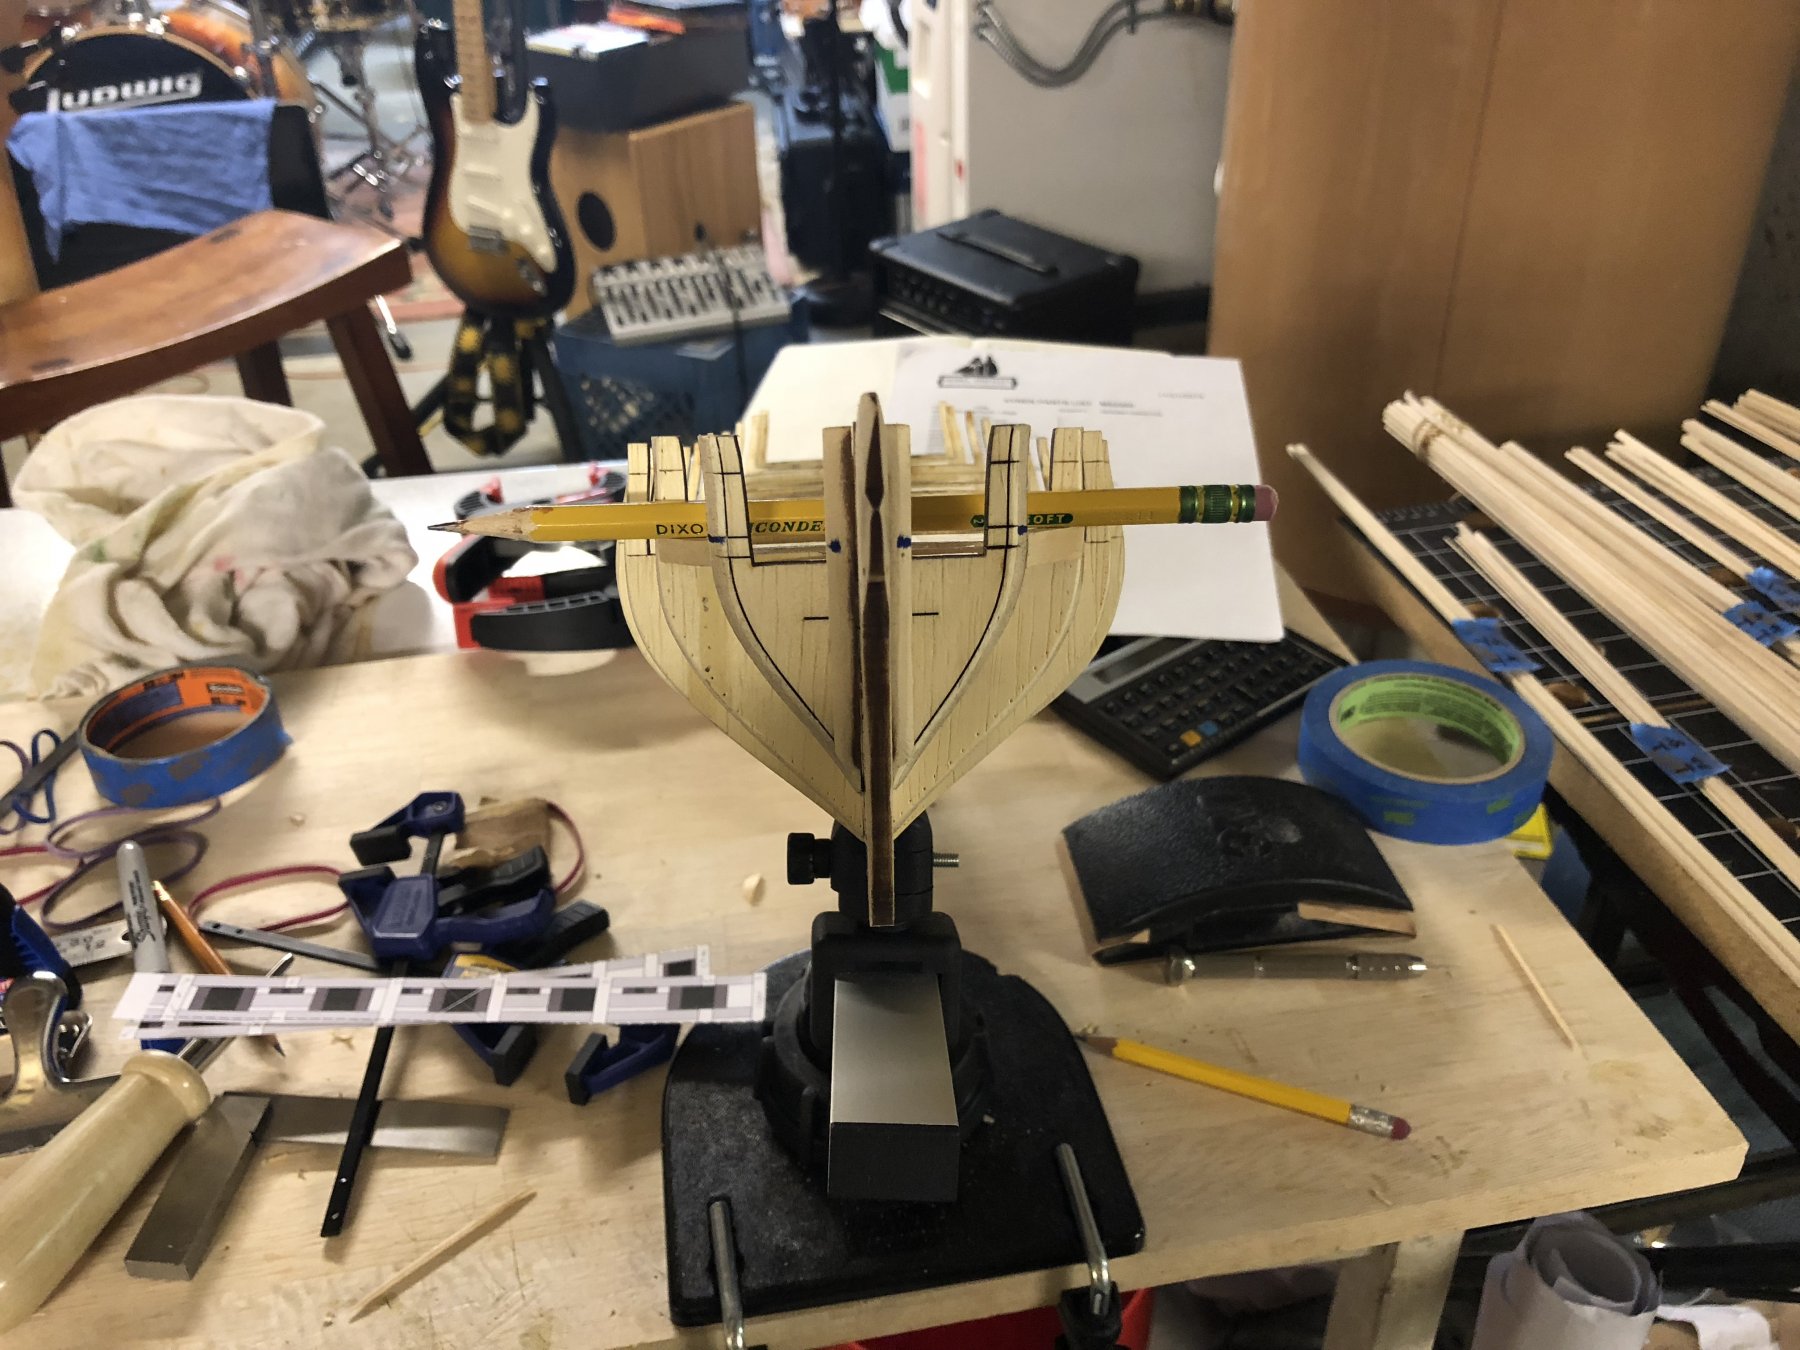
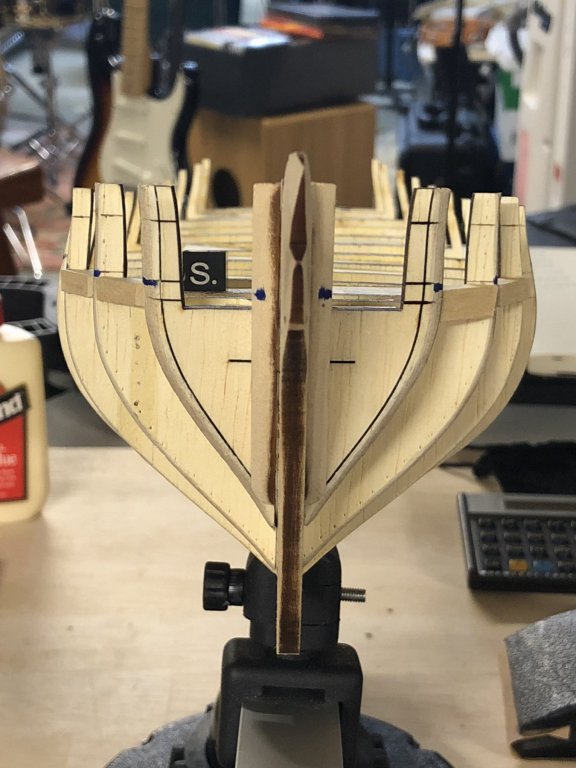
A little time today spent on the build. Taking it slow and carefully.... Placed the simulated lower deck in place today. The edges of the planks are rubbed with a pencil graphite at a 45 degree angle. This tends to slightly reshape the long edge of the plank and show some darker edging nicely. Once glued in place, the planking was stained with Golden Oak. Funny thing, though, my golden oak looks less golden and a bit darker than others'... I wonder if my stain is old or something. M'eh. ;-) ~john


- 90 replies
-
- 6
-
-
- syren
- model shipways
- (and 1 more)
-
For the cabane and outer wing struts, I used CA. For the landing gear struts, I used epoxy soaked into the string used to simulate the bungee cables. CA was touched on the "bolts" for the wing struts. It holds well. ~j
-
Thank you for your commentary and suggestions, Jim. I am not going to place the filler blocks out to edges of the bulkheads, as I am prepping to get to the planking in as difficult a way as possible. I find that the challenge helps me with later builds. I totally appreciate your methods, though, and accept them as useful. I also like your choice of woods for an un-coated woodwork view.... adjectives fail me, I am afraid... maybe "unpainted" is a better term? Anyway, nice work. Today I continued with the filler block gluing process. I am taking it one day at a time, and one or two bulkheads at a time. Not much to show for that, so no images. Syren builders have seen this a lot on the forums here, so I am saving some bandwidth. It came to my thoughts today that I am unlikely to present very much of anything new to Syren builders on MSW, but my log will be a series of "HELP I am stuck" kind of situations ;-) I hope that is ok with everyone. This is my first PoB build, so I am likely to get into some messiness as I move forward. With a new semester coming up in a few days, I am also going to slow down a lot on the build, as I pick up on getting back to teaching astrophysics (my profession). Such is life.... then again, the holidays are coming up... :-) Cheers All, ~john
- 90 replies
-
- 3
-
-
- syren
- model shipways
- (and 1 more)
-
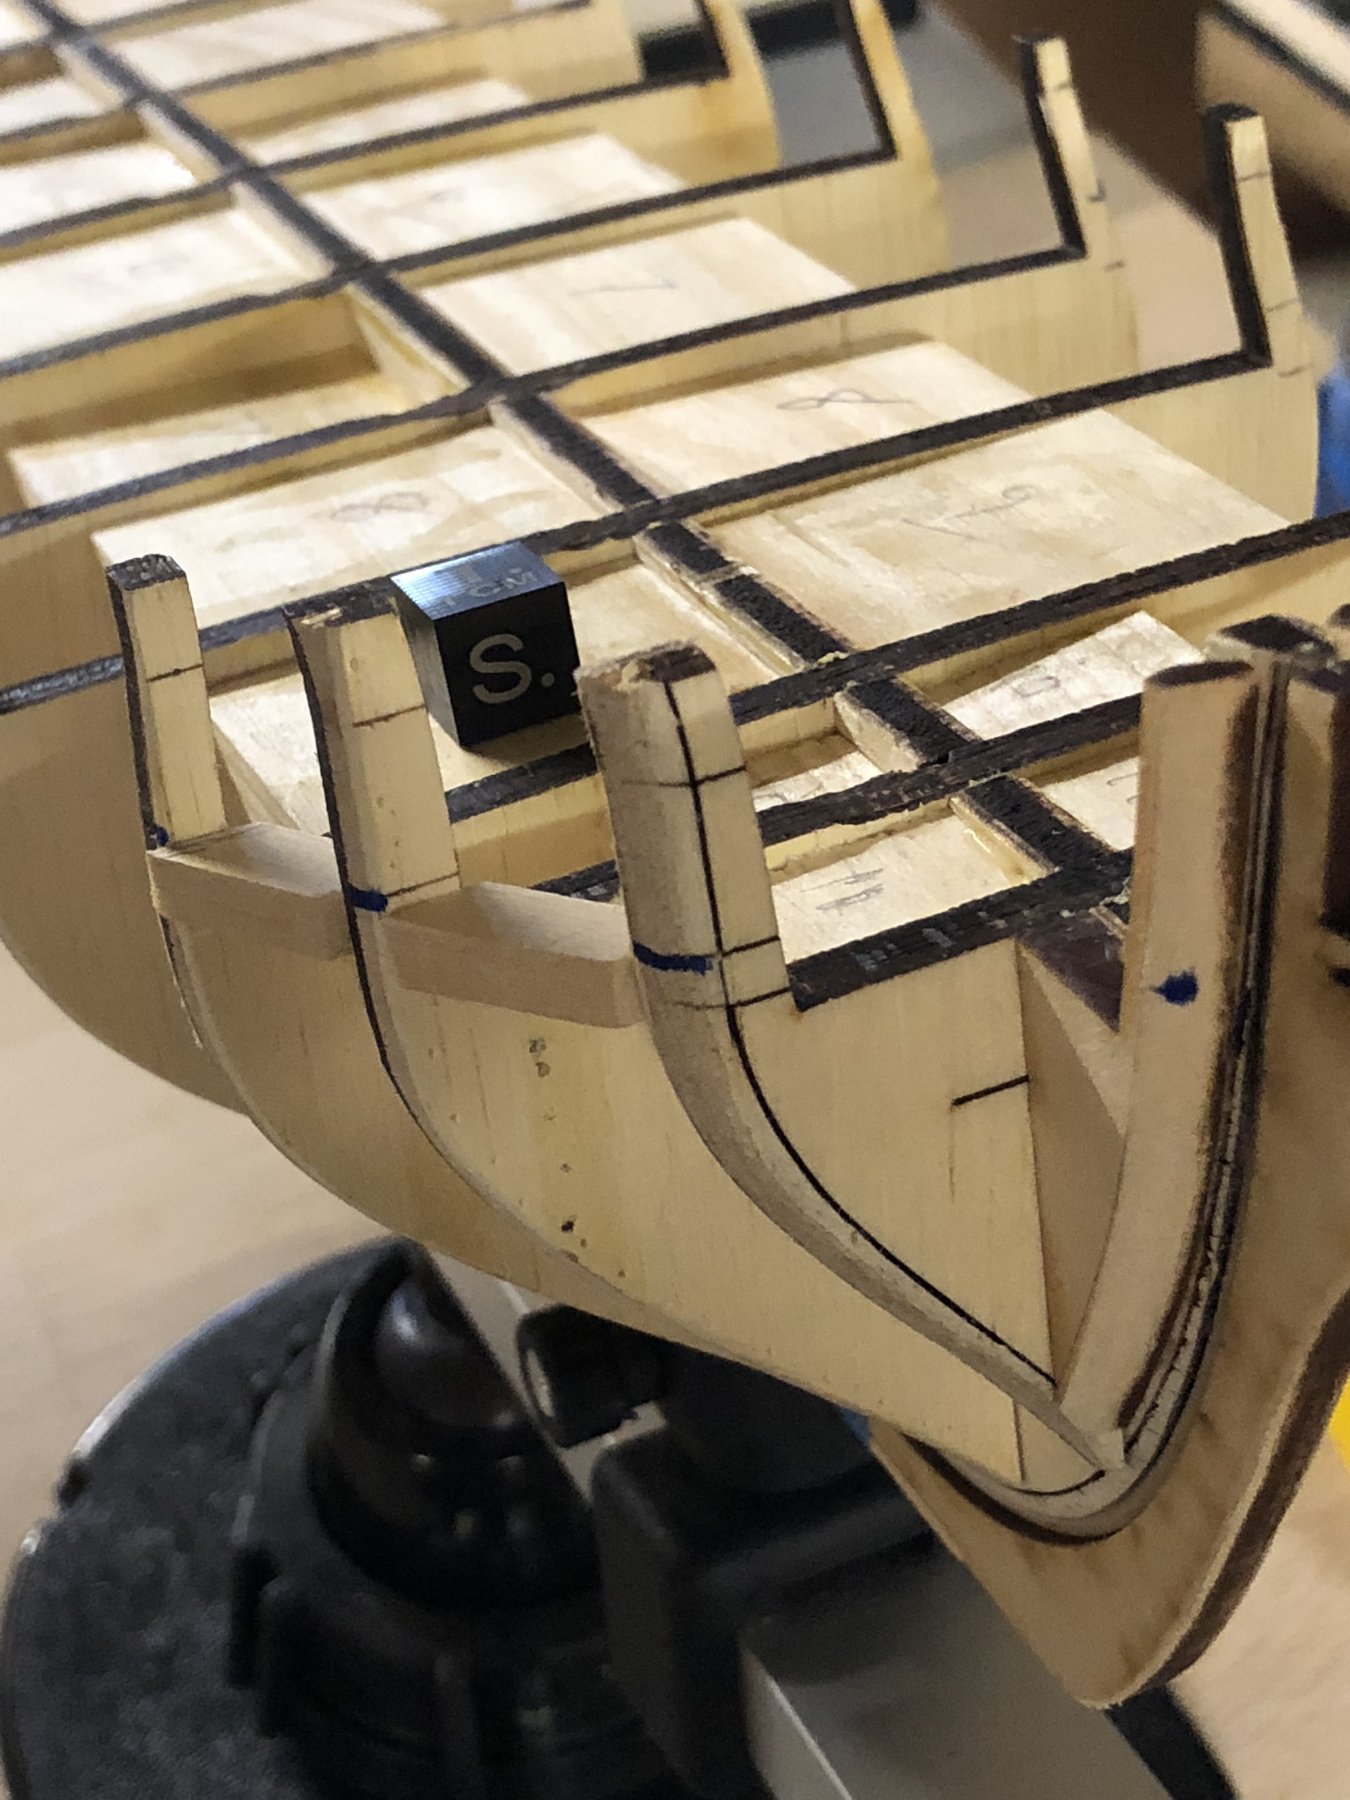
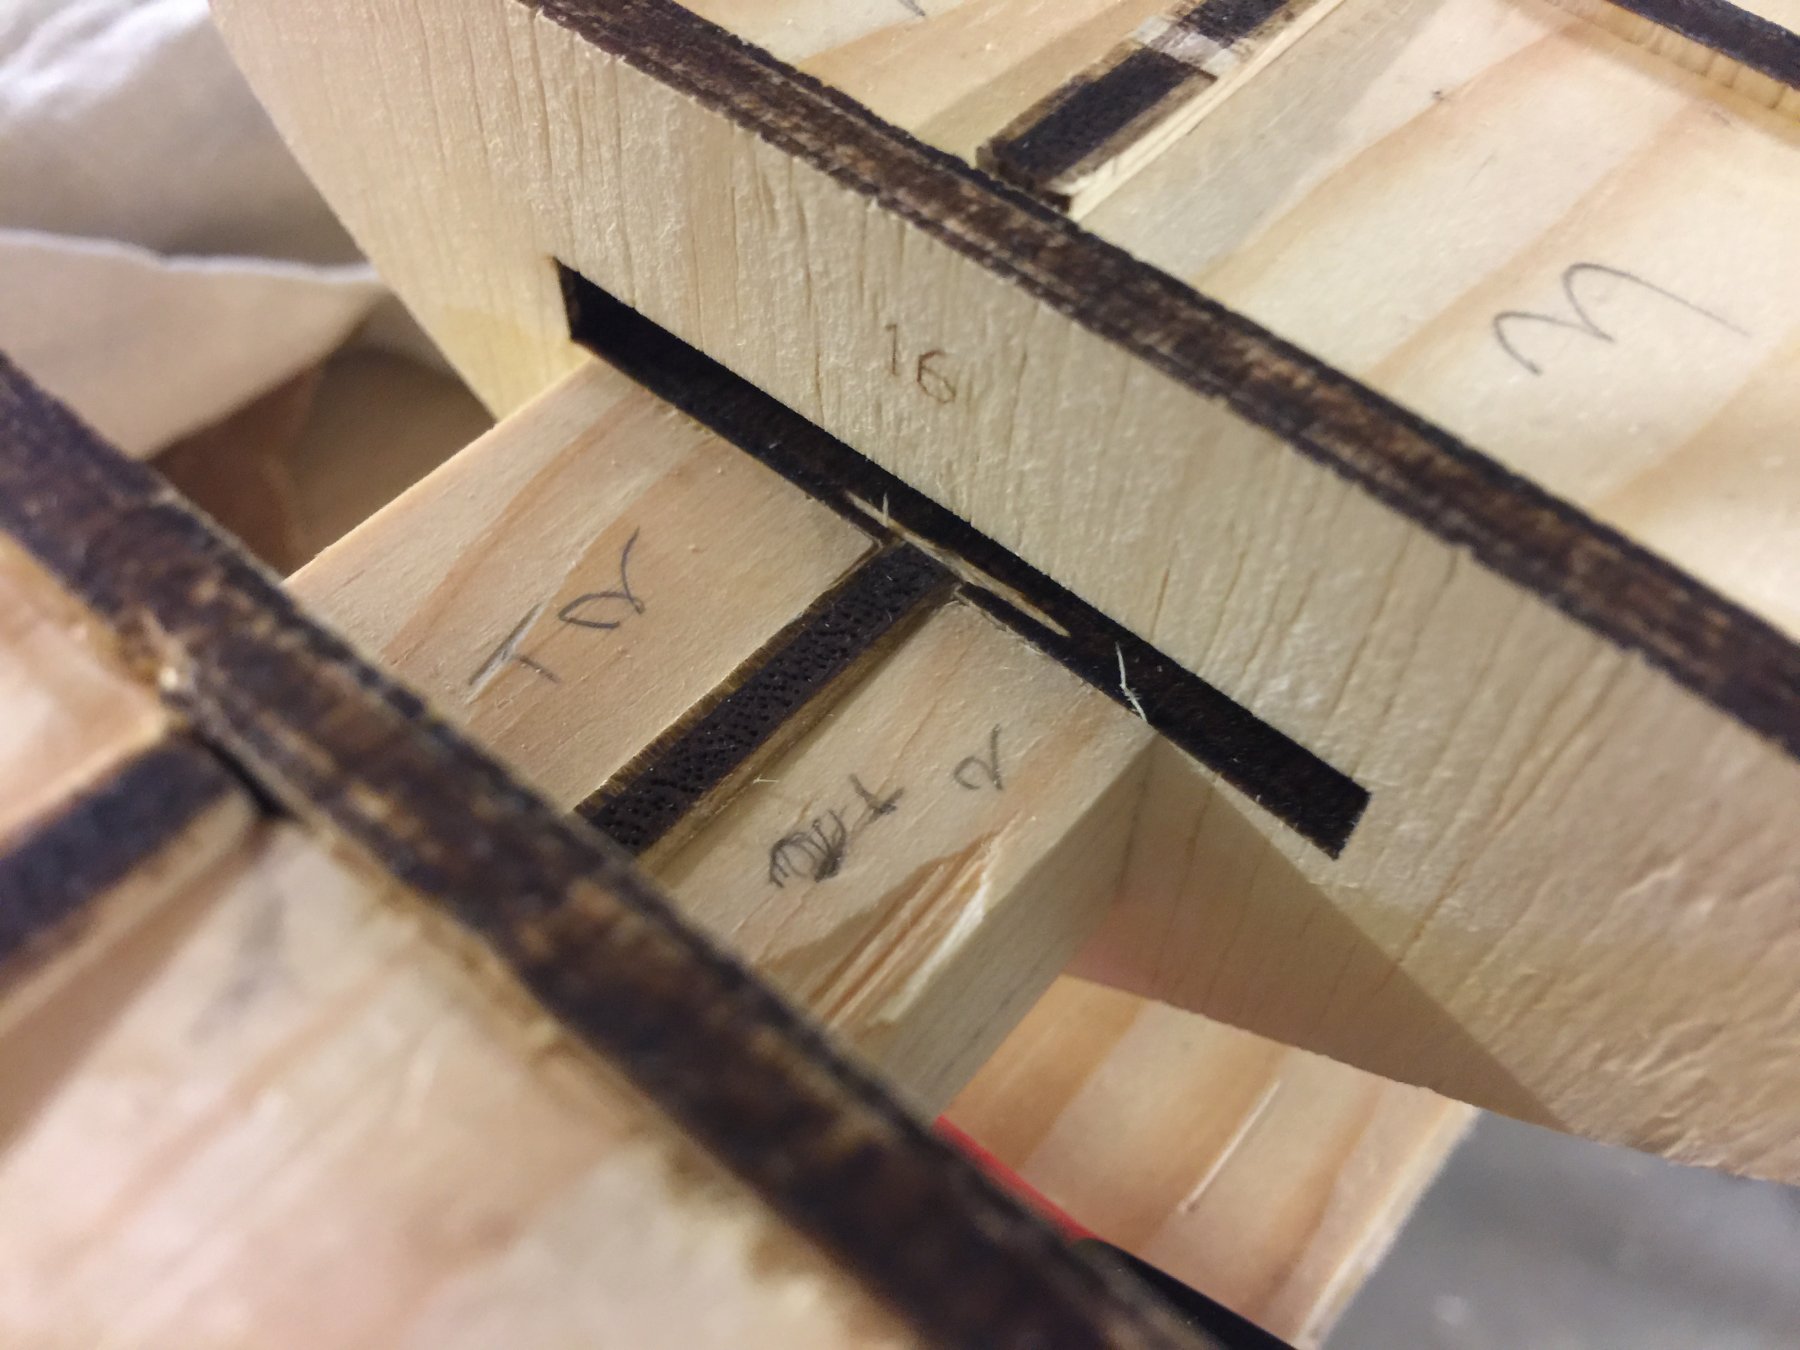
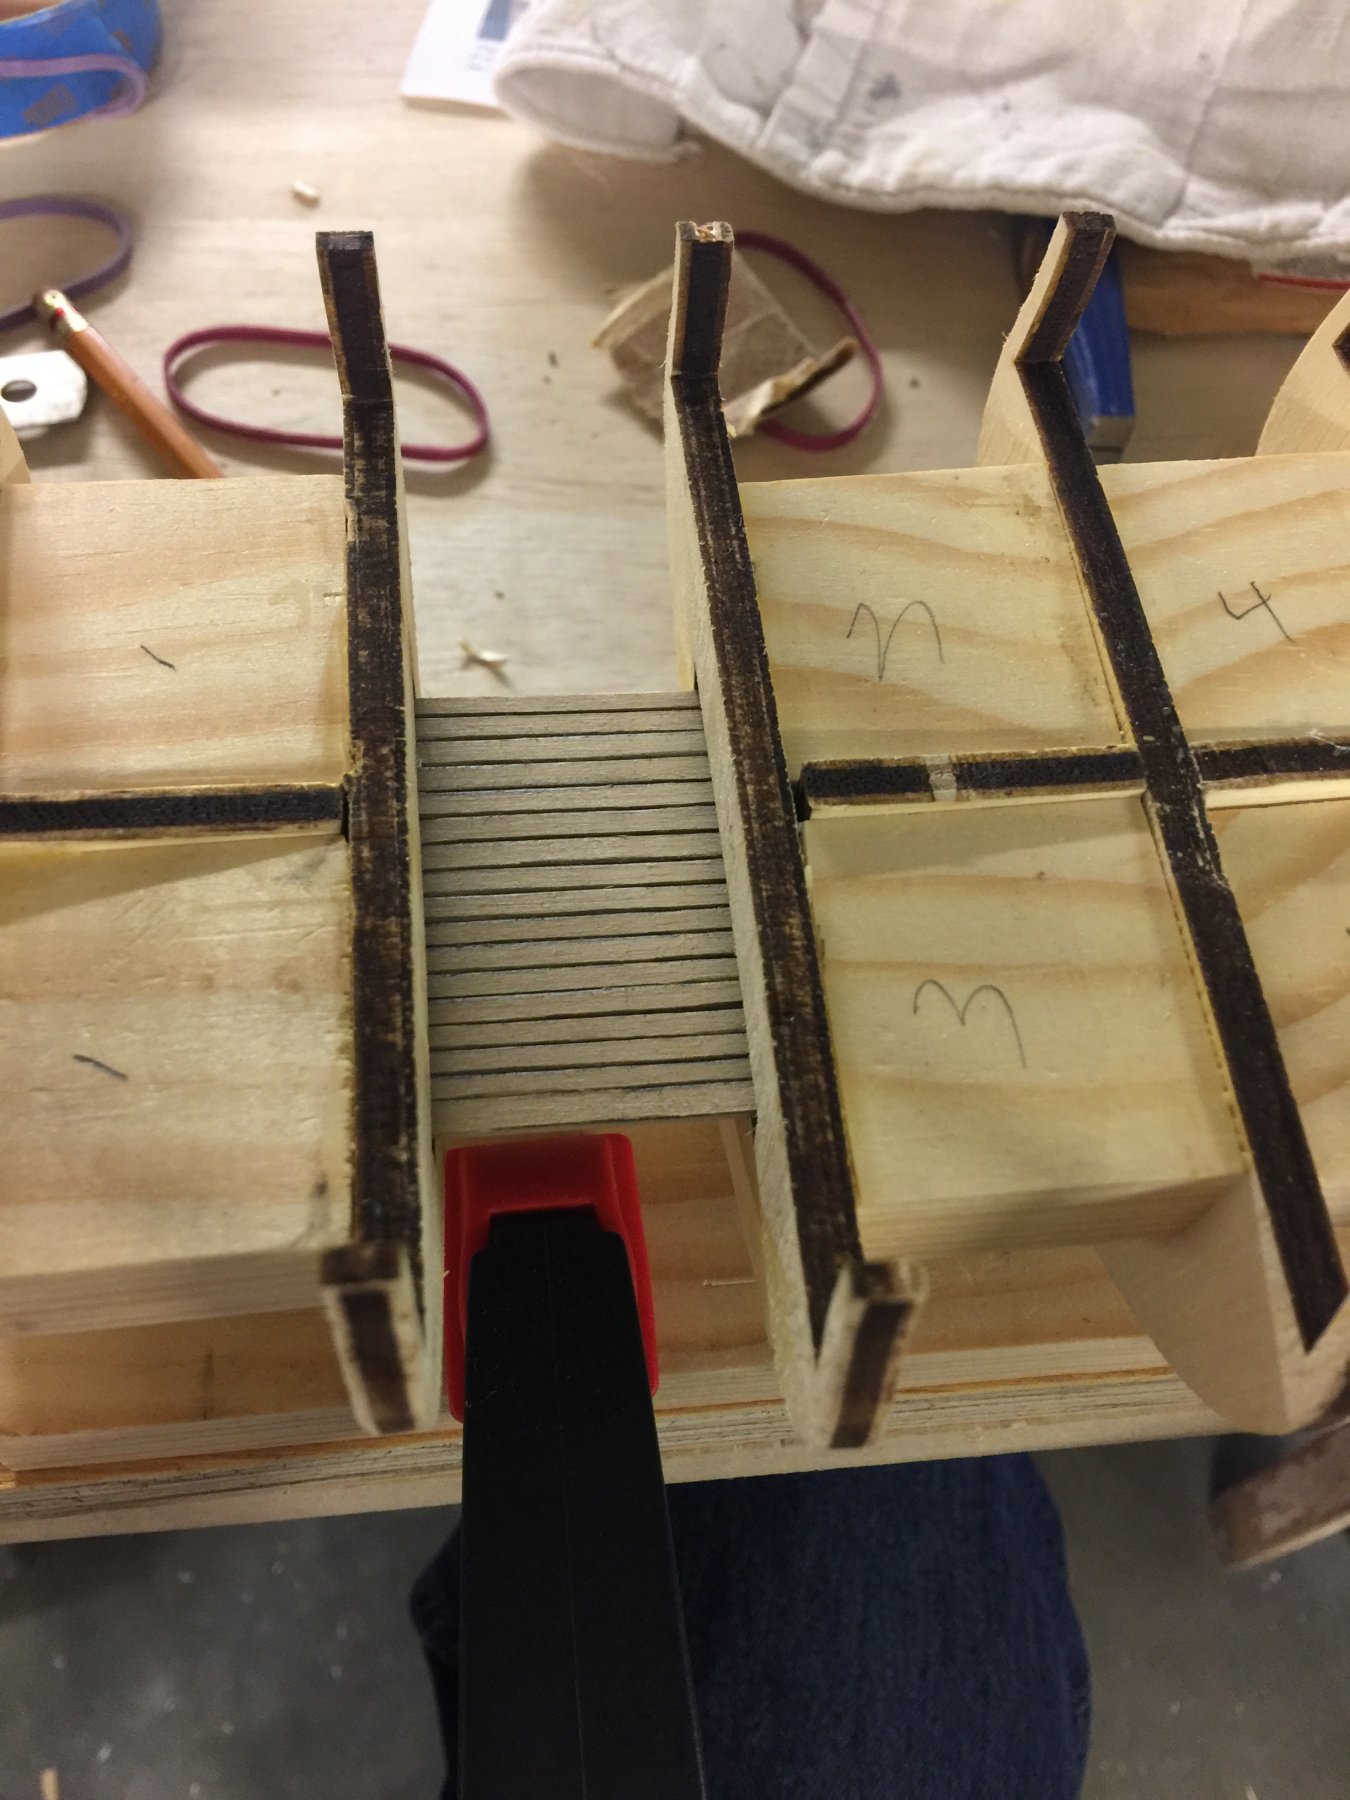
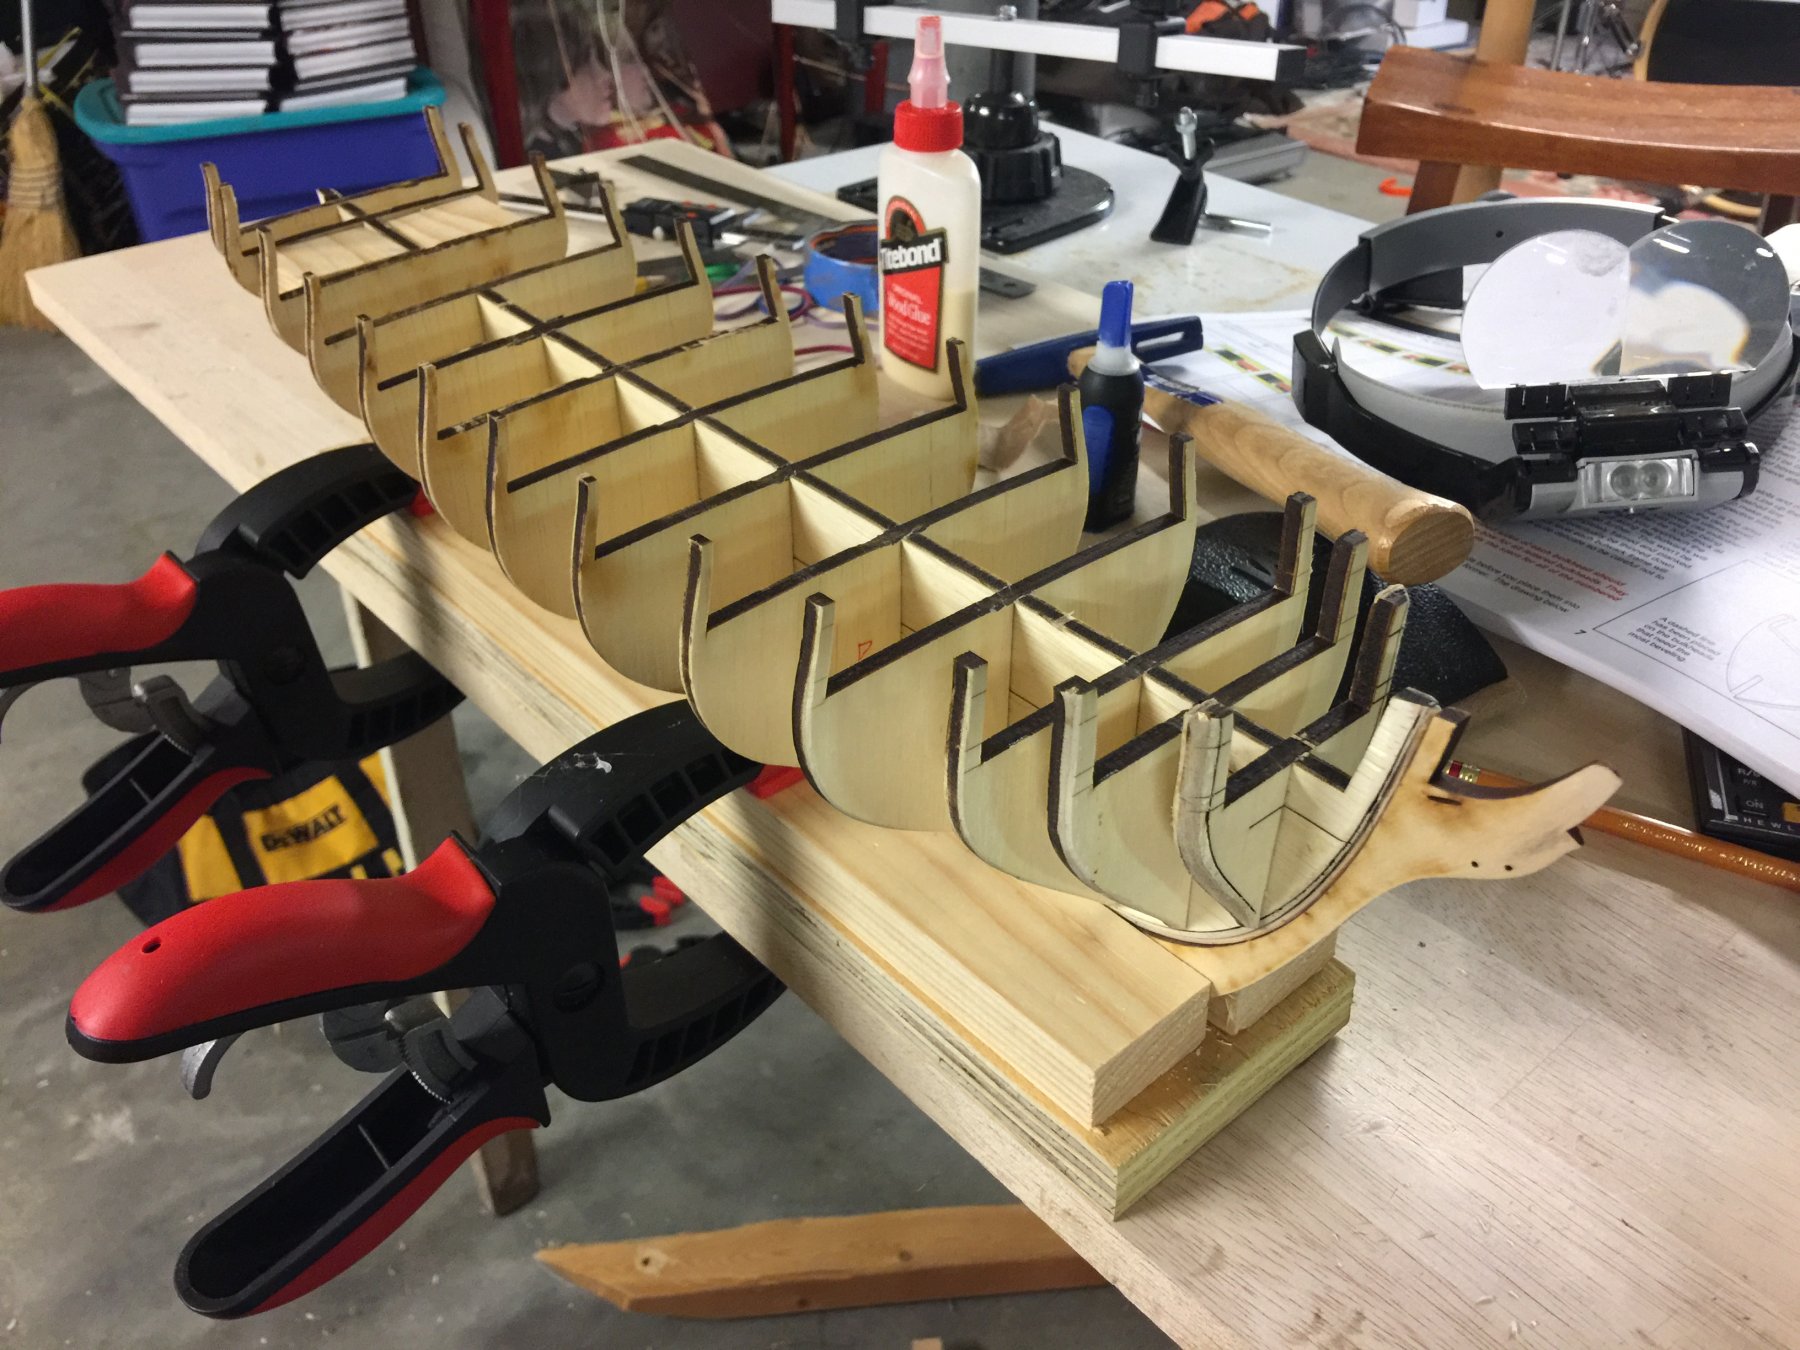
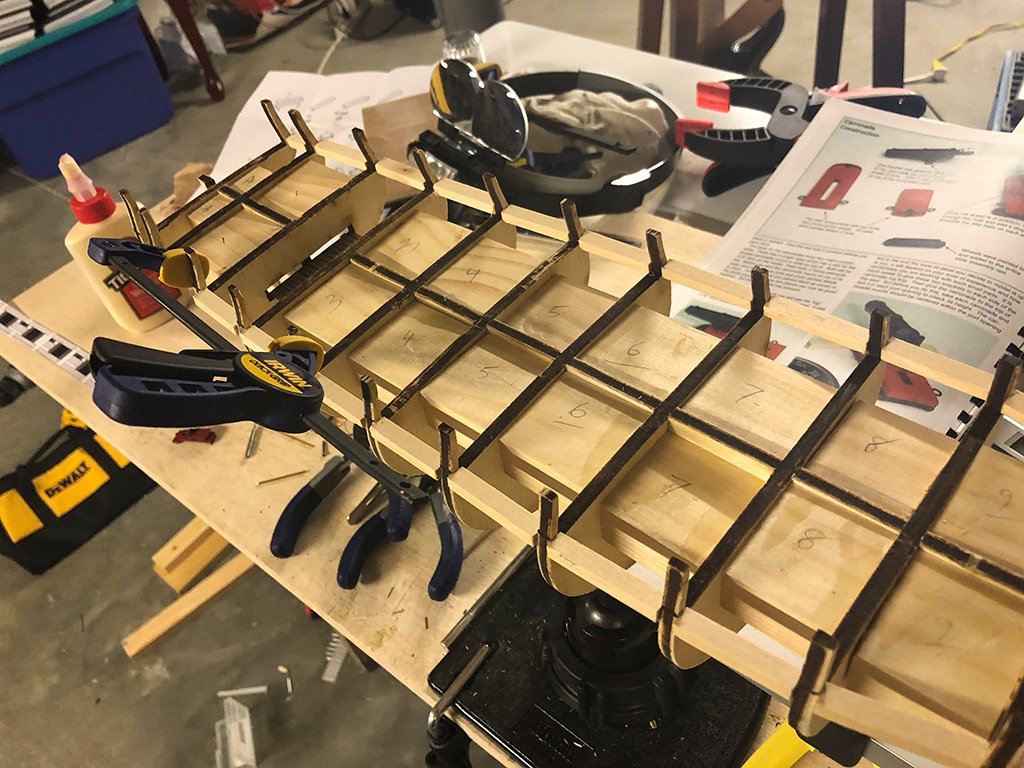
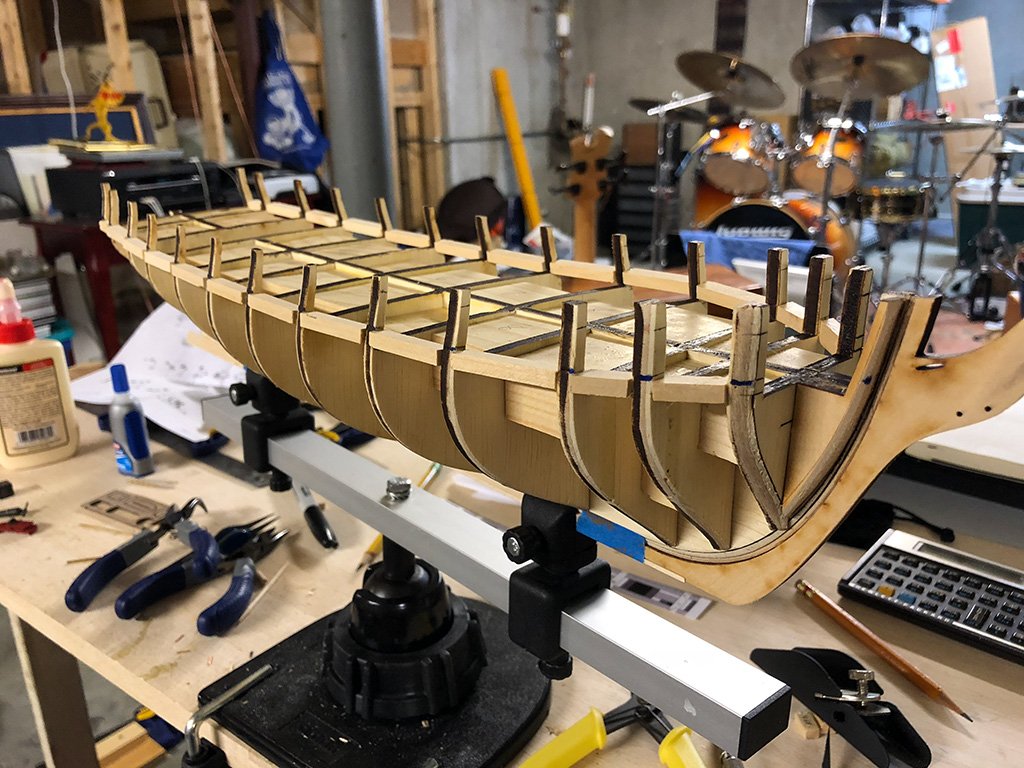
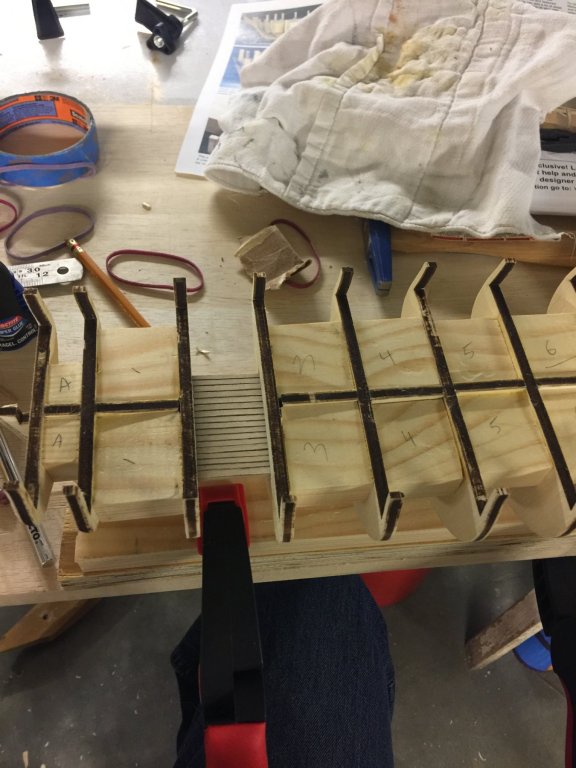
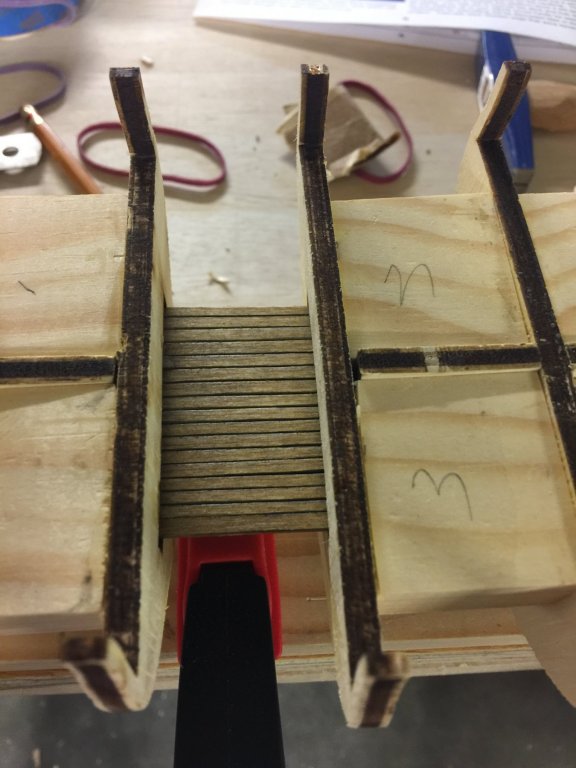
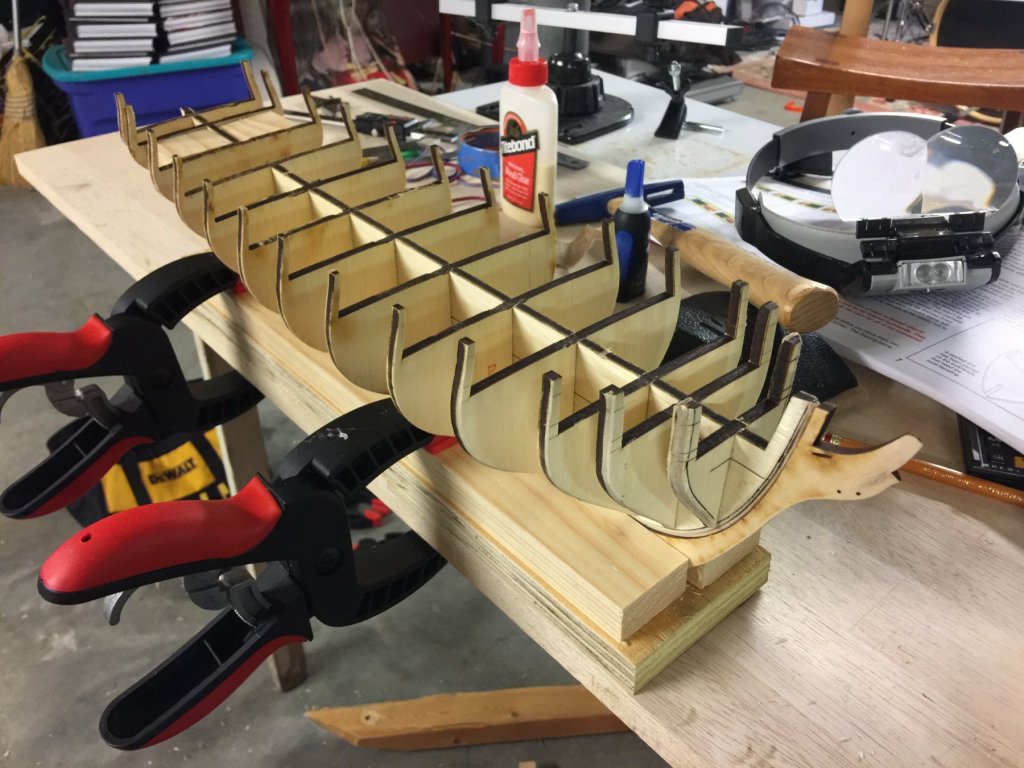
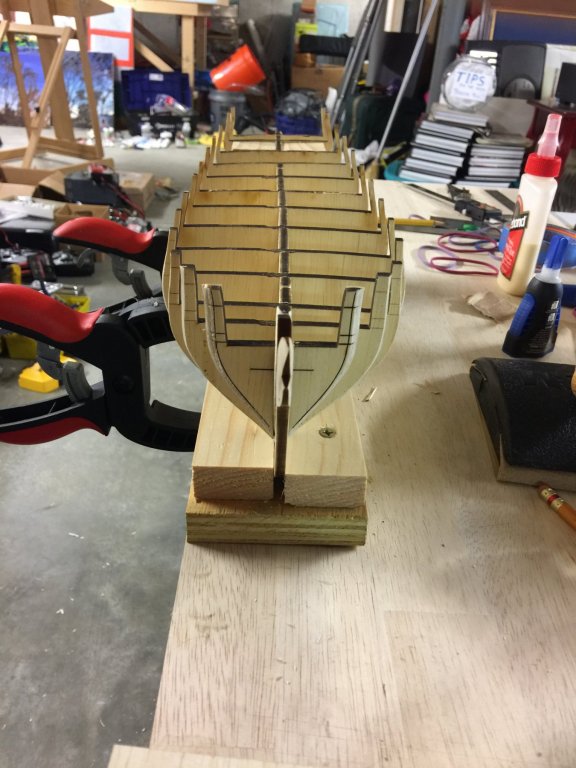
Making headway on the filler blocks now. Peter's advice was perfect: Make them slightly larger than needed then sand down to size for a perfect fit. The slight bowing of the bulkhead former is coming out. I am gluing the blocks in one pair at a time from stern to bow. There's no reason to the direction.... I just decided to start that way ;-) ~john

- 90 replies
-
- 5
-
-
- syren
- model shipways
- (and 1 more)
-
Some thoughts: Red Lead paints were often used to prevent all sorts of nautical rot issues. It is lead oxide (Pb3O4) and is red. Perhaps? ~john
-
Hi Peter, That sounds like a good idea - sanding down from a slightly larger size. From what I have been seeing in other people's logs of the Syren, there is a lot of sanding. ;-) When it comes to making them level with the deck or not: I am undecided. The deck should have a slight curve to it, and the region is a tight fit for sanding, but I am tempted. Keep sending ideas my way as I work through the build. I am going to need all the help I can get! ~john
- 90 replies
-
- 4
-
-
- syren
- model shipways
- (and 1 more)
-
Thank you, Per! I'll be sure to measure twice (or more) and cut once for those filler blocks. ~john
- 90 replies
-
- 2
-
-
- syren
- model shipways
- (and 1 more)
-
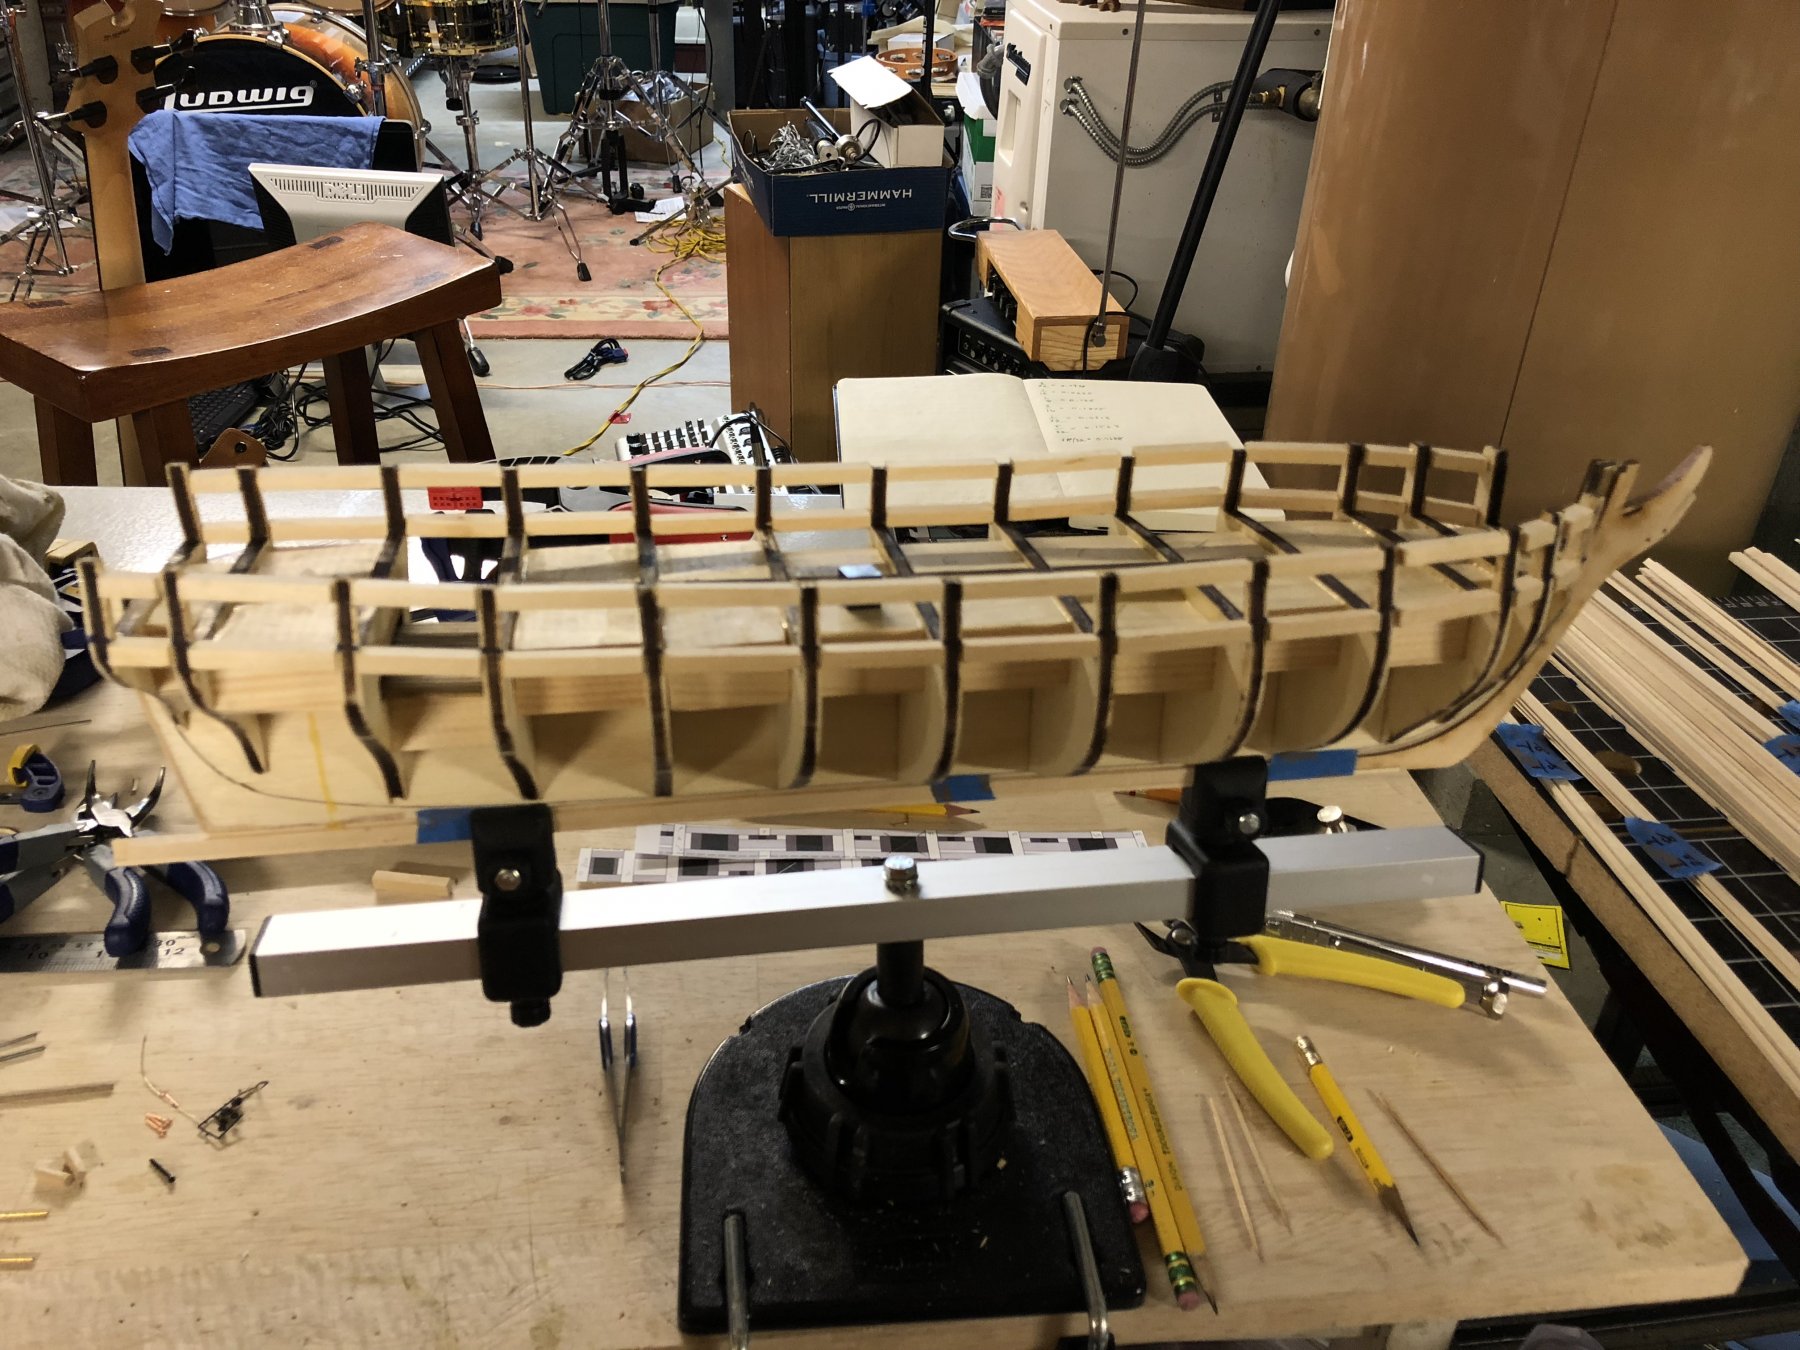
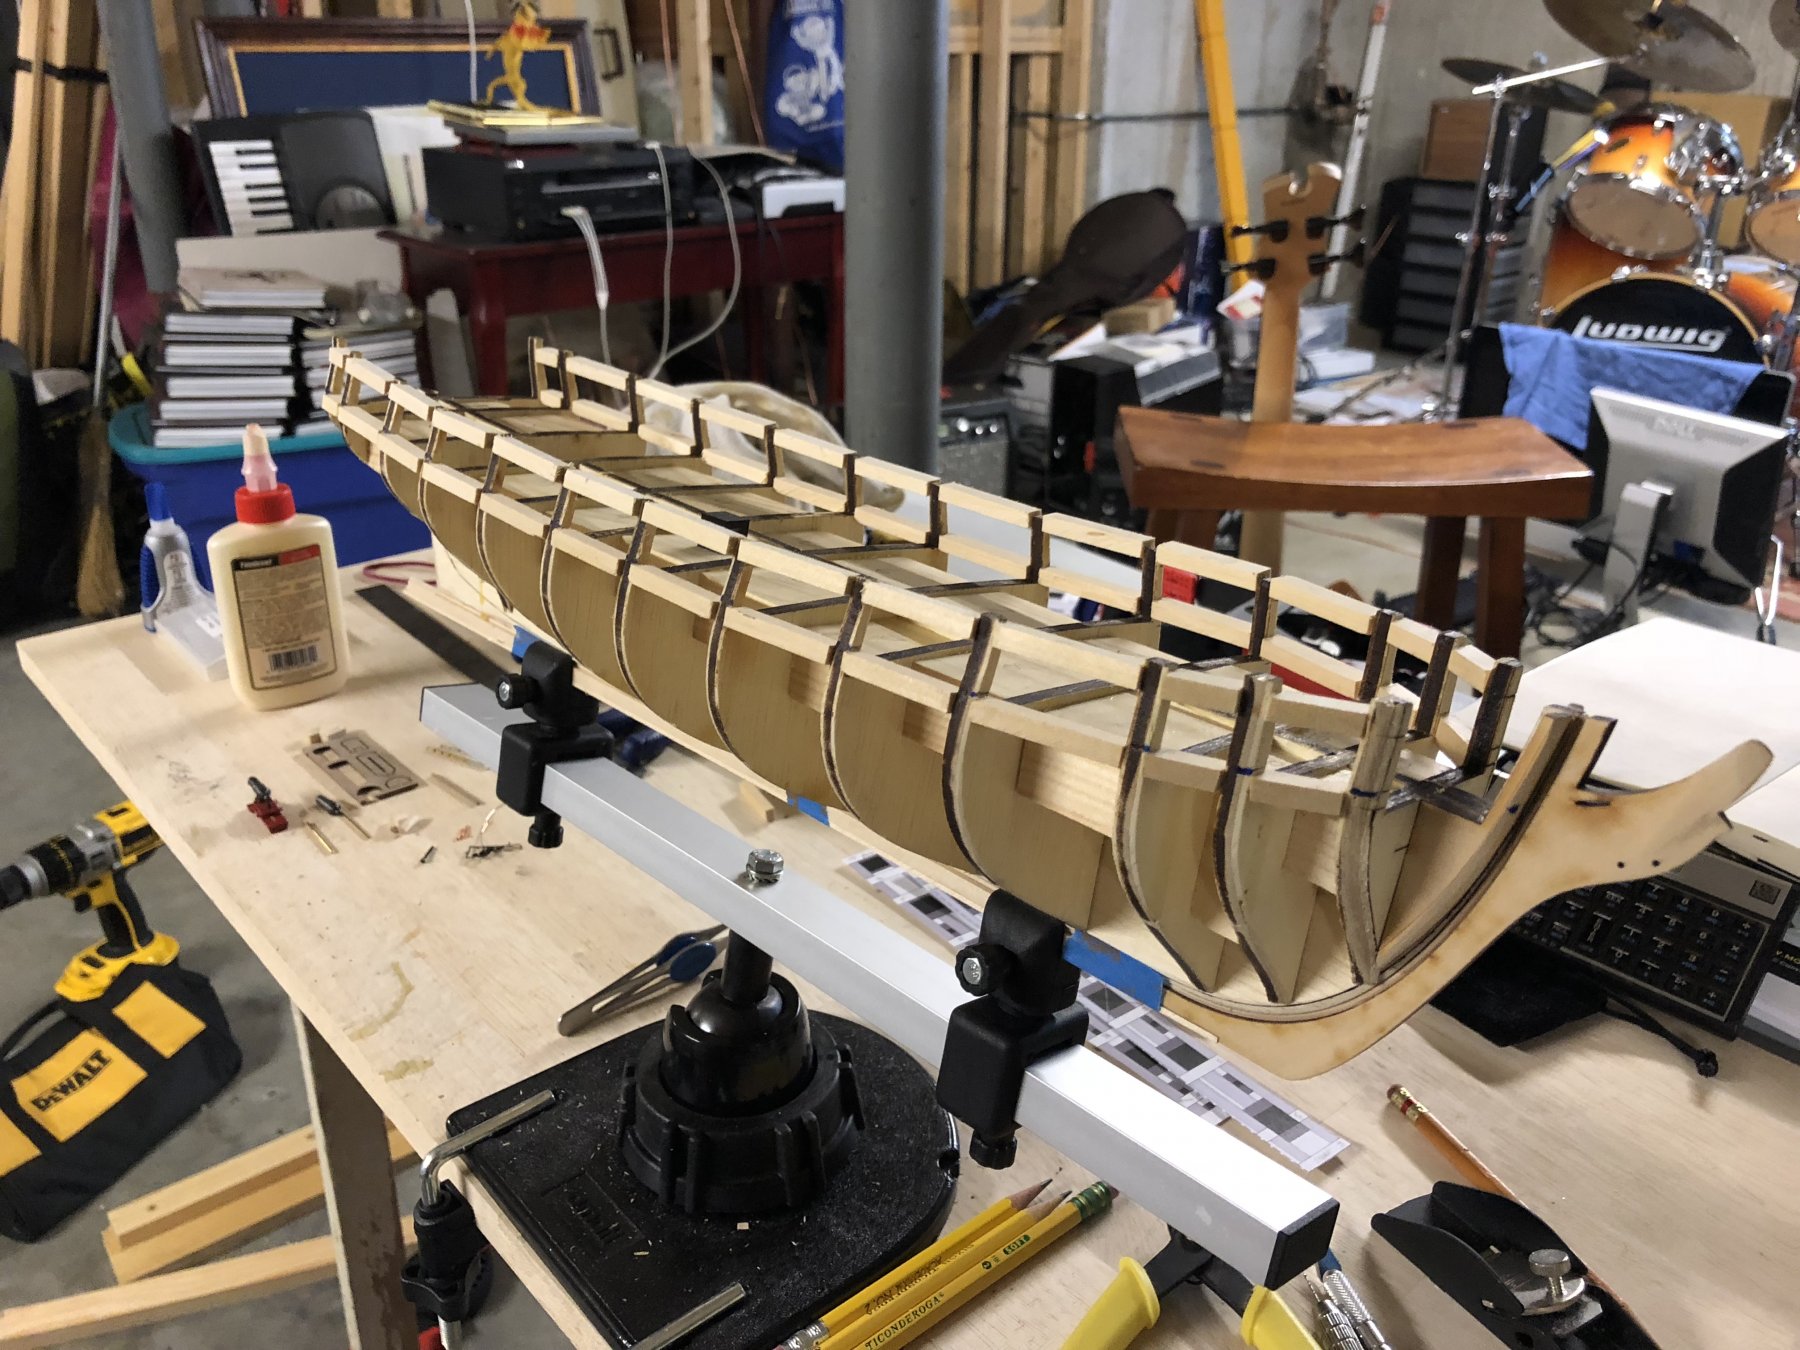
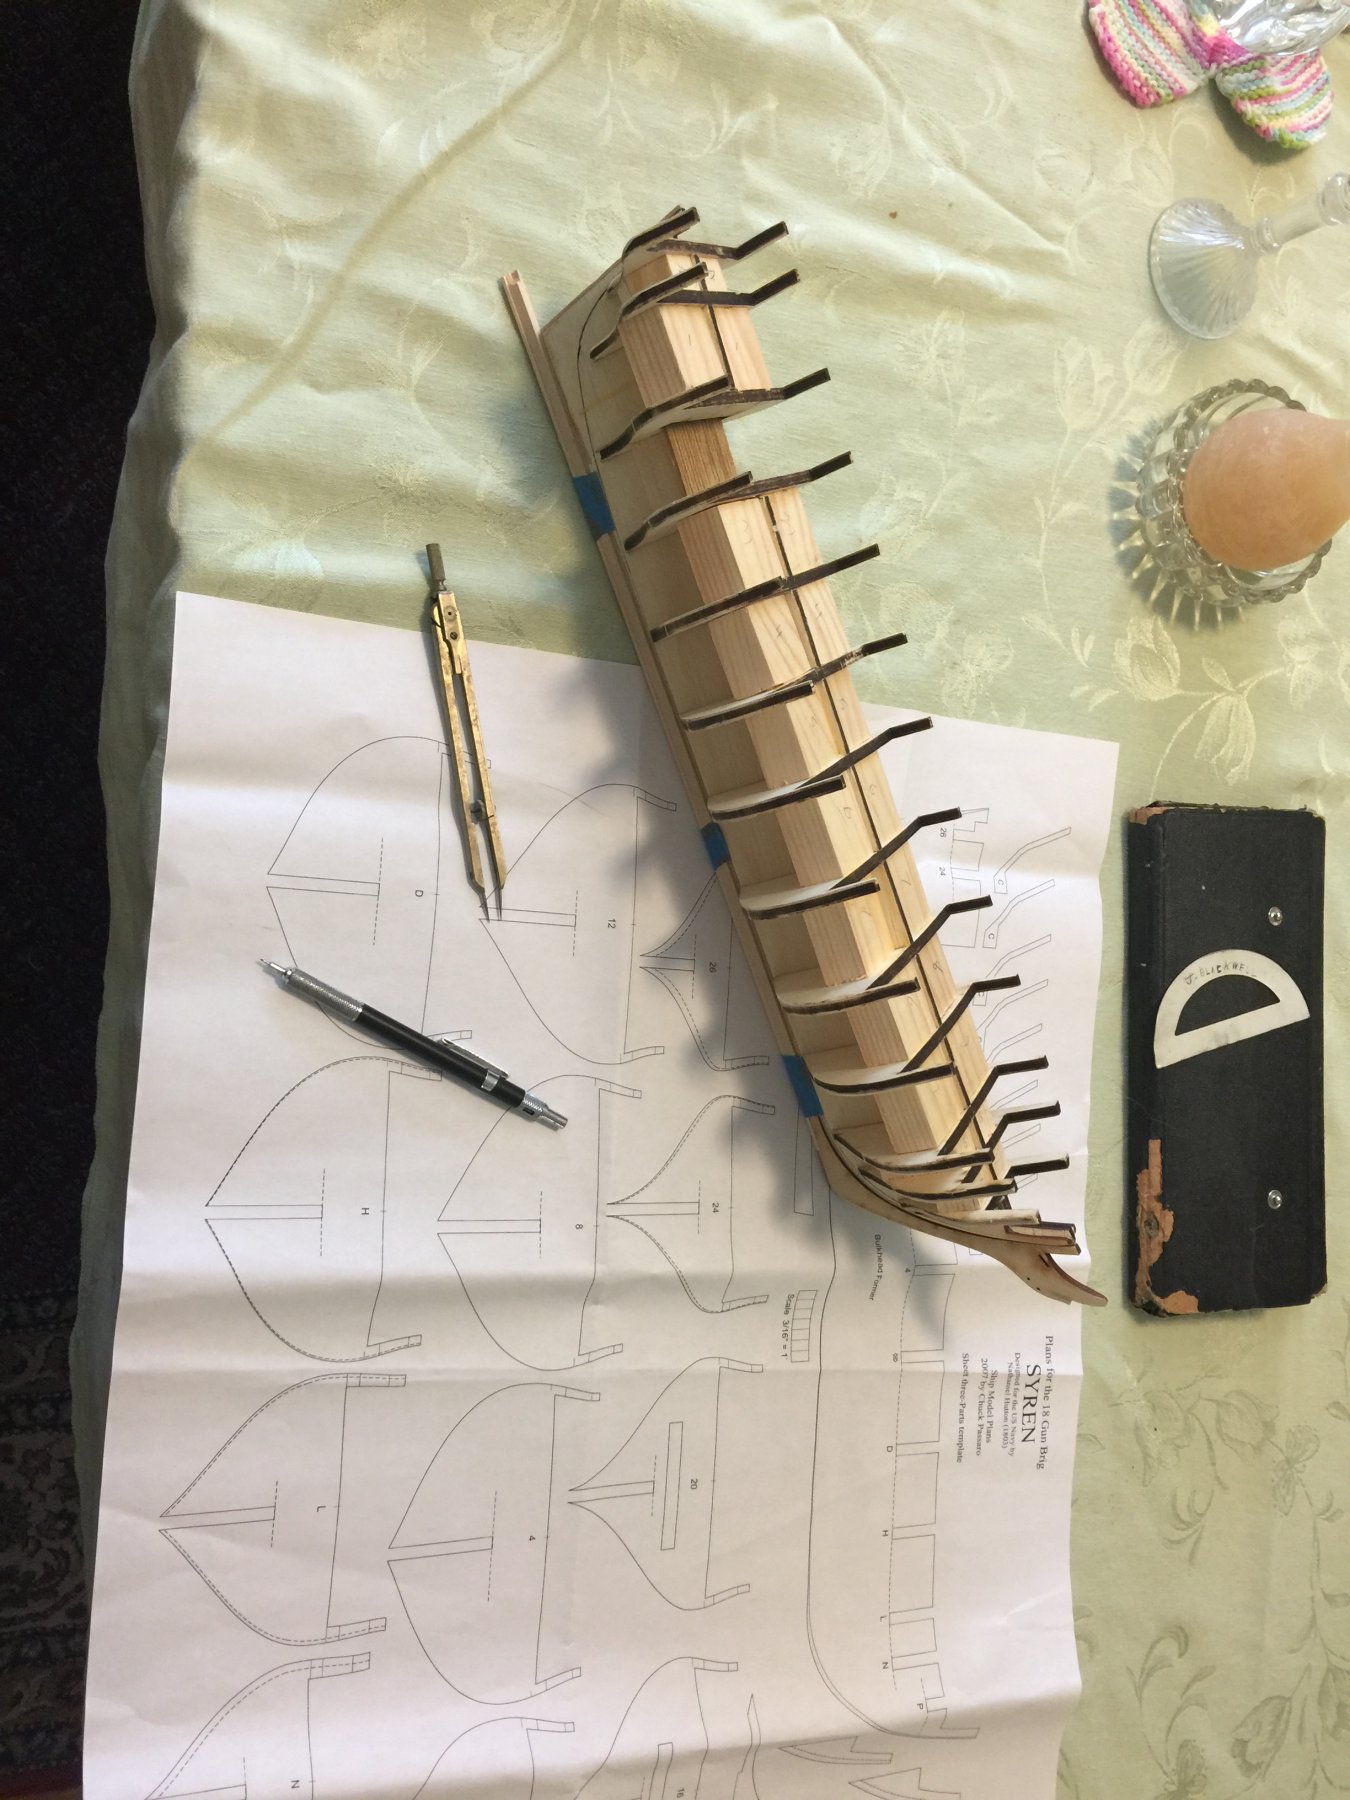
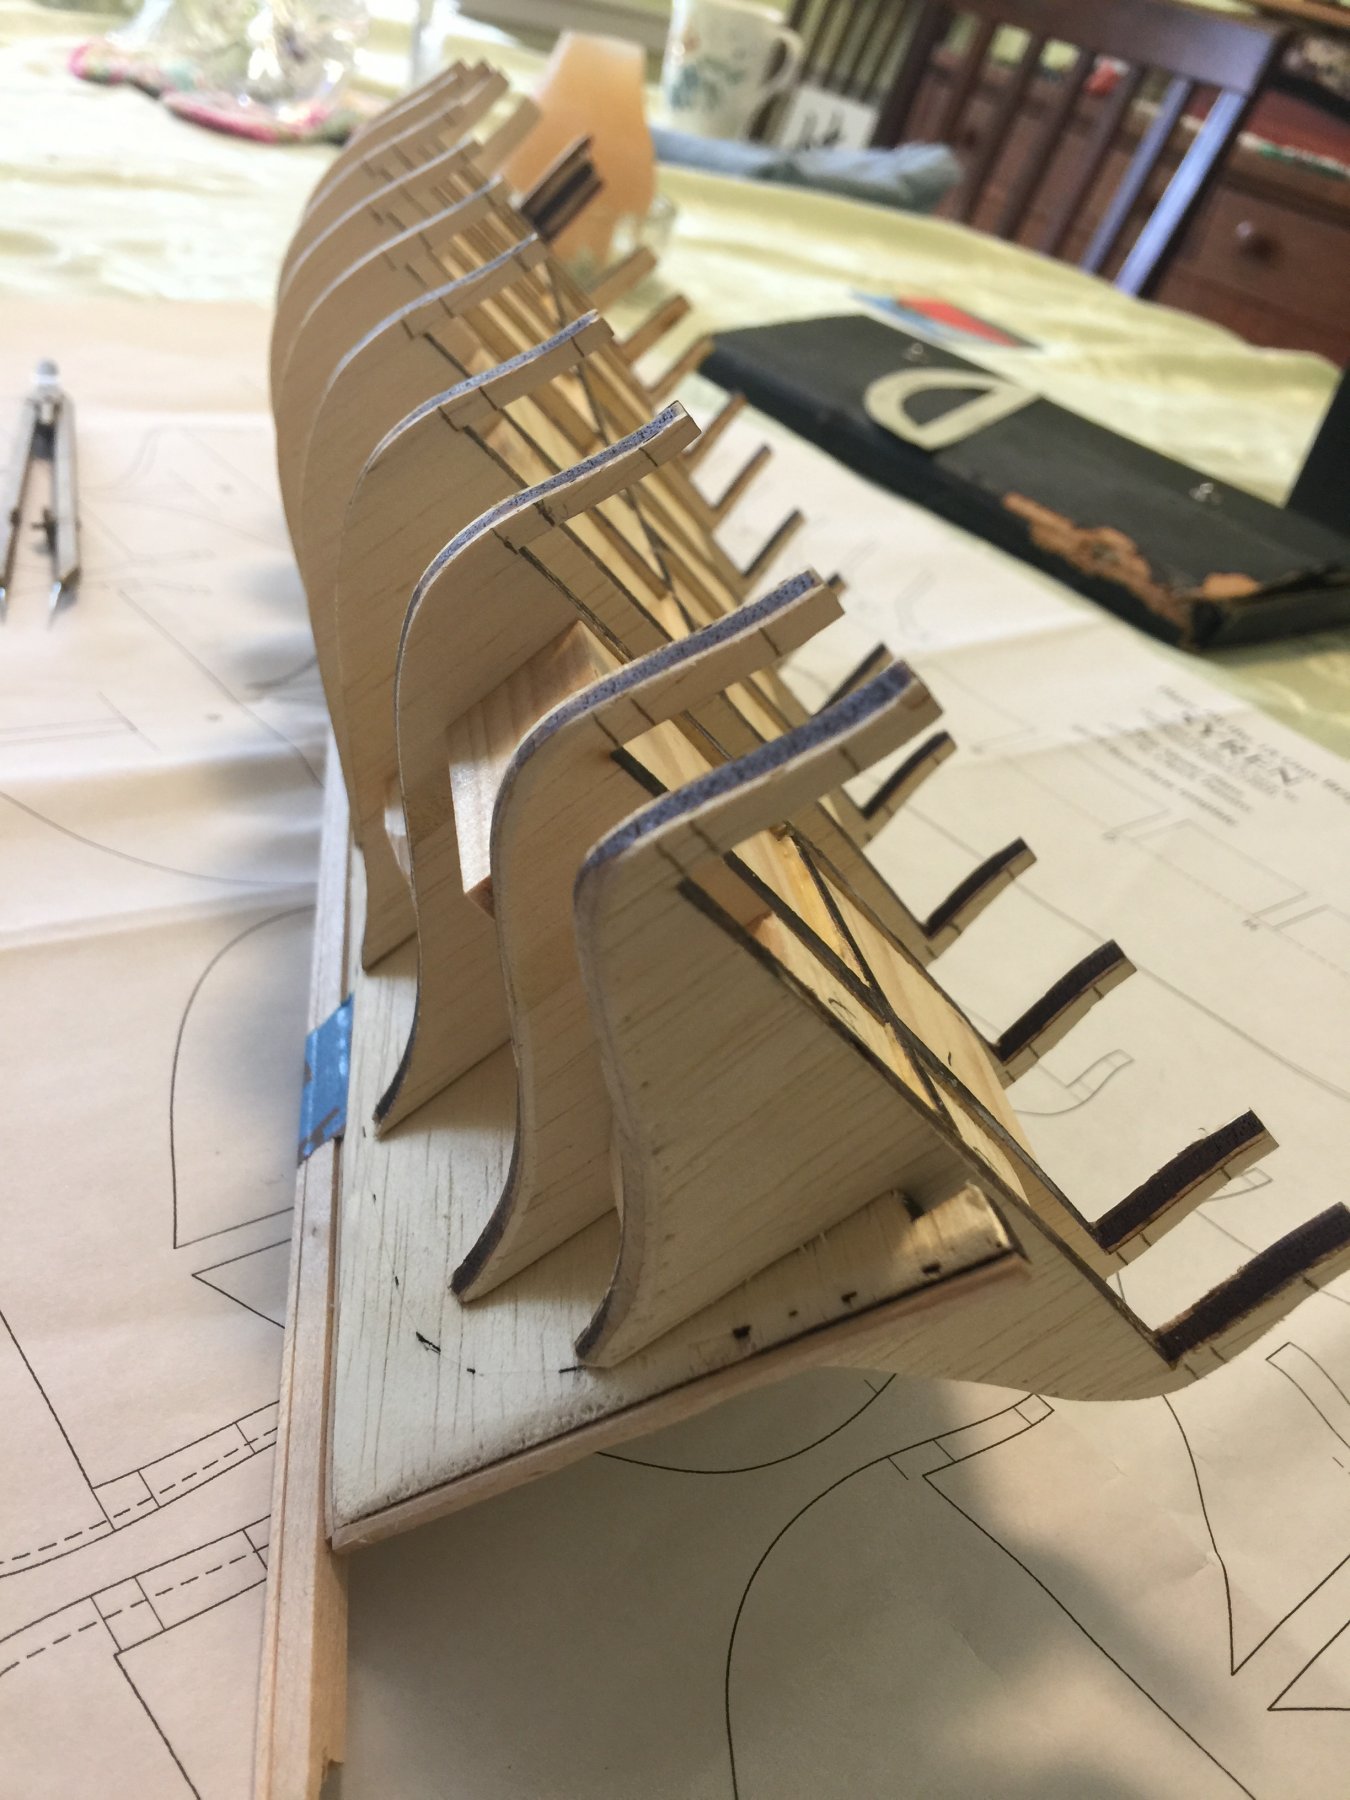
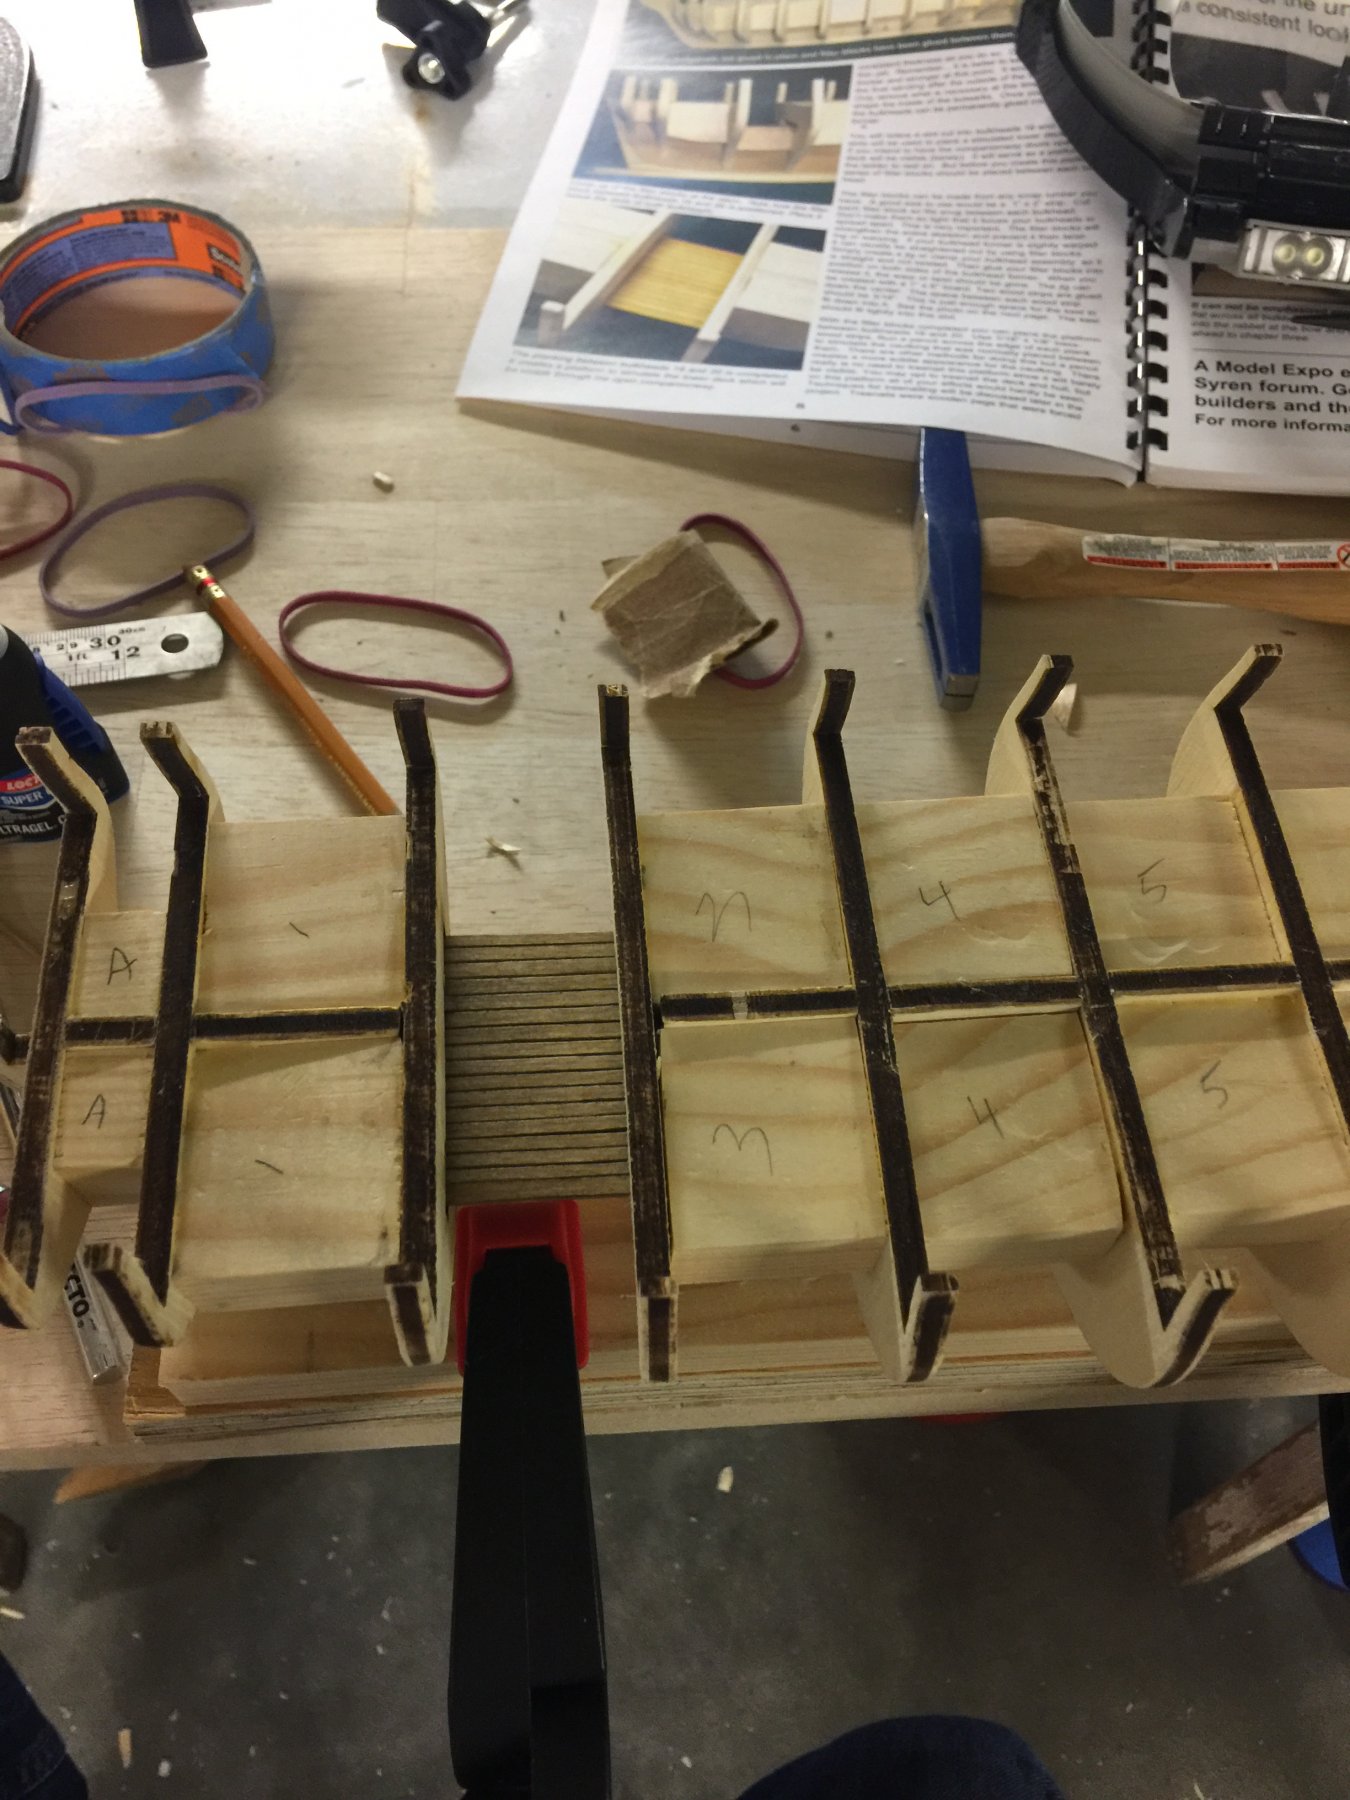
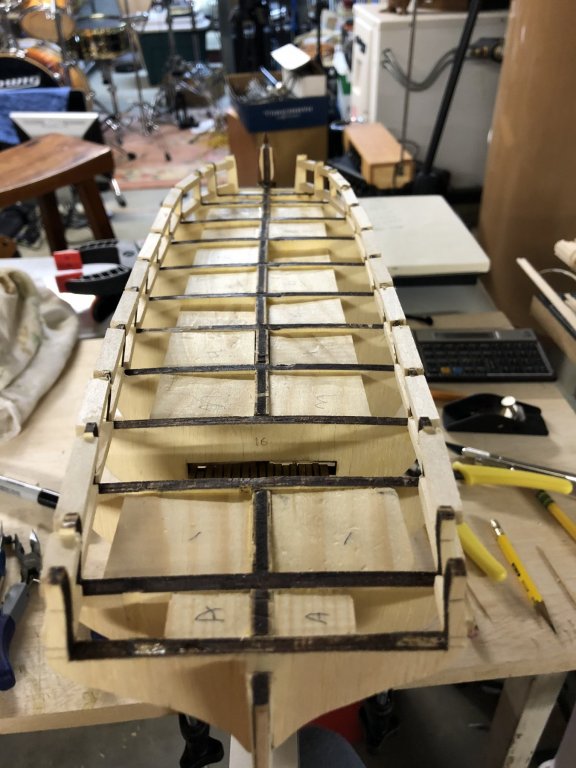
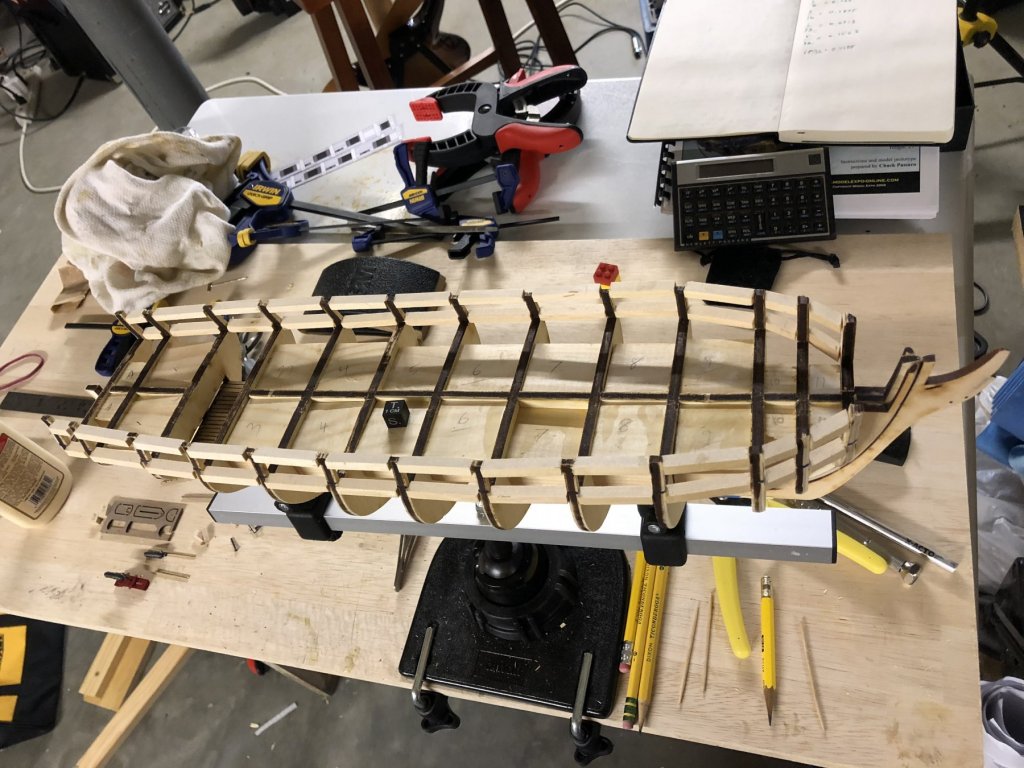
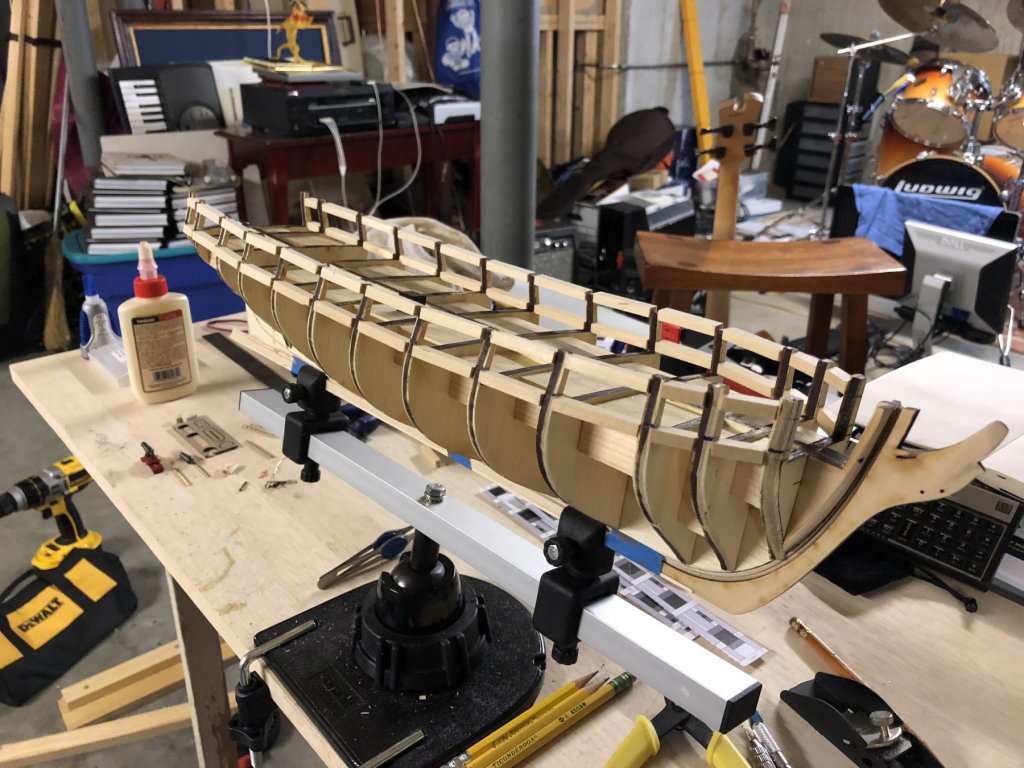
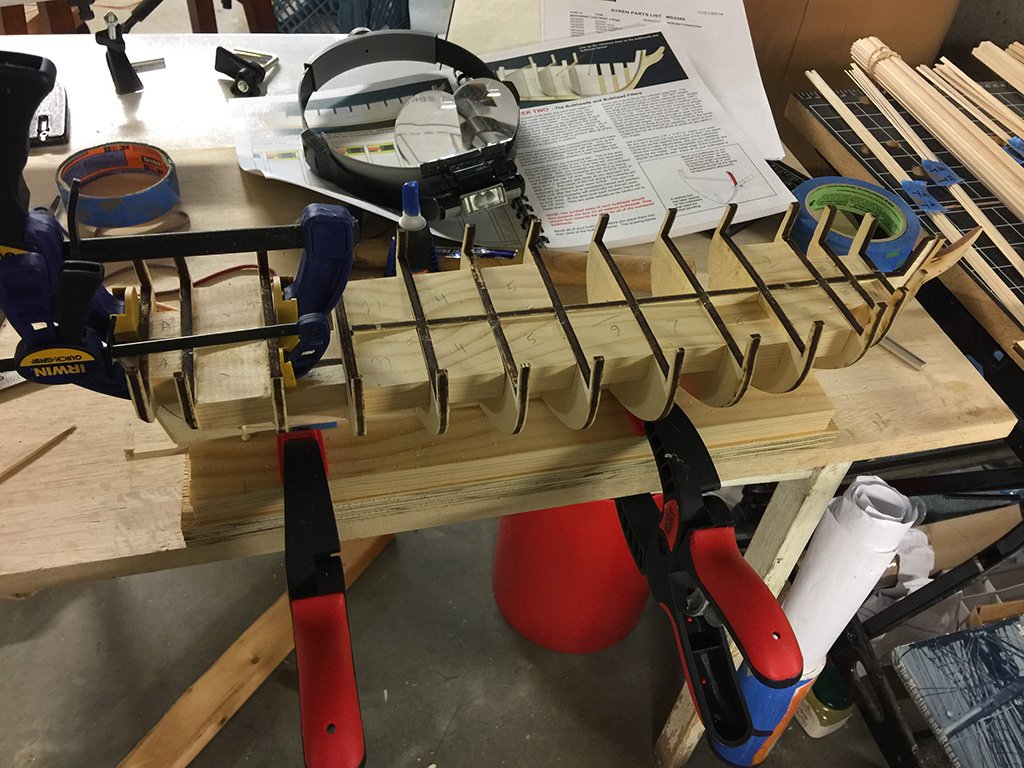
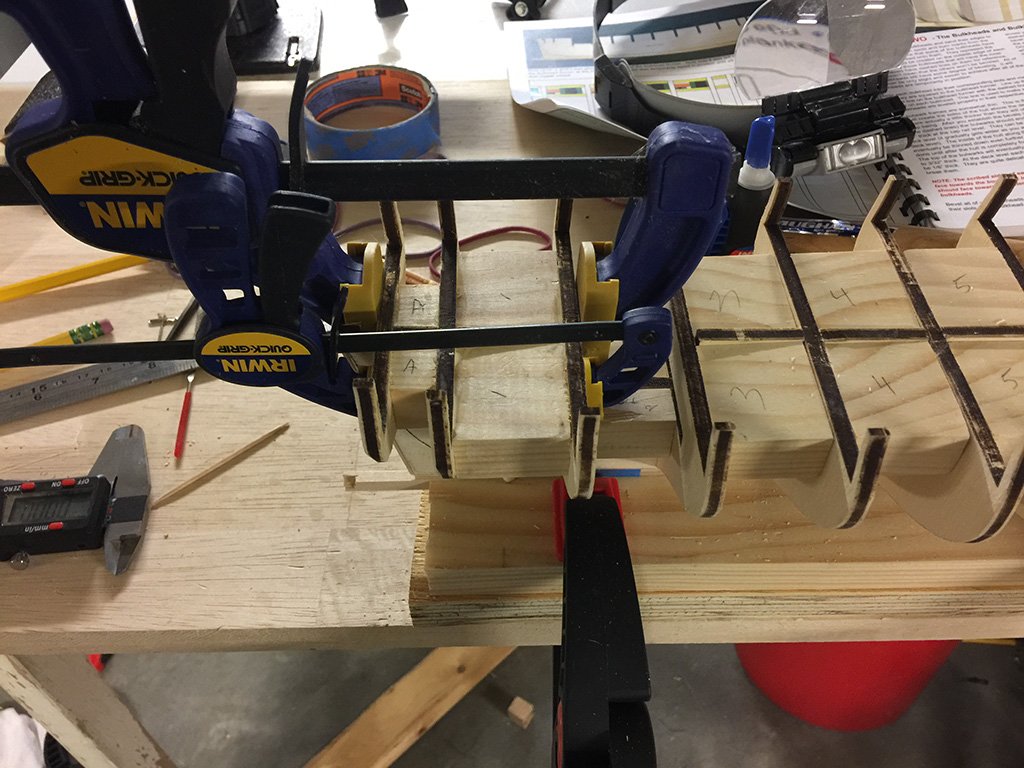
Got those bulkheads roughly shaped and in place: not glued yet until I can cut and shape all the filler blocks. The ship is taking on a shape, which just makes me smile a lot. Long way to go! Looking at the second image, you can see that there is a slight bow to the bulkhead former, which I will need to figure out how to un-bow, or straighten. Your choice of verbs. Any ideas for easy ways to do this? ~john
- 90 replies
-
- 6
-
-
- syren
- model shipways
- (and 1 more)