-
Posts
3,249 -
Joined
-
Last visited
Content Type
Profiles
Forums
Gallery
Events
Everything posted by NenadM
-
Short pause in shipyard. Job trip with little travel to see incredible Black River Monastery at south of Serbia, situated in deep wood on mountain gorge with steep cliffs ... Monastery church is situated in cave, miniature hermitages and monk cells are around and partially drilled in stone, narrow passages as labyrinth, wooden terraces above the precipice .... all walled with stone ... Enjoy as I did!
- 4,145 replies
-
- cutty sark
- tehnodidakta
-
(and 1 more)
Tagged with:
-
- 4,145 replies
-
- cutty sark
- tehnodidakta
-
(and 1 more)
Tagged with:
-
- 4,145 replies
-
- cutty sark
- tehnodidakta
-
(and 1 more)
Tagged with:
-
Thank you, Scott, for nice words. As I wrote earlier, in early stage of build I have big mistake which can not be resolved, and which I noticed after mounting 4000 foil strips as mynz metal under water line, except to start model from begining. Deck and deck rails are not paralell ... deck fence has different random height ... So, then I decide to overdetail Her to turn off attention of anybody who will se Her. And that is simply - that. Beside that, making this little beasts is chalenge! And fun. All the best. Nenad
- 4,145 replies
-
- cutty sark
- tehnodidakta
-
(and 1 more)
Tagged with:
-
- 4,145 replies
-
- cutty sark
- tehnodidakta
-
(and 1 more)
Tagged with:
-
- 4,145 replies
-
- cutty sark
- tehnodidakta
-
(and 1 more)
Tagged with:
-
Almost ready for cleaning and white paint VID_20240324_142002.mp4
- 4,145 replies
-
- cutty sark
- tehnodidakta
-
(and 1 more)
Tagged with:
-
- 4,145 replies
-
- cutty sark
- tehnodidakta
-
(and 1 more)
Tagged with:
-
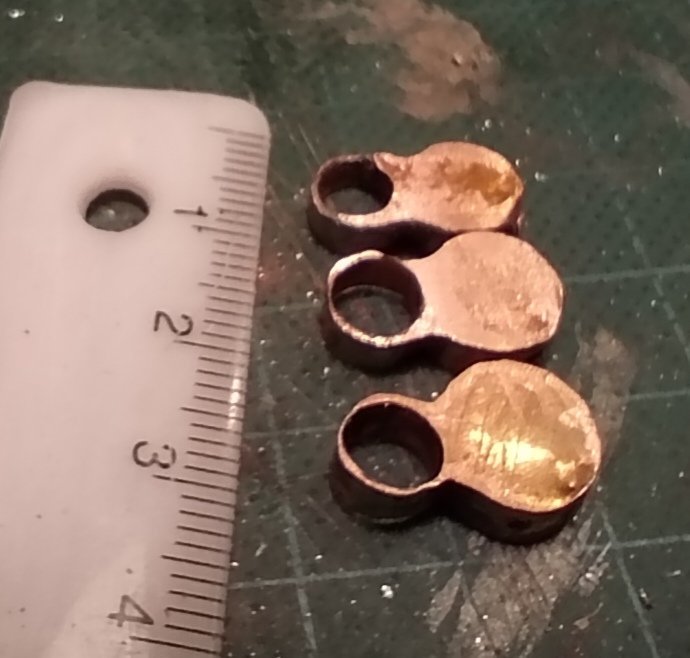
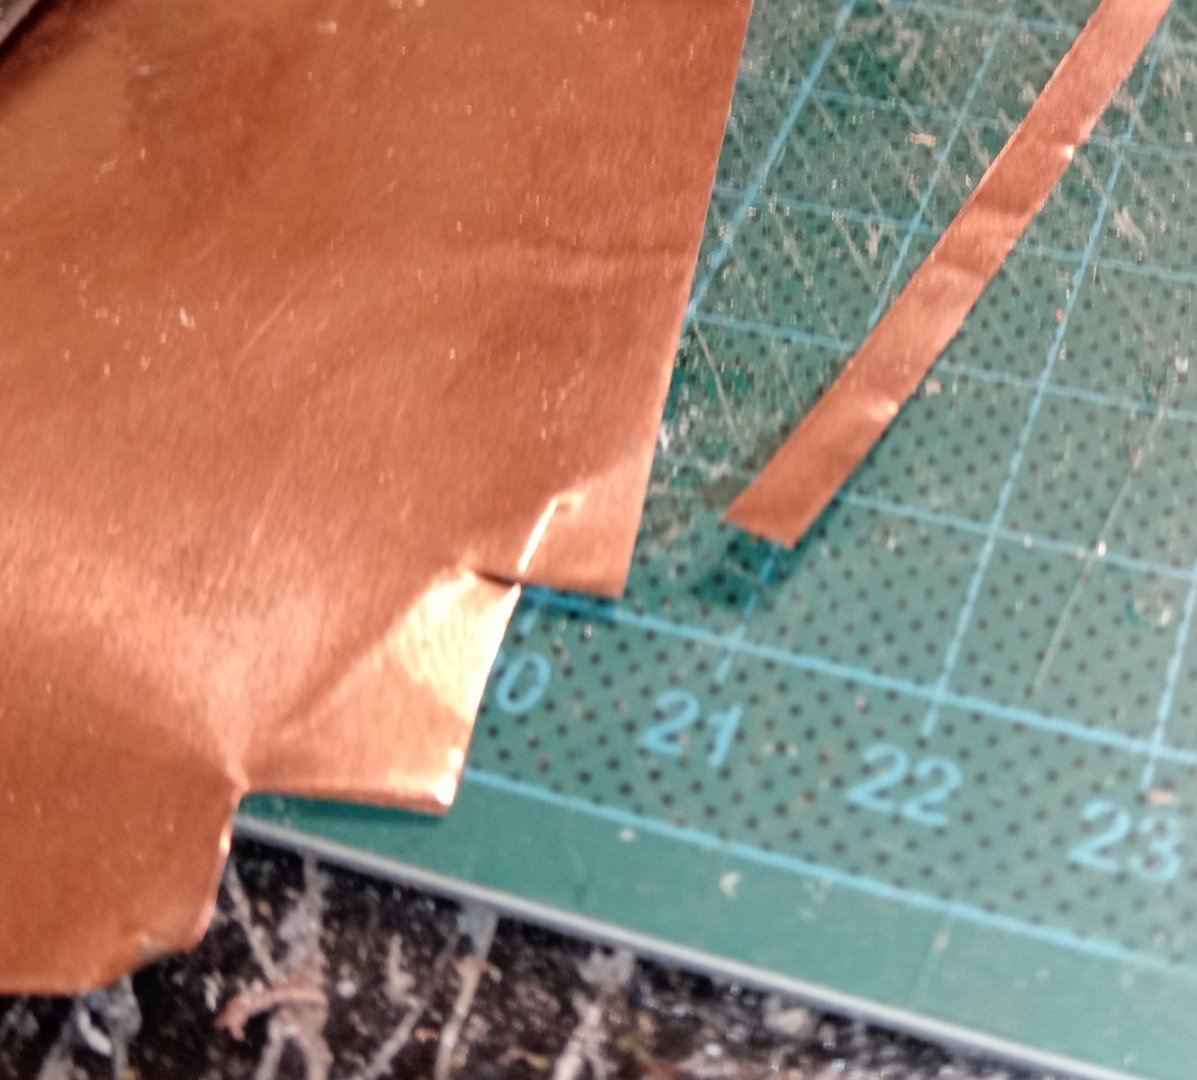
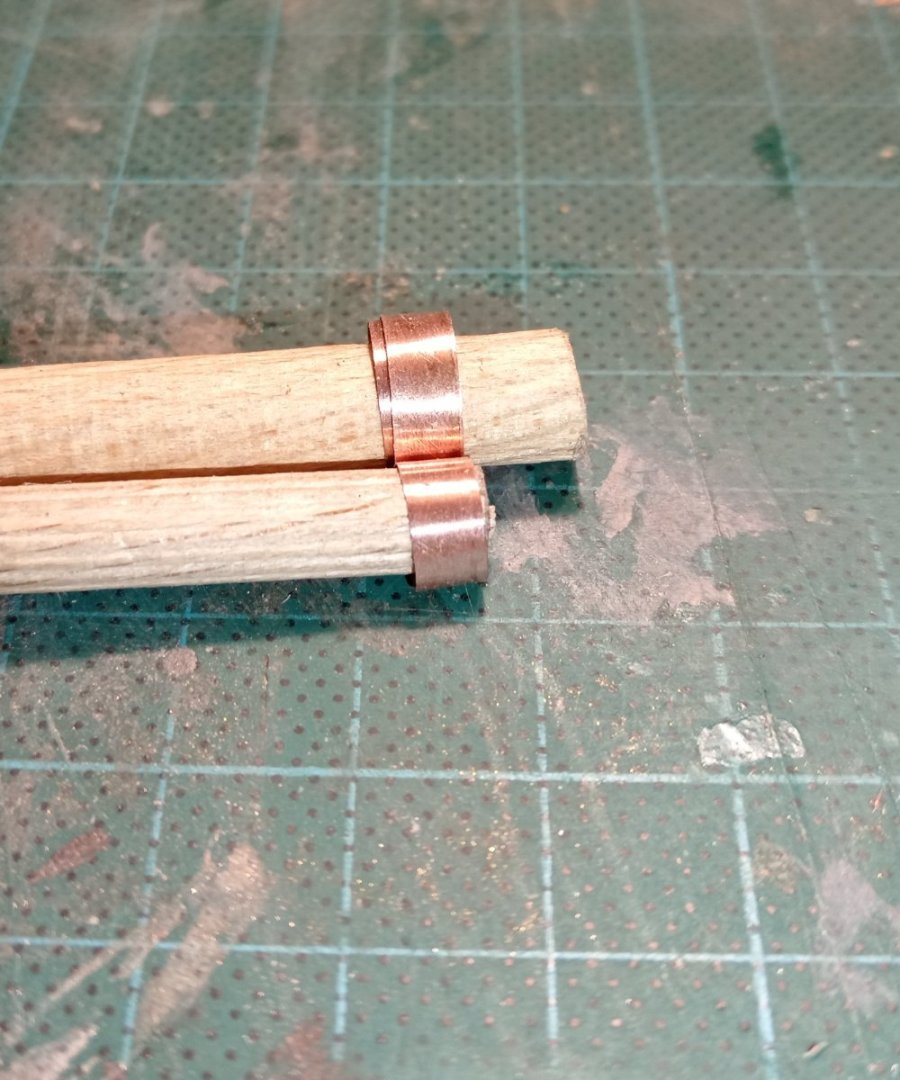
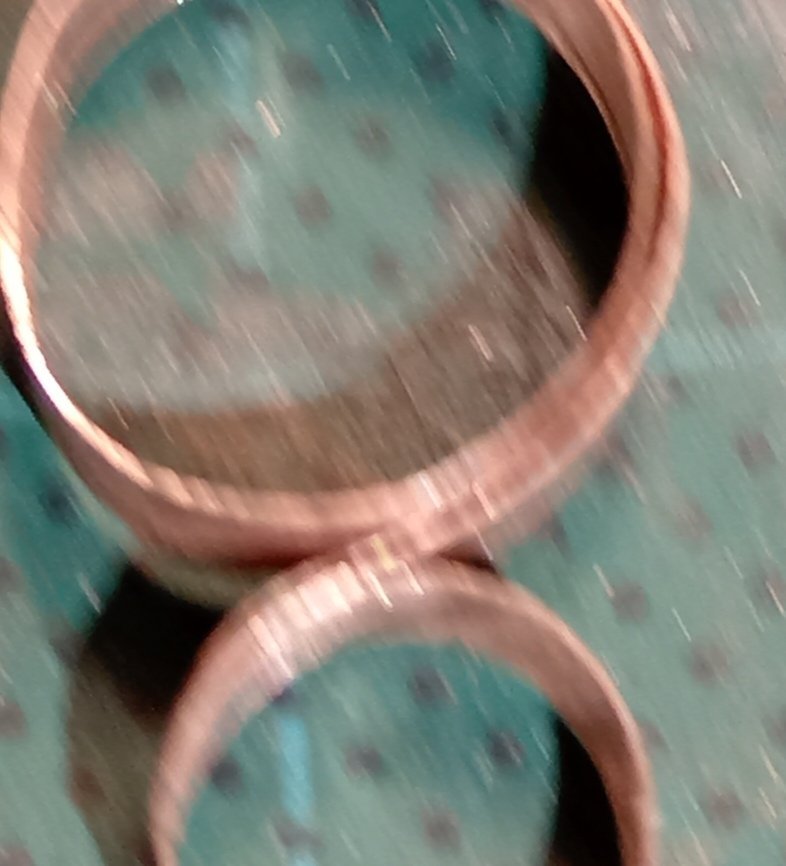
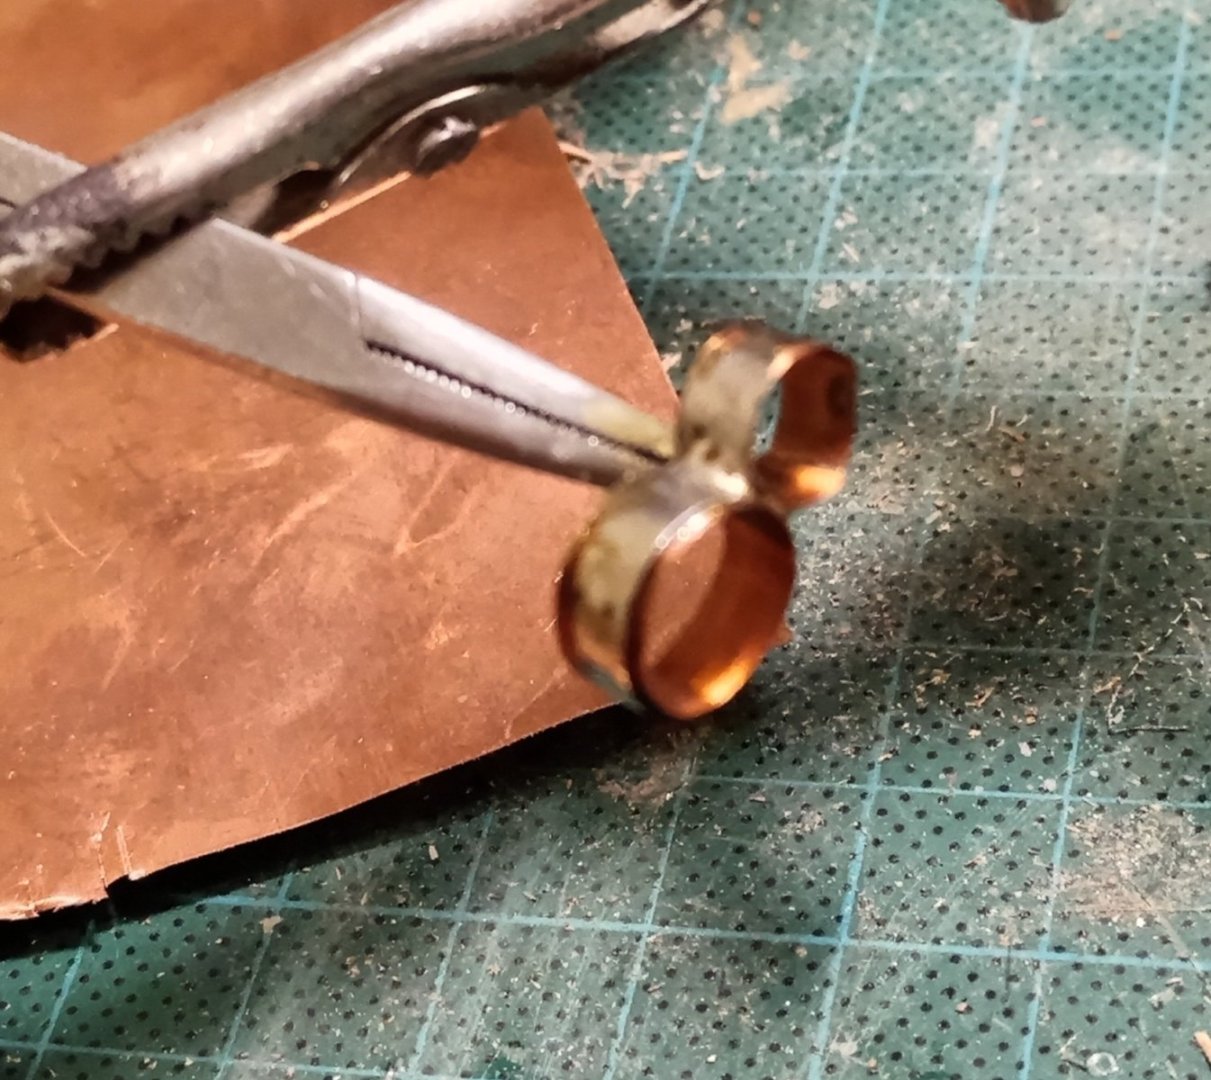
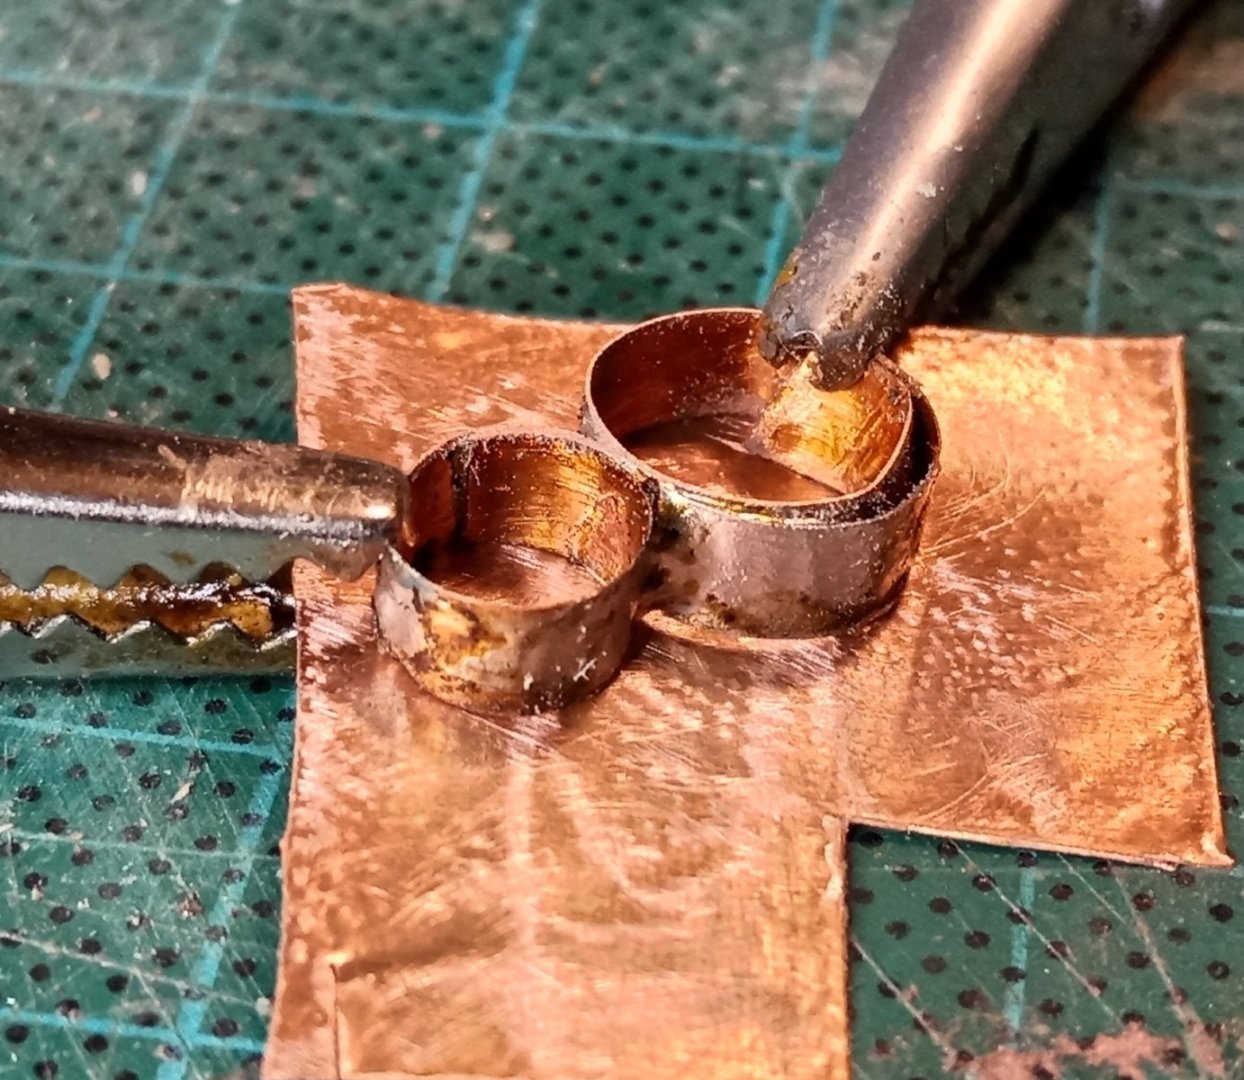
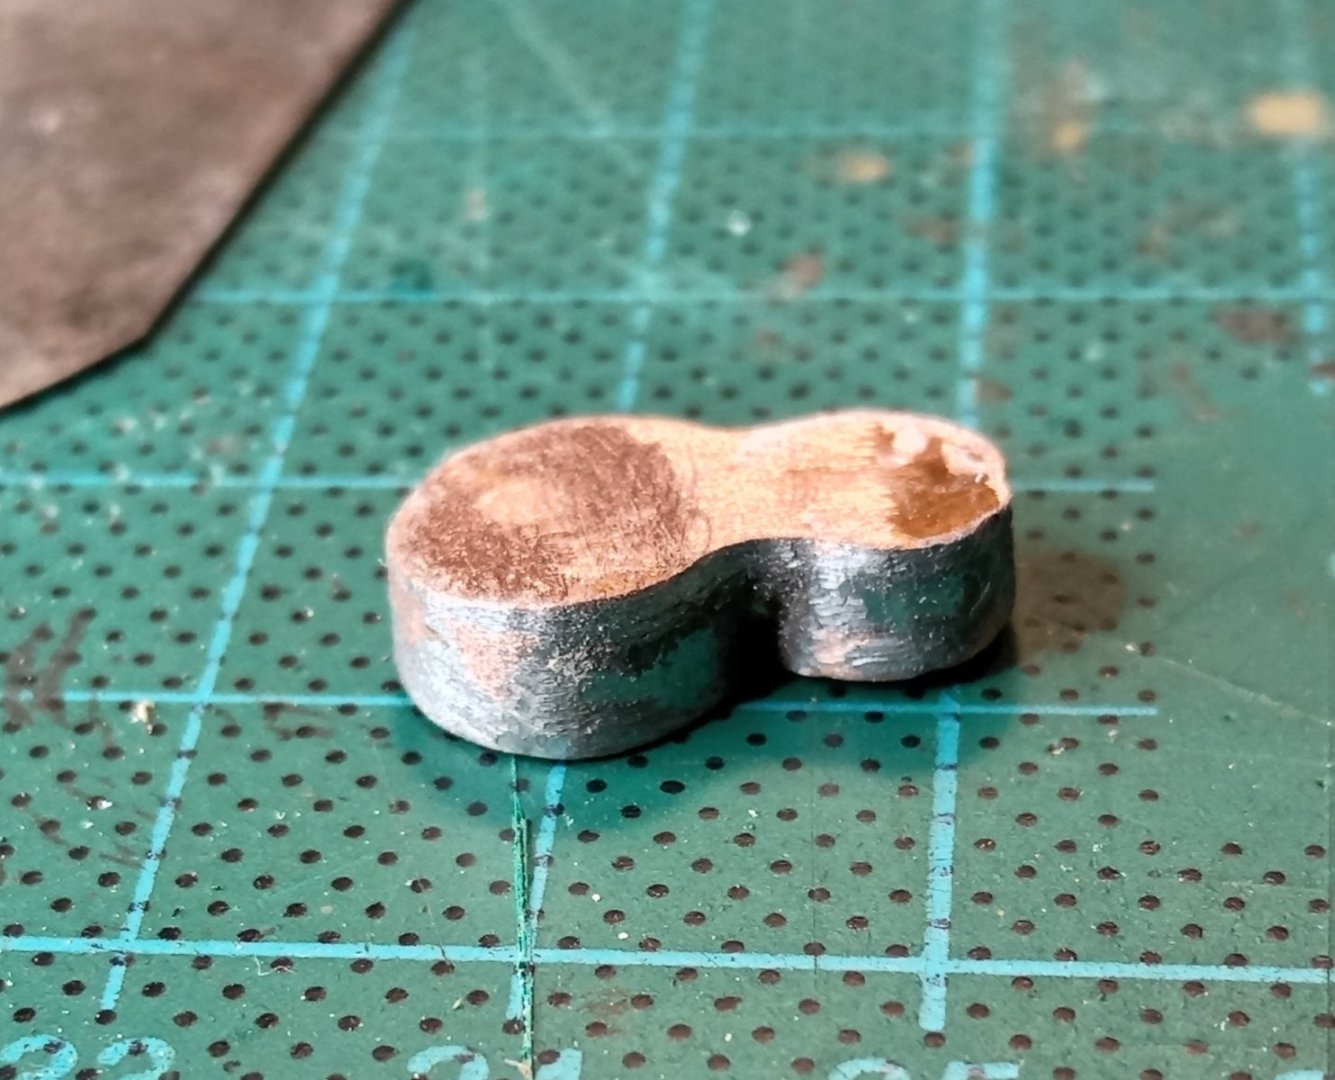
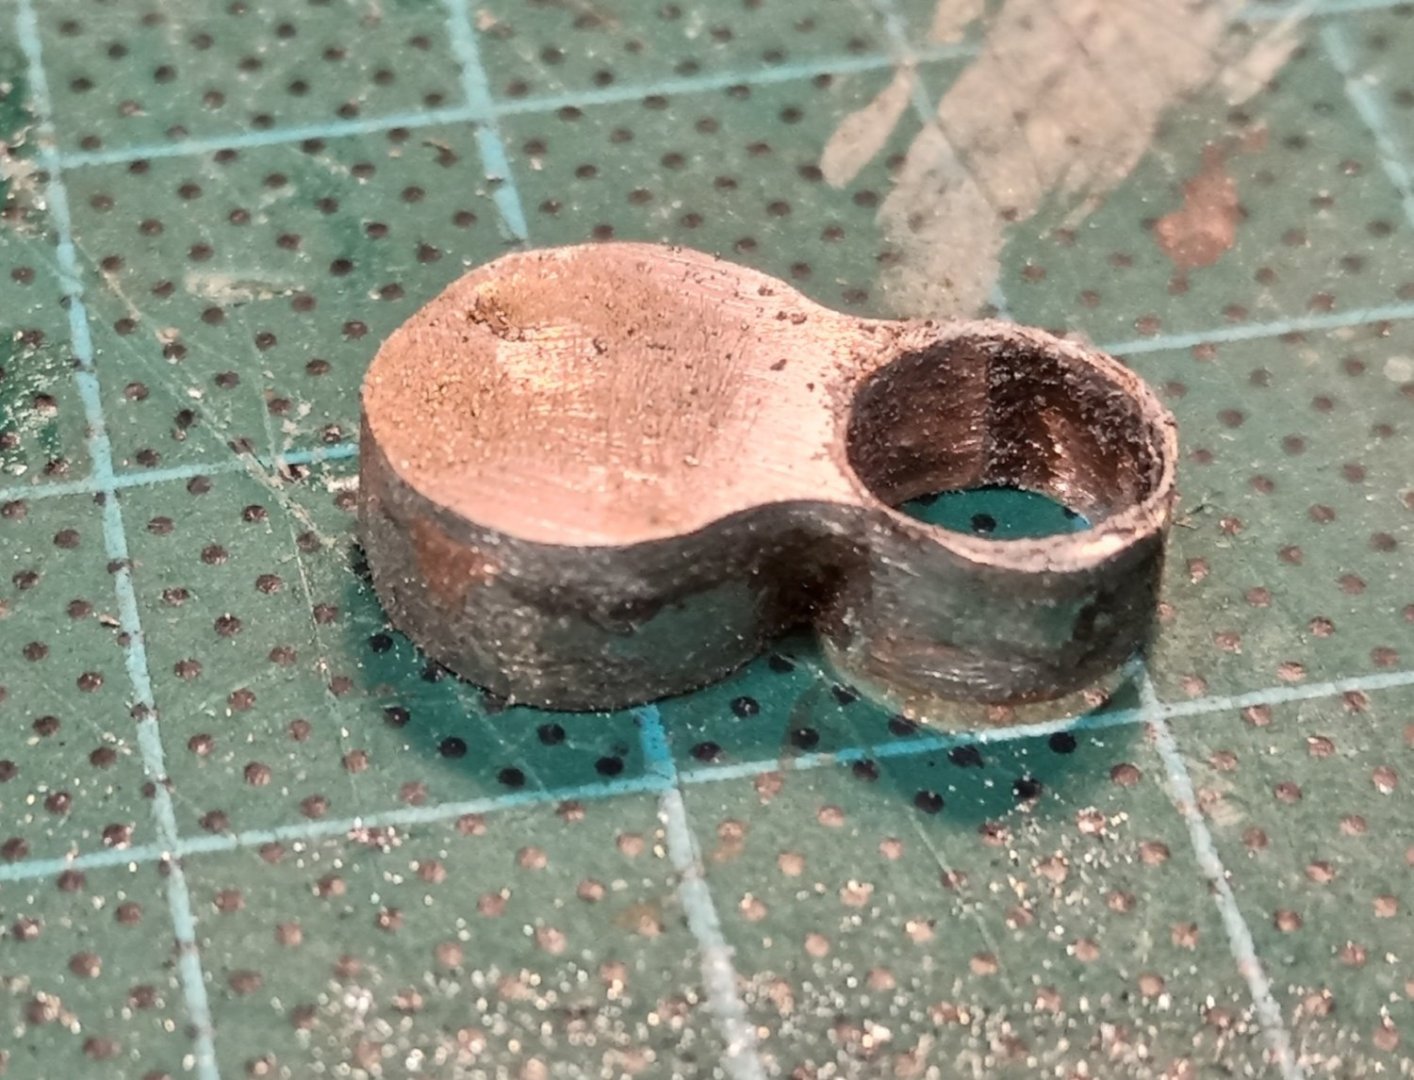
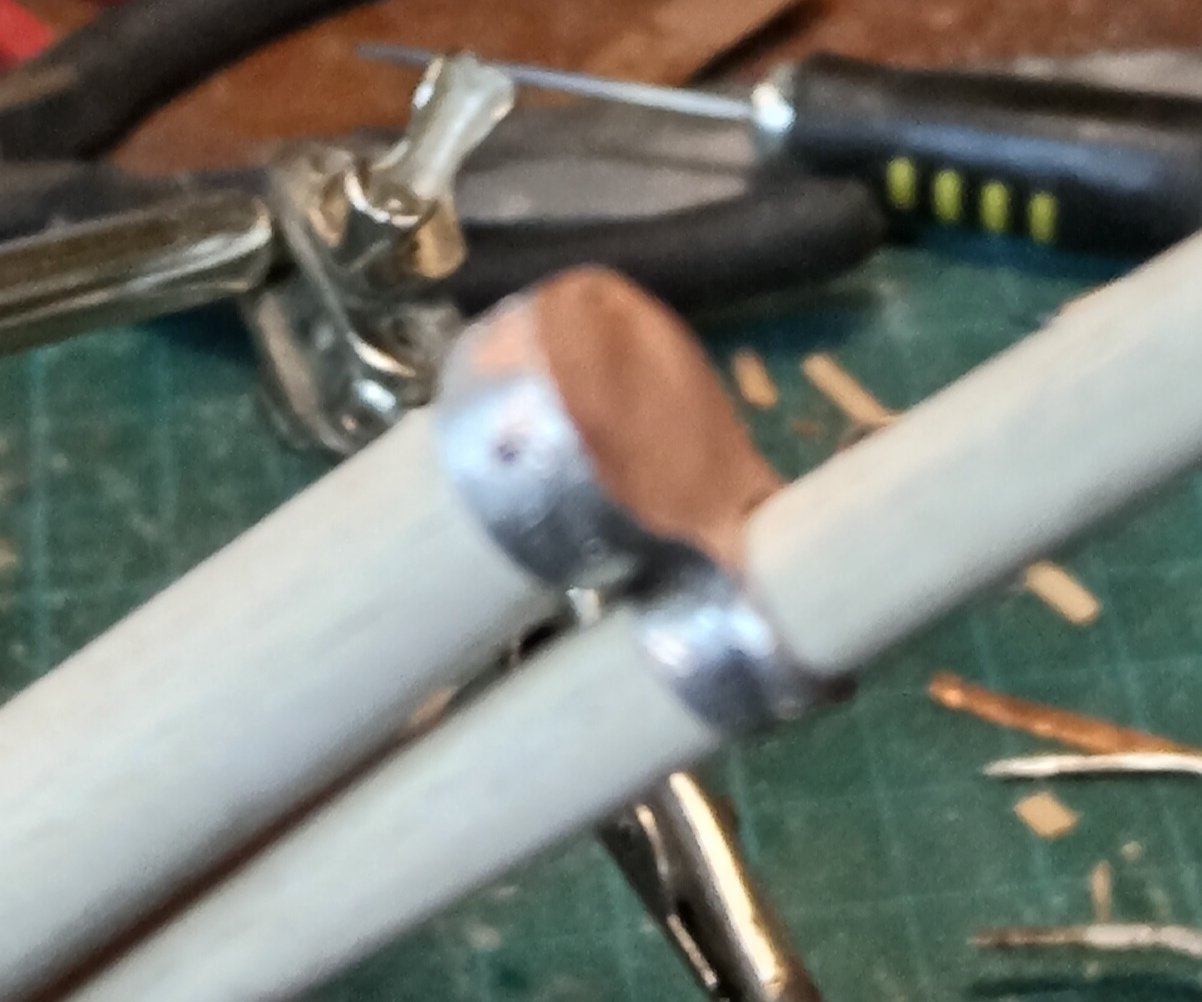
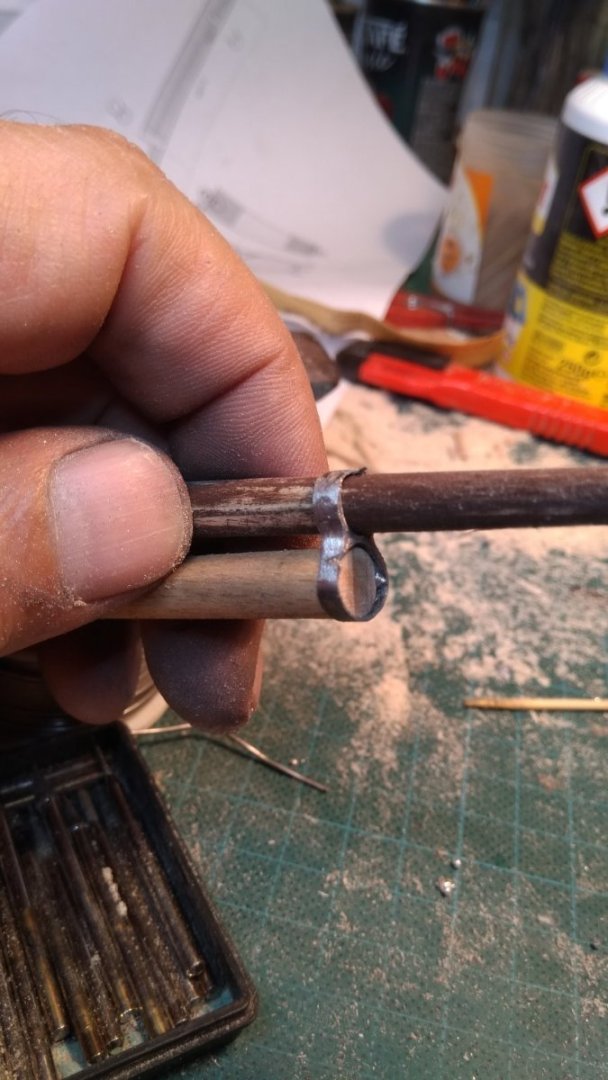
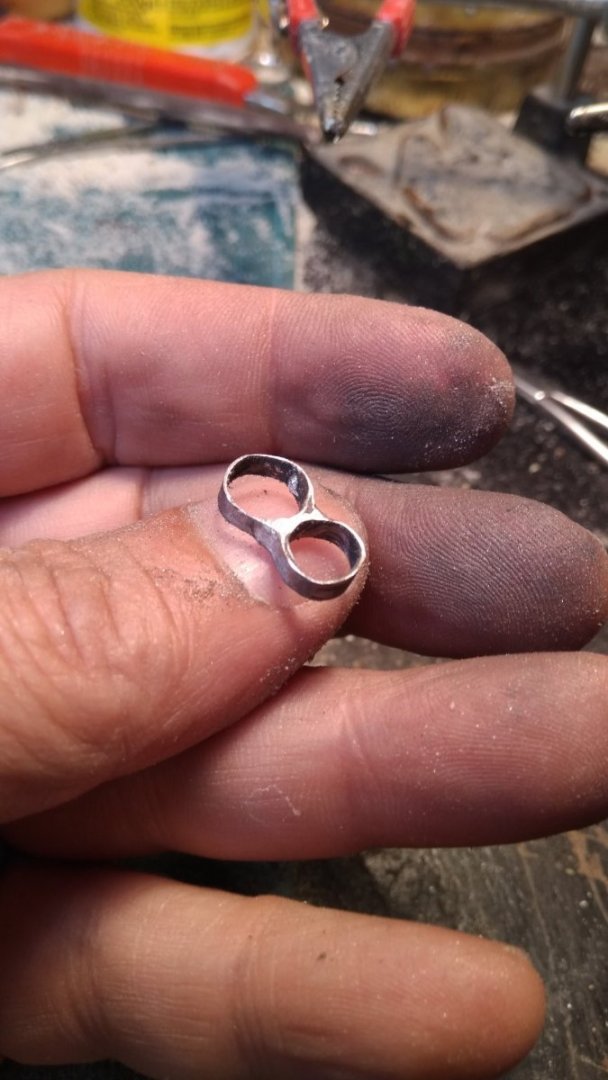
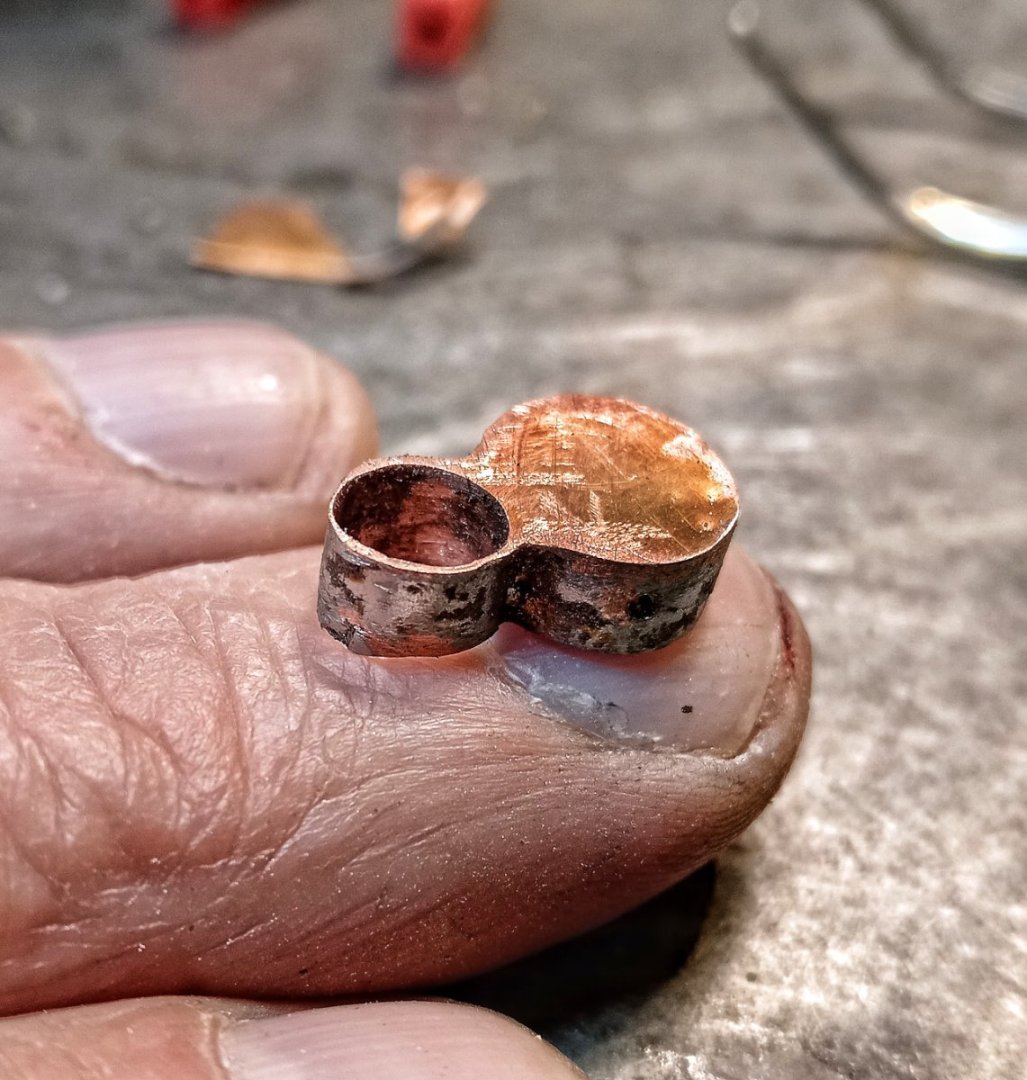
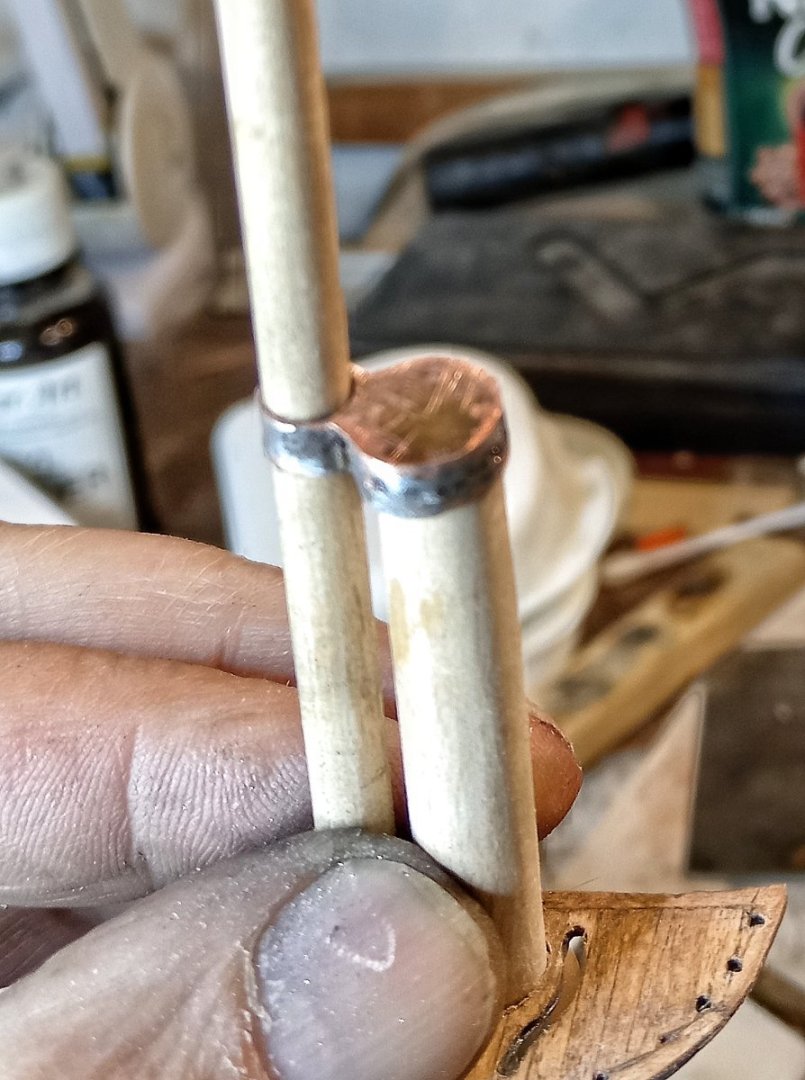
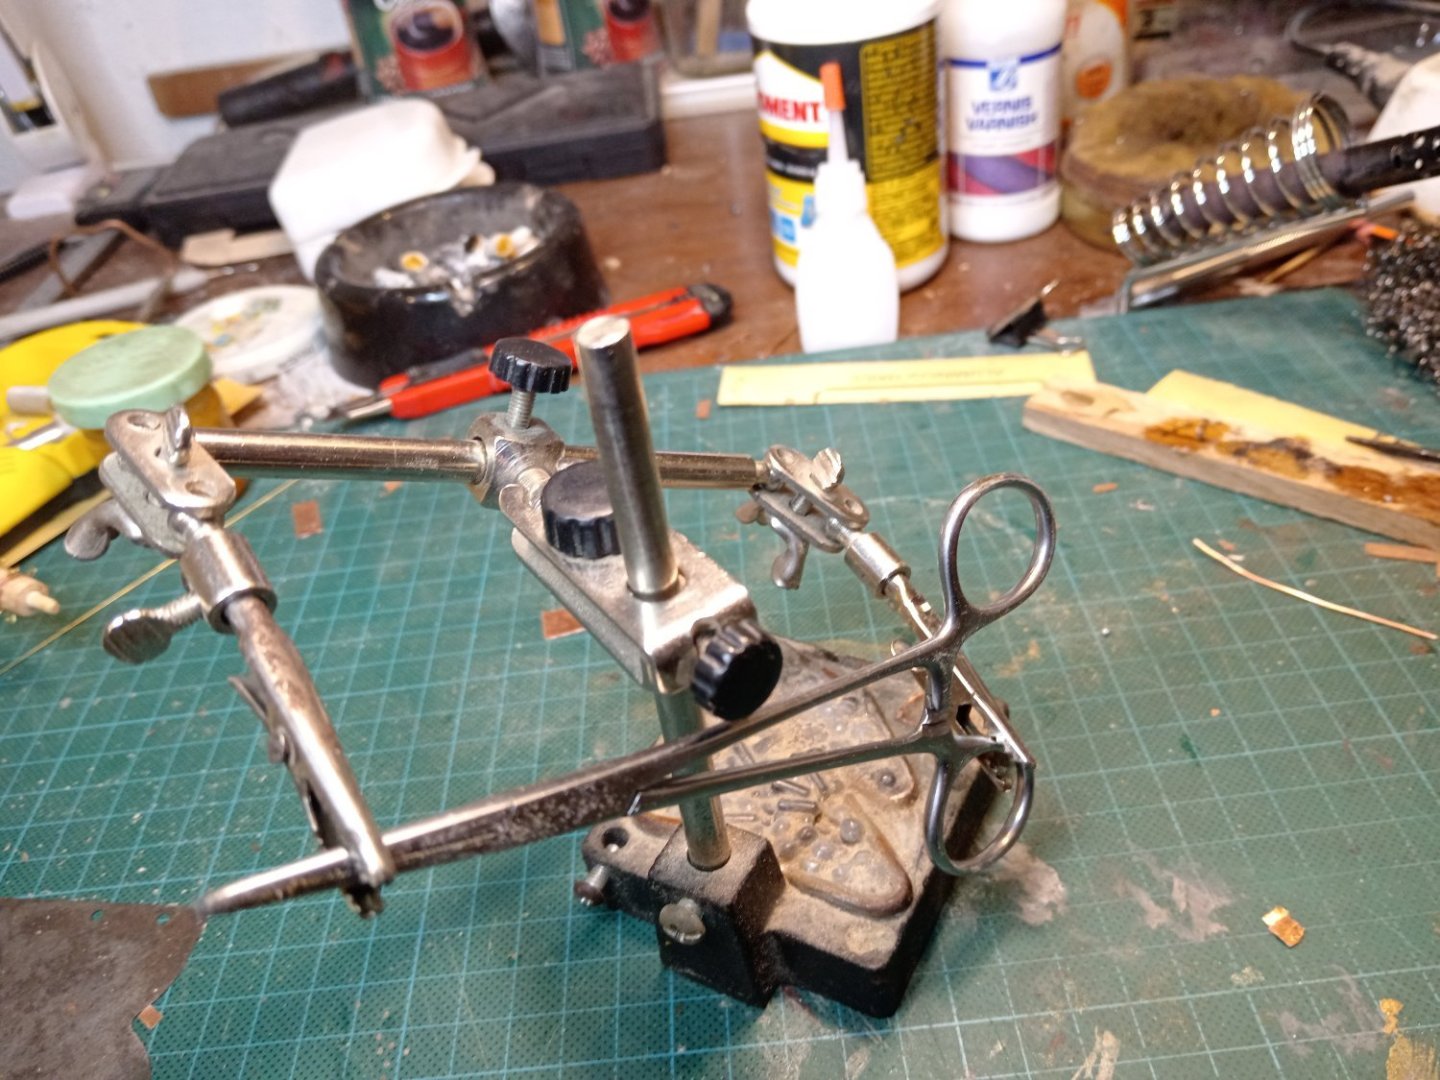
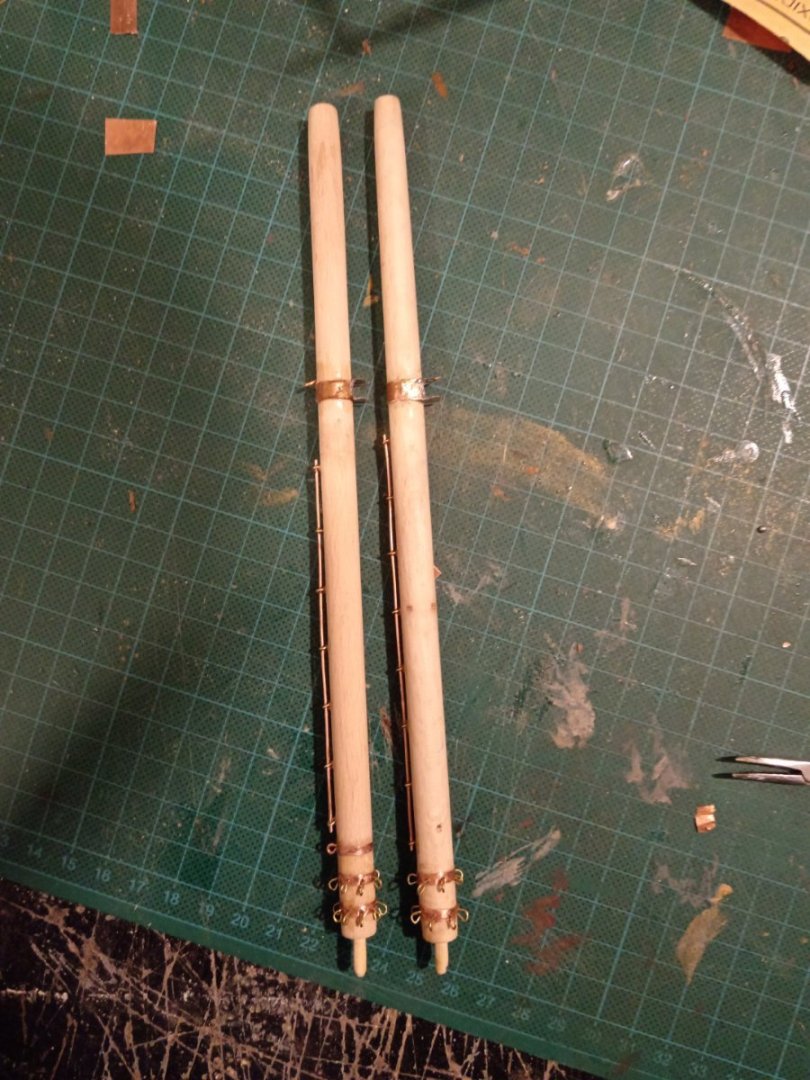
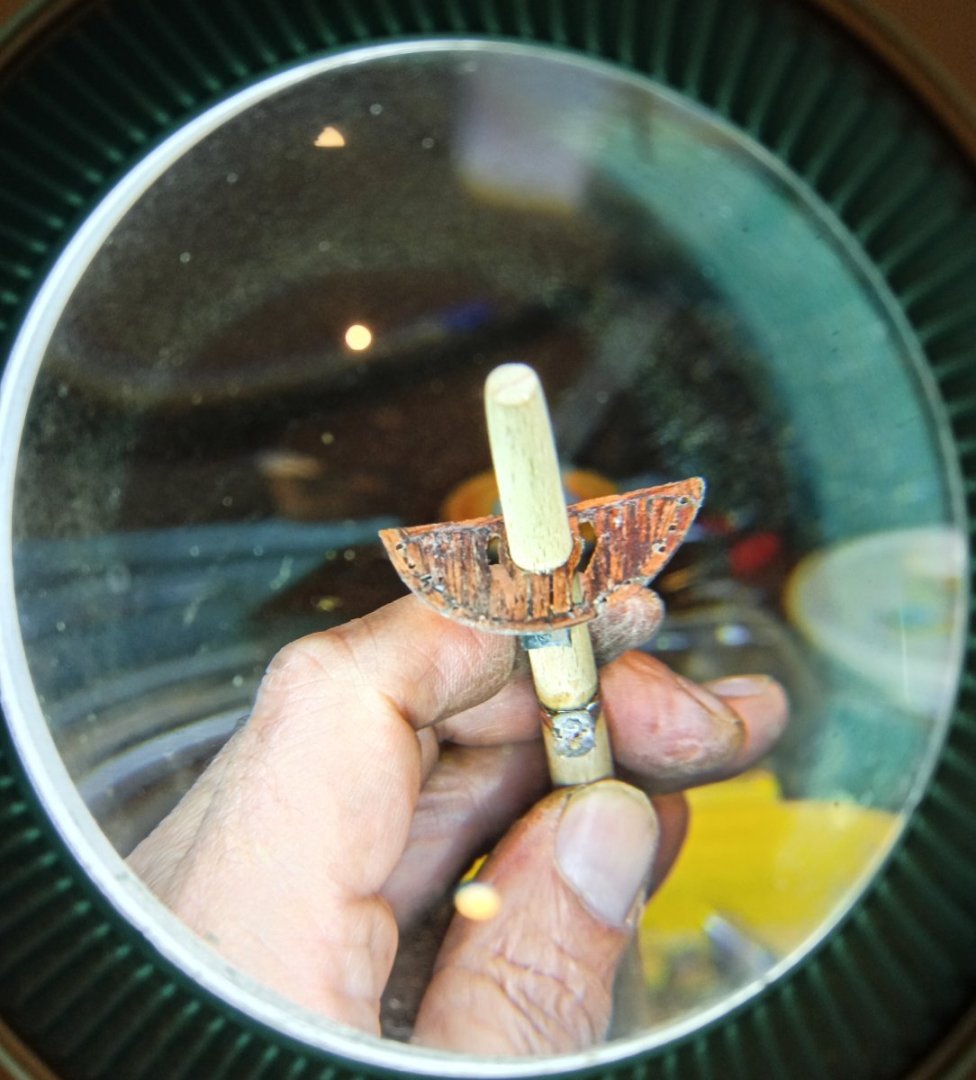
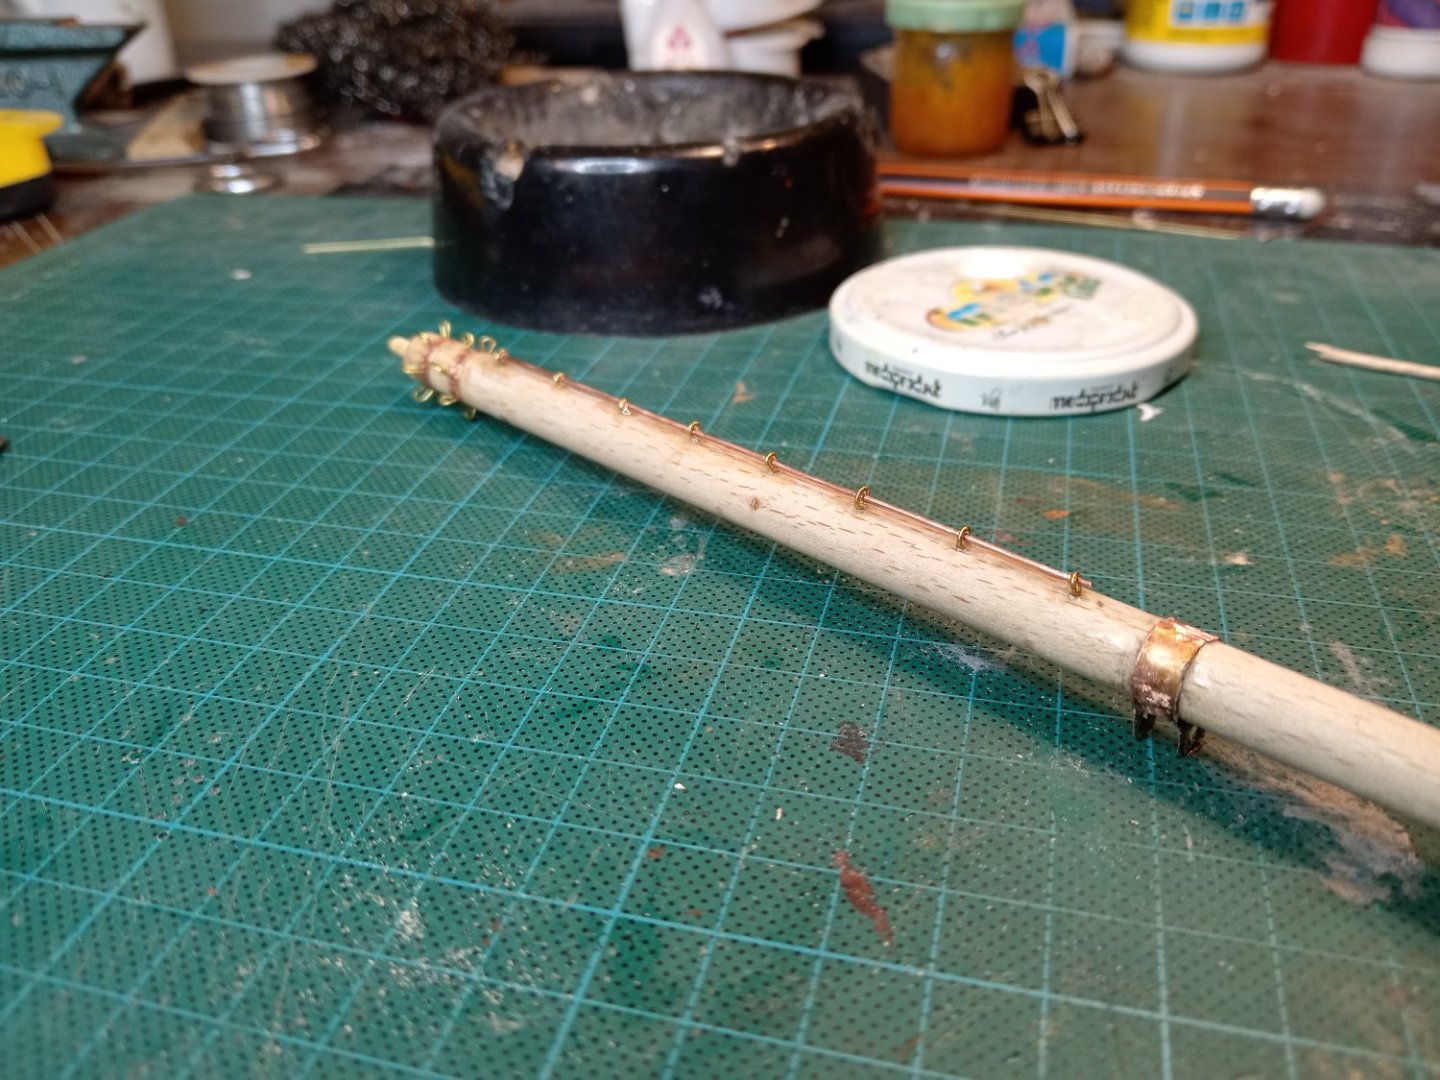
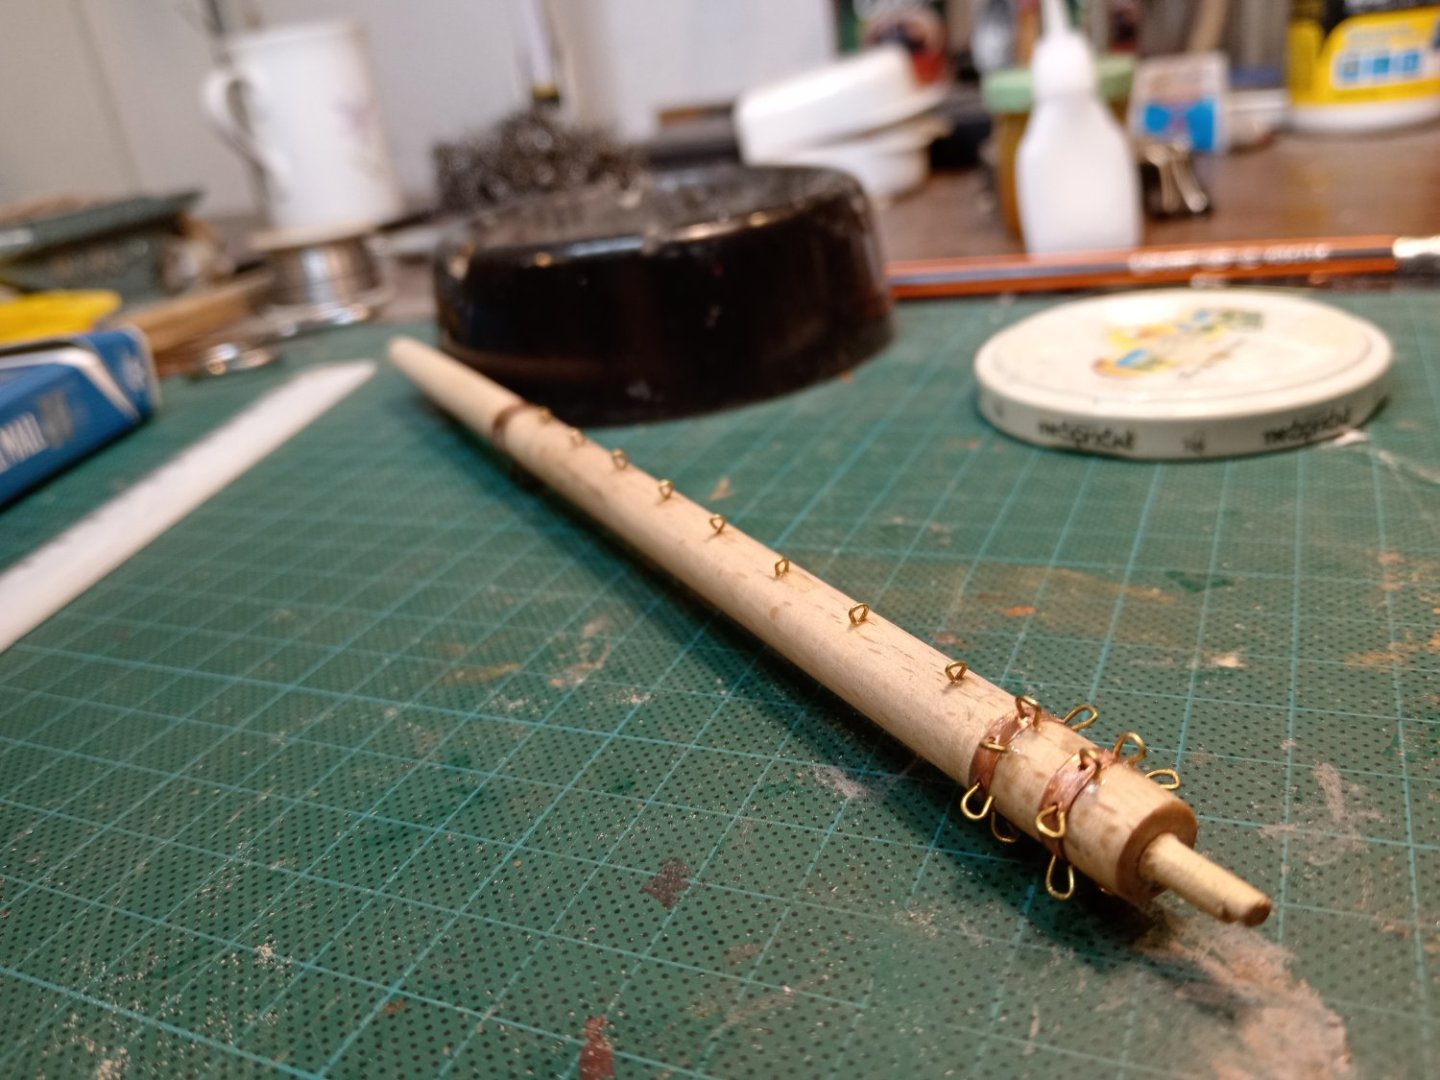
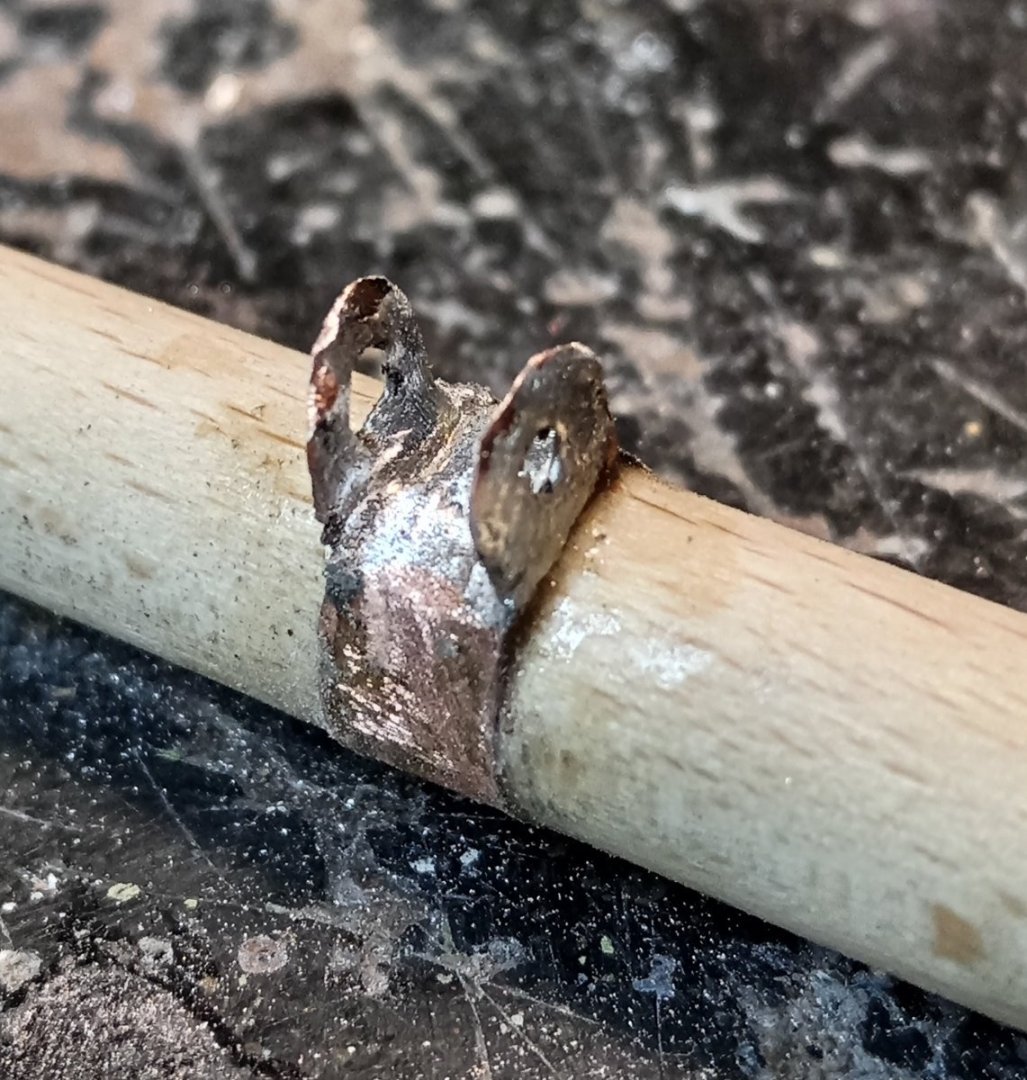
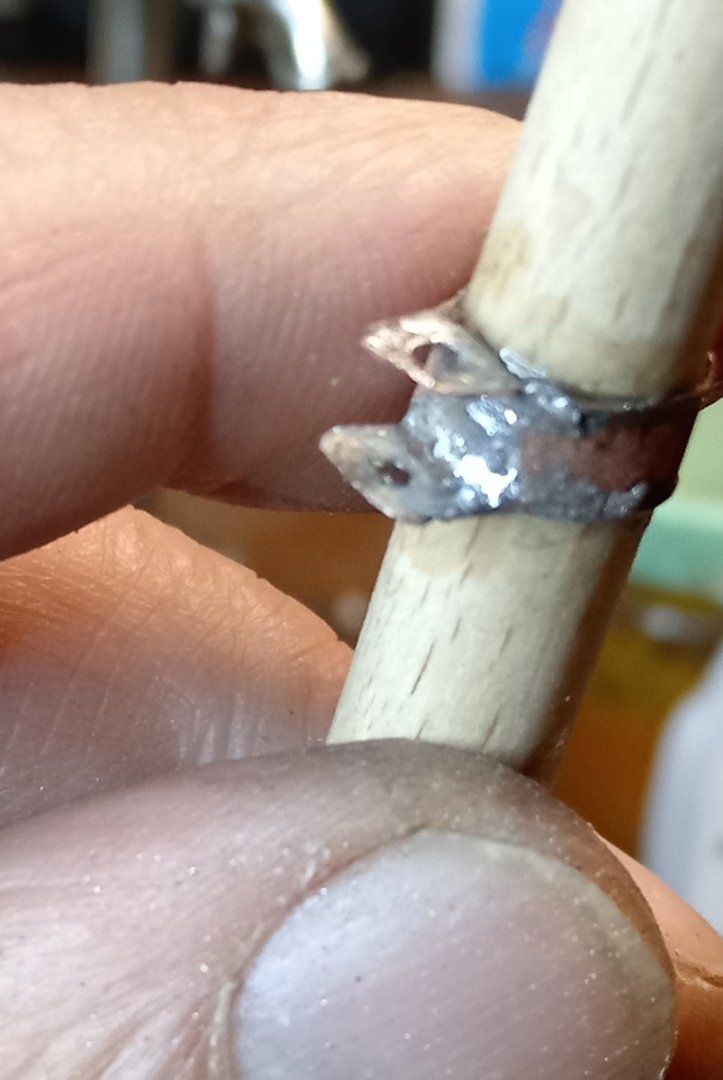
Cap Band,, step by step Remarks Strip of Cu foil on start is spiral, with ends INSIDE Dont forget to apply thiny foil of soldering on surface of strip. 1. Cut a strip of copper foil of the required width, long enough to wrap twice around the mast. Sand well 2. Bend the tape around both masts in a spiral, so that the ends of the tape are on the inside 3. remove from the mold, adjust to the correct dimensions and tighten so that it does not unroll, then solder the assemblies. Apply a thin layer of solder paste to the surface of the ring to strengthen it 4. Solder the foil over as a cover 5. Remove excess material 6. Drill the holes for the hooks
- 4,145 replies
-
- cutty sark
- tehnodidakta
-
(and 1 more)
Tagged with:
-
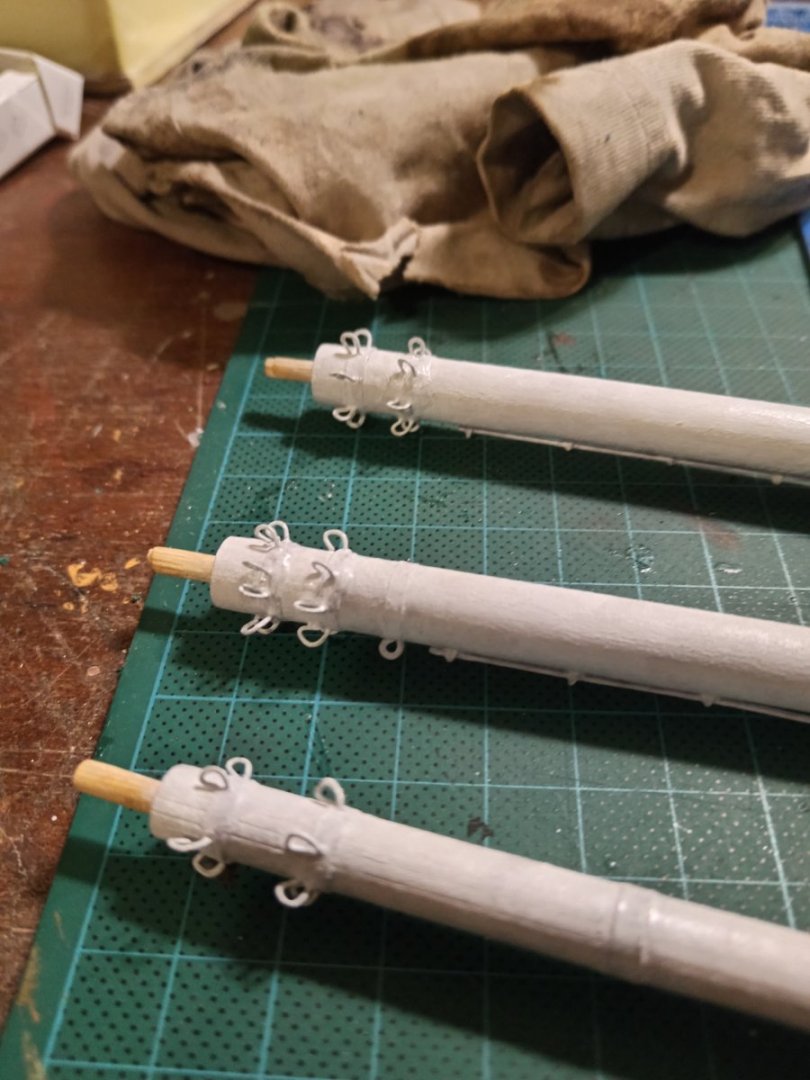
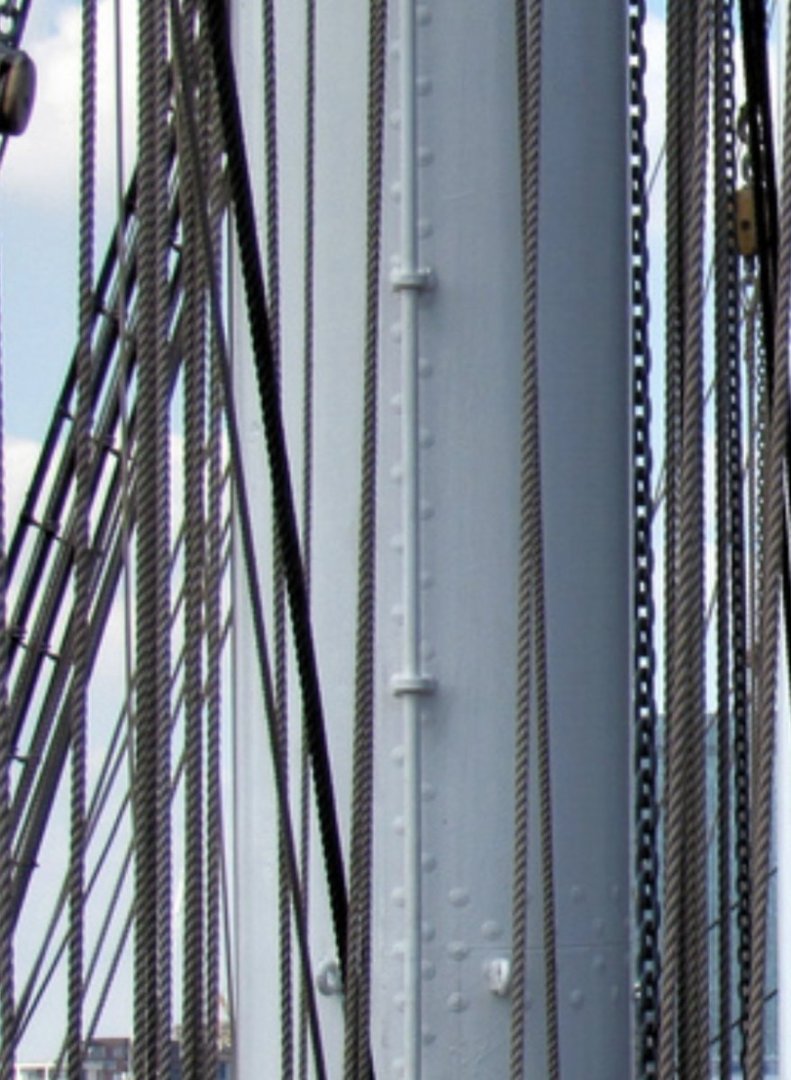
Making Cap Bands dia 6mm and 8mm is pretty tricky task, which take me couple of months thinking about "how to hell to do this". I forgot how did I make this little beast on bowsprit couple of years before. Thiny, slim, and at the same time it has to be strong enough to hold whole structure and ropes. This is a place where all pull forces from mast ropes came to gather. So, yesterday I had brainstorm, and this is it. In one of next post I will explane step by step my idea
- 4,145 replies
-
- cutty sark
- tehnodidakta
-
(and 1 more)
Tagged with:
-
- 4,145 replies
-
- cutty sark
- tehnodidakta
-
(and 1 more)
Tagged with:
-
Thanks, dear friend, you remind me that I read about it a along time ago, somewhere on MSW. It can not be boring to me with me 😉🤪
- 4,145 replies
-
- cutty sark
- tehnodidakta
-
(and 1 more)
Tagged with:
-
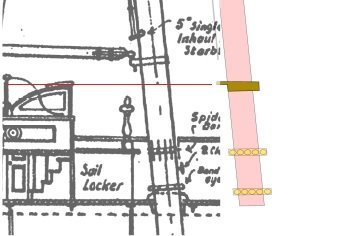
And off course, a mistake! Fortunately, yesterday I temporary put masts on their place to make some pictures, and ... realised .... connection ring on Mizzen for lower yard for spanker is positioned too low! Where were your eyes and brain, Nenad? Happy me! For now, I am curious can I remount CA without damaging wood, and reuse ring with yard holder, or have to make a new mizzen mast ....
- 4,145 replies
-
- cutty sark
- tehnodidakta
-
(and 1 more)
Tagged with:
-
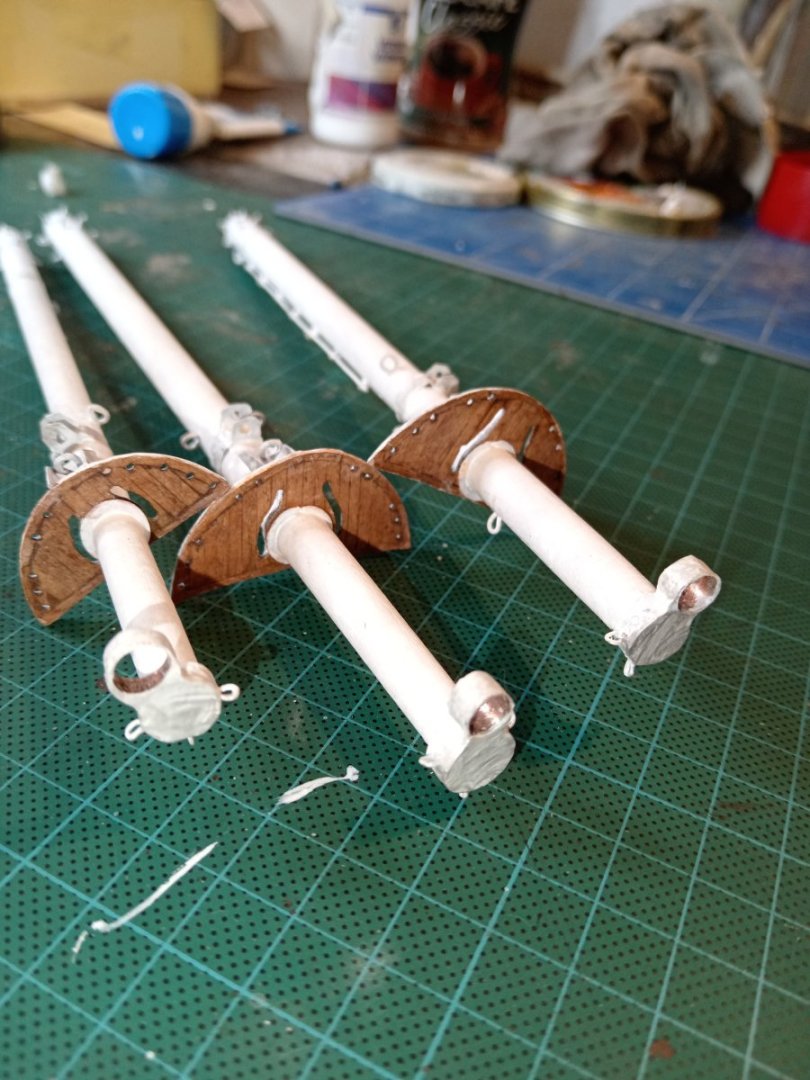
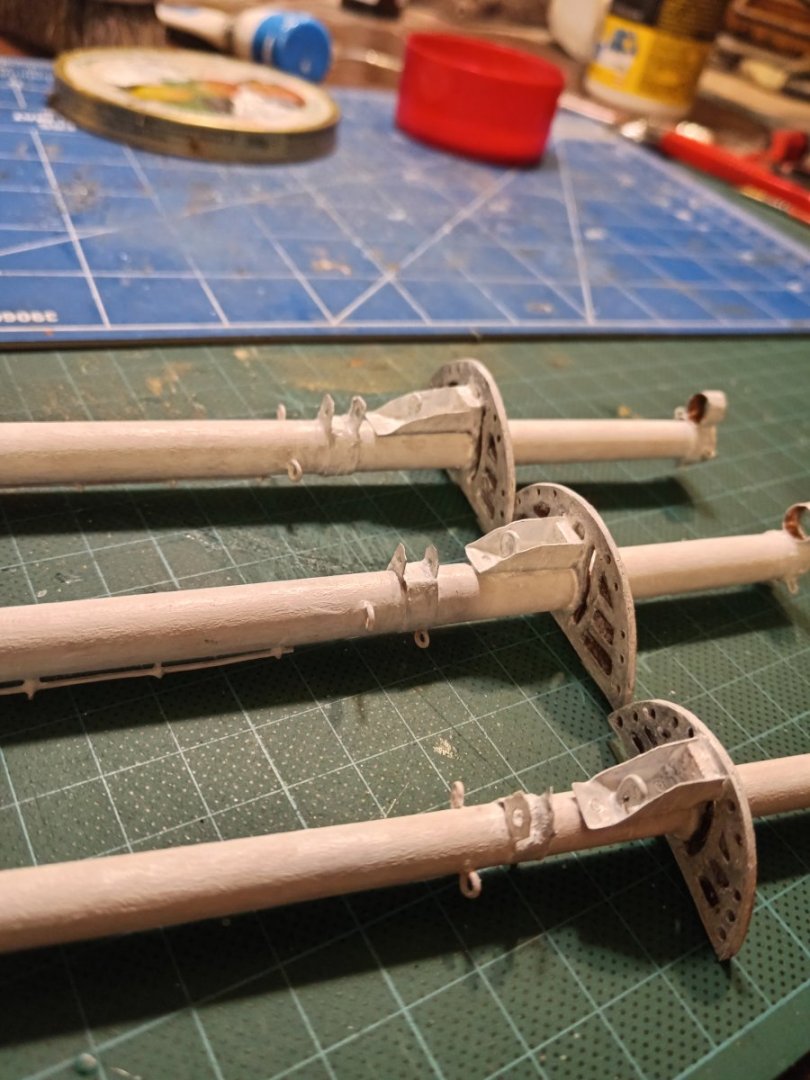
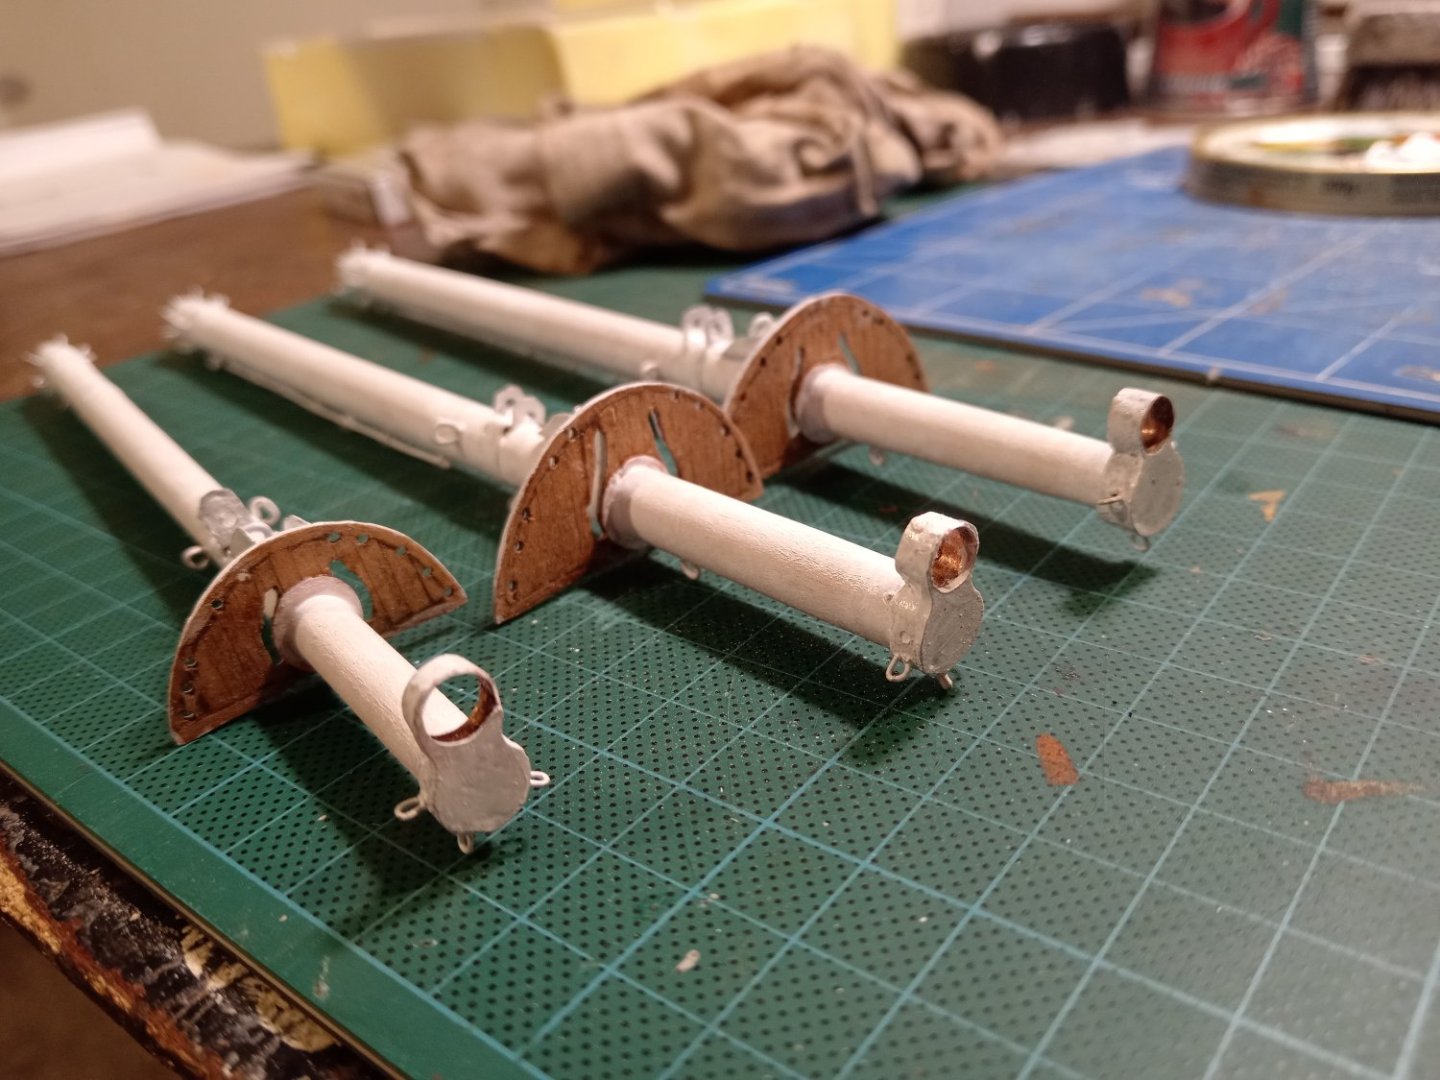
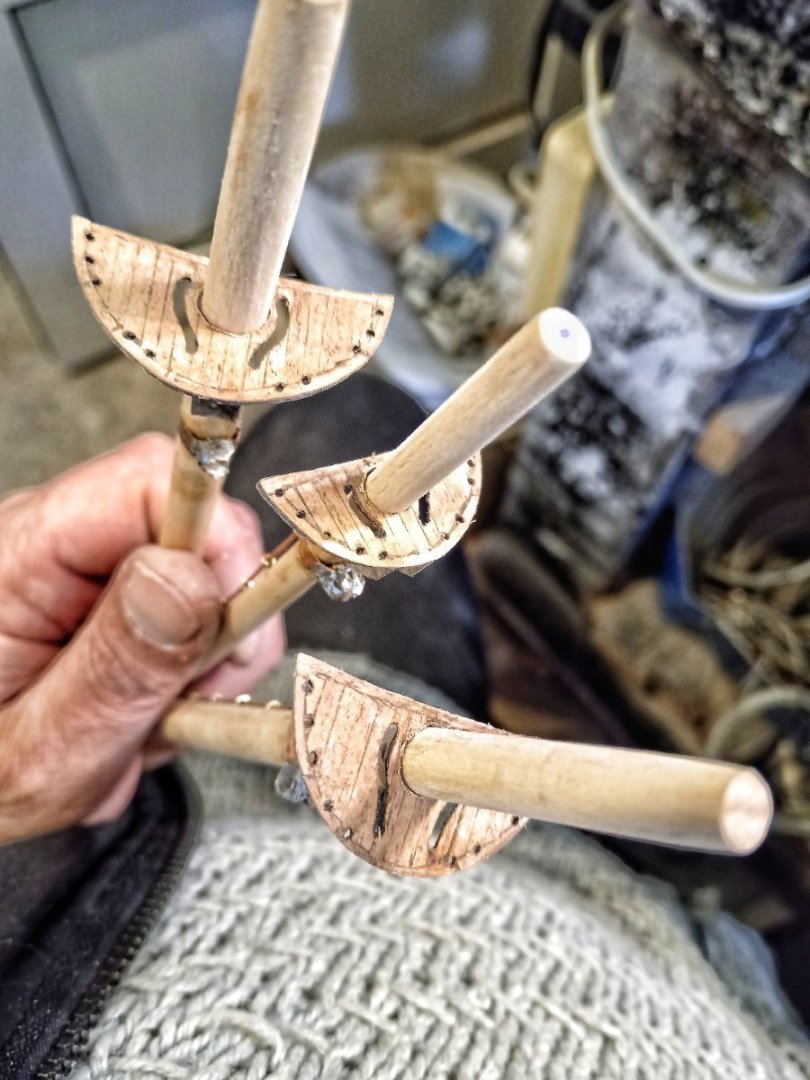
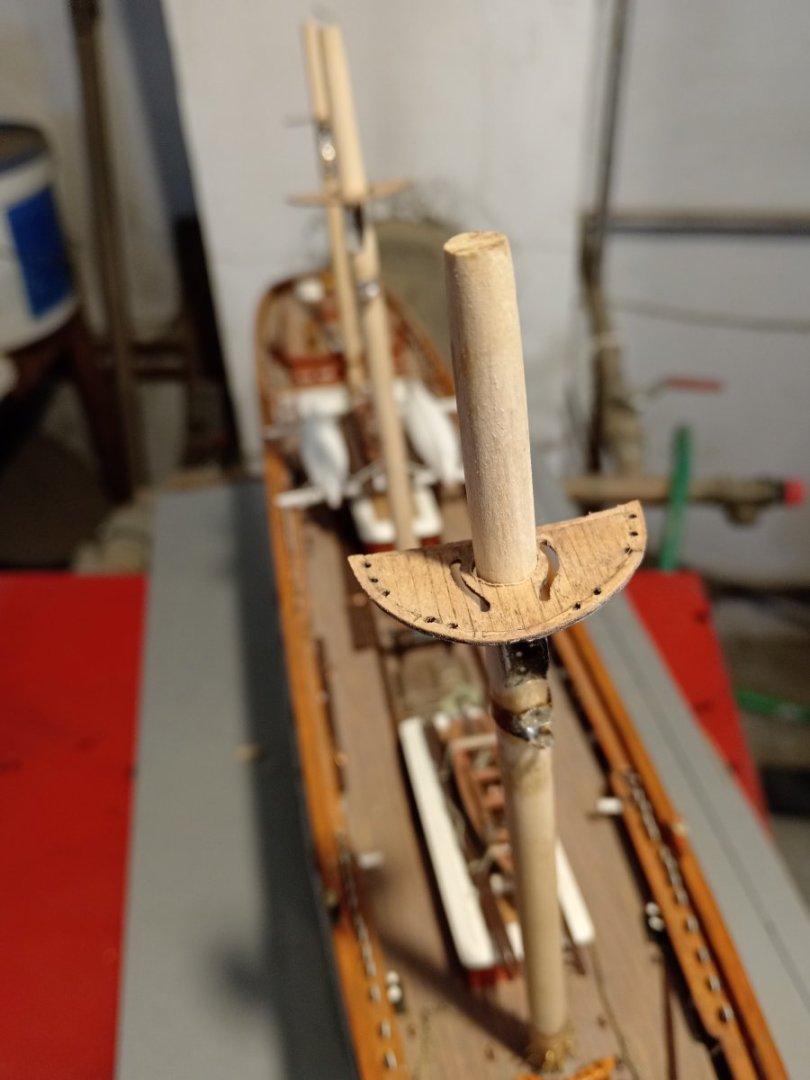
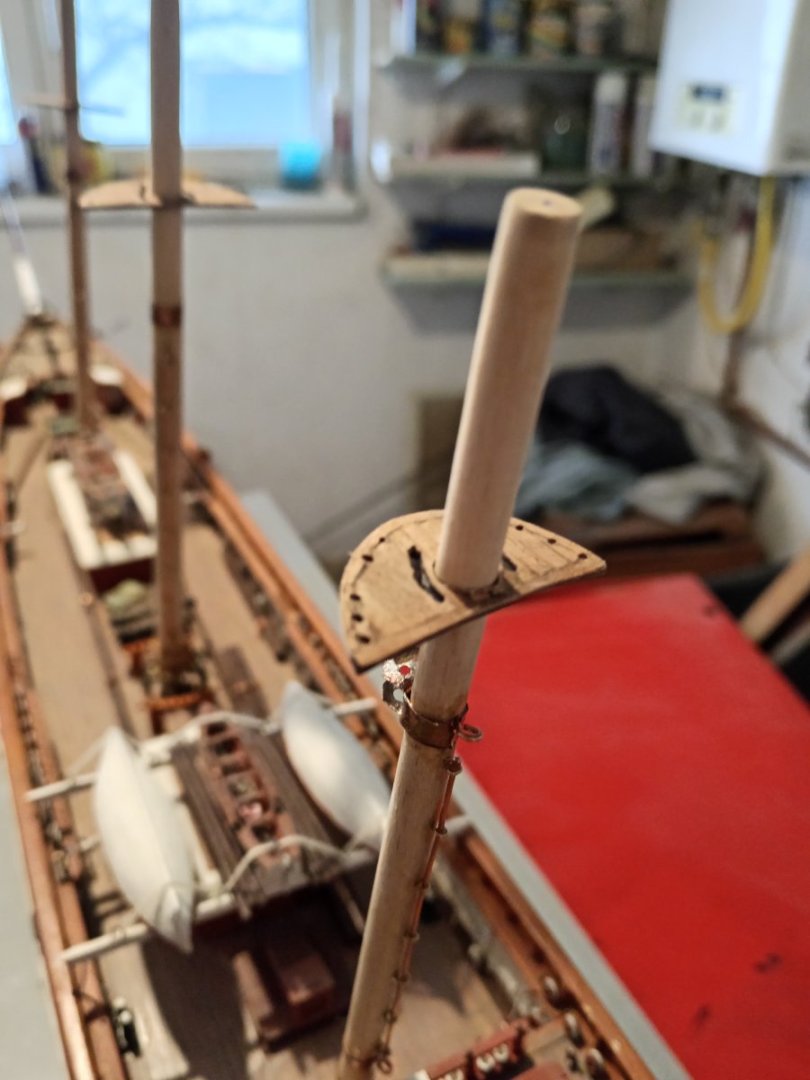
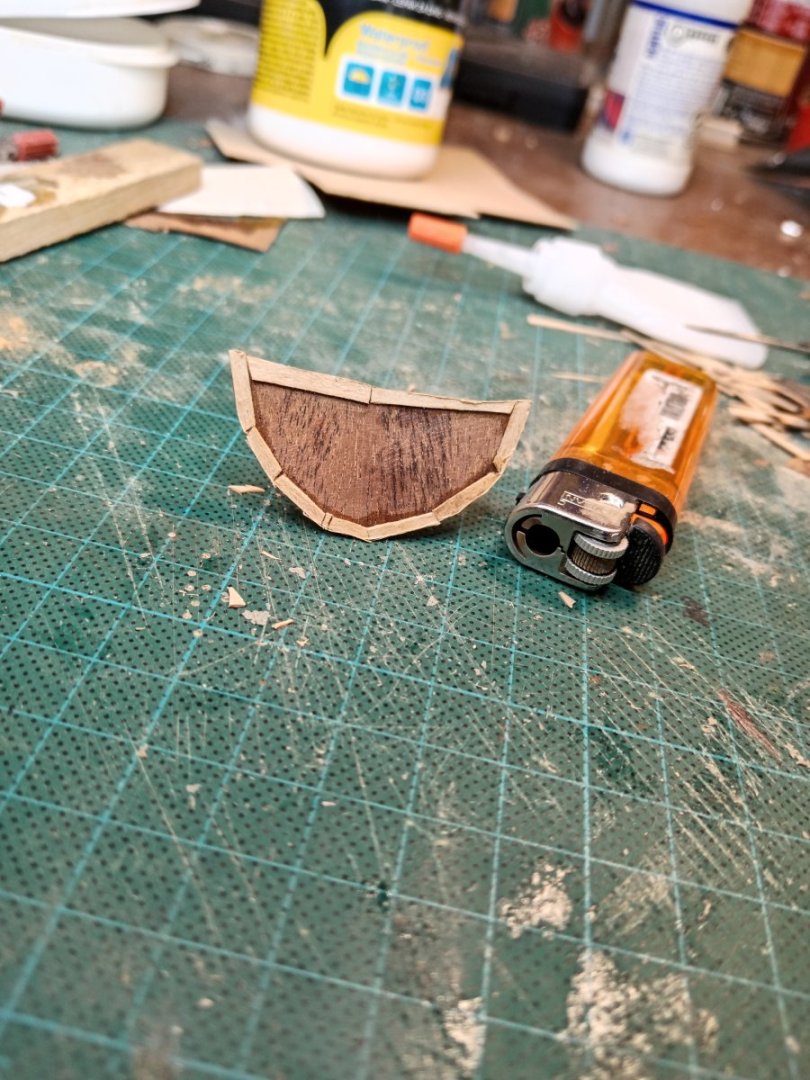
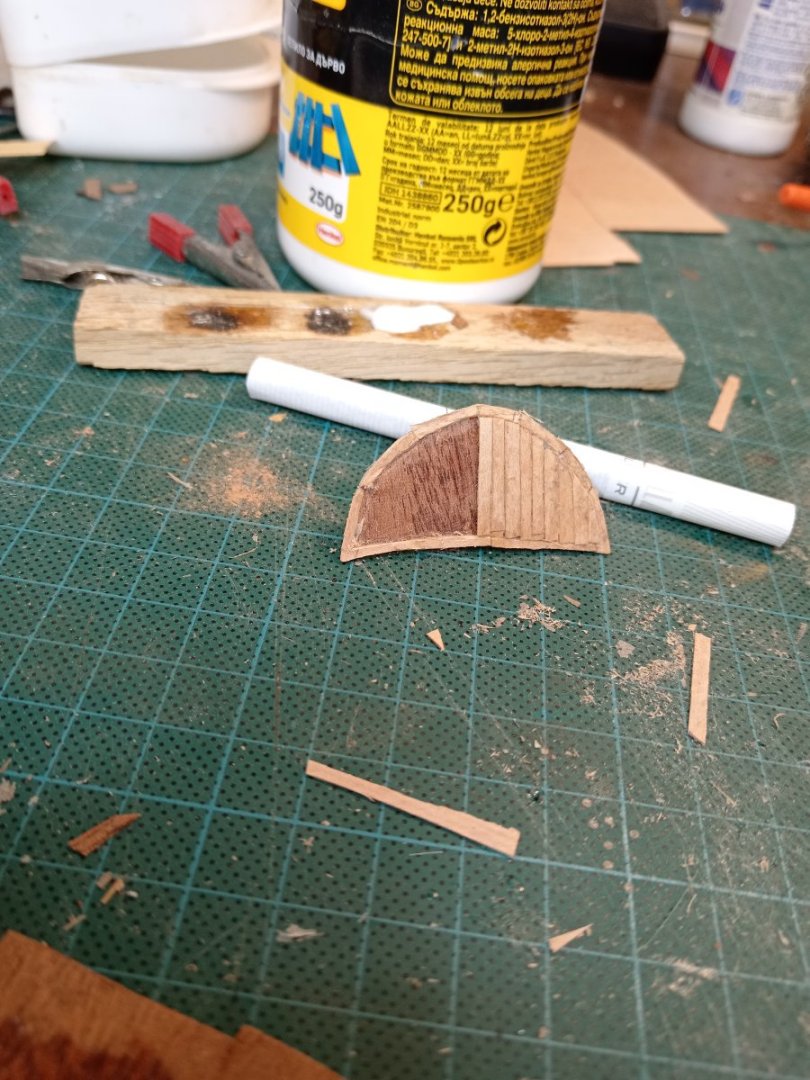
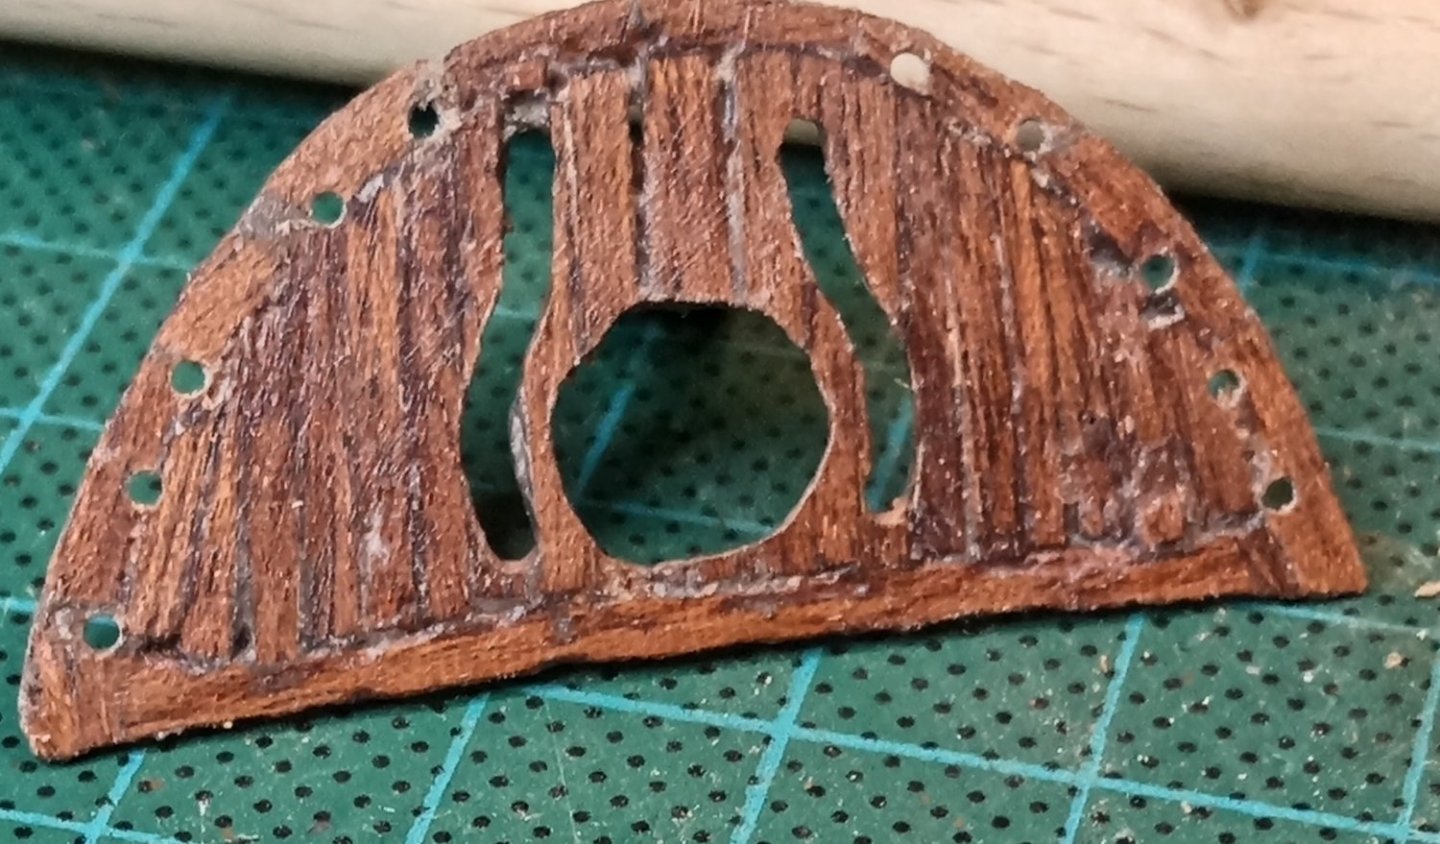
Progressing All three nests got plankung with light weathering, so, they are done! Exept painting in one of next stage..
- 4,145 replies
-
- cutty sark
- tehnodidakta
-
(and 1 more)
Tagged with:
-
- 4,145 replies
-
- cutty sark
- tehnodidakta
-
(and 1 more)
Tagged with:
-
- 4,145 replies
-
- cutty sark
- tehnodidakta
-
(and 1 more)
Tagged with:
-
- 4,145 replies
-
- cutty sark
- tehnodidakta
-
(and 1 more)
Tagged with:
-
- 4,145 replies
-
- cutty sark
- tehnodidakta
-
(and 1 more)
Tagged with:
-
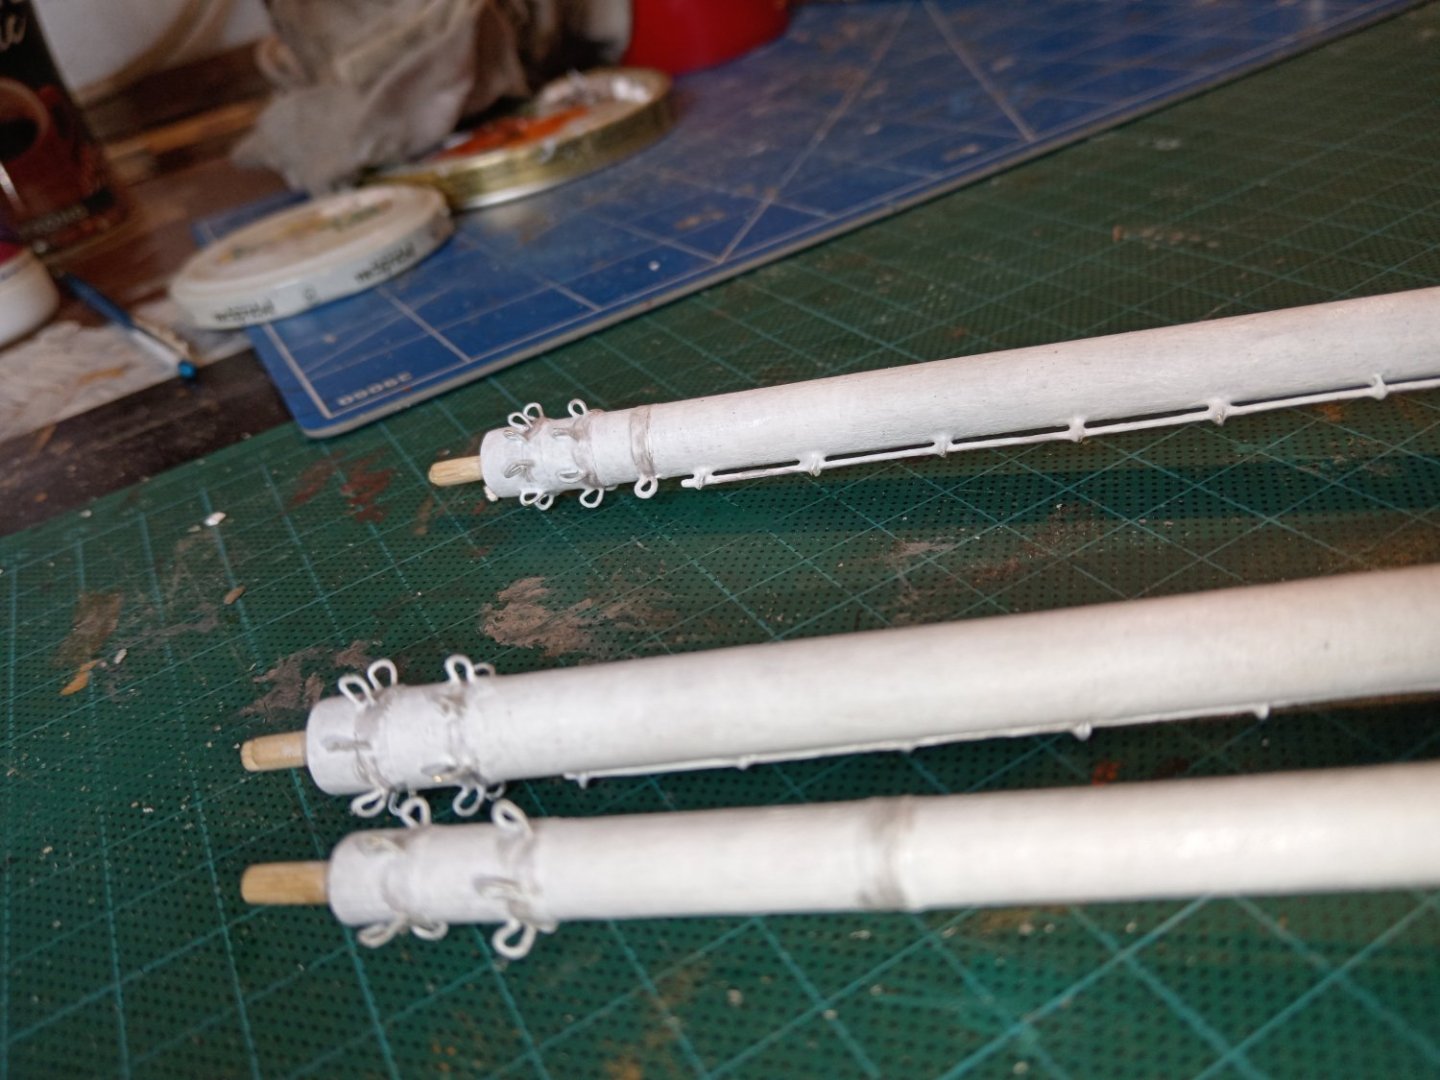
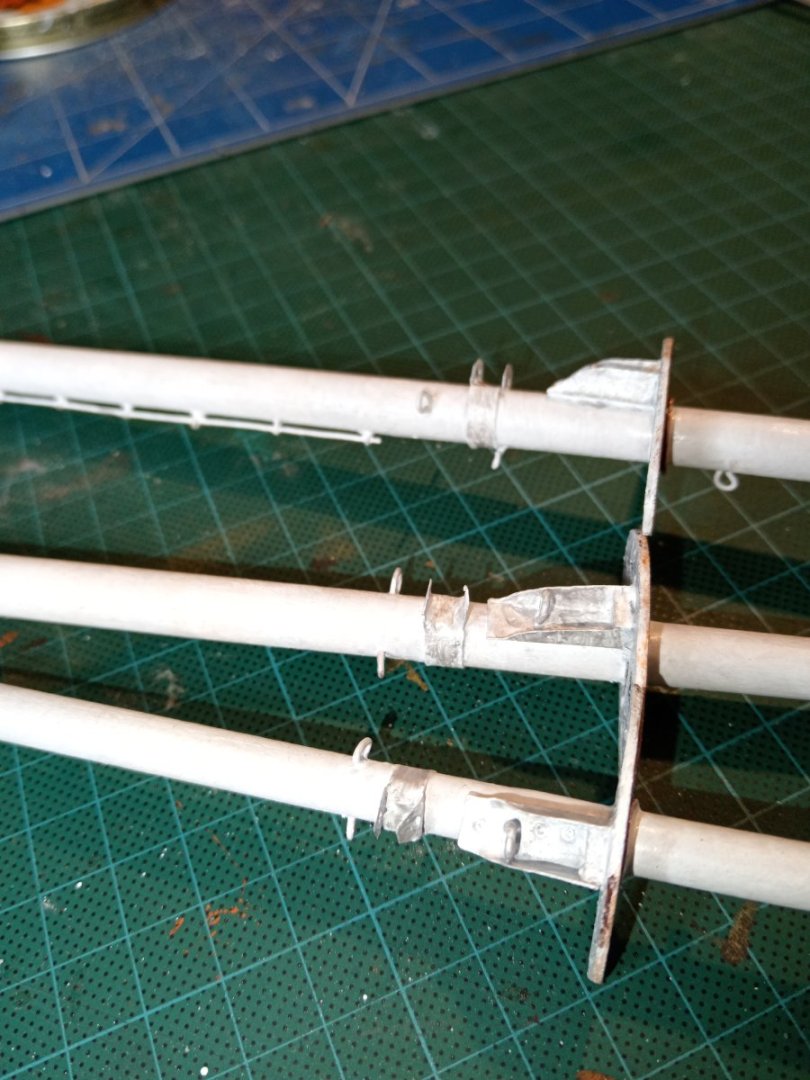
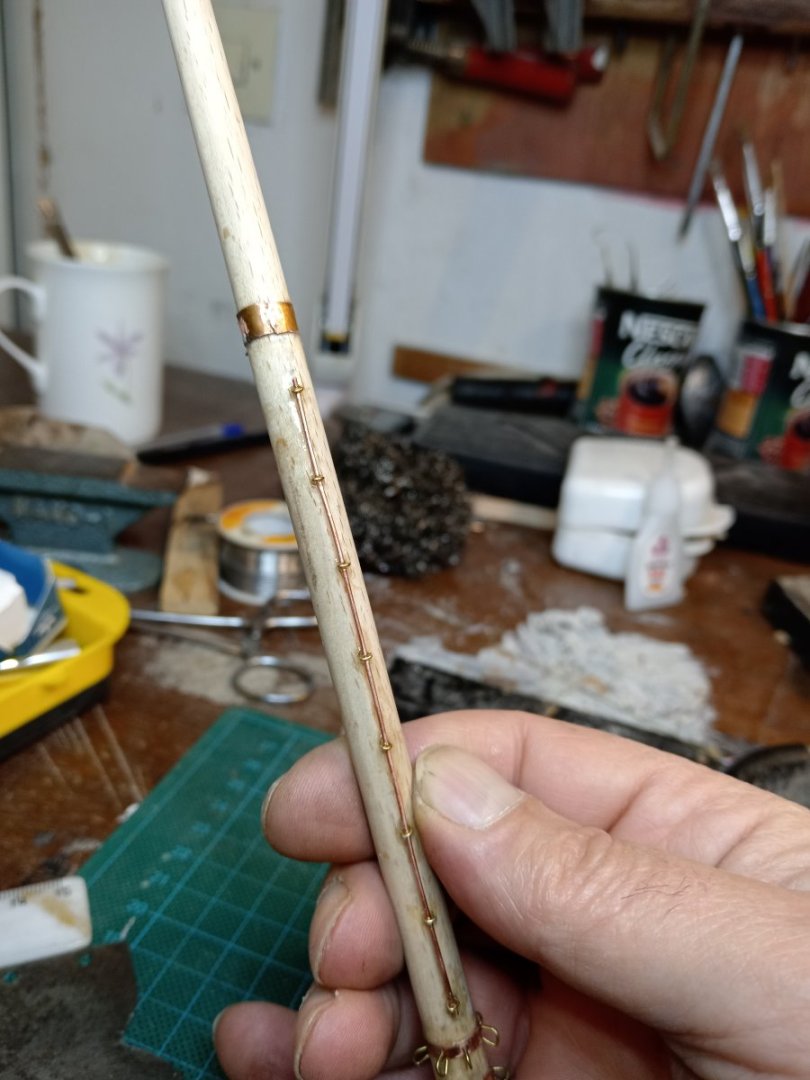
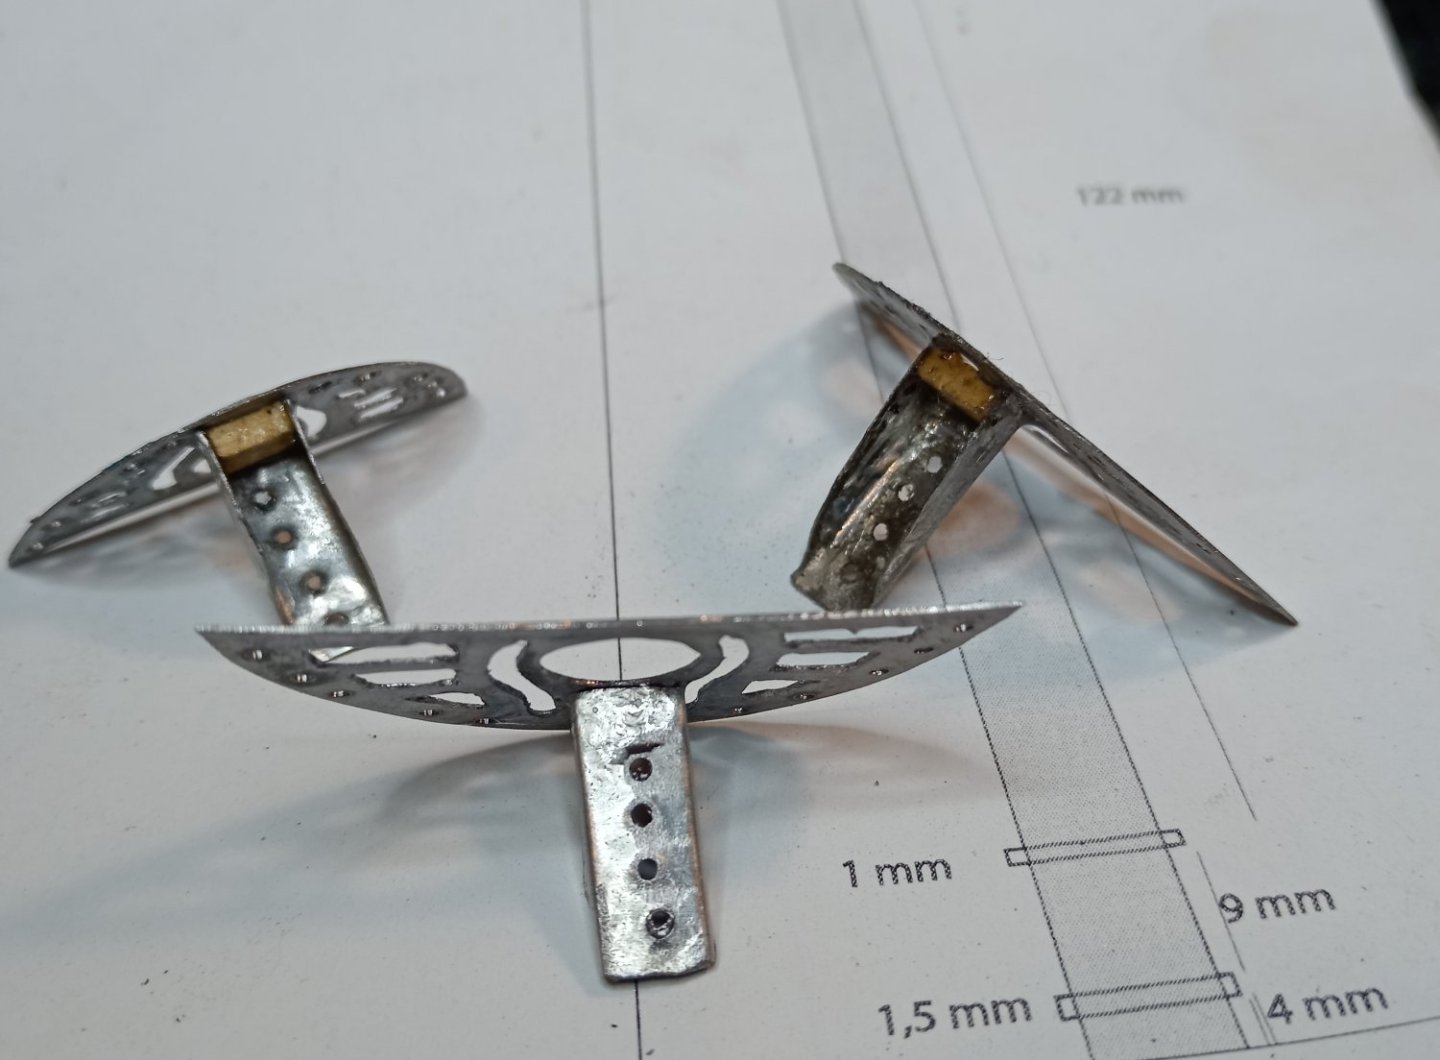
Working on mast, question arrises - metal fittings are small (1:100) and - which material to use for them? e.g. yard holdings ... Galvanized **** for gutters I have is to rough and very hard to fit. Cu foil I have (0,3mm) is very thin and elastic and can not hold yard. Brain storming idea - to cover Cu foil with thin layer of soldering? And this is it! Soldering gives it required strenght , even it is 4mm in dia at the hole part.
- 396 replies
-
- Idea
- Bright Idea
-
(and 1 more)
Tagged with:
-
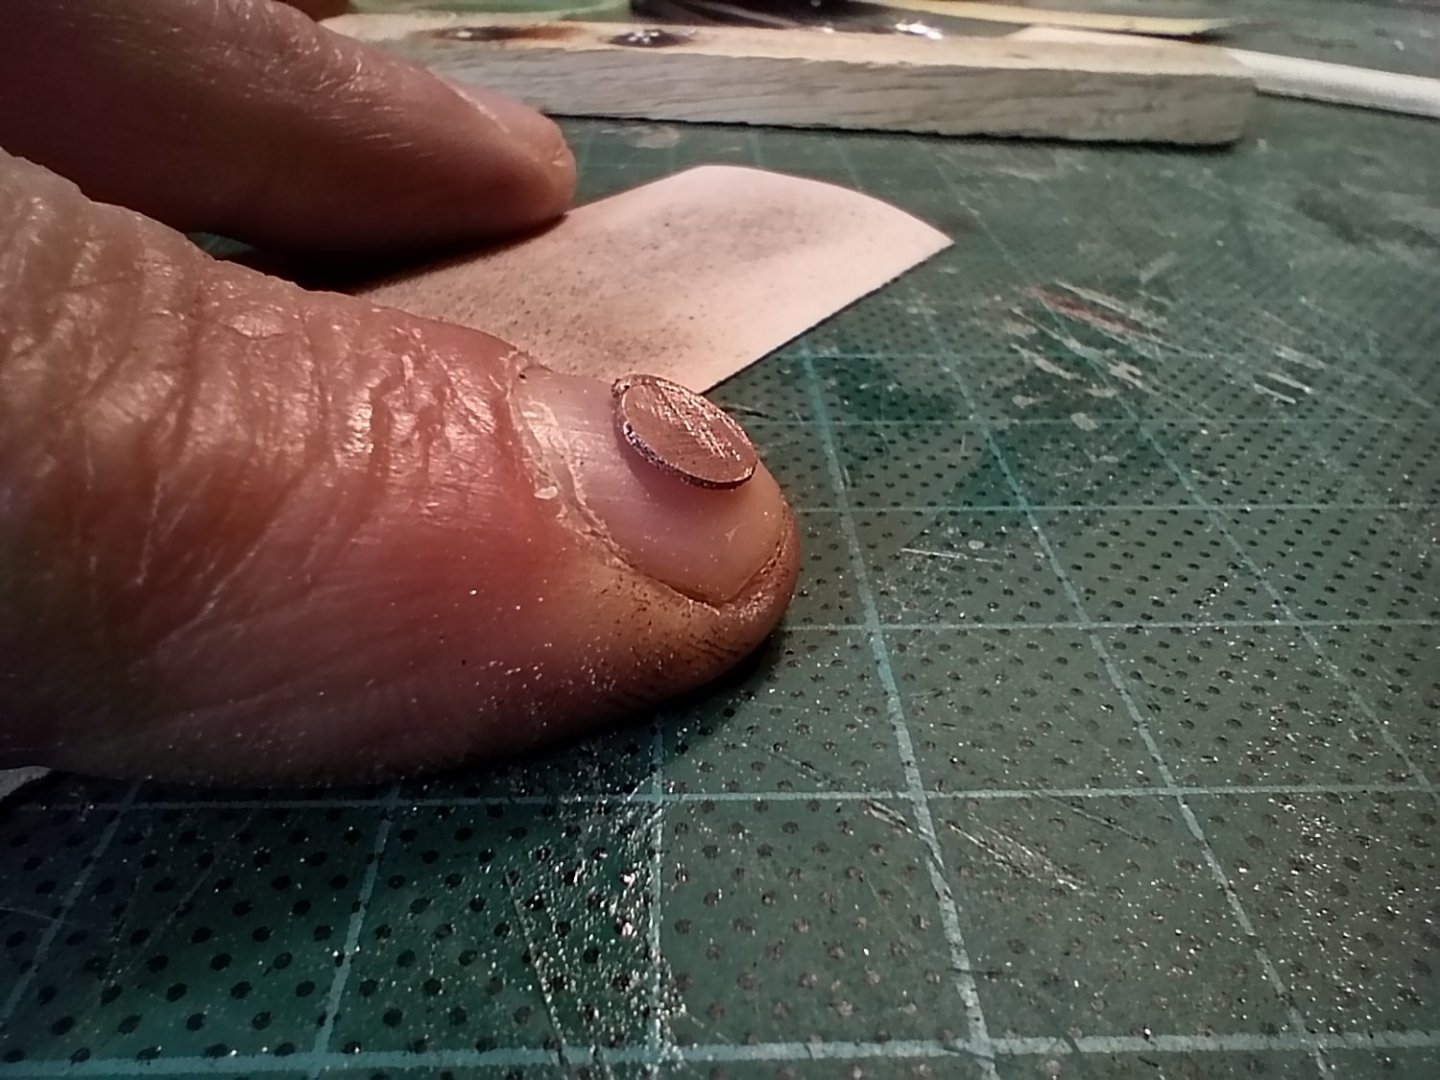
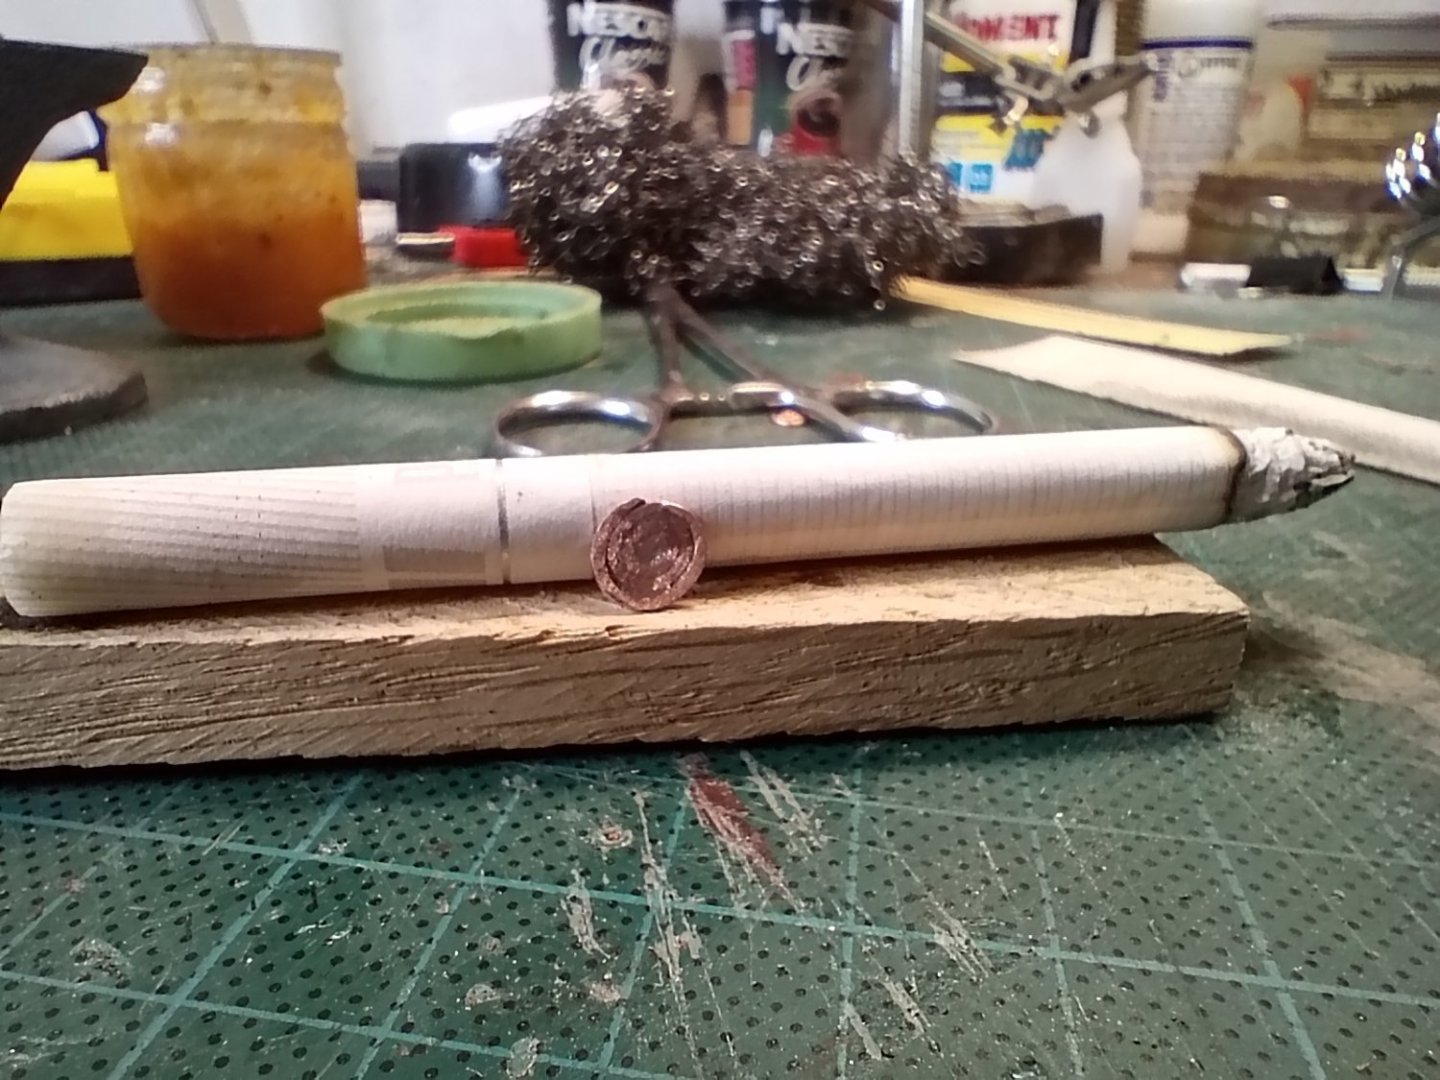
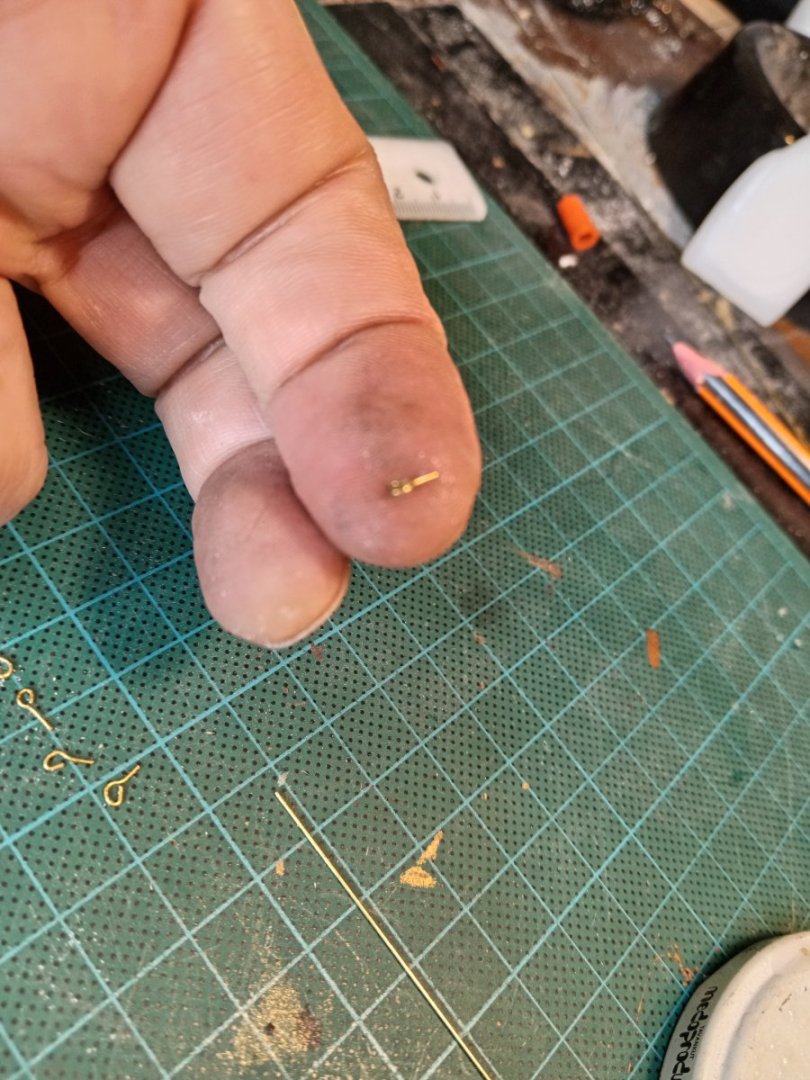
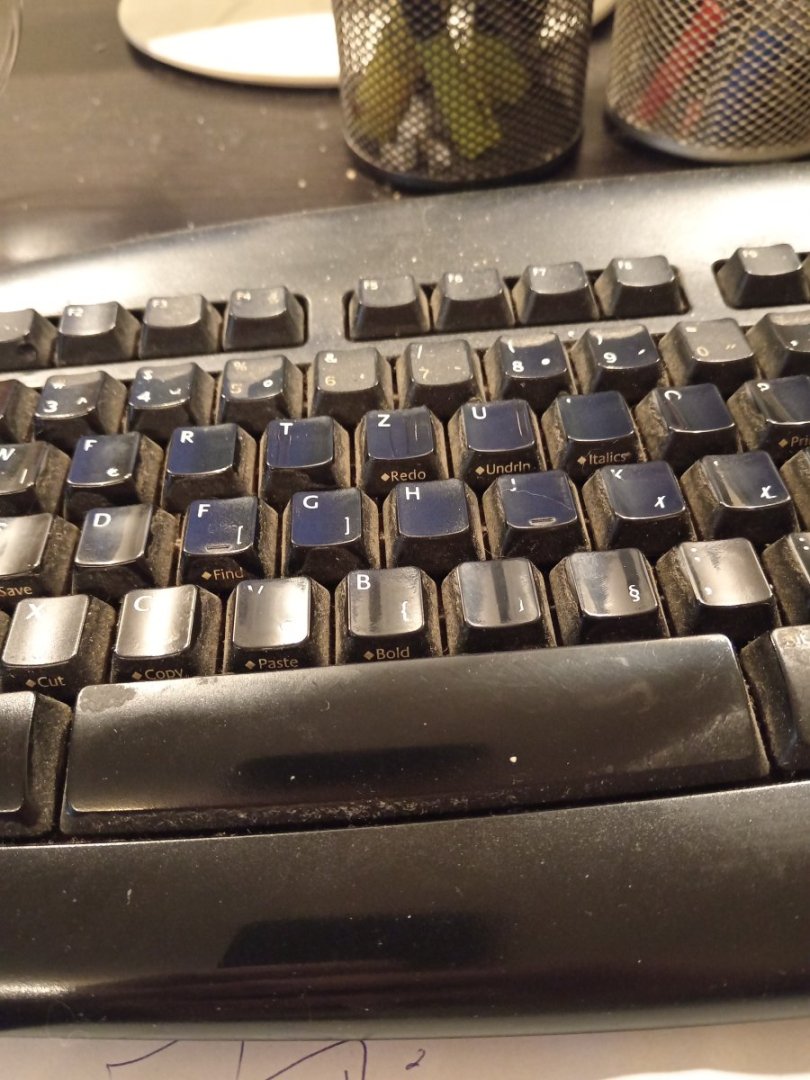
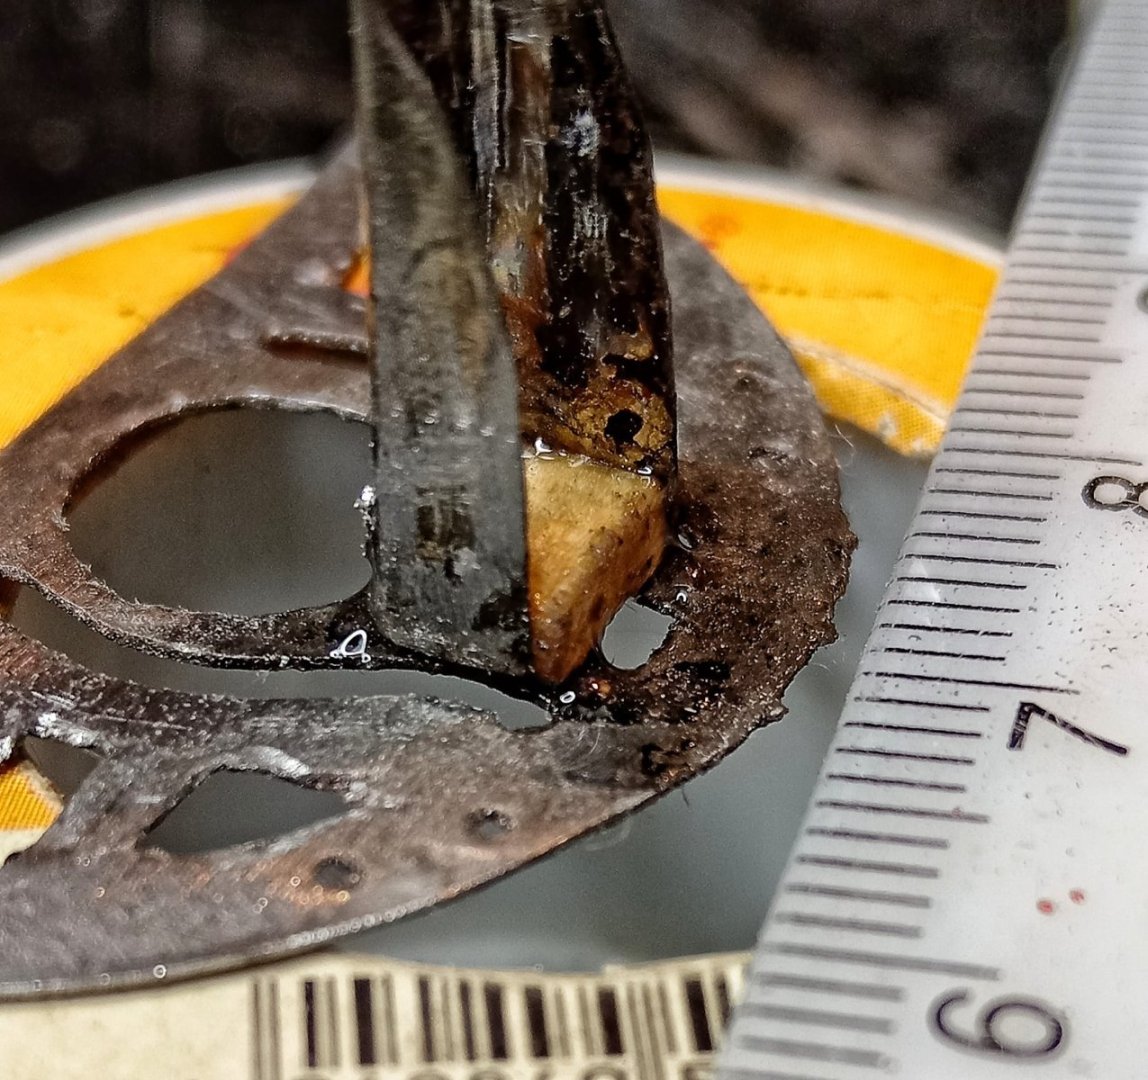
Side remarks: I know everything looks messy and sloppy right now. (Nothing new in my case 😇) Despite the fact that I apply CA in tiny drops with the tip of a pointed toothpick, some parts of the fittings are so small that even that drop simply sinks and drowns them. This thin devil which hold yard has only 4mm dia, and small drop of CA on top of toothpick just can not be smaller than 1mm. so, that is how it is. But ... Before painting, there will be a fine cleaning and finishing. In doing so, as before, I will use acrylic paint in several thin layers, each of which will be sanded with the finest sandpaper with a grain size of 360-400. I know from previous experience that this way the effect of chiseling is achieved, all little bumps will be aligned, so that everything will look completely different when it is finished. Of course I'm also counting on the effect of visual masking with bunch od ropes sails that will wrap around these little beasts. And another thing to mention: With modern phone cameras (Honor X8a 100MP) it is easy to take a detailed macro shot of your work. Too detailed sometimes, I think, if part is too small. See photos included. Keyboard and a detail ... which also exposes dust between keys ... ugly, isn`t it ... you know what i mean?
- 4,145 replies
-
- cutty sark
- tehnodidakta
-
(and 1 more)
Tagged with:
-
All three nests - metal works done. Holder for yard on fore lower mast done. This was tricky. Made from Cu foil 0.3mm which is harden wirh thin layer of soldering on surface.
- 4,145 replies
-
- cutty sark
- tehnodidakta
-
(and 1 more)
Tagged with:
-
Old saying: "when the hill won't come to man, then man will come to the hill" So, if soldering do not work , super-glue will work
- 4,145 replies
-
- cutty sark
- tehnodidakta
-
(and 1 more)
Tagged with:
-
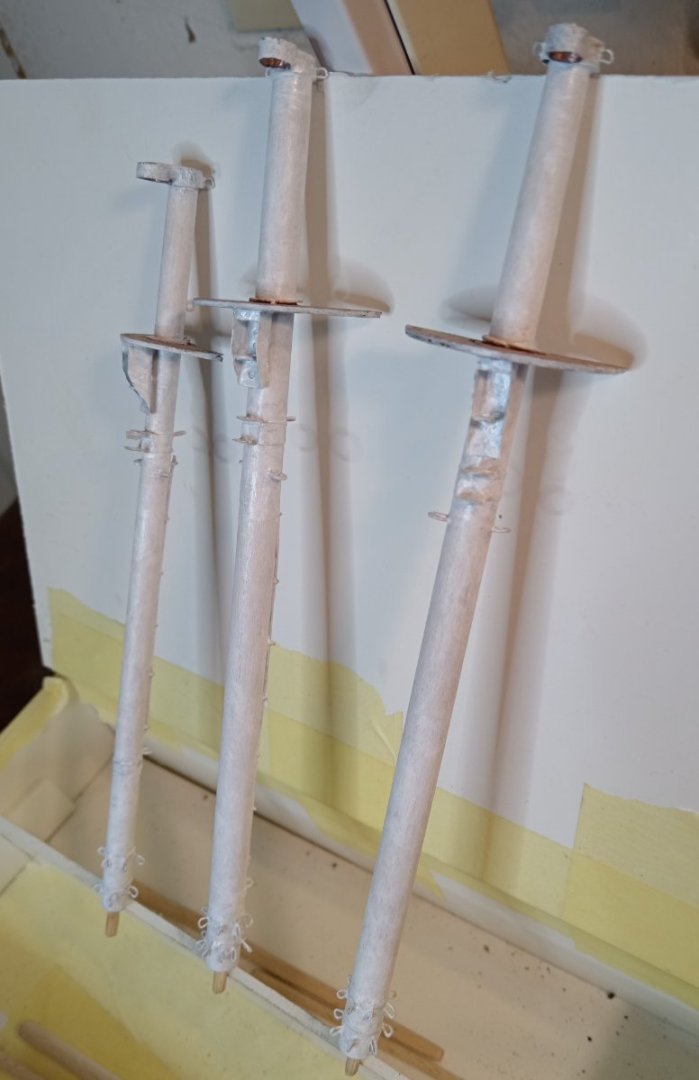
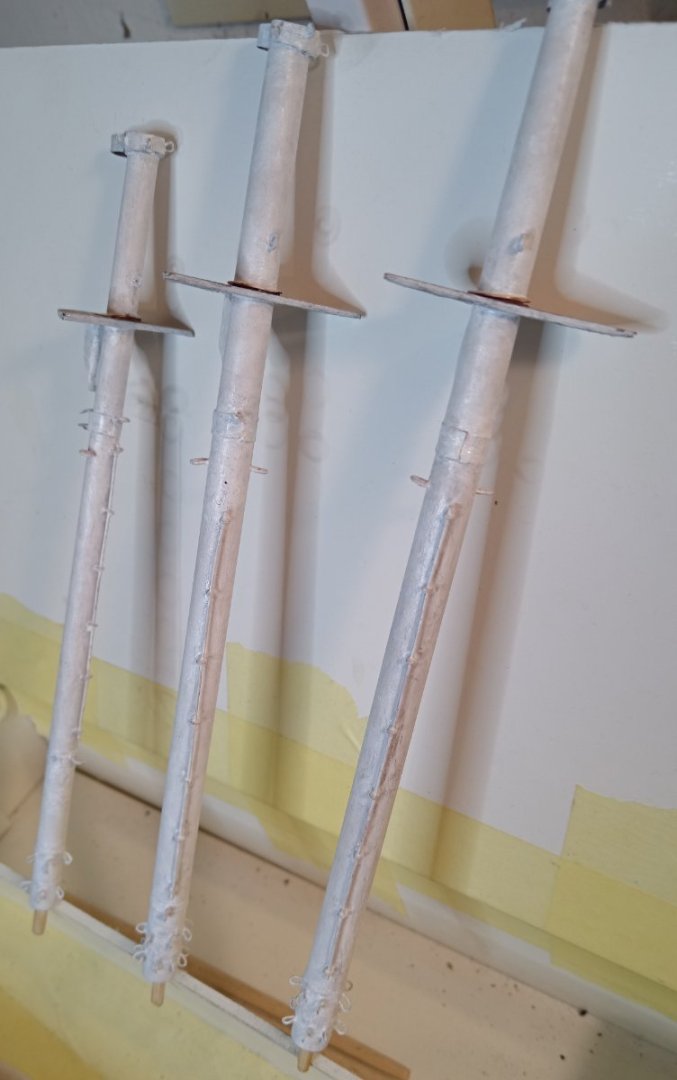
I take a short look at back ... 11 years ... Many things changed since begining. Now, I mainly know exactly what I am doing, where are my limits, where simplifications are necessary, right sequence of moves. Ok, I stray here and there, made my mistakes and remakes, little parts still disappeared from desk, just to be fun For complex structures, as deck are, or as masts and yards are, lesson is learned: first make all parts, and then mount them as Lego blocks. And - dont rush anywhere (which is easy to say, and not that easy to do ... my temperament) So, idea is to make all 9 mast parts, to make all yards, trying them temporary are they fit in place as them have to be, and then, after all is finished to start with standing rigging. (Rigging will be hard to me, considering my eyes have same years as me (65) and magnifying glass over fragile structure can damage it if I should not be careful and patient enough.) Some add thoughts ... before masting and rigging, I have to make Her final stand and glass cage, to save Her from dust during that works. So, go on, slowly but persistently, among my other hobbies
- 4,145 replies
-
- cutty sark
- tehnodidakta
-
(and 1 more)
Tagged with:
About us
Modelshipworld - Advancing Ship Modeling through Research
SSL Secured
Your security is important for us so this Website is SSL-Secured
NRG Mailing Address
Nautical Research Guild
237 South Lincoln Street
Westmont IL, 60559-1917
Model Ship World ® and the MSW logo are Registered Trademarks, and belong to the Nautical Research Guild (United States Patent and Trademark Office: No. 6,929,264 & No. 6,929,274, registered Dec. 20, 2022)
Helpful Links
About the NRG
If you enjoy building ship models that are historically accurate as well as beautiful, then The Nautical Research Guild (NRG) is just right for you.
The Guild is a non-profit educational organization whose mission is to “Advance Ship Modeling Through Research”. We provide support to our members in their efforts to raise the quality of their model ships.
The Nautical Research Guild has published our world-renowned quarterly magazine, The Nautical Research Journal, since 1955. The pages of the Journal are full of articles by accomplished ship modelers who show you how they create those exquisite details on their models, and by maritime historians who show you the correct details to build. The Journal is available in both print and digital editions. Go to the NRG web site (www.thenrg.org) to download a complimentary digital copy of the Journal. The NRG also publishes plan sets, books and compilations of back issues of the Journal and the former Ships in Scale and Model Ship Builder magazines.


