Search the Community
Showing results for tags 'ballahoo'.
Found 13 results
-
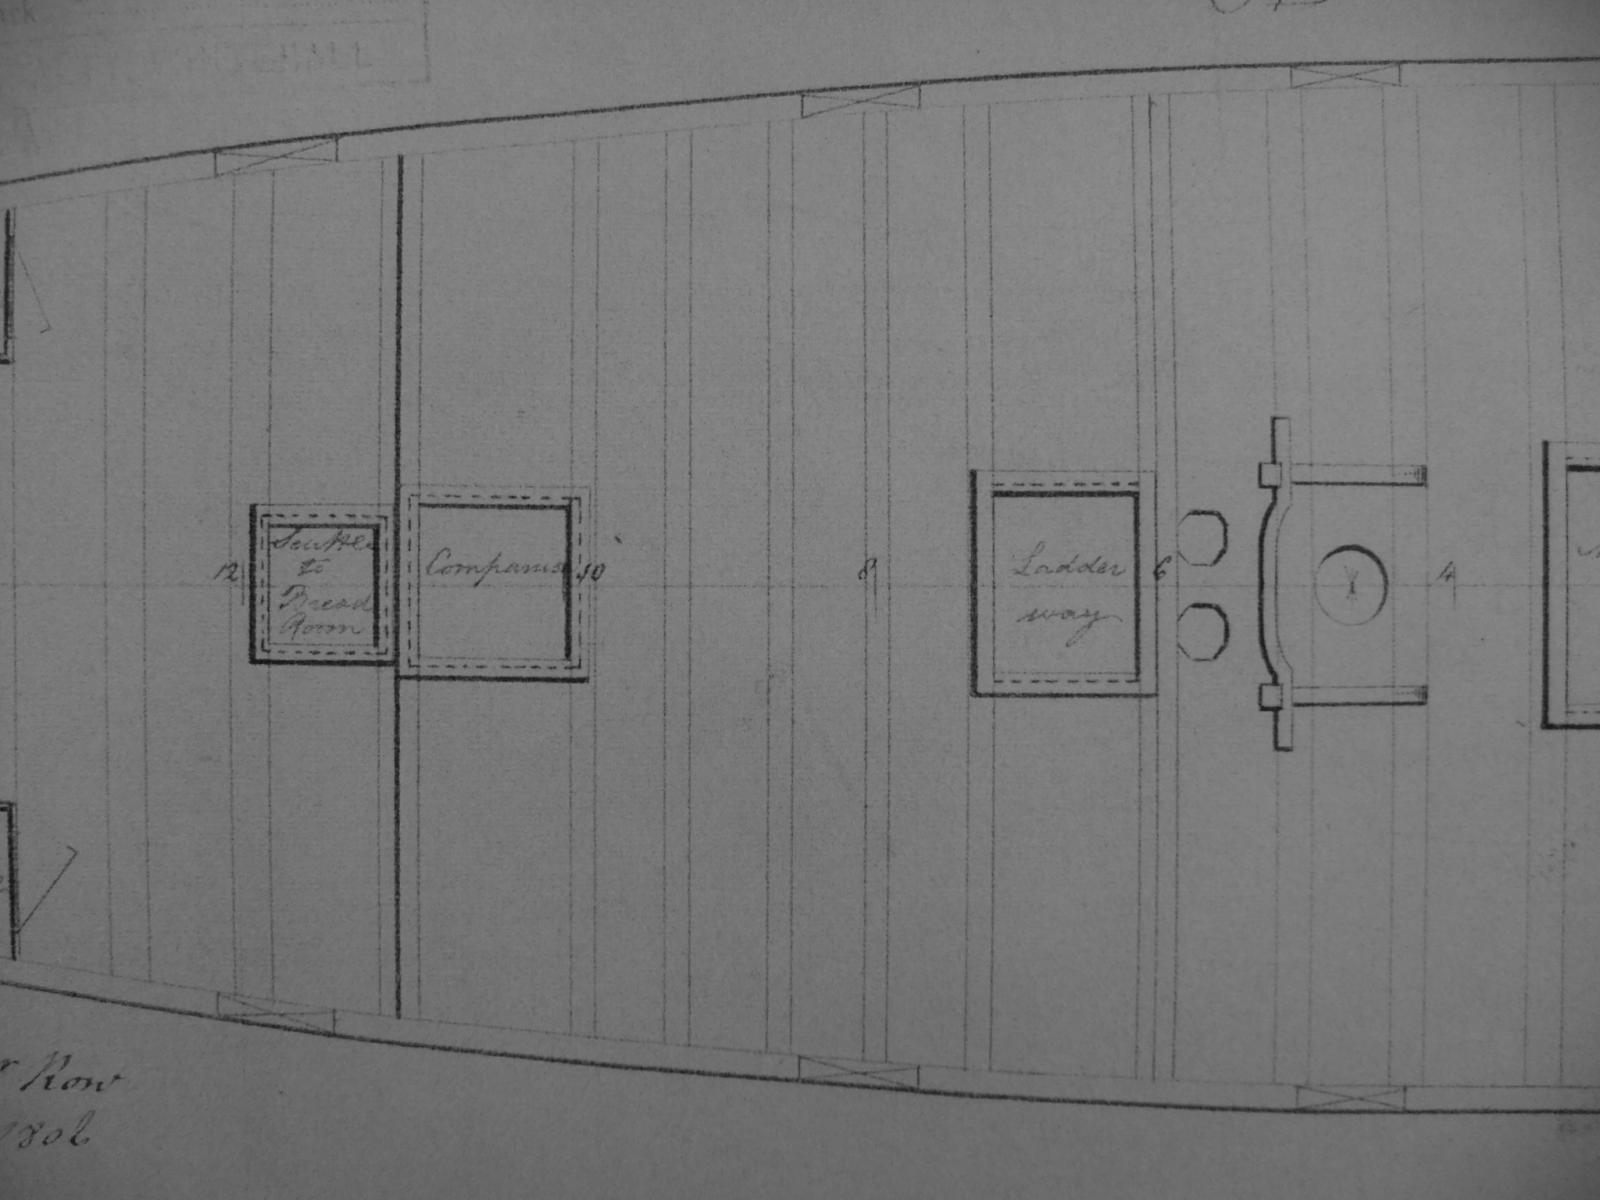
 I will be using the Caldercraft/Jotika kit of the Ballahoo schooner (Fish class) to build a model of her sister schooner Whiting. Why Whiting? Because she has an interesting history that I have researched in depth and I continue to study log books and other records. We are blessed with several drawings of the Fish class and their fore-runners at the National Maritime Museum and the drawings of Haddock in particular are excellent (ZAZ6116 and ZAZ6117 are the best two). I am now trying to interpret some features on the drawings and already have several questions about aspects that confuse me. I hope that some of the experienced shipwrights here can help. Height of the deck This is a big issue where the Caldercraft kit seems to make a major simplification. The kit has a level deck from stem to stern, but the drawings show that the deck is higher over the commander's cabin and the 'entrance lobby'. The side profile is a bit fuzzy but the deck planking and the sections through the deck beams show where the deck is higher. The plan view shows where there are pairs of deck beams at the steps, one at the low level and one at the high level. Is this something that Caldercraft and other builders have missed, or am I misinterpreting the drawings? (There are a couple of photos below that show extracts from the drawings.) Windlass and catheads The drawings do not show a windlass which is plausible for the size of anchor that this vessel would have carried. I have read that a couple of blocks would be set up in place of a windlass to raise the anchor, and then more blocks for the final lift because there are no catheads either. It all seems reasonable, if hard work for the crew, but an alternative explanation is that the drawing does not show the windlass or catheads but they would be fitted anyway. The builders might be expected to know to add these items, in the same way that they know about masts and yards even though the drawings do not show them. (There is an old saying that 'absence of evidence is not evidence of absence.) Any thoughts? Holes in the deck for anchor cables There are various names for these holes (Navel pipes?) which were used to route the cables from above deck down to the cable tier. The Haddock drawings do not show any and I guess that this is correct, the alternative being to cut away the fore corners on the grating over the main hatch. I suspect that the holes in the deck are later practice but have no real evidence to support this assertion. Does anyone have information from contemporary models or paintings? More to come later... George Bandurek (Previous model is Sherbourne, completed 5 years ago)
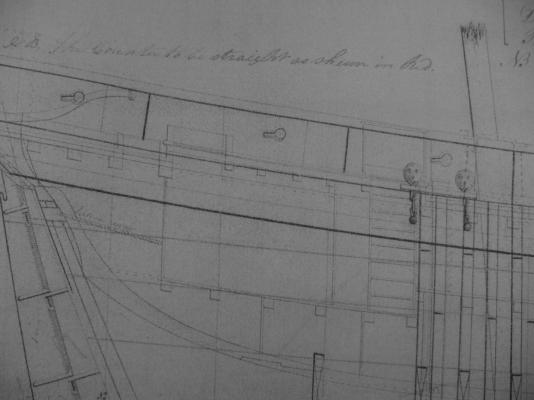

-
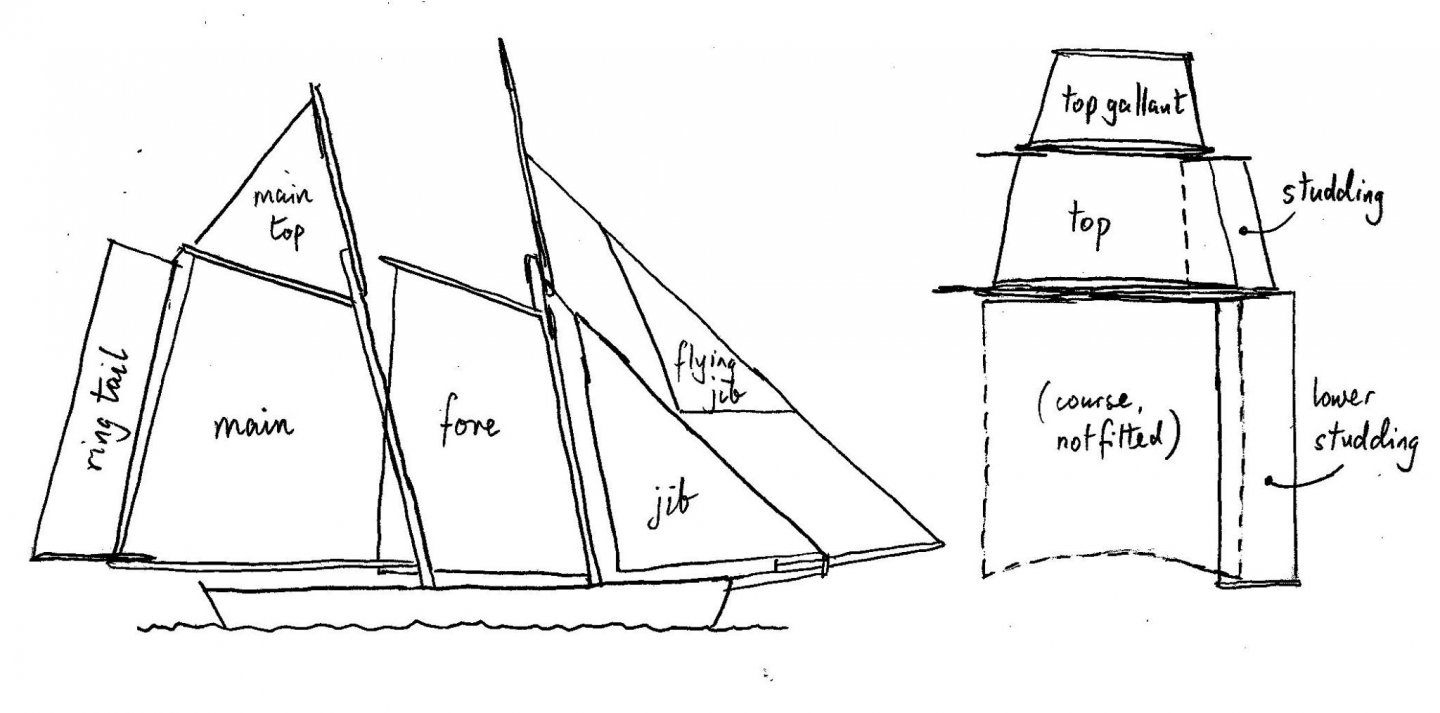
Sail plans for schooners are poorly documented with little information about the varied combinations of sails that they carried. I am building HMS Whiting (Ballahoo or Fish class) and in the absence of any useful drawings have taken to reading log books. There is one by sub-Lieutenant John Roach that I photographed at The National Archives in Kew, London and have now partly transcribed. (Wikipedia calls him George Roach and gets it wrong. They refer to Rif Winfield and I think the original mistake is from the Naval Chronicle in 1806 which erroneously put George on Whiting. The log book clearly states John Roach.) There are lots of mentions of sails and sailing in Roach's log and I have noted which ones are present or missing. He also mentions some of the spars such as the jib boom which answer other questions. The sketch below is a summary of what I found. The drawing itself is based on one by Phil (Dr PR) and the proportions are not quite right for Whiting. https://modelshipworld.com/topic/25679-topsail-schooner-sail-plans-and-rigging/ Fore and aft sails, starting from the bow Flying jib. Several mentions. Jib. Comments such as 'took in the jib boom set the reefed jib' show that there was at least one row of reef points. There is no mention of a fore stay sail. There is one mention of a bonnet on the jib, Fore sail. This was used a lot and could be double reefed. Main sail. Like the fore sail this could also be close reefed. It was replaced by a try sail in bad weather. Main top sail. Several mentions. Ring tail sail. Several mentions. Square sails, starting from the deck There is no mention of a course or lower square sail in all the time from April to October. However, there is a curious reference to a 'lower' studding sail which might be alongside the (missing) course. Fore top sail. This was reefed and the mention of a 'first reef' suggests that there were probably two rows of reef points. Lots of mentions of studding sails (starboard and lee are two variations) which I presume are next to the top sail. Fore top gallant. This went up and down several times so was probably set flying. The log book does not give the mast arrangements. The main mast would have had a lower and a top section and I am fairly confident about that. The fore mast could be made from two or three sticks and Roach does not solve that problem for me. The top mast and top gallant mast could be one long pole, or they could be in two separate sections. At present I tend towards a combined top and top gallant mast, largely because the top gallant sail was (probably) set flying and would be relatively small. Later and larger schooners as shown in Peterssen had separate sticks. I might have to visit Kew again and photograph some more log books to get more snippets of information. I will include detailed interpretations in my build log for Whiting, but welcome comments on this post too. George
- 22 replies
-
- 4
-

-
- caldercraft
- jotika
- (and 4 more)
-
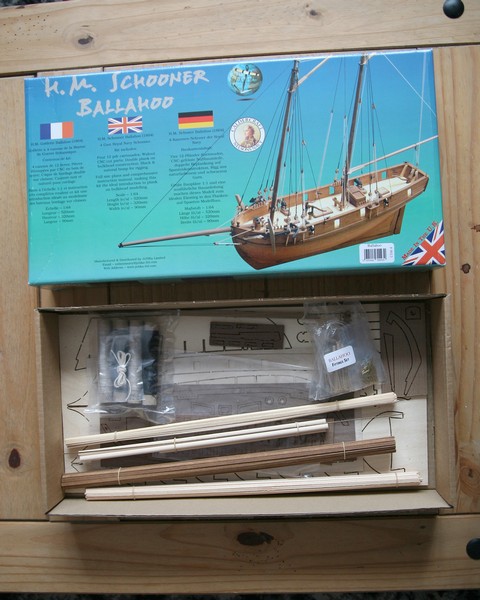
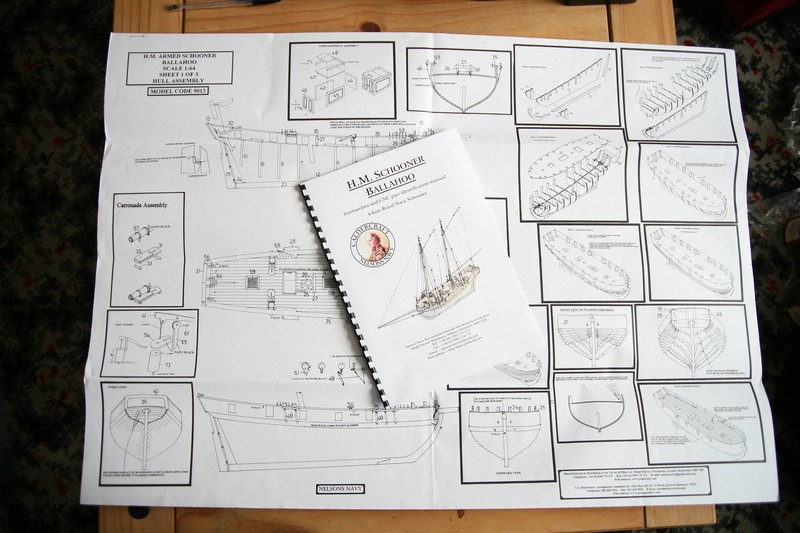
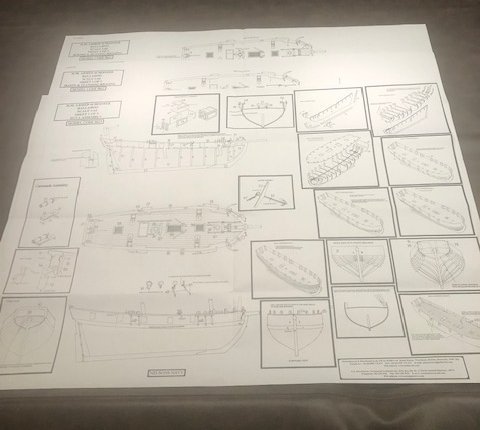
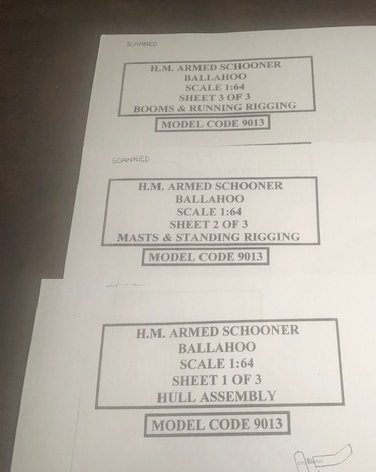
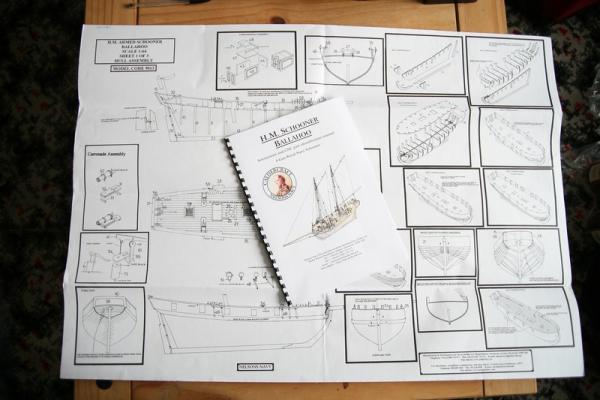
 Still trying to finish my Muscongus Bay Lobster Smack, but waiting on some more rigging line in order to finish rigging the sails, blocks, etc. So... while I am waiting on USPS to deliver that line, I thought I would begin my next project waiting in the shipyard. Decided to work on the Ballahoo. This one is going to be very much different than my first two builds... the Norwegian Sailing Pran or the Lobster Smack... in that the instructions are definitely not as detailed as those first two, which were specifically designed for the "novice" first-time shipbuilders. The Ballahoo comes with a 10-page instruction and part ID manual, as well as three (3) large 33" x 24" plan sheets. This Ballahoo ship has been sitting in the "shipyard waiting room" since last March when I purchased it, and I hadn't opened it until now. But, with an inventory check, it appears everything is in order. I've already reviewed a couple previous build logs for this Ballahoo, and will be referring back to them often as I progress through my own build. I welcome other comments, suggestions and advice, as well! Have started removing the bulkheads and keel from the sheet and sanding all the edges smooth. I'll update more as I move forward on this, with a brief pause to finish the Lobster Smack once I get that new rigging line. Thanks! Gregg
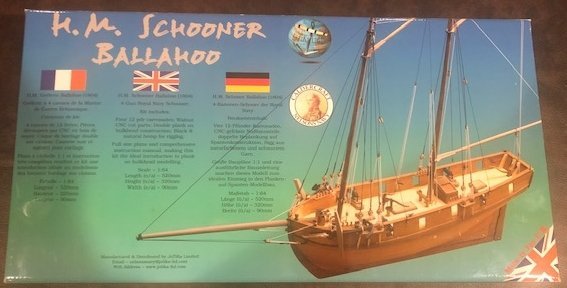
- 65 replies
-
- 4
-
-
- Ballahoo
- Caldercraft
- (and 1 more)
-
 Hi All, This is my first proper wooden boat build, I say proper because some time ago I began building the Bounty from those magazines that came every week (you may be familiar with them) and though she turned out reasonable enough (I'm about 80% complete, just the Rigging to finish) the instructions (there was no 'plan', just text with photos) left a lot to be desired and makes even the simplest task awkward. Last Summer I came across MSW and having read and followed many build logs I decided to buy a proper kit, in fact I bought 3 over the past few months! Sherbourne, Convulsion & Ballahoo all at 1:64 and all Smallish Vessels (This is just a personal preference) Anyhoo, I have decided to do Ballahoo first, and possibly stagger the others over the coming months. (The first time I opened the box and was hit by that pleasant wood smell, reminded me of those old wooden pencil cases from school Oh! and it was great to unfold 'actual' plans too!) Right lets begin.. Whilst the Keel and Bulkheads were still in their 'Matrix' (or whatever the wooden surround is called) I oriented the Matrix to the appropriate instruction sheet (in the Booklet) and numbered each piece, as some of those bulkheads may end up in the wrong slots on the Plywood Keel (am sure it would be easy to spot, but why take the chance) I then removed the Ply Keel and all the Bulkheads using a Jewellers Saw (tried using a craft knife but ended up having to apply pressure, which didn't sound like a great idea) All items once freed got a light sanding and were then 'Dry' Fitted (see Photos) So Far So Good.. I shall cut a Rabbet and Bearding Line etc (as per Jim Smits and his Ballahoo) though the Plans/Instructions do not call for them, it seems logical when you take the Ply Keel dimensions and 2 layers of Planks into consideration. Should anyone wish to offer advice, please feel free to do so.. it all helps and I would be very grateful. Take Care Eamonn

- 1,039 replies
-
- 14
-
-
- ballahoo
- caldercraft
- (and 2 more)
-
 As a new member and model ship building neophyte, I posted a couple of months ago, with the ambitious goal of having my first build be the Le Cerf. At the urging of others on this site, I took on a little less challenging project for my first build. So, I ordered HM Ballahoo, and after waiting a few weeks for it to arrive. I began the build and I am close to completing the first planking of my first planking. Will submit pictures in the next couple of days. Be gentle, LOL. Constructive criticism welcome.
- 27 replies
-
- 2
-
-
- Ballahoo
- Caldercraft
- (and 1 more)
-
 Hi all, I recieved my first wooden ship today, dispatched by Cornwall model boats. I have had a quick look and all looks fine. I chose this particular model as it has been billed as a great starter model and there are many fine examples on this site for me to draw inspiration from. I also ordered the glue required and the paint set, but resisted the temptation to add the other "recommended" purchases like the planking and rigging sets. I am certainly looking forward to starting it. Best wishes as always, The Lazy Saint.

- 65 replies
-
- 4
-
-
- ballahoo
- caldercraft
- (and 2 more)
-
 Hello, and welcome to my second model ship build. As I wait on the arrival of some additional parts to finish my Jolly Boat, I though I would get a head start on my next project. As normal, There will be a bit of a preamble before the actual build log, so feel free to skip ahead to the next post. I thought long and hard about my next boat build and decided on HM Schooner for a number of reasons. Some of which are: a) It seemed like a good next build as it isn’t too complicated. b) Double plank on bulkhead construction (Jolly Boat is single PoB) c) As a smaller kit I should be able to finish it in a reasonable time frame (kit instructions say 1 month of evening work) d) Has a deck to plank and deck features to build including Cannonades e) Has slightly more complicated rigging but not too much of a step up f) Some other good build logs for inspiration g) Cheap (came in the same as my Jolly Boat) h) I like Caldercraft kits and have two more to build after this Having other quality build logs to follow really helped a lot with my first build. There are several for the Ballahoo that I have been looking at. I will using these as a reference and source of inspiration. I also learnt a valuable lesson building my Jolly Boat. I like smaller boats. I like the quicker build times and I like having room for them. I can built them in my office inside. Bigger boats may mean a move to one of our garages (which is another story...) I also like the look of a bit of paint. Paint hid a lot of my mistakes in my first build! Don’t get me wrong, I still hope to build Caldercraft’s Diana kit some day and maybe even the victory. But I am fully aware that my skills are a long way away from those dreams. Or the 8000 hours it can take to build one!!! So, here we are. Build number two...
 -
 Hi, ------------------ NOTE: I actually started this years ago on the old forum, but had a long hiatus (3 or 4 years) from the hobby for various reasons, and it coincided with the great forum implosion. Luckily I still had some of the photos, so I'll simply re-submit those photos again in the opening posts. ------------------ To sum up, I chose the Ballahoo since I just wanted a relatively gentle introduction to plank on bulkhead wooden ship building. I didn't know at the time whether it was something I would take to or not. In fact, I'm still not 100% sure if I'm really a mad ship-builder yet, but that's something which will show itself by the end of this build. I feel I made the right decision in choosing this model first, instead of something like HMS Pegasus by Victory Models (which I'm very drawn towards). The hiatus itself shows it was a wise move not to throw too much money at a ship for a first attempt. But something drew me back, and here I am continuing my first planking!
- 28 replies
-
- 2
-
-
- ballahoo
- caldercraft
- (and 1 more)
-
 Greetings all, For my first wooden ship build I chose Caldercraft’s 1:64 Ballahoo due to the good reviews of the company and guidance on MSW to choose something not to complex as a first foray into the hobby. Although I am no beginner when it comes to plastic models (usually 1:72 and 1:48 aircraft), as I explained here in my introductory post, I would like to learn these skills so i can one day help my Dad finish his HMS Diana which has been languishing for some 4 decades or more. Secondly and more recently, my wife asked for something nice to put in the windowsill aside from the usual Spitfires! Since its my first model I’ve tried to manage my own expectations in order not to fall in the trap of letting the perfect be the enemy of the good and becoming disillusioned too early on. If I can get a result which looks halfway decent to the untrained eye then I’ll be happy! I plan to double plank the hull and then paint her later, probably with a Nelsonian checkerboard but we will see. I received the kit from my brother as a Christmas gift in December 2017. Tools I also acquired included a razor saw; 2 x forceps; square and measuring gauge. other tools were from my plastic modelling workshop. --- Although there is a set of instructions and parts list the planking instructions are not really suitable for a beginner (being just a couple of paragraphs). in any respect, as one of the objectives was to learn about planking from the ground up, I researched as much as I could on this here and via other sources such as Mastini and other books. --- Optimistically, I saw that there were fewer instruction steps than in an Eduard 1:72 scale plastic Spitfire… --- On a more philosophical note, this was indicative of interesting initial observation between the two hobbies. Constructing plastic scale models is more of an engineering type of activity, with art thrown in (usually at the beginning, painting the cockpit interior and at the end, painting the exterior). there is less ‘craft’ in the actual construction phase apart from cleaning up the parts and sanding to fit. With making model wooden ships, on the other hand implies less instructions but more application of craft during the construction. or something...perhaps I’m just babbling. In addition to browsing the forum I have got much inspiration from reading the Ballahoo build logs of @ekgb and @jim_smits of this kit. Over the last twelve months I’ve made rather fitful progress, as illustrated by my post here with questions on the bearding line etc from Feb 2017. After cutting out the main pieces (false keel, rudder post; stem keelson) i discovered very little distortion in the ply & mahogany pieces. I tried to test the symmetry of each bulkhead using paper cut outs (after Mastini’s advice) but in the end it seemed that the differences were largely v marginal (less than 1mm) so decided that rather than get into a situation of losing what the reference should be by filing one side, I left them as they were. I also imagined this would be sorted sooner or later during the hull fairing. ---- The bulkheads were quite easy to fit and seemed to square up without too much trouble. --- I constructed a quick baseboard off a disused bookcase and used metal right angle shelf brackets clamped to the false keel and b/h to ensure they were at right angles, checking with a square. --- Bulkhead 11 (below) caused me some trouble to get flat and square since the slot is a bit loose. here you can see the top is faired to lie flat with the false deck. ---- As I reported here in my previous post, I initially was too quick to glue on the keelson, sternpost and stem, so I removed these using IPA, cut the bearding line (thanks Joe) and then re-assembled them. Since the bottom of the false keel, when sanded for the rabbet, was quite thin (1mm wide) I pre-drilled some holes for pins and inserted them in to keep the mahogany parts in place. After I have completed the planking I’ll remove the pins. After installing the B/Hs I then created some bow fillers out of balsa. I used these instead of the supplied ply that the kit asks to be installed between BH1 and BH2. This is because there was a discrepancy between the height of these parts and the plans, in that they were too short and gave rise to confusion as to where I should have cut the bearding line. Making these blocks took me a while and was quite frustrating as it was difficult to get the right shape. After I prepared the bow blocks, these were reinforced with spare bits of ply as they were found to be too narrow in beam when faired (and even now, later on, I think the port side is not quite right). --- I then spent a few happy hours fairing the hull. I think I did an OK job with this, apart from having trouble rounding off the fwd and after edges. At the bow the BH fairing worked out ok but I think I went overboard on the fairing on the last two BHs. We will see how it goes. I then installed the false deck. Next came the gunport patterns made out of 3mm plywood. These were very difficult to fit and get right, despite being soaked and bent around a mug. I split one above one of the gunports and had to reglue & clamp it. In the end, as shown by @ekgb they did not meet all the tops of the bulkhead horns. --- The placement of where they should go at the bow was also a bit ambiguous so I ended up, after pinning them, ensuring that they were level with the top of B/H 11 and the 6mm hole for the bowsprit. --- Upon final inspection i see that they are not quite level. Hopefully it won't be too noticeable and I can adjust with the planking... --- After a hiatus of some months and after reading a lot on MSW and the various books and guides on the online library here (especially useful was the planking primer and the videos and tutorial by David Antscherl) I recovered some momentum, bought a plank crimper and bit the bullet to begin planking. After measuring the parametric length of each BH and using a planking fan to identify the width of each plank, I marked the width of each plank on each BH. Later, after having read some more and pontificated for a few days, I redid this and rubbed out (mostly successfully) each pencil mark and instead established four planking bands using black cotton thread, checked they were fair and then marked each band with a felt-tip pen. I bought several boxes of bulldog clips to cannibalise for planking clamps, after trying drawing pins and various other techniques to hold the planks flat against the BHs. I tried a few methods to measure and install the planks before settling on an approach that works (at least for me, presently). As has been pointed out previously by @ekgb, the bow on Ballahoo requires quite a bit of spiling in addition to tapering. I estimated that at the bow, the curve would need a plank three times as wide as that supplied by the kit to accommodate the correct curve. As I didn’t want to buy a whole new set of wood wide enough to allow me to spile each plank, I resorted to lateral bending. To establish the right curve for the plank to follow the wale, my first approach was using airbrush masking film, taped over the wale (making sure to get it to lay flat) and then, by running the side of a pencil along, marking the run of the bottom edge of the gunport pattern. I found that the curve was generally between the stem and BH 4. As per the planking primer available on the library here, once I had the curve, and the width of each plank at each BH, i was able to create, on the masking film, the outline of the spiled and tapered plank. This could be used as a template to be placed over the kit supplied limewood planks (1mm x 4mm). --- It was of course necessary to figure out a way to bend the plank laterally (i.e. across its width) and for the first three planks I employed a simple jig I built after some inspiration from others who had constructed jigs using MDF and bits of scrap to act as formers for the end of the plank. --- However, I found that this was rather too brutal and I ended up snapping a few planks so in the end I resorted to a quicker and simpler method. Instead of scribing the curve for the lateral bend on a piece of masking film and then cutting the taper out from underneath it (requiring 1 piece of masking film per plank), I found a quicker approach was to use a card template (port and stbd side) and draw the curve on the wood baseboard. The width of each plank at each BH position was calculated by dividing the width of each planking band by the width of each kit plank. I used four small plastic clamps to get the right curve aligned to the template and this was quicker and easier and so far has resulted in less breakages of the planks (or it could be my skill level is improving, who knows?). --- First plank - this was tapered and spiled using the masking film and jig method thus resulting in a bit of a ragged appearance imho (luckily this is only the first layer). However, I was pleased with how it bit into the rabbet and it didnt need too much coaxing to lay flat against the BH and filler blocks. --- First band of planking done on the port side. To get to this required about four or five attempts of planks with the wrong curve (usually not enough), which, because I’d already tapered them, had to be discarded. Lots of spare bits of planks in the model shipyard. Other issues were me cutting through the plank with the crimping tool, or the plank splitting when I tried to hammer a pin in (I resulted in pre-drilling holes). It looks quite rough and ready, I’ll admit that. These were tapered and spiled using the masking film / pencil and jig method, which probably accounts for their rather rough appearance. In the flesh is not so bad and although it seems on the photo to have a discernible clinker effect in reality is that much. There are gaps between some of the planks, especially around BH2 but nothing that filler won’t be able to fix. You can also see the pen marks of the planking bands. --- On the starboard side its much cleaner (so far). This was spiled and tapered using the card template and pencil line bending method. The cotton thread to mark the planking bands is still attached. --- I also tested many different approaches to steaming / heating the planks. After the lightbulb went on that its the heat, not the water that has the effect, I adopted a successful approach of dunking the plank in a just boiled kettle for 30 mins, taking it out, forming it to the pencil line template on the base board and clamping, then heating it with a hairdryer. within an hour or so its cooled and dry and retains the shape. I can do a couple of planks per night this way … accounting for the important use of the kettle to brew tea, of course! I’ve not done anything to the planks to bend and taper them at the stern yet, I think that for the first strake at least 1 stealer will be required. That brings things up to date (Jan 2019). My plan is to do both bands below the wale (not forgetting the stern of course), install the garboard plank (I bought a specially wide piece of stock of 8mm for that) and then do the first band above the garbord.
 -
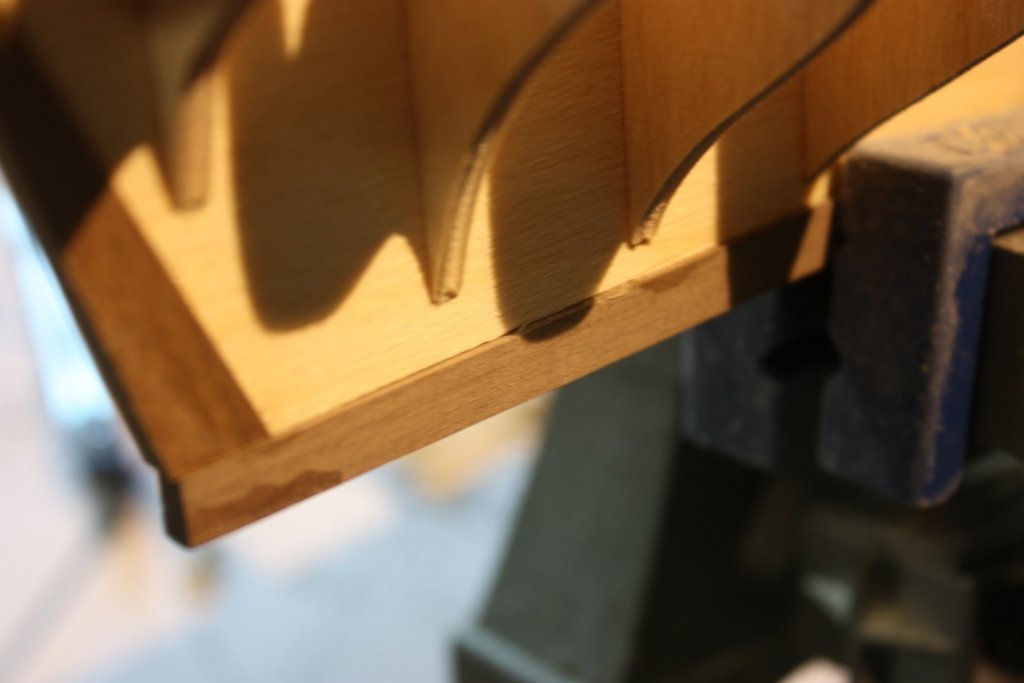
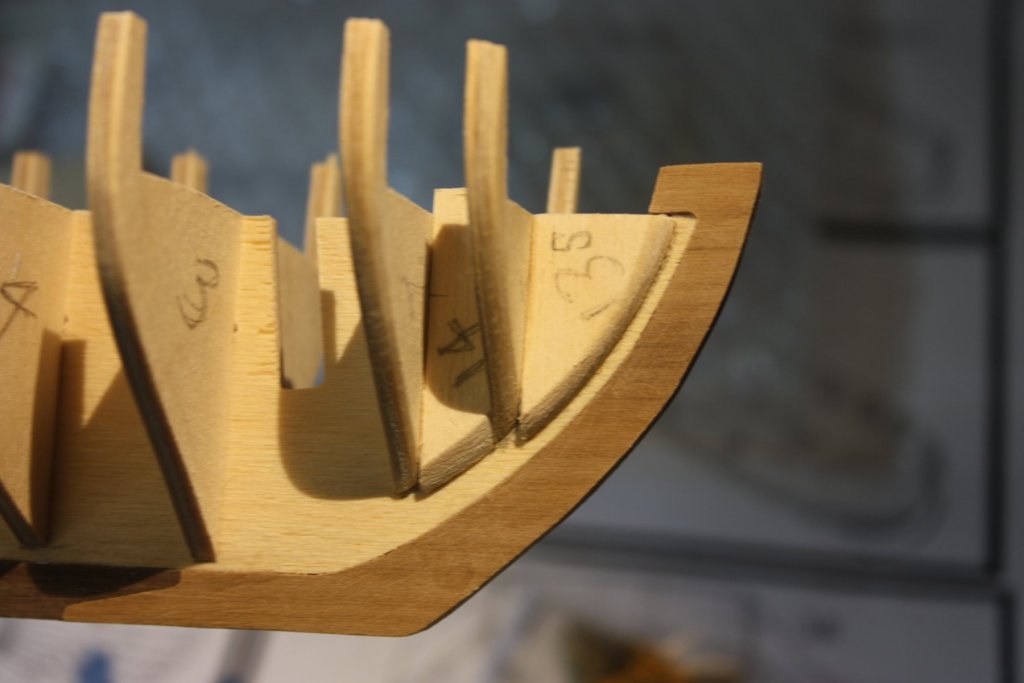
hello everybody, I've just joined this forum and have two newbie questions in regard to building the keel of the Caldercraft 1:64 HM Schooner Ballahoo. I've read one or two build logs on here where people have left these parts off the false keel until after the bearding line and rabbet has been made. Being a beginner, I haven't done this on mine and gamely followed Caldercraft's instructions and glued the 5mm walnut keel, stem, sternpost together then onto the false ply keel (I plan to paint the keel white so avert your eyes from the glue stains) without a bearding line or rabbet. So, what follows is probably fairly naïve / basic question, should I try to: a. establish the bearding line and attempt to carve the rabbet with these pieces in place; b. remove the walnut pieces and start again ( likely difficult as they seem quite solid with the glue and potentially causing other problems); c. carry on regardless (the instructions suggest to plank from the bulwarks down and dont mention the garboard plank) given it will be planked again and have a coat of white paint in the end. Presently the keel is quite straight without any warping so I'm loathe to undo everything (the bulwarks are not glued in yet). Would welcome your thoughts given this is my first wooden kit, it is double planked and I plan to paint it. The picture below shows the slight rabbet caused by the walnut keel being 1mm thicker than the ply keel - If I understand correctly the bearding line will follow the line of the bottom of each bulwark? My second question is in regard to the bow, where the plank templates (part 13 and 14 p and s) are misaligned with no. 1 and 2 b/hs. The photo below illustrates(again the bulkheads are not yet glued in and have been roughly faired). I am guessing the best thing is to glue this aligned along the bulkhead bottom (where the bearding line would be...if I had it...haha...) and sand the top flat with the deck level, but would welcome thoughts from others if I am setting myself up for trouble later on with something. thanks for reading and any tips in advance! neillydone
-
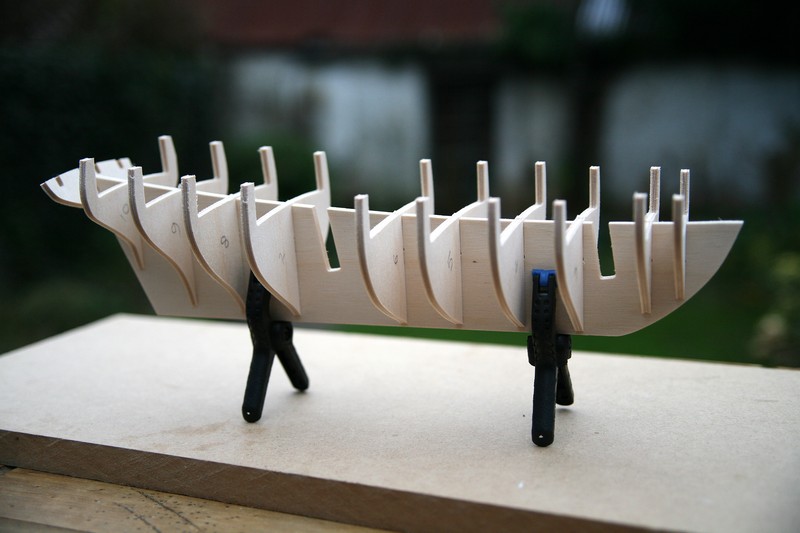
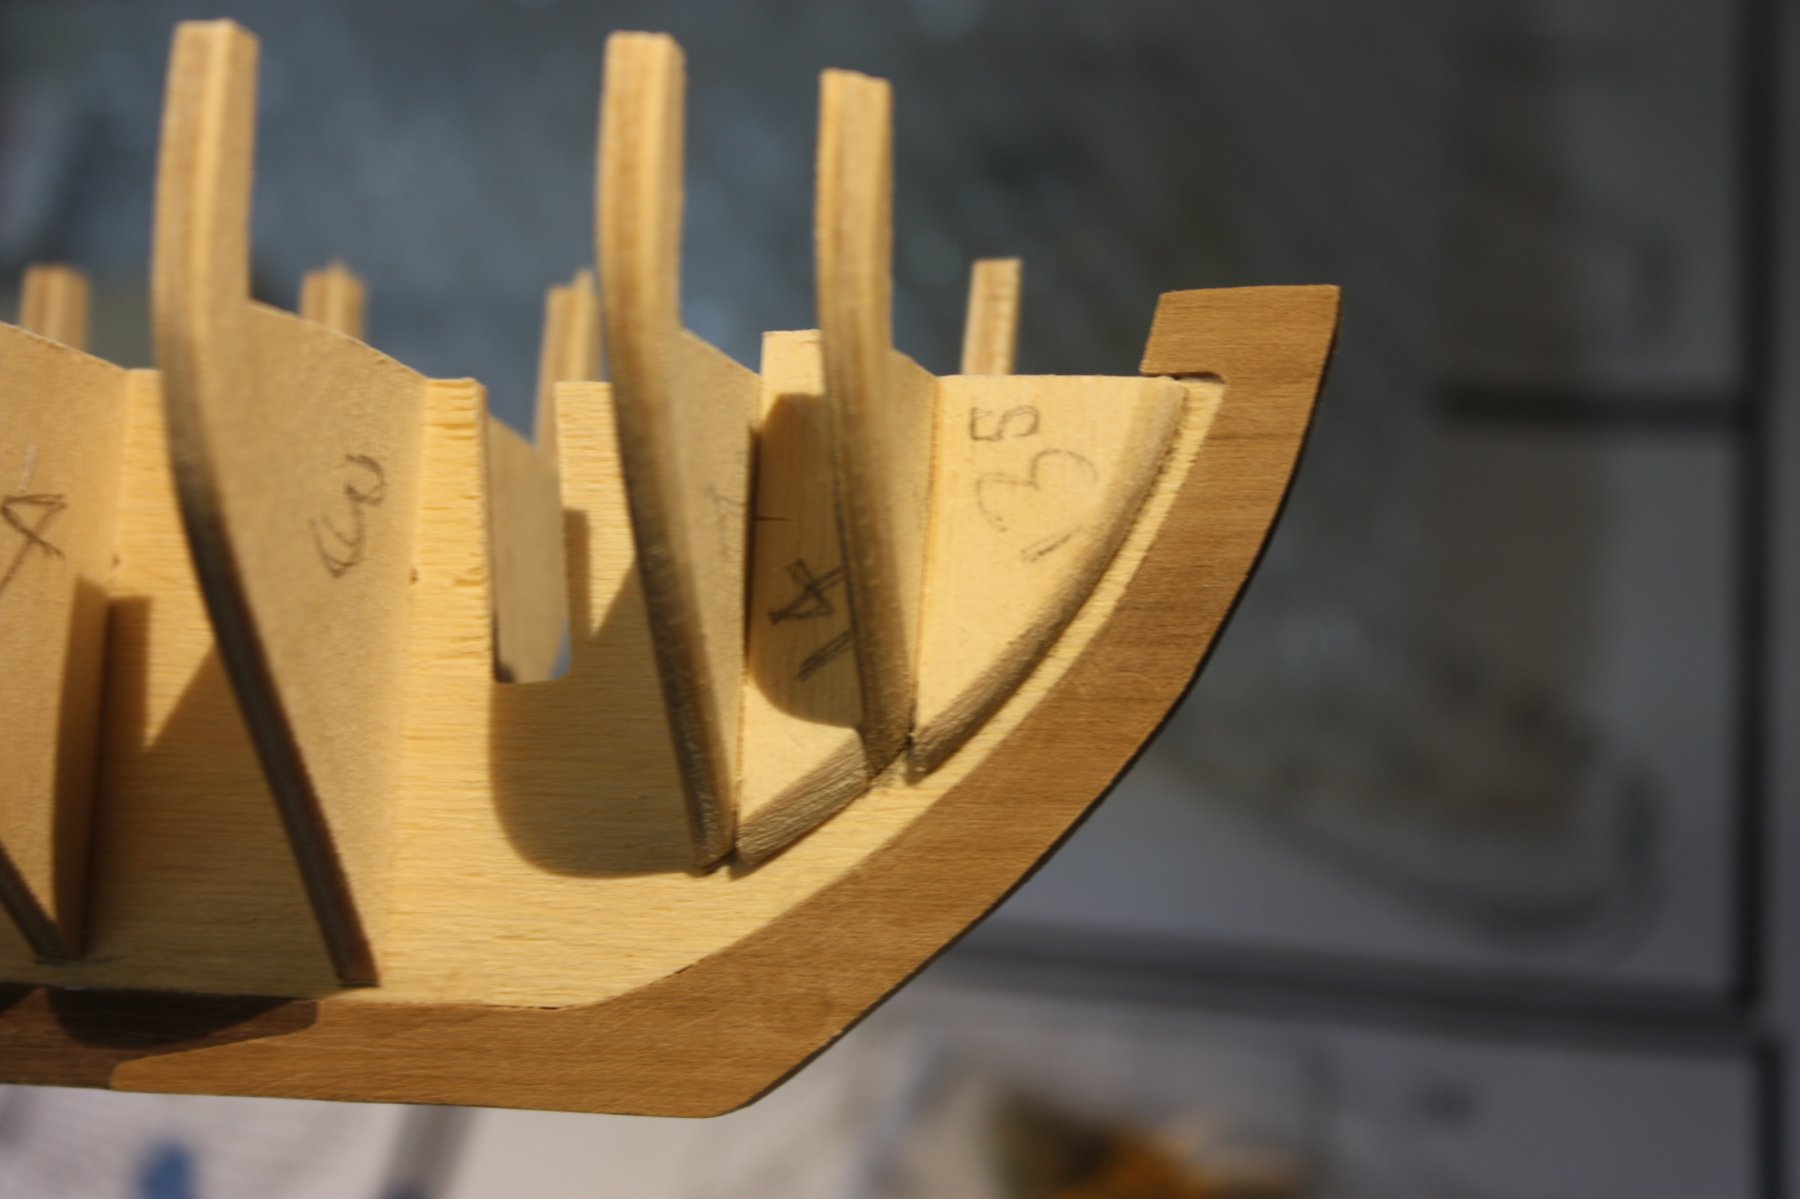
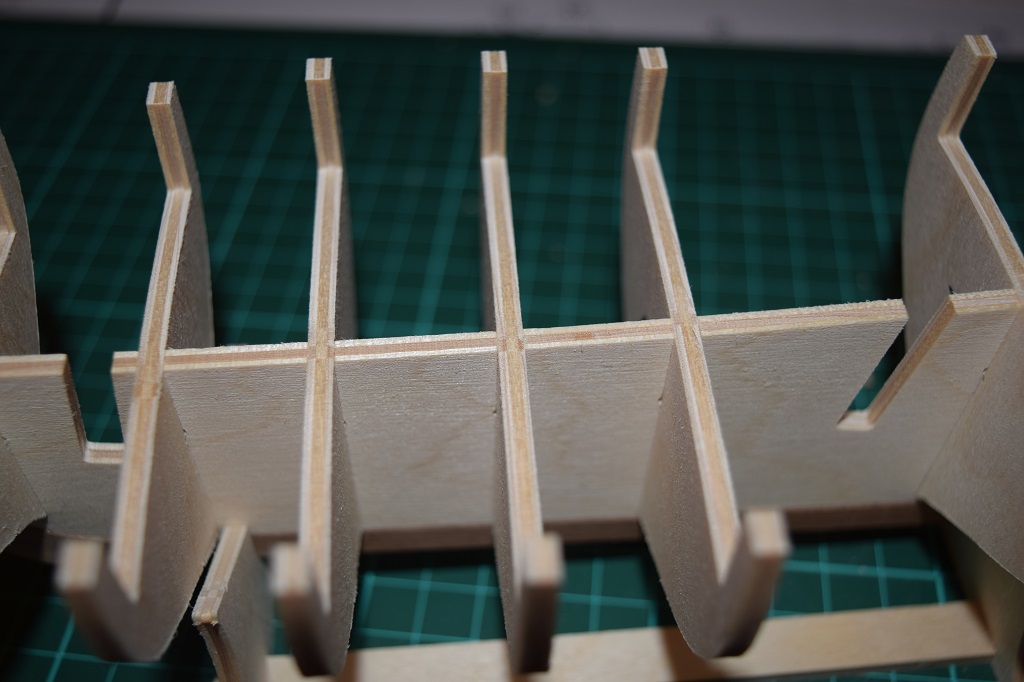
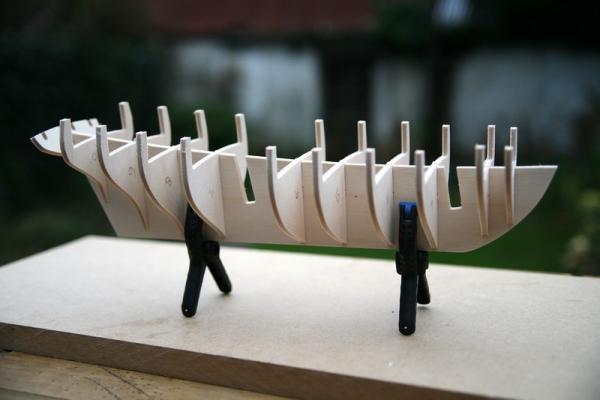
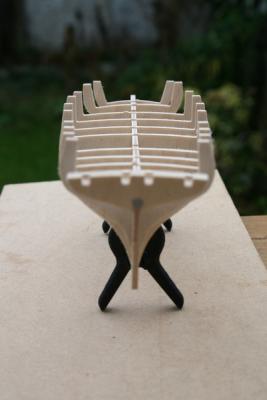
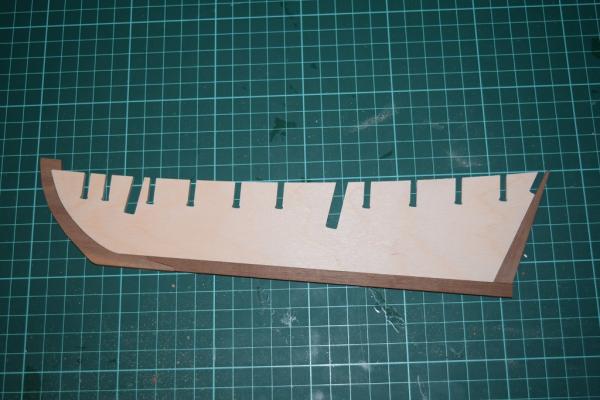
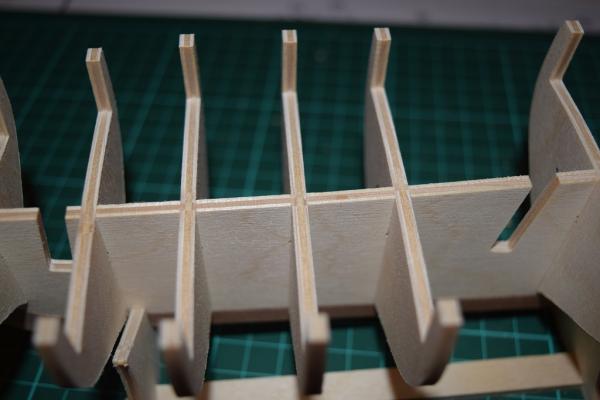
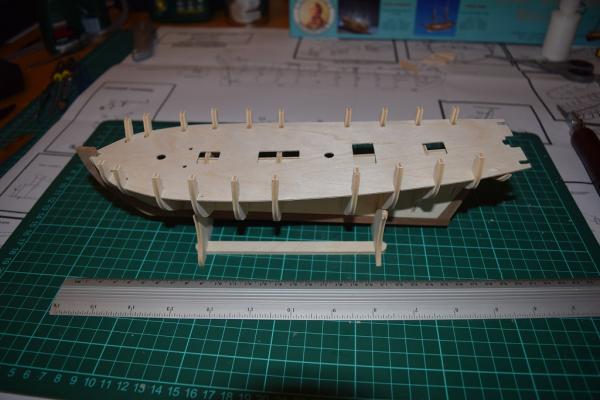
 Ok, not seen many of these on the forums so thought I'd create a build log of mine. This will be my first kit after an attempt a few years ago on the Mantua Victory, so I have vowed to the wife that this one WILL be completed The first thing that struck me when opening the kit was the size of the model (after the Victory it looks tiny), the overall length of the completed model will be around 520mm with the hull being just short of 300mm. On closer inspection of the parts and after a dry test fit of the bulkheads you can see the quality of the kit starts to show. So far I have not had to make a single modification to the parts to make them fit. So far I have Constructed the frame of all 11 bulkheads, keel and bevelled the top edges of the bulkheads to allow the deck sheet to sit flush. The next step will be to glue on the deck, as seen dry fitted to the frame below...
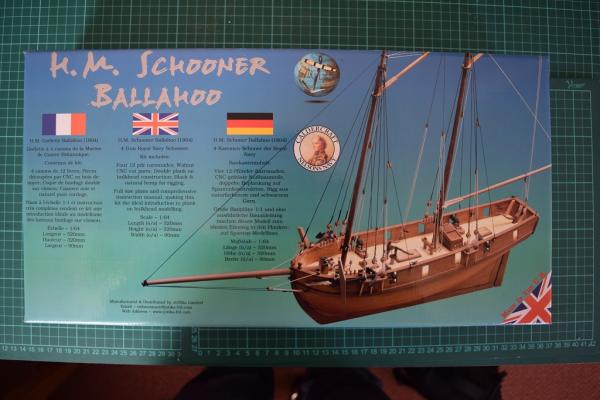
-
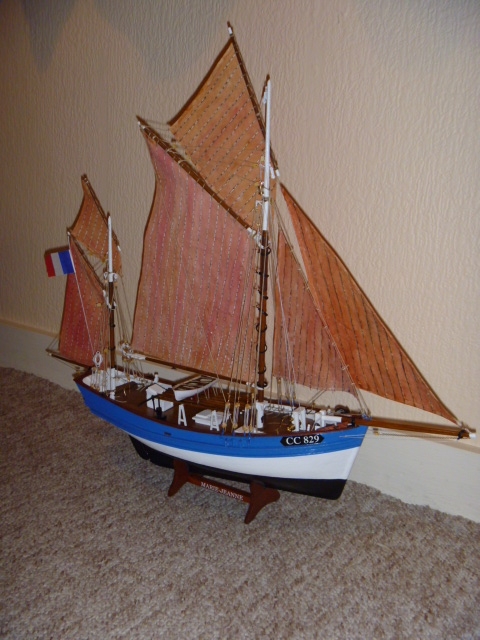
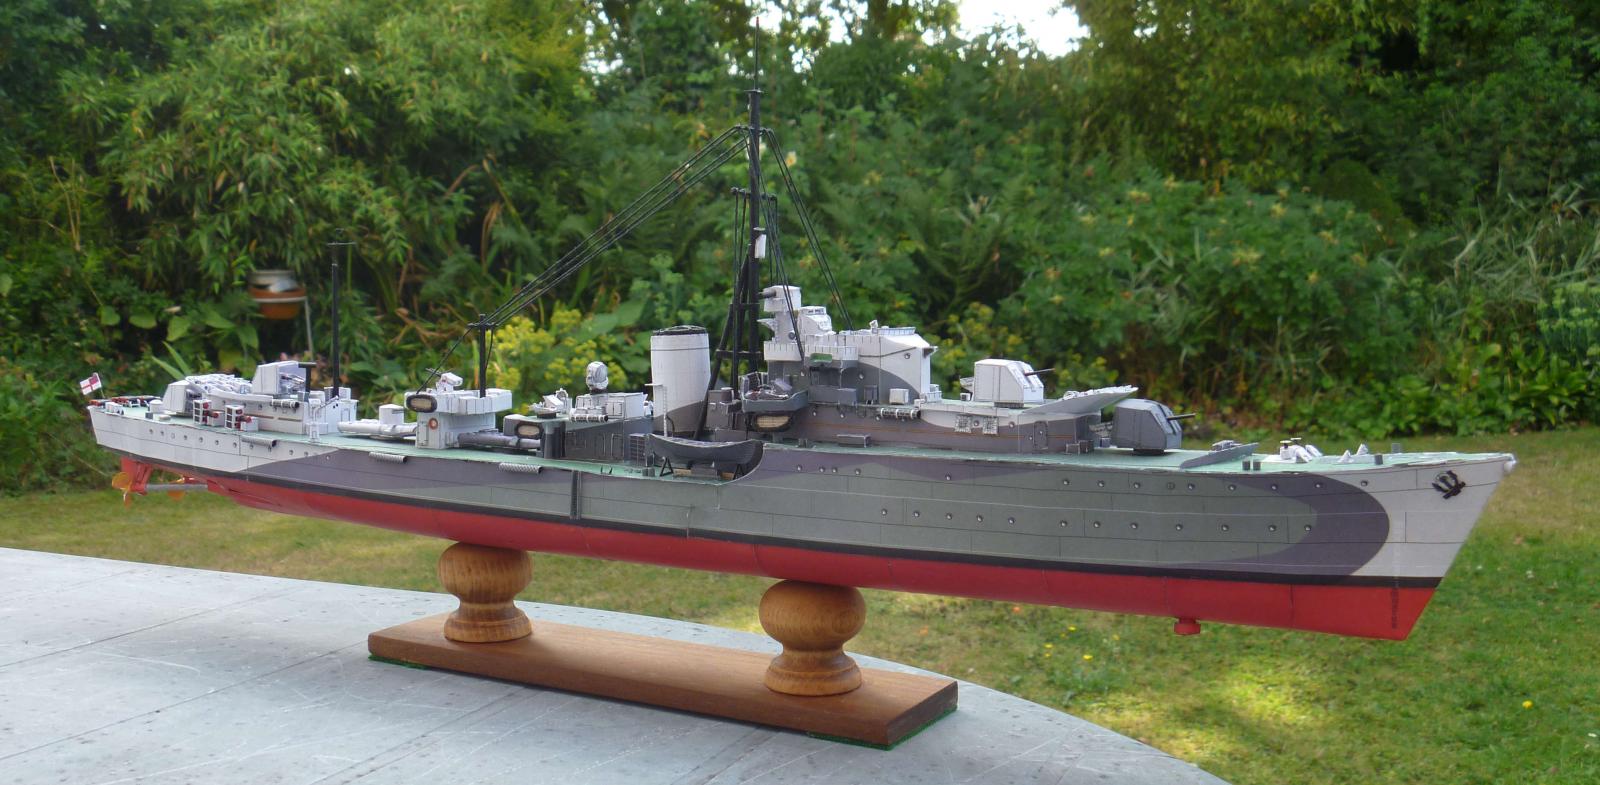
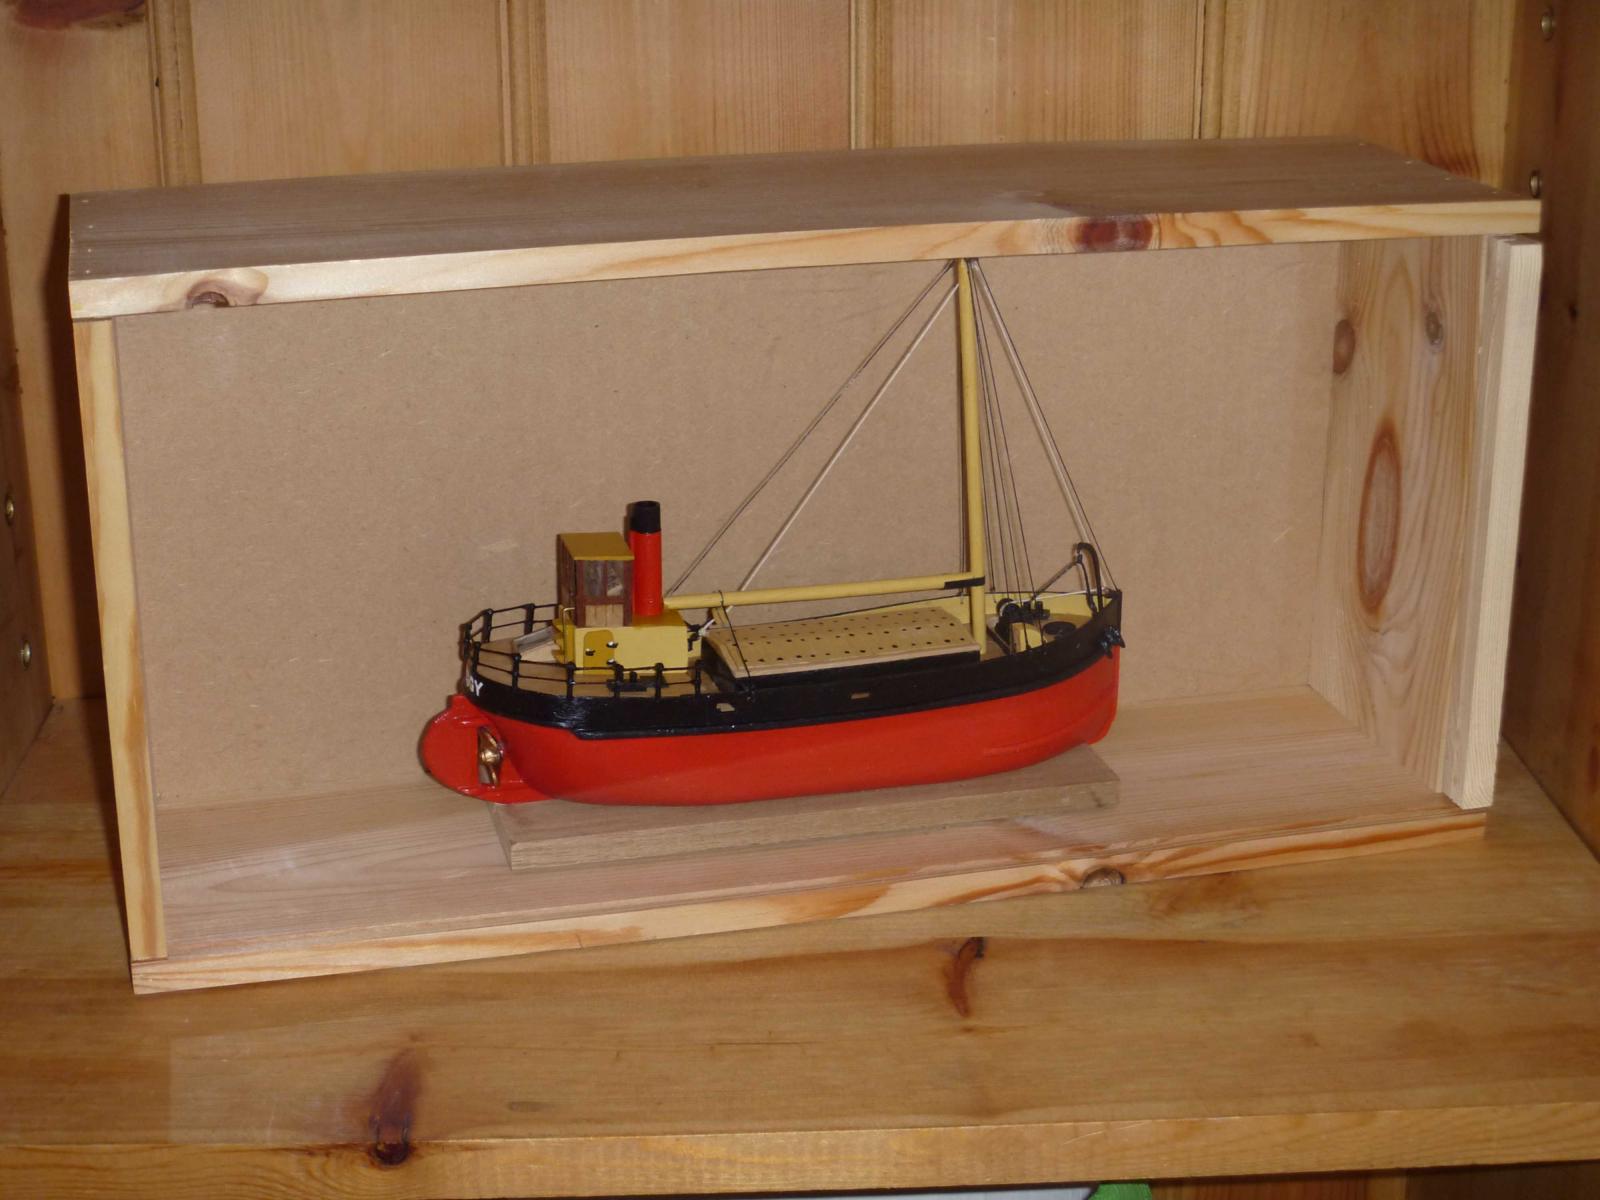
 Hi, and introduction. I was on MSW I until it sank without trace; I had several hundred posts including my build-log for HMS Cruizer. I was busted to OS and no posts when MSW II started up! I had completed Billings' Marie-Jeanne, a scratch-built Clyde puffer, and I posted my build-log for HMS Cruizer (which overrlapped with cancer, two operations and chemotherapy which slowed me down somewhat) and the free card yacht Viacosa. Since MSW I crashed I've done HMS Saumarez and the trawler Consul Pust in card (fun but frustrating, although no posts. I probably won't do a card model again. I've just given up on a card DH Mosquito - the compound curves don't work well with card). The First Lord of my Admiralty is somewhat less than encouraging, as we have a small-ish home. - comments such as "Where do you think THAT'S going to go?" gave me a hint. So the next model is half-width, will be mounted on a plank of some sort and hung on a wall - clever, eh? no space needed on top of bookcaes etc, all I need to do is get rid of that old Picasso hanging in the lounge. I've chosen as base HMS Ballahoo. It looks interesting and importantly it's a true schooner rig with no yards, so it should be safer/easier to build as a half-hull. It's going to be the port side, using the provided keel, and so the new centreline will be about 1.5mm to the starboard of centre (as the keel is 3mm ) - that'll allow me to set masts and booms with perhaps the starboard side of the dowelling sanded down to sit flat on the mounting board. I'm going to bash it a bit - I'm going to build her as a rigged half-hull commercial schooner, so there will be some departures from the base model: 1) no gunports. I'll do a continuous planked bulwark, with an entry-way probably marked out on the planking. 2) a larger, cargo, hatch between the masts. 3) the masts and yards will be full height, and rigged for centreline and port side only. I may have to smooth the masts to 3/4 width? Still to be assessed. 4) It will be finished in bare timber, varnished, possibly with a narrow black strip for the waterline but no other painting, so almost an Admiralty model! Not sure of the colour of the mounting board yet. 5) concerns about the anchor for later - the set provided seems too large, and no capstan or windlass seems unrealistic. More research needed! I've made a start by cutting the bulkheads and false deck 1.5mm to the starboard of centre - that way they'll line up with the 3mm "keel" backbone (which was gently curved to starboard, and has needed some persuasion to become straight). The bulkheads and deck and keel are glued and drying now, and I've made a solid block to mount the build on while I work on it. And of course, being a cheapskate, later I get the chance of a second model (starboard side) for free!!!! I'll try to post pictures: apologies if they don't appear, it's a while since I posted.

- 28 replies
-
- 6
-
-
- ballahoo
- caldercraft
- (and 2 more)
-
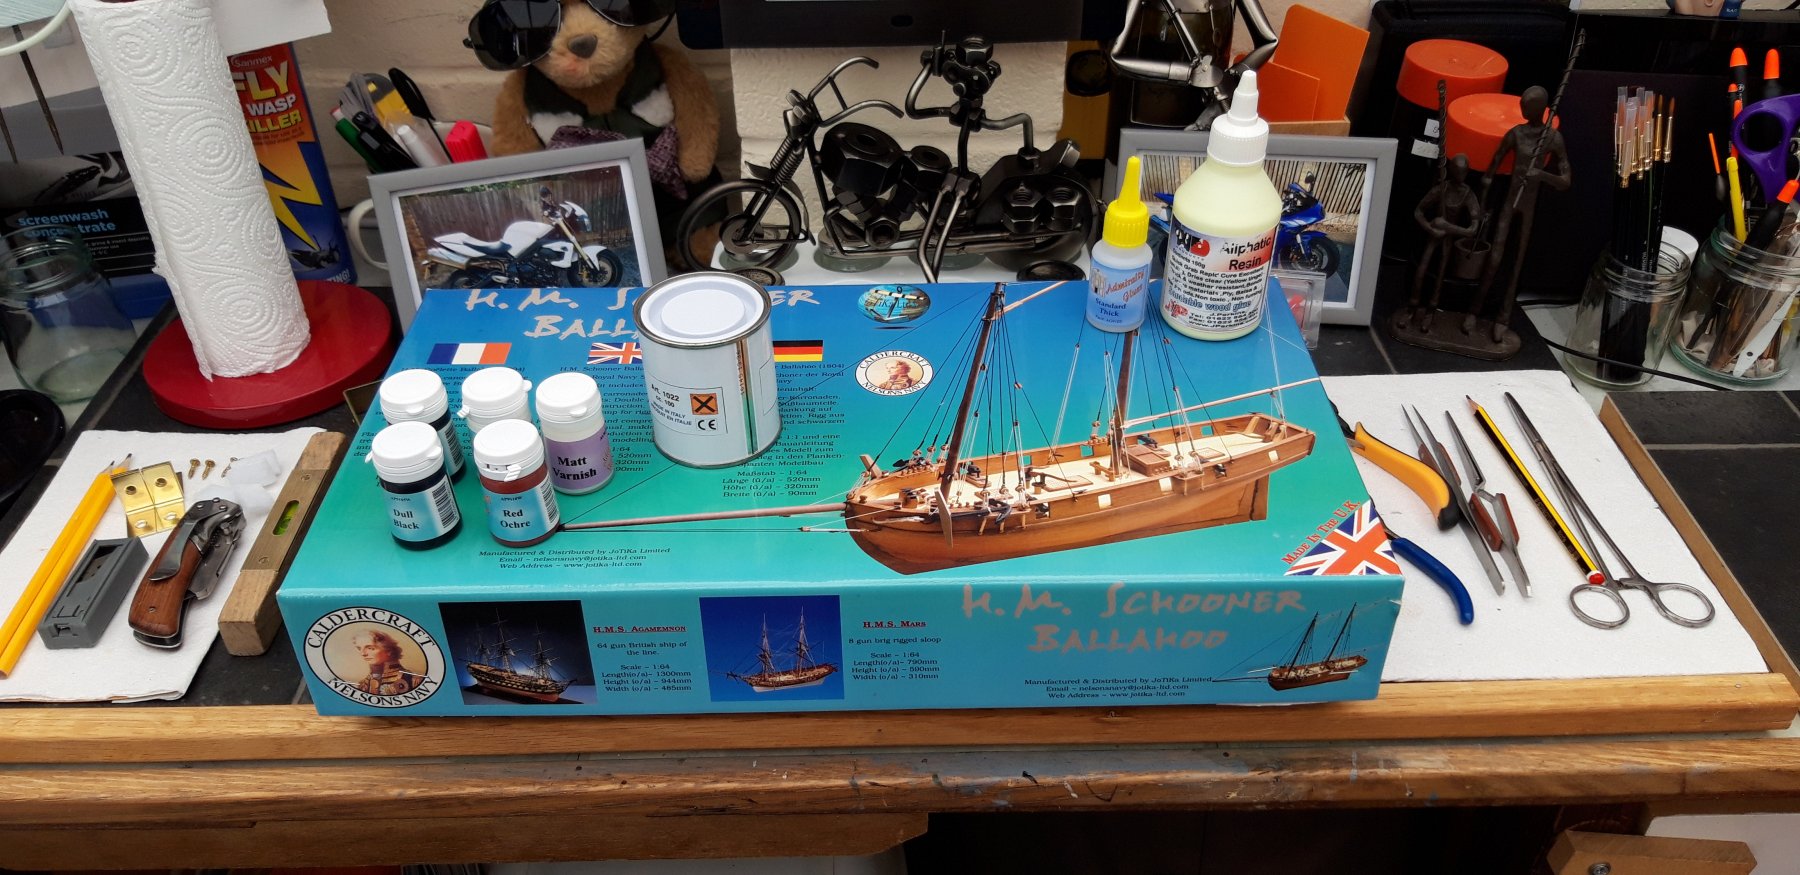
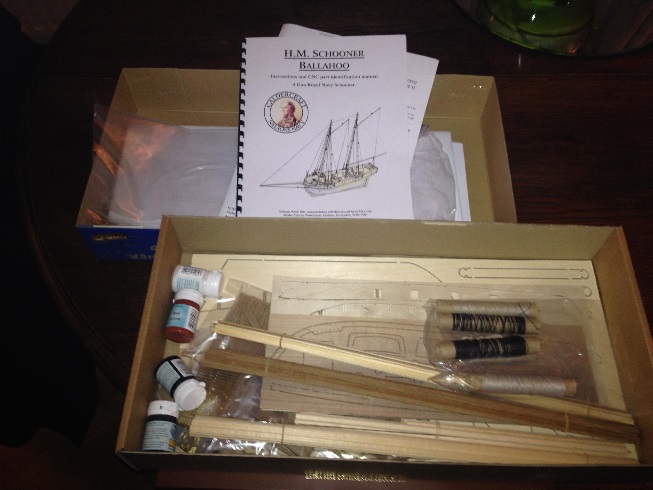
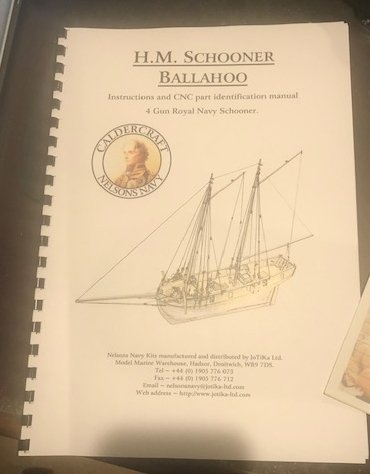
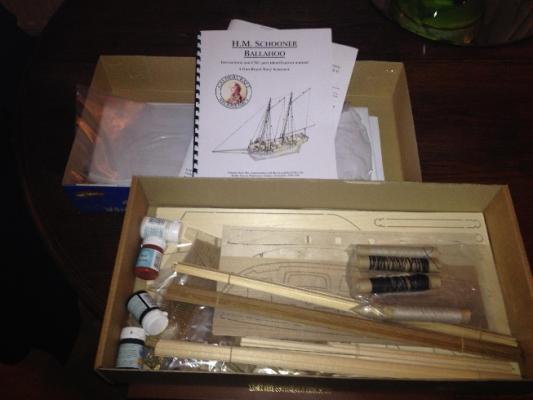
 Hi all, Today received my Christmas gift of the HMS Ballahoo kit by Caldercraft. In the Ballahoo class I have only found National Maritime plans for the HMS Haddock, so I will try to base my build around these plans. Still at my folks so will not start the build until tomorrow. In the meantime I will post the kit pictures.
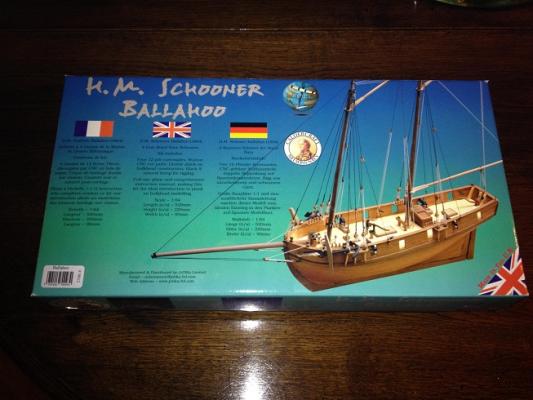
- 226 replies
-
- 3
-
-
- ballahoo
- caldercraft
- (and 1 more)