


Mike Dowling
-
Posts
1,230 -
Joined
-
Last visited
Content Type
Profiles
Forums
Gallery
Events
Posts posted by Mike Dowling
-
-
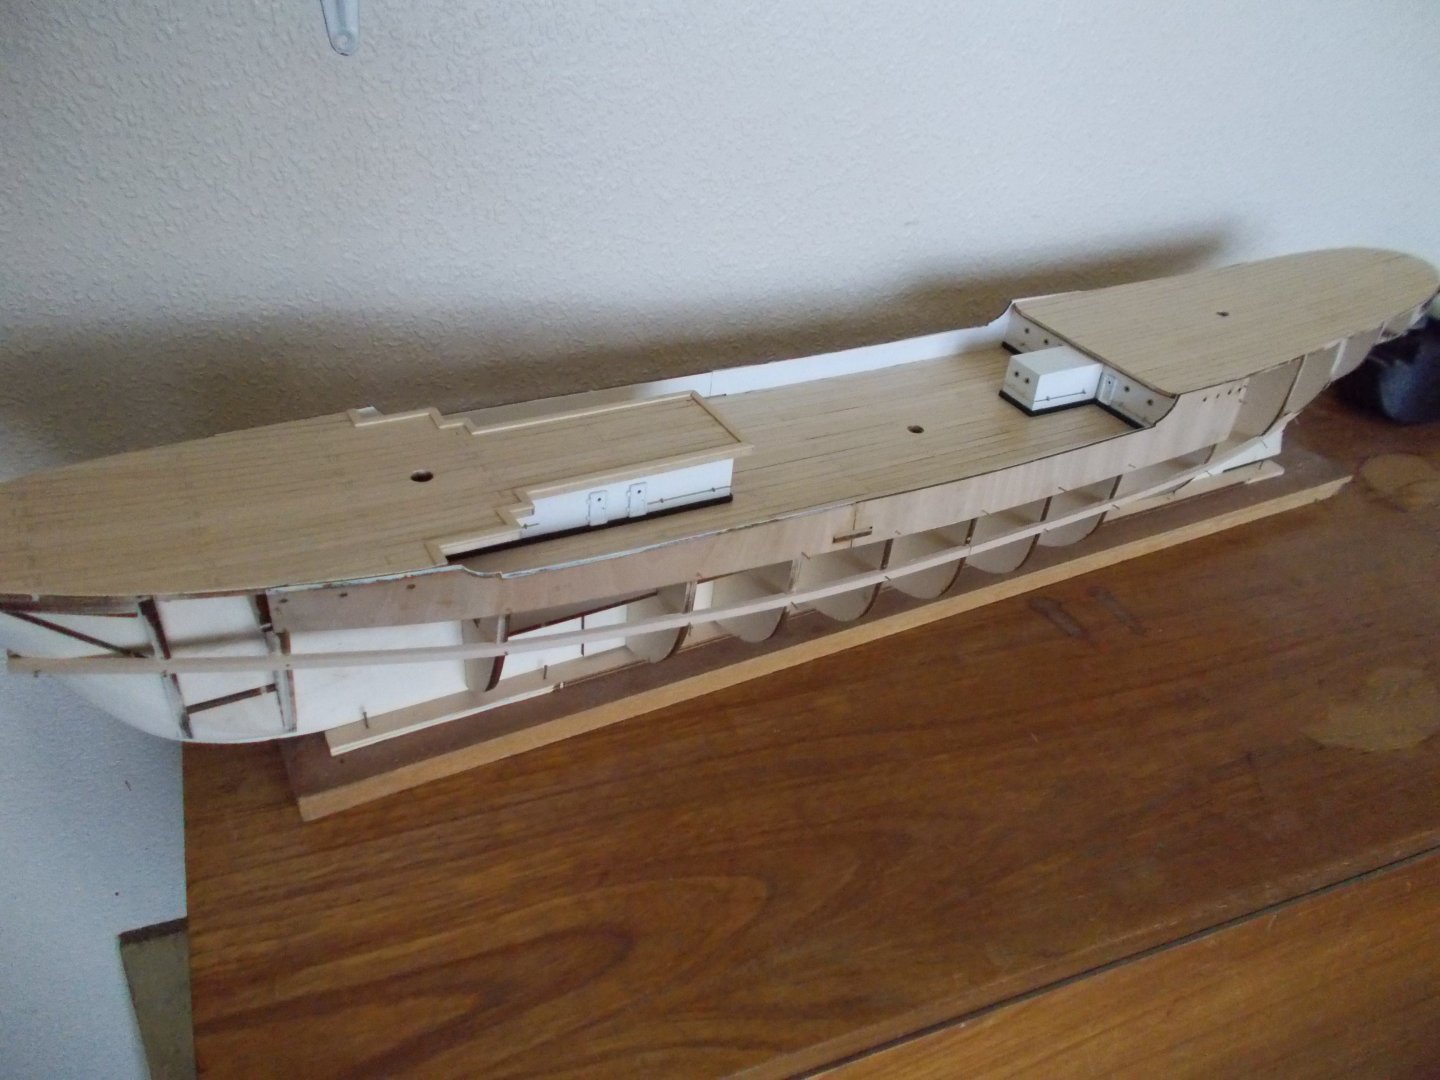
I know this was a beast to fit but I am not quite sure what your problem is. I have just had a look at mine and I don't think there are any frames as such to fix it to at that stage. The whole thing slopes out to the sides and it is only the bottom edge that you need to glue at this stage. As long as you can glue the strip to the hull which it sounds as though you are ok with you should be alright. I will have a look later in case I took any pictures while I was building mine. Don't give up, it makes a nice model when finished.
-
I have to say that this is not an easy piece to fit at all but, when I did mine I didn't plank it inside or out until fitted because as you rightly say it makes the piece even thicker. I think I broke one side trying a dry fit so didn't even try on the other side. I soaked the pieces for as long as I dared so that they didn't de-laminate and bent them bow and stern before gluing and fitting with loads of clamps. It all worked out in the end.
- GrandpaPhil and mikiek
-
 2
2
-
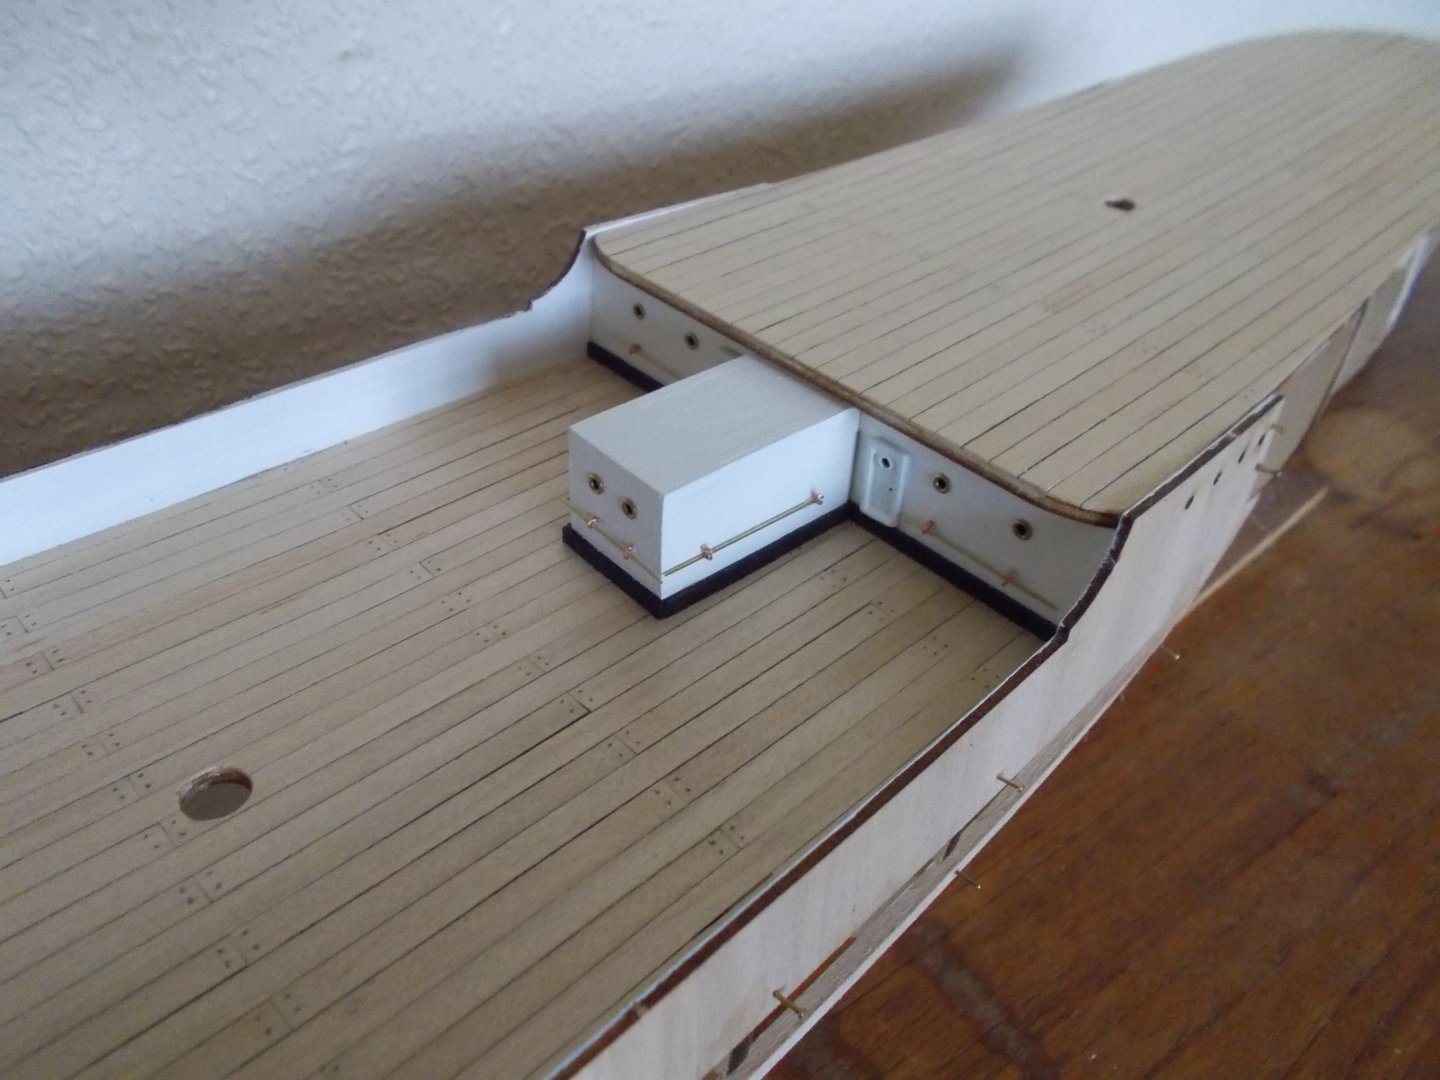
Hi Dominic, long time since I heard much from you. You must have been saving hard for this kit!!! Tell me, why is one compartment copper lined?
-
Did you forget to soak the bulwark before trying to fit it?
-
-
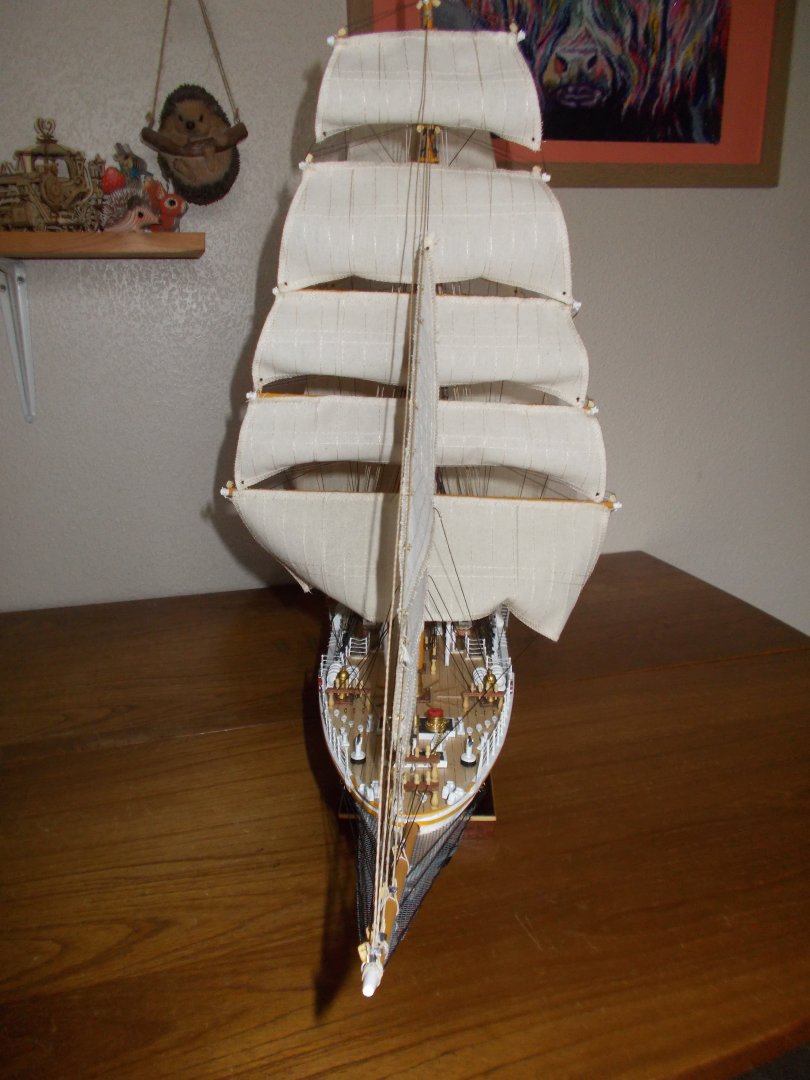
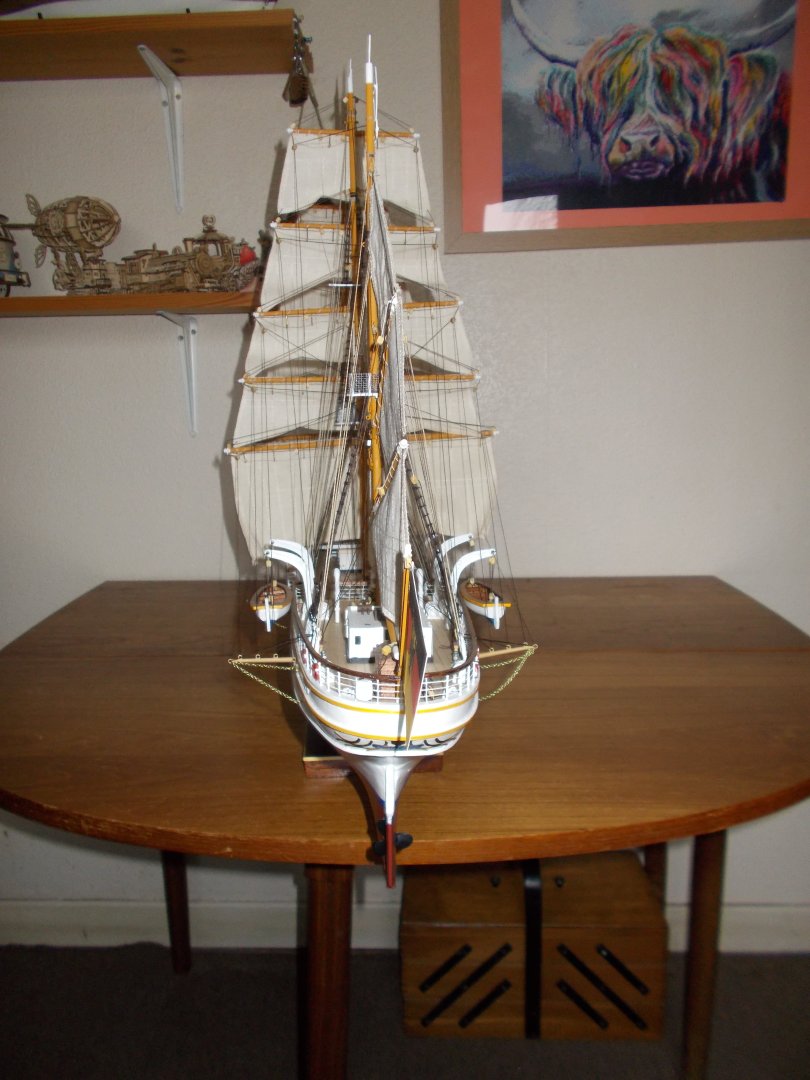
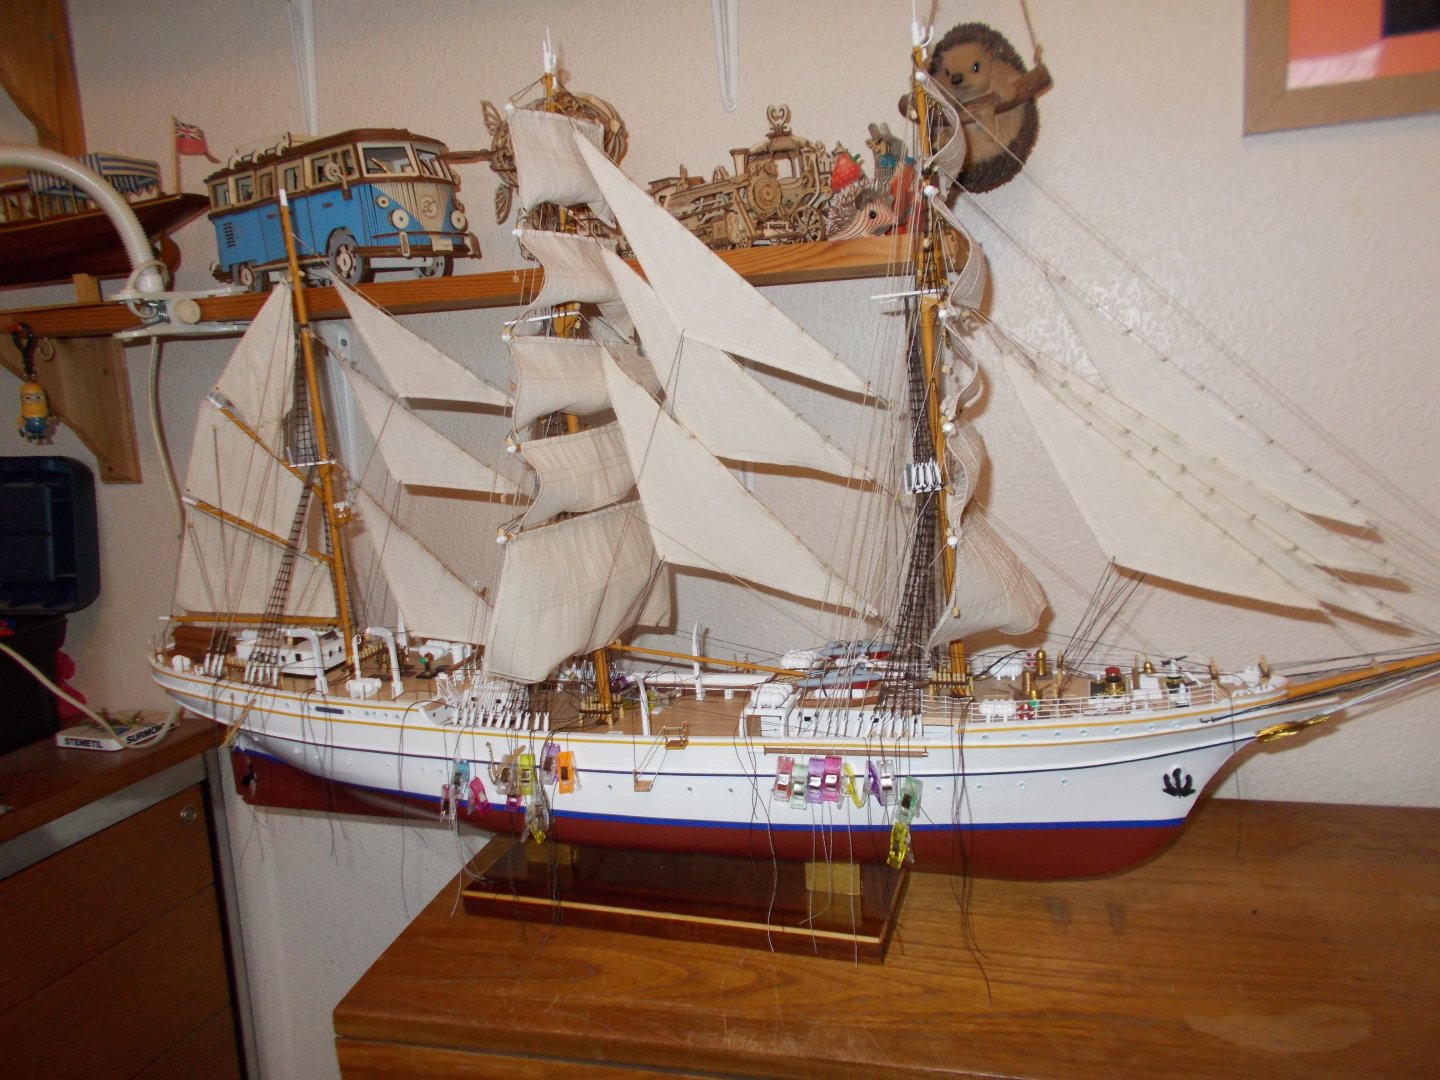
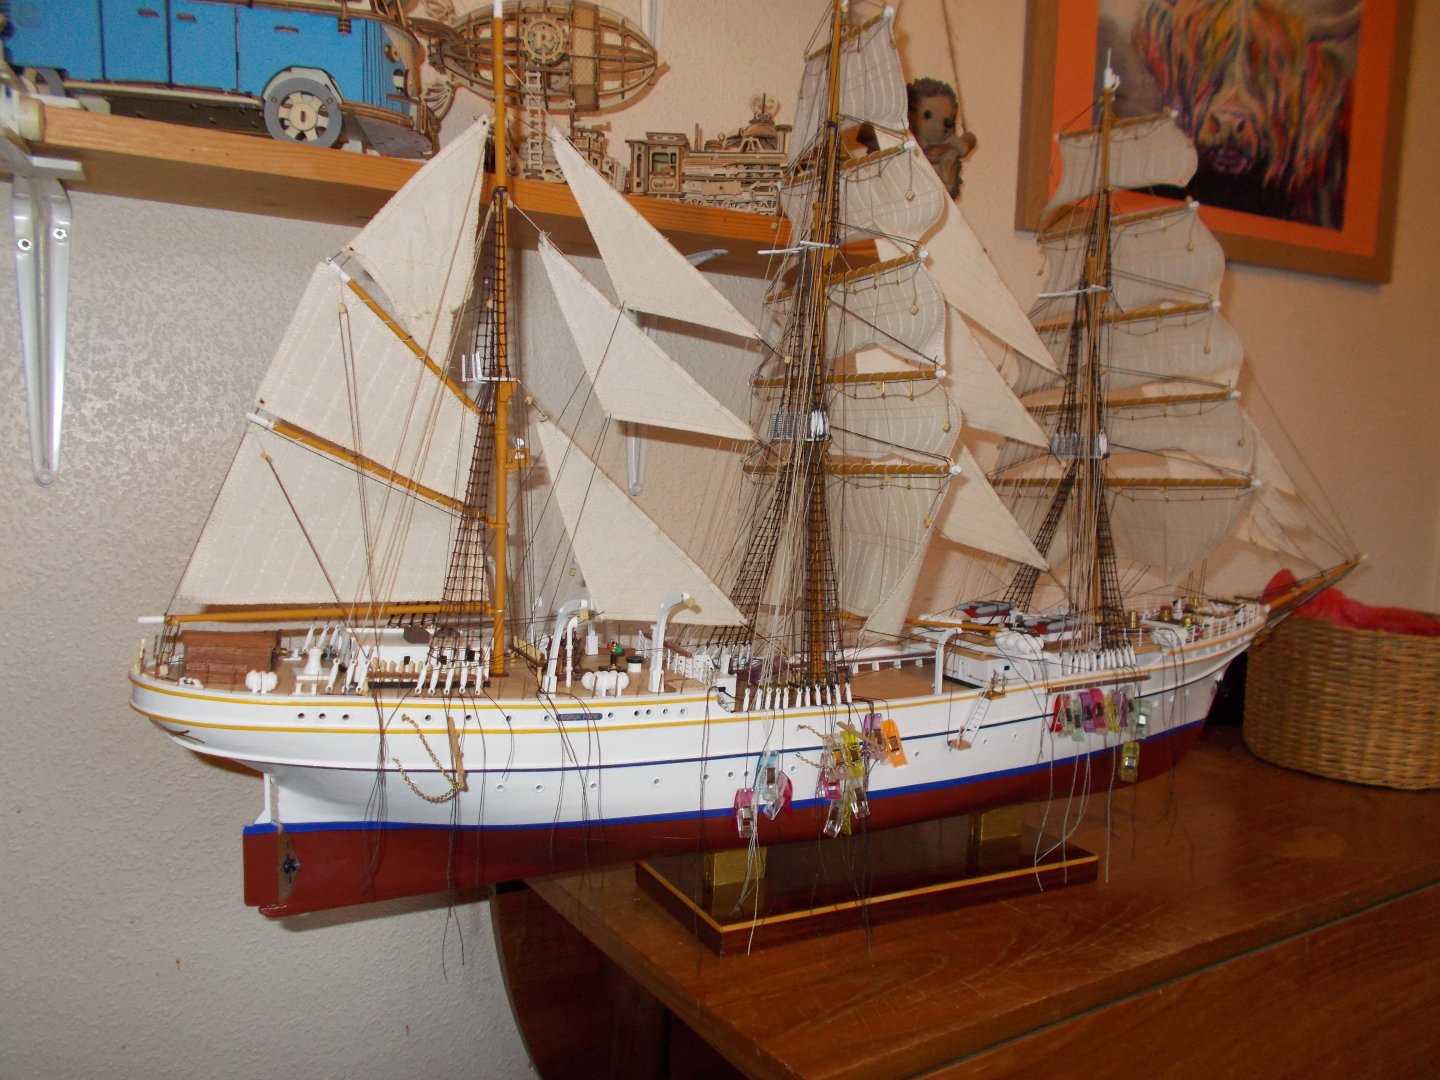
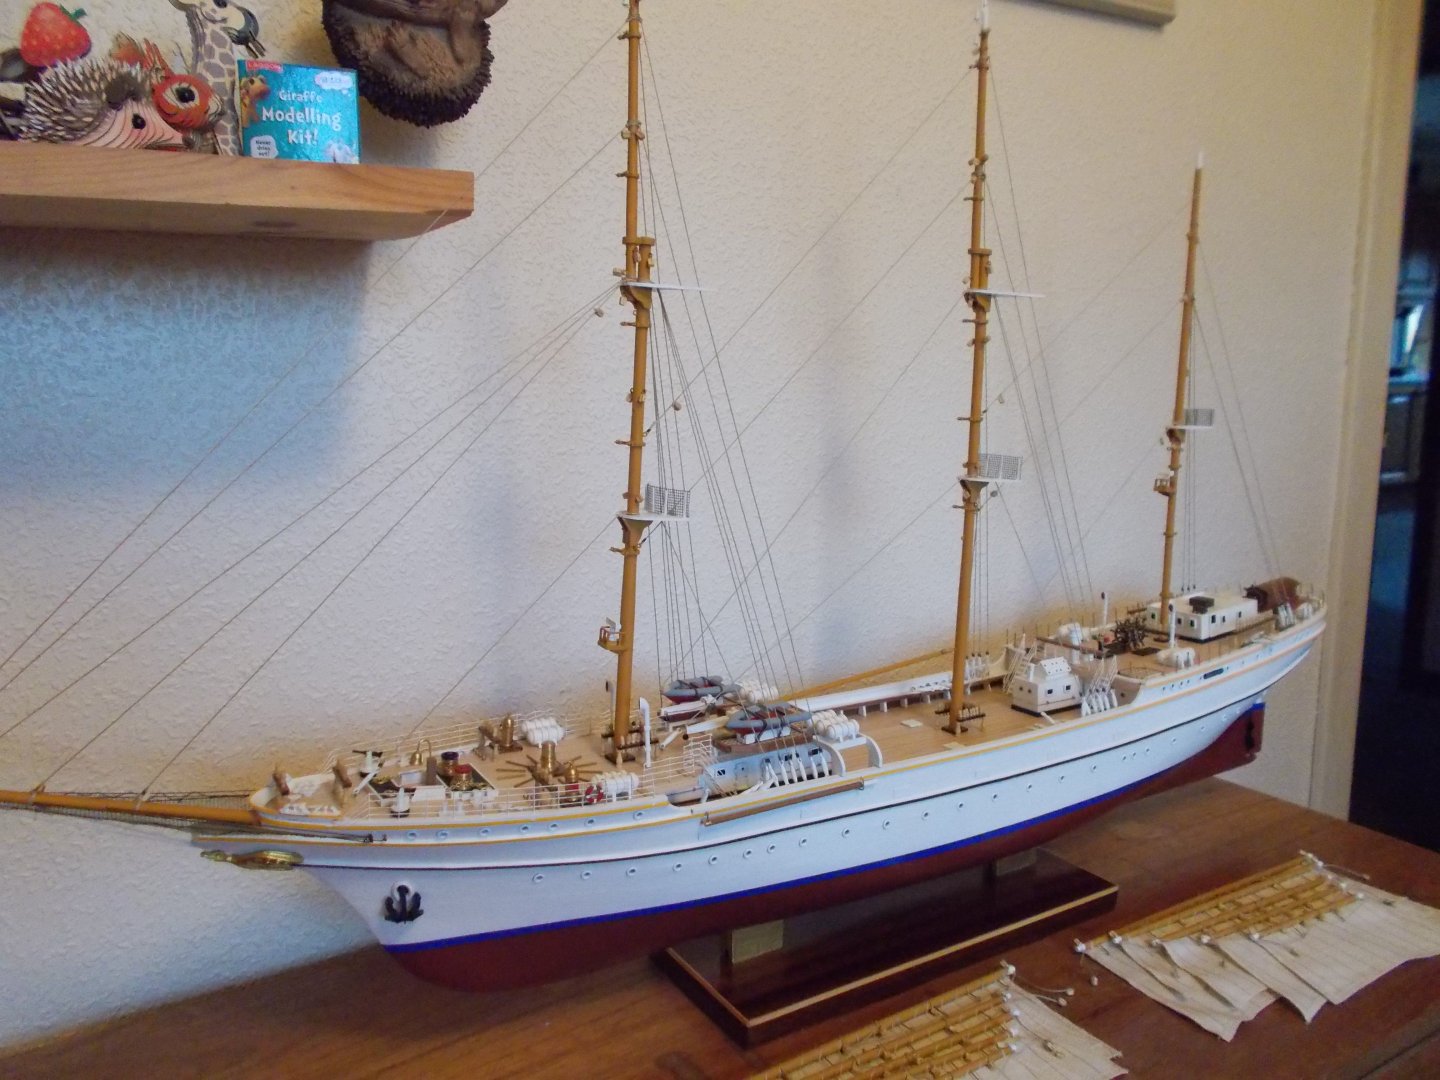
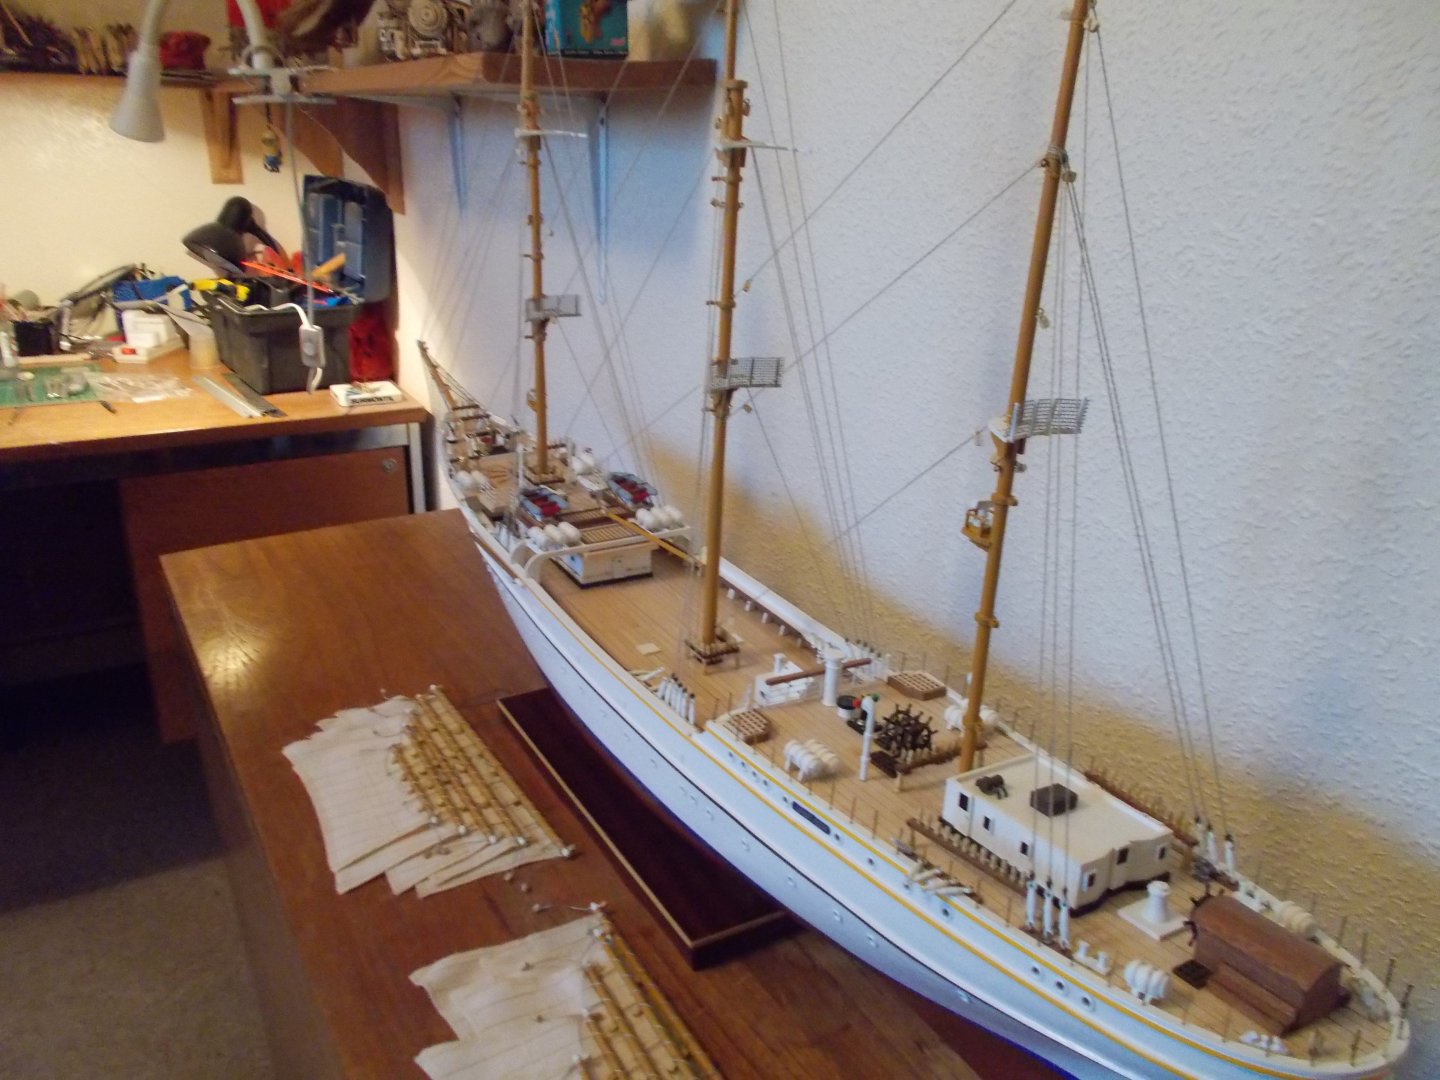
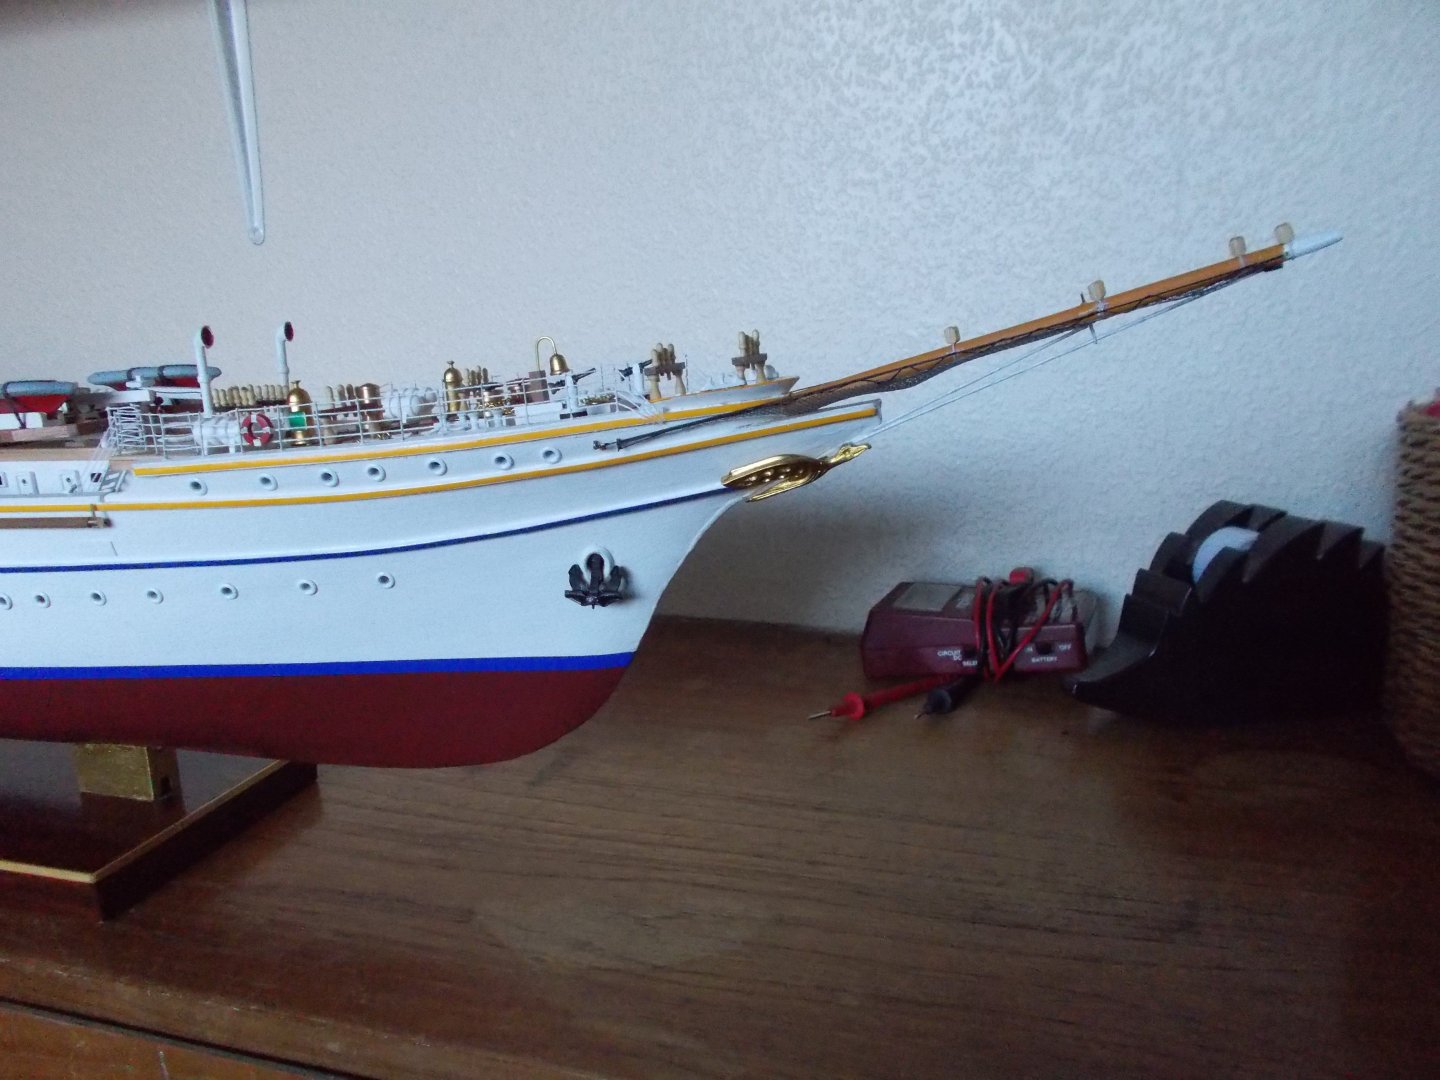
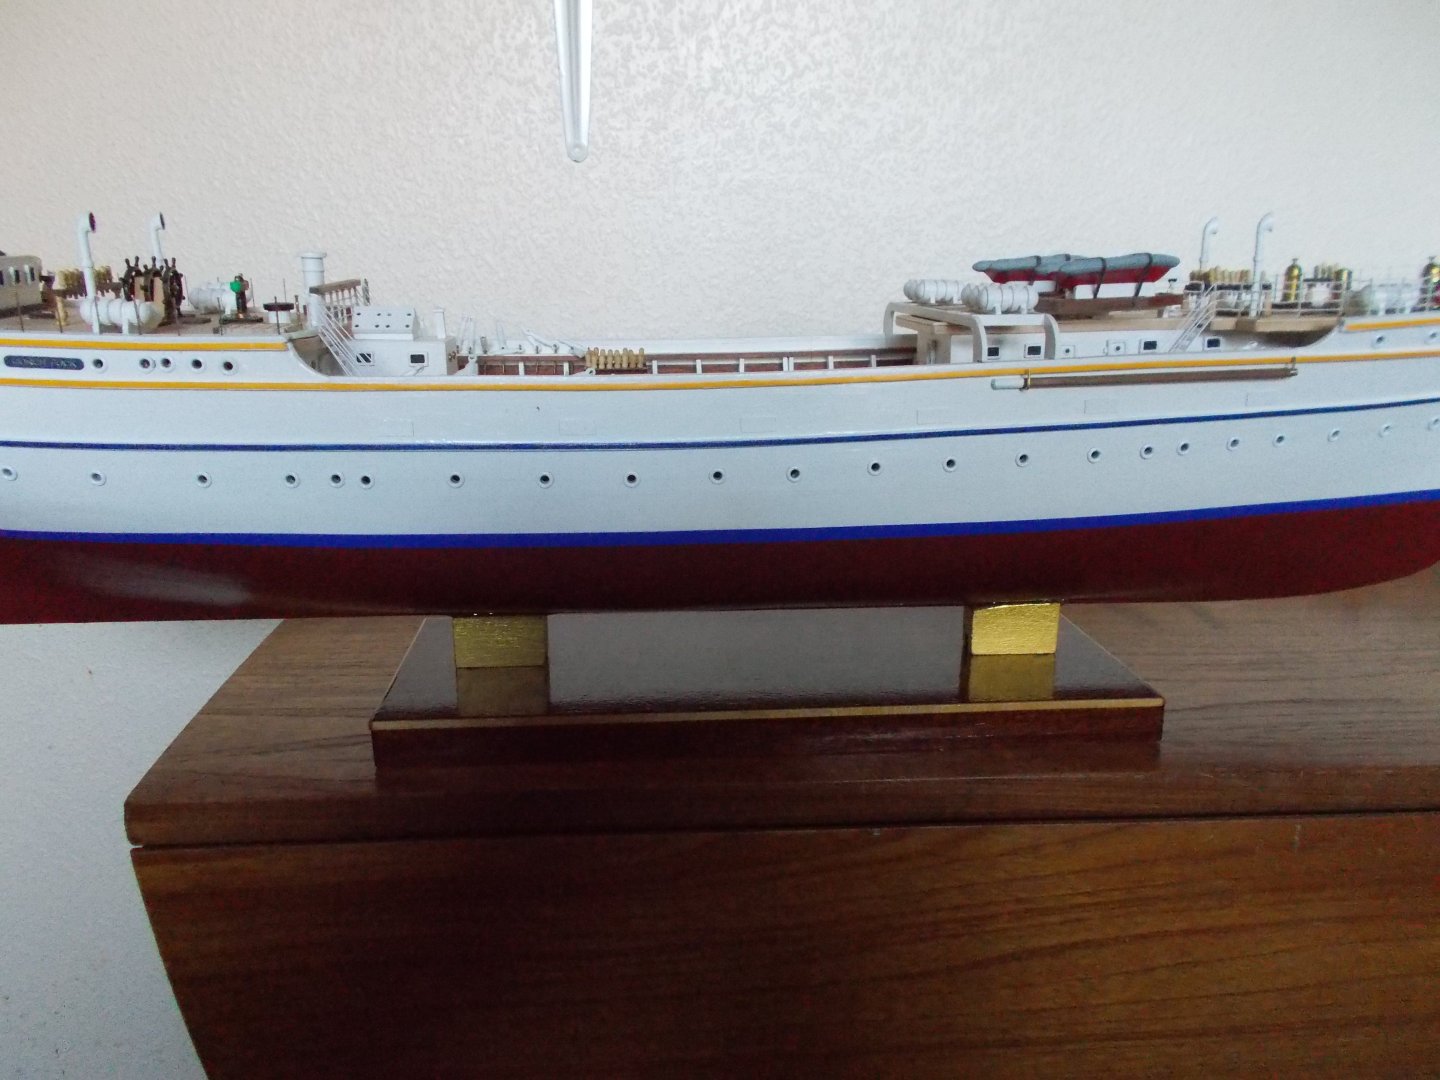
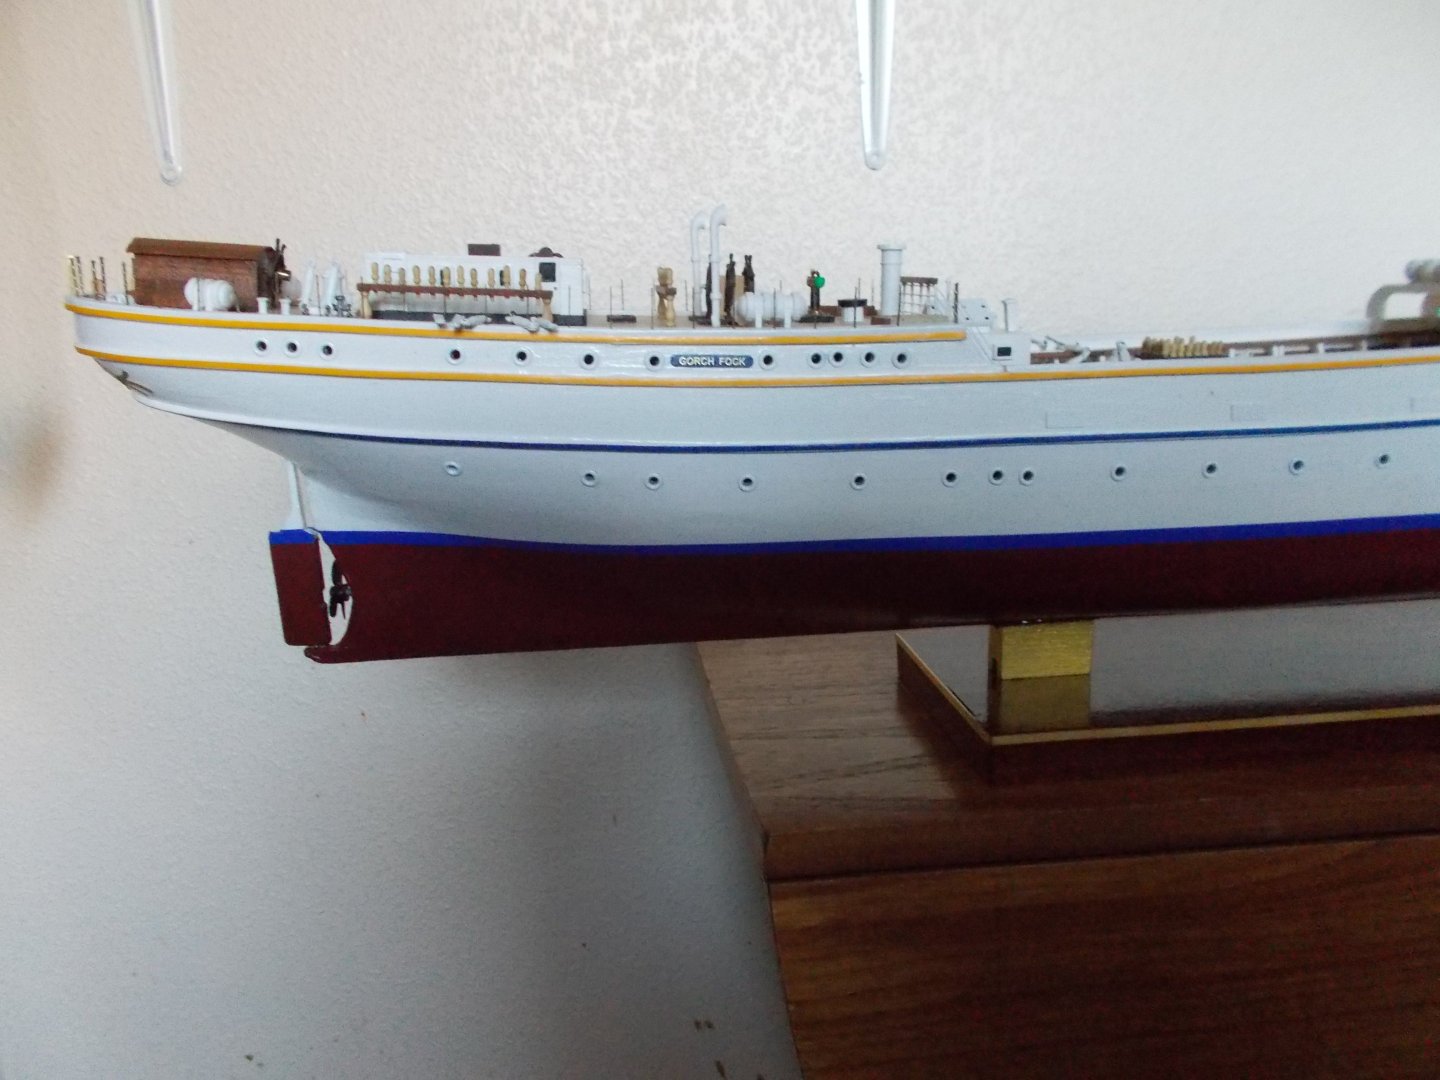
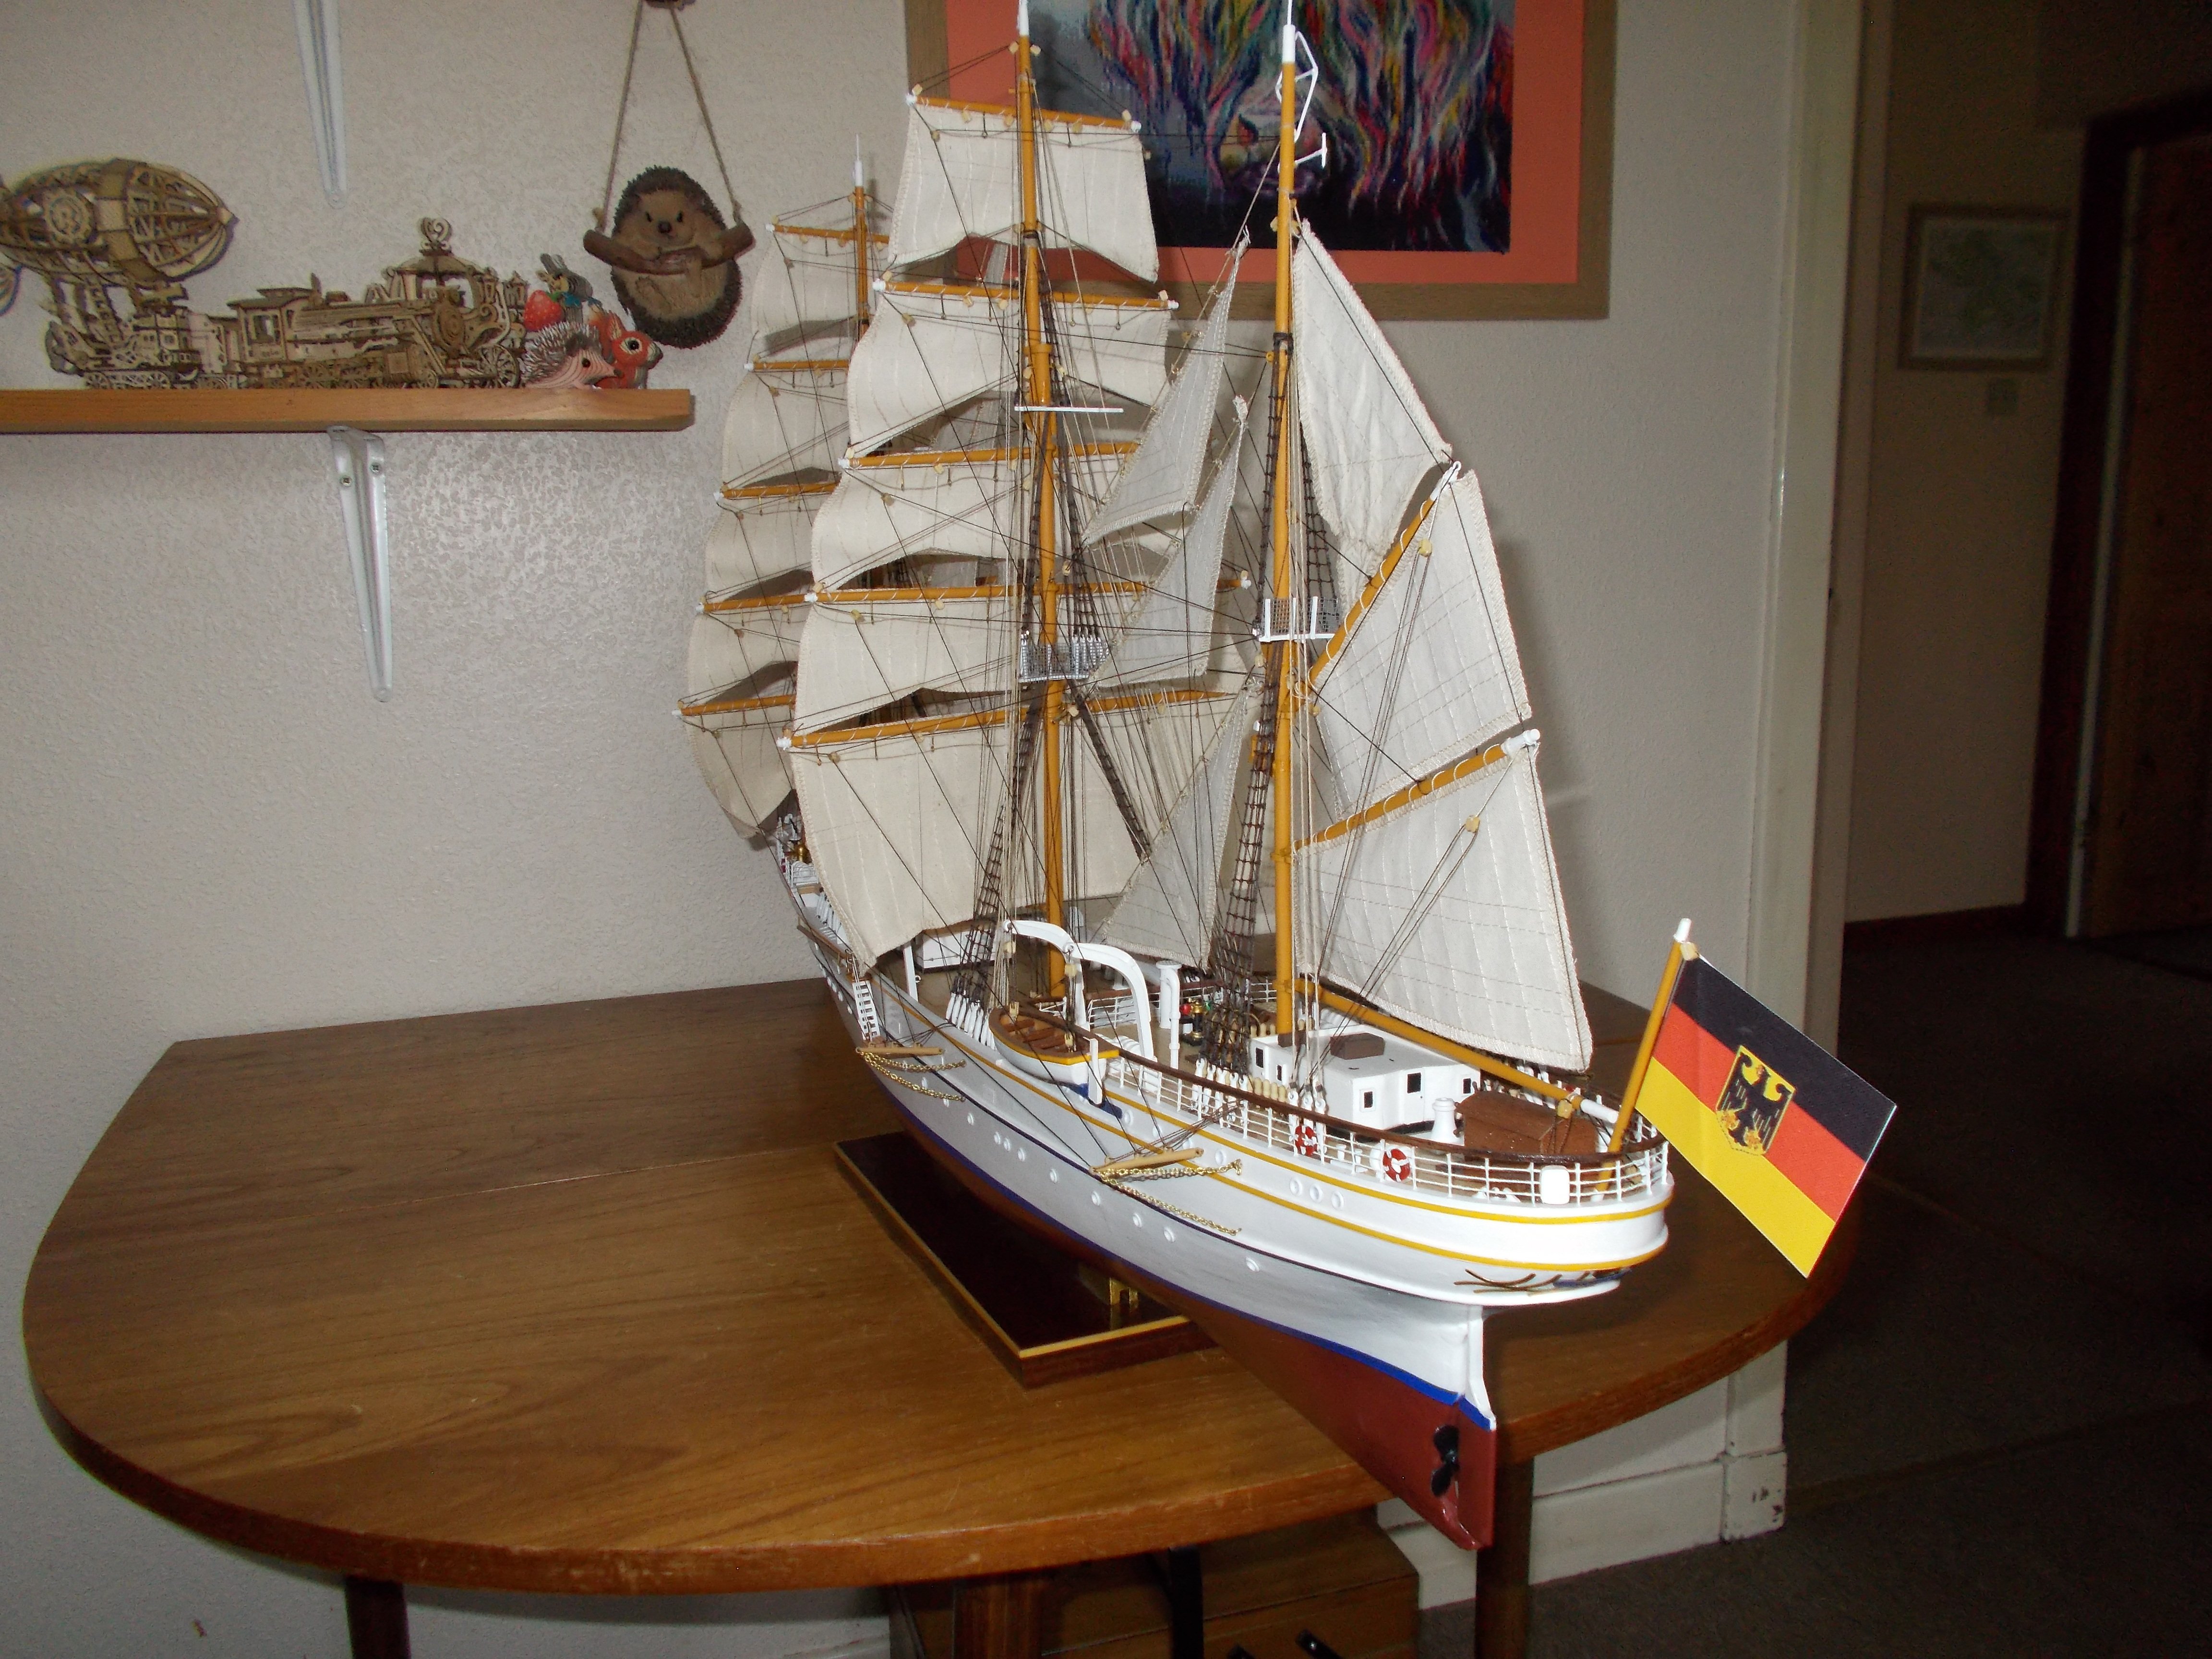
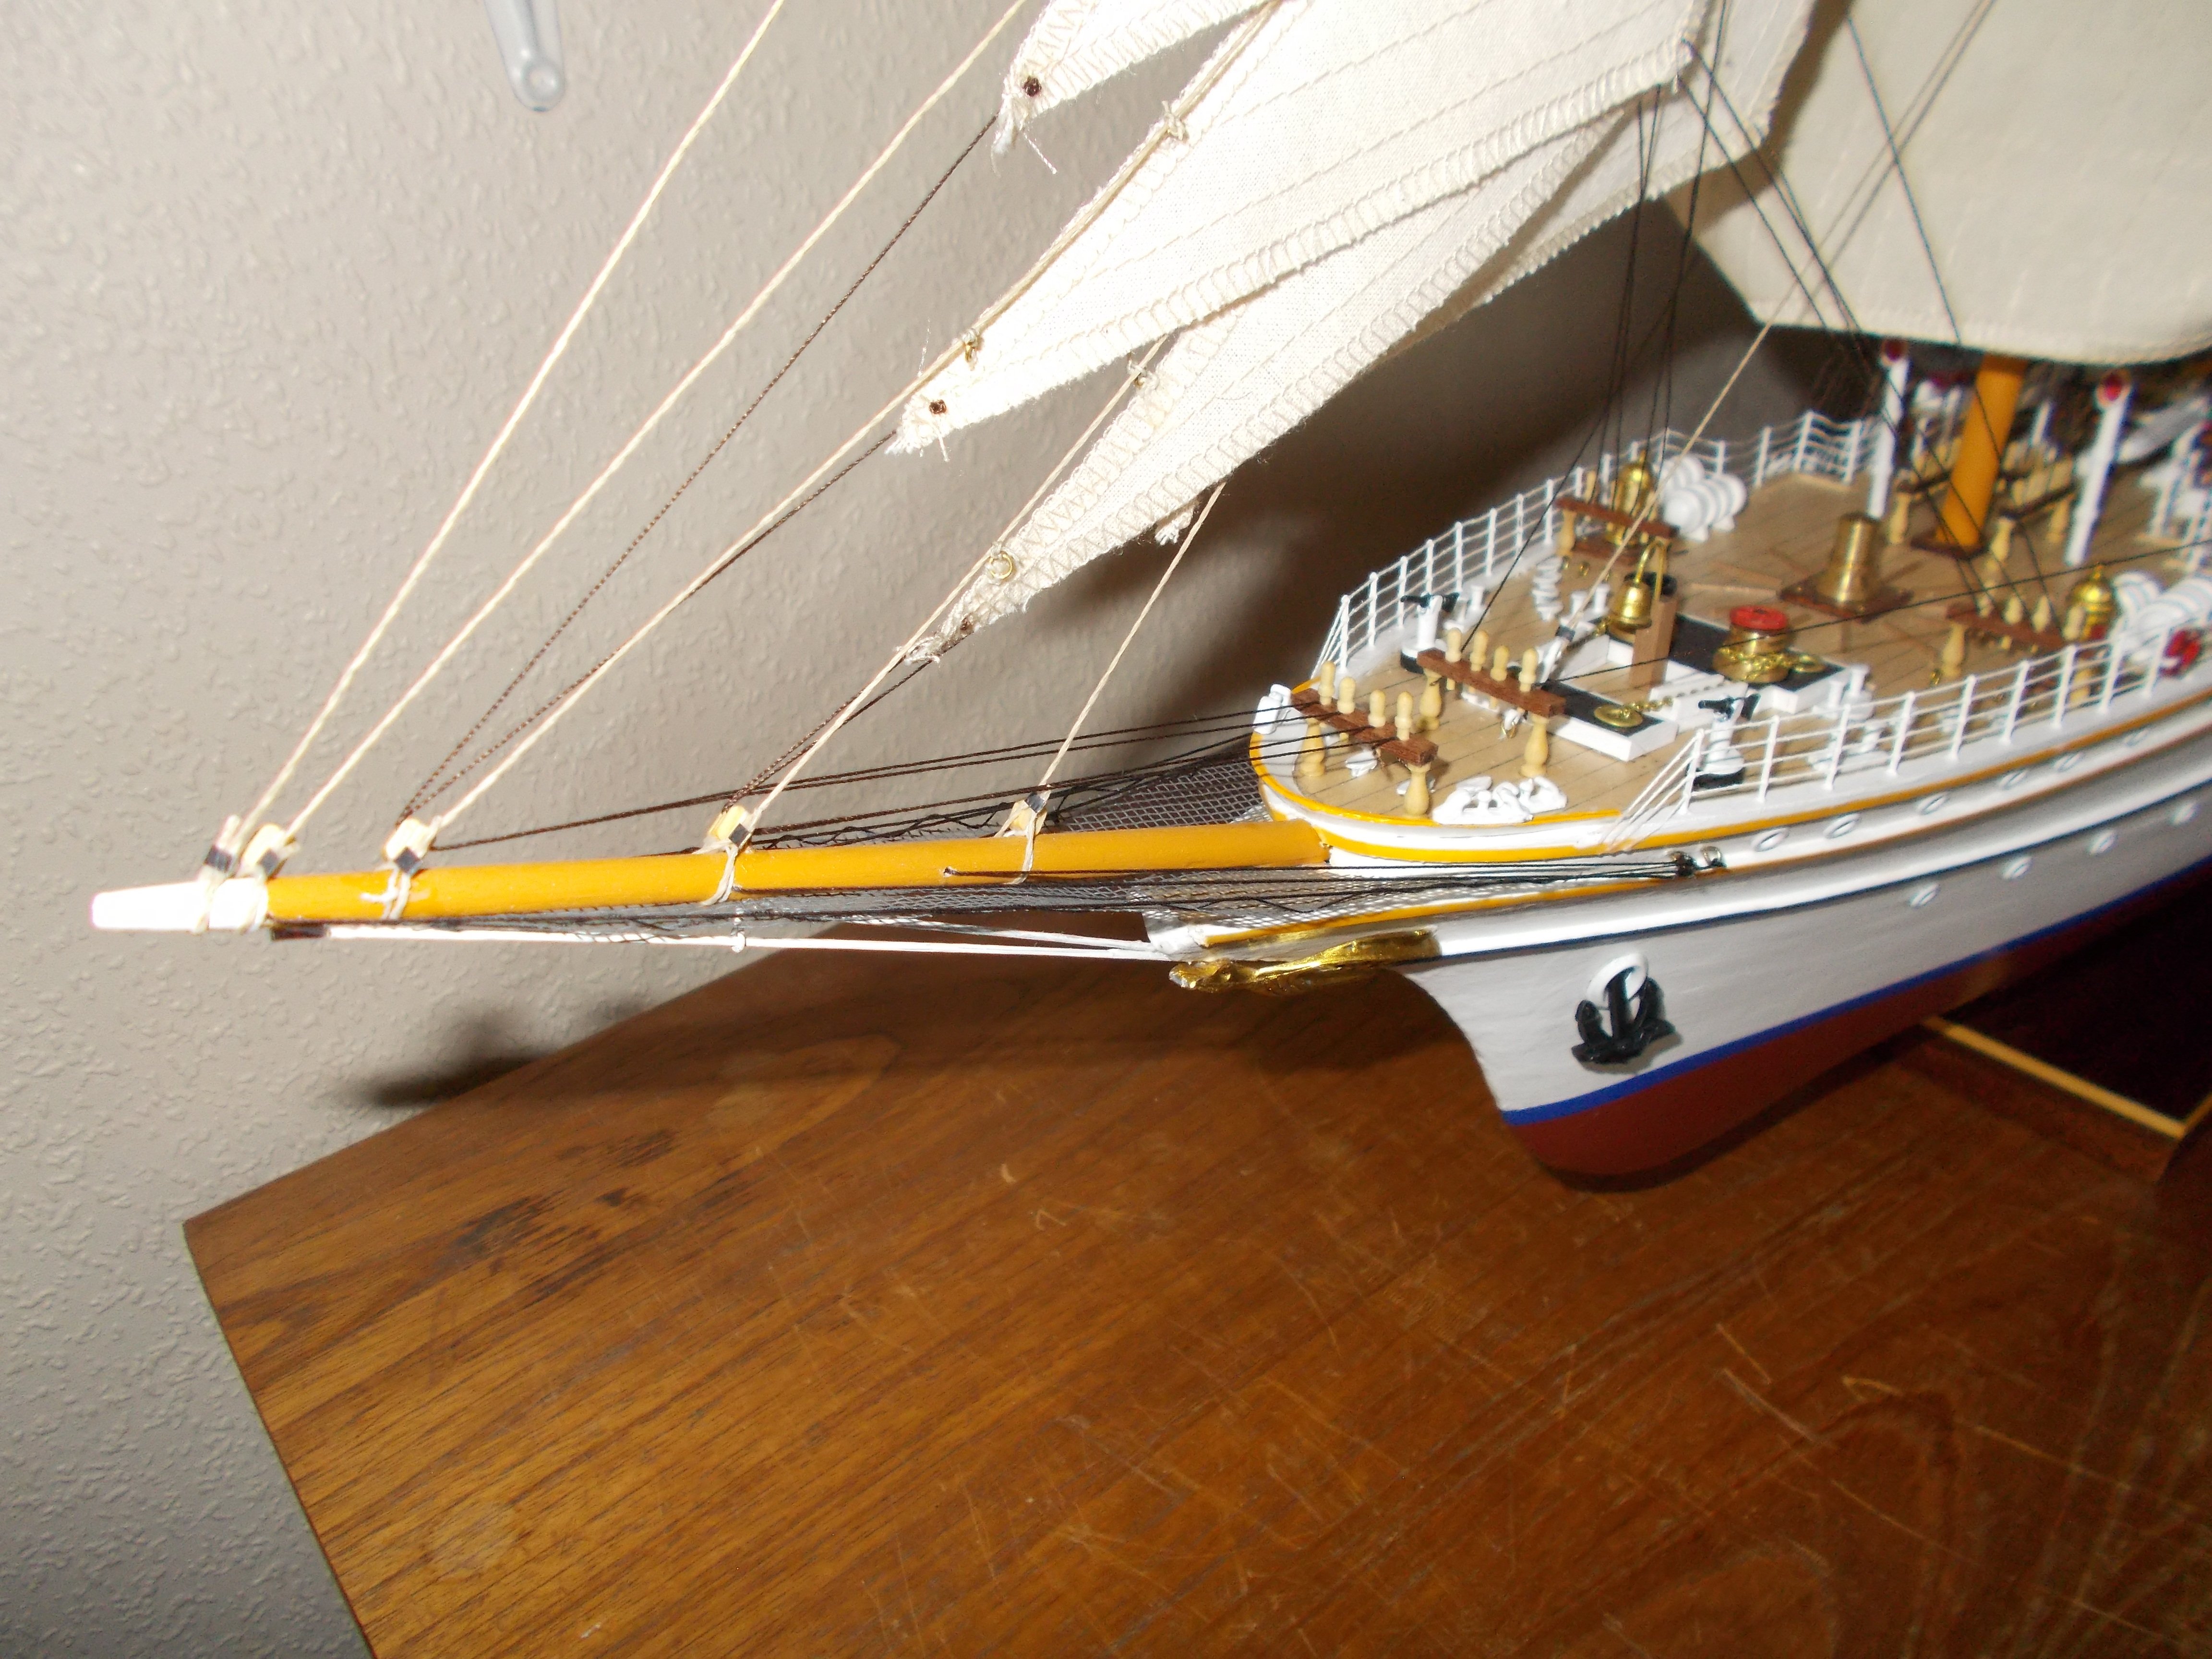
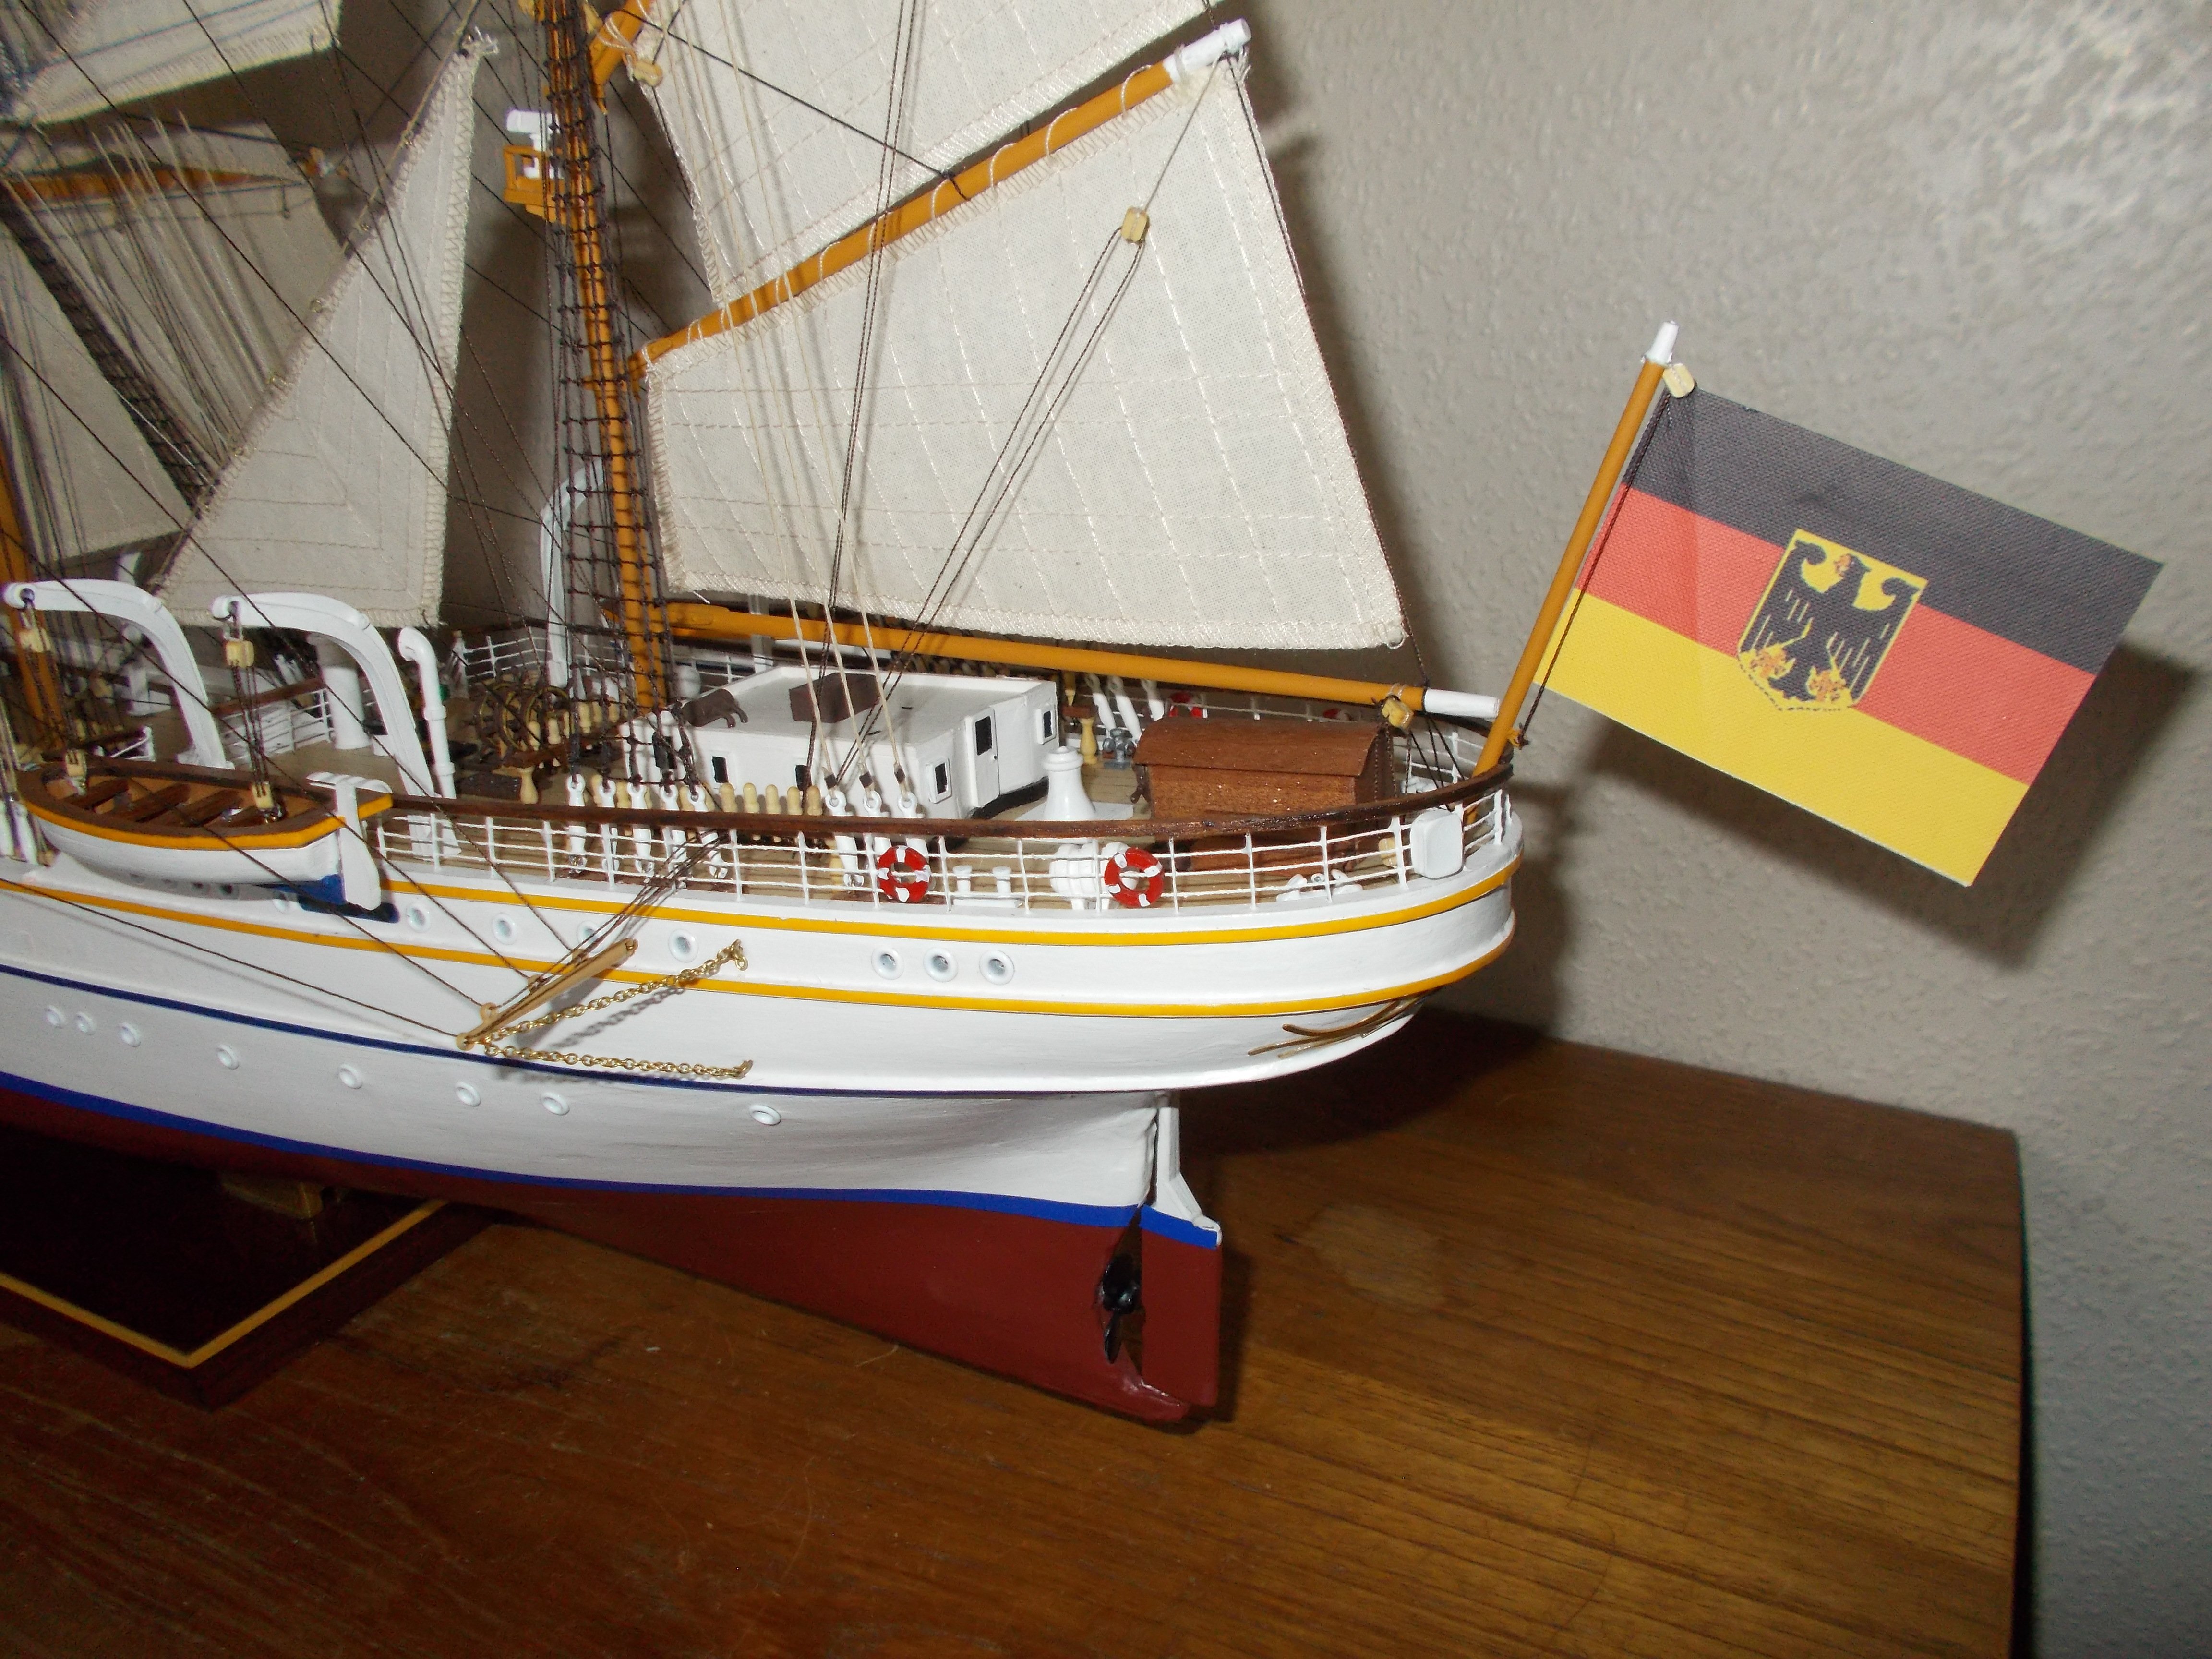
So,here she is in all her glory!! I am glad that I altered the bow to be sharp like the real vessel, for some reason Occre had it quite blunt. In the end my version of the ship is a mixture of her various incarnations over the years like various colours of the masts, placement of portholes, different pinstriping etc. I am quite pleased with the end result.
For future builders the rear handrail on top of the stanchions is a real beast to put on. I love the beauty of tall ships and how elegant they are but the rigging is a nightmare, so many ropes and so little room but the perseverance is worth it.


-
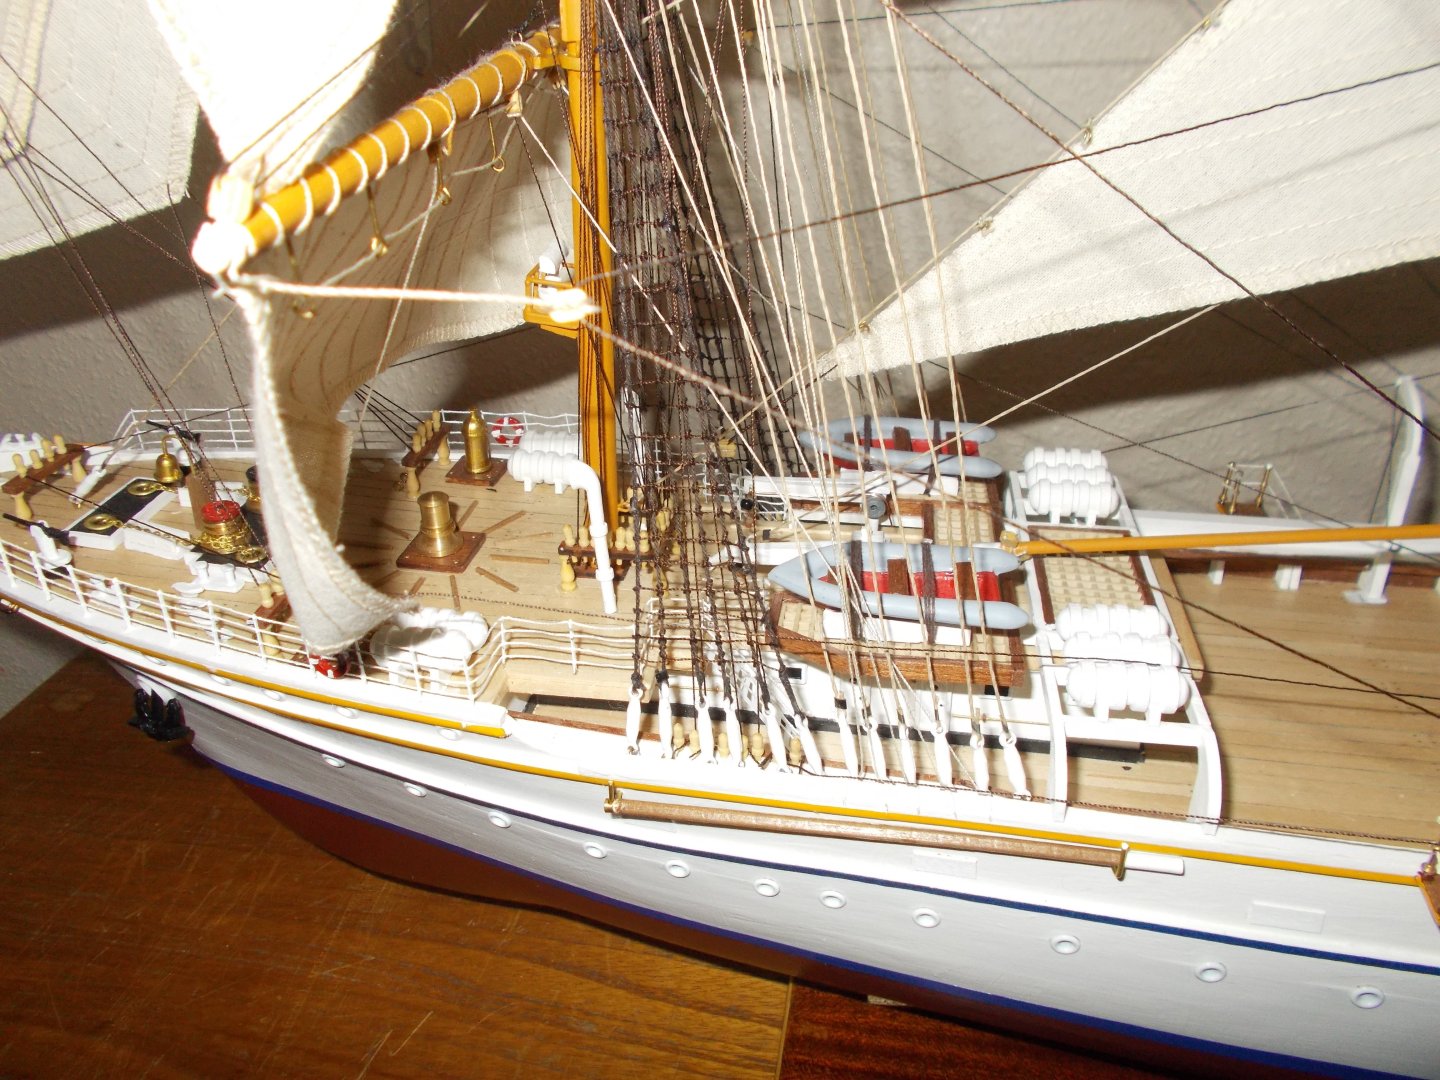
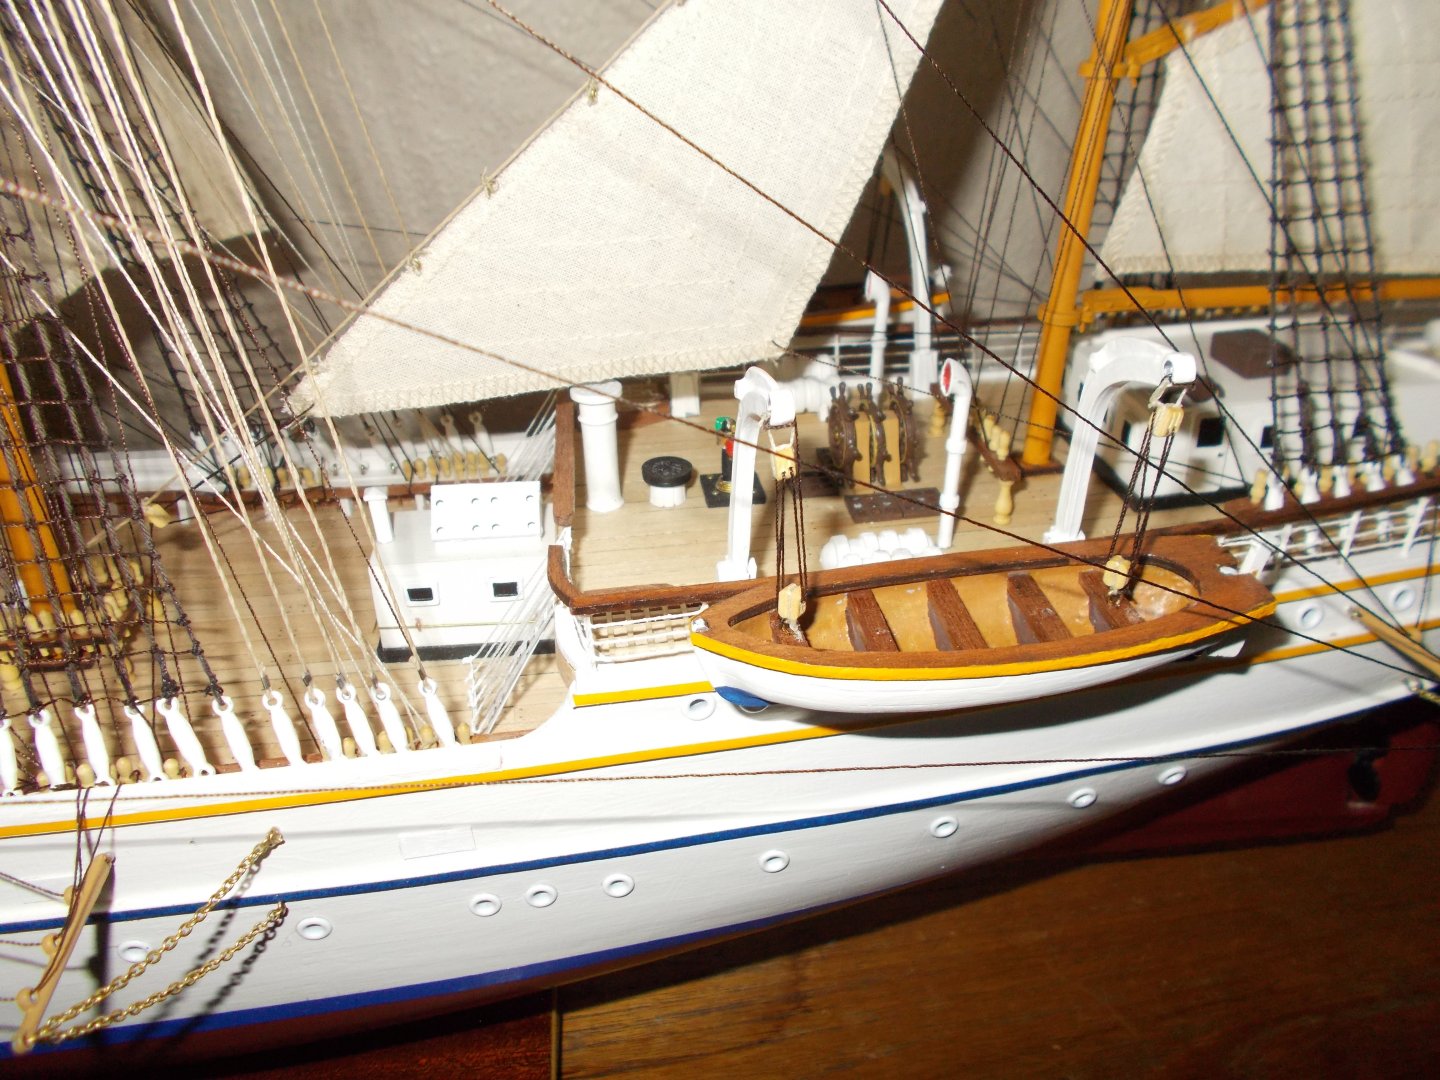
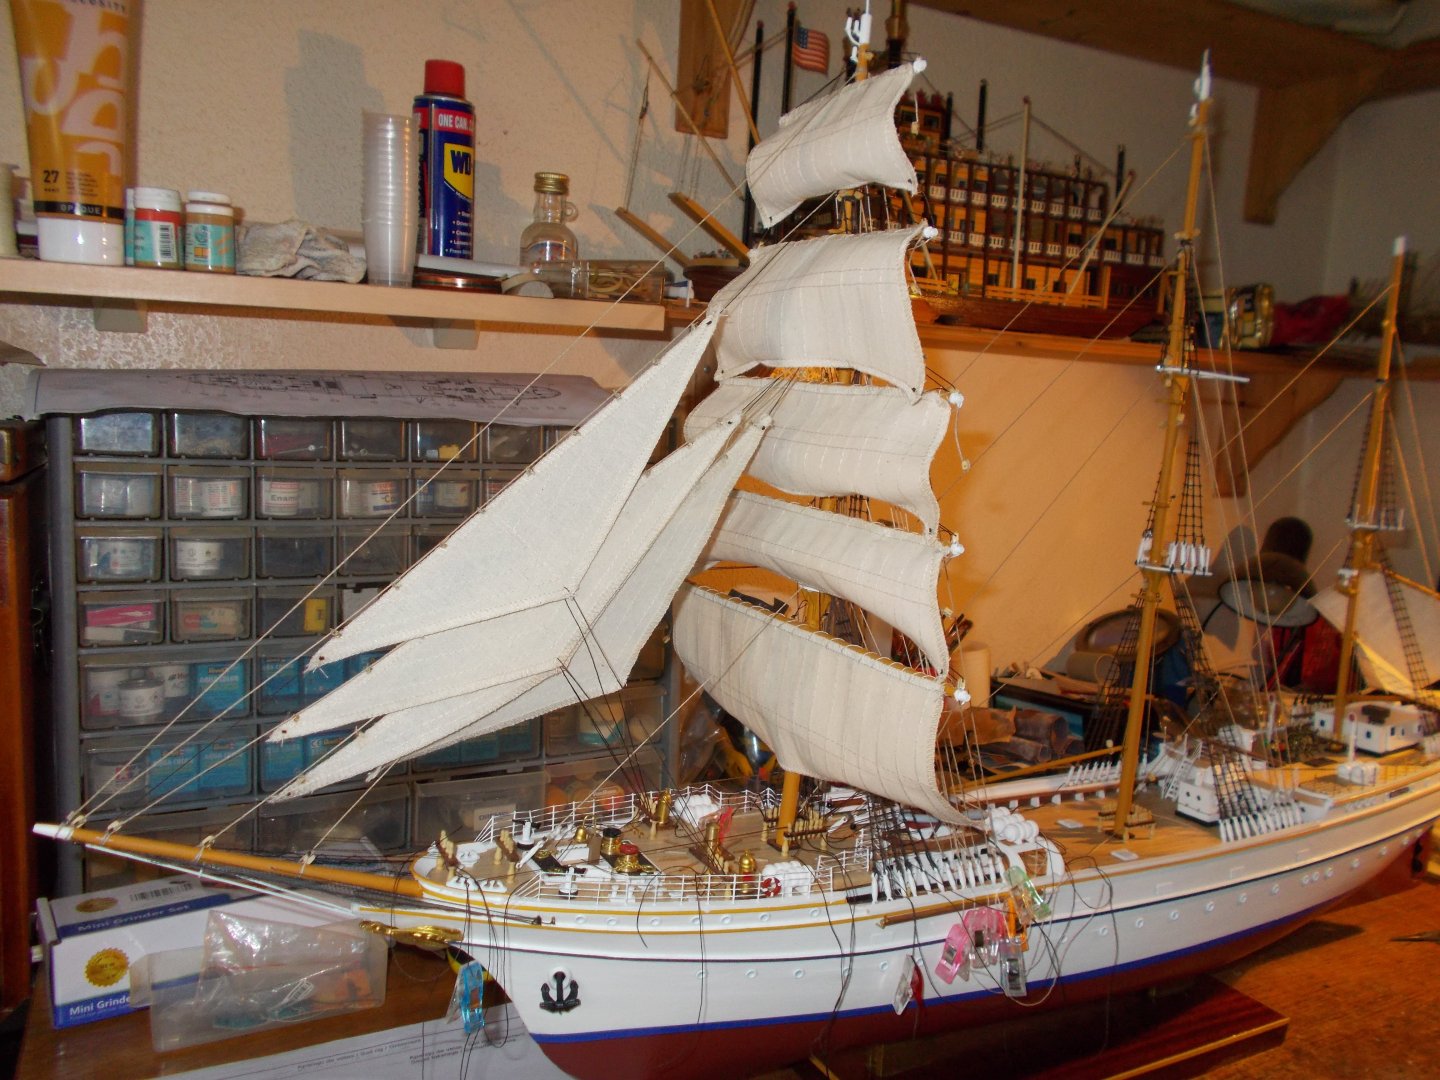
The rest of the sails on now and most of the rigging. Some long bilateral ropes to go on to the yards and down to deck level through strange extensions on the sides of the hull. Lifeboats to go on and the rear railings which I deliberately left until near the end to avoid trashing them with all the rigging. Then tidying up all the ropes and adding a flag of course!!
- ccoyle, vossiewulf, king derelict and 1 other
-
4
-
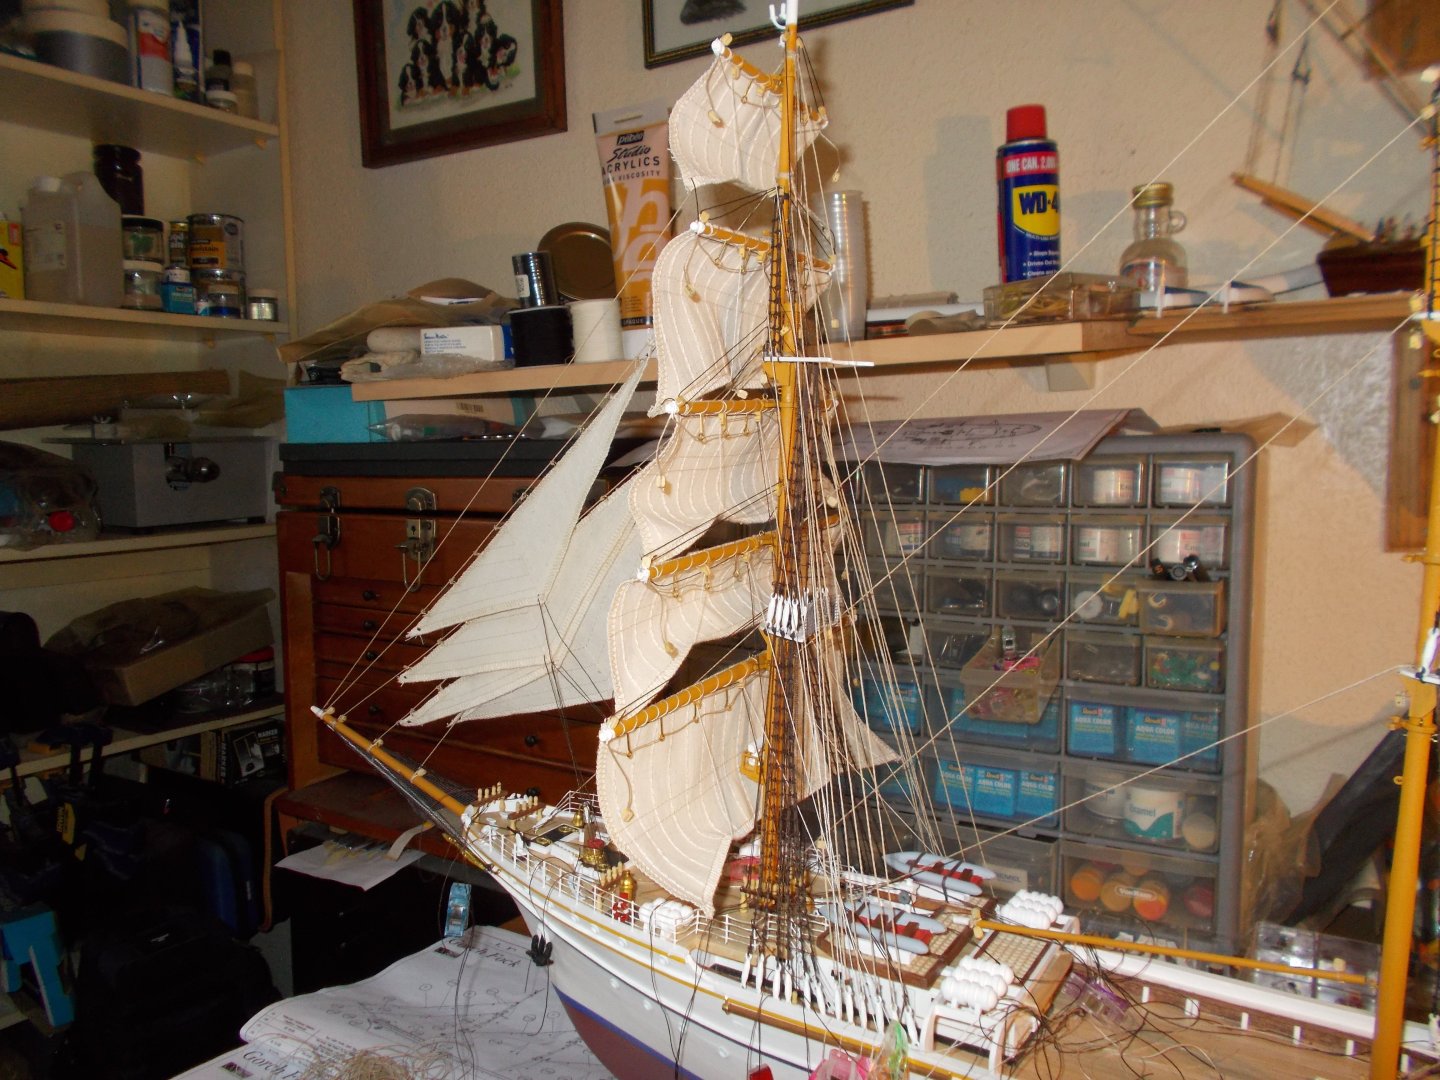
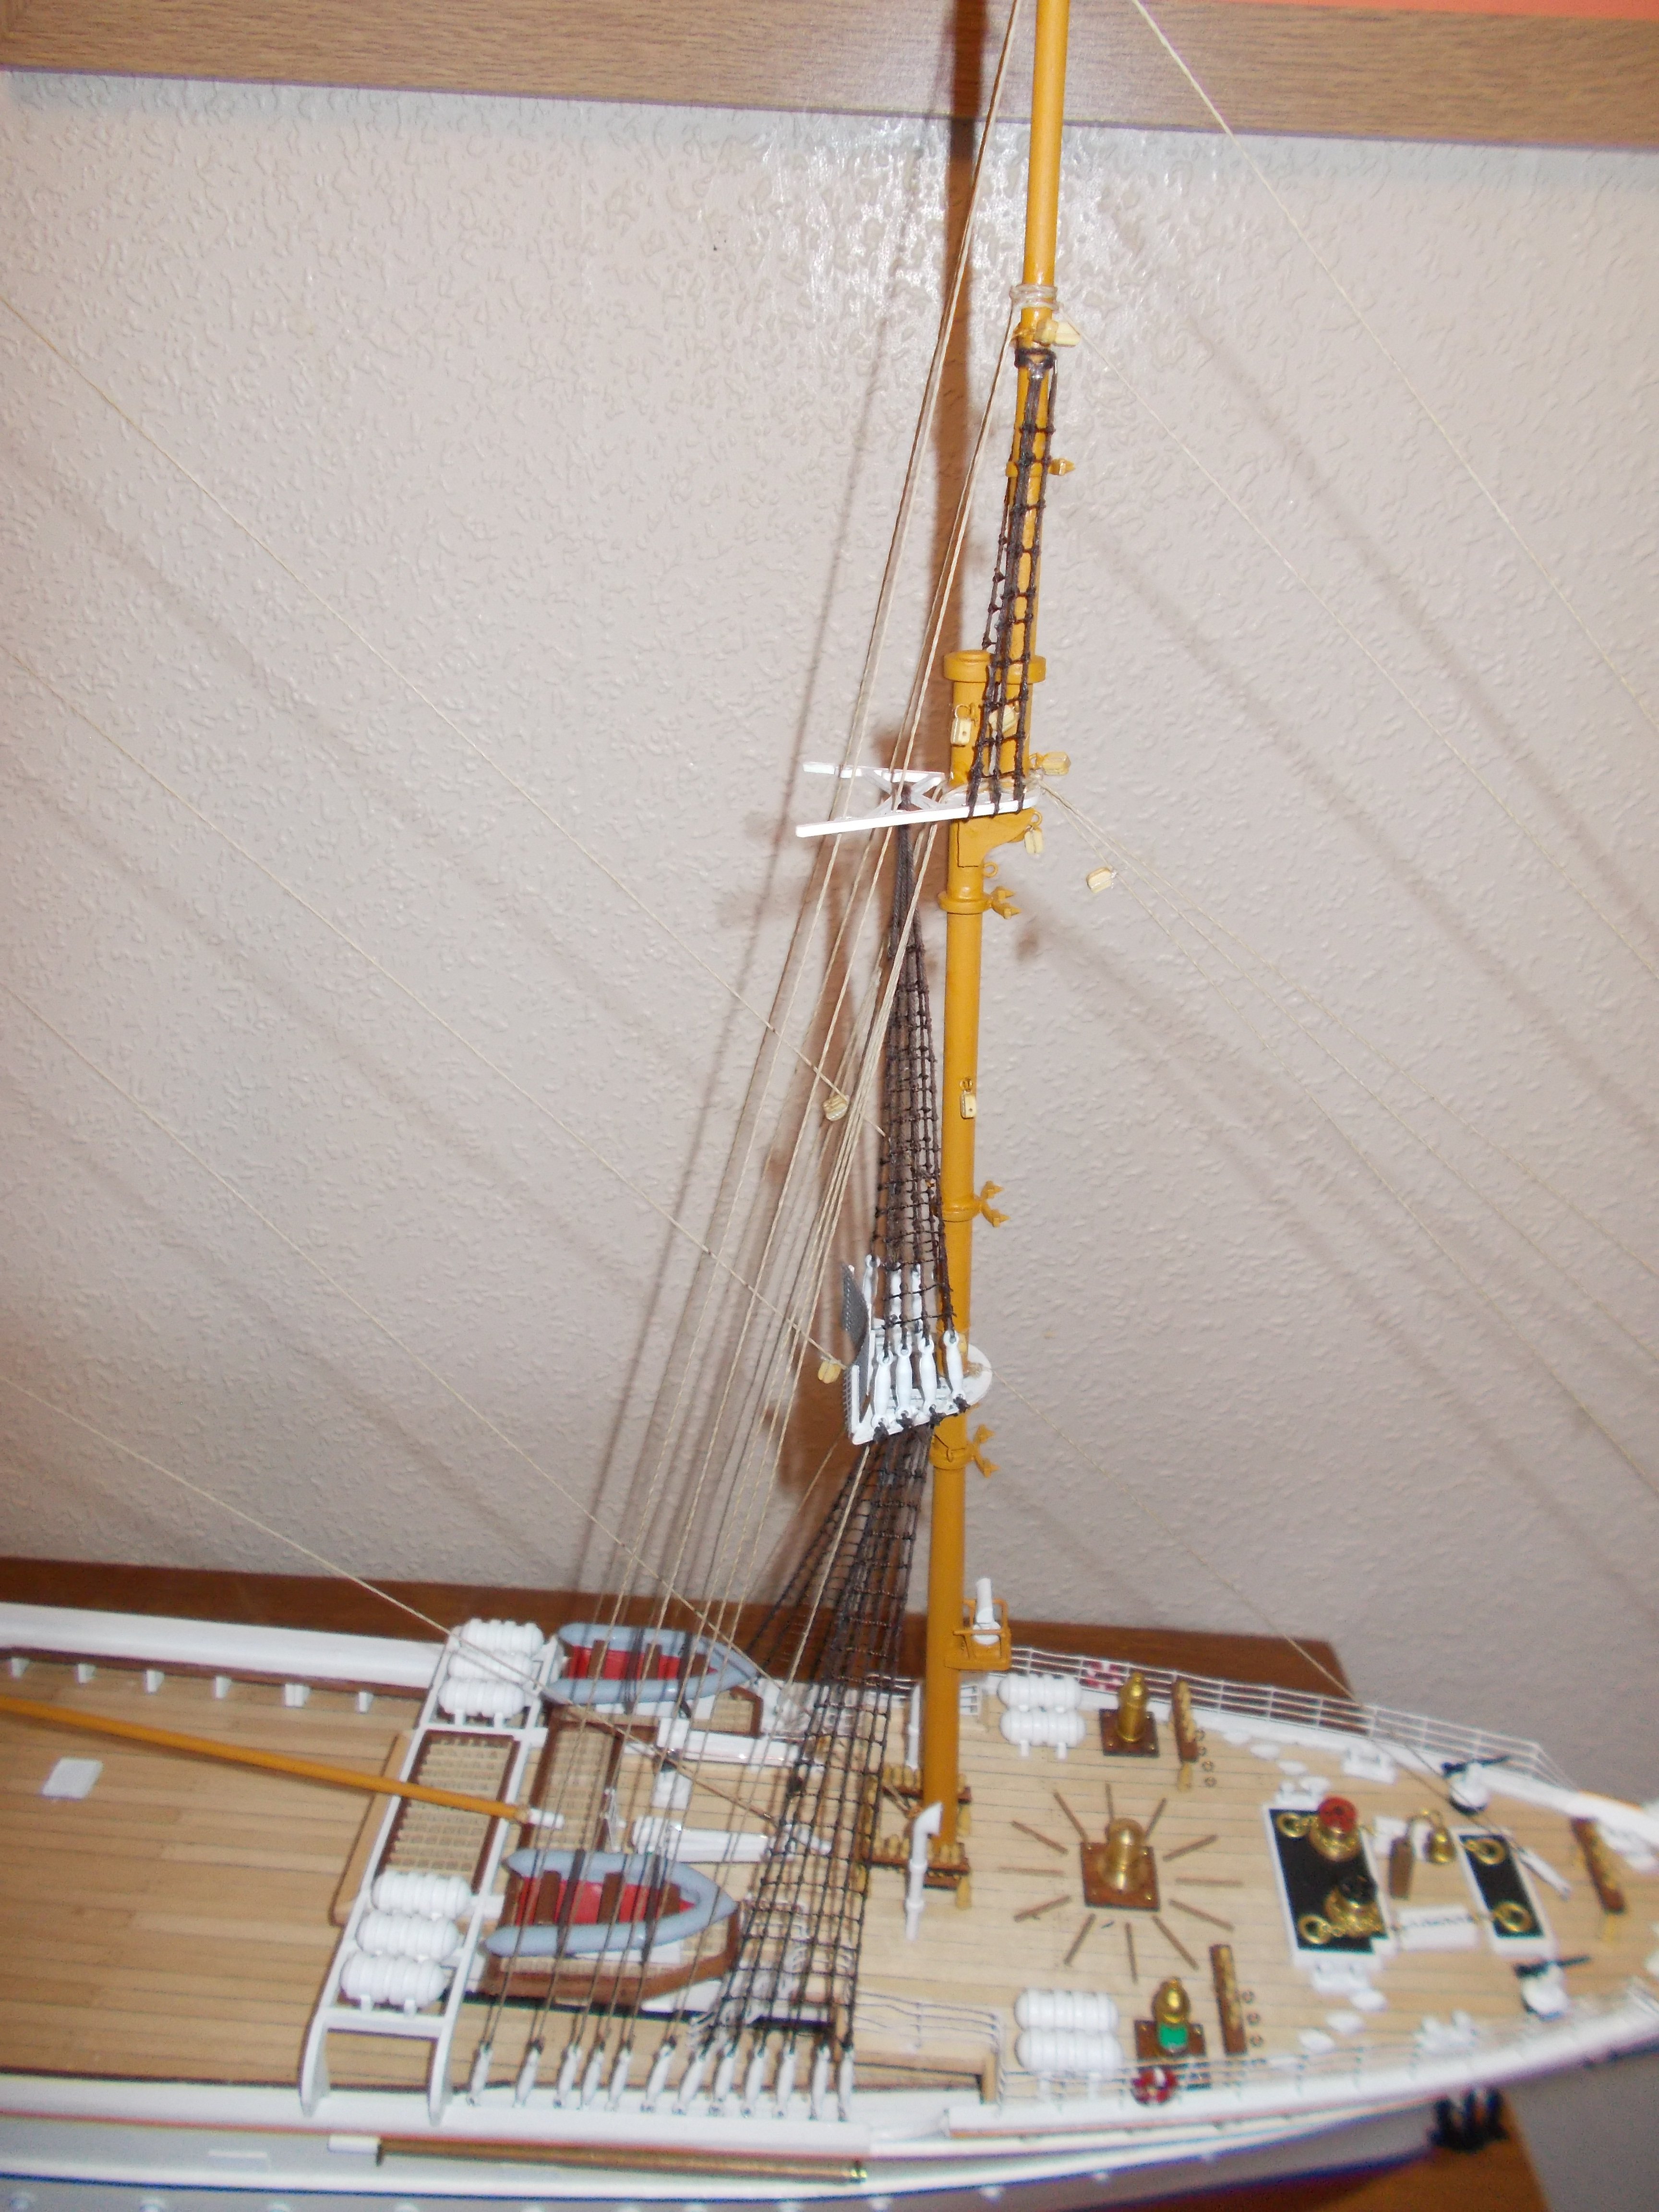
Foremast and front sails (I don't know the correct term for them) are on and rigged. I am very glad I put on the extra blocks to allow for one bunt line on each side of each sail as it has allowed for a much better 'shape'. The last 'flying blocks' on the end of each yard won't get rigged until all the others are on. Now for the main mast.
-
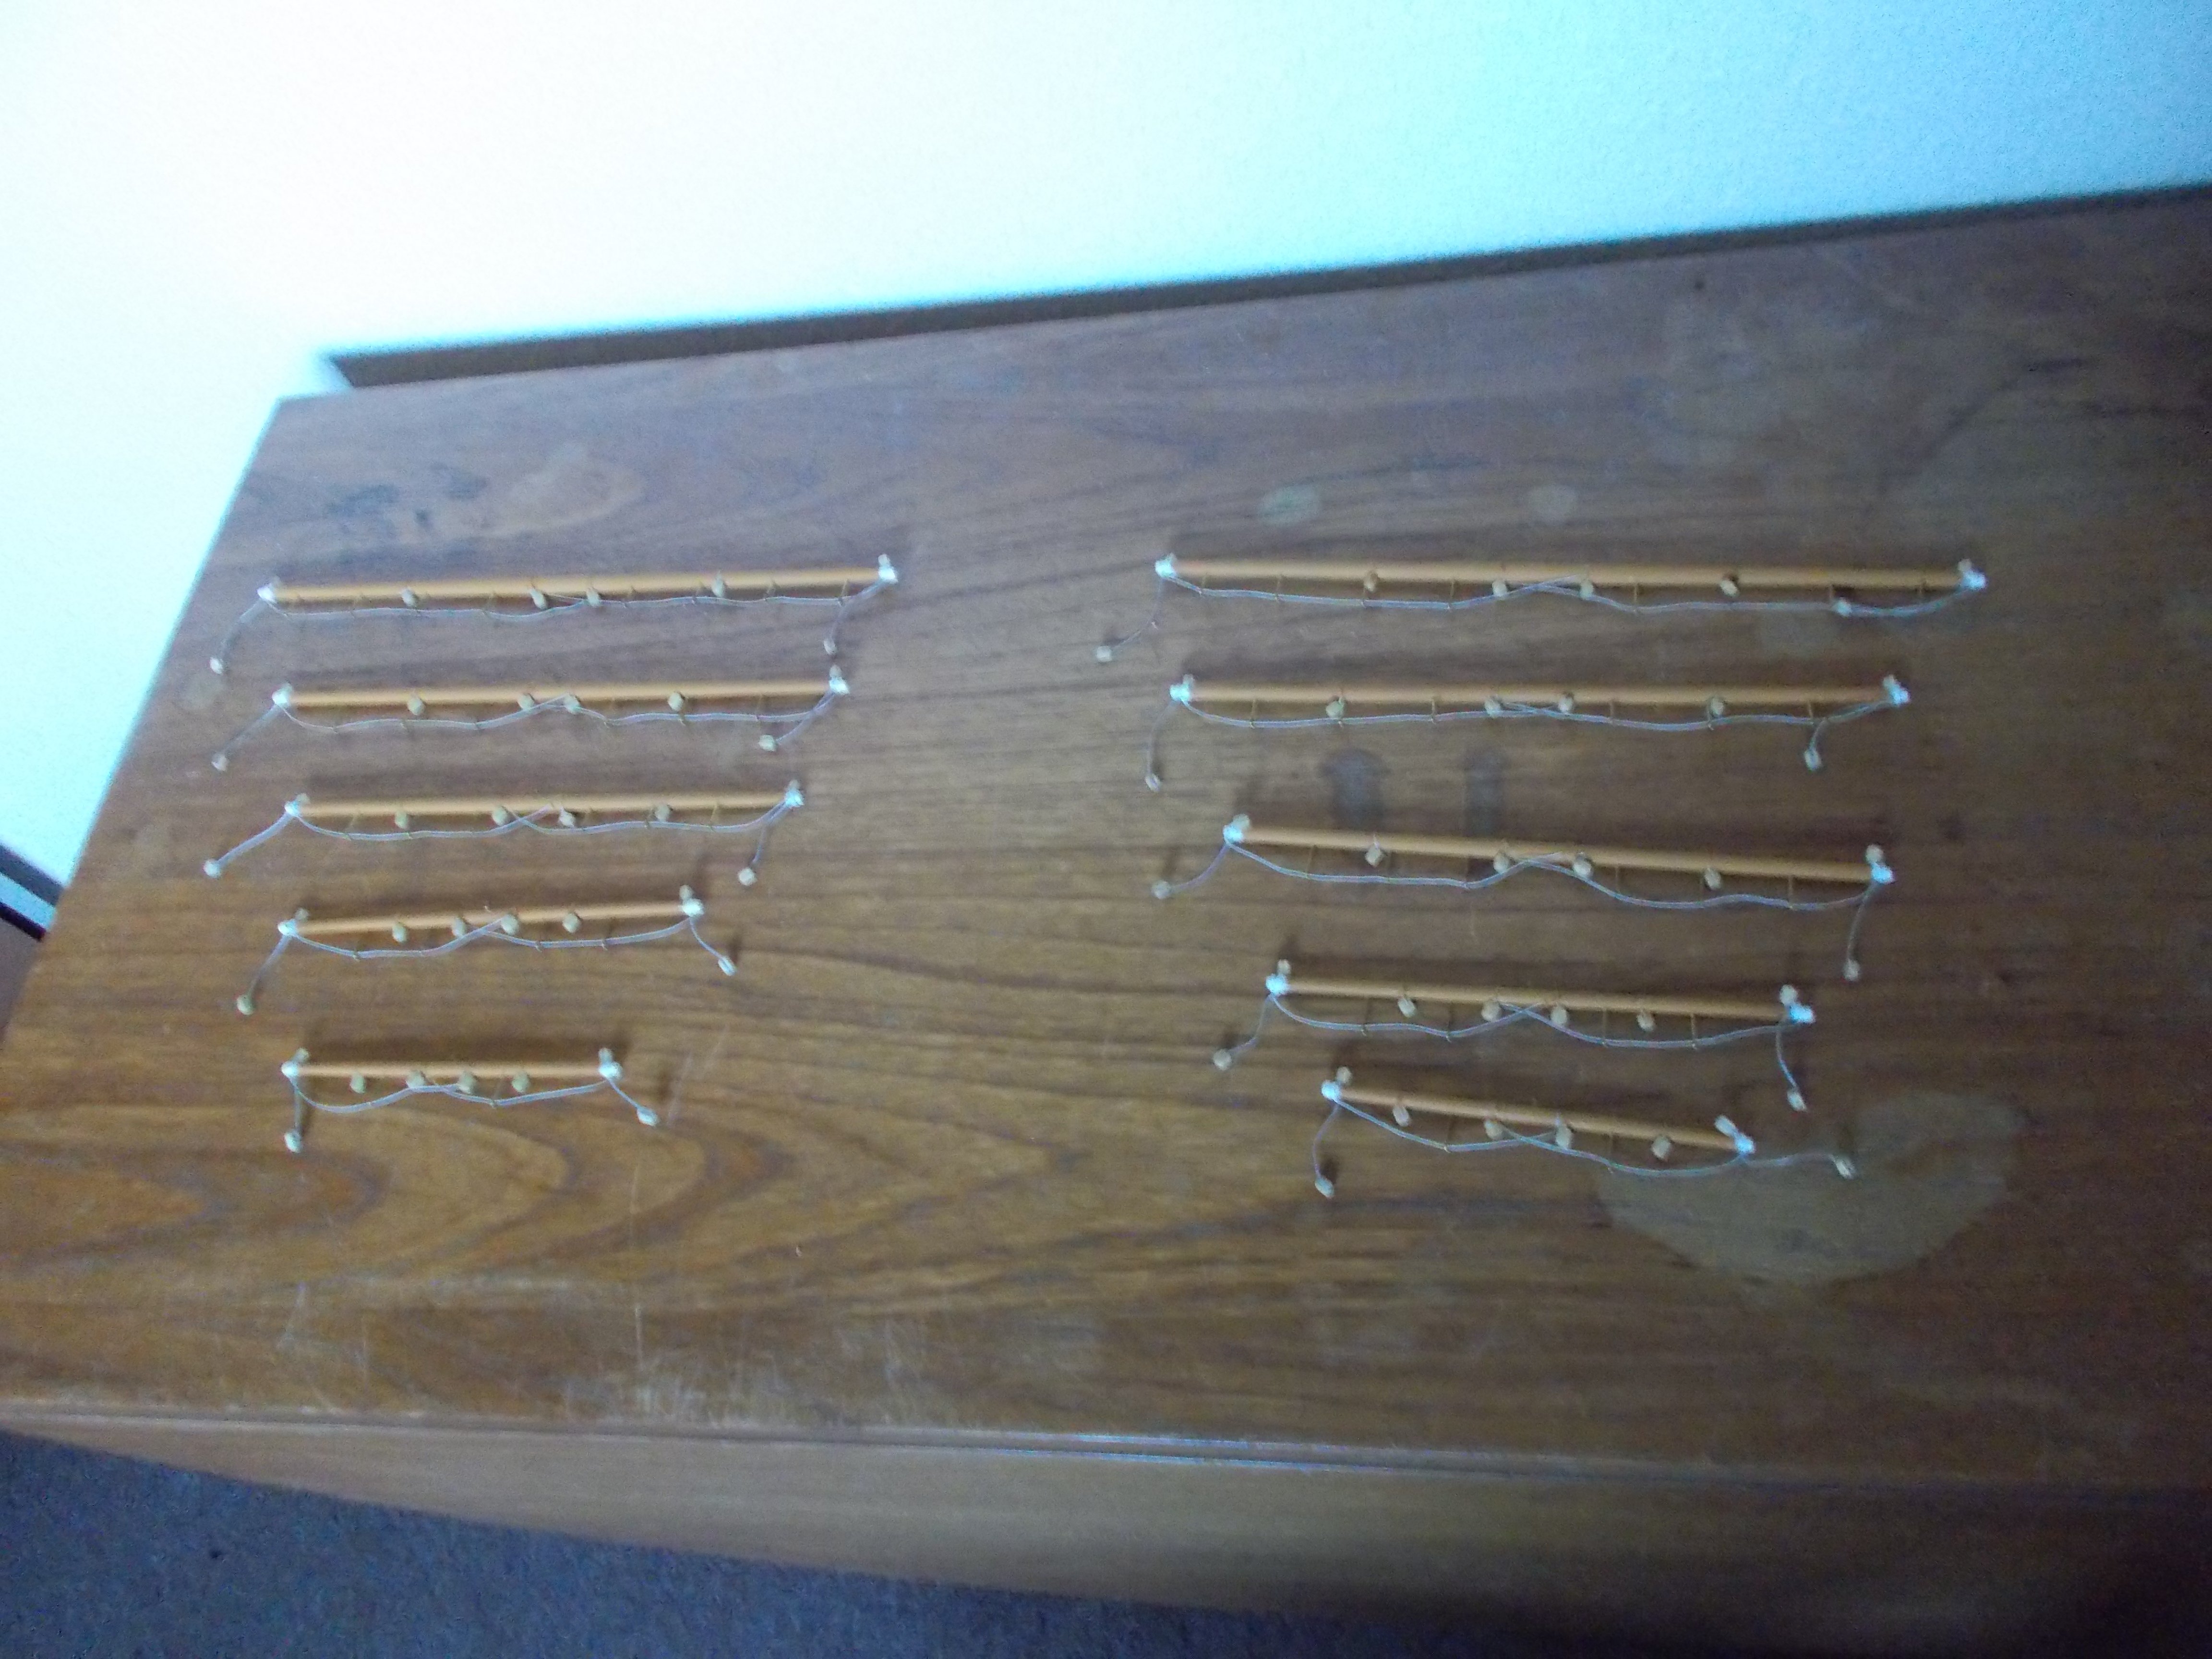
Oh how I just love doing ratlines!! It's like toothache - wonderful when it stops.
Sails and yards next.
-
I have made a start on the standing rigging and sewn the appropriate sheets to their yards ready to go on later. Next step shrouds and rat lines!!
I have to say that it was not an easy job keeping the masts inline and a reasonable tension on all the lines but I am quite pleased with the result and it was worth the time.

- Ryland Craze, hof00, SiriusVoyager and 1 other
-
3
-
 1
1
-
Thank you Gentlemen for your kind comments.
-
-
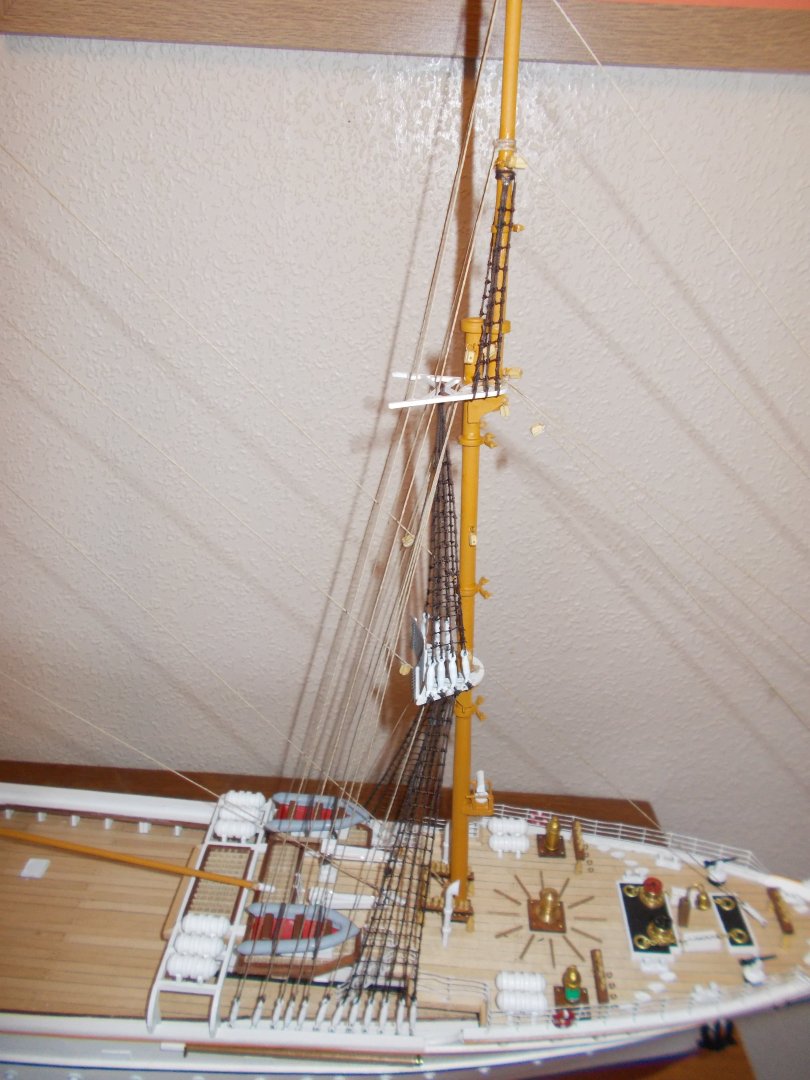
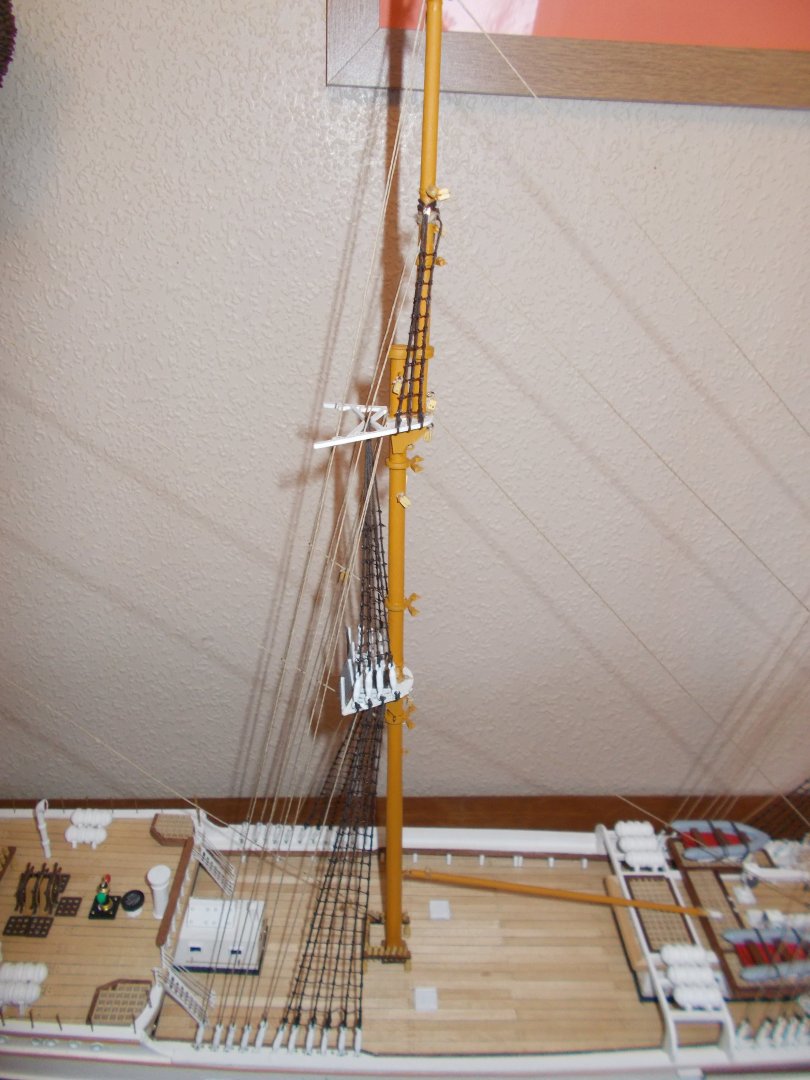
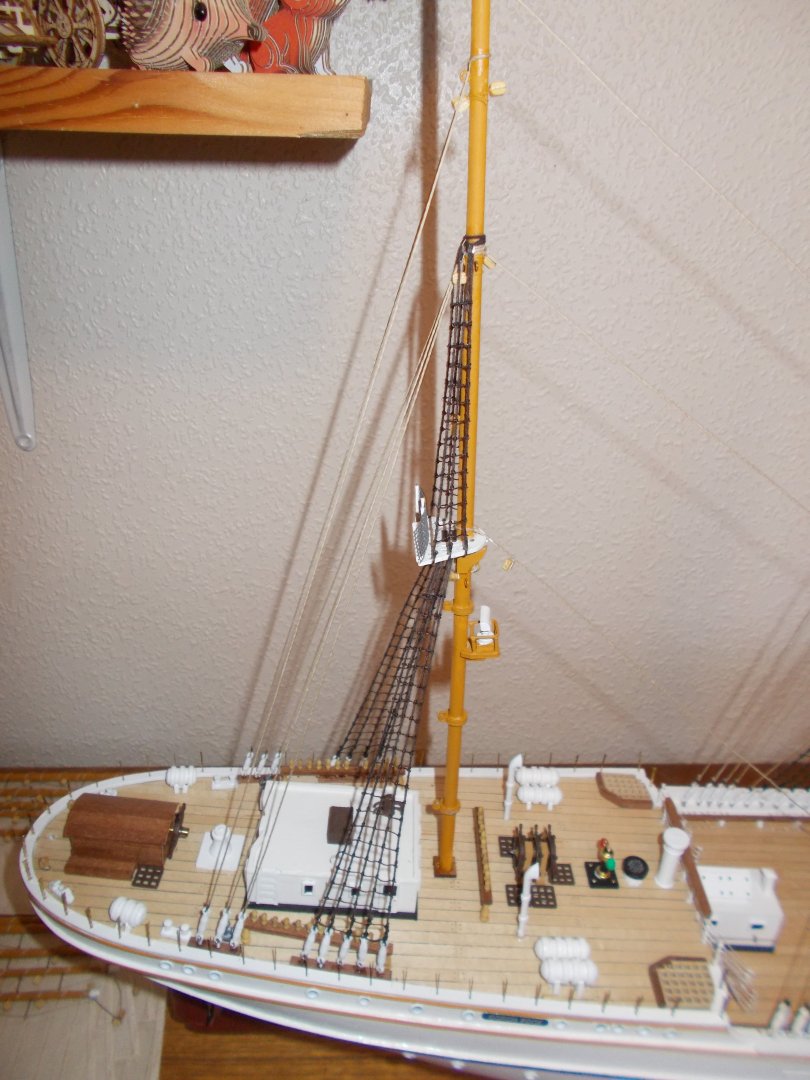
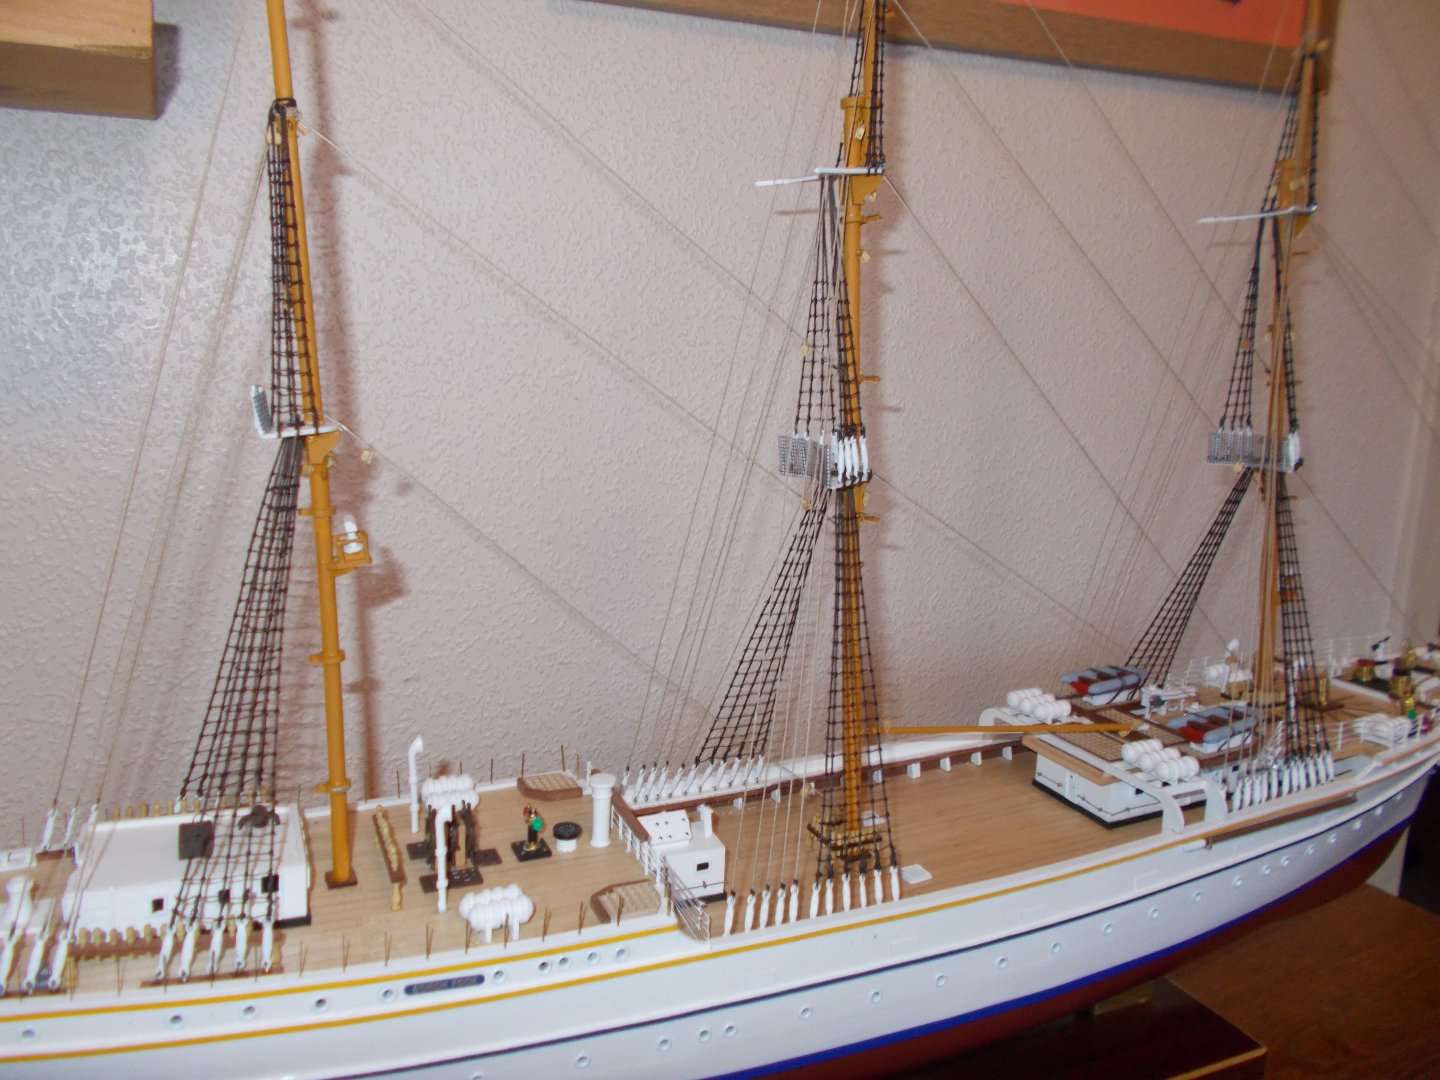
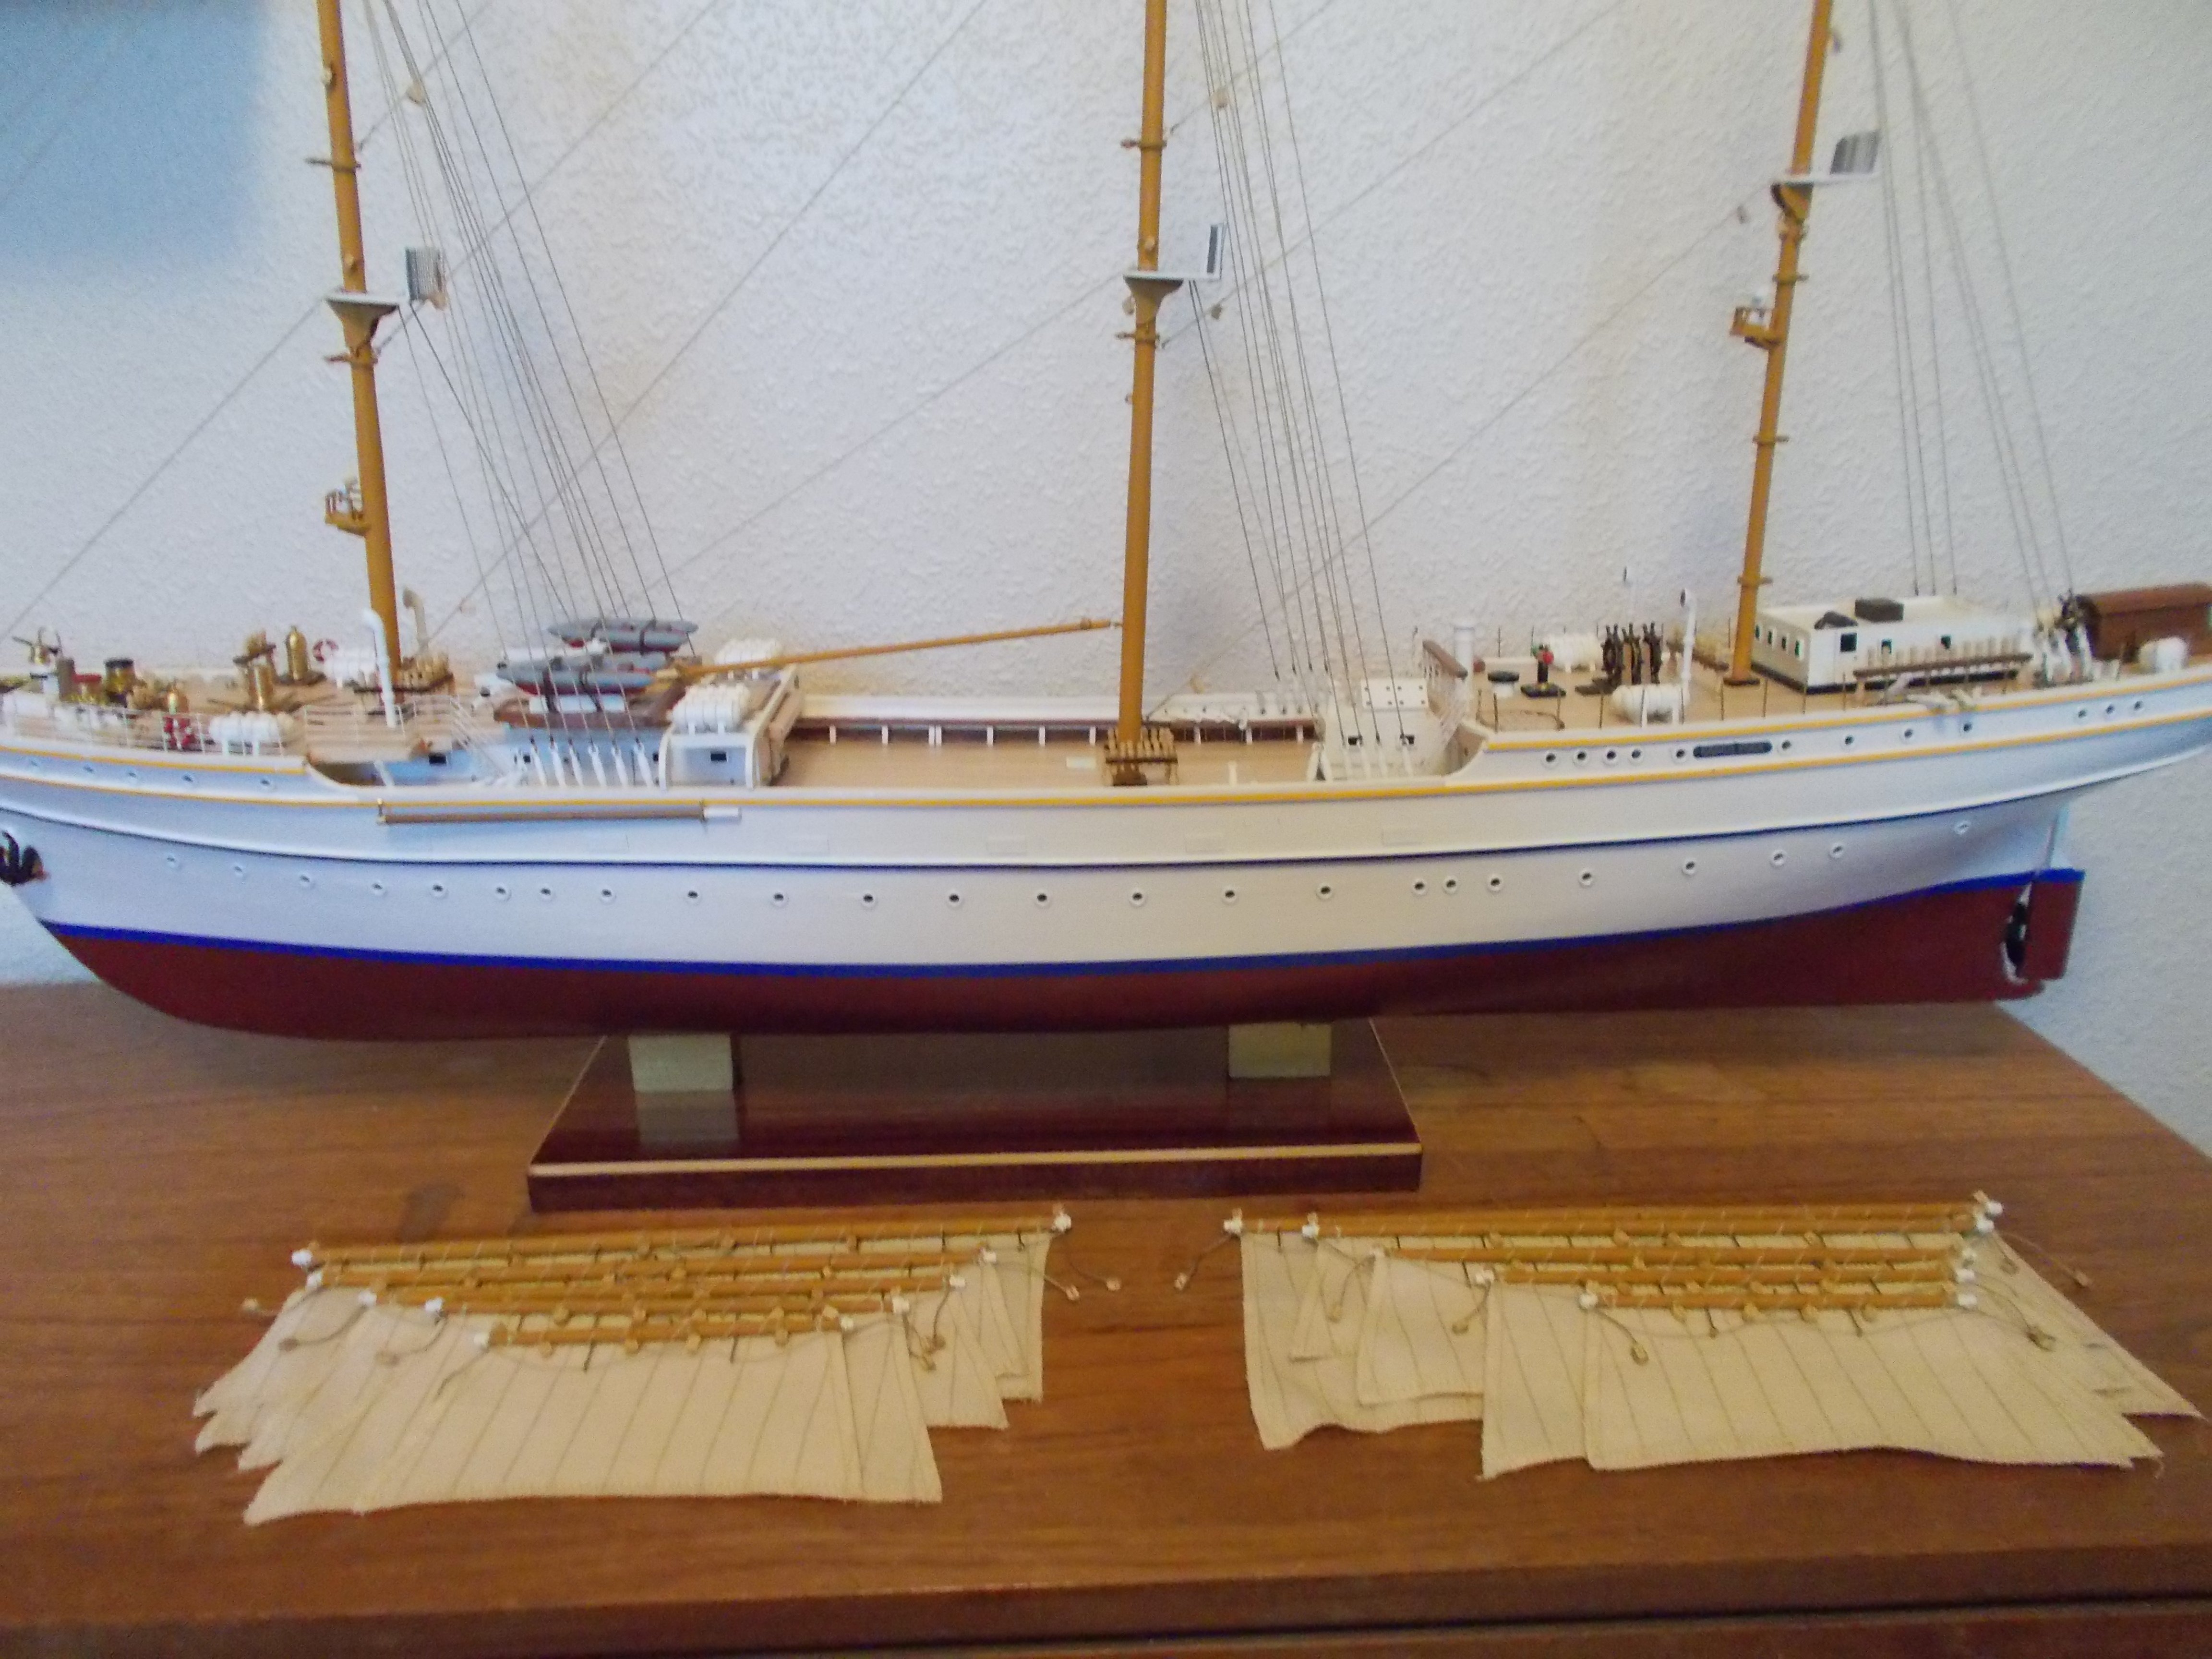
I have been very remiss about adding regular updates to this log and a great deal has happened since my last update.
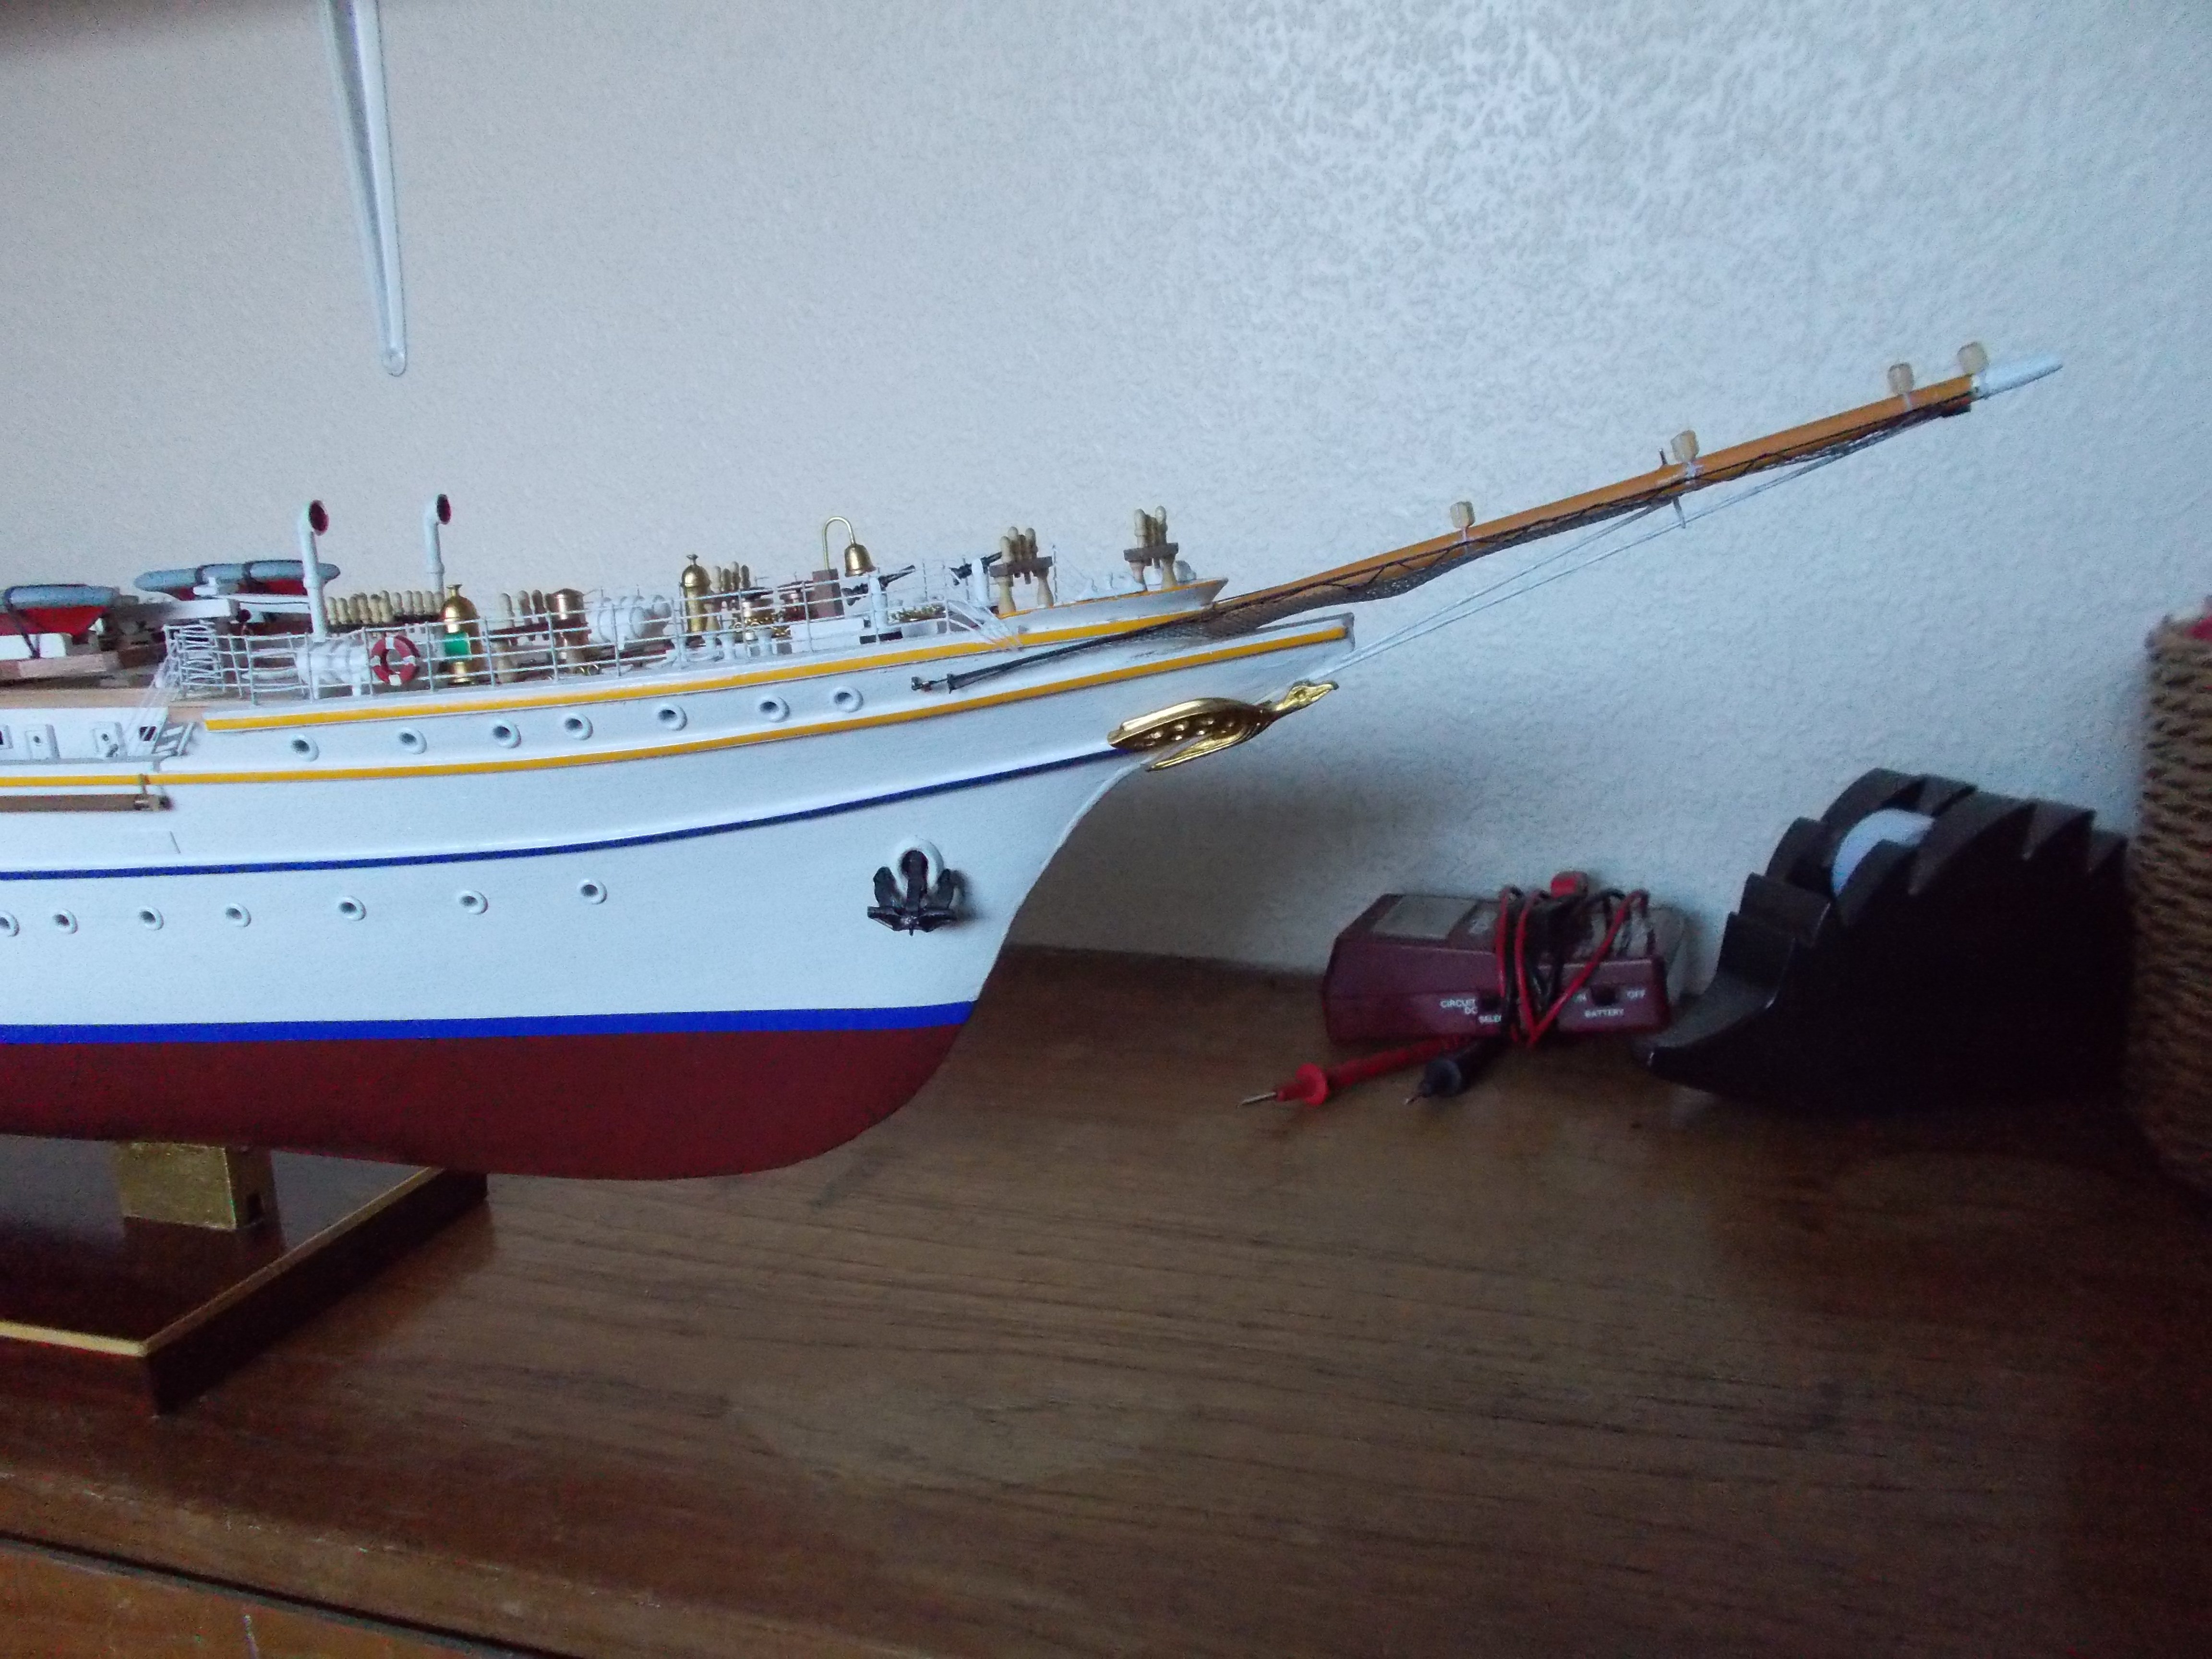
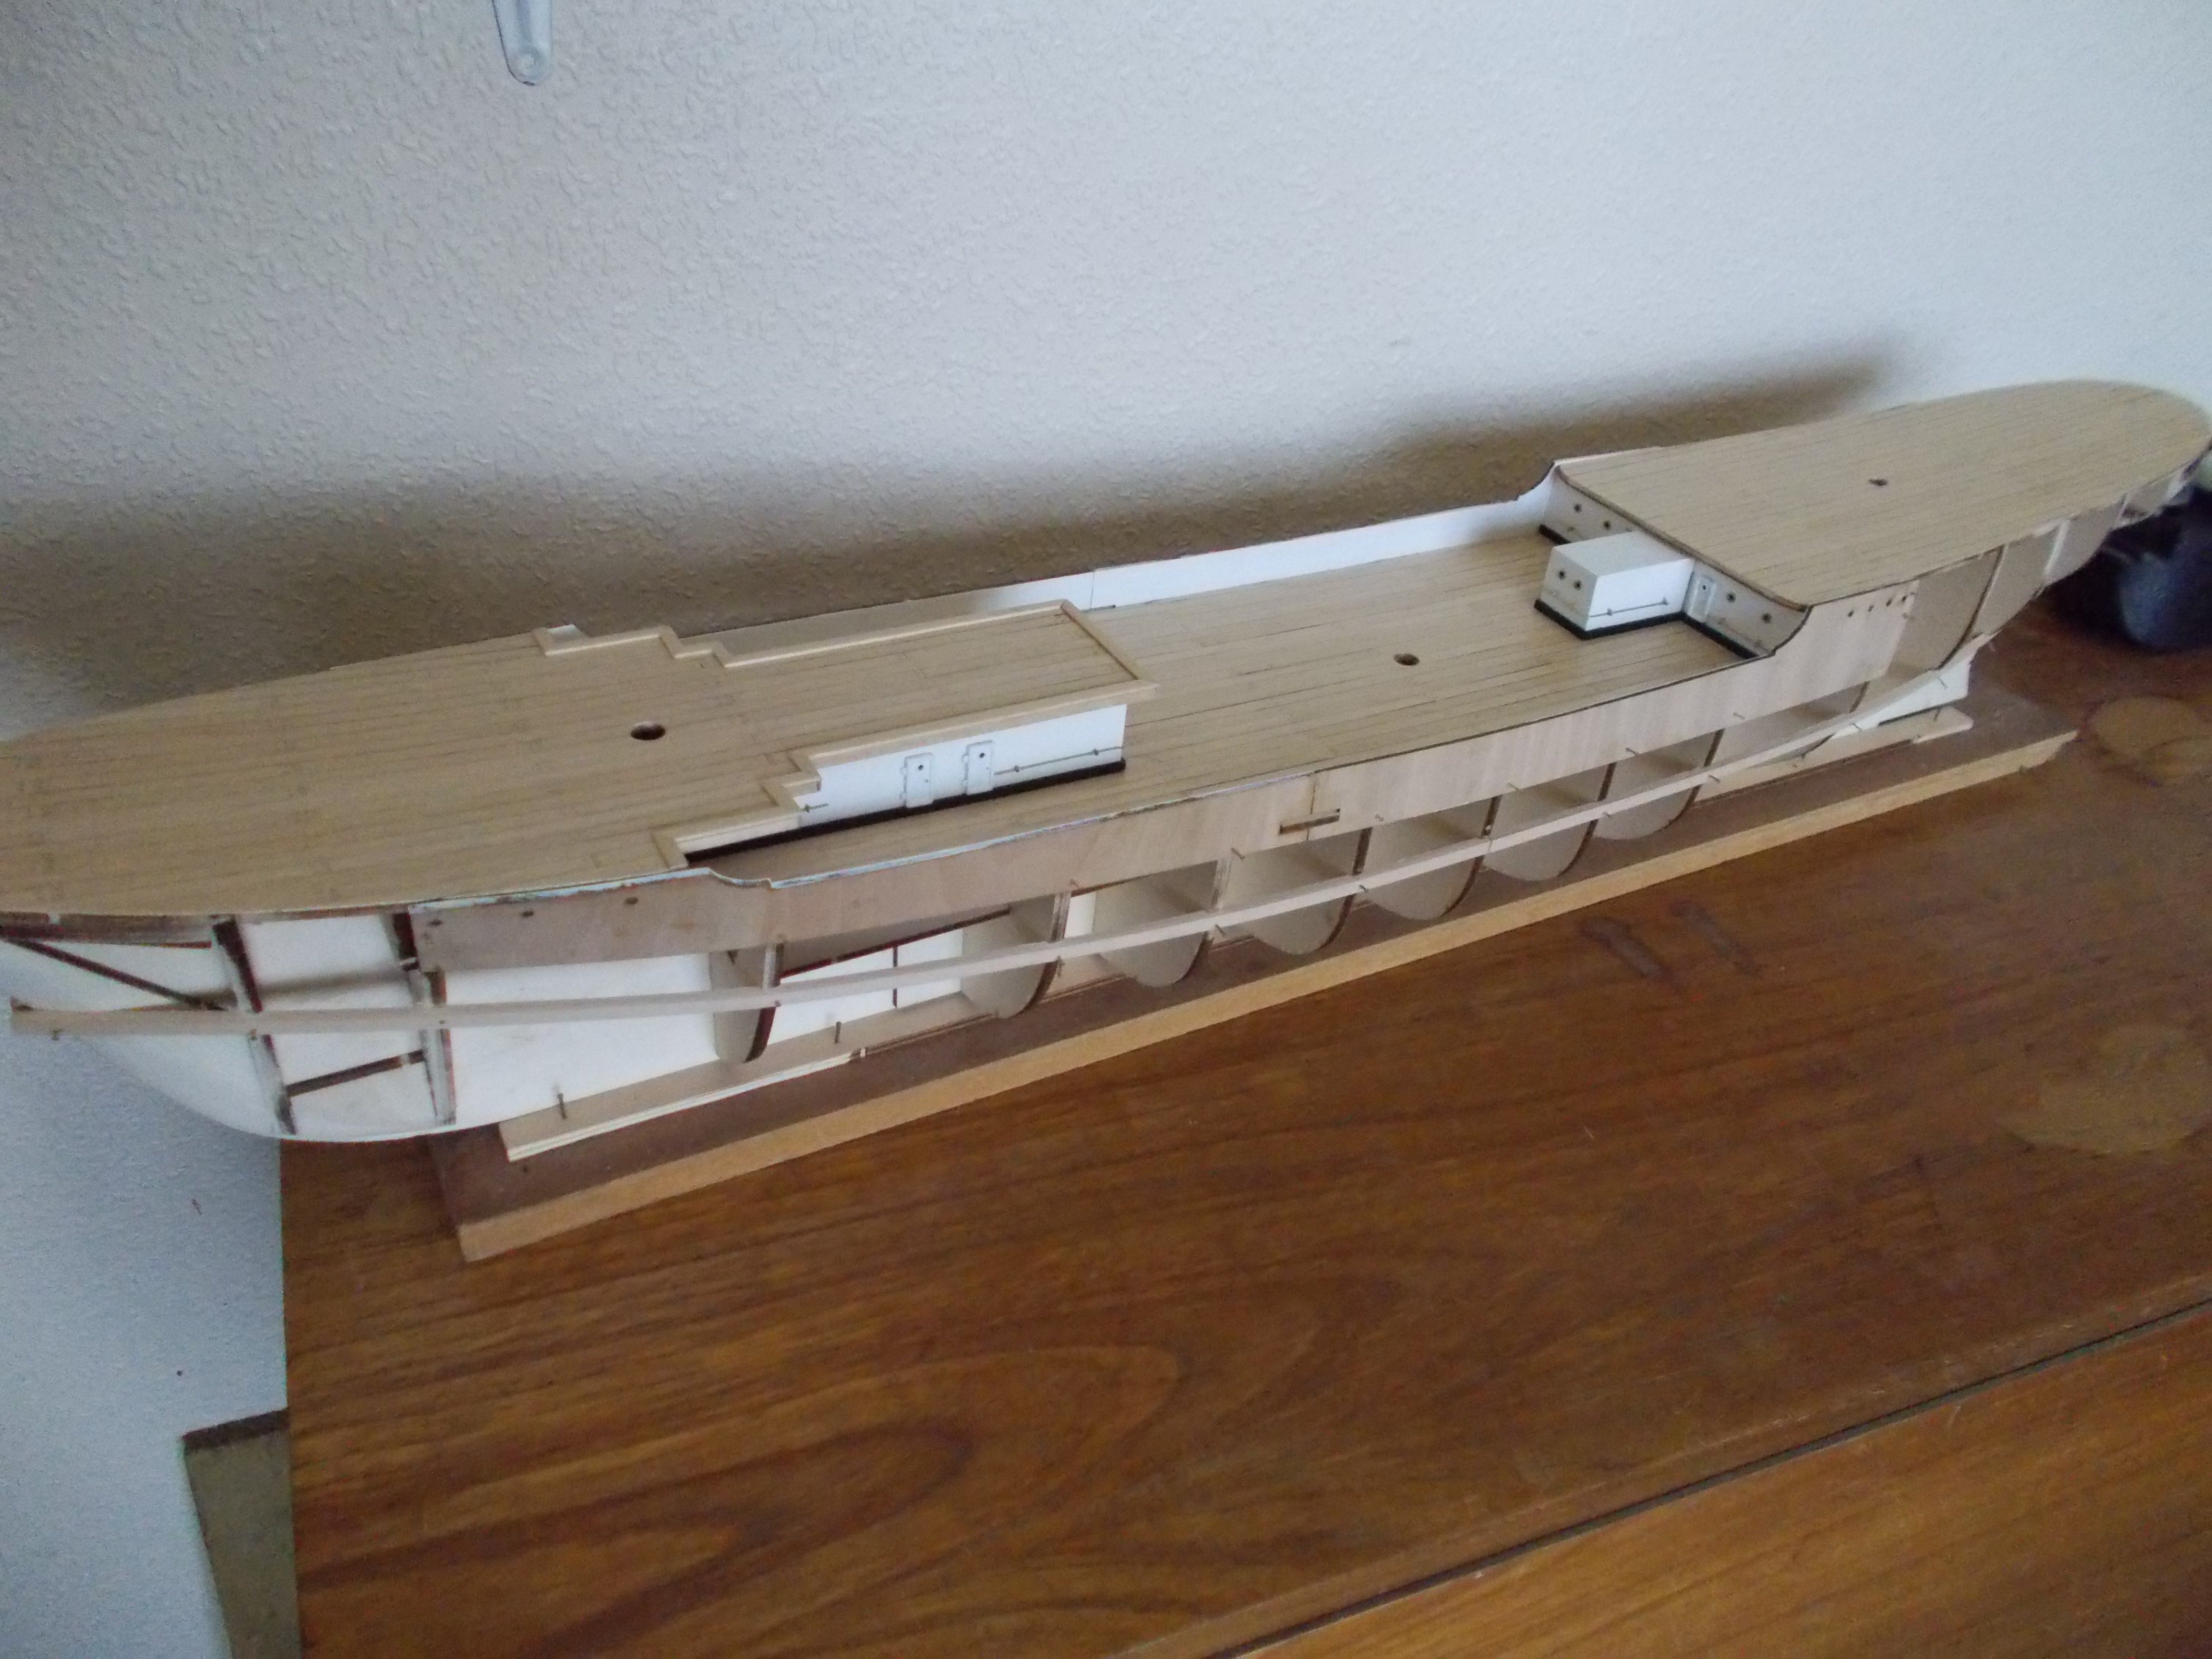
Firstly the second planking is finished. It was a trial because the wood supplied insisted on curling side to side. It meant for very slow progress and a huge amount of adhesive tape to hold the planks down while they dried. Anyway, eventually covered the hull and much to my surprise not a lot of filling was needed. The hull was primed (3 coats) and painted (3 more). Holes were drilled for the portholes. I really didn't like those supplied so I bought larger ones pre painted white. They are far nearer those on the real vessel.
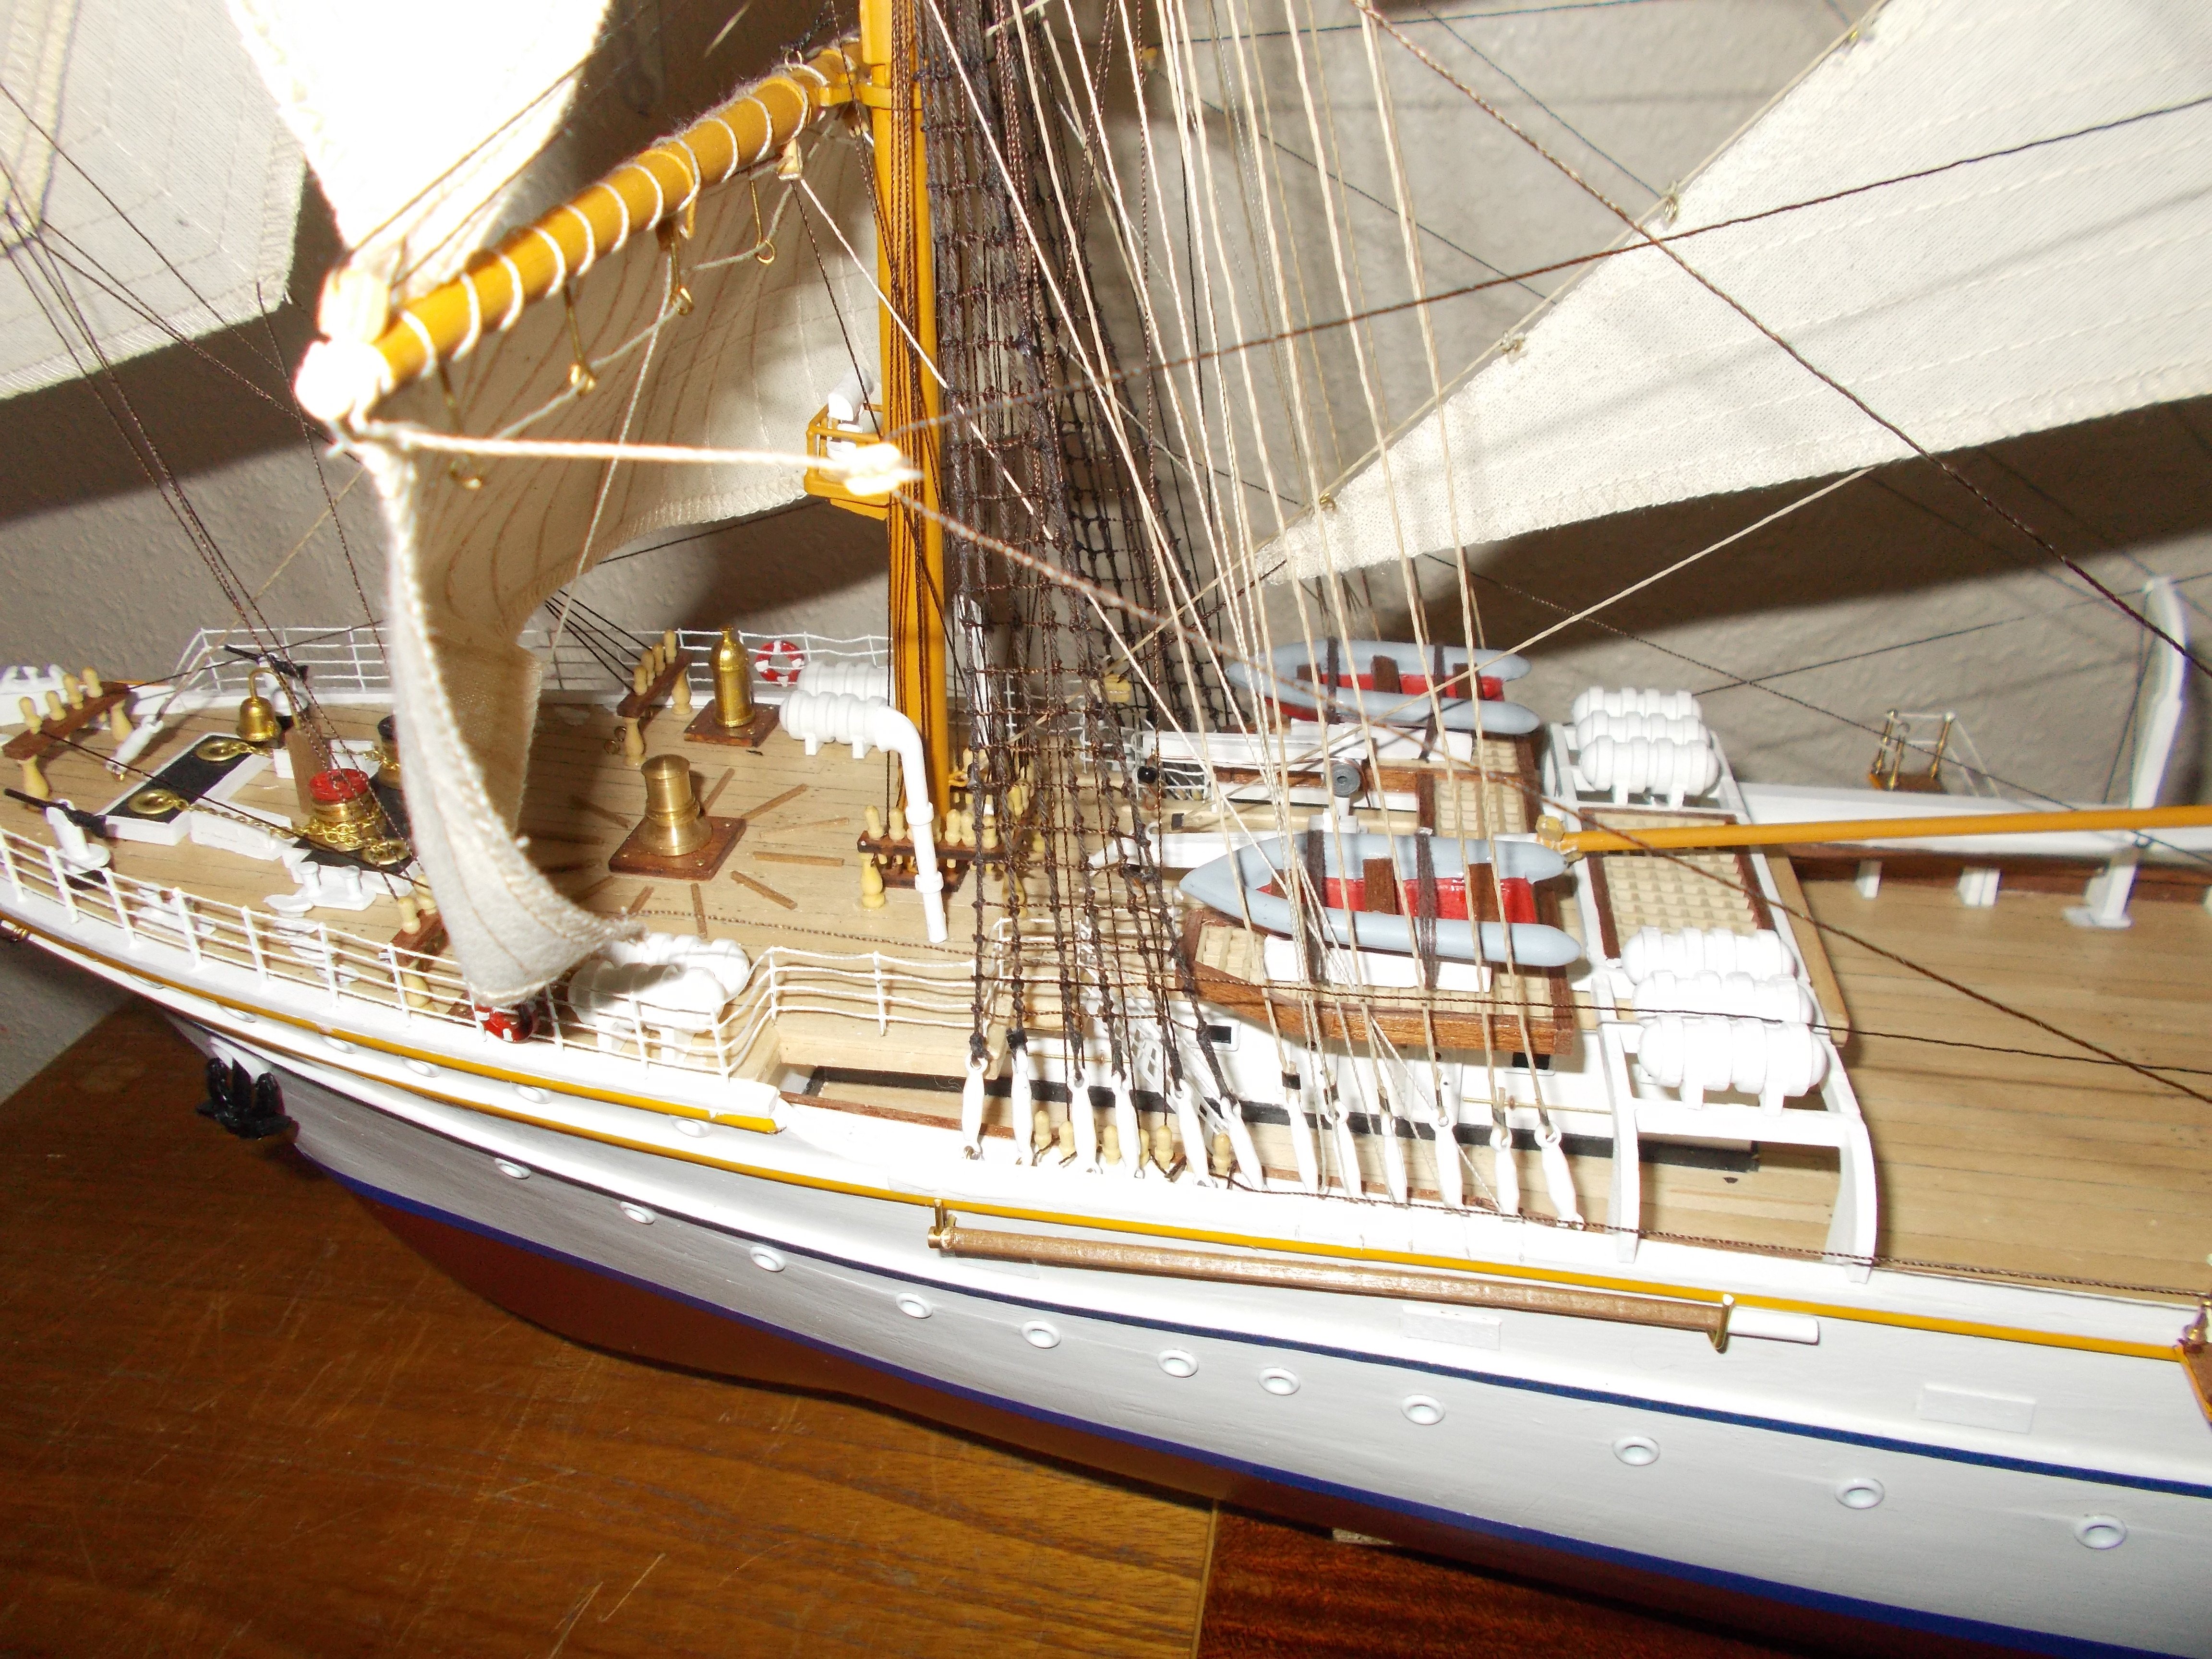
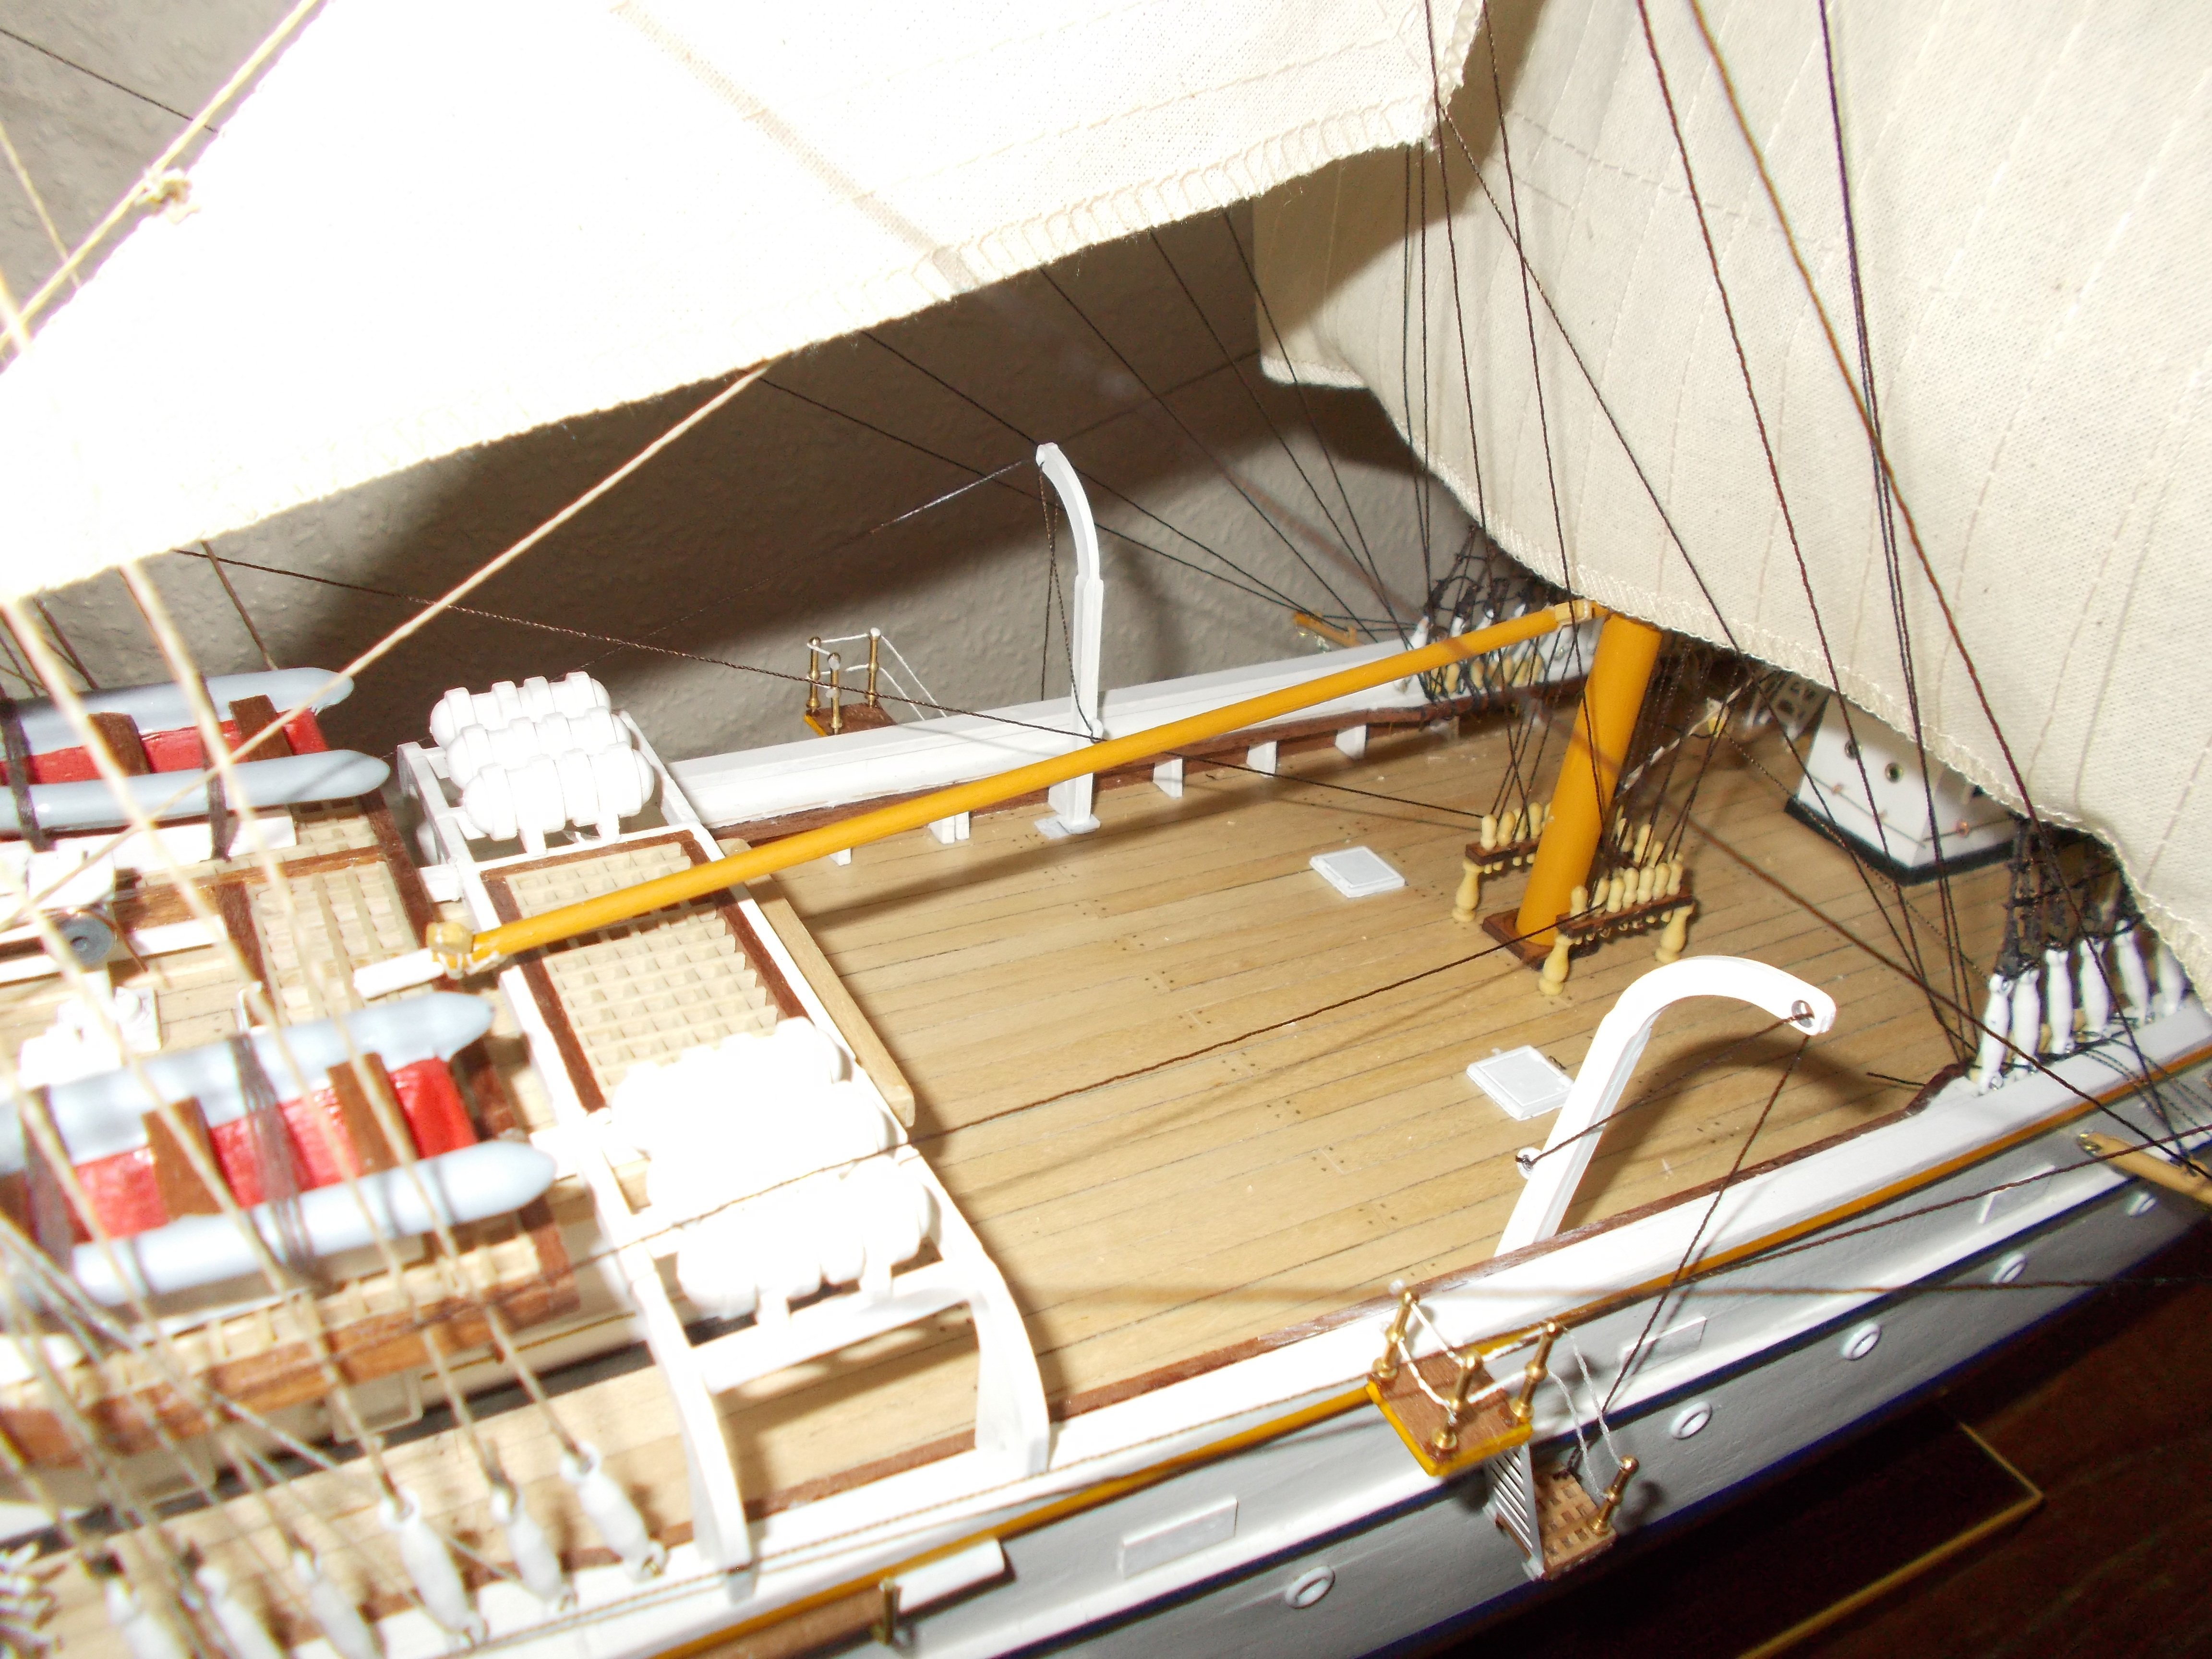
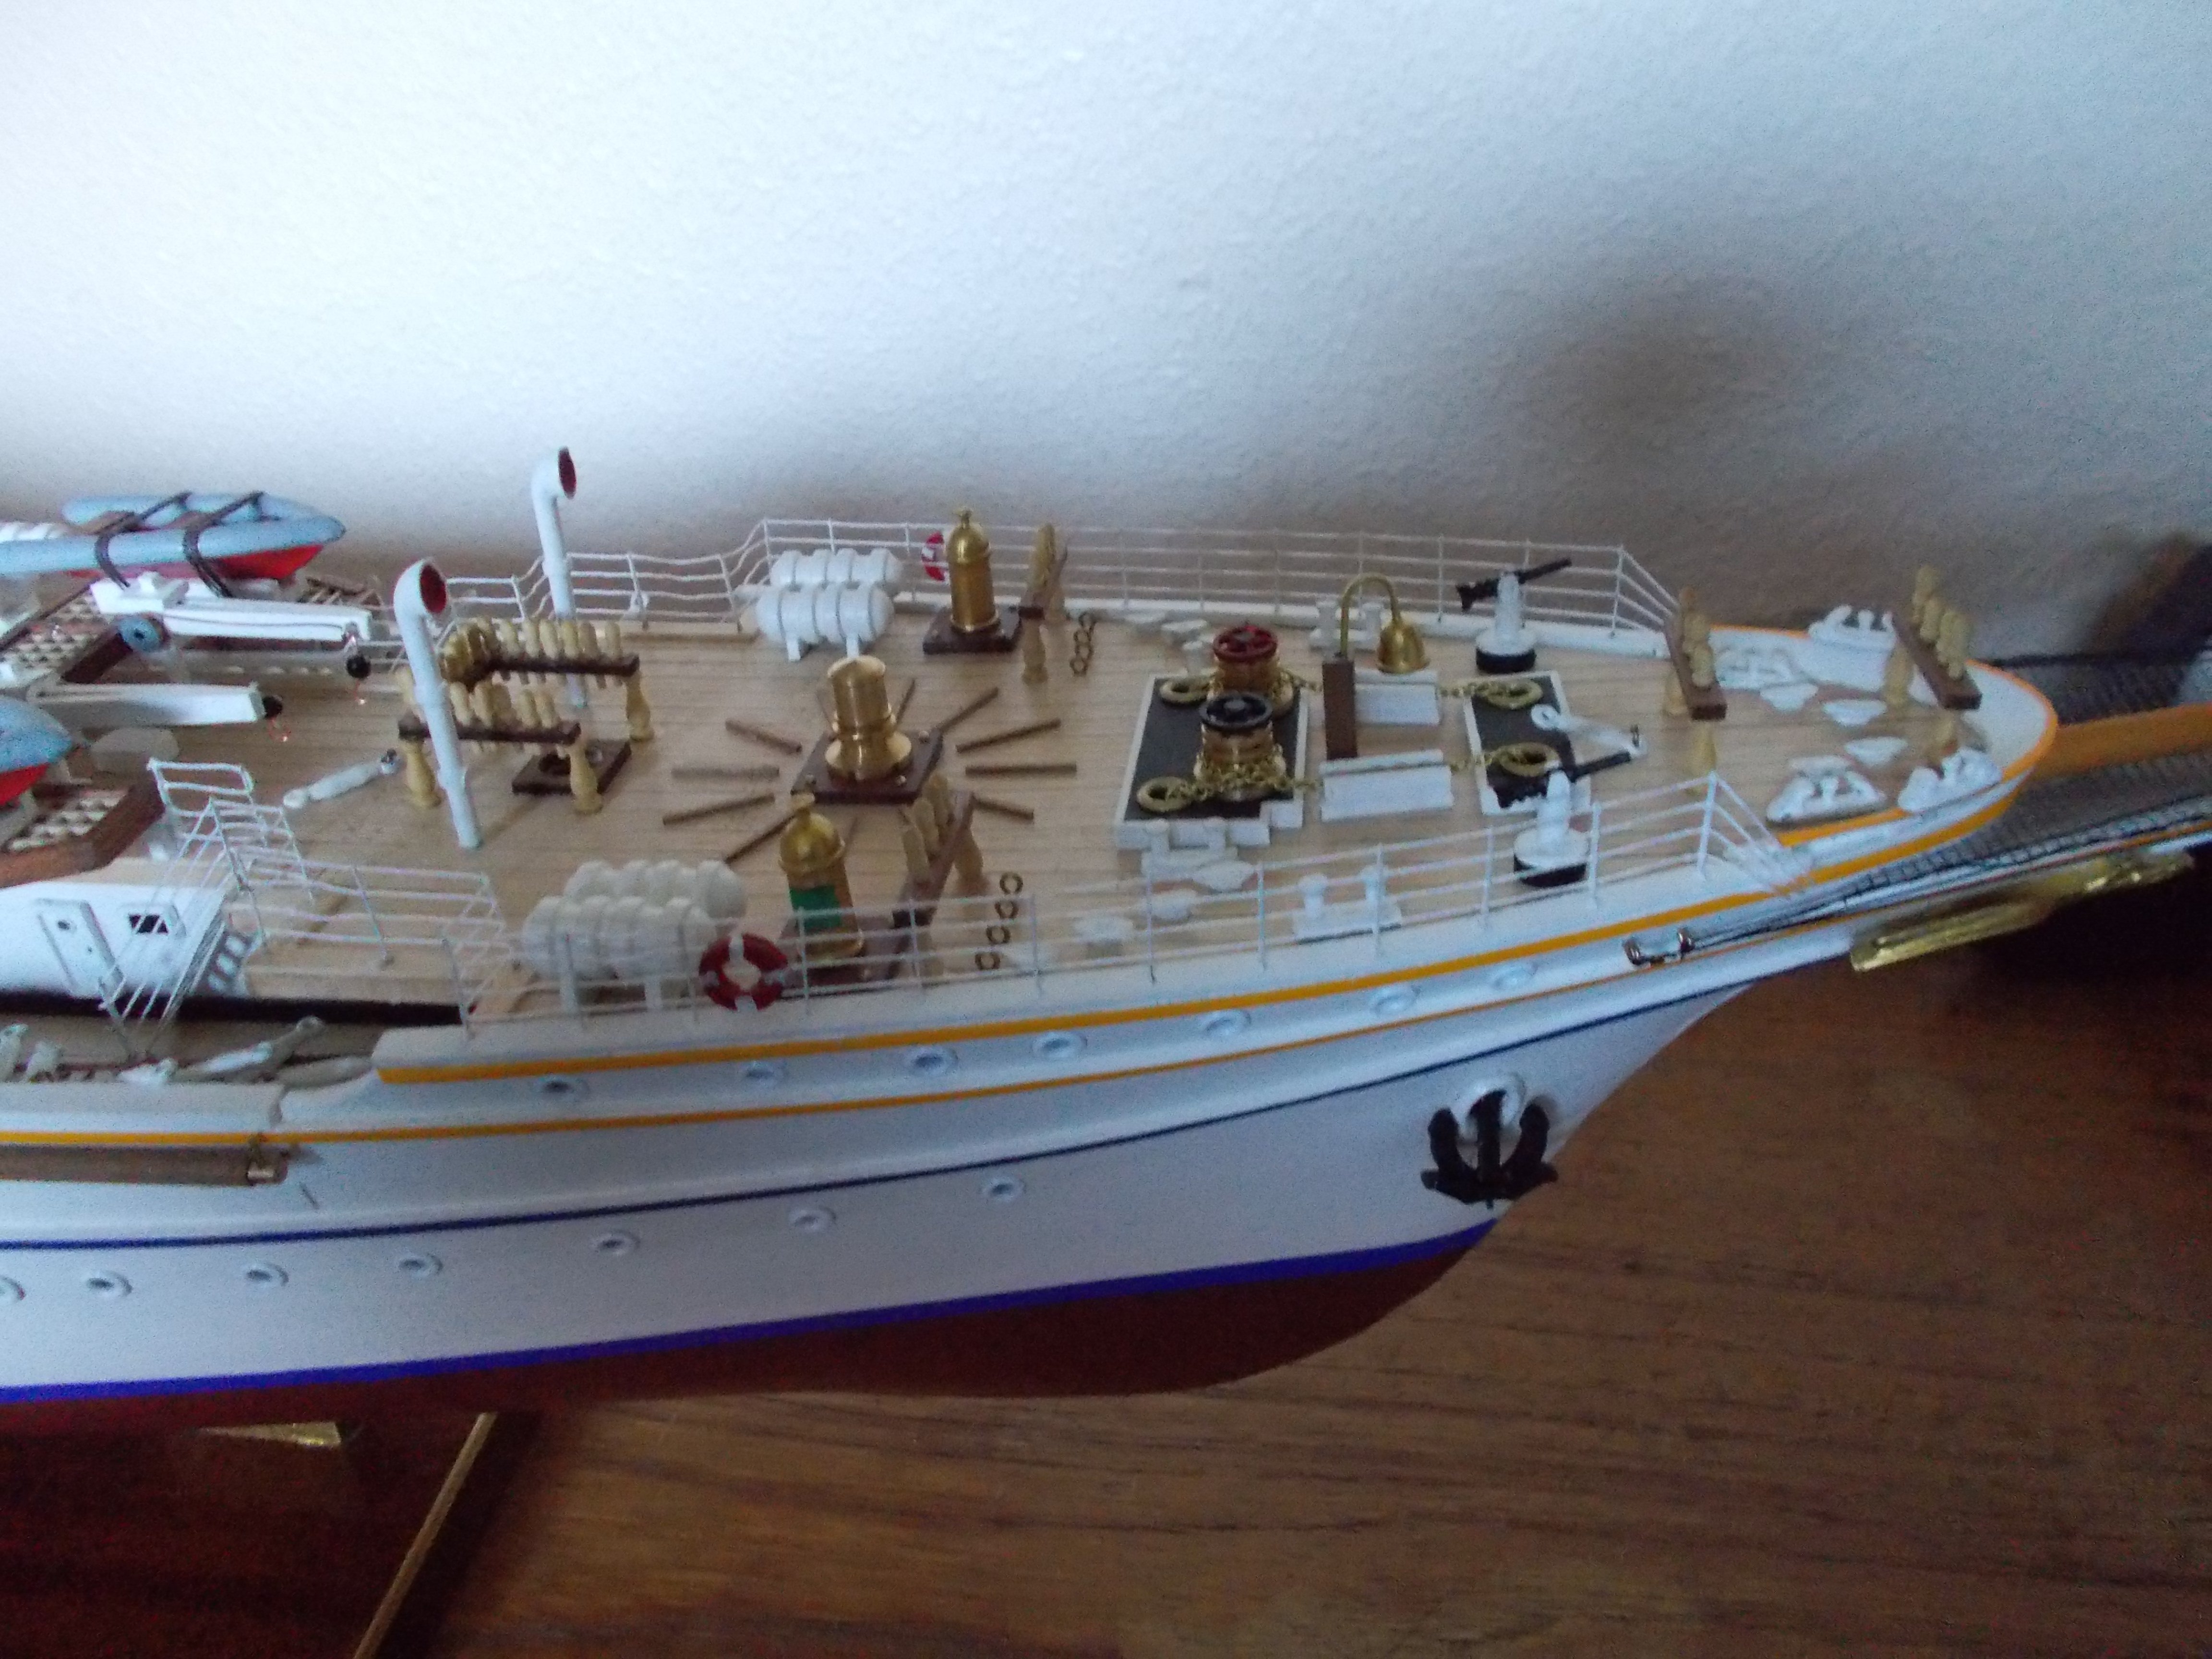
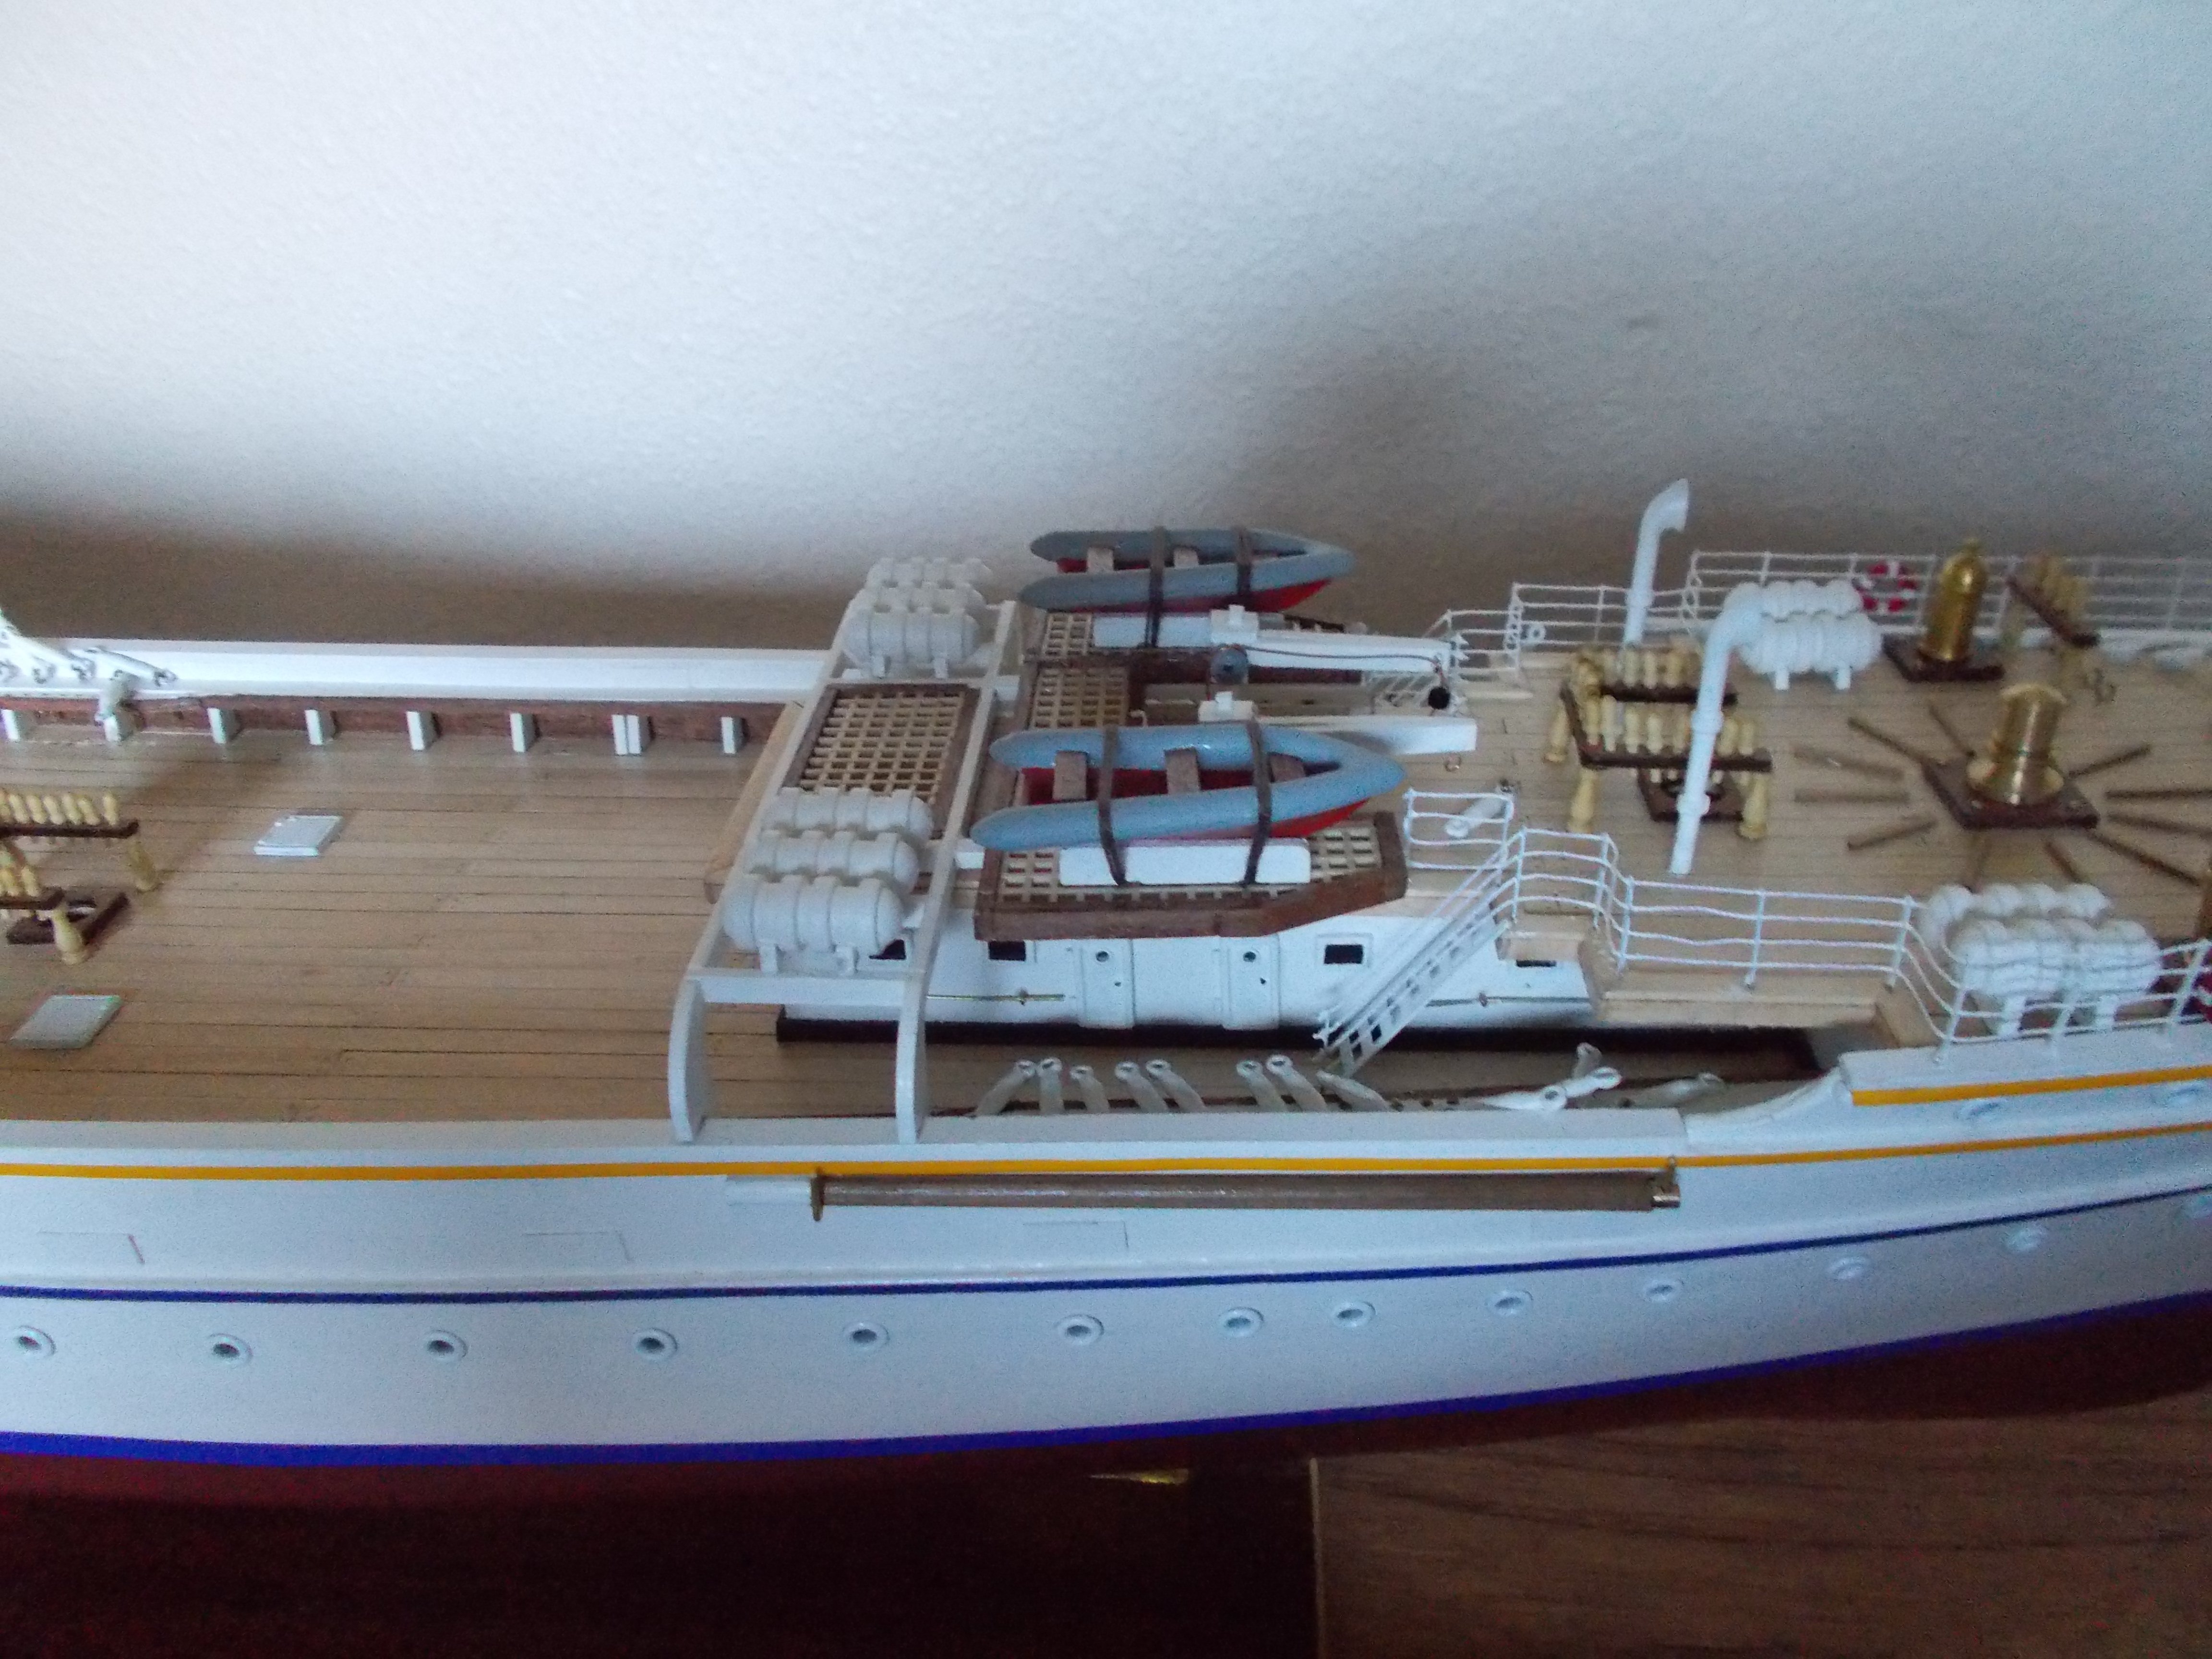
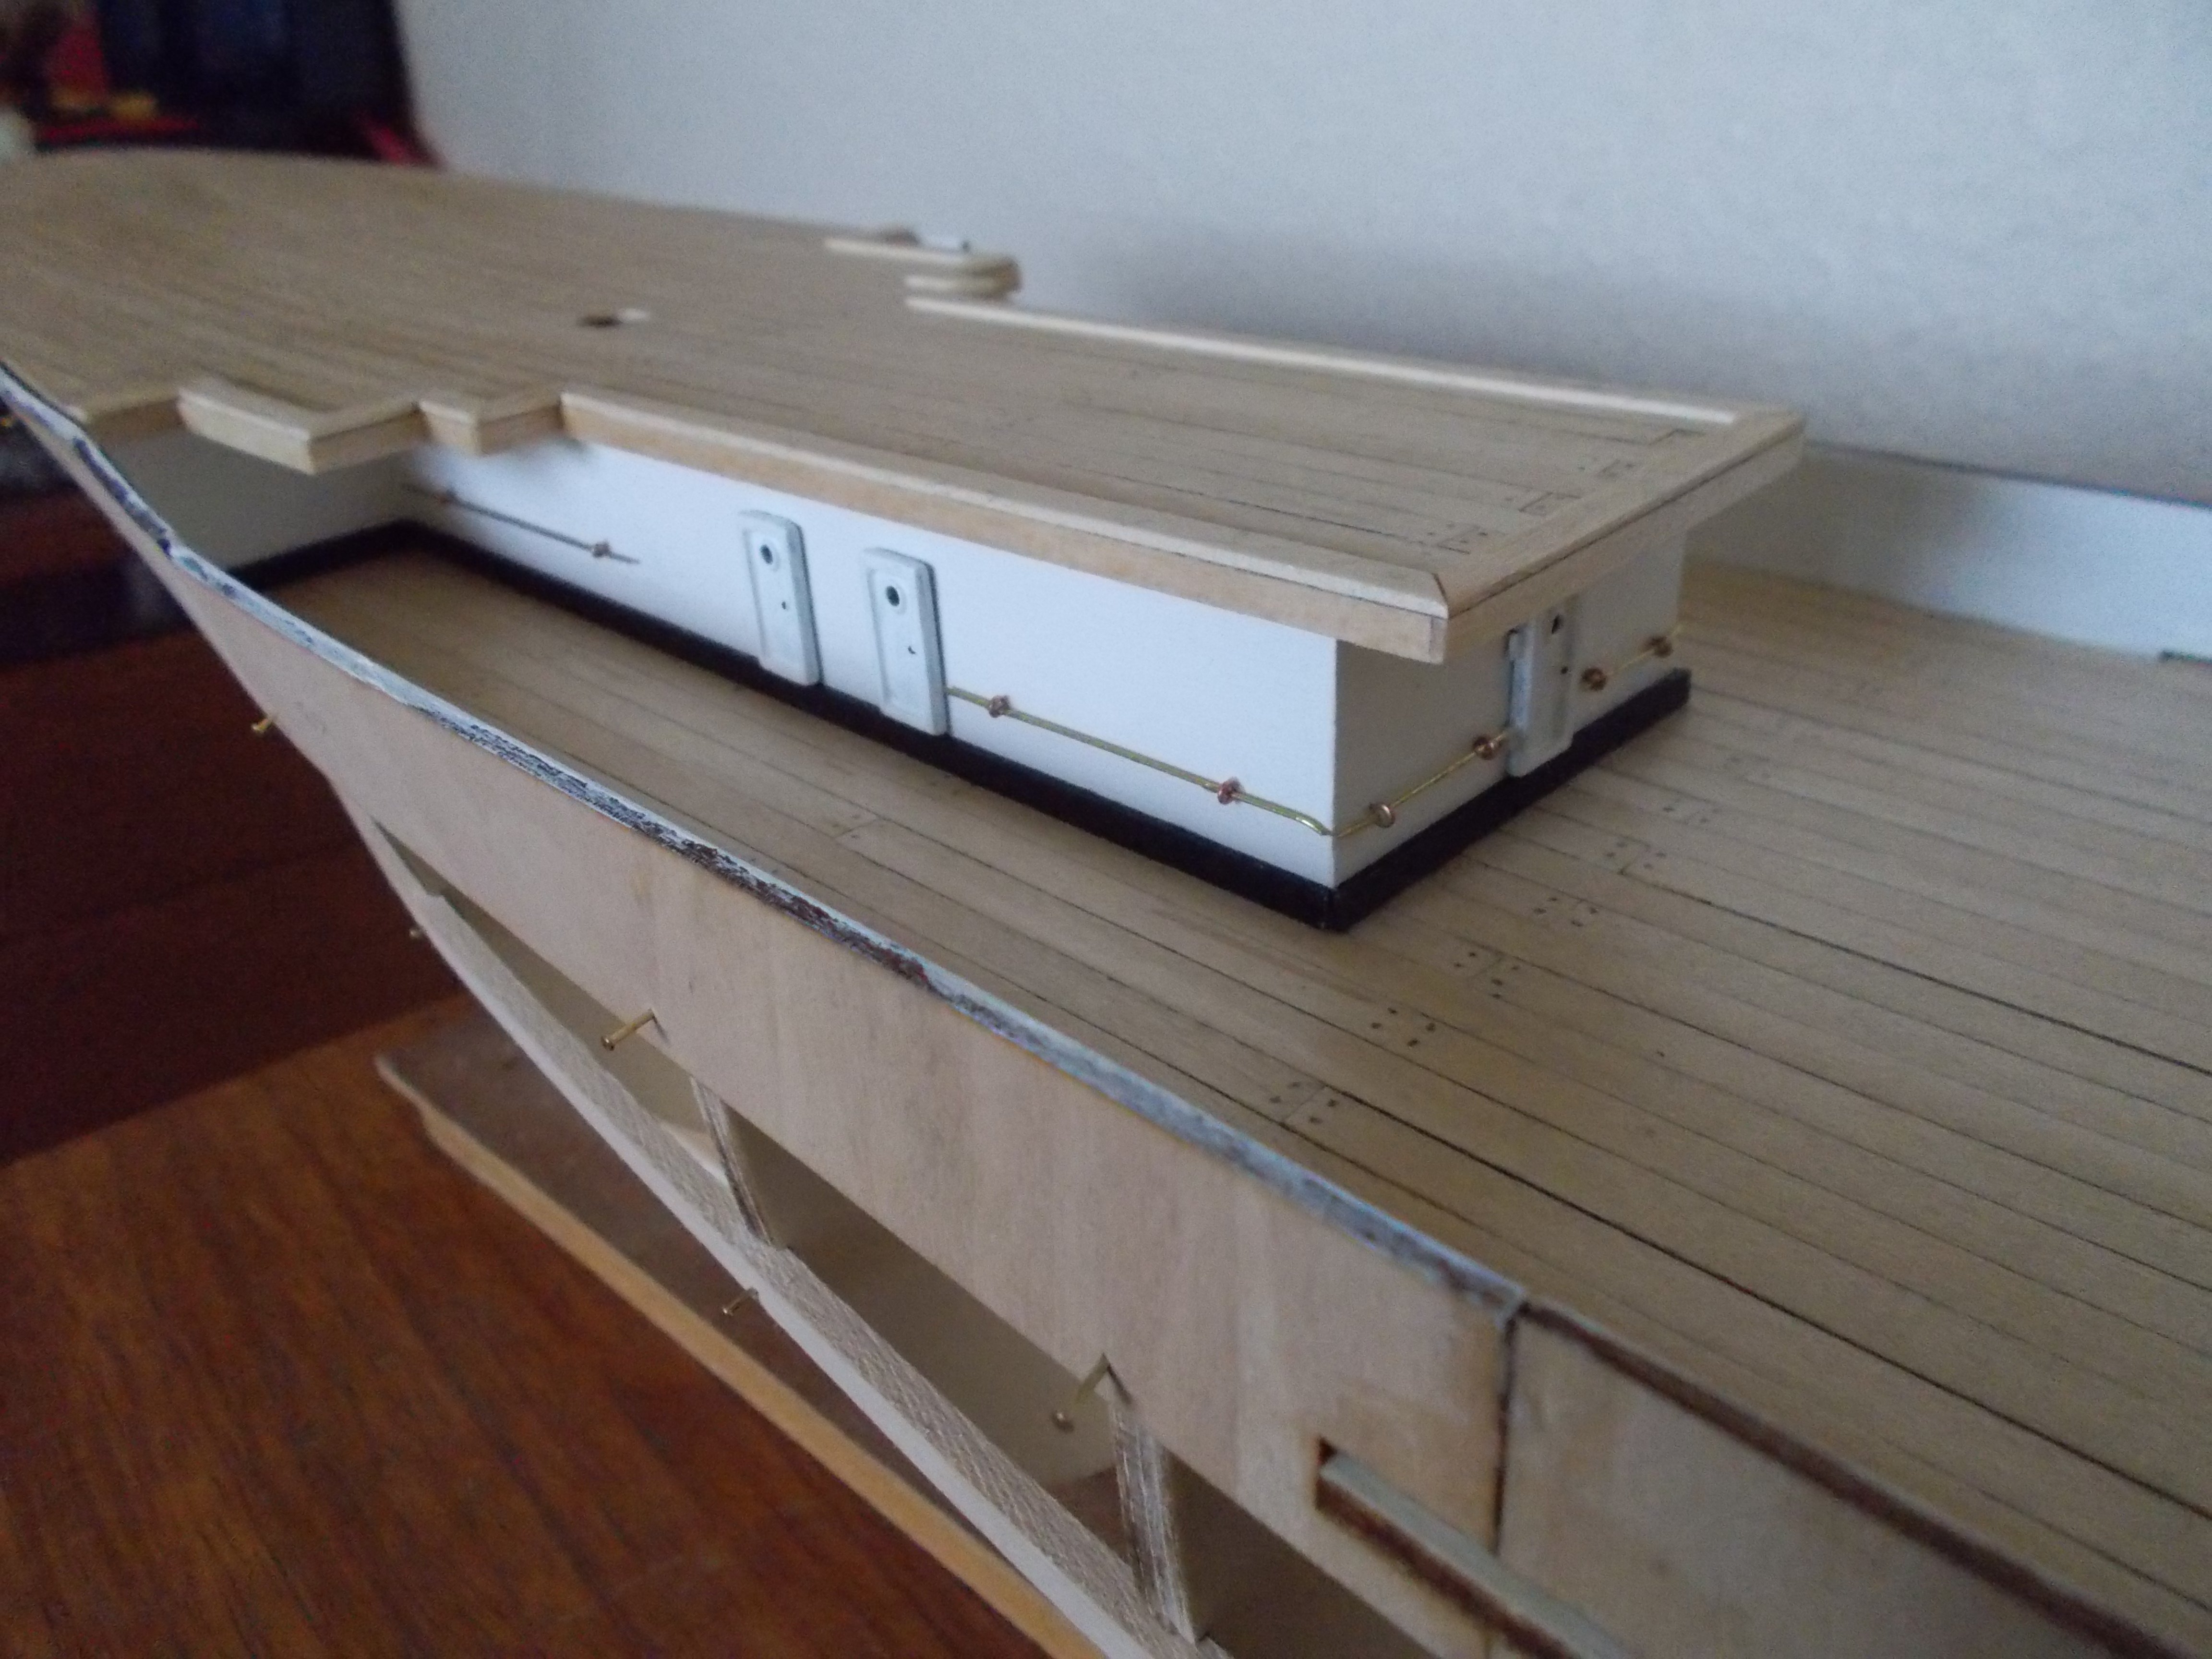
The there was all the deck furniture to make and attach, one of the stages I find the most fun. I did the railings at the front but I will leave the rear railings to last because it would be far too easy to break them whilst doing rigging. Likewise for the two life boats, cranes etc.
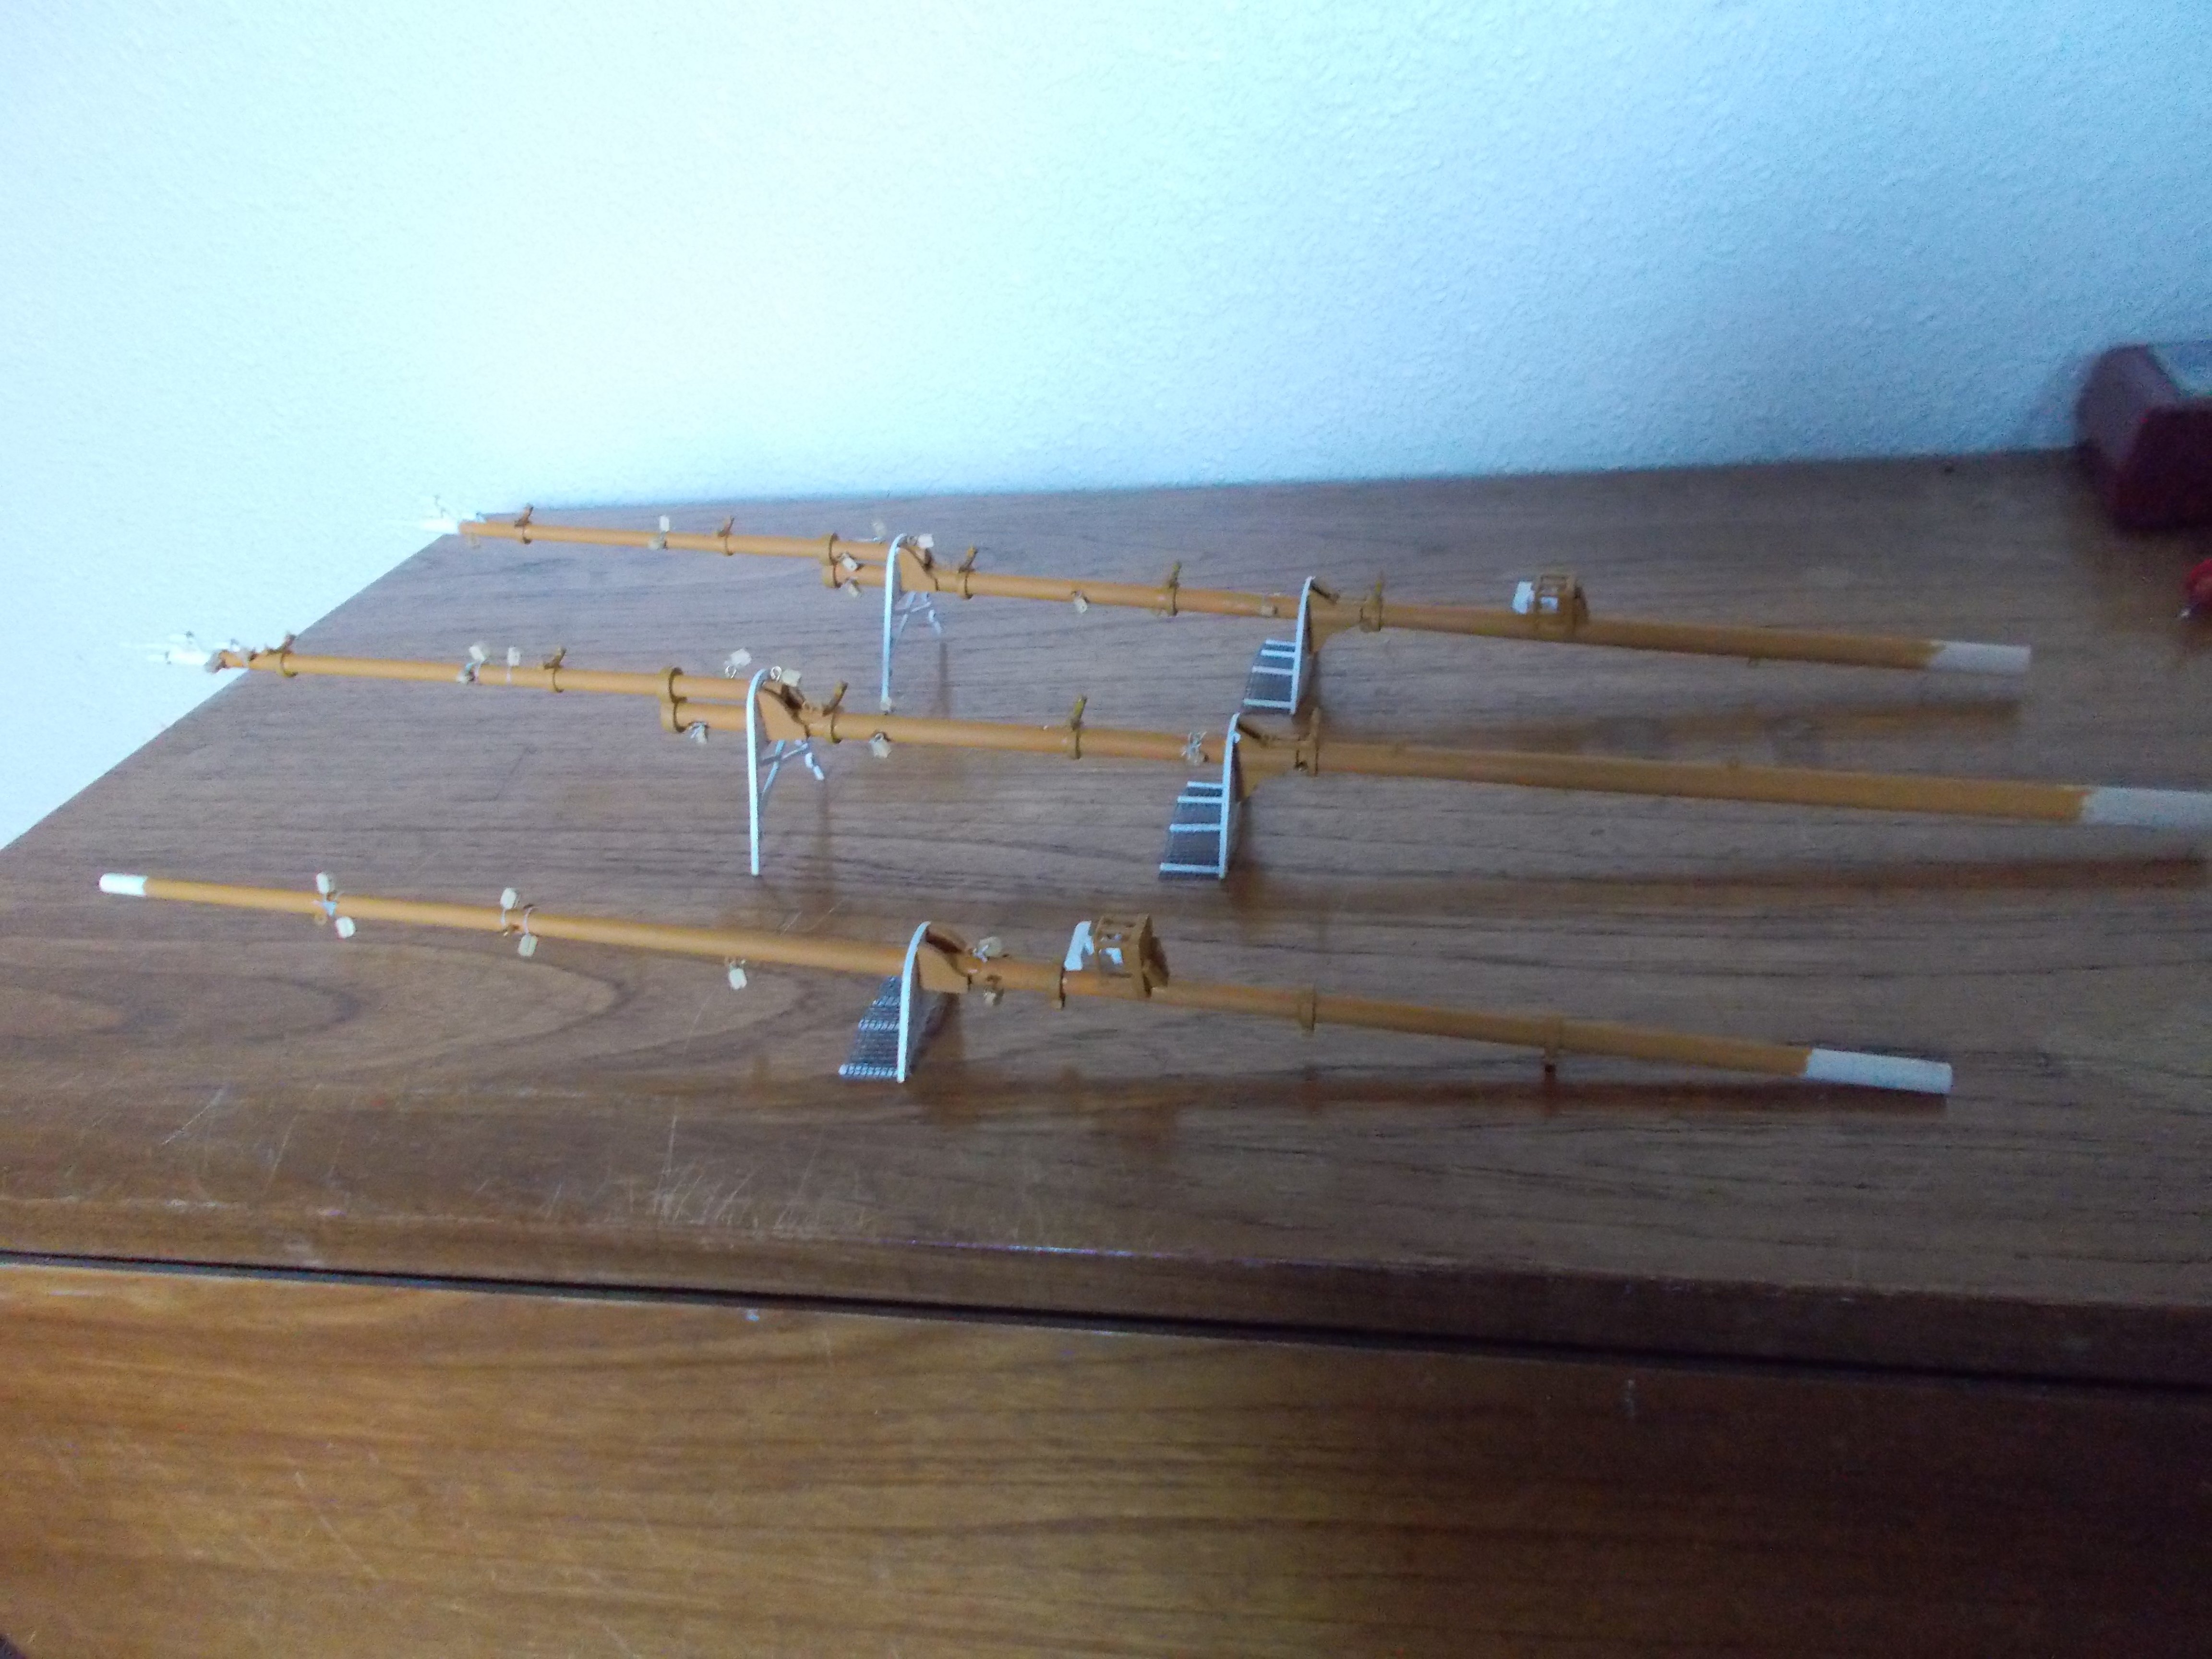
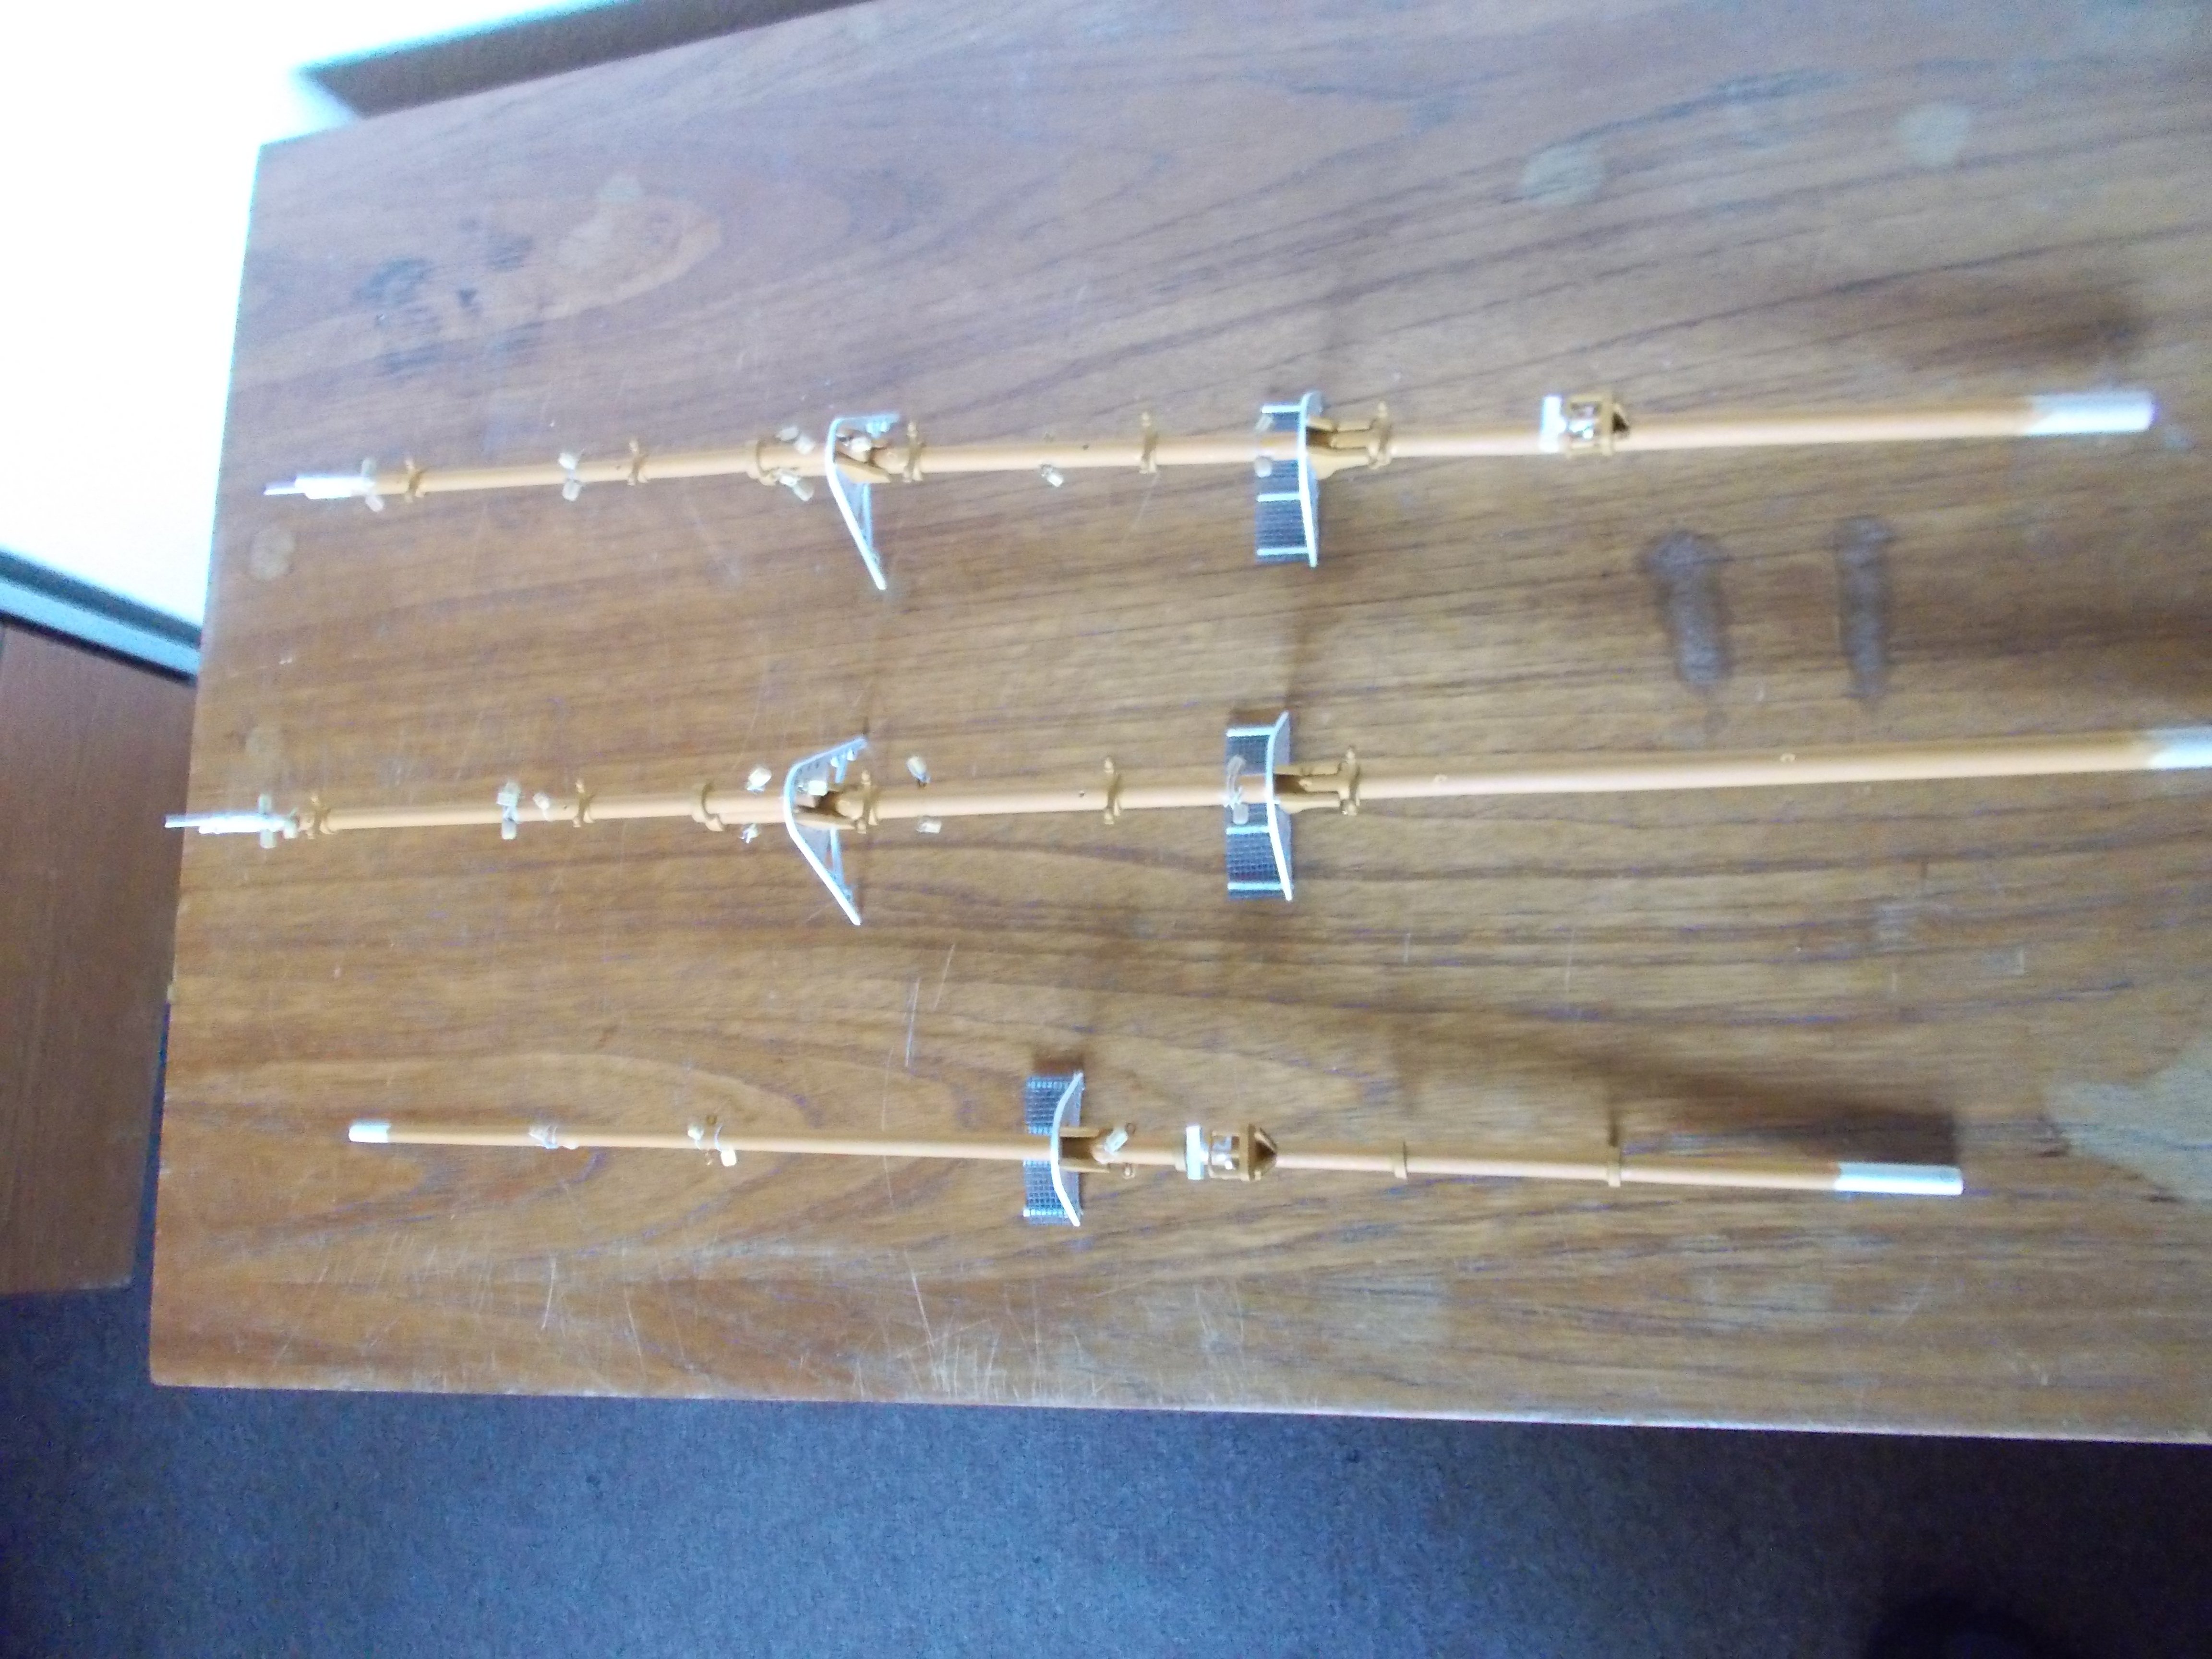
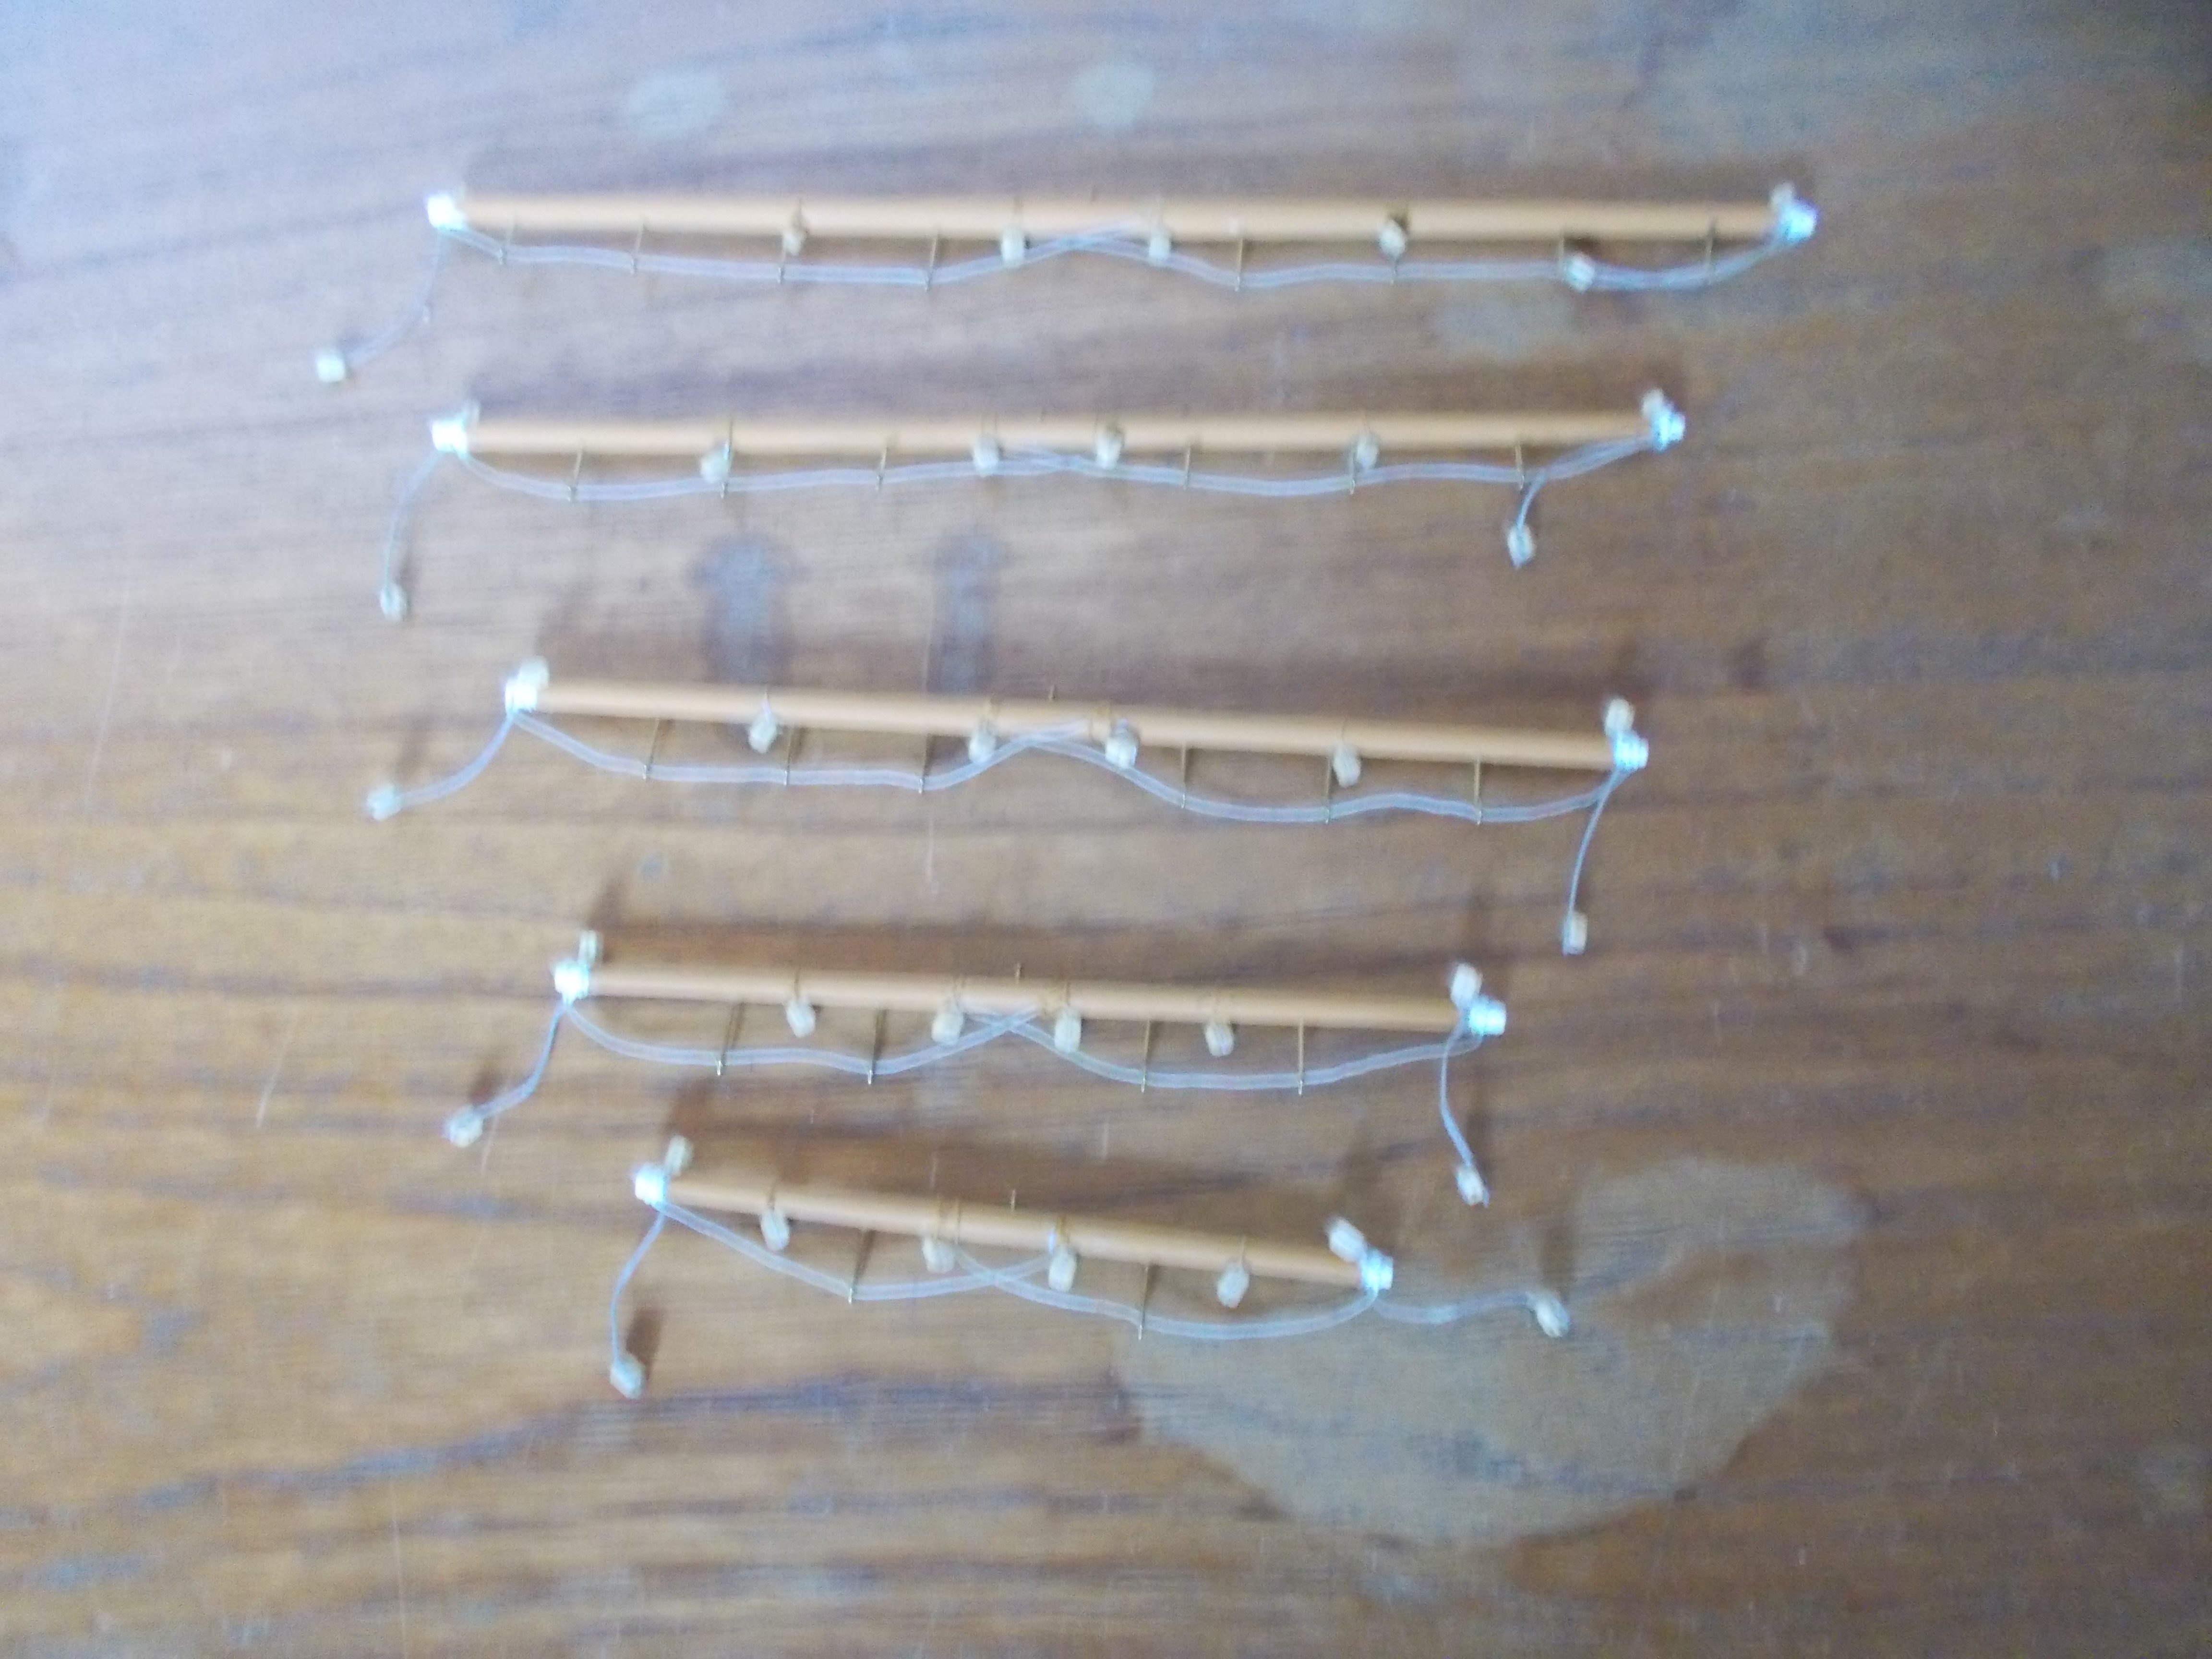
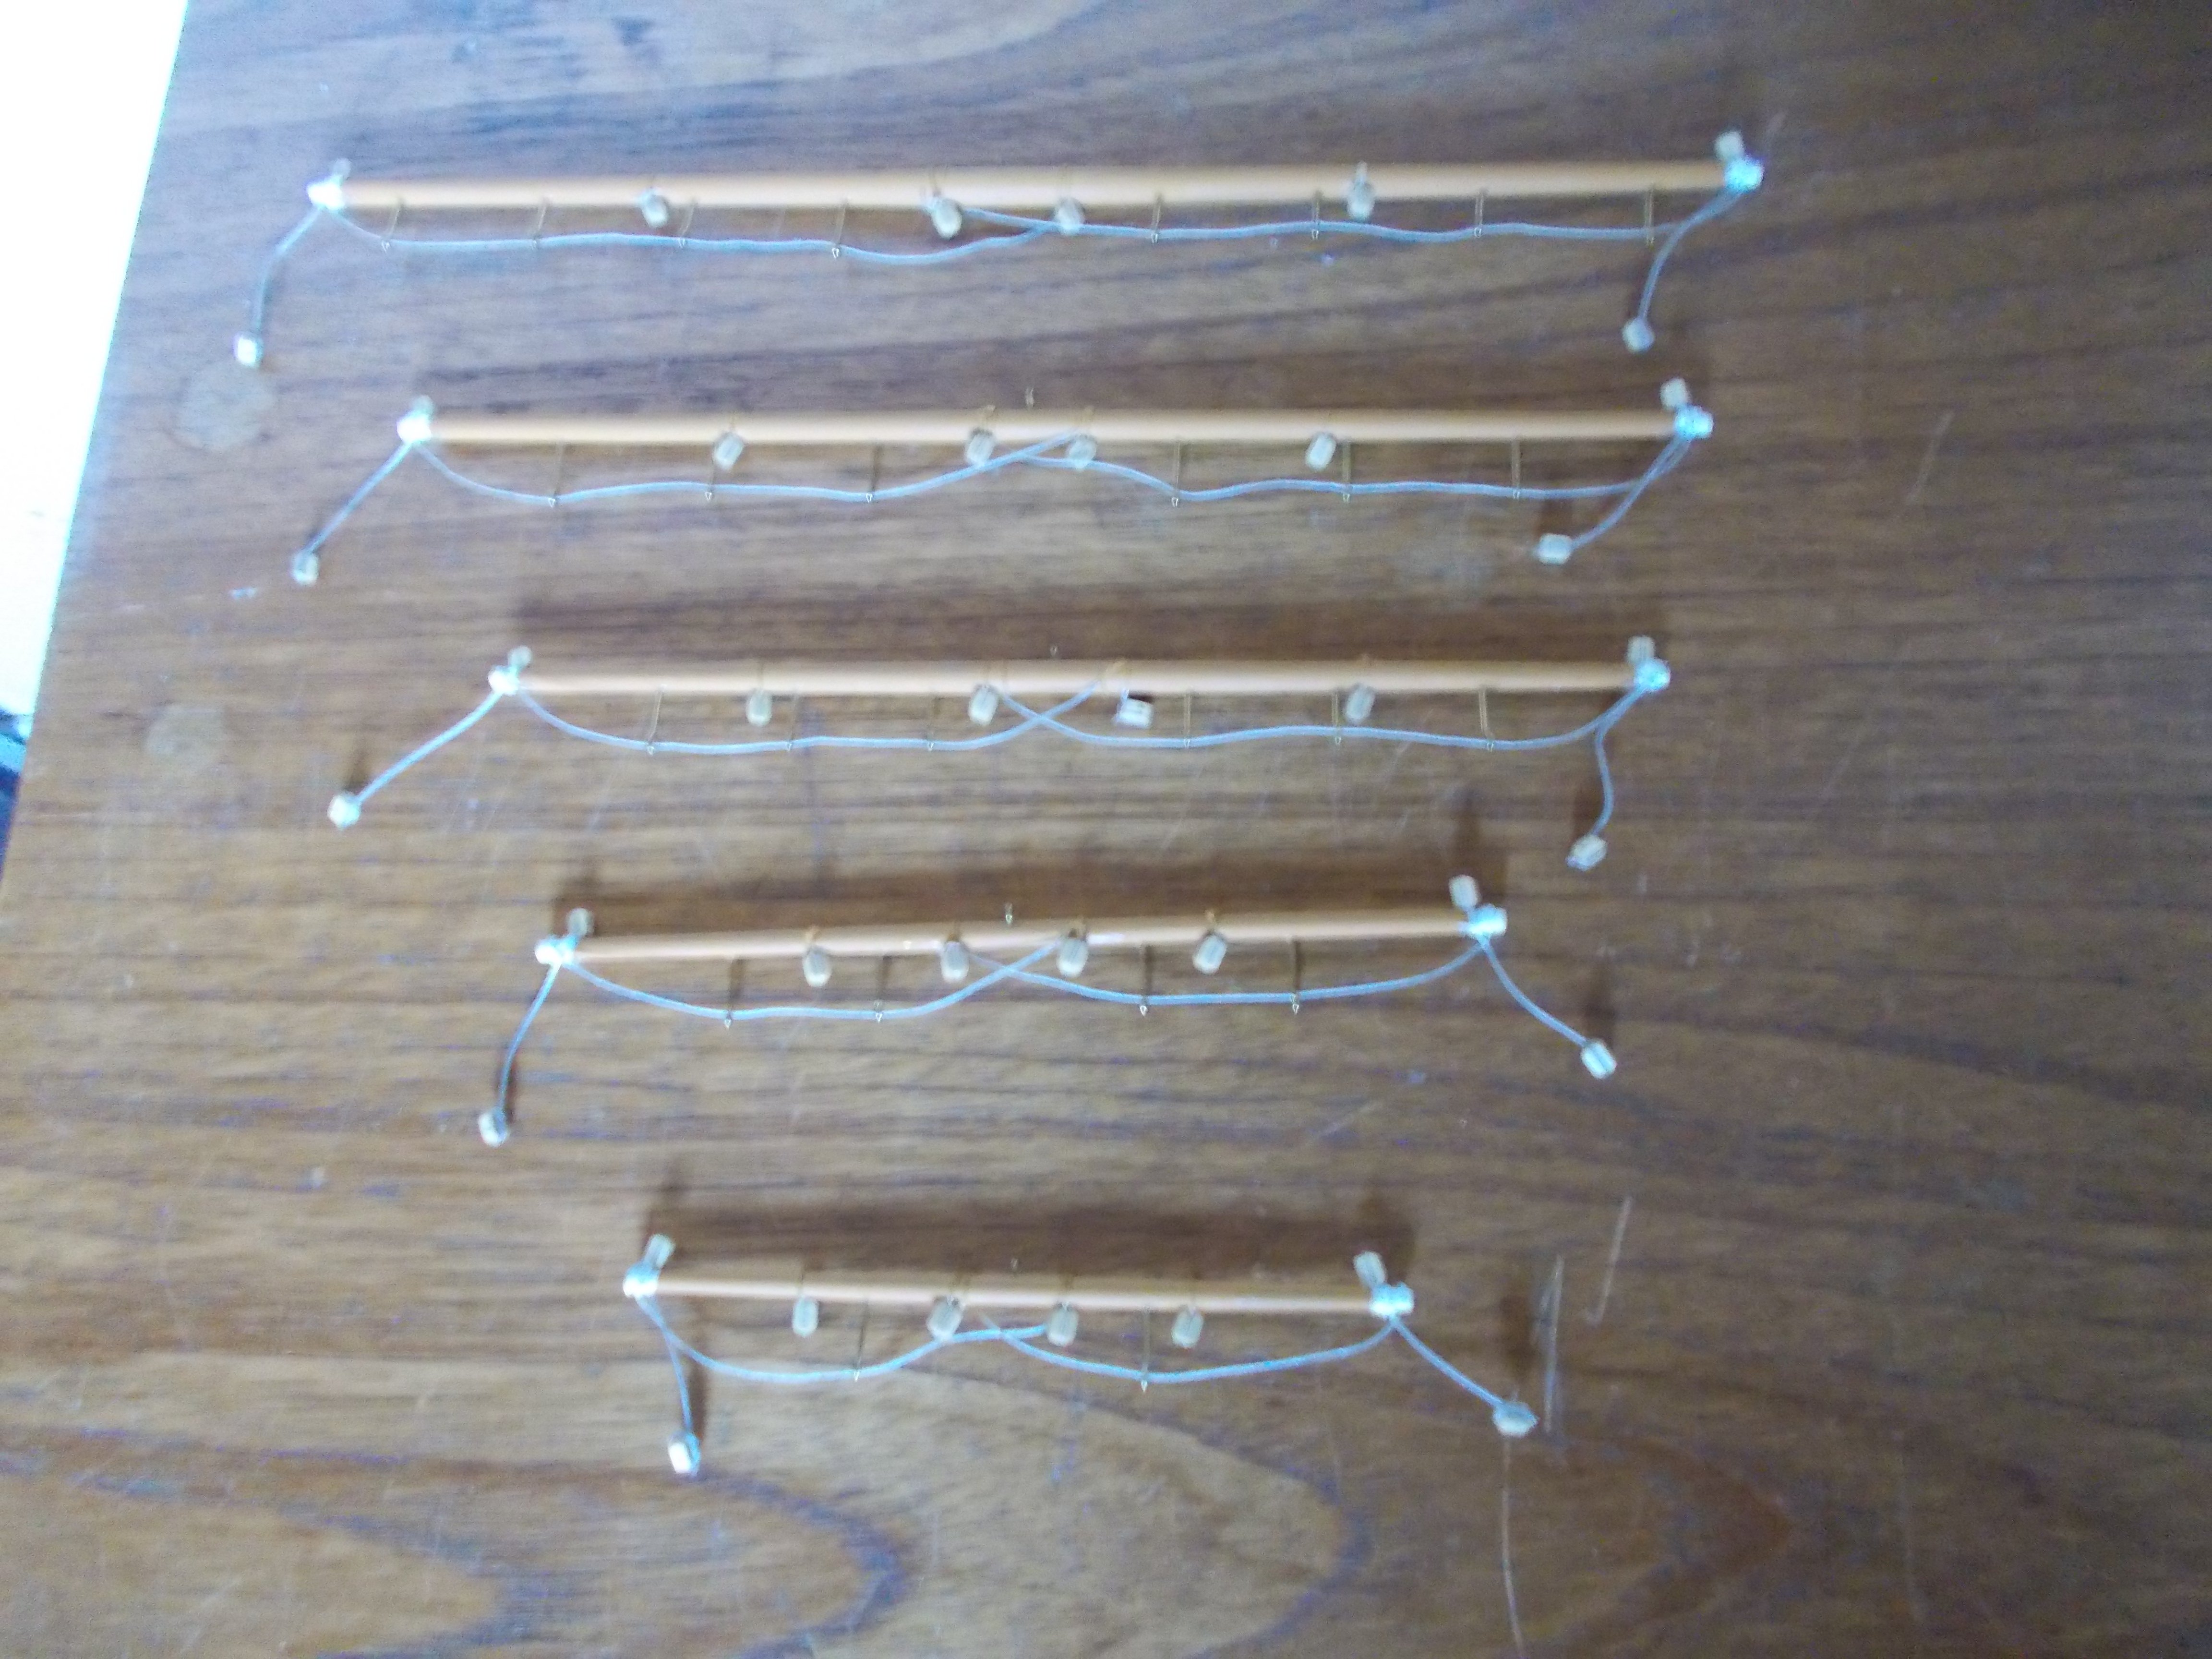
The masts are all made up as are all the yards and the sails (23 of them) sorted for their appropriate places.
The Occre rigging is hugely simplified which is fine by. The real vessel is incredibly complex. I have added though blocks on the yards to allow the addition of one bunt line. At least then I can raise each sail a little bit.
My next task is to sew the sails to the yards but I am waiting for some thread of the right colour. Meanwhile here are some pictures of where I am at the moment.

- king derelict, DanielD, Ryland Craze and 1 other
-
4
-
I drilled my portholes after priming, sanding, priming, sanding etc. It worked for me.
-
Very good point about the white paint. When I did my AV and the Titanic I painted everything below deck level white as you have suggested.
-
If it is of any comfort Daniel, I didn't paint the underside of the decks either and have the same problem. Only slight in my case thank goodness or there would have been some very blue air!!!
-
-
-
-
-
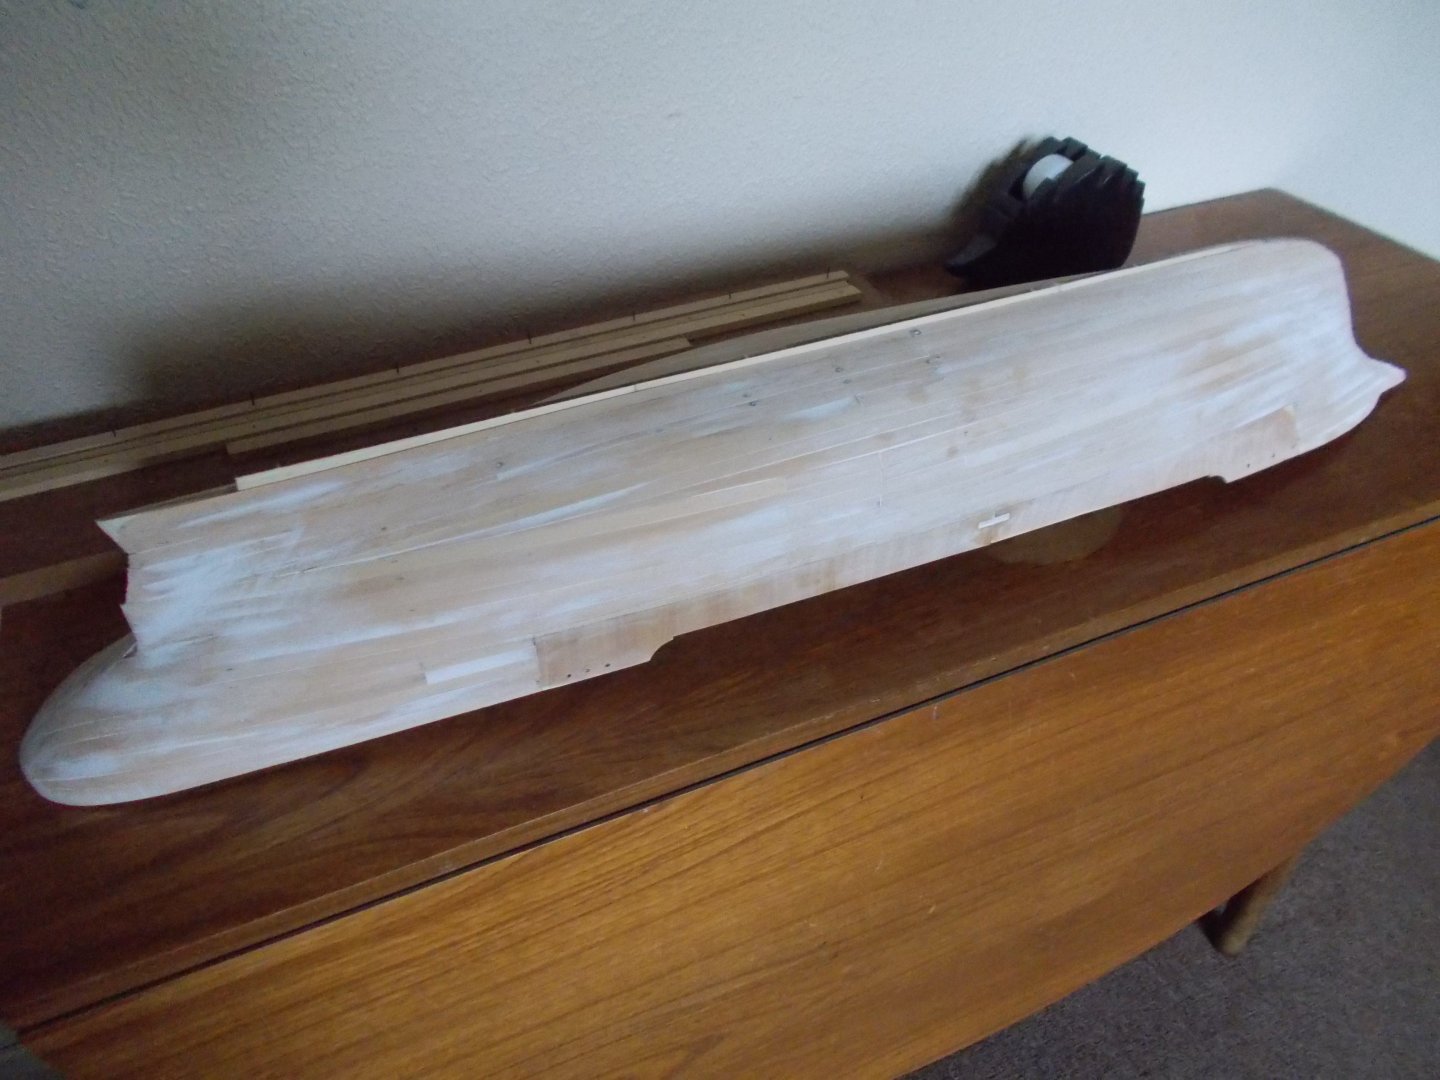
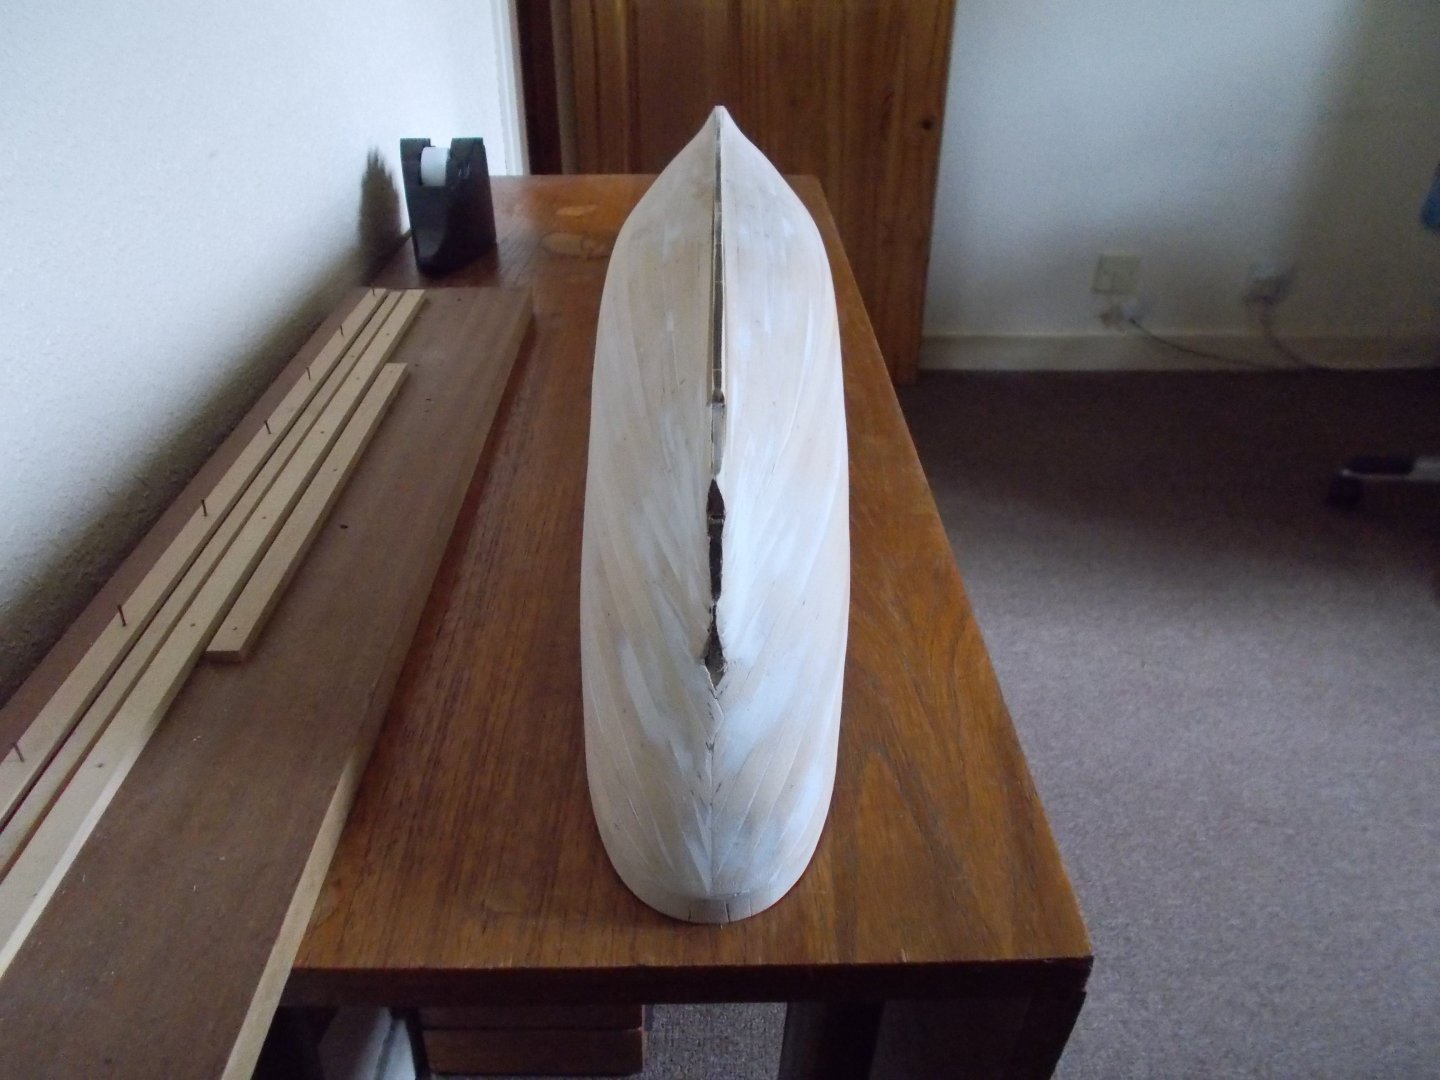
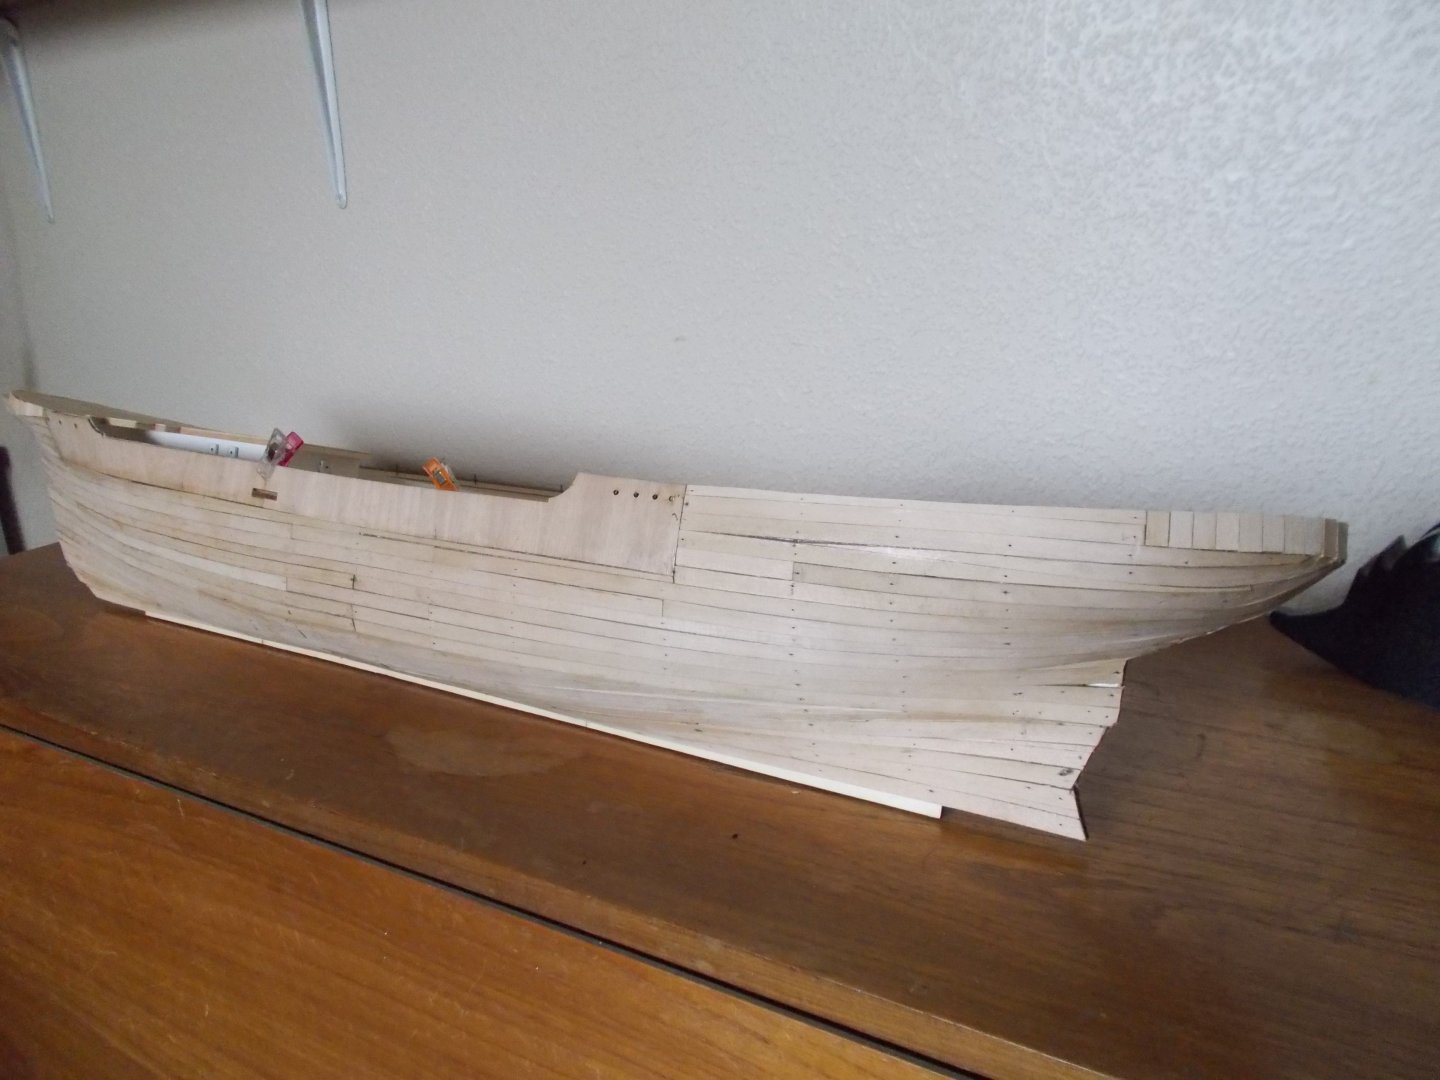
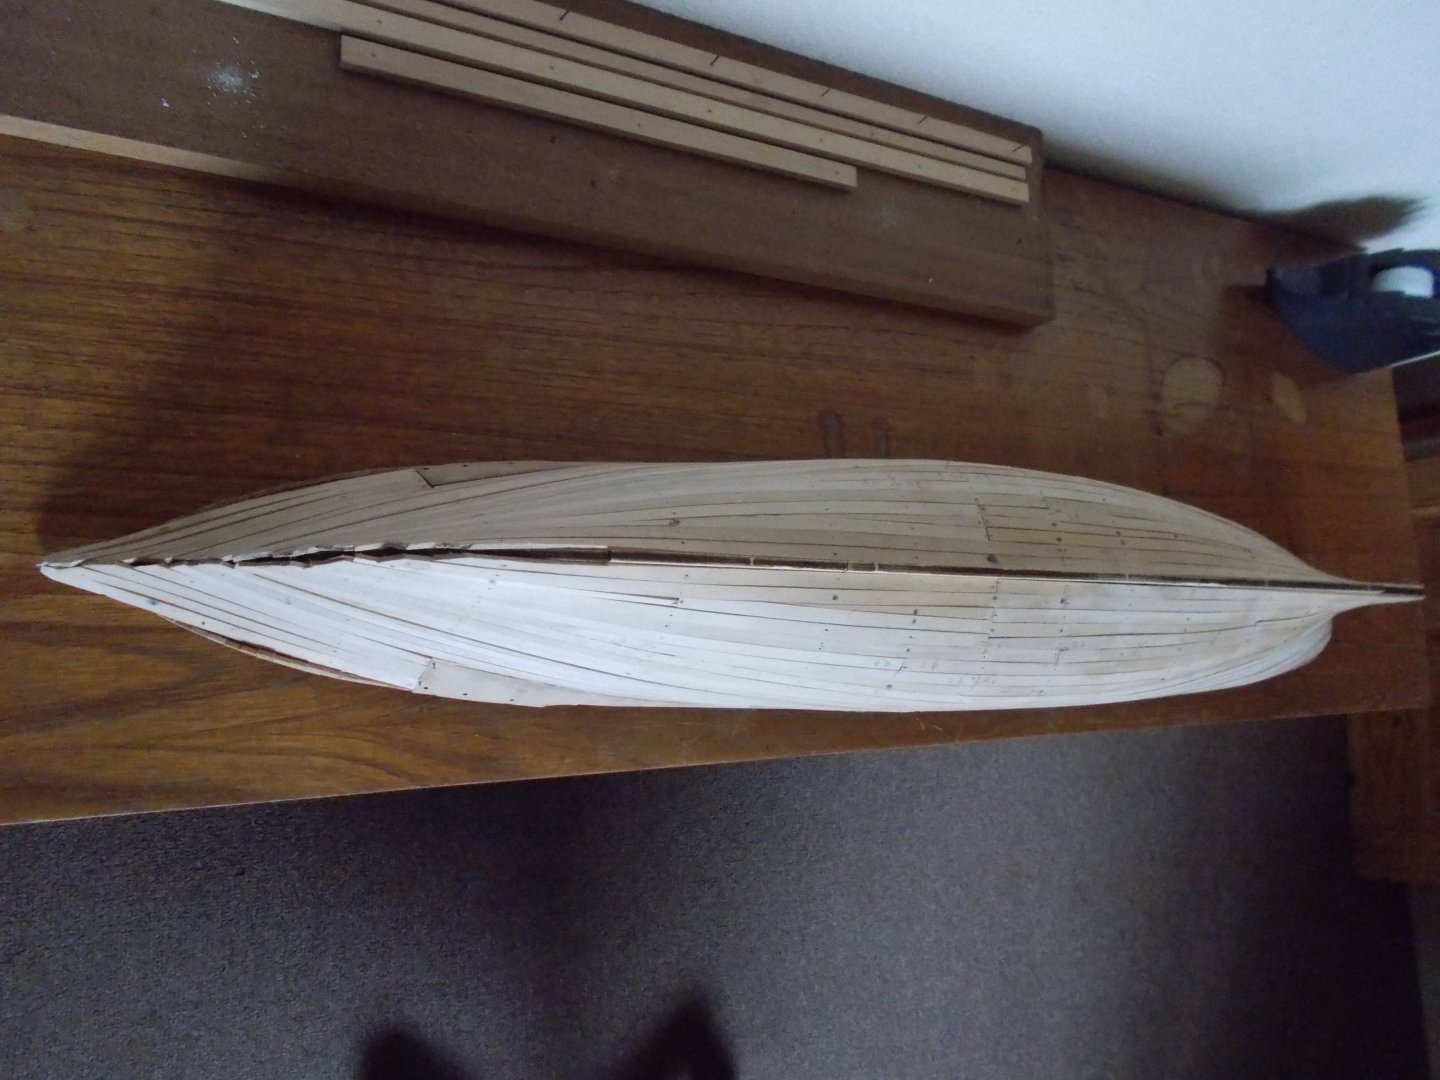
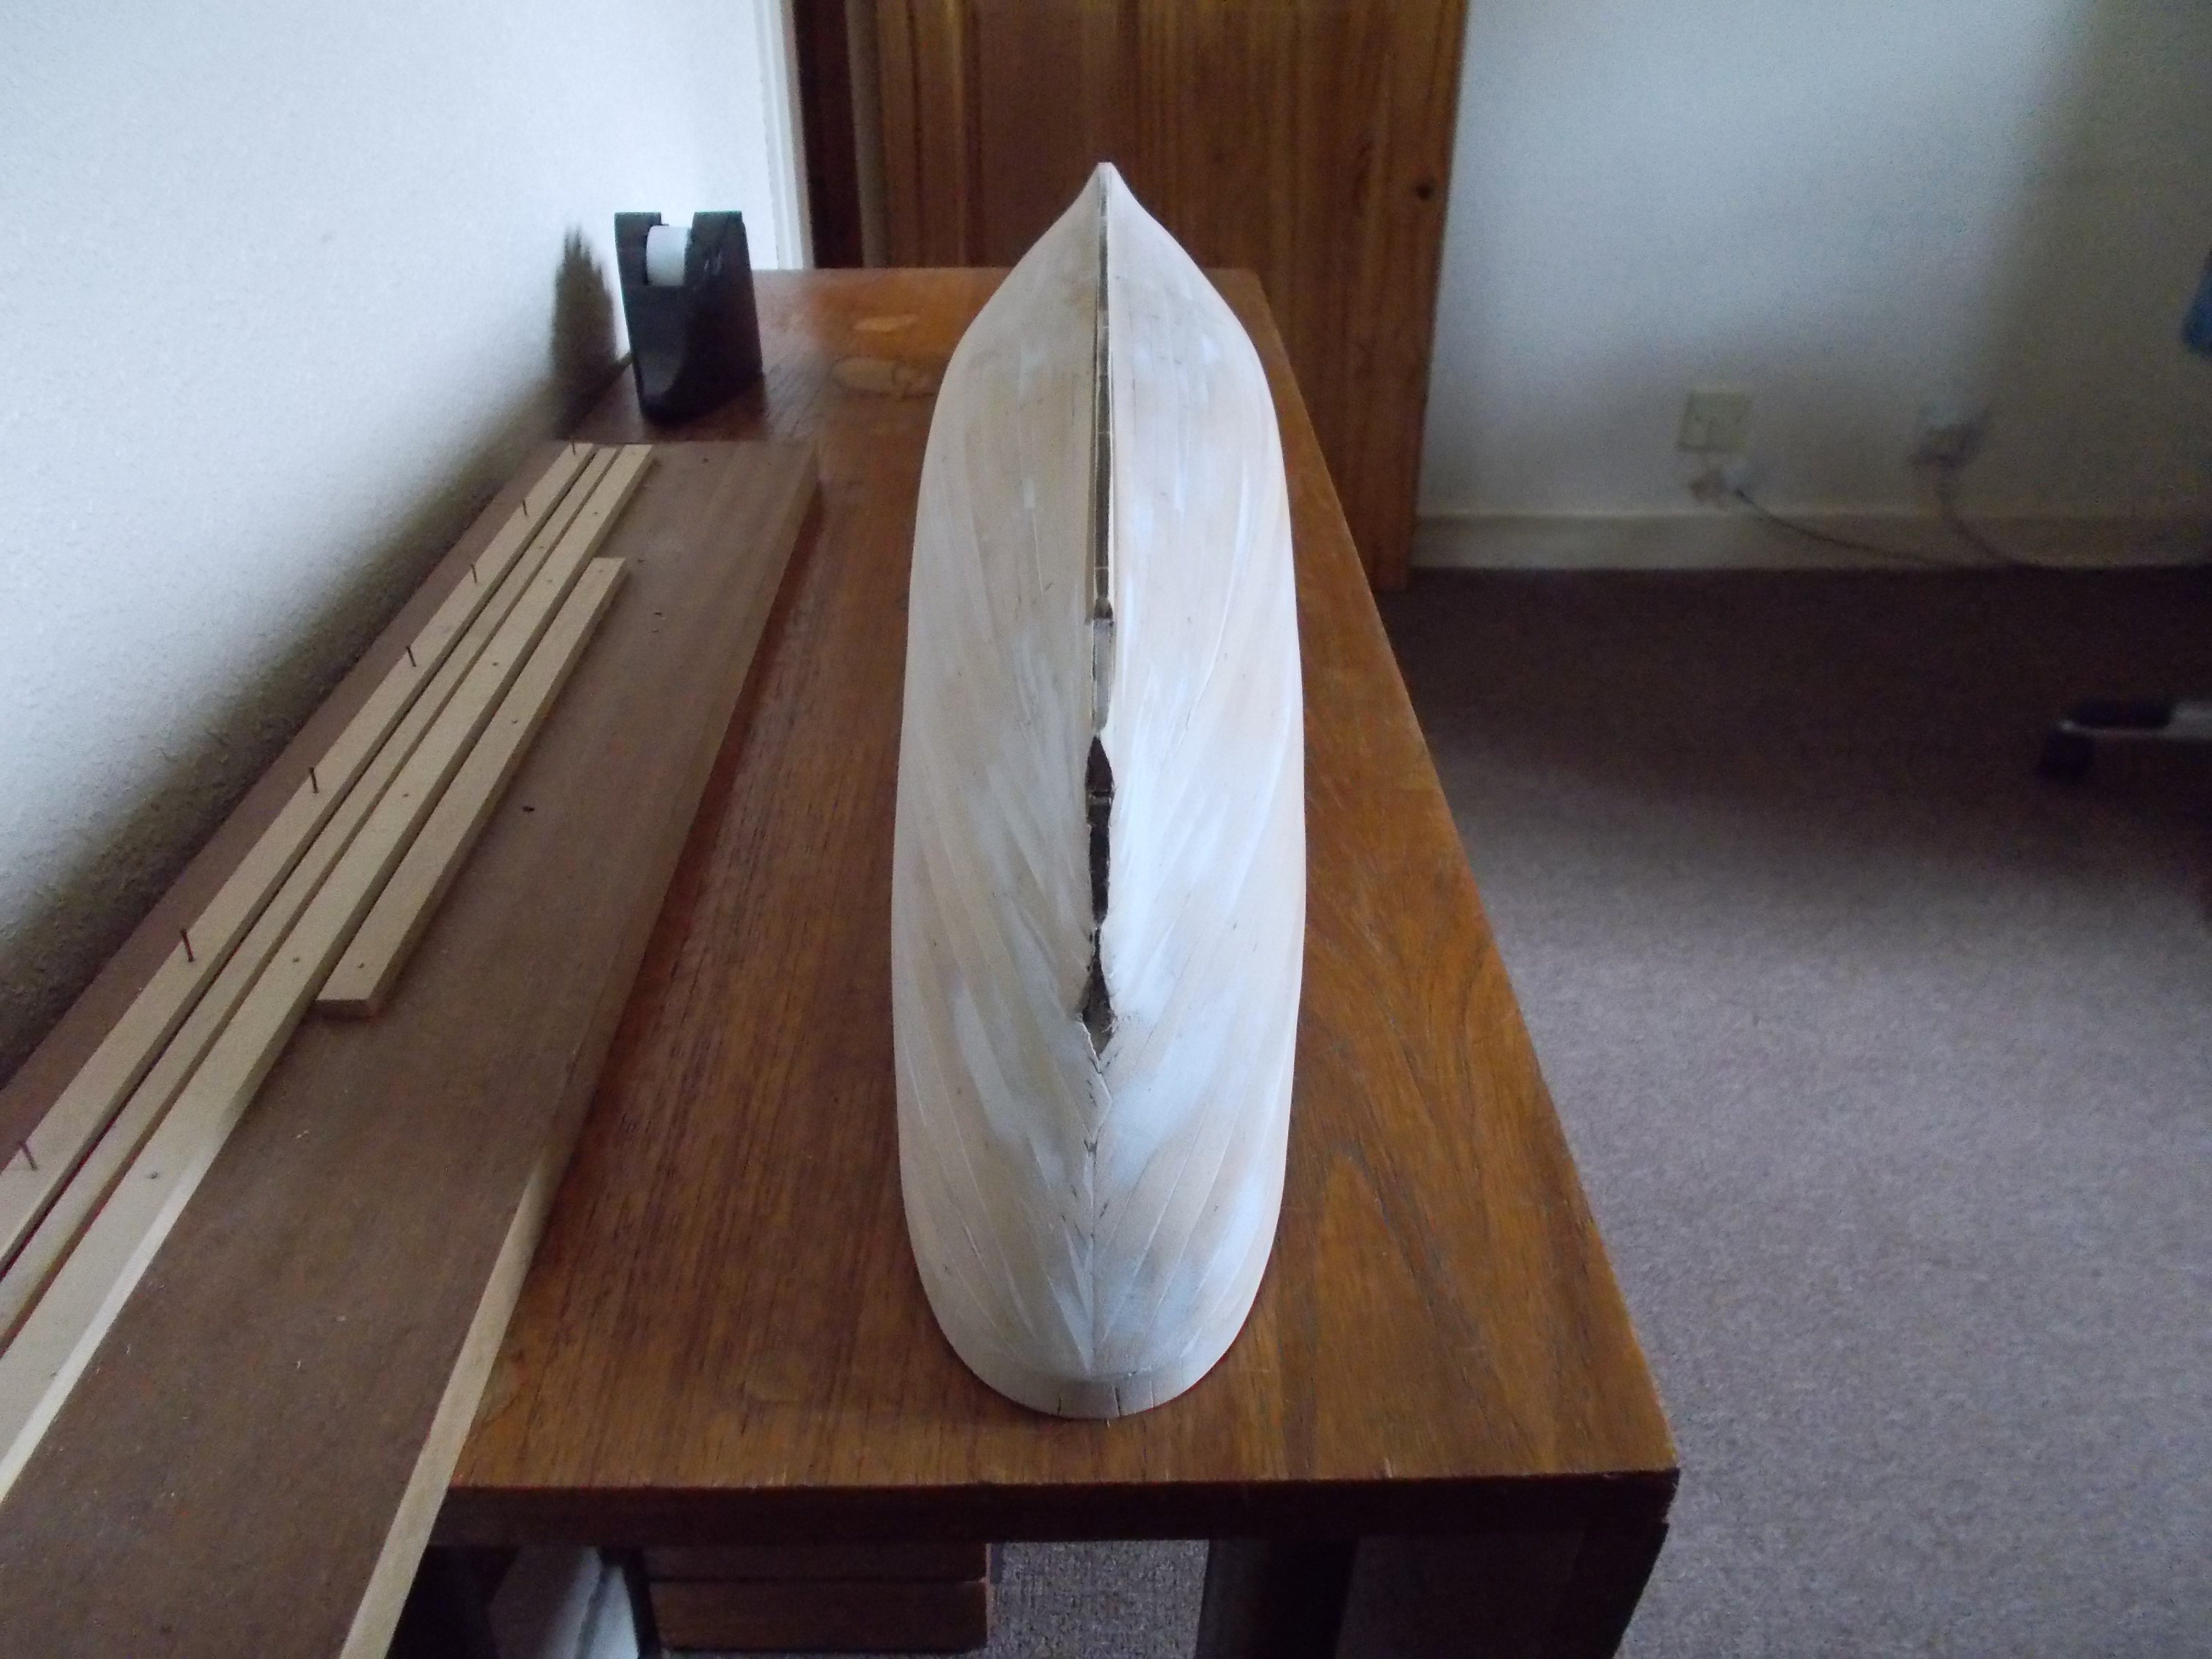
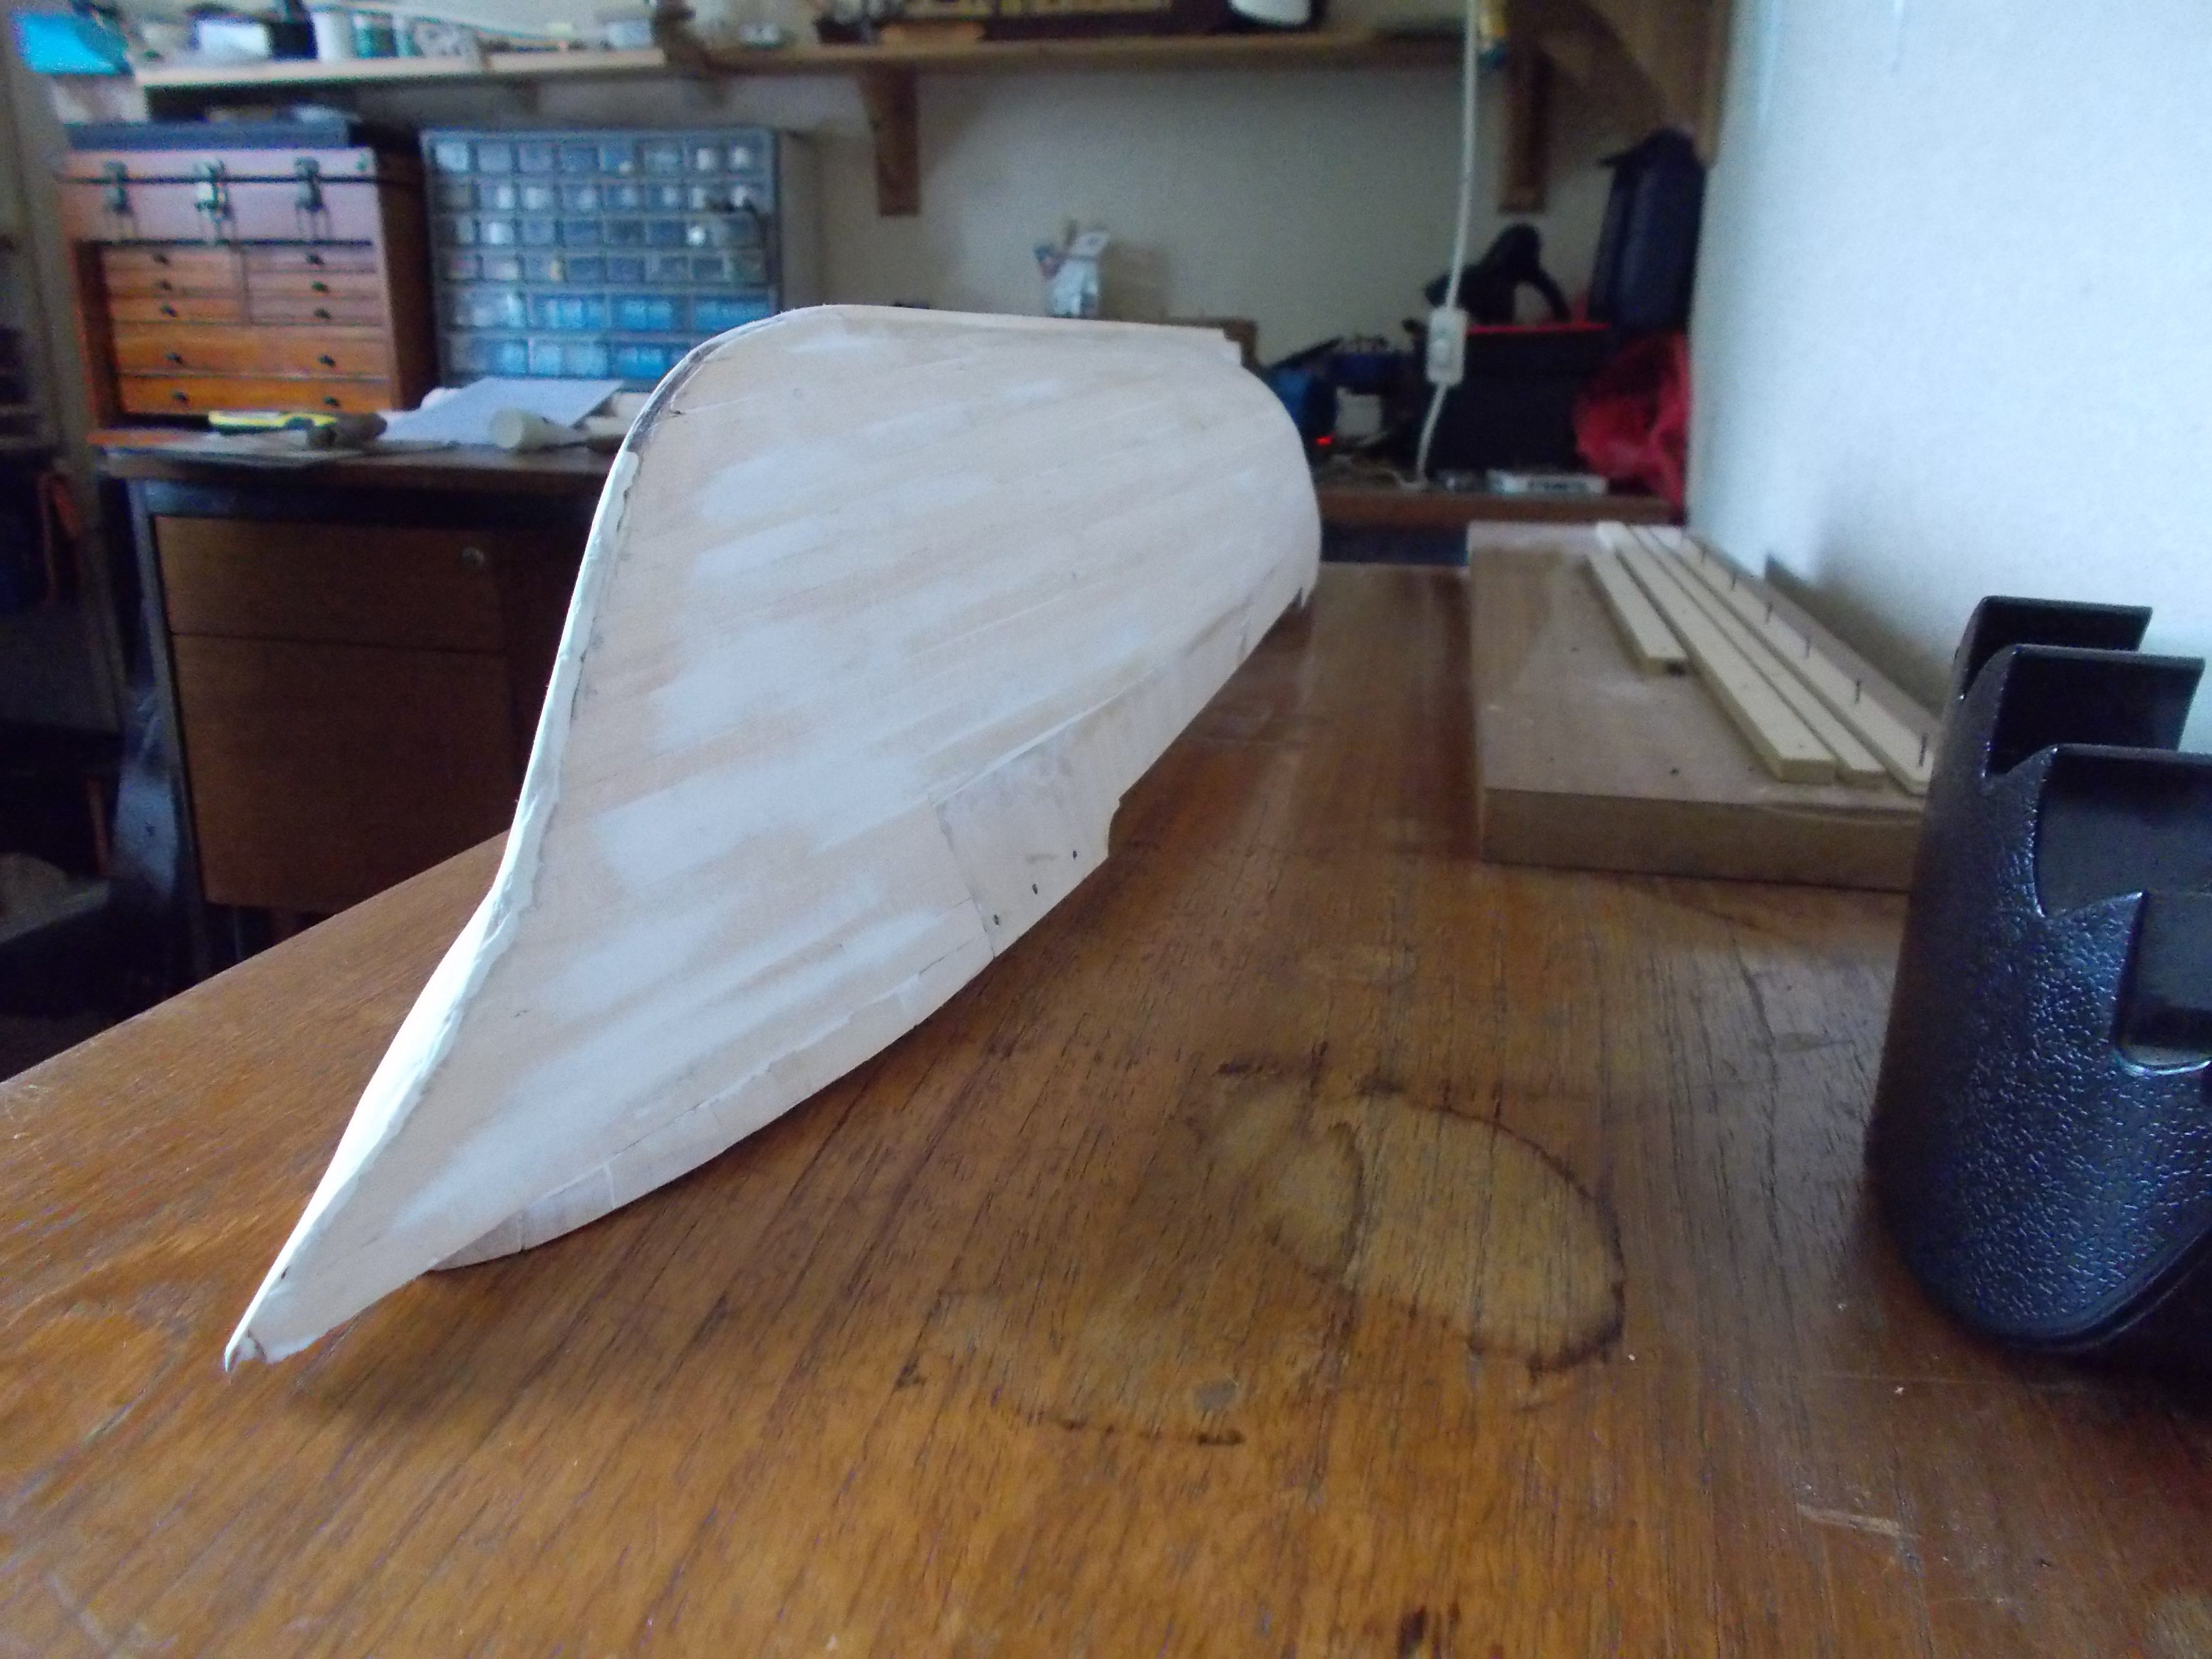
After some trimming, sanding, filling and more sanding she doesn't look so bad now after all. Still some work to do on the bow to get the shape right but the second planking should help with that.


- Rick310, Knocklouder and king derelict
-
3
-
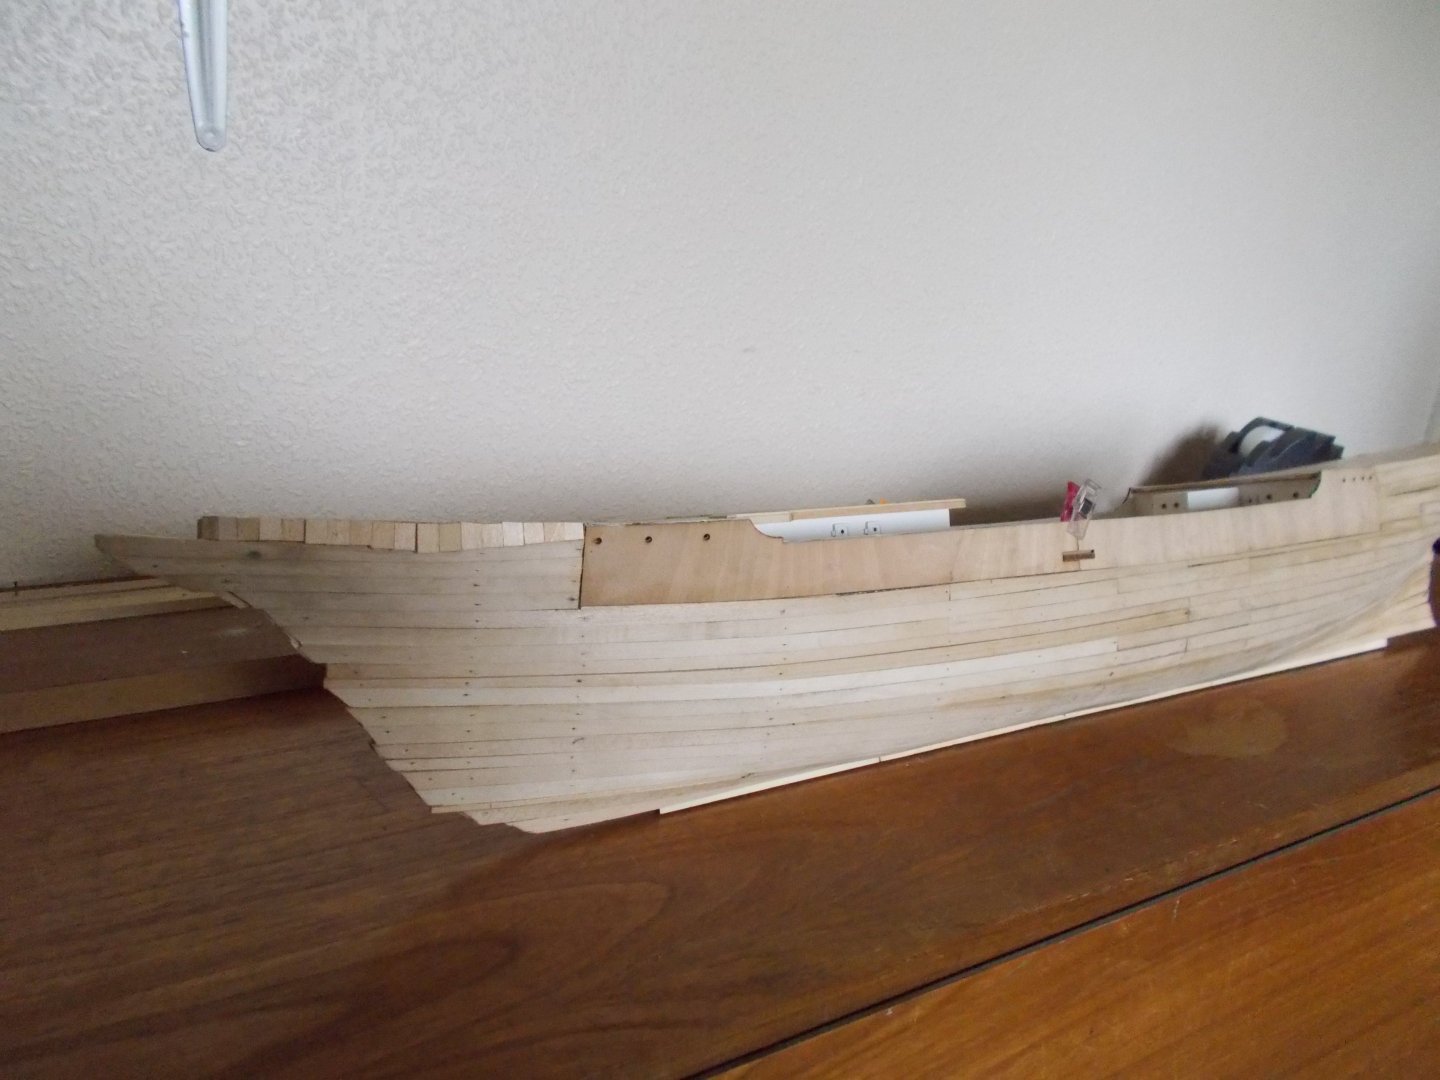
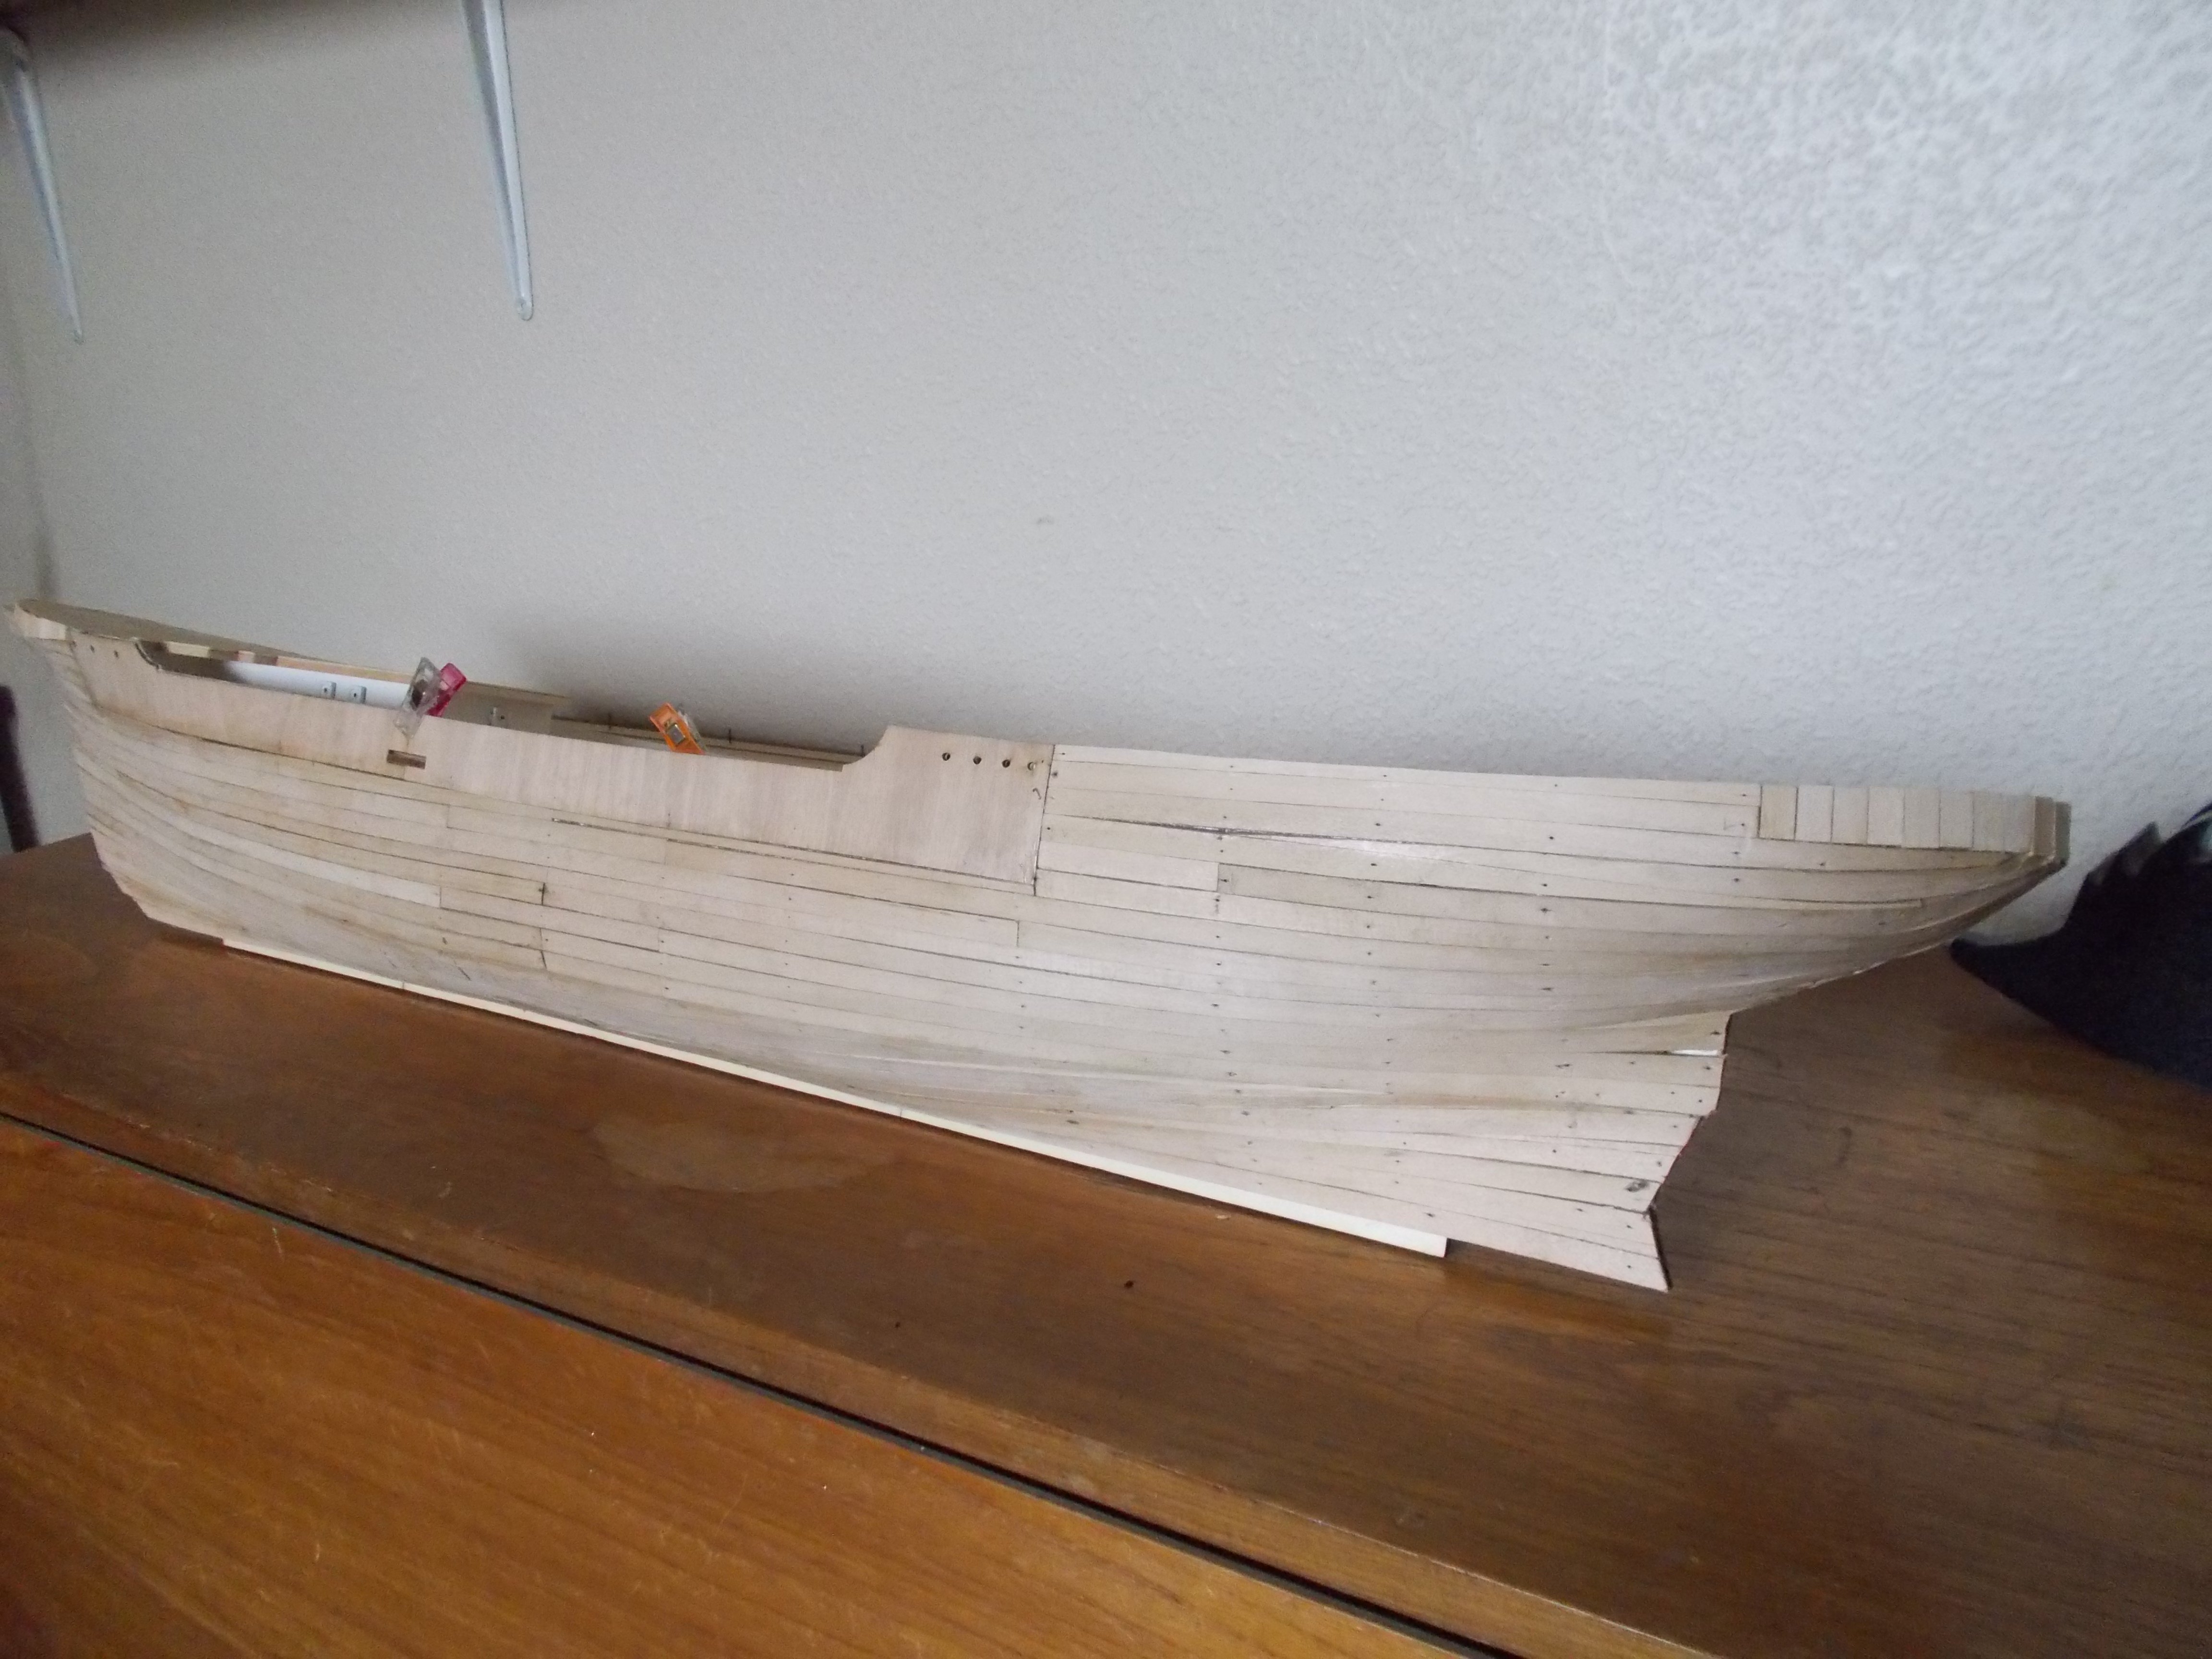
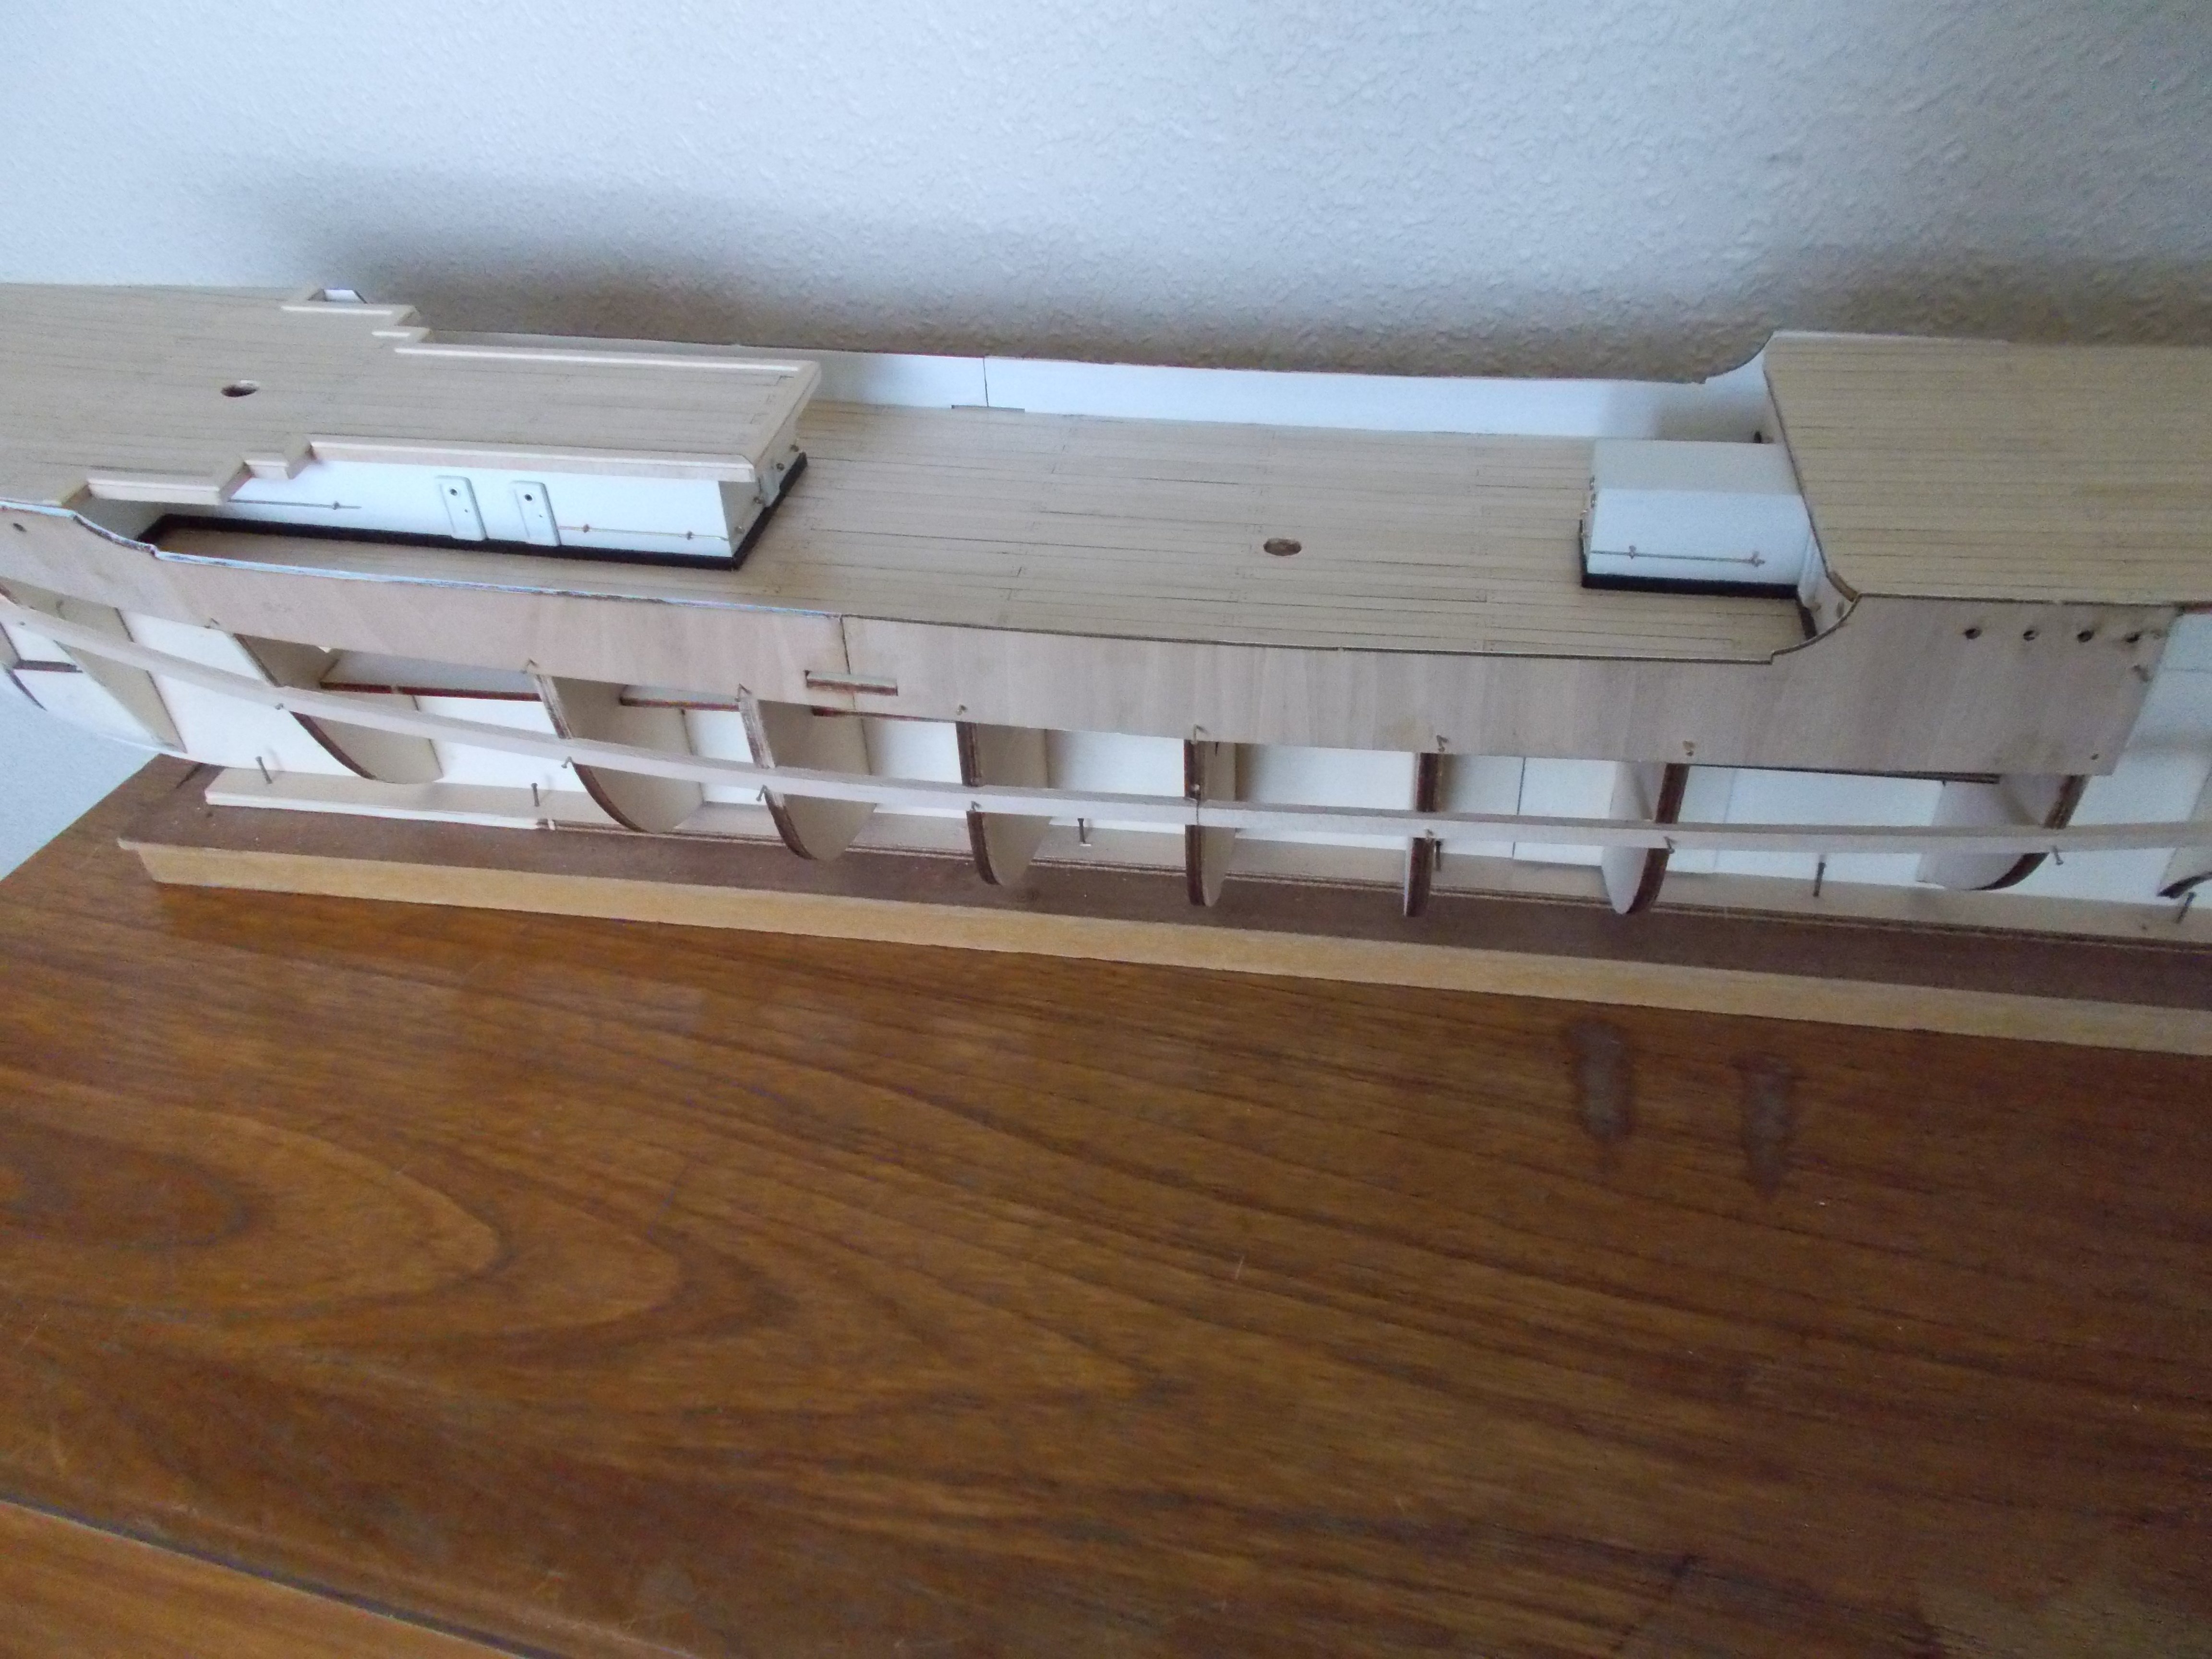
Well, this is quite possibly the worst first planking I have ever done!!! However the hull is now covered. It will need a huge amount of sanding, filling and elbow grease to get it ready for the second planking which I hope I will manage to do a lot better.
-
I finished the dreaded fairing and am actually quite pleased with it. Maybe practise has helped. Bulwarks are on, a bit of a struggle as they didn't want to bend. I did some handrails before I put them on as they would have been a right fiddle afterwards. I made the handrails a lot thinner and with different eyelets from the kit as the suggested parts were far too big. Also put on what they call the 'master strakes' each side. 5mm x 3mm and again not an easy bend despite a good long soak. I guess they will be a good guide for the rest of the planking.


- RichieS, Snug Harbor Johnny and ccoyle
-
3
-
Definitely not potatoes although it is interesting that you so cleverly observe that my wife does love my home cooked chips!! They are lovely pieces of heavy Scottish quartz!! Just the job for holding things down.


Jabeque Cazador by mikiek - OcCre - 1:60
in - Kit build logs for subjects built from 1751 - 1800
Posted
Sorry, I had a look at the photos I took but they are all of the finished boat, no building pictures which might have been helpful to you.