HOLIDAY DONATION DRIVE - SUPPORT MSW - DO YOUR PART TO KEEP THIS GREAT FORUM GOING!
×


Mike Dowling
-
Posts
1,234 -
Joined
-
Last visited
Content Type
Profiles
Forums
Gallery
Events
Everything posted by Mike Dowling
-
Thanks Brian and Harry thank you for the photos. OK so the garboard isn't as important by the sound of it as on some boats ? Did you taper the strakes both stem and stern and did you put them on in one piece ? Brian what is a 'chine' ? Sorry for all the questions but planking is not my best thing.
-
Thanks HOF, you stick your beak in as far as you like !! In fact in my impatient way I forged ahead and did it anyway in line with the deck so I am glad I did it right !! In is 3mm but what's 1/2mm between friends! Since you are there I am tempted to put the garboard strake on next, does that make sense ?
-
Brian, if you can remember, when you put your first plank on the hull did you follow the line and keep it parallel to the deck or did you let it fall naturally at each end ?
-
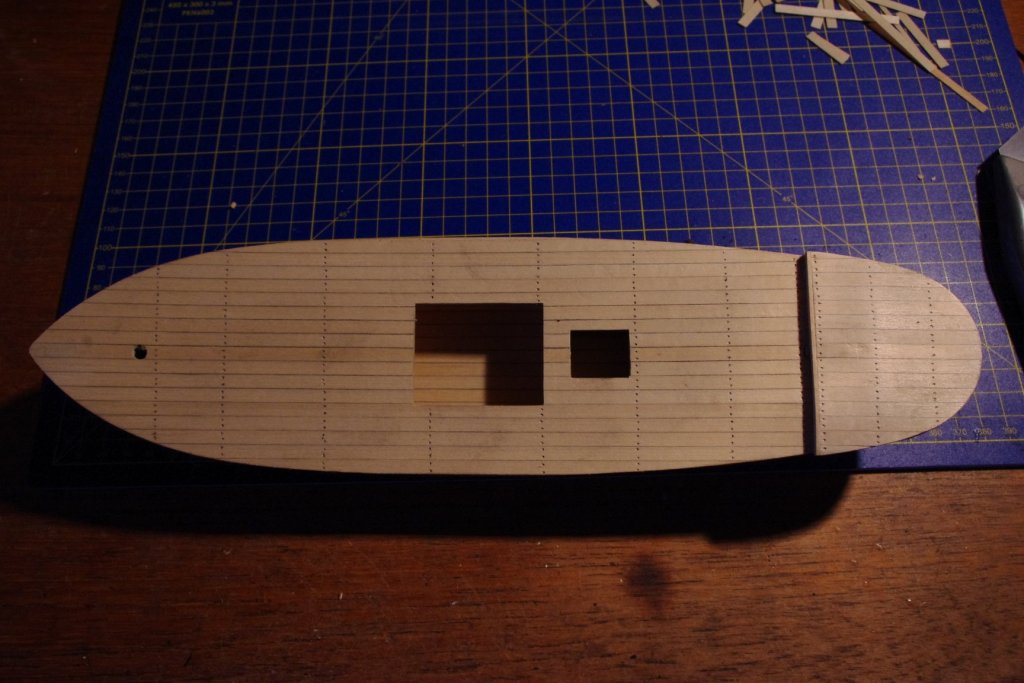
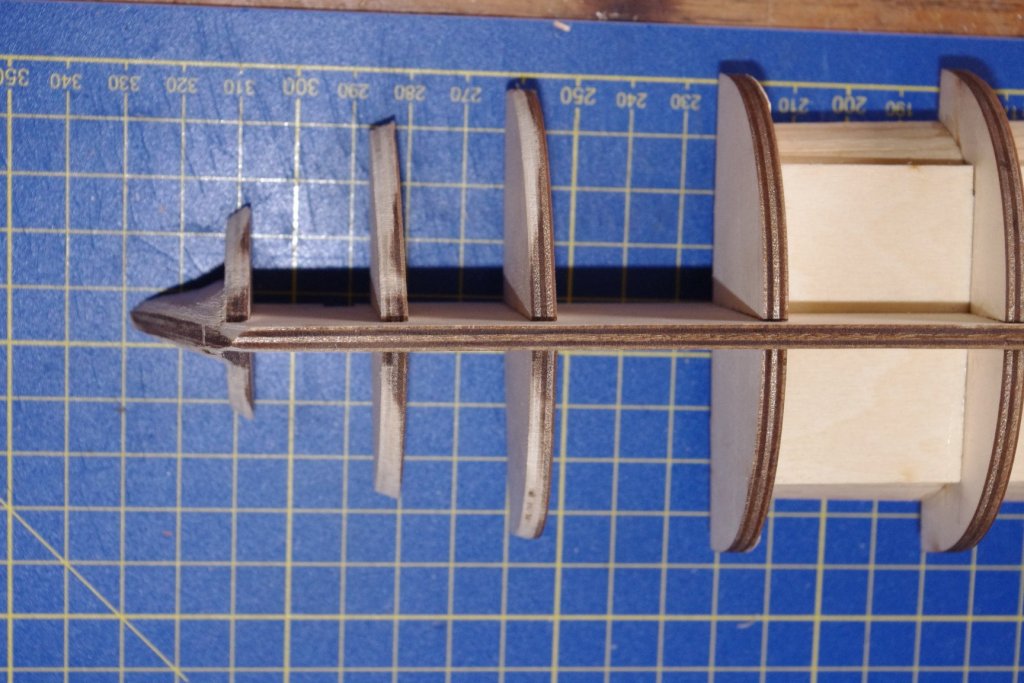
Thank you all for your thoughtful comments. The thing is that there is a very slight warp to the false keel but really, very slight and not enough for the difference I have experienced. There is little point in removing the deck as it is correctly lined up centrally with the false keel. On this kit there are locating pieces for the deck to get it in the right place relative to the false keel. These were the holes in the deck planking that I shouldn't have cut out but did and had to fill in again afterwards. The problem would seem to have occurred by a very slight angle that the bulkheads were cut at where they slotted onto the false keel. I was very careful to get them square from a horizontal point of view but I didn't take enough care of the vertical. A good lesson learnt I think. Anyway I have shimmed one side and sanded the other and that shouldn't leave a gap at the sides of the deck unless my planking is really bad which is quite likely. I am not very good at it. I am going to measure the position of the first plank today and try and get it on both sides. Watch this space!!
-
So, now I have to add shims to the bulkheads on one side and shave some off on the other side. We love making models really, I'm sure we do !!!
-
Brian you are truly sad !!!! Thanks daddyrabbit but, You spend ages planking the deck with pre prepared lengths nicely rubbed with pencil to give good caulking, stick them on being careful not to get too much glue on the surface, leave it to dry. Cut out the necessary holes only to find that one at the front and one at the rear didn't need cutting out because they should have stayed there. So, then you fill them in carefully so that they don't show. Then you stick the deck lovely and central onto the hull with the aid to two raised points to make sure it is in the right place fighting with the clamps that don't want to stay on to maintain the curve of the deck. You leave it to dry resisting the temptation to fiddle with and watch the clamps ping off. The next day you take off the clamps and examine you handiwork and you find THIS !!!!!!!!! Just how on earth does it happen ?


-
Excellent ! Now seriously, are you going to keep the chicken coop as well or use your little masterpiece instead ?
- 296 replies
-
- 3
-

-
- chaperon
- model shipways
- (and 1 more)
-
I wonder, with so many about should it be Mare Nostrii ?
-
Len, it looks smashing, well done. Are you going to swap the little out house you made for the battery for the chicken coop? Then no one would know your secret inside !
- 296 replies
-
- 5
-
-
- chaperon
- model shipways
- (and 1 more)
-
They don't have sandwiches - they eat fish obviously !!
-
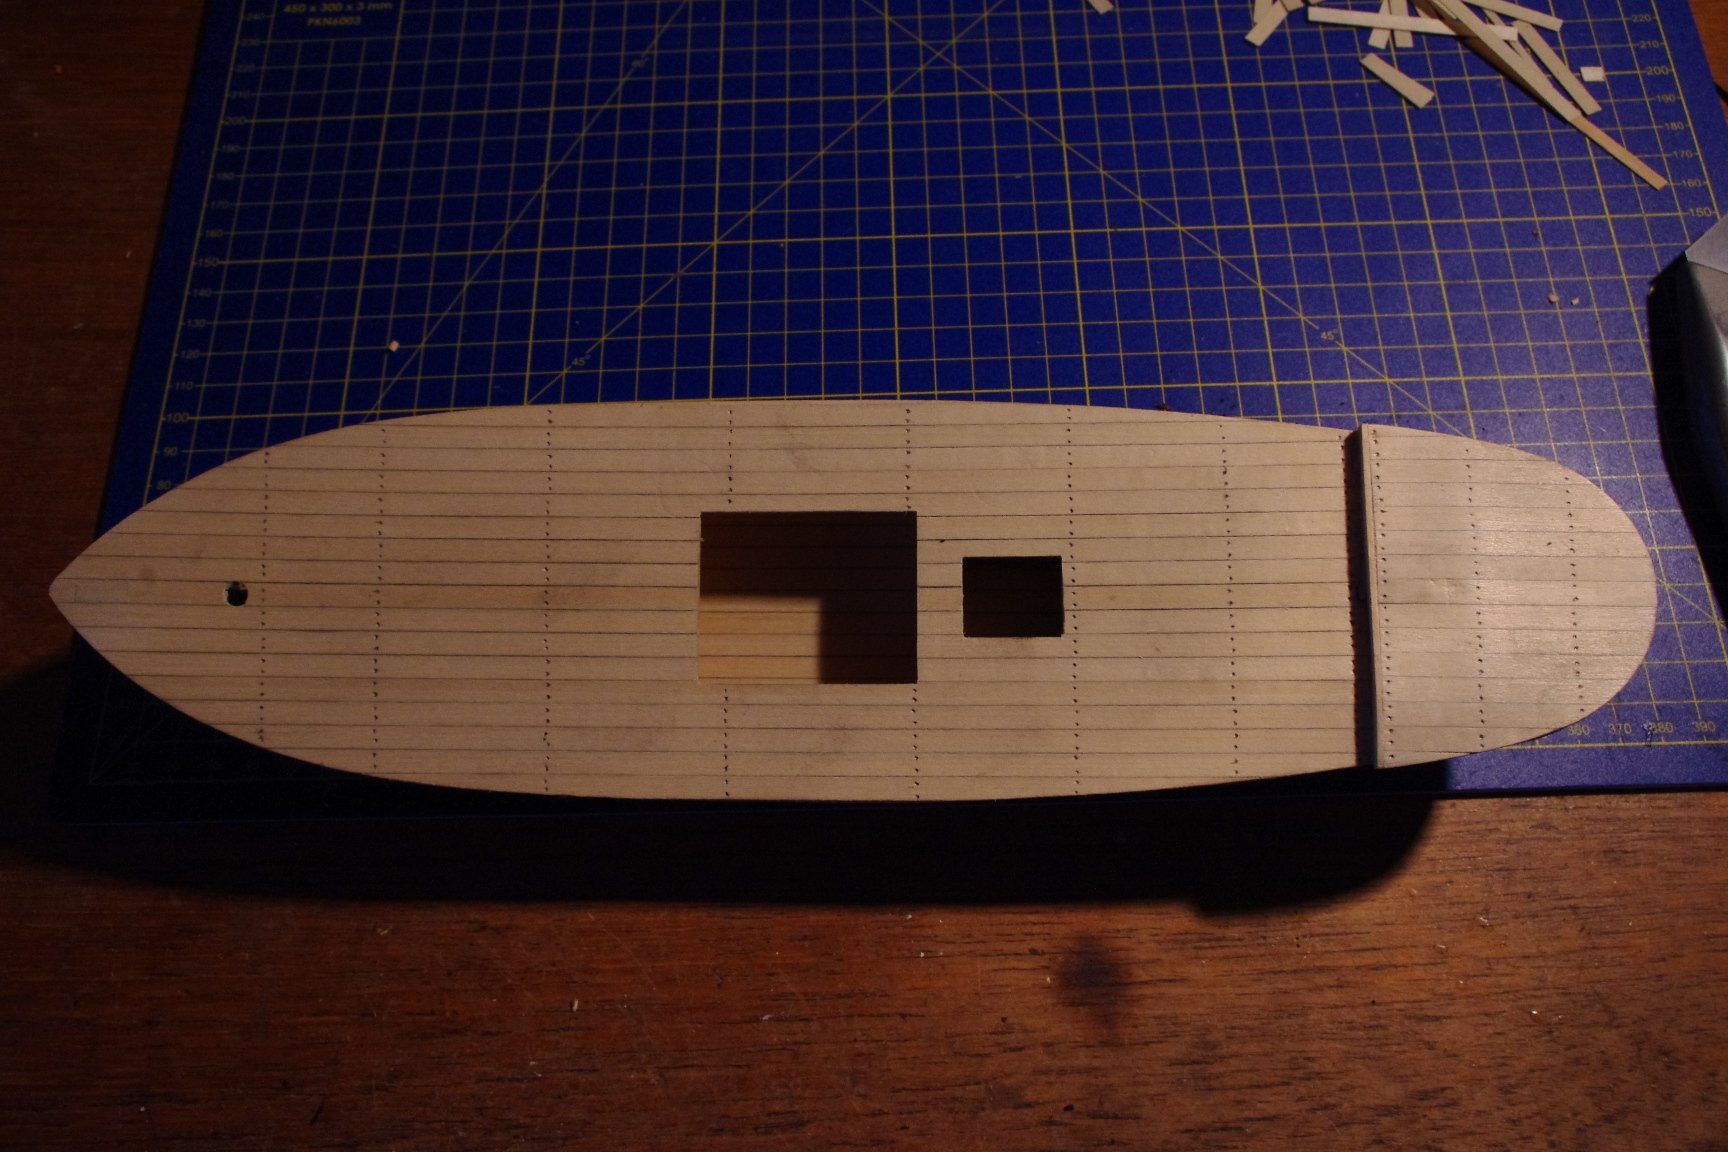
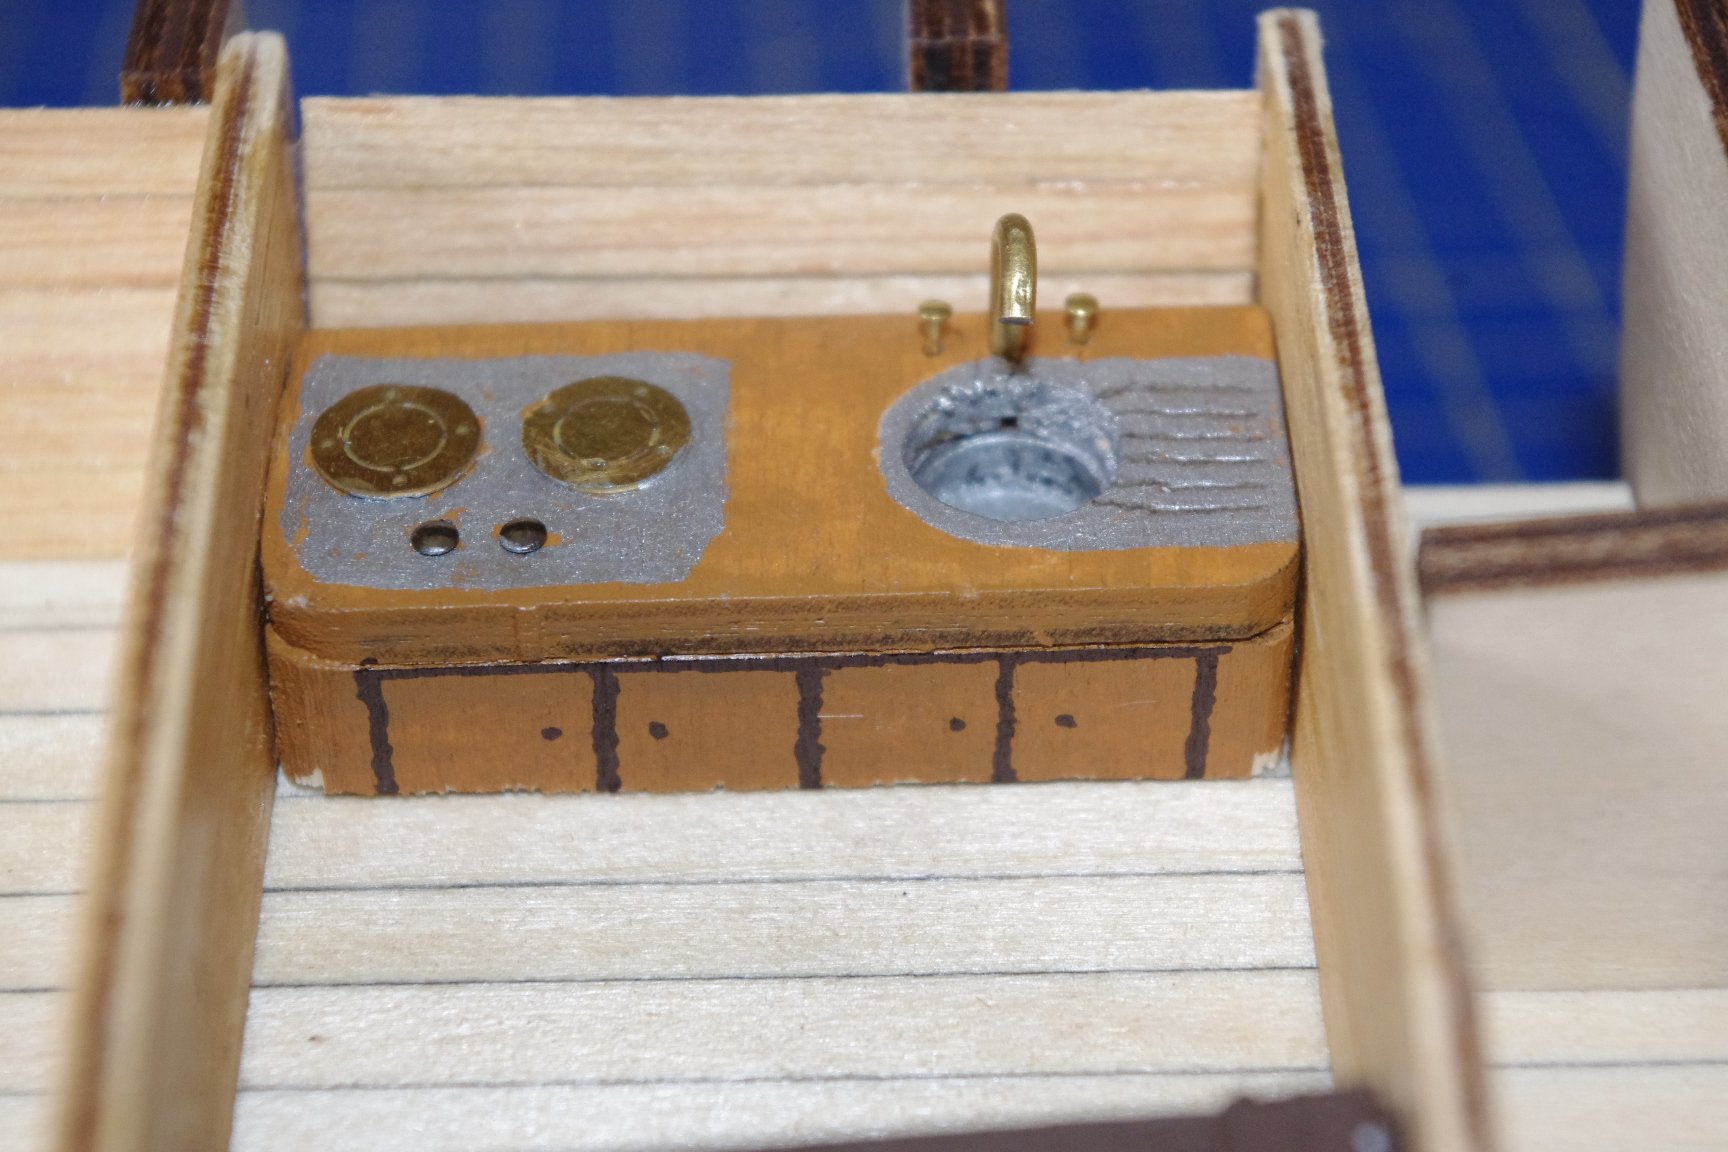
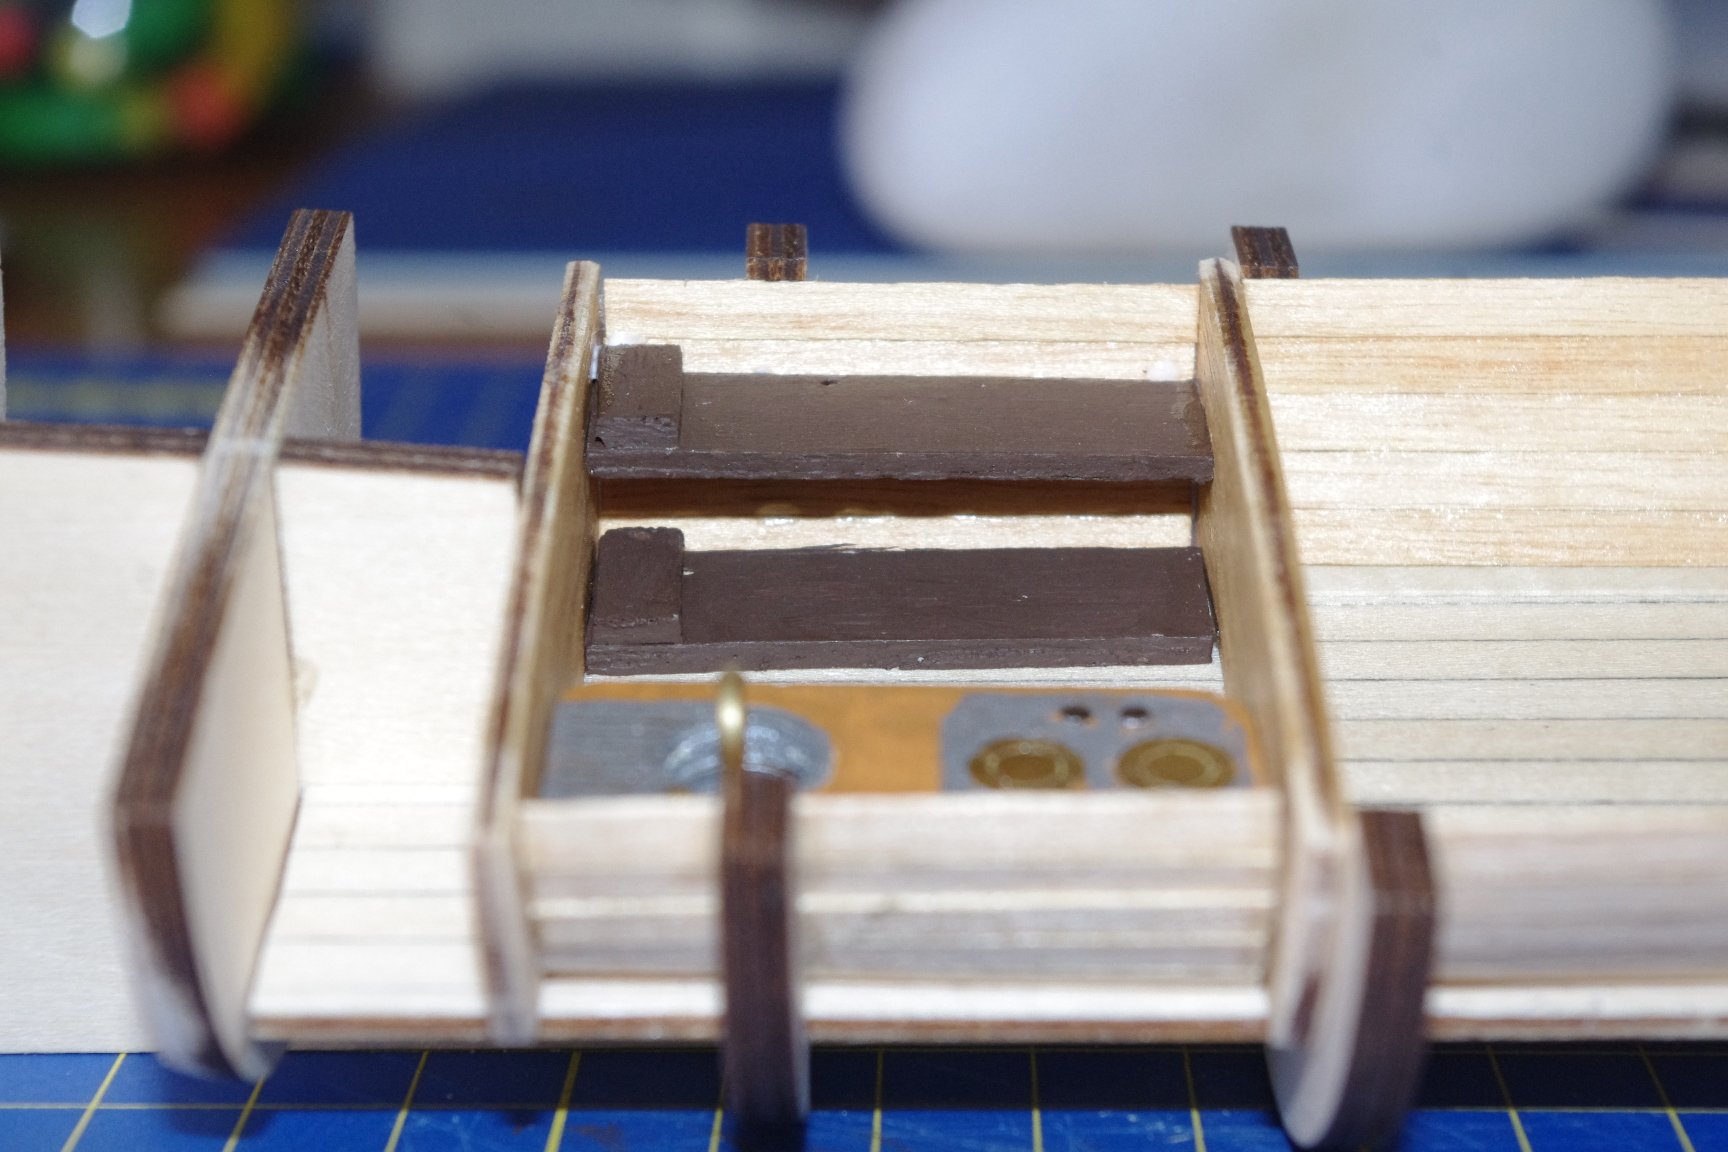
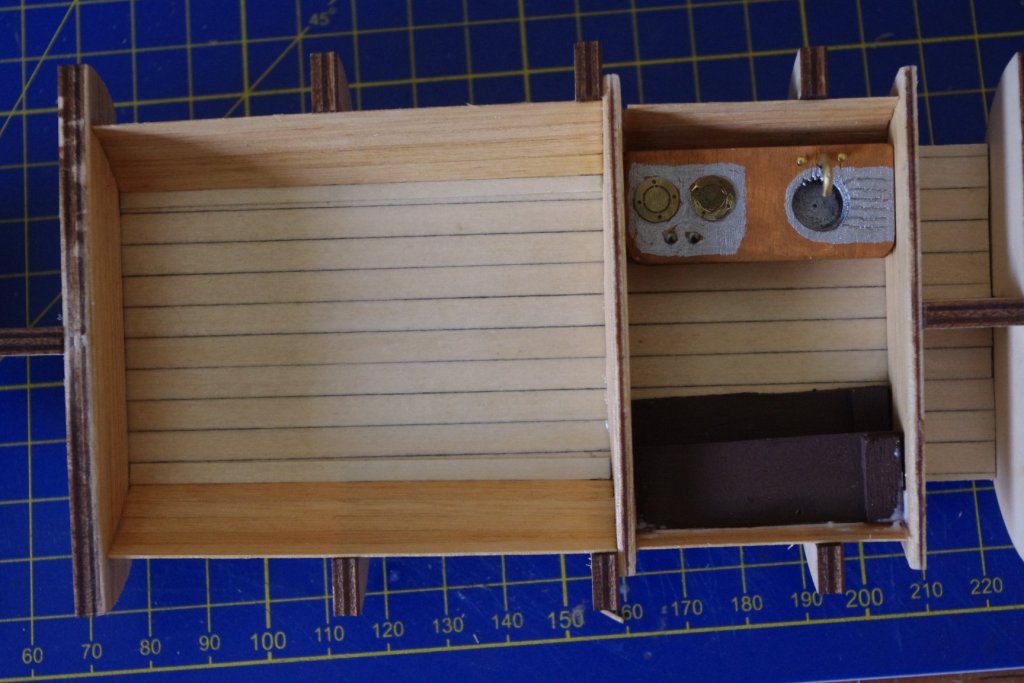
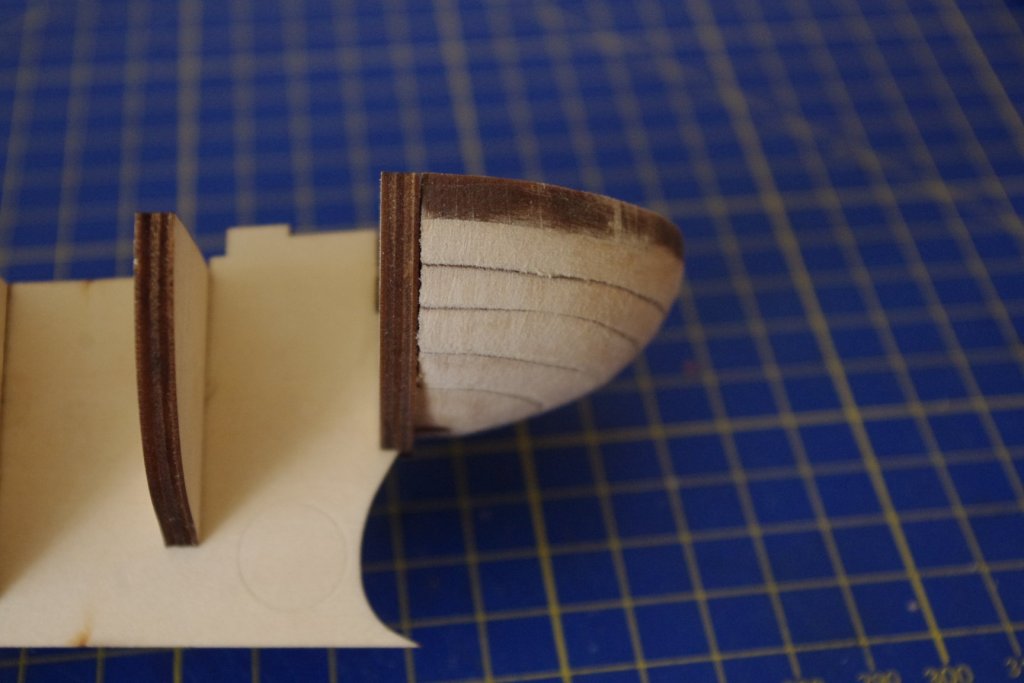
Gosh, so many people watching I had better not make a hash of this ! I have faired the stem and stern, not a job I am very good at. We shall see when I start the planking - another job I'm not very good at ! I have planked and installed the bunk room and engine room floors and gone the extra mile by planking the sides as well. As for the bunk room, the kit comes with pieces for the beds but they were too big so I made my own. I realise that these would not show once the model is complete but I took pity on the crew and because I am such a sad person I made them a galley as well, we can't have them starving down there after all. I may try and make the companionway removable so that with a magnifying glass and a dentists angled mirror the internal wonders may be beheld!!


-
Welcome along HOF, I think you could be right !!
-
Welcome Derek, I hope I can make as good a job as you did with yours.
-
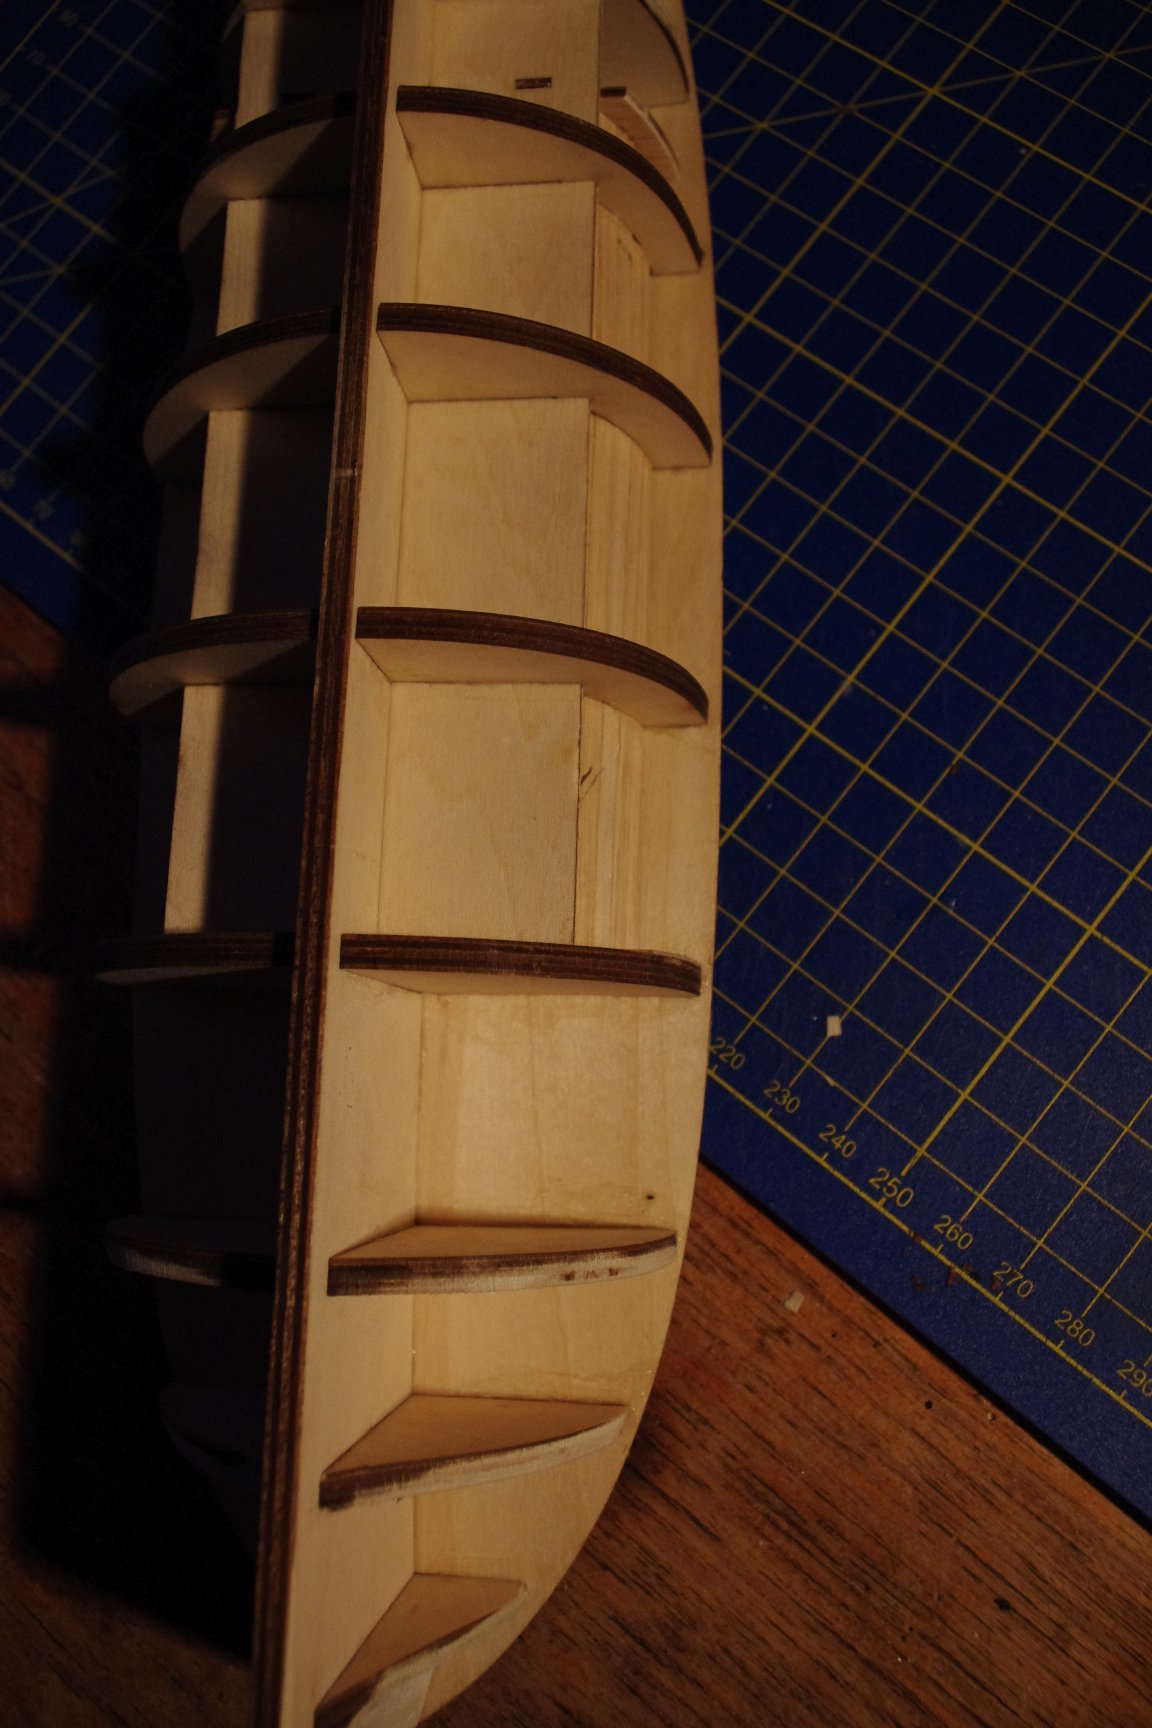
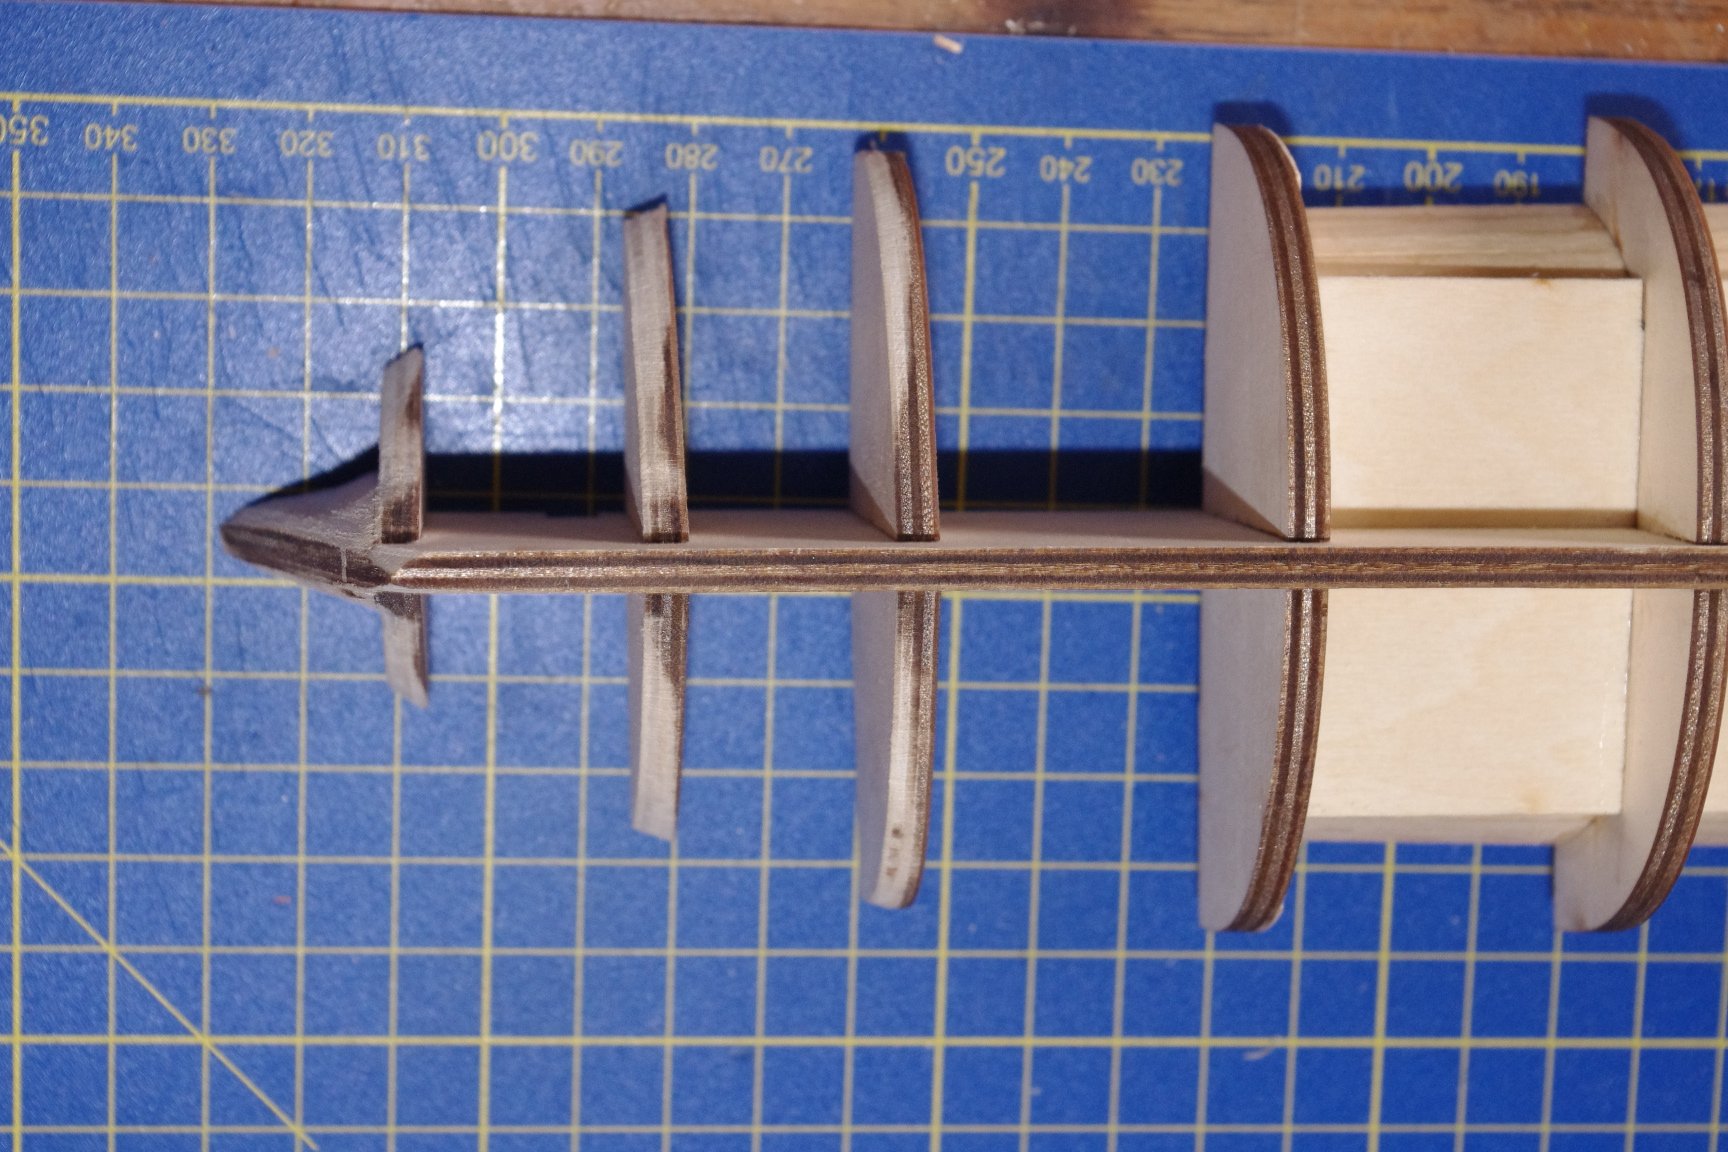
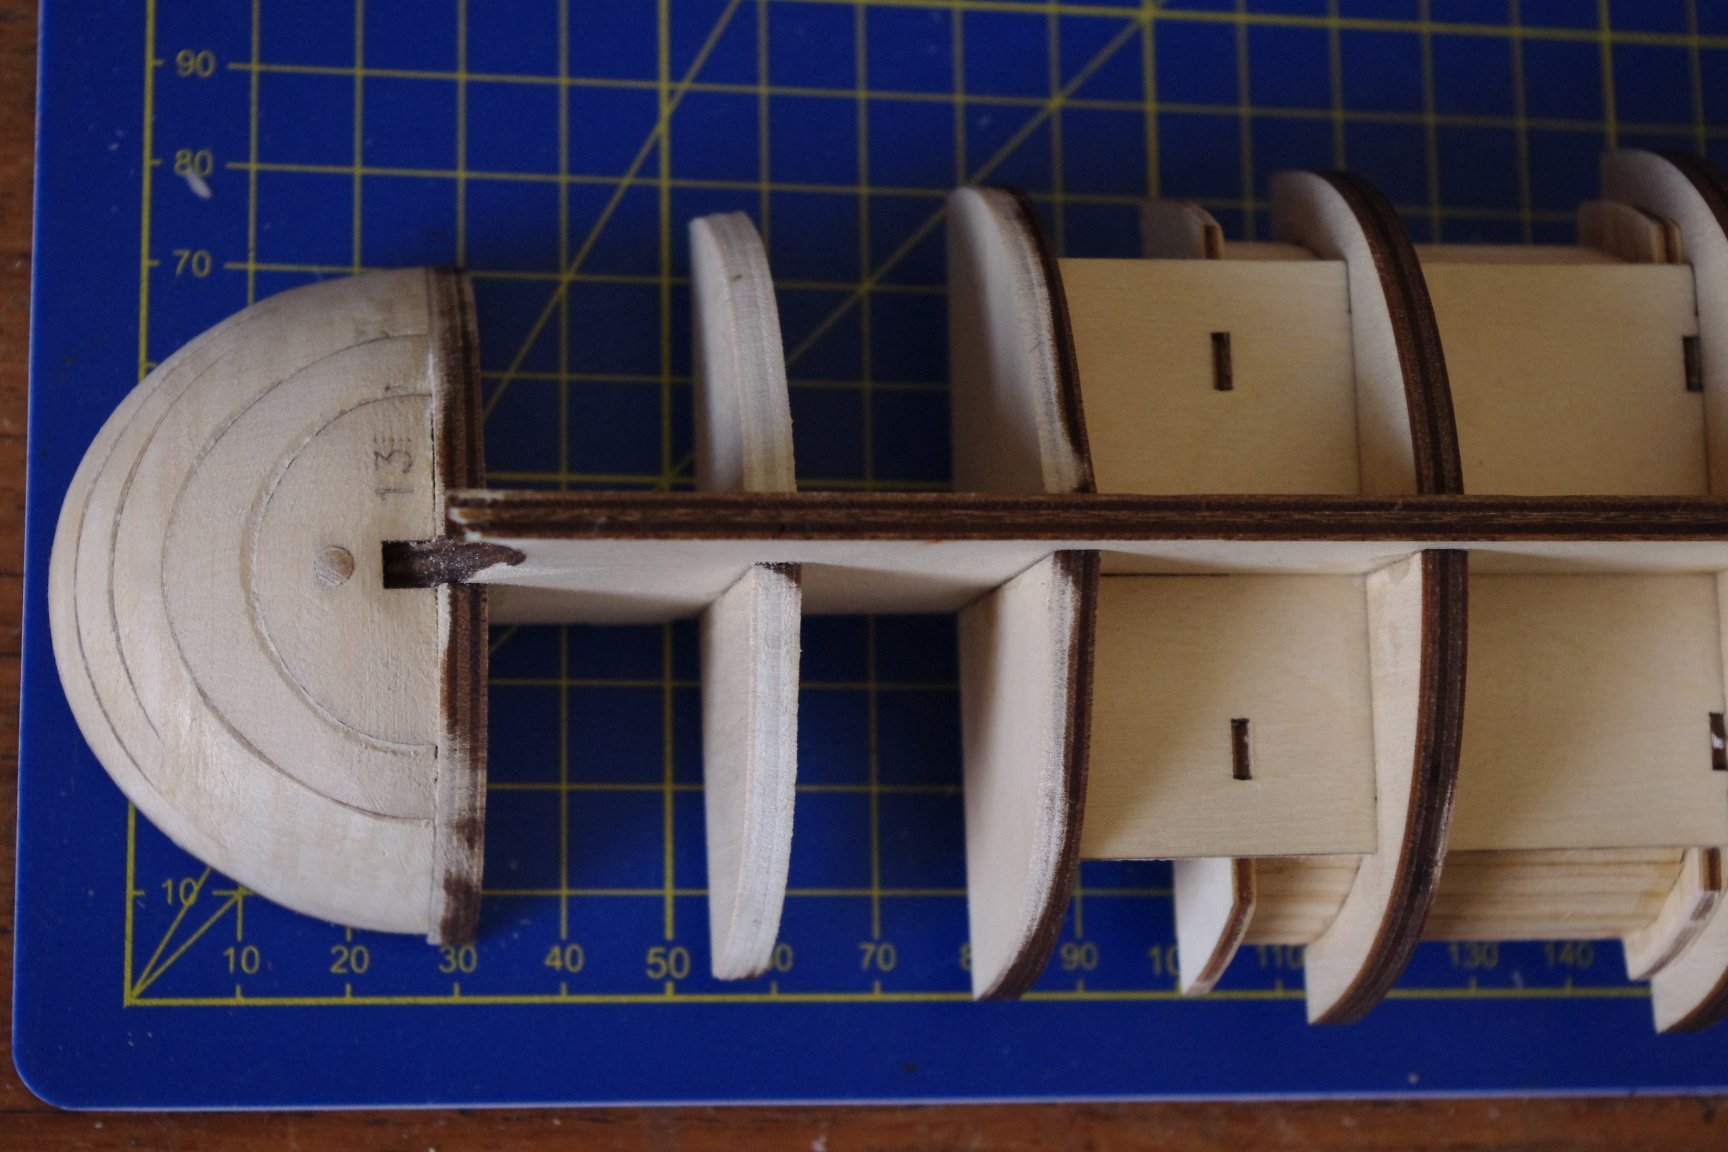
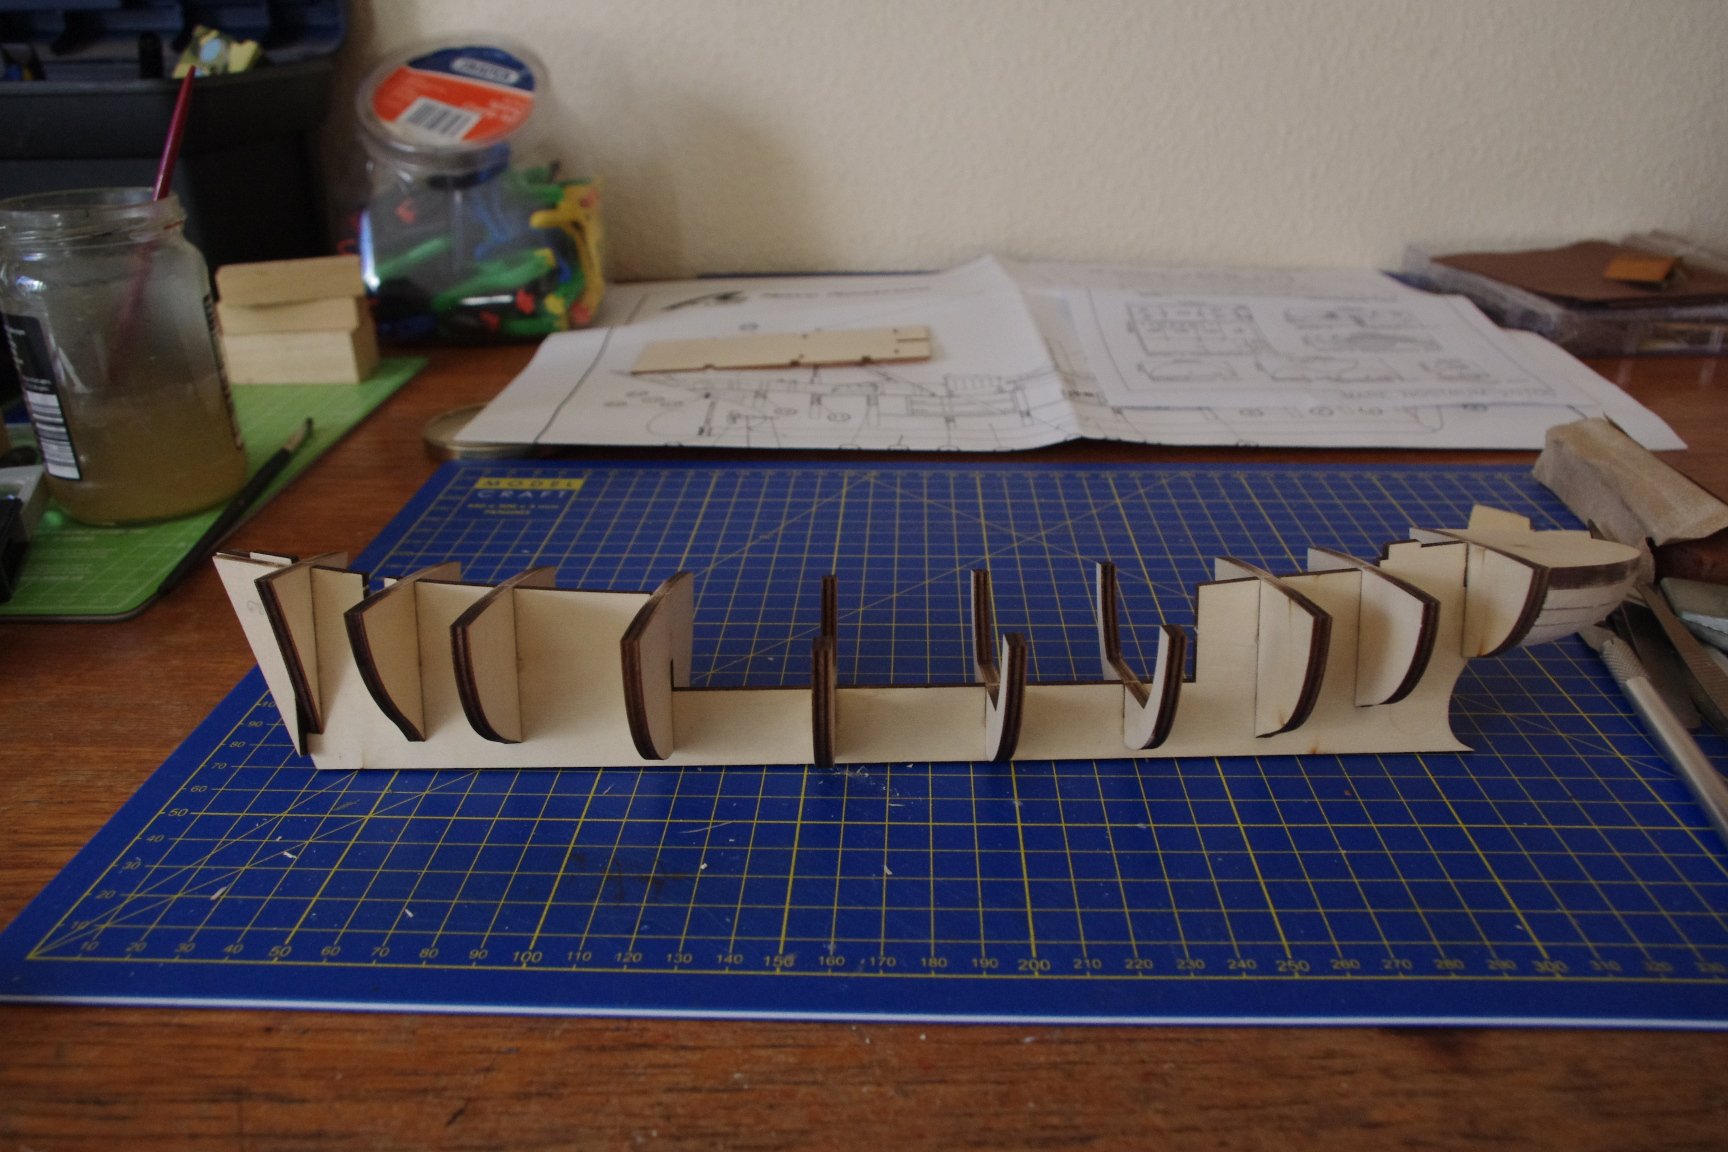
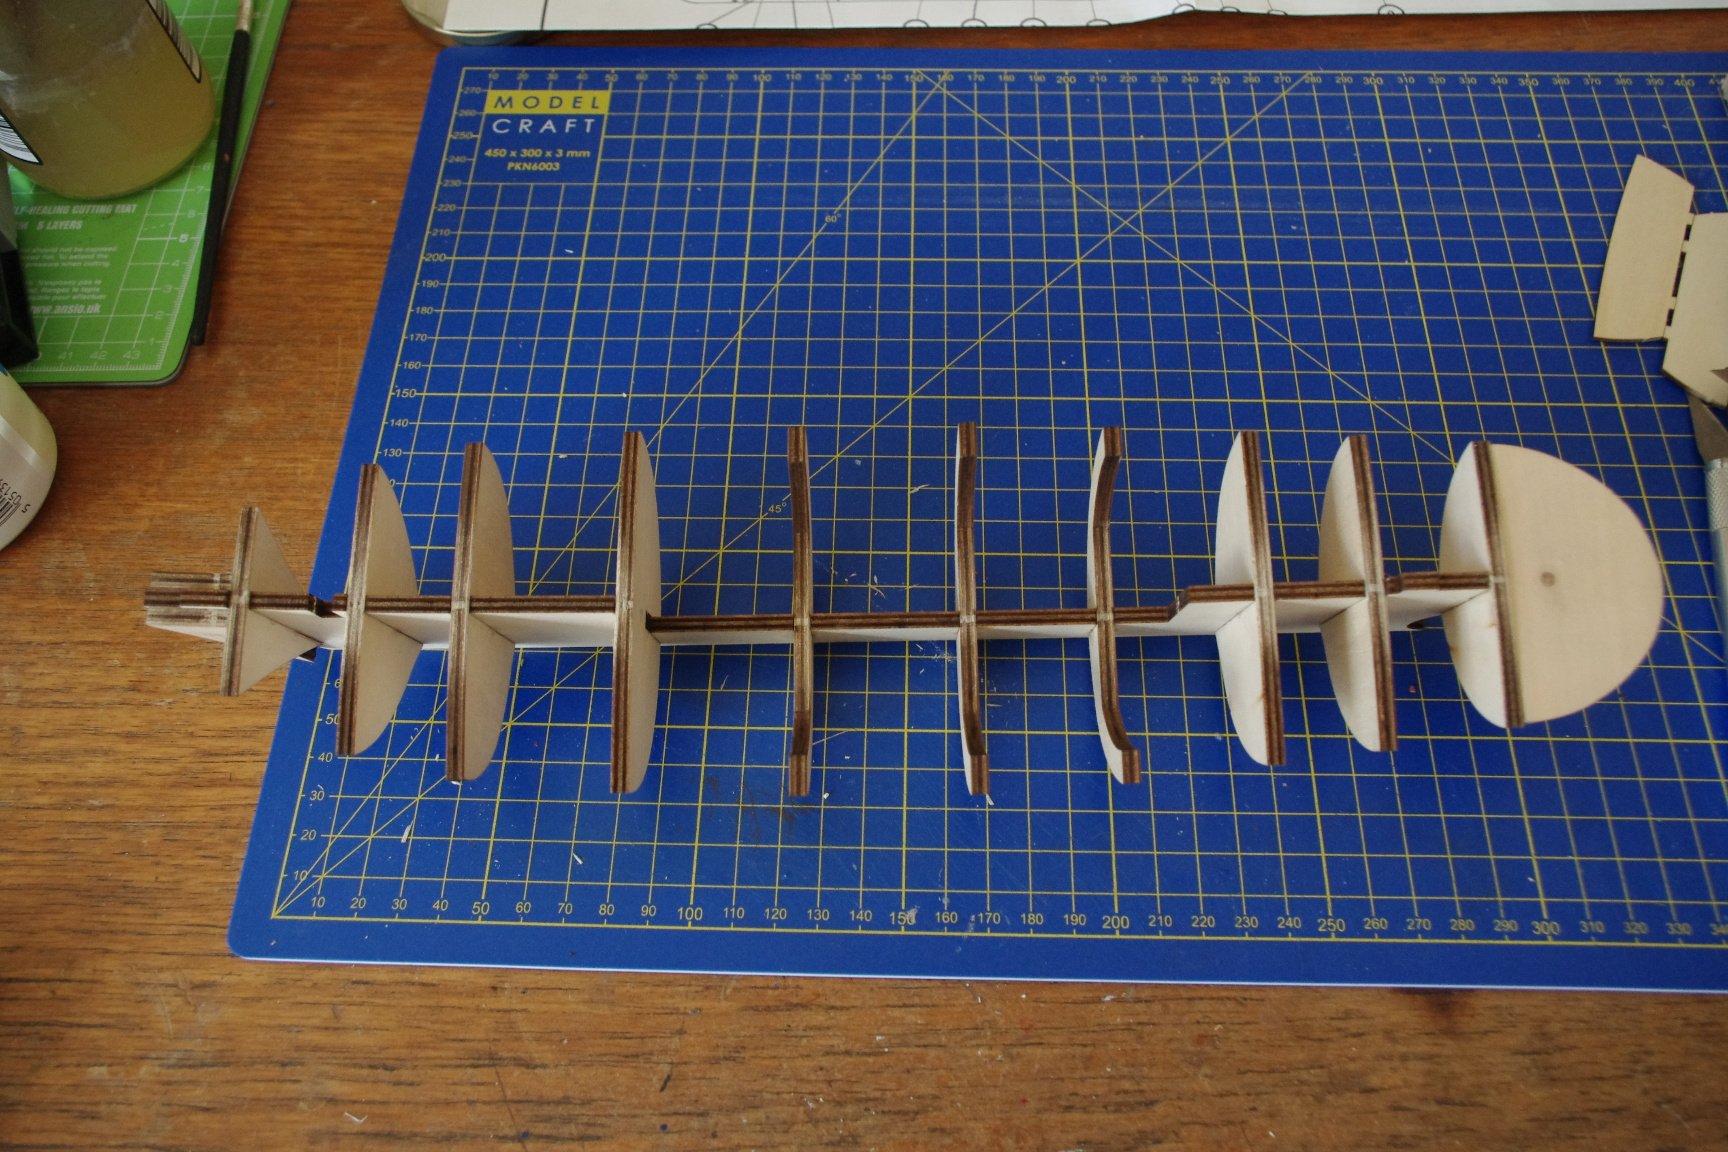
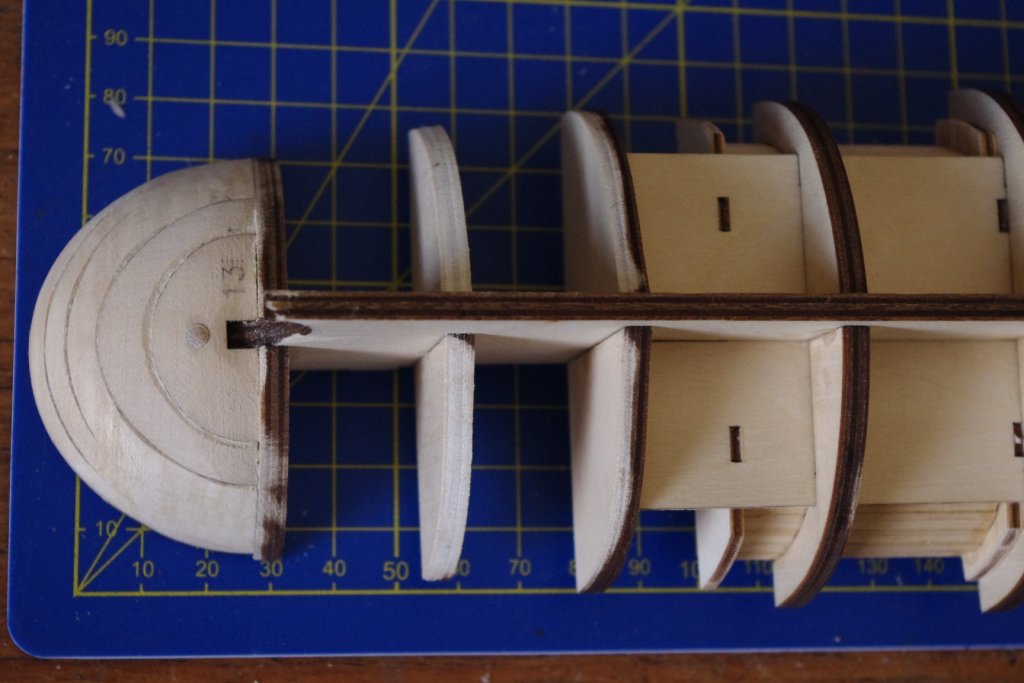
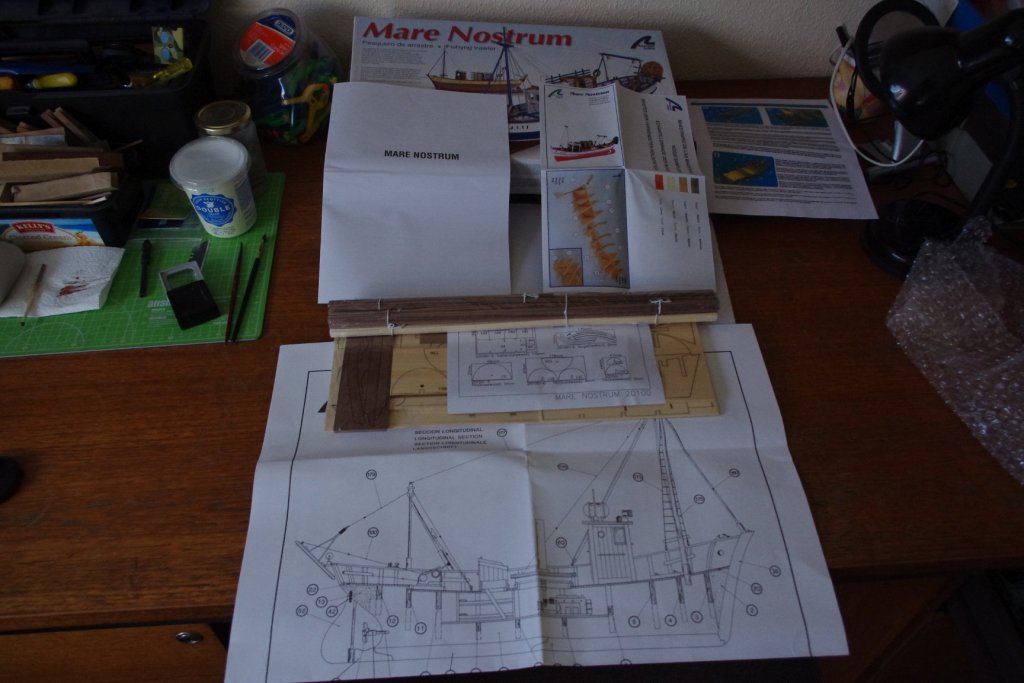
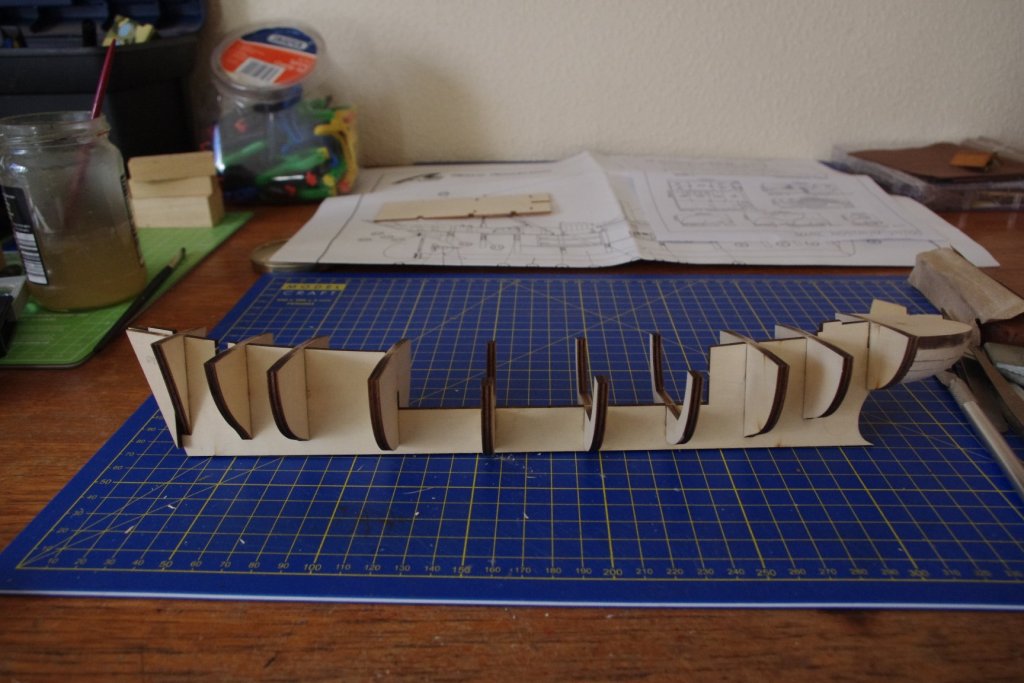
Hello again folks. Having finished my Viking boat I have started another kit from my stash, the Mare Nostrum. I see loads of other people have done this kit as well so it will be interesting to see how I get on. This little boat has to be planked properly of course, no clinkering this time!! Anyway I am sure you all know what's in the box but I'll show you anyway !! So far most of the bulkheads have been fitted to the false keel and her rear end has been stroked until round and smooth !! More soon.

-
Just in case anyone is interested my next build is going to be Mare Nostrum. I will start a build log soon. I see a lot of other people have done this kit so I hope I can do it justice.
-
Thank you everyone for your kind comments. I am glad now that I didn't put it on the fire!!
-
Sorry folks, looks like I got there in the end. I hate computers and I hate change but I guess I will get used to both !


-
Still doesn't work. Let's try this !!!! No, that didn't work either ! More help please!
-
Sorry folks, with this new system I have no idea how to add pictures. Help !!!
-
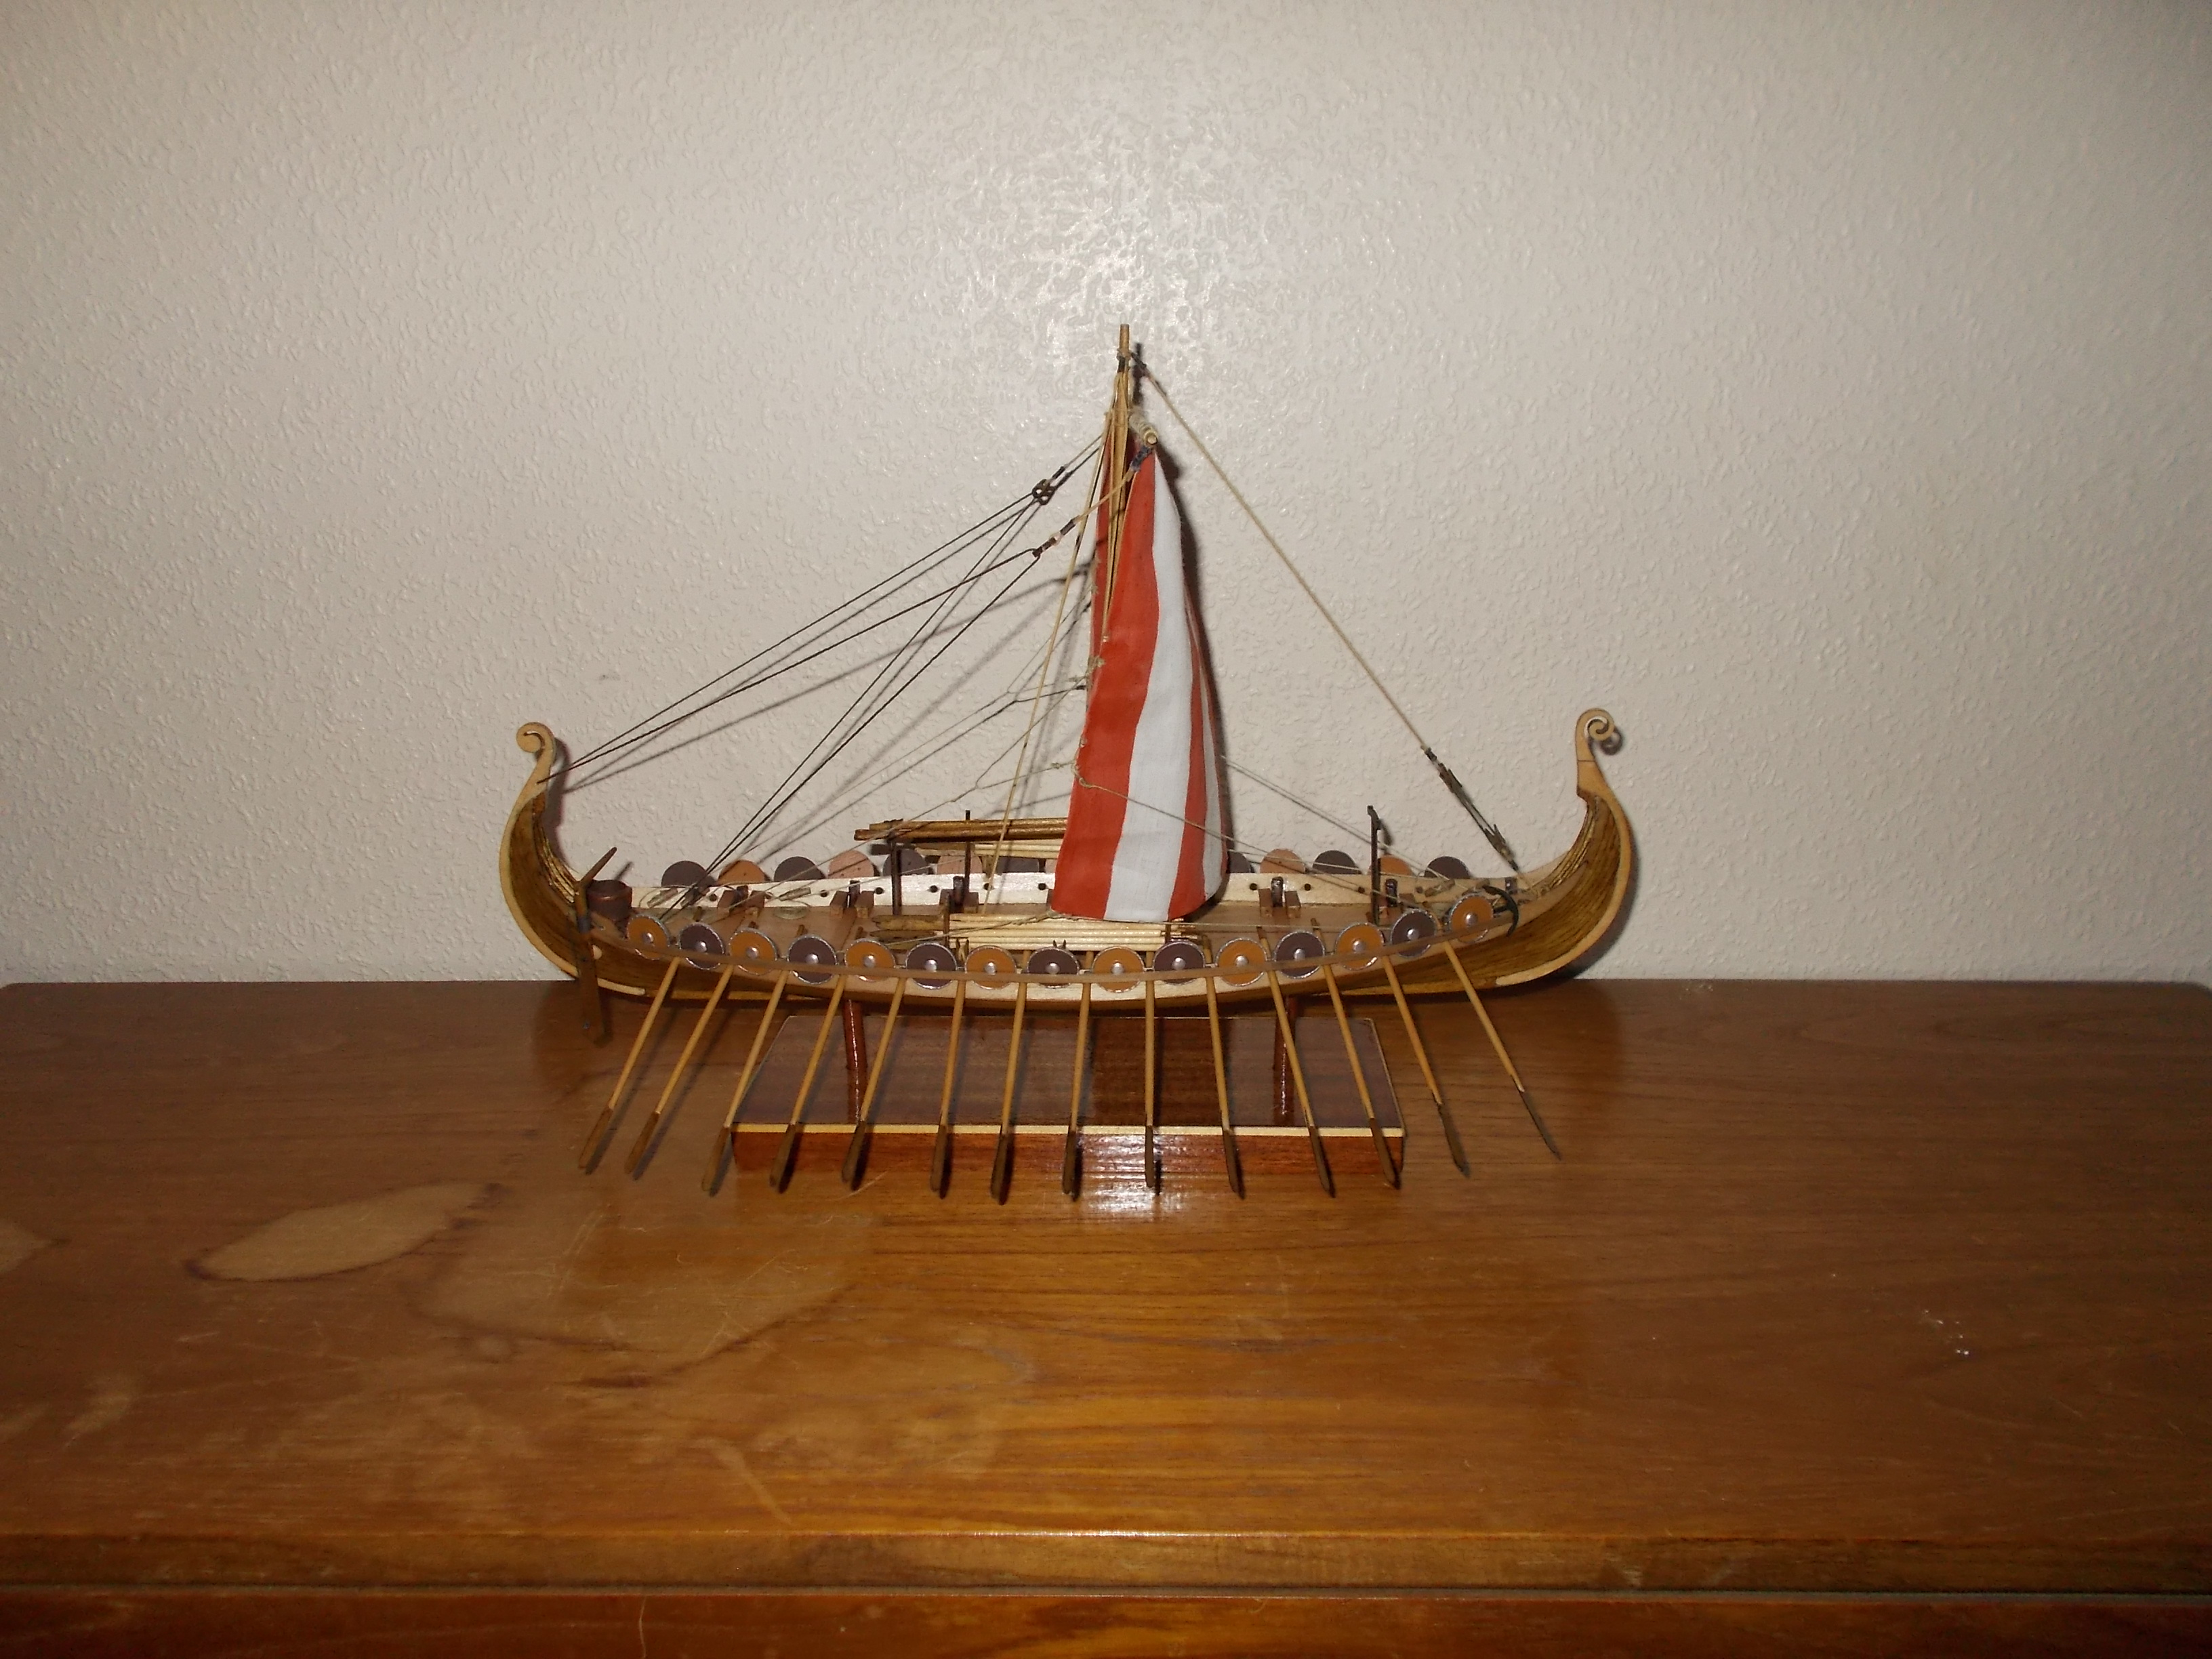
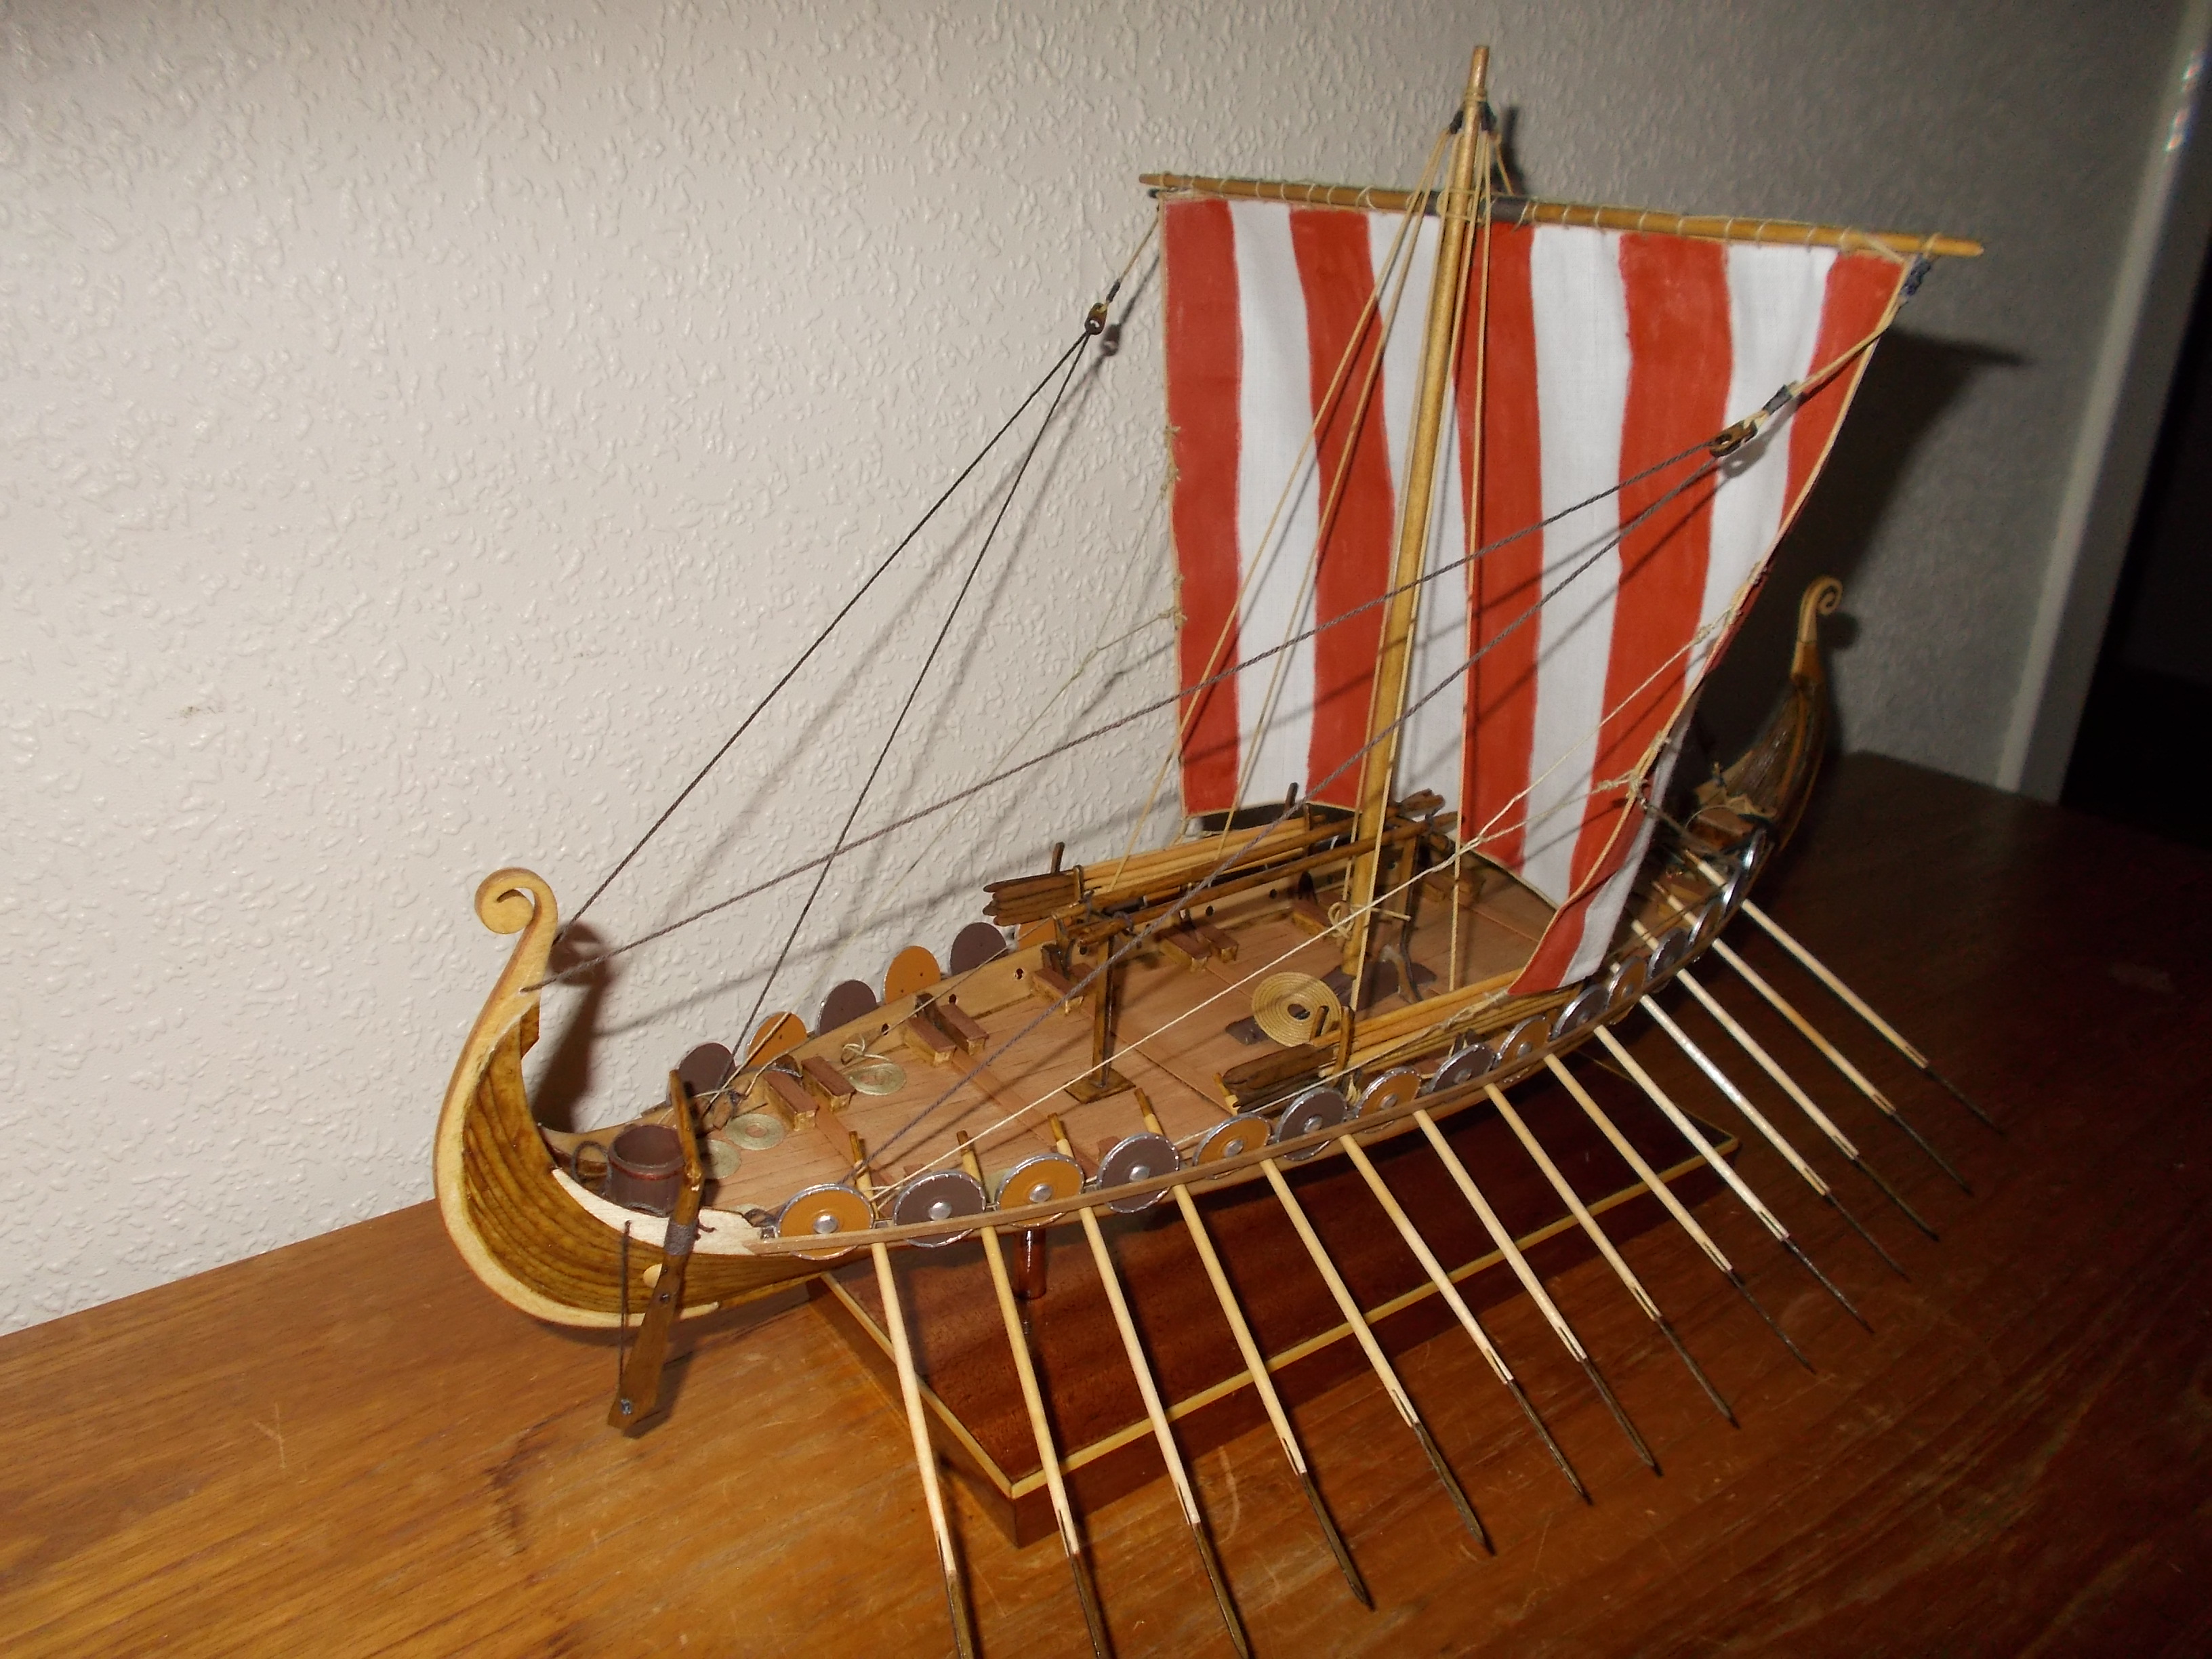
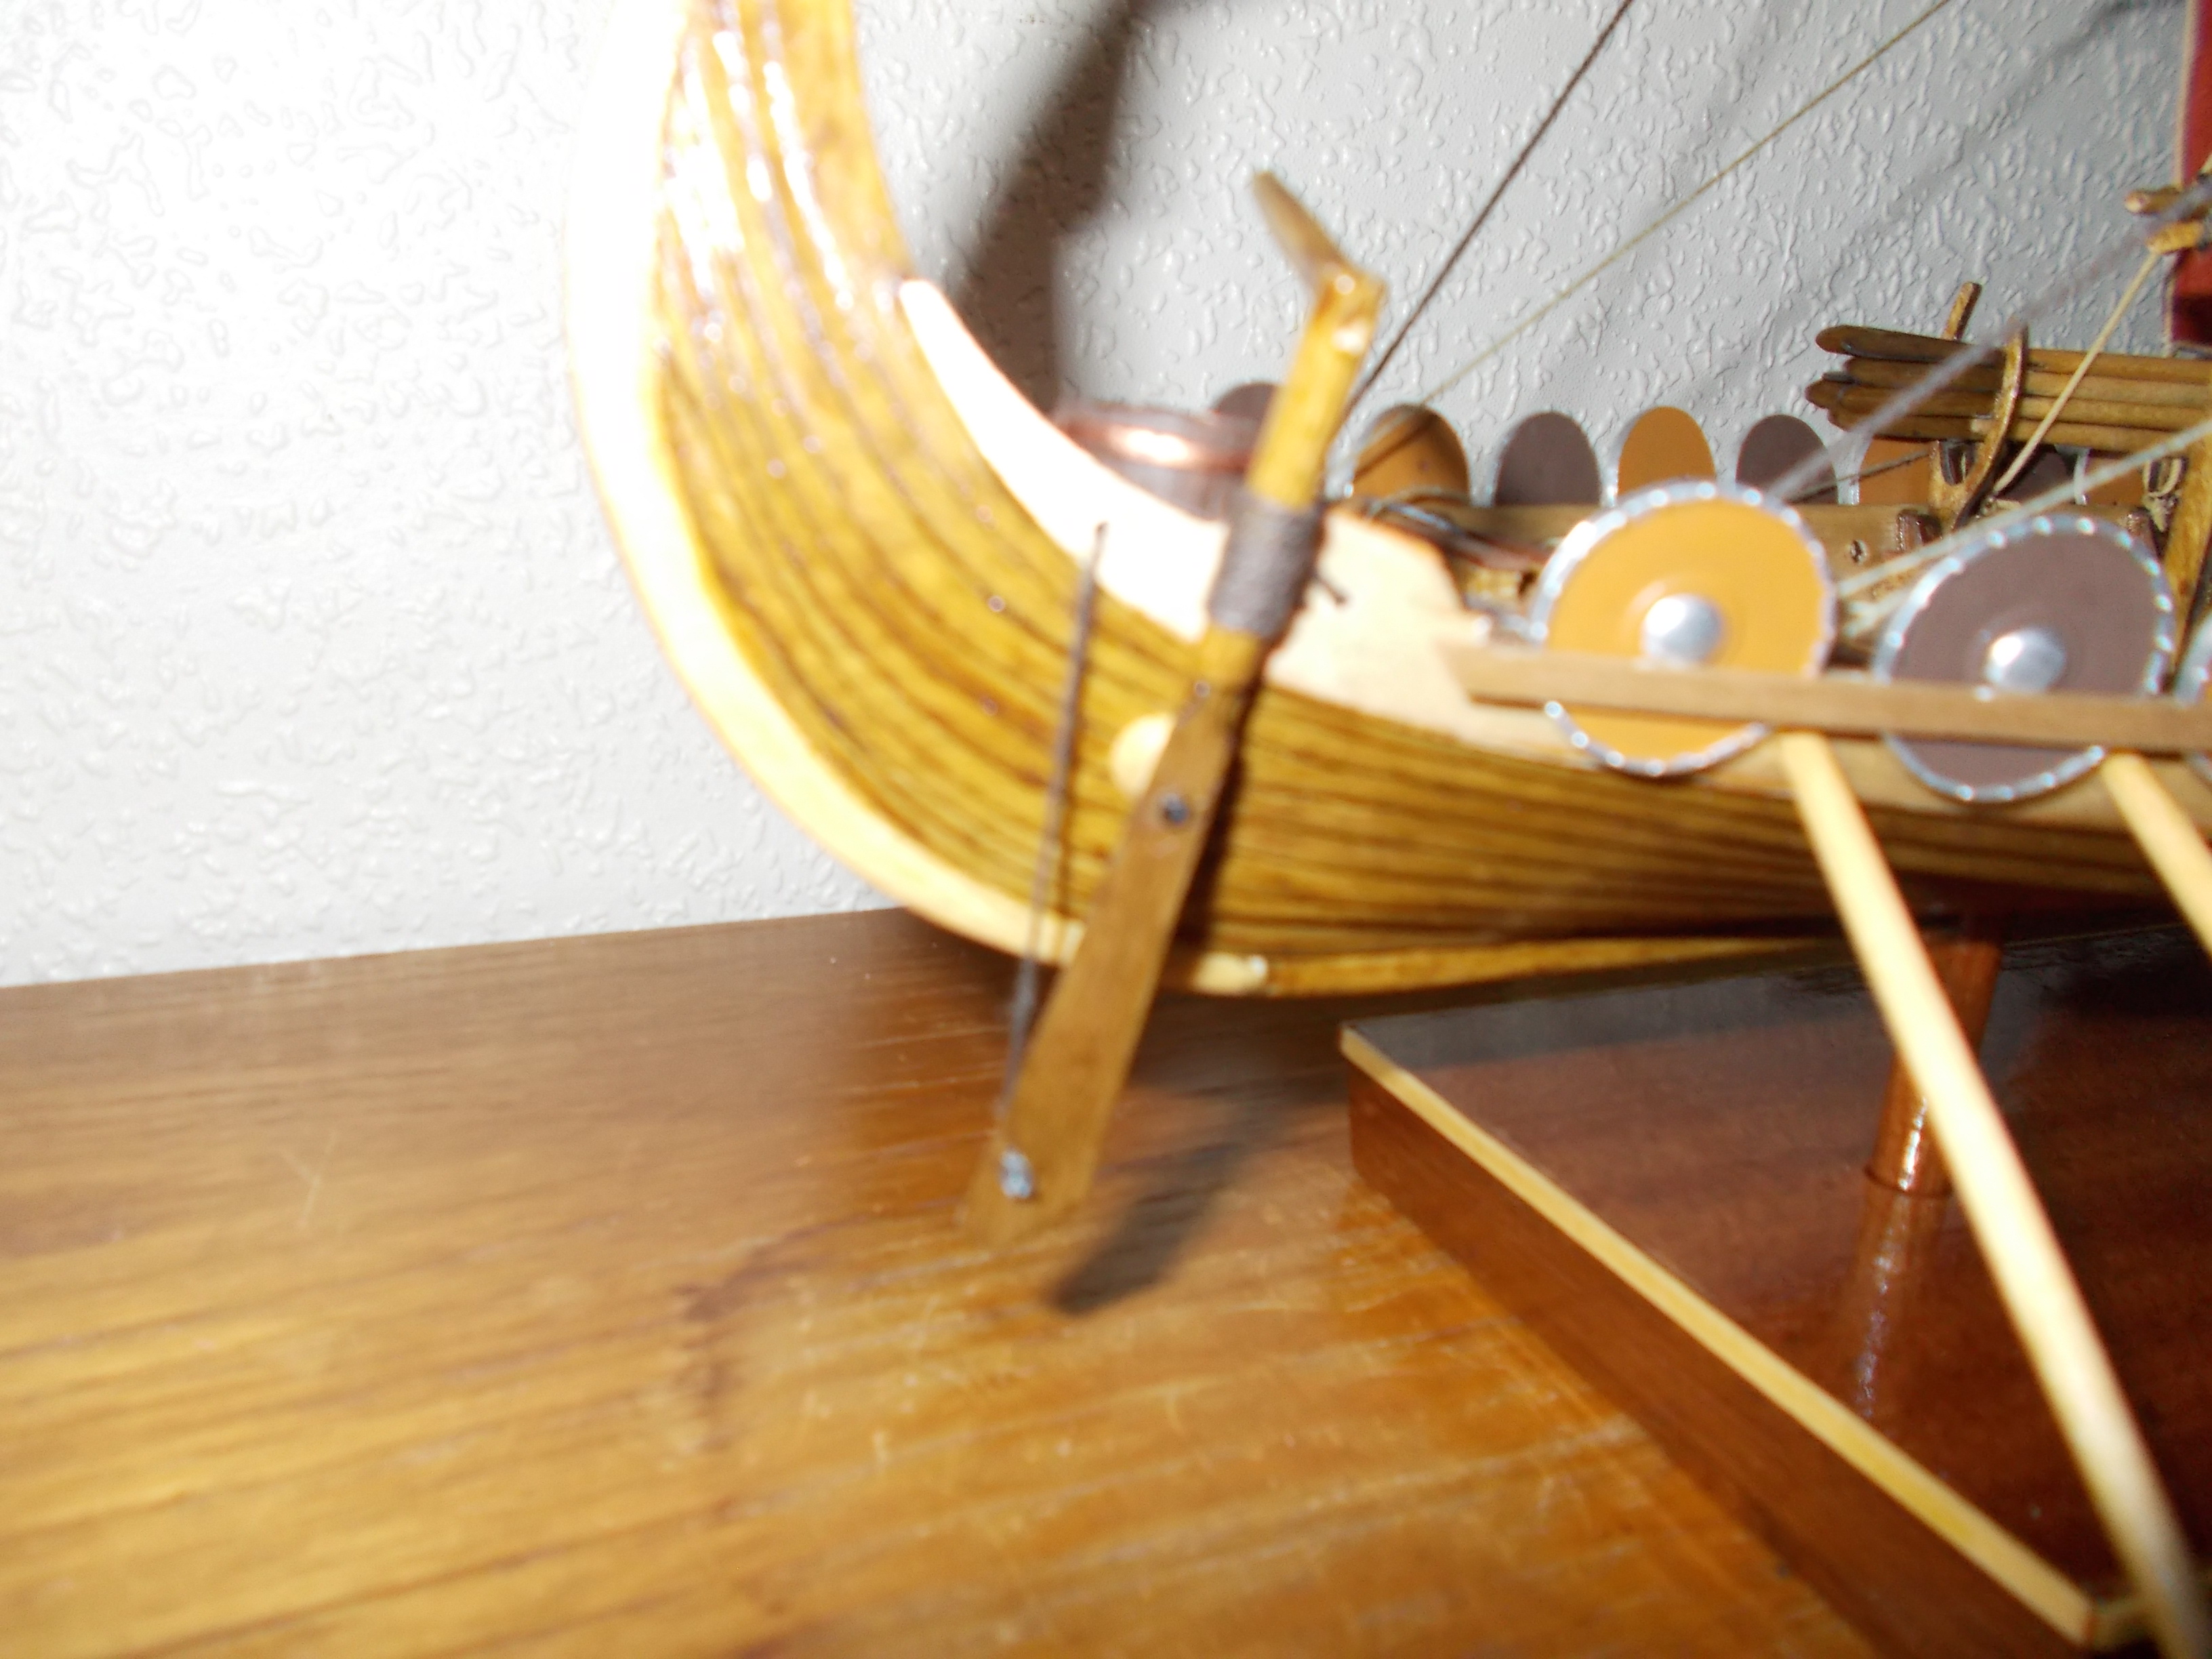
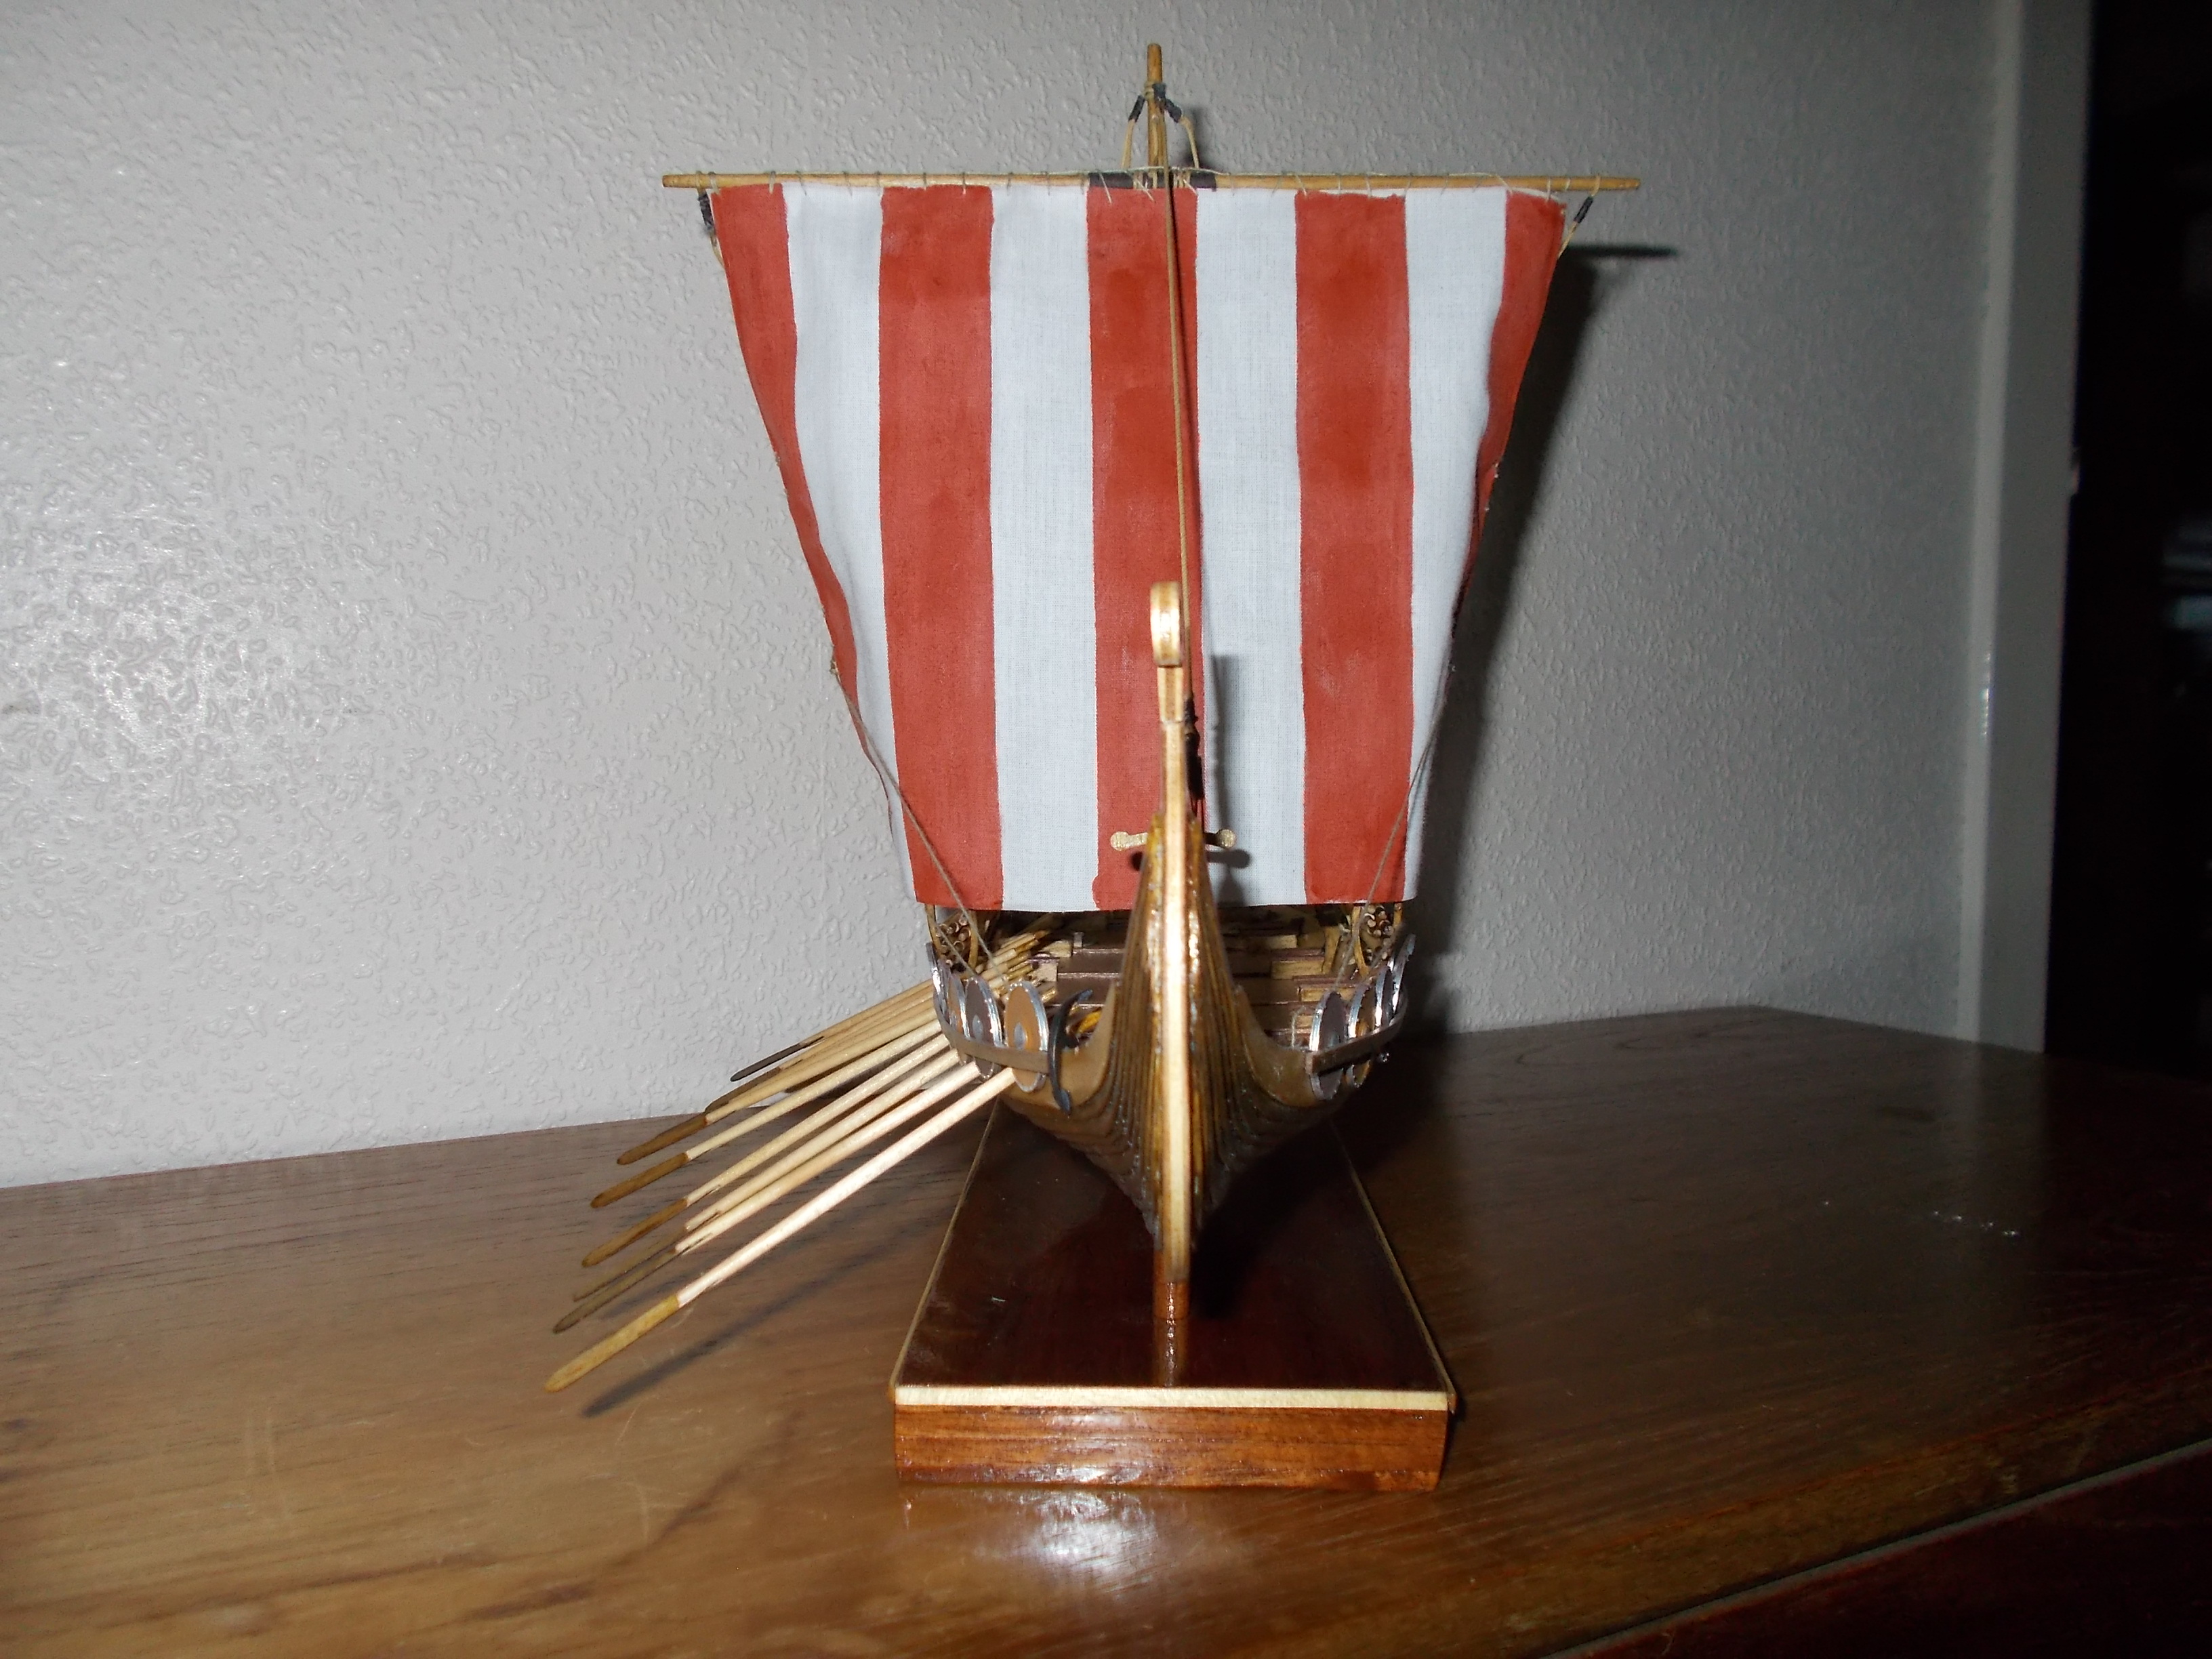
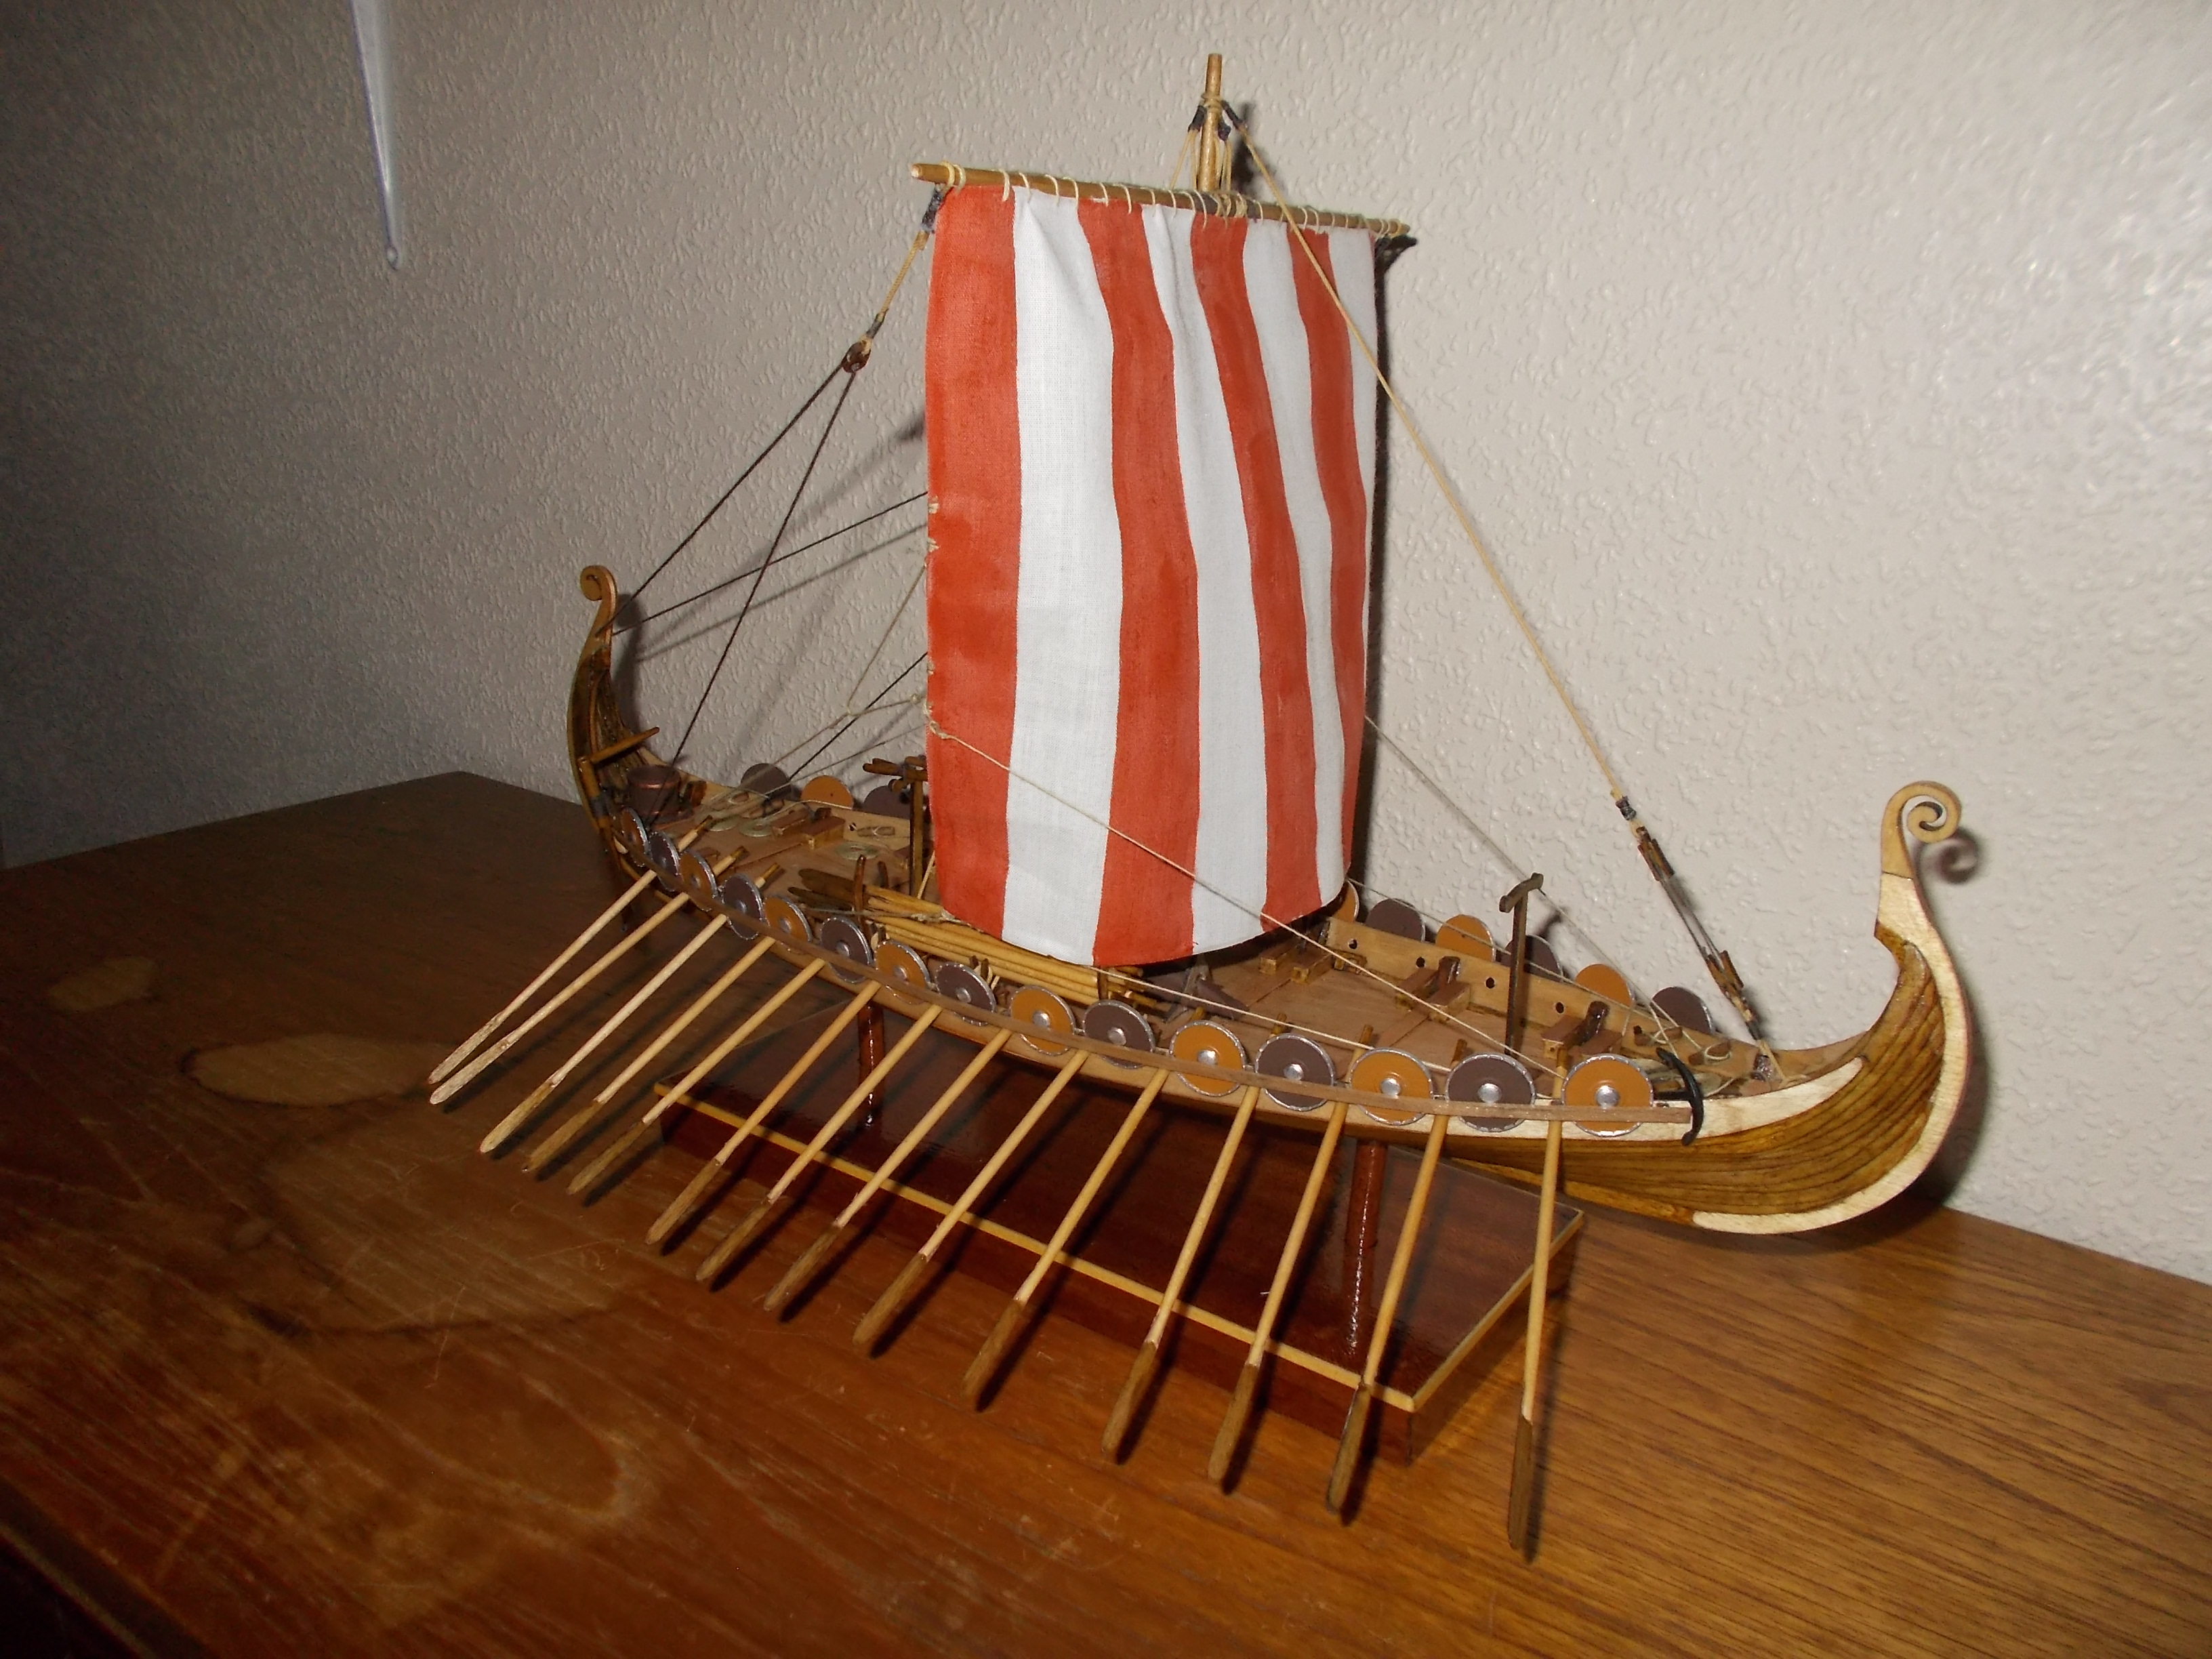
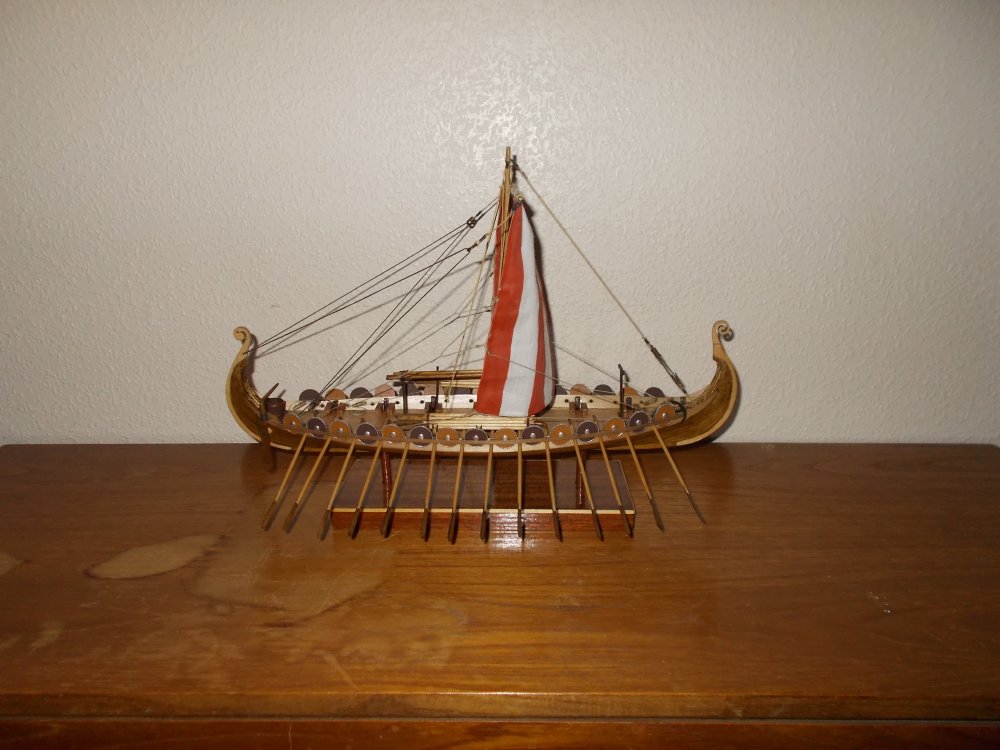
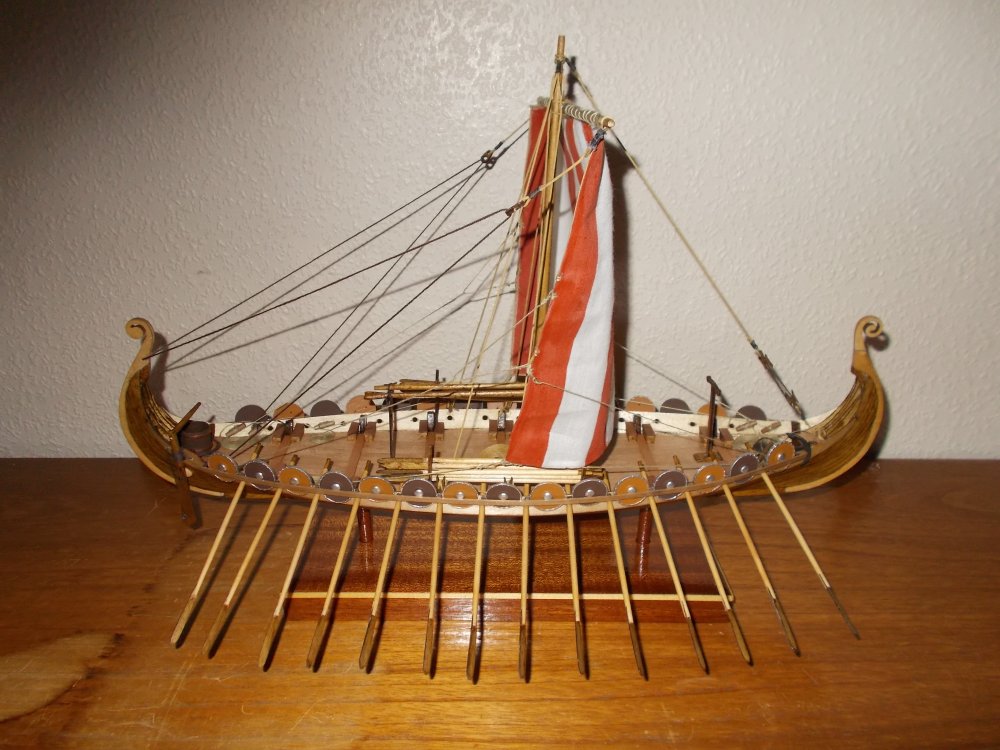
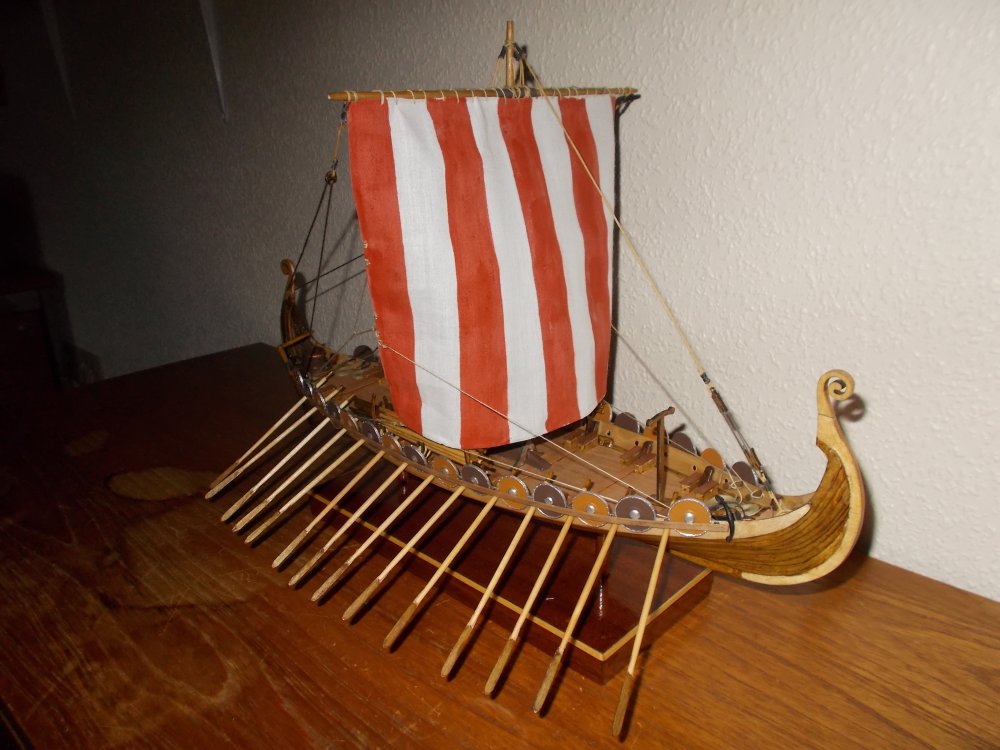
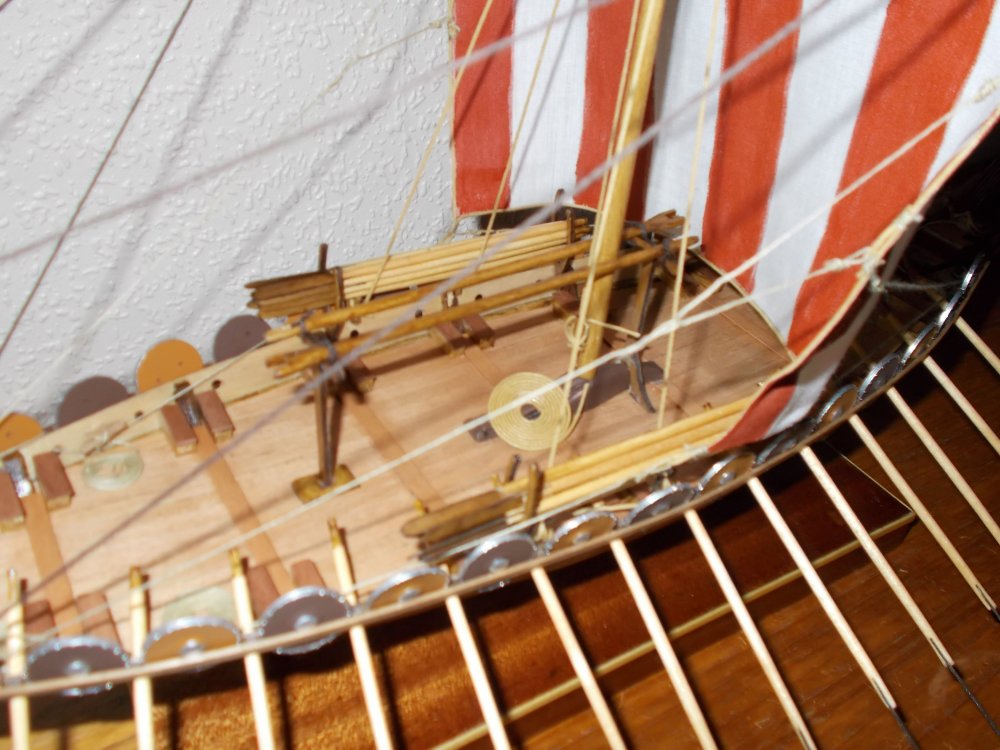
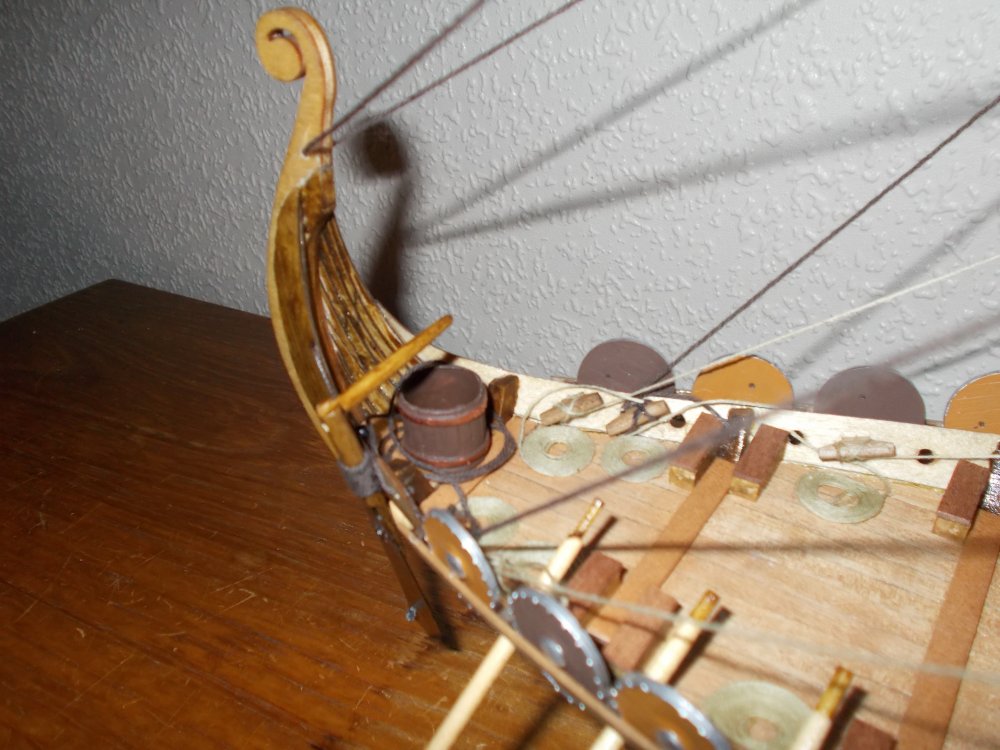
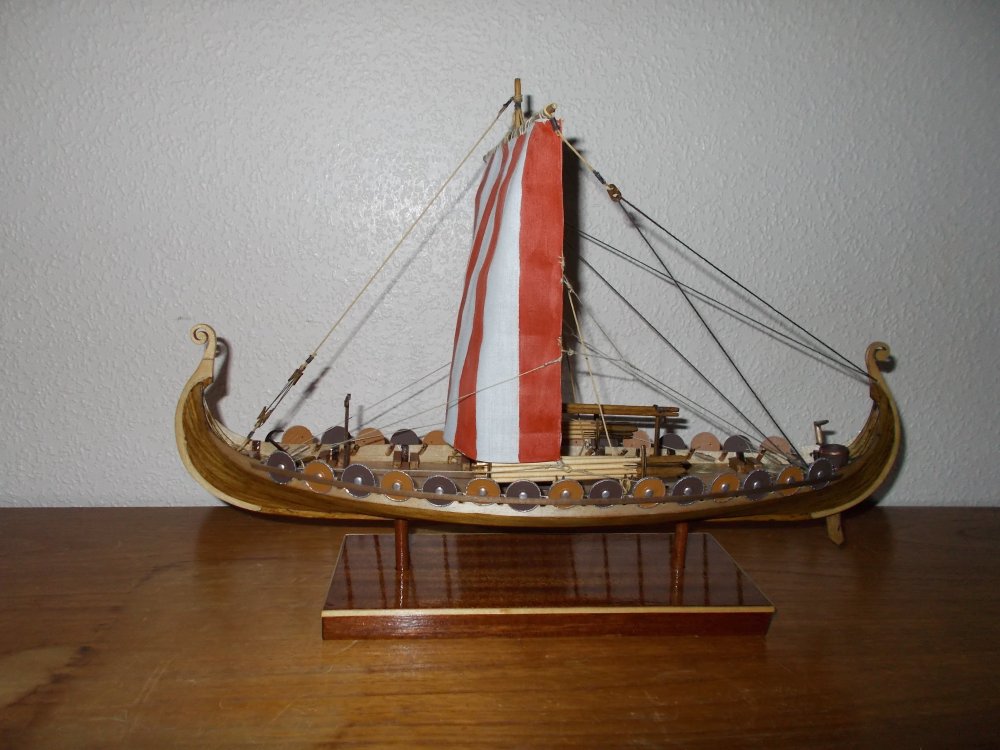
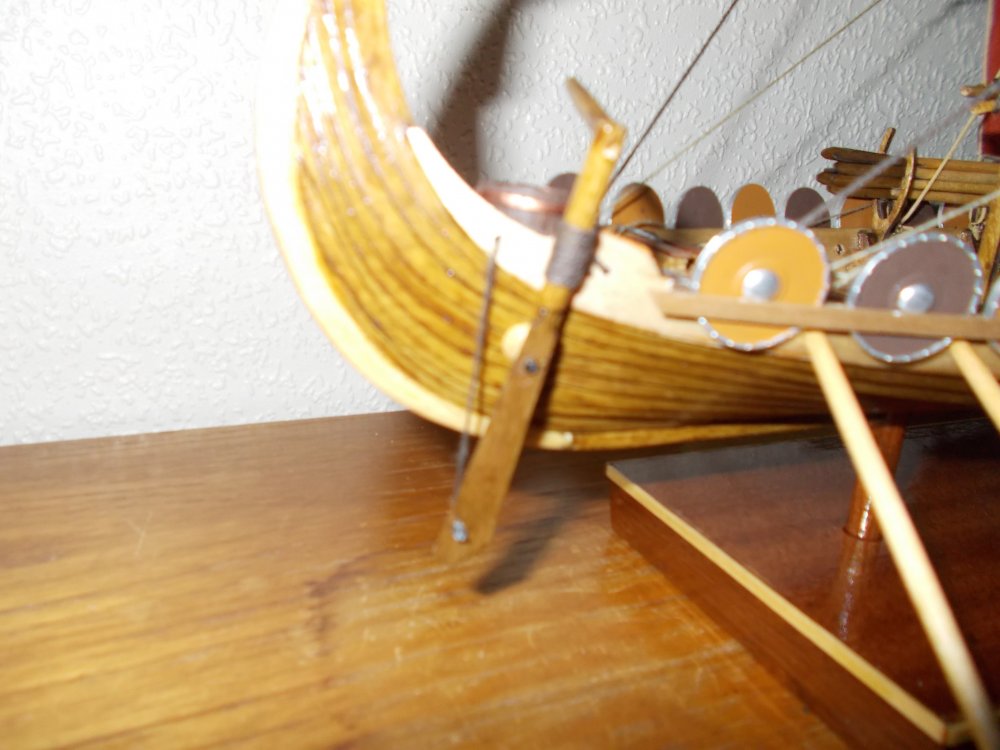
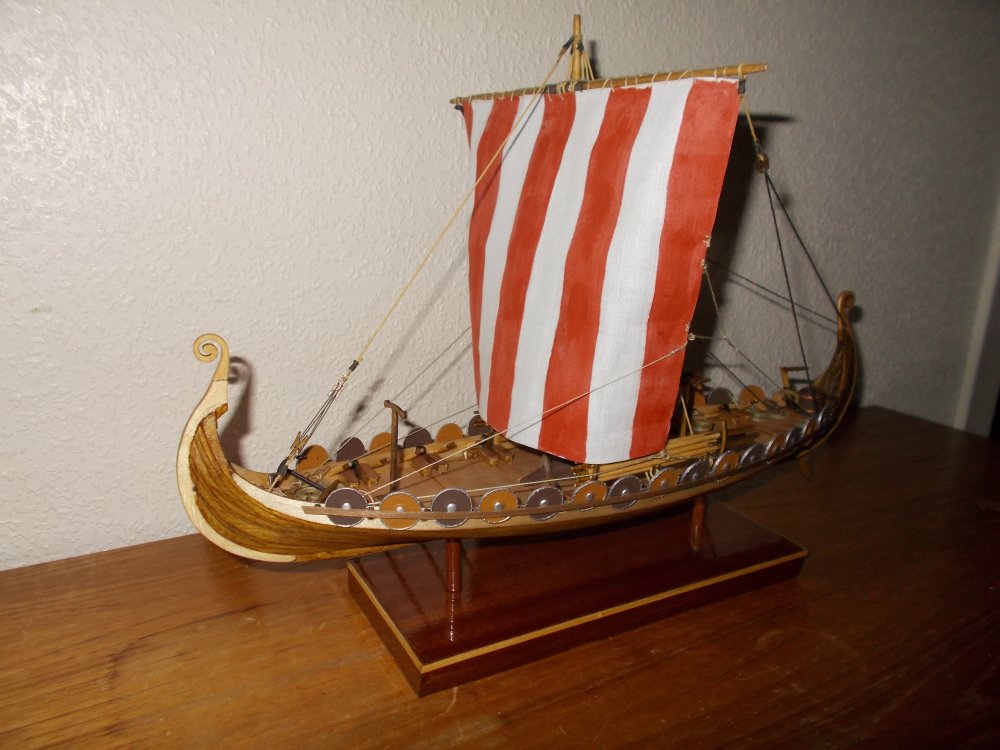
Hello all, She is finished!! I decided in the end to have the sail up and put oars on one side only so that I could have the best of both worlds and also narrow the width for a shelf. I added some rope coils and a water barrel just to complete the picture. I hope you like it, it is definitely not the Oseberg but could maybe pass as a Viking boat.
-
Thanks Chuck, that makes sense and their isn't much running rigging for the one sail. What do you think about Captain Al's suggestion ?
-
Thanks for that, I find it rather tempting to do both after spending so long making 28 oars !! As a model ship builder who knows absolutely nothing about boats or sailing, if a sail is furled, should all the rigging for that sail still be evident on the boat? It occurs to me that it would look a bit odd without just dangling from the cross beam or whatever it's called.
-
If I dare make a suggestion why not have the battery outside of the boat? I think it will show a lot if you put it in the pilothouse. Also tricky when you have to change it. I would have thought a tiny hole either through the hull or between decks for the wires would hardly show.
- 296 replies
-
- 2
-
-
- chaperon
- model shipways
- (and 1 more)
-
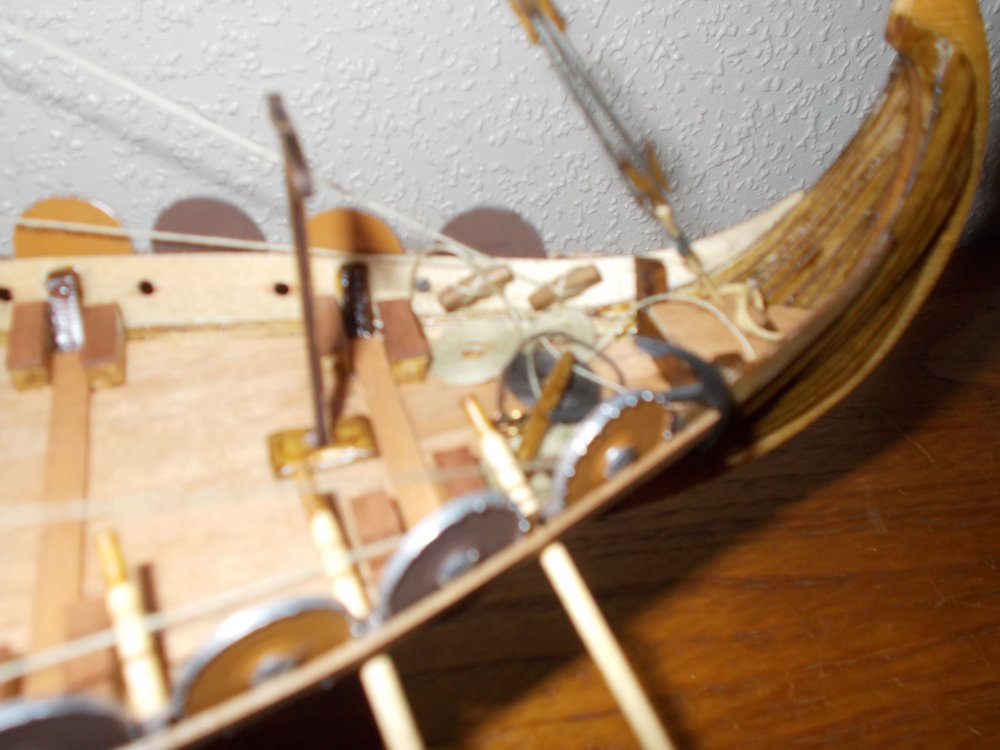
Sorry about the dreadful lighting!!