Mike Dowling
-
Posts
1,234 -
Joined
-
Last visited
Content Type
Profiles
Forums
Gallery
Events
Everything posted by Mike Dowling
-
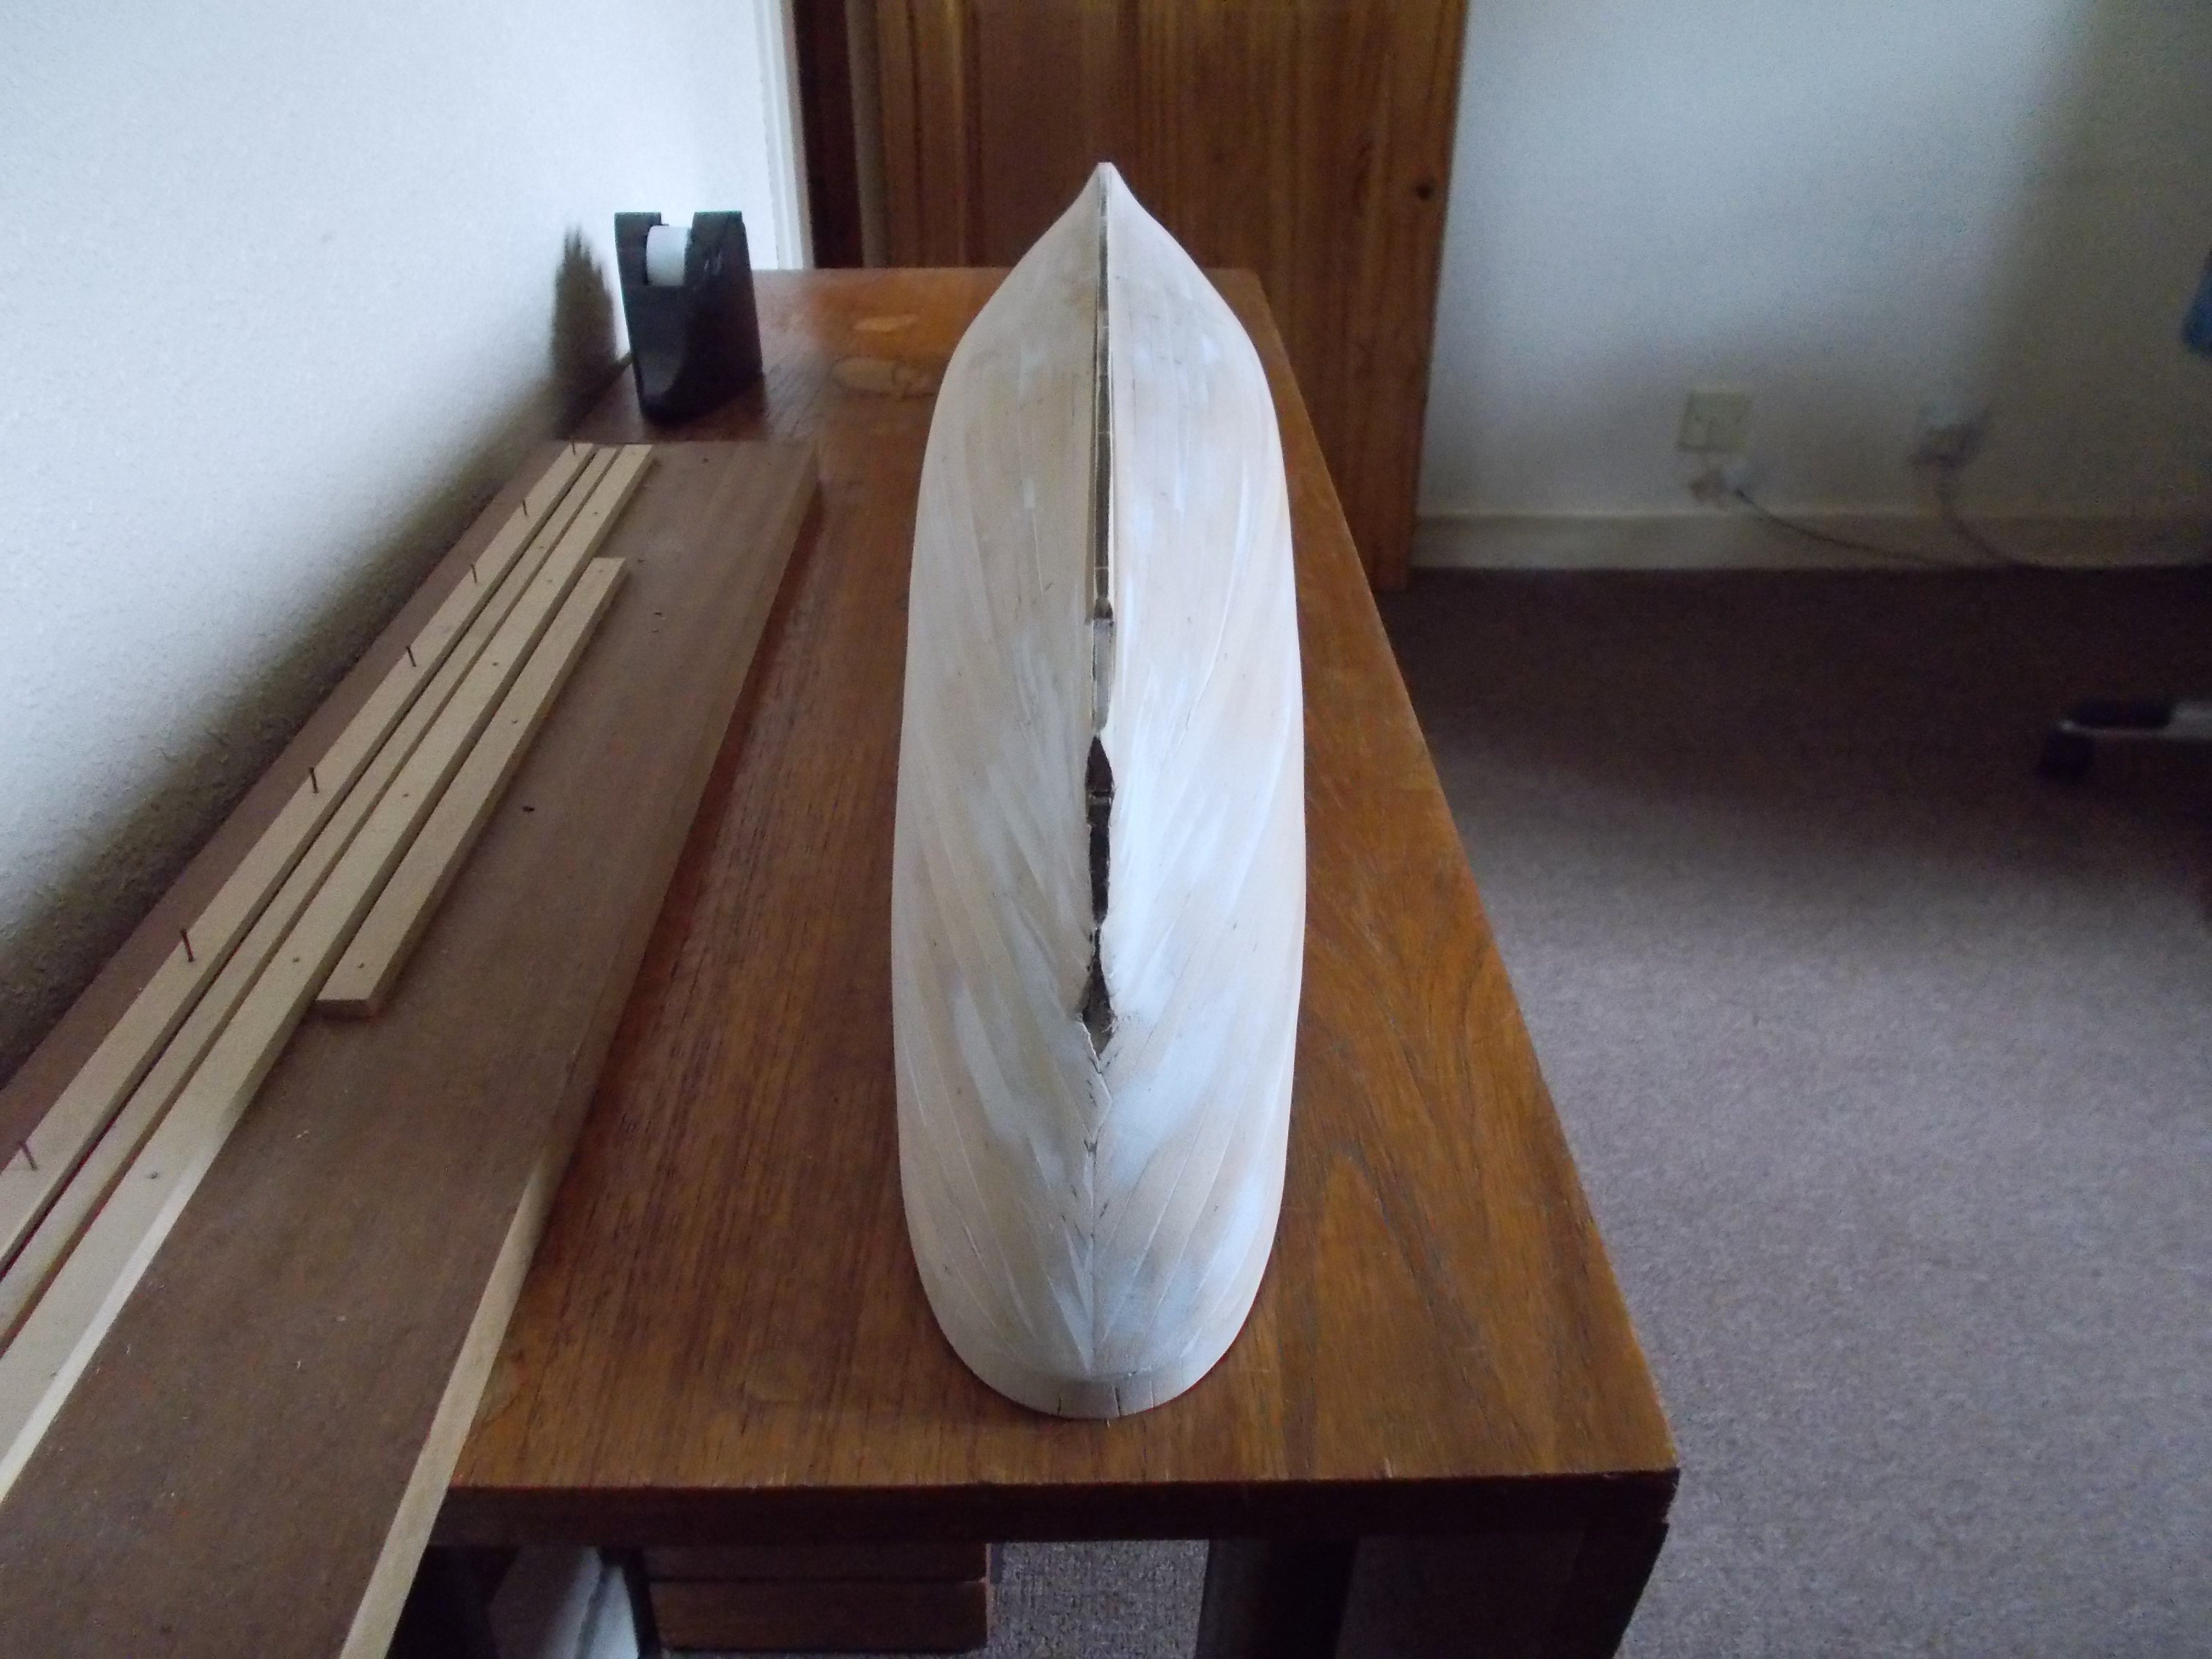
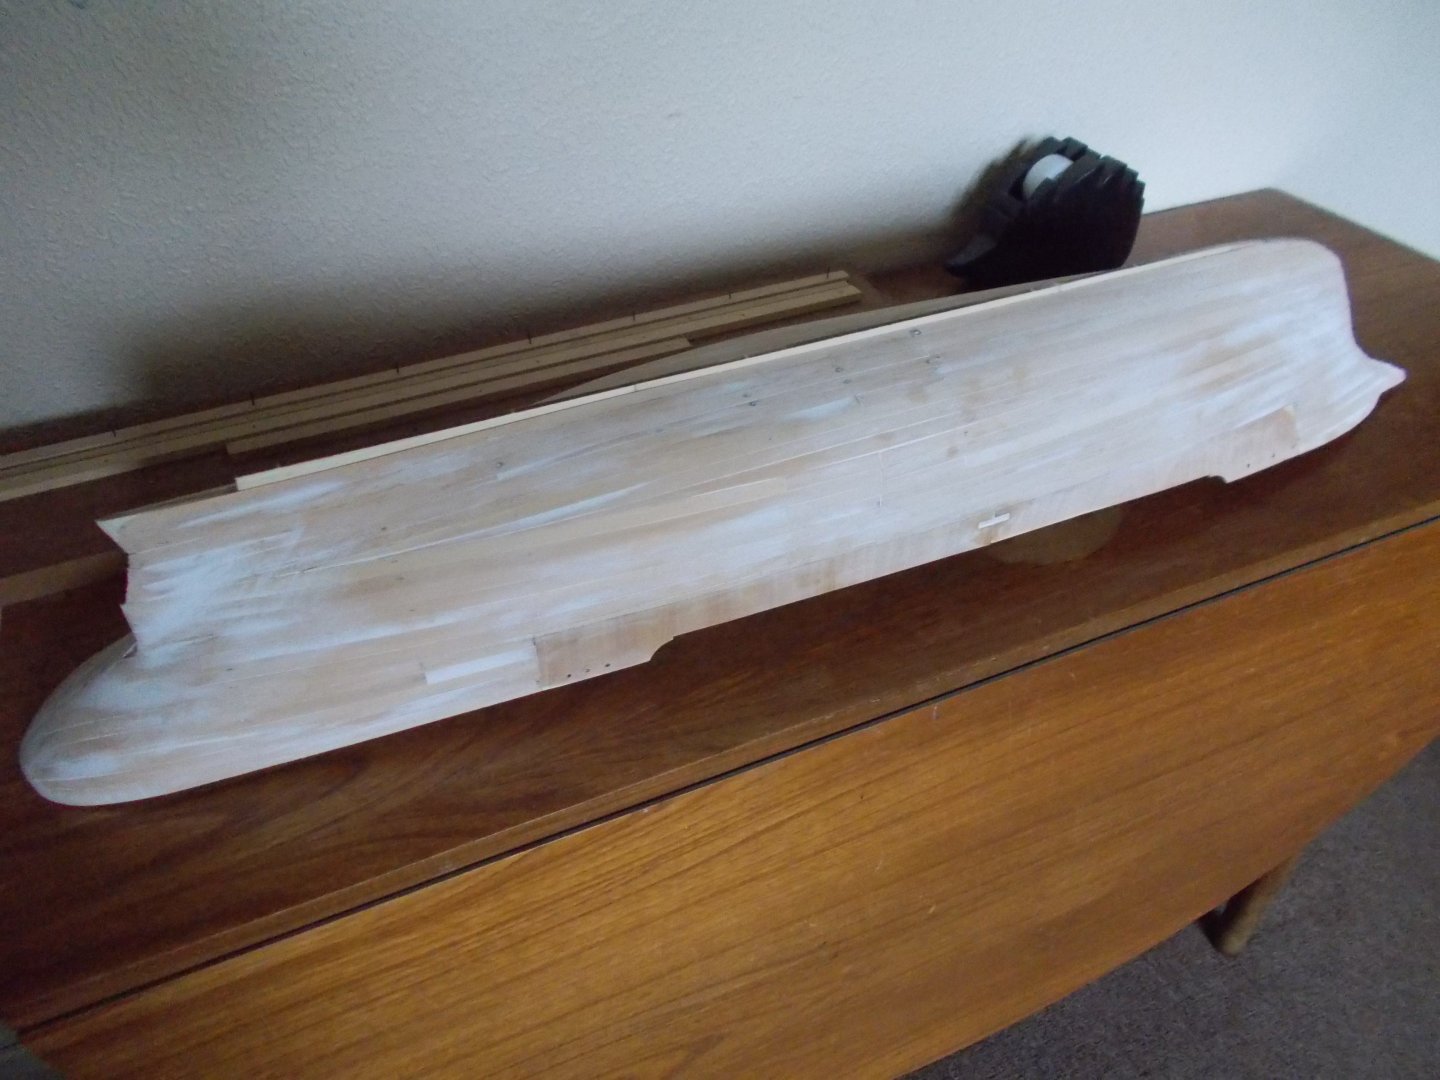
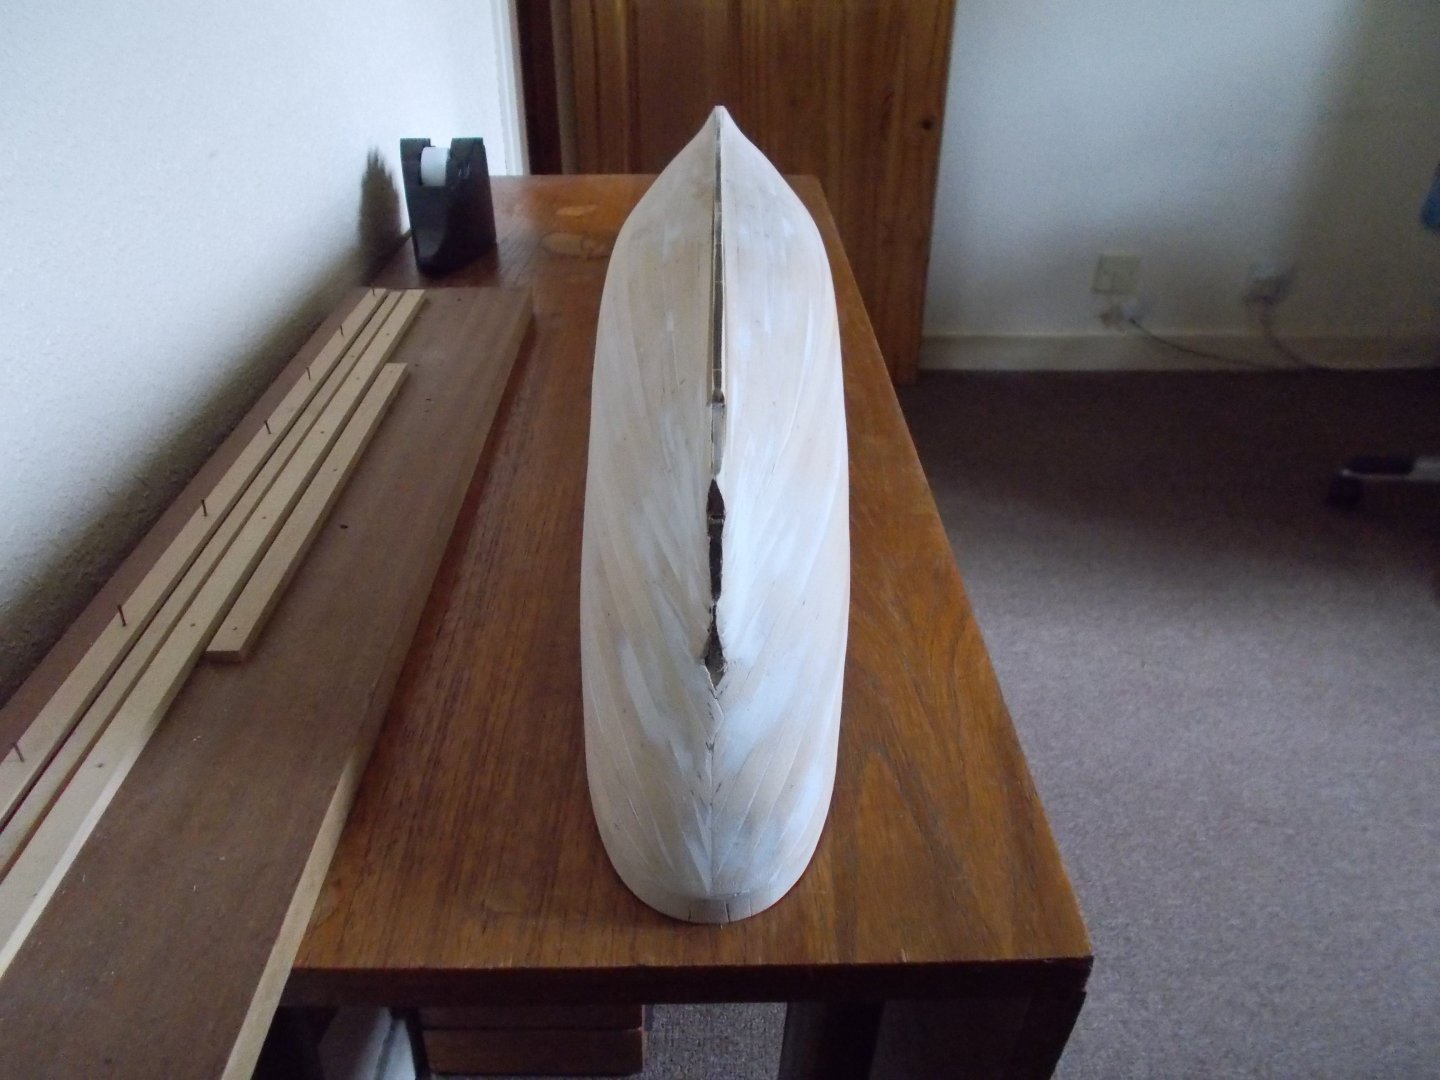
After some trimming, sanding, filling and more sanding she doesn't look so bad now after all. Still some work to do on the bow to get the shape right but the second planking should help with that.


-
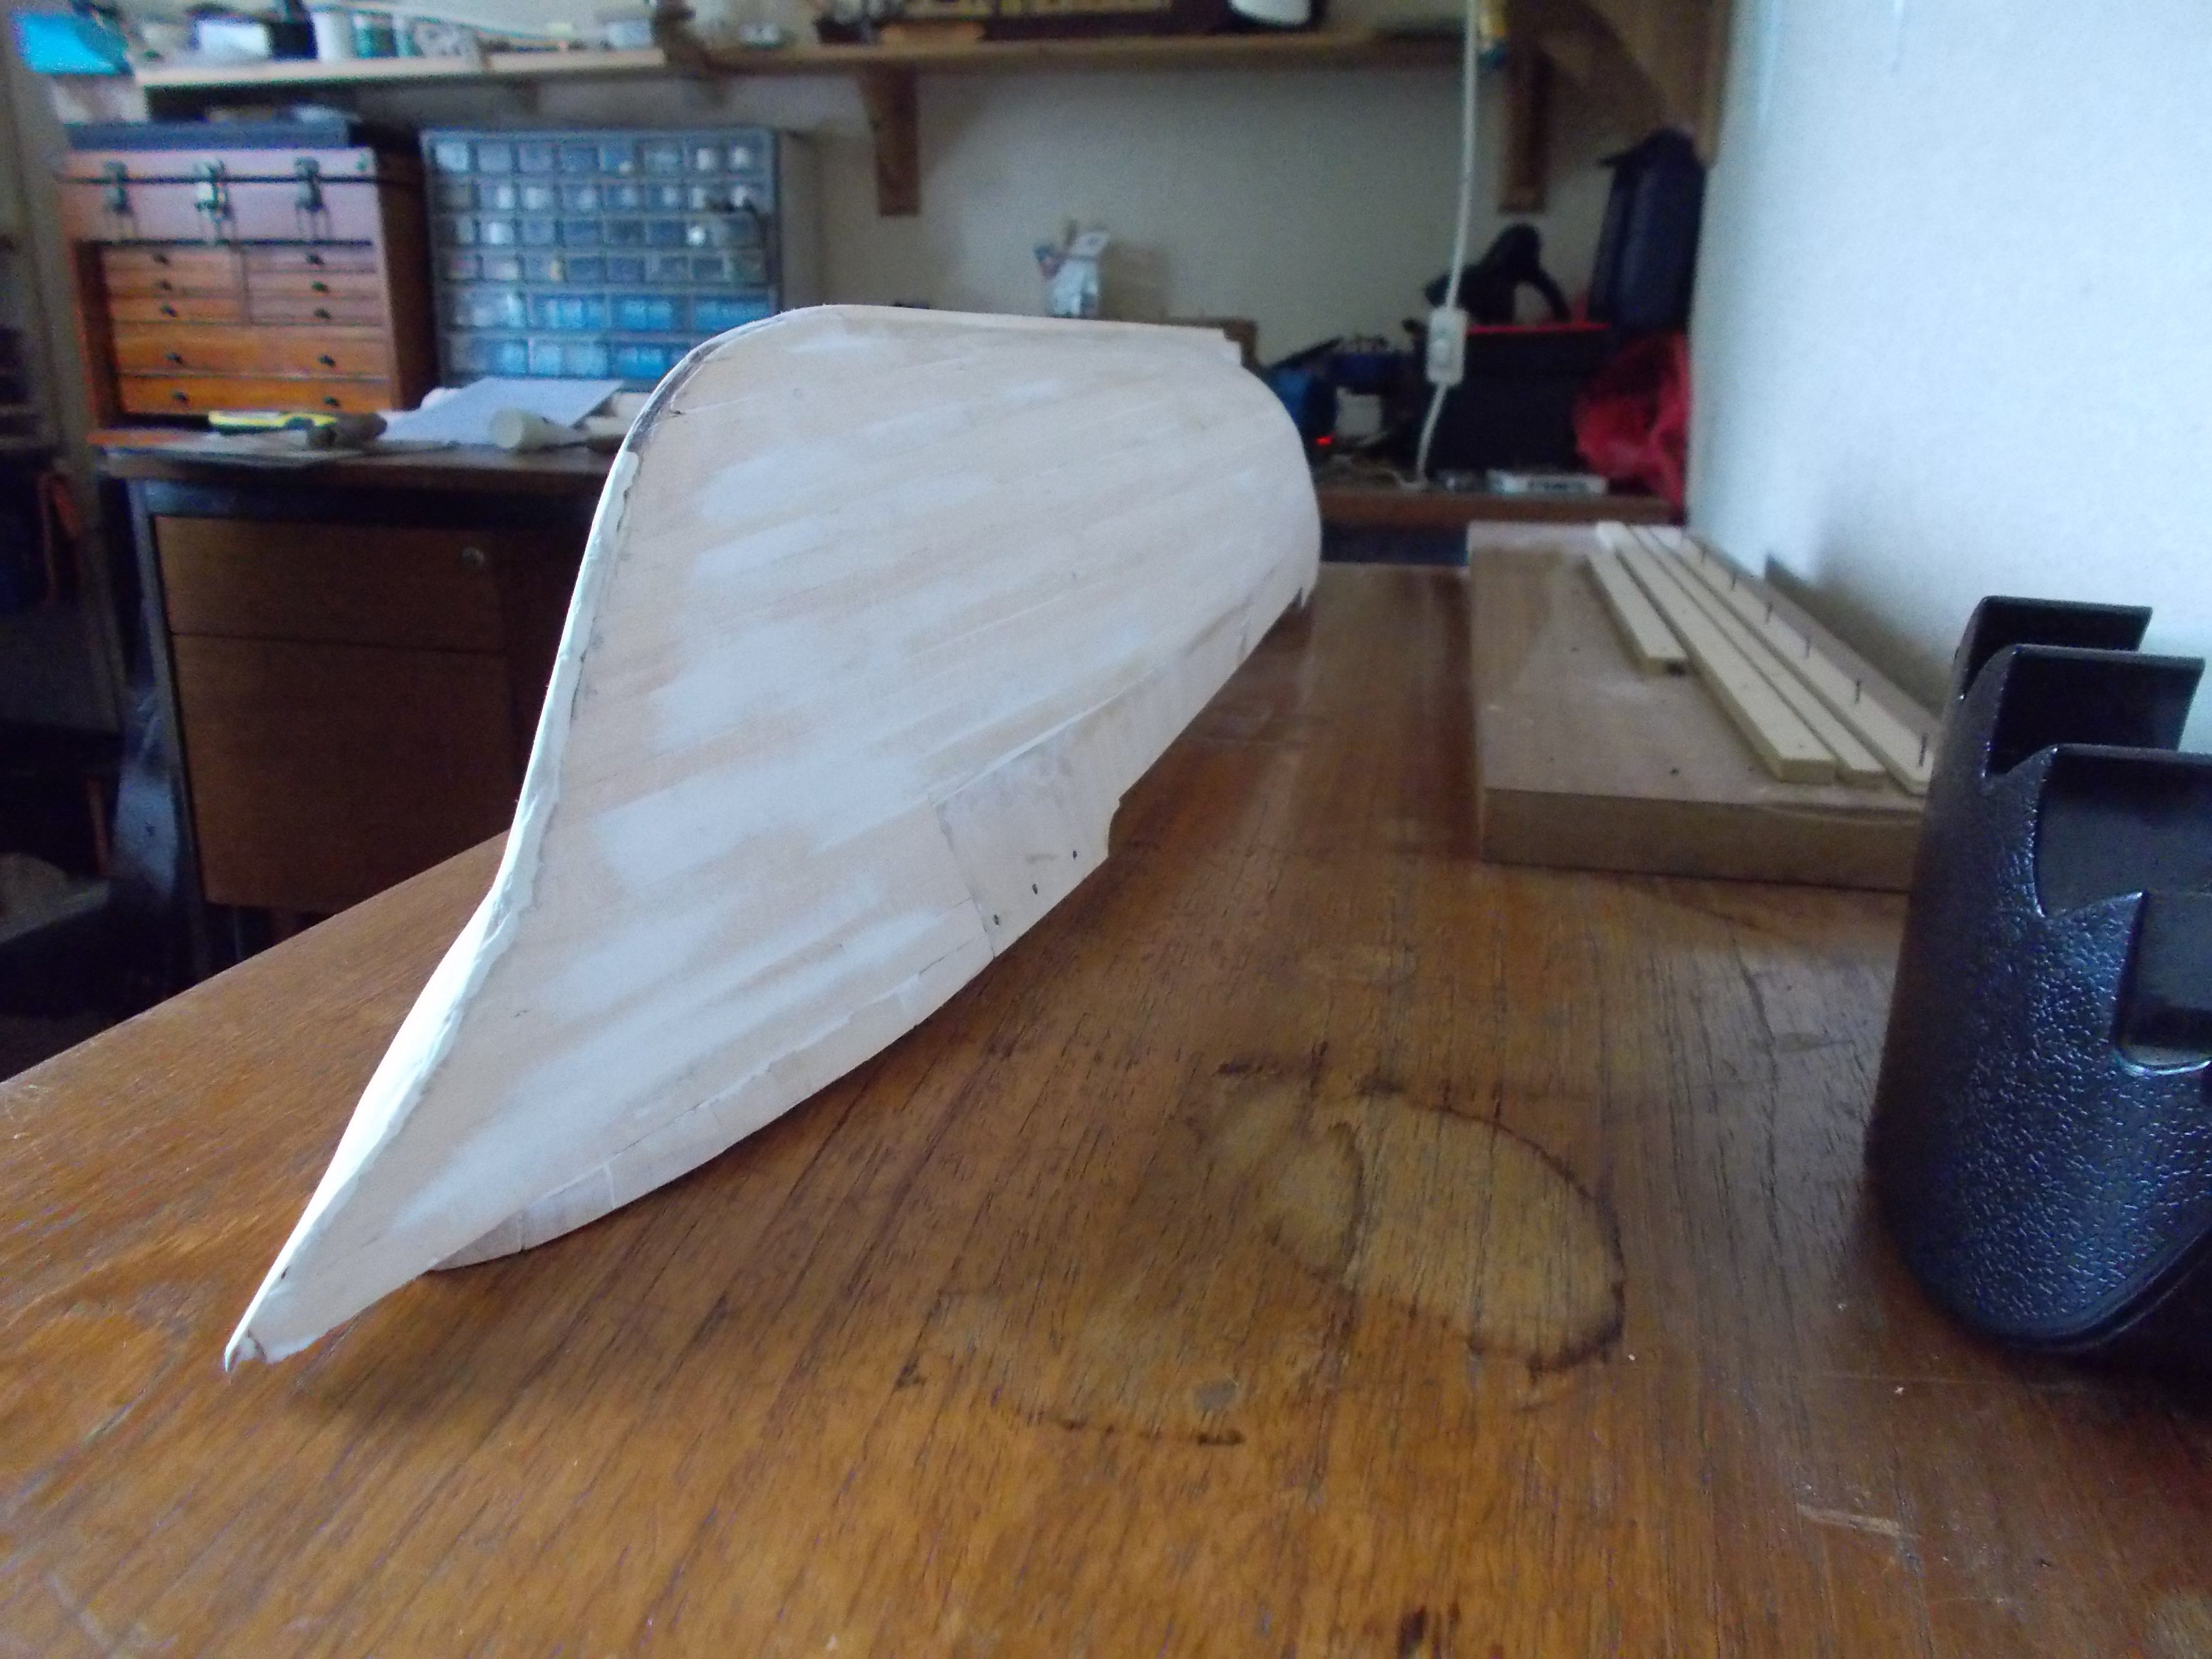
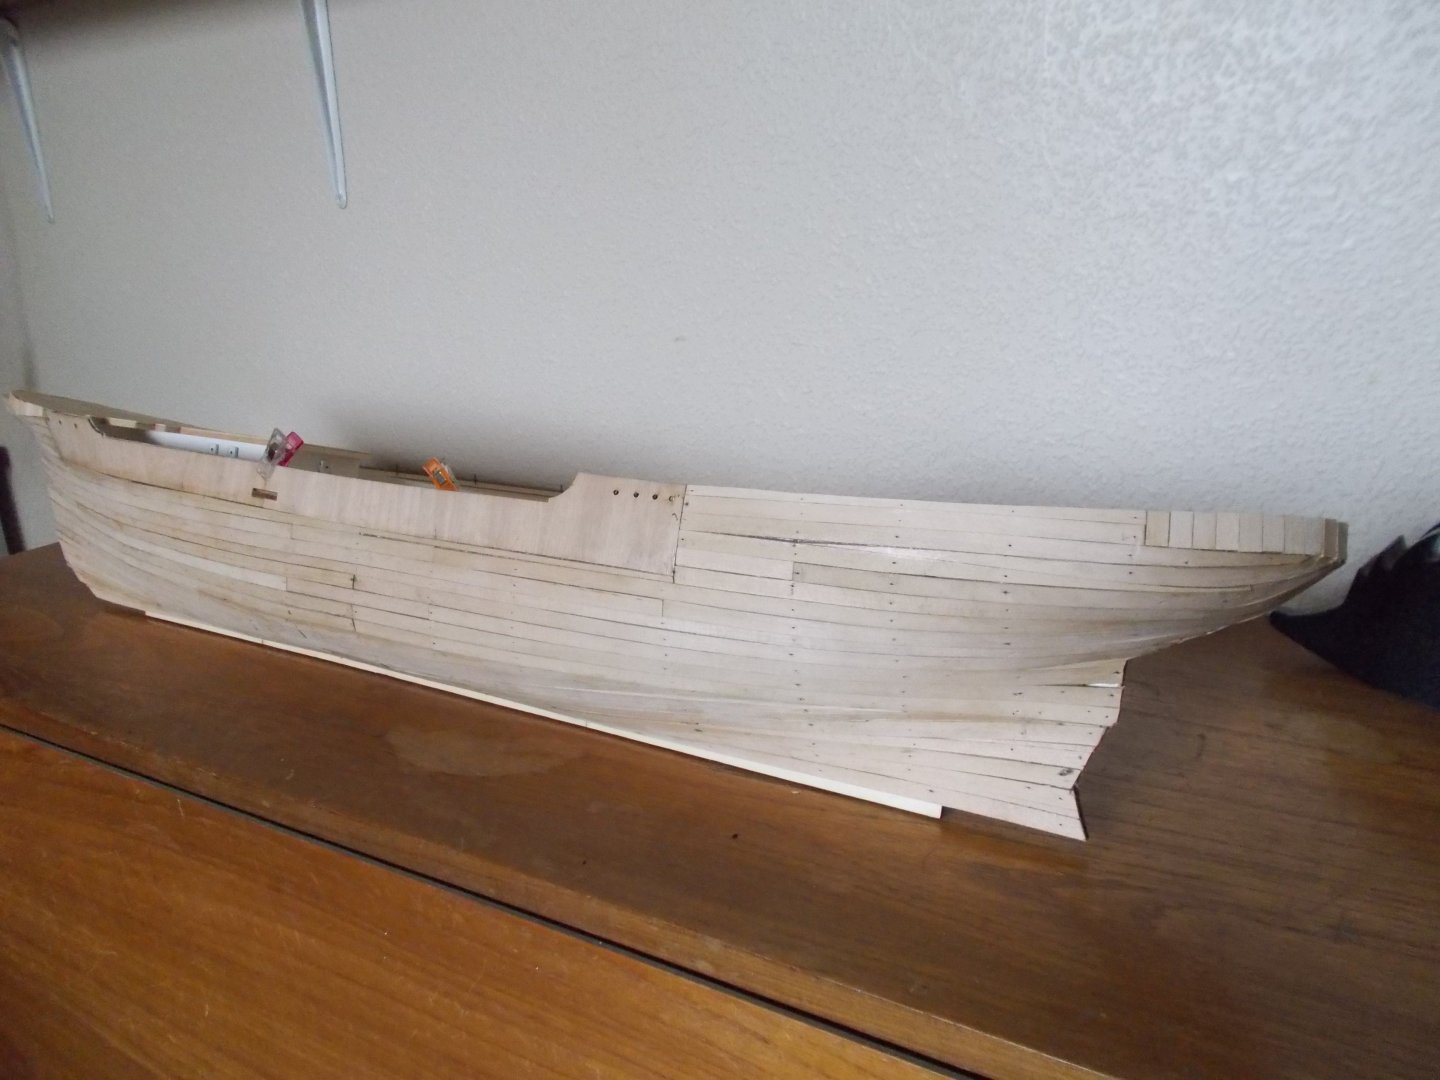
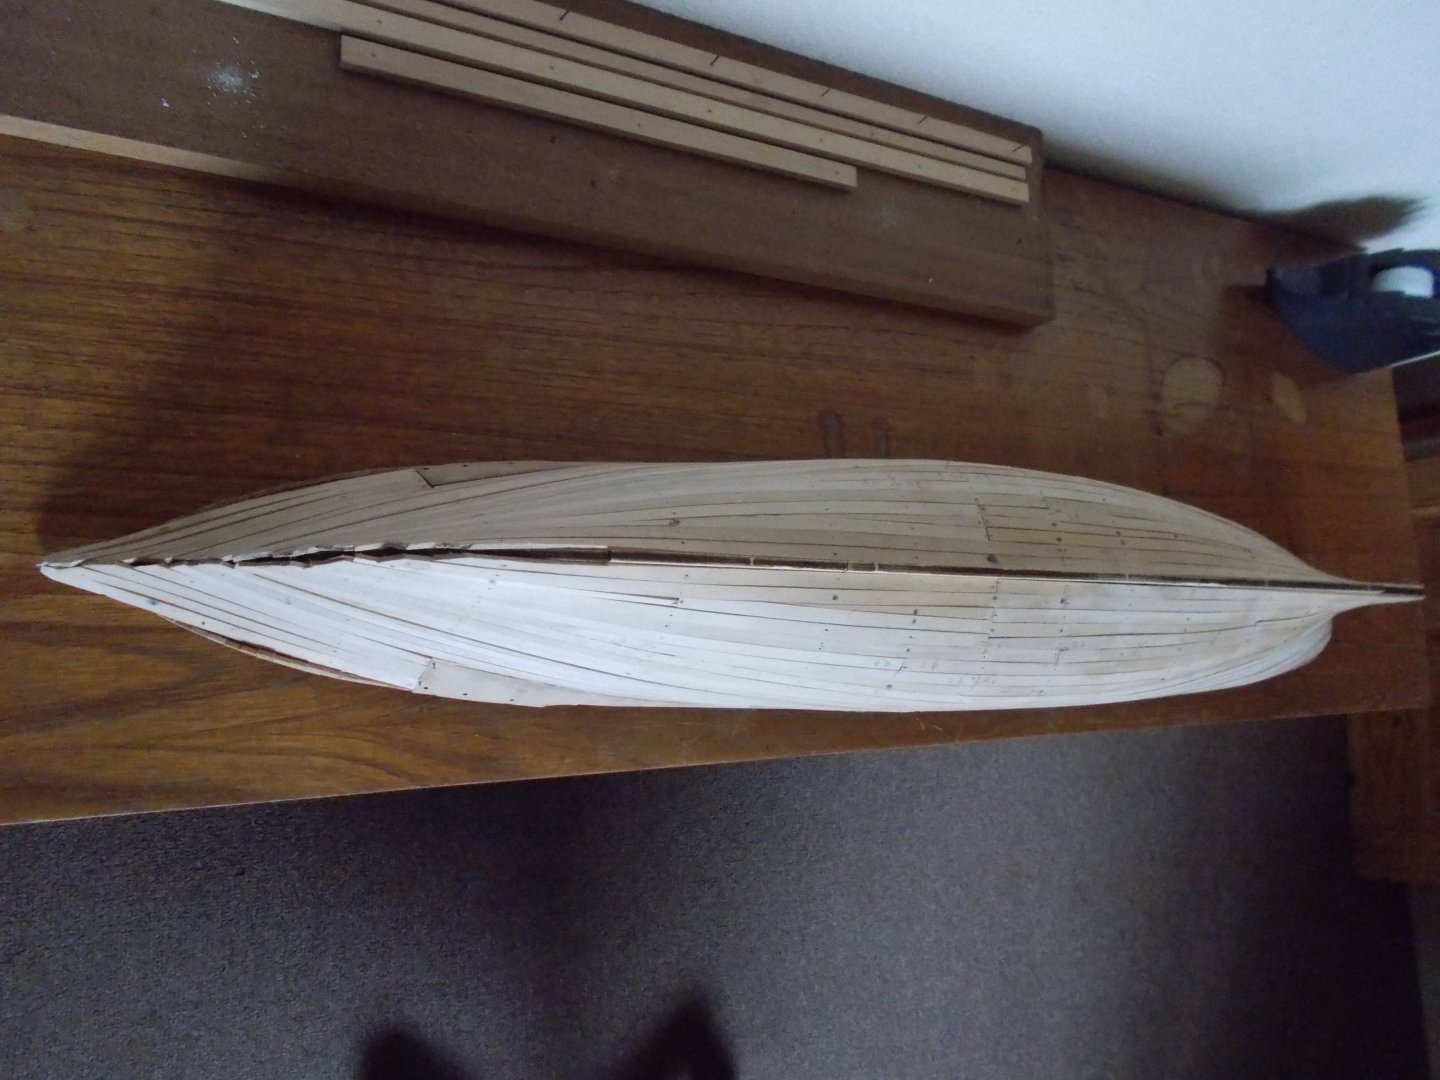
Well, this is quite possibly the worst first planking I have ever done!!! However the hull is now covered. It will need a huge amount of sanding, filling and elbow grease to get it ready for the second planking which I hope I will manage to do a lot better.
-
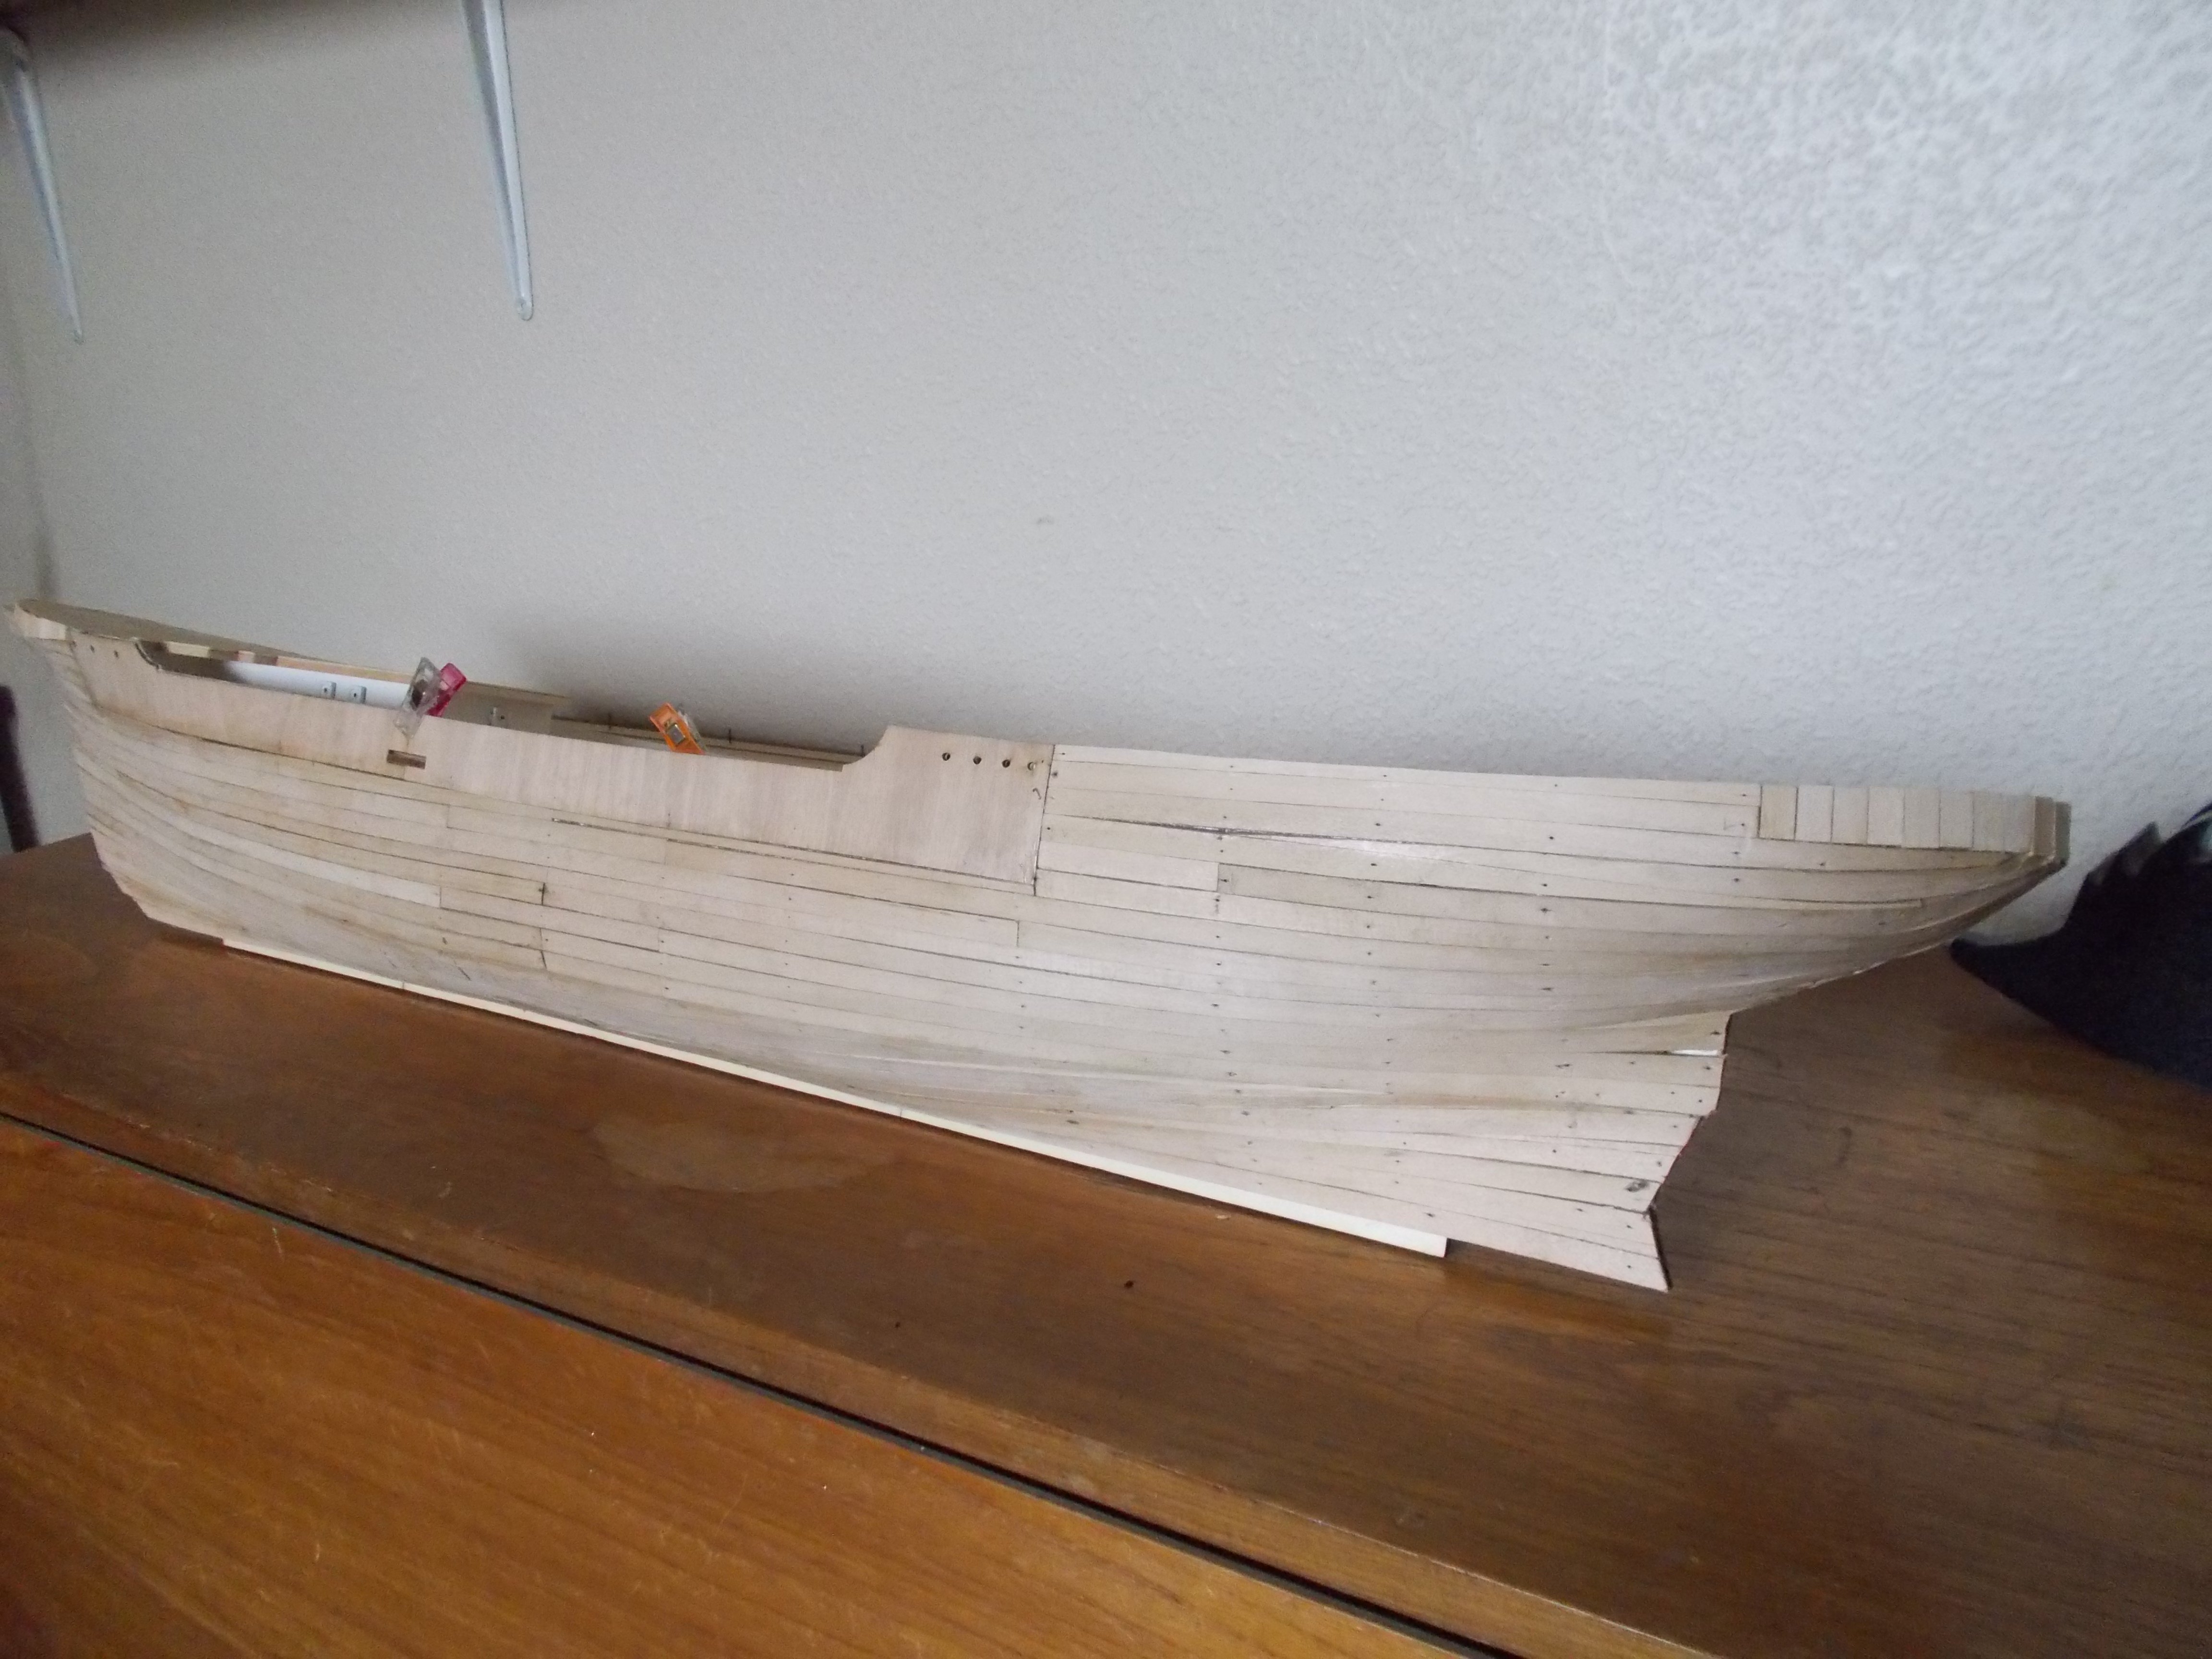
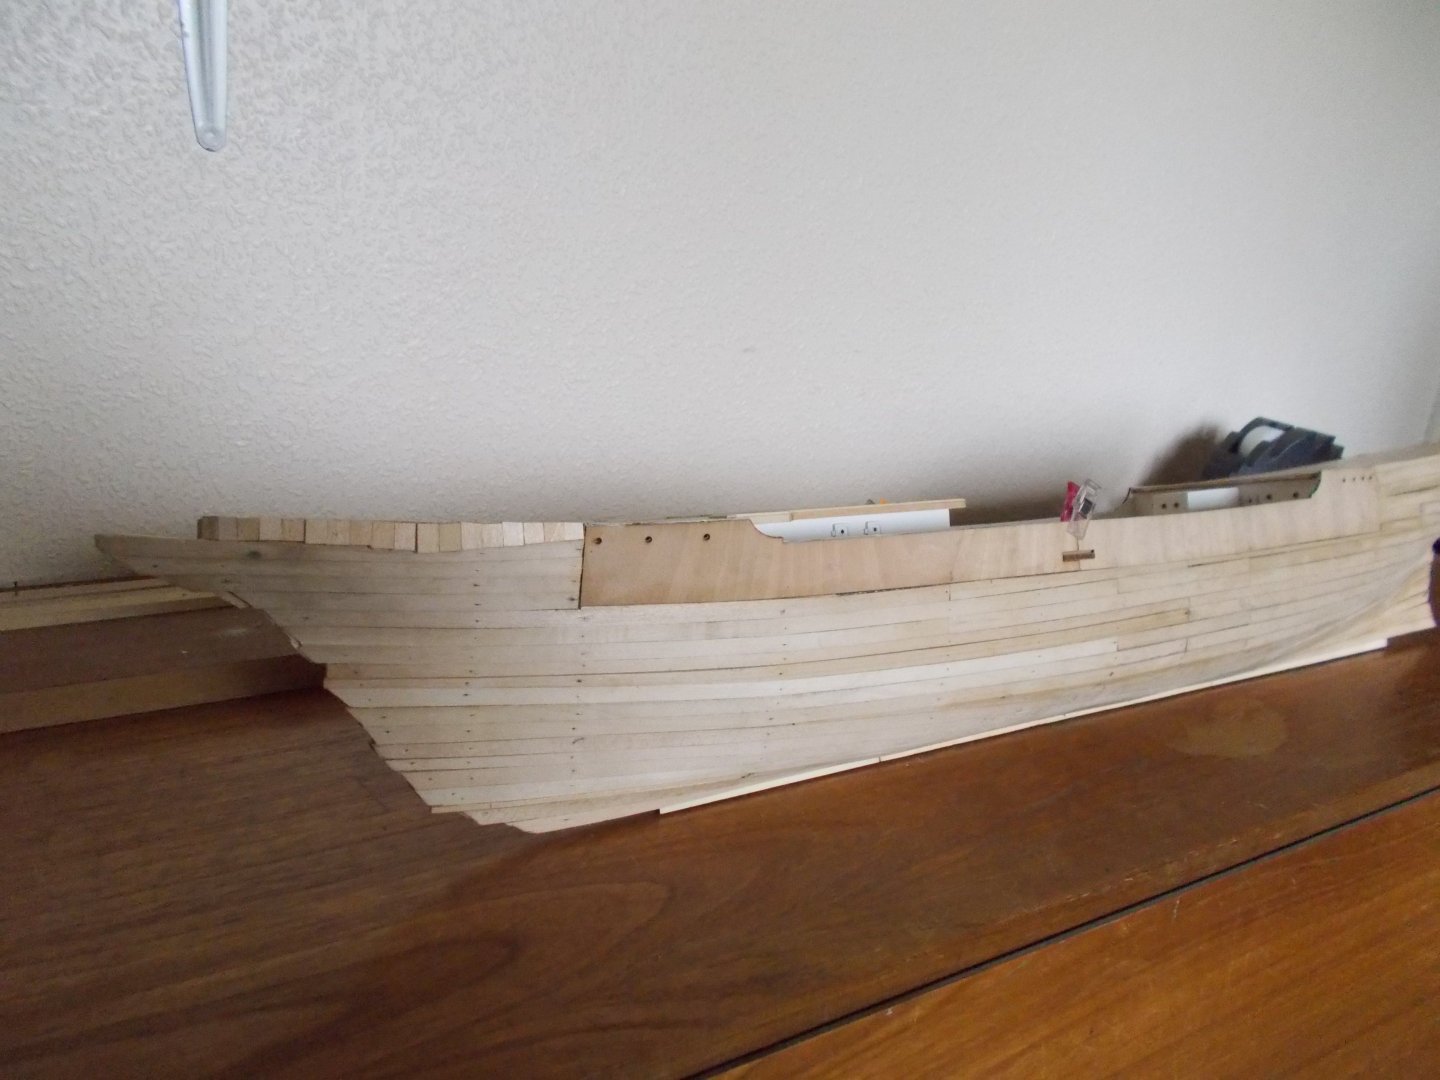
I finished the dreaded fairing and am actually quite pleased with it. Maybe practise has helped. Bulwarks are on, a bit of a struggle as they didn't want to bend. I did some handrails before I put them on as they would have been a right fiddle afterwards. I made the handrails a lot thinner and with different eyelets from the kit as the suggested parts were far too big. Also put on what they call the 'master strakes' each side. 5mm x 3mm and again not an easy bend despite a good long soak. I guess they will be a good guide for the rest of the planking.


-
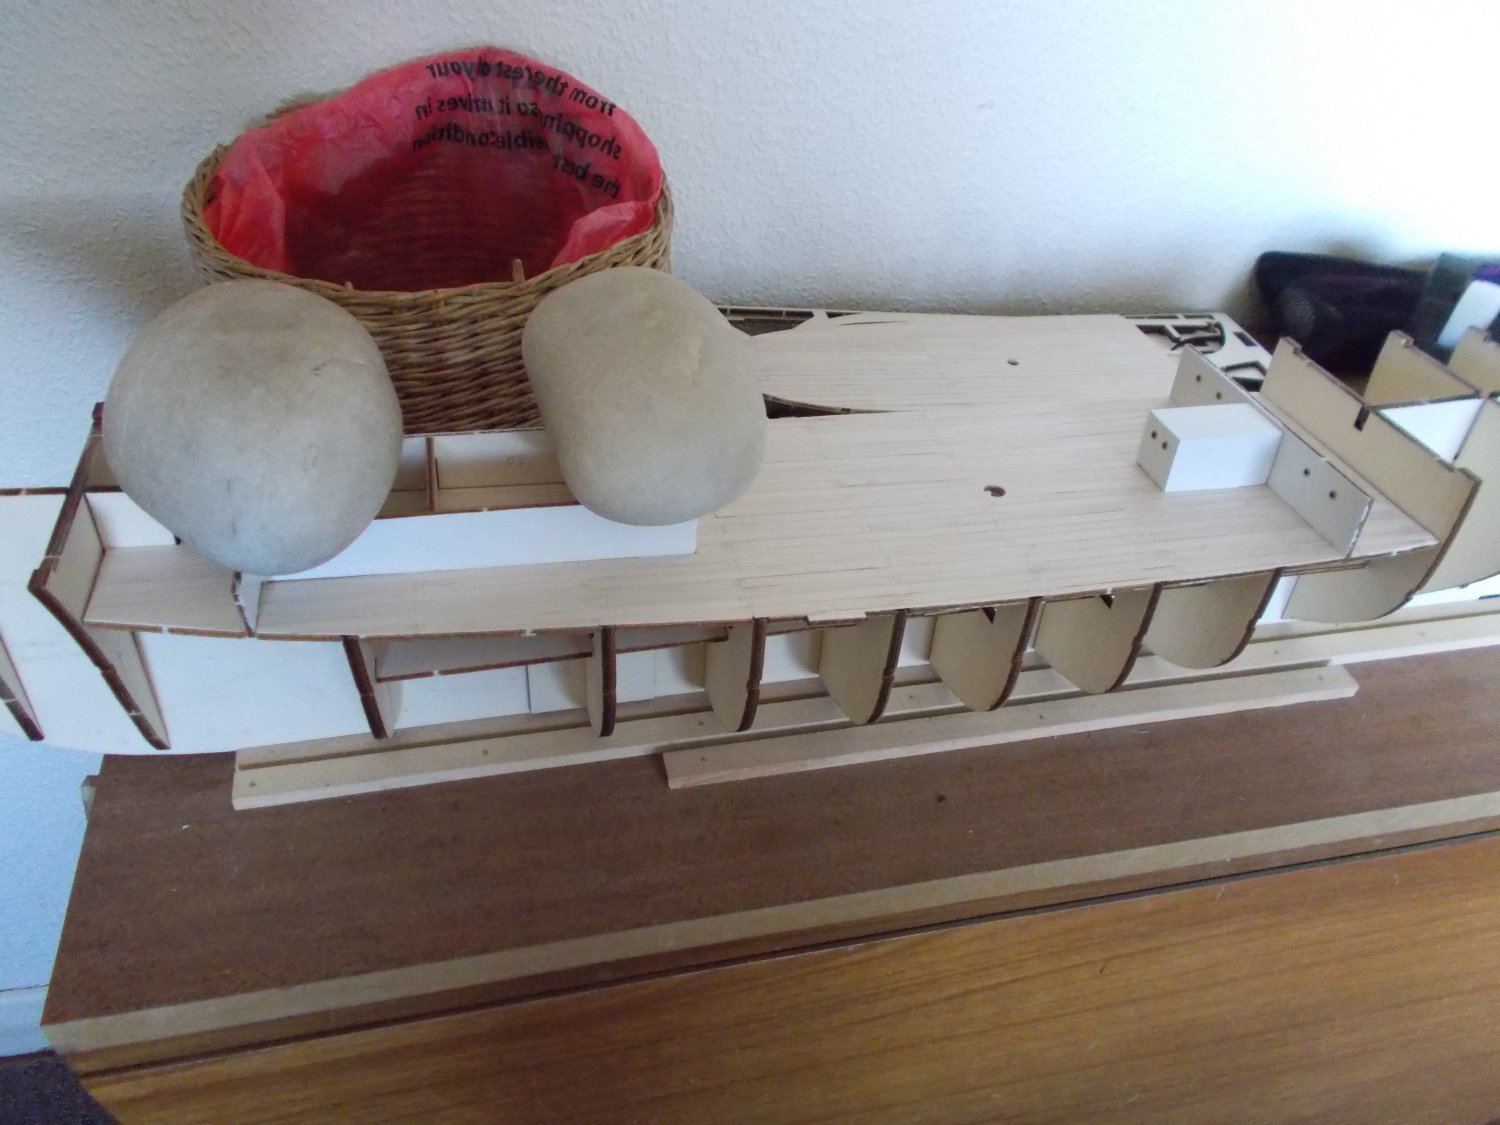
Definitely not potatoes although it is interesting that you so cleverly observe that my wife does love my home cooked chips!! They are lovely pieces of heavy Scottish quartz!! Just the job for holding things down.
-
Hi there, I think you are right that the kit is the Gorch Fock 2 but I am thinking of being lazy and doing a build out of the box rather than trying to be too realistic so apart from the bow which is totally wrong I don't plan on too many 'adjustments'. My last build was the Amerigo Vespucci also from Occre and I did loads of alterations to try and make it more like the real ship. Whether it was worth it I am not sure, not many people will ever see it.
-
Thank you Nils, glad to see you are still there and creating your wonderful models.
-
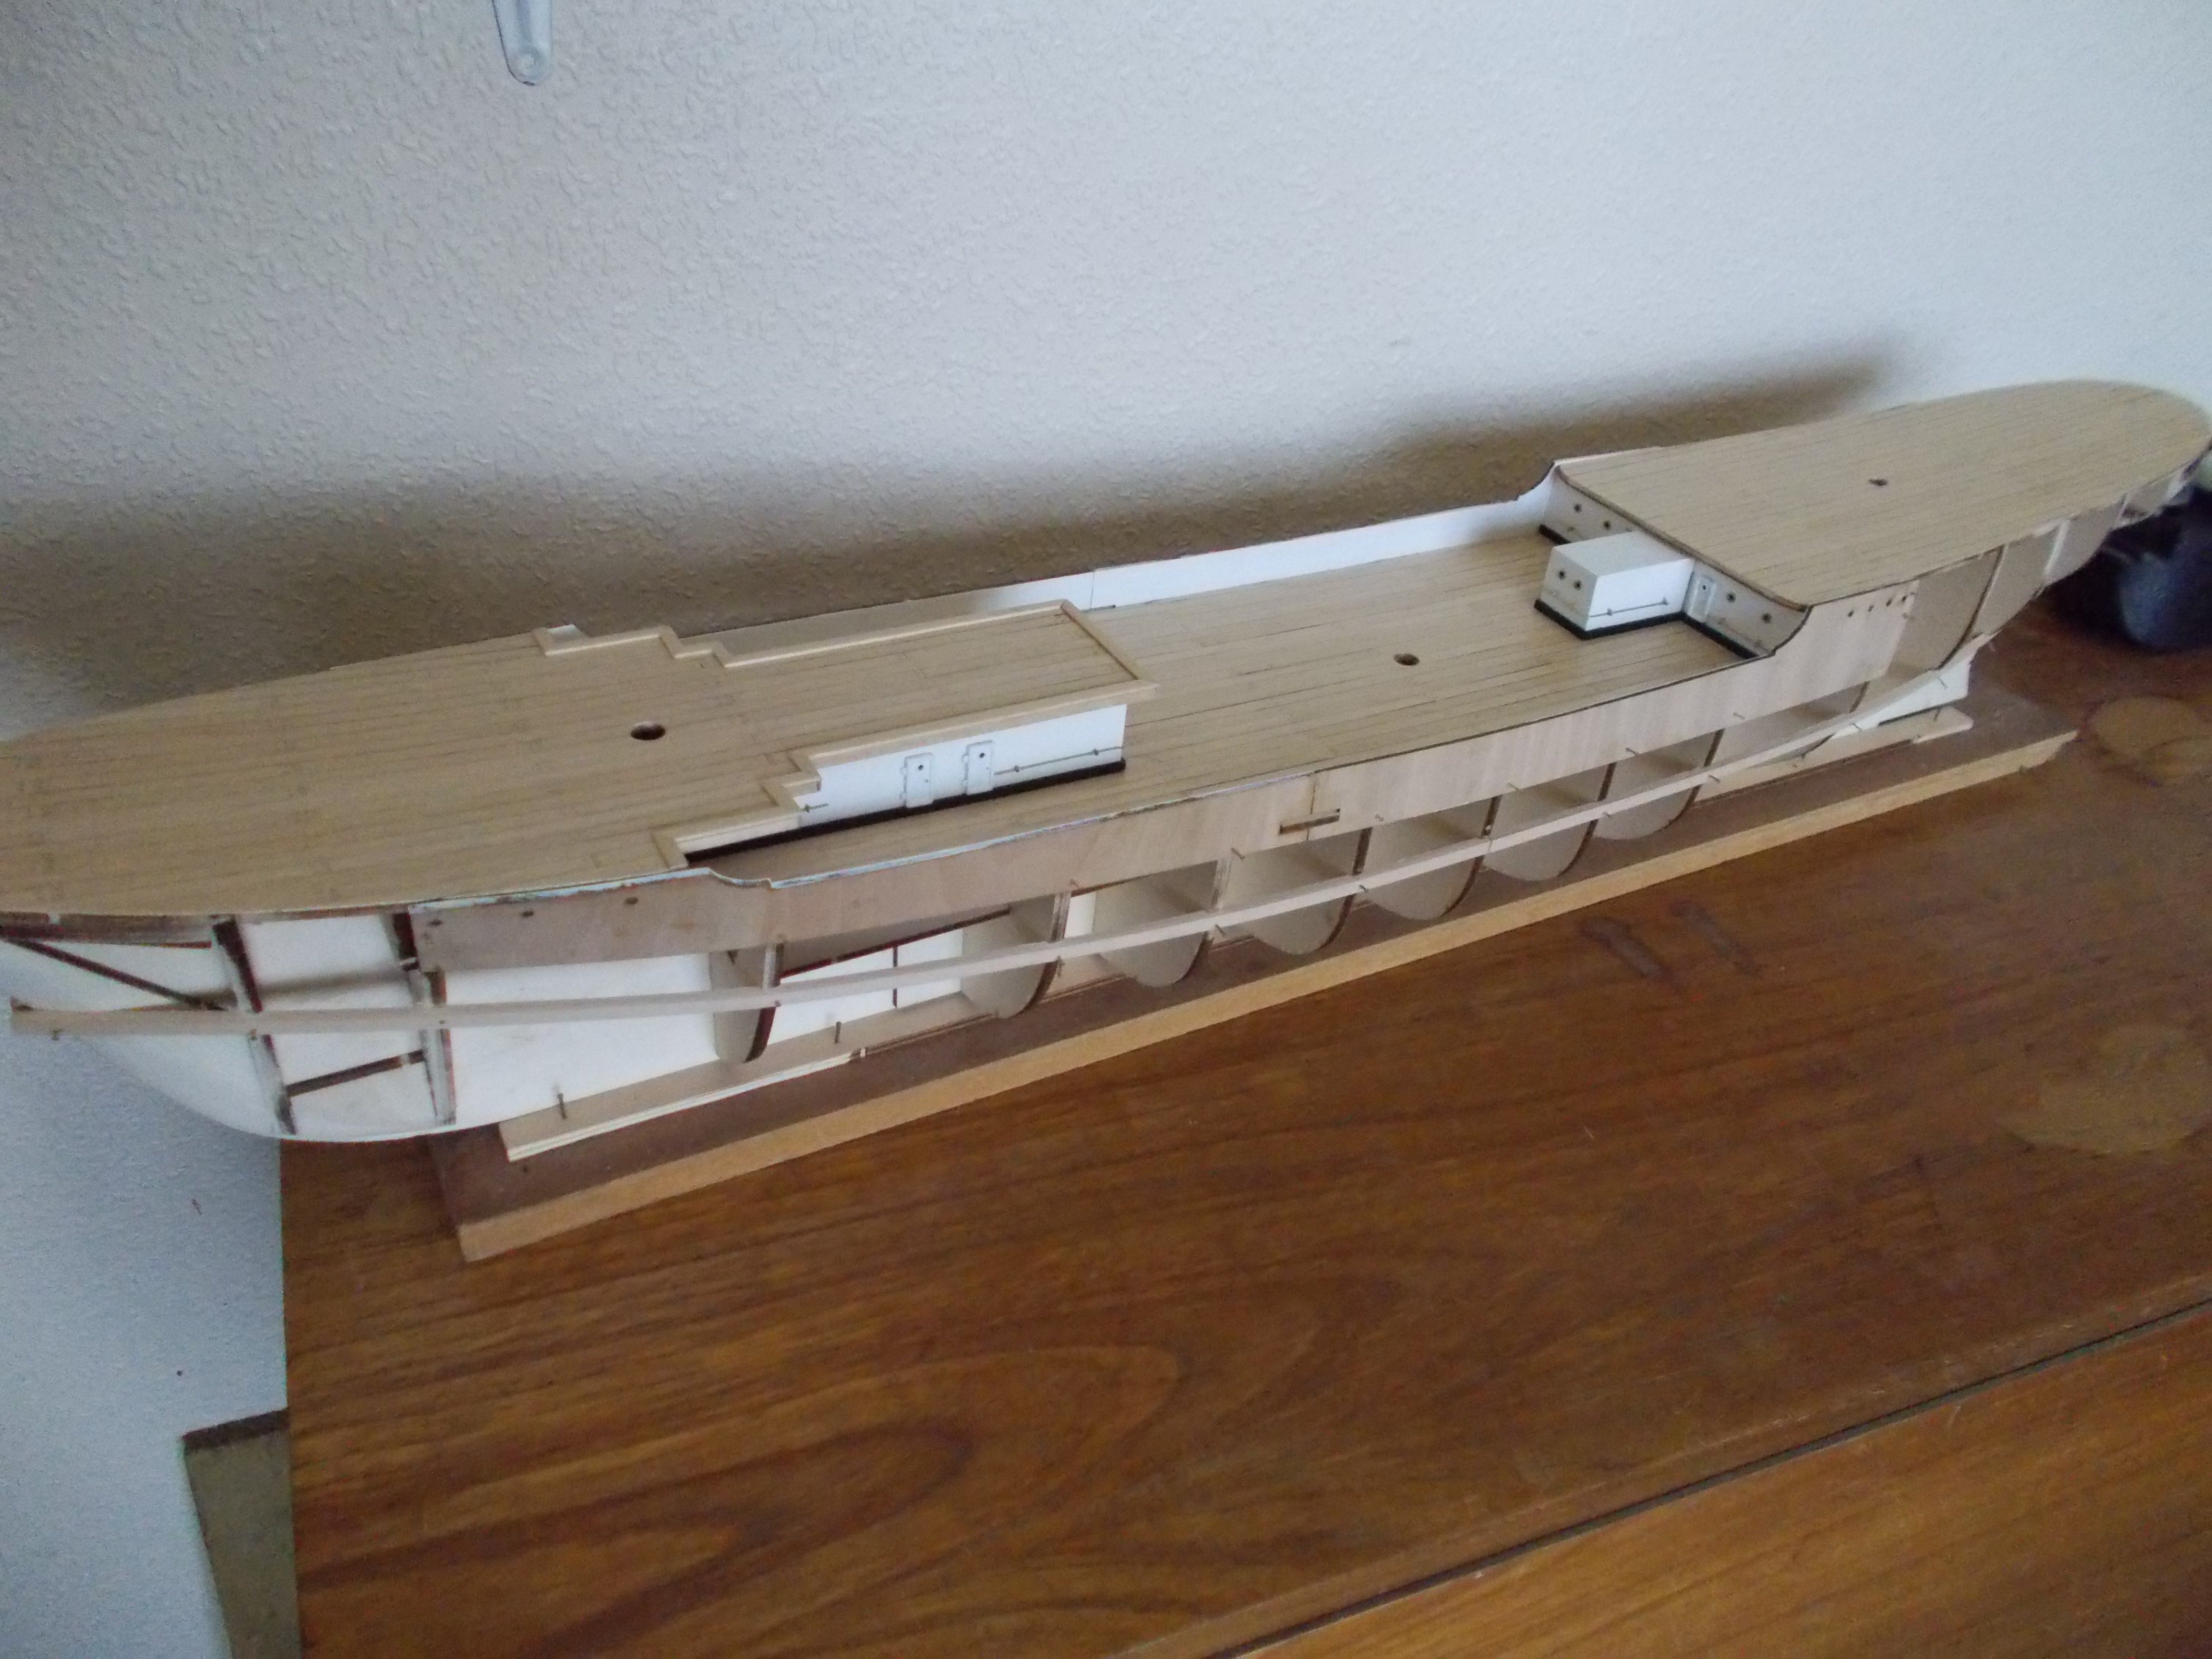
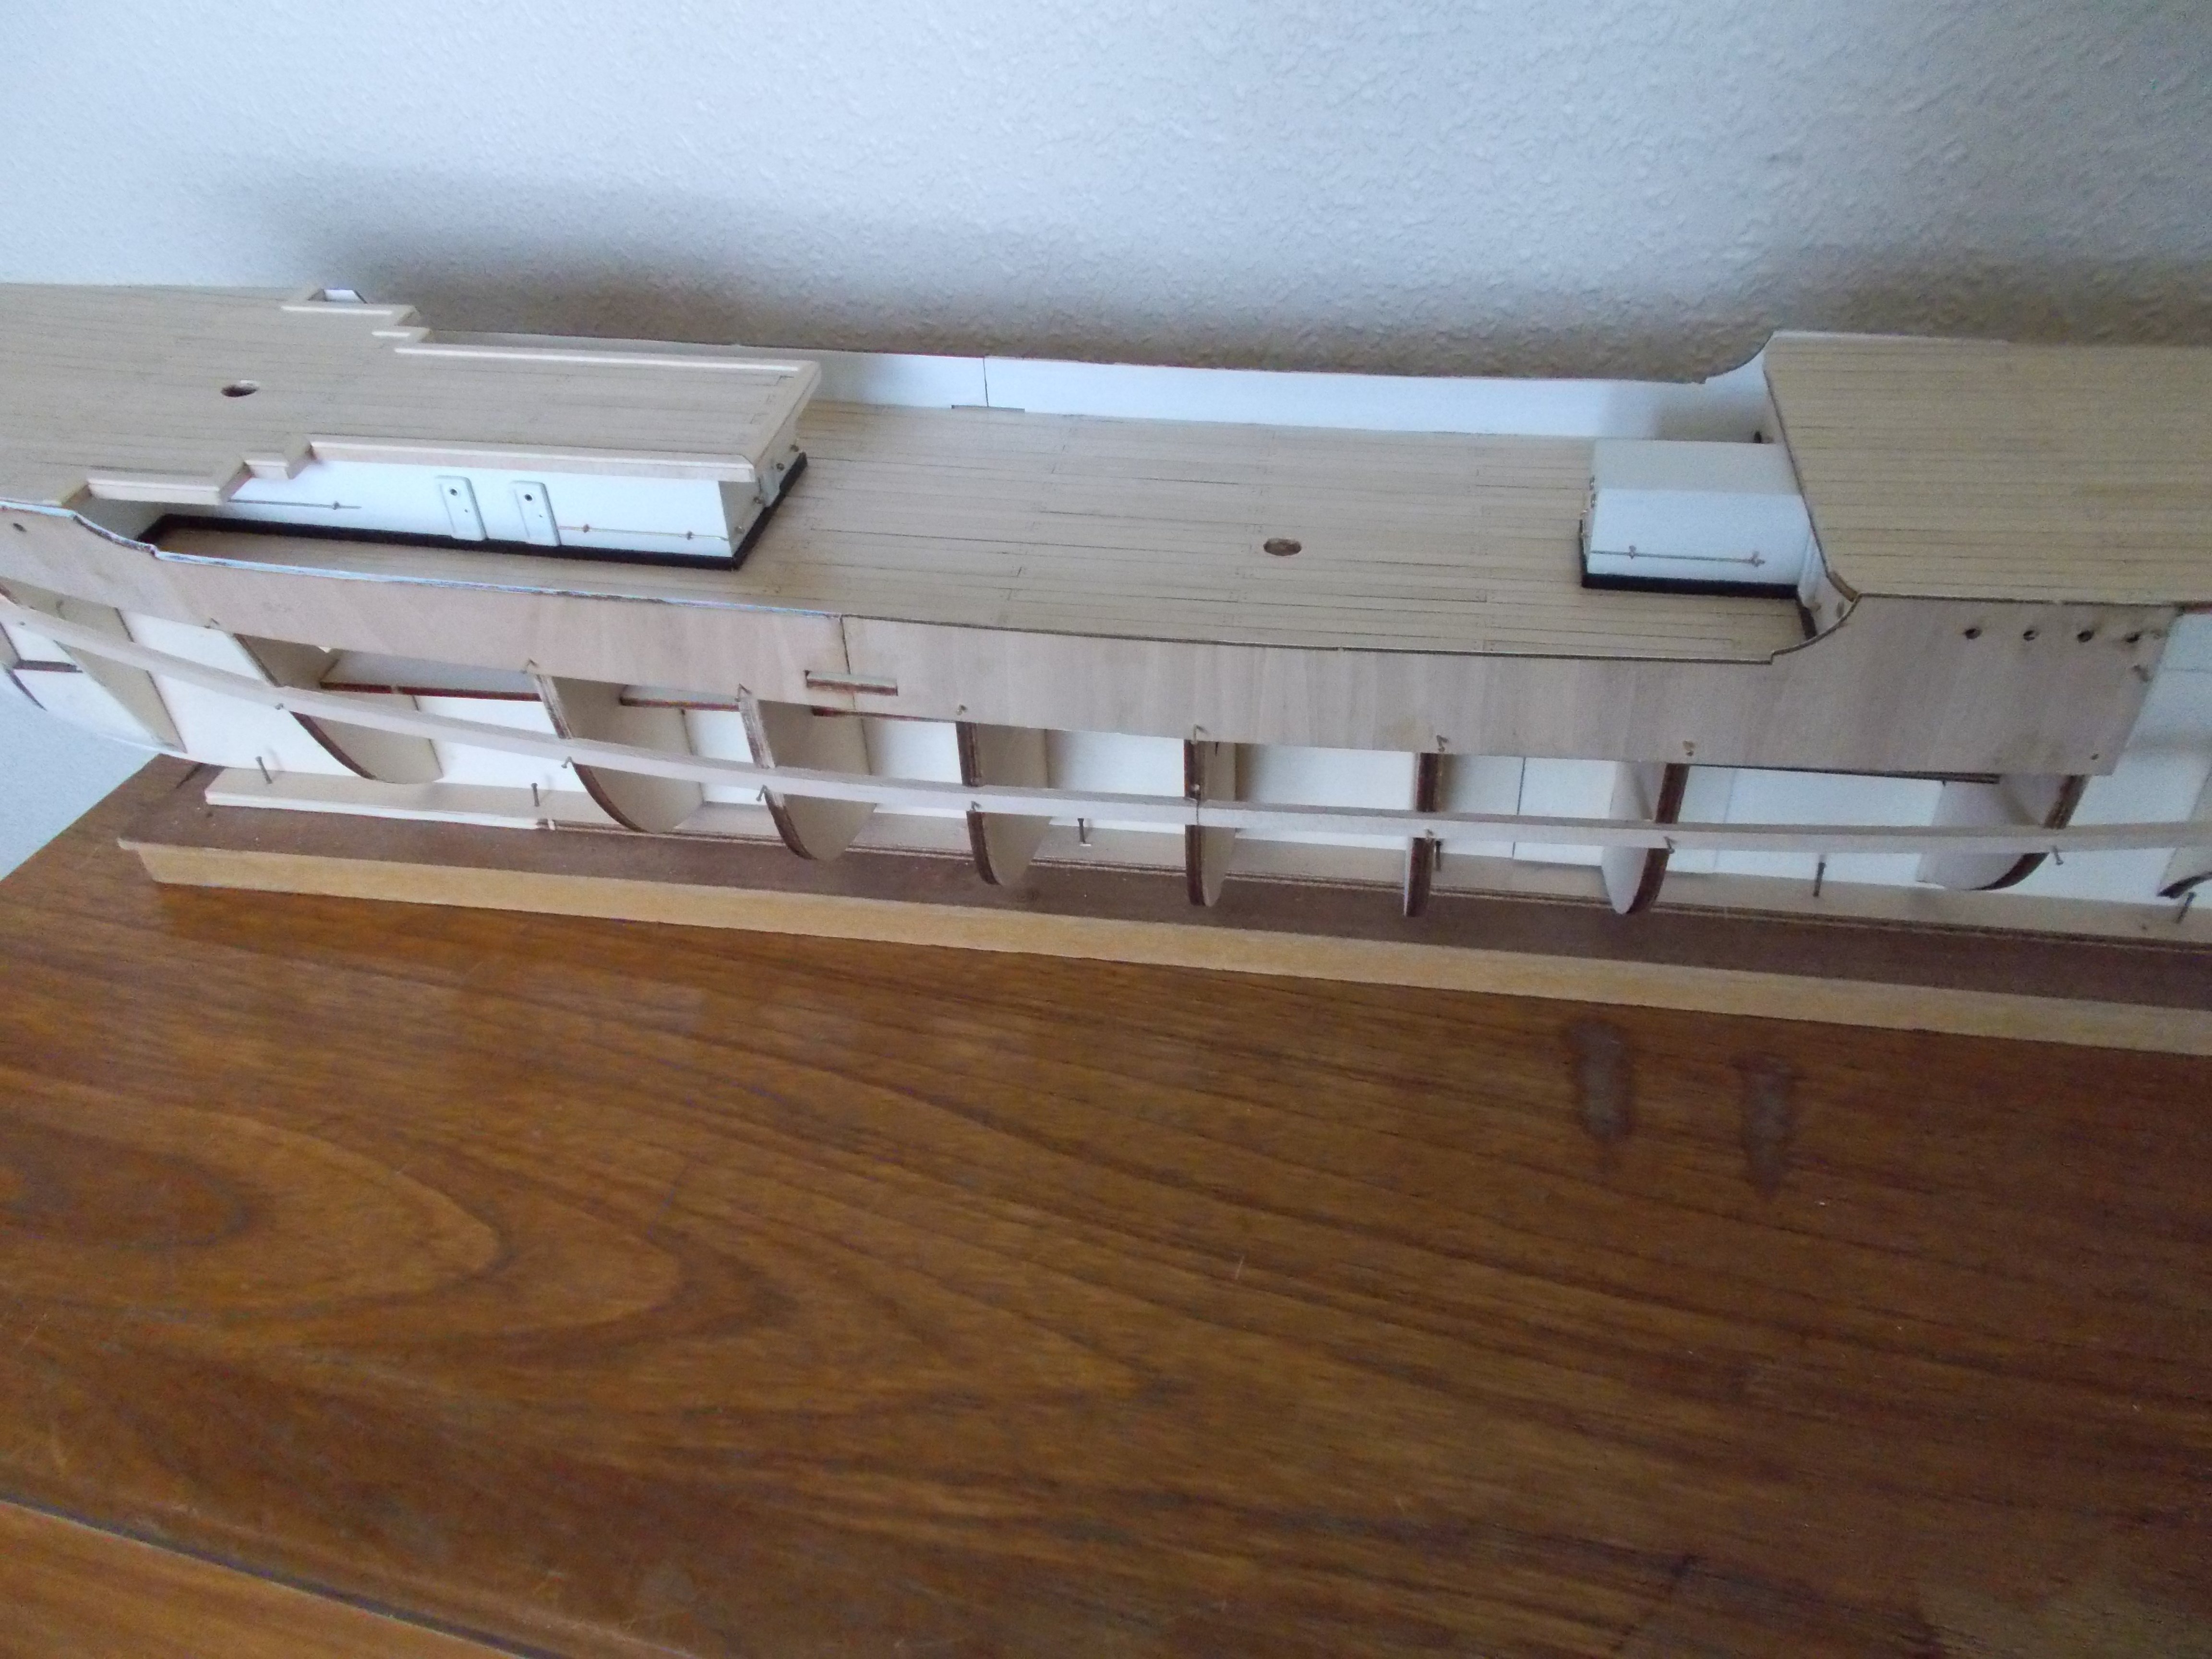
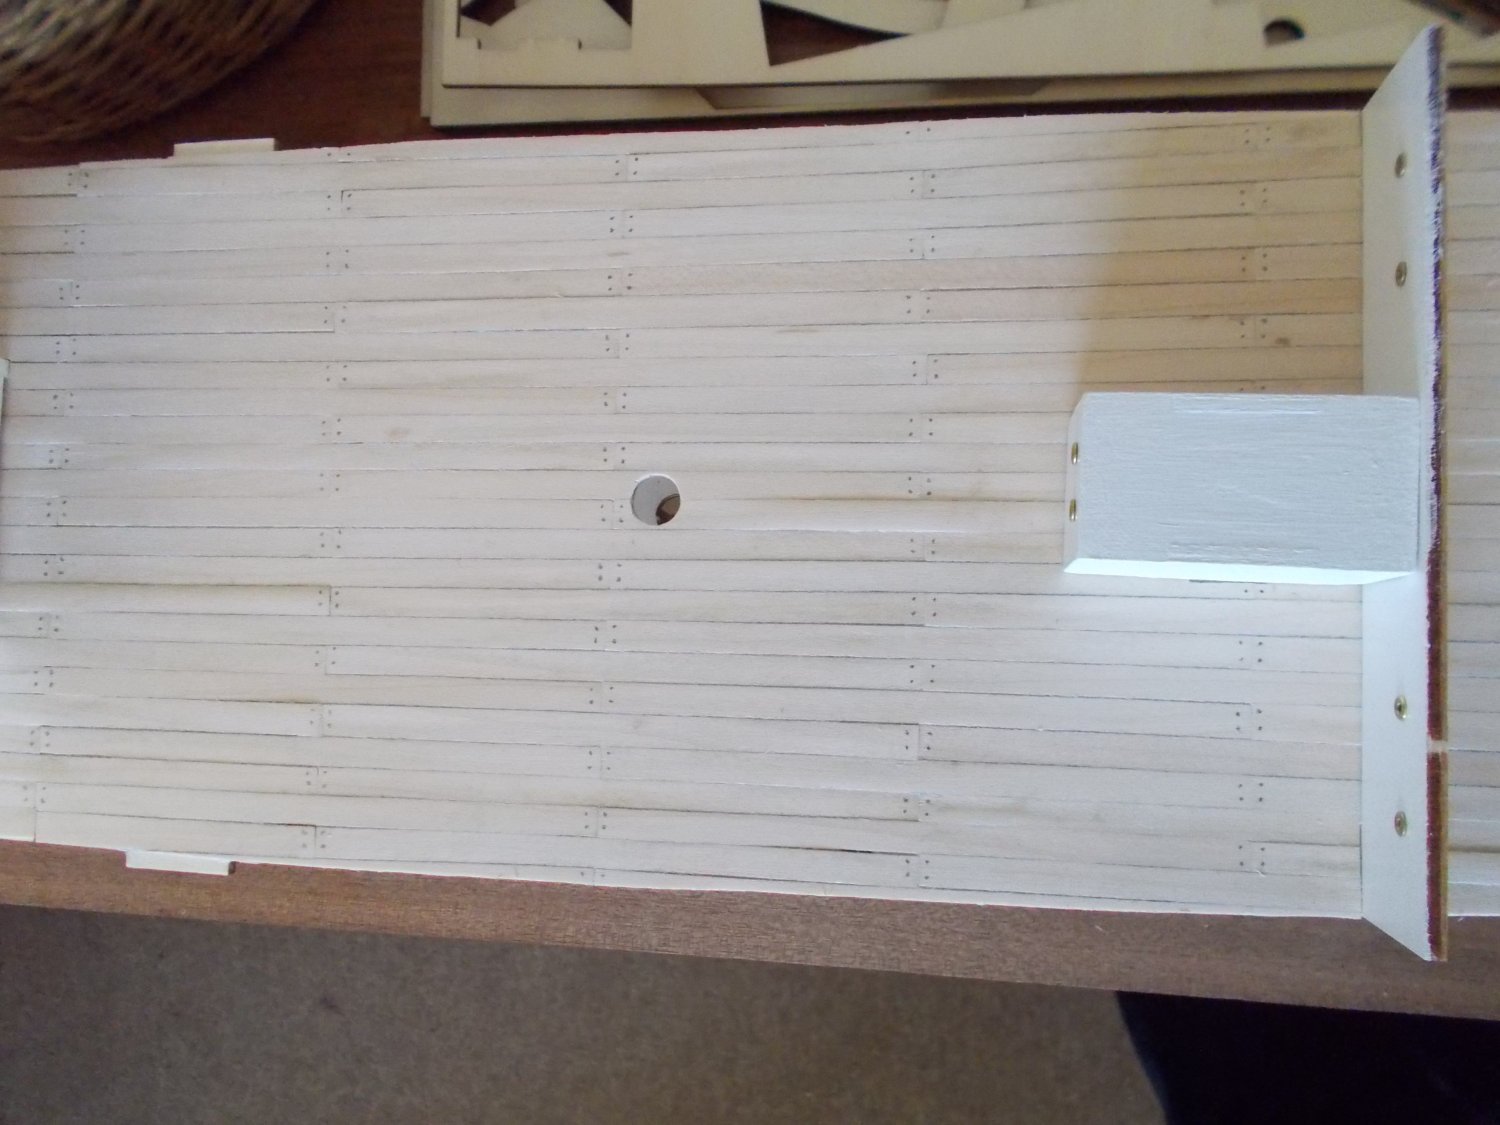
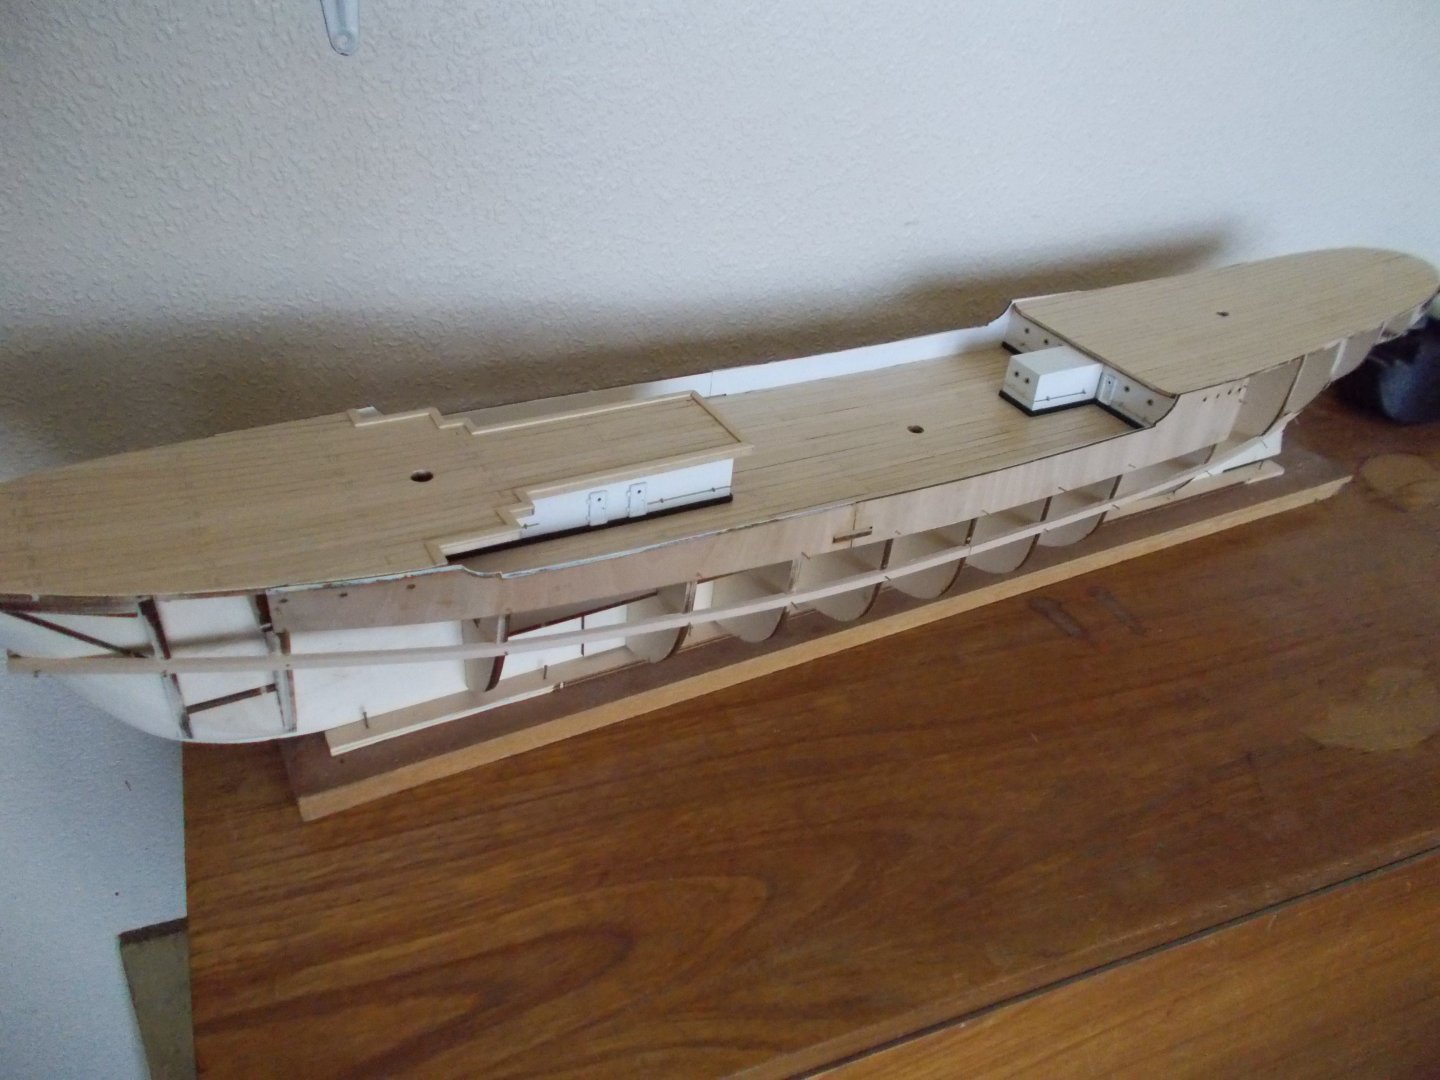
All three decks on now and a coat of sealer which shows up the caulking quite well I think. The next stage is to add some parts between the bulkheads for strength and a bit more surface area for planking. The fairing, a job I always dread!!!


-
Hello from the Scottish North Coast
Mike Dowling replied to Scottish Guy's topic in New member Introductions
You might have a look at Occre kits. I have done a lot of them. They are not too badly priced, their instructions are really good (except perhaps for rigging) and their wood quality generally fine. -
Hello from the Scottish North Coast
Mike Dowling replied to Scottish Guy's topic in New member Introductions
Welcome indeed to the growing Scottish contingent! -
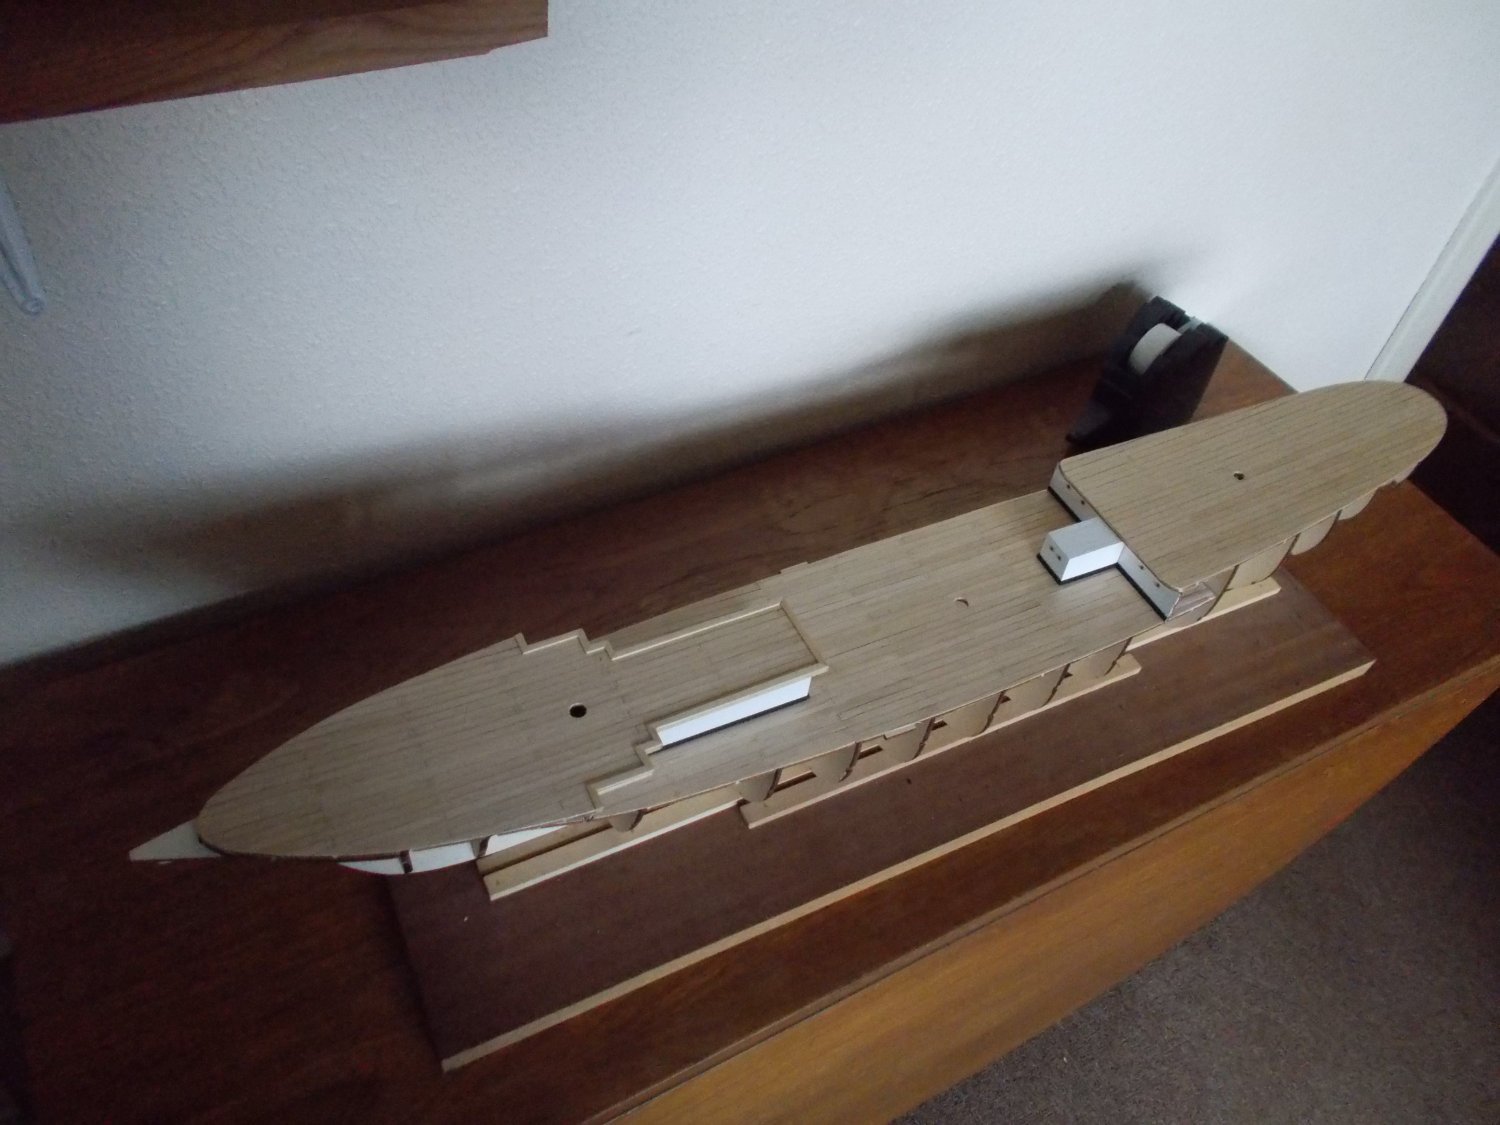
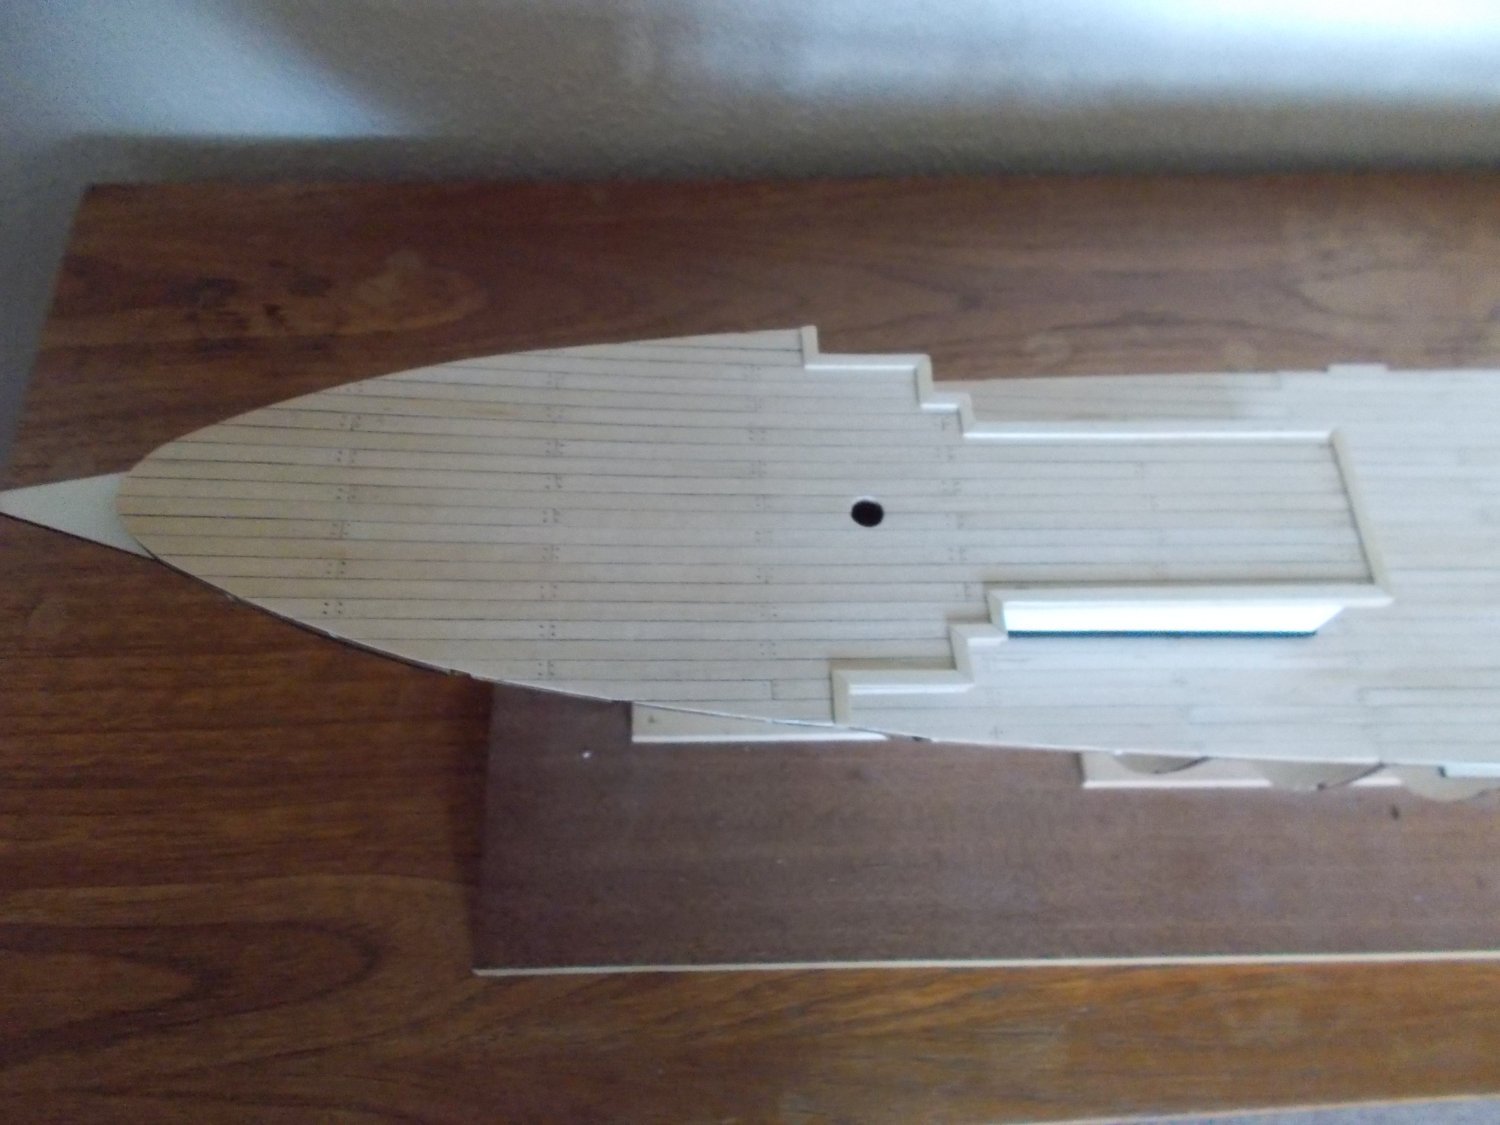
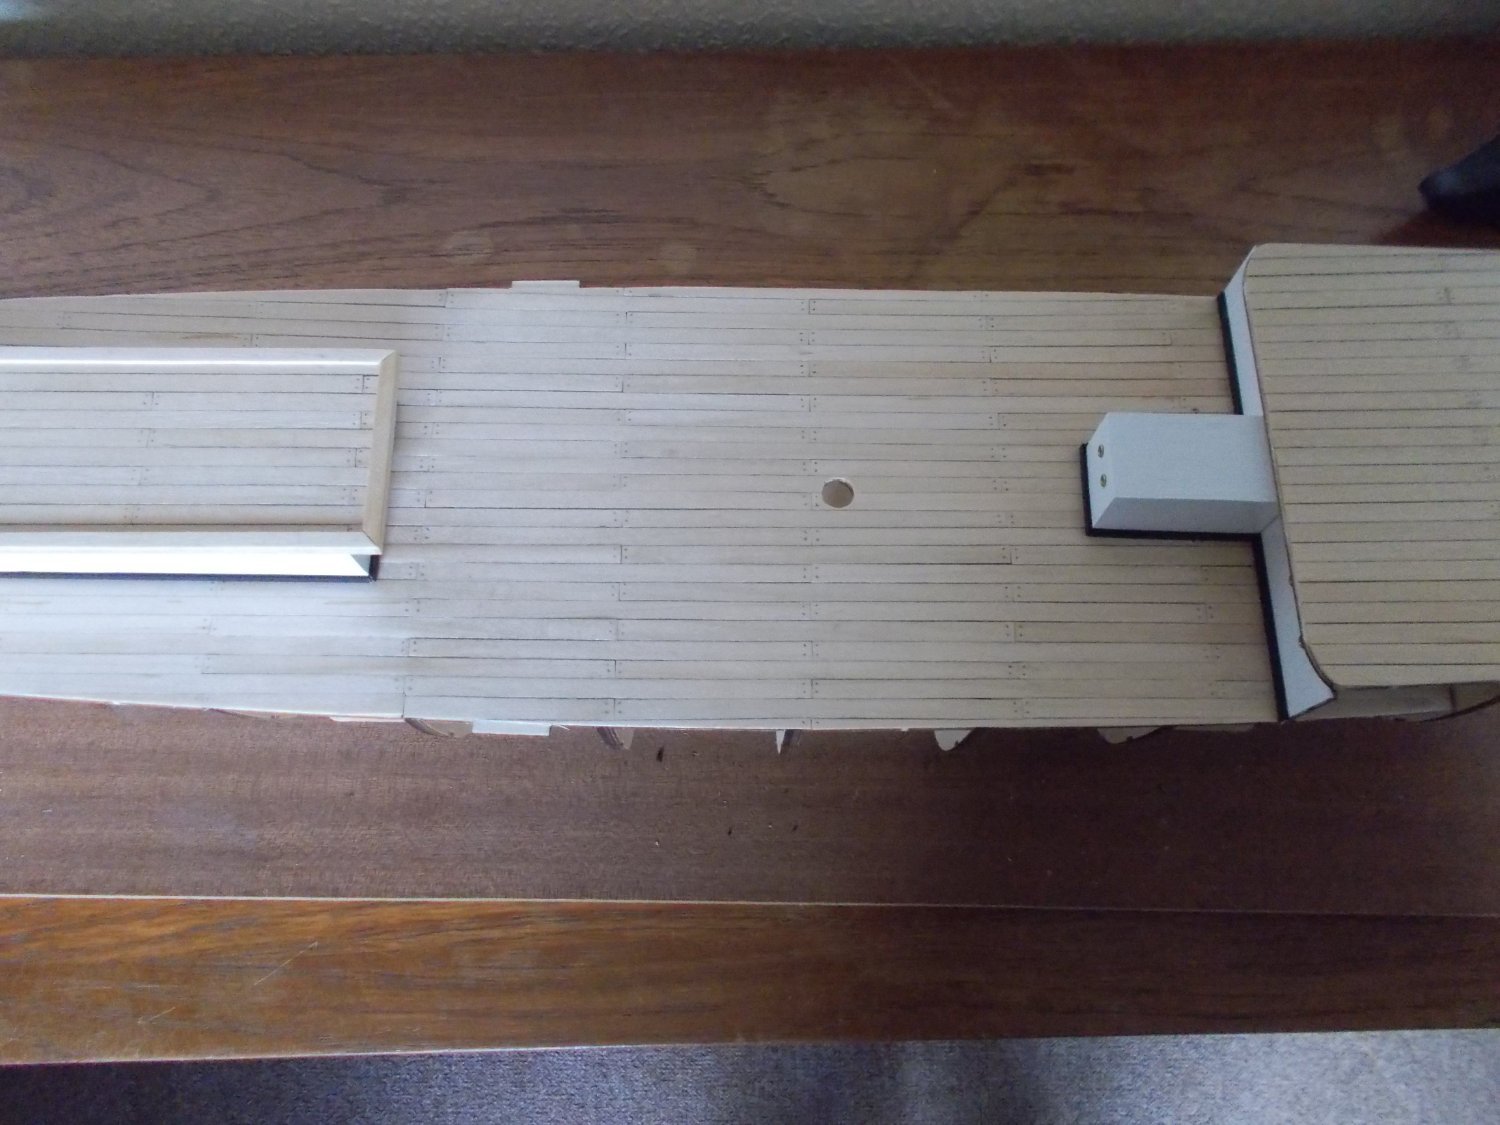
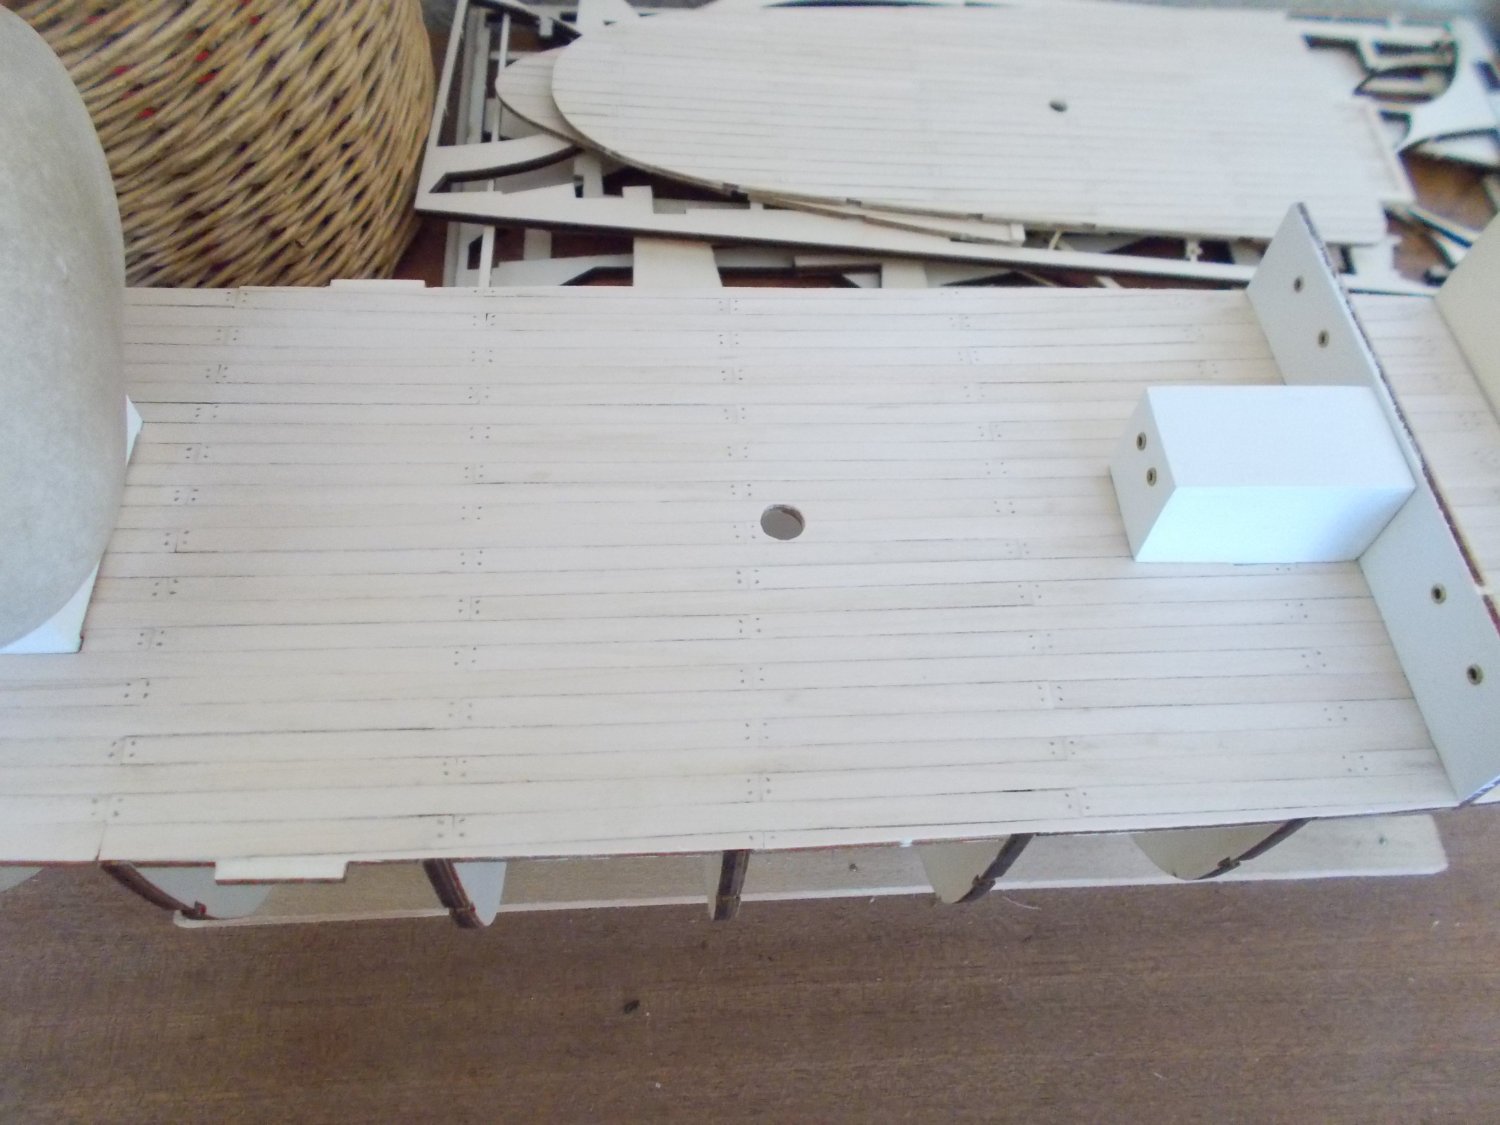
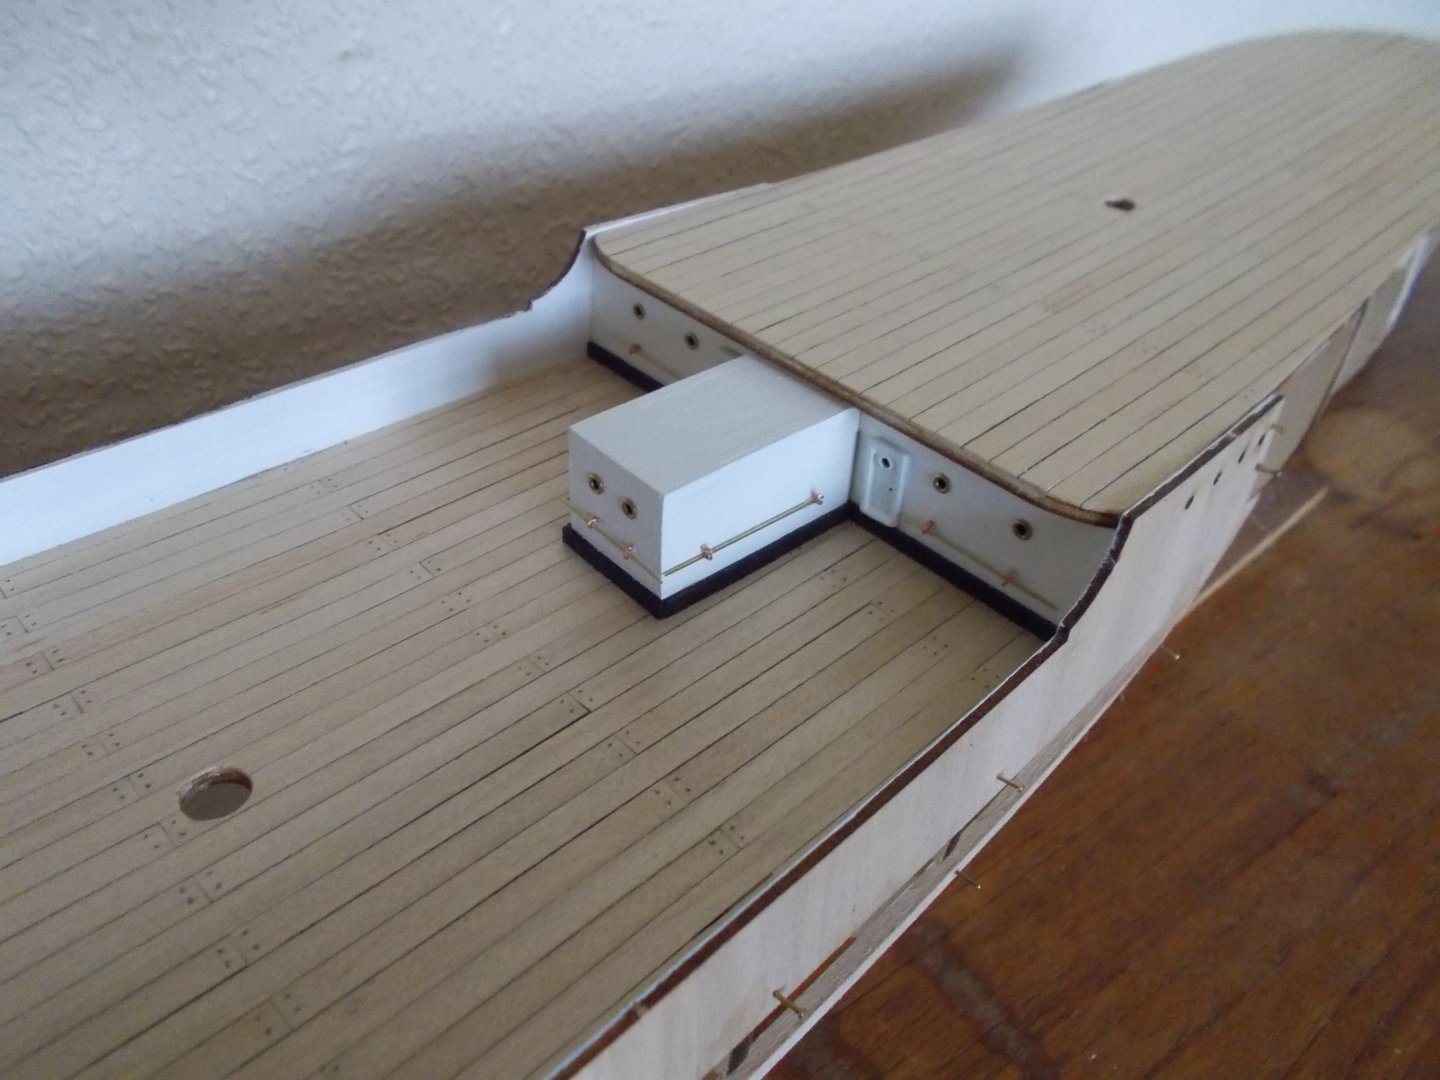
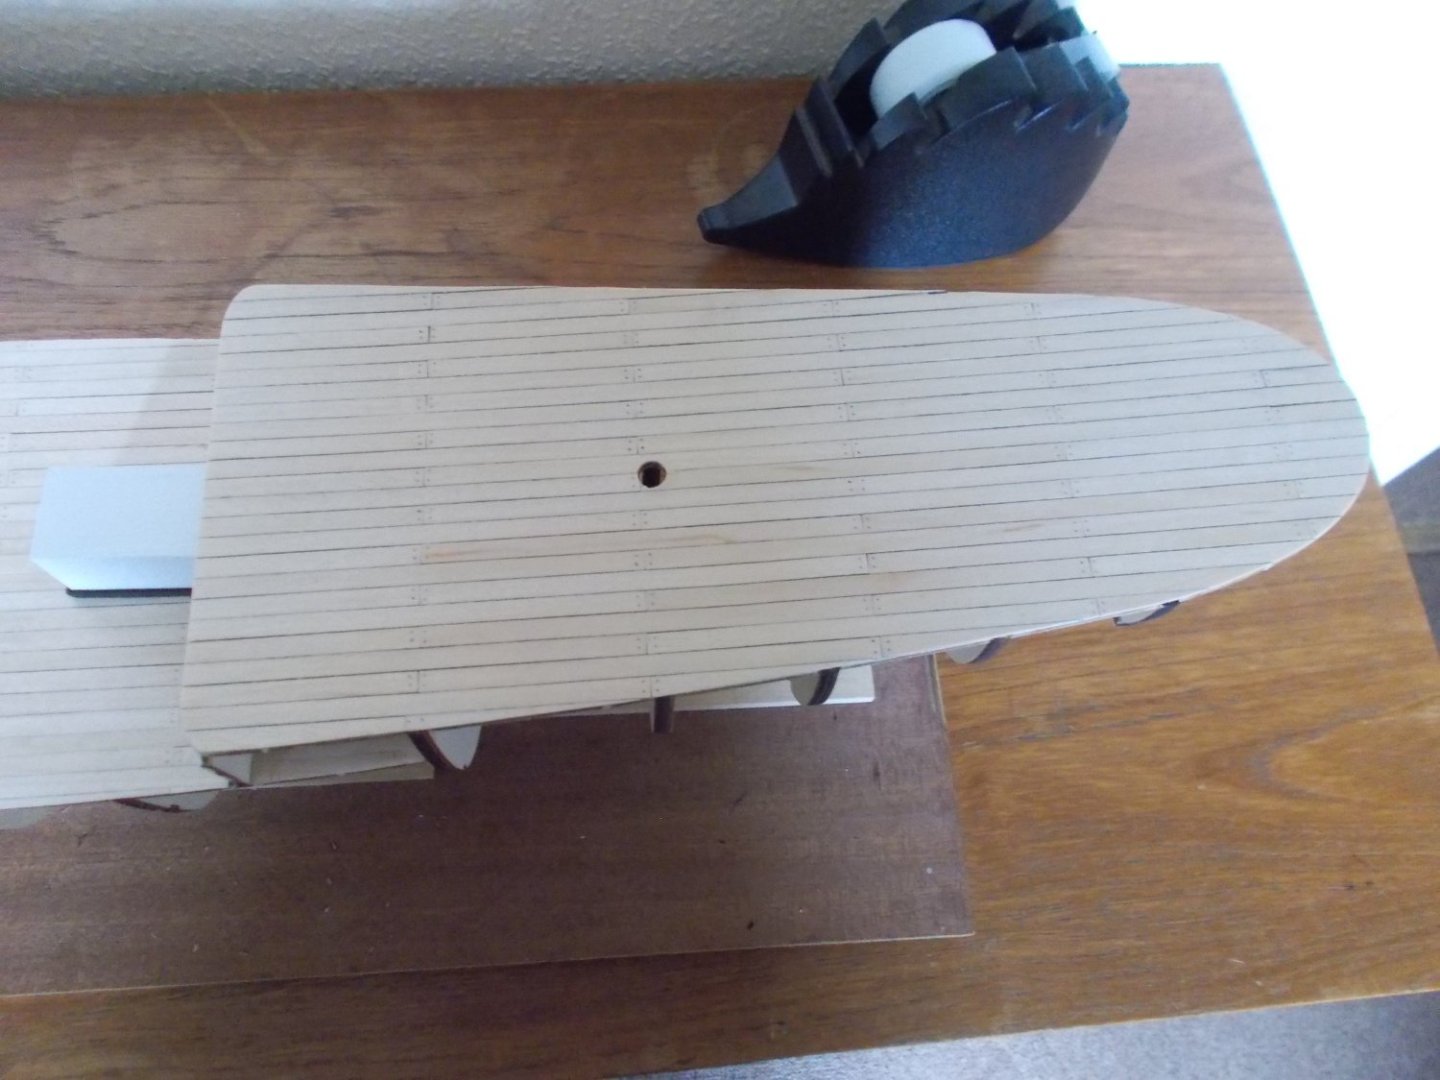
First deck on and gluing. I am not impressed with the poor quality of my planking but the supplied wood in this instance supposedly is sycamore which I don't think I have used before. The planks unfortunately were of a variety of widths and thicknesses and this along with that deck being in three pieces was not the easiest I have done. Because of the different thickness I just couldn't get a really smooth finish. For the rear and front decks I had some spare wood of a very similar colour and, as you will see has resulted in a much better finish. It is very unusual in my experience for Occre to provide such poor quality wood, they are usually so good. Never mind I will plod on!


-
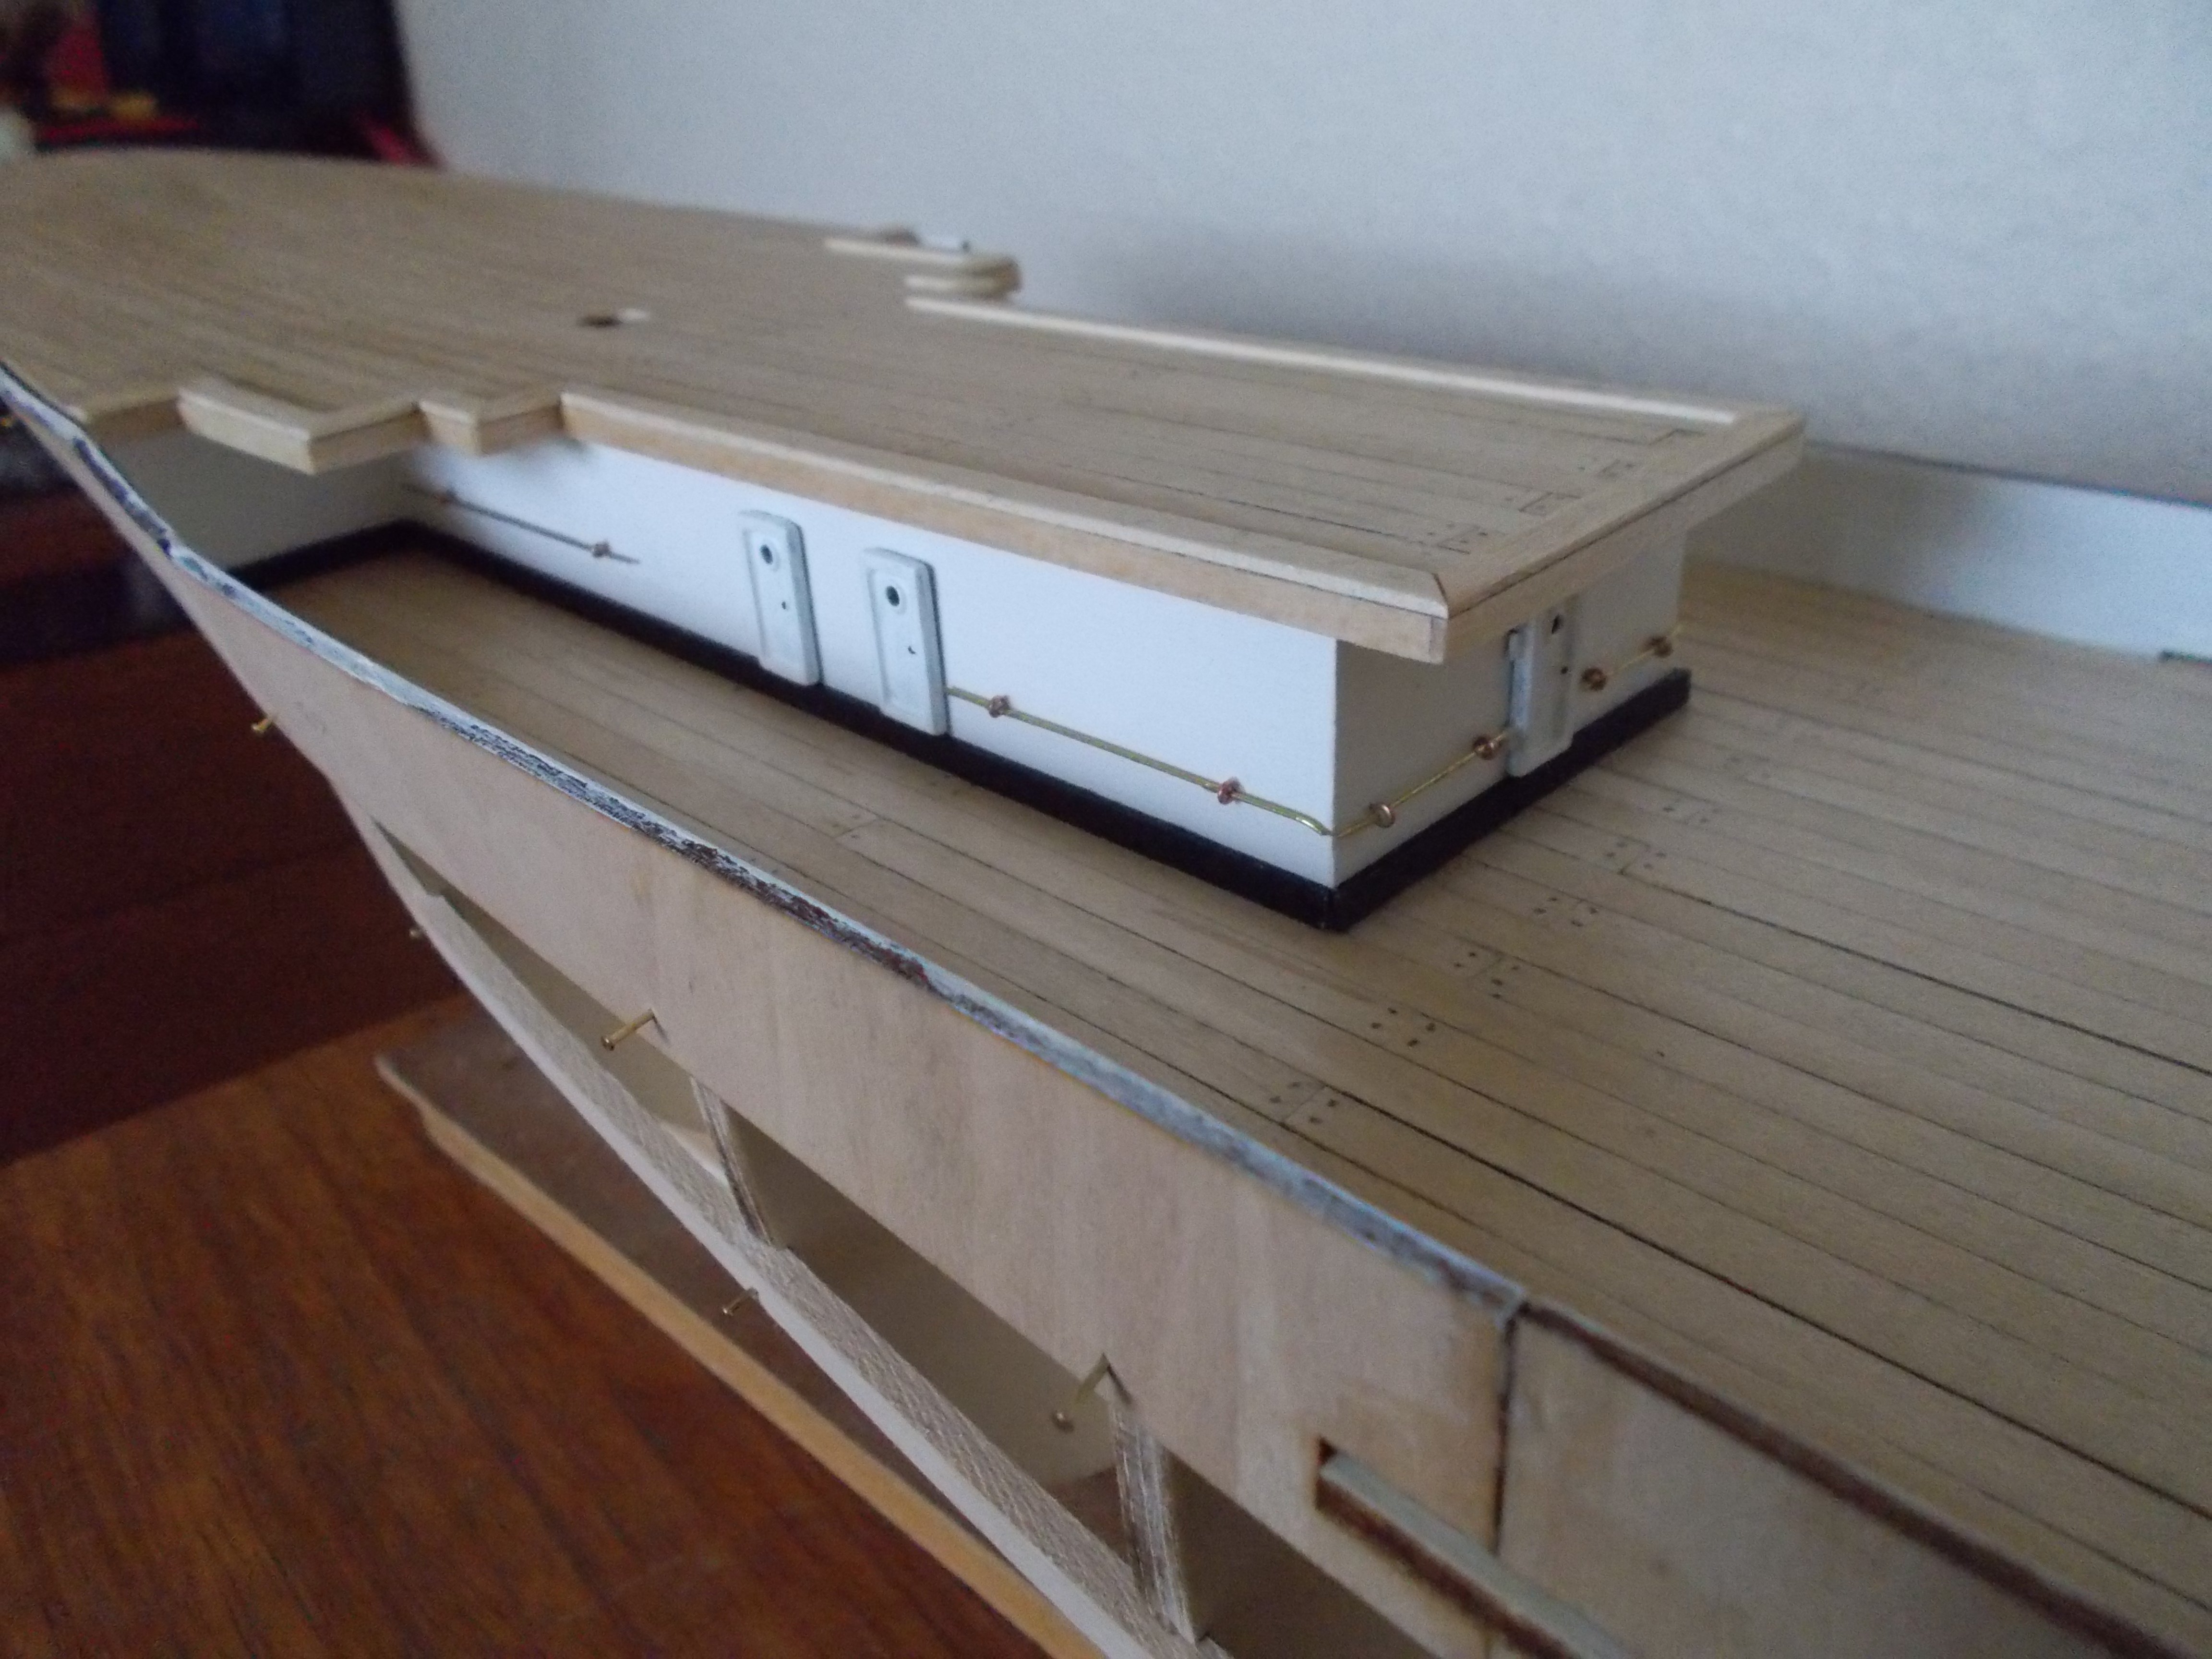
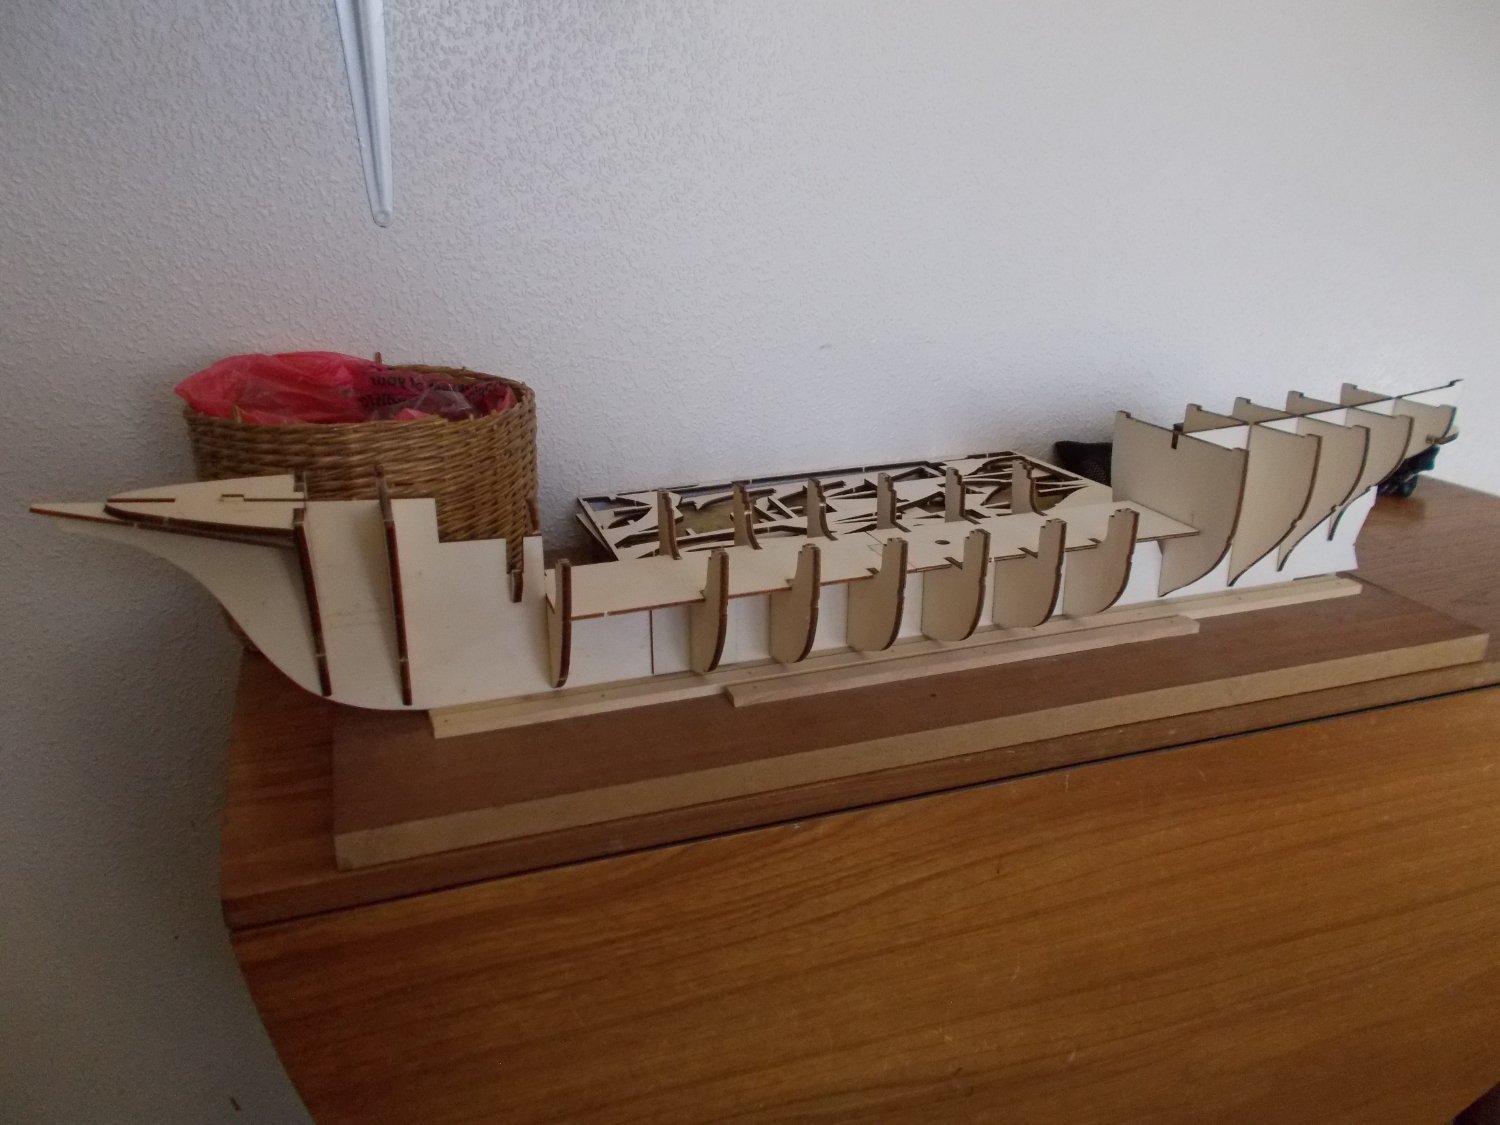
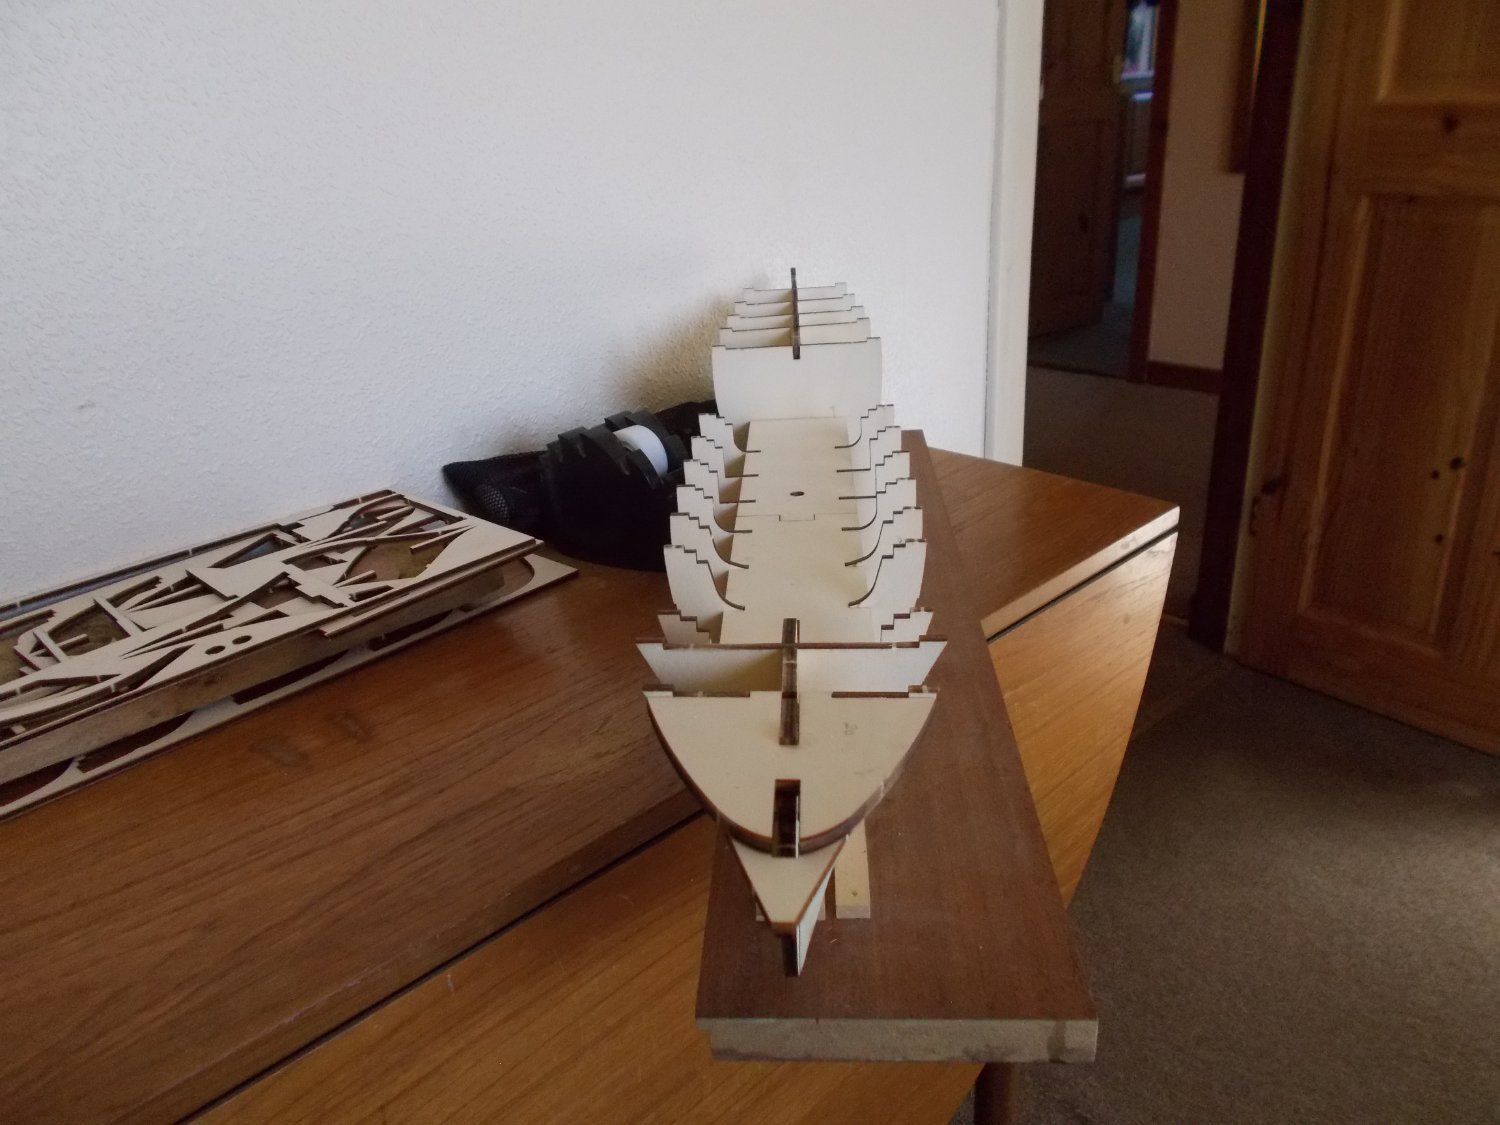
All the bulkheads fixed on, they are not wonky at the back I promise, it's just the camera angle!! I have shelved the lighting plan for this one. With the construction and the sort of false deck in the middle it makes it very difficult at this stage to know where the lights will go in the right place for the portholes so rather than give myself a headache she can stay unlit.


-
I forgot that the Fokker didn't have working controls!! I told you I was a peasant!!
-
Sorry, I am a peasant!! I don't know what tensors are, but, when I made my Sopwith all the control wires ie. ailerons, rudder etc worked to start with but by the time I finished it the wires/threads had stretched and rather spoilt the plan. That was using the thread provided. I know how tricky it is to get all those wires in a taught in the first place and then to find them saggy is very disappointing so, if you can find something non stretchy it will avoid the problem. I did even think about using fine wire which might work?
-
Before you get too heavily into the 'rigging' may I suggest you find a non stretchy thread. I had a problem where even a little bit of stretch stopped the controls working. Your cockpit looks great.
-
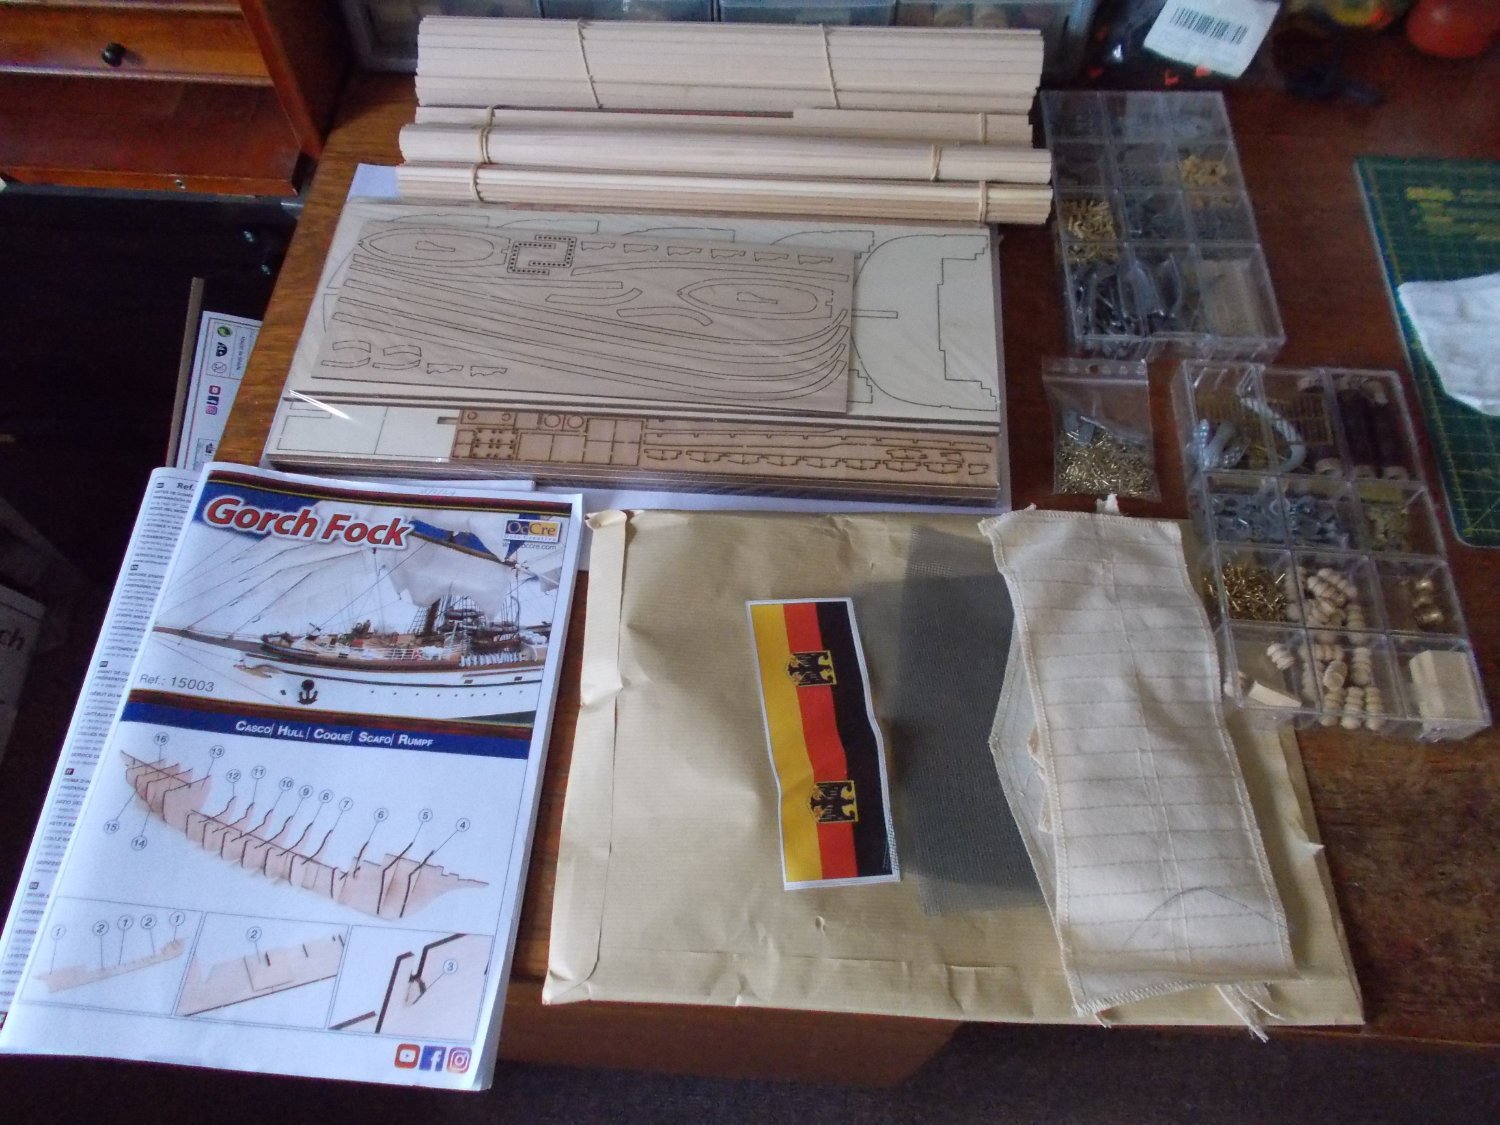
It is ages since I tried to do a build log on this forum so I thought it was about time I did! I have made loads of models since my last but not done logs on any of them. I love the look of the tall ships and I have recently finished the Occre version of the Amerigo Vespucci with full lighting and loads of changes to the kit instructions to make her more like the real vessel. I am going to try and light the Gorch Fock as well although I wonder sometimes why I set myself these challenges. I can already see from the instructions that I will have to make a few alterations to the kit but otherwise I hope to build her more or less out of the box this time without looking too carefully at the real vessel. At first look the instructions are the usual Occre quality, the wood looks good and the fittings fine. I will change the navigation lights so that I can fit lights. I don't like the photo etched stanchions but changing them costs a lot as I know because I changed them on the AV so I will put up with them this time. The sails again are usual for Occre but to be honest they do look OK in the end. I made some for the AV as the kit didn't come with them but they didn't really come out better so I will stick with those provided. Let's see what else I find as I go along. For those who want to know this is what is in the box!

-
Why not have a go at one of model airways aircraft. Challenging, great fun and no planking. I can recommend them.
-
I use clear satin varnish.
-
While you are having such rivititing good fun (!!!) Occre show when doing the shrouds to feed the through the masts singly. Up until now I thought shrouds ran in pairs. Which do you think ?
-
Daniel, I realise that you are not at that stage yet but, as a matter of interest, are you planning to put sails on your model or not? I can't make my mind up although from my point of view I would either have to buy some as my kit was without sails or try and make some.
-
Nice job with the hull finish. Did you use the template for the portholes or did you measure them? I found that I had to measure them all.
-
Hey Daniel, your lights are certainly going to look spectacular, a bit like a Christmas tree by the time you finish!! A puzzle for you! You mentioned a while ago about the AV having three anchors. The Occre kit provides 6 including 2 which are supposed to be fastened to the rear of the ship. I have scoured the photos etc of the real AV and it may be that there are 2 at the stern and I can only see 2 at the bow. What do you think is right?
-
Very impressive!! I only have one light for each mast and none on the tops!
-
I have done exactly the same as you!! Great minds think alike so they say.
-
Thank you for reply about he doors. I did mean those at deck level which are all I can find. Maybe I adjust the position of the steps to fit those which, it seems from some of the photos would be the way to go. Meanwhile a suggestion/word of warning. I did exactly what I was trying to avoid and when drilling the porthole holes and managed to cut some of the internal wiring because I hadn't remembered correctly where it was. I would suggest that you take some good pictures of your wiring before you do the planking to avoid doing the same thing.
-
What do you think about the side doors Daniel?