HOLIDAY DONATION DRIVE - SUPPORT MSW - DO YOUR PART TO KEEP THIS GREAT FORUM GOING!
×


Mike Dowling
-
Posts
1,234 -
Joined
-
Last visited
Content Type
Profiles
Forums
Gallery
Events
Everything posted by Mike Dowling
-
Thanks so much Bill for the suggestion. I found the link and it looks like a great boat but, I think it may be a bit pricey when taking into account the shipping cost and the 20% VAT we have to pay in the UK.
- 225 replies
-
- 3
-

-
- chaperon
- model shipways
- (and 1 more)
-
Gosh, where have you been Dom ? Should I PM you for more details ?!!!!!
- 225 replies
-
- 2
-
-
- chaperon
- model shipways
- (and 1 more)
-
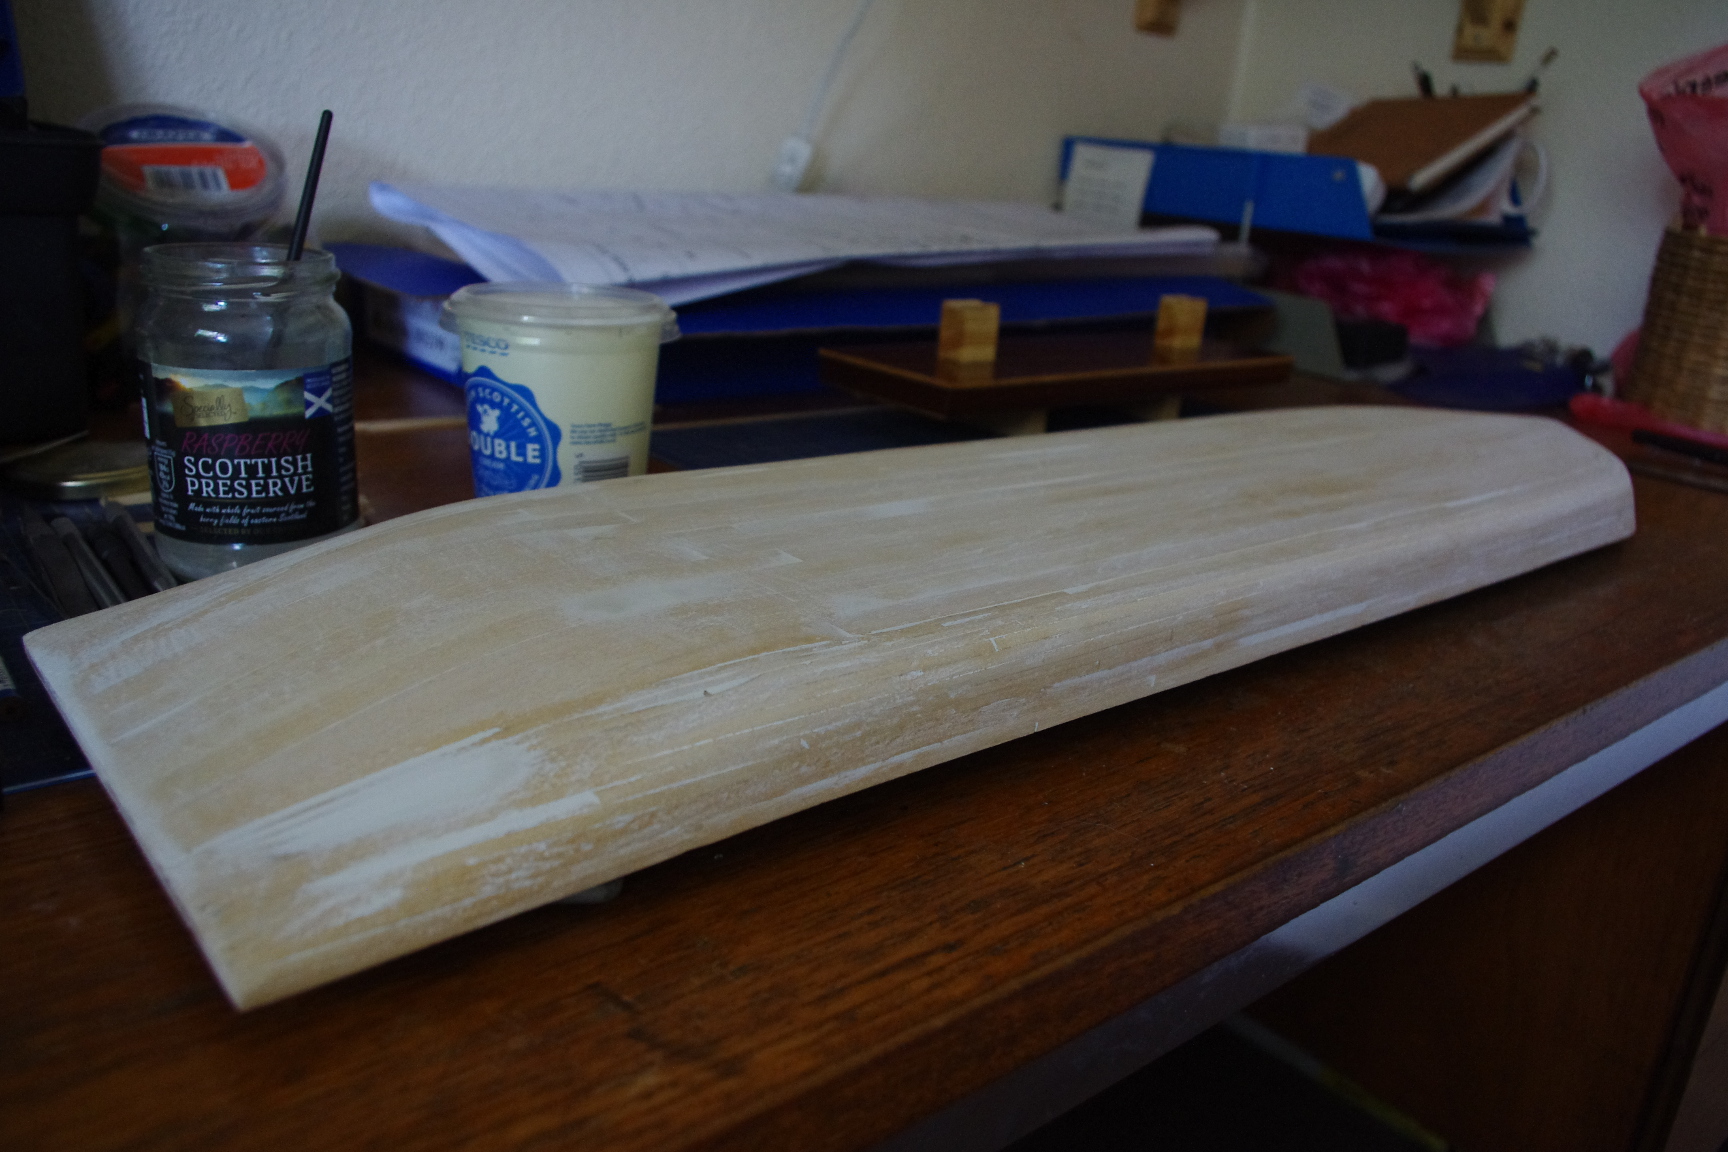
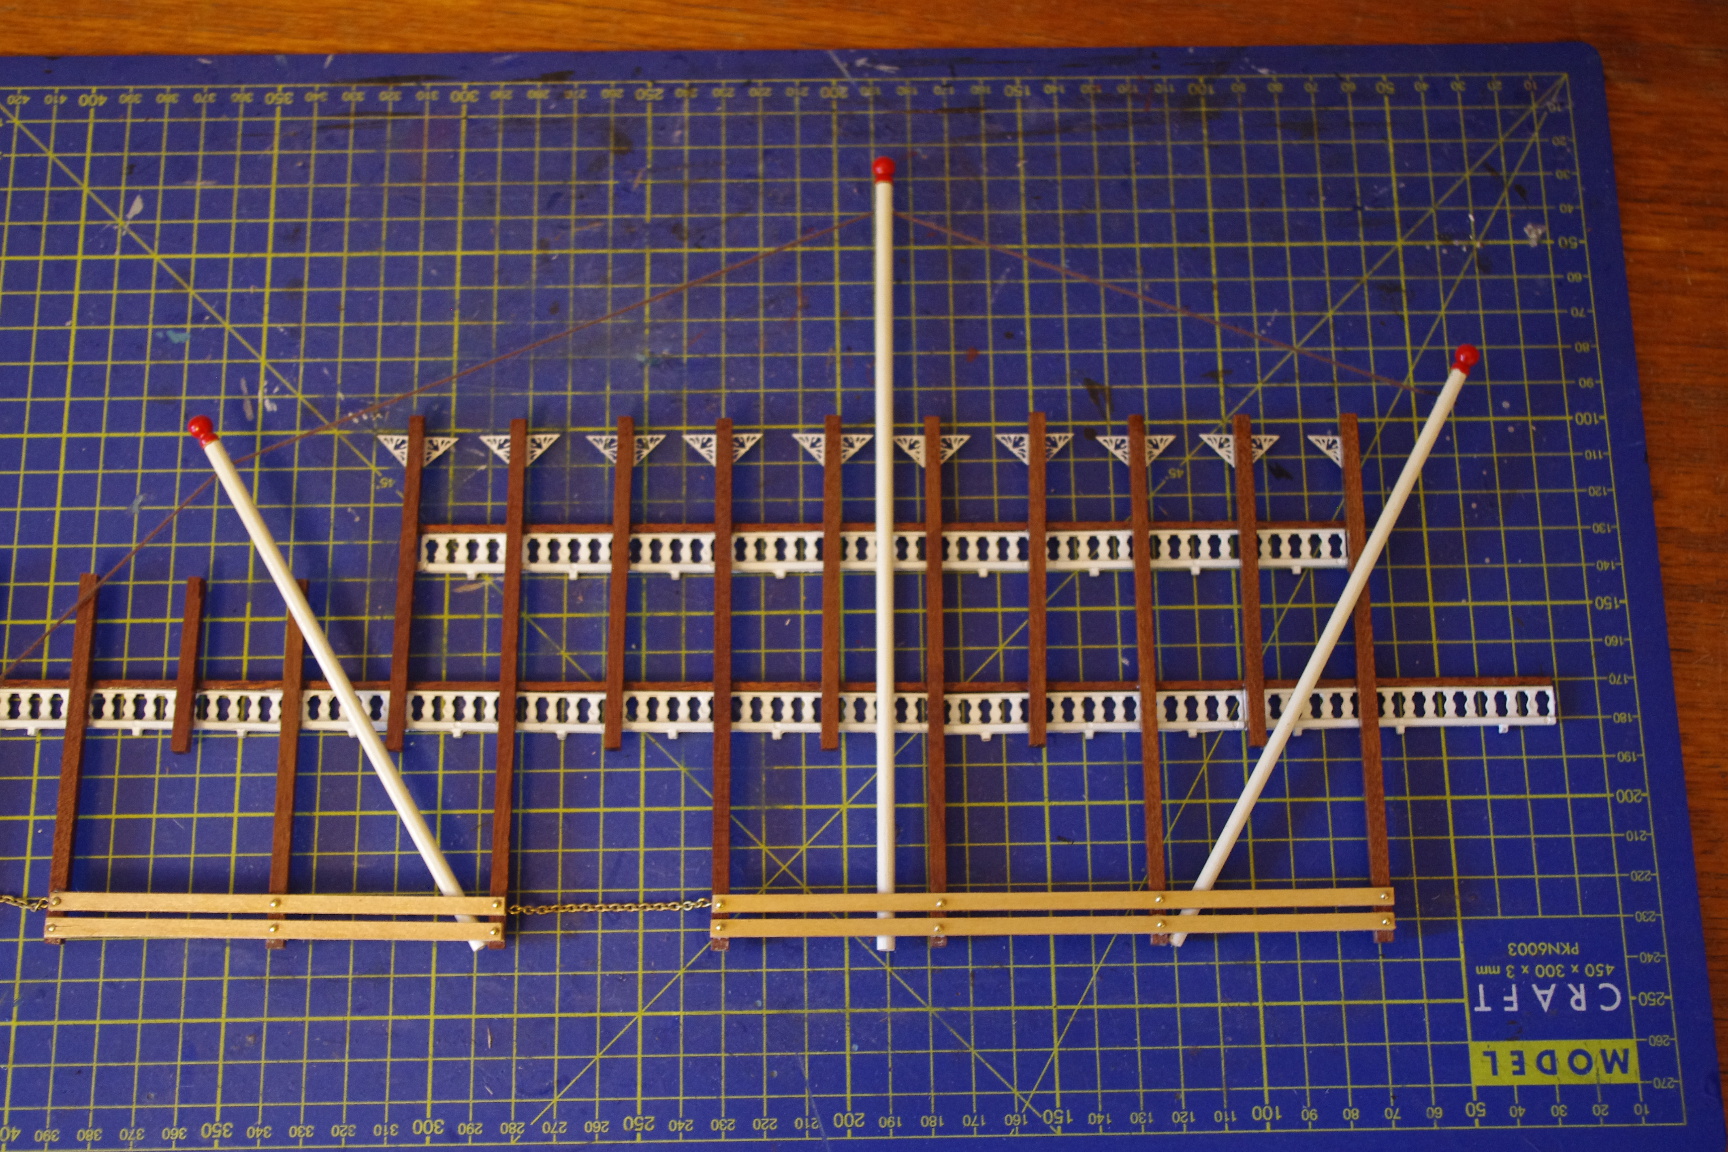
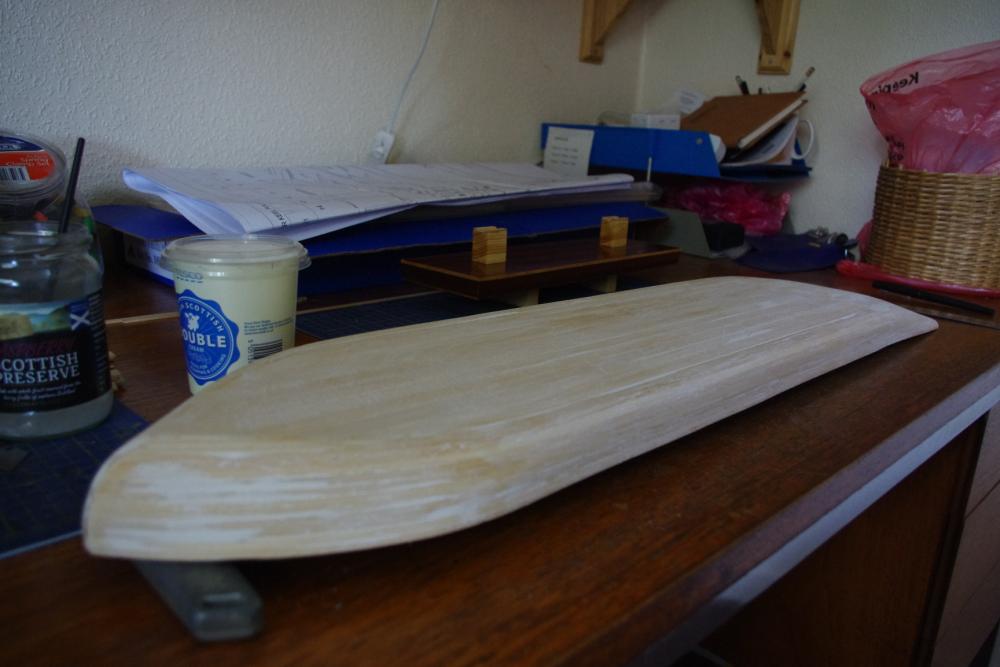
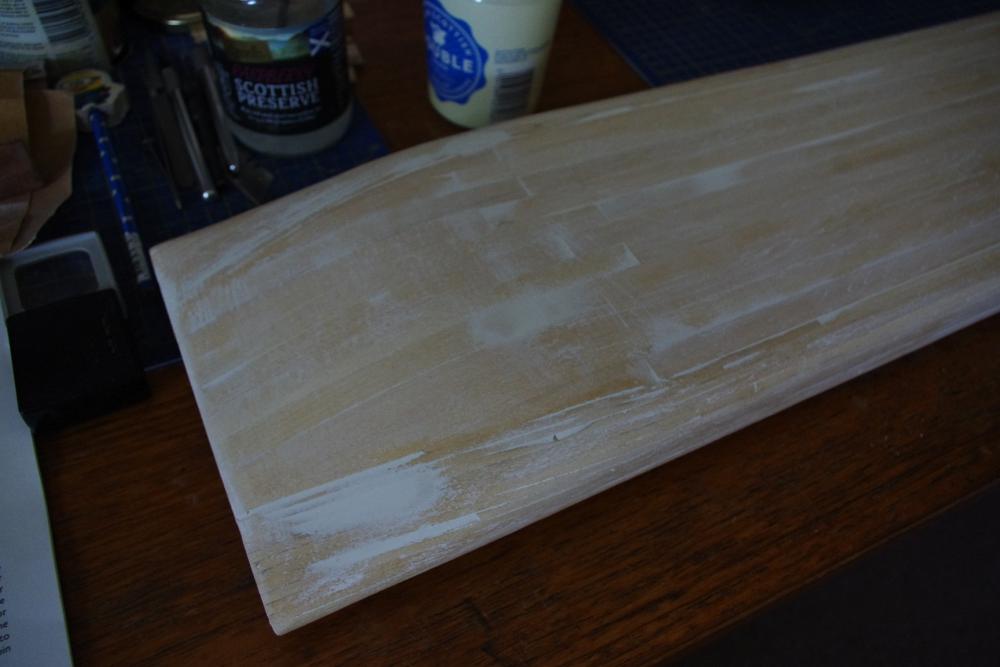
By way of illustration of my handy tip (!!!), the hull is now filled and sanded ready to put the keel strip on and then first coat of paint.

- 225 replies
-
- 16
-
-
- chaperon
- model shipways
- (and 1 more)
-
Here is something I have found works brilliantly and may be useful for others. Before even trying to use filler on untreated wood, eg. planking I have found it well worth giving a coat of what I call dope but others call sanding sealer. If you don't seal, the wood absorbs moisture from the filler, expands and then when it eventually dries you have to start again. The filler stick fine to the treated surface without causing the expansion/ contraction. Once dry and sanded there should be little or no filler to add.
- 225 replies
-
- 4
-
-
- chaperon
- model shipways
- (and 1 more)
-
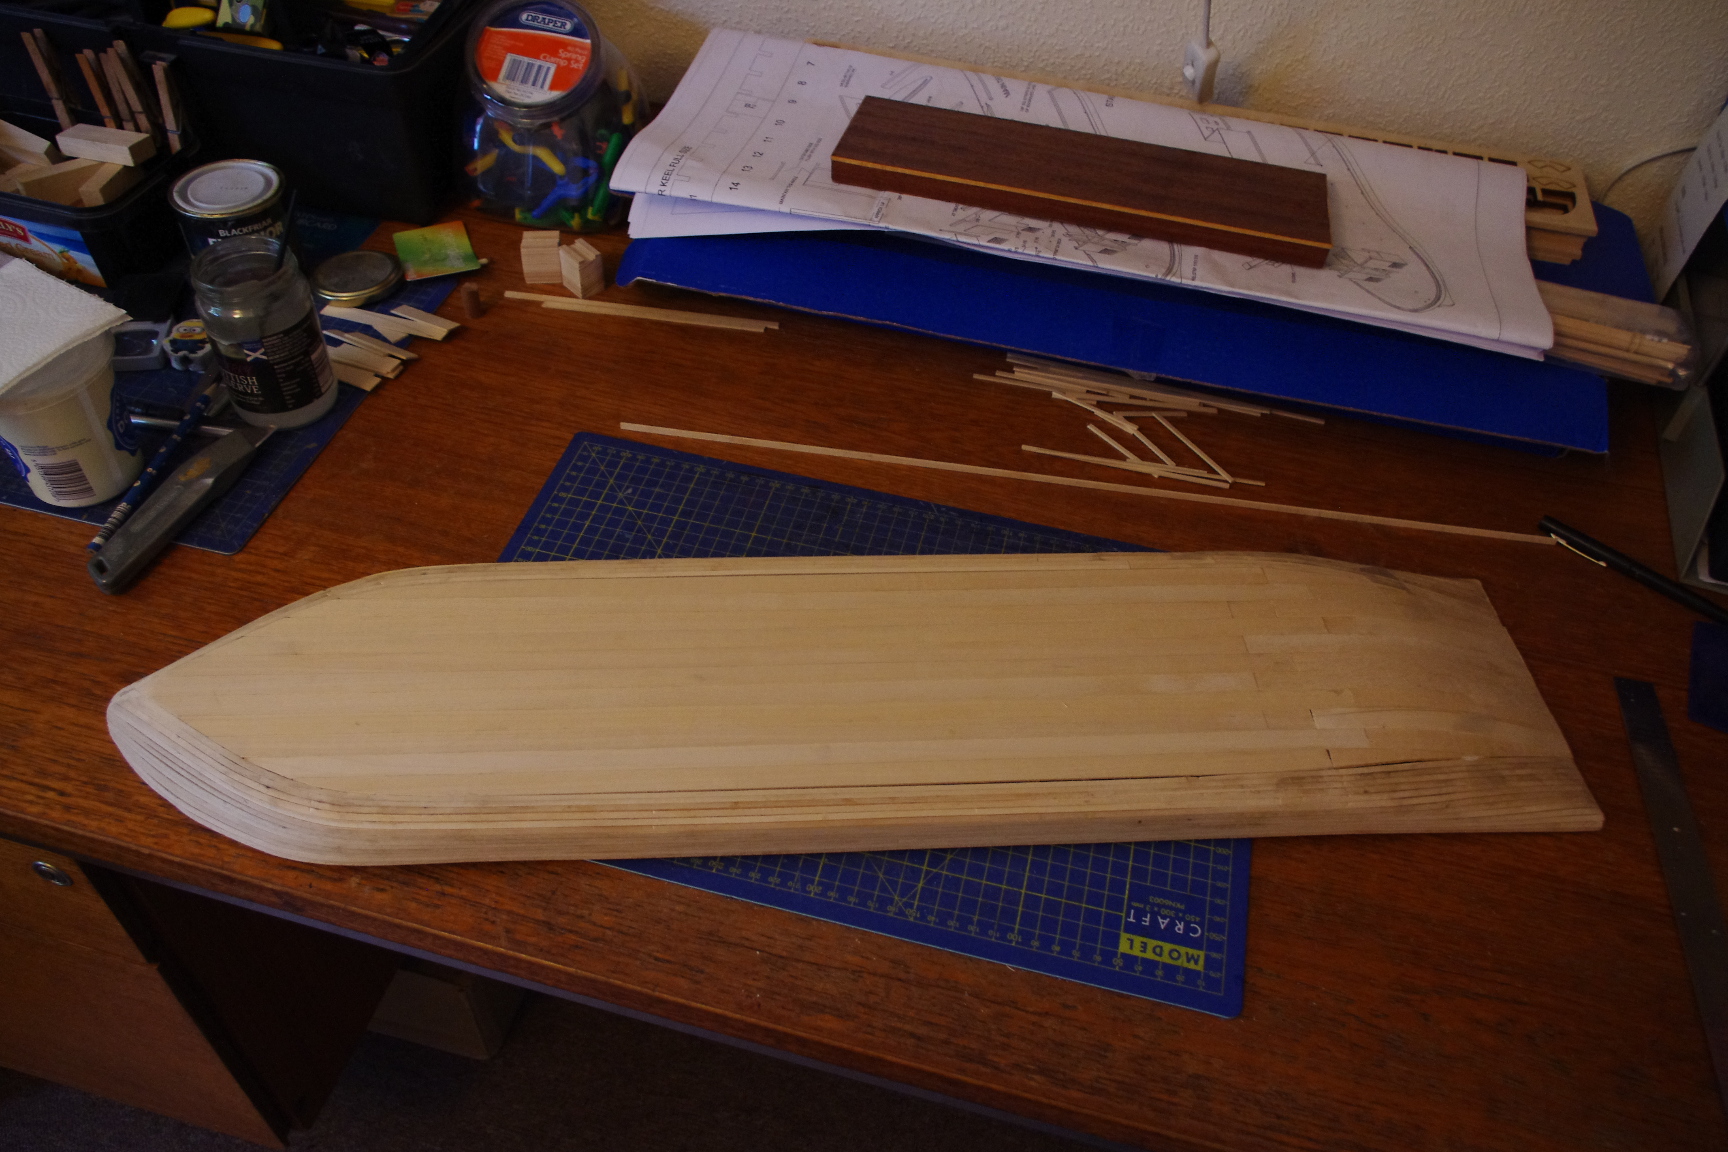
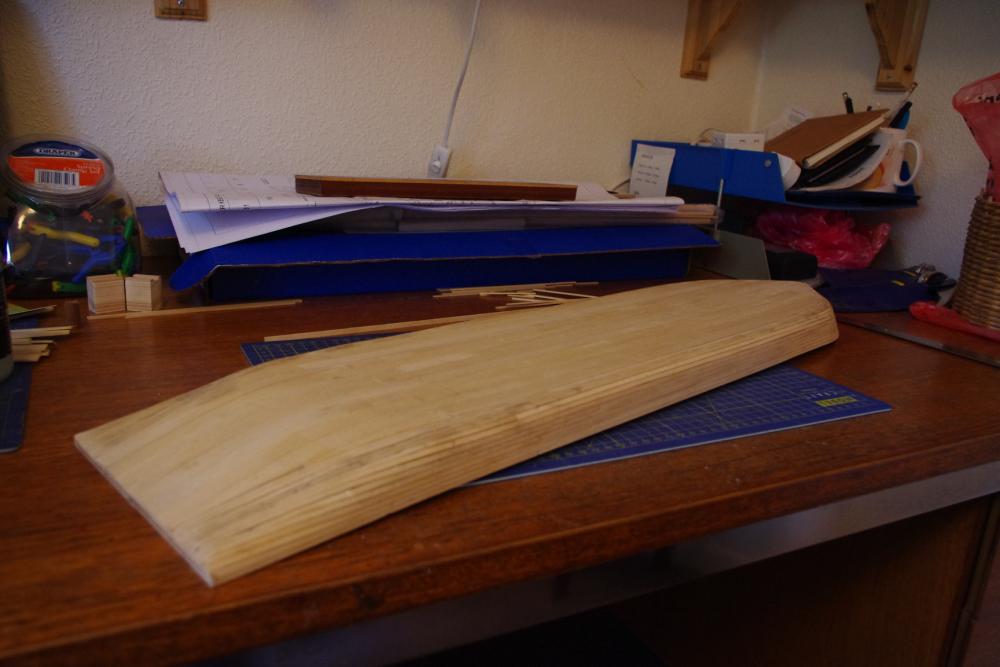
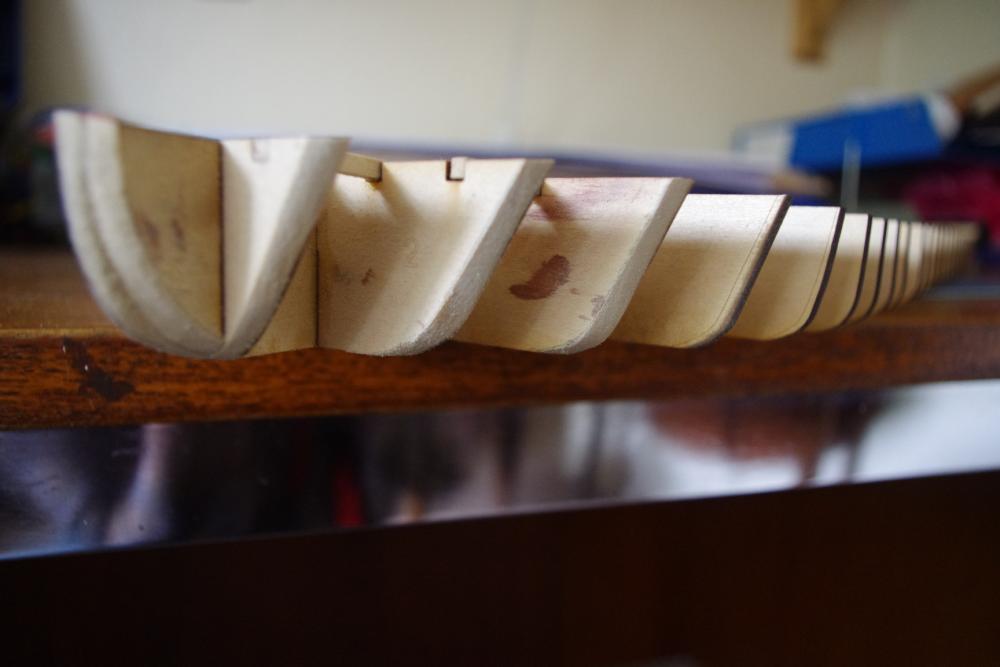
Next instalment ! The hull is now covered which I must say was a bit more of a wrestling match than previous paddle steamers I have done but I feel I have emerged victorious !! Next stage is to do some serious sanding before filling remaining gaps.


- 225 replies
-
- 12
-
-
- chaperon
- model shipways
- (and 1 more)
-
Thanks Marv, good to have you along. A question in advance for you Kurt, why did you decide on the red deck colour scheme and should the hull really be white to be realistic or doesn't it matter ?
- 225 replies
-
- 2
-
-
- chaperon
- model shipways
- (and 1 more)
-
You are most welcome Marv. There are some more pictures of my build in the gallery if you are interested - might help with the interior but if I can help at all just let me know. Have fun.
-
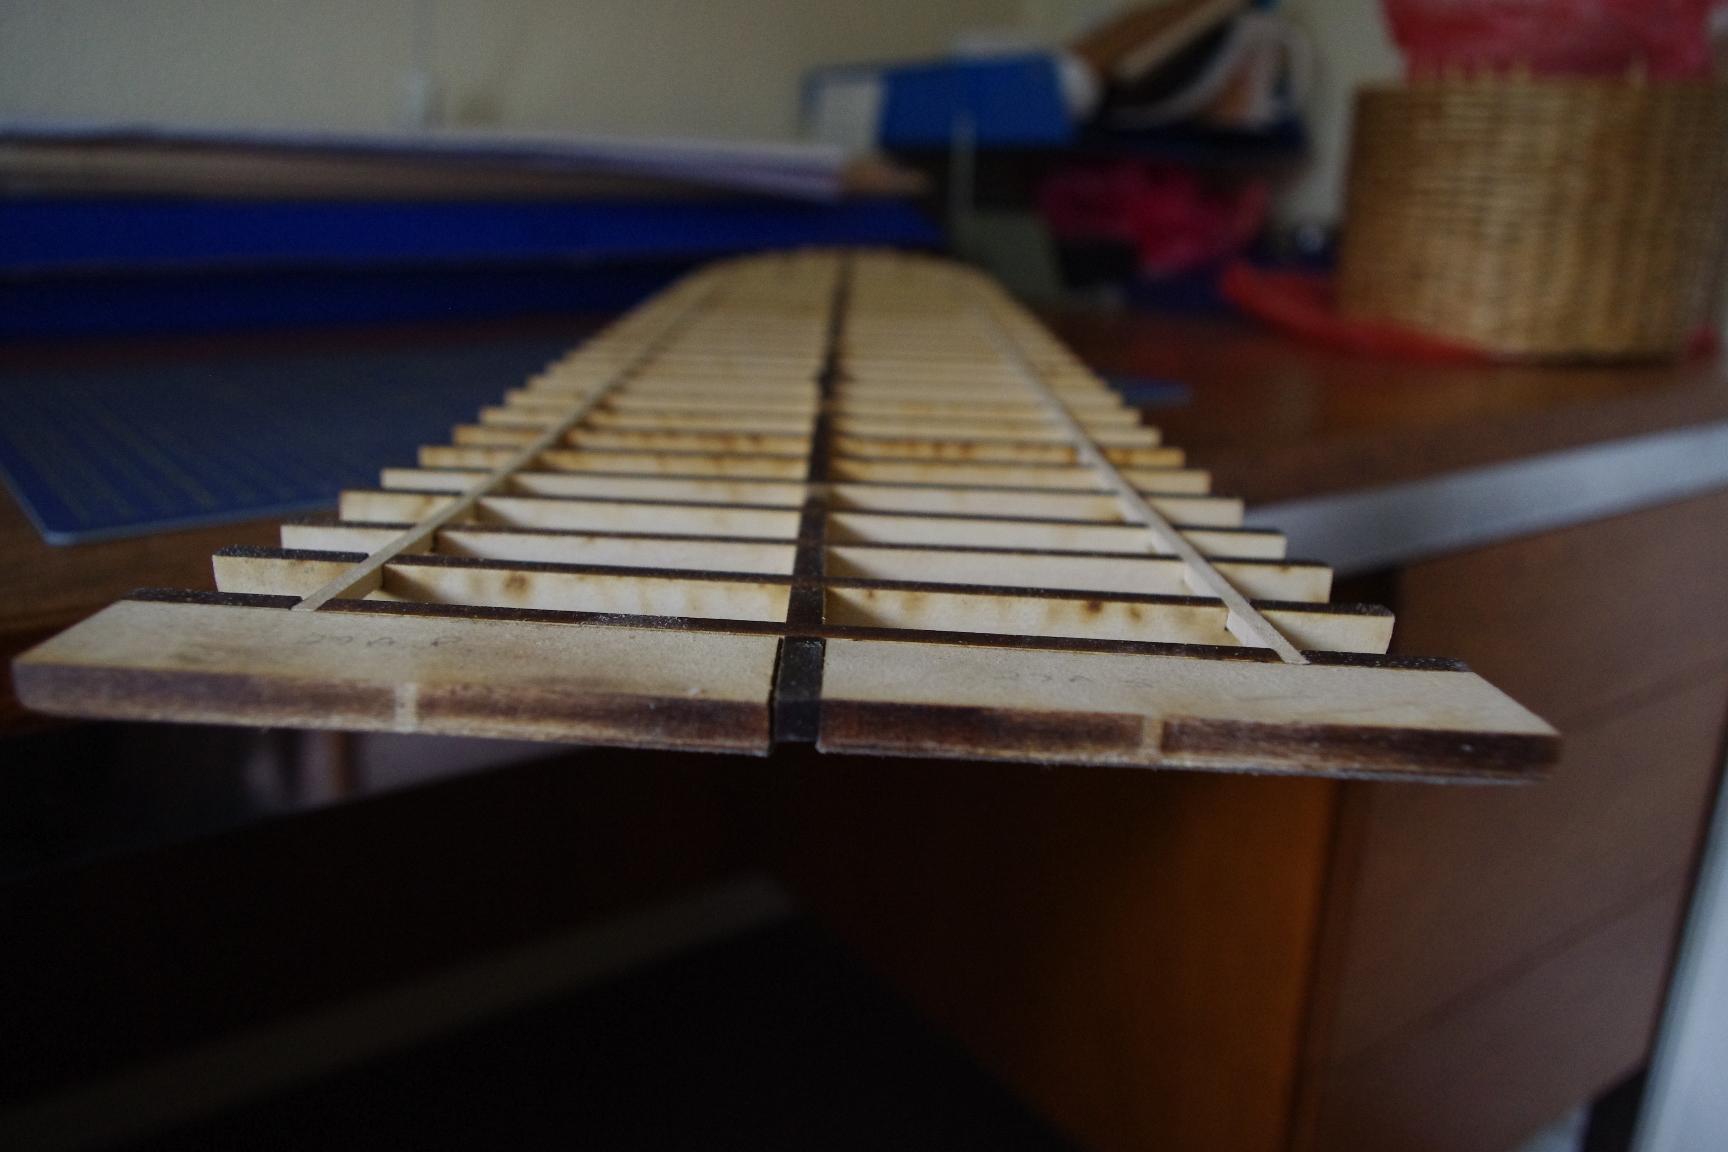
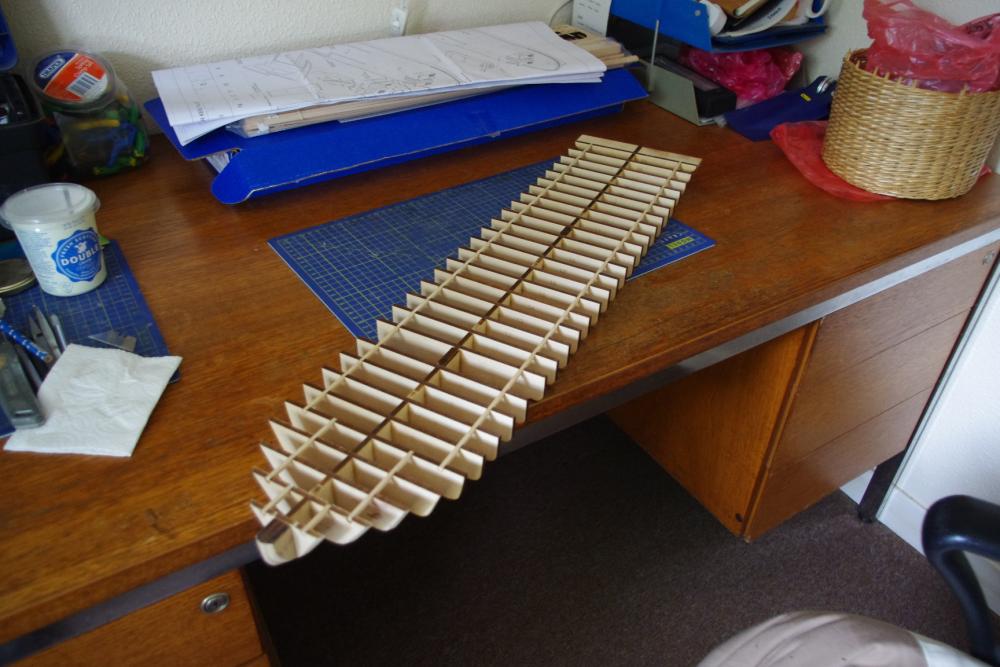
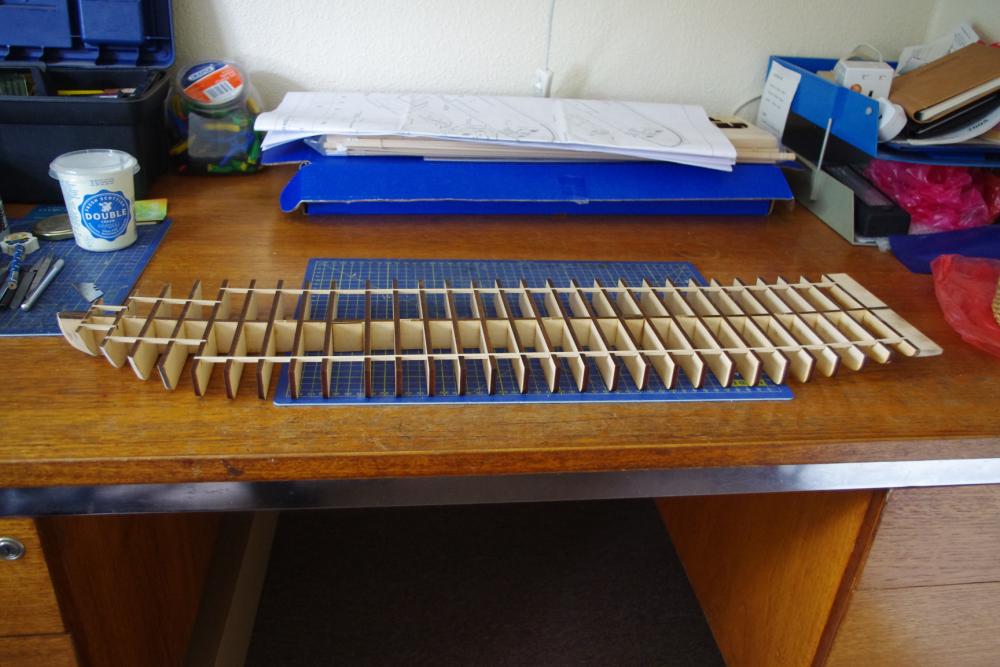
Cathead, all done with the best intentions and thanks for your advice re Kurt and Roger. Kurt, sorry if I confused you about the roof. I made the comments from a couple of your photos not the drawings. Anyway, I have been pushing on and now have all the bulkheads on the false keel lovely and square. Not that I can take much credit for that, I had to do very little adjustment as the pieces were so well laser cut. Putting the stringers on was therefore really easy. Also the lovely people who designed this kit had the excellent foresight to mark the fairing with laser lines. If you look at frames 4 and 5 which I have not faired yet you will see what I mean. I know heaps of folk have trouble with fairing - what a shame other kit manufacturers don't help like this. So I just have to fair those last bulkheads and it will be on to the job I always dread the most, hull planking. Some pictures on the progress thus far.

- 225 replies
-
- 11
-
-
- chaperon
- model shipways
- (and 1 more)
-
I know that it is a very long way ahead, but, when you get to it there is a removable section of the side of the boat. It is there so you can take it off to be able to get to all the cabin sides etc to remove them. The problem is that the way OcCre designed the kit, if you do it their way you cannot remove all the removable section. I came up with a cunning plan which I am happy to share. For the sake of a bit of 'licence' on two pieces of rigging rope I managed to work out a solution. I have attached some pics which might help my comment more useful but I am more than happy to try and help if you want when you get there..
-
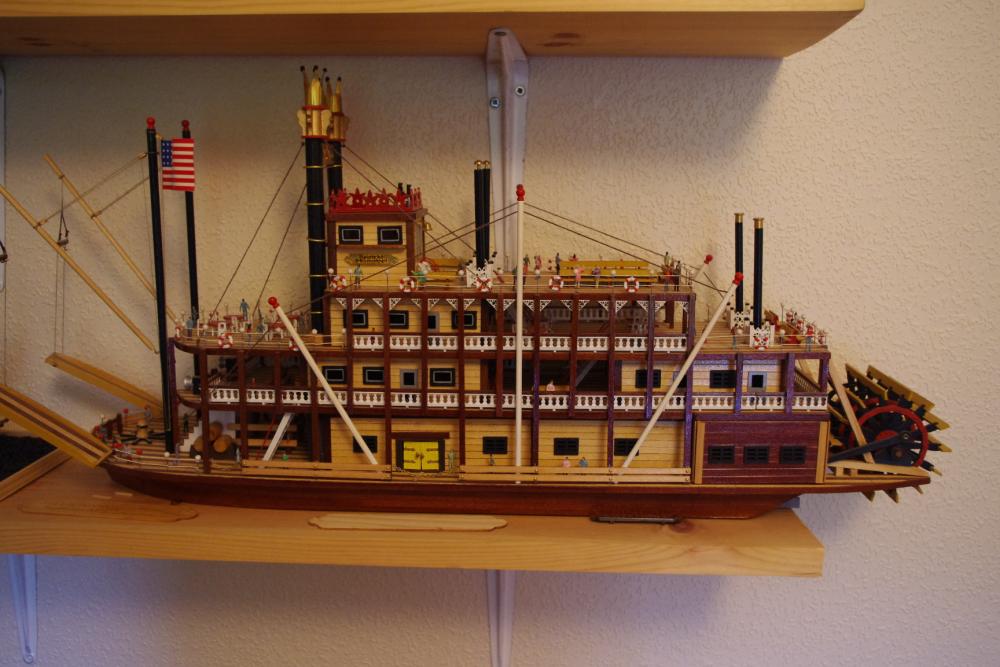
I have made this beast. It was great fun and I really enjoyed all the internal detail. I know it is not a model of a 'real' boat but it does make a really nice model. Have fun and I will keep an eye on your progress.
-
Thanks for that Kurt. I have had a look at the site and will bear it in mind. I am wary of ordering from the US again (see page 1) and at the moment the £sterling is not going to do me any favours !!
- 225 replies
-
- 1
-
-
- chaperon
- model shipways
- (and 1 more)
-
Cathead, just an additional thought, maybe when I have finished this beasty you might help me out with some suggestions as to the plans you mentioned. If its OK with you I will put you on as a friend ?
- 225 replies
-
- 1
-
-
- chaperon
- model shipways
- (and 1 more)
-
Cathead I am blushing !! The only thing I scratchbuilt and I have to admit not all of it was the Lady Smith. I have seen some of you scratchbuilds which I envy hugely. I just don't know how you manage it - amateur indeed !!! Looks pretty expert from where I sit. Anyway, thanks for the advice - much appreciated.
- 225 replies
-
- 1
-
-
- chaperon
- model shipways
- (and 1 more)
-
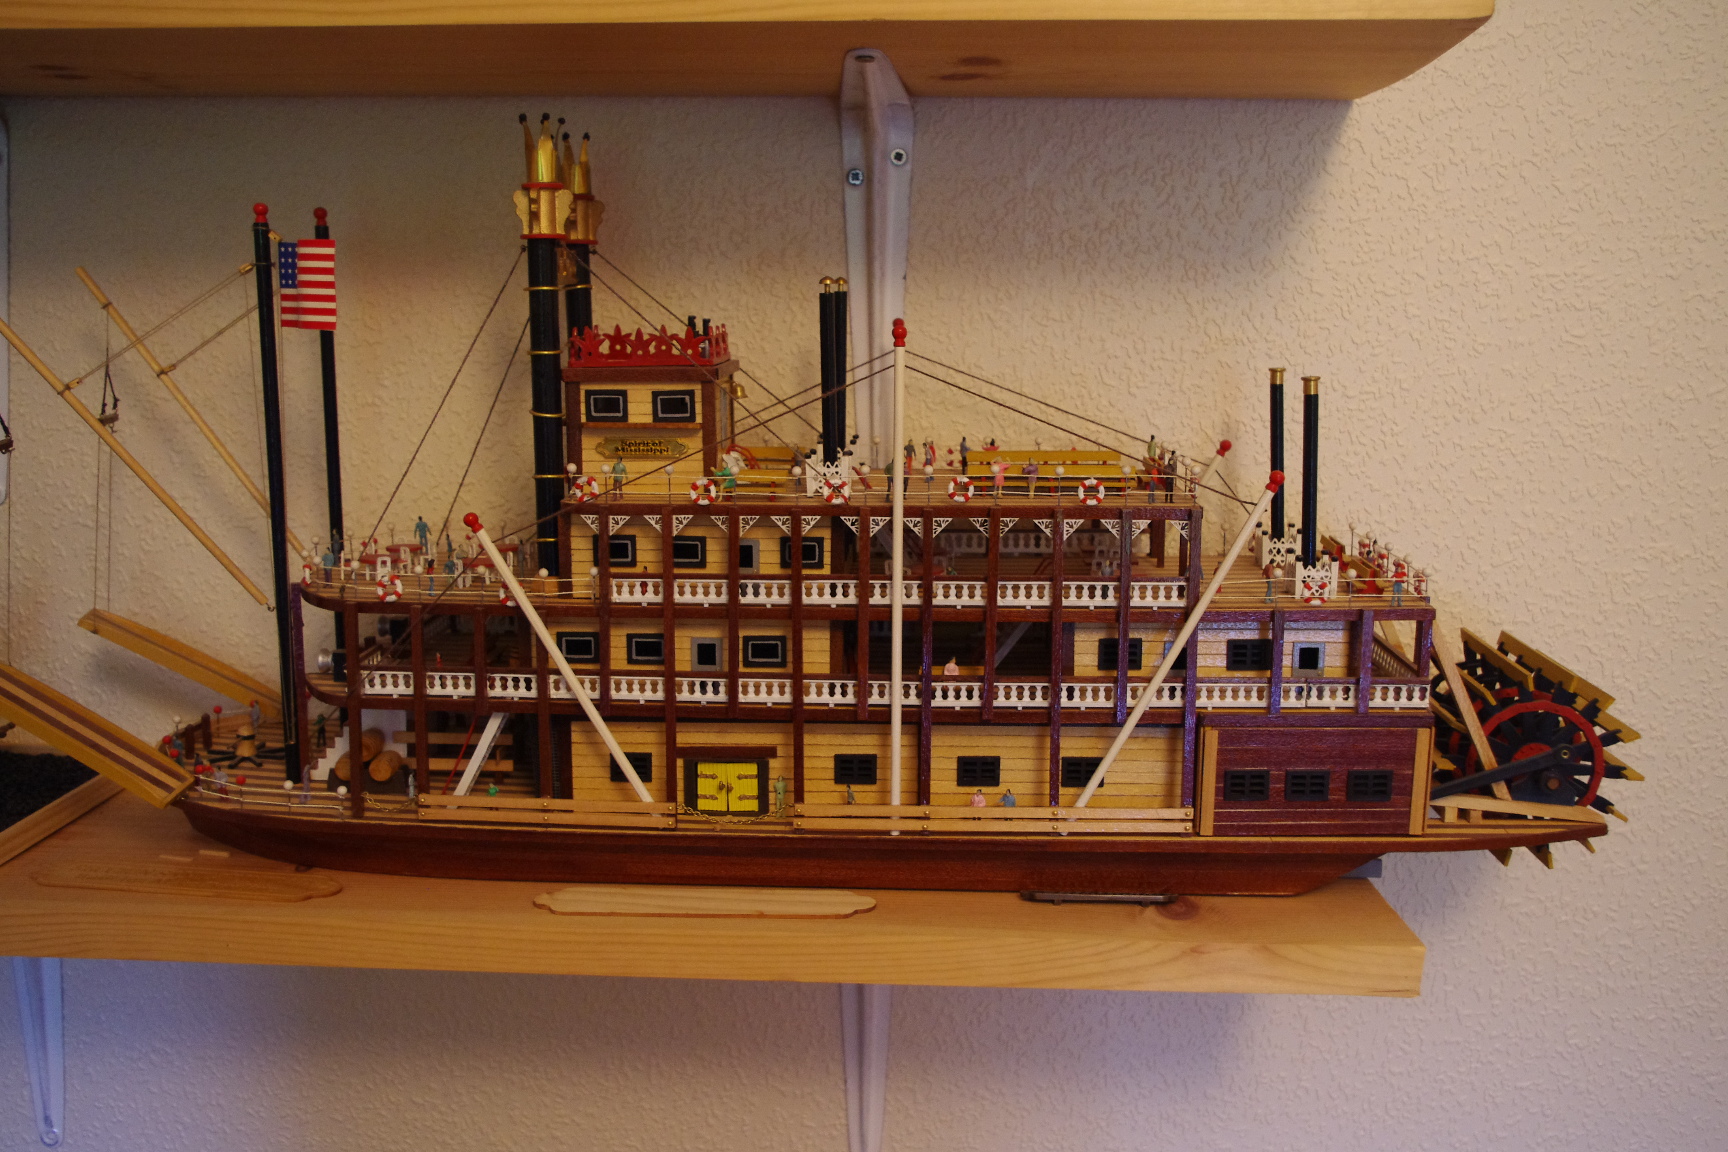
Thanks Kurt, I am still not there yet !!! But the pictures are much appreciated. Whilst I have no wish to make this harder than it is already, a couple of your photos look like the pilot house (see I'm learning already !) has a sort of conservatory/glass house roof ! The two other paddle steamers I have done, the OcCre Spirit of Mississippi (which I know was not a real boat ) and the Robert E Lee, just had a flat roof with decoration round the sides. I would be interested to know which is right although I don't think my skills are up to fashioning a fancy one. Also I notice the last picture you sent doesn't have whistle !!! Whilst here, thank you so much all of you who have contributed already, I really didn't expect so much attention. It is a bit daunting. Also I am thinking of buying the Artesania Latina 'King of the Mississippi'. Do any of you paddlesteam enthusuasts know is it worth getting ?
- 225 replies
-
- 2
-
-
- chaperon
- model shipways
- (and 1 more)
-
I am glad you added that last bit Roger, I am no expert and some of this chat is going way above my head. Having said that, thank you very much Kurt for your wheelhouse drawings. I will do my best to alter it when (eventually!) I get to that part.
- 225 replies
-
- 4
-
-
- chaperon
- model shipways
- (and 1 more)
-
Red, nice to have you along for the build. I hope I can do it justice.
- 225 replies
-
- 2
-
-
- chaperon
- model shipways
- (and 1 more)
-
Cathead (sorry don't know your real name) I have watched your builds previously and they are truly amazing. I only hope than I can do your encouragement justice with my efforts.
- 225 replies
-
- 4
-
-
- chaperon
- model shipways
- (and 1 more)
-
Thank you so much Kurt for your thoughtful reply. I hope you will keep watching and advise me as go along. I have to say despite my original comments that I have now dry fitted the bulkheads and I impressed not only with how well they fit but also how square they are without any trimming (pictures to follow). I plan to fair the bow section before gluing as far as I can and, to an extent the stern. More to follow soon.
- 225 replies
-
- 5
-
-
- chaperon
- model shipways
- (and 1 more)
-
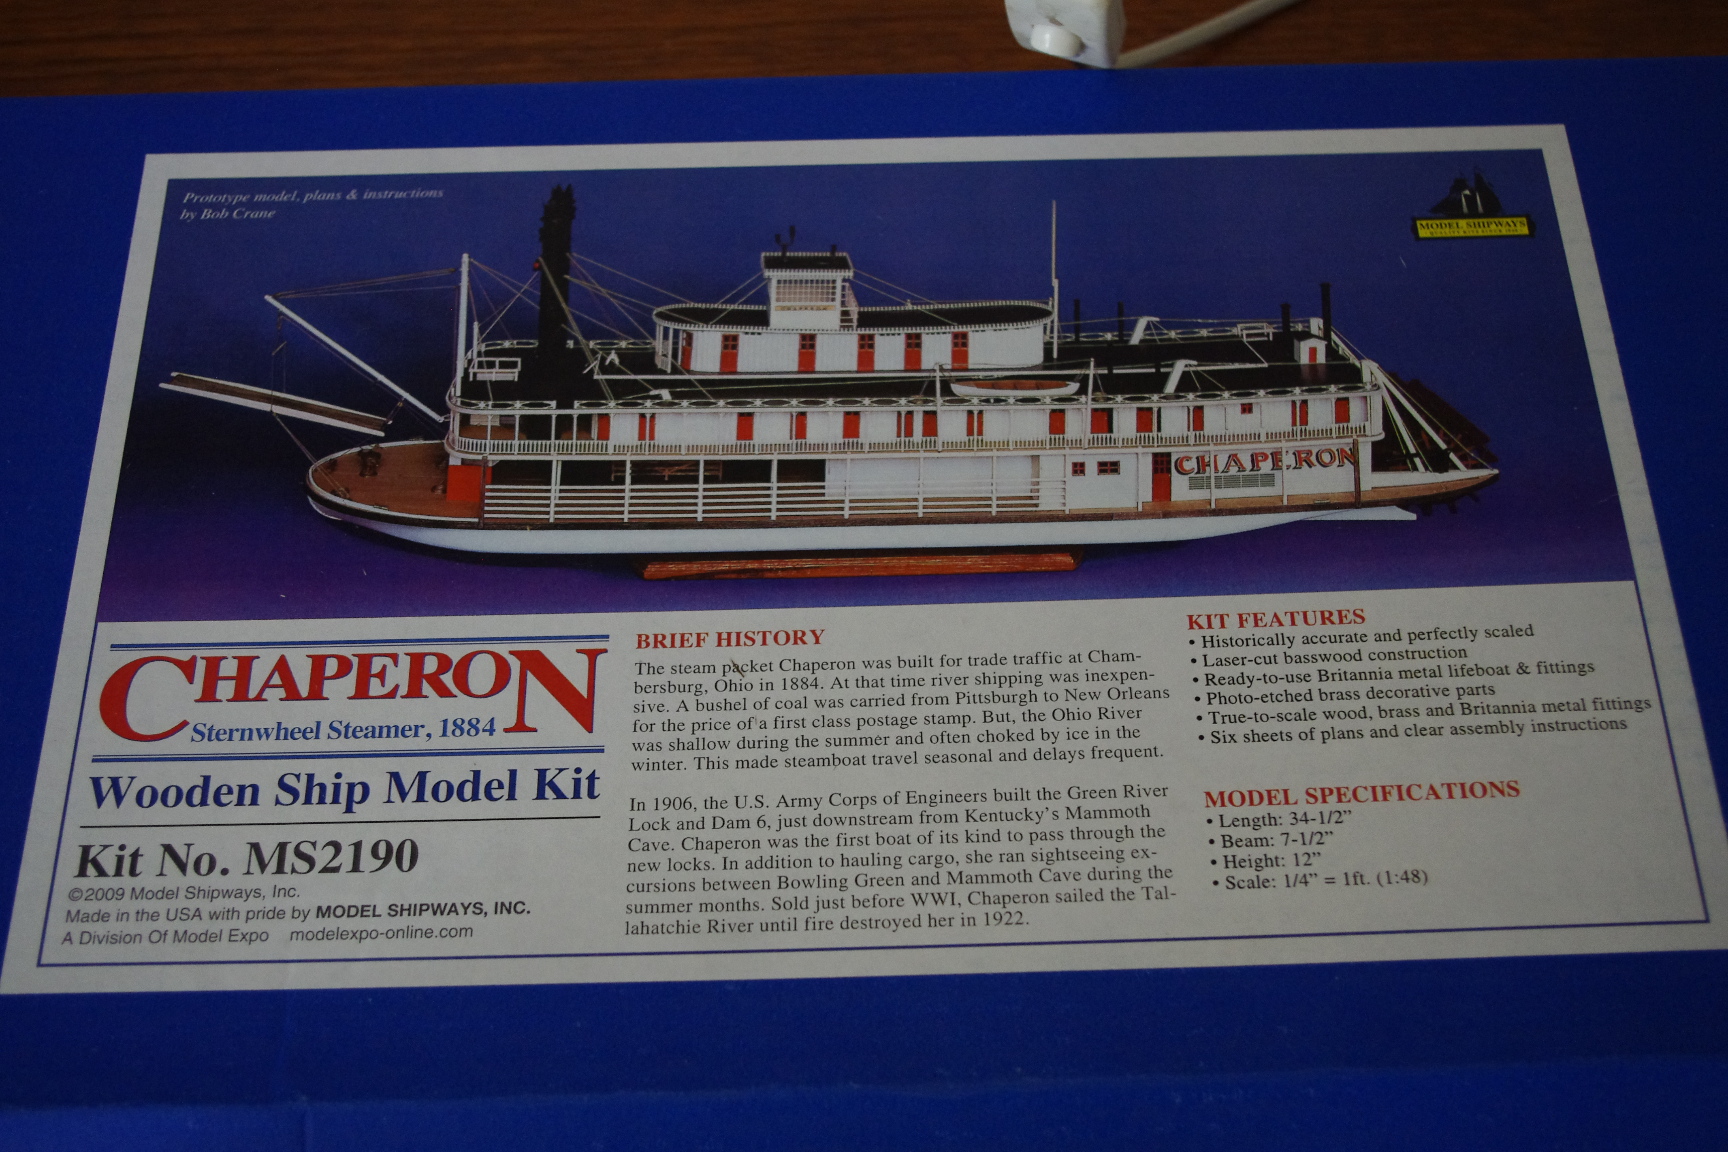
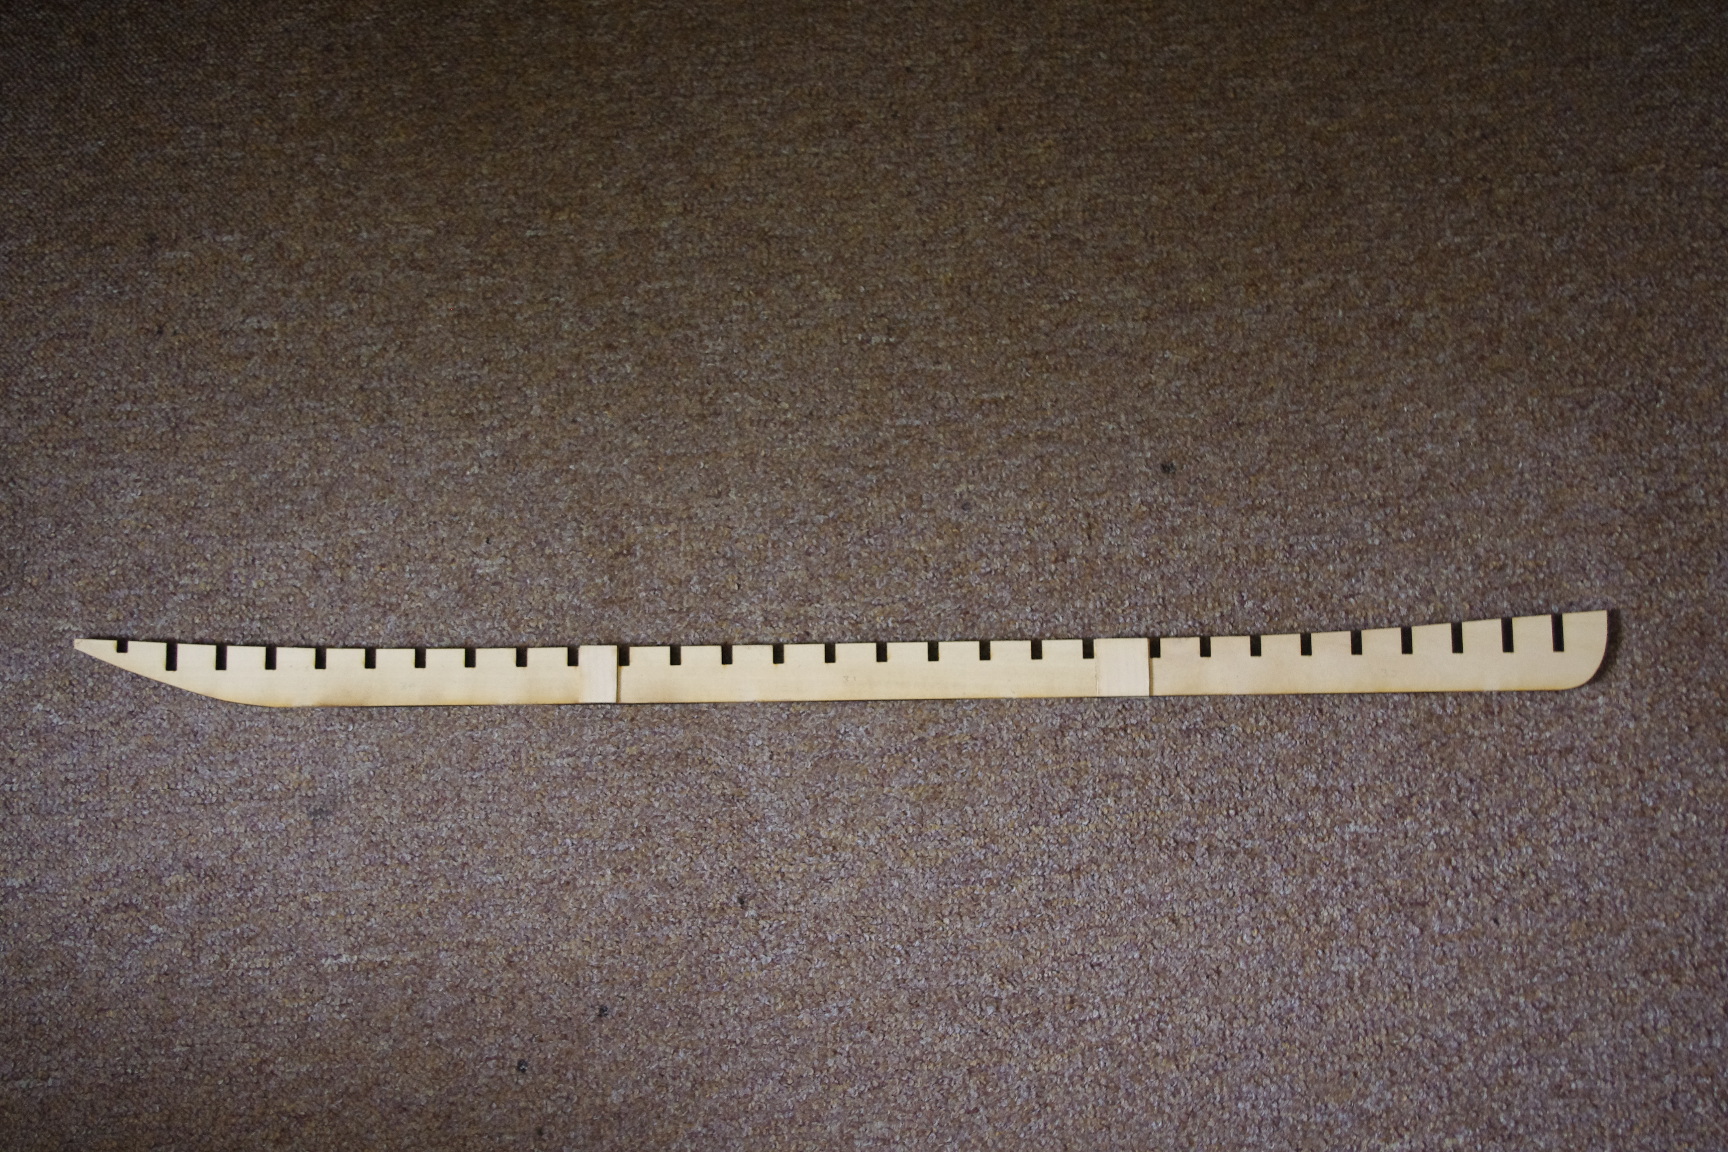
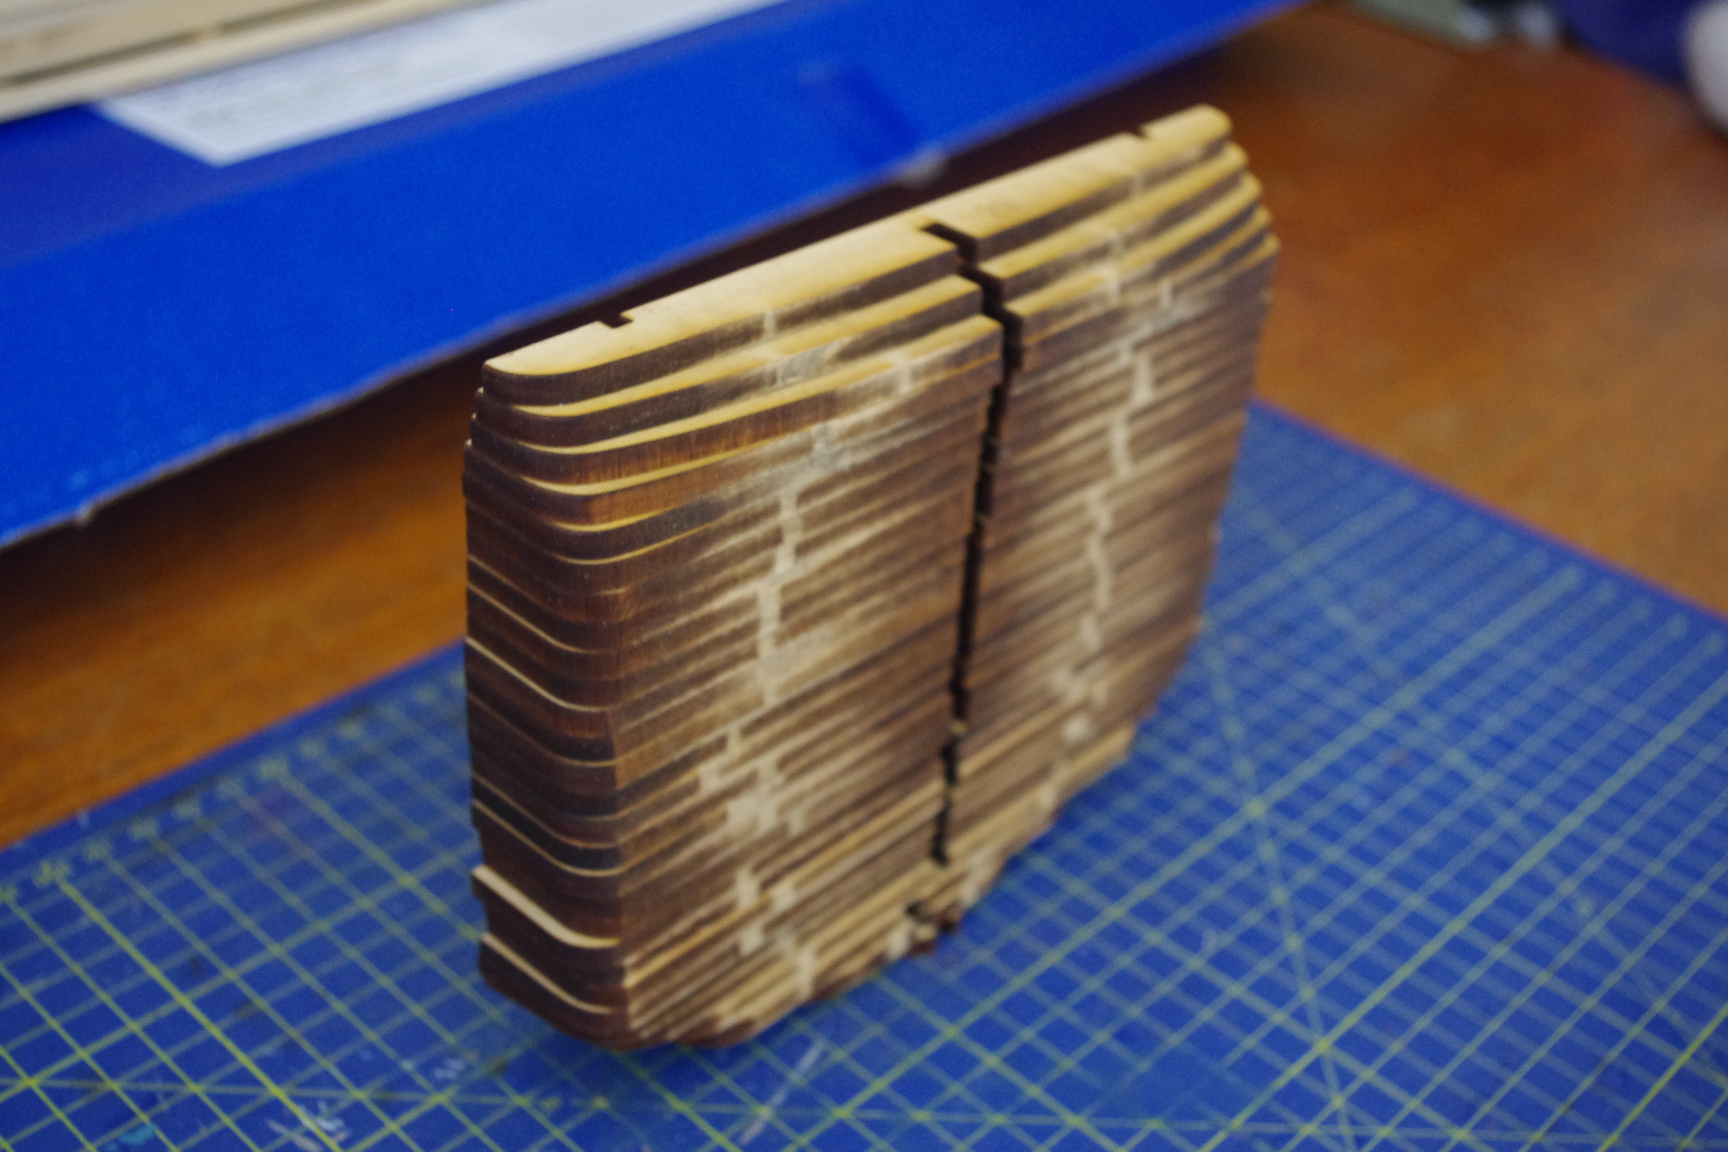
Greetings fellow modellers, I have returned having had a break and built a couple of carriages to the world of boats. I am going to build another paddle steamer, the Chaperon. 1:48 scale - a big boat !! Thinking I was being clever I bought several kits on ebay in the model expo sale. I completely forgot that you have to pay import duty and vat on arrival in the UK. To add insult to injury the Post Office (bless them) than charge an additional £8 to deliver them. So, they were not the bargains I thought !! Beware UK buyers. Anyway, the Chaperon was on of the kits. The first thing I have to say is that the wood quality of these kits is abysmal, Brittania metal castings are so fragile and bendy that they are hardly worth having and the quality and quantity of the instructions is minimal at best. The plans provided however are extremely good and they need to be because you have to work from them mostly. Not good for some of the modellers out there who don't like plans. It is also unfortunate these days that all their measurements are in imperial measures unless like me you are old enough to remember them. Also no measurements for pieces are given and not all the plans are 1/1 so you have to measure against parts of the kit already built. Still, enough wingeing , I have put the false keel together and cut out the bulkheads (all 29 of them) soon to be attached !!

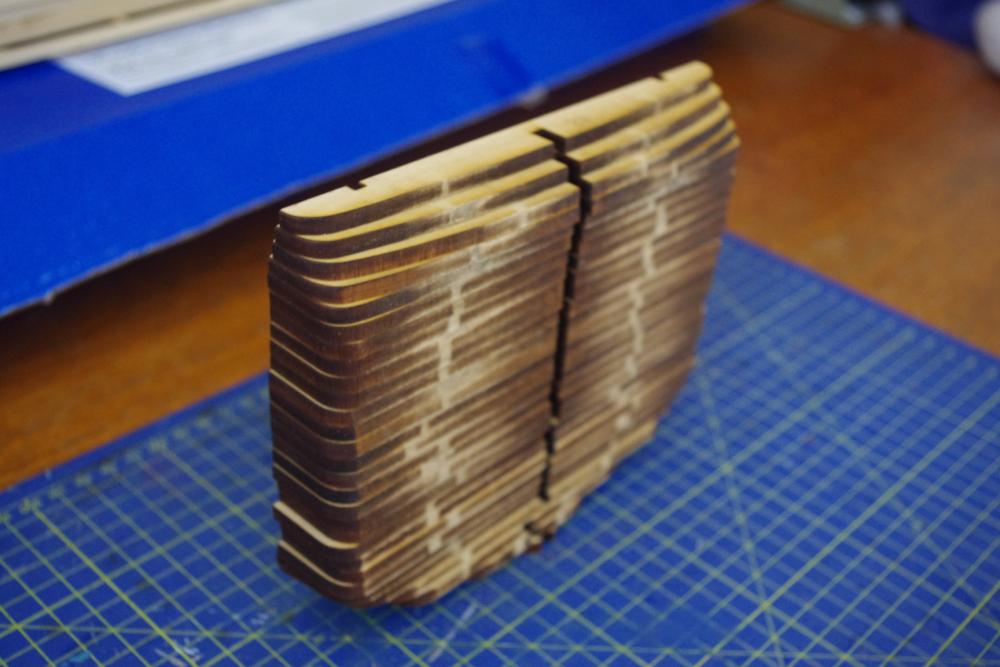
- 225 replies
-
- 11
-
-
- chaperon
- model shipways
- (and 1 more)
-
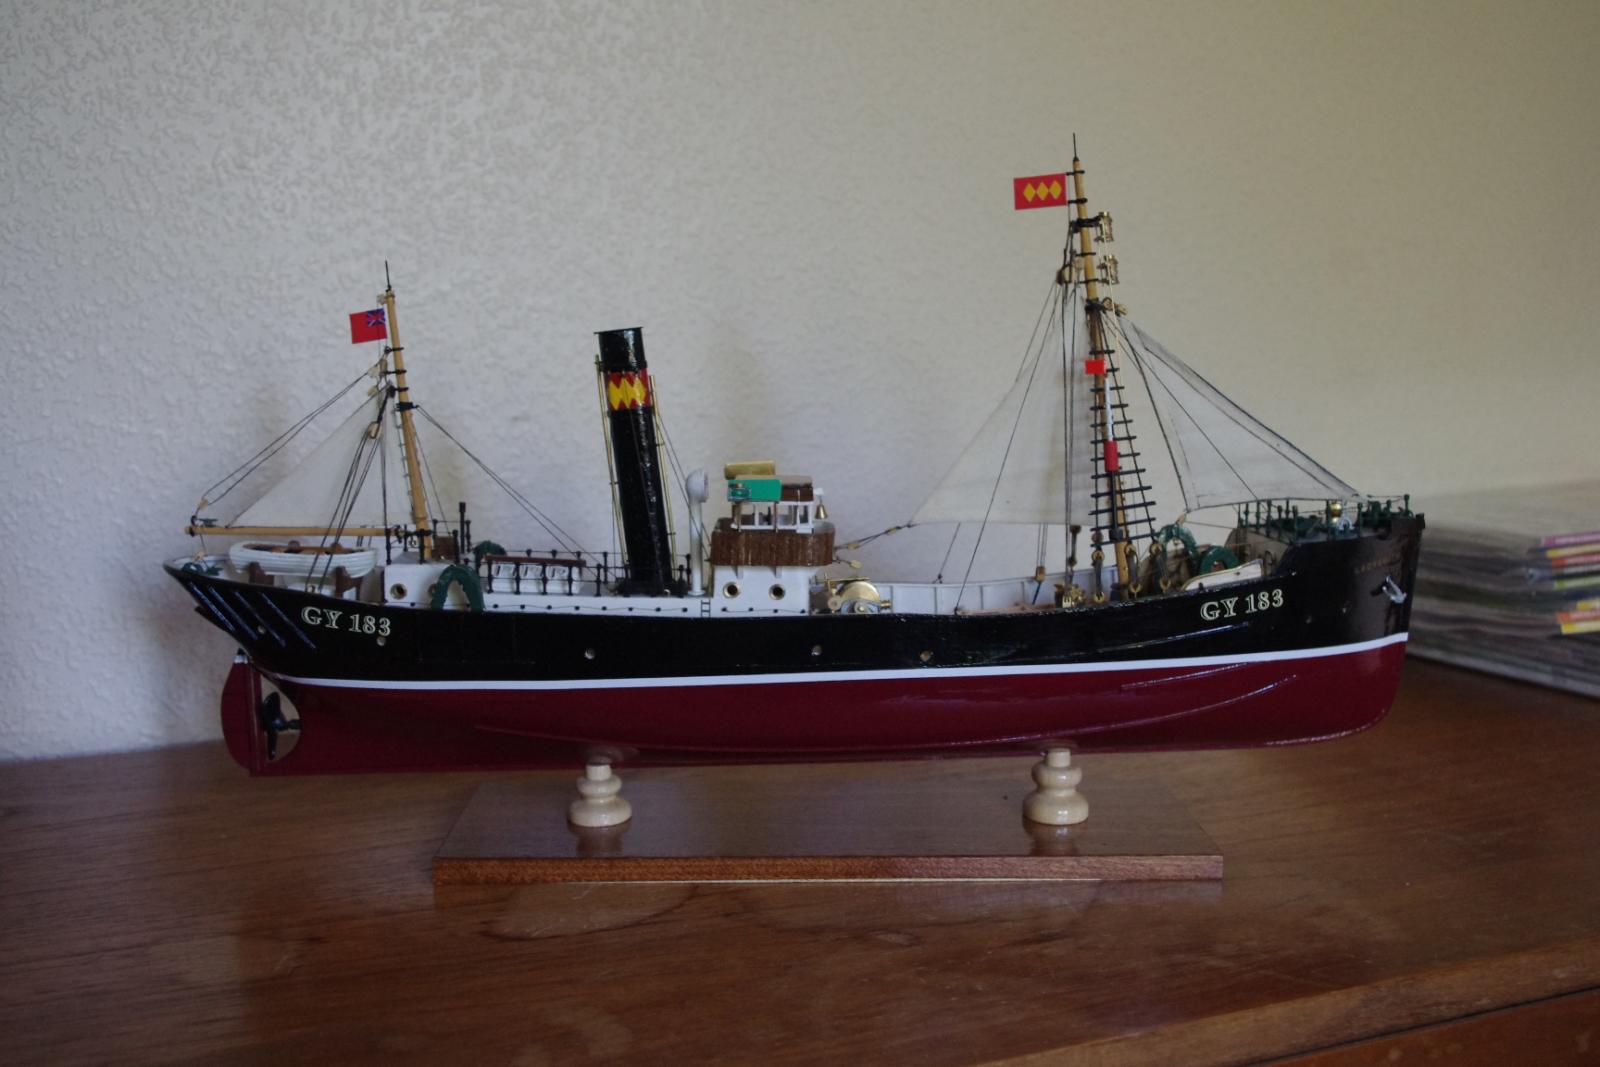
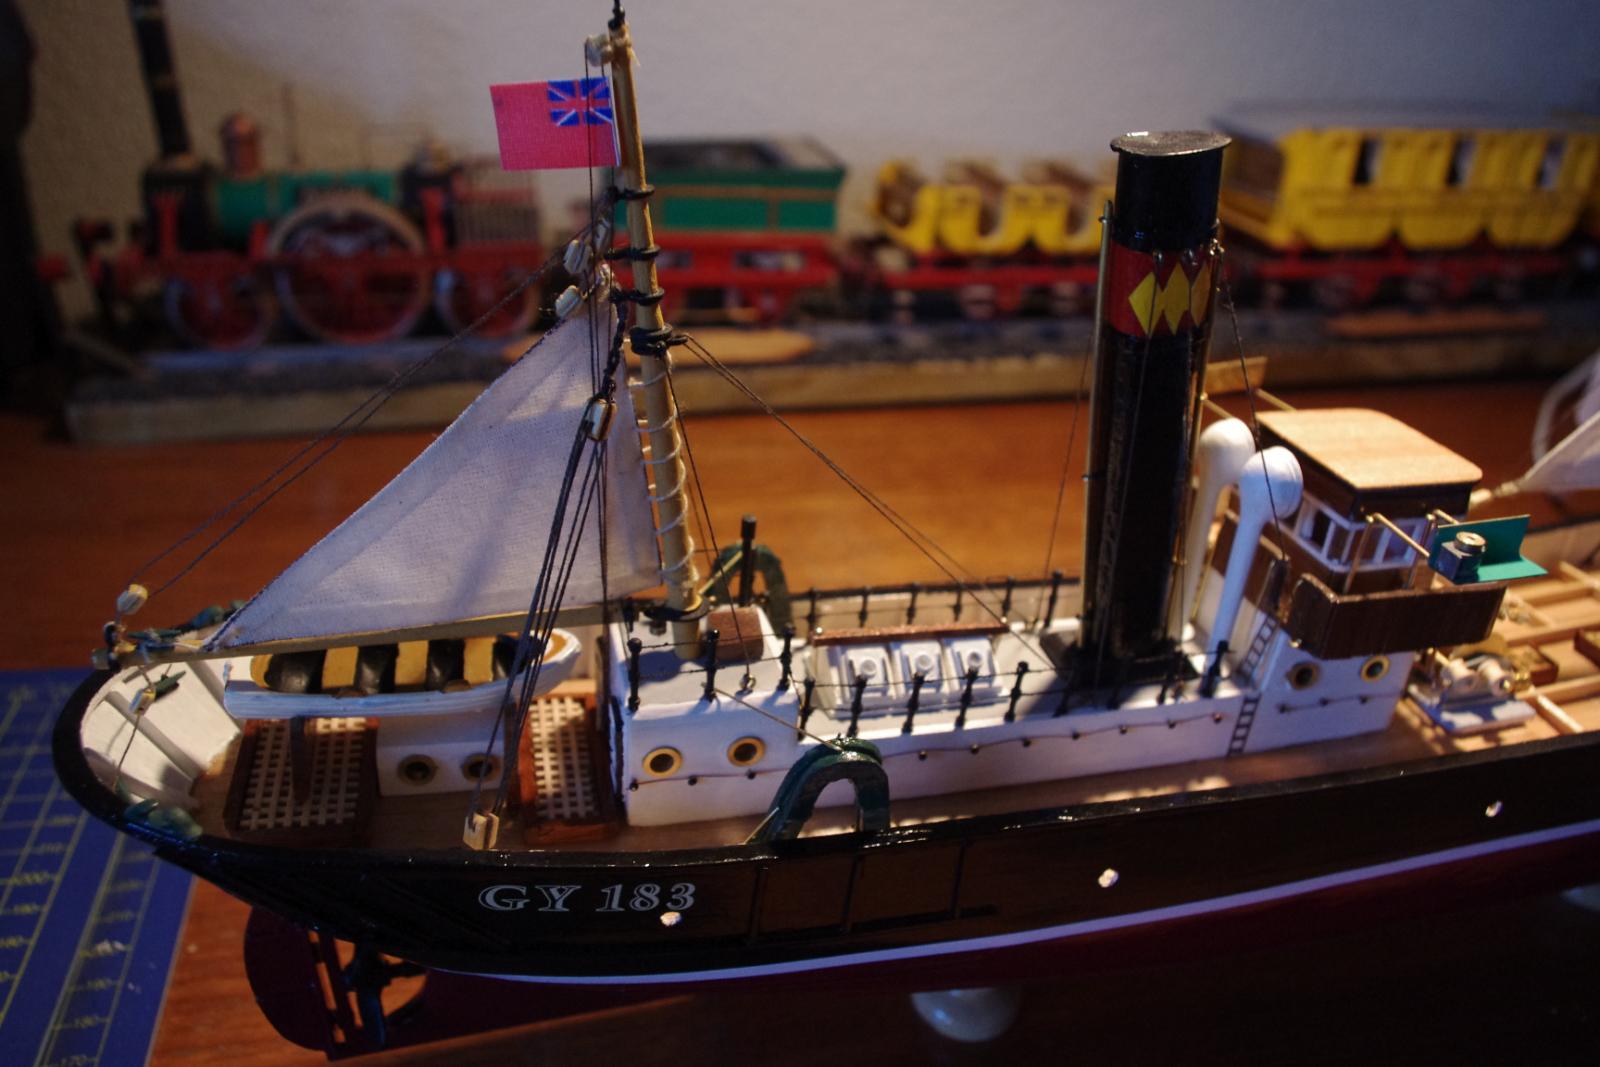
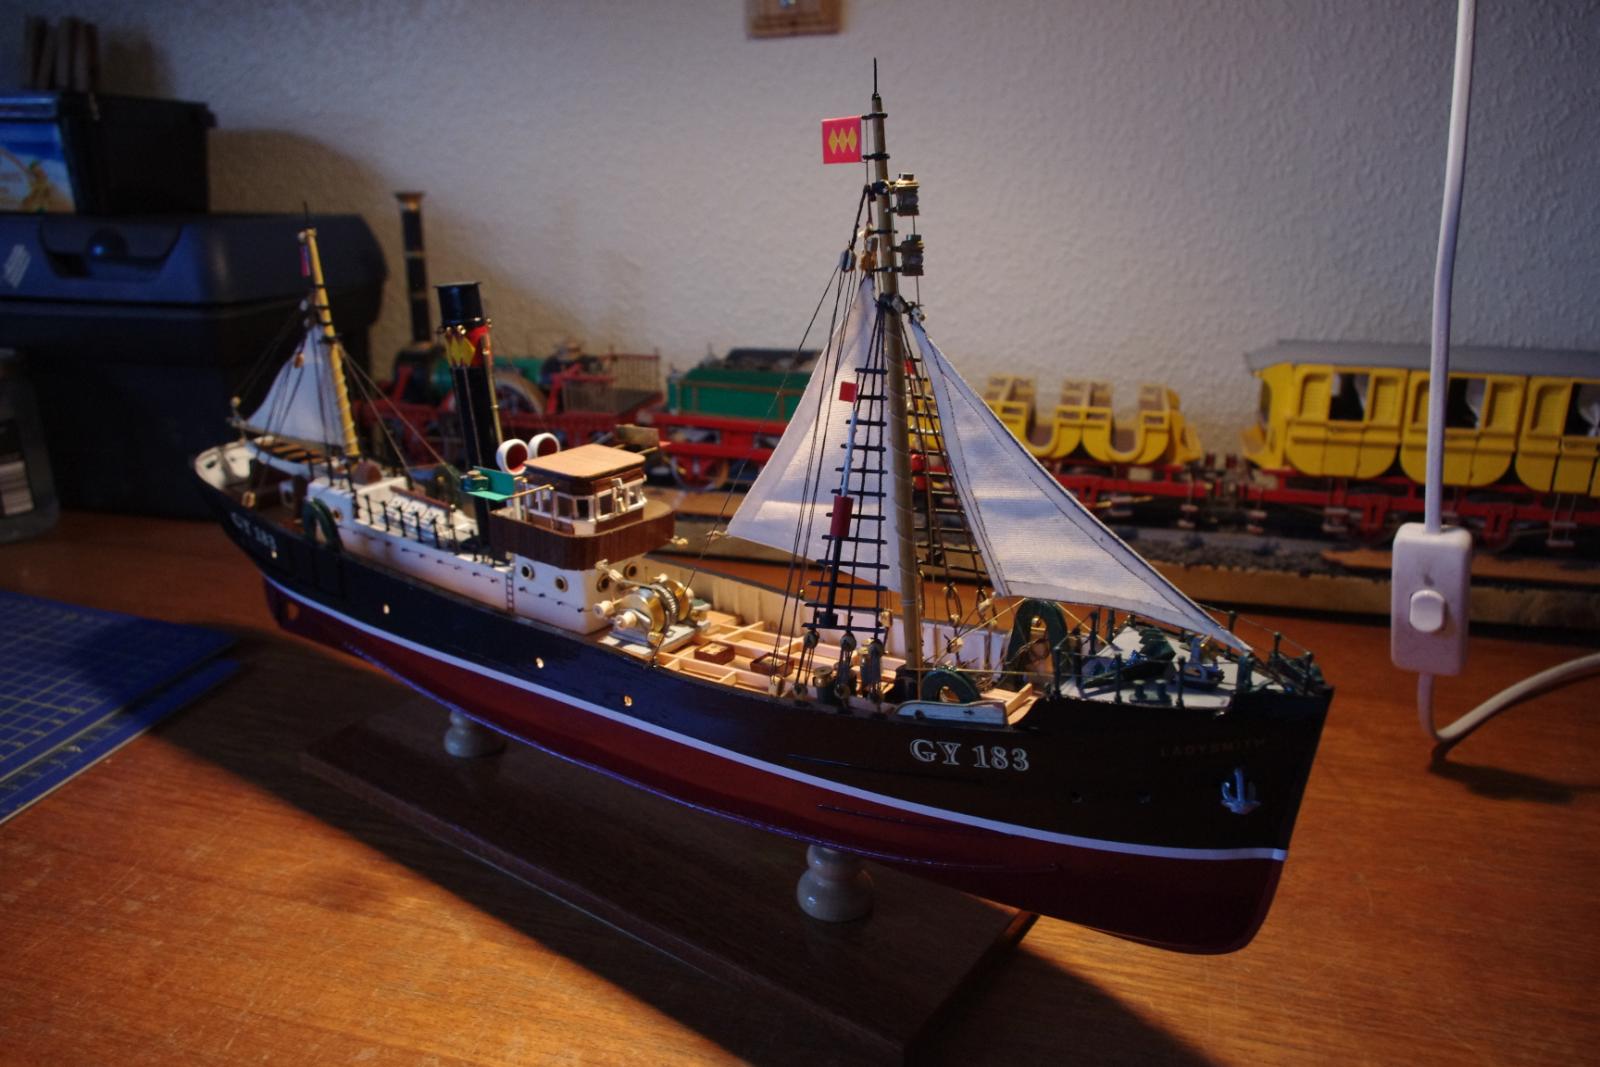
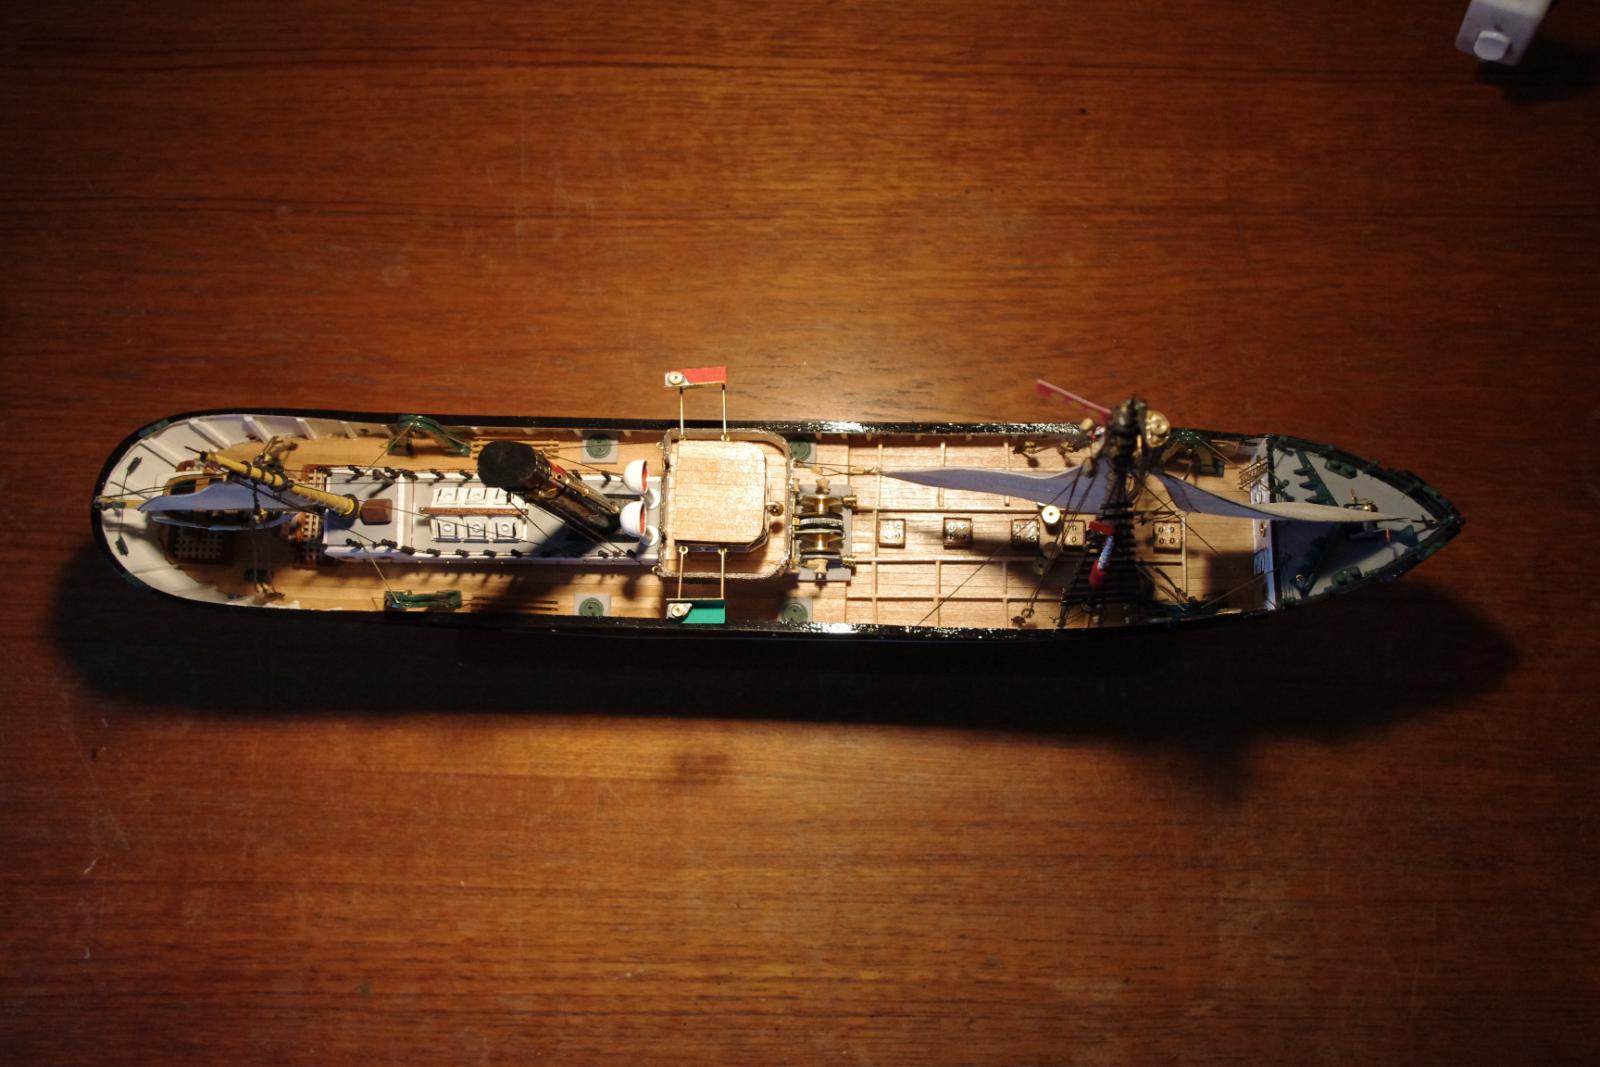
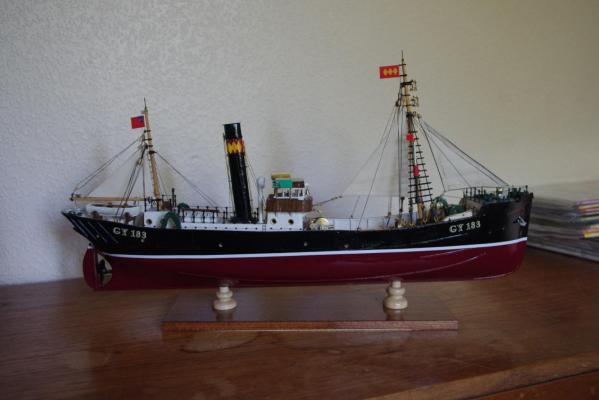
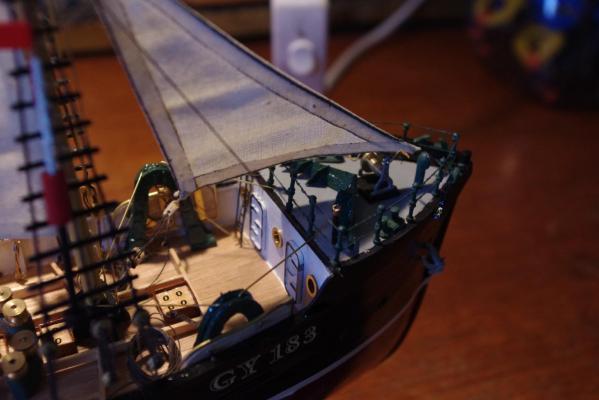
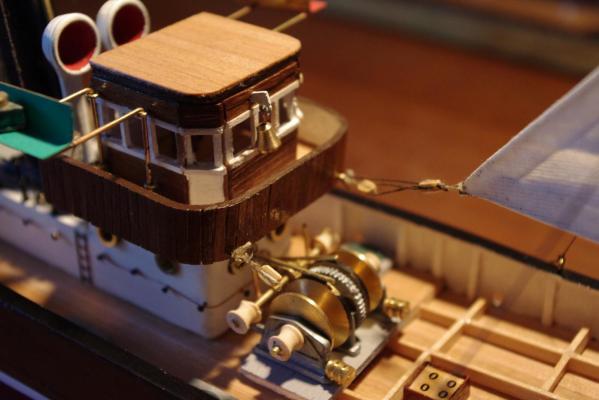
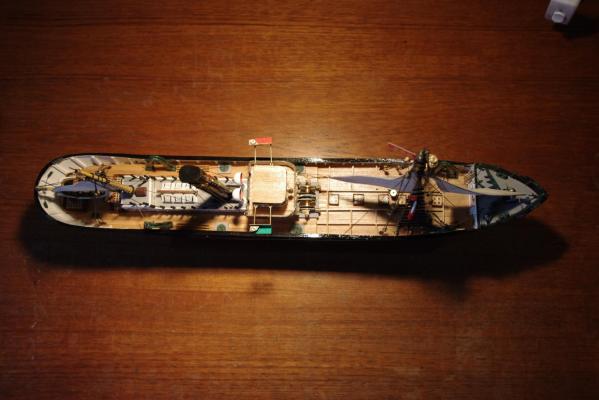
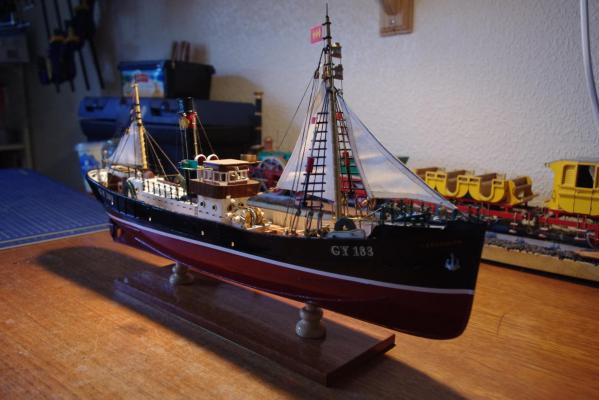
Hello folks. Well, Lady Smith is finished !! Once I has completed the hull it was a matter of putting on all the bits and pieces I hade made whilst waiting for the various stages of the hull to dry etc. The rigging turned out to be more complex than it looked and I did cheat in one or two places. The deadeyes could have been better but the thread I used was too strong for the fixings really and therefore on this scale they look a bit loose. Anyway, for my first ever scratch build I am not too displeased and I think she looks OK although varying somewhat from the real ship methinks ! Such are the joys of model making. Anyway some pics for you all to enjoy or not but I hope you will like them.
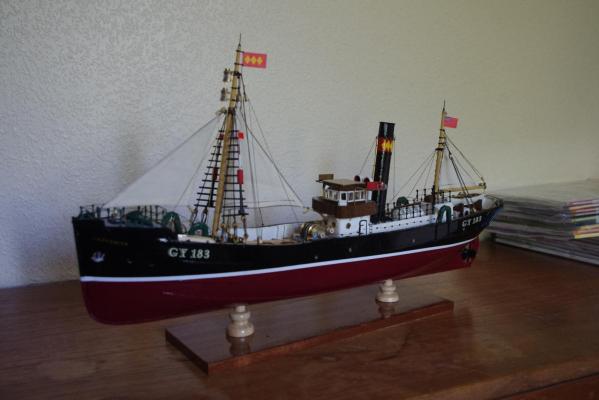


- 48 replies
-
- 8
-
-
- lady smith
- constructo
- (and 1 more)
-
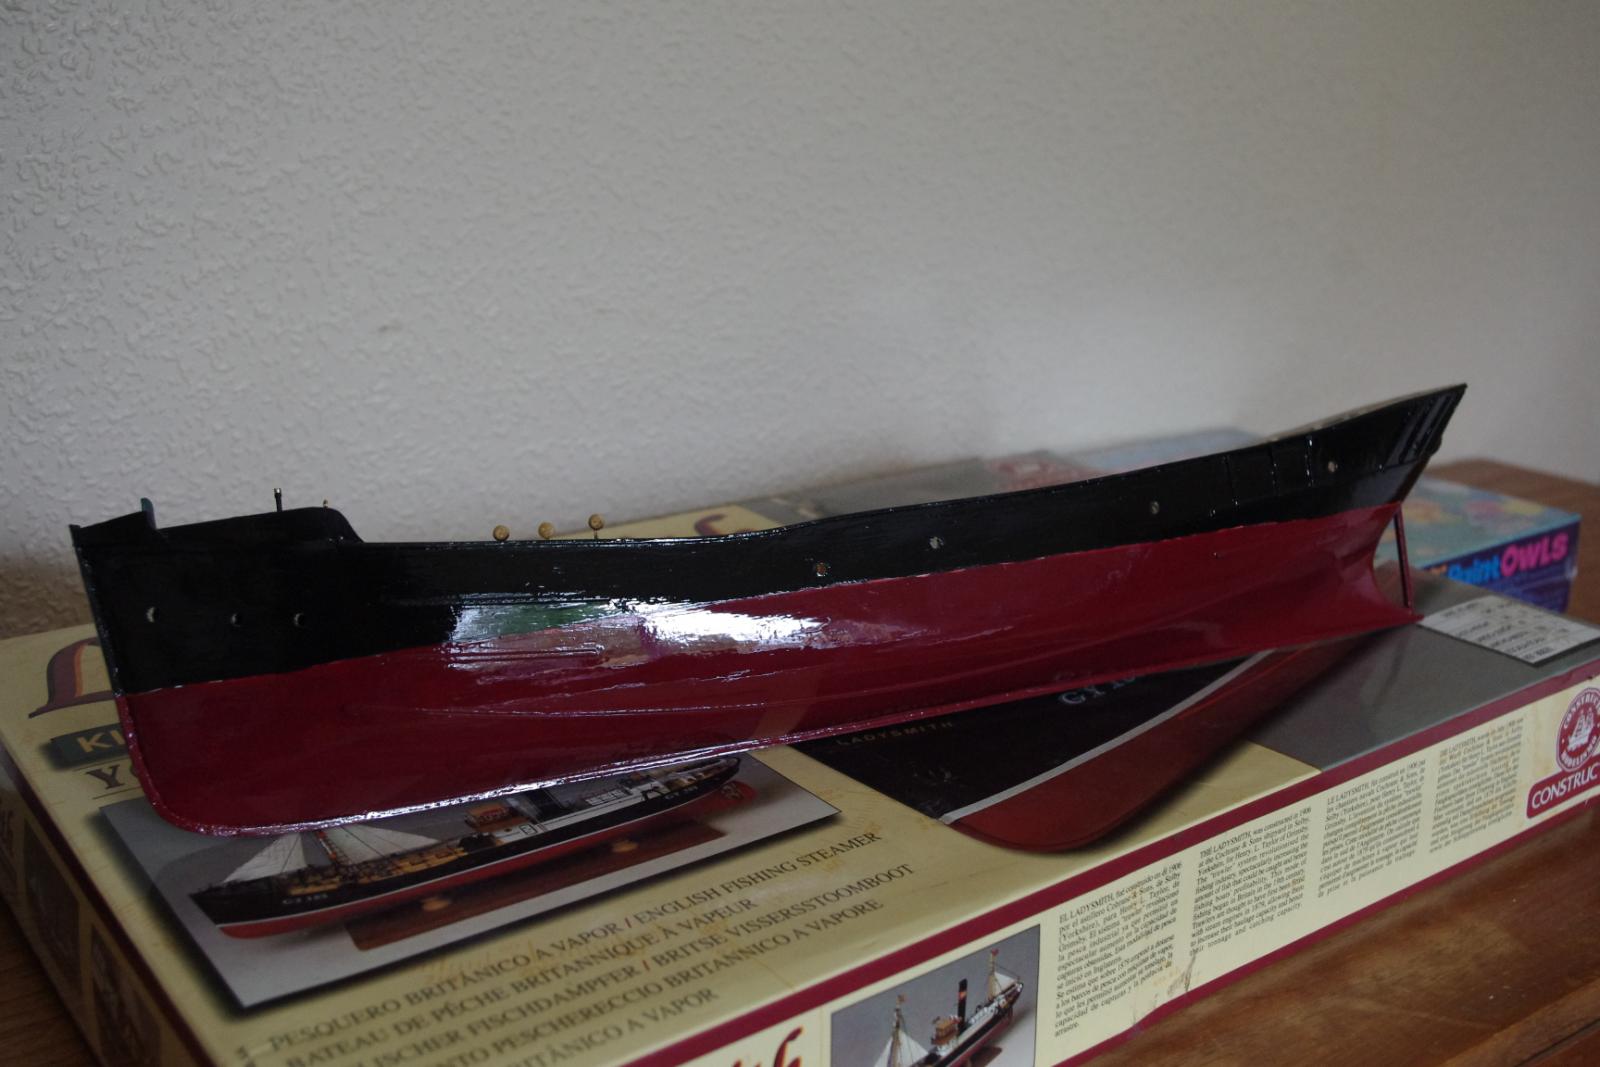
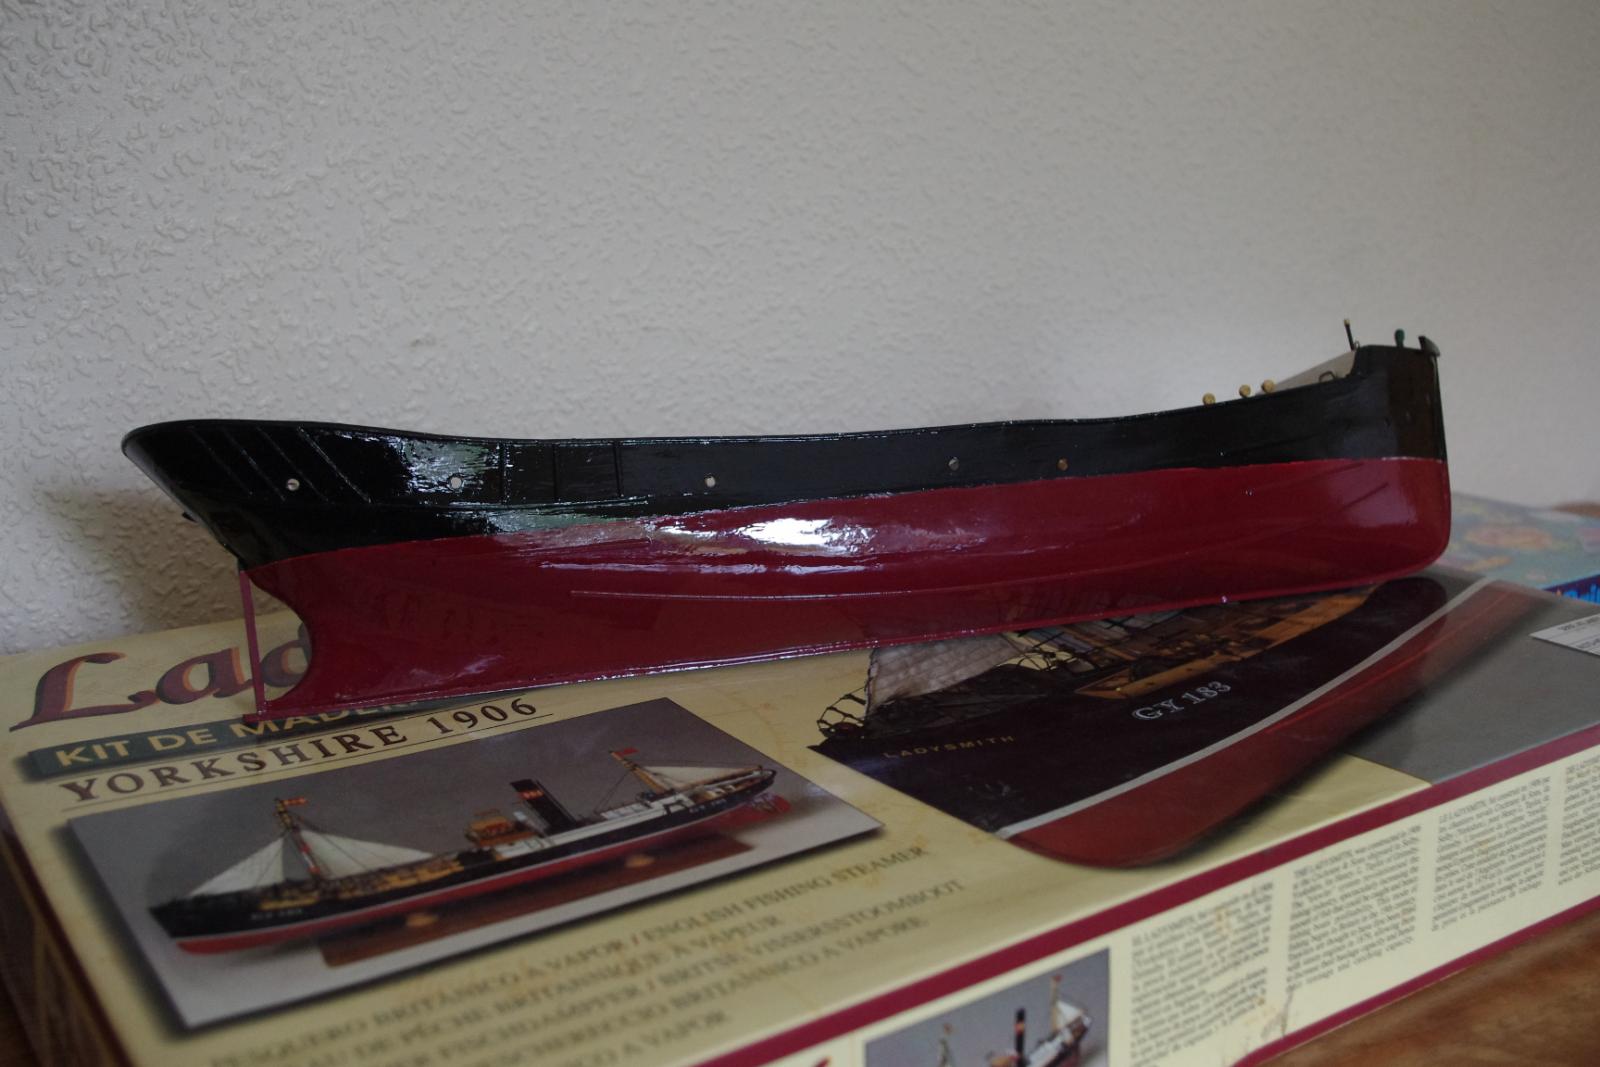
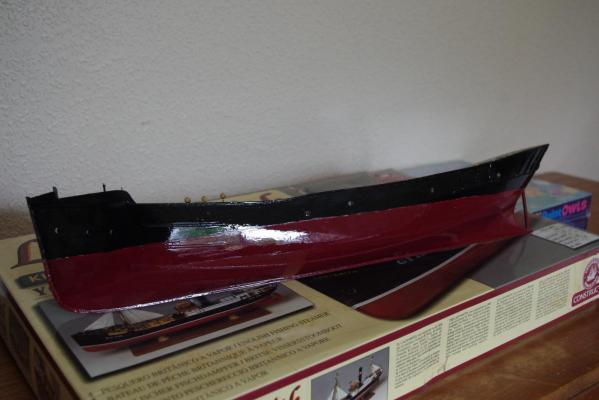
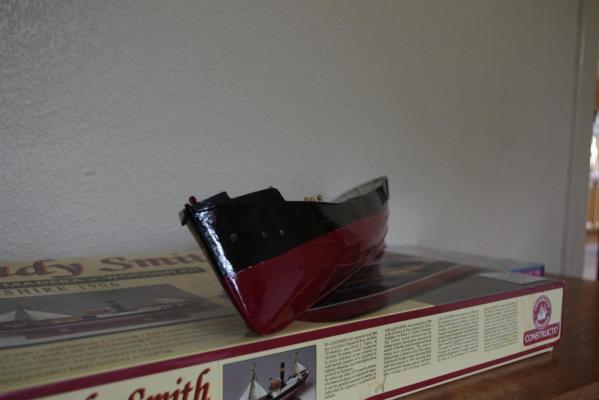
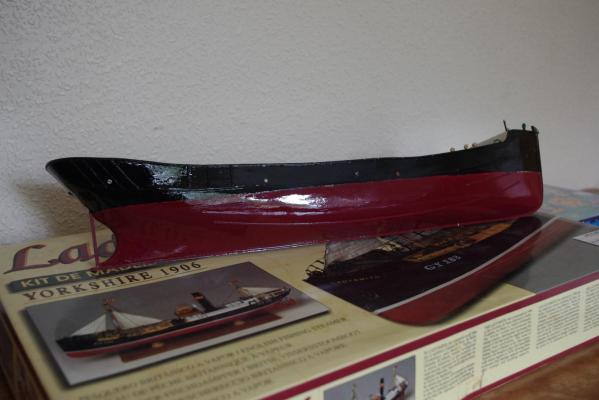
The hull is now painted, three coats of enamel. Before you all start on me I know it is very glossy but that's the way I wanted it !! I still have to do the white dividing line on each side between the red and black and put the names and number of the boat and the rudder and propeller before the hull is finally done.
- 48 replies
-
- 6
-
-
- lady smith
- constructo
- (and 1 more)
-
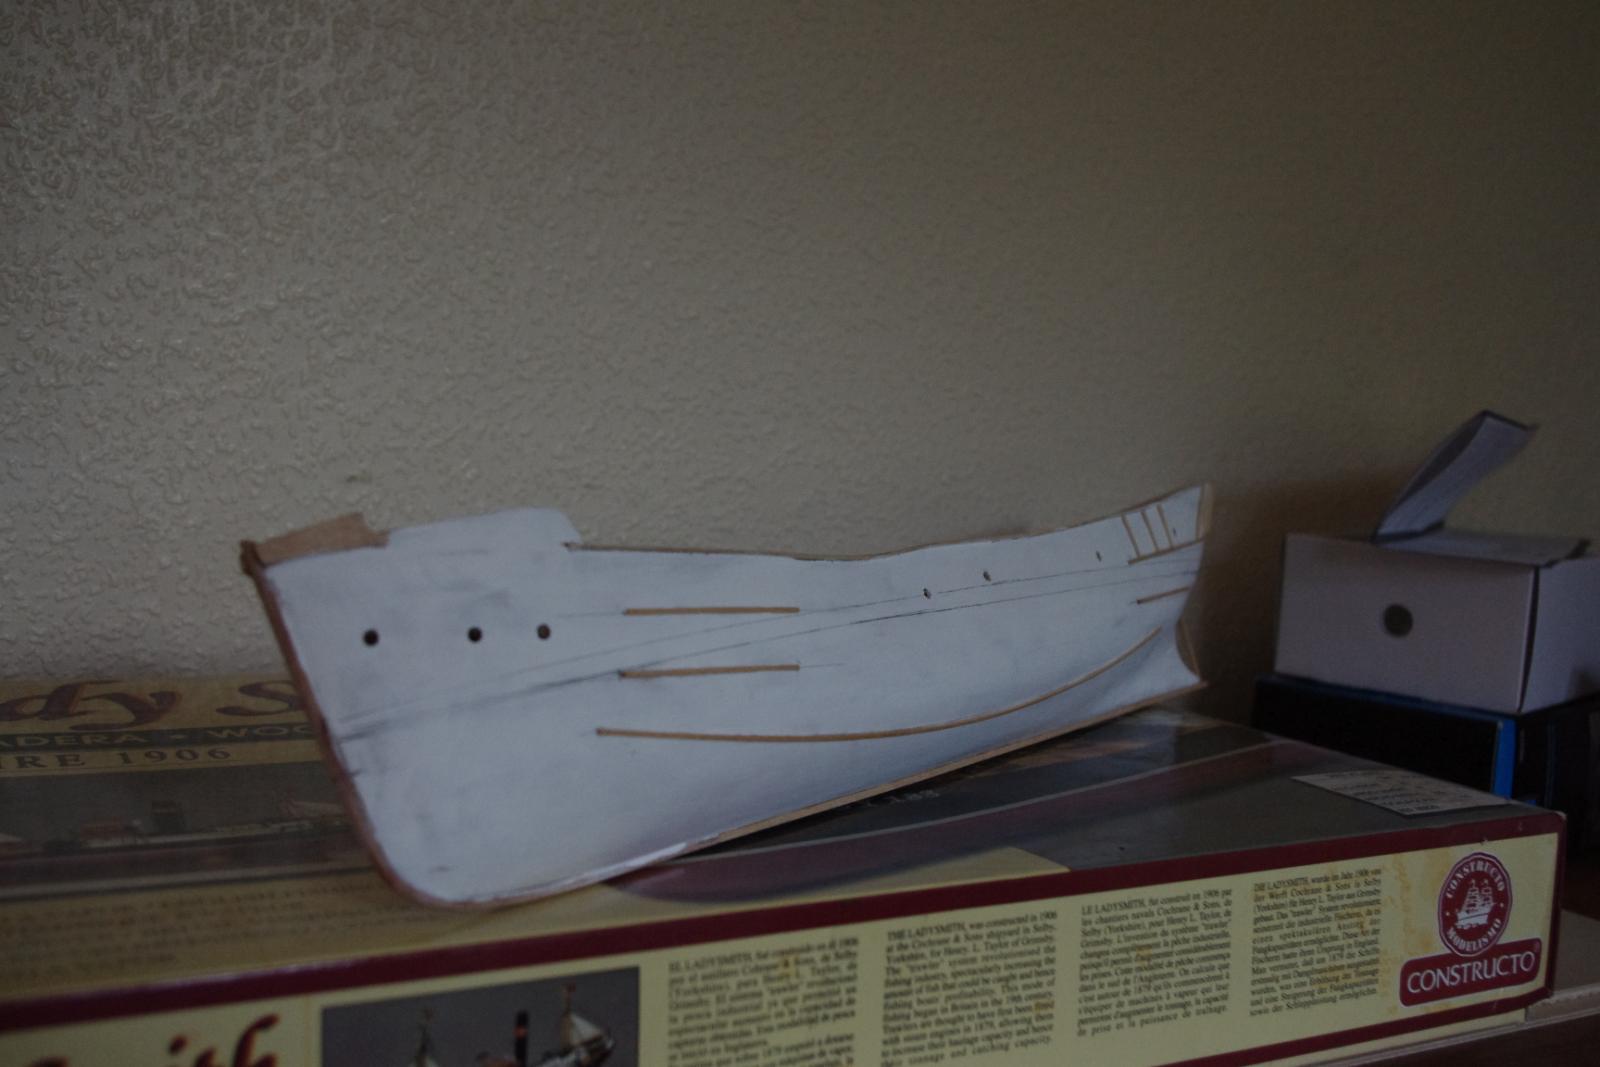
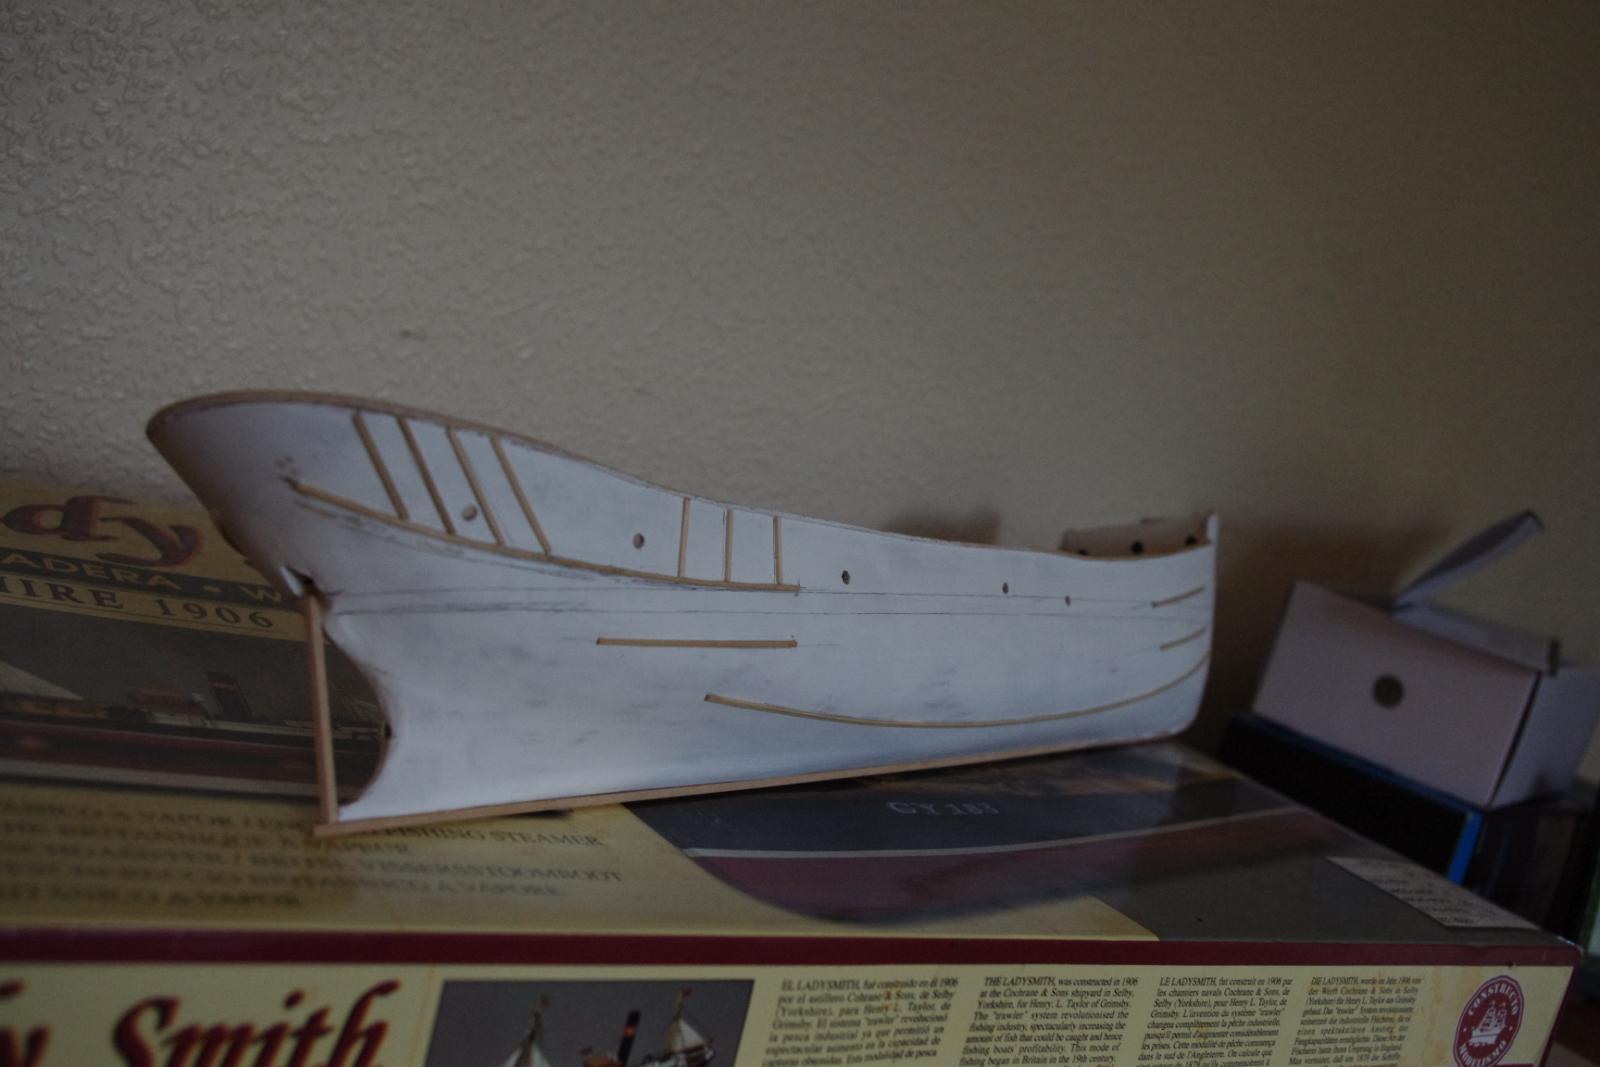
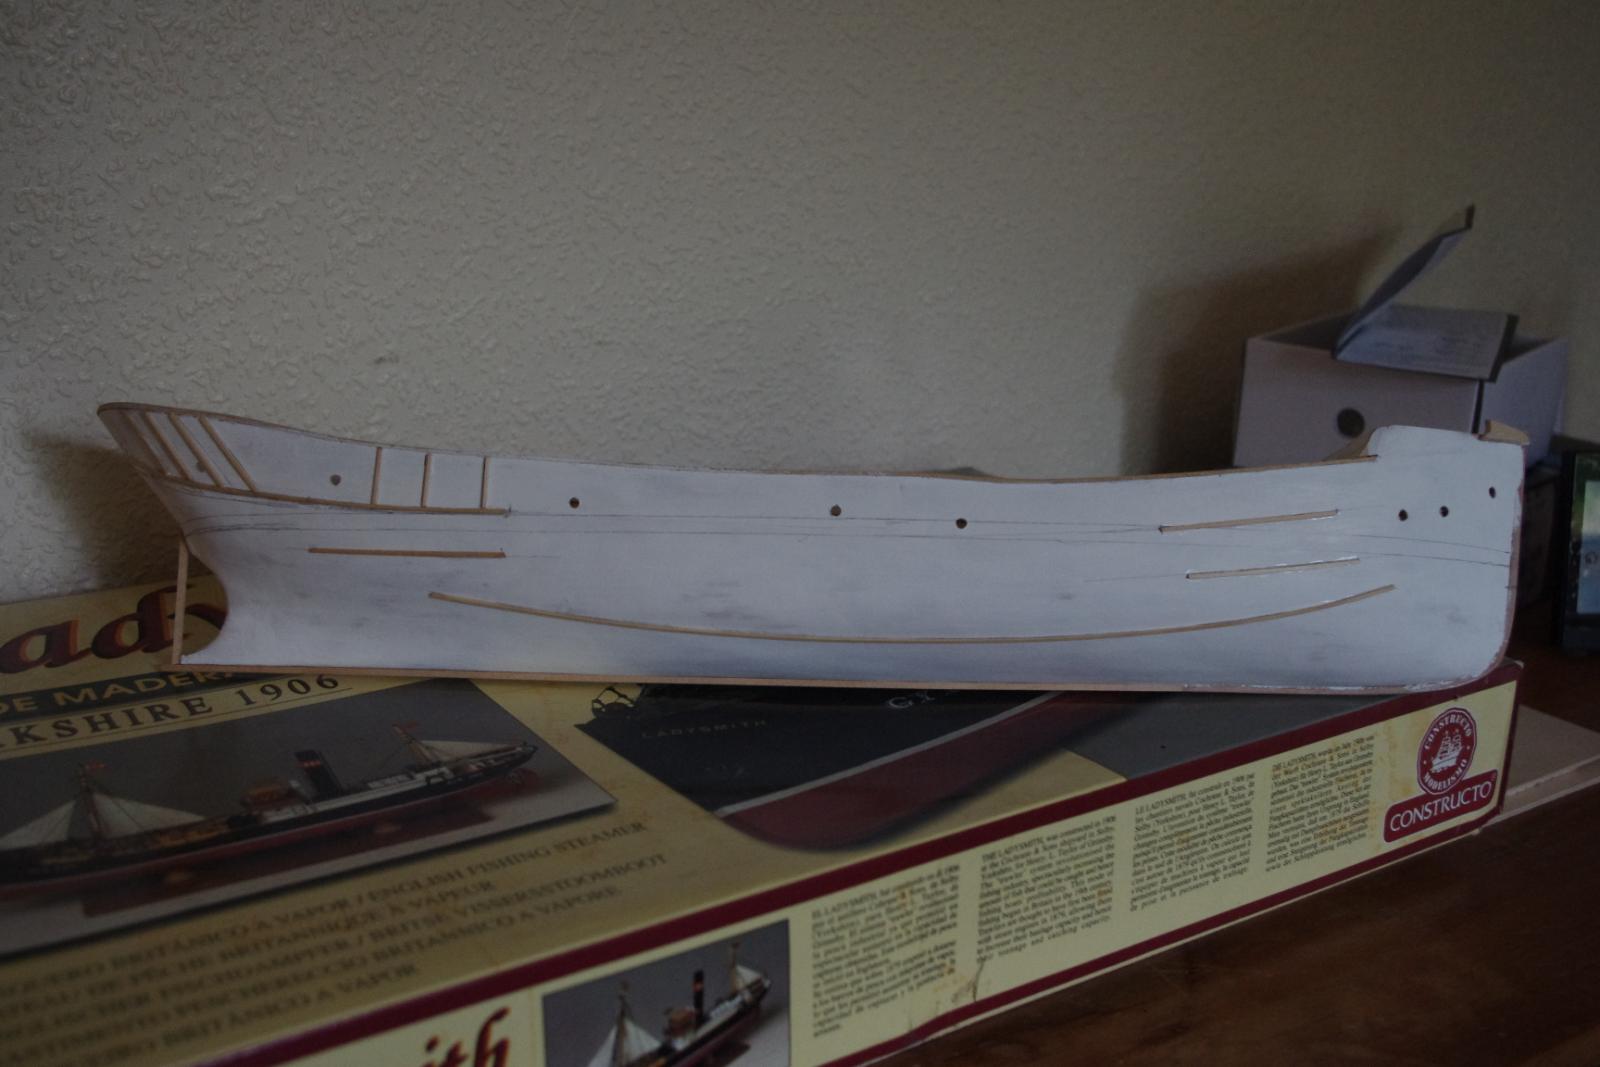
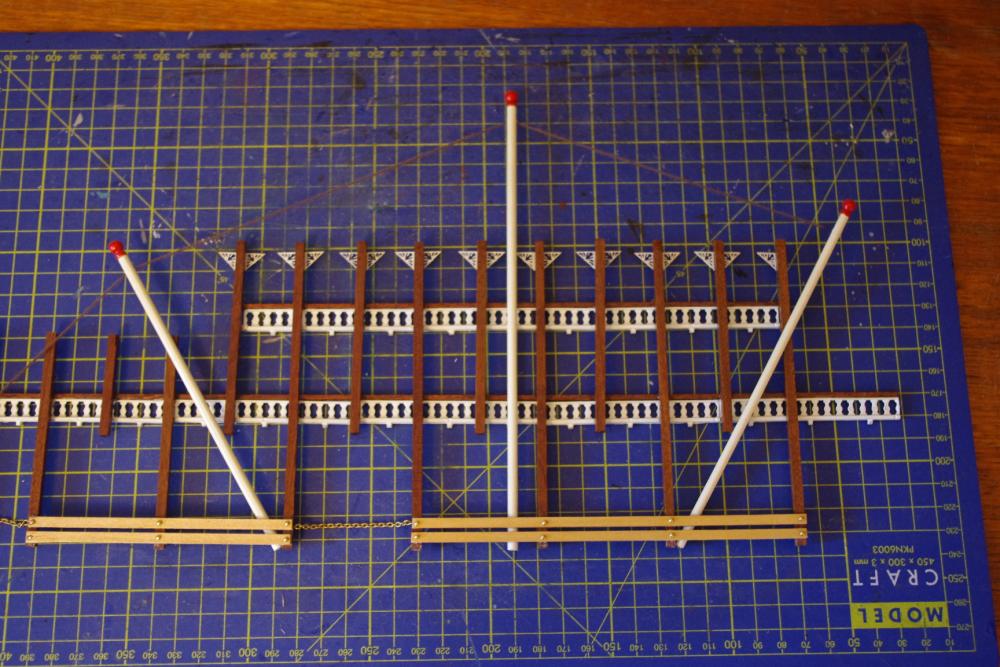
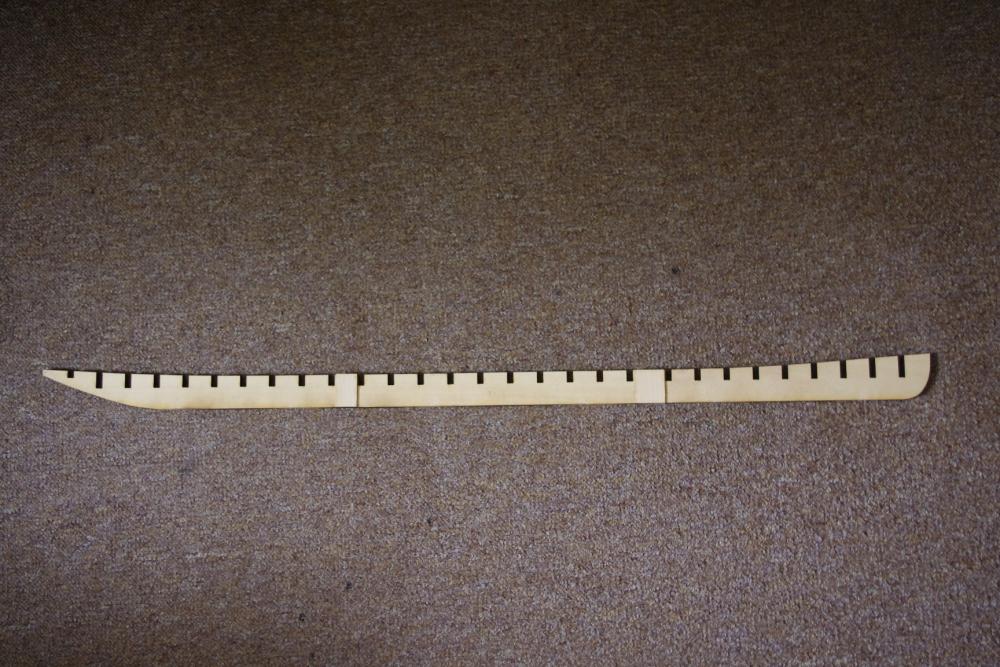
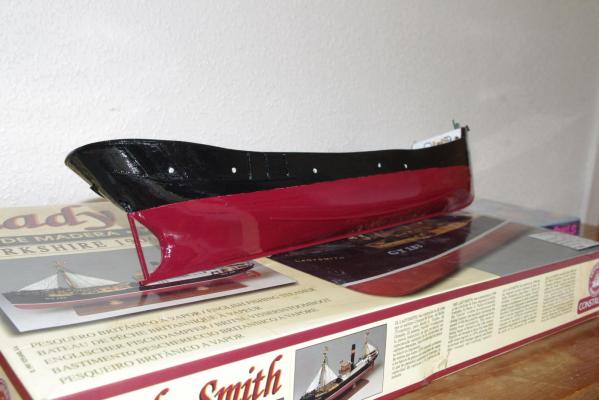
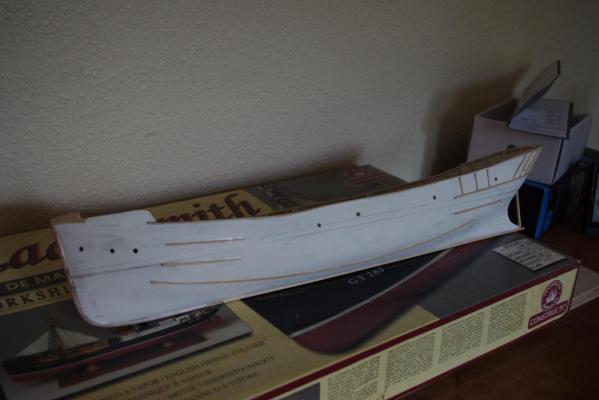
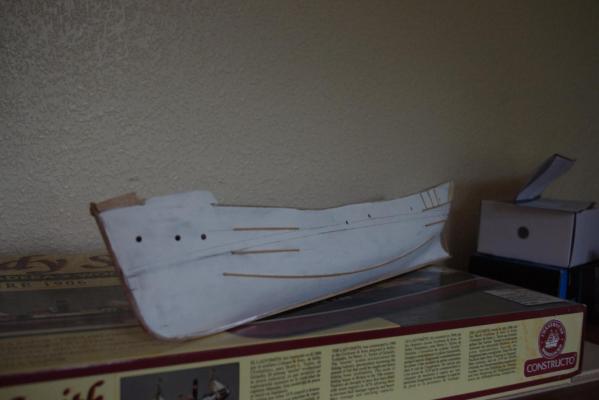
Greetings again fellow masochists!! I have given this beast three coats of acrylic undercoat and three sandings varying from the downright brutal to the soft and gentle!! It is still not totally smooth but there is only so much I can tolerate. I have drawn on the waterline ready for coloured painting and, following the plans, stuck on some ridiculously small (1mm x 1mm ) strips on the hull. I don't know whether they are wales, rubbing strakes or guards to prevent the trawl gates damaging the sides of the hull. Anyway, they are stuck on !! I have also put on the stem and the keel and the rudder post. I think the next move is to paint the beast ! It will have to be by hand as I don't have an air brush or aerosols but at least it will be my own work. Some more pics for you.


- 48 replies
-
- 7
-
-
- lady smith
- constructo
- (and 1 more)