HOLIDAY DONATION DRIVE - SUPPORT MSW - DO YOUR PART TO KEEP THIS GREAT FORUM GOING! (Only 13 donations so far - C'mon guys!)
×


Mike Dowling
-
Posts
1,234 -
Joined
-
Last visited
Content Type
Profiles
Forums
Gallery
Events
Everything posted by Mike Dowling
-
Thanks for the post shihawk, I am glad someone is watching !!! The only problem with varnishing first is gluing bits on afterwards but I have found that fairly thick PVA seems to do the job. Nice of you to be so charitable about the 1mm gap ! The only solution I can find with the warping is to keep everything as flat as possible and give the wood a coat of dope before anything else. That helps and then the planking on top helps a bit more. Once decks are ready to go in place the previous work seems to hold them flat. It's just a shame that Constructo seem to use such cheap ply, their kits cost enough to justify better. As you say definite building weather next week and I have to say I think your Victory is looking brilliant. I wonder if I am brave enough to try that next ? !!!!!!
- 44 replies
-
- 2
-

-
- robert e lee
- constructo
- (and 1 more)
-
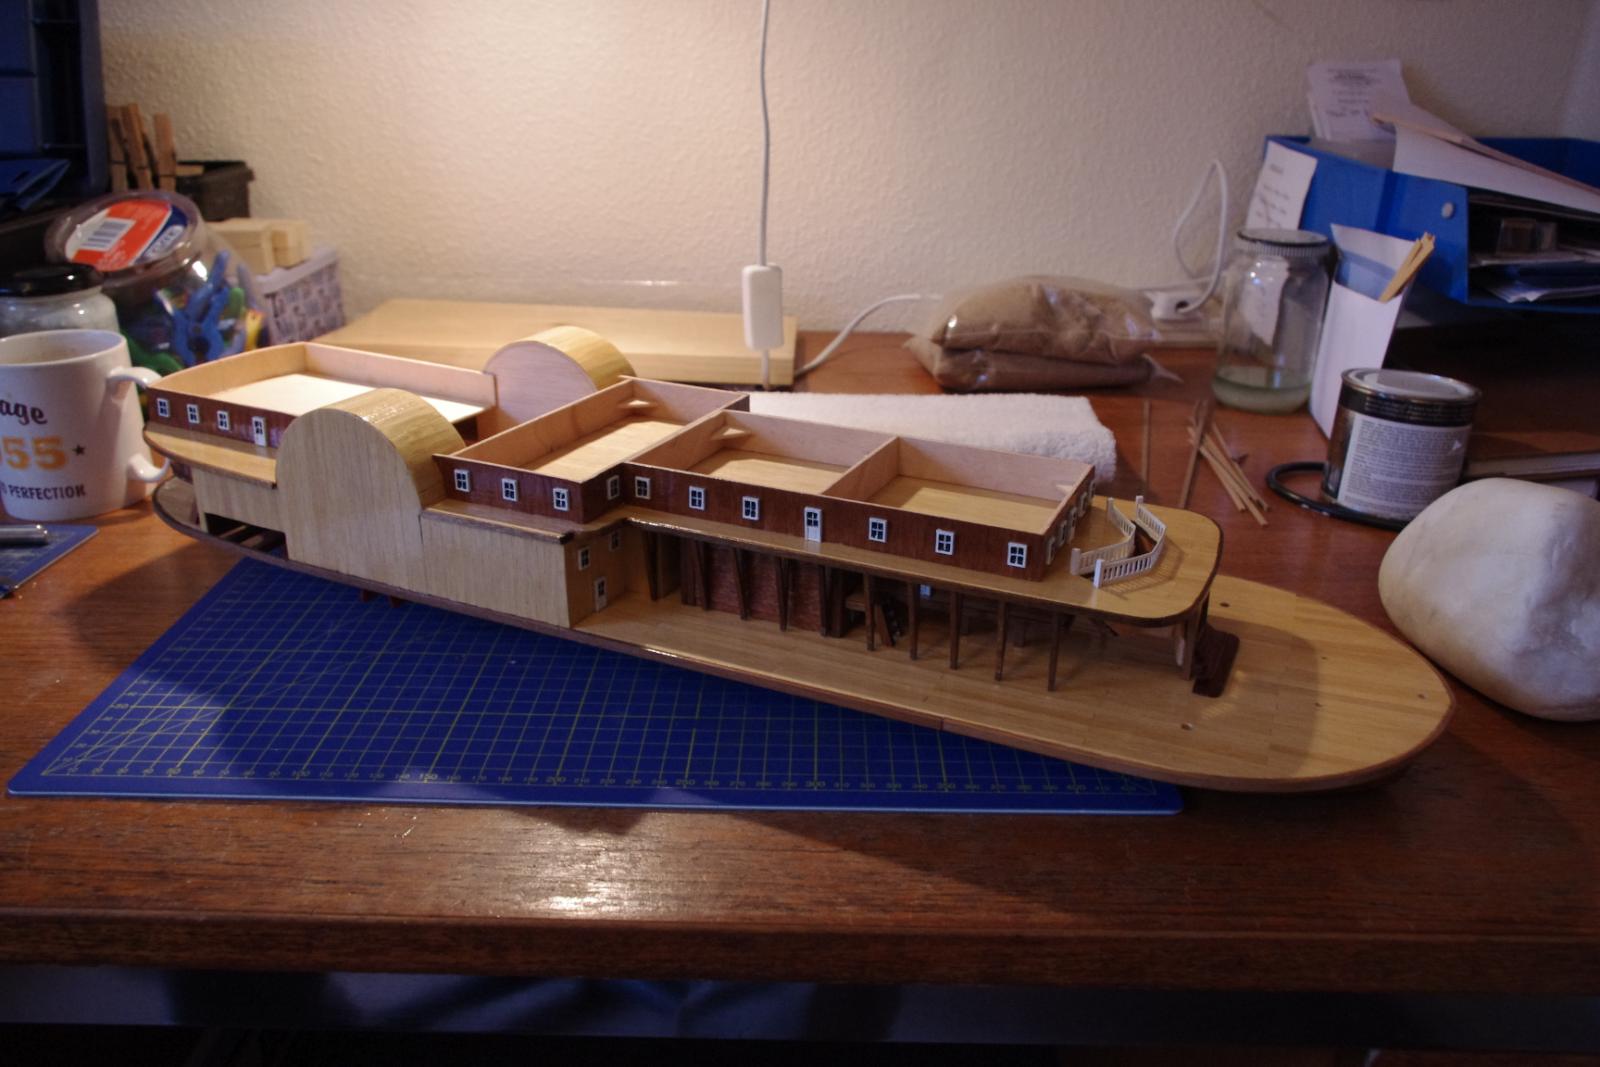
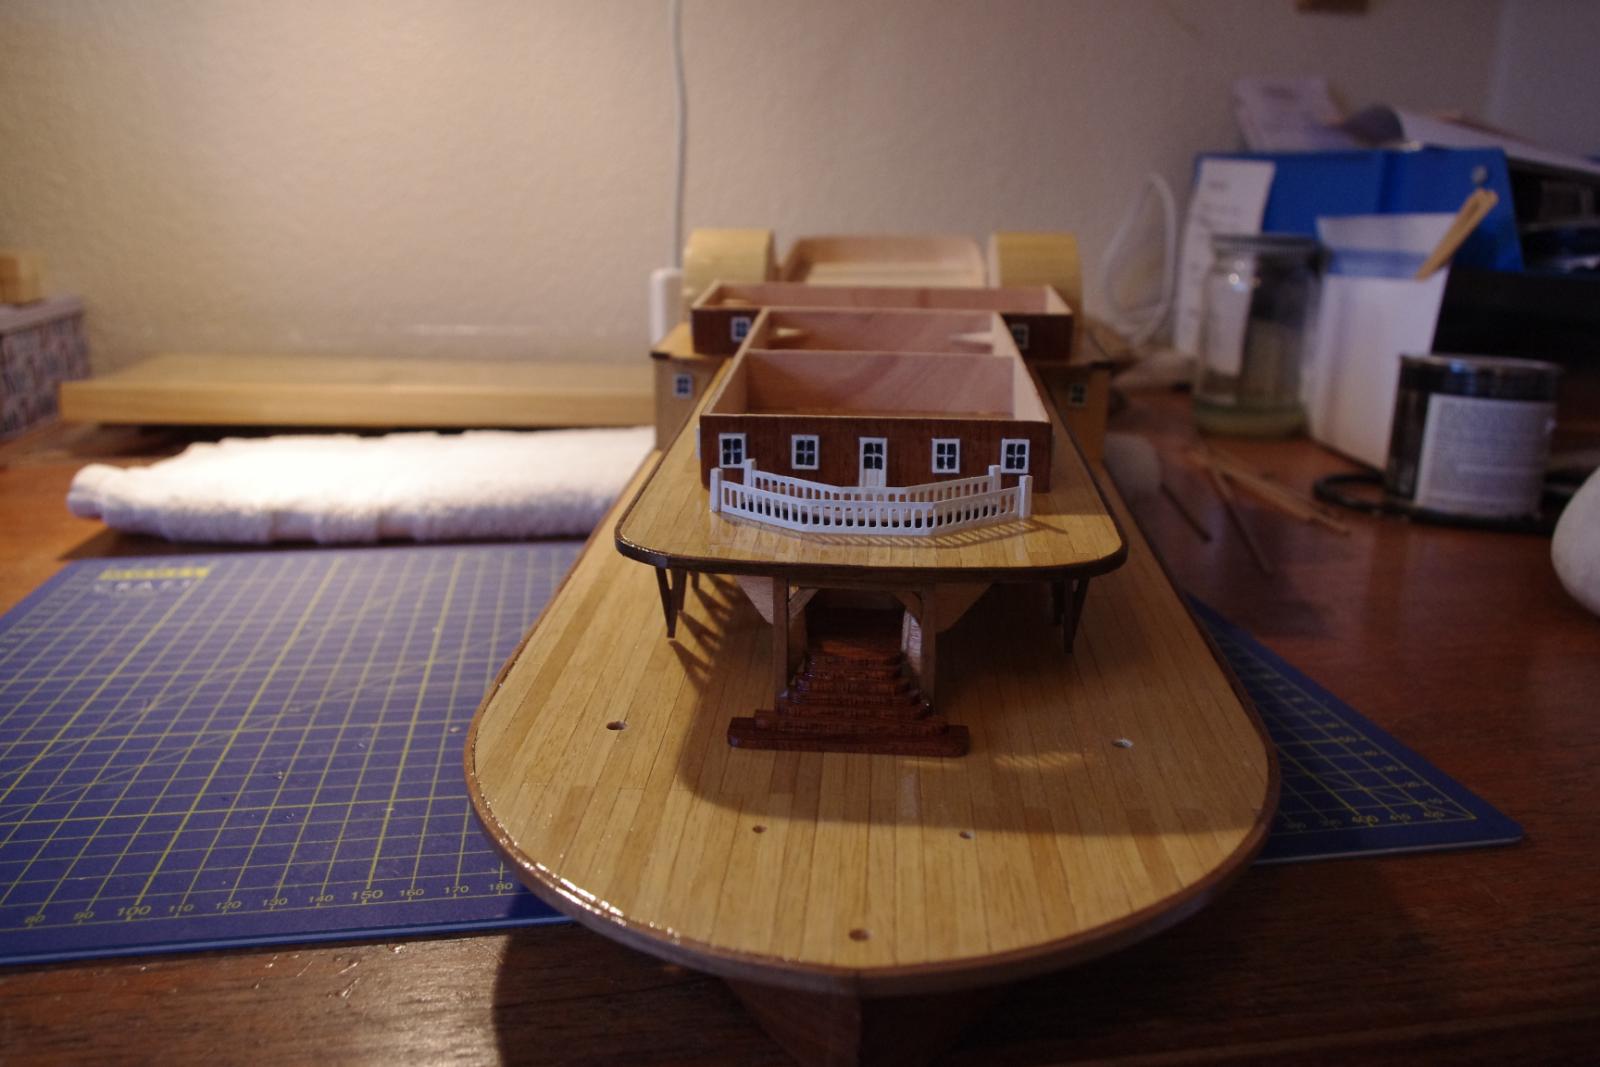
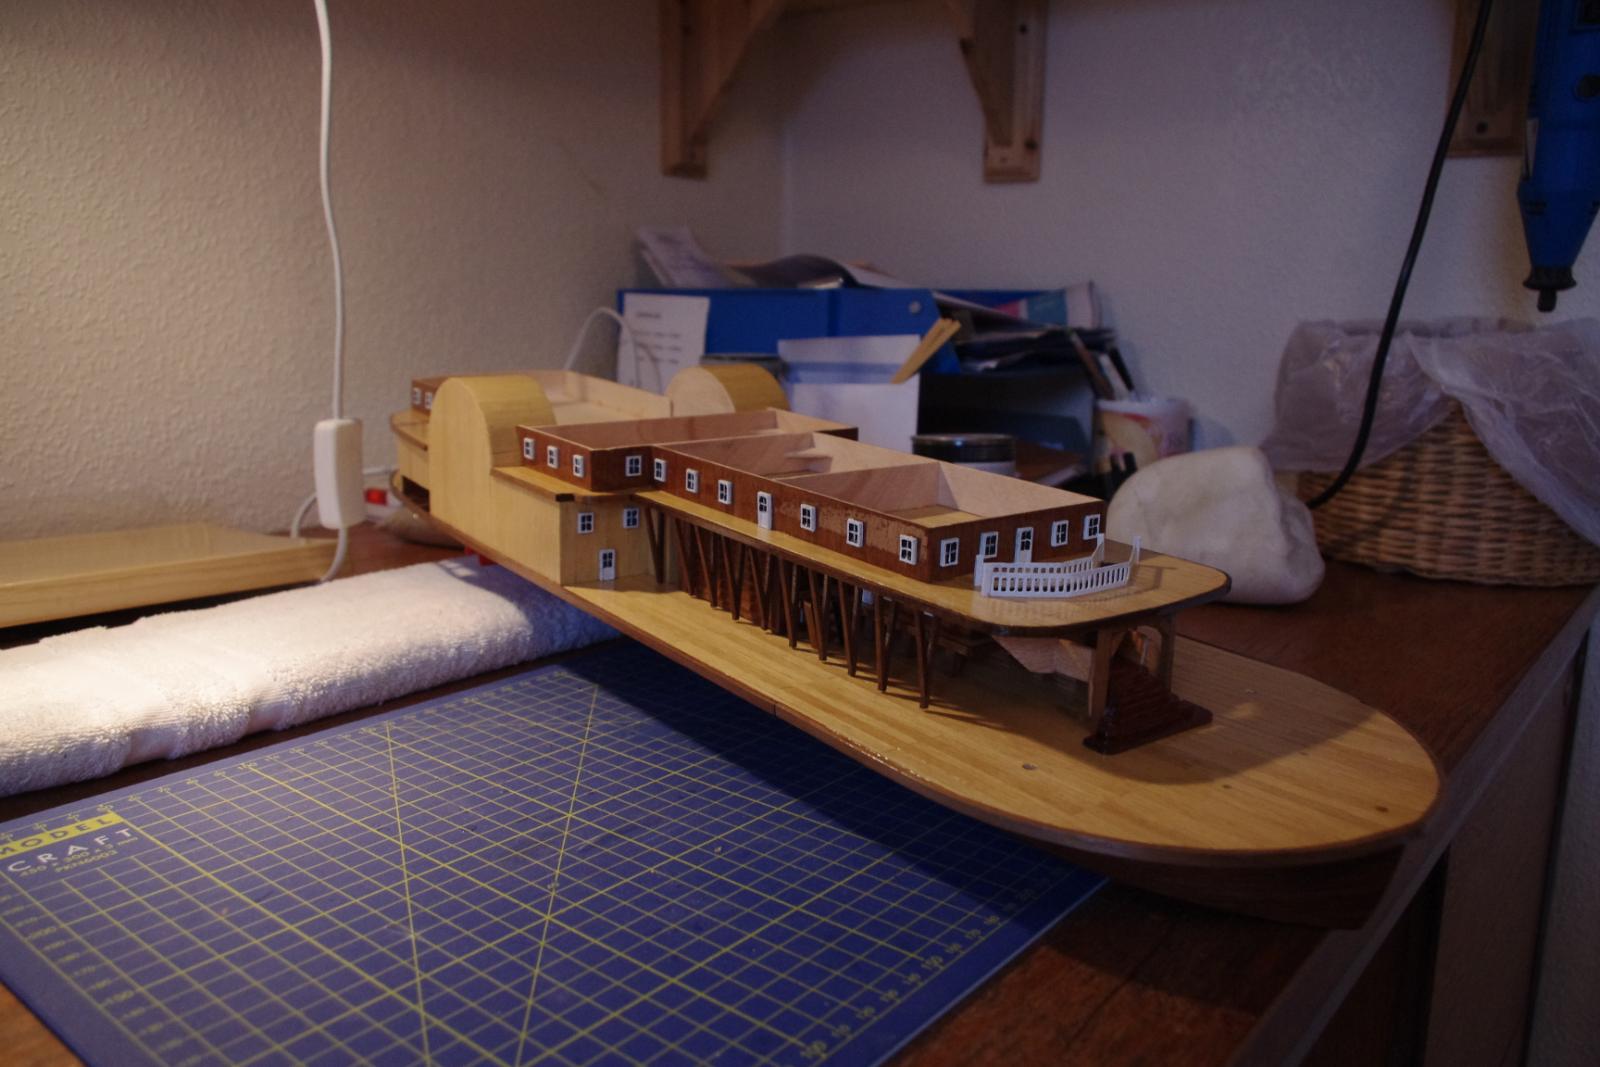
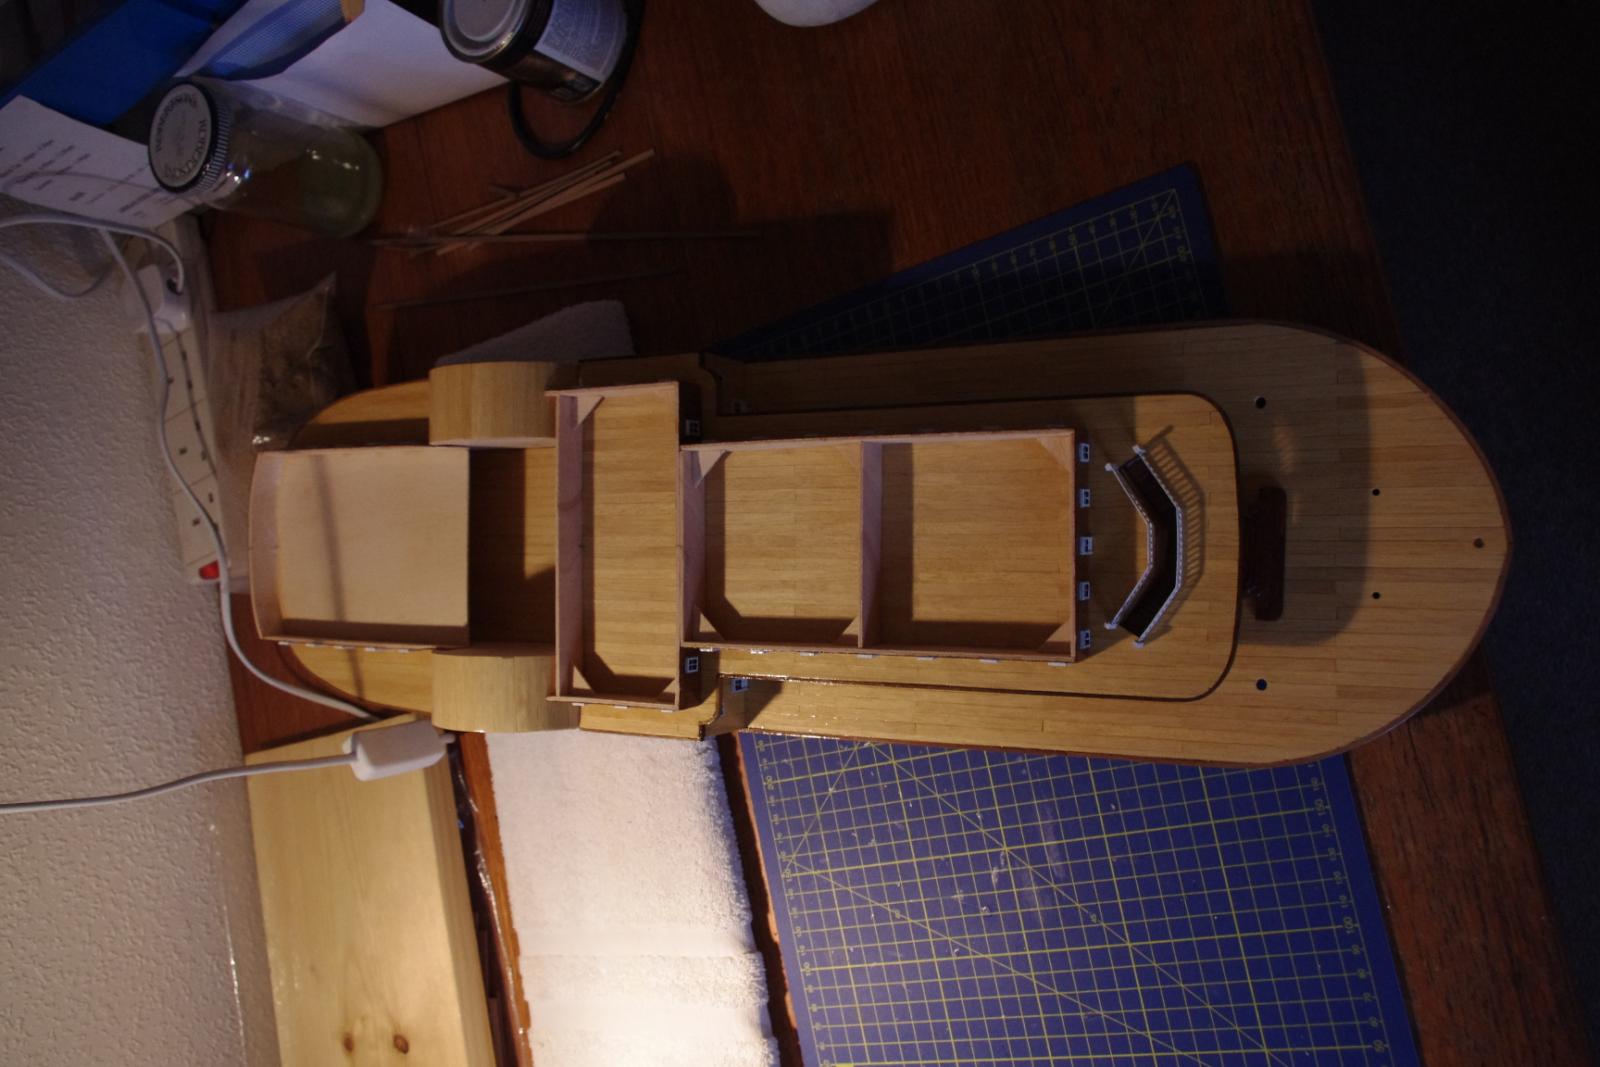
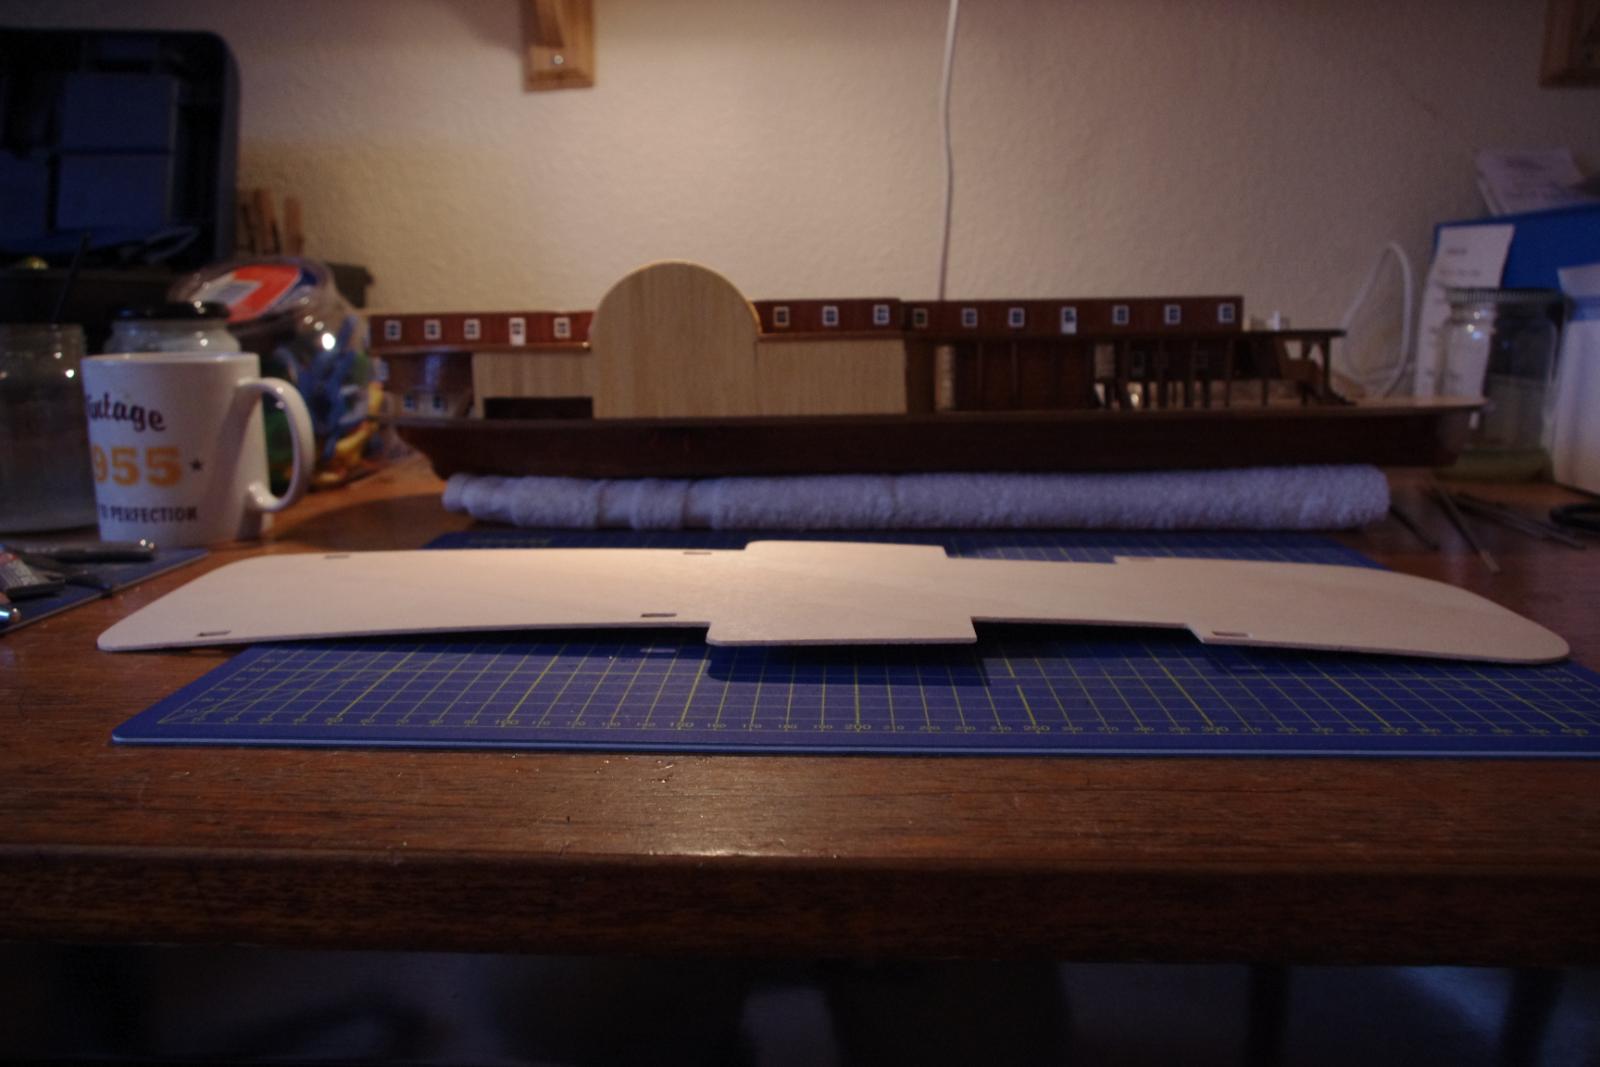
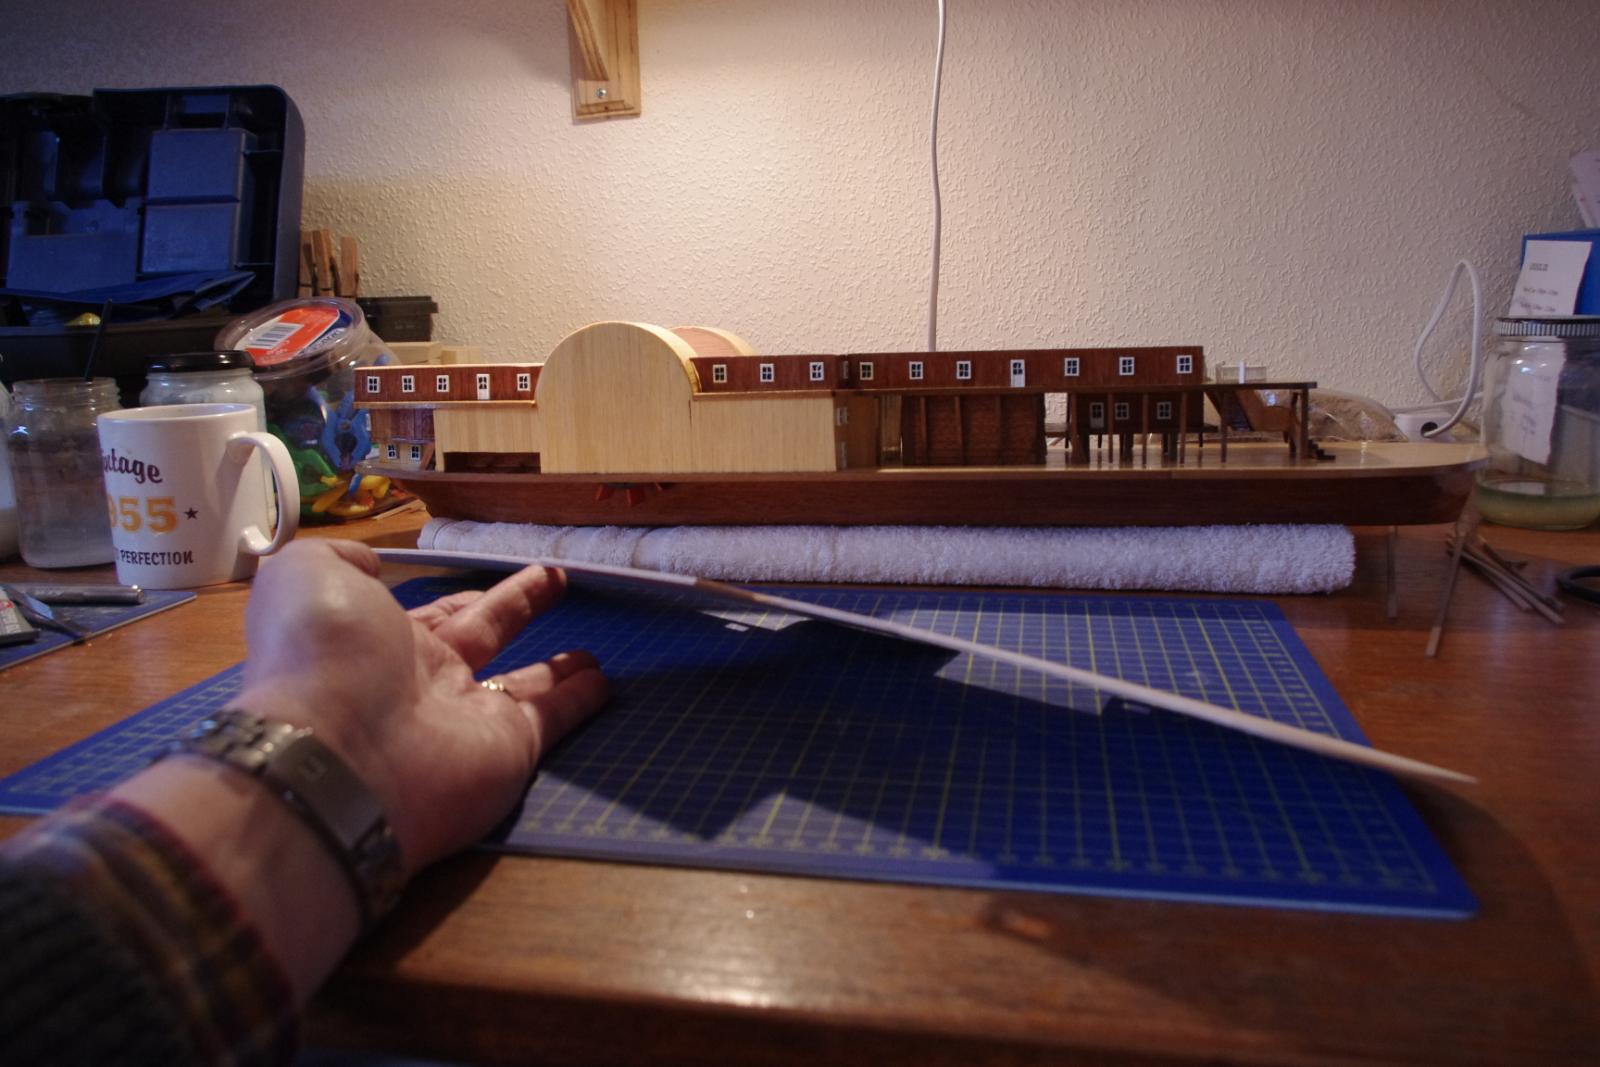
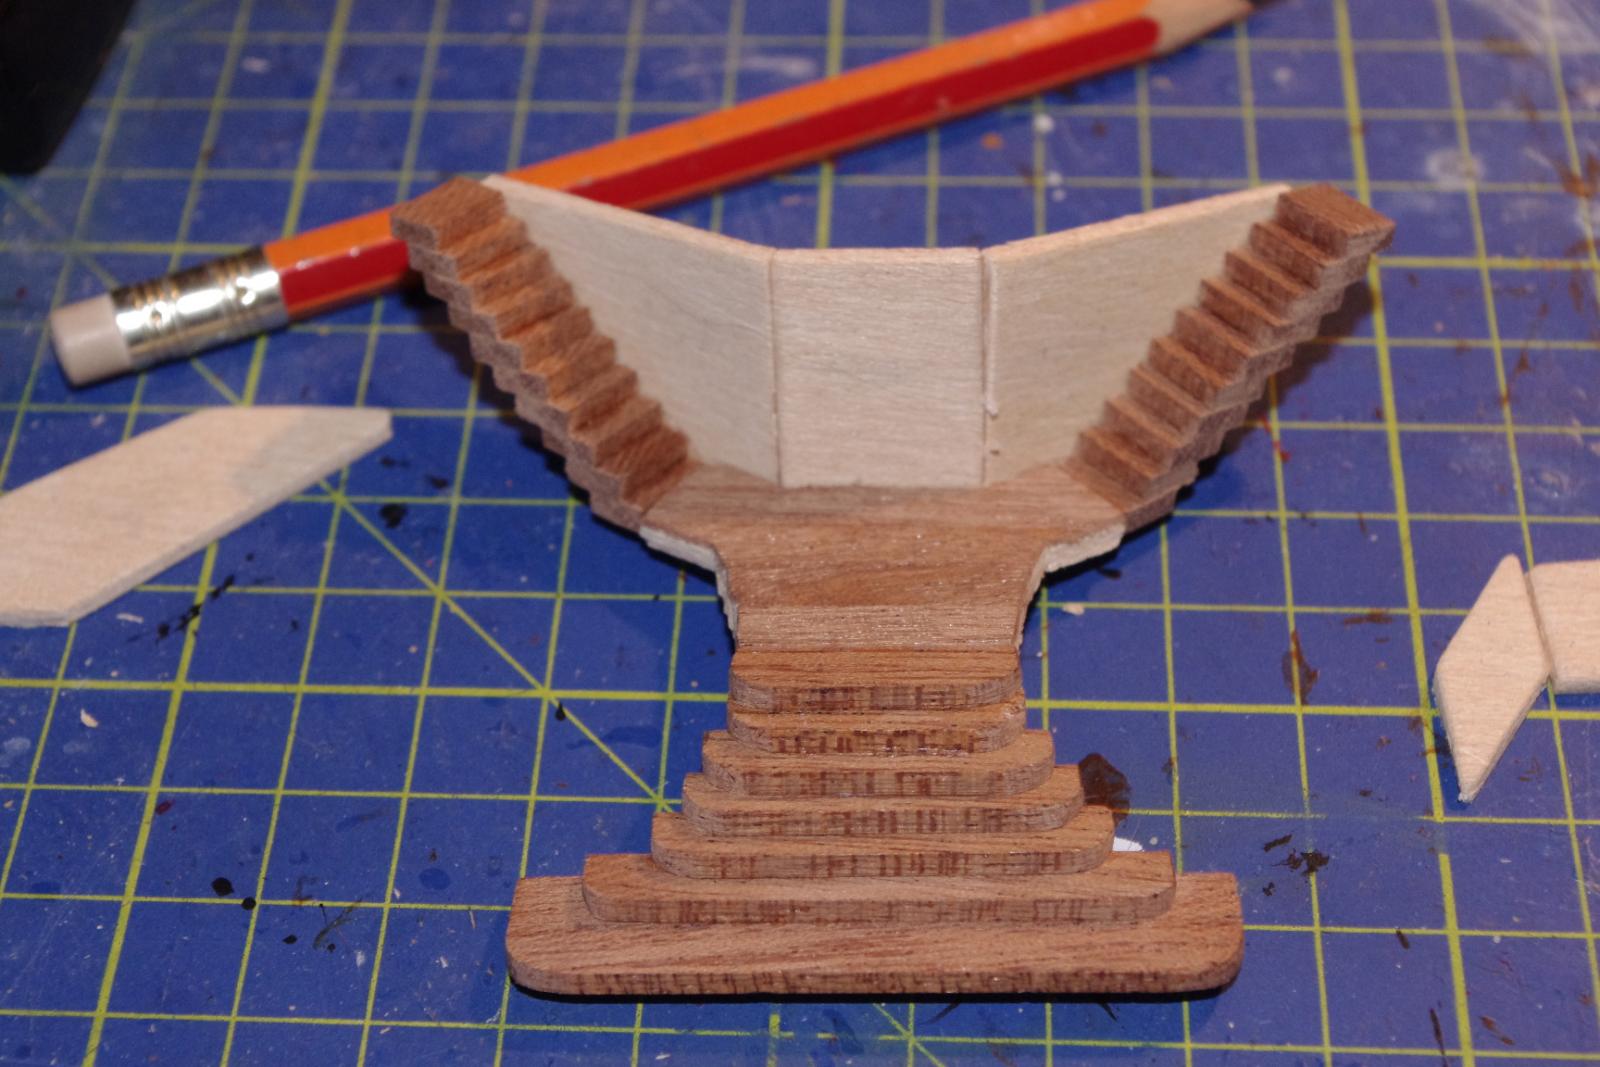
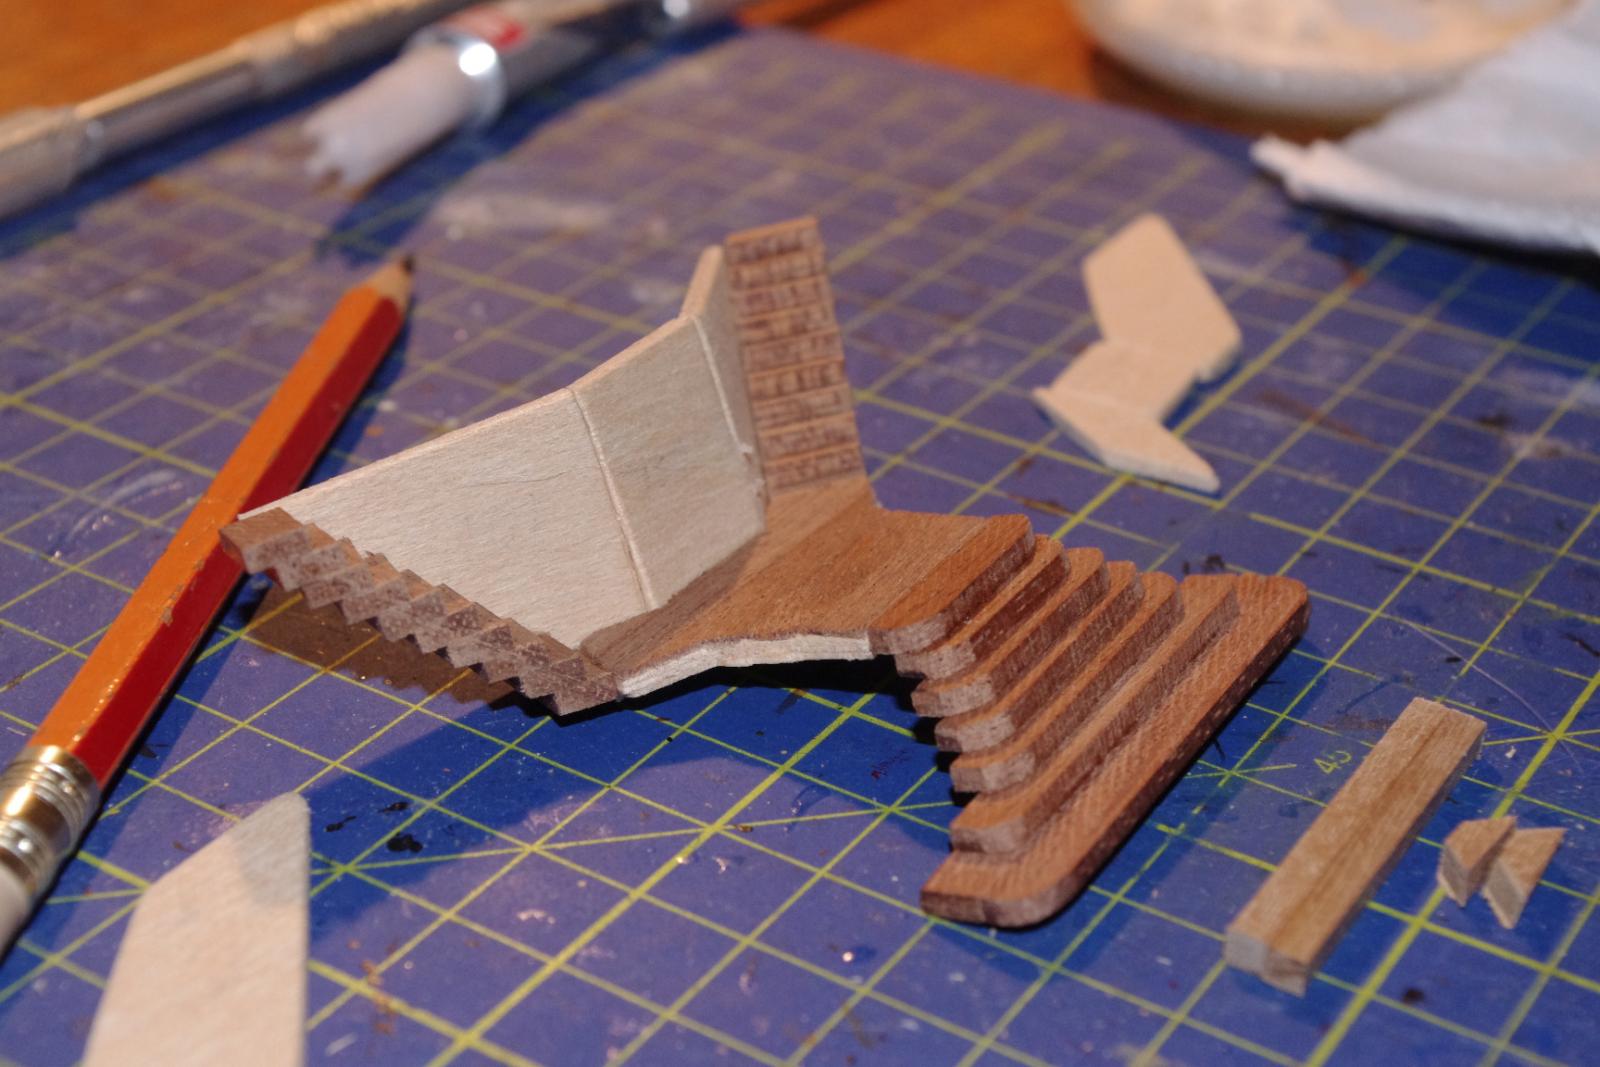
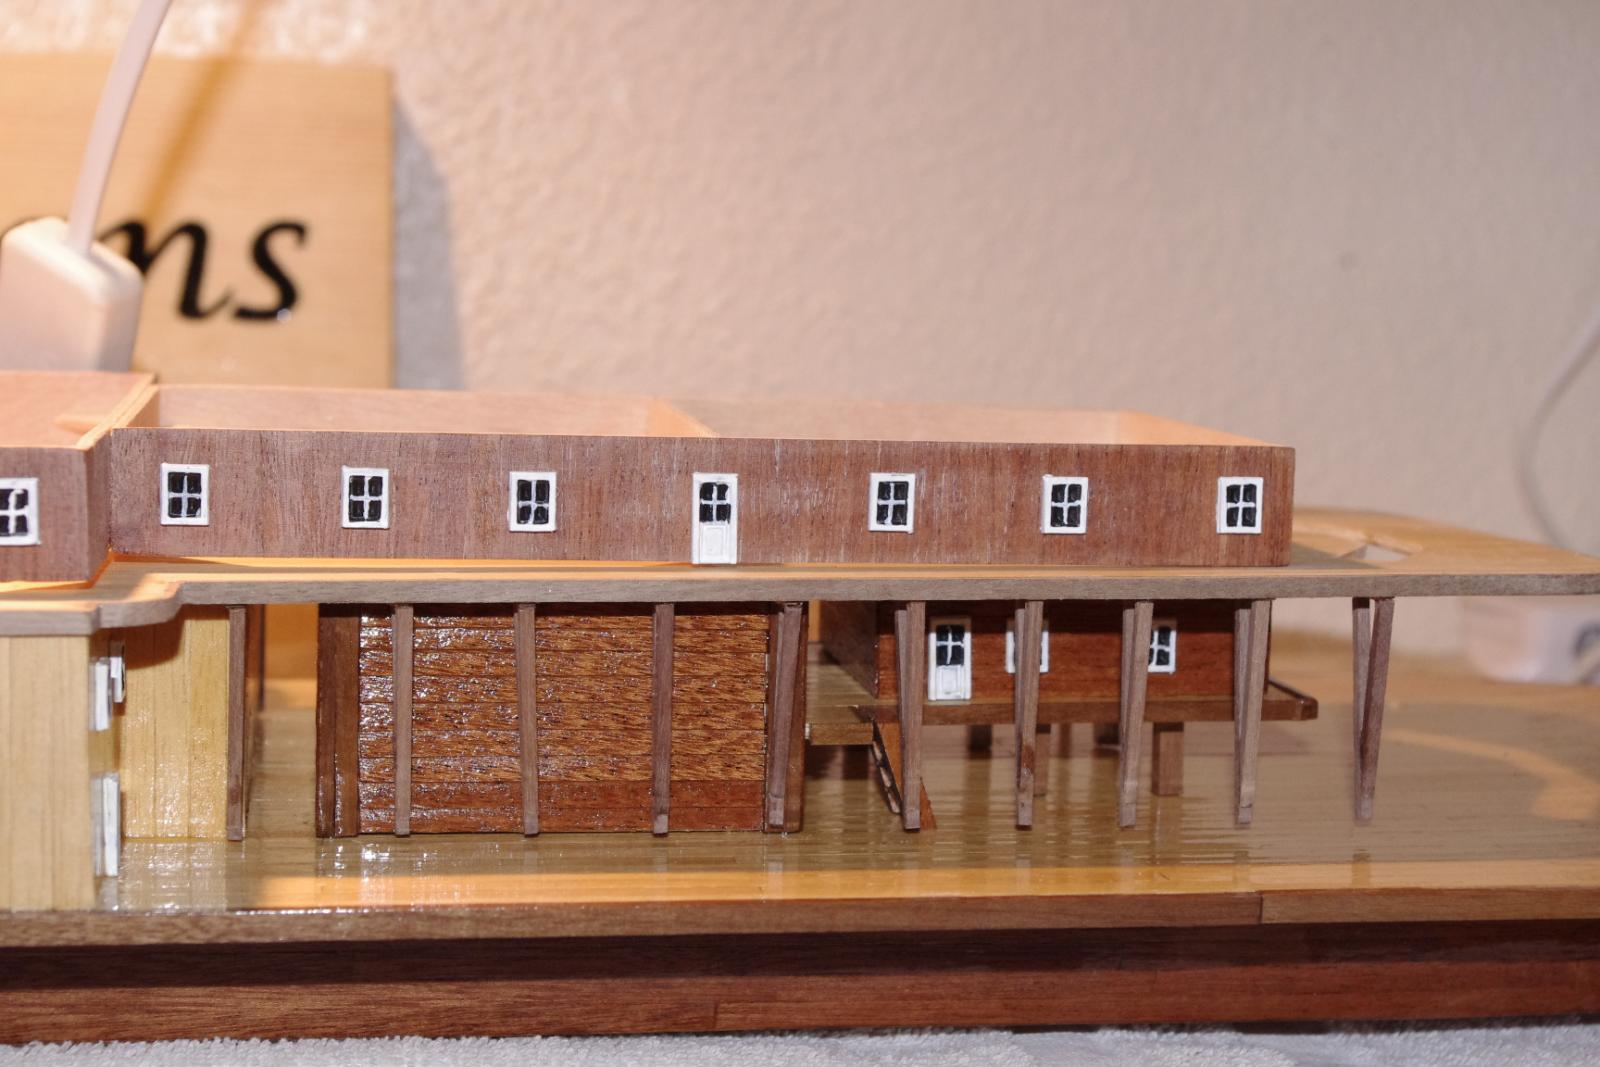
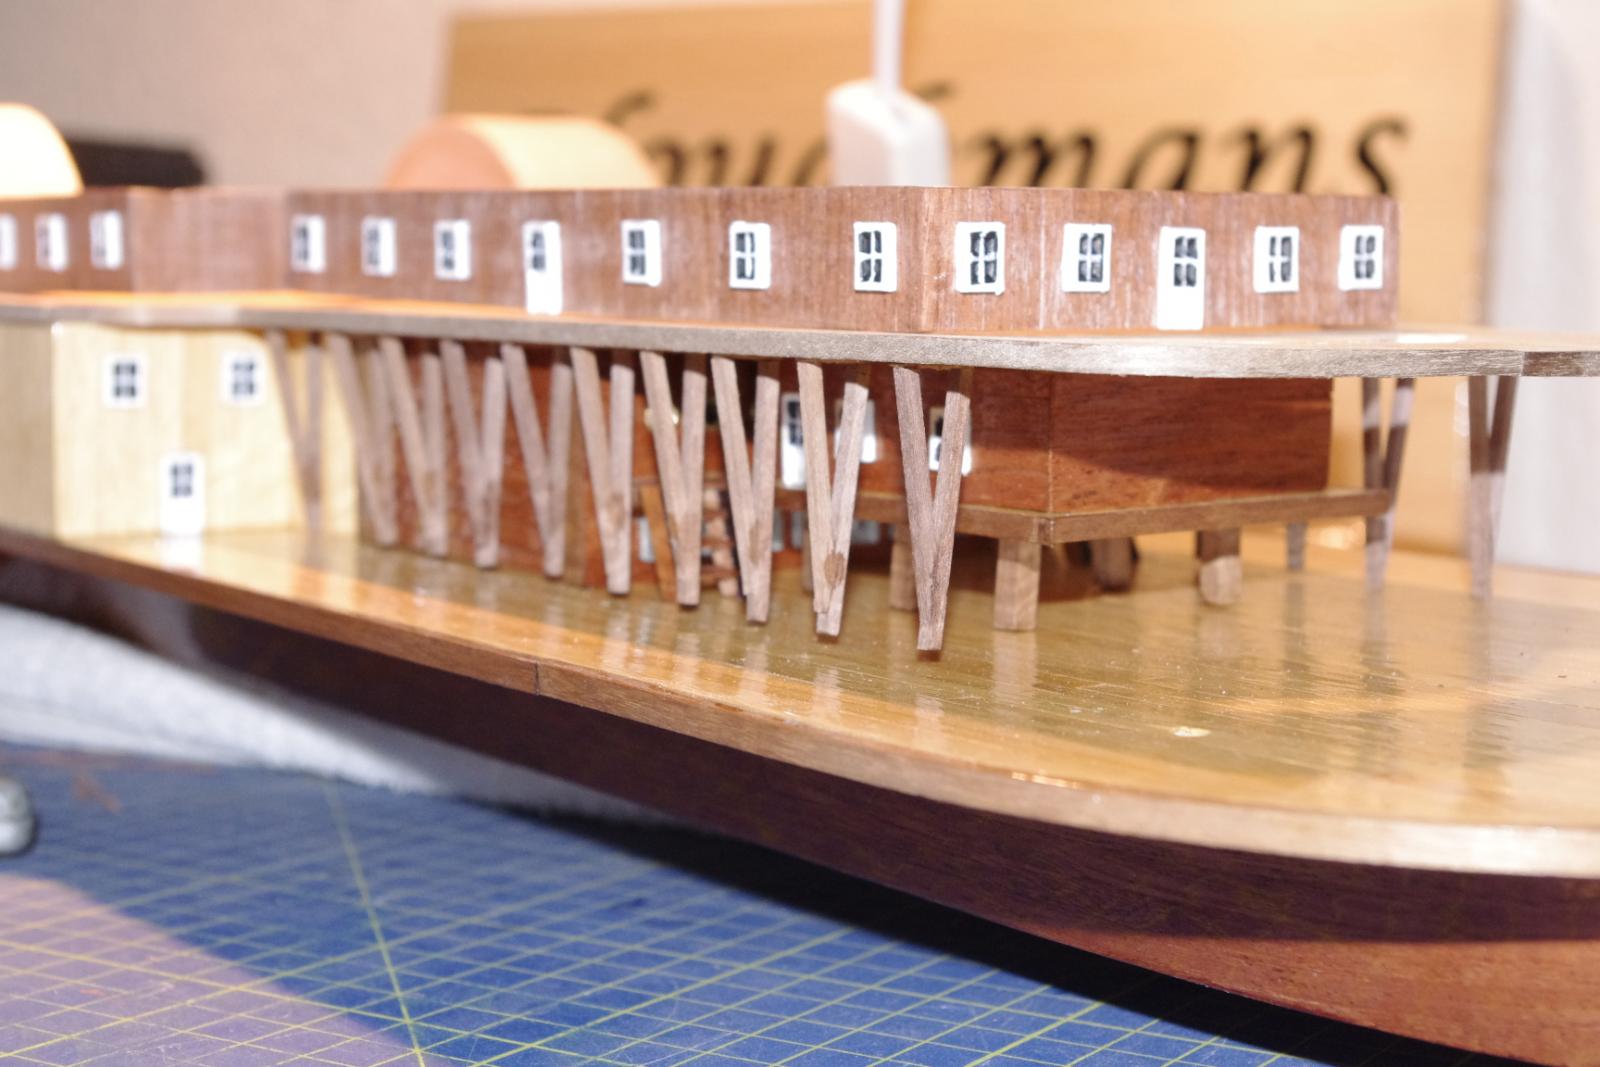
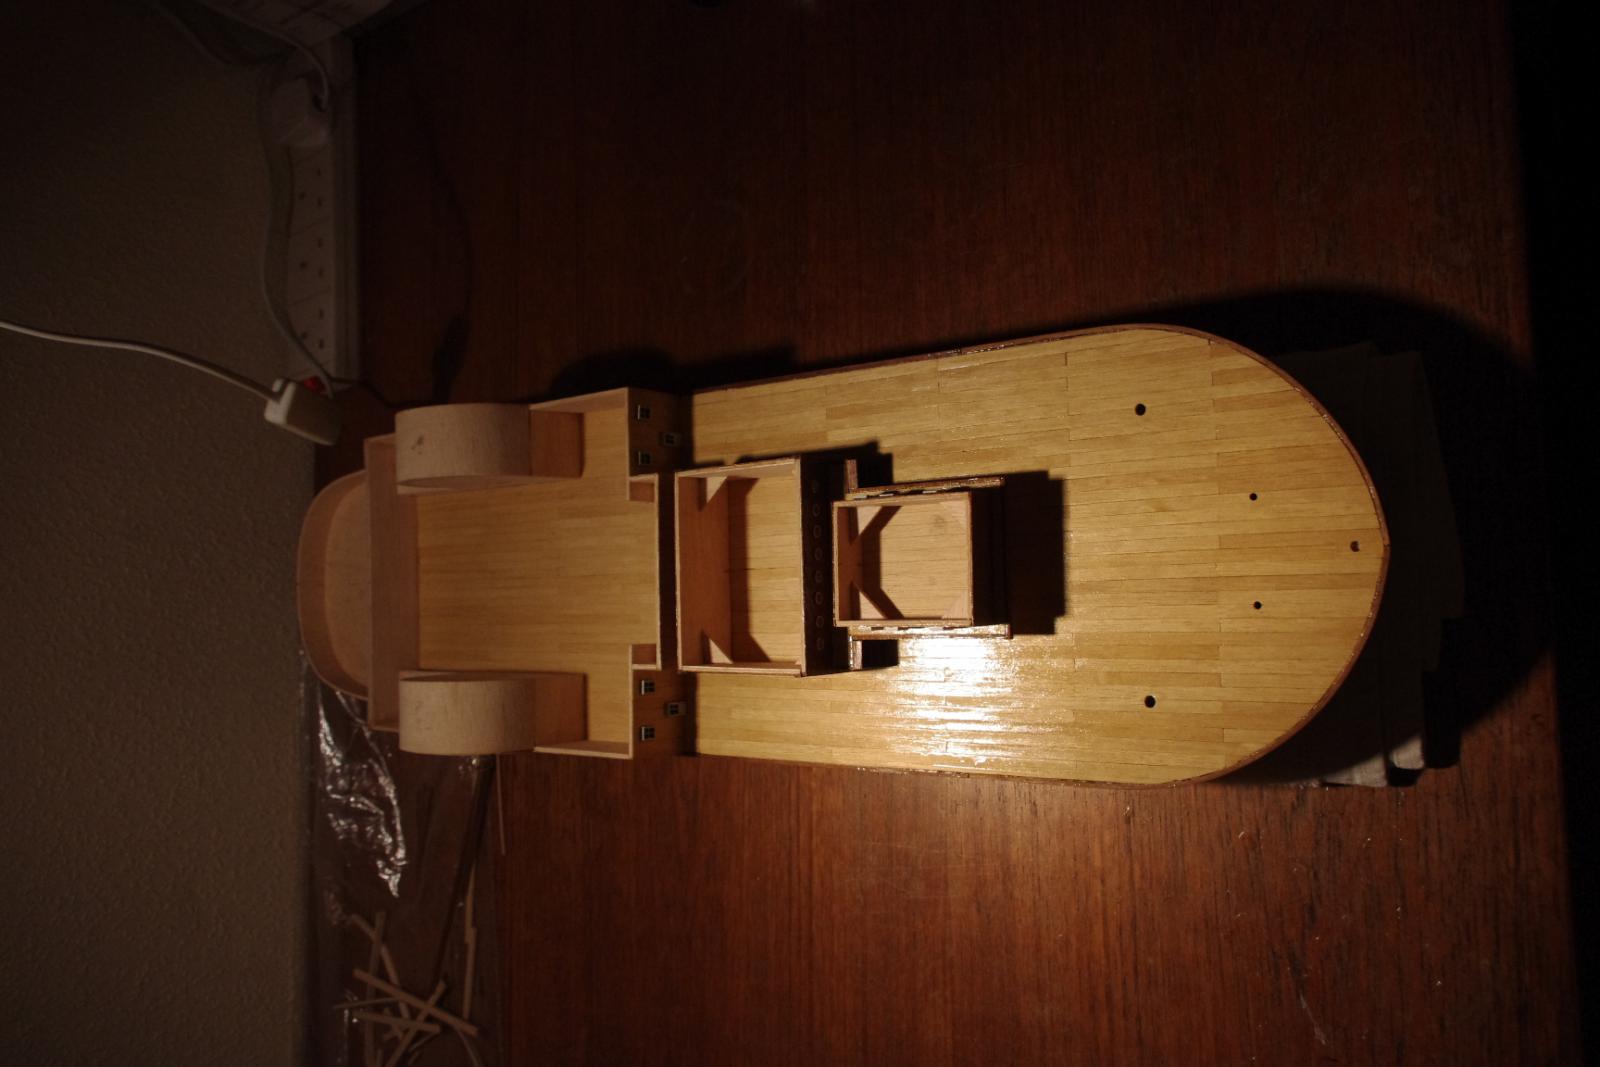
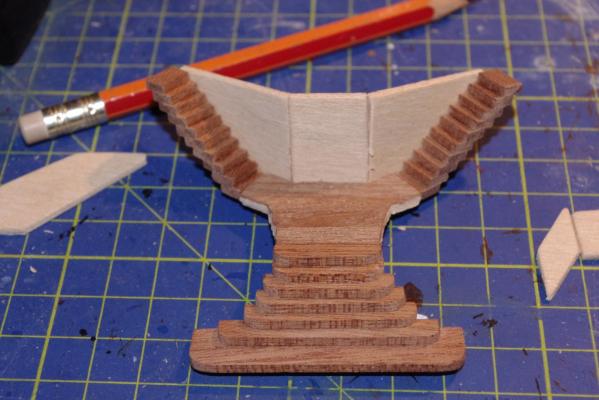
Well folks, A fair bit of progress since last I updated this. The basics of the second deck are now done and fitted. Those pesky little columns took ages !!! There are supposed to be 20 identical columns (!!!!) but, I am simply not that clever. I did the best I could ! My first efforts after gluing them on the underside of the second deck proved to be 1mm too wide on each side which meant the deck wouldn't sit down properly !!! So, I took them all off again after much soaking. About half of them broke so had to be remade. My second attempt just fitted width wise but some were then 1mm too short. Well, sorry to all you perfectionists out there but 1mm too short they are going to be !! I don't think it shows too much. The stairs were good fun too as they had to be built up with individual wood pieces. Nothing like the Amati kit where they are pretty much pre made. Effectively they were scratch built off the plans and to my amazement, they fitted !! The observant amongst you will notice that I am having to varnish as I go along as there is simply no way this could be done with all the twiddly bits that have to be done later. I also thought for anyone wanting to try a Constructo kit that I would include a couple of pictures of the lovely pre warp problems that I have had with every flat piece so far. It makes planking them are real pleasure (!!!!) and they still don't want to lay flat after that. Anyway - judge for yourselves !


- 44 replies
-
- 3
-
-
- robert e lee
- constructo
- (and 1 more)
-
Only just found your new log Dom !! Looks like you are doing rather well. I will be interested to follow it and to know your opinion about Constructo kits, I think you may know what mine are. Anyway, I will be keeping my eye on you in case you need my help !!!!!!!
-
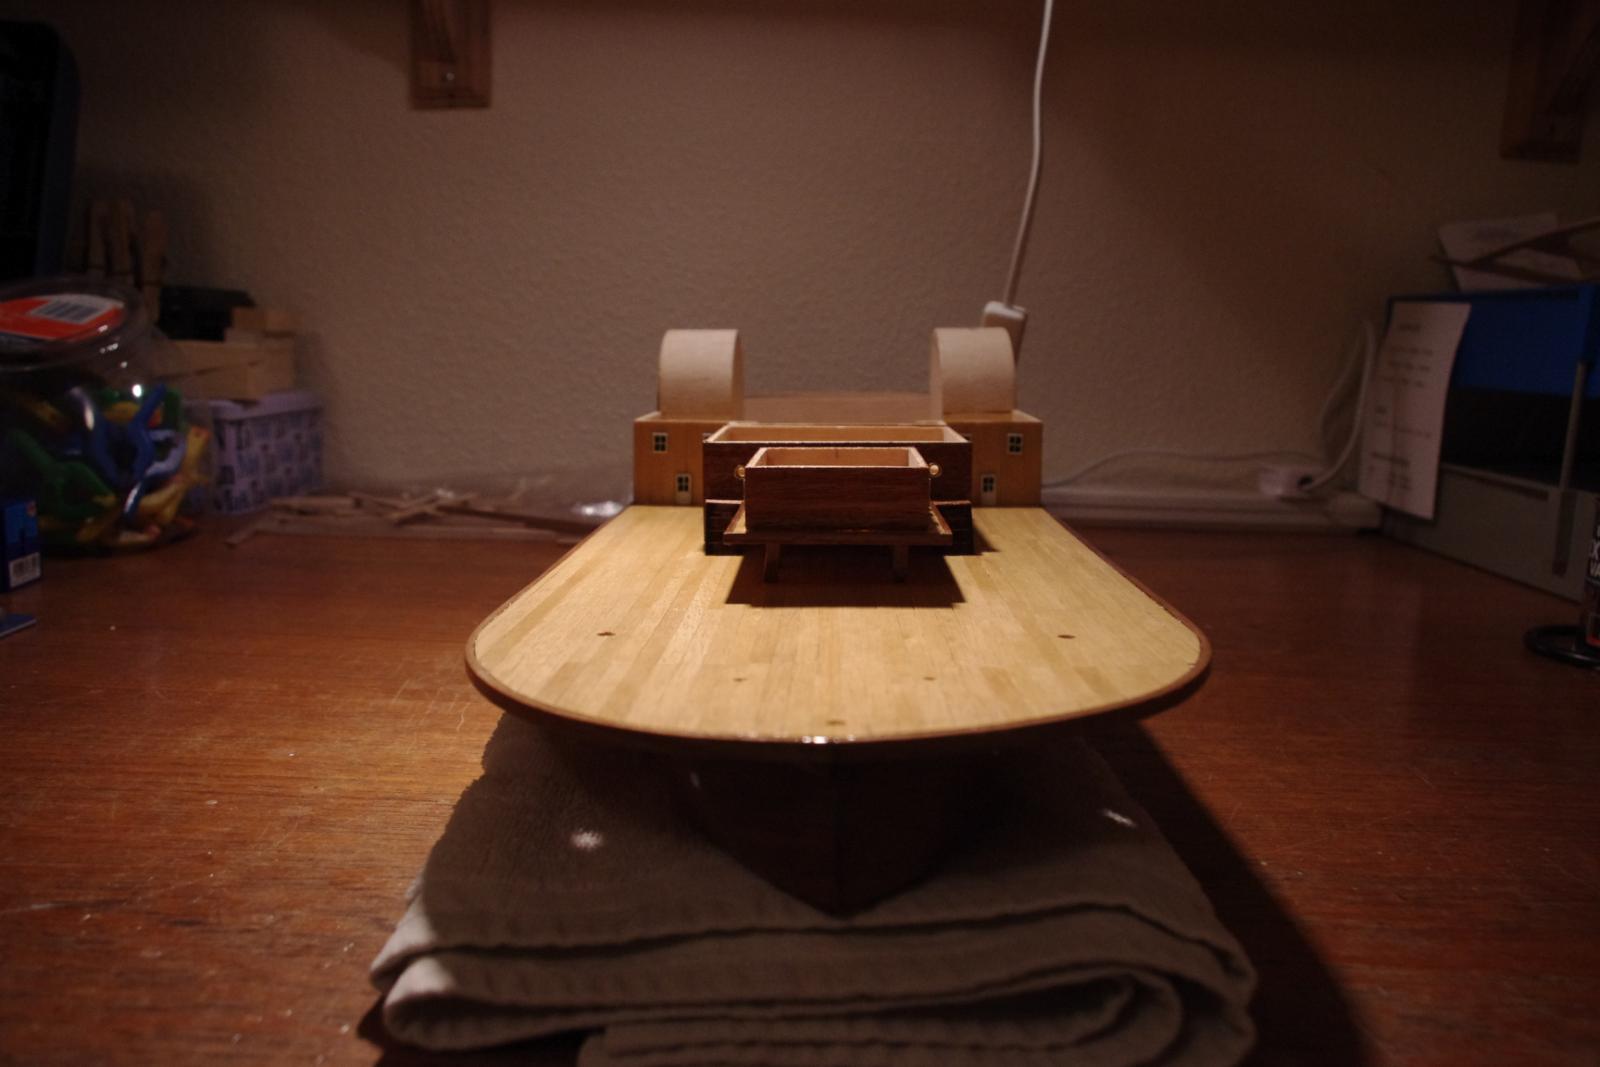
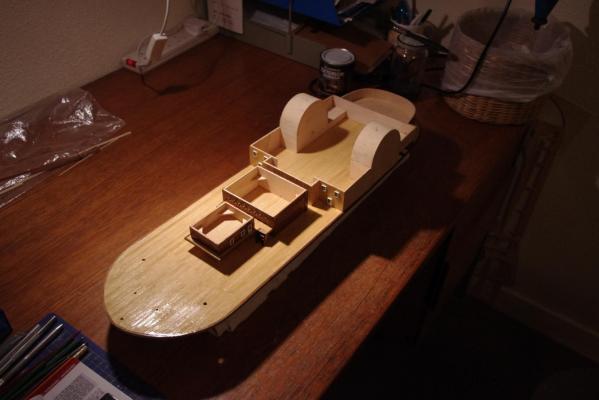
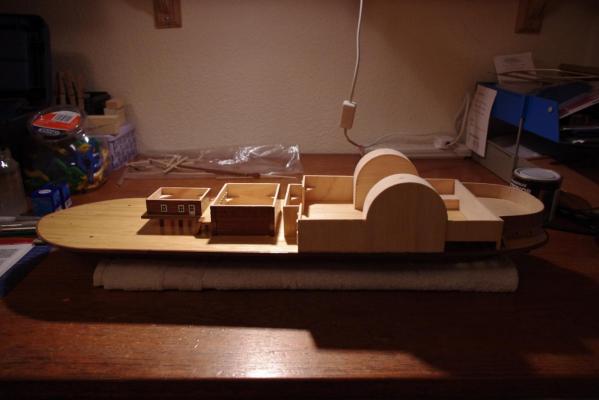
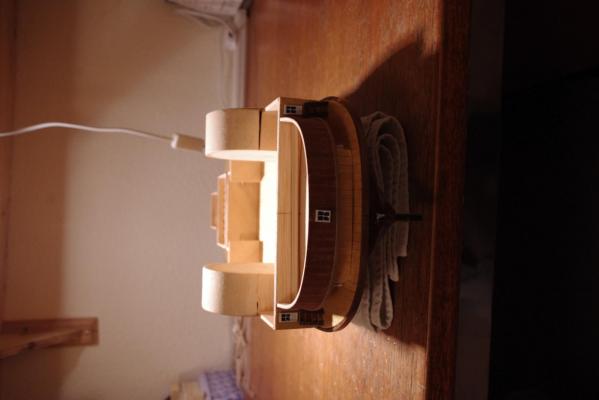
So far the lower deck now has its superstructure buildings on and the paddlewheels in place. A few windows and doors have been added and some sanding and varnishing done although it still needs some more. A word of warning to anyone thinking of getting a Constructo kit. The plywood is very soft and poor quality. Not only is it warped in the box, as soon as you try to plank it, it bends more. If you want to bend it it tries to bend in the opposite direction from that which you want. The measurements seem to be quite critical on this model which is not aided by wobbly wood. I have also discovered that the measurements of sections marked out to be cut do not correspond with the plan sheets - oh joy !! You may be surprised to know that I love this model building really !


- 44 replies
-
- 4
-
-
- robert e lee
- constructo
- (and 1 more)
-
You are getting picky in your old age !! I look at your build and think to myself - if only I were that good - I can but try !
-
Well fancy seeing you back !! Where have you been ? With regard to planking - I hoped I was getting better at it but this thing has been an absolute monster which I don't understand because it is basically flat ! But that stern !!!!!!!!!!!!!!!!!!!
- 44 replies
-
- 2
-
-
- robert e lee
- constructo
- (and 1 more)
-
Hi there Shihawk and thanks for the post. I have been watching your build and I think your planking looks brilliant despite your 'shades'. I can't believe on a real ship of that age would be the same shade throughout so whilst you might be cheesed off with it (and I do understand your point). I actually and quite deliberately did exactly the opposite from you as I wanted my planking to be random. The wood is 'Mukali' whatever that is ! The second planking on the hull was just 0.5ml sapele so more forgiving than the first go ! You are absolutely right about the weather !!!!
- 44 replies
-
- 2
-
-
- robert e lee
- constructo
- (and 1 more)
-
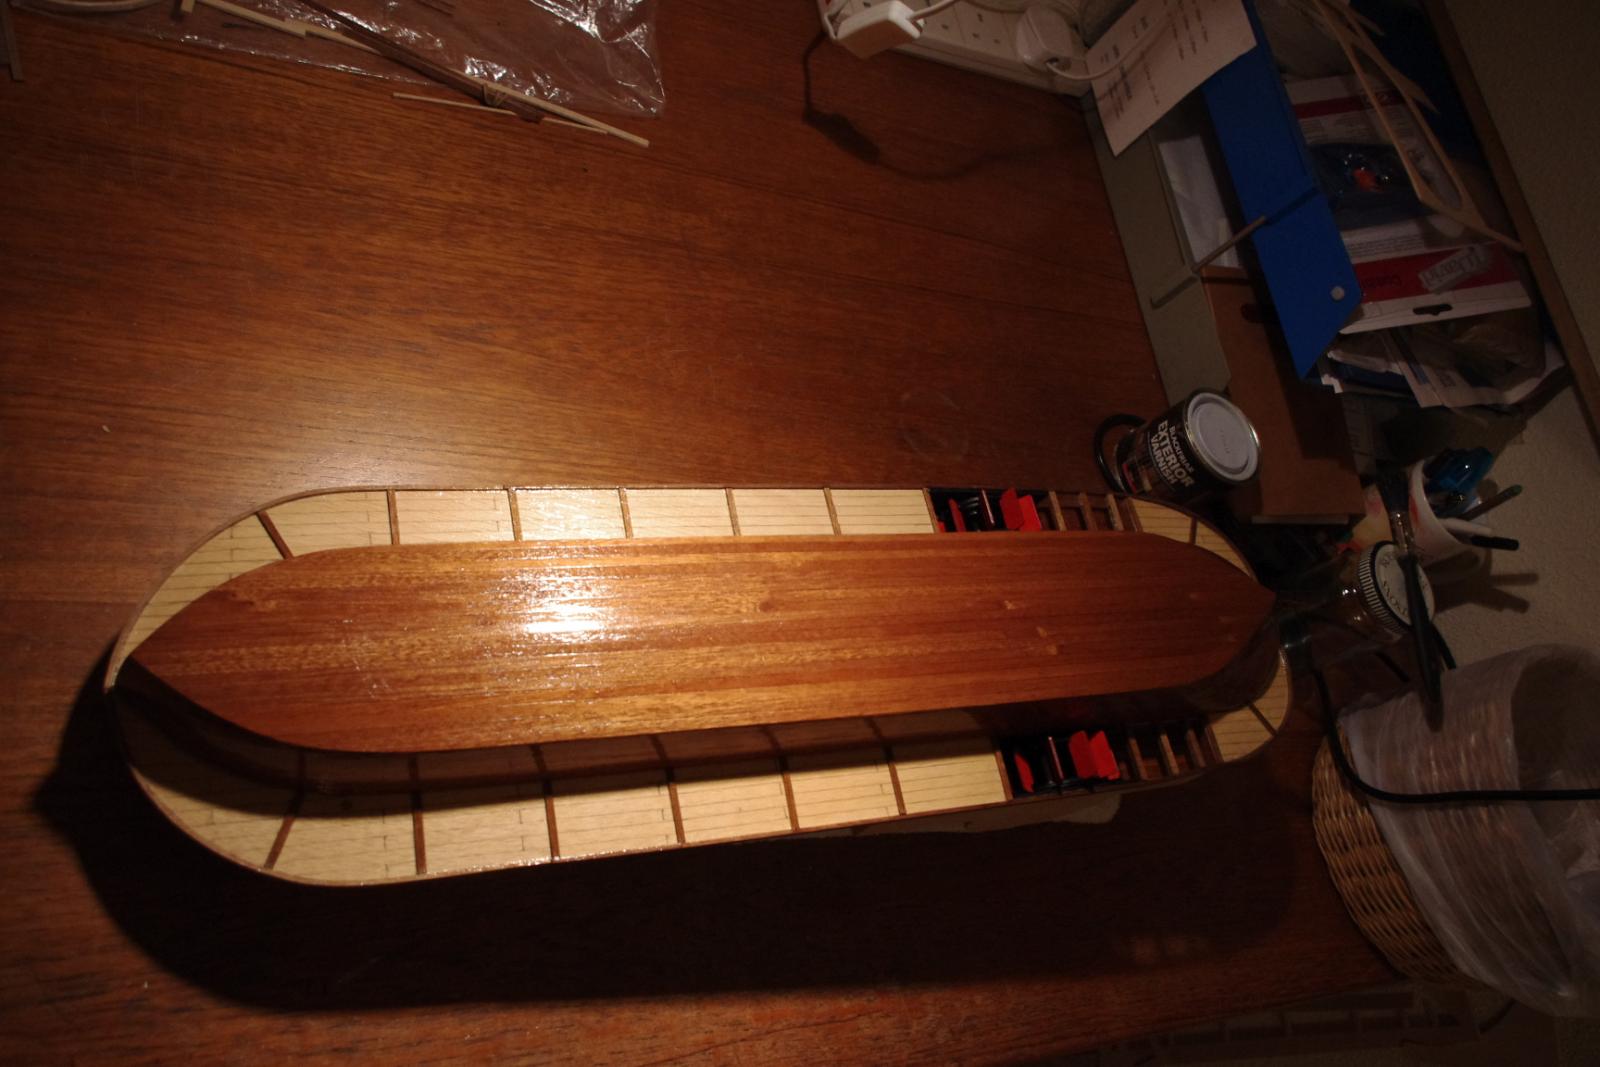
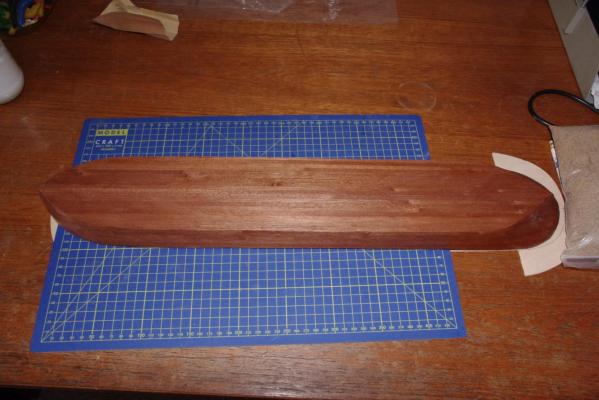
Well folks, after a bit more sanding and a couple of coats of varnish the hull doesn't look too bad. I have now attached it to the lower deck, started to do some of the first deck woodwork and put the finishing strip around the edge. That took a fair bit of soaking and bending but it's on !!! I wish the ply sections were laser cut but they are not. They have to be cut our from a marked sheet which is really tricky and then sand everything down - takes ages !!

- 44 replies
-
- 7
-
-
- robert e lee
- constructo
- (and 1 more)
-
So why do so many boat kits insist on double planking ?
-
OCCRE PORTABLE WORK BENCH
Mike Dowling replied to Thunder's topic in Modeling tools and Workshop Equipment
I had one and sold it on before I constructed it. I think to be honest it is quite an expensive thing for what it is and I couldn't honestly recommend it. Their kits are good though ! -
Thanks Mike. I have to say it is definitely not the best kit in the world and if I follow the destructions (!!!) the finished model except for the windows, doors and handrails should be wood and not painted. I would prefer it to be that way but I will see how it goes. I know most of the REL's I have seen are mostly white.
- 44 replies
-
- 1
-
-
- robert e lee
- constructo
- (and 1 more)
-
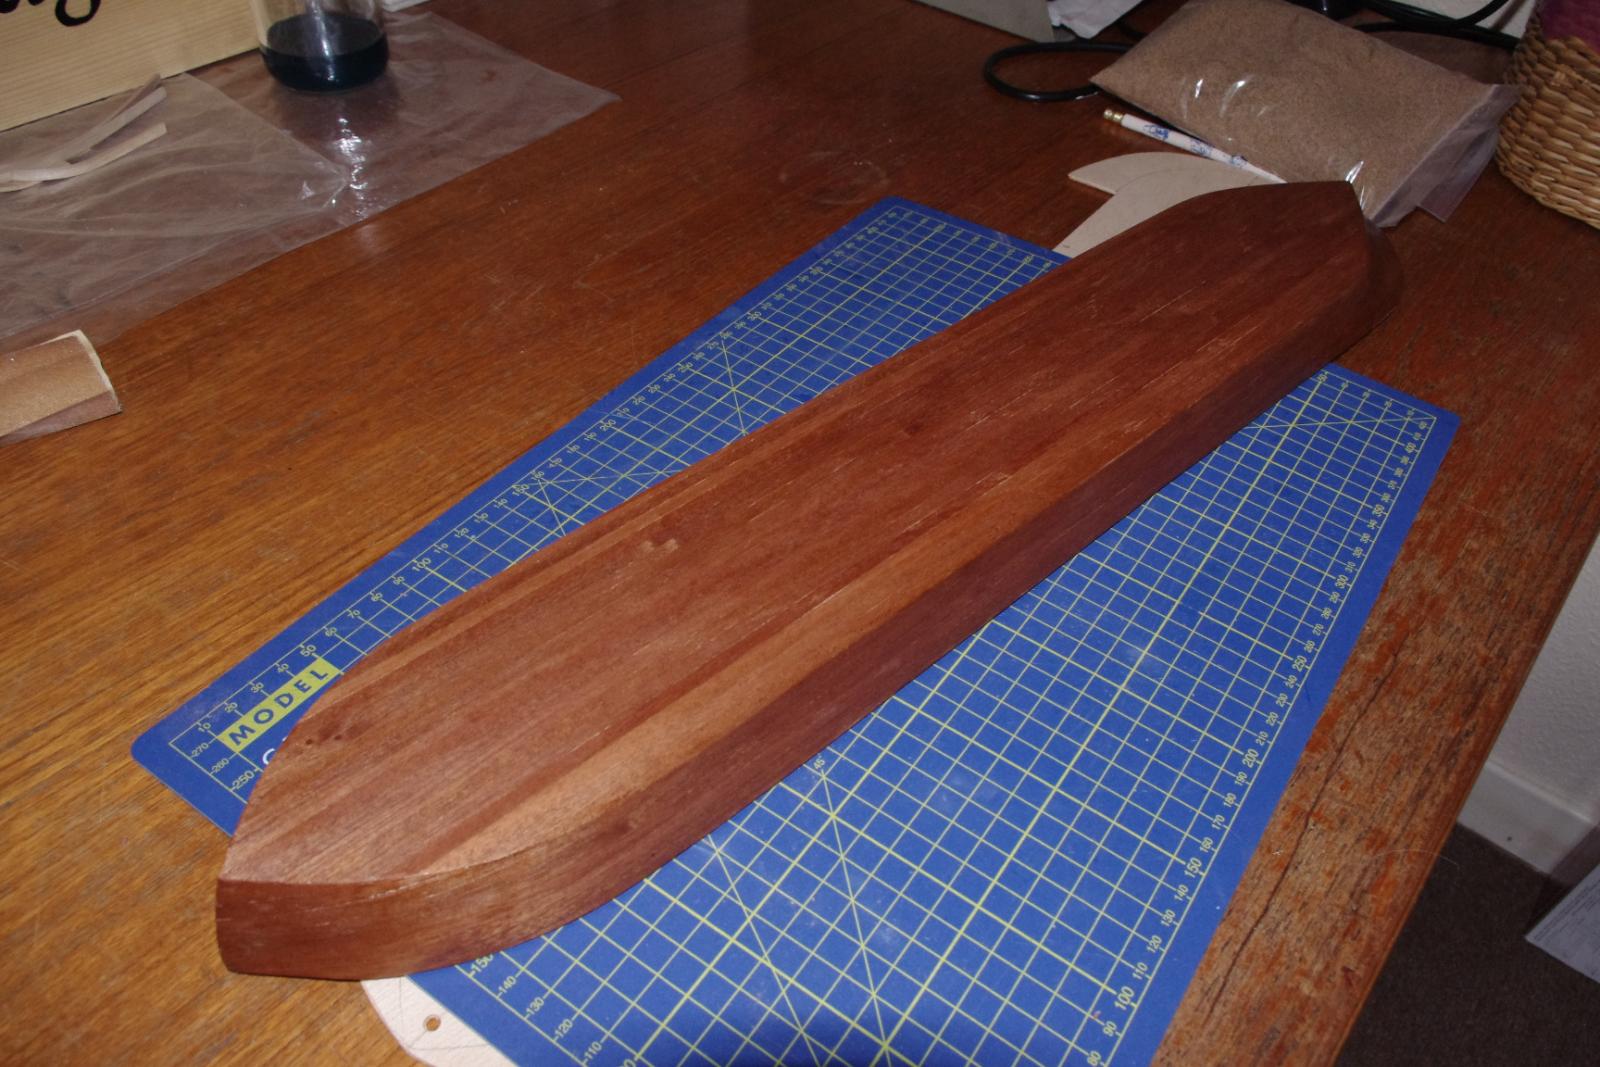
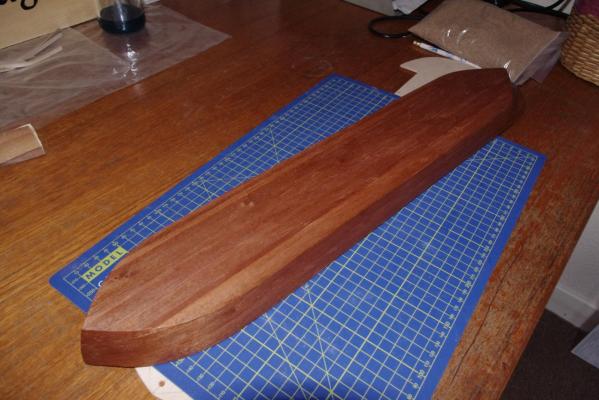
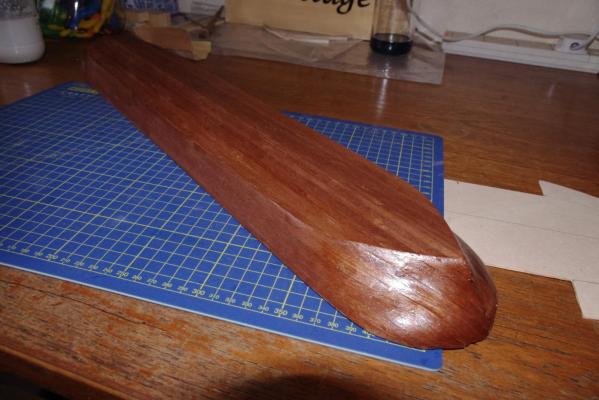
Well the second planking proved to be every bit as difficult as the first go. The stern on this beastie have been really hard to do, more so I think than an orthodox boat. I am still not sure why except that the stern is more bendy than it looks and the wood didn't want to play. At least I got it covered. It has been sanded and sealed with lacquer but I am hoping that a bit more sanding and a couple of coats of varnish will make it look better. I am not very happy with it but my consolation has to be that the hull on a paddle steamer doesn't show very much.
- 44 replies
-
- 4
-
-
- robert e lee
- constructo
- (and 1 more)
-
Not sure what Jan.B's problem is ! Language is an interesting topic regardless of it's origins. Are we all expected to get so PC that we can't even have a sensible discussion anymore ? The world is going completely mad !!
-
Nice job Ian, well done indeed. What's next ?
-
6 in 1 tool kit (multi purpose machine)
Mike Dowling replied to cristikc's topic in Modeling tools and Workshop Equipment
I have been looking at the Unimat so I too am interested in how the different set ups work, particularly the jig saw. Putting it together looks harder than some of the kit builds !! -
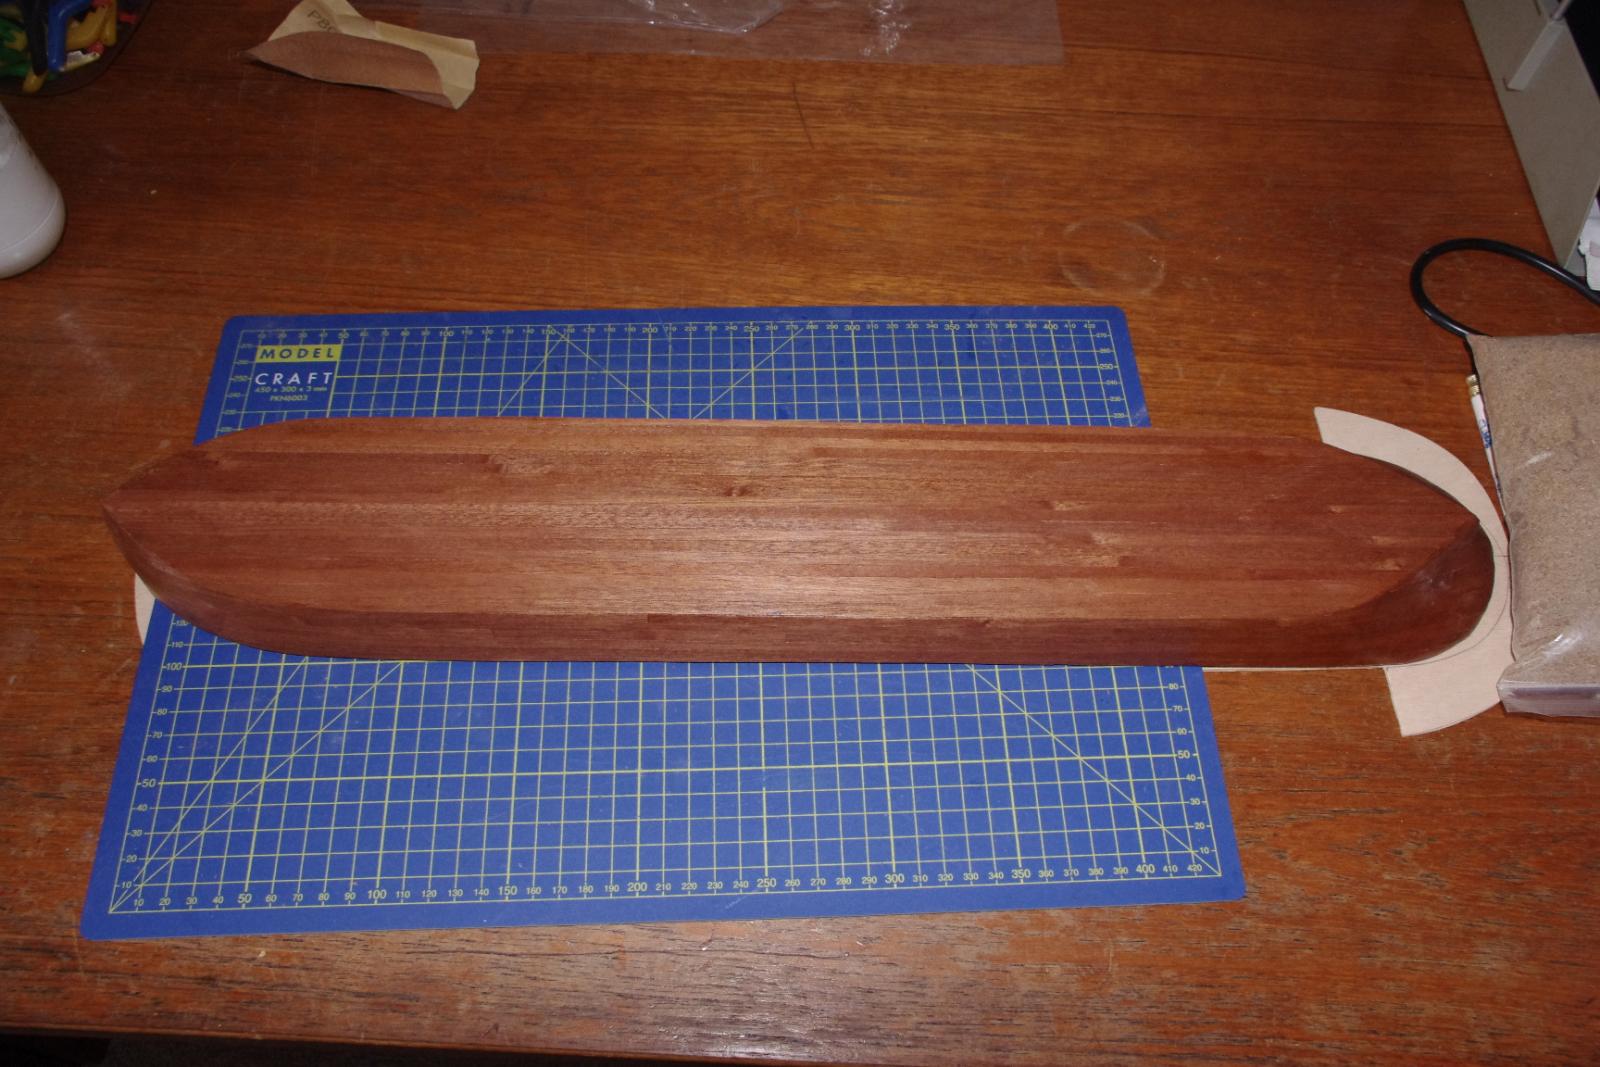
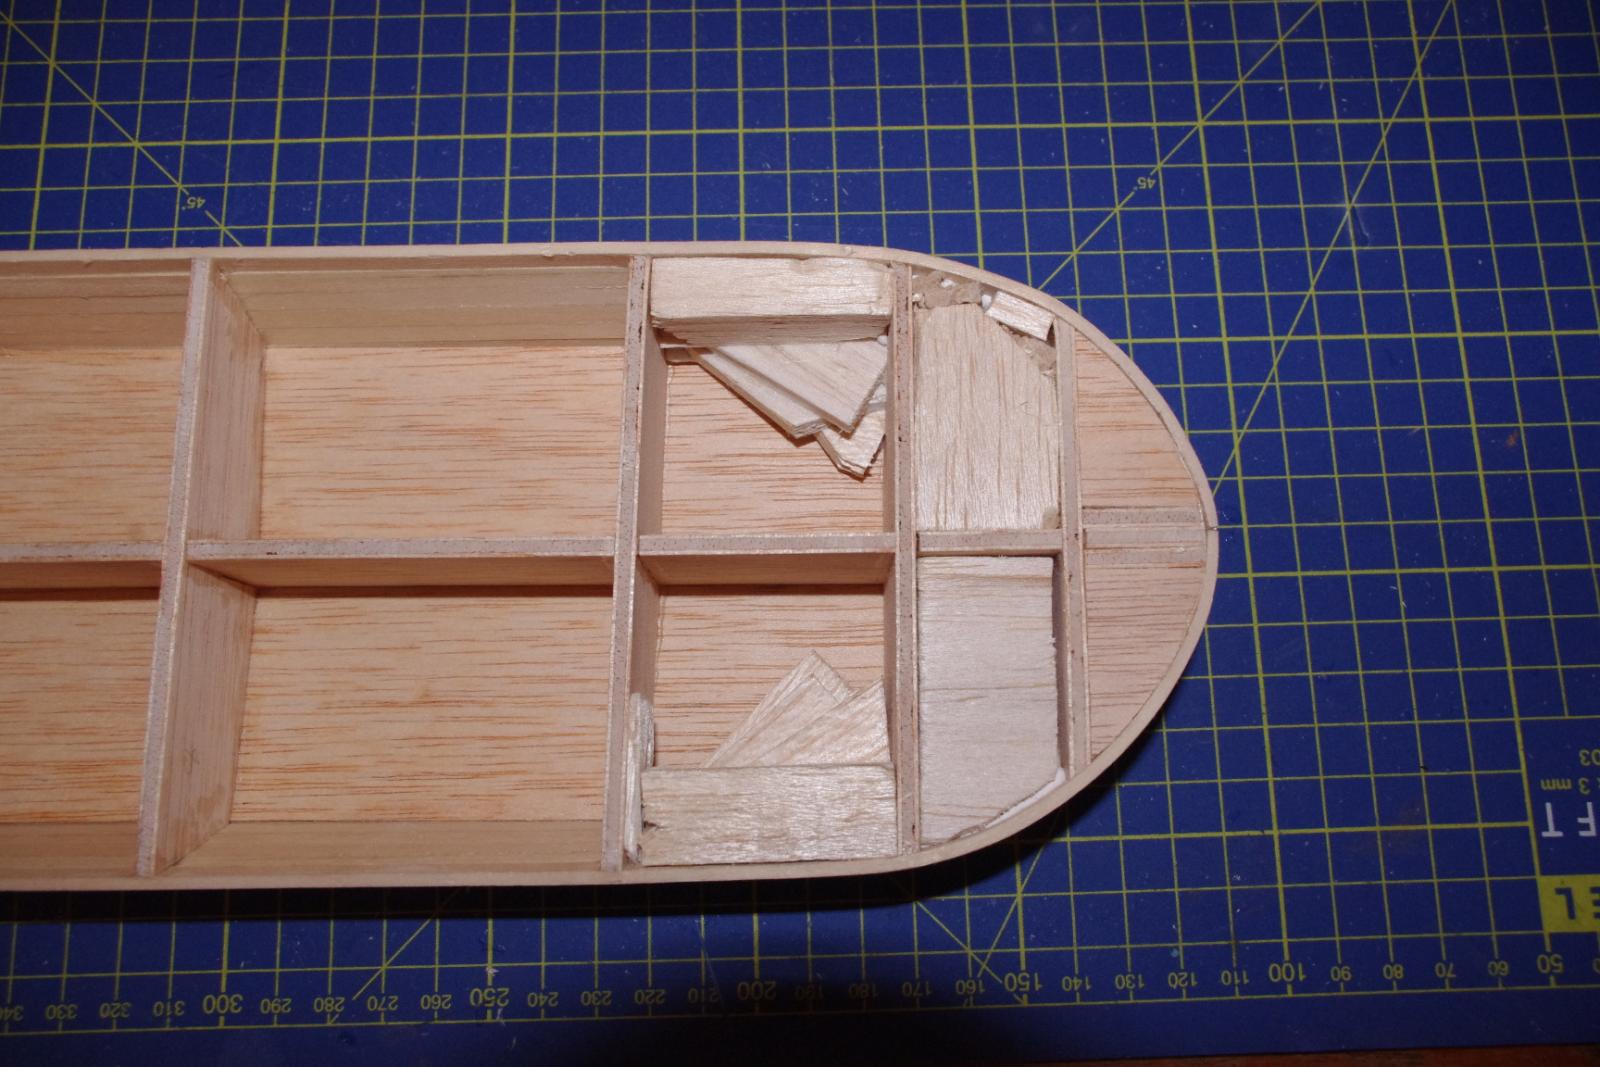
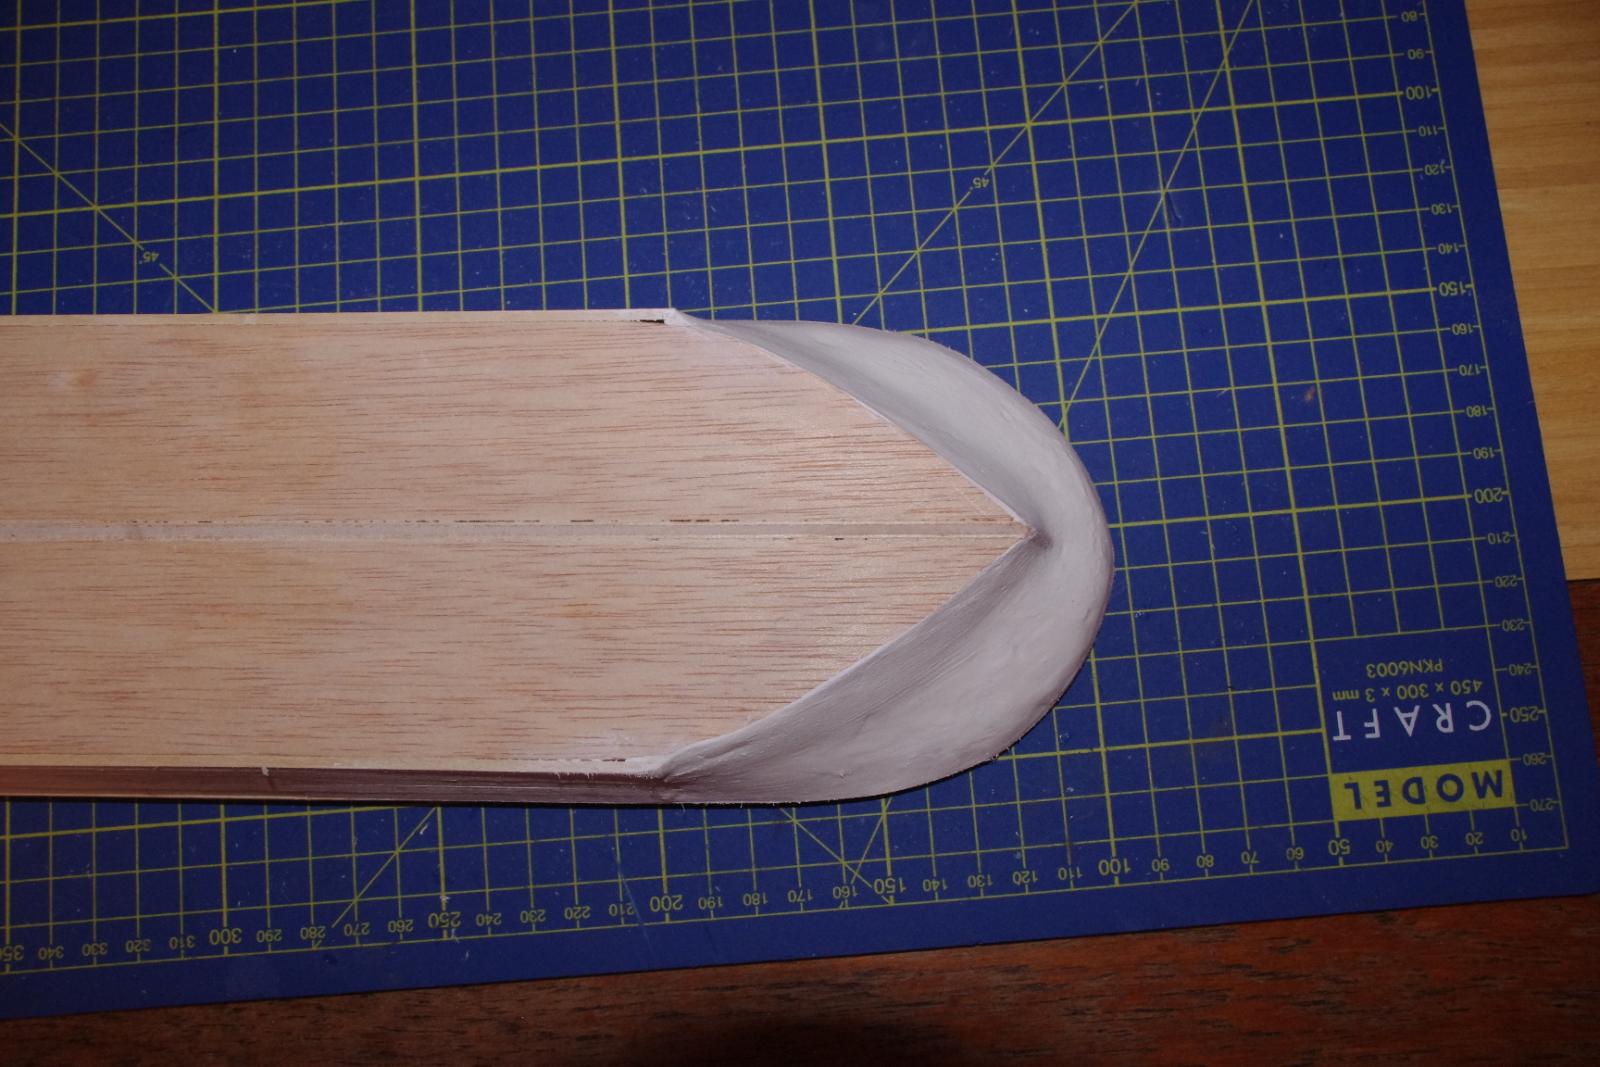
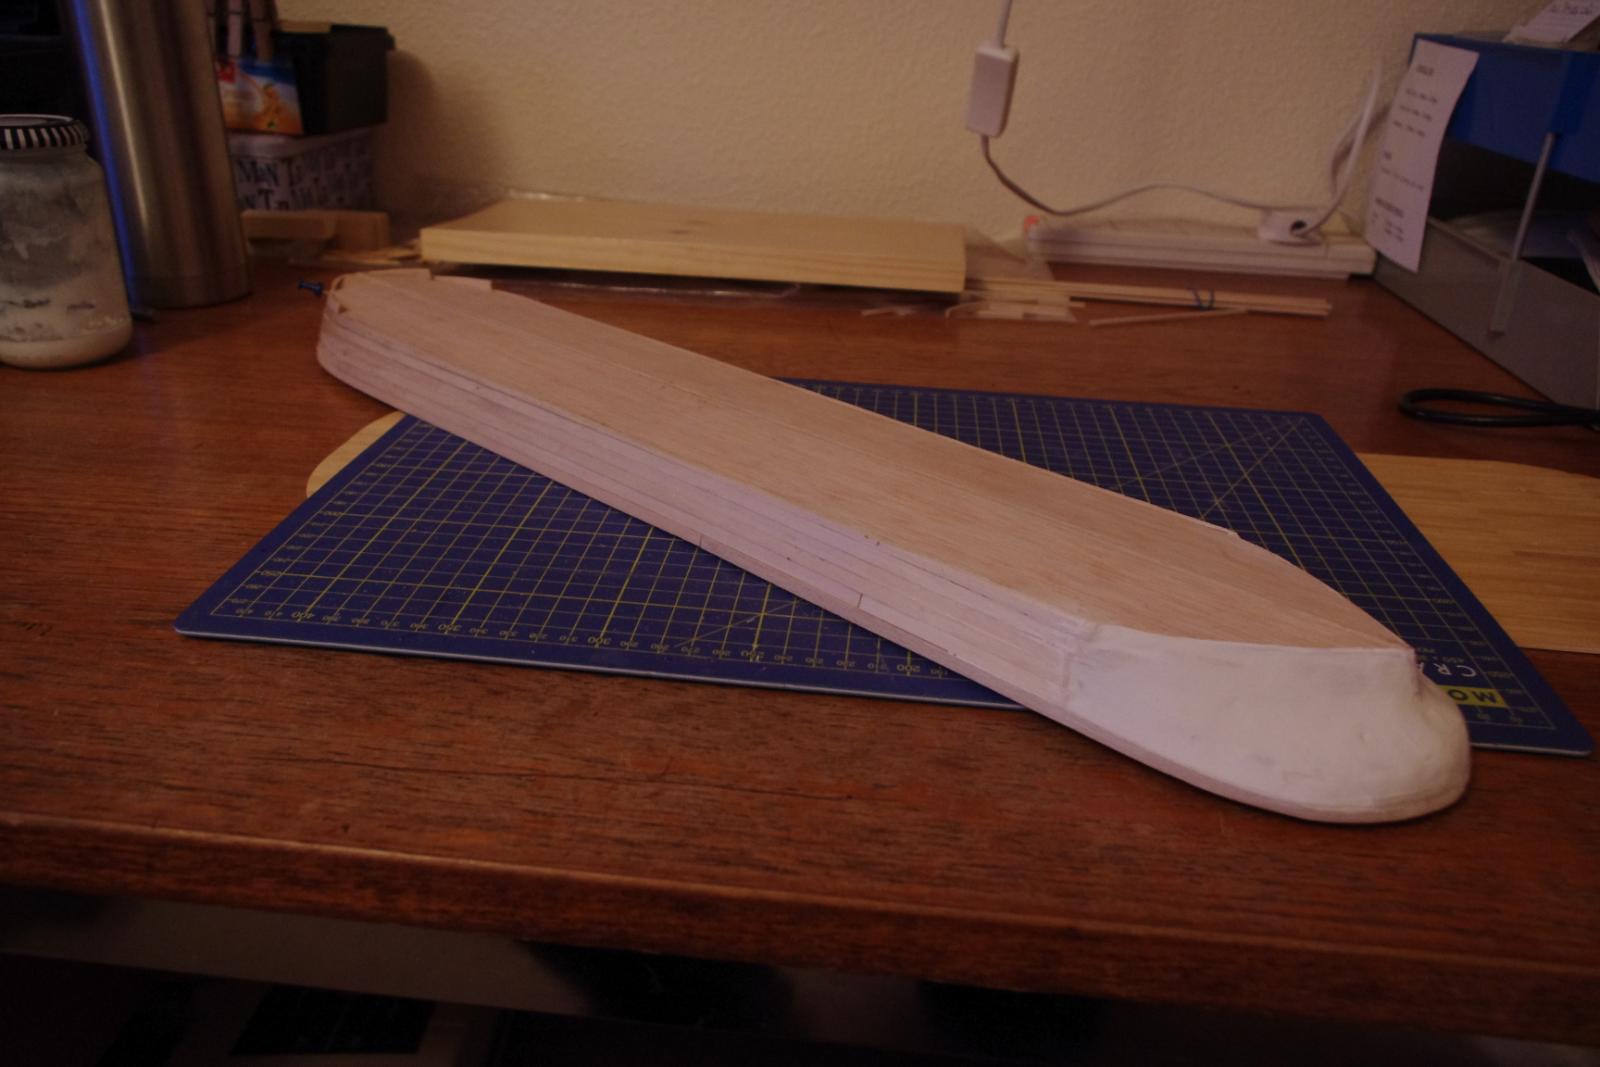
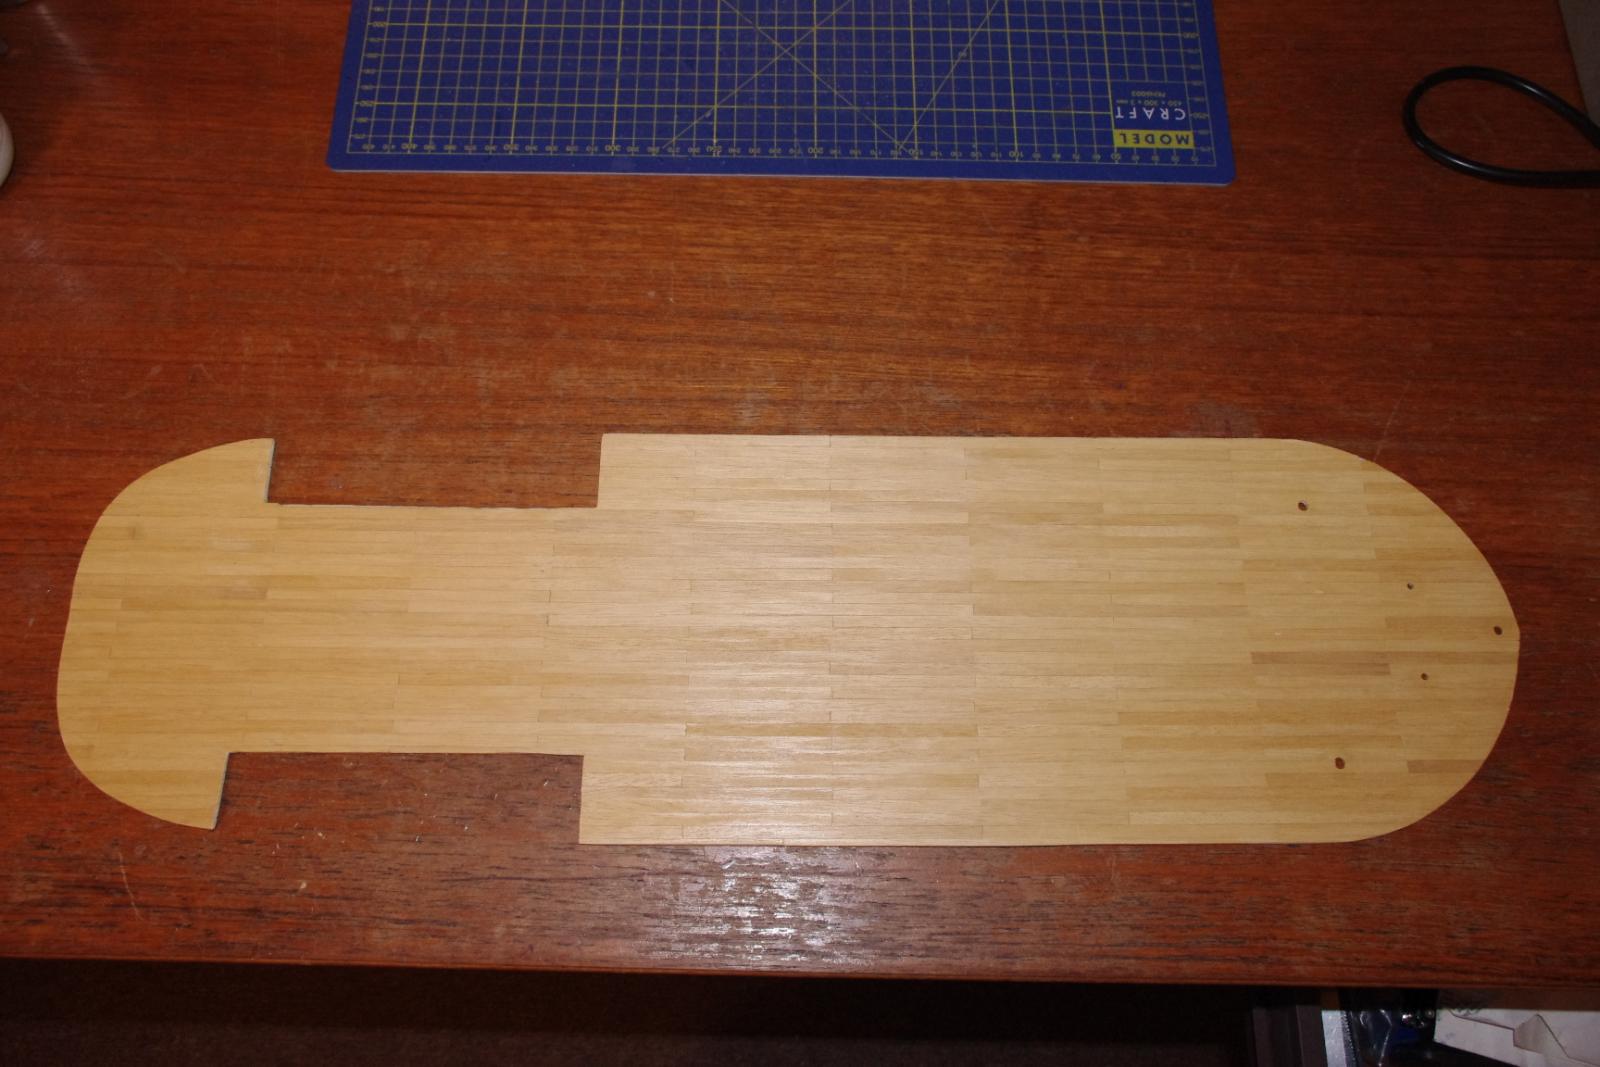
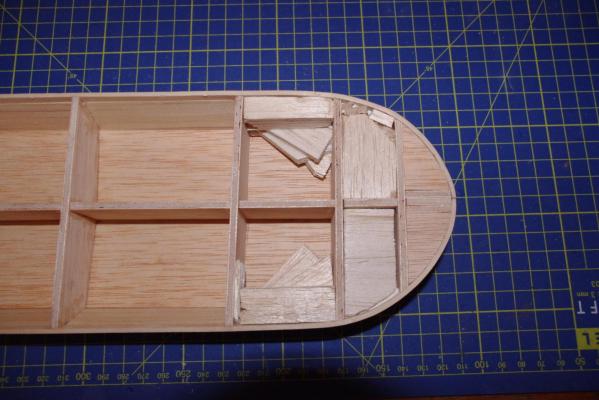
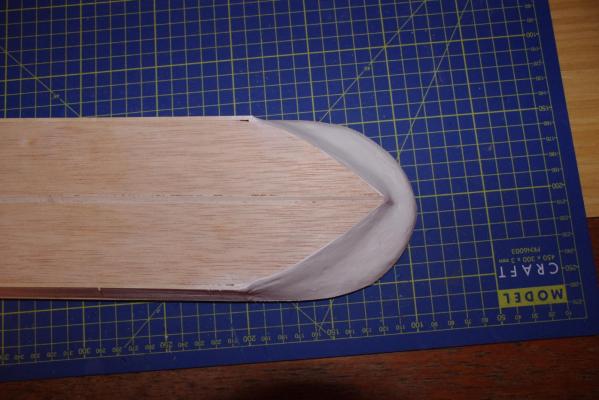
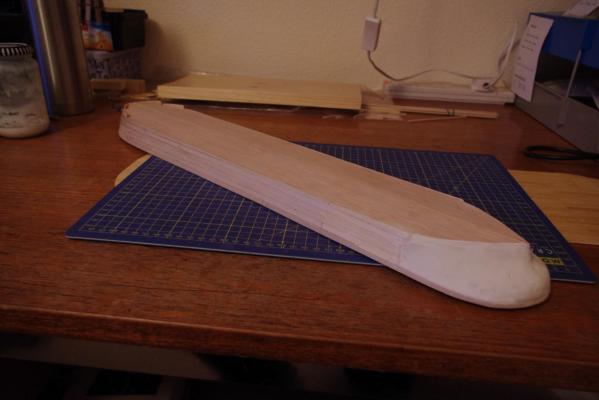
I finally got the hull covered. What a saga ! I thought this was going to be fairly easy but how wrong could I be. It has taken ages and, for all you sadists out there I had to cheat at the stern. I simply couldn't get the 2x5mm wood to bend round it so I had to resort to balsa packing and yes, ashamed as I am to admit it, filler !! I just could not see another way round it. So here are some pictures for you to laugh at !! I still have to trim and sand it all down before the second veneer planking which I sincerely hope will be easier than the first lot ! Whilst waiting for planks etc to dry I did at least get the first deck planked !

- 44 replies
-
- 6
-
-
- robert e lee
- constructo
- (and 1 more)
-
Well about time too ! Been waiting for an update for months !! Despite your trials and tribulations you have done an amazing job thus far ! Be proud of yourself and don't let anyone tell you otherwise.
-
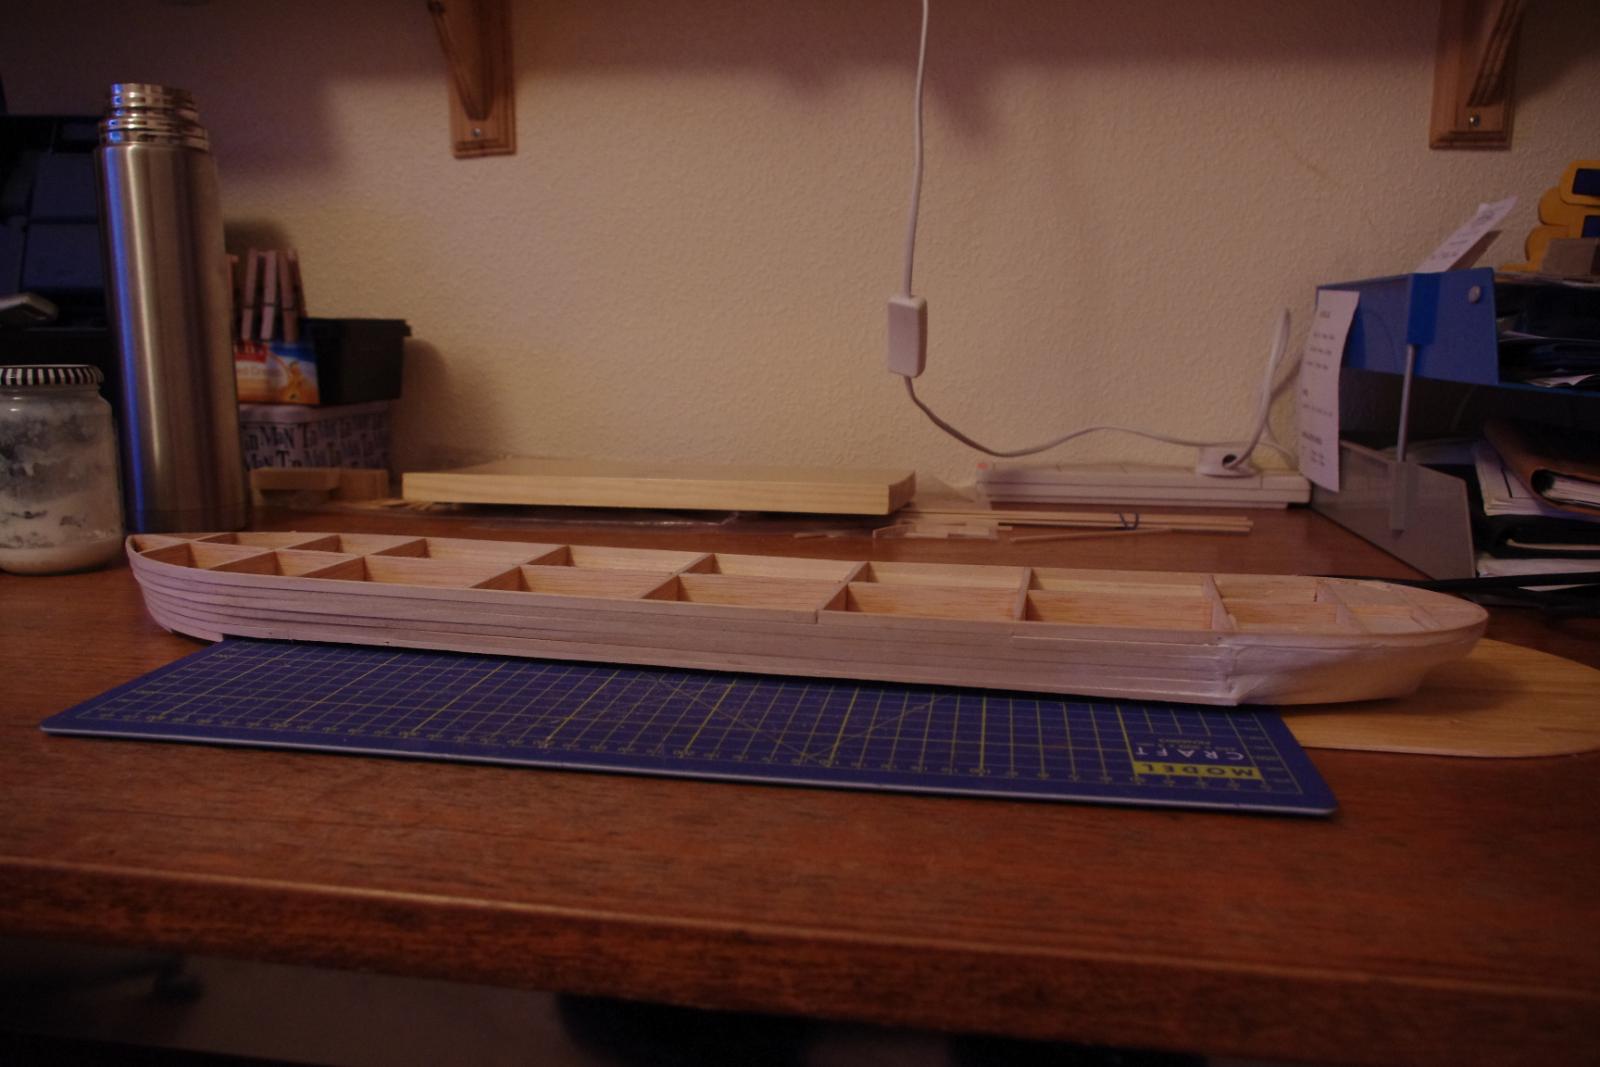
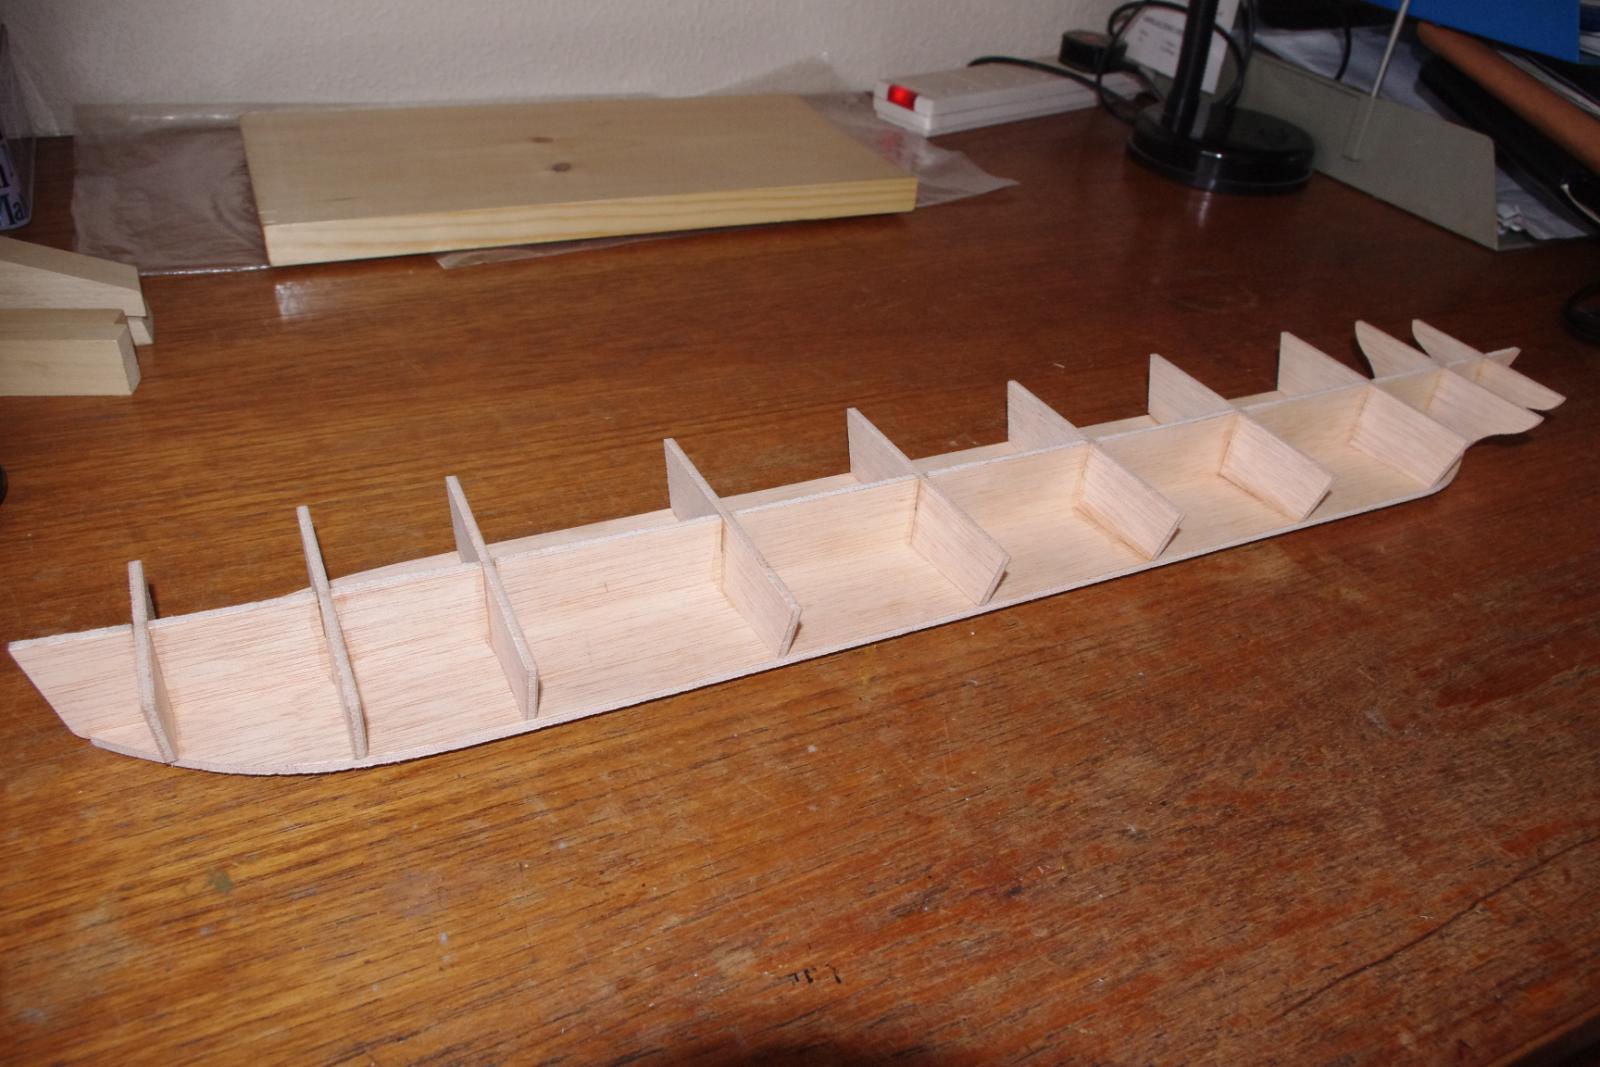
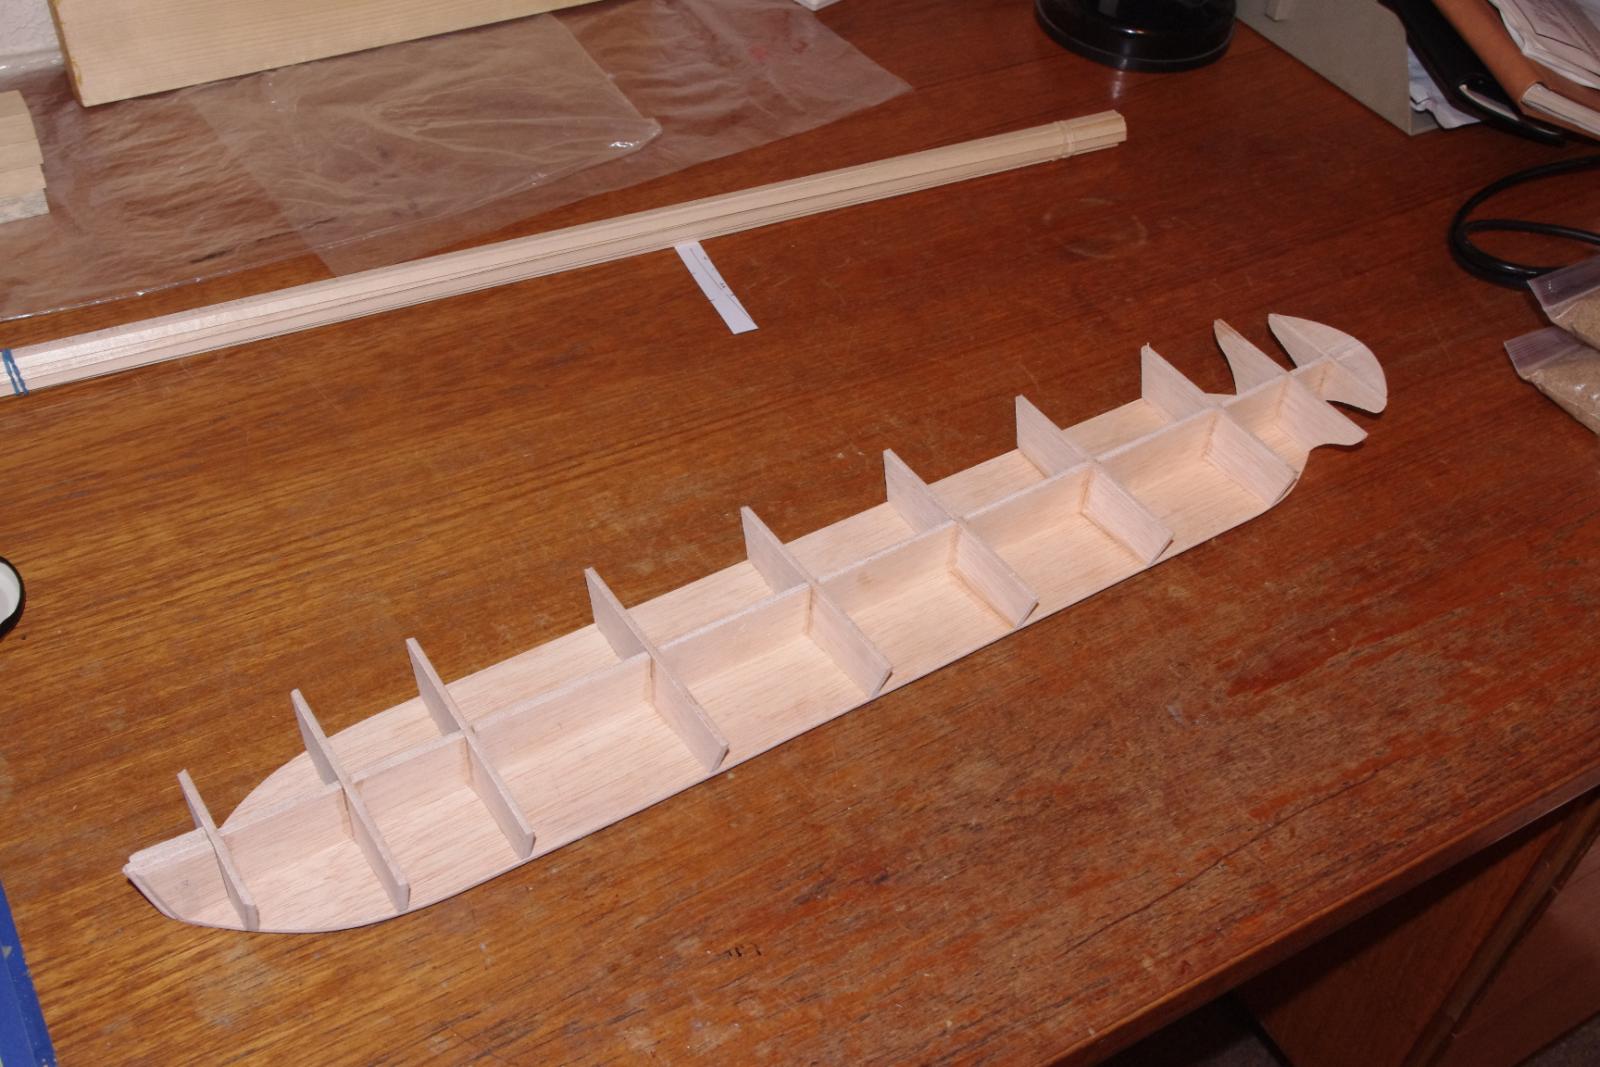
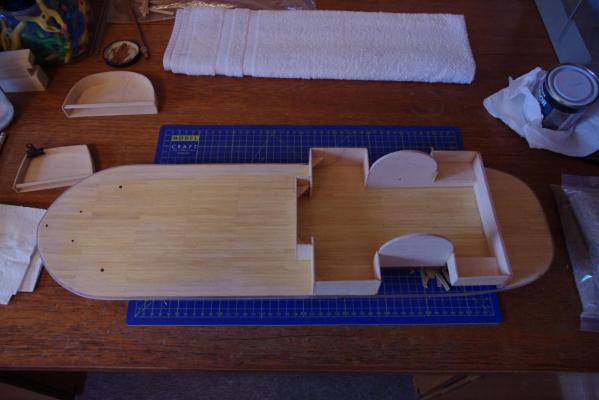
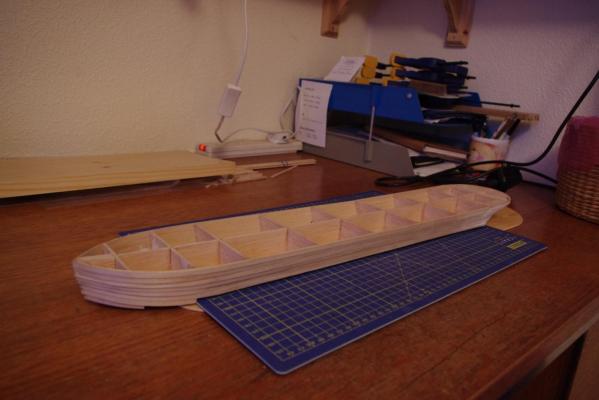
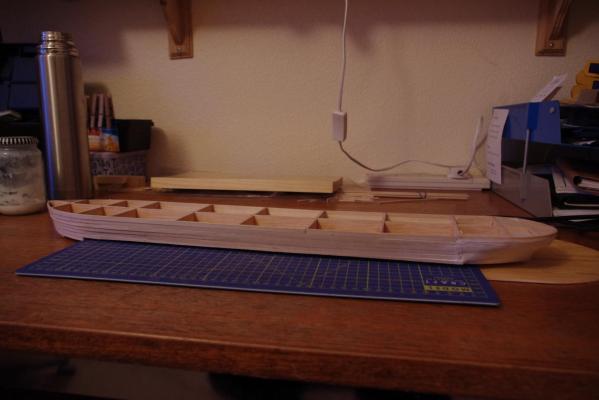
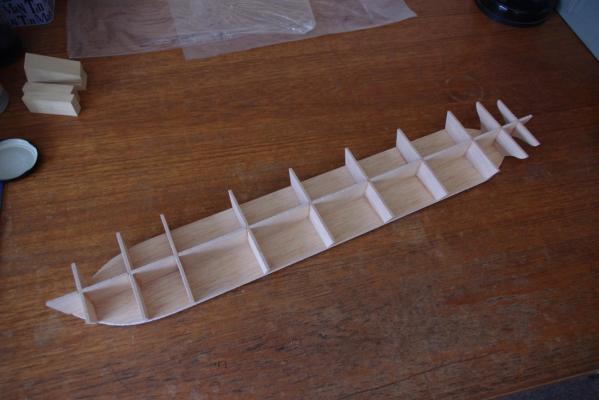
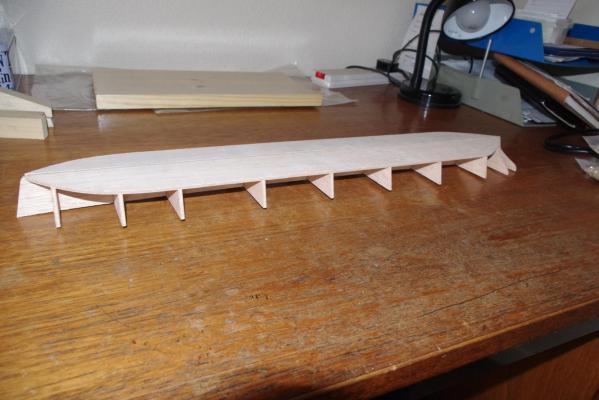
Progress report ! Frames fixed nice and square on false keel. Hull bottom pieces are on. The bow and stern re-enforcements are on and the whole hull has been sanded and faired. Seemed strange to have to fair such a shallow hull but it had to be done. Next stage is the first planking on the hull sides.


- 44 replies
-
- 3
-
-
- robert e lee
- constructo
- (and 1 more)
-
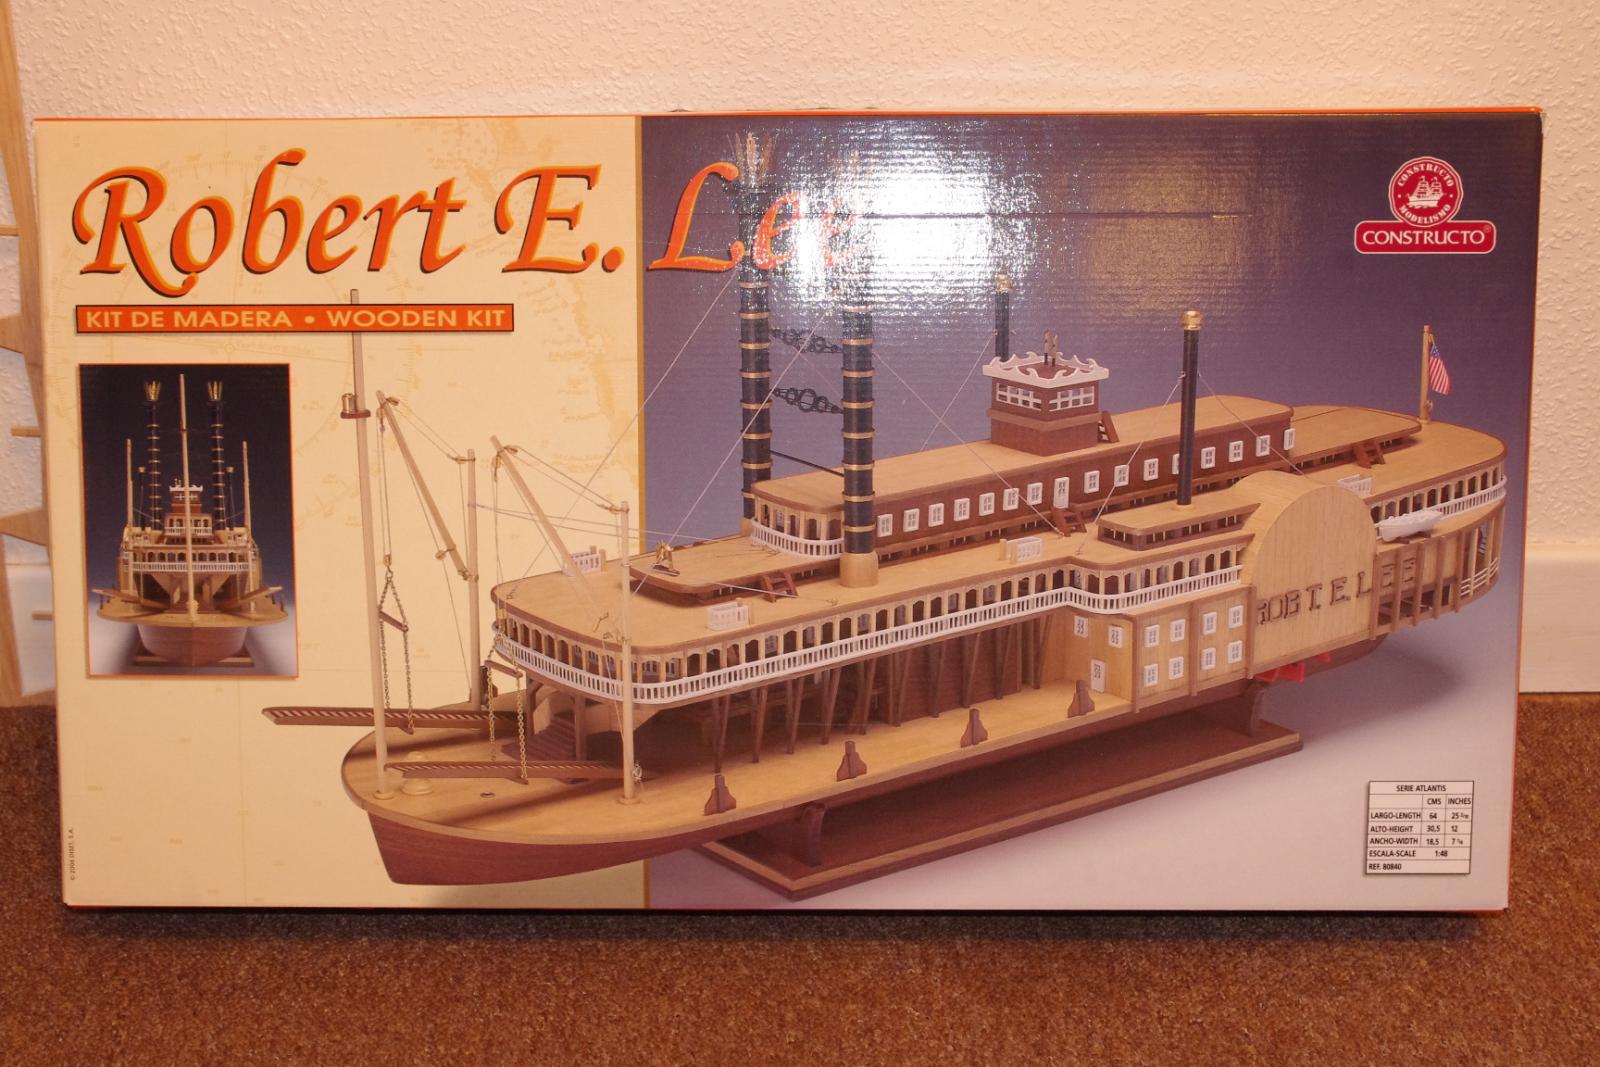
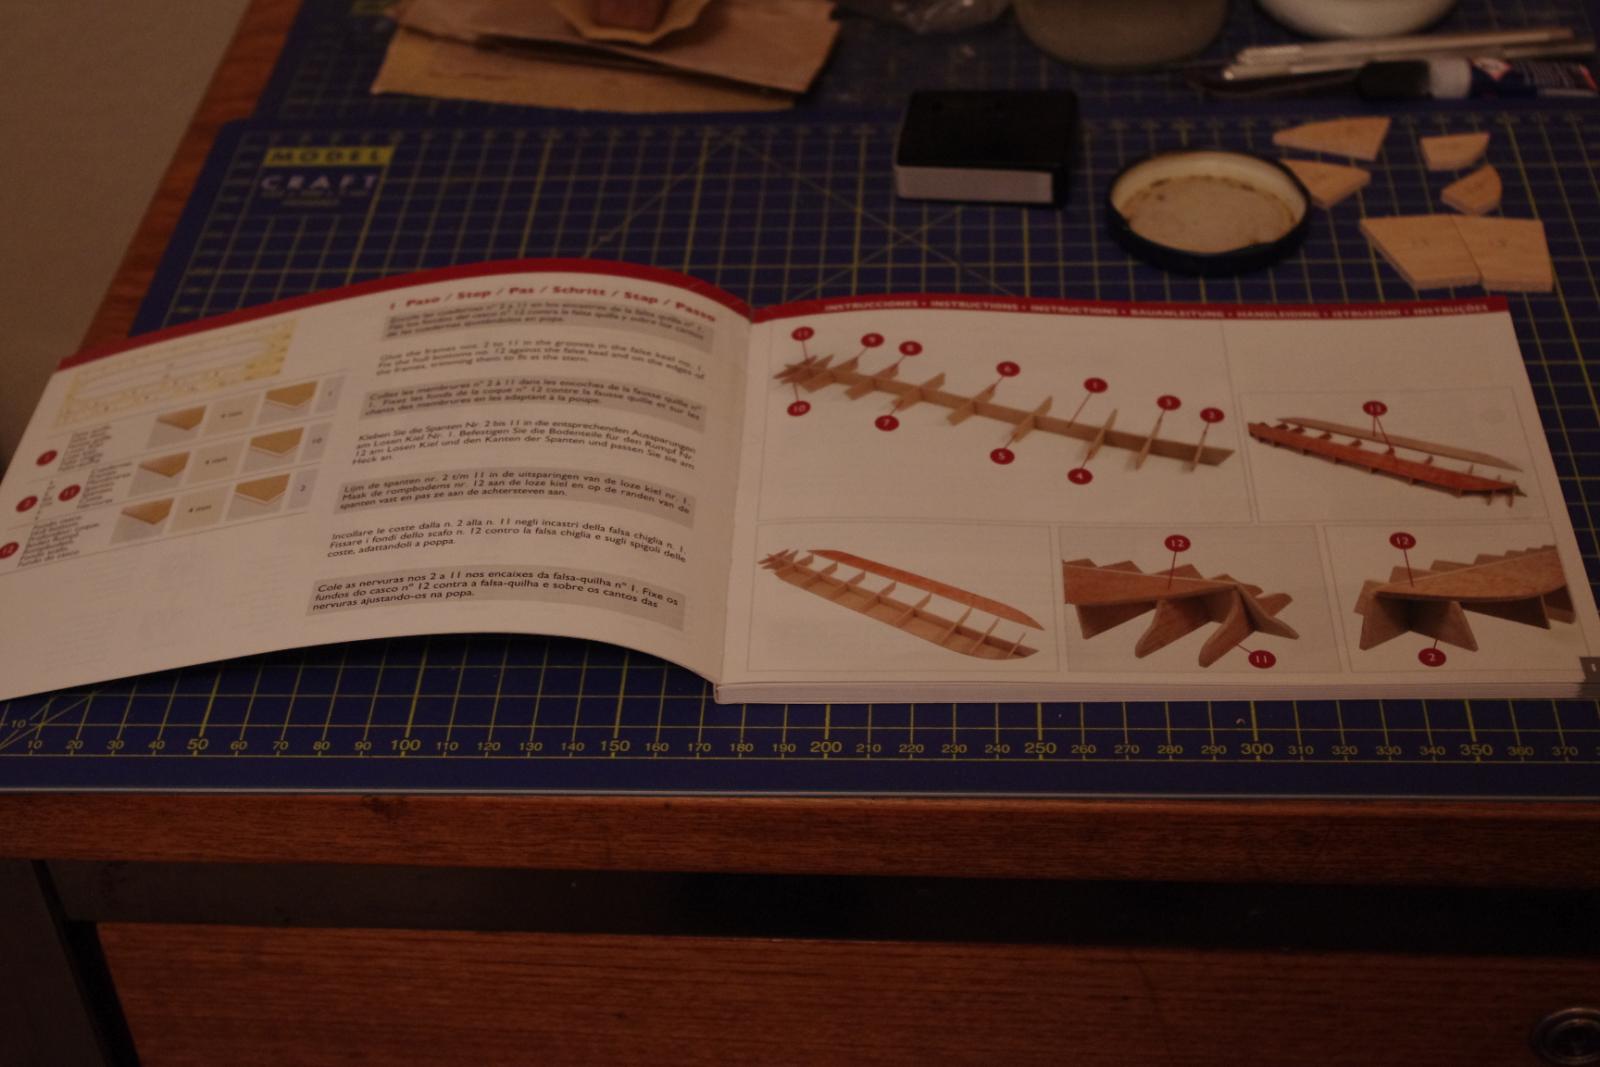
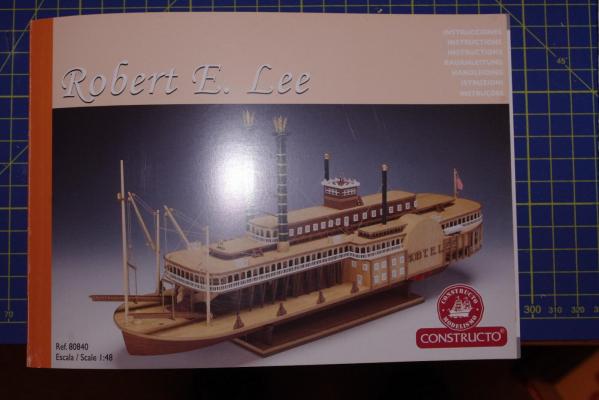
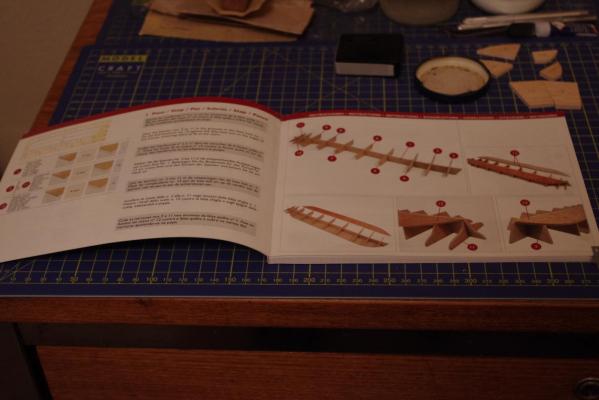
Here we go again, my next project ! I decided to do another paddle steamer, this time a Constructo kit. First impressions, not impressed by the plywood parts. They don't use laser cutting which means you have to cut most of the parts with a knife. The plywood is very thin and quite badly warped but, being so thin I should be able to flatten it OK. Nice bundled wood for the model as I found with the Louise. Reasonable instruction book with photos and two 1/1 sheets showing side elevations and overhead deck diagrams. So, first thing as usual is to put frames on the false keel which will lead to double planking of the hull.


- 44 replies
-
- 3
-
-
- robert e lee
- constructo
- (and 1 more)
-
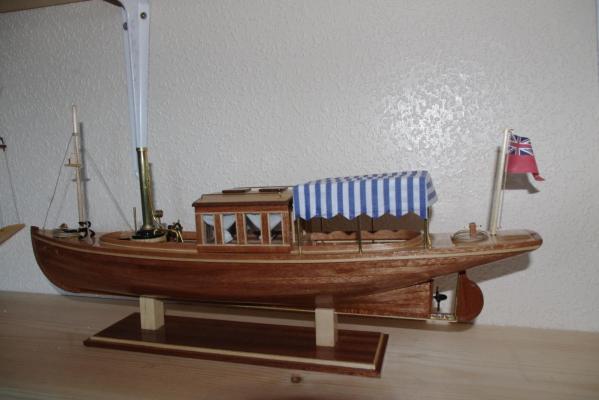
Especially for mcrwilk ! Louise is now flying the red ensign !!!
- 26 replies
-
- 4
-
-
- louise
- constructo
- (and 1 more)
-
The only reason I put the Union flag on Louise is because that is what came with the kit. Also it is printed on pre-glued paper so there is no point in trying to soak it and any bend you try to put in just straightens itself out again. Anyway, I don't really feel that it detracts from the rest of the boat.
- 26 replies
-
- 1
-
-
- louise
- constructo
- (and 1 more)