-
Posts
63 -
Joined
-
Last visited
Content Type
Profiles
Forums
Gallery
Events
Everything posted by nancysqueaks
-
I am slowly selling wood I have collected over the years. Firstly some Boxwood. This wood in the main was felled in the late 1970's, and is of high quality with no splits or shakes, any knots - about two or three small, I have not included in the measurments. Total weight 9.5 kilos, with the following nominal sizes, all smaller than actual. All sizes in milimetres 28 x 28 x 295 - 16 pieces, 24 x 24 x 240 to 280 - 3 pieces. 24 x 24 x 390 - 1 piece, 38 x 45 x 245 - 4 pieces, 55 x 50 x 110 - 1 piece, 50 x 40 x 110 - 1 piece, 63 x 130 x 29 - 1 piece, 90 x 107 x 20 - 1 piece, 65 x 19 x 175 - 1 piece, 85 x 13 x 155 - 1 piece, 92 x 23 x 314 - 1 piece, 110 x 30 x 288 - 1 piece, 124 x 15 x 420 - 1 piece. I am asking £75.00 to include courier delivery (1 day), payment by paypal. This is for UK mainland deliveries. I will be sorting some more box in log if anybody is interested, together with a large plank of steamed pear approx 7 ft x 9inch x 2 inch, please email me. Here are some photos of the box wood. Thanks for looking. Nick
-
Unfortunately I am having to cut down modelling using power tools, and have had to reorganise my hobbies to be more kit orientated. So I have the following books for sale: The Fully Framed Model, by David Antschert, and Greg Herbert Vols, I, II, III, and IV, all in mint condition. Complete with the plans set on mylar film, and the USB drive with PDF frame drawings to print. Price: £150.00 including delivery to UK mainland, other destinations by arrangement. The Naiad Frigate, by Edward J Tosti Vol 1 and Vol 2. Complete with the two CD's and folded plans, All in mint condition. Price: £95.00 including UK mainland delivery, other destinations by arrangement. Prefer Payment by Paypal. Thanks for looking, Nick.
-

Admiralty model query
nancysqueaks replied to iMack's topic in Building, Framing, Planking and plating a ships hull and deck
Hi, I'm sure other members will reply but being in this position 40 odd or so years ago I found Underhill's Plank on Frame Models Vol 1, and Longridge's The Anatomy of Nelson's Ships to be the most useful books to really appreciate initially how frames can be lifted from drawings. Both books are really towards the end of the spectrum of wooden shipbuilding and the actual differences in period is insignificant when appreciating how ships three dimensional shape is represented in the 2 dimensions. Both books give the introduction to start to understand Steel and other similar writings that look at other complex ways of describing the hull form. I think Bob's comments are very to the point and very well explained. Regards, Nick -

Unto All Who view these Presents: Greetings
nancysqueaks replied to Tom Matthews's topic in New member Introductions
Hi Tom, this is all from memory, but there is a very useful book by David Lyons, who was the curator of the draft section at the Maritime museum. I think it is called The First Destroyers and was a rather interesting book with a lot of drawings and photo's of the first Torpedo deploying Destroyers. I have a vague idea I may have the book somewhere and I will advise if the book turns up. I am also pretty sure there was a detailed plan of an early destroyer from about 1906 in the flyleaf. I hope somebody will be able to provide more detail. Regards, Nick -
Hi Doug, I have just looked at you build log of the Leon, really very nice work. Years ago I discovered Underhill's work and was impressed that here was an amazing resource when such resources were non- existent apart from odd sources such as Davis. I eventually started re-drafting from poorly reproduced drafts and were what I felt was in places deviations from full size practice in order to produce and acceptable build in those days. the horn timbers were a case in point. That is not to say many lovely models have been produced. A member of this forum Jack Nastyface produced an excellent model before the MSB crash, and may be contactable. However my source is purely from the book Plank on Frame Models Vol 1. My interpretation may be incorrect. On page 80 diag. 58 is a small drawing of the deck beams and the chocks. There is a diag. 57 showing fabrication of lodging knees. A following couple of diags. on page 108 indicating normal practice, not used in the Leon. The last para on page 109 is appropriate to read in conjunction. NOW does this mean hanging knees were omitted, or have I as said before gotten it wrong? A model in a museum in Dartmouth, up the coast from here shows no hanging knees, though it is fully planked and coppered and difficult to ascertain, it is obvious the model was build following Underhill to the letter. I have no rememberance of Jack Nastyface's model having hanging knees either. As I may have stirred up a hornet's nest, I apologise if this is all in vain. However by my reckoning it would be iron if hanging knees were fitted. Regards, Nick
-
Ben, thank you for this information. I have just ordered the sled, answers a real requirement for the Byrnes saw. Nick
-
Hi All, I thought I had better bring this log a bit up to date. Well I am nearly, but not quite ready to resume the build log. Having followed the other builds on this forum, I do realise I will have to improve my build standards! So I have started again!! I will post as soon as I have something worth showing, as really it is just a repeat of my prior posts. So just to re-assure that I am not deserting the post! Regards, Nick.
- 20 replies
-
- maly modelarz
- Batory
-
(and 1 more)
Tagged with:
-
Dan, I really had to say what a wonderful model you are making and, and as such makes me want to get going on my Batory. Thank you for all the hints and tips you have given. Very inspirational, kind regards, Nick.
- 295 replies
-
- amatsukaze
- halinski
-
(and 2 more)
Tagged with:
-
Hi Danny, sorry I didn't notice your query very quickly. Yes I will be continuing the Batory - I won't put a date on it but should be over the next month. Life has a habit of throwing a few curved balls, and I seem to have had my share over the last 2 years or so. I have purely by chance met a card modeller from Poland, but unfortunately my Polish is about as good as his English. However it seems that the Polish forums consider the Batory difficult and some of the smaller parts virtually impossible to construct. We will see! I am finding the three card models builds of Catopower, Capt. Slog, and yourself very useful, and I can see myself redoing some of my build in the light of that information. Kind regards, Nick
- 20 replies
-
- maly modelarz
- Batory
-
(and 1 more)
Tagged with:
-
Hi everybody, it's been rather longer than I expected to make another entry in this build log due an unexpected problem with double vision. Fortunately nothing serious, caused in all probability by wearing old and bent glasses for certain activities. Has all been sorted by wearing a corrective lens for a couple of months. So I do hope to resume this log in the next couple of weeks, regards, Nick.
- 20 replies
-
- maly modelarz
- Batory
-
(and 1 more)
Tagged with:
-
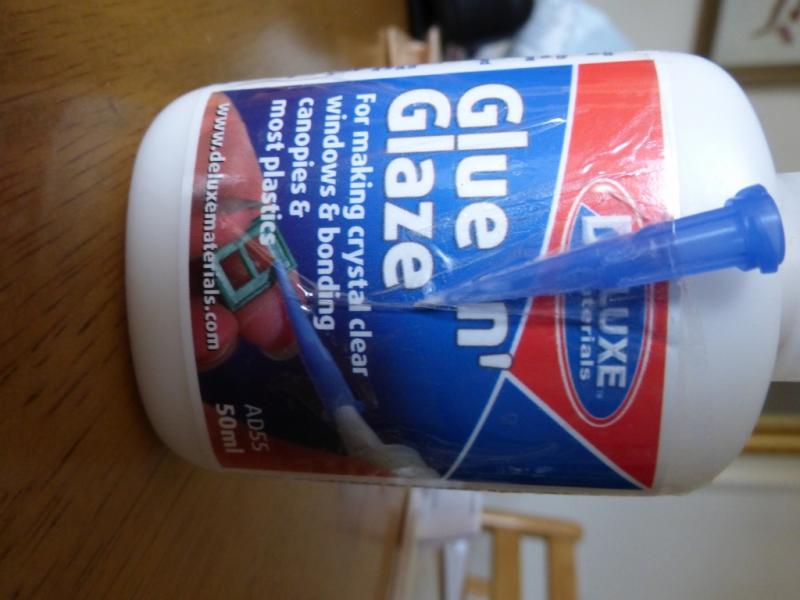
Hi Slog, I am following your build as a template of methods and ideas, very crisp work indeed. I am using the Roket glue you mentioned and find it very fast to grab, strong but as yet untested on large areas. Another product from the same company is Glue n' Gaze, originally for use as a glue on clear plastics. However it is also used to make clear windows up to about 6mm and works very well. The method used is to slowly pull the glaze across an opening, translucent at first dries to clear in about 2 minutes or so. The portholes are very impressive, and I intend to use a similar method, so thanks for all the methodology. Regards, Nick.
- 244 replies
-
- borodino
- dom bumagi
-
(and 1 more)
Tagged with:
-
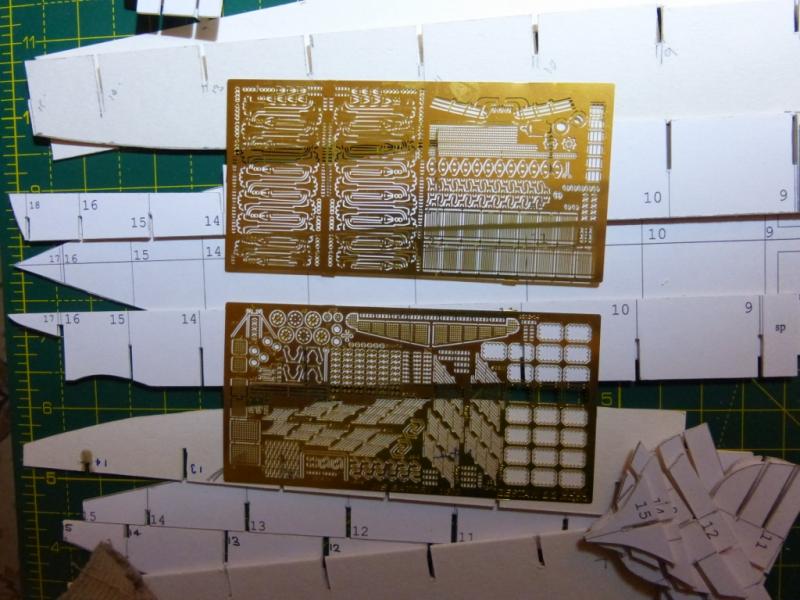
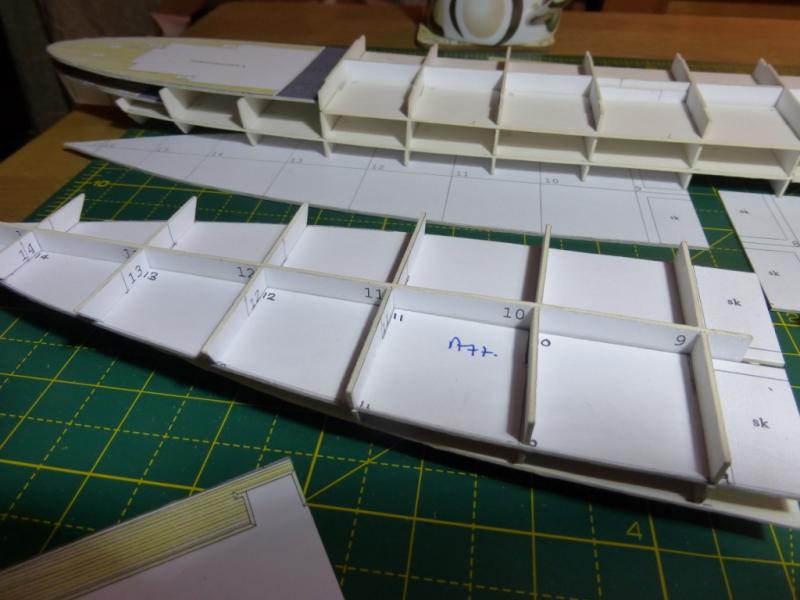
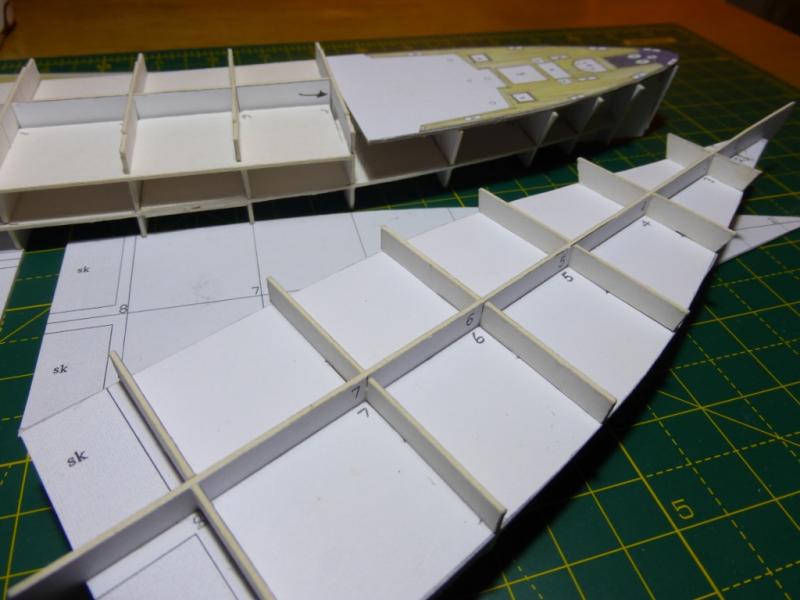
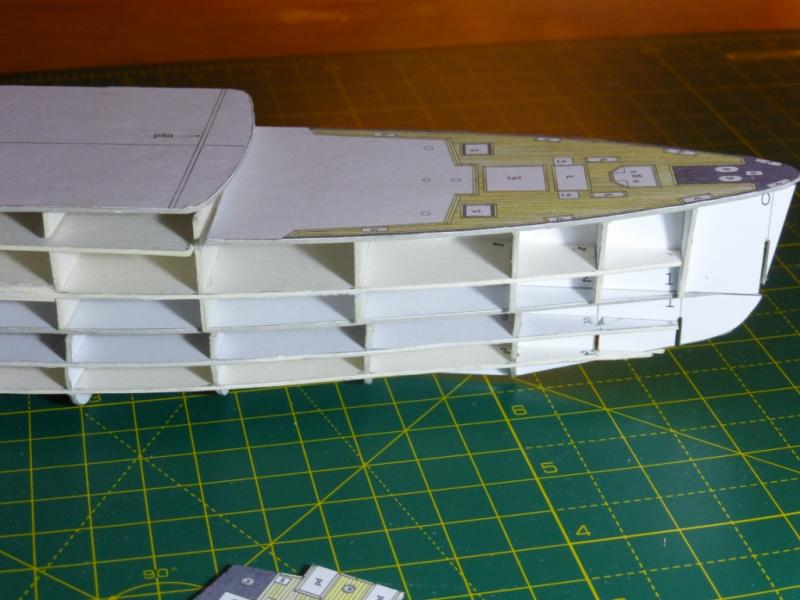
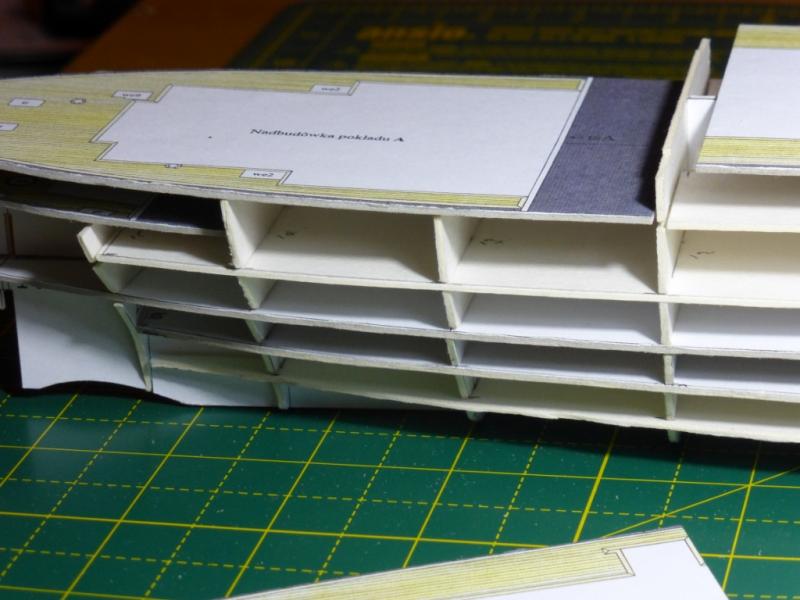
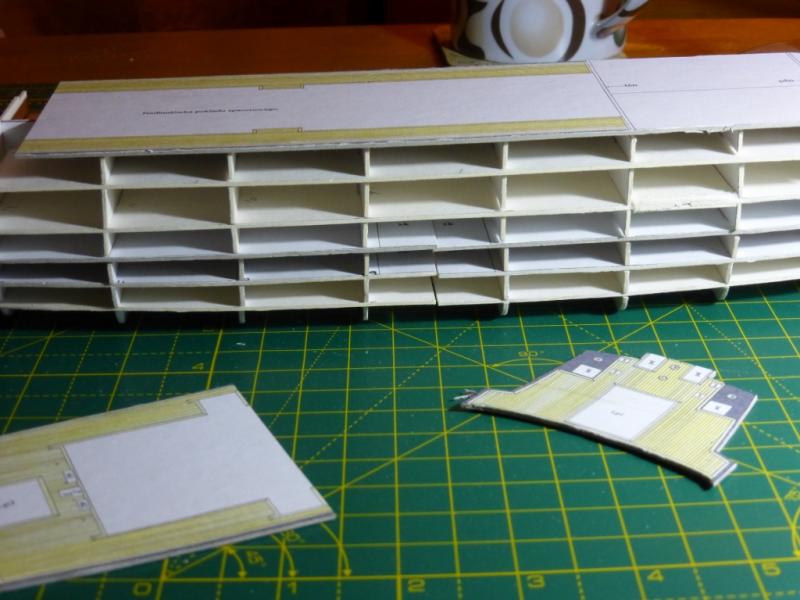
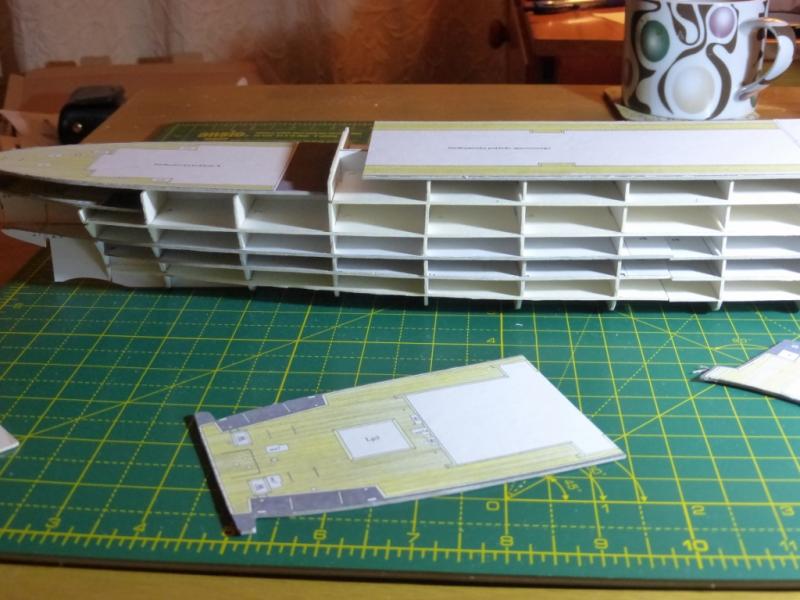
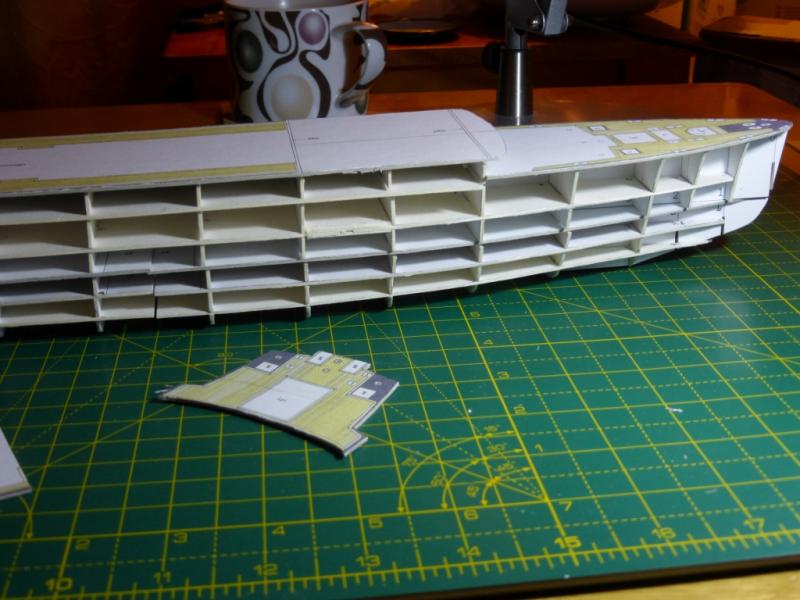
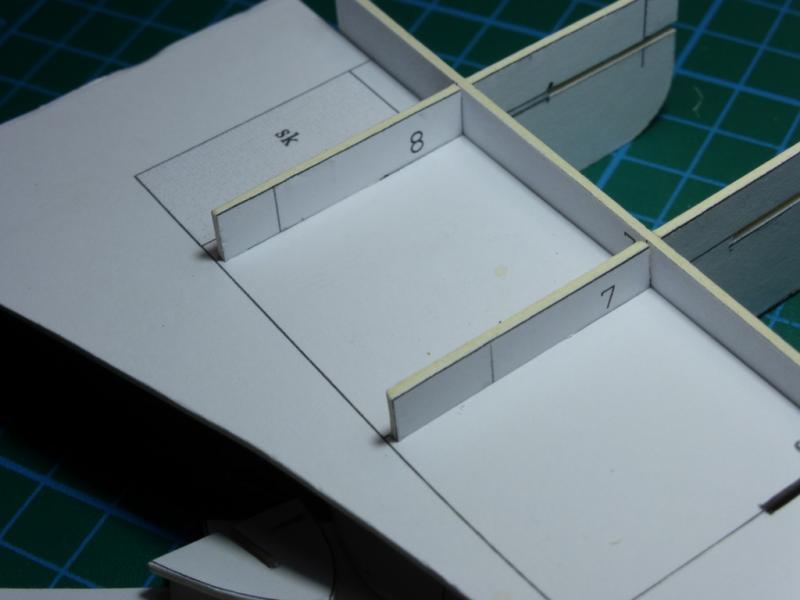
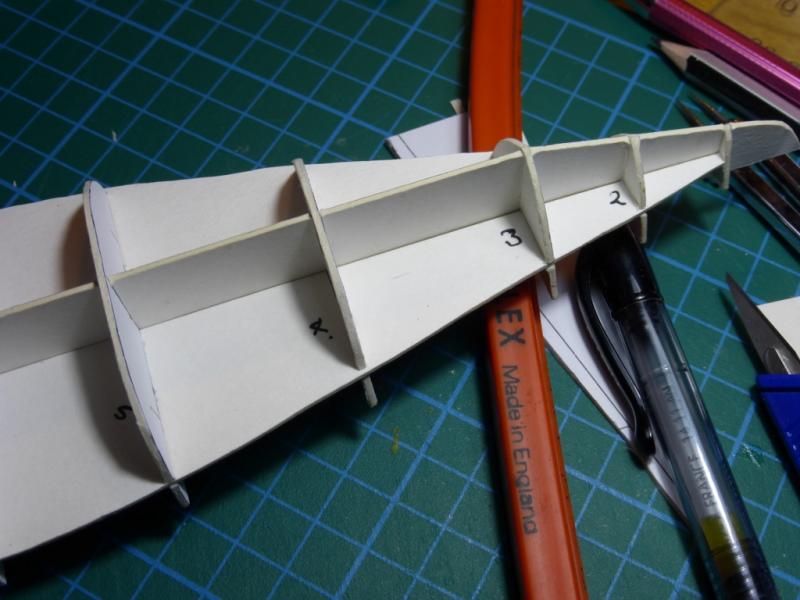
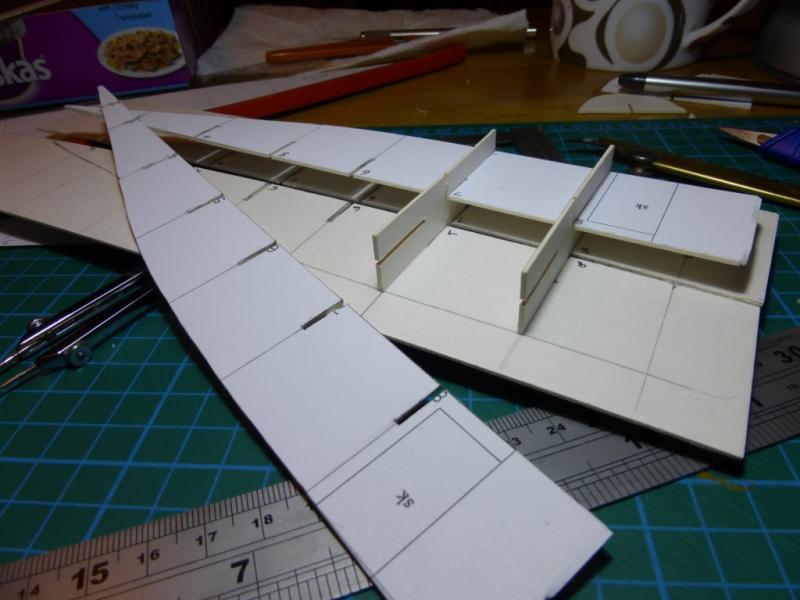
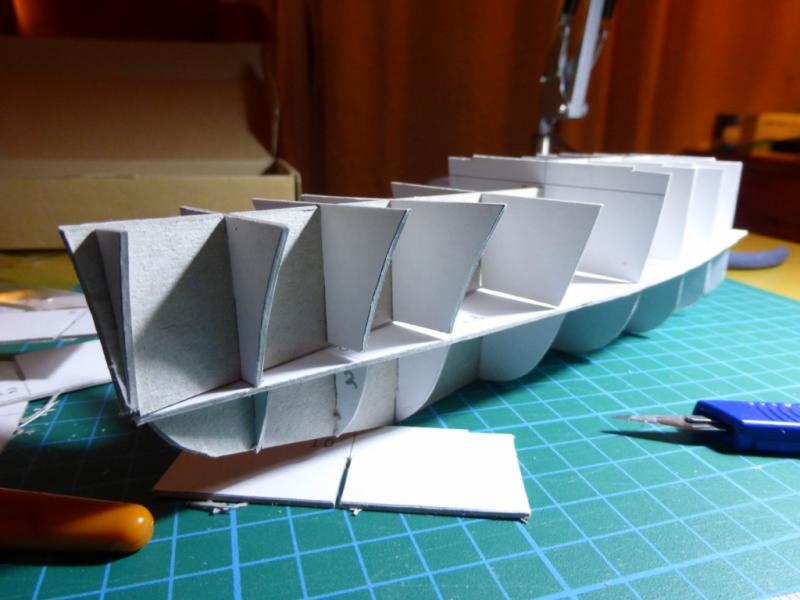
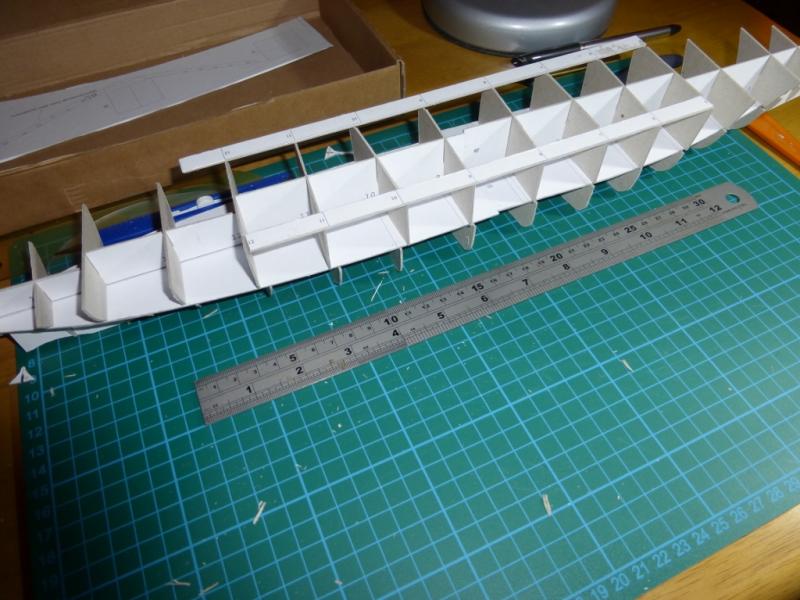
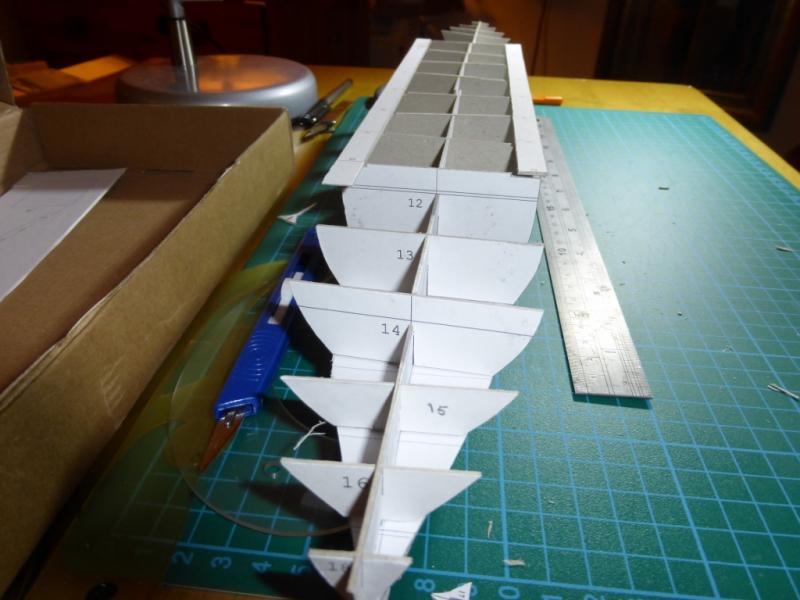
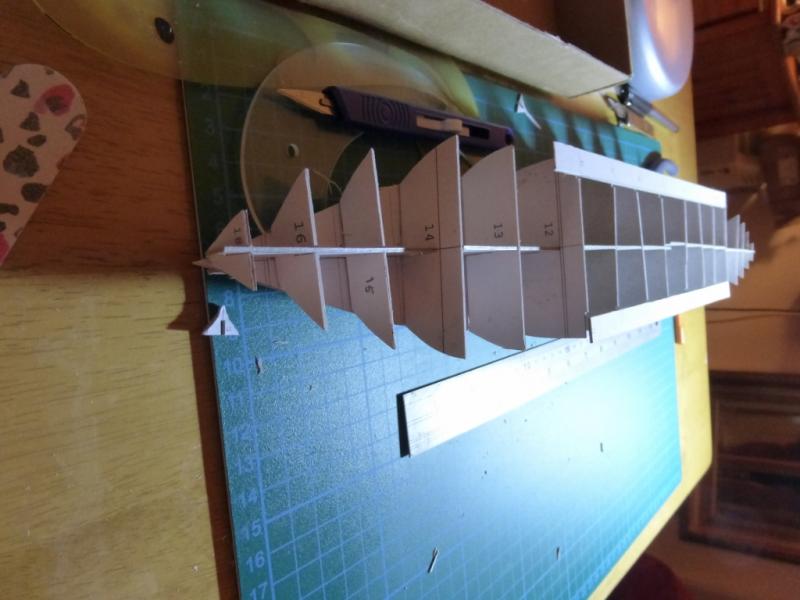
Hi to all, This is a rather brief update of the modification of the frames by incorporating four extra cardboard 'decks'. This is only a dry assembly in order to work out the areas where some more attention may be required. I am a little further on from here, but have yet to take any photos, but have remade 3 of the bulkheads that were a bit out. I am also fairing both the new decks and incorporating balsa filling at the stern and stem prior to final assembly. The photo etch has arrived and initially felt I was cheating, but have changed my mind considerably as it really will add to the build in areas that would just be impossible. On this post I have left any detail as I think it is obvious what I have done to strengthen the hull. I plan to use balsa stringers to reinforce the mounts. I'm sorry about the quality of the photos quickly taken and hand held. Regards, Nick
- 20 replies
-
- maly modelarz
- Batory
-
(and 1 more)
Tagged with:
-
Hello all, Many thanks to Slog for putting me on the right track for posting photos and description. I have to admit it was causing me extreme frustration, and I'm not too sure whether I would have sorted that one. Thank you for Tadheus and NJQUACK for your likes. I'm resting up from the build to get the garden ready for winter, it's supposed to be Autumn in the UK but we have been enjoying Spring like temps. I will also attempt to finish the hull in skeletal form before posting. Regards, Nick.
- 20 replies
-
- maly modelarz
- Batory
-
(and 1 more)
Tagged with:
-
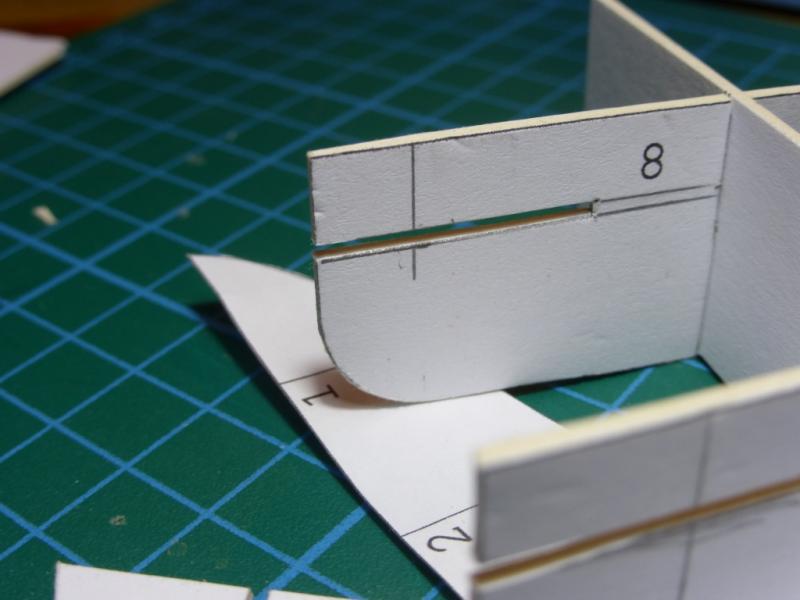
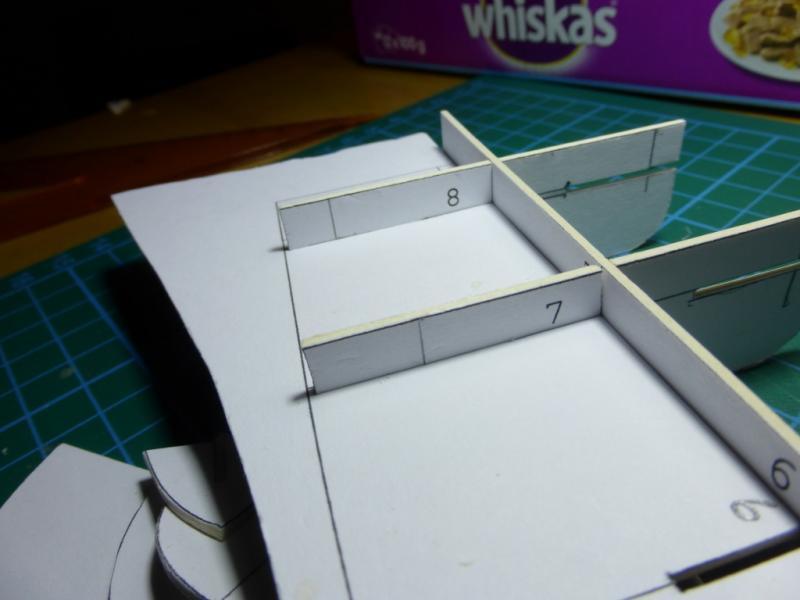
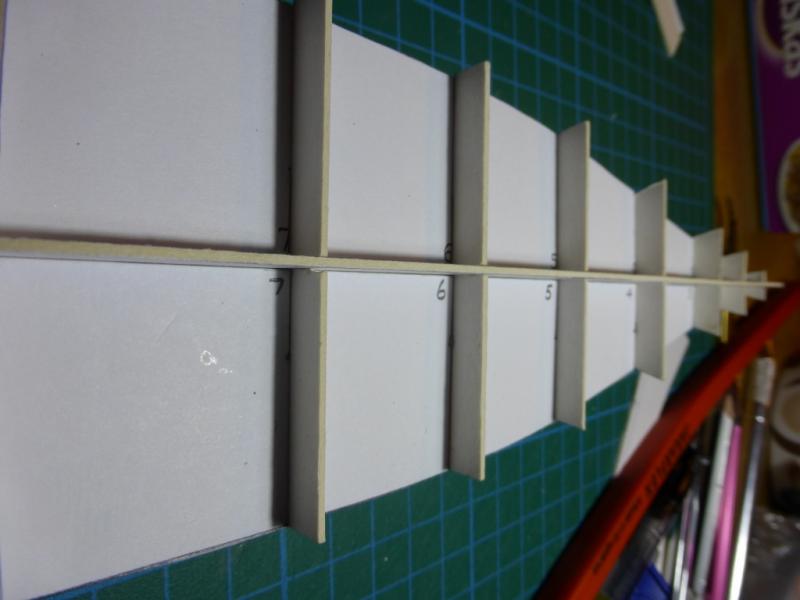
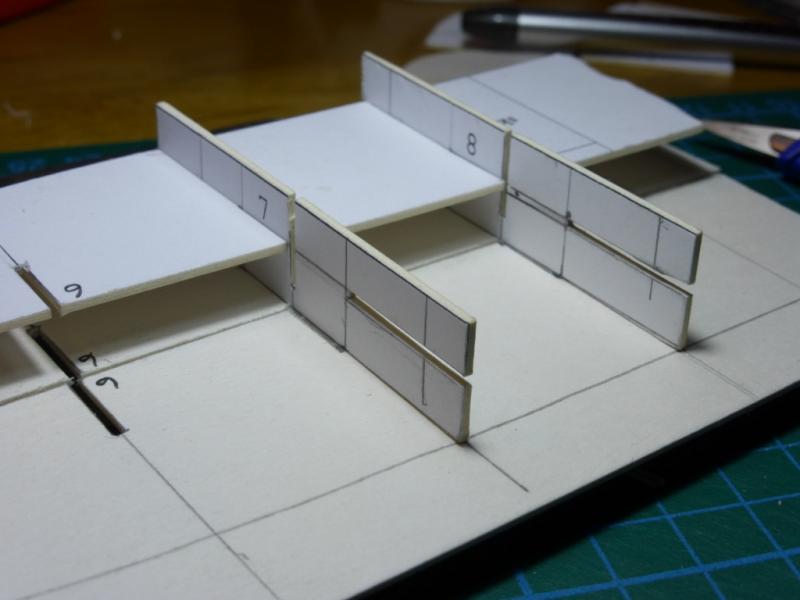
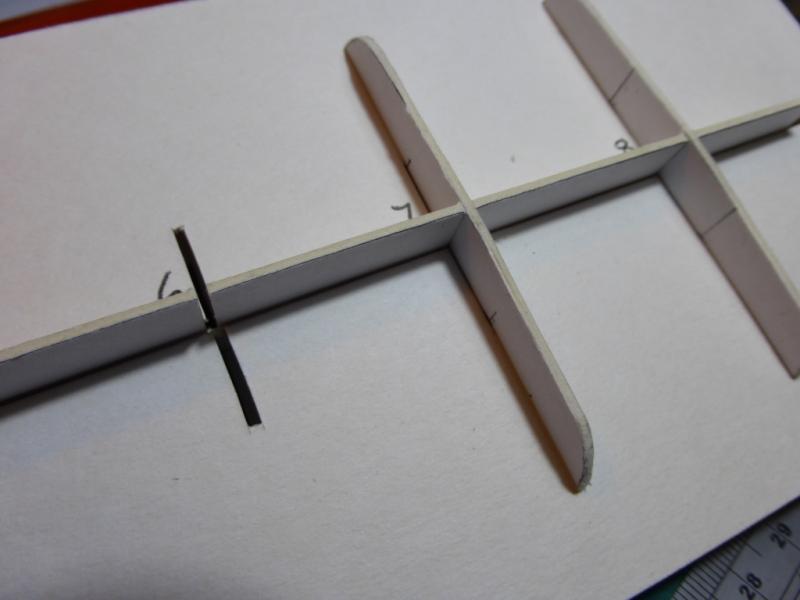
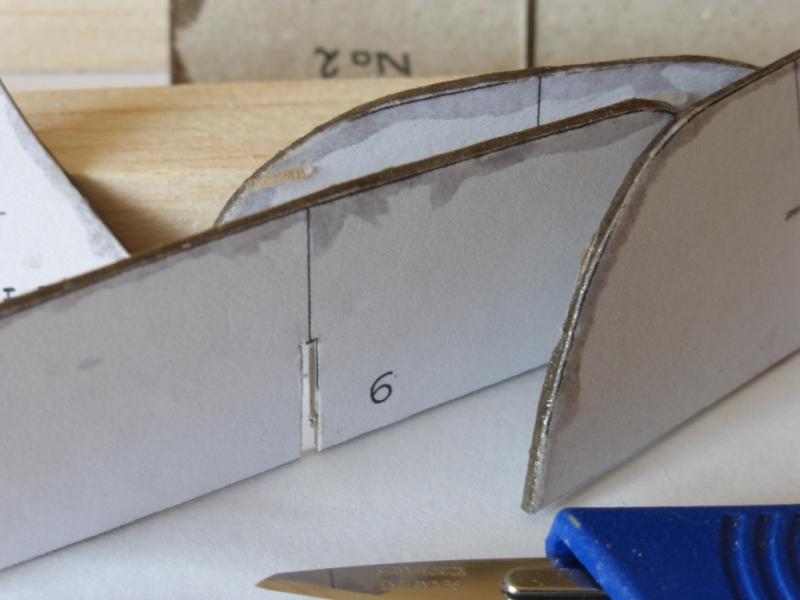
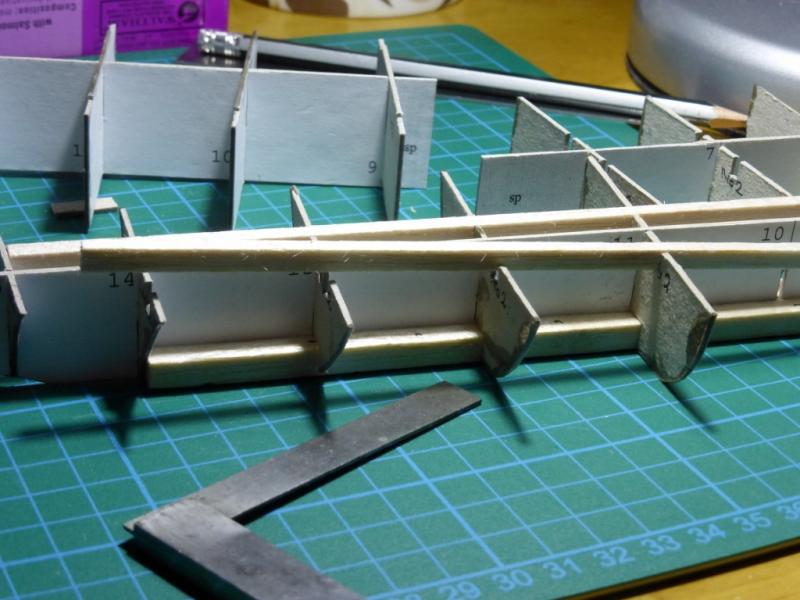
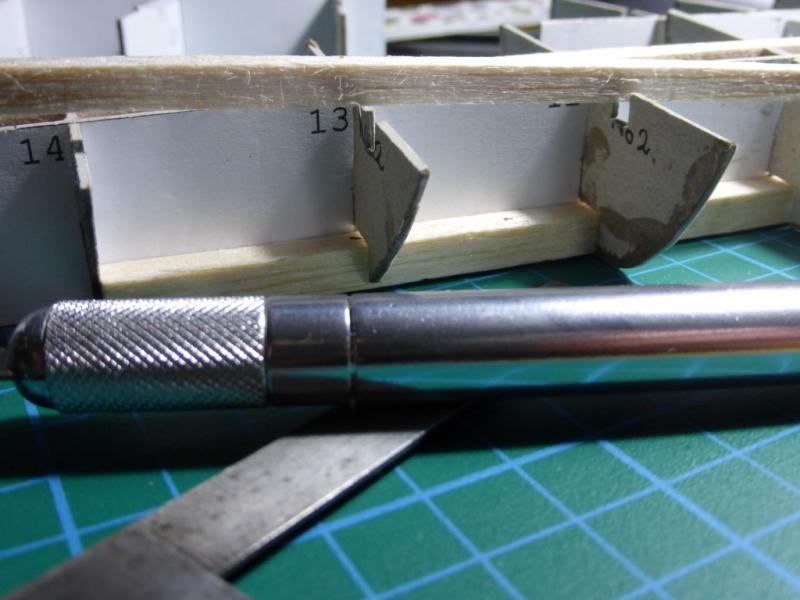
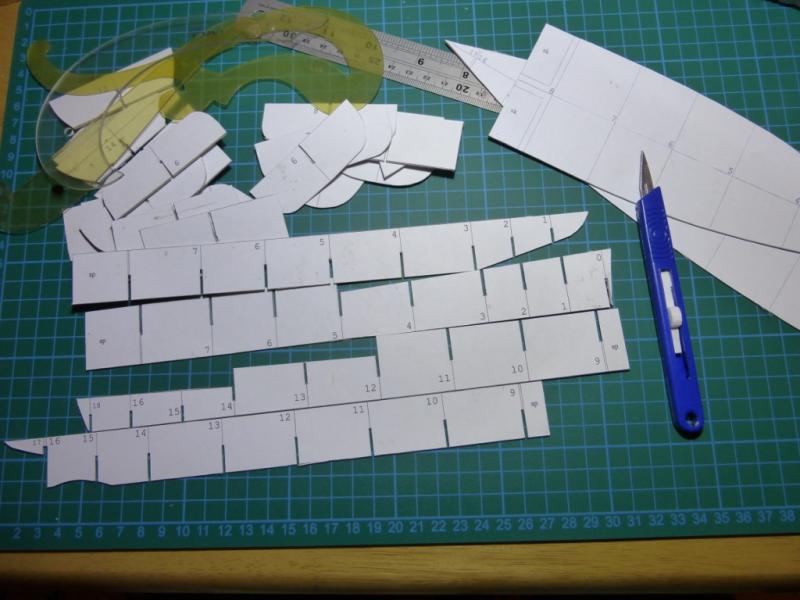
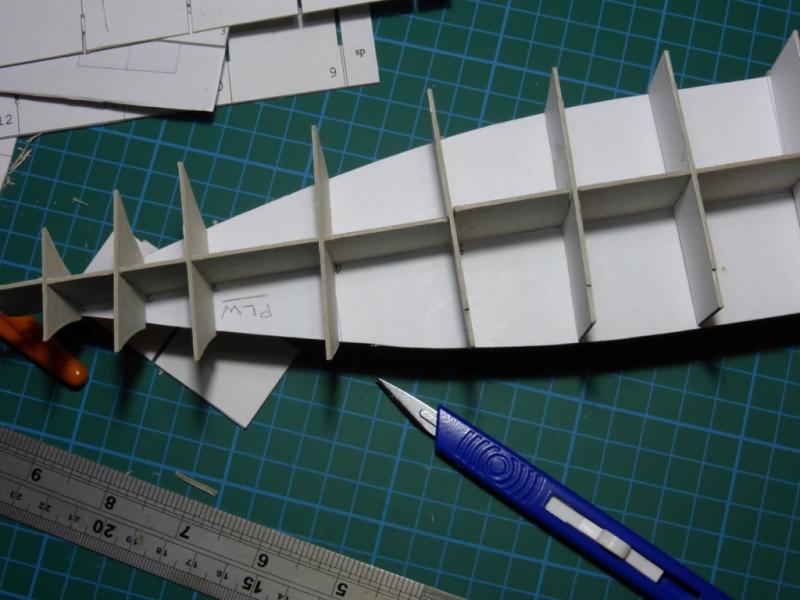
Hi everyone, Whilst there has been very little visual progress, I have started on the strengthening of the hull using in the main card. I have started making two 'decks' that slot into the bulkheads. This idea is of course not original and is a copy of some of the kit build logs on the forum. Accuracy is paramount here and some attention to the alignment of the slots for no 6 bulkhead is indicated in one of the photos!! What would be useful if someone could just tell me what I'm not doing being unable in getting the description of the photos linked with them. Any help really appreciated, until I do sort it I will just have to describe them here. First two photos show cutting first slot for 'deck', and the new deck (not faired). The next three photos are general views of the dry fitting of the deck. The following are general view with the slot of no 6 looking a bit out, unless the camera is lying! Regards, Nick.
- 20 replies
-
- maly modelarz
- Batory
-
(and 1 more)
Tagged with:
-
Hi All, Thank you slog for your comments on cutting, I do find I am getting a bit better at cutting both square and just to the right side of the line. So far on the new work things are fitting better but going a lot slower. I am trying to 'second guess' problems and I think I would be tempted if possible not to join on a former of .5mm! And looking at some of the very small detail work coming up I think I will be repeating sections until I am happy. This seems the real advantage of card, one it is a challenge to make it 'not look like card' and also to 'make it from card'. And many thanks to Mumin for some really interesting links to build logs. I think for the moment I would leave expanding foam, particularly on this small model as my worry is to maintain the formers at a right angle to the 'keel', however as mentioned the build logs are a real eye opener as to what can and is being achieved in card. I seem to be developing a mind set of firstly building as much as the model in card. To this end I am substituting card for wood in all but the two bottom stringers as indicated in my earlier photos. I am underway with the working out the layout of these card 'stringers' and hope to get some progress that is worth detailing in the log by the week end. I found that GMP have some photo etch parts for this model and ....... well I couldn't resist ordering, so maybe by the end of the week! Regards, Nick.
- 20 replies
-
- maly modelarz
- Batory
-
(and 1 more)
Tagged with:
-
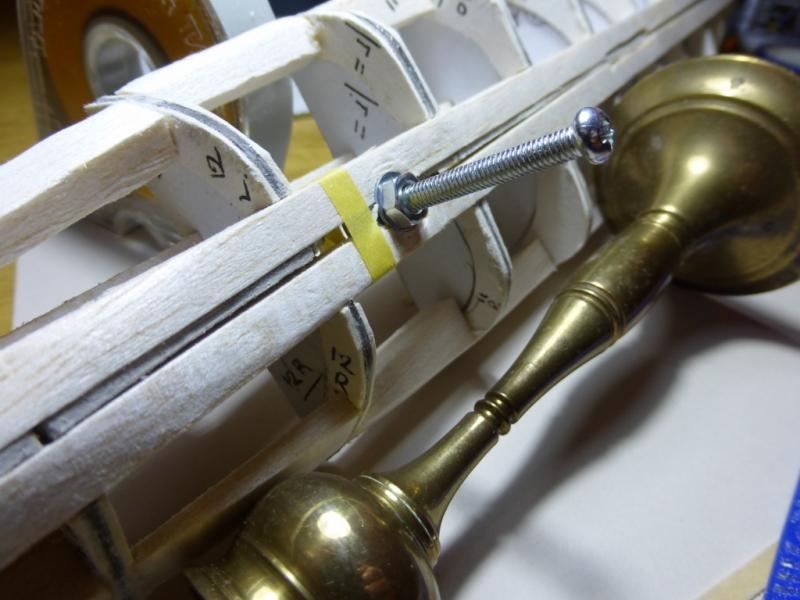
Hello to all, Following my last post I have decided to start the build again from scratch. I will be using the existing first build as a 'rough and ready' test bed. I really had underestimated the learning curve as to what one could and couldn't do. The first picture show very sloppy cutting and the bulkheads whilst requiring some thickening do need to be square with the bulkheads. I think I imagined being card that a bit of leeway would be available for detailed fitting - not so!! The second picture just shows testing the fit of the skins to the bulkheads (my terminology) The following two pictures are how I propose to use an old candlestick to make a pedestal, connected via a M4 screw held in place by a wing nut with reduced wings. So I will continue the build log and attempt to crack loading pictures via full editor, not having much success so far! And will in effect have two builds going on at the same time may help, I hope 'get it right' first time. I have also found a good 1mm backing paper that cuts very much easier than the original backing I was using. This should help me cut more accurate lines. I have certainly found a new interest in card models, and it is so easy to just 'do a bit' without much fuss. It will be some time to get to the waterline hull, but I will from now on post the build log with more detail. Regards Nick
- 20 replies
-
- maly modelarz
- Batory
-
(and 1 more)
Tagged with:
-
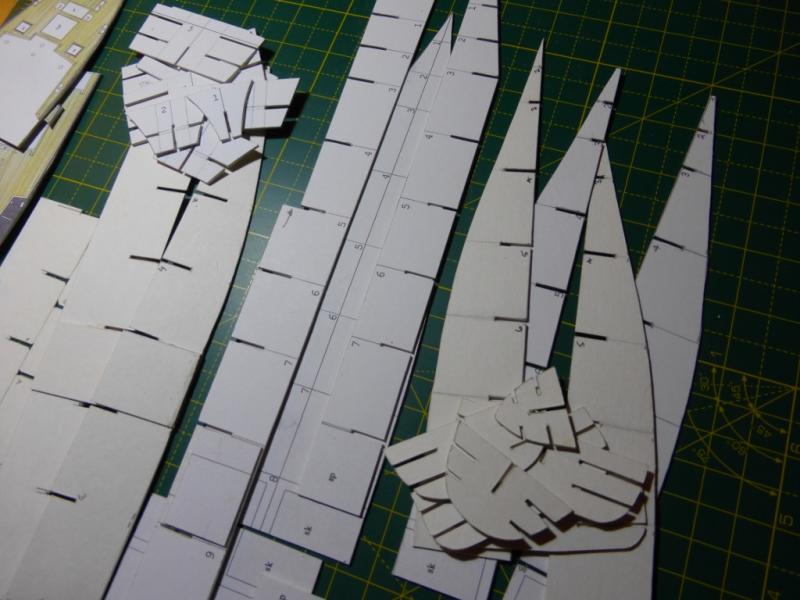
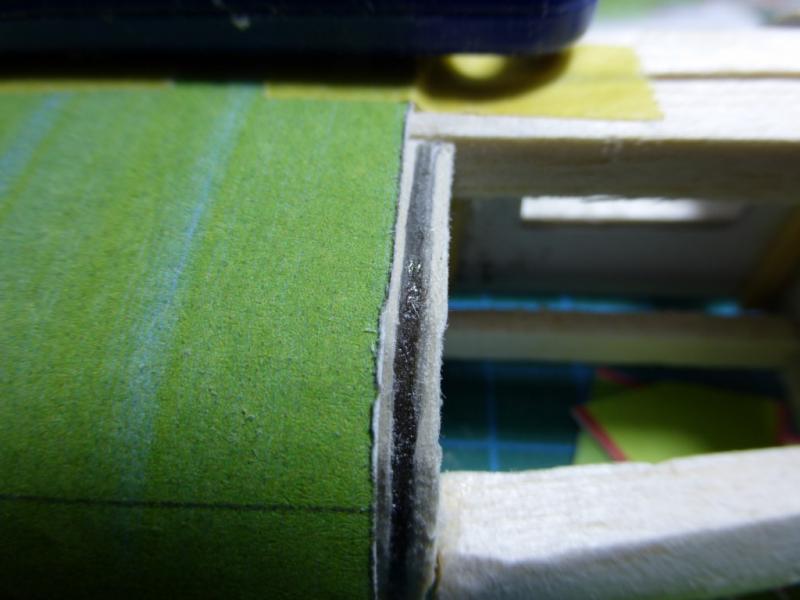
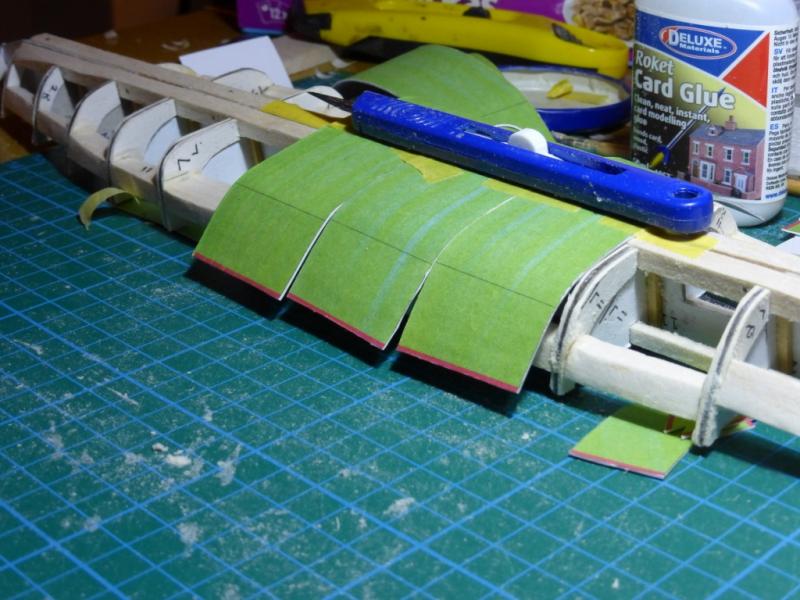
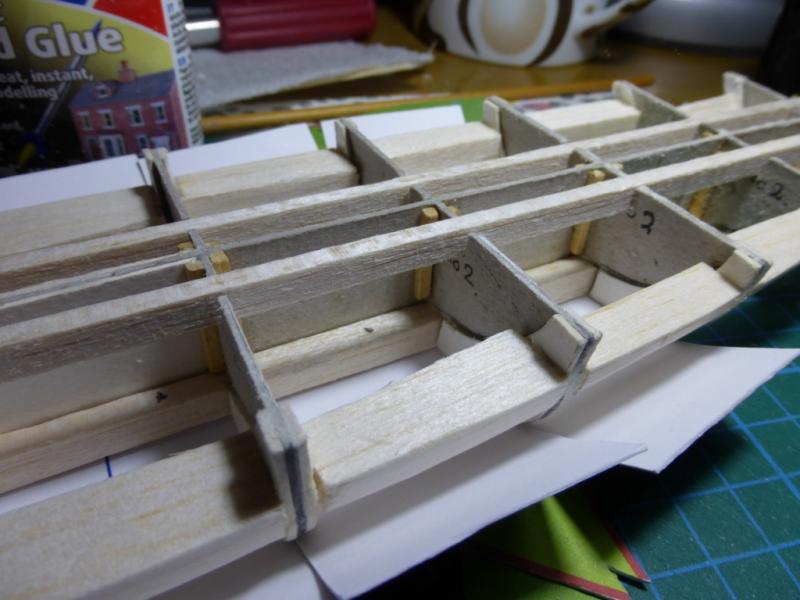
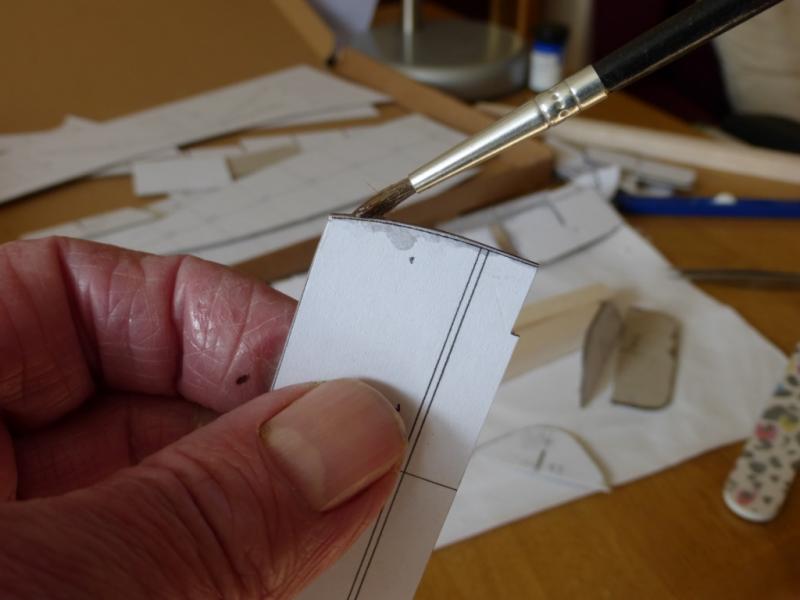
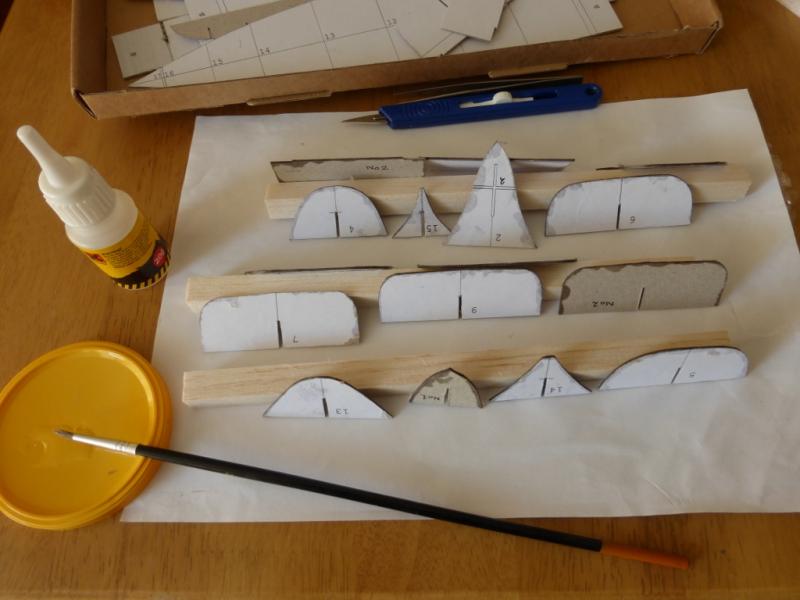
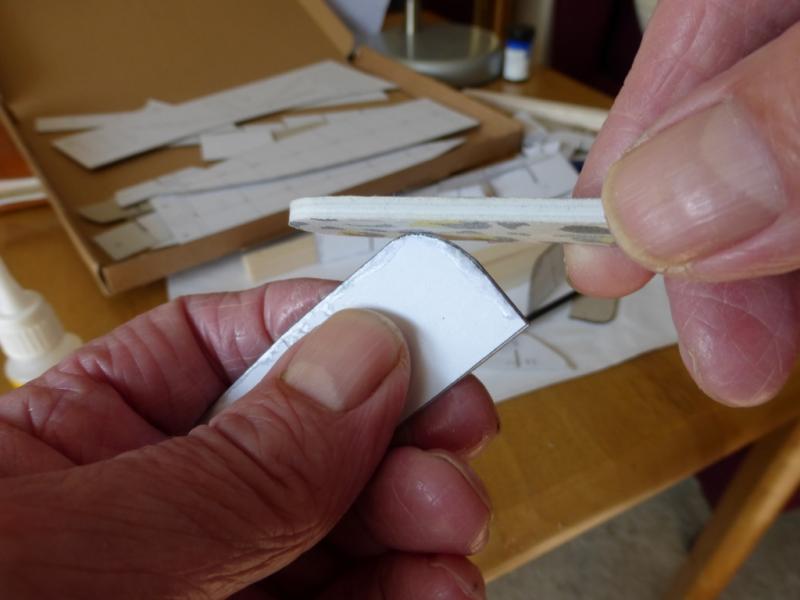
Hello everybody, I have some difficulty in getting the photos nicely meshed with the joined up writing, so for the moment will put the description first and then the photos! Well I have been busy re-cutting the bulkheads, I think there are going to be fitting problems with the skin of the hull anyway so sloppy cutting was not a positive feature. This time following the build logs I wicked a cheap CA adhesive to the edges of the bulkheads. After curing I then cleaned the edges up with a standard emery board, and found it offered slightly better performance for this job than home made silicon carbine stuck on sticks of wood. I am now in the process of strengthening the hull using balsa stringers, no glue yet so will have to see whether this will be ok of should really use hardwood. I plan to mount the ship on pedestals so it is important the keel particularly is true. I think the photos are all self explanatory. The hull will I am sure have to be filled and painted, and the question I would like some advice about is whether to try and simulate steel plates. The scale is a tad small but I feel it might be an attractive feature. An the next question is what would have been the size of the plates and I assume that in the 1930's these would have been riveted. I enclose some photos that follow the description above Regards, Nick
- 20 replies
-
- maly modelarz
- Batory
-
(and 1 more)
Tagged with:
-
Hello to all, Firstly thanks to Slog, many thanks for you supportive words. Taking a couple of days off doing some experiments with glue, strengthening the hull, and practicing fairing the bulkheads. Thanks to other for their likes. Regards, Nick.
- 20 replies
-
- maly modelarz
- Batory
-
(and 1 more)
Tagged with:
-
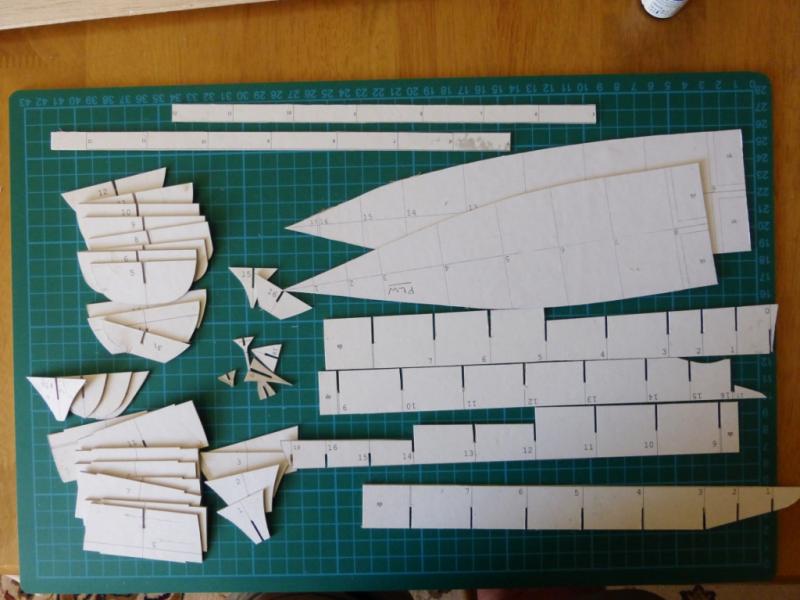
Hello All, The following photographs show the hull 'dry assembly'. I have photocopied the original kit parts and am using my copies glued to card. My original idea was do 'dummy runs' to gain experience and experiment. This is still my aim, but if the copy at a stage is satisfactory, then the dummy becomes the part. I have also decided not to become a slave to card, I will, if I feel I can make a part using other materials or a mixture of materials and the part is satisfactory to me then I will use it. I am in utter admiration at the skill card modellers exhibit and I shall attempt to follow their guidance and advice. I look at the lifeboats and wonder how anybody can make them all out of card. I have yet to work out how to post pictures with an interspersed commentary, but I will get there, and also promise some better quality photographs. The following show the dry fitting and is prior to careful fitting, strengthening, and final assembly. I hope! Regards, Nick.
- 20 replies
-
- maly modelarz
- Batory
-
(and 1 more)
Tagged with:
-
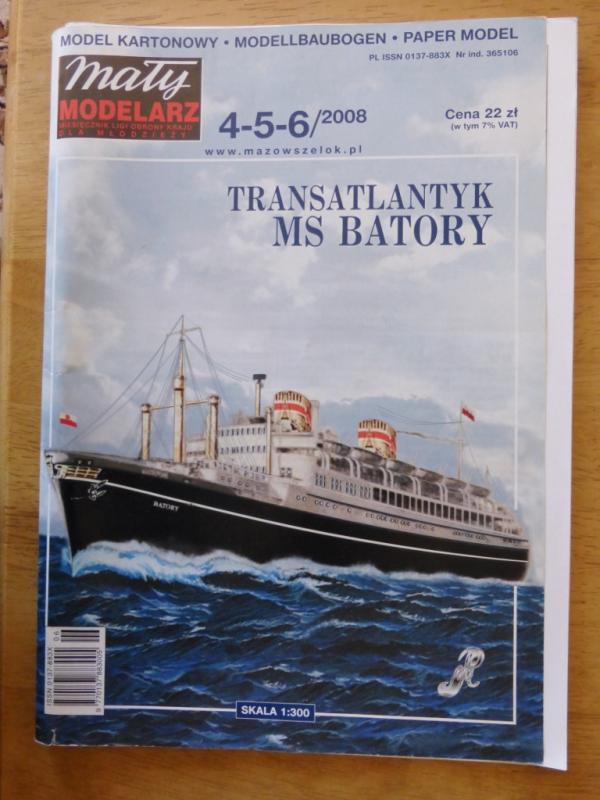
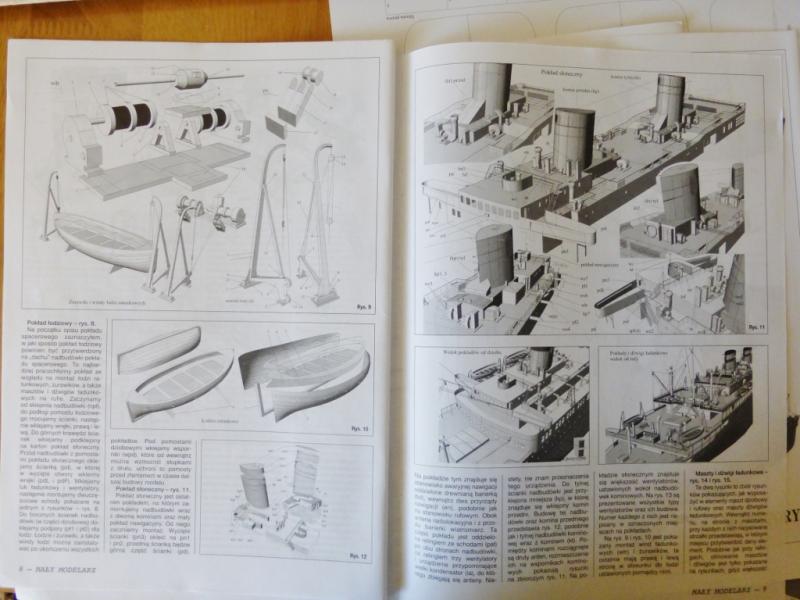
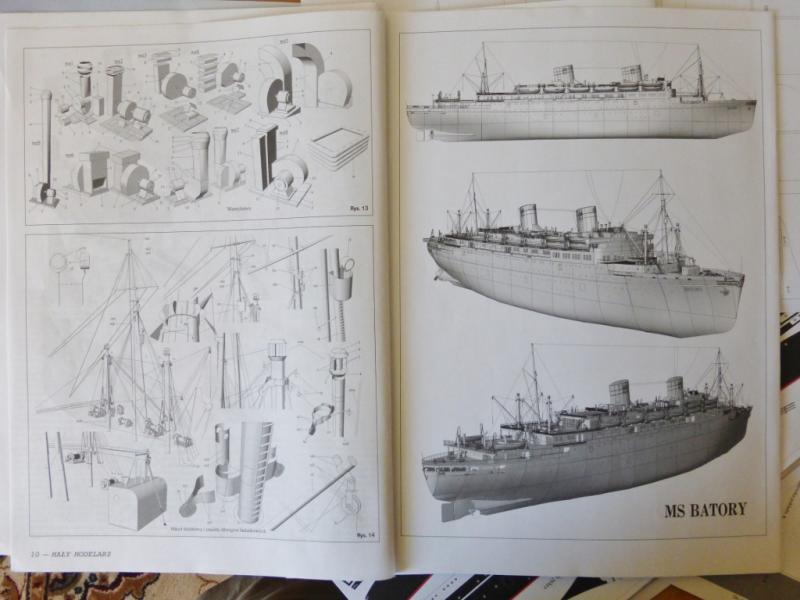
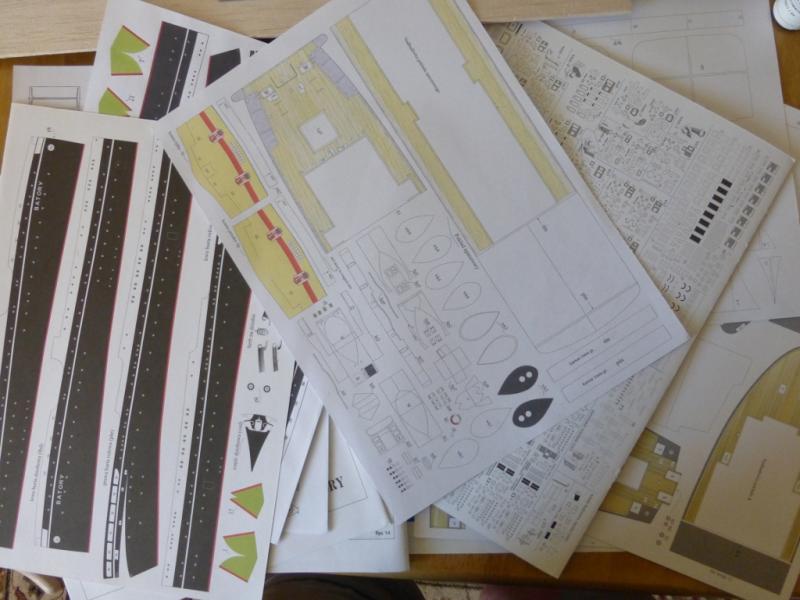
Hello to all, I seem yet to sus the photo procedure but will persevere. However the first photos a of the kit in the form of a booklet some of which needs gluing to card. I have started on the hull and these are the main components mounted on 1mm card. Again I will see how this has this post has turned out. Regards, Nick.
- 20 replies
-
- maly modelarz
- Batory
-
(and 1 more)
Tagged with:
-
I am just starting my first card model. Having planned to build Leon some years ago, and collected materials and re-drafted the Underhill drawings, I was ready to go. Other that my workshop has become workshop for other projects. I have been influenced by the excellent tutorial, and build logs on MSW to have a shot at a card model. I have purchased the Mercury (featured in one of the build logs) but decided to cut my teeth on a somewhat simpler model. Well the only ones that were simple were as the name implied simple and would not be too exciting. After much casting around I bought the Polish liner Batory. All set for a sailing ship as well! I liner has quite a history and a lot of information is available on the Internet as well as a number of interesting videos on You Tube. The following is a picture of the vessel in 1962 and is in the public domain. I am not too sure whether this has loading the photo, however I have started the build and hope to start documentation of the build after checking this post. Regards to all, Nick
- 20 replies
-
- maly modelarz
- Batory
-
(and 1 more)
Tagged with:
About us
Modelshipworld - Advancing Ship Modeling through Research
SSL Secured
Your security is important for us so this Website is SSL-Secured
NRG Mailing Address
Nautical Research Guild
237 South Lincoln Street
Westmont IL, 60559-1917
Model Ship World ® and the MSW logo are Registered Trademarks, and belong to the Nautical Research Guild (United States Patent and Trademark Office: No. 6,929,264 & No. 6,929,274, registered Dec. 20, 2022)
Helpful Links
About the NRG
If you enjoy building ship models that are historically accurate as well as beautiful, then The Nautical Research Guild (NRG) is just right for you.
The Guild is a non-profit educational organization whose mission is to “Advance Ship Modeling Through Research”. We provide support to our members in their efforts to raise the quality of their model ships.
The Nautical Research Guild has published our world-renowned quarterly magazine, The Nautical Research Journal, since 1955. The pages of the Journal are full of articles by accomplished ship modelers who show you how they create those exquisite details on their models, and by maritime historians who show you the correct details to build. The Journal is available in both print and digital editions. Go to the NRG web site (www.thenrg.org) to download a complimentary digital copy of the Journal. The NRG also publishes plan sets, books and compilations of back issues of the Journal and the former Ships in Scale and Model Ship Builder magazines.


