fnkershner
-
Posts
1,595 -
Joined
-
Last visited
Content Type
Profiles
Forums
Gallery
Events
Everything posted by fnkershner
-
Dam I just glued the 1st thwart into place. And of course the next thing I read it nope should not have done it. I should complete my rear seats this weekend.
- 263 replies
-
- 1
-

-
- Medway Longboat
- Syren Ship Model Company
- (and 1 more)
-
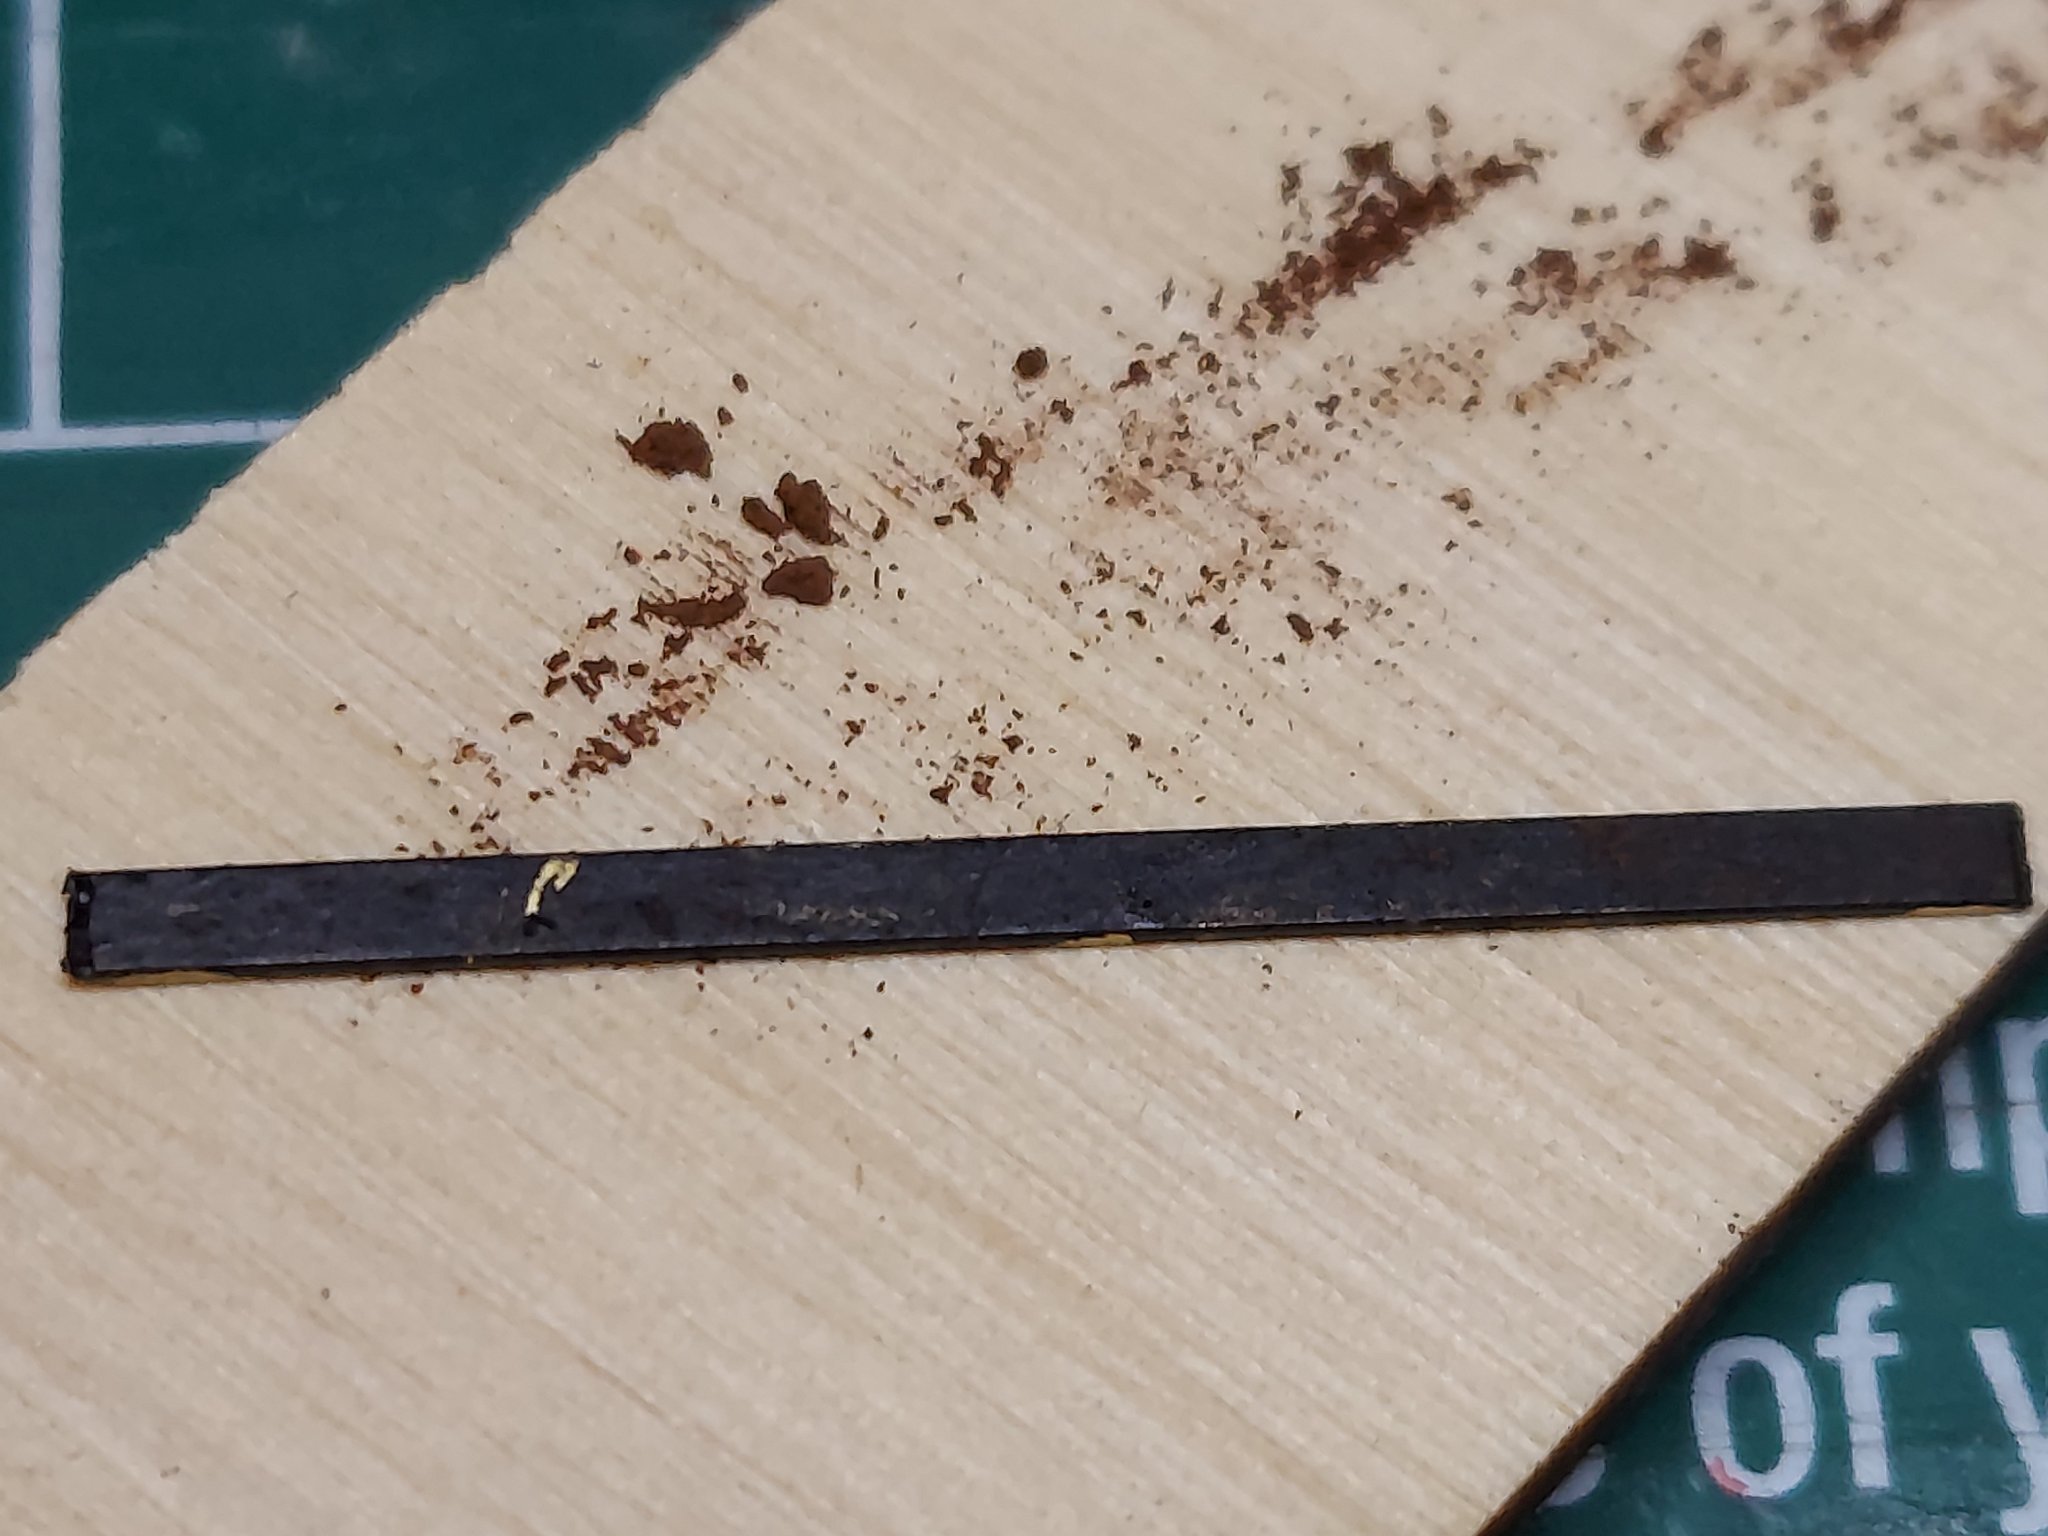
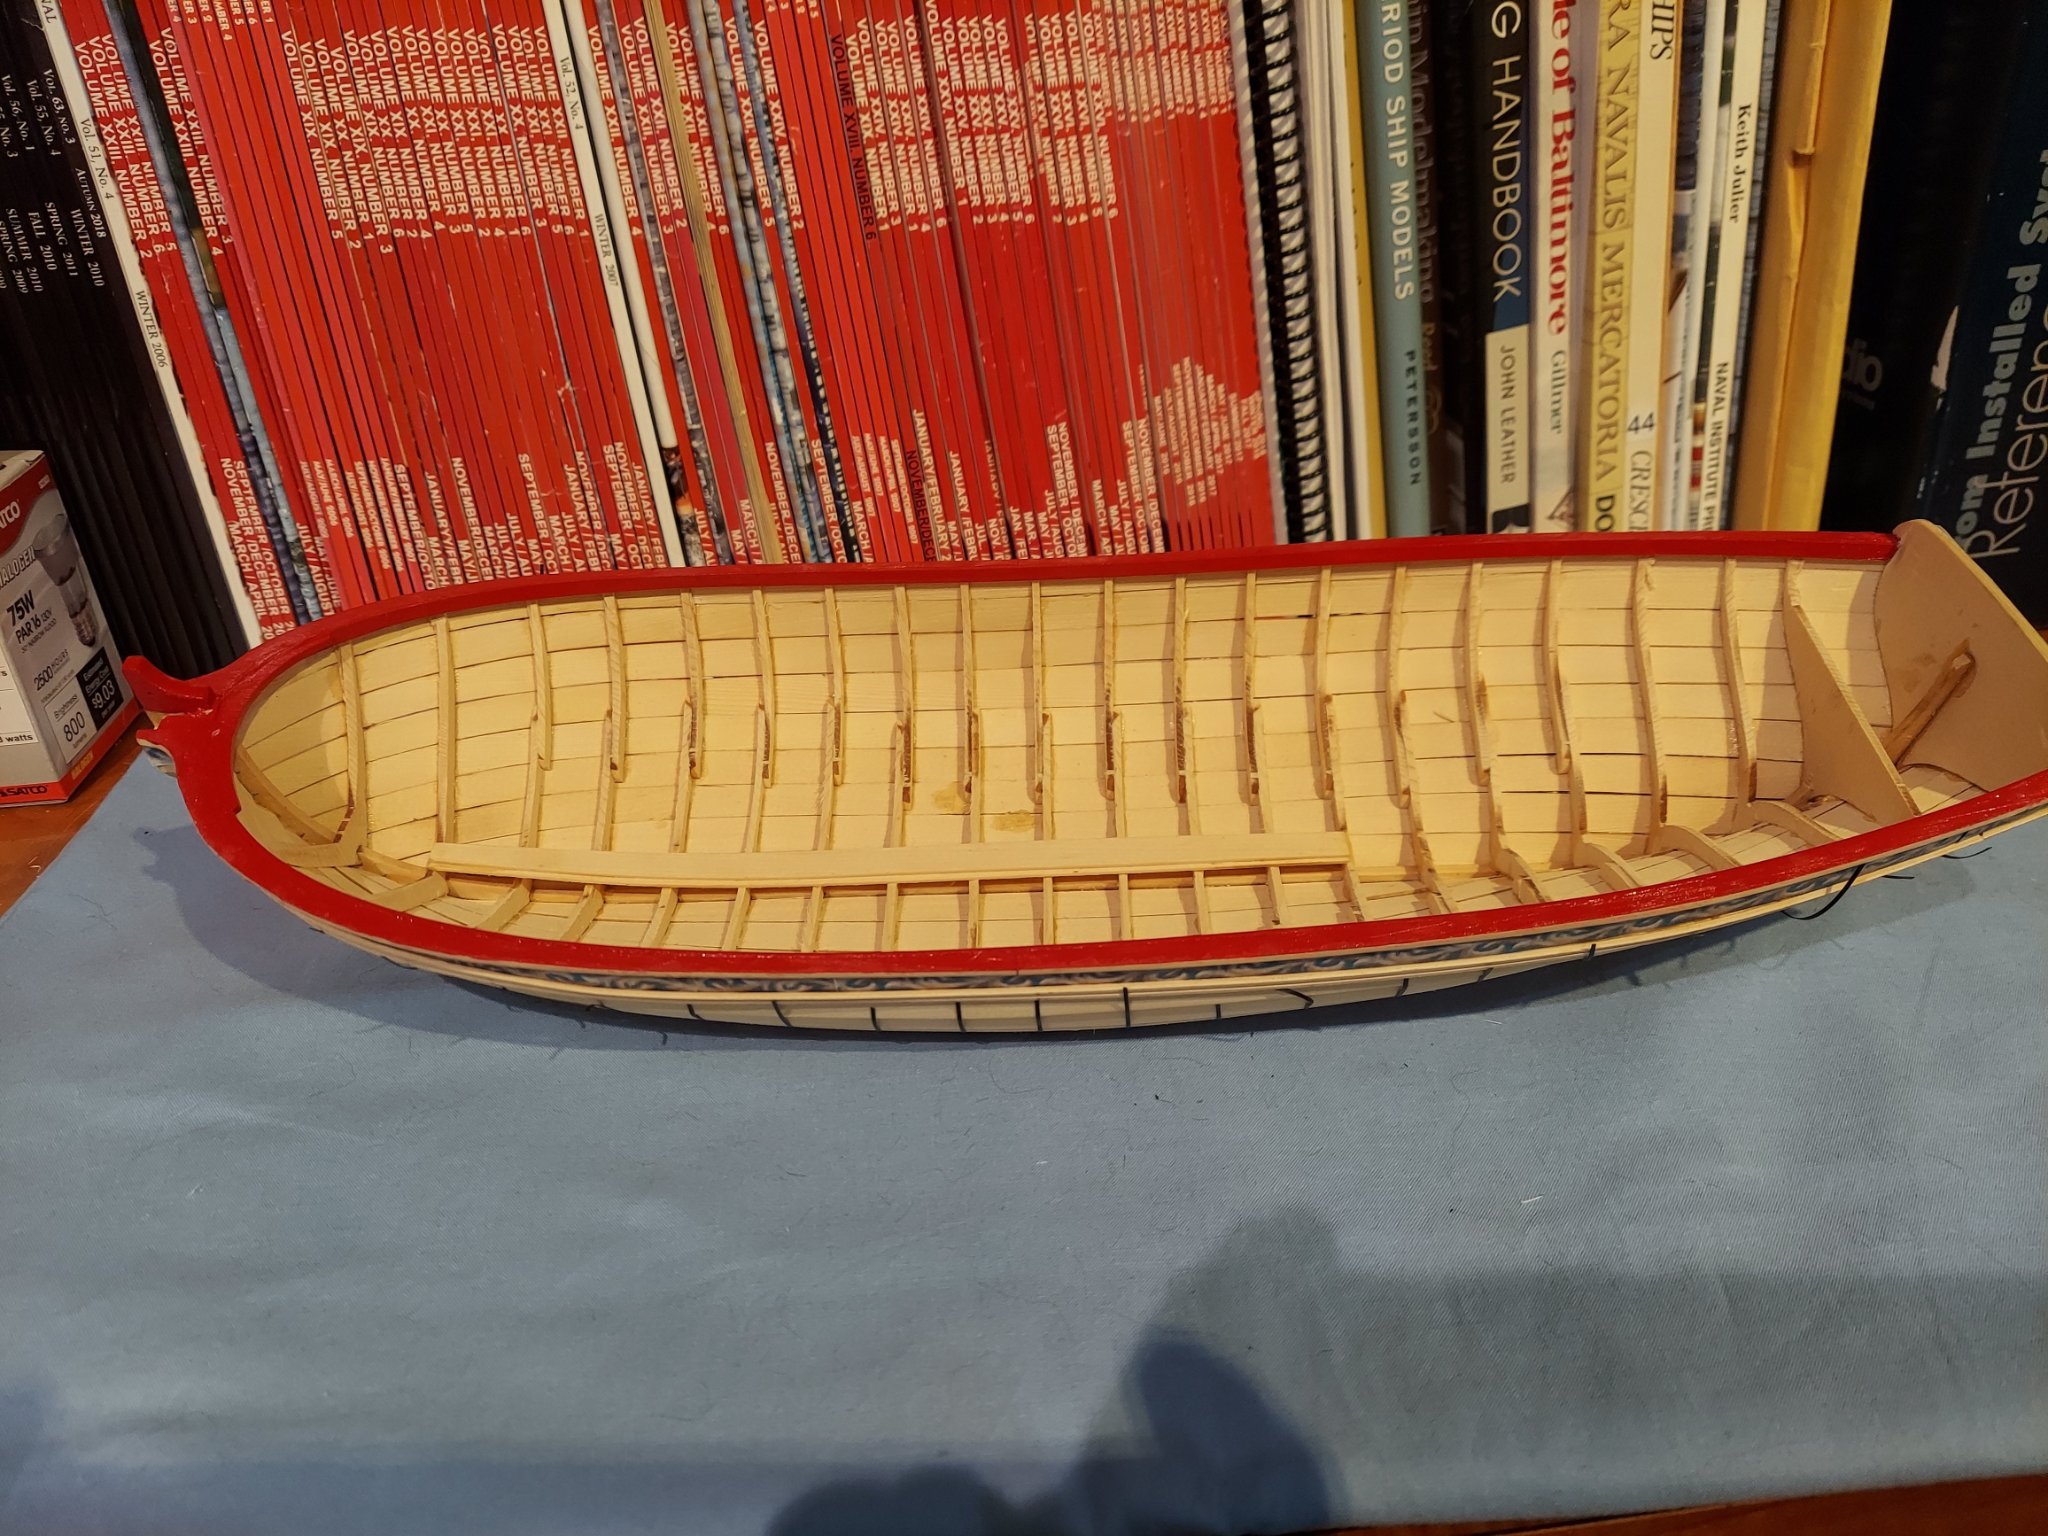
Ok a quick update - Below you will see my tentative testing with the weathering Powder. But first a quick update on my Model. All of the Thwarts are complete and installed (not permanently). I am working on cutting the notches in the side seats. And as the same time I am also working on the Windlass. I messed up the windlass on my first try so now it is on to the 2nd try. As part of the work to complete the 4th Thwart I am testing the Powder. Based on several comments on this blog I have decided to go with flat black paint instead of blackening. Anyway please let me hear your feedback on the powder test.

-
Chuck, I have decided to give the Weathering Powders a try. What do you use as the final coat to fix the powder? From what I have learned it has to be a spray of some kind. Since a brush will move the powder.
- 1,784 replies
-
- 2
-
-
- winchelsea
- Syren Ship Model Company
- (and 1 more)
-
After reading so much about Chuck's painting technique with the Academy Paint and the weathering powder. I have decided to take the plunge. I bought a tube of the paint, a couple of brushes, & a small weathering kit. I went to the local model train store. T hey had several different powder kits. I settled on one that had 4 colors - Antique Iron, Lime White, Old Tuscan, Dark Rail Brown. The Antique Iron looks very much like rust. So I will start with this one. For this kit the powders come in small zip lock bags and have a divided plastic box to pour the powder into. I am very interested in learning more about these Powders. Please share your experiences and tricks. For those of you using Weathering Powders. How do you apply the powder and what do you using for a final coat to seal the powder? Wipe On Poly will not work. Since it requires a brush or paper towel to apply.
-
Thanks Ryland! you are my guardian angel 😀 I have gone to the site mentioned above. And placed my order. I can see I will be going there often. Slight correction to the above. I have 4 out of 8 complete. I made number 1 and wasn't satisfied so I am remaking it. Numbers 2 & 3 came out great and are ready to be glued into place. I have 2 coats of Wipe on Poly on both the bottom and top. #4 is in progress ( need the powders mentioned above). #5 is being remade. #6 & #7 came out nice and are also complete and ready to install. I am also working on details for #8 and the seats. For the fixed block on the lower starboard bow. Is there anything that is actually rigged to this block? I can't find anything in the rigging plan. I am curious about others experience with blackening vs paint. For example the metal strips on thwart #4 that holds the mast. I am leaning towards Paint instead of Blackening.
-
Wow! I had not realized that I have not posted anything since January. I will post some pictures very soon. So just an update on my build. I am well into Chapter 4. I have completed the fishing line on the outside, the floor boards, & the risers. I am currently working on the thwarts. I have 4 out of 8 completed and ready to glue into place. I am now working on getting the notches correct on the seats in the aft. So I have 2 questions - In reading ahead, Chuck is discussing the mounts for the Windlass. There is mention of some square parts that are glued to the back of the mounts. Are these Laser cut or just made from stock? I have found 4 short pieces that are square and laser cut. I cannot find any use for them other than this. 2nd Question - Chuck can I get another copy of the template for the Windlass. I have really screwed it up. I usually make a copy of the plans but on this model I didn't. Can I also get a replacement wood stock. I have lots of wood. but nothing in that size. I will gladly pay for my mistake.
-
Chuck can you tell us what you used for Weathering powder? I want to pick some up. Did you buy it from Amazon?
- 1,784 replies
-
- 1
-
-
- winchelsea
- Syren Ship Model Company
- (and 1 more)
-
Chuck - Since you have such realistic scale figures. Do you have a suggestion on how we can obtain scale figures for our models. I find that when you display your work one of the first questions from visitors is how big was the real ship. Having a few crew members to give perspective really helps with this. I would love a handful of figures in Uniforms that match the scale and period. Suggestions?
- 1,784 replies
-
- 2
-
-
- winchelsea
- Syren Ship Model Company
- (and 1 more)
-
Wow! I can't think of anything else to say. Just Wow!
- 1,784 replies
-
- 2
-
-
- winchelsea
- Syren Ship Model Company
- (and 1 more)
-
Chuck - Any chance for a Table in the Captain's cabin? I know it will be very hard to see. But every good model needs some hidden detail. I also know I should have said something sooner.
- 1,784 replies
-
- 1
-
-
- winchelsea
- Syren Ship Model Company
- (and 1 more)
-
So here is the problem. When Chuck does it it looks so outstanding. I just have to the model myself. But my work never turns out 1/2 as good. I dream of the day when I can take a picture like the above.
- 1,784 replies
-
- 5
-
-
- winchelsea
- Syren Ship Model Company
- (and 1 more)
-
My advice is don't take the time to count the number of holes you have to drill. 😅 it will make the task seem even more daunting.
- 217 replies
-
- 2
-

-
- medway longboat
- Syren Ship Model Company
- (and 1 more)
-
Just a comment - I found that it was easier to do all the inside sanding before I installed the cap rail. Those frames need to come down quite a bit.
- 217 replies
-
- 2
-
-
- medway longboat
- Syren Ship Model Company
- (and 1 more)
-
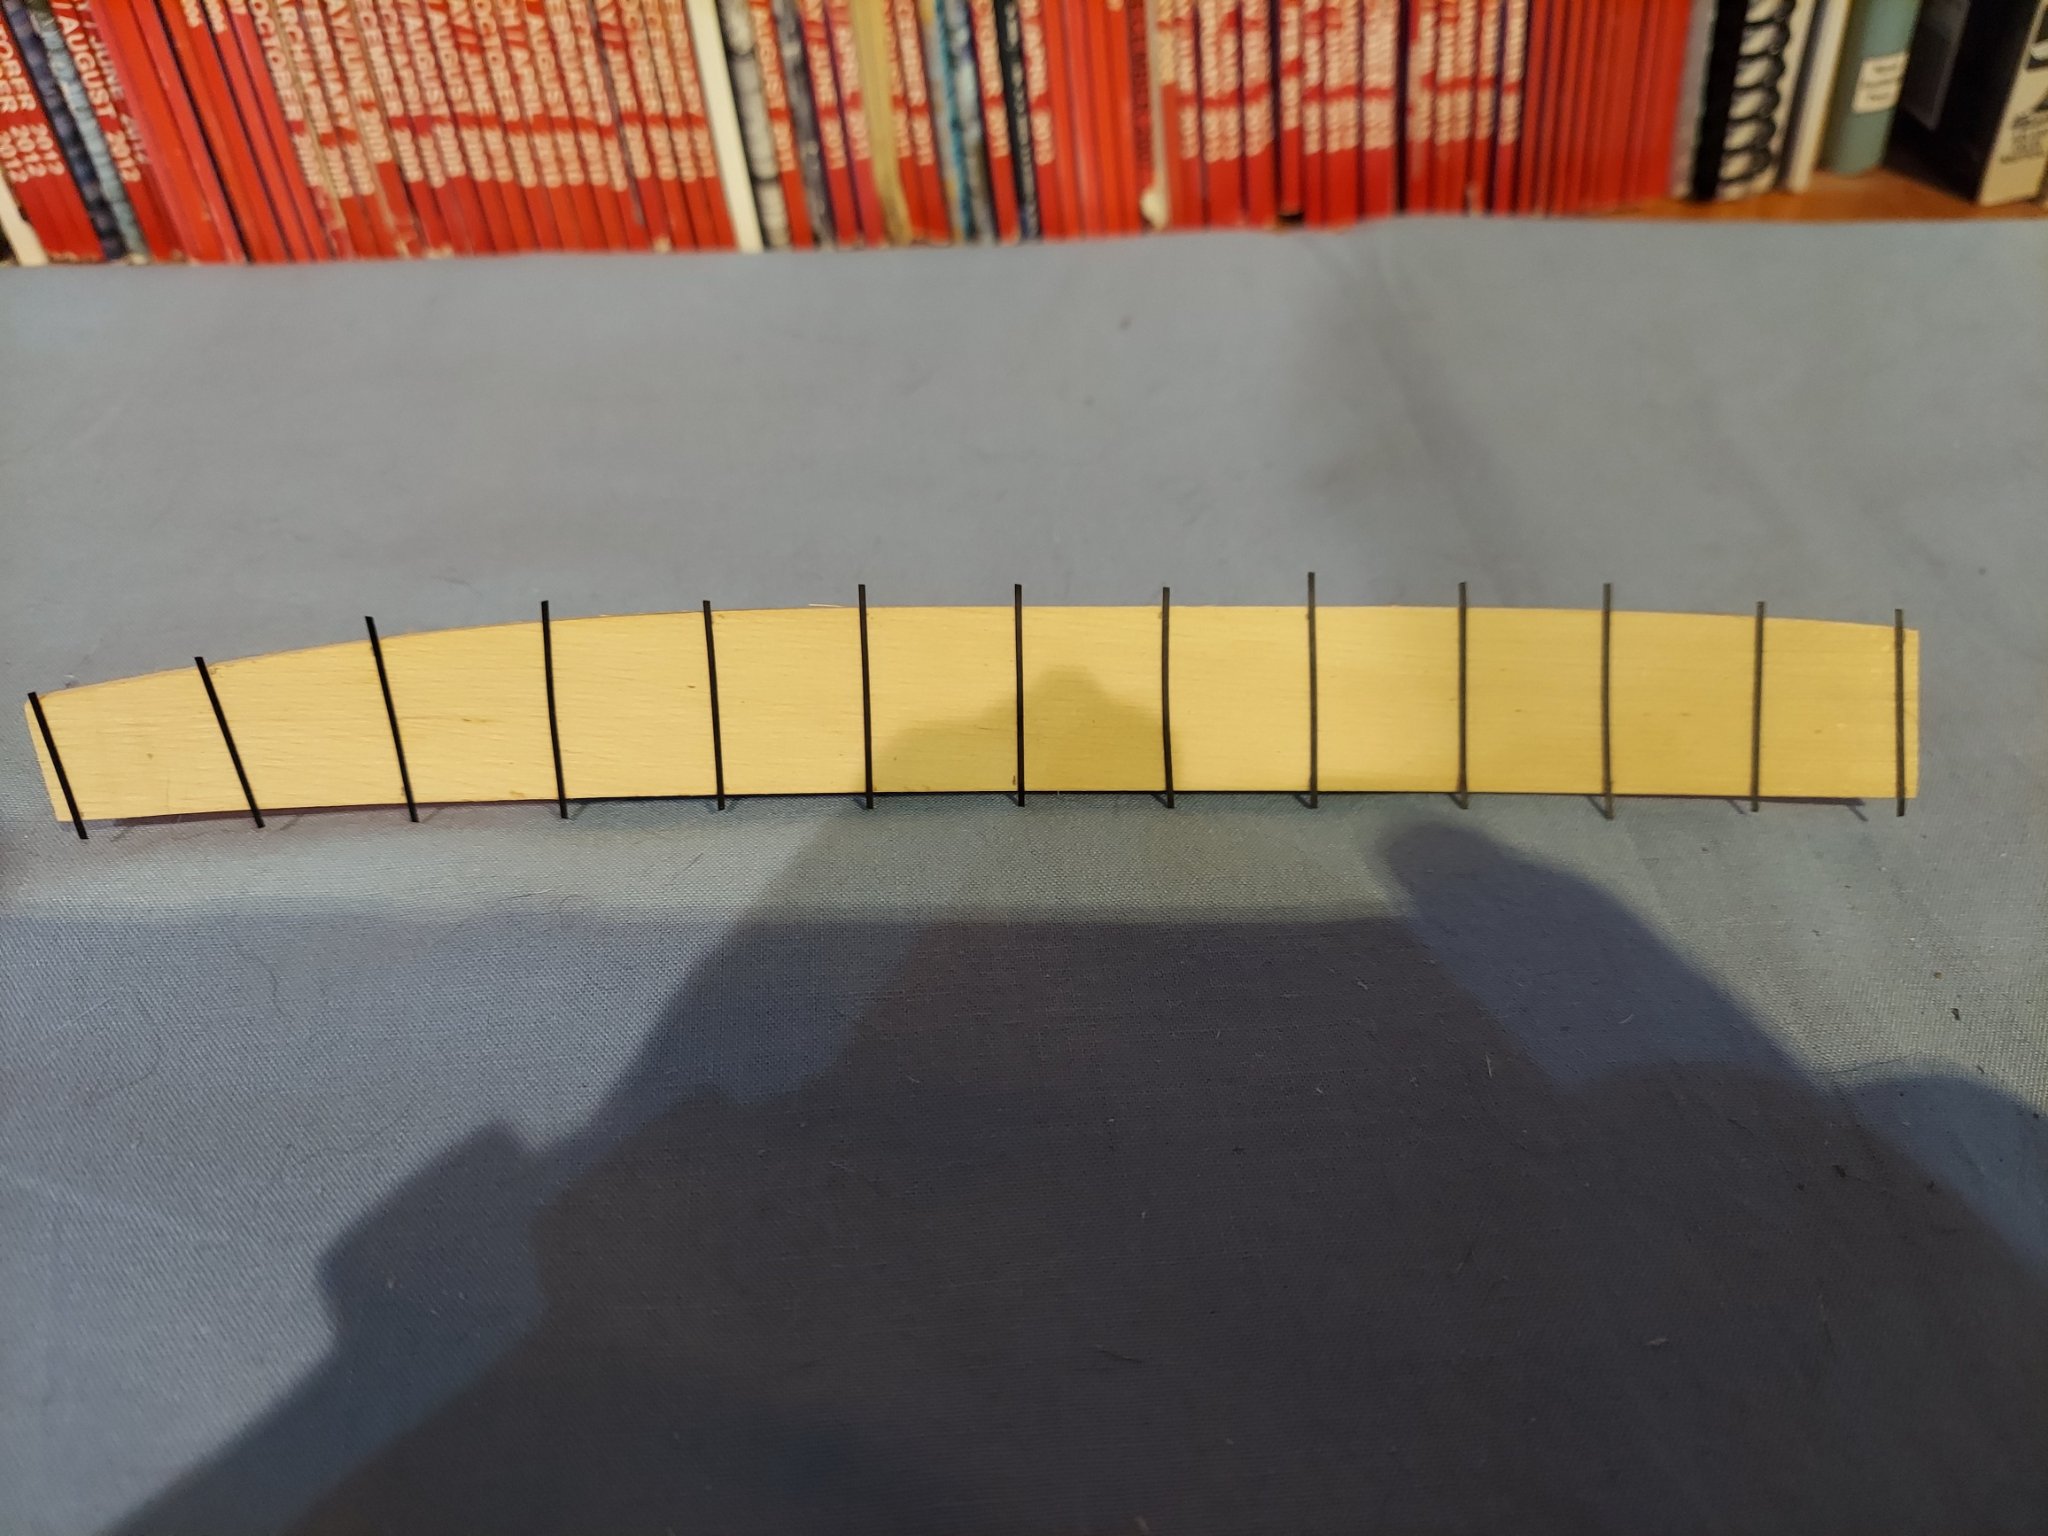
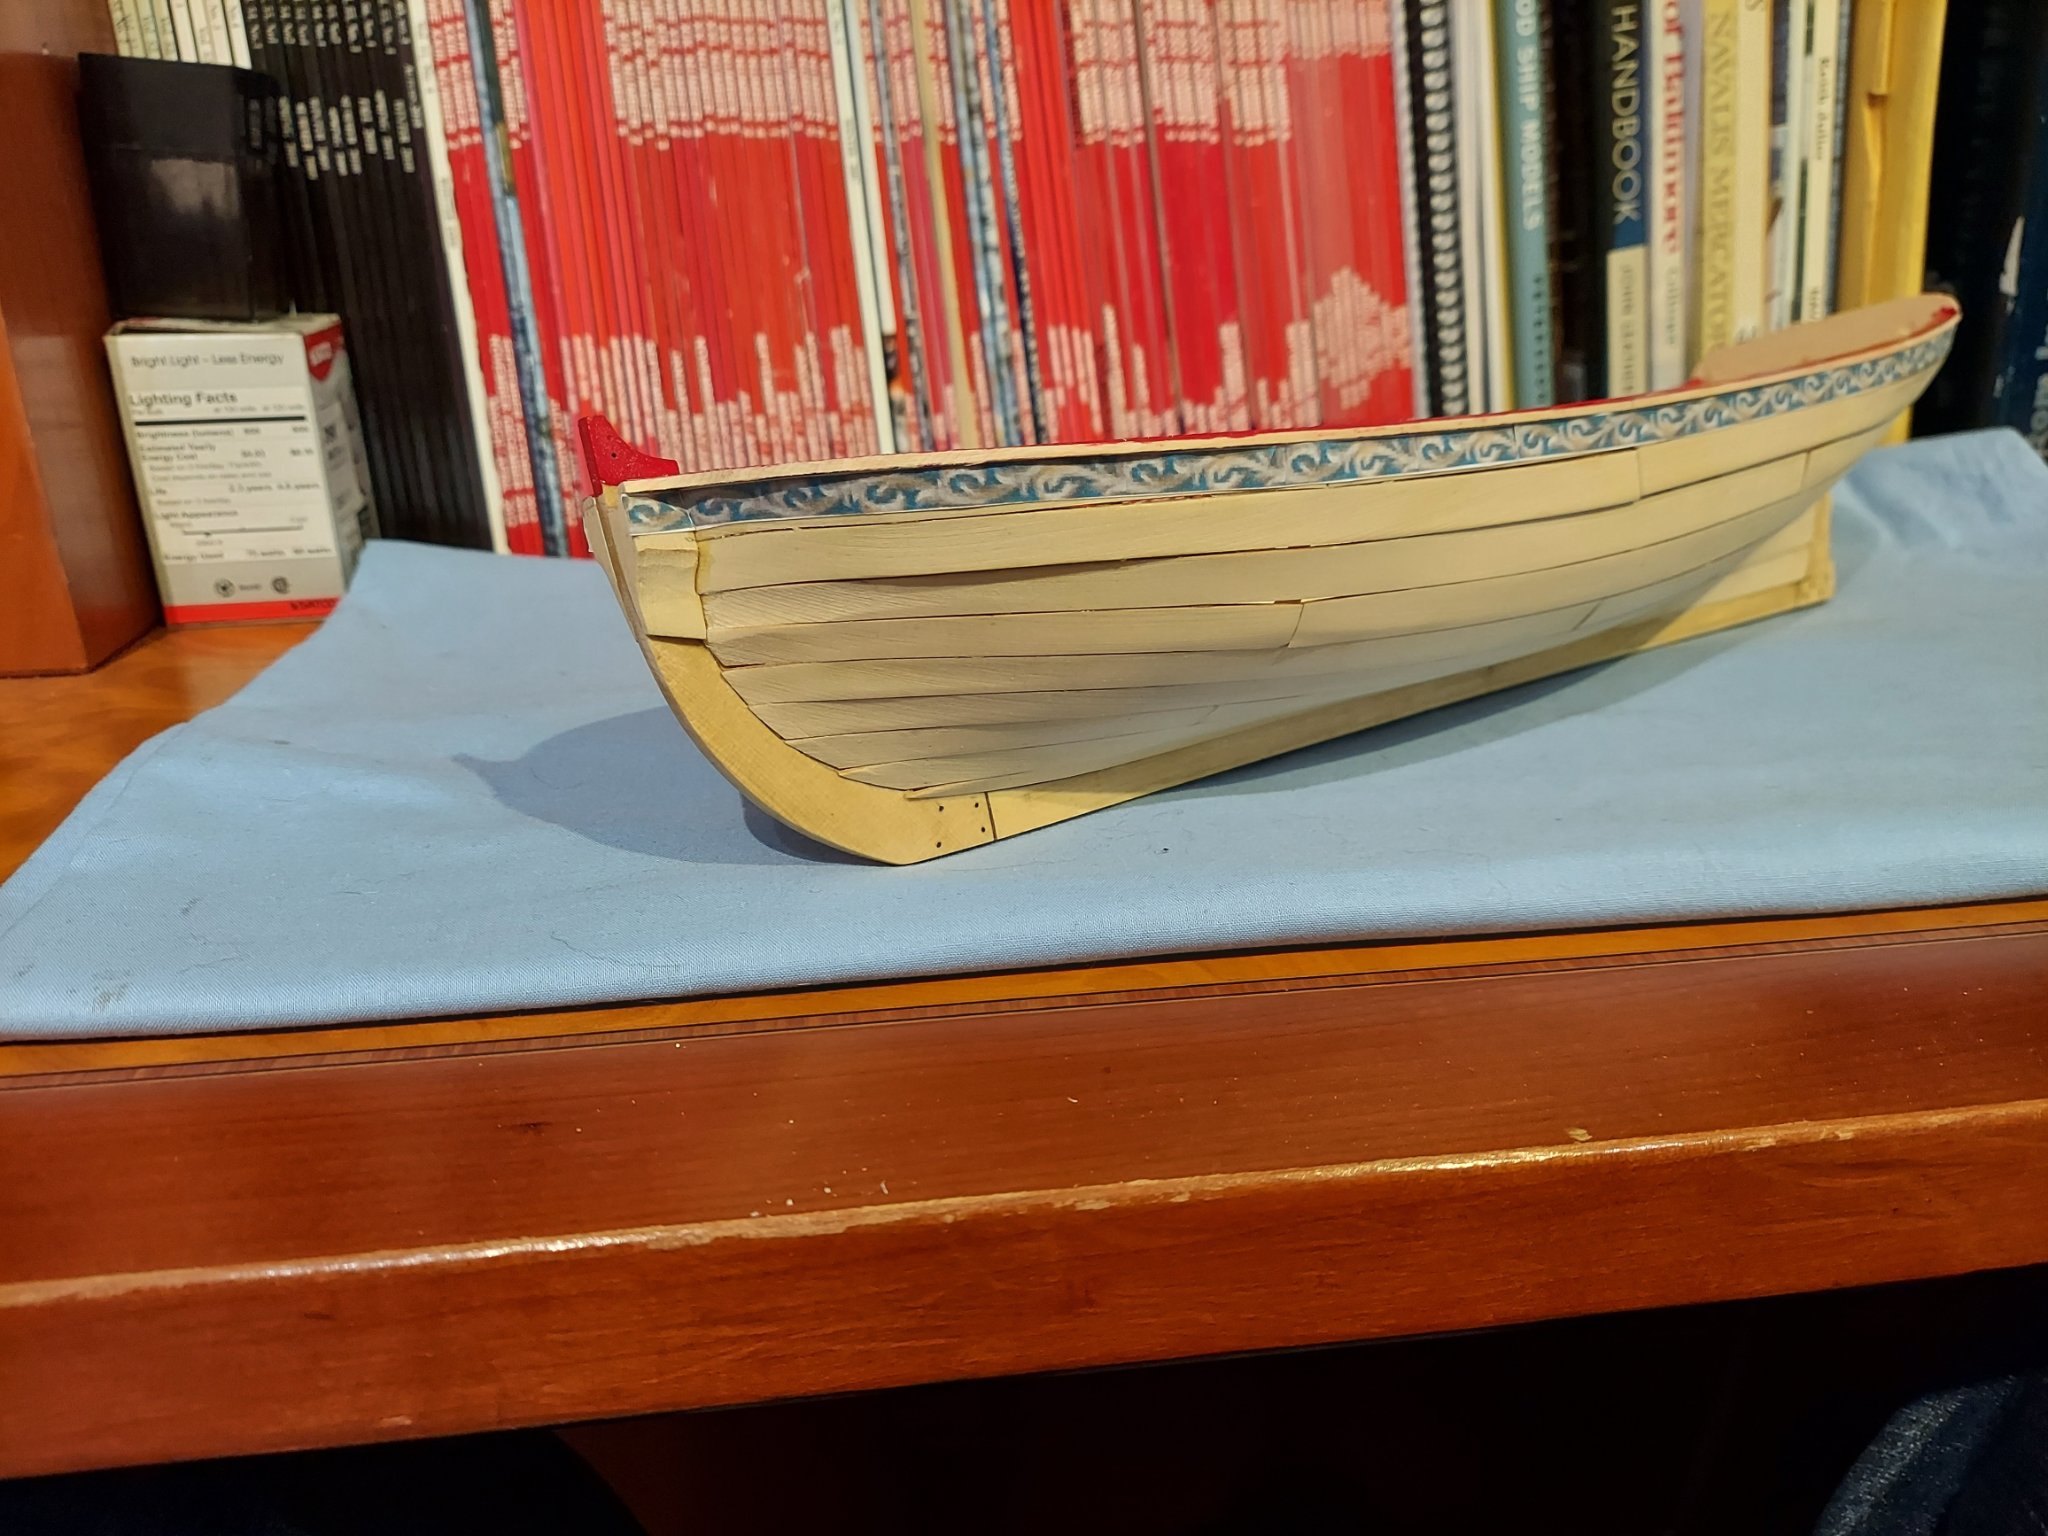
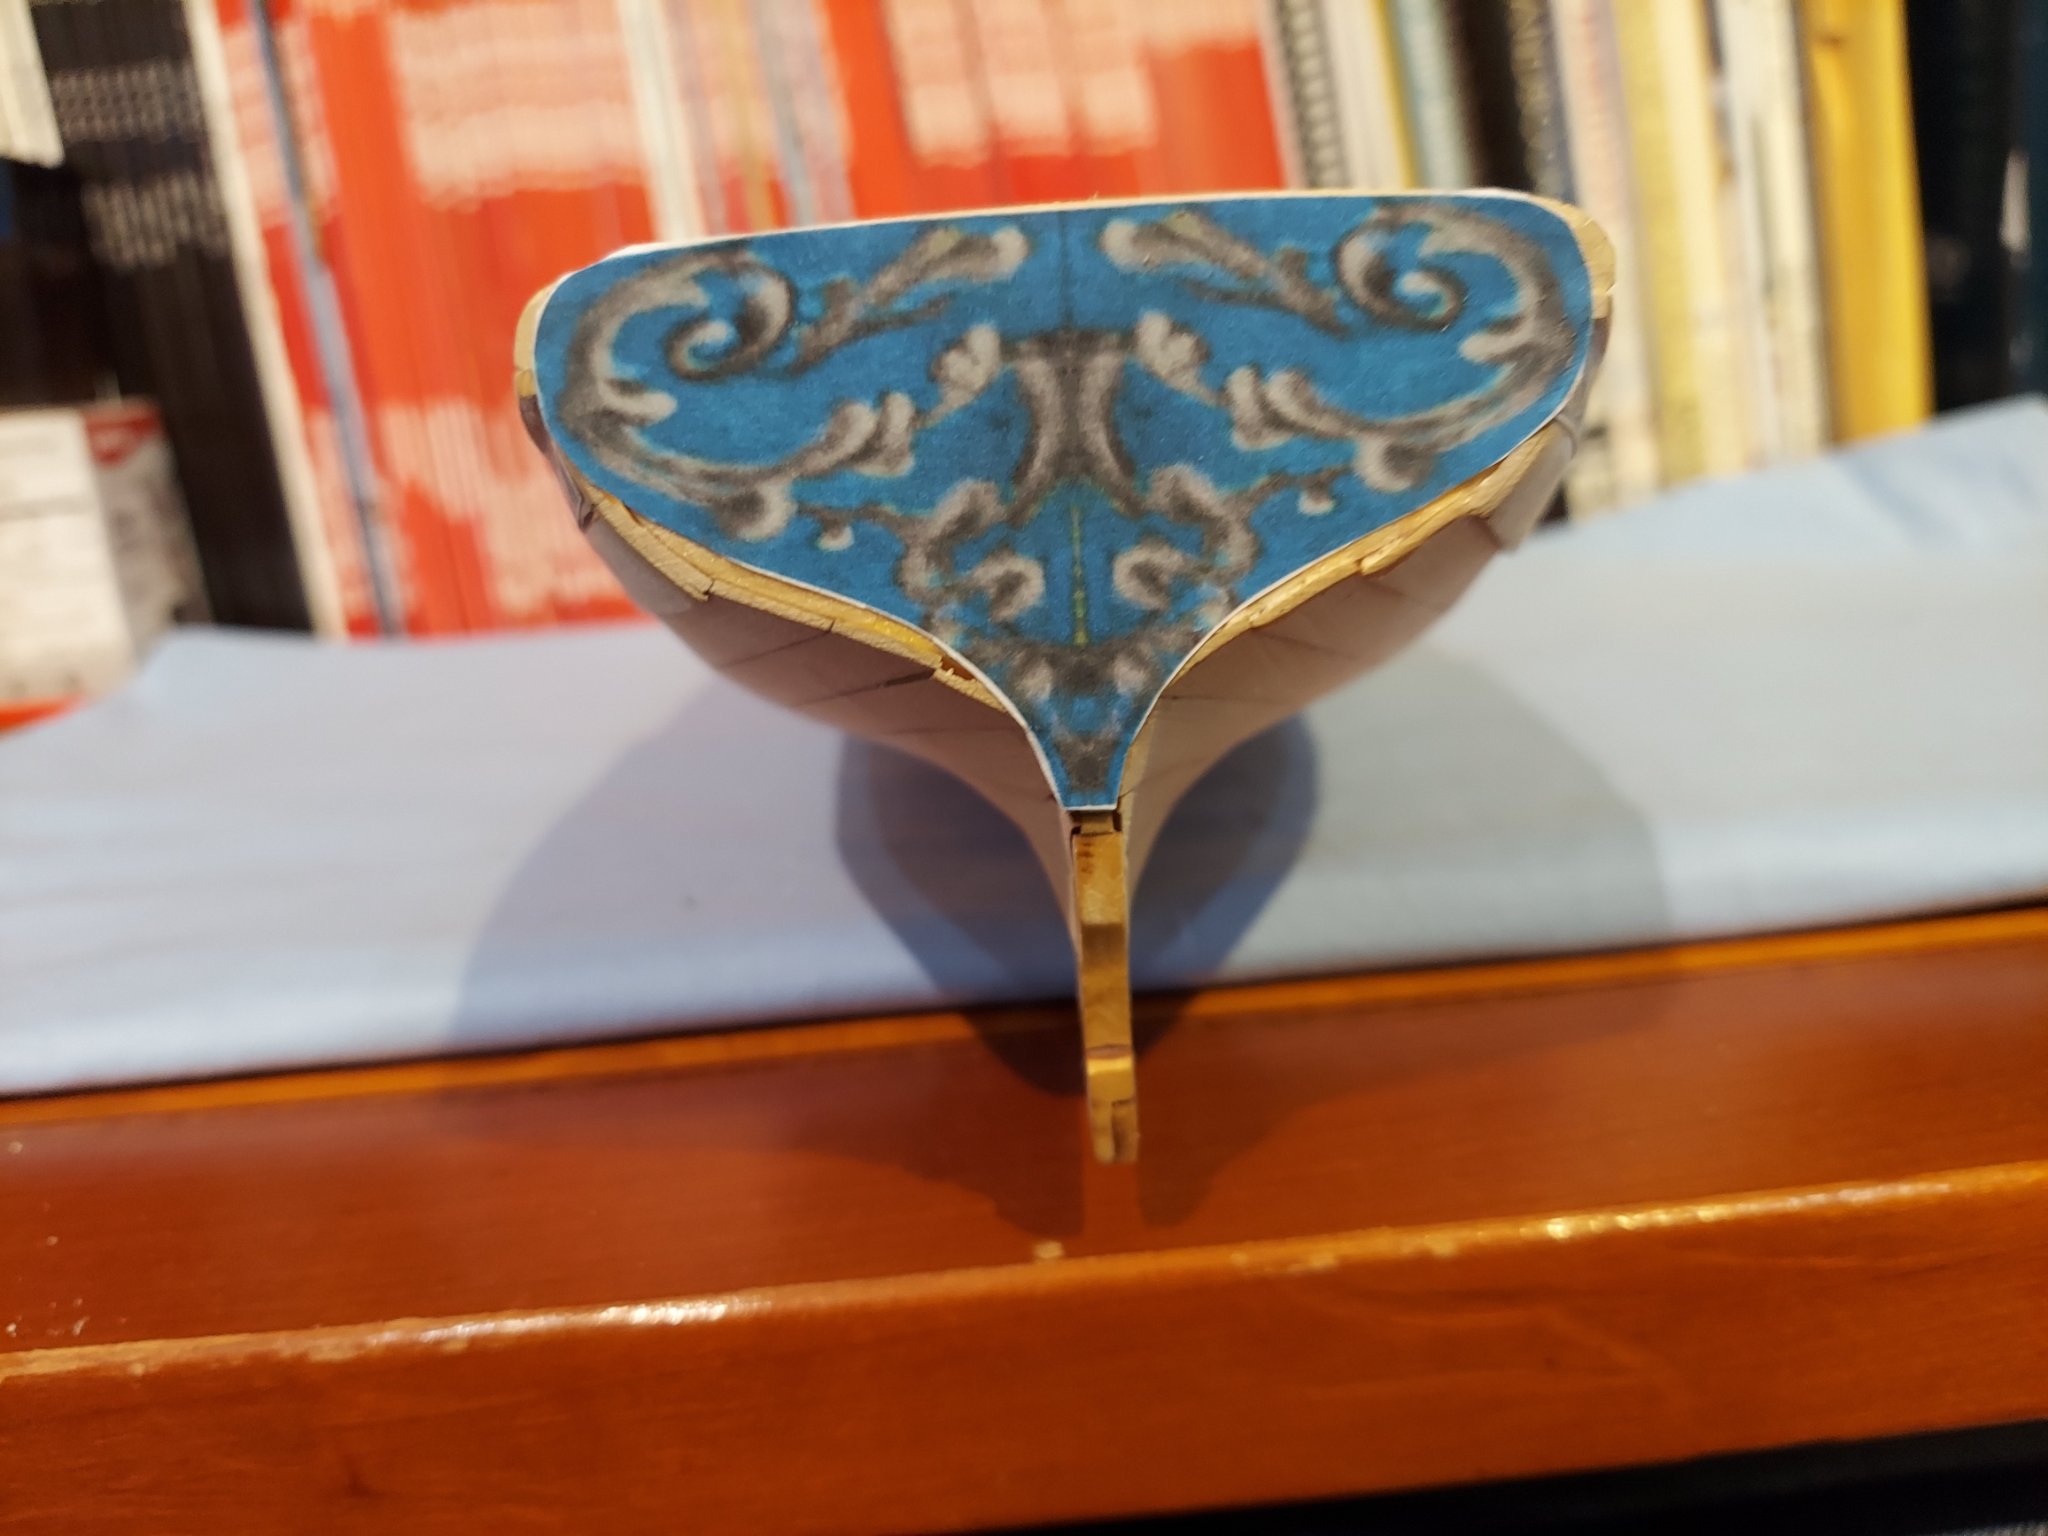
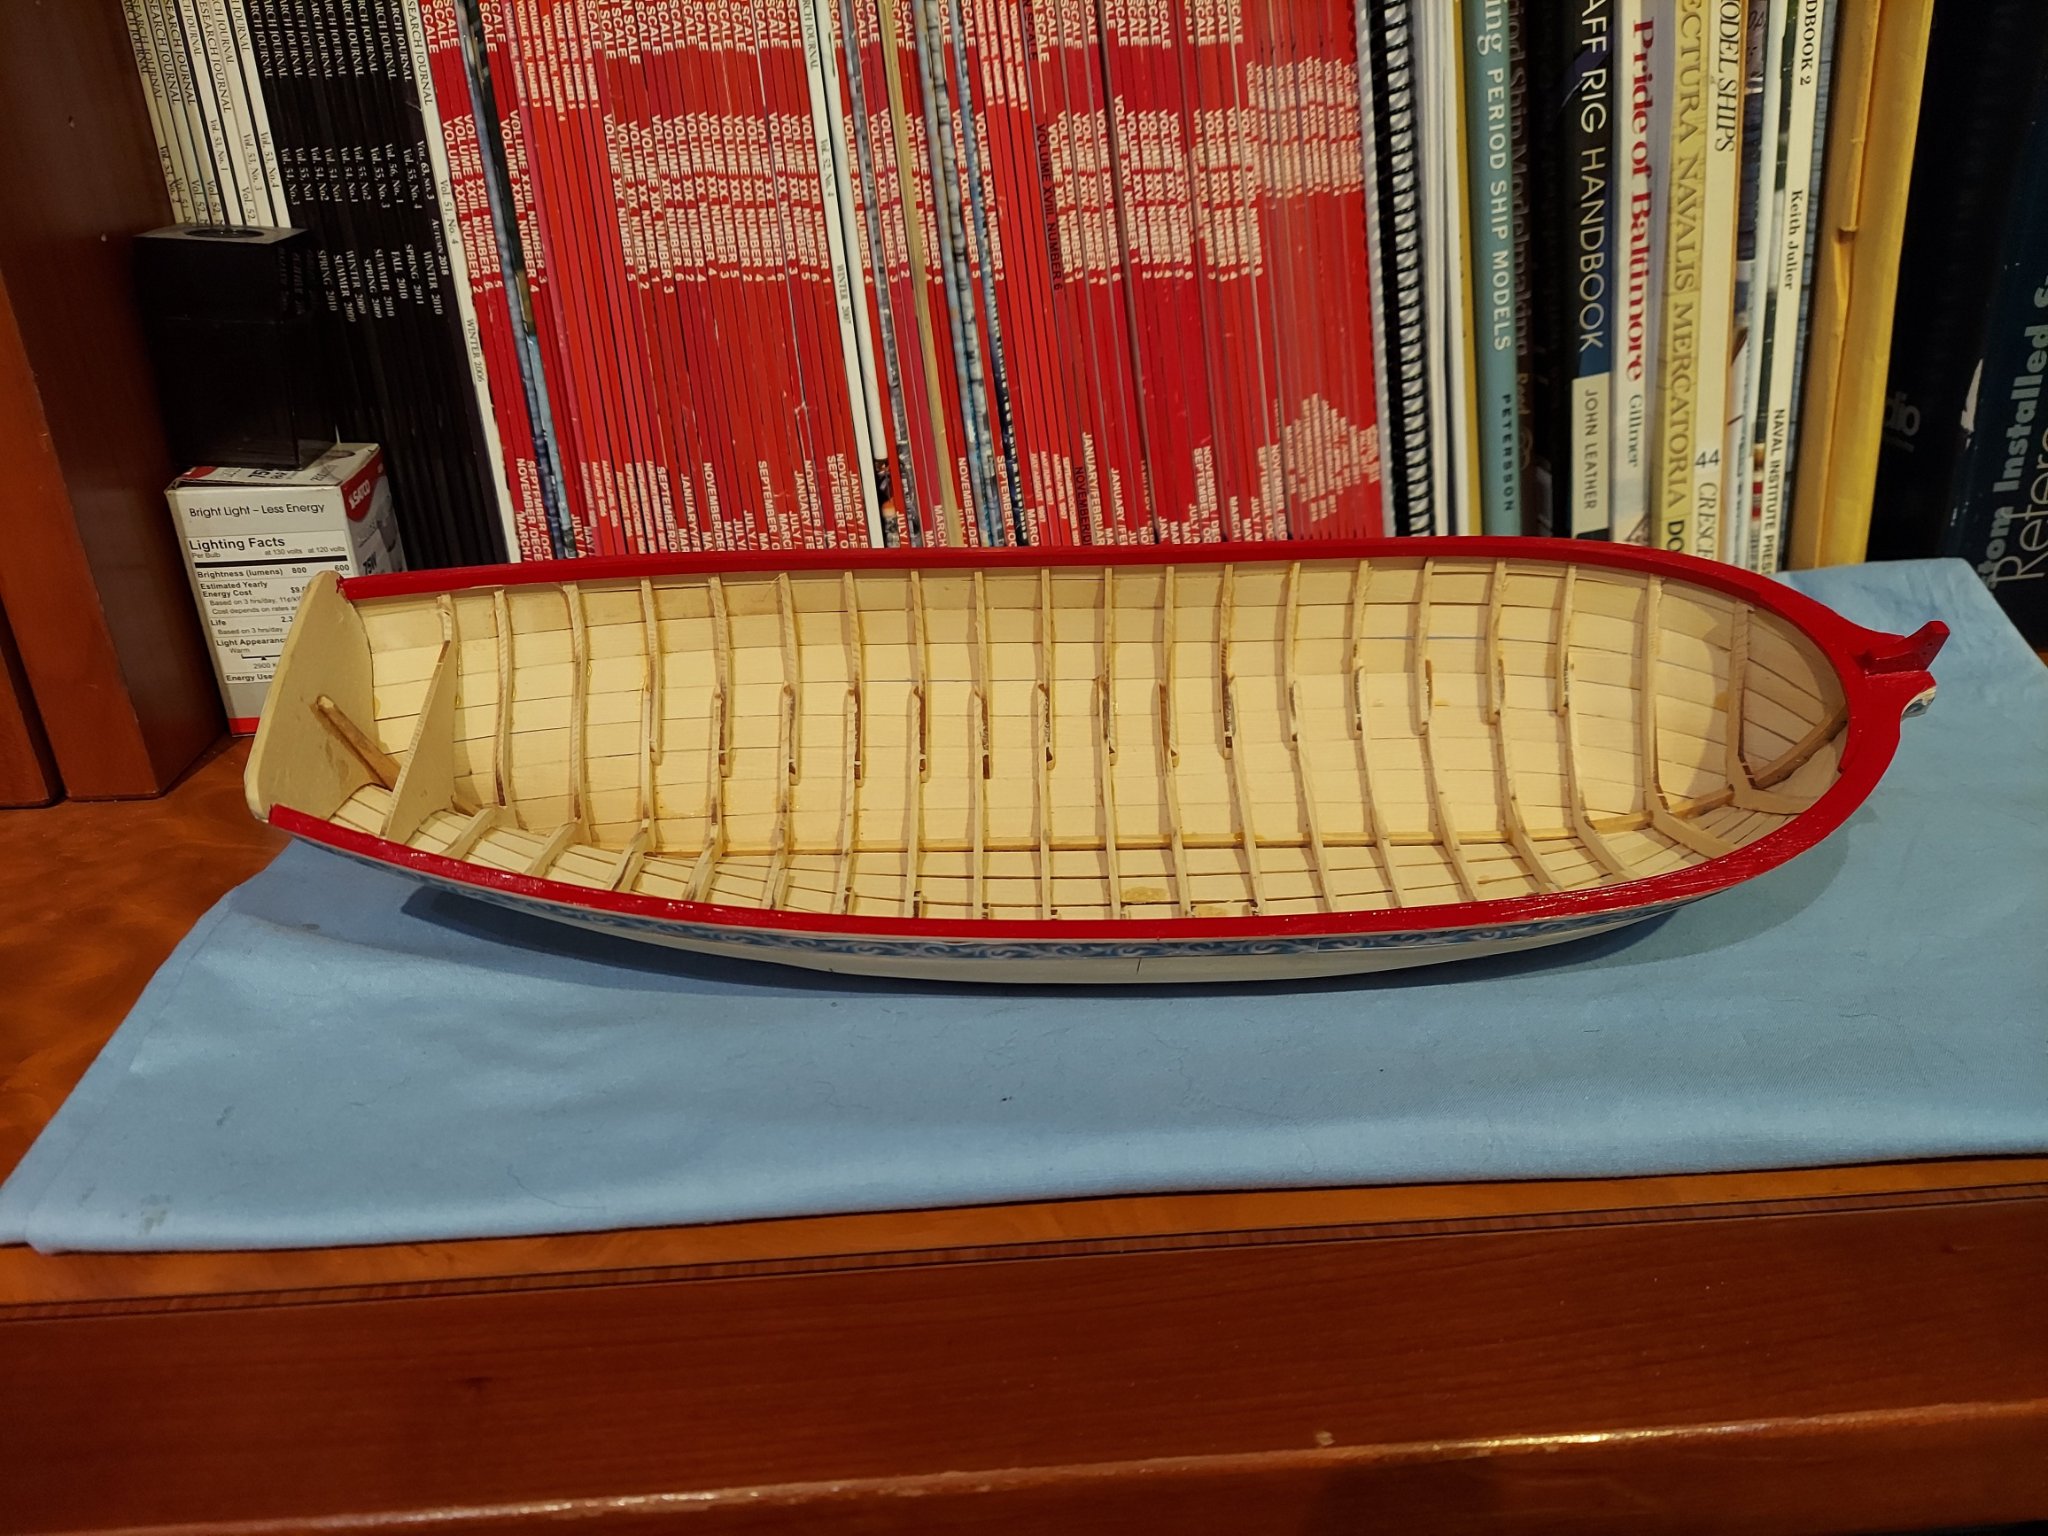
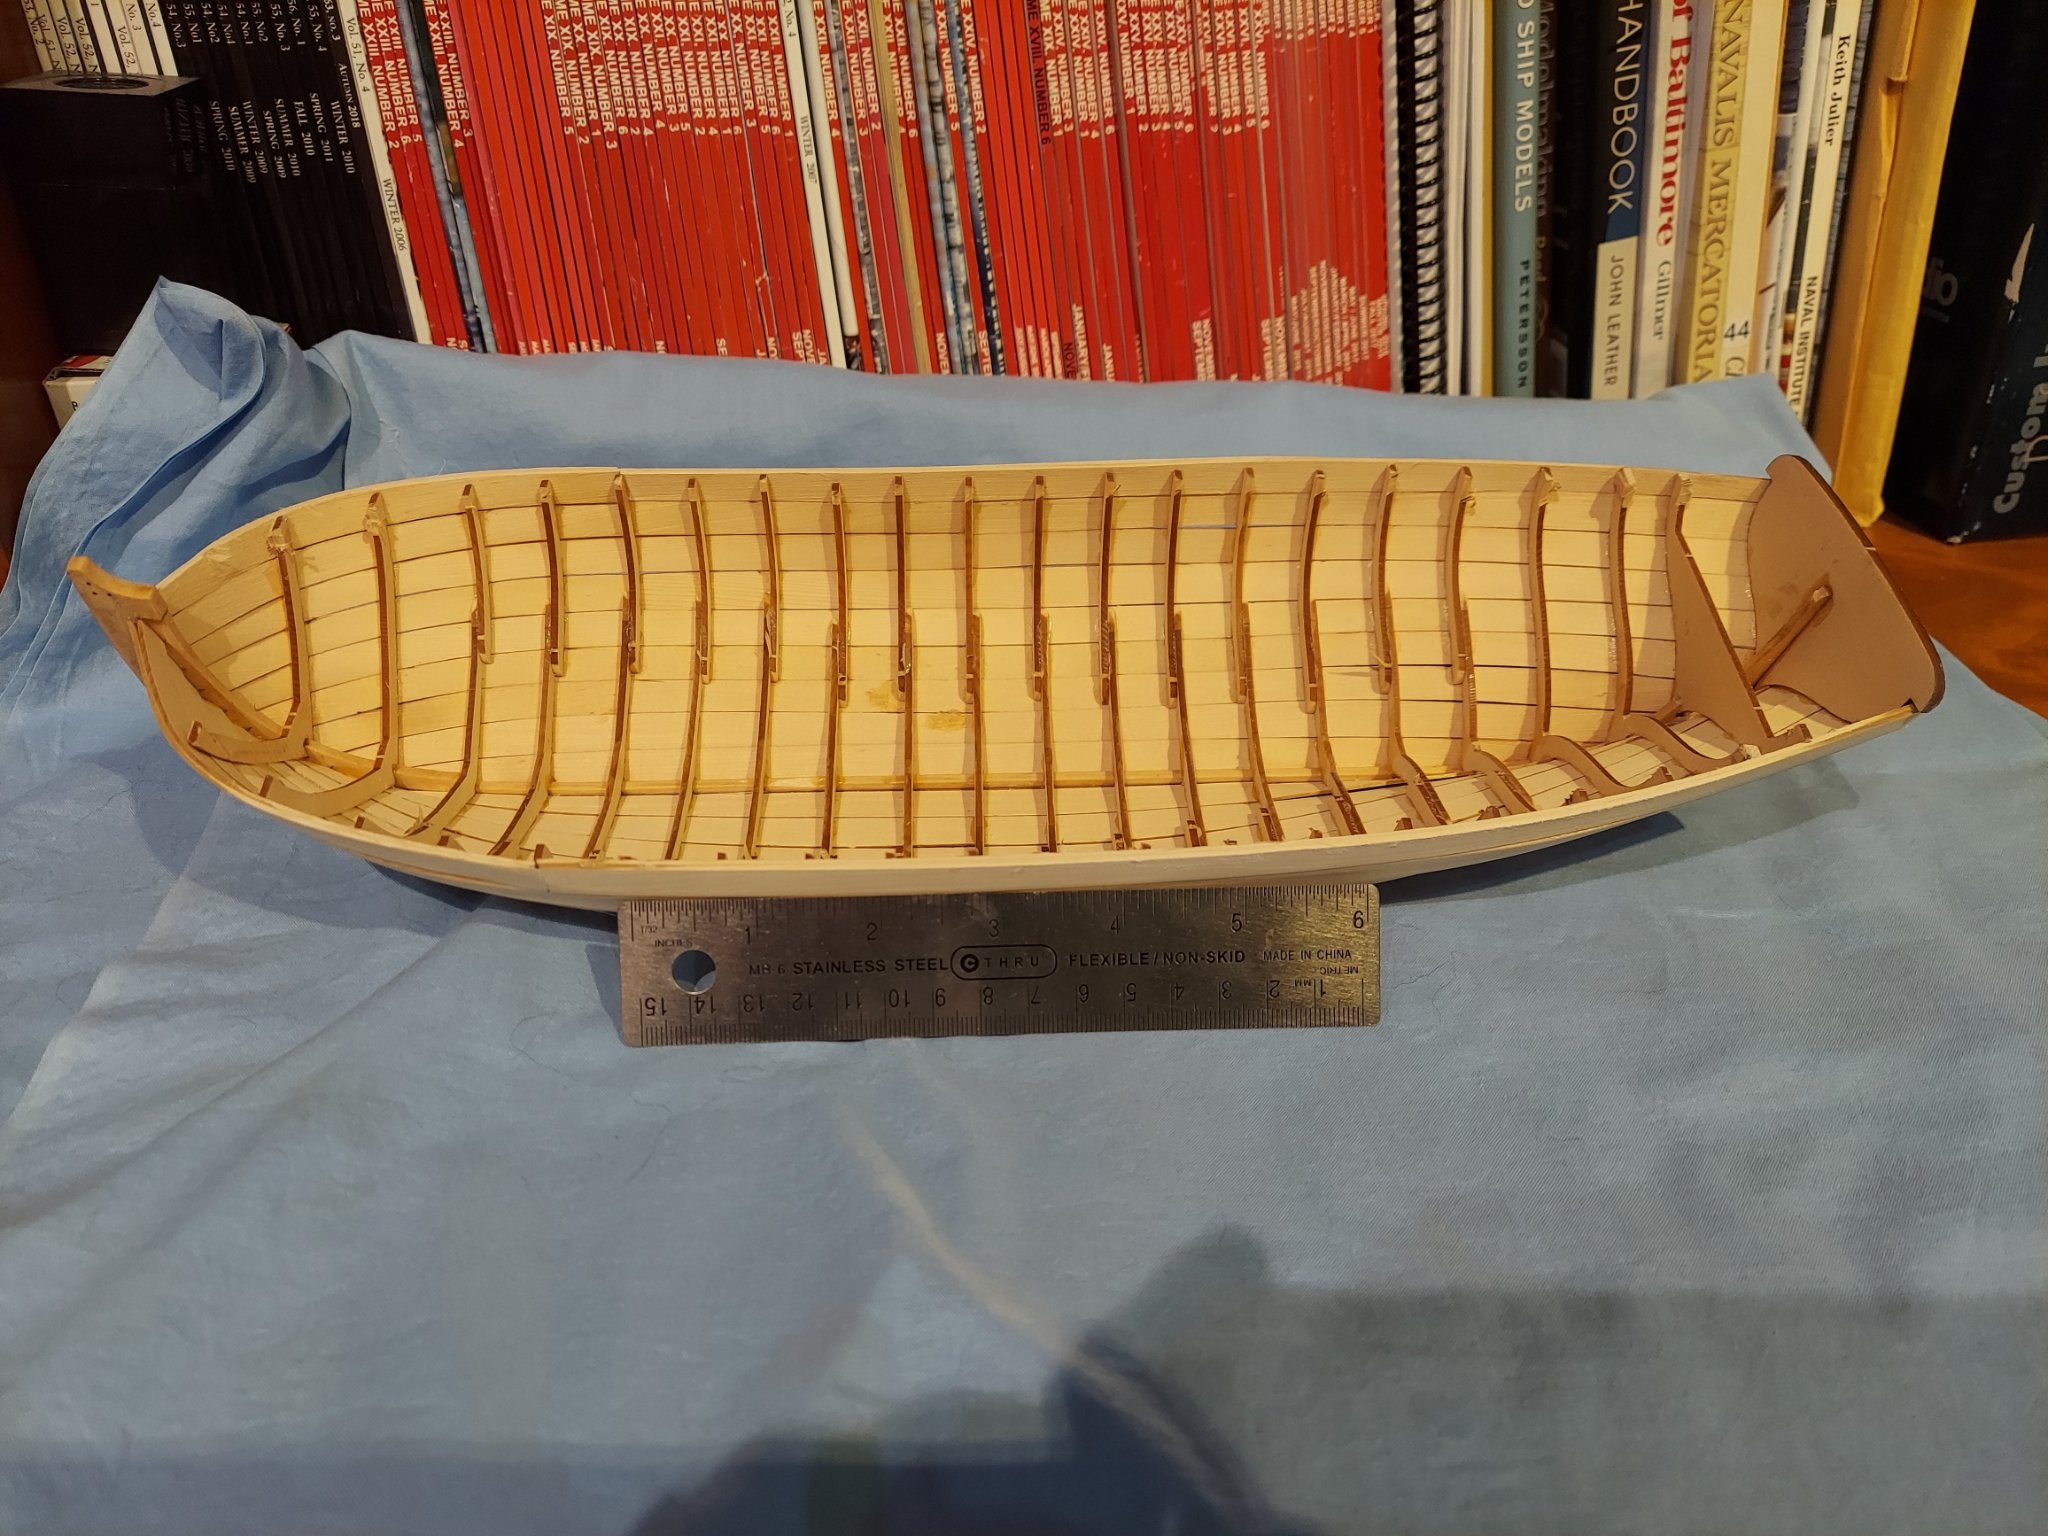
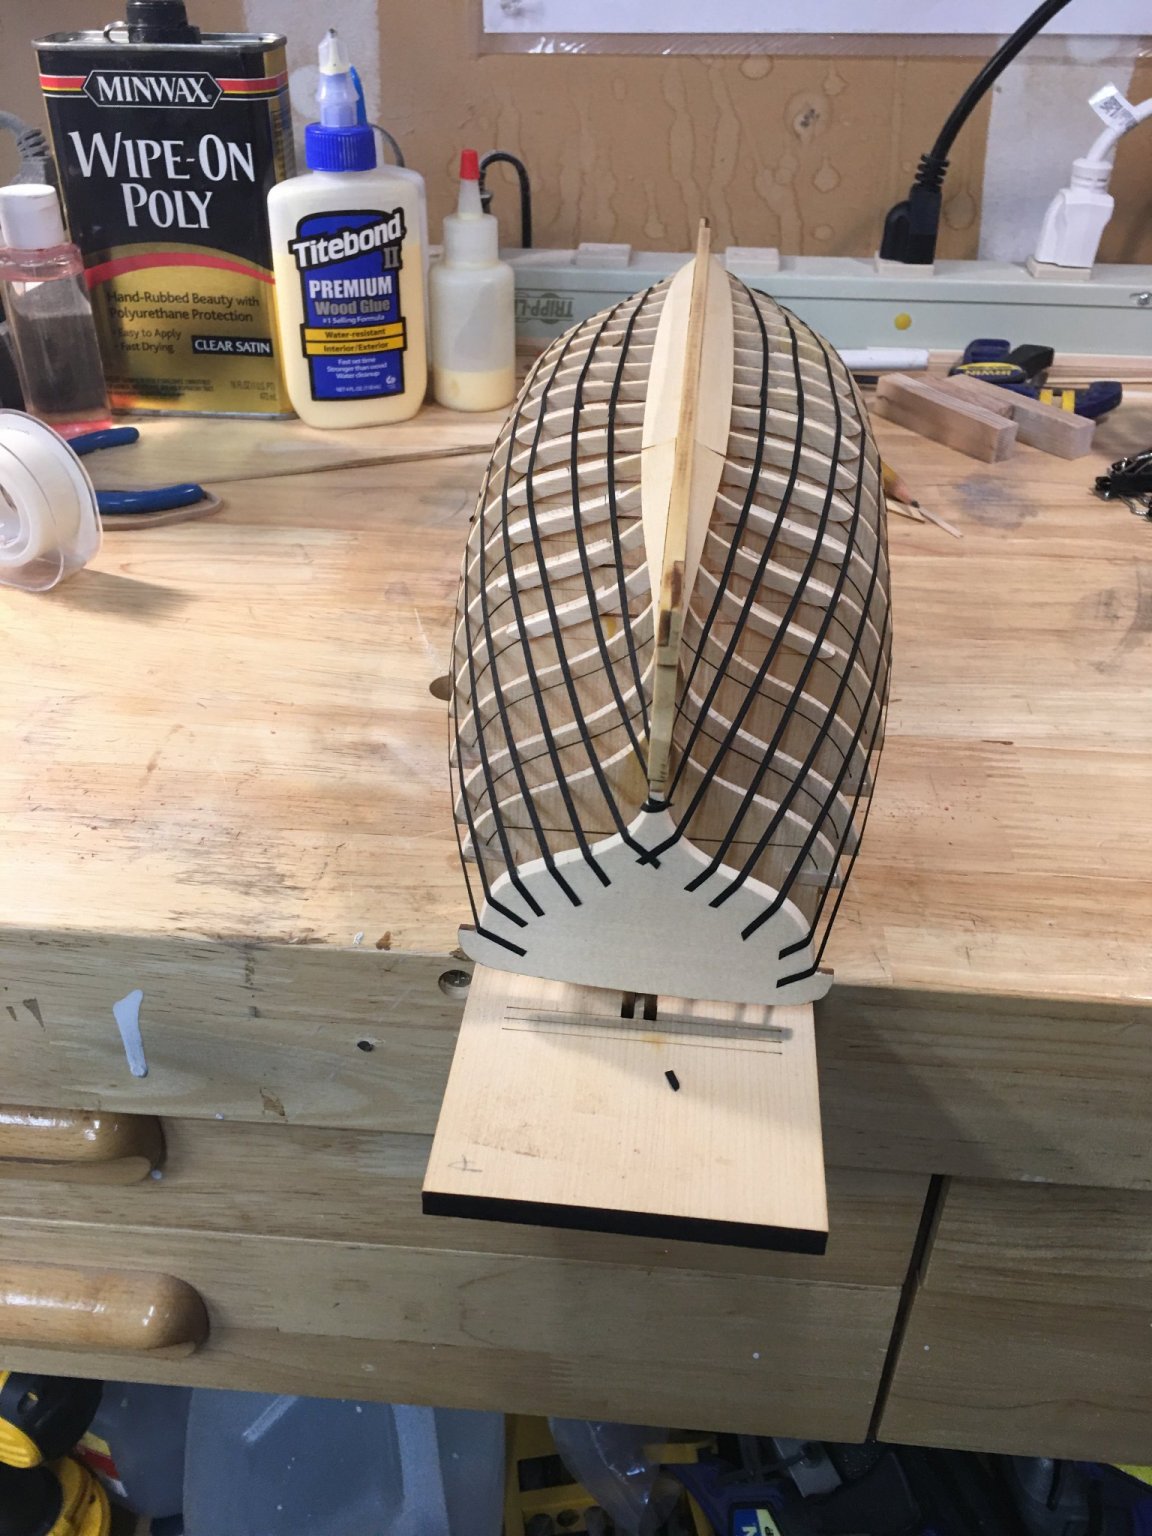
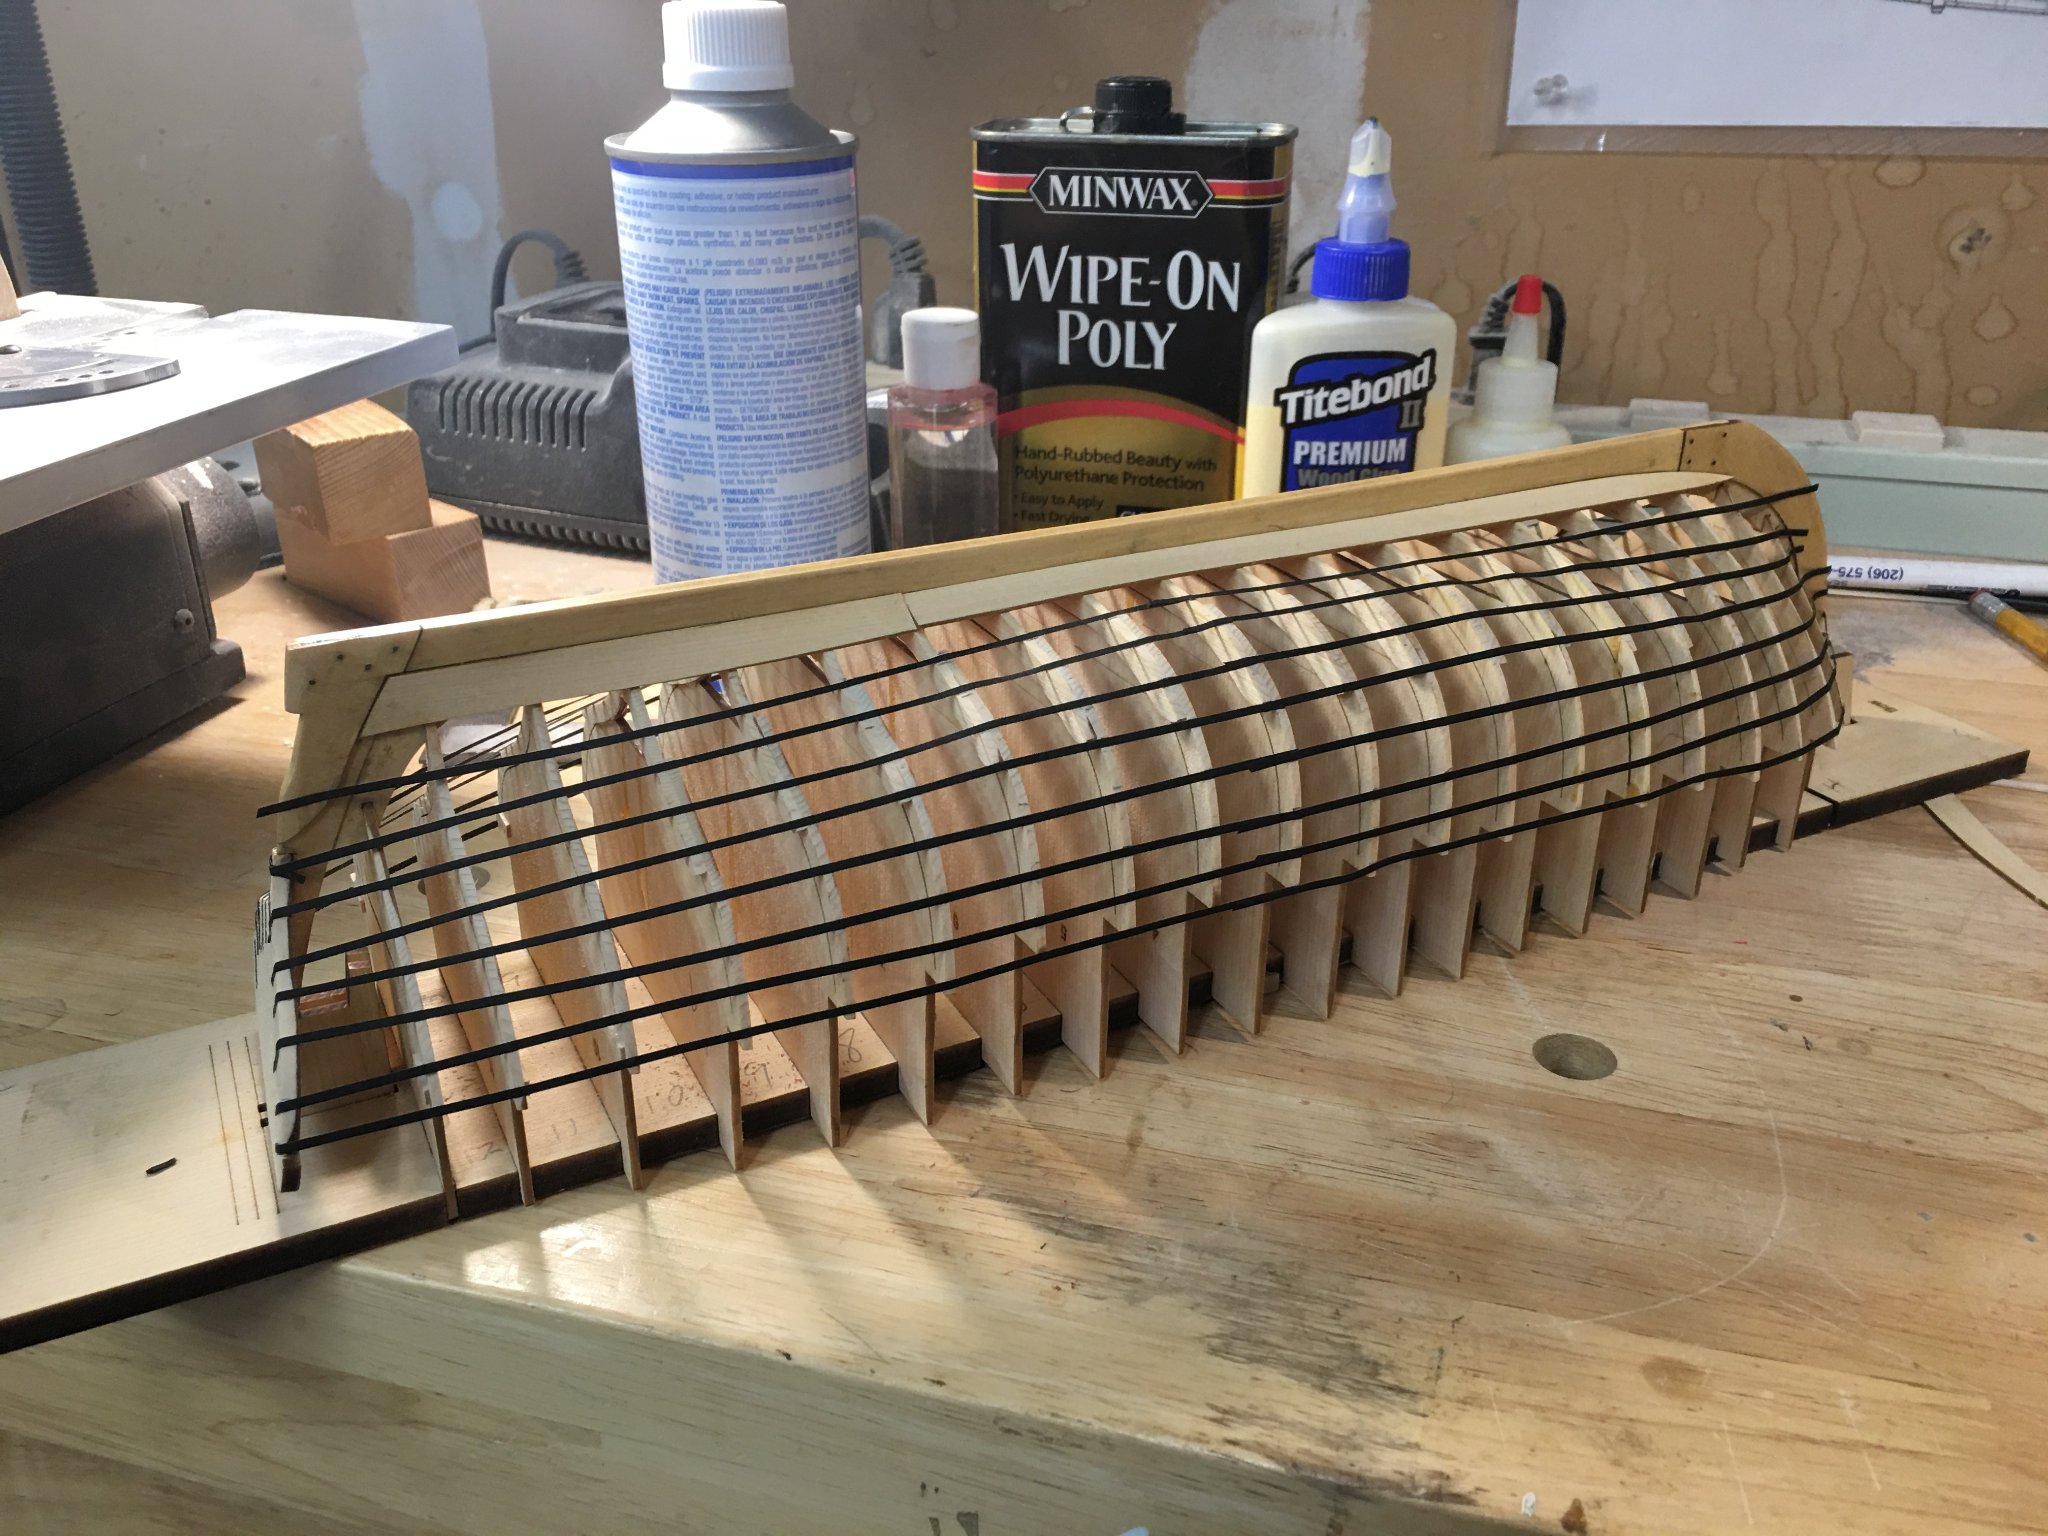
I just noticed that it has been a month since I last updated this log. So here goes! In the pictures below you will see I have installed the molding below the Frieze along each side. I spent some time working out how to scrape the Boxwood, and I am pleased with the outcome. I have completed chapter 3 with the exception of drilling the hull planks for the Black filament. I decided to get to the point of drilling all the pieces at once. I am also trying to work out a reliable method for this drilling. In a previous post I mentioned that I purchased some black art tape from Amazon that was 1/32" wide. The intent was to use the tape for the lining off of the bulkheads. I found that the 1/32" wide did not have enough adhesion to work for that purpose. so I went with a wider tape. But as you will see below I think I have found an excellent use for the 1/32" tape. I laid the hull upside down with a very bright light underneath. I then marked the location of the frames with the tape. I have also bent the floorboards to shape and marked them as well. I then took a #77 drill bit and placed a piece of scrap wood on the end and made sure only 3/64" of the bit would show. Then I tested it on scrap wood. Using my Dremel I have done several test drills and glued filament in place. I have found that it is too easy to press too hard and mar the surface. So I am rethinking this approach. If I can find my pin vice I will try the manual solution for 1000 holes! Suggestions and comments very welcome. I want these holes to come out so they look good and are in a straight line. I am also working on the bow & stern platforms. I remade the bow platform once (Thanks for the spare parts Chuck). Enjoy the pictures and stay tuned.


-
I should have known you would have this covered. I should have checked with you first. but I am happy it looks good. chapter 3 should be done next week. Maybe I finish the whole thing by the end of Feb. Which will be a record for me.
-
Well it is about time for an update to my Log! I can tell you I have spent many hours sanding. I have finished the Caprail and the inside plank of the caprail. Painted and install the Frieze. For the inside of the caprail I was have difficulty getting the laser cut pieces to fit. So I switched the a single strip of box wood that I had from another project. It was the same dimensions and easy to bend into place. I am finally feeling pretty good about this model. I am actually looking forward to using my scrapers to make the moldings for the bottom edge of the frieze. I also have some spray I use when I am printing decals. It has worked great on fixing and protecting these paper strips. I will be masking the hull with painters take before I spray this stuff on. it also has to be sprayed out of doors. But I wanted to pause and share my pictures. Chuck if I may offer a suggestion - there were 5 copies of the stern. So it was easy if I made a mistake. But only 1 copy of the sides and the small piece for the Bolsters. For the future could we please have a 2nd copy of each. Also could the stern strips be jsut a shade longer. My wallpaper hanging wife was frustrated that she could not get the pattern to match to her high standards and still reach the stern. PS I spent days sweating the Bolsters. I did throw 3 away. But I actually had fun with them.


-
Ok, First I want to thank my Mentor Ryland for so much help. I also want to wish everyone a safe and healthy Thanksgiving. I also want to say why didn't you just say RTFM. Yesterday I sat down and read all of Chapter 3. I found that most of my answers are there. I also found that 90% of chapter 3 is just plain Sanding. I spent a very large part of yesterday sanding and expect to do the same today. Hopefully I will be on to the bolsters tomorrow.
-
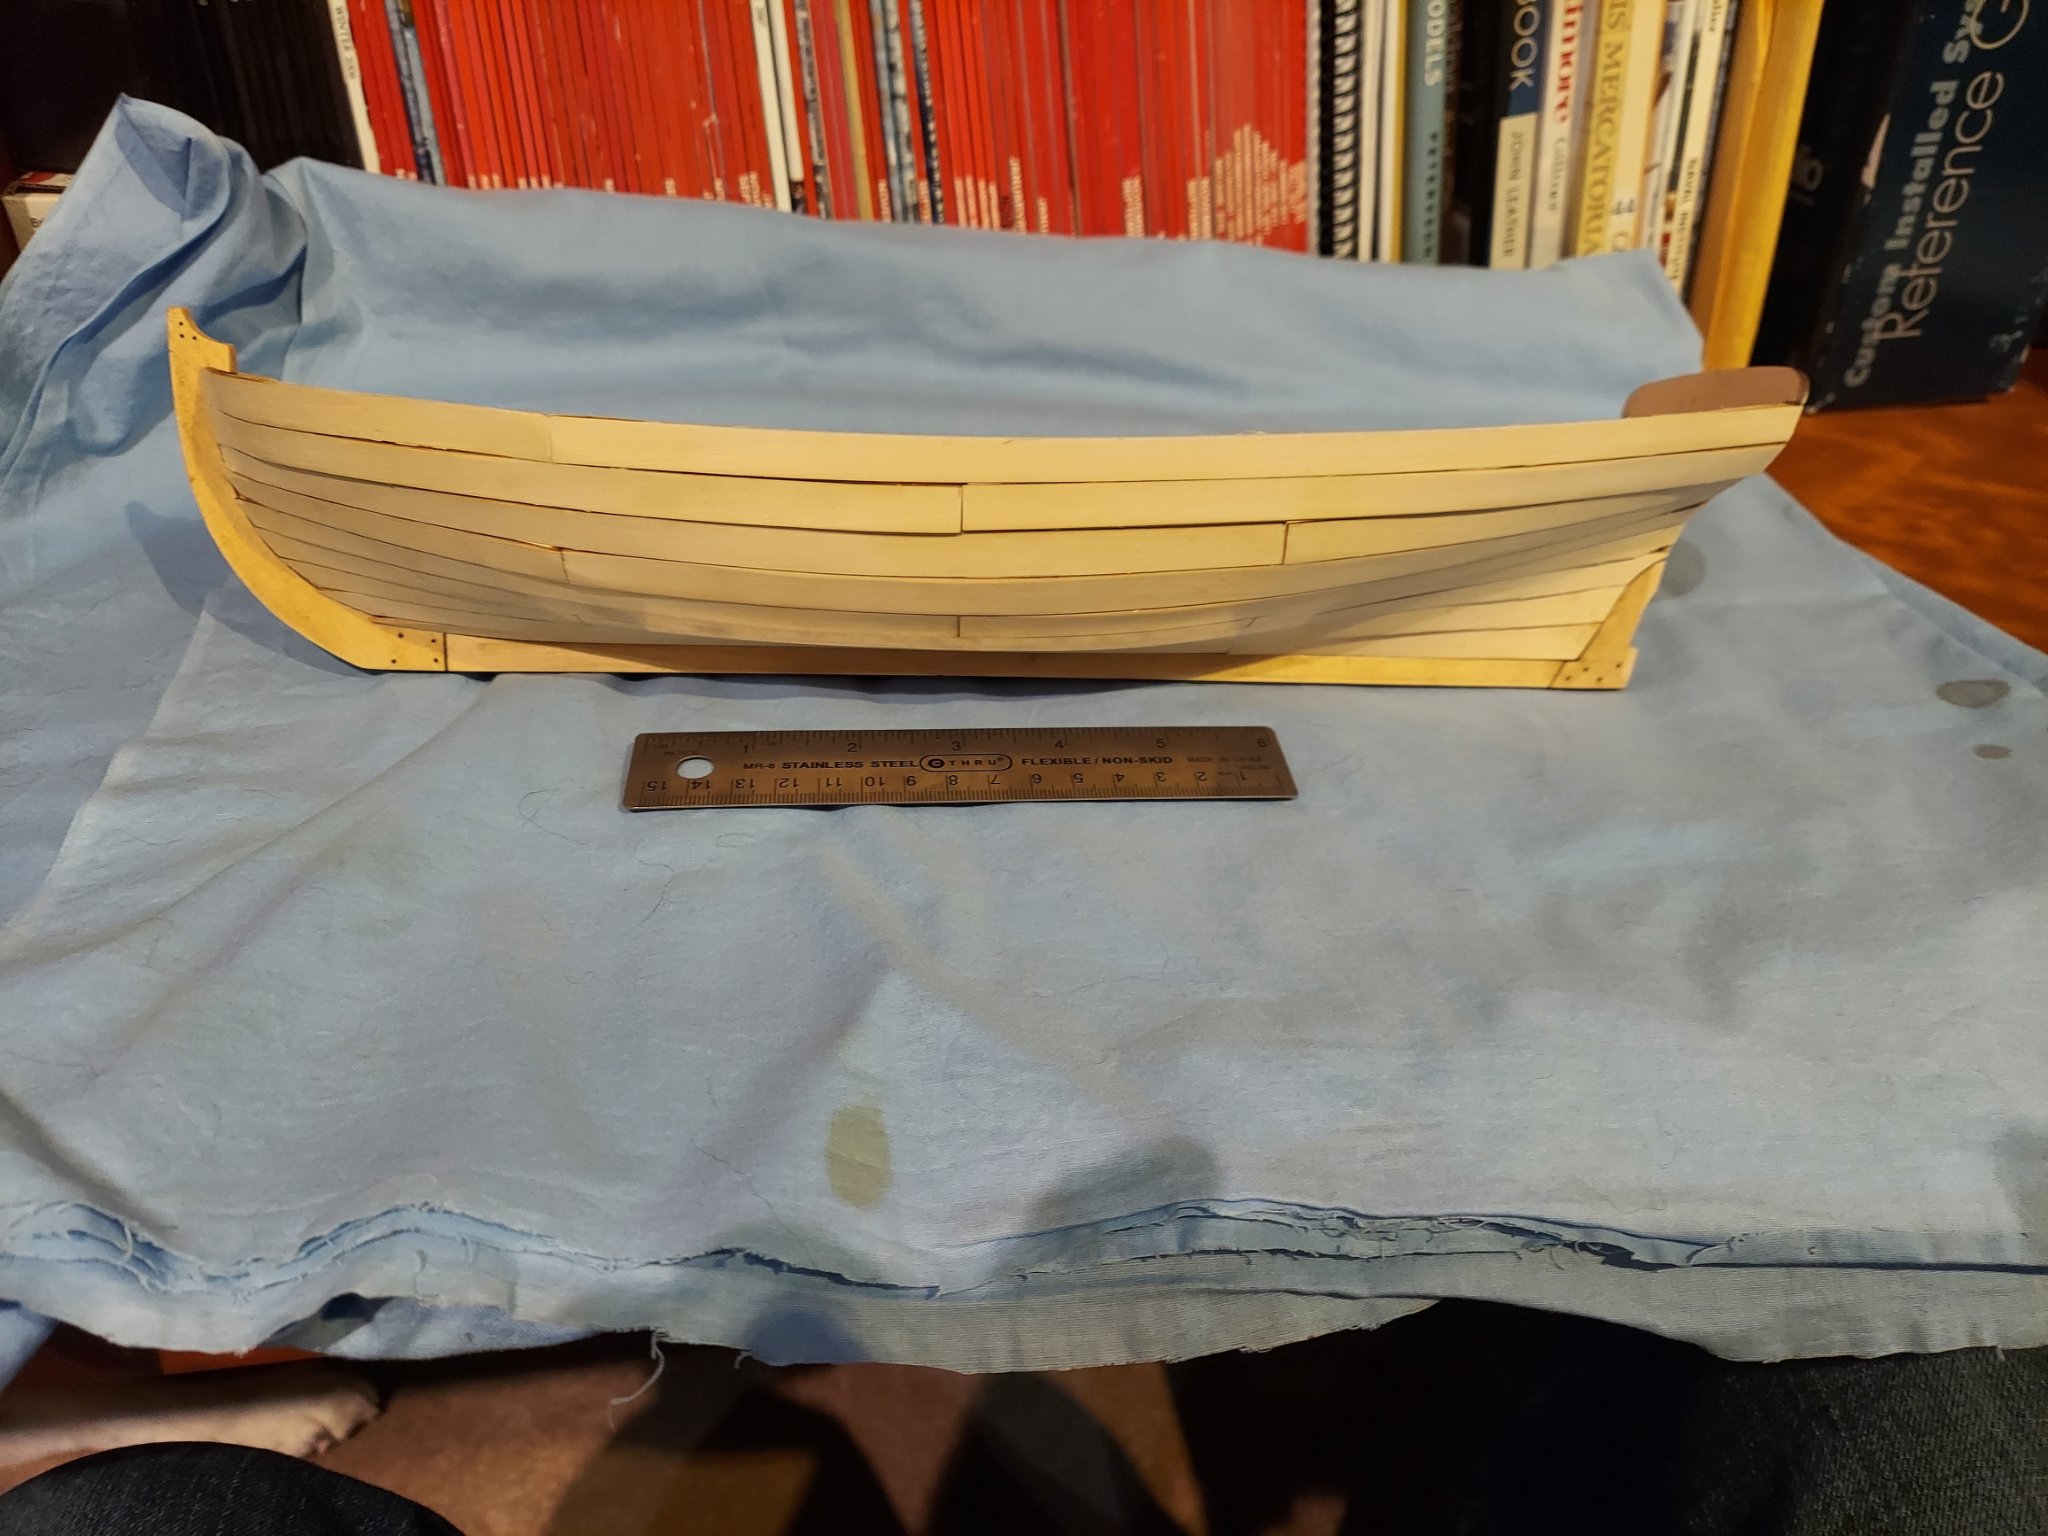
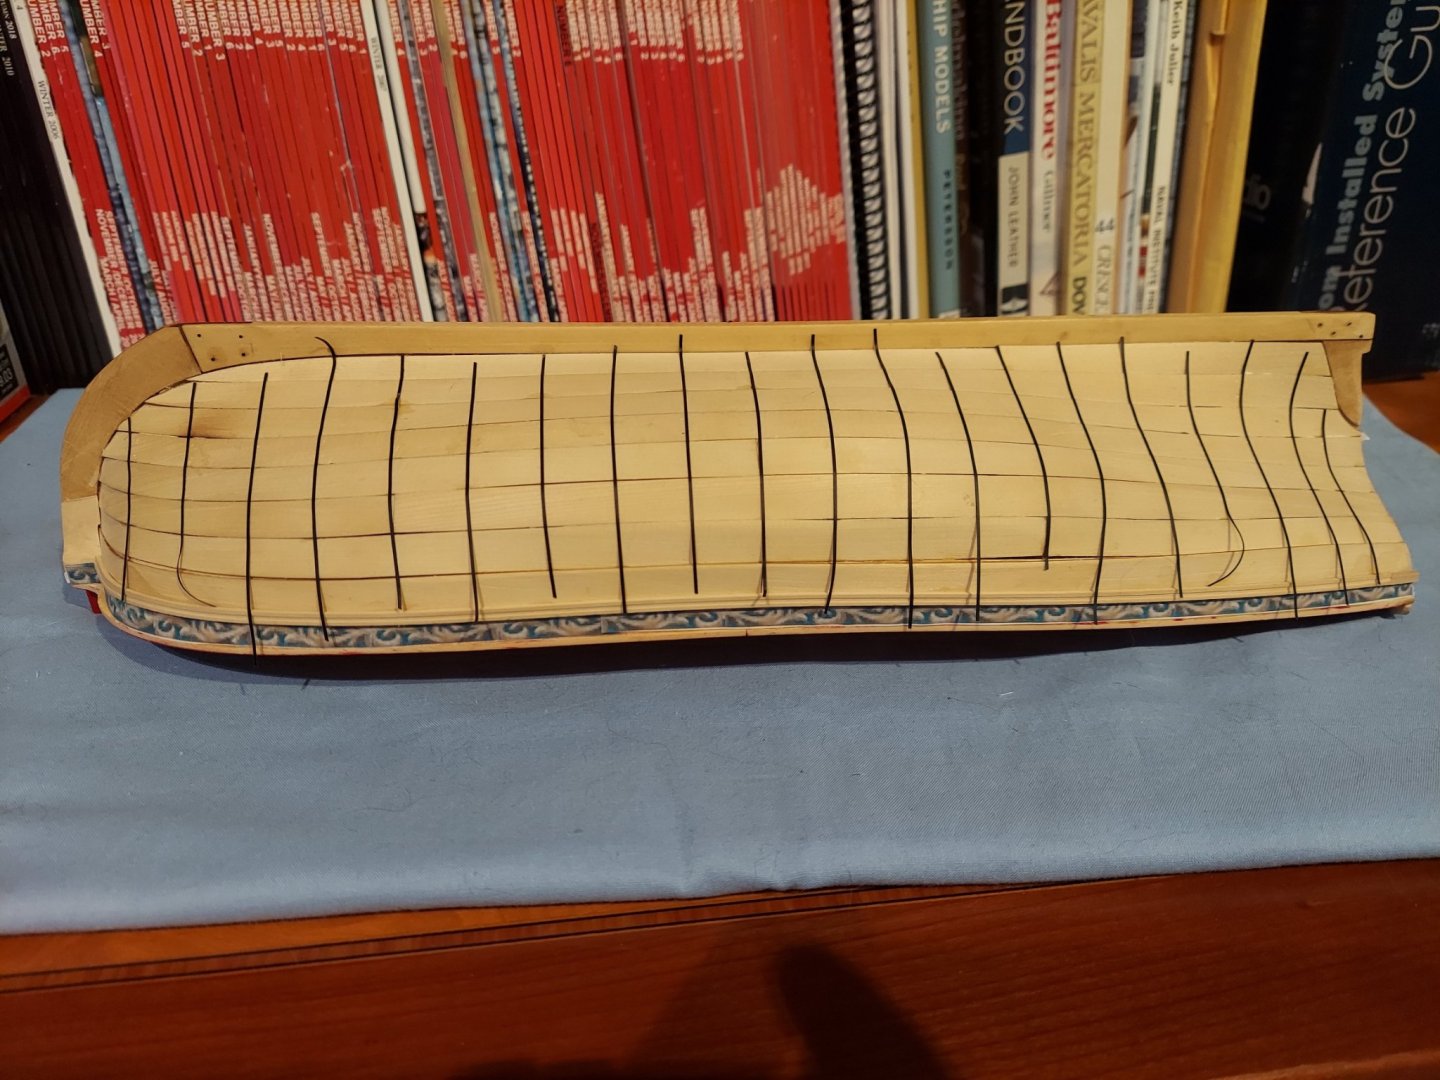
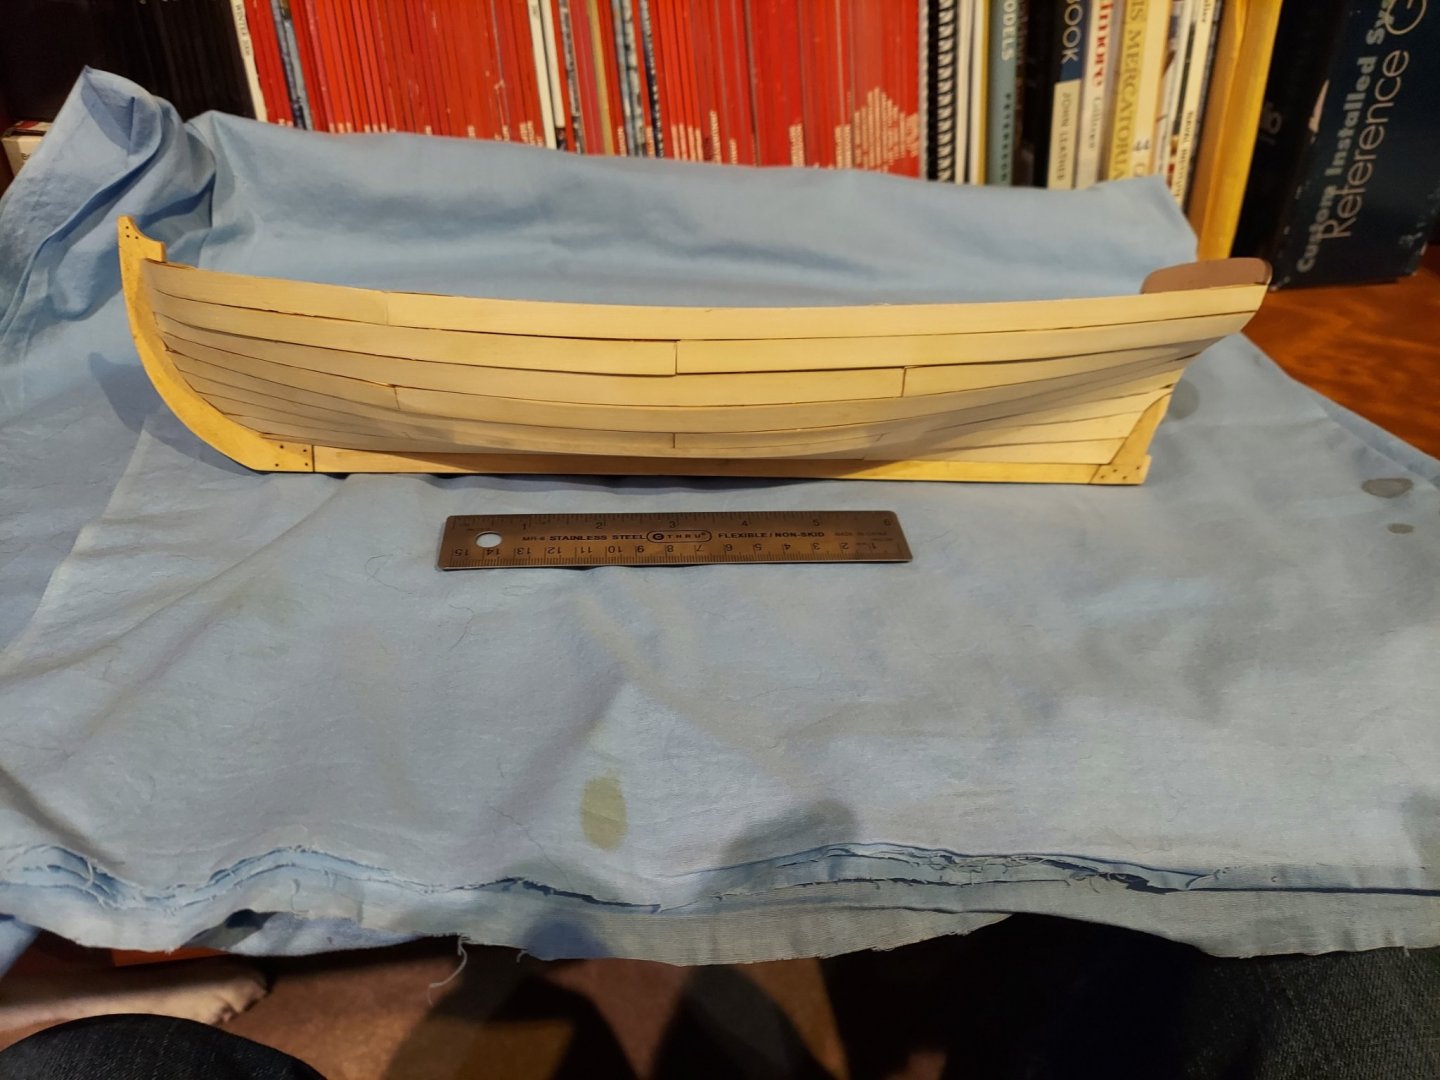
Finally I have reach a major milestone! I am not sure why my hull doesn't look as good as some but I am going to stick with this. I did bevel the edges of the planks, but maybe not enough. As the admiral says the best planking I have ever done. I still have significant sanding to do. I do have a couple of questions - - In another log it mentions a 1/16" notch in the transom wings. If I read the instructions and plans I don't see the notch. It looks like all I ahve to do is adjust the length of the cap rail and the stern end raps around the transom. - I noted the Ryland suggests fitting the stand at this point. Are you suggesting gluing it in place? or gluing the stand to the base? - Do I need to sand out the laser char on the inside of the frames?

-
Jim - Thanks for the above. It sounds like we are approaching this the same way. I had difficulty with the heat gun. I had no guide as to how much or how little to bend the plank. I went back to my own tried and true method. I have a 3 ft. long piece of 4" PVC. I plugged one end and I have it zipped tied to my worktable. I have filled it with water and I clamp planks to the top edge. I then clamp the plank in place and let it dry. I am also not very comfortable with CA so I am using PVA. I can't say why it did not occur to me that the drilled holes not go all the way thru. I am going to do as you suggest.
-
Chuck! You never cease to amaze me! I just heard this morning that you were unwell. Please take care of yourself! I look forward to at least a decade of modeling and learning from you. in the planking I have done so far I have worked hard to make sure each plank ended on a frame with just a 1/64" so that the adjoining plank would have a place to rest. If I read you correctly, are you suggesting that I not drill all the way thru the plank?
-
I am approx. 1/2 thru the planking. I have decided to drill the holes every 3 planks while I can still see the bulkheads. So are the holes supposed to go into the bulkheads? And what do you do where the butts of planks meet? The bulkhead is too narrow for 4 holes?
-
Here is my 2nd try 😅 I took Jim's suggestion (Jim I wish I was 1/2 the modeler you are. I loved visiting your Man cave) I think it came out much better. I also am getting the hang of the Heat gun. This is going to be a fun step.


-
I just received my stand for this Model. Chuck this is such a simple but elegant design. I can't resist working on it while I work on the planking. Quick question - Do you just put 2 or 3 coats of WOP after sanding the Laser char? I am curious how everyone finished their stand?
-
The use of this lining off process on this model is mostly an opportunity for Learning. I greatly appreciate Chuck giving us this chance to learn the process & backing up it with an almost fail proof solution. So I would like to talk about this some more so I get the process down. Let's assume I am planking a different model that has not be designed by Chuck (they do exist!) First off how do I create the templates for the bow & stern when they are not provided by Chuck? Secondly how do I determine when I need a drop plank or steeler?