Laxet
-
Posts
391 -
Joined
-
Last visited
Content Type
Profiles
Forums
Gallery
Events
Everything posted by Laxet
-
 Today I went on a paint spree. I painted all of the masts & yards & booms. I need to start the hammock stanchions. Can anybody tell me what they are using for material to make these? I bought some 1/32" brass bar (the closest I could find to match the print callout) but it just looks like hell. I can't get a tight bend & it looks way over scale.
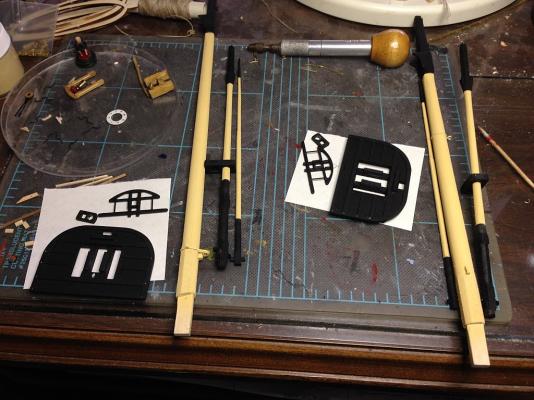

- 468 replies
-
- 2
-

-
- niagara
- model shipways
- (and 1 more)
-
Tim, I'd be afraid not to do them all at once. If I didn't, none of them would come out the same.
-
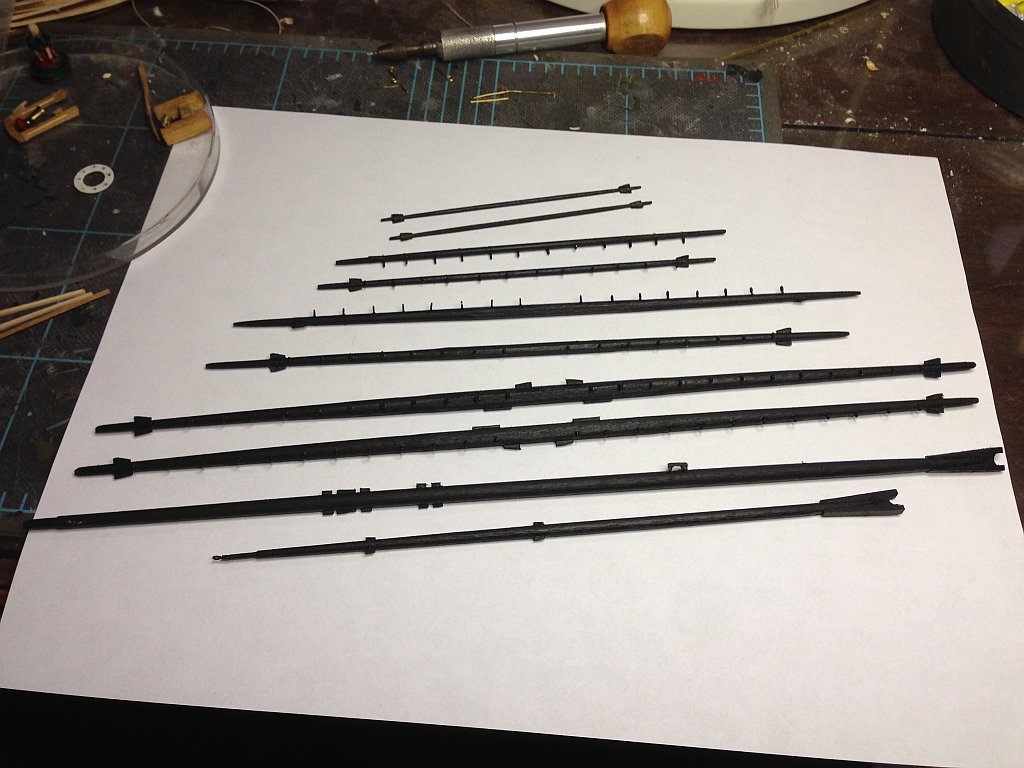
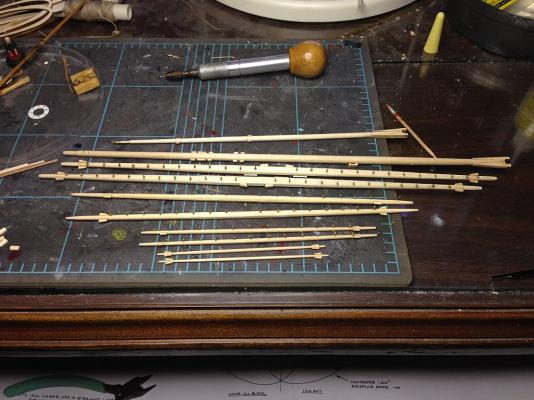
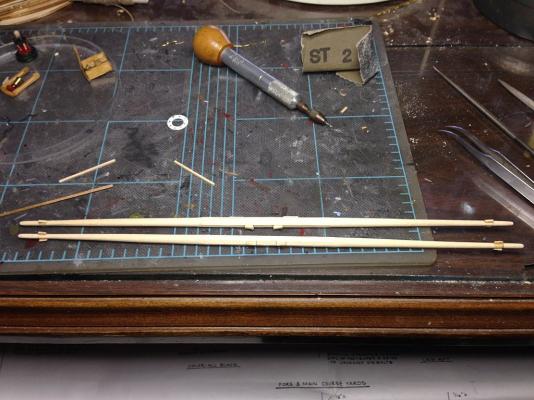
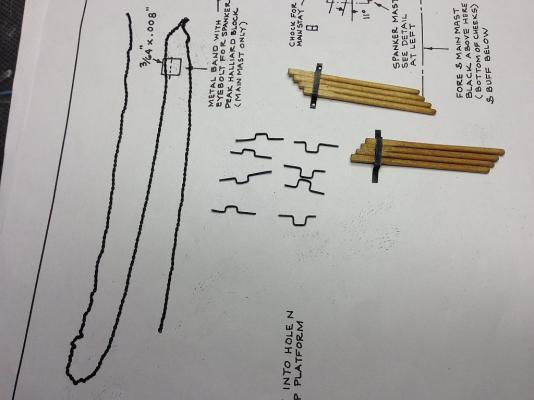
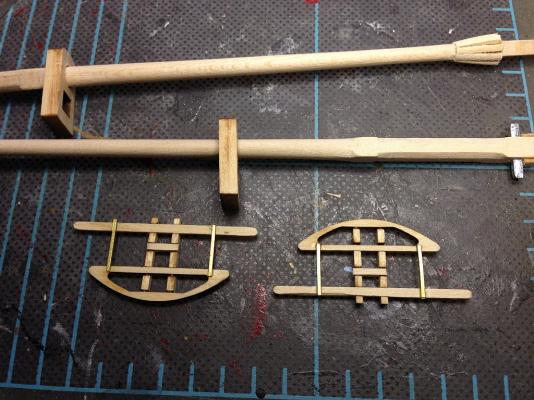
Thank goodness I'm only building a brig. A lot less spars. Here are all of the yards & spankers. I was looking at other builds when I slowly came to the realization that the shrouds are all single shrouds. For some reason I just assumed that they would be doubled up (like a wishbone) & seized in the middle. I know that was a common practice, so I'm wondering why this method was used instead. Anybody know?
- 468 replies
-
- 1
-
-
- niagara
- model shipways
- (and 1 more)
-
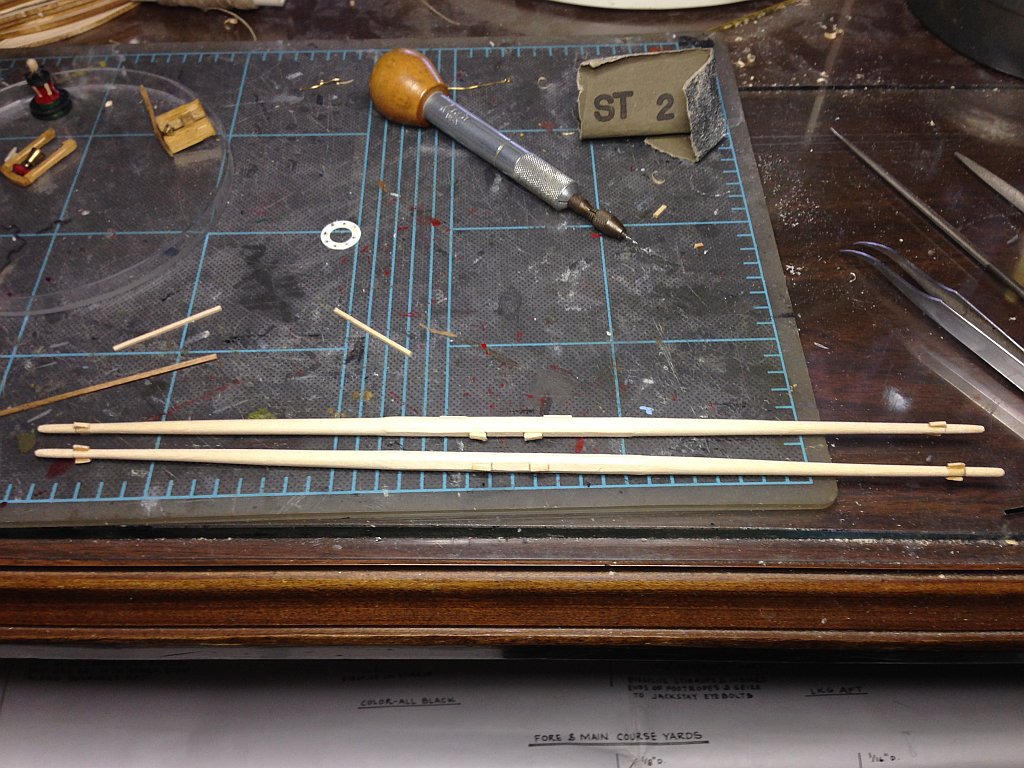
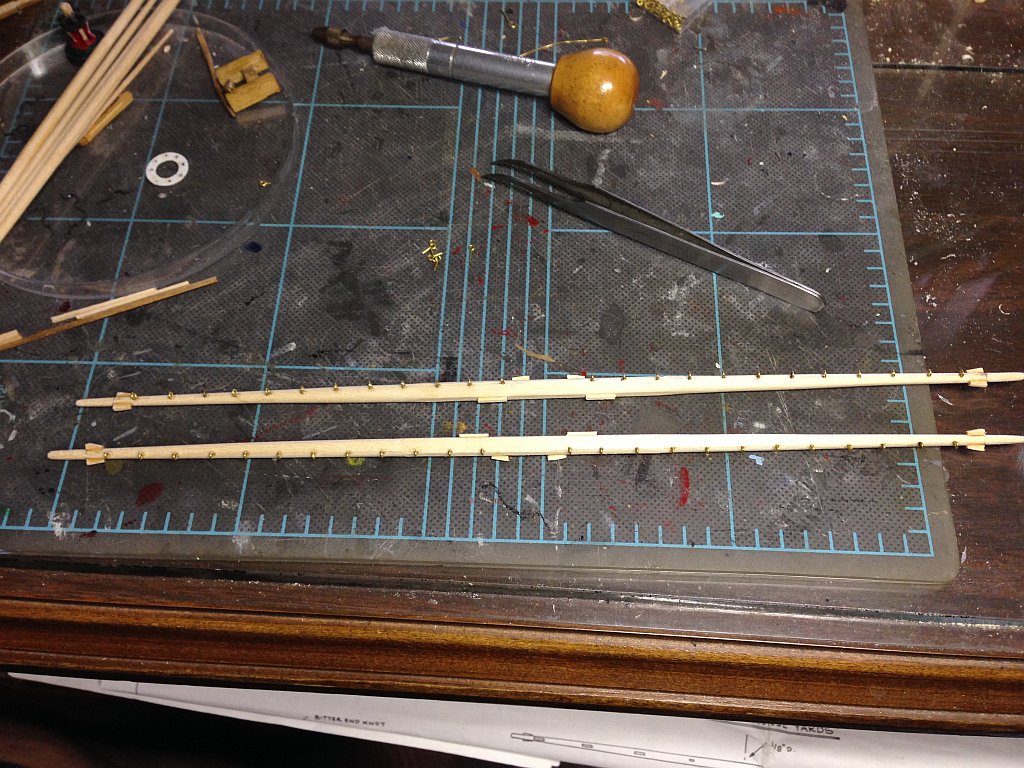
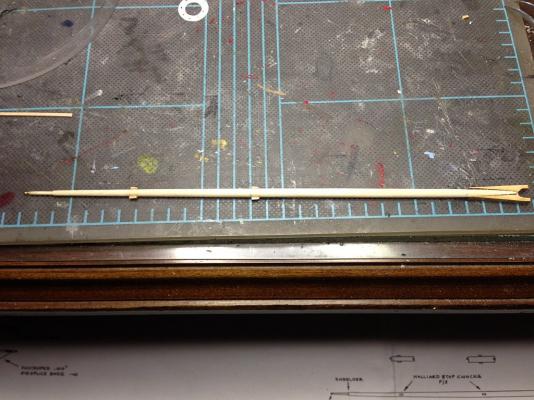
Aaaaaaagggghhhhhh! I am getting so sick of spending a bunch of time doing something & finding out the next day that it is wrong & that I have to rip it all apart & re-do it. This time it was the stop chocks at the end of the main course yard arms. Since I do them at the same time, I had to re-do both of them. I put the chocks 90° off of the axis. Here are pictures before & after, the after also including the jackstay eye bolts.

-
I see Model Expo is selling the Niagara for $150. What a bargain.
-
Spanker gaff. On these last two pictures, I have gone back & cleaned them up a bit. I noticed that the cheek block only goes on the stbd side, so I removed one.
- 468 replies
-
- 2
-
-
- niagara
- model shipways
- (and 1 more)
-
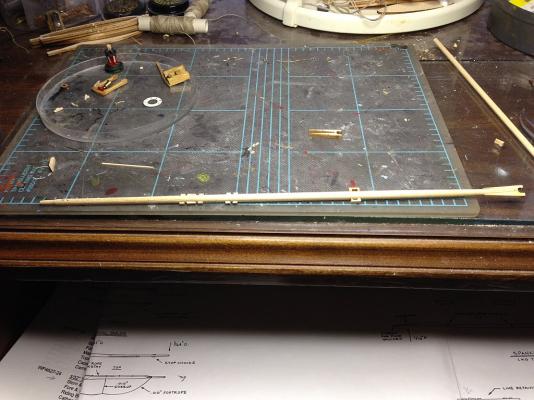
Finished the spanker boom today (except for paint).
- 468 replies
-
- 2
-
-
- niagara
- model shipways
- (and 1 more)
-
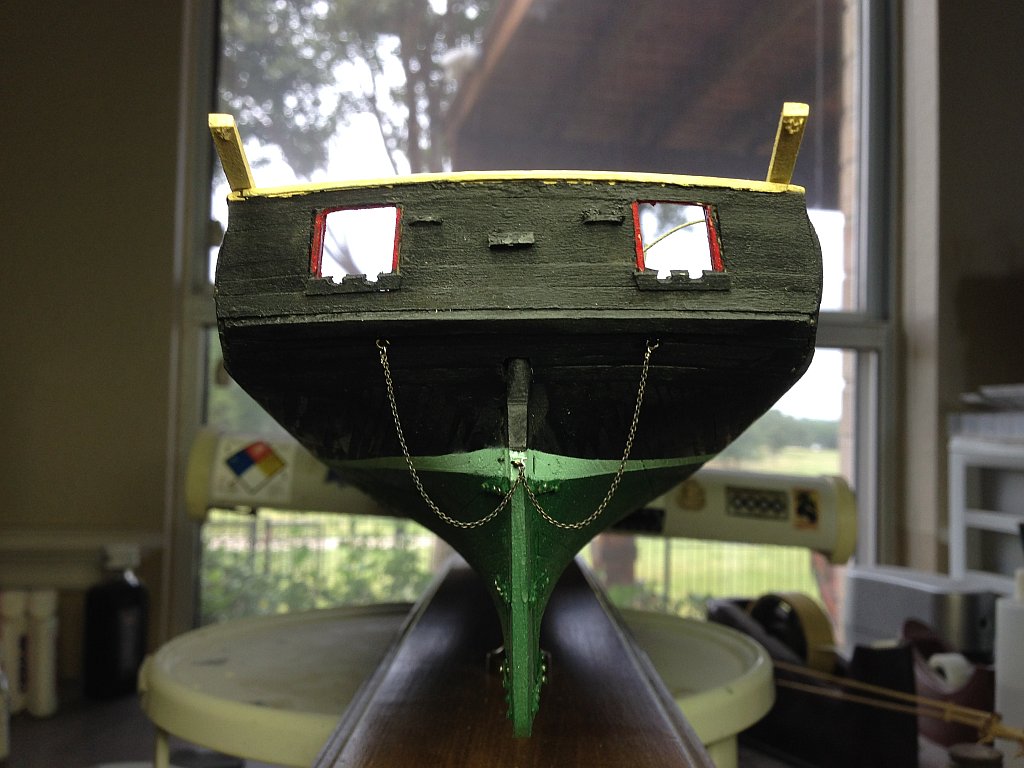
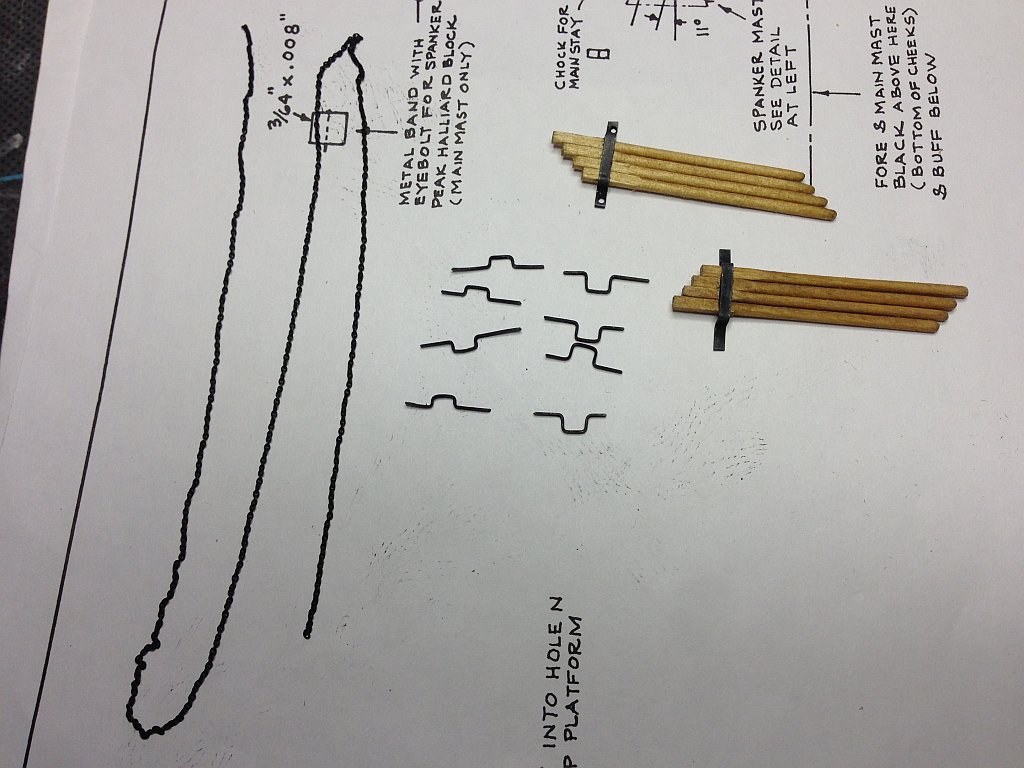
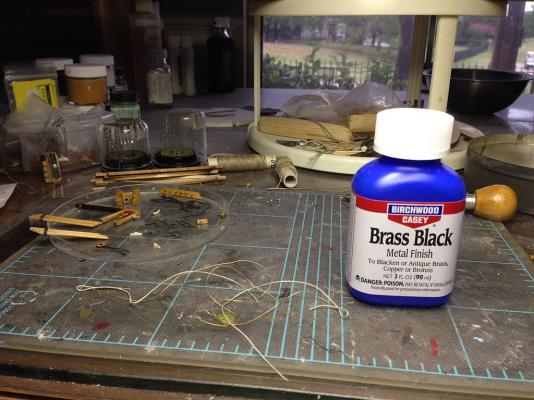
Re: the blackening, I didn't see any signs of sweating, but I was able to rub off more "soot". The parts stayed black for the most part, so I suppose it will work for my purpose. I think I'll still paint when I can, but blacken when I need to, like on chains where paint clogs up the link holes. When I do try again, now I have a regimen I can follow thanks to Geoff. So, speaking about blackened chains, here it is installed. The links are so small they don"t fit in eye bolts. I ended up using 30 gauge wire wrap wire to secure the chains to the eye bolts. Btw Geoff, there is no link attached to your post.
- 468 replies
-
- 3
-
-
- niagara
- model shipways
- (and 1 more)
-
I think I see what you are doing with the gun ports. I'll be interested in seeing how it comes out. Good idea with the candles. My wife has tons of them. What do you do about batteries?
-
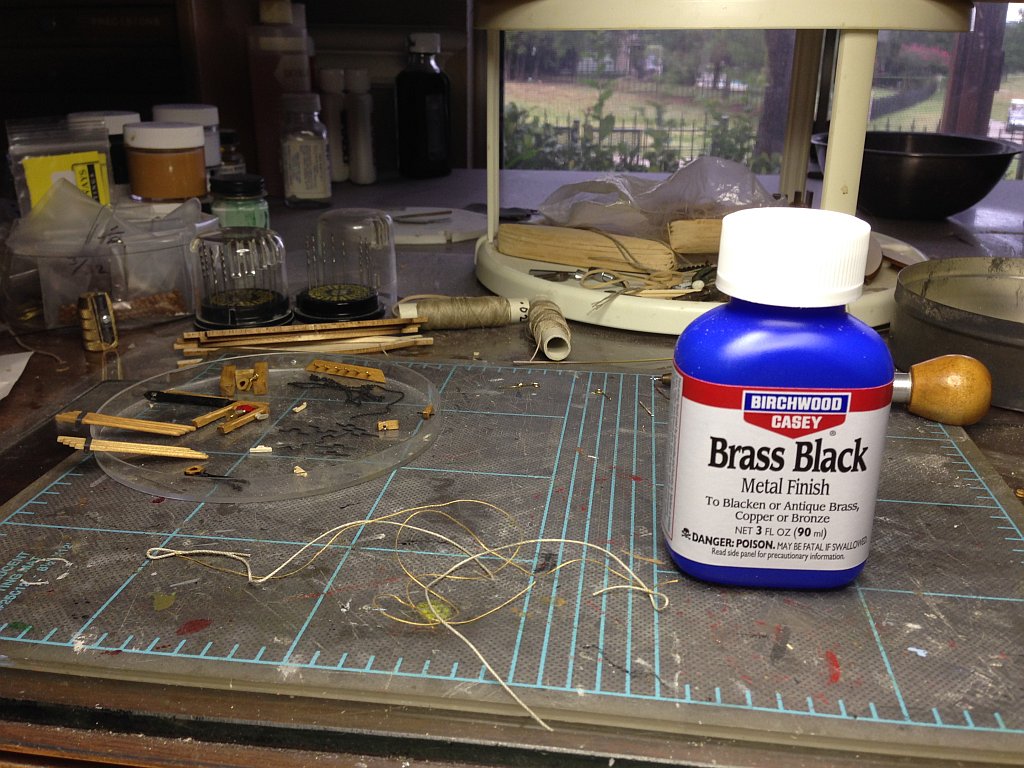
I had not seen this trial. We'll see what happens, since I used a different product. I don't know if they are chemically the same. Keeping my fingers crossed. Thanks for showing me that.
-
First I dipped the parts in white vinegar for about 10 minutes. Then I washed them off with water. I wasn't careful about draining all of the water from the plastic lid I used, because I had read where other people diluted their blackener. Even at that, there little dilution. I poured in a small amout of blackener, enough to cover the parts. The effect was immediate. I left the parts in for 5 or 10 minutes, but I'm not sure it even matters after a certain period of time. I filled the lid with water to stop the action (had not dumped the blackener out). I removed the parts. Then I poured it down the drain with running water. The parts had a residue on them like soot, so I wiped the all off with a tissue. Here is the result.
-
Today I broke down & decided I had to try to blacken some brass pieces. I ordered some brass black from Amazon.
-
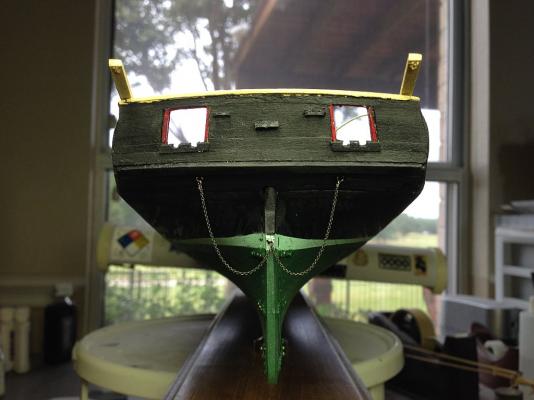
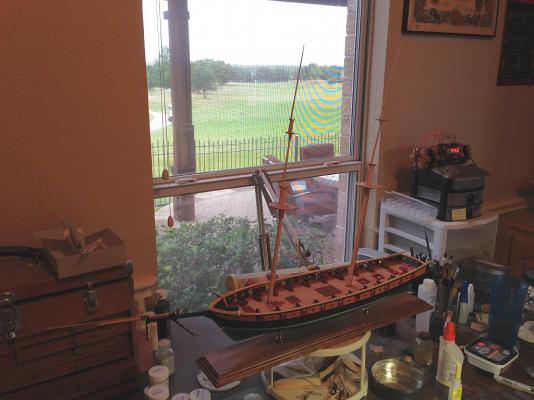
Just did some clean up work today since I didn't have much time. Made 4 more capstan bars since I discovered they were supposed to be on both sides of the boat. Also cleaned up the topgallant/royal masts a bit & added the fids. I wasn't happy with the shape after seeing the picture I posted yesterday. Here she is so far in all her glory.
- 468 replies
-
- 2
-
-
- niagara
- model shipways
- (and 1 more)
-
Nope. That didn't work. Try again.
-
Here it is?
-
Another grueling session today. I carved both of the topgallant/royal masts. Carved out of square stock, it was a lot of work. I'm wondering if they may have come out better starting with round stock since they are so small in diameter. That completes the mast carving. Now to finish the yards & start the rigging. Hmm. The picture attachment button is not working. I'll add the picture later.
-
Looks good. Everything is nice & symmetrical. I see you fitted the bowsprit already. That's something I failed to do & had to correct later.
-
Here is the picture.
-
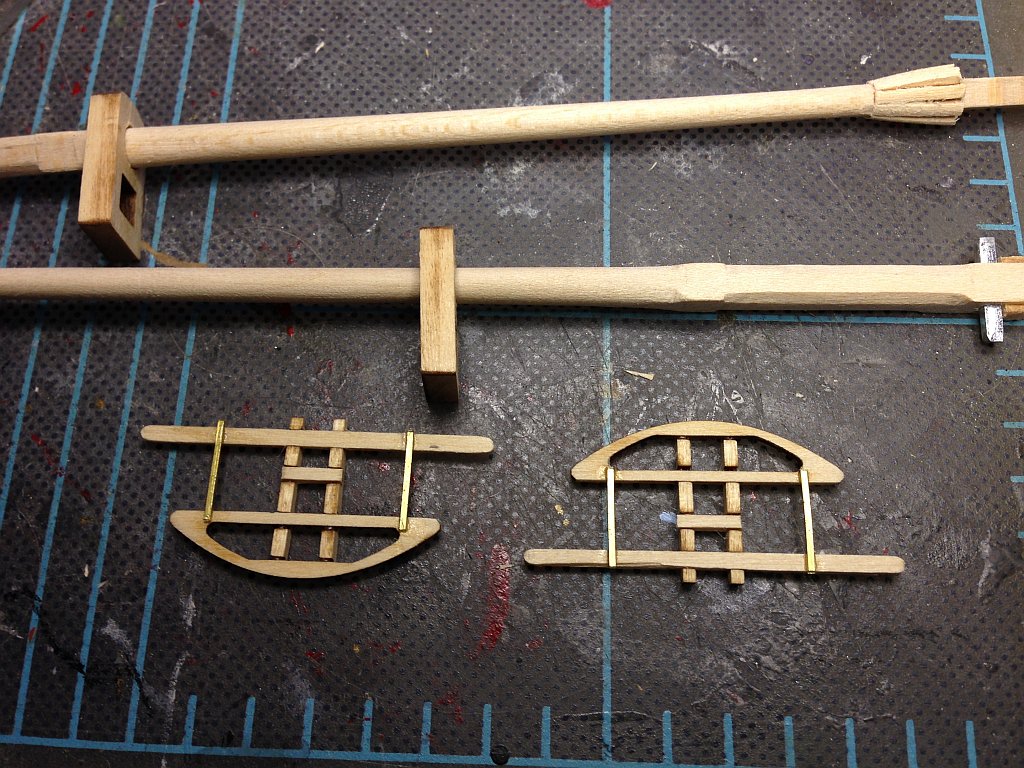
Now for the other boneheaded move I made. Go back up to post #167 & see if you can see anything wrong with that picture. No? This picture ought to clear that up. Don't build the "octagon swell" at the top of the topmasts before you add the caps! I had to cut the caps, slide them on & replace the plug. Now I will have to putty & sand to get rid of the seams. You can see the cut on one of these if you look closely. Oh, & I built the fore/main topmast crosstrees today without incident. 1 out of 3 ain't that good.
-
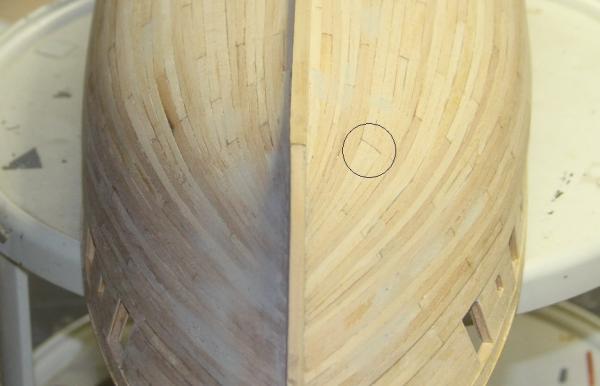
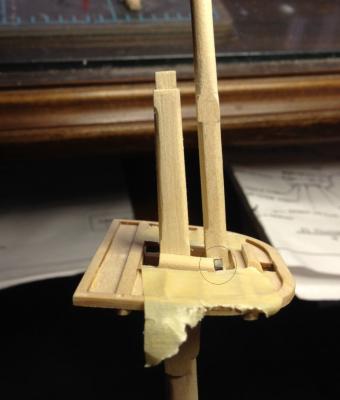
I am going to issue a couple of warnings here. One is a watch out for, & the other is a don't do this, you idiot! First watch out for the main tops when you add the fids to the topmasts. The bolsters were in the way & had to be tapered to allow the topmasts to tilt parallel to the main/fore masts. The picture shows it clearly I think. Just look in the circle.
-
Brian, It looks like that drawing is another way (albeit fancier & nicer looking) to do what I did. That does not appear to be what caused your problem though. To me, it appears you tapered your planks too much at the pointy end of the boat. If you look at the picture I posted above of the planking, you'll see that the whole first belt was untapered. It was part laziness, but it didn't to seem to need it much, so I didn't start tapering until the second belt. That actually made it harder as I went along because the planks had to be tapered even more, some almost to a point.
-
Bill, Thanks for the info. I'm thinking I'll just omit them then. Very helpful.
-
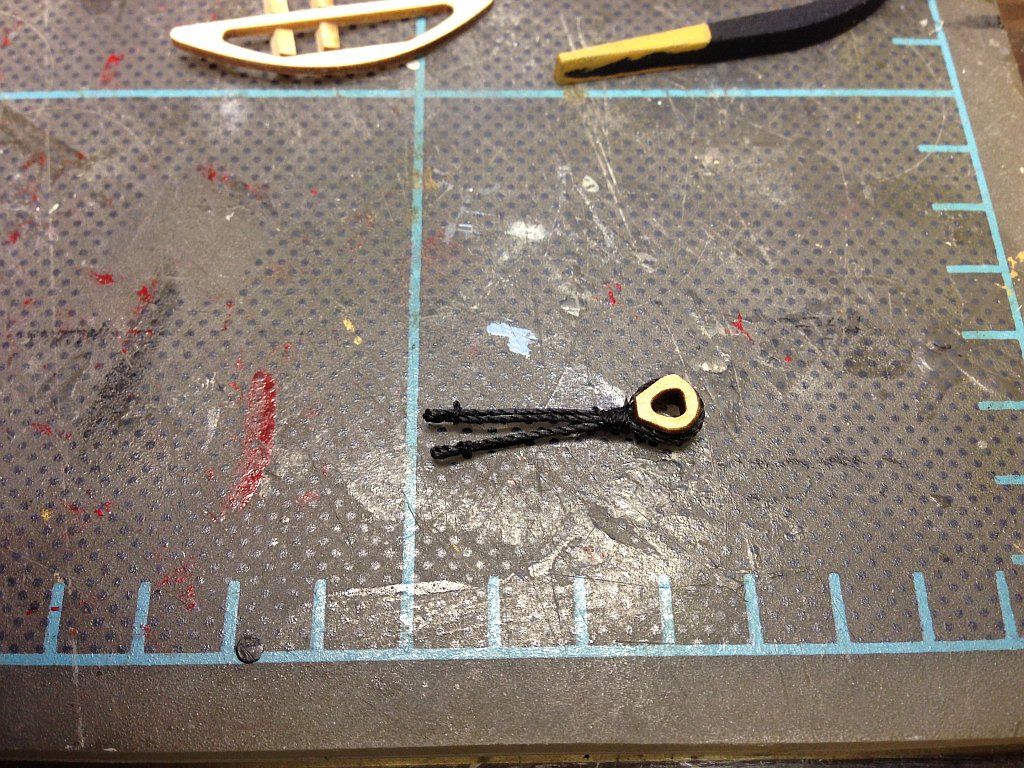
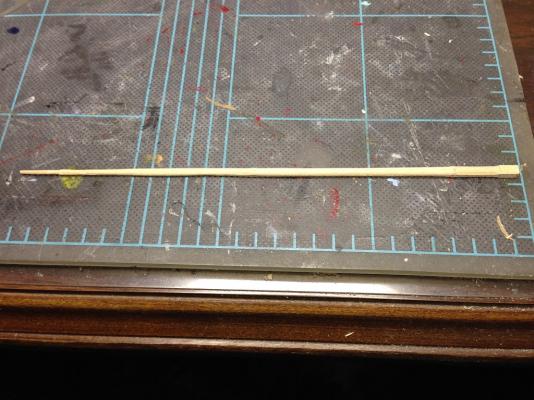
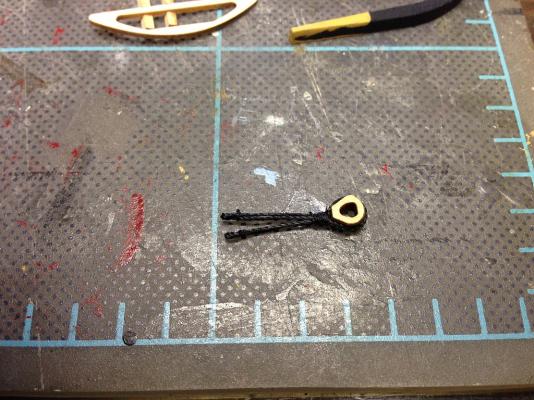
Here is the foremast heart for the main stay. It's probably a little short but it'll have to do.
-
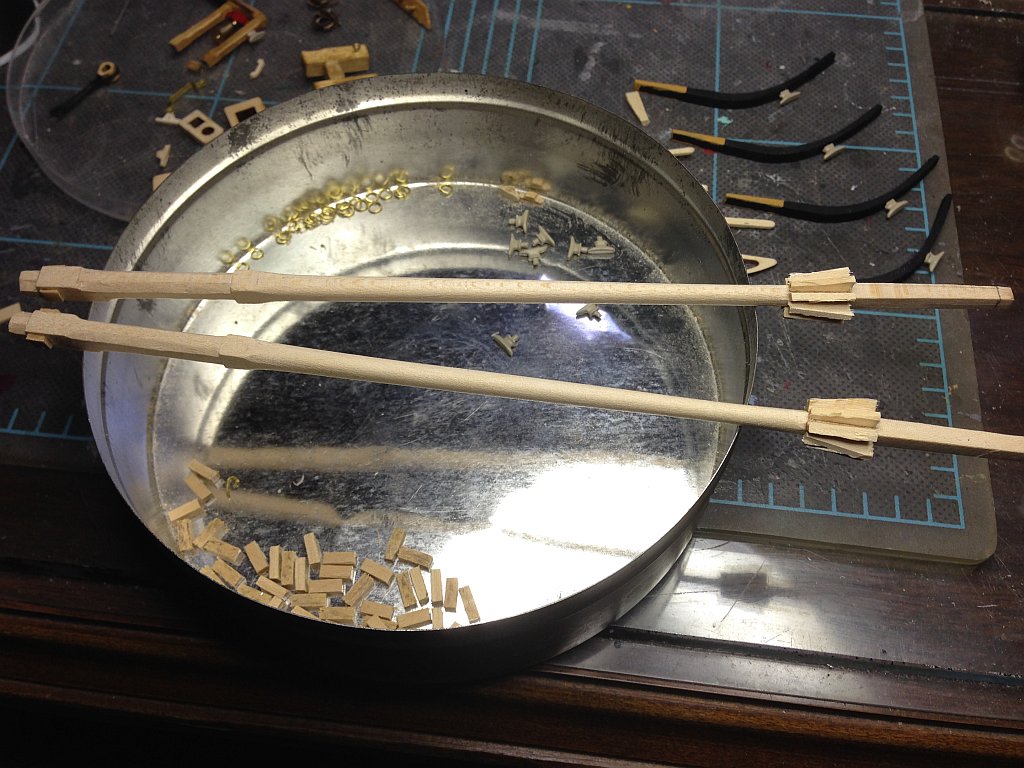
I haven't been able to work much this week so slow progress. Here are the top masts so far. I'm working on the tops now. Haven't decided how to deal with the fid yet. I guess nobody has any comments on the top mast sheaves?

- 468 replies
-
- 1
-
-
- niagara
- model shipways
- (and 1 more)
-
It took a while to find but here is one spot. What I actually did was bring three strakes into two within the circle.