Laxet
-
Posts
391 -
Joined
-
Last visited
Content Type
Profiles
Forums
Gallery
Events
Everything posted by Laxet
-
 That's a darned good idea. Unfortunately, I discarded those pieces once I pulled the parts out. But that does give me ideas that are workable. Thanks for the tip.
 -
Anybody have any ideas on how to build the top rail for the small boats? I'm attempting edge bending a 3/32" x 1'32" plank but I'm not too optimistic that it will work.
-
Great. Looking forward to hearing your report. Mine is "in the mail".
-
Wow. That looks really good. Way better than mine.
-
Remember how I told you guys & gals that I could tie wood in a knot using my wife's Shark steamer, & you said aw he's so full of baloney? Well here is (out of focus) proof. Man I'm getting tired of not being able to focus this thing. Anyway, without further ado (whatever ado is), here it is! Oh, and the crappy little boat I'm putting the little planks (ribs, I guess (hmm, I love me some ribs (but I digress))) in.
- 468 replies
-
- 1
-

-
- niagara
- model shipways
- (and 1 more)
-
Good luck. I can't wait to see your updated log.
-
Hi Tim, I will be happy to give my impressions. As you can tell by my build log I'm not afraid to babble on about anything.
- 468 replies
-
- 1
-
-
- niagara
- model shipways
- (and 1 more)
-
Continuing the boats. Gee whiz! you are thinking. How does he keep his ribs so gol' durned square on those boats? Well, attached is the secret. Put all of this under a magnifier & I can tell if it is a micron out of square. I know, it's this kind of tip that makes this forum worth the money you pay every month. I'm happy to help.

- 468 replies
-
- 3
-
-
- niagara
- model shipways
- (and 1 more)
-
Hey Bob, I will certainly look into what you said. Sounds interesting. Always looking for an easier way.
-
Tim, Thanks for the compliment on my boats. This is my second try. I think they will be passable as long as nobody gets too close a look (like what everybody on this forum will get. To them I offer them up warts & all so if nothing else I may serve as a horrible example.)
-
Hi Tim, I found it right here on this forum. Here is a link: http://modelshipworld.com/index.php/topic/5366-serving-machine-25-serving-machine-20-power-option/?hl=+serving++machine I ordered it this week & it has shipped already. To order it you have to send An inquiry from here: http://www.shipworkshop.com/pages/tools/serving_mashine_25.html He will respond with the order & payment form. I used paypal. There is a motorized one & an unmotorized one. I got the motorized one. He offers free shipping. It can also be used to strop blocks.
-
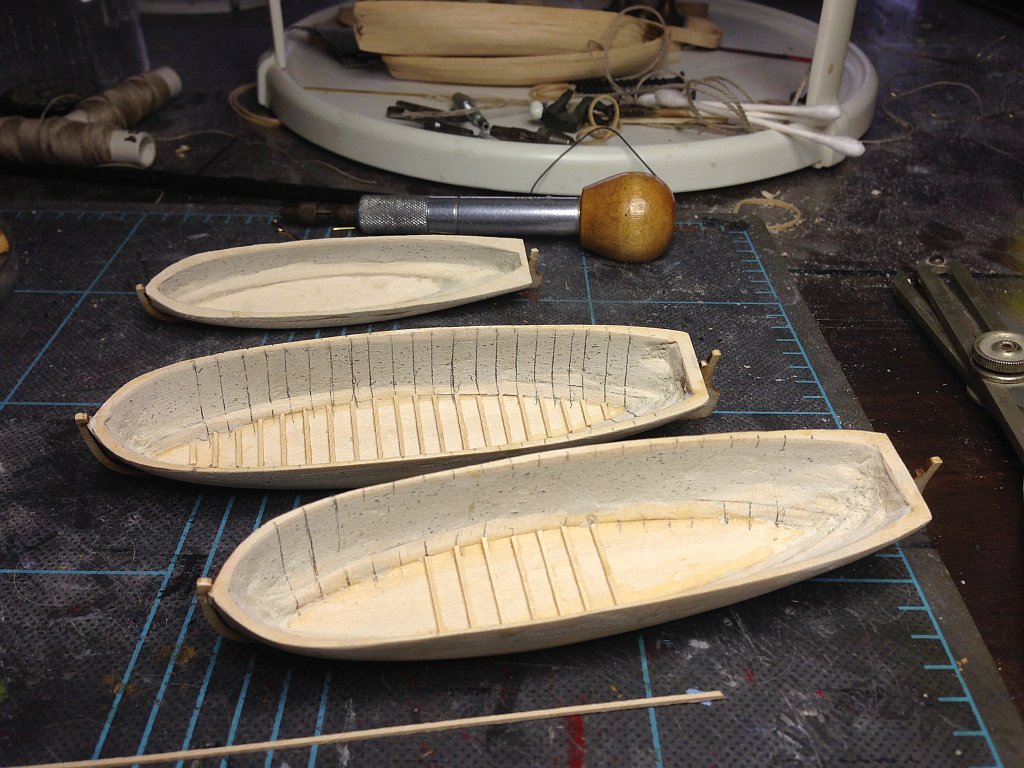
Slow progress today. Finally started ribbing the innards. I'm hoping all of the crappy sanding you see will be hidden by the interior.

- 468 replies
-
- 1
-
-
- niagara
- model shipways
- (and 1 more)
-
I know you're using single long planks, but I will tell you this anyway. I used planks five bulkheads long. I put thick CA glue on the bulkheads & PVA on the plank edge. I could hold the plank in place with one hand. It would only take a few seconds to set & I could let go. Then i would wipe down the excess glue. The best part is I got to peel glue off of my fingers for the next couple of hours. Anyway, I didn't have to clamp or pin any planks in place. FWIW. It's looking good so far.
-
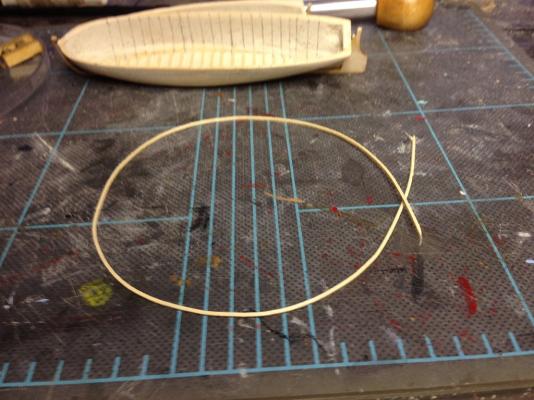
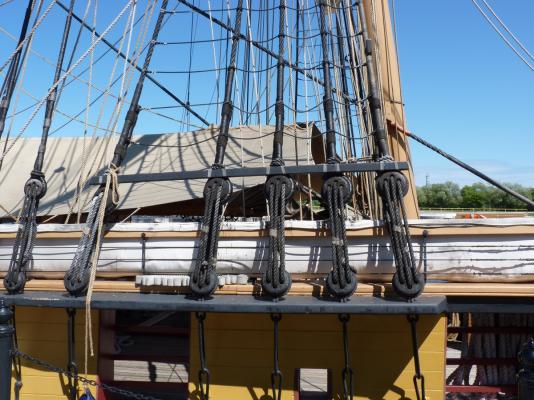
I lied. I never got to the yawl. I spent all day sanding the boats. I ordered a serving machine. From the looks of Lever & the photo's of the real boat, it looks like at least one shroud of each mast is served all the way to the deadeye (see second attached picture). That would be a monumental job to do on my little teensy Model Expo String-Along.

- 468 replies
-
- 5
-
-
- niagara
- model shipways
- (and 1 more)
-
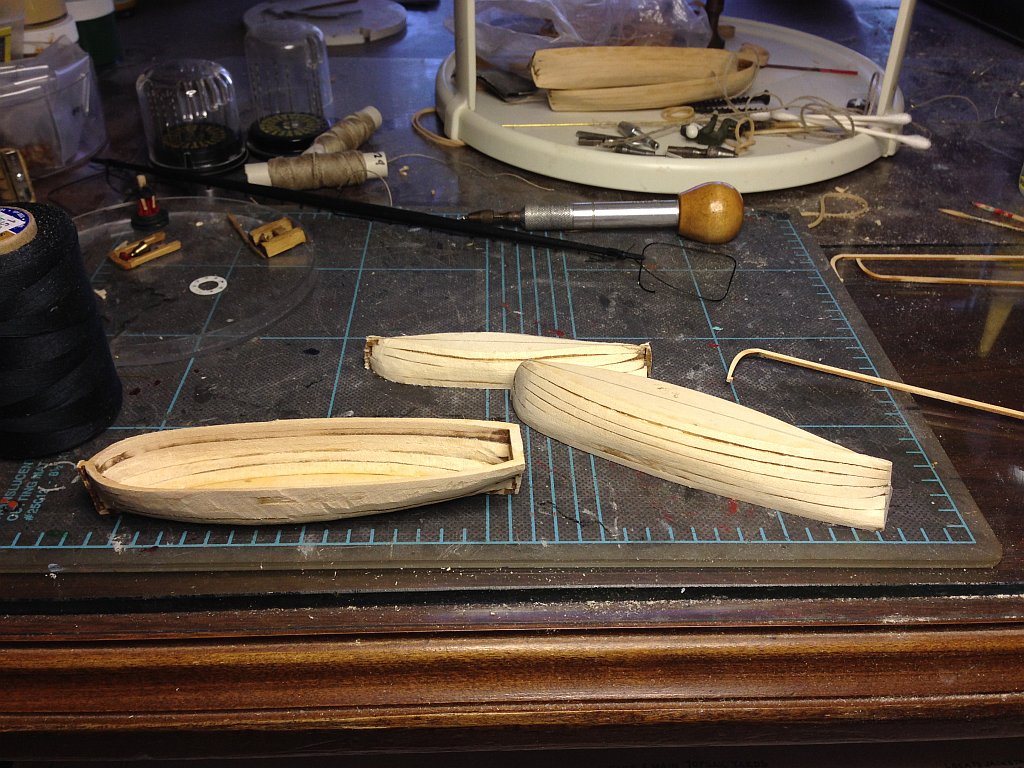
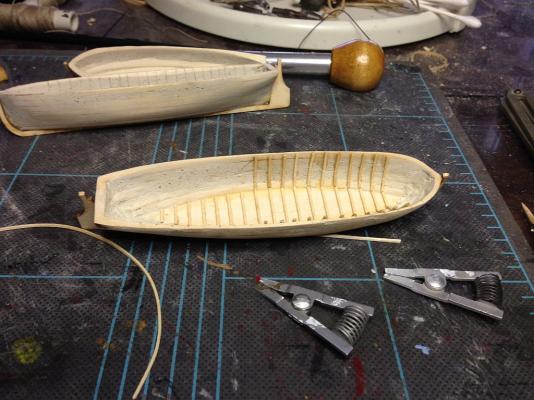
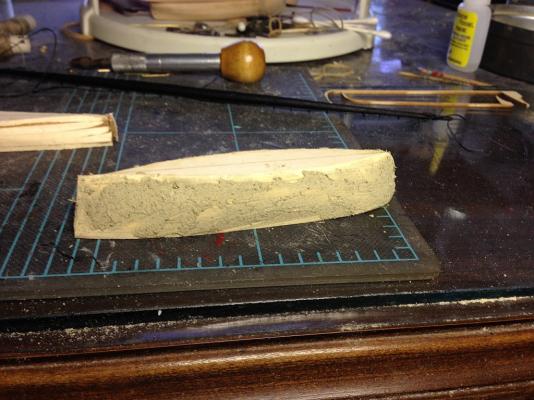
More boat work. Here one is puttied. We'll see how this goes. Planking the yawl is going to be an interesting job as well. I will start that tomorrow after sanding the other boats. I've never done lapstrake.
- 468 replies
-
- 1
-
-
- niagara
- model shipways
- (and 1 more)
-
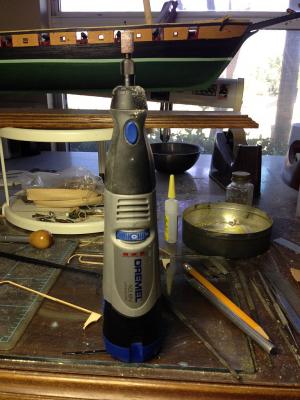
Here is a picture of the Dremel I'm using. I've had it a couple of years & I think I've charged the battery three times.
-
I'm not sure of the grit of the Dremel. It's a little tiny drum that goes on the rubber mandrel. I used 120 paper by hand.
-
Oof, 60 grit. That's pretty rough. I'd sand right through with that. I've been using 120 & my trusty Dremel. The wood filler is the way to go. Your boats look really good. We'll see if I can do nearly as well.
-
Boats, ugh! Another royal PITA. It's been three days & this is as far as I've gotten. They are going to take as long as the whole ship. I hate carving. I suck at it. I don't know how Michelangelo did it.
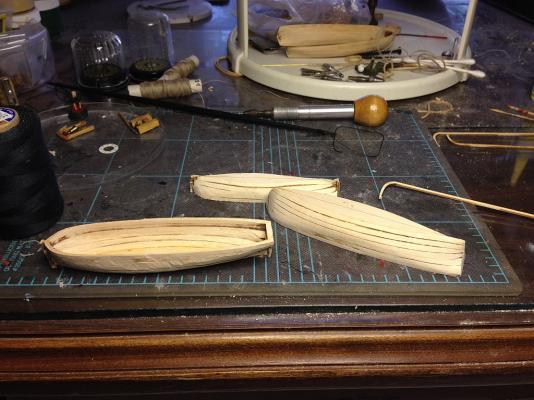
- 468 replies
-
- 3
-
-
- niagara
- model shipways
- (and 1 more)
-
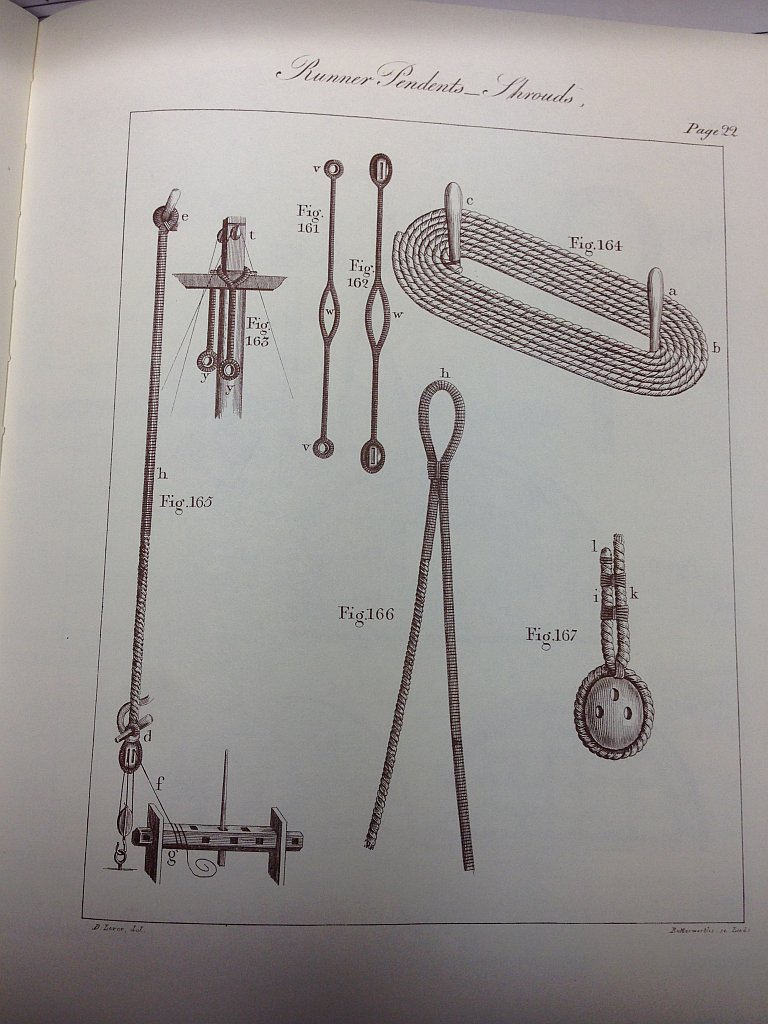
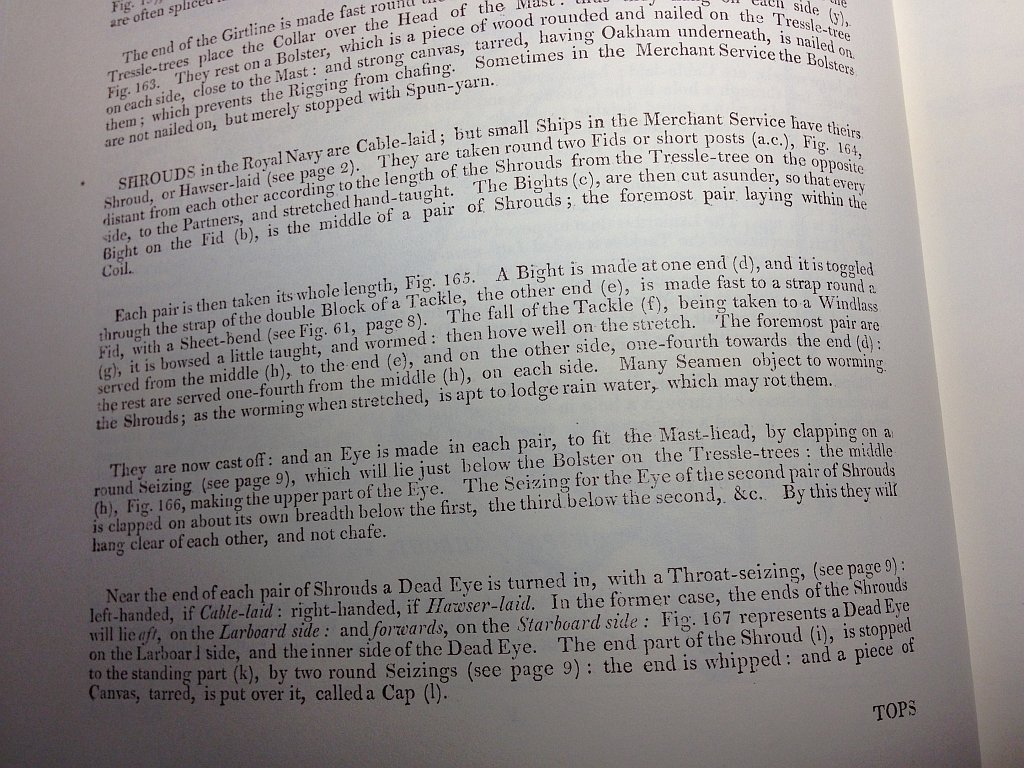
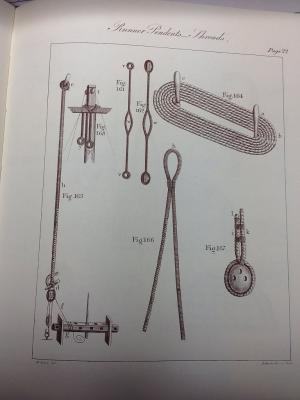
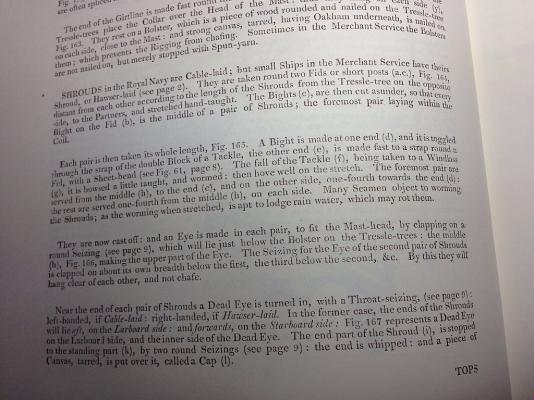
Here is more than you ever wanted to know about shroud construction. This is from Darcy Lever's Young Sheet Anchor. The shrouds are made in pairs & if there is an odd one, it goes forward of the rest.
- 468 replies
-
- 2
-
-
- niagara
- model shipways
- (and 1 more)
-
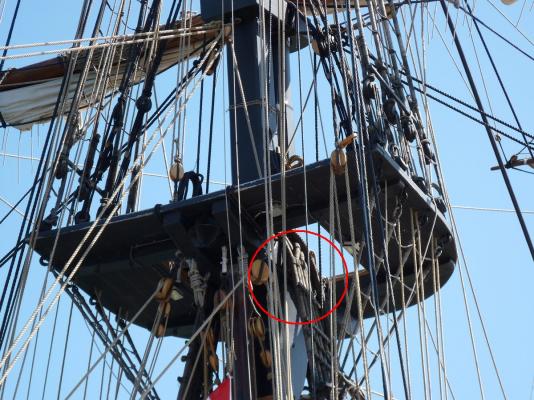
re: post #190 - Well I think I answered my own question. Take a close look at this picture & you'll see I was right in the first place. The shrouds are doubled over & seized in the middle. Makes for less of a stack on the mast for sure.
- 468 replies
-
- 1
-
-
- niagara
- model shipways
- (and 1 more)
-
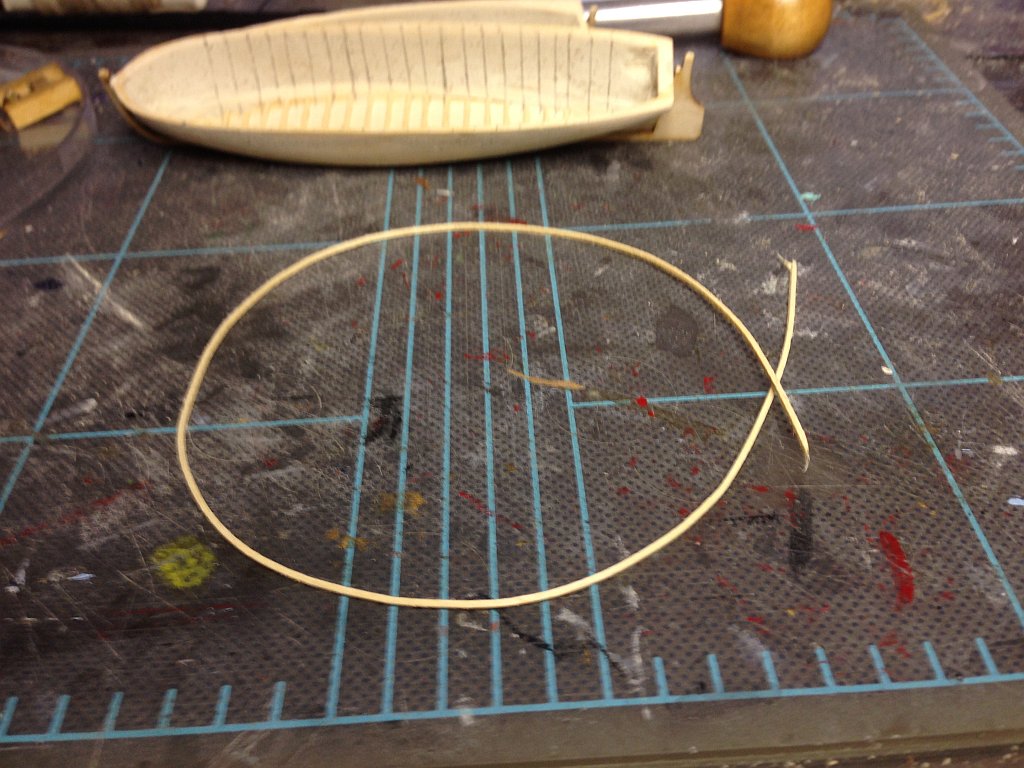
So far, it looks like nobody is using round stock. I hadn't considered using wire but that might not be a bad idea. I will look into that tomorrow. Thanks for the idea.
-
The wooden one is gone, the plastic one is still up for grabs.
-
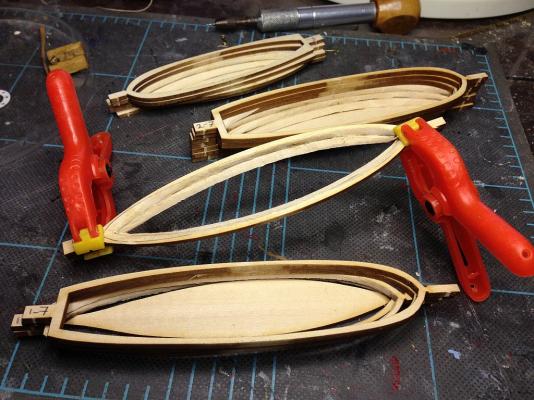
Started on the boats yesterday. I got the innards ground down & the lifts glued together (except for the bottoms). I will finish sanding the insides before I attach the bottoms. I've already gotten farther in two days on these than I have in 15 years on the previous set. Wahoo! It's too bad you guys can't hear the soundtrack that's playing behind this ship every day. A little bit of classical, a little bit of jazz, a little bit of country, & a little bit of good old rock & roll. I actually feel a little bit sorry for youse guys.
- 468 replies
-
- 3
-
-
- niagara
- model shipways
- (and 1 more)
-
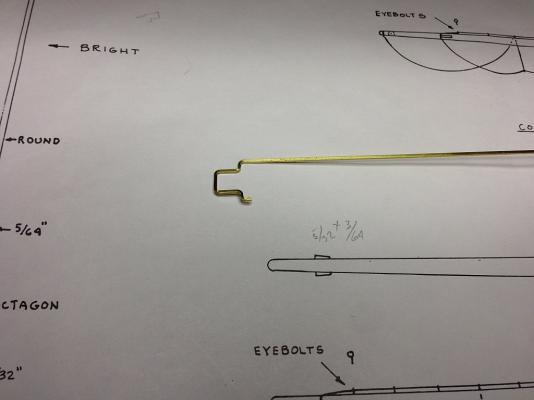
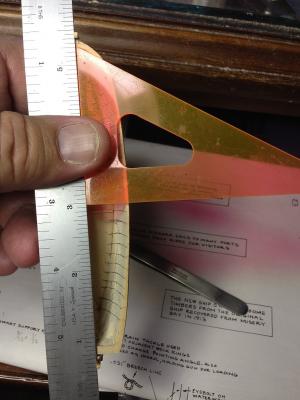
Here is a picture of the stanchion I made yesterday. I think it looks out of scale. Anybody else think so?