Laxet
-
Posts
391 -
Joined
-
Last visited
Content Type
Profiles
Forums
Gallery
Events
Everything posted by Laxet
-
 [quote Are you going to paint the masts cheeks and tops? Regards Ken Hi Ken, Yes. I will follow the painting suggestions provided, they say buff & black, so that's the next thing. I think I should probably wait until I build the rest of each mast & use an airbrush. That is why I didn't sand of the laser burn marks. I knew I would paint over them. Tim, Thanks. I appreciate it.
 -
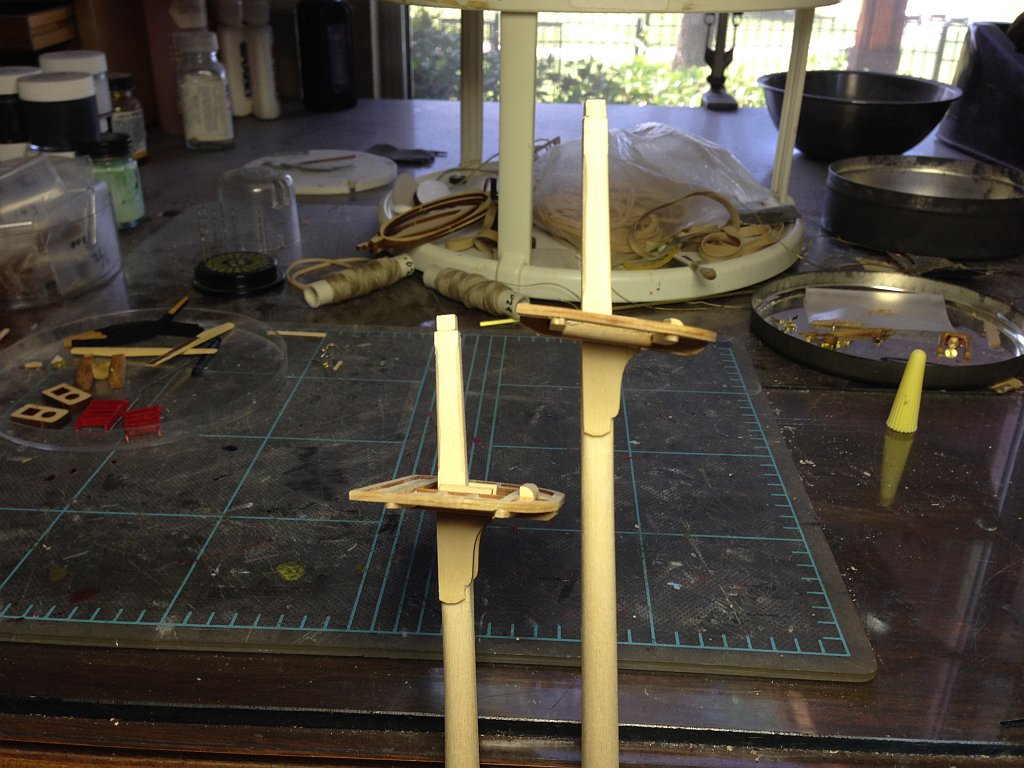
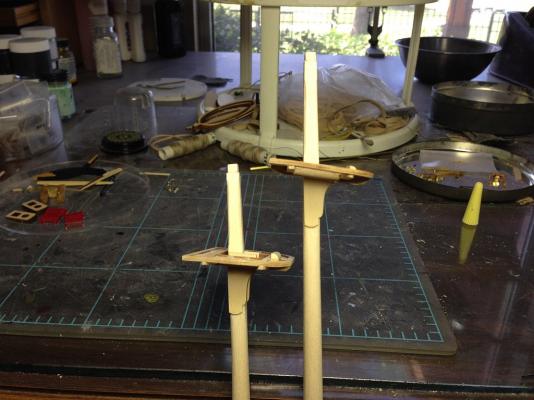
Today I attached the cheeks. Didn't glue the tops on yet though. Just in case.
- 468 replies
-
- 1
-

-
- niagara
- model shipways
- (and 1 more)
-
I do have a dremel. I would like to see your pictures. I was thinking the dremel was the way to go after making 1 1/2 cleats by hand last night. Thanks Tim.
-
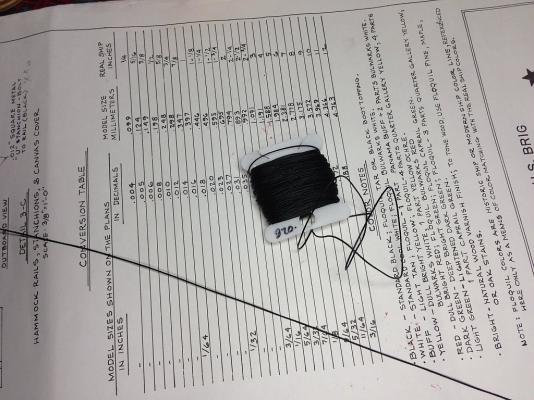
Besides the cleats, the only other thing different (aside from some minor wood strips) was a spool of .051" black line, so I dashed off another request for parts to ME. They are going to be glad when I finish this kit.
-
I just downloaded the current parts list. Sure enough, there are cleats listed. By golly, I'm gonna get me some. I'm also going to do a side by side comparison & see what else I didn't get.
-
Not my kit. They're not even called out in the parts list. Prints say make out of strip material. Don't forget, I bought this kit 16 years ago. Maybe they've added them since then. If so, let me know. I will ask them for some. 40 isn't enough by my count though.
-
After deepening the grooves for the cross trees, these things were a mess. I didn't know if ME compensated for the amount that needed to be sanded to make them square. Luckily, I had another set after ordering replacement parts for something else. I took them & sanded them on my bench sander to square them up, then refiled the grooves to make them fit. They look okay. The reason I had to file the grooves is because they are only 1/16" deep, & the plan calls for 3/32" thick crosstrees. You need that thickness to get the proper taper of the cross trees. Here is the result. I think they came out okay as well.
- 468 replies
-
- 1
-
-
- niagara
- model shipways
- (and 1 more)
-
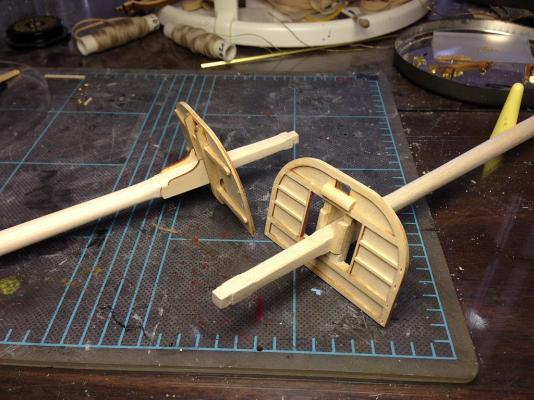
It's always something. I had heard, but never paid much attention, that the cut from a laser cutter is not square. It actually cuts with a taper. This became very obvious with the trestle trees. You can see it clearly in this picture.

-
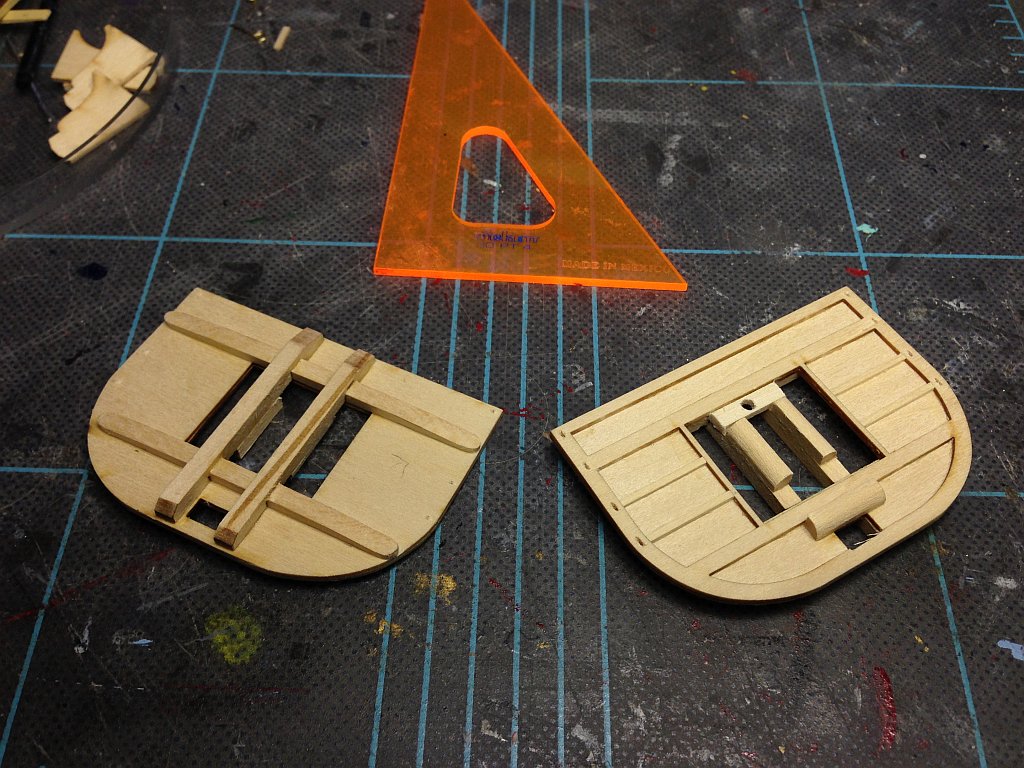
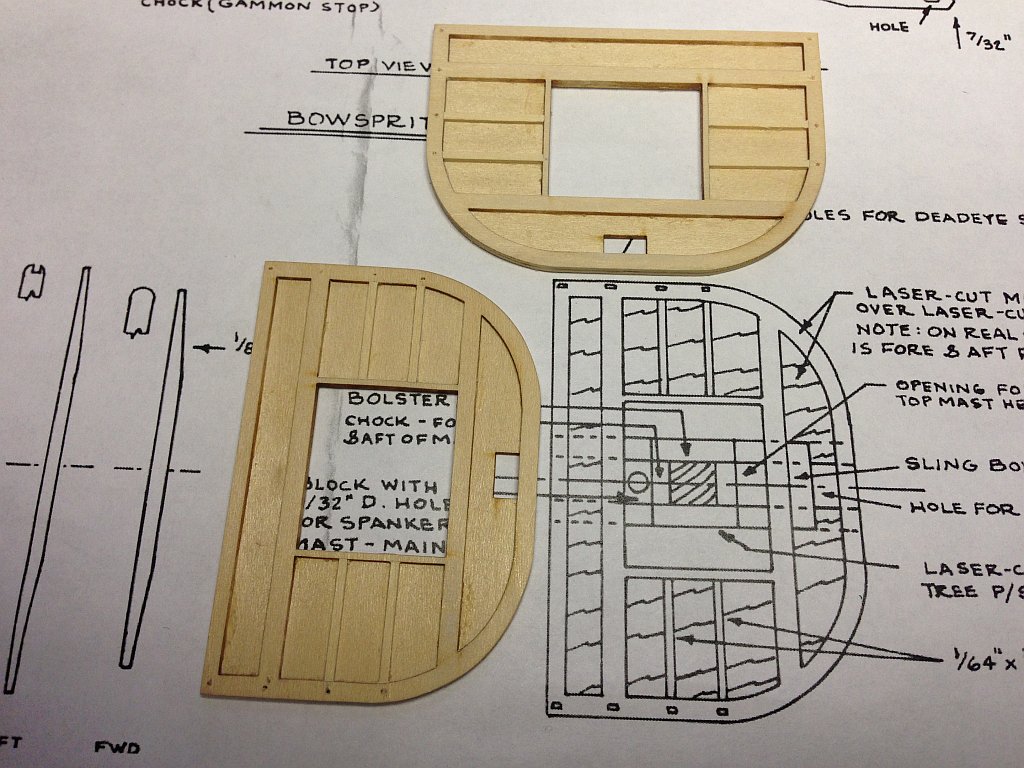
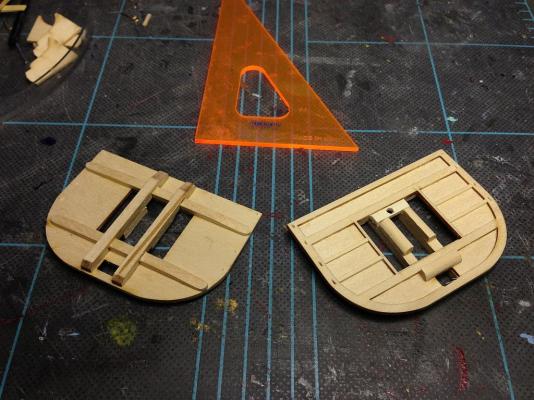
I started on the tops today. Something to relax the mind. Don't have to think too hard or work too hard. Here they are so far.

- 468 replies
-
- 2
-
-
- niagara
- model shipways
- (and 1 more)
-
I was able to get some boxwood. I bought two small sheets. I had a heck of a time cutting it on my little 4" Jim Byrnes table saw. The stuff is really hard. I can see why it was recommended. I will use it to carve cleats. I cut a bunch of 1/4" blanks that are 3/32" square. I have carved one so far. This will take a while. According to my count (& I may have missed some) I need 31 for the bulwarks & bitts, & another 14 for the masts. That comes to close to 50 of the little beasts. Boy will I have sore fingers when I'm done.
- 468 replies
-
- 2
-
-
- niagara
- model shipways
- (and 1 more)
-
Wow. That's pretty impressive. I know nothing about sailing but what you said sounds good to me. I'll wait till it's all mounted & then decide where to belay it.
-
Thanks Ken. That's probably where I would have put it.
-
Thanks for the clarification. It seems odd that they don't call out a belaying point though. I know they did that stuff in real life but it doesn't seem appropriate for a kit.
-
If you go to page 3 of Great Galleons build log, post #35 he has pictures to show this. This link should take you there. http://modelshipworld.com/index.php/topic/4321-niagara-by-greatgalleons-ms/?p=126023
-
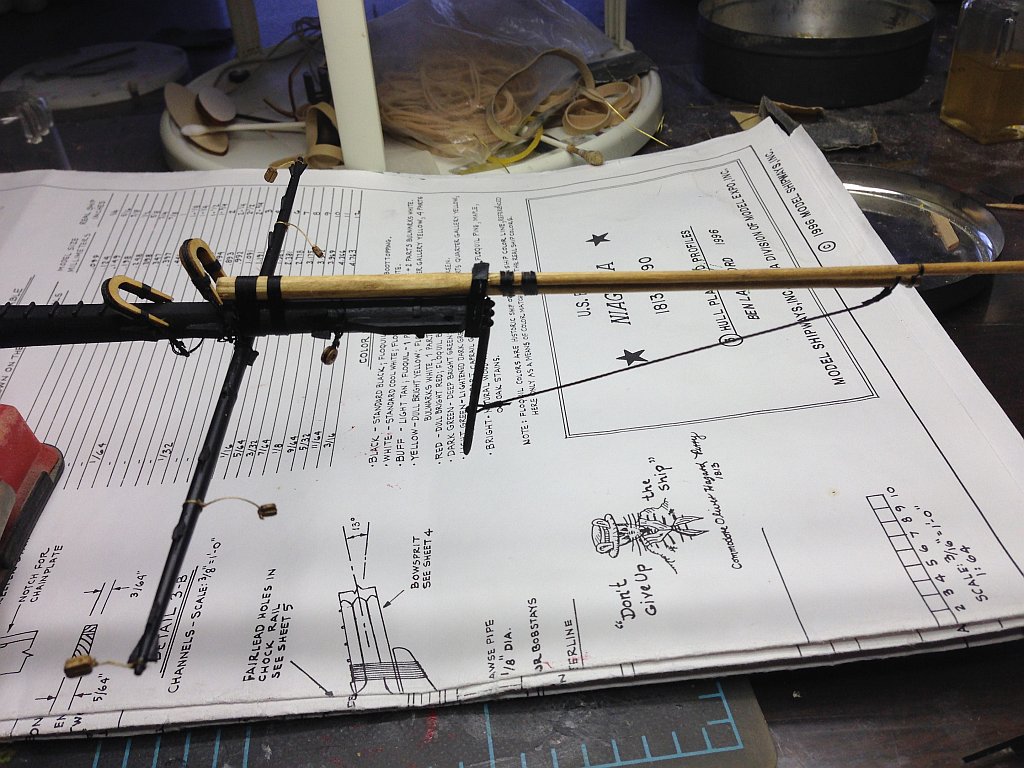
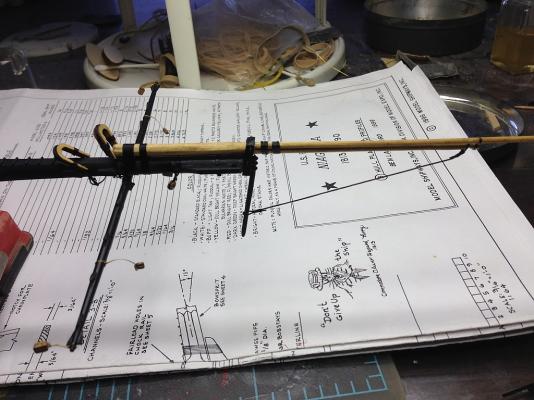
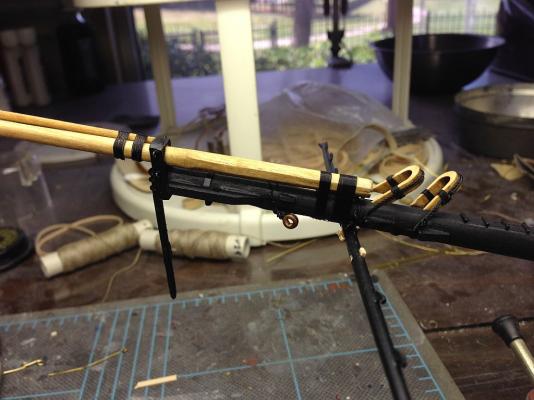
So here is my bowsprit. The jibboom martingale turned out to be a non-issue after all. I didn't actually attach the hoop that joins the flying jibboom to the jibboom. I just slipped it off & made the line with sliding servings. Once I placed the line, I tightened everything up & added a touch of glue. I also added a few blocks on the spritsail yard. I think this is about all I can do. I guess I'm gonna have to actually install the bowsprit. Scary thought. I think I'll wait until I have all hull work completed.
-
On sheet 5, upper right corner, there is a drawing of jibboom outhaul tackle. I can find no reference on this sheet that shows where this line is belayed. On the belaying plan, they show an outer jib downhaul. Is this the same thing? If not, where the heck does this line go? If it is, then for crying out loud, why change the terminology? This thing is tough enough without throwing riddles in.
-
Thanks Steve. Actually, it was Ken that brought up the scale issue, but I did confirm it.
-
Beautiful. And it just took seconds. This is the way to go, all right.
-
Nice! Why didn't I think of that? I'll try that tomorrow.
-
Got a package in the mail today from Model Expo. Once again they have come through. I was shorted some .028" black line. At the same time I requested a whole 'nother set of quarter boat lifts, since I had screwed up the originals so badly. They were there also. I really like dealing with Model Expo. They do stand behind their products 100%, no questions asked. However, and I don't want to sound ungrateful here, but the line they sent is nylon & it is so stiff I don't know if I can make it straight. I may just have to buy or make some other line.
-
Here it is installed. Next the jibboom martingale.
- 468 replies
-
- 1
-
-
- niagara
- model shipways
- (and 1 more)
-
You know what. Same thing happened to me. Once I discovered that I went back to the prints & put a note at each instance of these that they were double sized so I wouldn't get bit again.
-
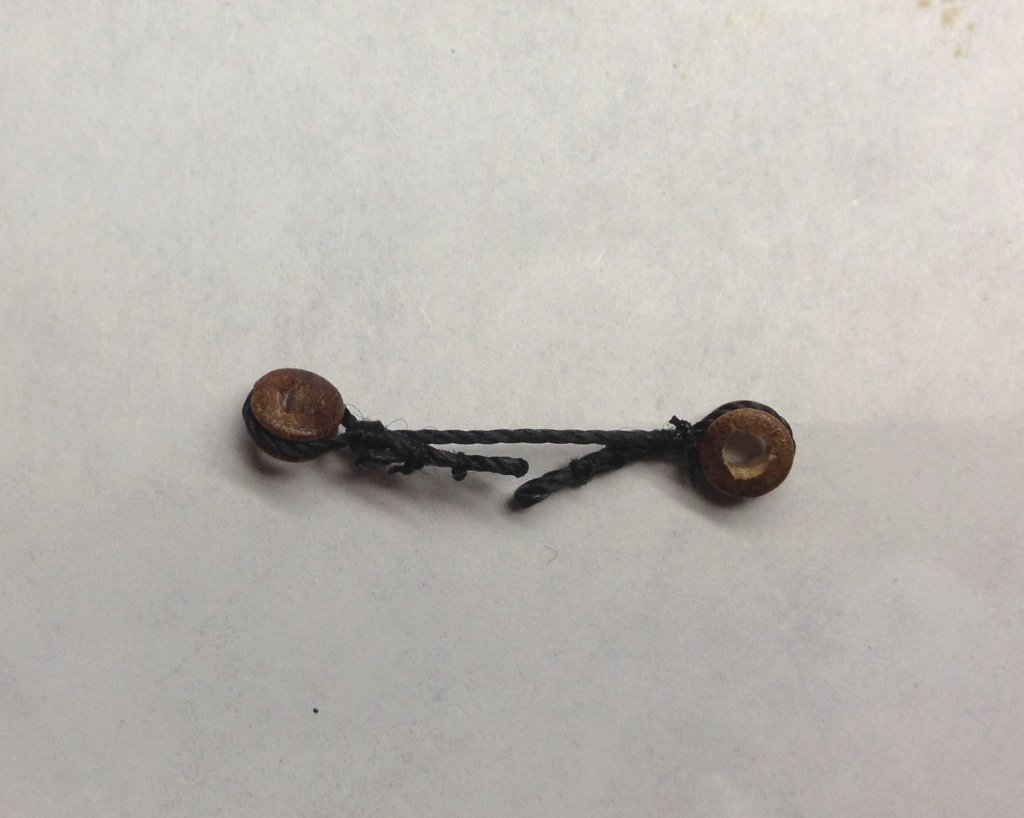
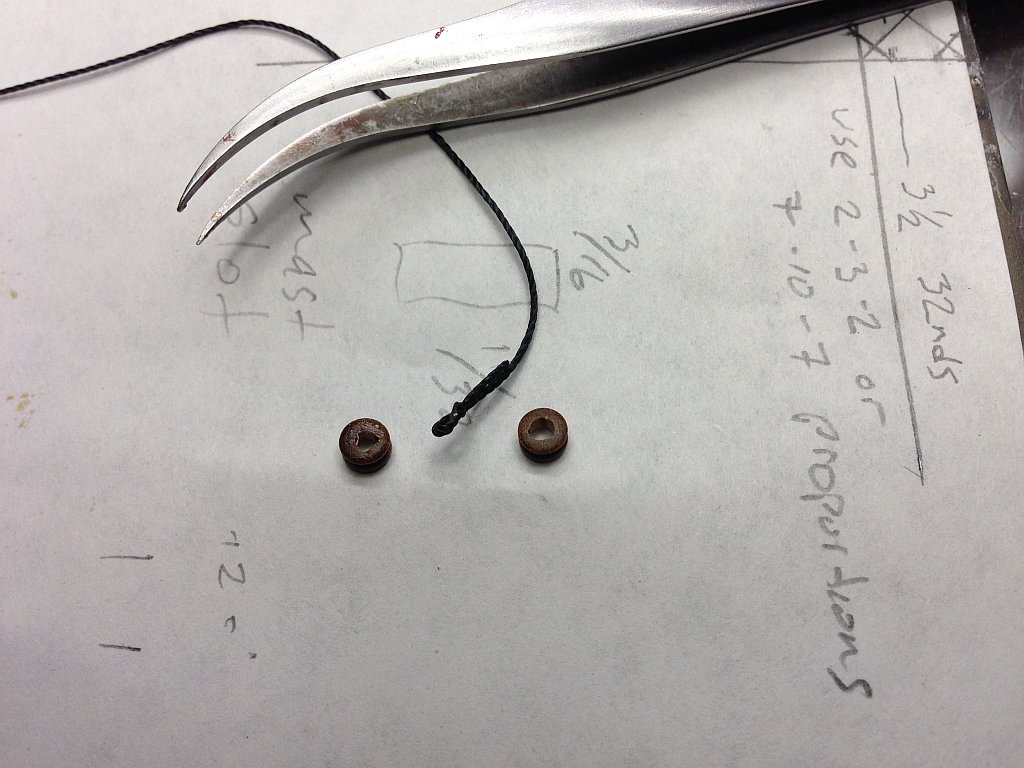
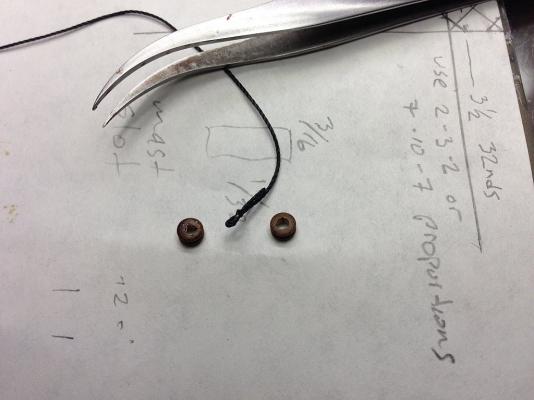
I also did a small amount of work on the shroud collar. I hollowed out the deadeyes, & made the first seizing. I thought about serving it, but at this size, nobody will see it so I will keep it simple. I will probably finish this tomorrow.
- 468 replies
-
- 1
-
-
- niagara
- model shipways
- (and 1 more)
-
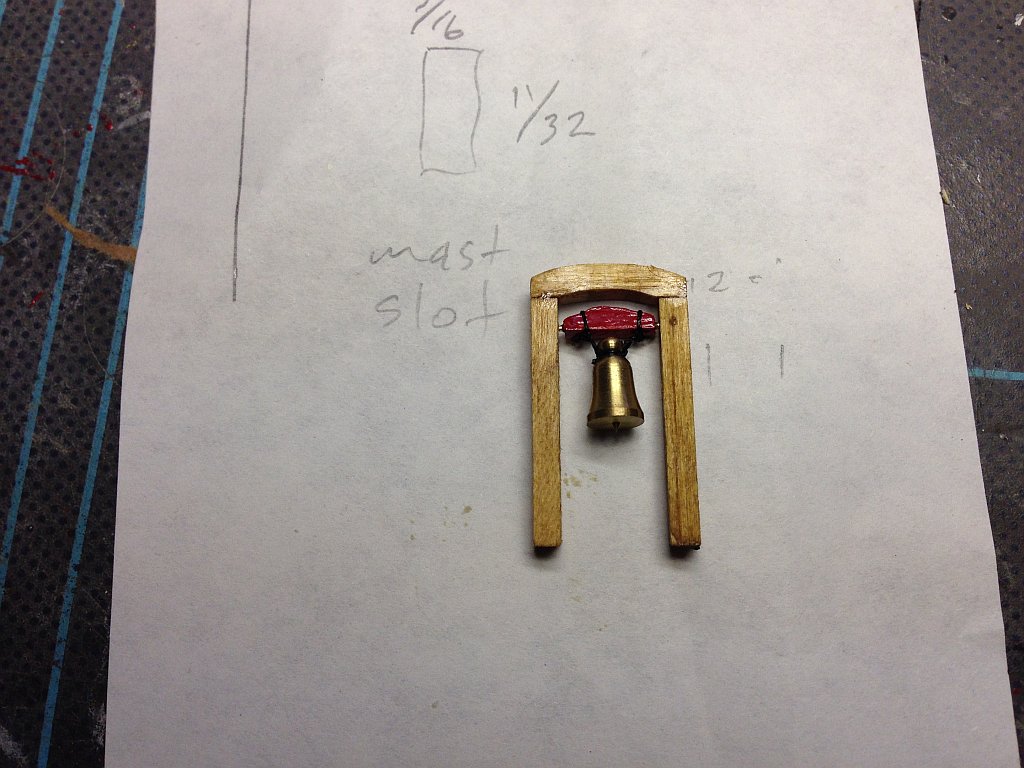
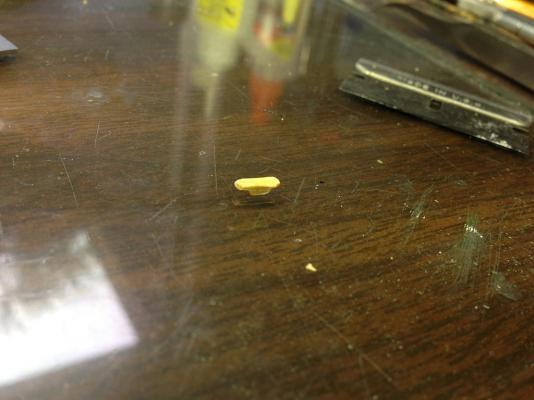
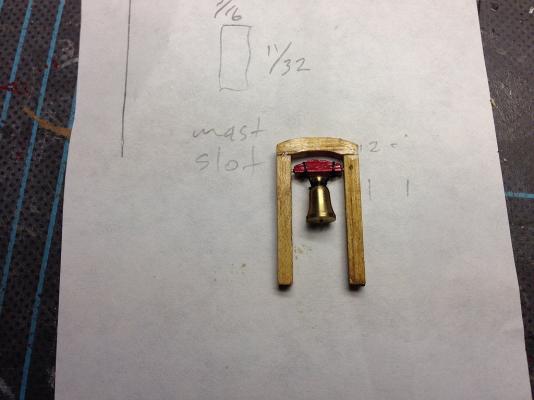
I decided to redo the ship's bell. The legs I had made before were too short. That's what I get for following the print without verifying before building. It was a trick to figure out how to attach the actual bell. I ended up just tying a half hitch at each end of both ropes that held it & touched it with a dab of CA. Here's how it came out.
- 468 replies
-
- 1
-
-
- niagara
- model shipways
- (and 1 more)