BillLib
-
Posts
28 -
Joined
-
Last visited
Content Type
Profiles
Forums
Gallery
Events
Everything posted by BillLib
-
Hi, I had a similar issue with a pond yacht. A work associate asked me to see what I could do about restoring one that belonged to his father. I've never worked with pond yachts so I just did some research and came up with what I thought was the best representation of what it may have looked like. My first thought is that you may want to leave that model as it is now. Maybe that it how it was intended to be. Hopefully this link works; https://modelshipworld.com/index.php?/topic/13265-need-some-help-with-pond-yacht-restoration/&tab=comments#comment-405544 Hope it helps. Bill
-
 I've never had an issue with them. I've placed 4 orders in the last 3 years and they've always come through. When I did have an inquiry about my order, my email was answered. Mind you, my last order was in February of 2017. If something has happened with the business since then I wouldn't know. I've been a happy customer of theirs to this point. And their close by to me as well. Keeps the shipping cost reasonable. Bill
 -
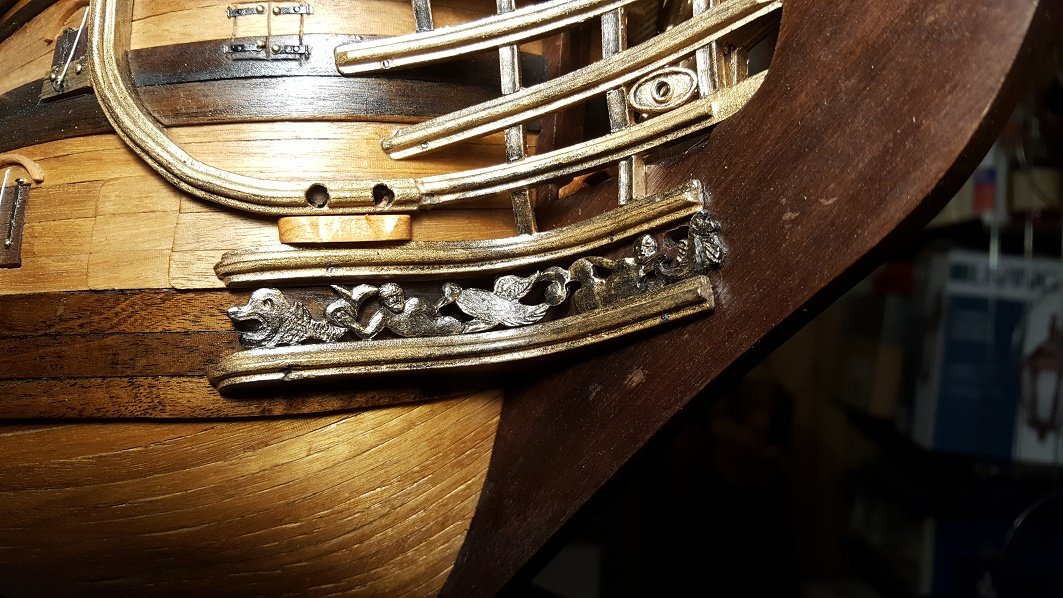
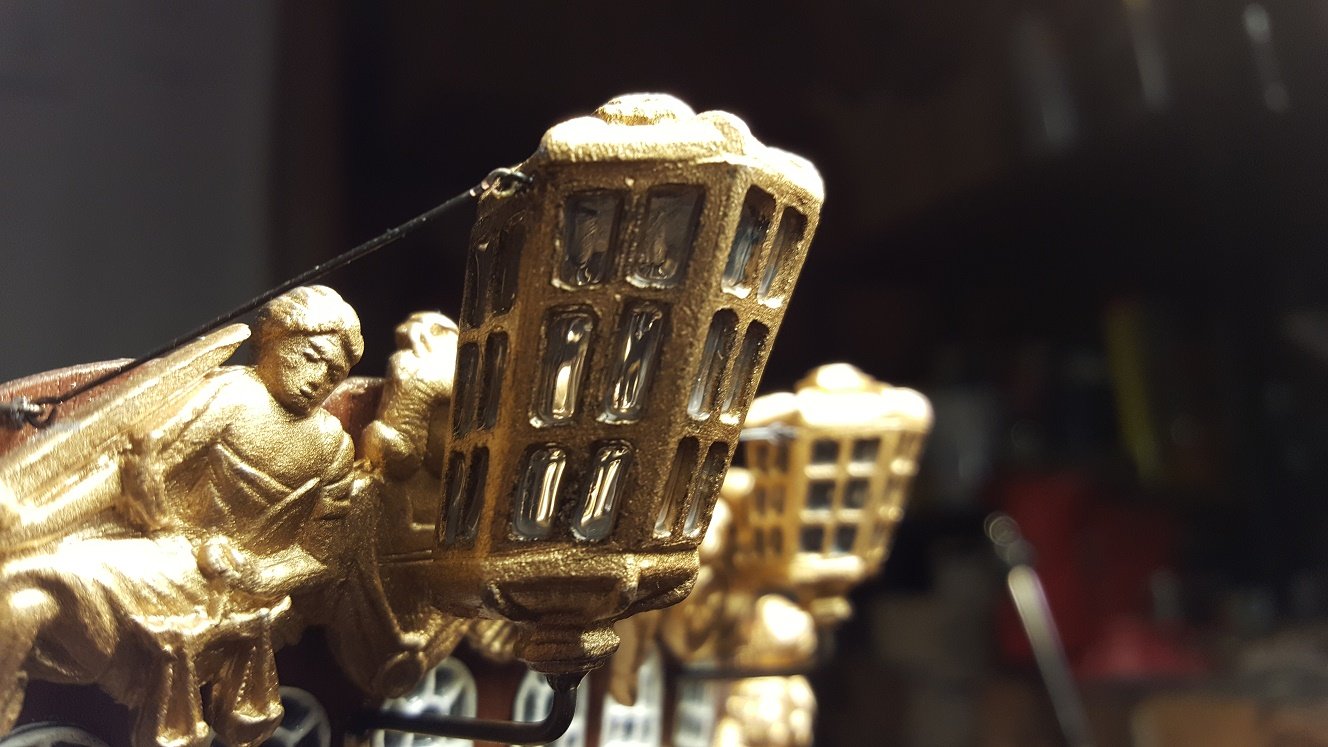
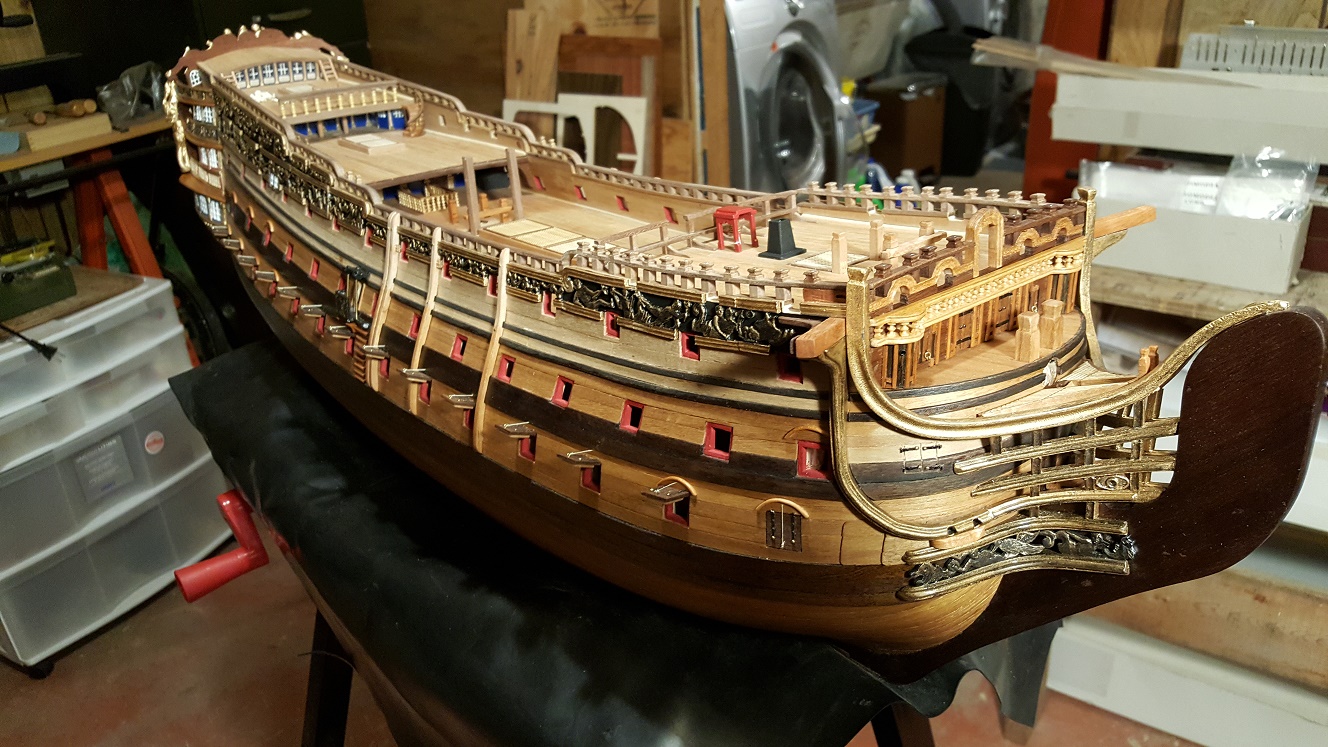
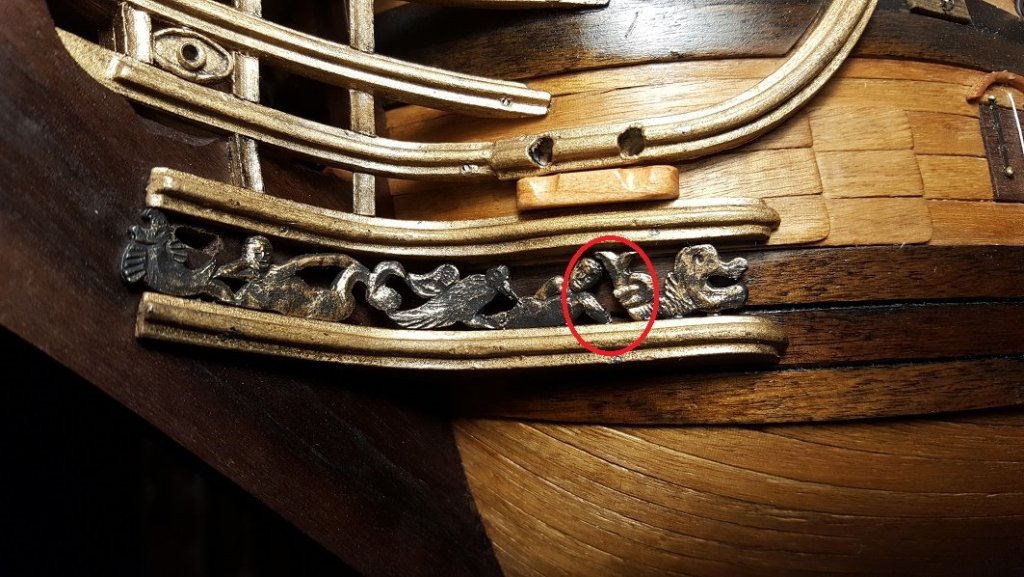
Hi Ken, I honestly don't remember any OH NO moments. I do believe I've forgotten then all, but what remains is the learning experience of looking ahead for what can go wrong. But I do have quite a few I'M AN IDIOT moments. Those at least can be fixed easily or covered up to not be so obvious. My last moment was on the decorations between the cheeks at the stem. I was using a hot air gun to heat up the metal to make is a little more pliable for bending. One went ok, the second I melted part of the decoration. Well what does on do? Order new ones from Euromodel? Do a little carving for fill in the missing pieces? Maybe a little clay molding? Or, what I did, work with what was left. Gives me something to point out to people where I had an IDIOT moment. I actually like to tell people it was and ID-10-T episode. Bill

-
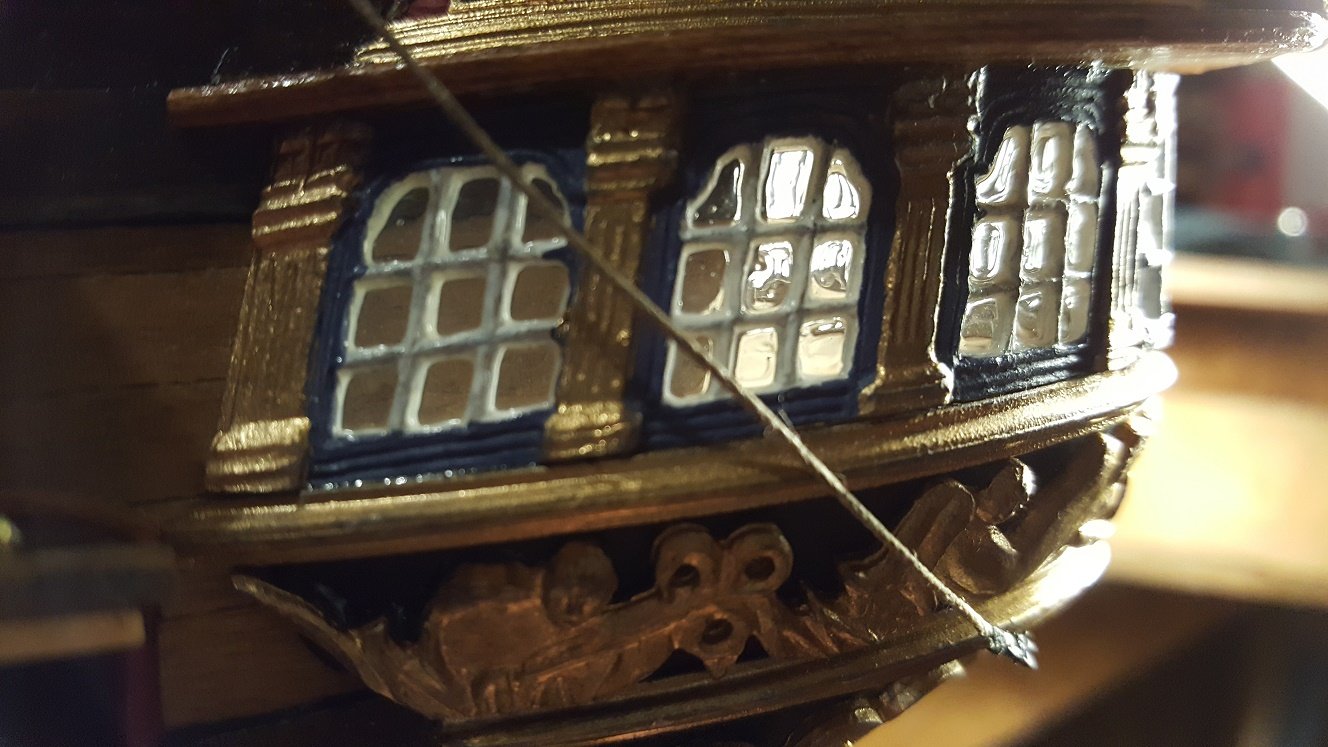
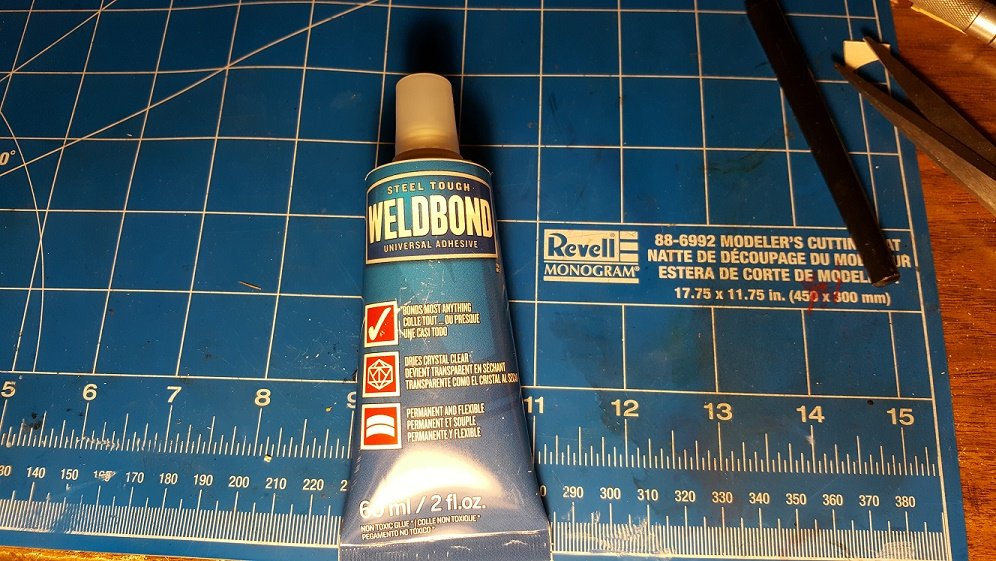
Hi Ken, Very nice looking build you've got there. I'd like to recommend an alternate material for the window glazing. I've used Weldbond adhesive for glazing and the results look very similar to your results. It goes on milky white and cures quite transparent. Curing takes roughly 12 hours. I apply it by taking a glob of the adhesive and twirling it around within the window pane cavity with a toothpick. I purchased it at a local hardware store for $3.29 CDN for a 2 ounce tube. Bill


-
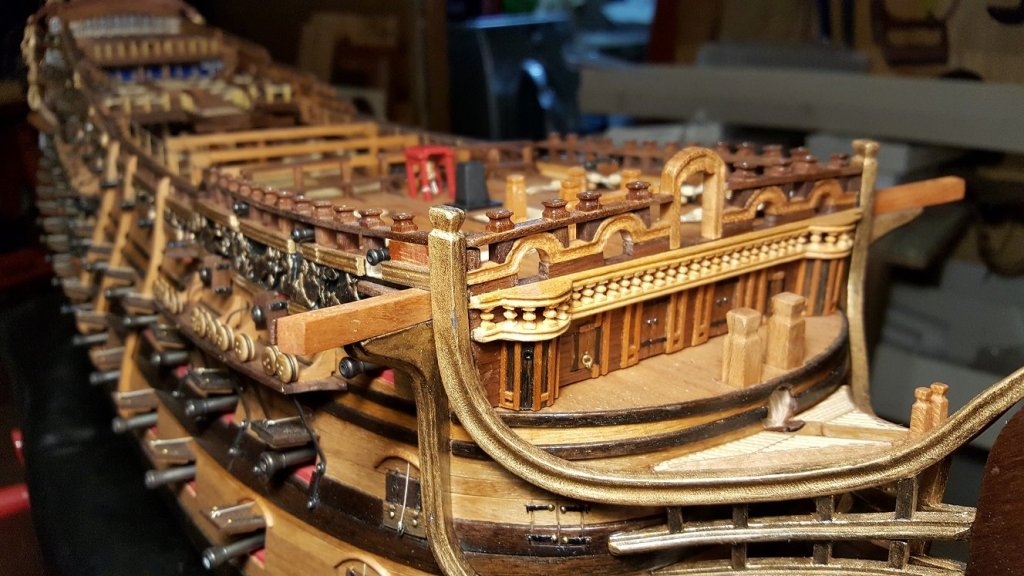
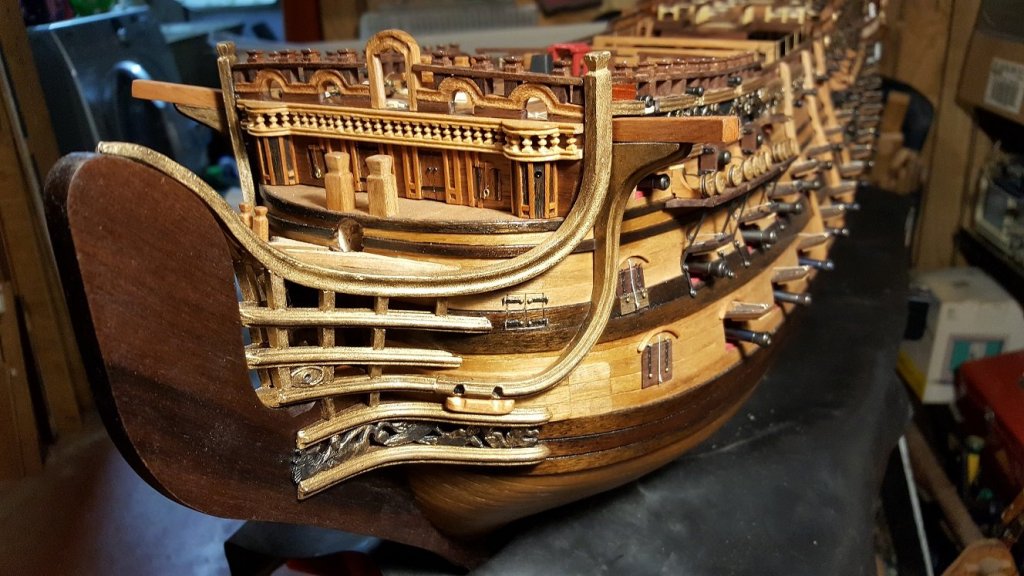
Hi Ken, Hopefully the following images will be of help to you. These are my interpretation of the bow area. Most of my interpretation came from Pete's interpretation plus the wonderful builds on MSW. I did not use some of the metal supplied in the kit when constructing the forecastle front bulkhead, rather opting for wood. Regards, Bill
-
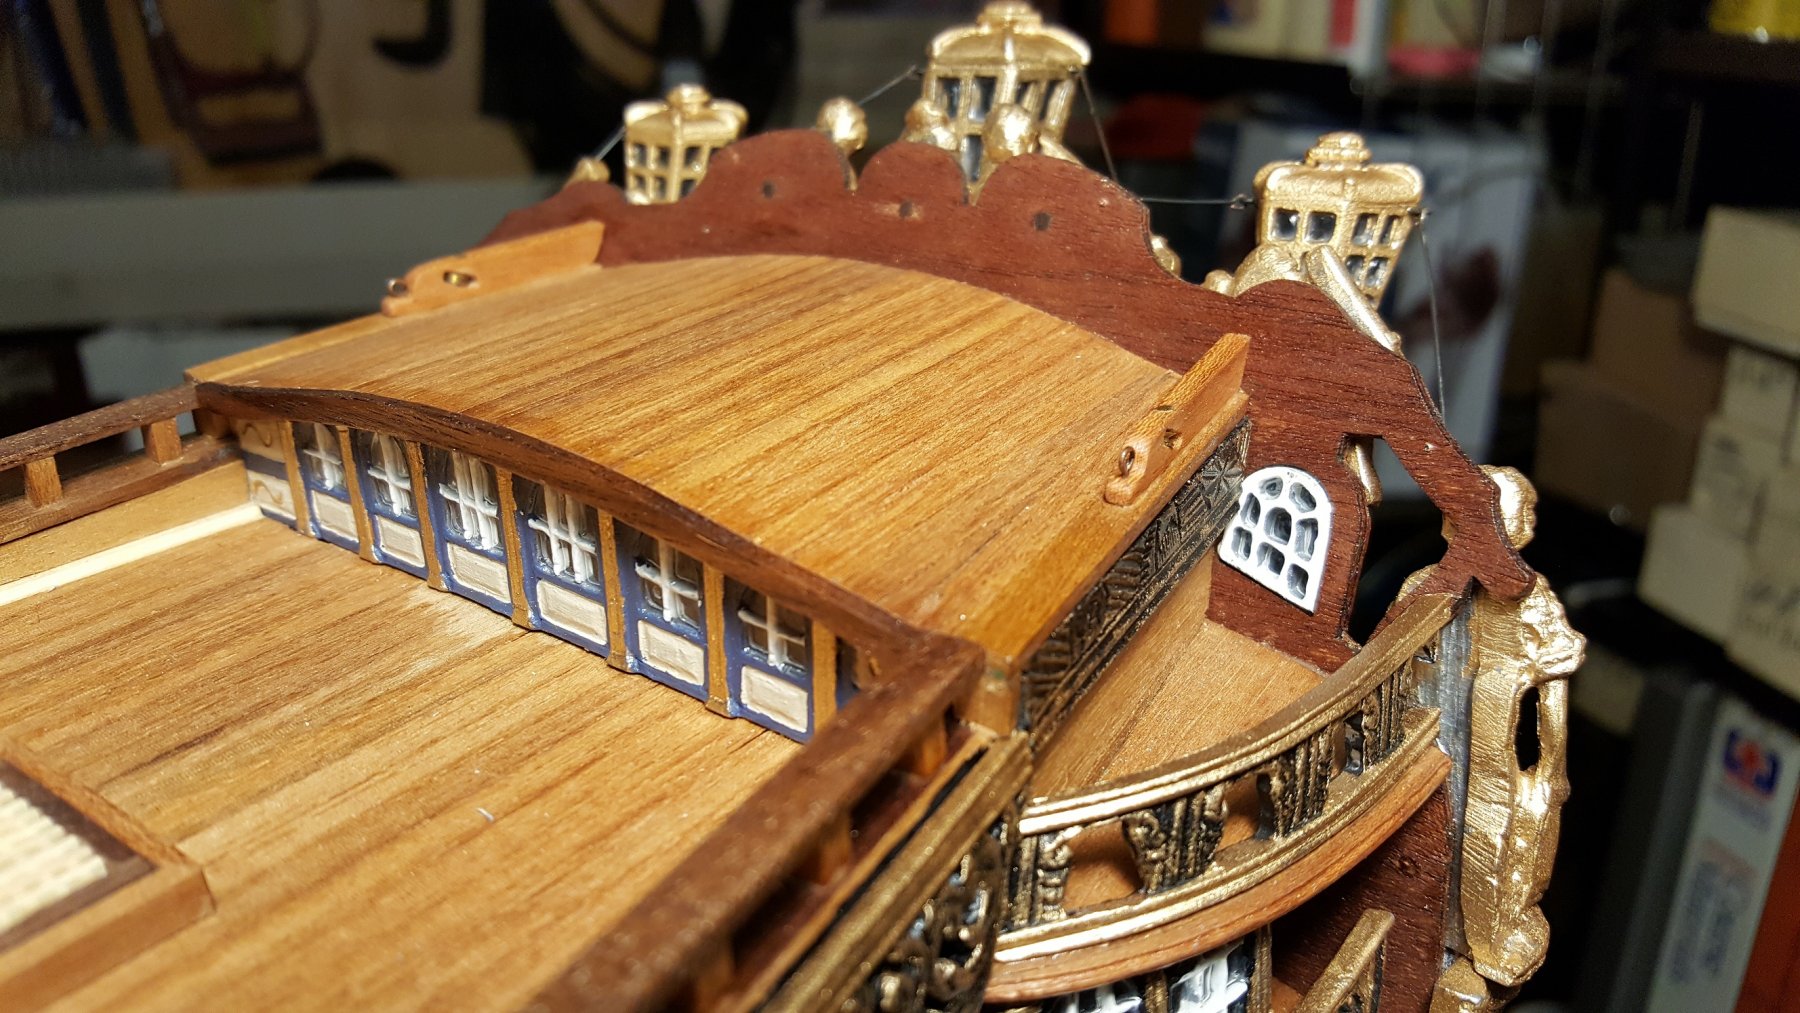
Hi Ken, This is my interpretation of the upper part of the poop deck. Hope it helps. Regards, Bill

-
No problem seeing the pictures in post #50. Bill
-
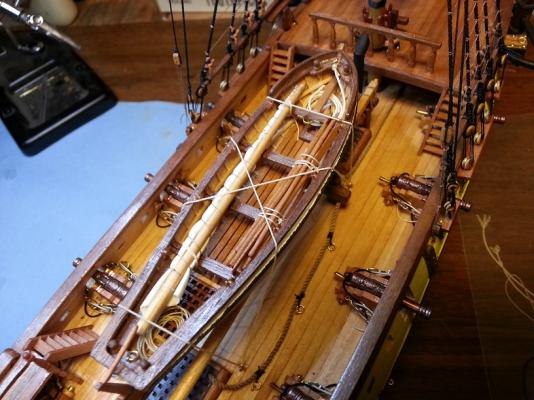
Hi Ken, Looking good so far. A couple of things you may want to consider. I used blocks for the false guns. When I made the blocks, they were not 90 degrees to the deck. The deck is canted, so I made sure that there was a bit of an angle so the guns were at 90 degrees to the vertical axis of the ship. I'm not sure how you would account for the deck cant with a strip, but you could use the same approach. I also ended up framing each gun port. That way I knew precisely where each gun port was located prior to installing the hull planking. I also did that for some of the gun ports where the port would have been blocked by a bulkhead, by cutting out a portion of the bulkhead and framing it for the false gun blocks. Again, just for your consideration. Regards, Bill
-
Hi Ken, I'll follow this one as well. Looking forward to your build. It's challenging. Pete's interpretive info on the Euromodel web site are excellent guides as well as Mark's build. Check out the other Royal William builds as well on this web site for tips on building. All that information sure helped me with my own build. You may also want to deviate a little from the kit contents and scratch build some of the parts. Above all, enjoy the build! You'll amaze yourself at what you can do. Bill
-
Pete, I'd also like to thank you for the work you put into those interpretive build instructions. Great job! I continually refer to those and Marks posts for ideas for my own build. I'm still quite a ways from rigging, needing to finish installing the guns and some more work on the hull. I'm not really a fast model ship builder, nor a slow one. More of a half fast ship builder.... Bill
- 652 replies
-
- 2
-

-
- royal william
- euromodel
- (and 1 more)
-
Beautiful Mark! Hope mine turns out as well as yours. Now I can see what I would like to achieve. I've also purchased hinges from Rick and agree they are nice. Regards, Bill
- 652 replies
-
- 1
-
-
- royal william
- euromodel
- (and 1 more)
-
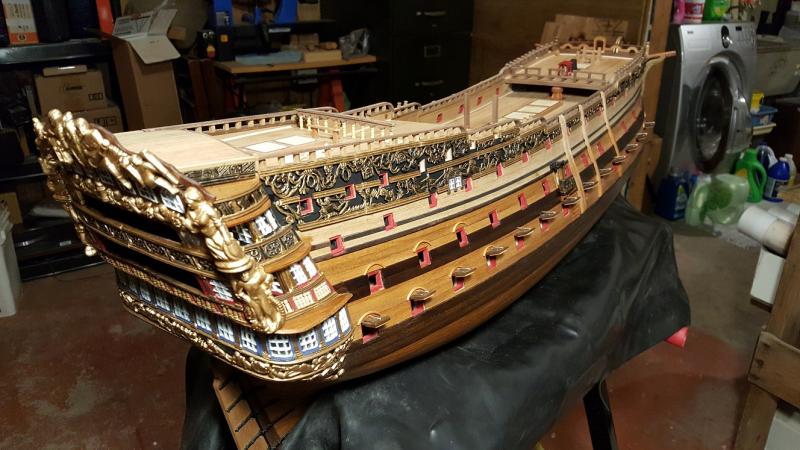
That might have been me with the heat shrink idea in Kenneth Powell's build log of the Rattlesnake, post #40. http://modelshipworld.com/index.php/topic/3656-rattlesnake-by-kenneth-powell-model-shipways-american-privateer/page-2 I'm also following this build log as well since I'm also building the Royal William. I'm not dedicated enough to do a build log, but I'm following all of these great builds in the forum. He's mine so far. Regards, Bill

- 652 replies
-
- 10
-
-
- royal william
- euromodel
- (and 1 more)
-
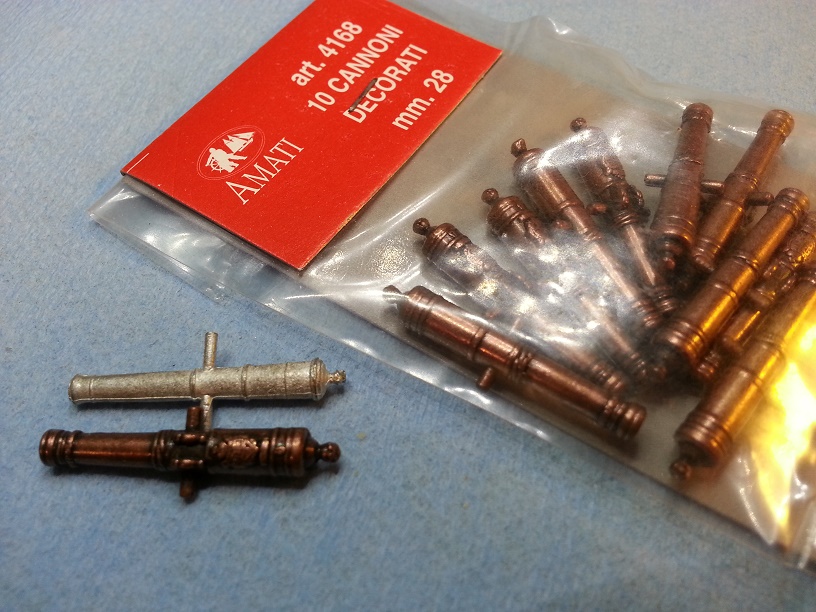
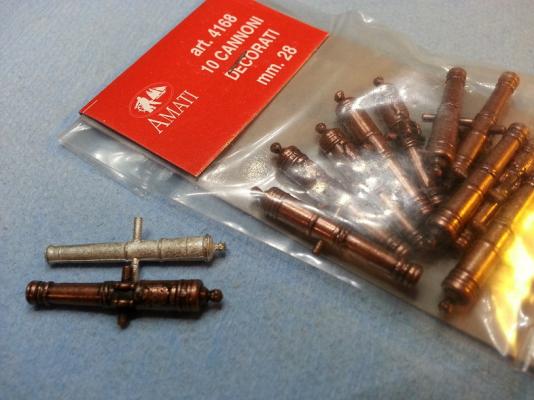
I bought replacements. Amati 28 mm. I liked them much better than the kit supplied guns.
- 2 replies
-
- 2
-
-
- cannon
- rattlesnake
- (and 1 more)
-
Hi Ken Bright = Natural Wood Finish. Stated on sheet 3 of the plans. Bill
- 440 replies
-
- 1
-
-
- niagara
- model shipways
- (and 1 more)
-
Hi Dave, The History of American Sailing Ships by Howard Chapelle has a chapter on privateers and slavers. He does mention the Rattlesnake with a brief history and some drawings. Bill
-
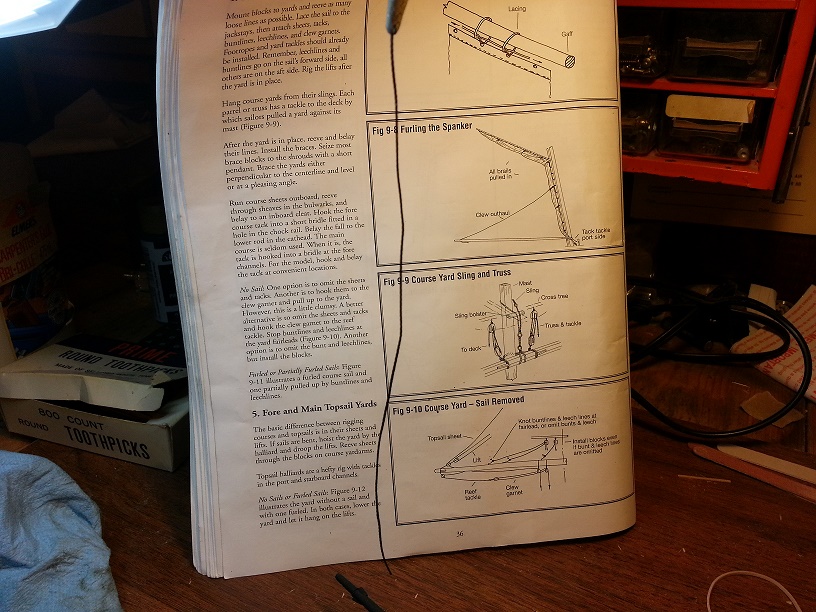
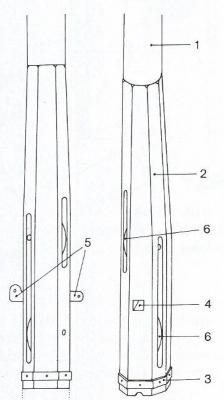
Regarding the top rope sheaves, from Historic Ship Models, Wolfram Zu Mondfeld; The top rope was used to hoist and lower the topmasts. It was hooked under the underside of the cap, reeved through the sheave at the foot of the topmast, up through a block, which was hooked to the cap, and down to the deck. On a model the top rope can be omitted, as it was only used when sending up or striking the topmast, and was only rigged at those times. The only traces to be seen are two or four ringbolts on the underside of the cap. There is a slot cut in the heel of the mast to accept the sheave. From the drawings, it appears that the top rope sheave is diagonal. I didn't include these sheaves when I build my Niagara.
-
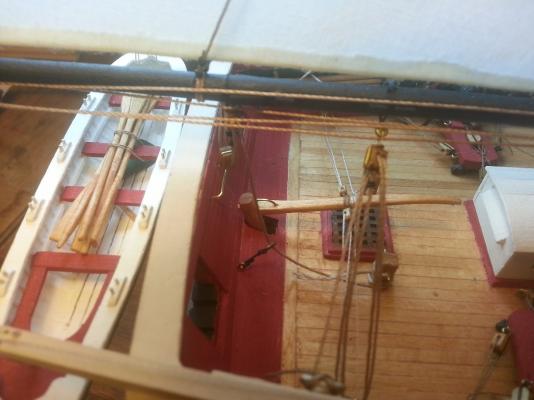
Here's how I did the spanker sheet horse on my Niagara I agree that the plans show what looks like a block of wood. I either didn't see that or chose to ignore. You can also check Sherrys posting of pictures from the replica Niagara http://modelshipworld.com/index.php/topic/7728-tour-of-us-brig-niagara-photos-that-may-be-a-help-to-modelers-moved-by-moderator/#entry228894 Regards, Bill
-
Try using hot air from a heat gun. A blow dryer may also work. Before After I did run it through my fingers after heating. Bill


-
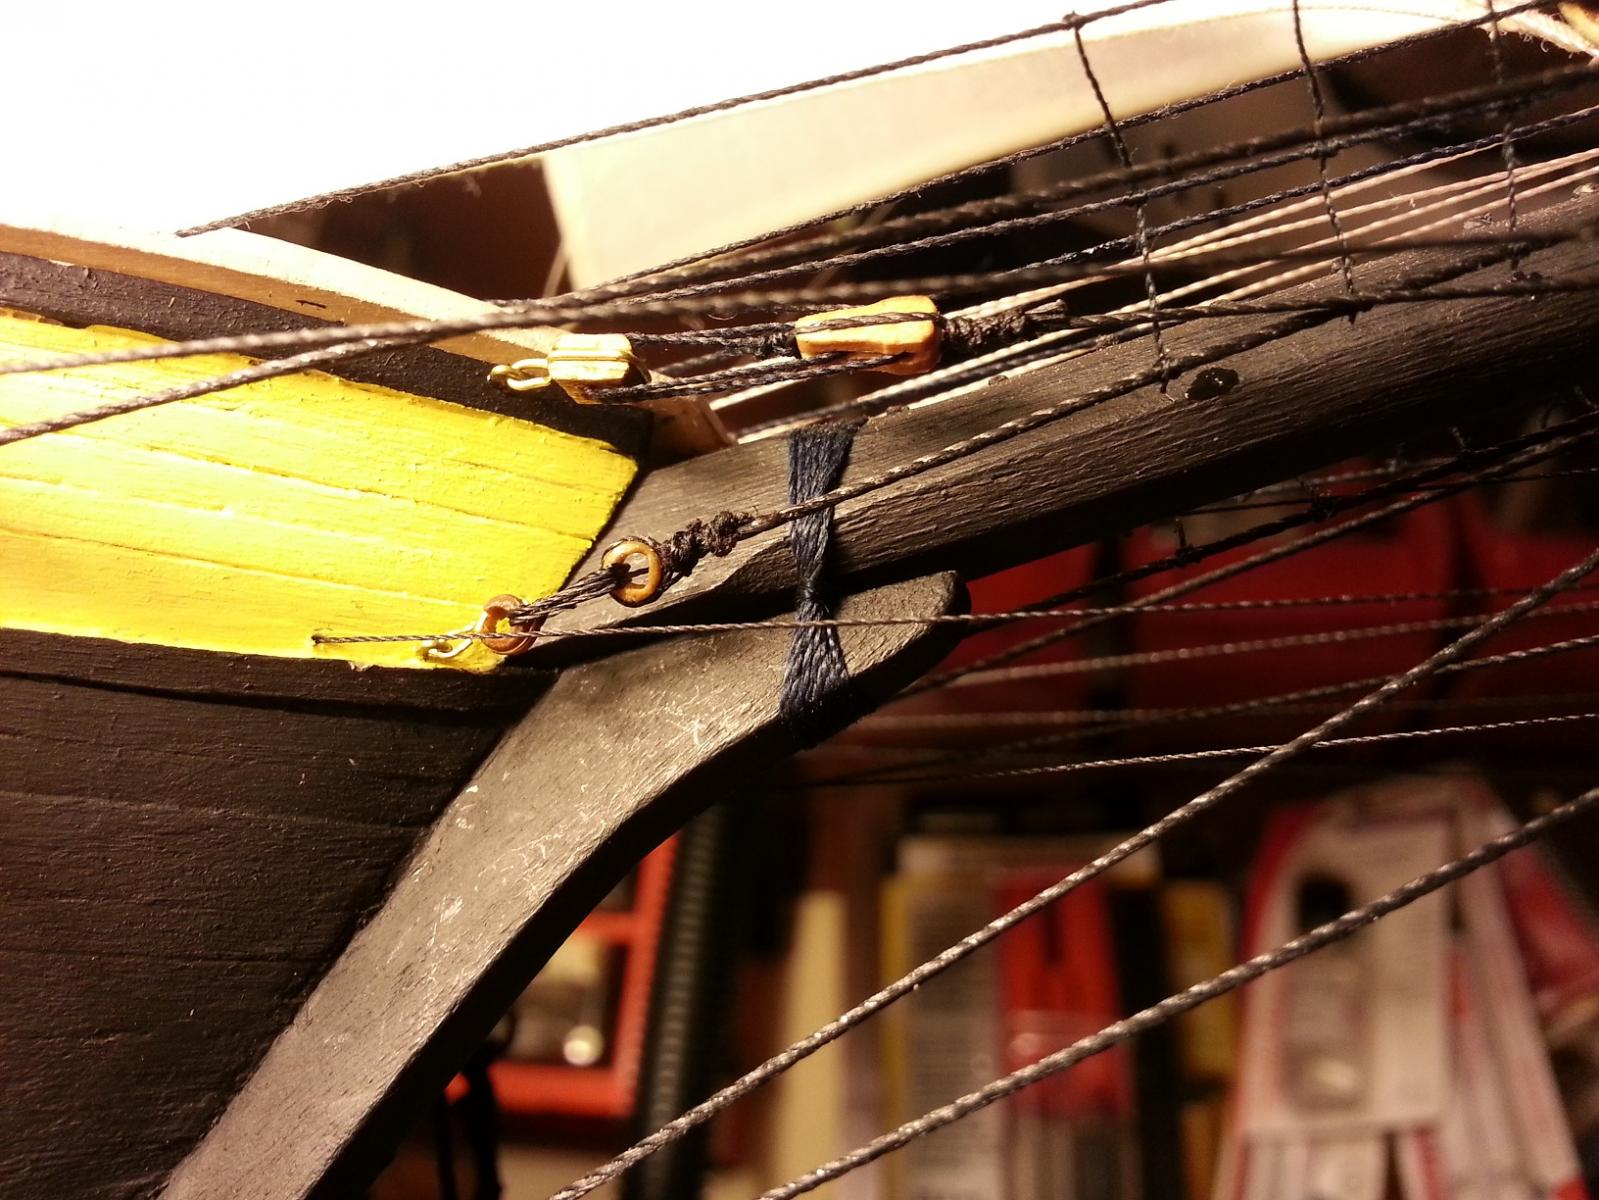
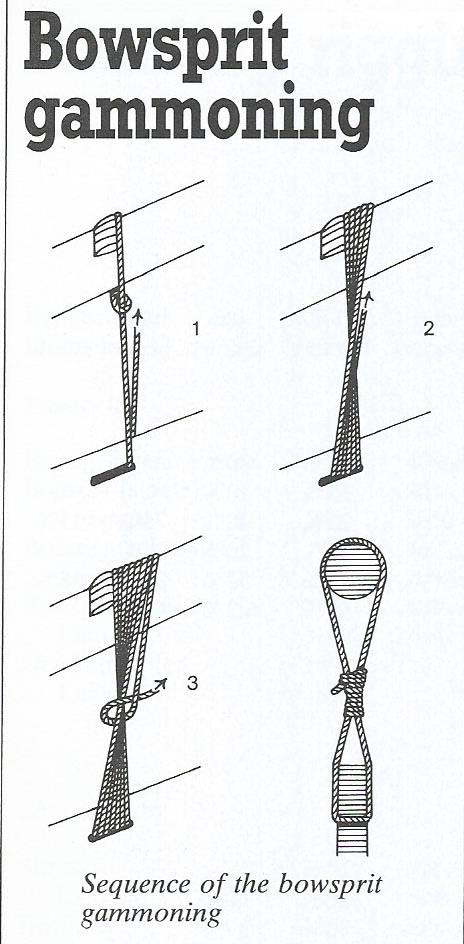
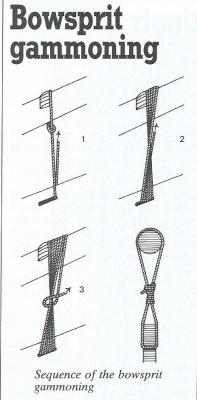
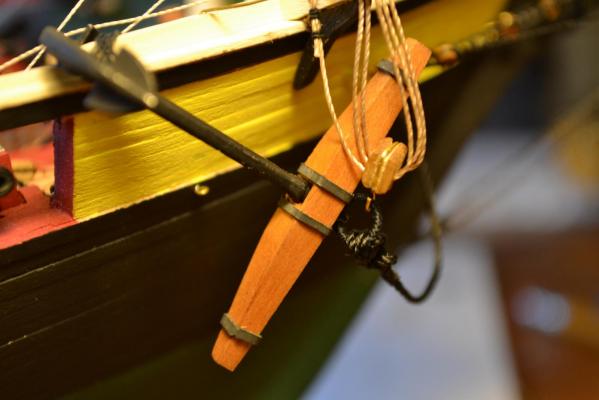
I wrapped and tied off the gammoning in between the bowsprit and stem as in the illustration. As for the jib boom, I just wrapped circularly around and then brought the free end under the siezing and glued it in place. Similar to mast wooldings. Don't know for sure if I'm right or wrong for the period, but it turned out the way I wanted to do it. Regards, Bill
-
This is how I did the gammoning on my Niagara. Bill

- 468 replies
-
- 3
-
-
- niagara
- model shipways
- (and 1 more)
-
Hi, I've been using heat shrink tubing whenever I need a band of some type. Just cut to length required, install where needed and shrink using a hot air gun. Bill
- 152 replies
-
- 3
-
-
- rattlesnake
- Model Shipways
- (and 1 more)