


Landlubber Mike
-
Posts
4,547 -
Joined
-
Last visited
Content Type
Profiles
Forums
Gallery
Events
Everything posted by Landlubber Mike
-
 That's great! There's a lot in the plastic/resin world of 1/700 and 1/350 that I think could be useful in SIB builds. Just so you know, I've read stories about the decks lifting over time, so I used some CA before laying the decks down.
 -
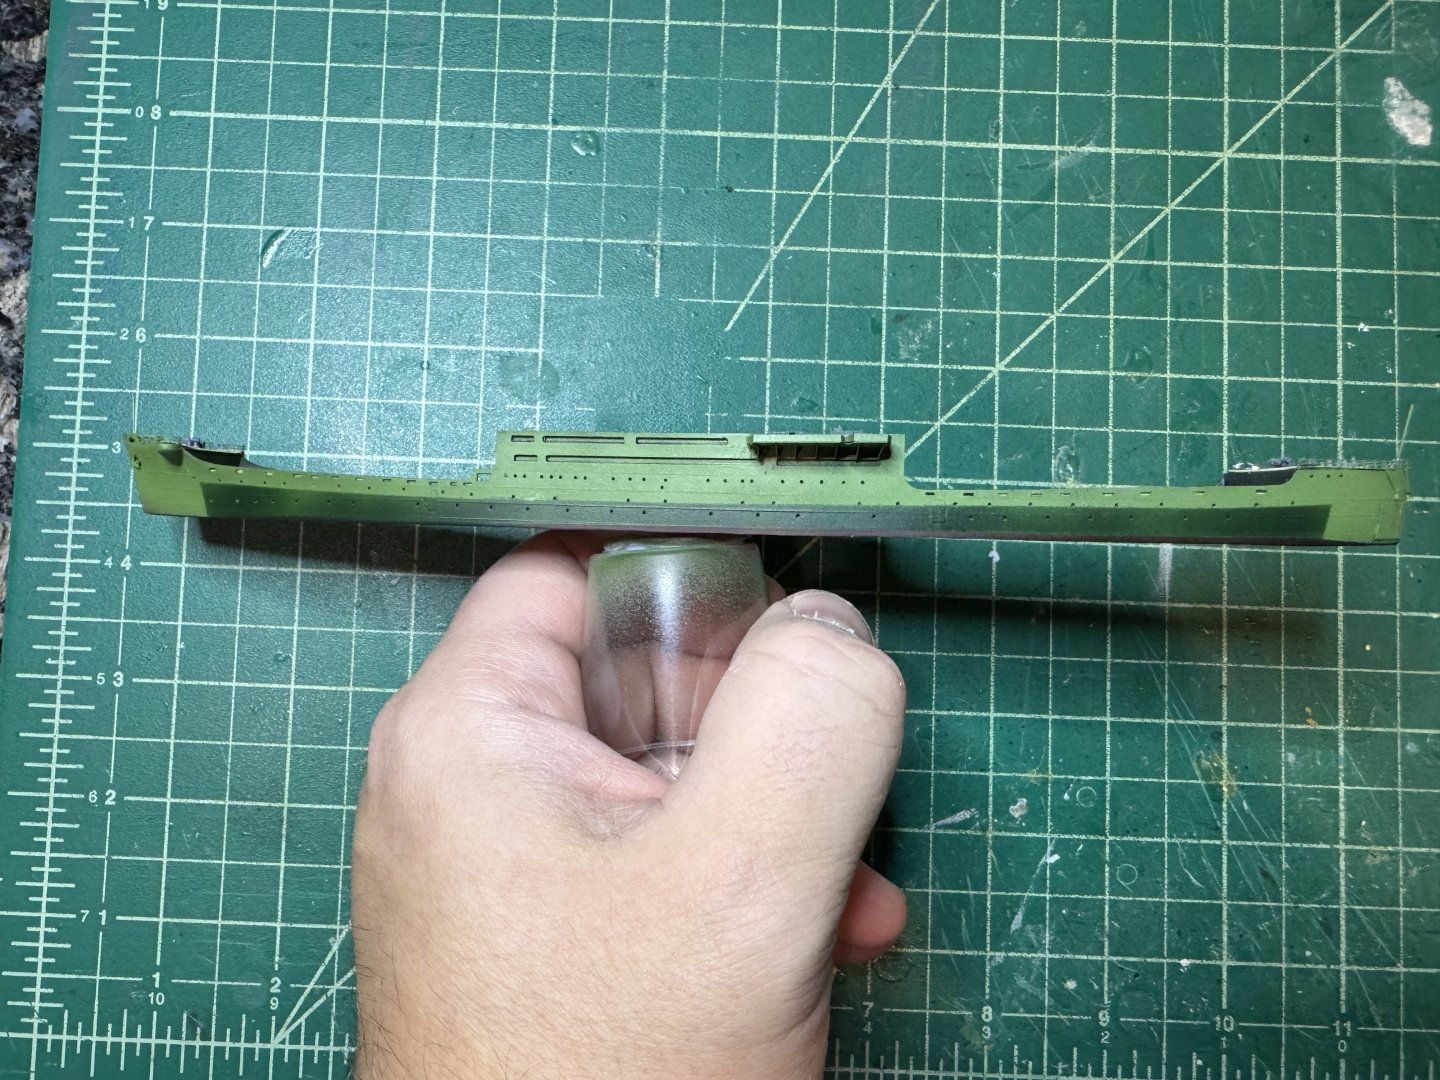
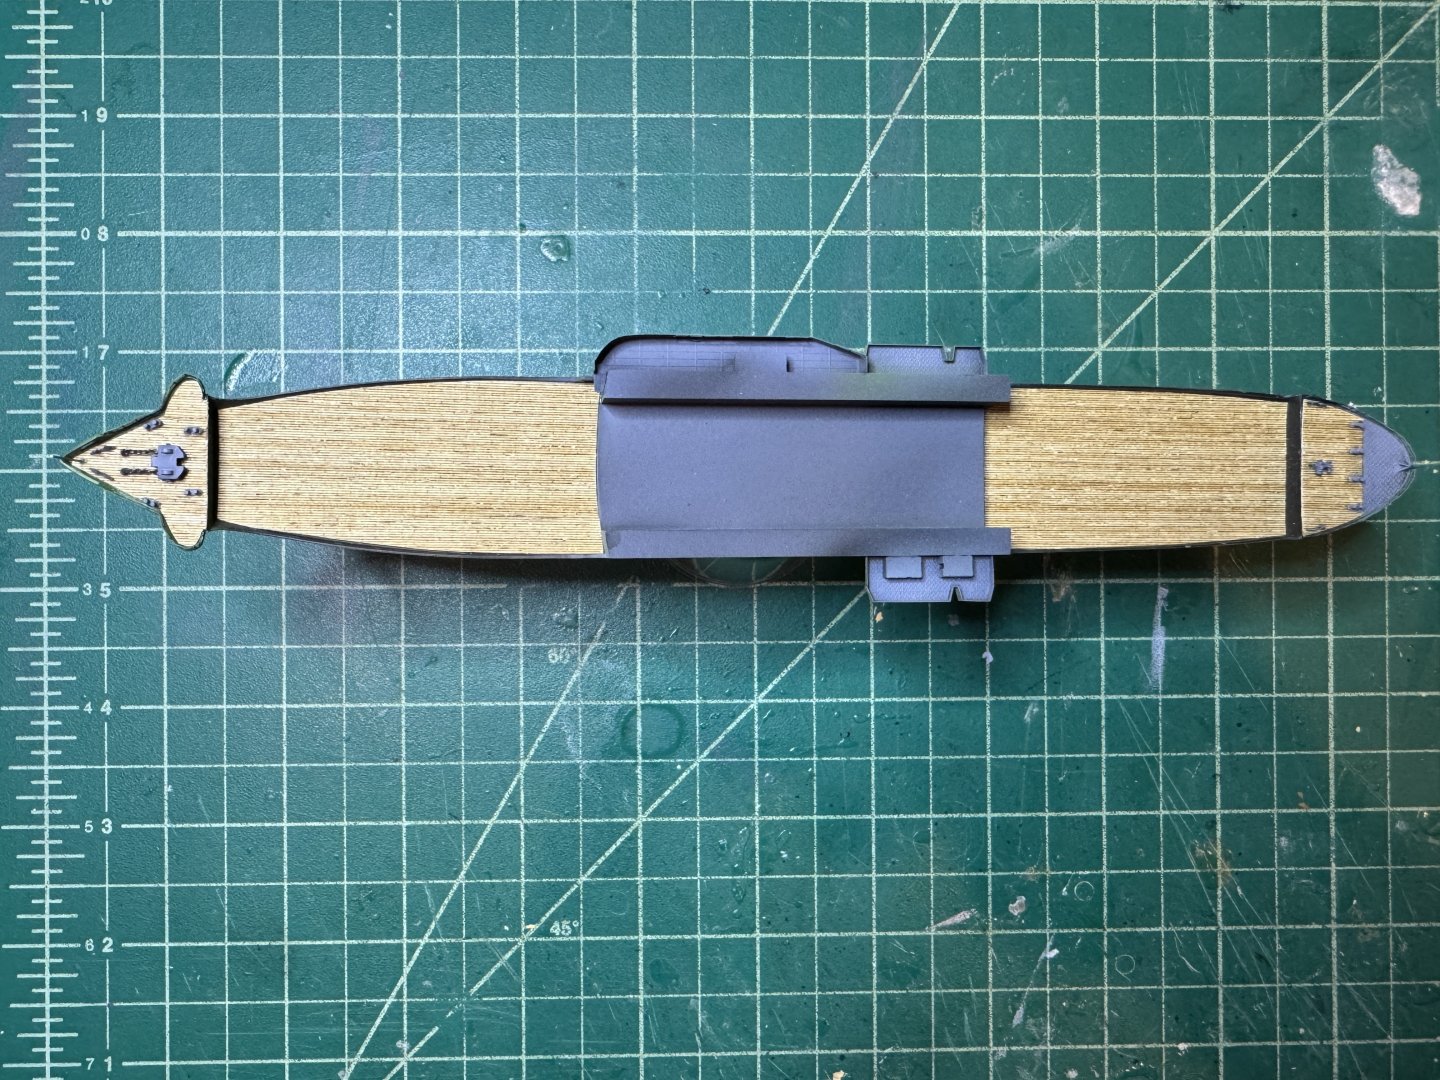
I circled back to this one and made some good progress. It's a little tricky for this kit in that although Five Star did a great job making a kit that is a lot more to scale than the Aoshima kit, especially with the included resin and PE parts, the issue is that some of the details are omitted so I've been using the Aoshima kit as a guide to figuring out what I need to add. I painted the hull in the typical IJA camo scheme: Next I glued in the wooden decks that I cut out of a generic 1/700 wooden deck sheet, and I've been adding the various details to the deck including bollards, anchor chains, winches, etc.: Before putting on the flight deck, there's a lot of details that go on these interior decks - pipes, bollards, stairways, platforms for the carried planes and vehicles, etc. I've got most of those all painted up right now, so it's just a matter of figuring out where to place them so that they do not interfere with the supports for the flight deck. Thanks for looking in!
- 40 replies
-
- 4
-

-
- Five Star
- Akitsu Maru
- (and 1 more)
-
Thanks Glen! They are fairly fragile, yeah. Some people prefer to attach them after painting the hull, but I usually like to attach them and then paint the combined assembly. Looking at the close-ups, it looks like there are tiny bends I'll need to fix but not too bad.
-
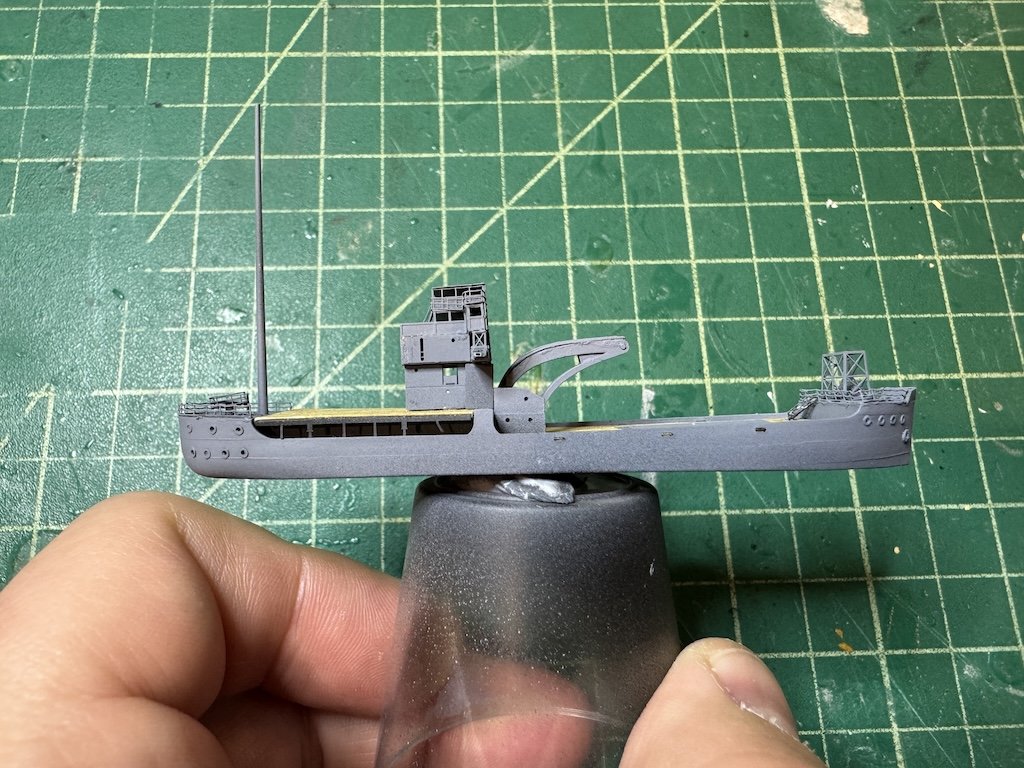
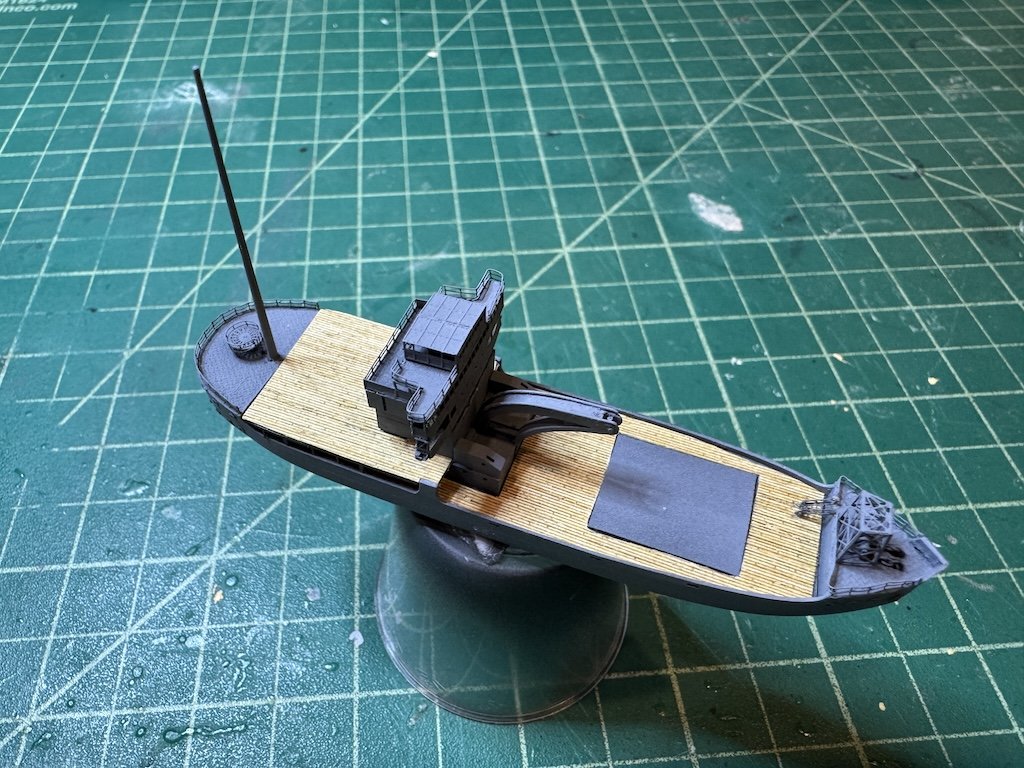
I've been bouncing around a few of the models on my bench, but did make some progress on the Seishu Maru - added the wooden decks, the bridge and some stairs. So far so good. This Five Star kit is a pretty nice kit and everything goes together fairly nicely. Thanks for looking in!

-
Very cool - you certainly picked a complex print! Nice job!
-
1960 Corvette by gsdpic - MFH - 1/12 - Multimedia
Landlubber Mike replied to gsdpic's topic in Non-ship/categorised builds
I bought this kit last year when it came out as this is one of my favorite cars (hope MFH puts out more of these types of non-race cars in the future). I need to get a lot better building car models before I tackle mine, but it will be great to follow along on your build. The kit is definitely impressive in a lot of ways with all the various parts and details. -
Wow Igor, somehow I missed that you finished this one. What an epic build! Your best yet! Congratulations and happy new year to you my friend!
-
Thanks Alan, good to know! Happy New Year my friend!
- 40 replies
-
- 1
-
-
- Five Star
- Akitsu Maru
- (and 1 more)
-
Great work as always Chris. It's so hard to believe this is in card and not plastic or resin!
-
Nice haul! You must have been on Santa's nice list. What do you think of the tweezers? My go-to are the ones from Dumont, but I got one from Anyz that could be a game changer, just will take some getting used to. That rolling tool is nice. I already have one that size (and one bigger) or I would have gotten the Dspiae one.
- 40 replies
-
- 2
-
-
- Five Star
- Akitsu Maru
- (and 1 more)
-
Both
-
The Airfix Walrus is a great kit! I stopped mine halfway because I couldn’t decide how to do the rigging, but it goes together very well and you really don’t need aftermarket for a nice model.
-
Came out great! Nice job! Glad the canopy worked out.
-
Wow great job on both! Clever work on getting the white decals done - they look fantastic!
-
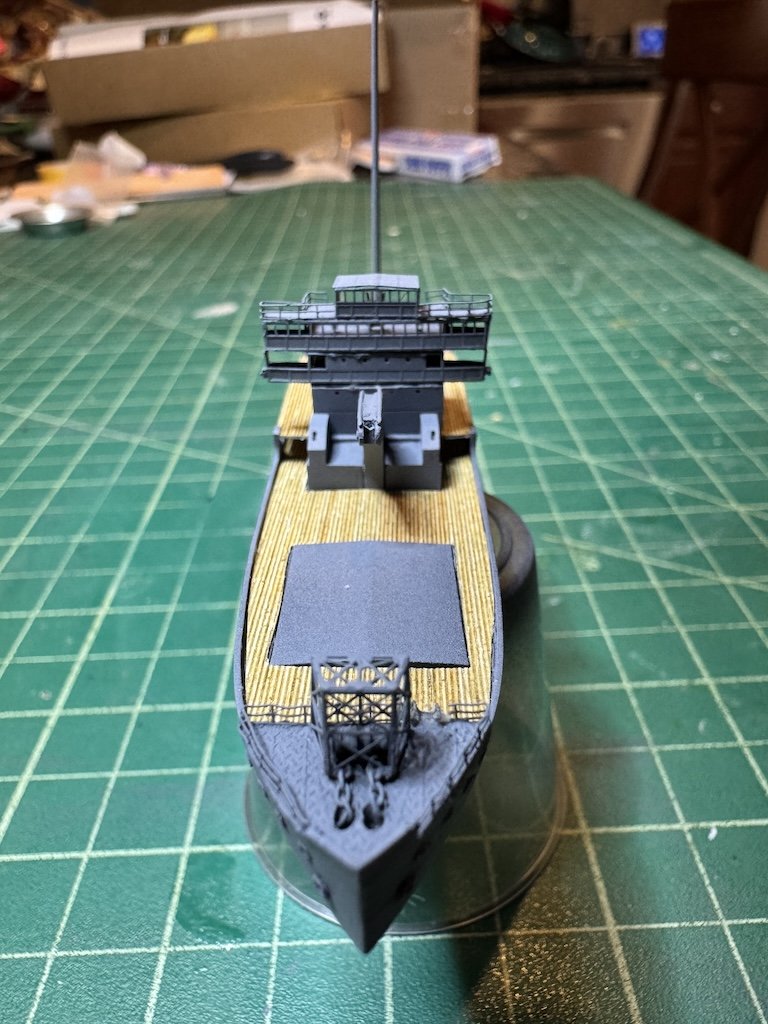
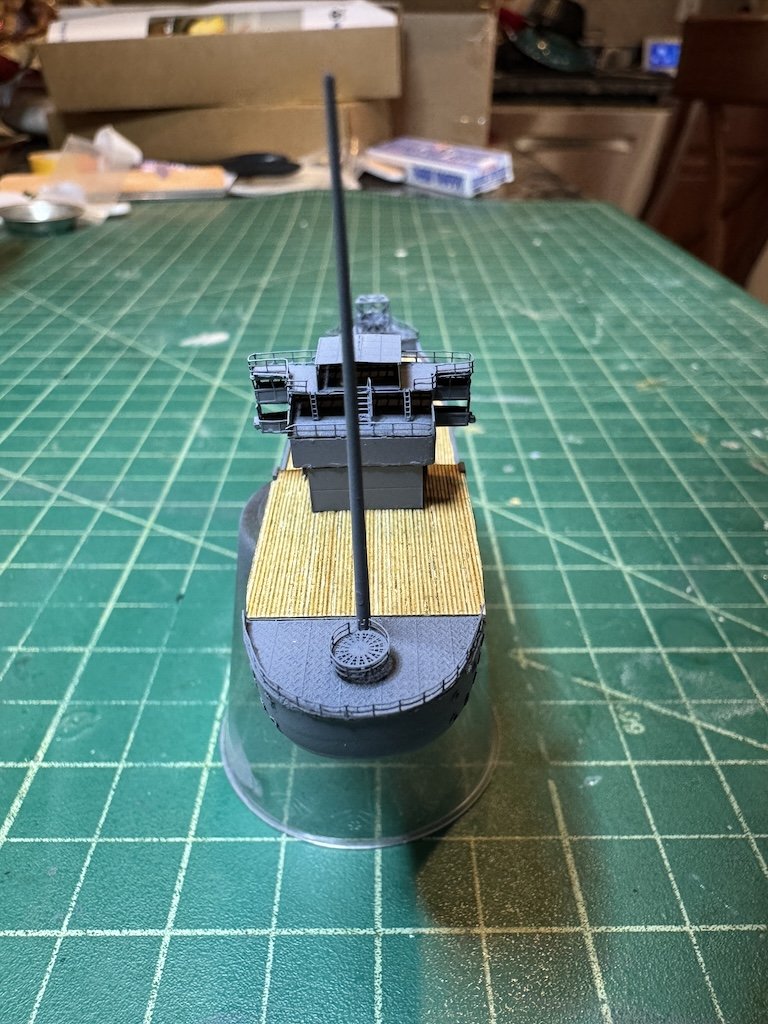
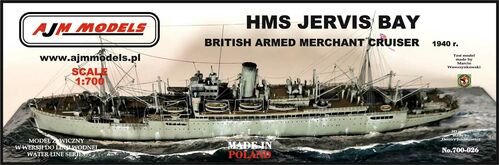
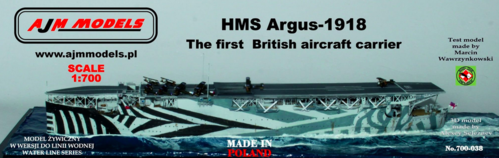
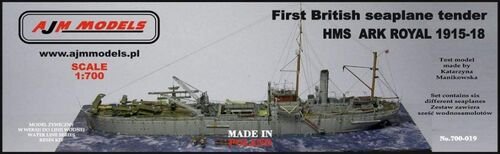
Wow, £20?? That's a very good deal! If it's too intimidating, you can always start out with a less complicated model from AJM or Niko. With your skills, you'll be fine 👍 For resin attached to the blocks, I use a couple of different methods. Side cutters tend to work if the attachment is thin. For larger attachments, I'll use a fine razor saw to saw them off the block and then sand off the remainder. Be very careful if using side cutters as if you don't hold the small part while cutting, it can shoot off into God knows where (don't ask me how I know that). When I saw the dazzle camo from your picture, I had to pick one up. I didn't realize that the British warships had such cool dazzle schemes. AJM has kits of quite a few of them. I missed out on the Ark Royal, but along with the Vindictive, I bought the Jervis Bay and the Argus. Check out the dazzle scheme on the Argus! Will be a lot of fun building the interwar biplanes in 1/700! The good thing is that these 1/700 scale ships don't take as long to build as larger scales, even when you get a detailed PE set. Because I haven't been able to get to my airbrush setup the last week, I've been working on an IJN light cruiser and in a week, have it halfway built already.
- 40 replies
-
- 4
-
-
- Five Star
- Akitsu Maru
- (and 1 more)
-
Thanks Rob! I tend to like the 1/700 scale due to the very wide range of subjects available and just having something smaller on the bench. Personally, I really enjoy the challenge of the PE work. The only tricky thing in this scale is that you have to have very steady hands to do the PE work, and you probably need decent eyesight. On the hands I'm very lucky, but the eyesight is certainly worse than it was five years ago but I've found that using a good light source and magnifiers that I can do a decent job. You're ten times the modeler that I am, so I'd say go for it if you are so inclined!
- 40 replies
-
- 4
-
-
- Five Star
- Akitsu Maru
- (and 1 more)
-
Thanks Andrew! I still am learning but have slowly gotten better model by model. Did you start the HMS Vindictive yet? I bought it and a couple of other AJM Models 1:700 kits when Squadron had a big sale earlier this month. I’m not sure what to think. The hull is beautiful and the instructions didn’t seem too bad. The resin detail parts need some work though, and a lot of the parts all look the same at this scale. My Albatross kit from Niko was much the same, so hopefully it will similarly turn out well in the end. The Polish mixed media kits (AJM, Niko) are very detailed kits with crisp hulls but the resin detail pieces are some of the weaker parts of the kits in my opinion. The Five Star mixed media kits like the Akitsu Maru and Seishu Maru are opposite - very crisp parts (especially the smaller amount of resin details) but less comprehensive (they seem to take shortcuts and I feel like I’m supplementing the kits quite a bit) and instructions are mostly just pictures of the assembled model.
- 40 replies
-
- 2
-
-
- Five Star
- Akitsu Maru
- (and 1 more)
-
Looking really good Alan. You're near the finish line! For the Vallejo water effects products, I was suggesting them mainly because they have colors for the various oceans and seas. I don't know if I'd use those products in a 1/700 diorama setting. I tried using it for my Hannah Ship-in-Bottle build, and I found it was taking forever to dry. That was likely exacerbated by being inside the bottle with little ventilation, but it seems for scale, etc., your approach makes more sense.
-
Well Merry Christmas to you Alan Did you get anything else from Dspiae? I have a few of their items and am very impressed. Not cheap Chinese junk, but really well made, solid tools (at least the stuff I have - I've heard mixed reviews about their pen sander).
- 40 replies
-
- 2
-
-
- Five Star
- Akitsu Maru
- (and 1 more)
-
Those small boats are fantastic - really well done!
- 211 replies
-
- 2
-

-
-
- Russo-Japanese War
- Mikasa
- (and 2 more)


