Landlubber Mike
-
Posts
4,543 -
Joined
-
Last visited
Content Type
Profiles
Forums
Gallery
Events
Everything posted by Landlubber Mike
-
 Yeah, these WW2 ship models do plod along as you build all the sub-assemblies -- which your Galatea has a ton of. But once they are finished and installed, the build is pretty close to the finish line.
 -
Looking great Alan! You're making quick progress! Going to be a nice looking model at the end.
-
Thanks Ken! Yeah, CMK, Aires, Eduard etc. all help bring models up a few notches in detail. Sometimes you have to adjust the parts to fit, but generally, I've been very excited to add them to a build.
-
Thanks Alan - yeah, I was a bit nervous as you can see how much I already had to file off the CMK interior tub to get it to fit properly with the other CMK sets and especially the Aires side gun insert. The tub for the cannon likely extended to at least the bottom of the fuel tank, so I was worried that the CMK tub could break up, especially if the fuel tank was hollow. Thankfully everything stayed together. My guess is the parts from the various detail sets are pretty accurate when it comes to scale. It's interesting to see how much stuff was crammed into the fuselage, almost like a puzzle getting it all to fit.
- 51 replies
-
- 11
-

-
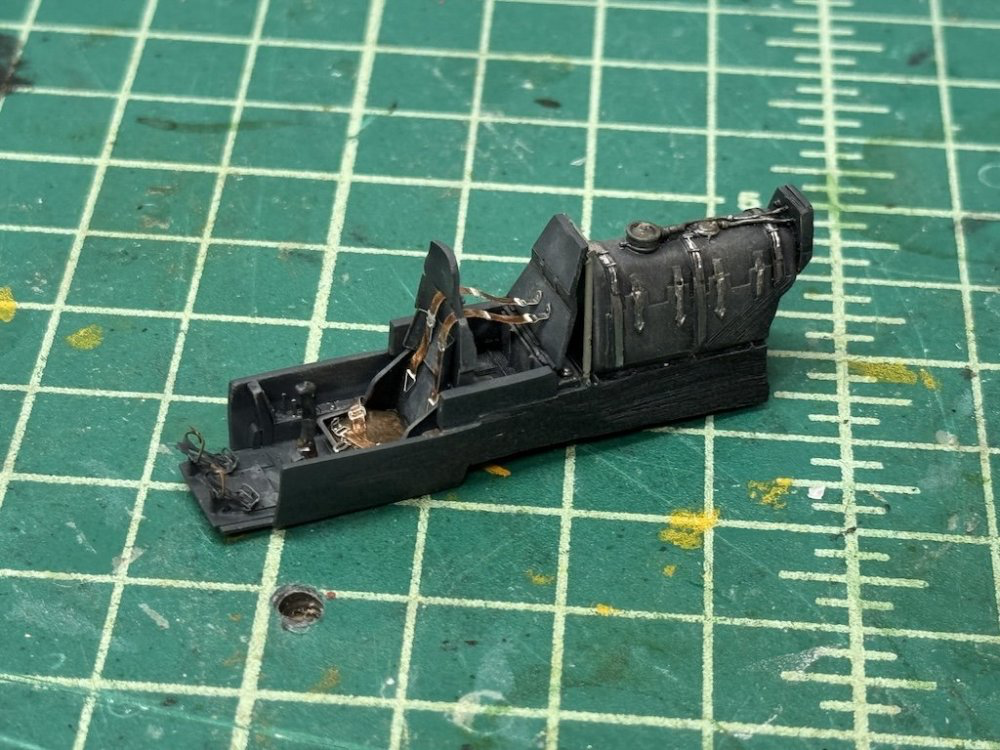
While trying to figure out the landing gear bays, I also decided to take a look at the ventral cannon pod. The Hs 129 had a number of weapons configurations as you can see below: The plane I'm modeling had a Mk 101 30mm cannon - if you're looking at the picture above, it's the second from the top of the four weapons on the left side. Here's a cutaway diagram of it installed: The rack holding the cannon was on hinges, where the rack/gun swung down for service (and I think to reload). Here is a picture: Here is a picture of mechanic working on a Mk 103 cannon (different cannon from mine, but same principle): When I saw these pictures, I thought to myself - how cool would it be to model that? Seemed a little complicated to scratch build so I focused on finding an aftermarket Mk 101 cannon to improve on the kit part. Essentially, was just looking for a brass barrel given the gun itself was mostly hidden in the pod. Well nobody seems to make a brass Mk 101 barrel. I did randomly stumble upon a printed cannon by Omask specially designed for this kit. Figured it looked pretty cool and would be more detailed than the old kit cannon. When I opened the Omask set, I was really surprised to see that Omask gave your parts to actually build build an opened up Mk 101 cannon like in the pictures above! As an aside, the print quality on this set is fantastic. I am very impressed with what you get. As you can see in the instruction sheet above in the top right corner, you can show the cannon pod closed, or in one of two open configurations (one with the pod shell off and one with it on). I'll probably model mine with the pod shell off to show the full gun detail. I was initially super excited after cutting the parts out, but then realized to make it all work, I needed to cut out an opening for the gun bay tub. This, not only after I had already closed up the fuselage, but had already inserted the CMK interior tub and the Aires MG 151 fuselage gun set. I was really worried with how deep the tub was, as it would definitely bump into both the CMK tub and the Aires gun set. Warning - graphic photos follow: After sleeping on it, I decided to go for it. I used a cut off wheel and a hobby knife to cut through the bottom fuselage plastic. The gun bay tub sat directly under the fuel tank that is part of the interior tub from the CMK set. With a grinding bit in my micromotor, I had to grind out the bottom half of the fuel tank, as well as a small portion of the corner of the Aires gun set. Everything just barely fit, with probably not even 1mm to spare - whew! Just need a little filler around the edges and it's good to go. To make sure the tub sat properly, I put in some blobs of Tamiya two-part epoxy putty, and pushed the tub into it. That seemed the easiest and most effective way to secure it in place in the right position. That's enough excitement for today. If I smoked, I'd probably need a cigarette right now. Just glad it all worked out!
- 51 replies
-
- 14
-
-

-
Quick update on where I am with the two Hs 129 builds. I've been slowly working through the various details pieces like the engines, guns, landing gear, props, etc. Everything on this Hasegawa/Hobby 2000 kit is going together really nicely. If I wasn't adding in all the various aftermarket, I'd probably be long done now. For my first diorama of the Hs 129 being serviced, I wanted to show at least one engine exposed. The Verlinden set has only one engine in it, which made me think it would look a bit odd to have the two engines look different from one another. I ended up finding two engines from Vector which are really nice. Here they are next to the kit engine - I just need to add the rods, but you can see how much detail Vector includes which should make for a nice exposed engine. Next post will be on the bottom cannon.
- 51 replies
-
- 10
-
-
Coming along great Alan! Even if the guns weren't deformed, those brass barrels are really sharp looking. This is going to be a sweet build!
-
Welcome back! I was hoping everything was ok as you hadn't posted in a while. I don't know if you remember, but you helped me with a bunch of tool purchases years ago. The one I'm most appreciative of is the Japanese micromotor - that has made modeling for me so much easier and more precise, particularly as I fell into the black hole of plastic model kits. Charlottesville is a magical place, I'm jealous! I went to UVA for grad school and have been counting the days to retire back down there. By the way, nice looking shop!
- 714 replies
-
- 1
-
-
- lady nelson
- victory models
- (and 1 more)
-
Just catching up here Chris - wow, that came out really great! You're a master of these card models.
-
Looking good Andy and welcome back! I found using a drop of Vallejo's thinner helps a lot, along with their flow improver. Helps the paints spray very smoothly.
-
Looks like a great kit Alan! Will be much more of an enjoyable experience compared to the last few that you worked on it would appear.
-
Hi Joelle, glad to see you back. So sorry to hear about your family's health troubles - my condolences for your mother. You're building this kit to a very high level as per your usual artistry! I have this kit in 1/700 scale, and think it's one of the more beautiful subjects out there. Your build will be a big inspiration for when I start mine!
- 210 replies
-
- 2
-
-

-
- Russo-Japanese War
- Mikasa
- (and 2 more)
-
Looks like a great kit Yves. That berthing box is such a great idea! Looking forward to following along!
-
I feel like I've been steadily working on the models but have little to show for it. I did manage to add additional panel lines and rivet the two models. I need to touch things up in a few places with primer, but the rivets look pretty cool. We will see how much of them shows up after painting and weathering. I also managed to build up the two Vector engines, though still need to add control rods. I'll post pics when they are done, but they are looking very nice as per usual from Vector. I have a couple of Opel Blitz trucks that are resin - took me hours to separate and clean up the parts, and now I can finally start building them. I'm hoping they look ok when done, as I'd rather not have to go out and buy a Tamiya Opel Blitz kit. Other than that, I'm working on landing gear bays at the moment. There's really not too much more I need to do build wise on these, with the exception of the open engines and needing to figure out how to make the Vector engines work with the Verlinden set and the Hasegawa kit. Thanks for looking in!
- 51 replies
-
- 16
-
-
Clever work with the dryer sheets and the concentric circles for the whirlpool!
- 185 replies
-
- 6
-
-
-
- Flying Dutchman
- Black pearl
- (and 2 more)
-
Amazing work Peter!! Well done! Now I need to find a spare 350+ hours to do mine
- 97 replies
-
- 5
-
-
-
- Enterprise
- Tamiya
- (and 2 more)
-
Looks amazing Peter. You're setting the bar very high for when I start mine!
- 97 replies
-
- 3
-
-
-
- Enterprise
- Tamiya
- (and 2 more)
-
Mr Surfacer is amazing for revealing imperfections. I am in the middle of riveting my Hs 129 builds, but will try and remember to post a picture of what they look like with Mr Surfacer primer on. The product really is amazing for revealing things.
-
Sorry, I meant which brand of figures are you using? I have some sets for my Enterprise and Gambier Bay from Black Cat, North Star and Ion.
- 97 replies
-
- 3
-

-
-
- Enterprise
- Tamiya
- (and 2 more)
-
Everything is looking great Peter! Nice job on the planes, wow! Which figure sets are you using? They look great!
- 97 replies
-
- 2
-
-
- Enterprise
- Tamiya
- (and 2 more)
-
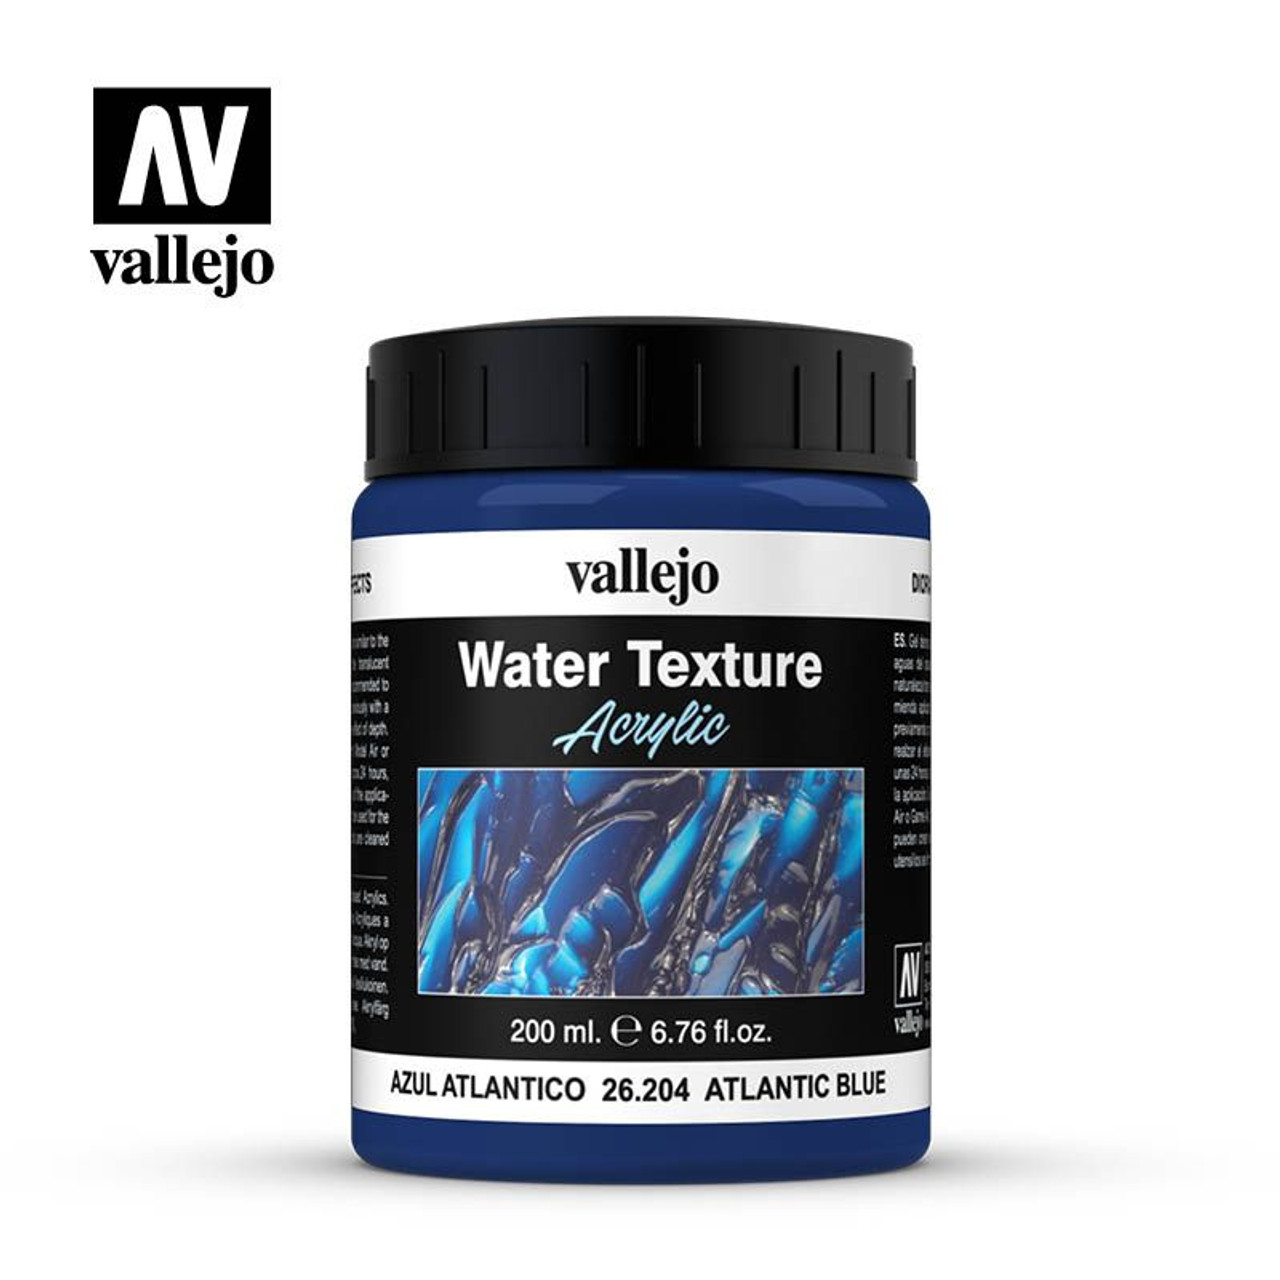
Quite a puzzle to figure out how to do the whirlpool. I agree that clay inside the bottle is probably the easiest way, but also agree that resin tends to look a lot better. I was originally going to say maybe try to create the form of the whirlpool using clay then cover it with resin or a similar looking material, but then from the sides of the bottle where the clay was pressed against the glass it will still look like clay. There are other products out there with a thicker consistency than resin which would avoid the issue of pouring resin and it pooling and leveling itself out. Below is what I used in my Hannah SIB build (sorry for the picture size). You can build it into textures, and it looks "wet" when it dries. The downside is that it was a bit of a pain to scoop amounts out and then put it in the bottle without getting the product on the sides of the bottle. It also seemed to take a while to dry in the bottle. I tried using a fan to get air circulated into the bottle but it's hard to push air through a hole the size of a quarter without an exit hole. I got a little impatient so tried heating the bottle in the oven at low temperature, but even at like 225, it started to pop and I had to clean off the residue on the sides of the bottle. So maybe less heat would be better, or just let it dry on its own. There are similar products out there from other manufacturers in the model diorama world.

- 185 replies
-
- 7
-
-
- Flying Dutchman
- Black pearl
- (and 2 more)
-
Wow, nicely done!! I have the 1/48 version of the PBY-5A and am similarly worried about where to put it if I build it.