Landlubber Mike
-
Posts
4,077 -
Joined
-
Last visited
Content Type
Profiles
Forums
Gallery
Events
Everything posted by Landlubber Mike
-
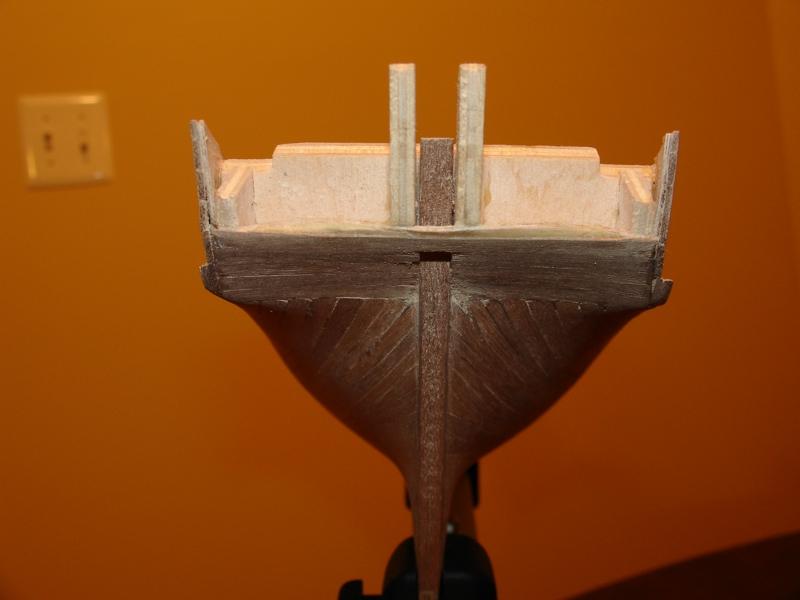
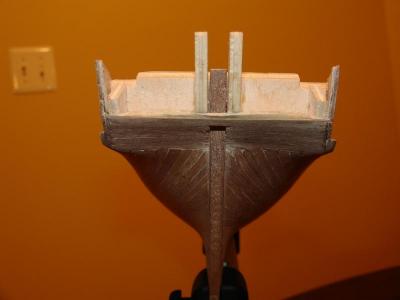
 Looks great! Get it nice and smooth and fill in any low spots. Second planking goes on much easier.
 -
Looking great Gunslinger. Cannons came out nicely blackened. What blackening solution did you use?
-
Thanks very much Frank Everyone is good and healthy here, albeit sleep deprived. I'm hoping to get my Badger done by the end of the year so that I can start on my Pegasus. My standing rigging is about done, and I'm up to the furled sails part now. Your Supply pictures are going to come in really handy, just hope mine come out half as nice as yours.
-
Hey Frank, glad to hear your surgery went well. Really cool video - your Supply looks amazing. Sorry I haven't had time to check in on you lately - my wife had the twins three weeks ago, and things have been a little crazy. Hope you're feeling better my friend.
-
Hey Frank, Badger has been on hold the past month or so while I have been getting things ready around here for the girls to arrive. My wife has been on bedrest the past couple of months, so I've had little time to work on the ship. She's due any day now, but I have a feeling that the end of 2013 will be when I finally finish her. Hope all is well my friend
-
Wow, looks amazing Frank! That's exactly how I was picturing my Badger turning out, and you've given me a lot to strive for. Really nice job!
-
Wow, looks amazing Frank! That's exactly how I was picturing my Badger turning out, and you've given me a lot to strive for. Really nice job!
-
Looking great Frank! I'm going to go with the Hubert way too for my sails. Have you figured out how to do the jibs? I have been trying to figure out whether I need to run a separate line for the jibs, as I don't think that they were attached to the stays.
-
My kit came with a black cardboard sheet, similar to standard 8 1/2" x 11" paper (might be different size in Europe). I thought it was the back cover to the instruction manual.
-
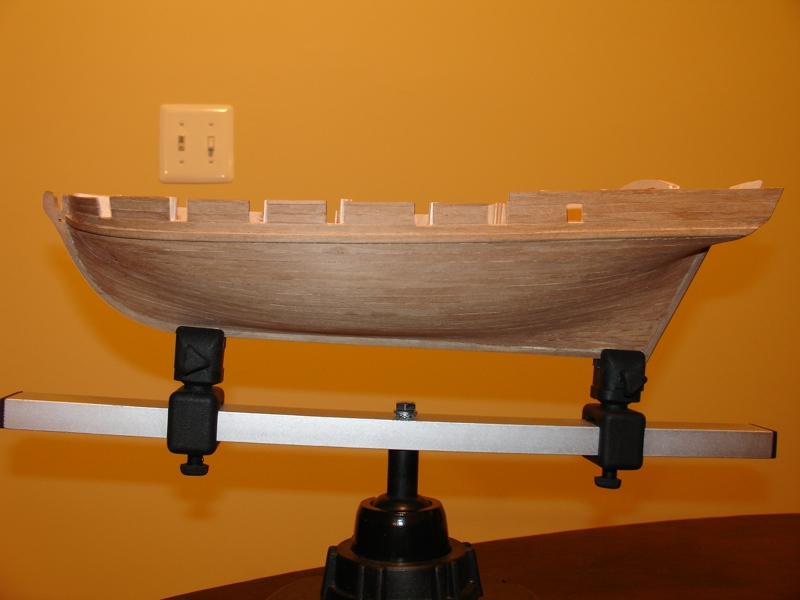
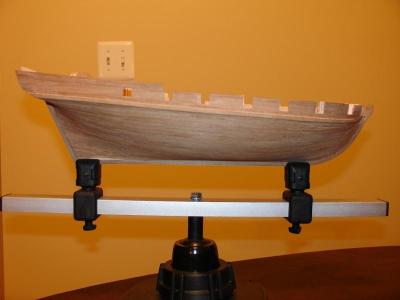
Looks great Gunslinger, nice job. I highly recommend the Amati Keel Klamper for the initial stages of the build. Once planked, I moved to using the kit's stand. Once I finished with most of the hull and deck items, I set the hull on its permanent display base. Looking back, it might have been easier to work on the deck items with the hull on its permanent display base, but the kit stand was fine. I bought some inexpensive felt from a hobby store that I glued onto the stand so as to not scuff my model's hull when using the stand.
-
Thanks for passing that info along. After taking another look at the Chapelle book, the rigging is definitely different from the kit. I'm not going to sweat it though
-
There are a couple of pages on the Badger in Chapelle's "Search for Speed Under Sail." Aside from that, I haven't found much. Interestingly, the rigging pattern for the standing rigging in that book looks a little different from the Caldercraft kit (the book also shows a small figurehead). It could be that there were different Badgers at that time.
-
Thanks very much Gunslinger. I'm sure you'll be able to do much better than me on this. The kit is nice with lots of details, but the wood strips are not very good. The walnut in particular is prone to splitting, which can be very frustrating. Another recommendation I would make is to think ahead and not necessarily do things in the order of the manual. For example, i would do all of the rails at once, before starting the cannons. I think the instructions have you do some rails before the cannons, and some after, which just led to me continually breaking off the cannons. The instructions also have you completing the ships boats at the very end. I dont think it would be all that easy to install them in the middle of the ship when all the rigging is up, so I installed mine before the masts were set. For the sails, I don't think there are pre-made sails out there for this kit. I'm building them from scratch, either using sail cloth from Model Expo or silkspan (leaning towards the ME sail cloth). It's taking me a lot of research though to figure out whether I need to run extra lines, etc., especially for the jibs.
- 62 replies
-
- 1
-

-
- badger
- caldercraft
- (and 1 more)
-
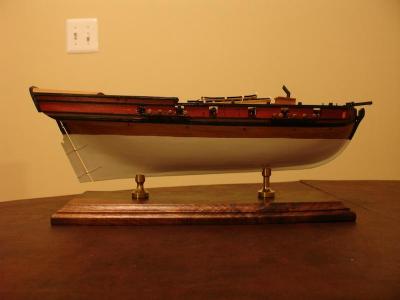
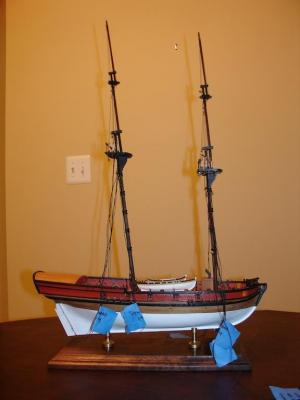
The Caldercraft Badger is my first kit as well, and it's been a fun and challenging kit to work on with plenty of opportunities for adding unique touches. The link to my log is in my signature - unfortunately, I don't have the time to recreate the 20+ pages from my original log, but am happy to answer any questions. I'm just about done with the standing rigging, and from there will move to adding furled sails to the yards and the running rigging. I ended up using tung oil for most of the natural walnut areas, and used the Caldercraft Admiralty paints and stains for the rest. Painting is nice because it helps erase mistakes I'm less of a fan of it, and will try to avoid using paint to the extent possible on my next build (instead, will use specialty woods and stains). The black and red ochre look fine to me, but I think the "dull" white paint is a bit too garish for my tastes. Good luck!
-
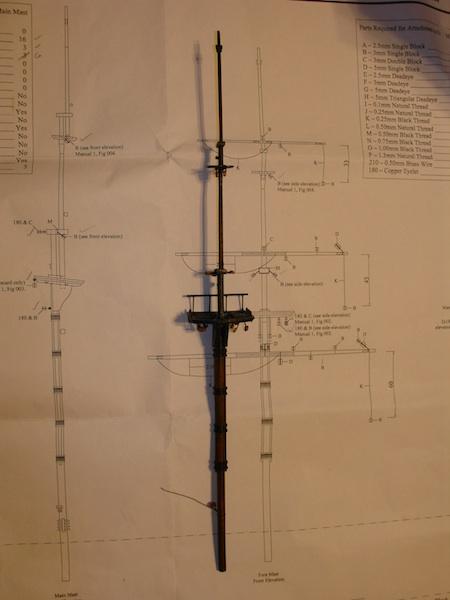
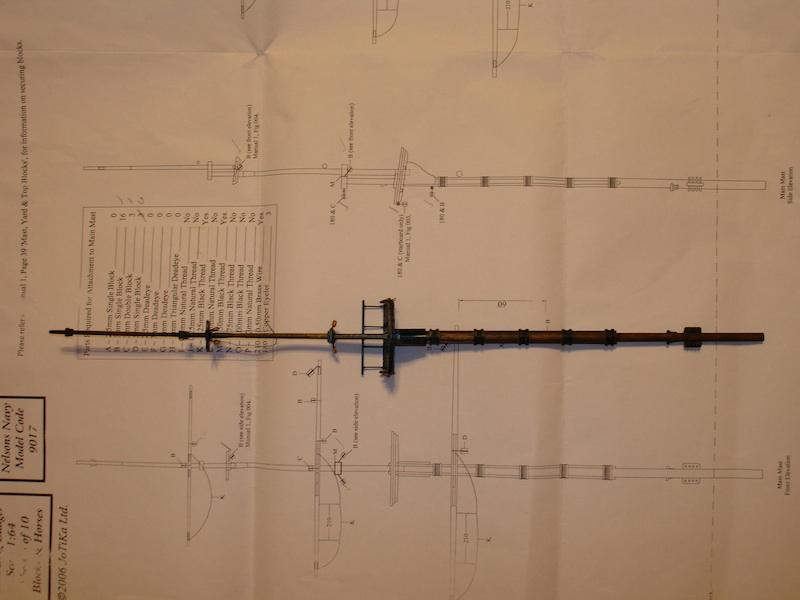
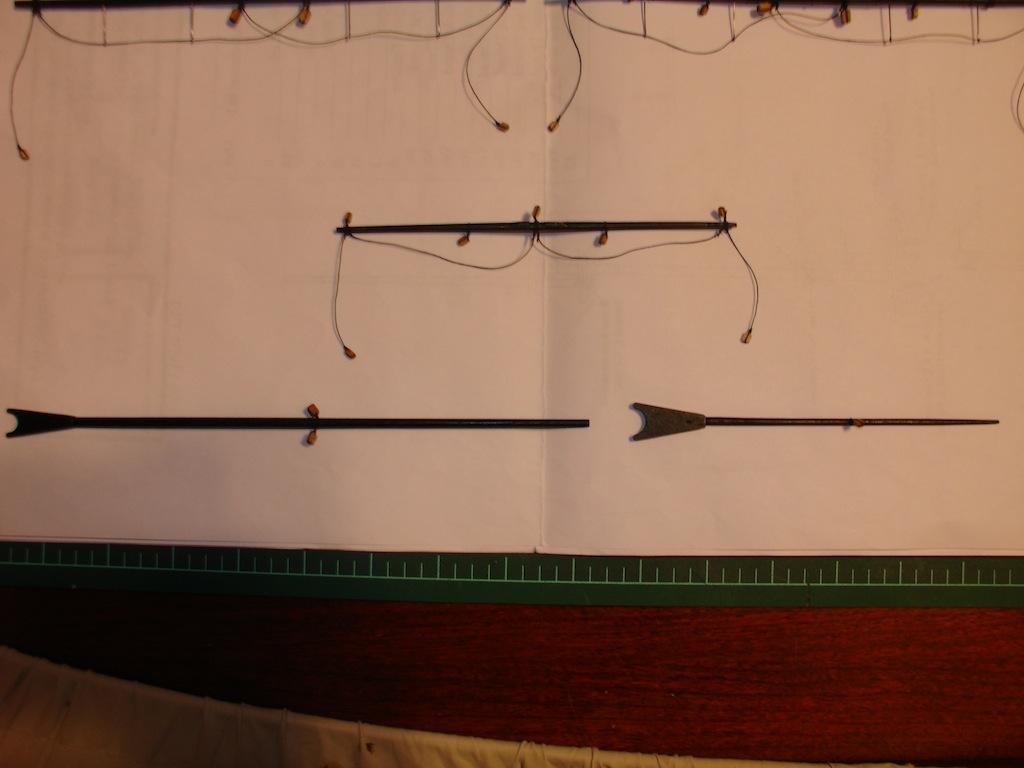
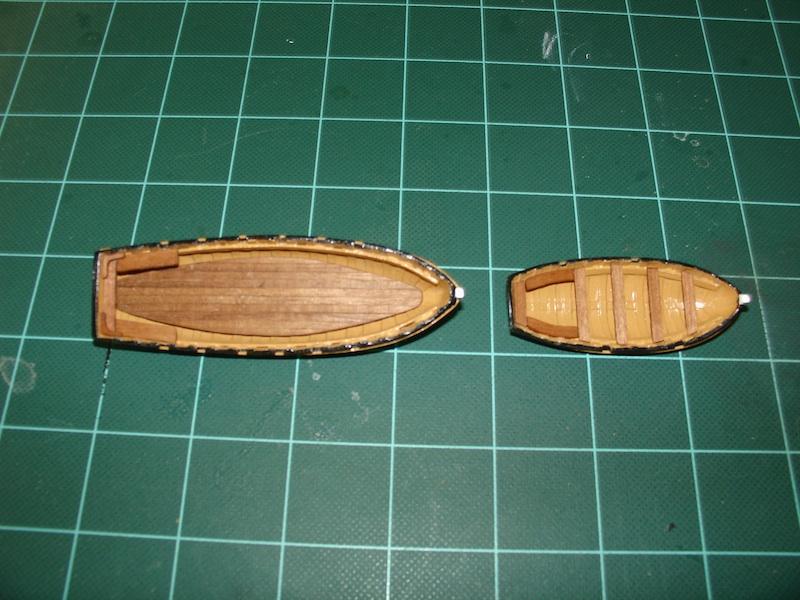
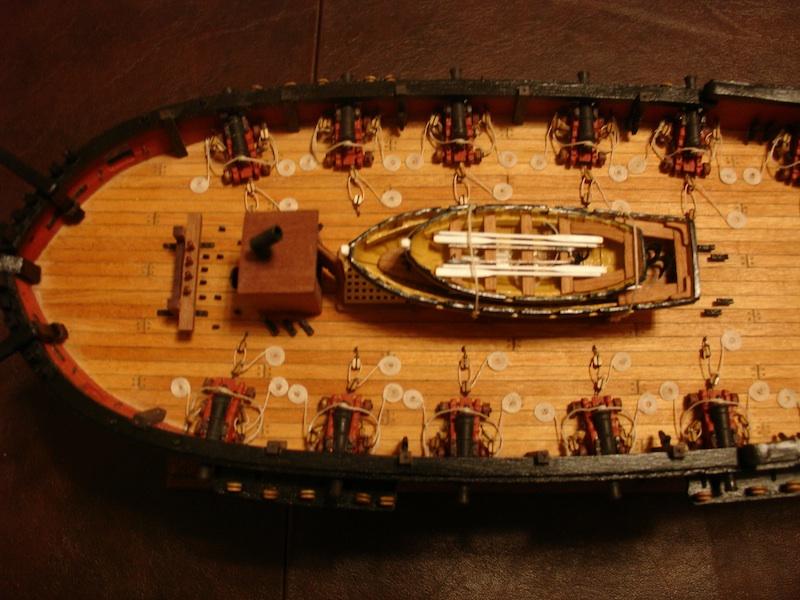
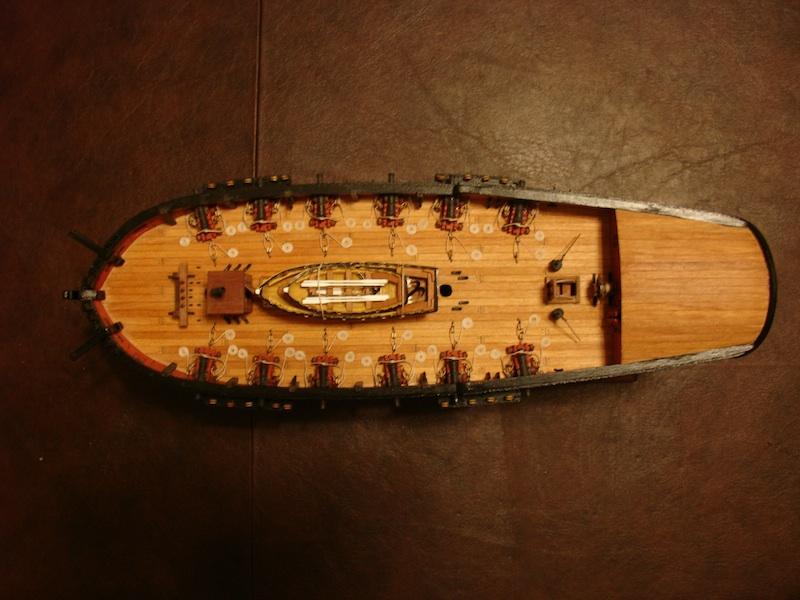
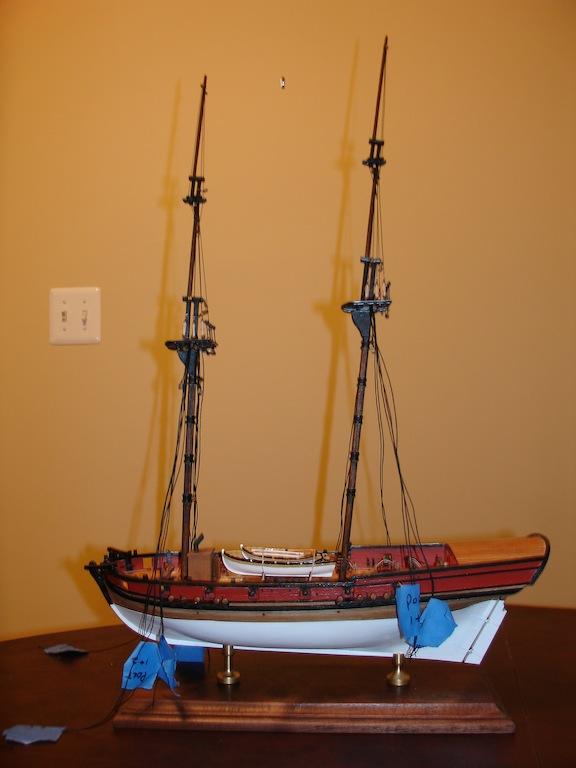
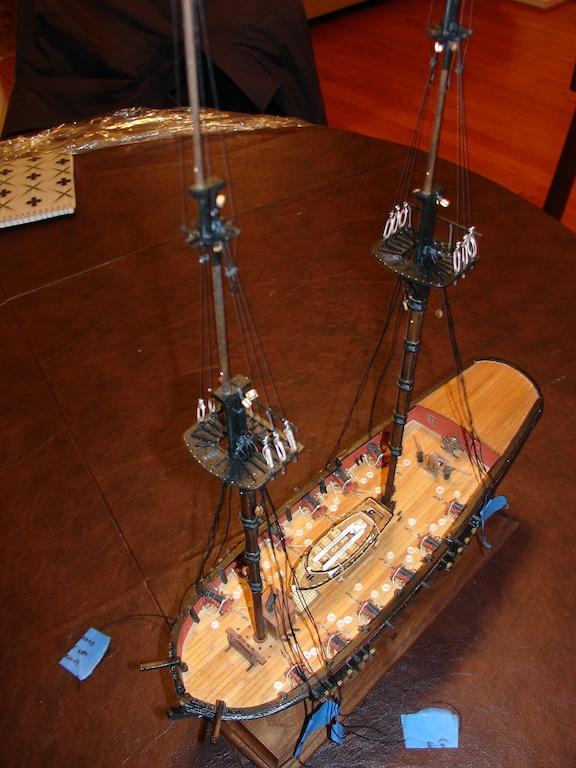
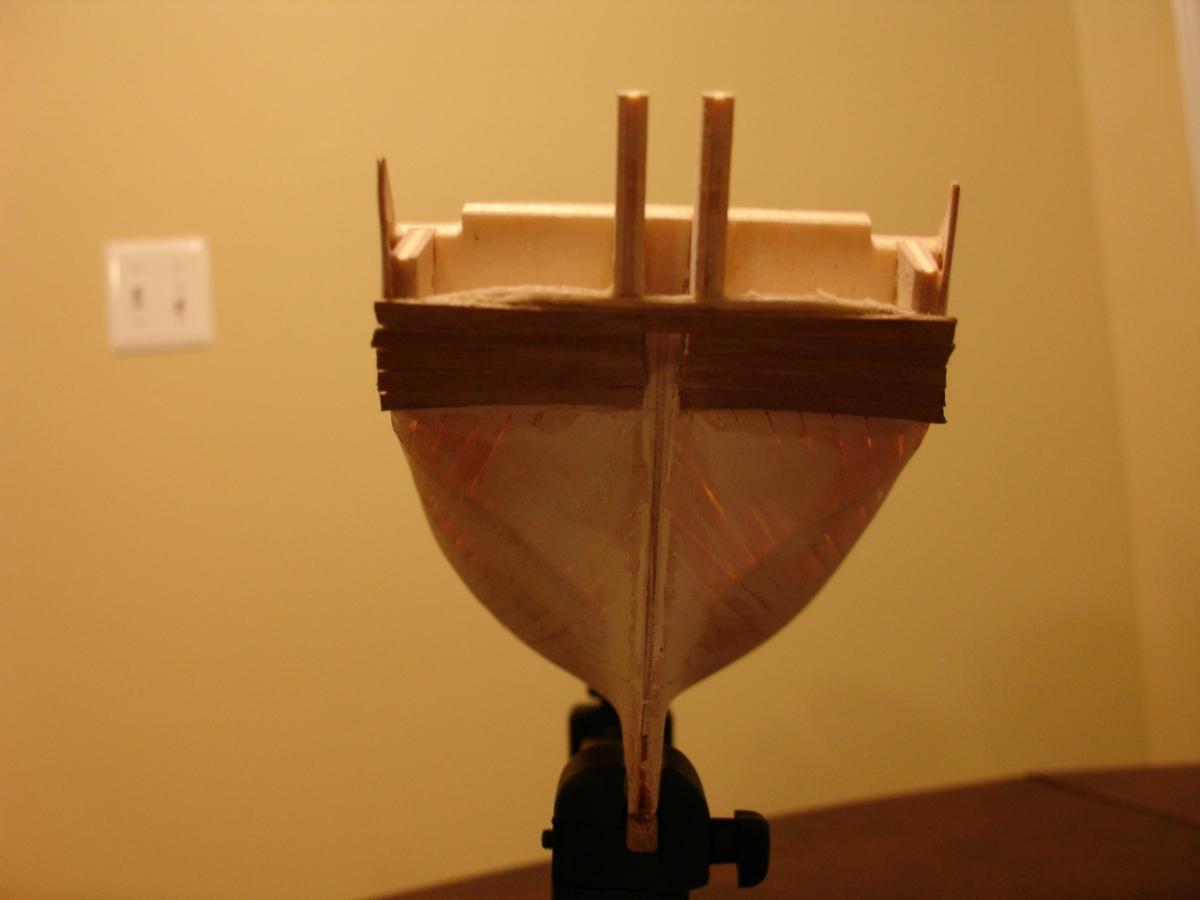
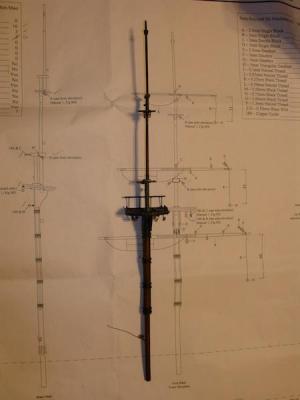
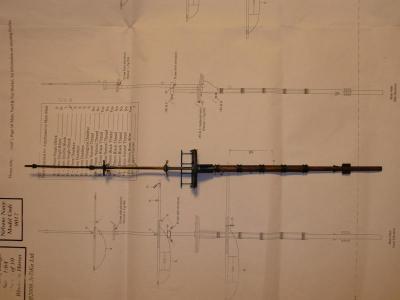
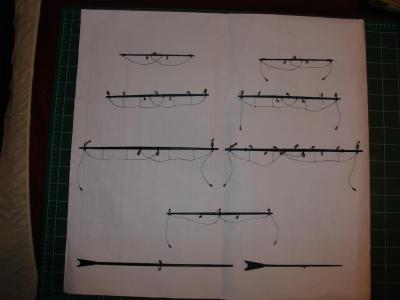
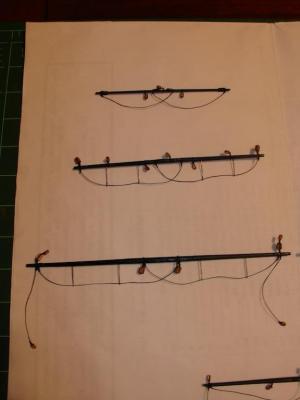
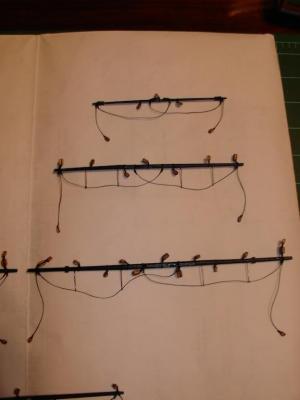
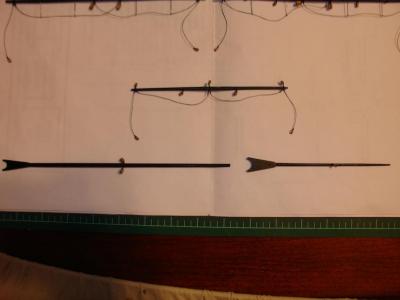
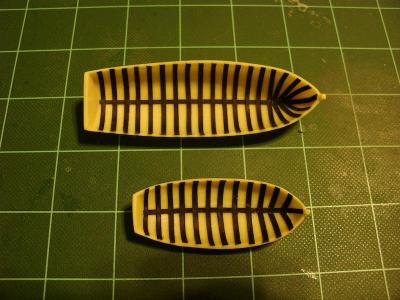
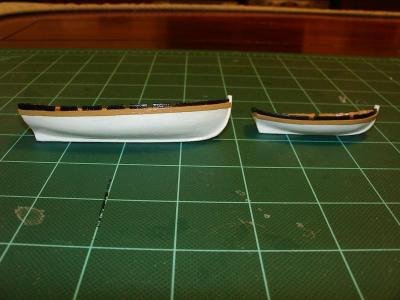
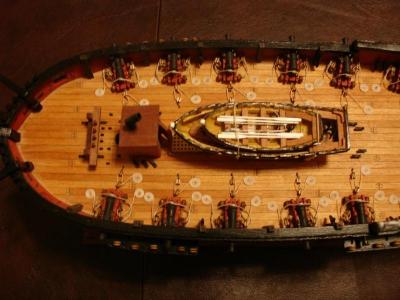
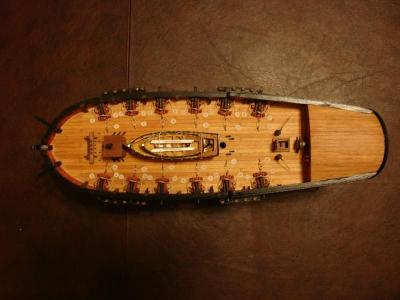
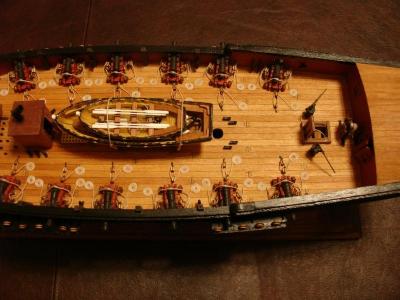
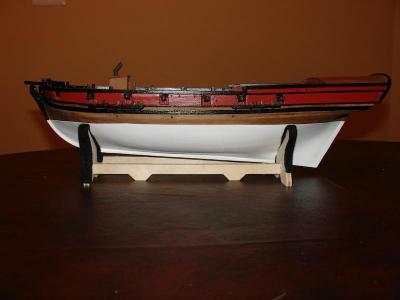
Spars and bowspirit: Launches: Launches installed: Masts installed:


- 153 replies
-
- 6
-
-
- badger
- caldercraft
- (and 1 more)
-
Looking great Augie!
-
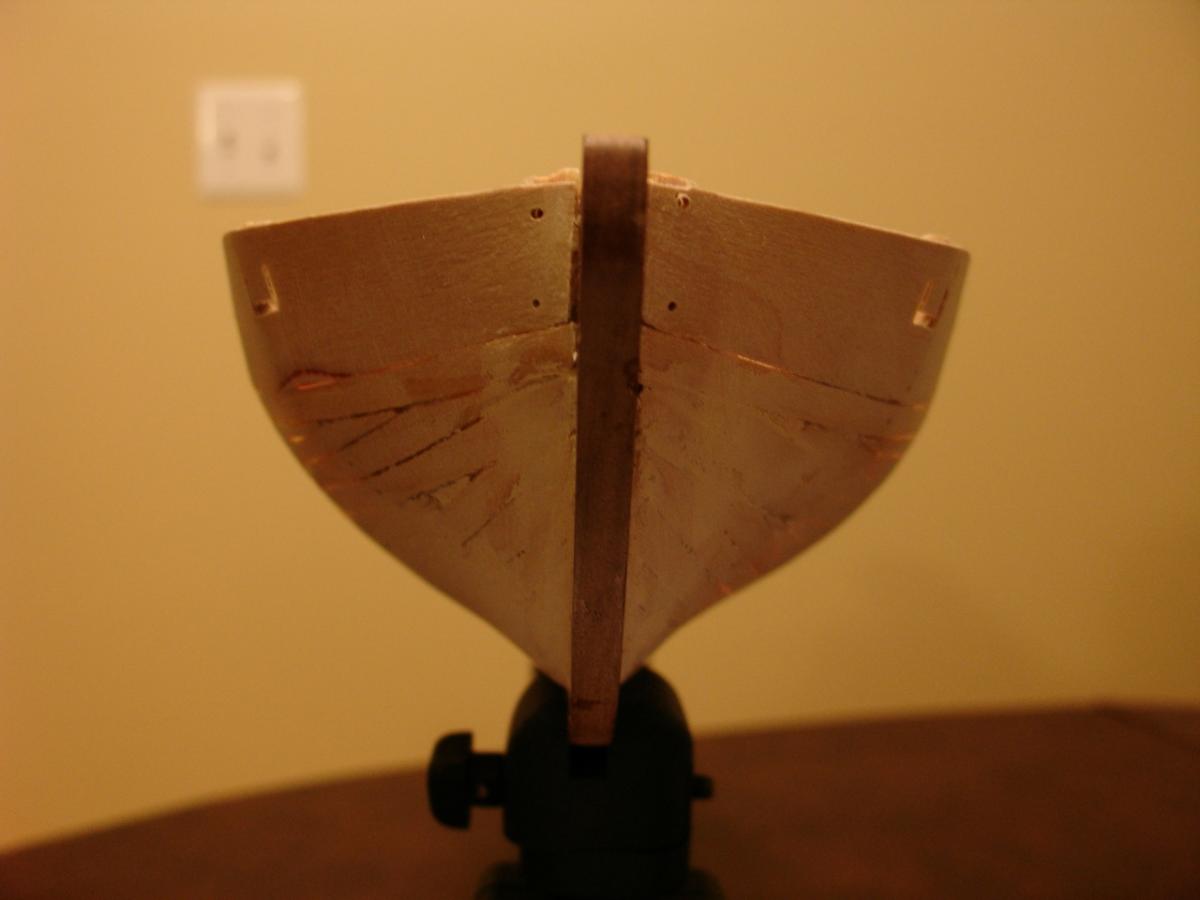
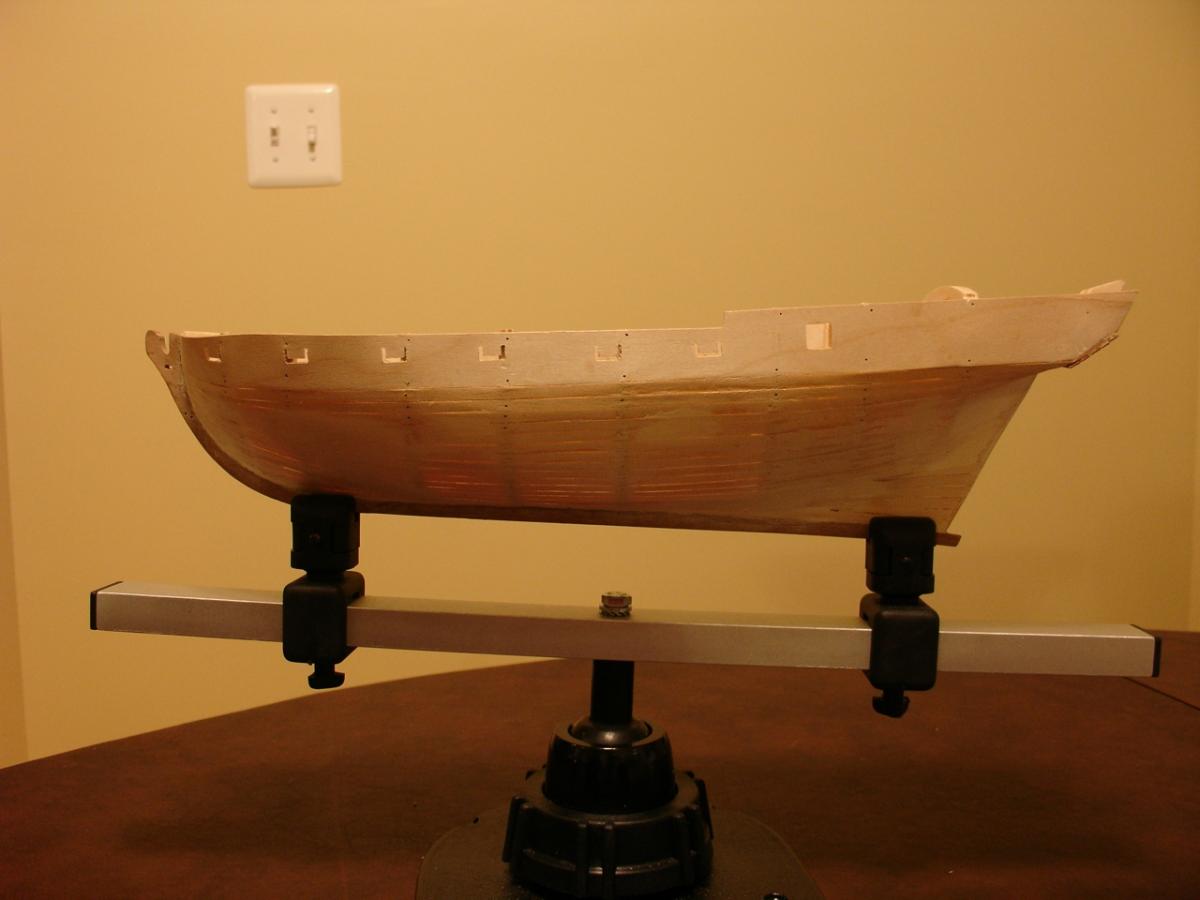
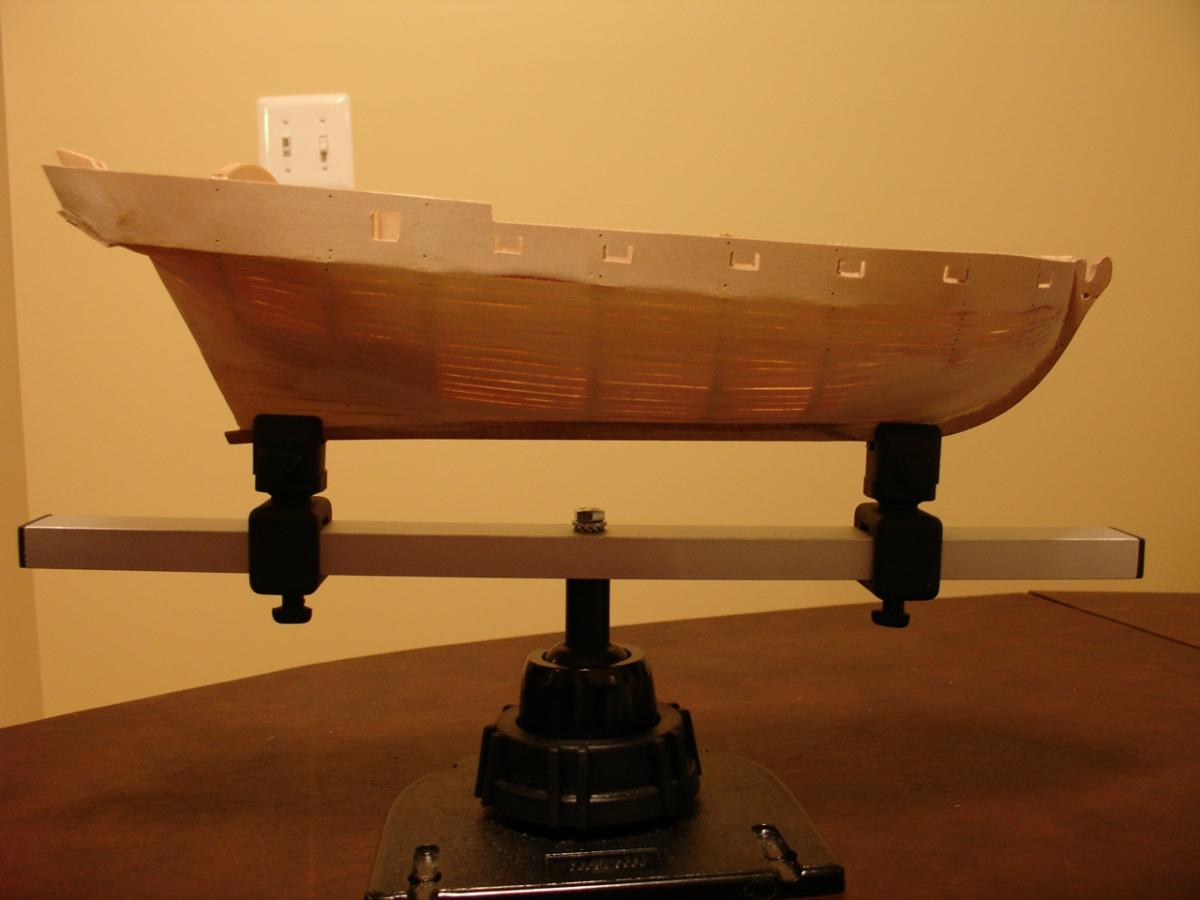
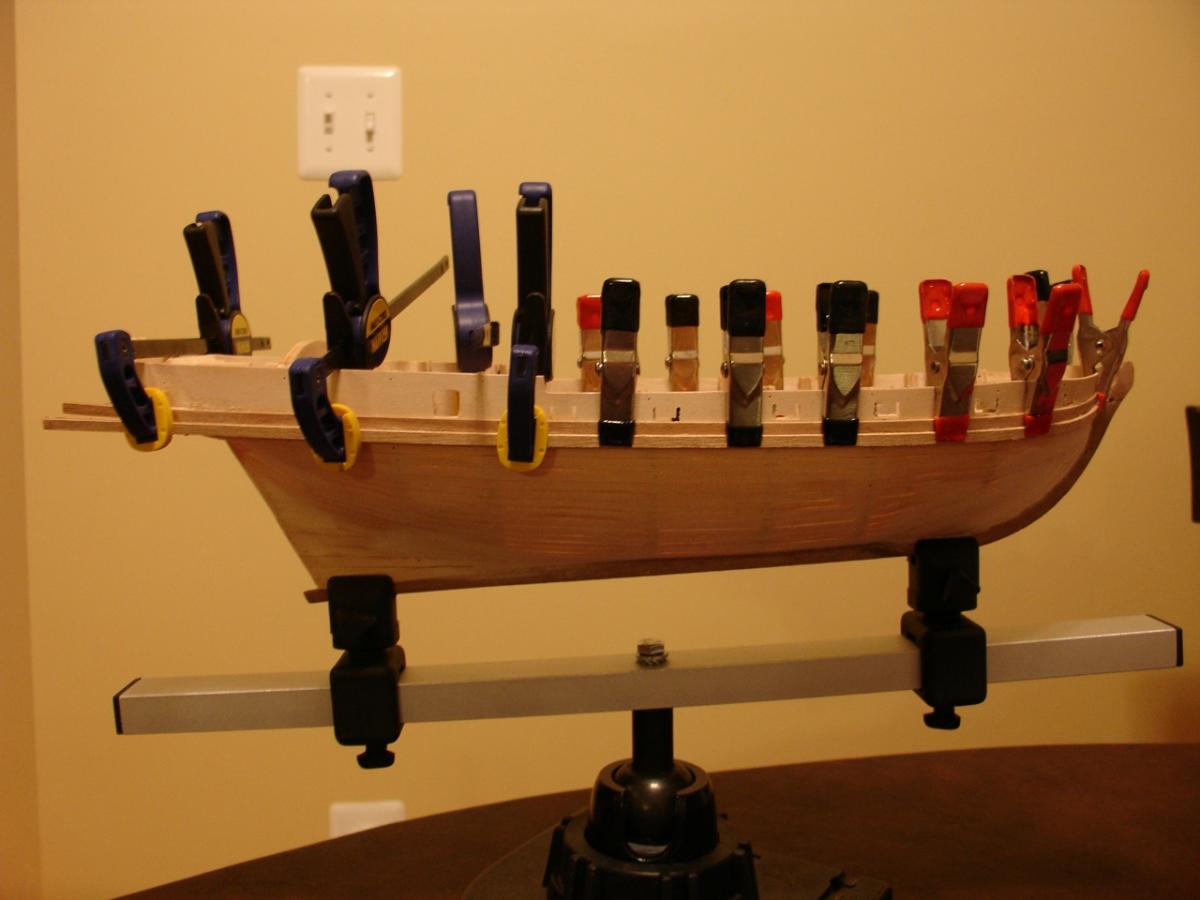
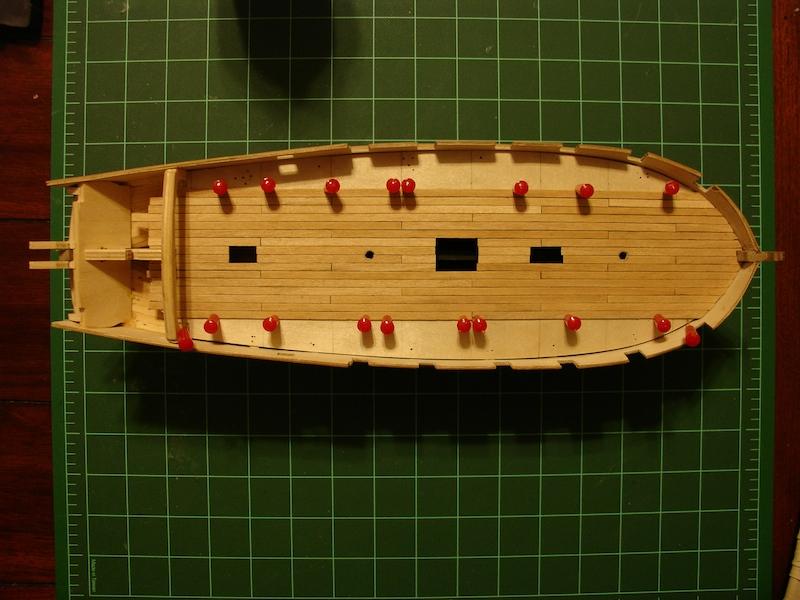
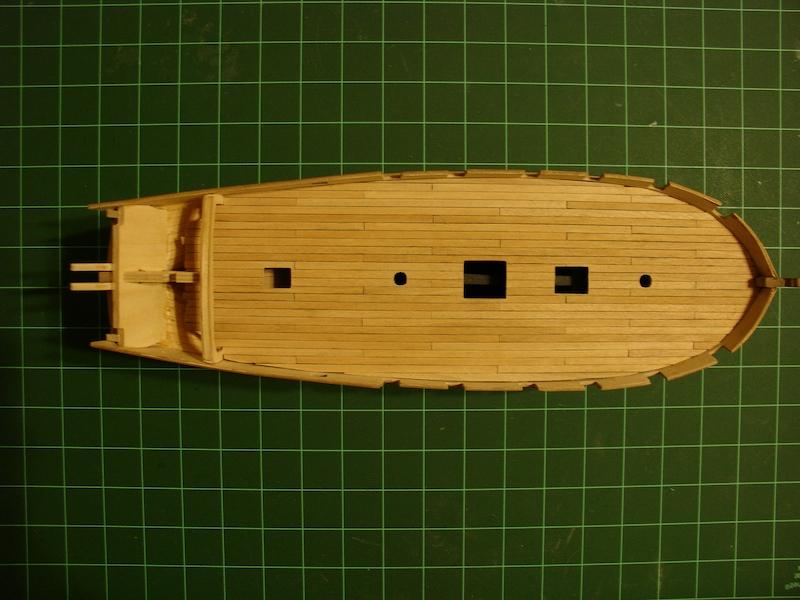
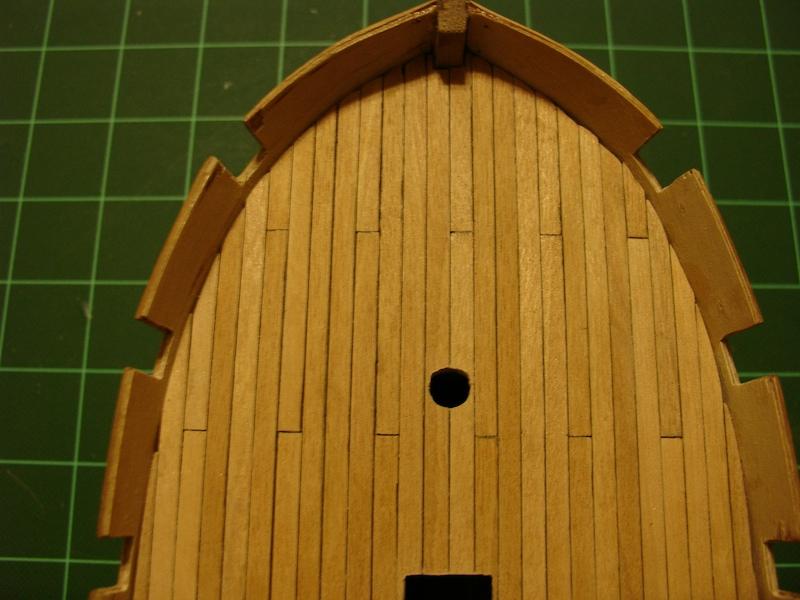
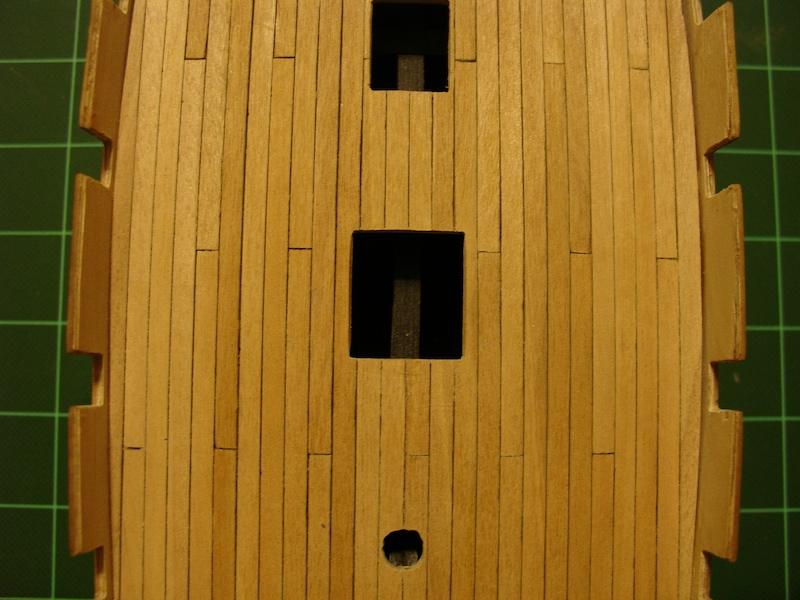
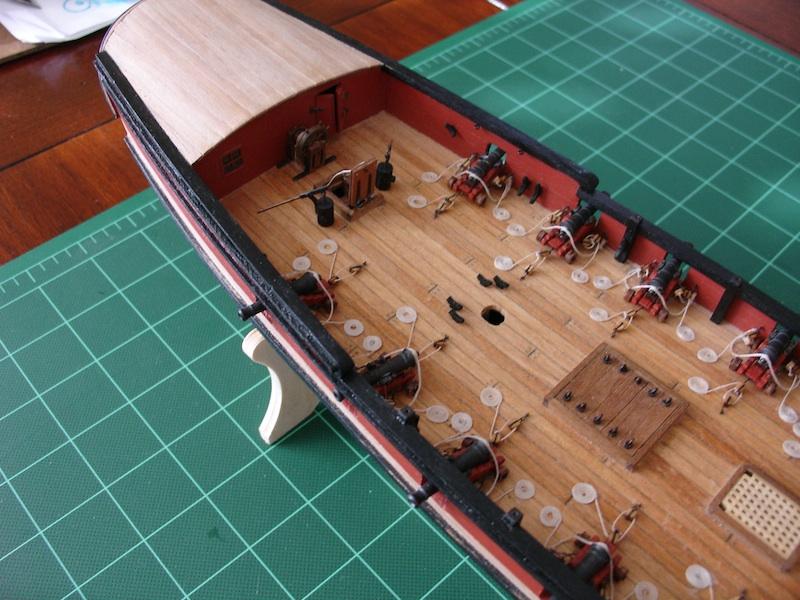
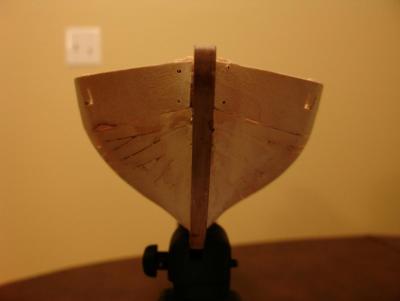
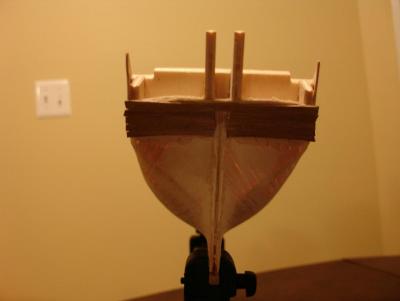
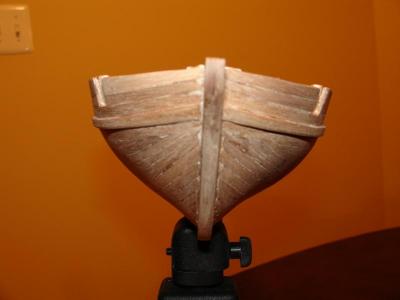
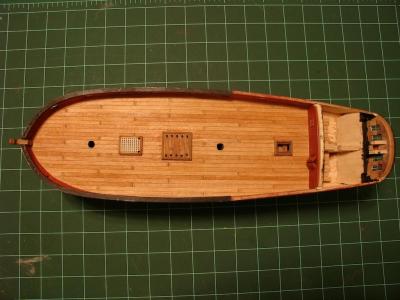
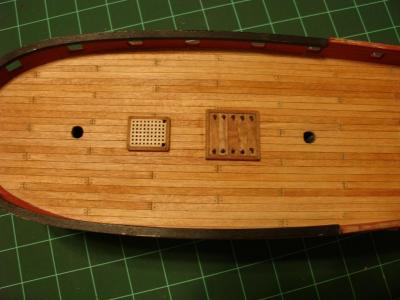
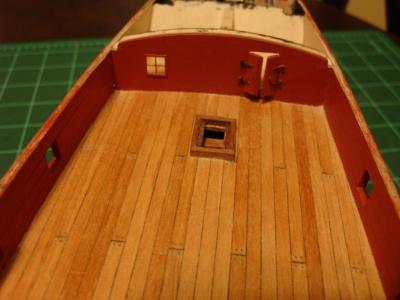
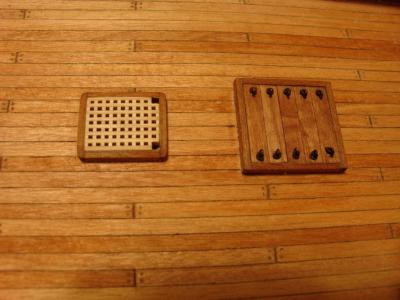
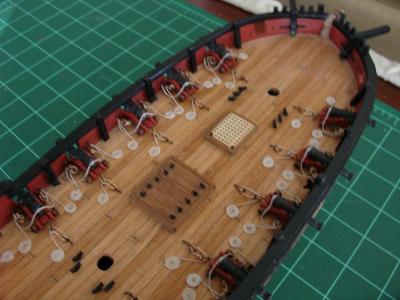
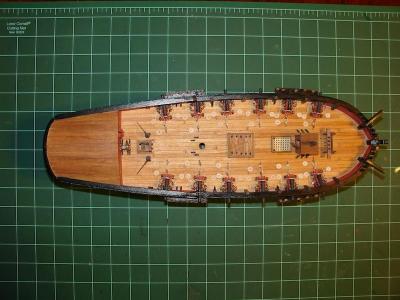
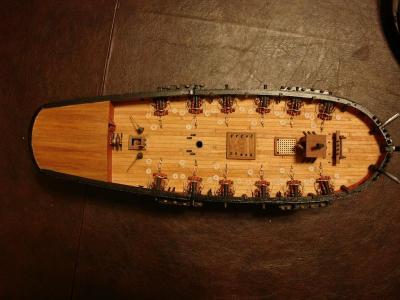
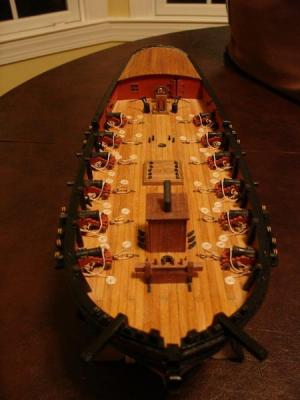
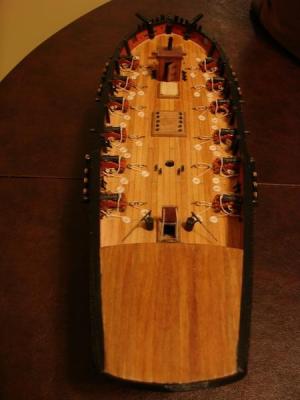
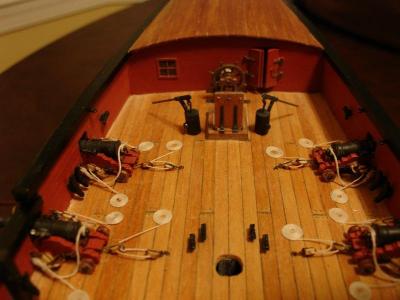
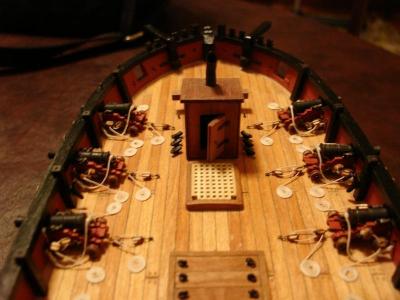
First planking: Second planking: Deck Planking: Post-planking details: Cannons Rigged: Additional details on hull and deck:


- 153 replies
-
- 8
-
-
- badger
- caldercraft
- (and 1 more)
-
Hi Frank, looking great. The furled sail came out nice - I'm going to try and finish my ratlines tonight, and then tackle the furled sails on my Badger this weekend. Your pictures give me inspiration Hope you're doing well my friend.
-
A big shame about losing all the build logs. Can't do much but start a new log and help rebuild the community This new website seems to have lots of cool features though. I have been working on my Badger, my first wooden ship model, since November 2008. It's been a lot of off and on time, with the birth of my daughter, various honey-dos from the Admiral and other hobbies. I'm on the home stretch, with the standing rigging almost completed. Next up will be adding furled sails to the yards, and finish up with the running rigging. Thanks for reading!