HOLIDAY DONATION DRIVE - SUPPORT MSW - DO YOUR PART TO KEEP THIS GREAT FORUM GOING! (Only 13 donations so far - C'mon guys!)
×

Peta_V
-
Posts
351 -
Joined
-
Last visited
Content Type
Profiles
Forums
Gallery
Events
Everything posted by Peta_V
-
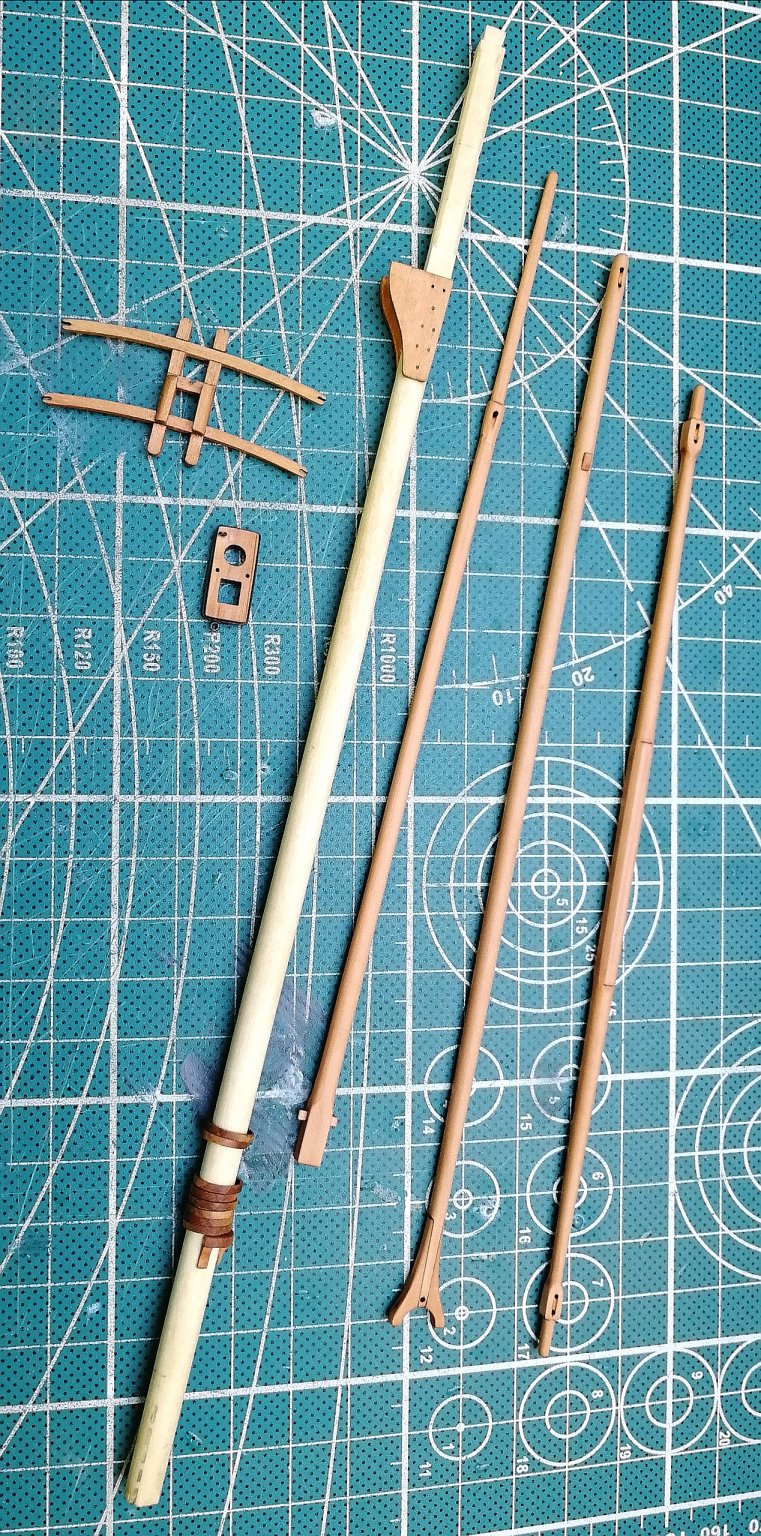
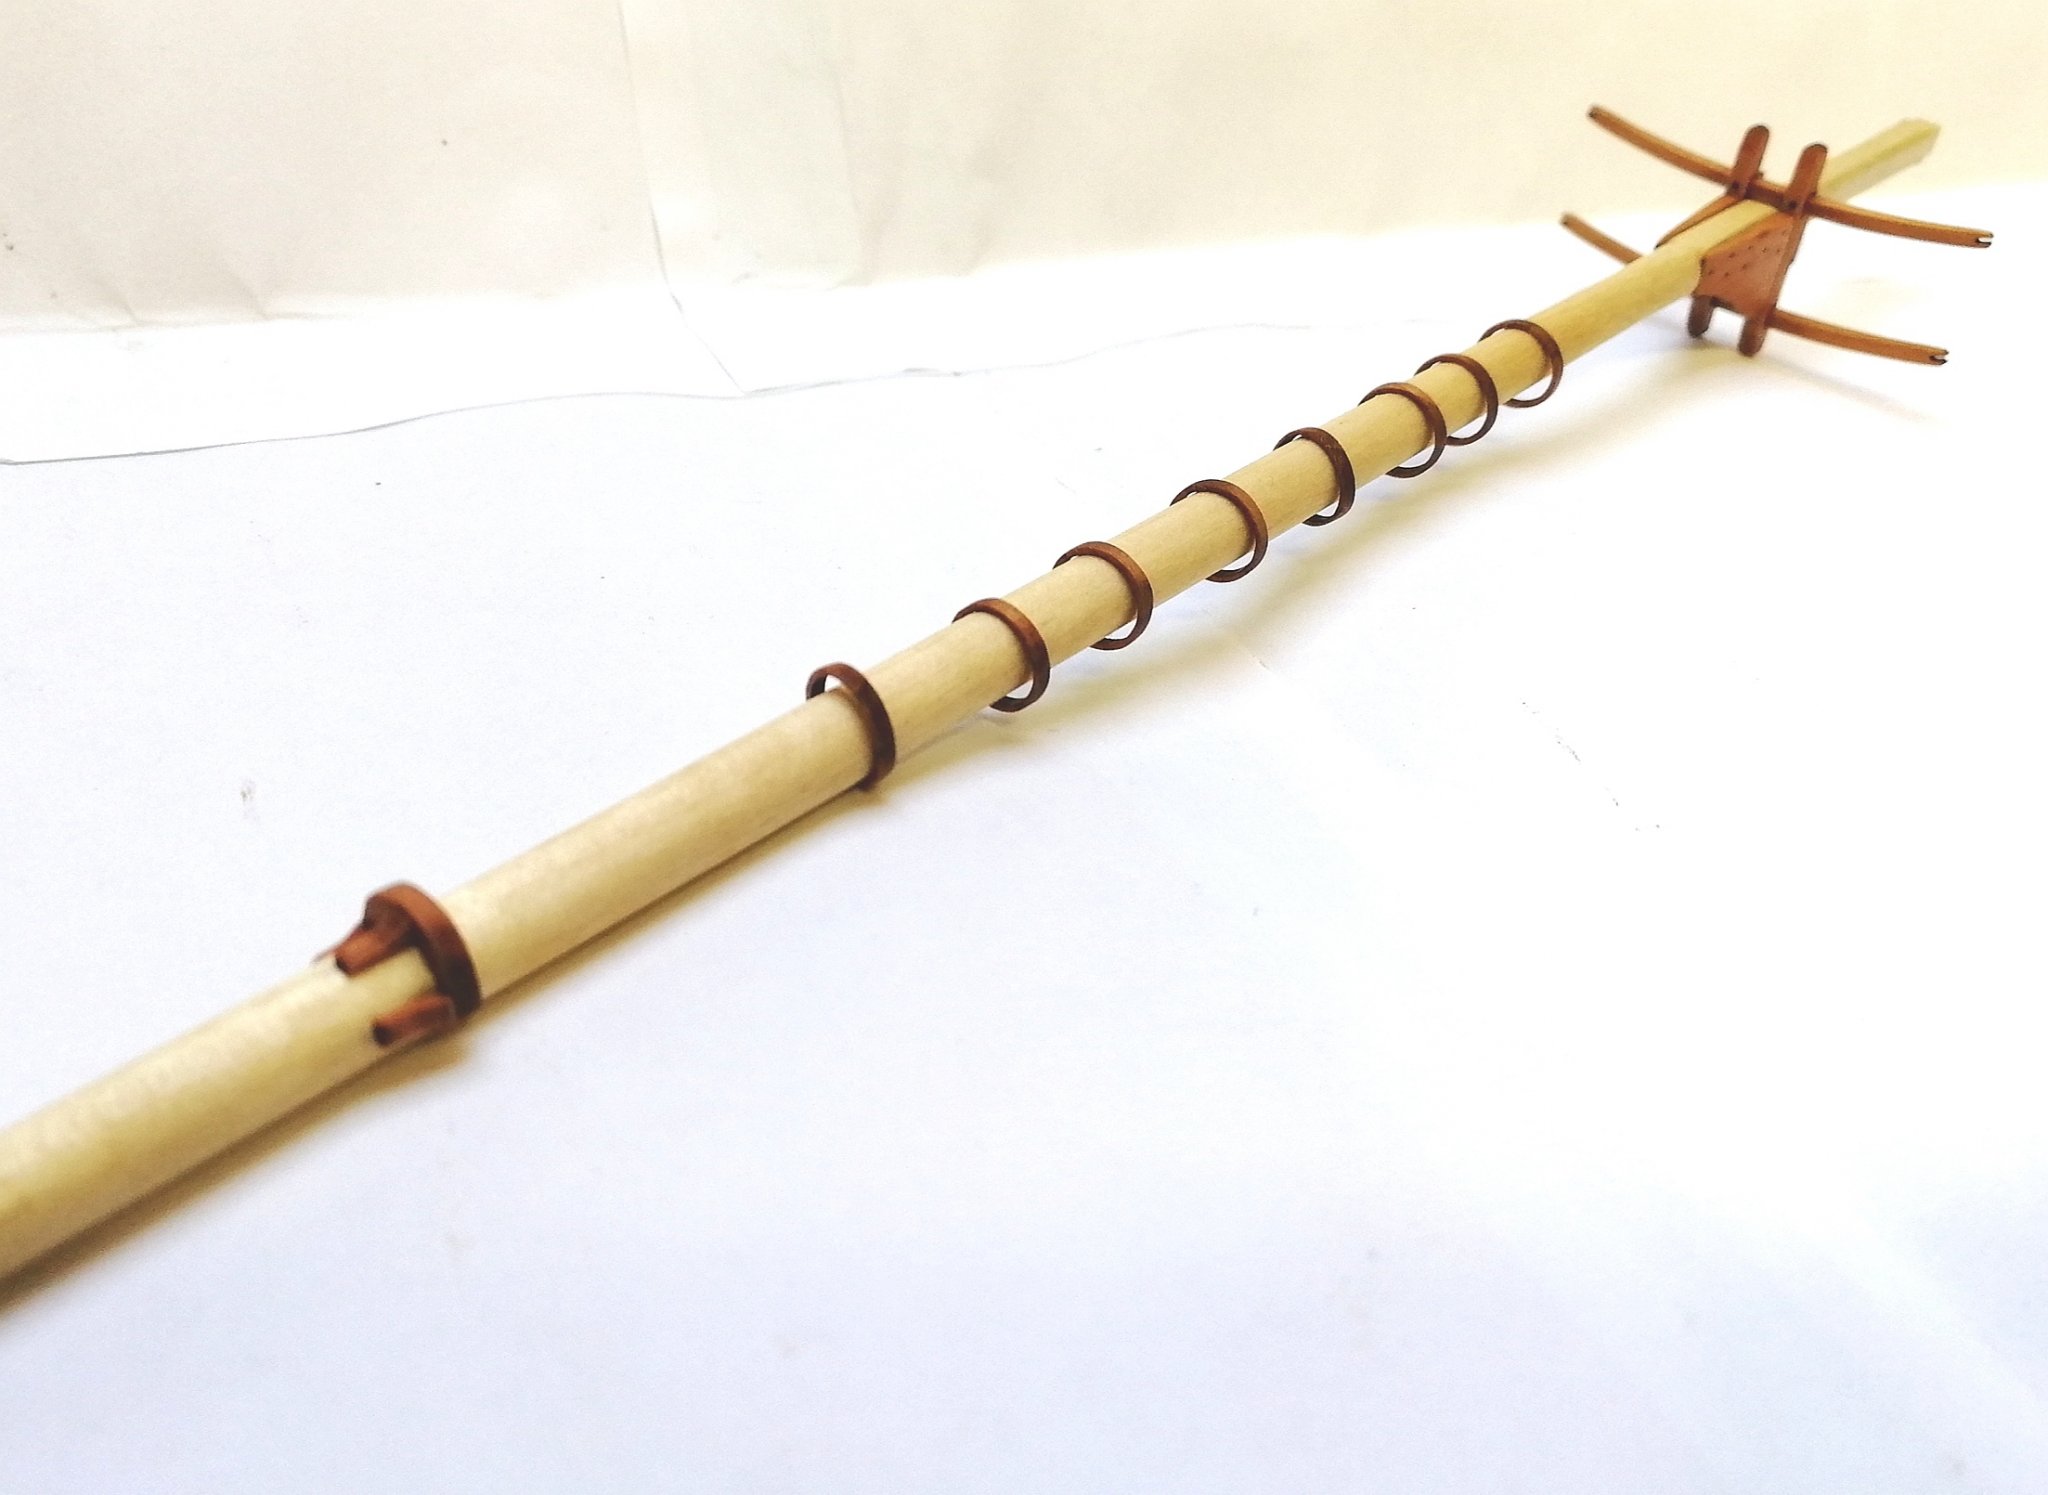
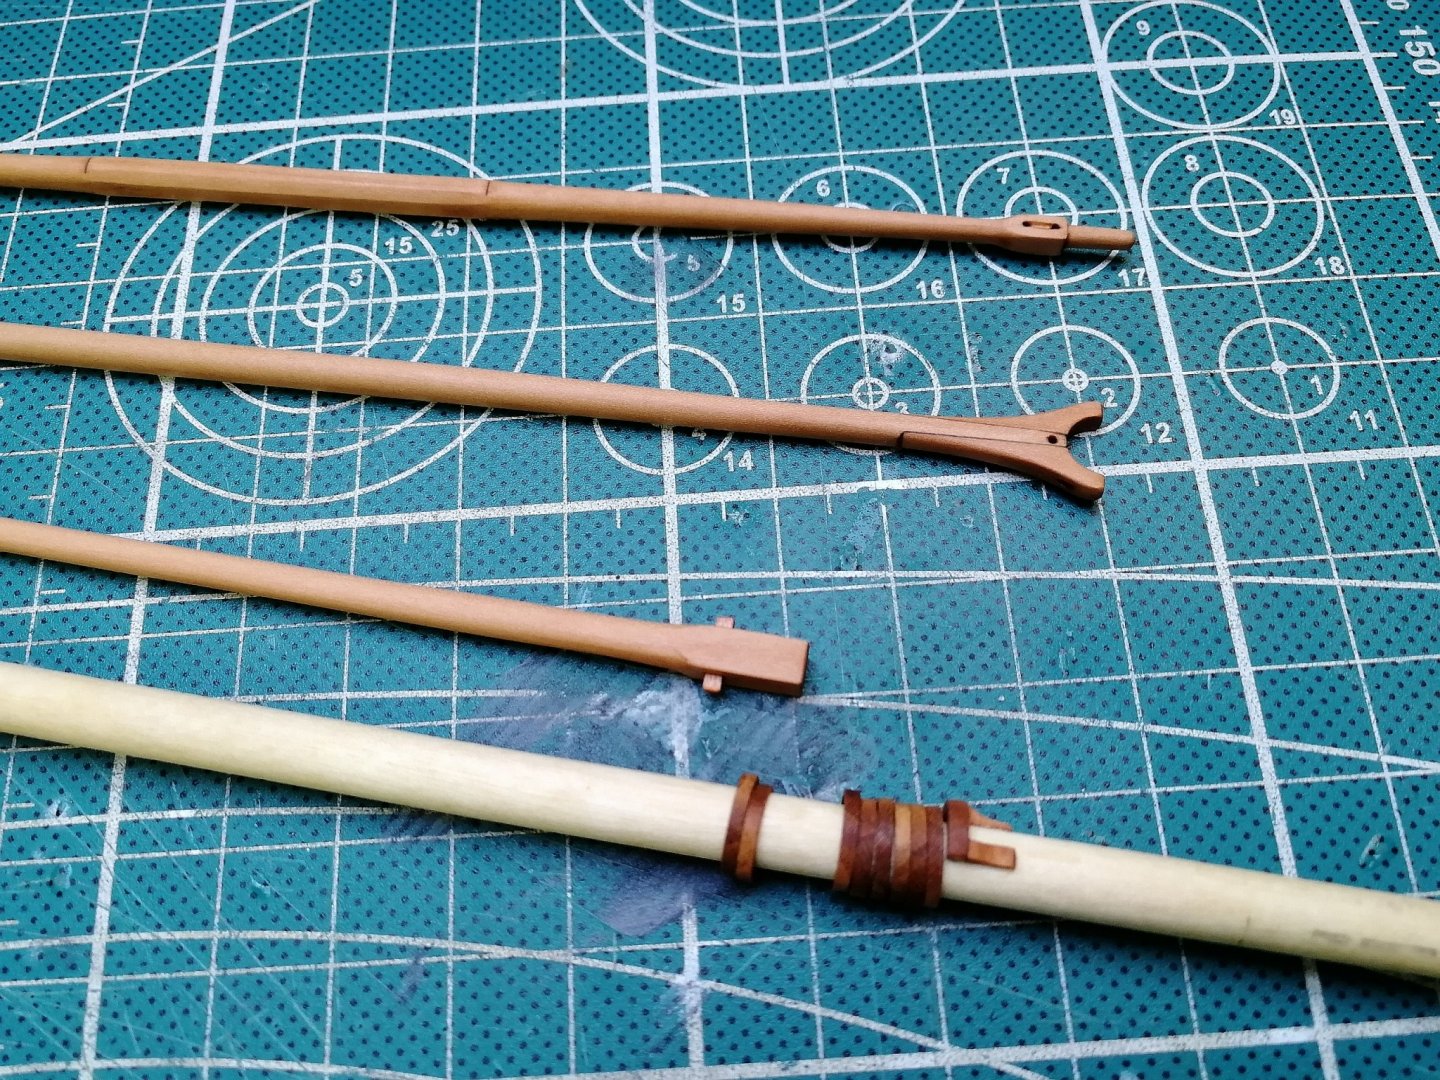
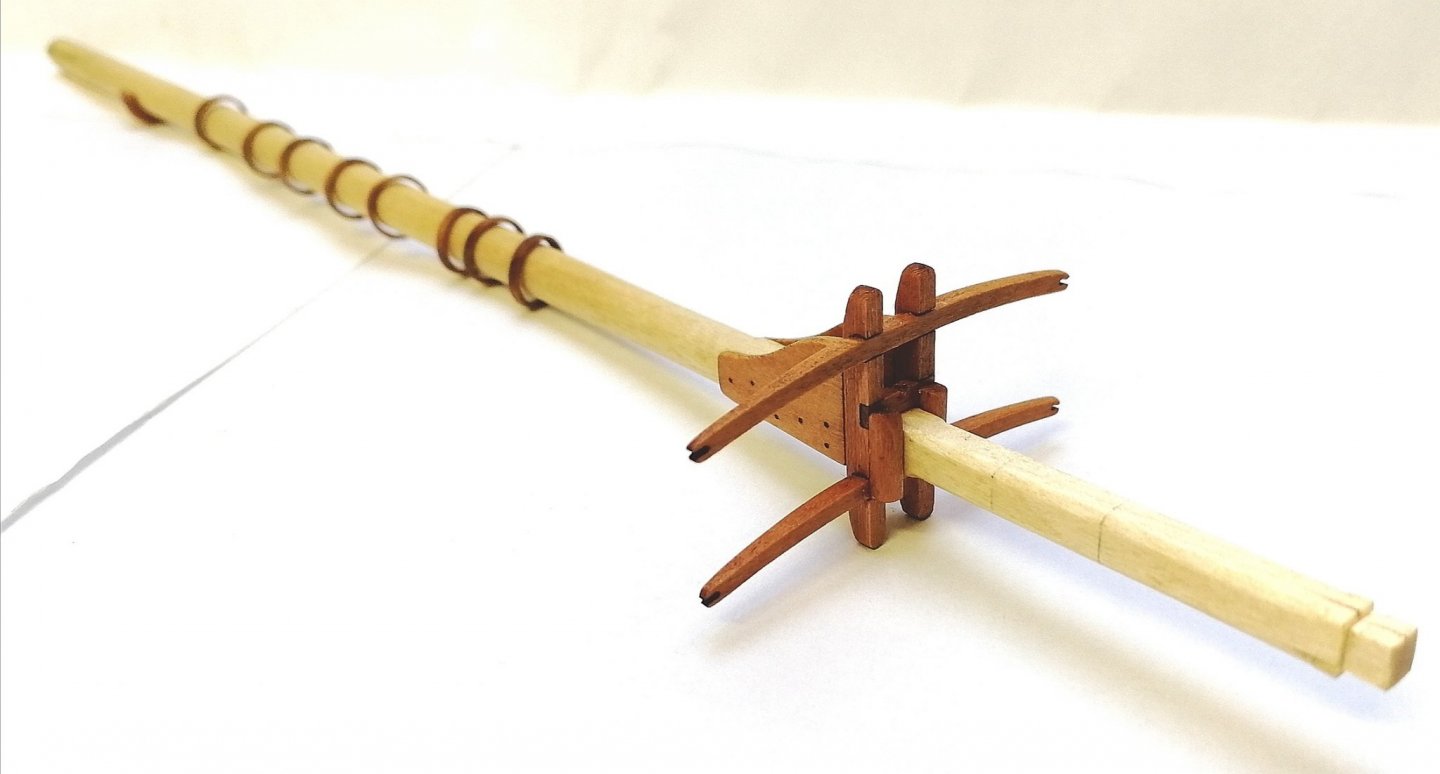
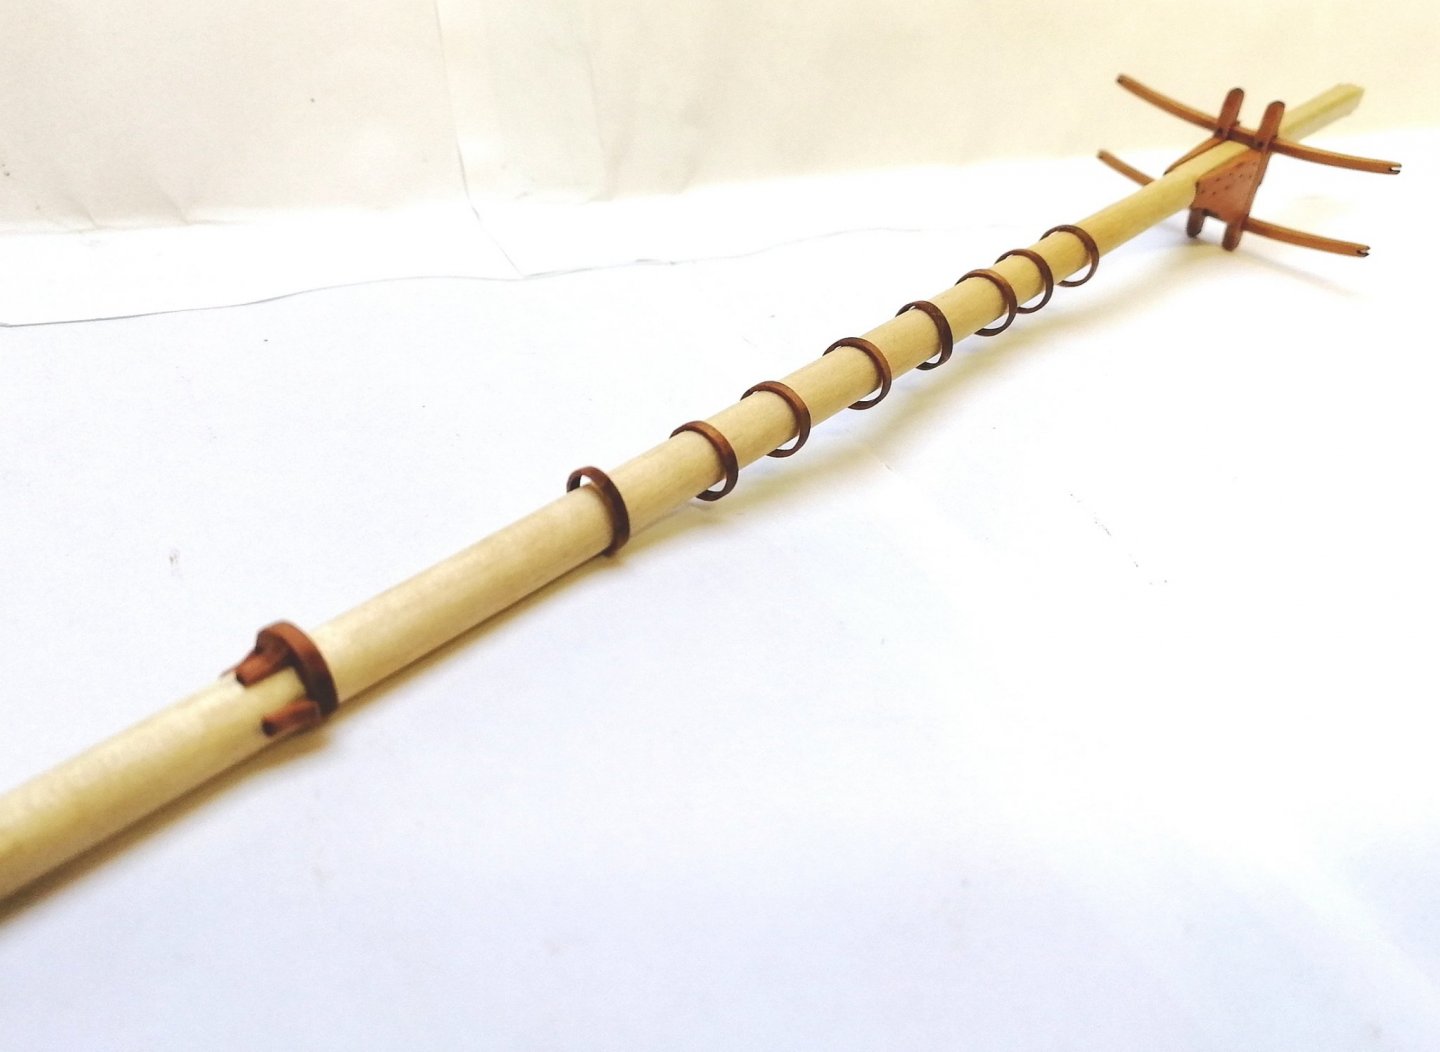
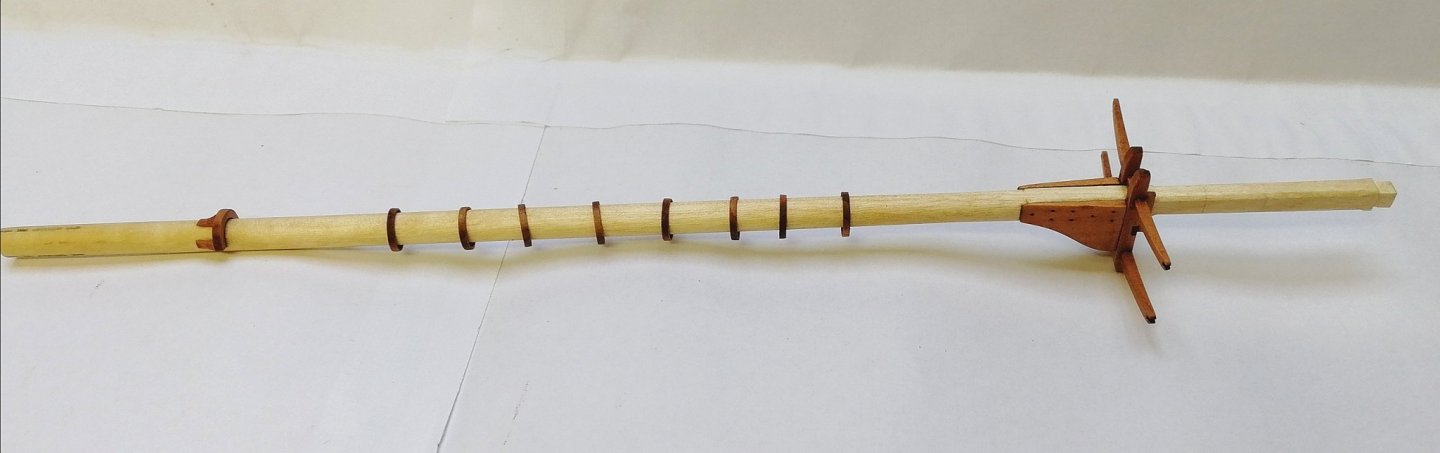
Not much new to show. I'm preparing yards. Lot of sanding and lot of mess.


- 315 replies
-
- 13
-

-
- master korabel
- avos
- (and 1 more)
-
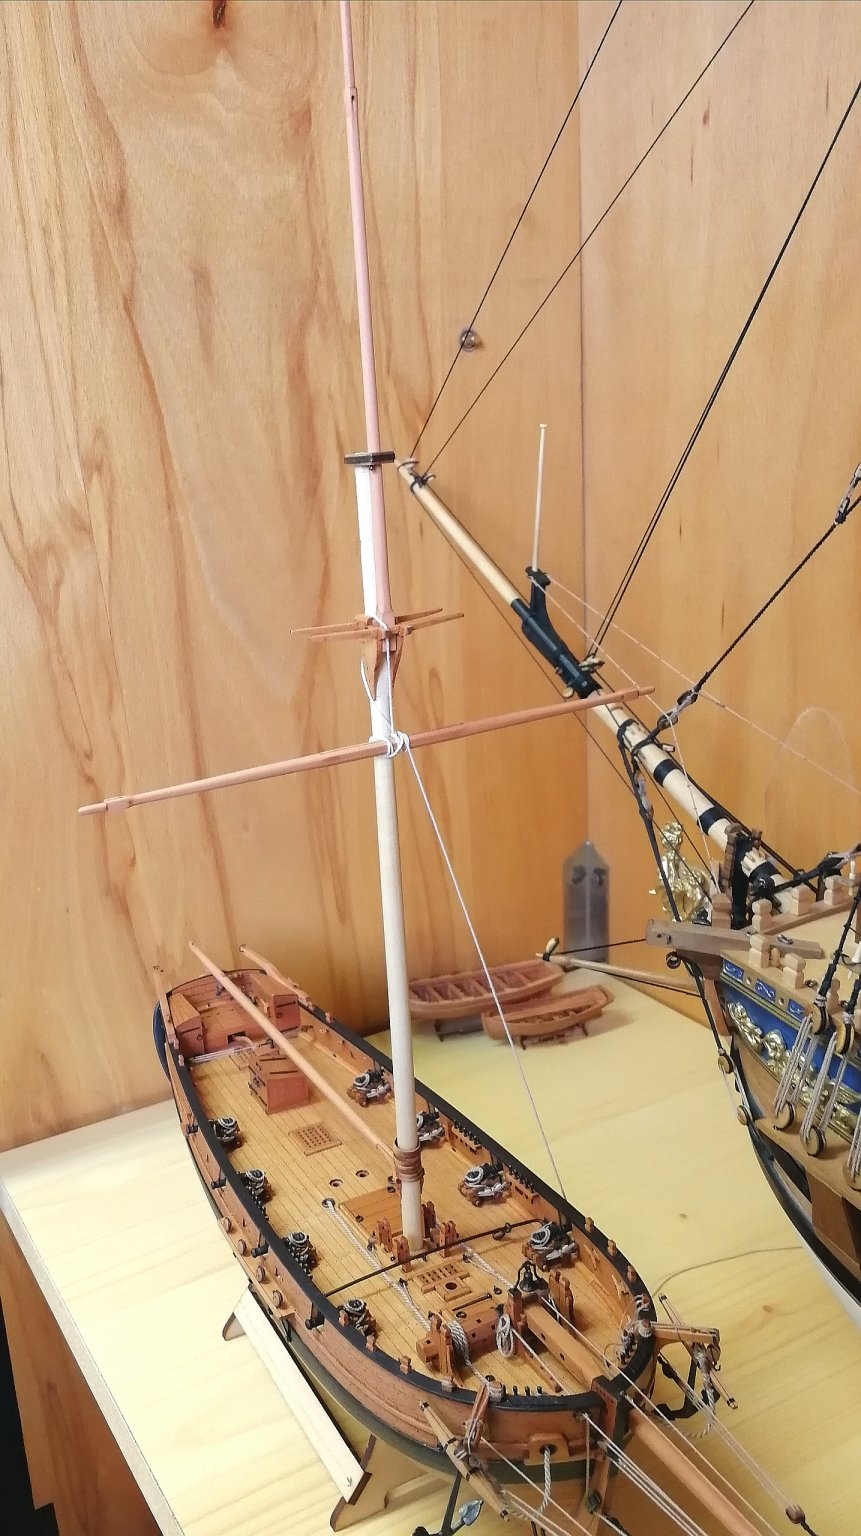
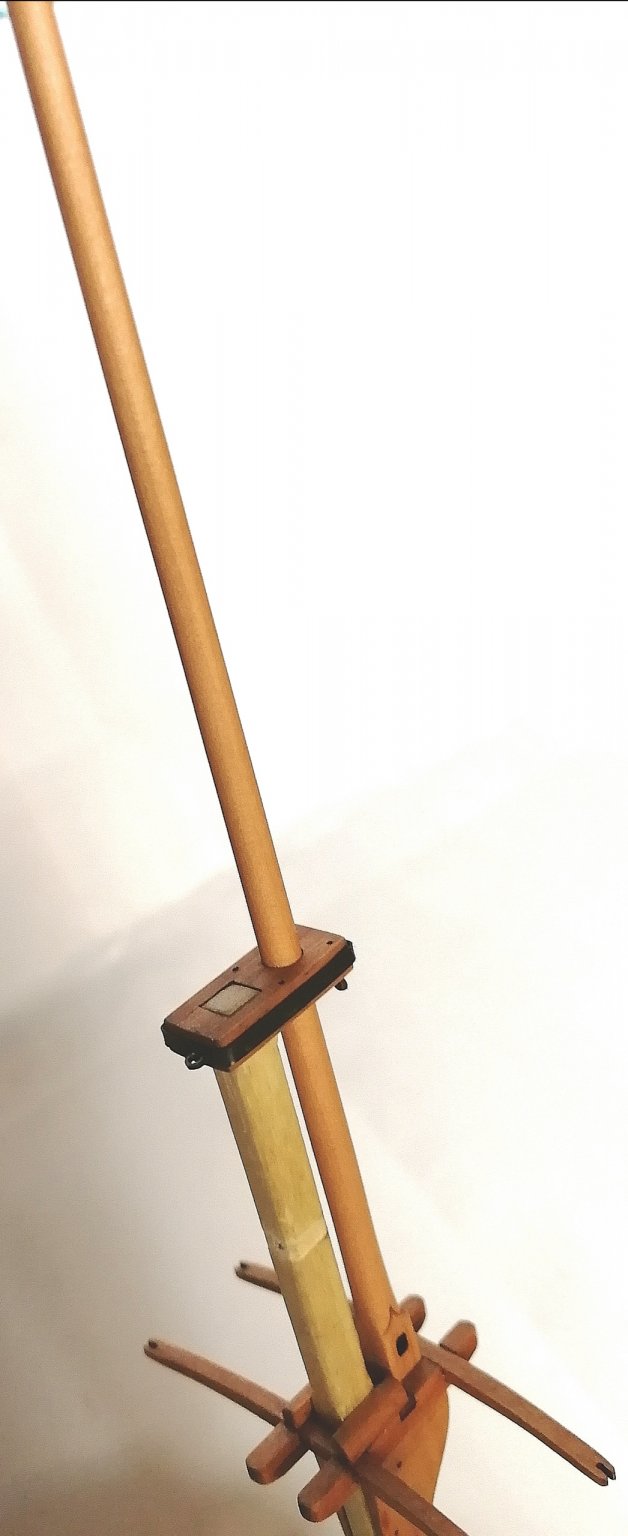
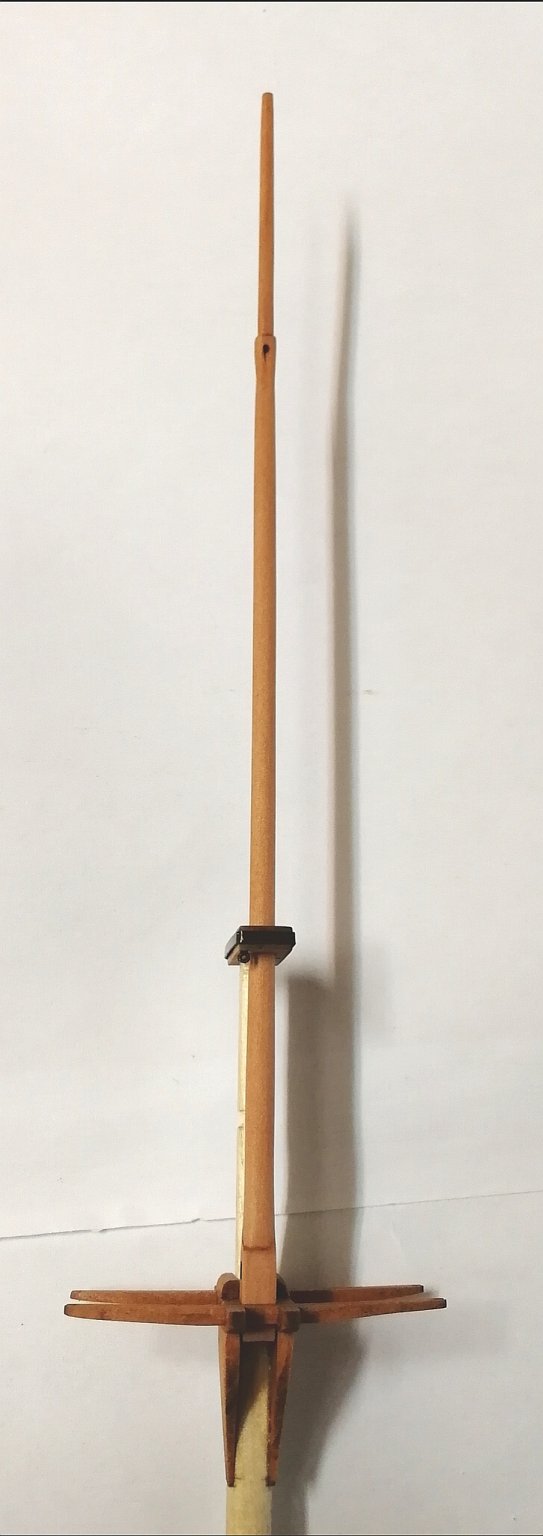
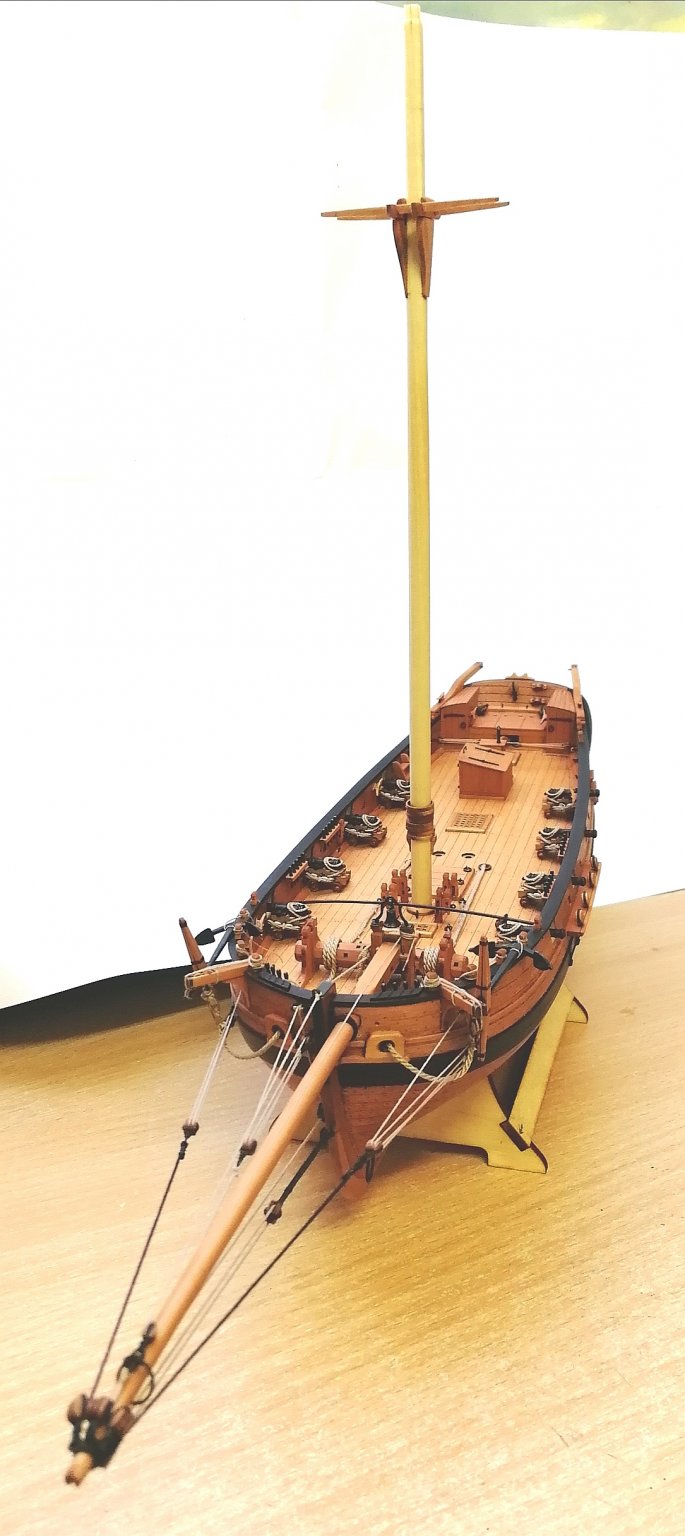
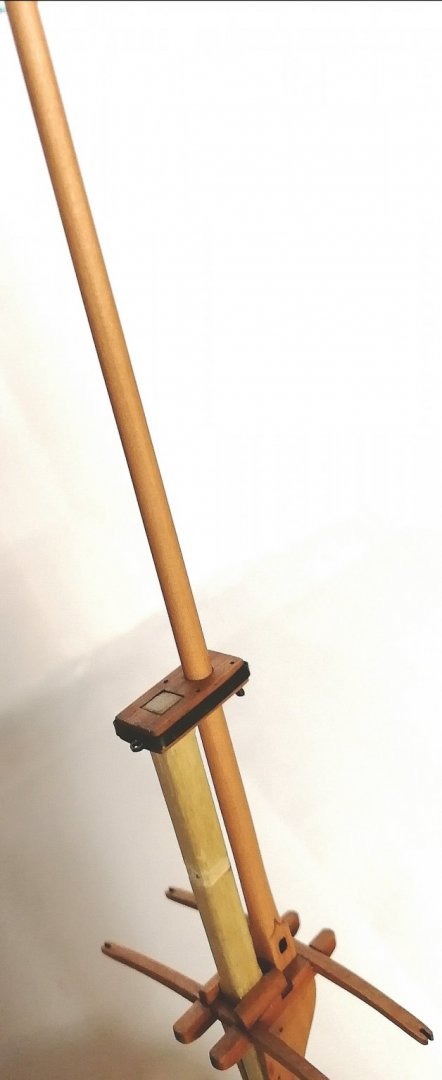
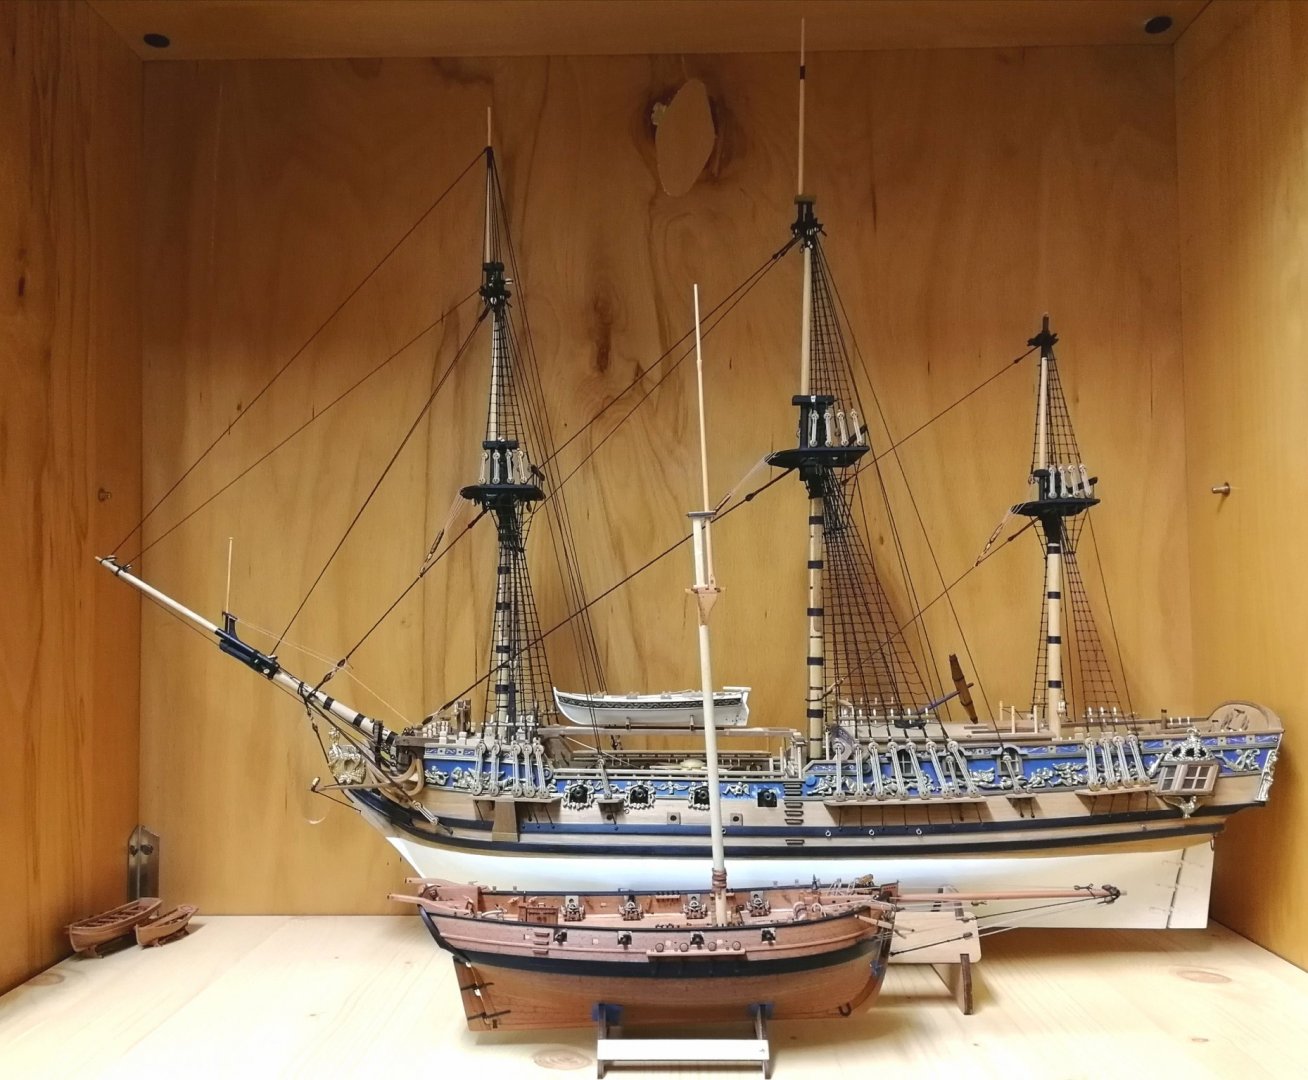
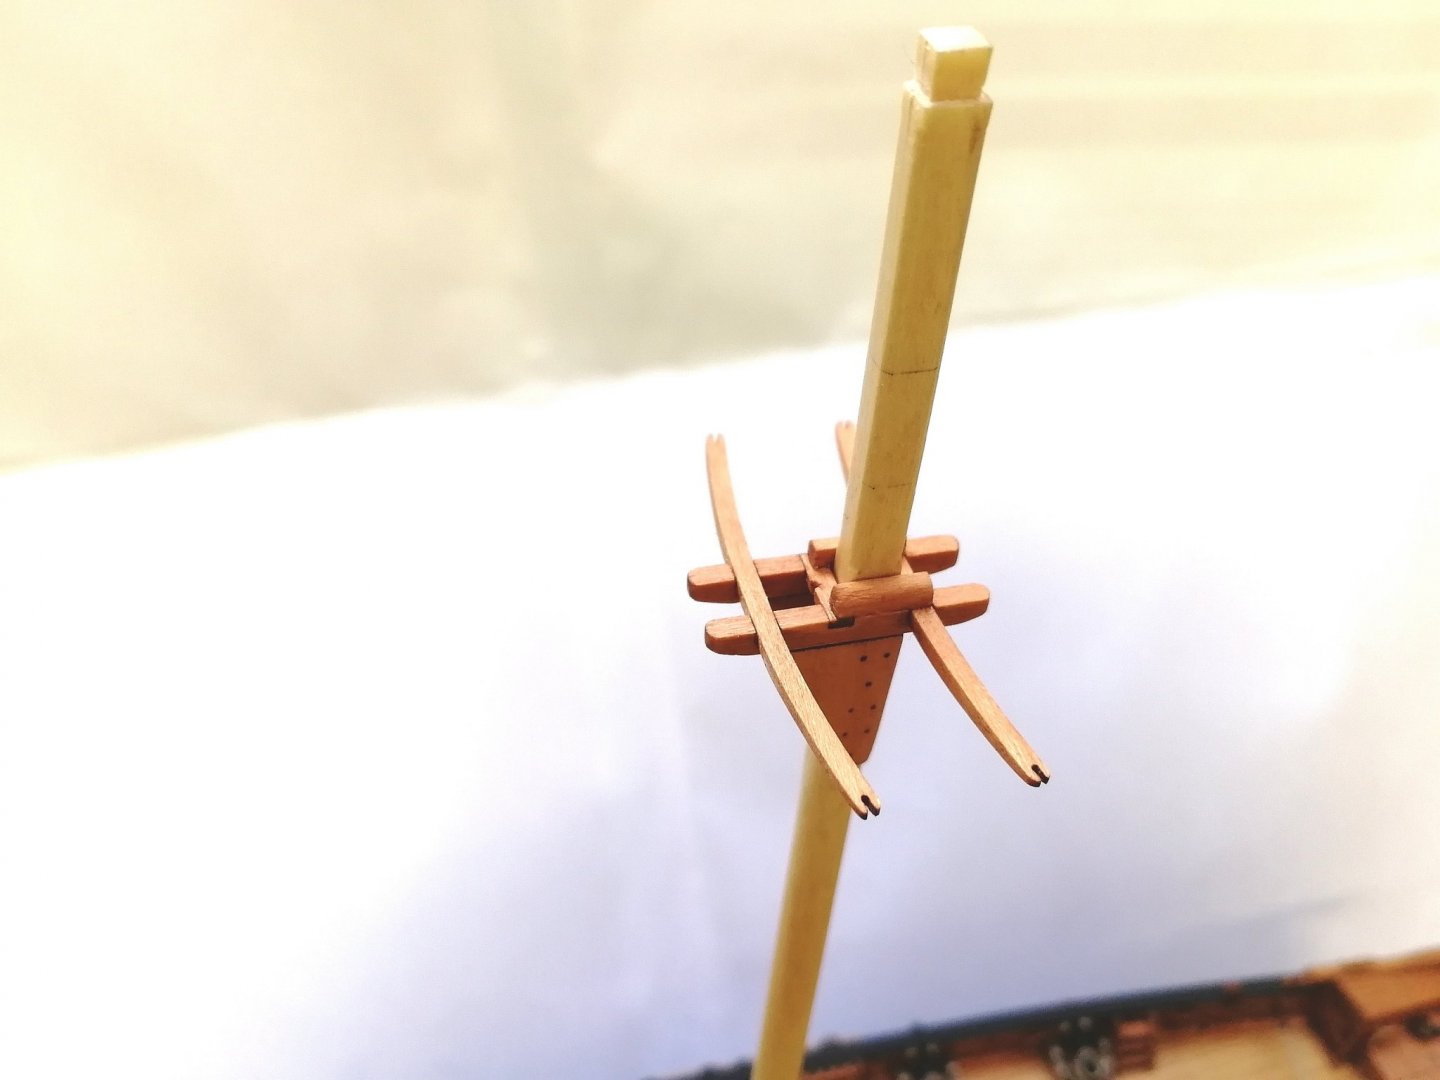
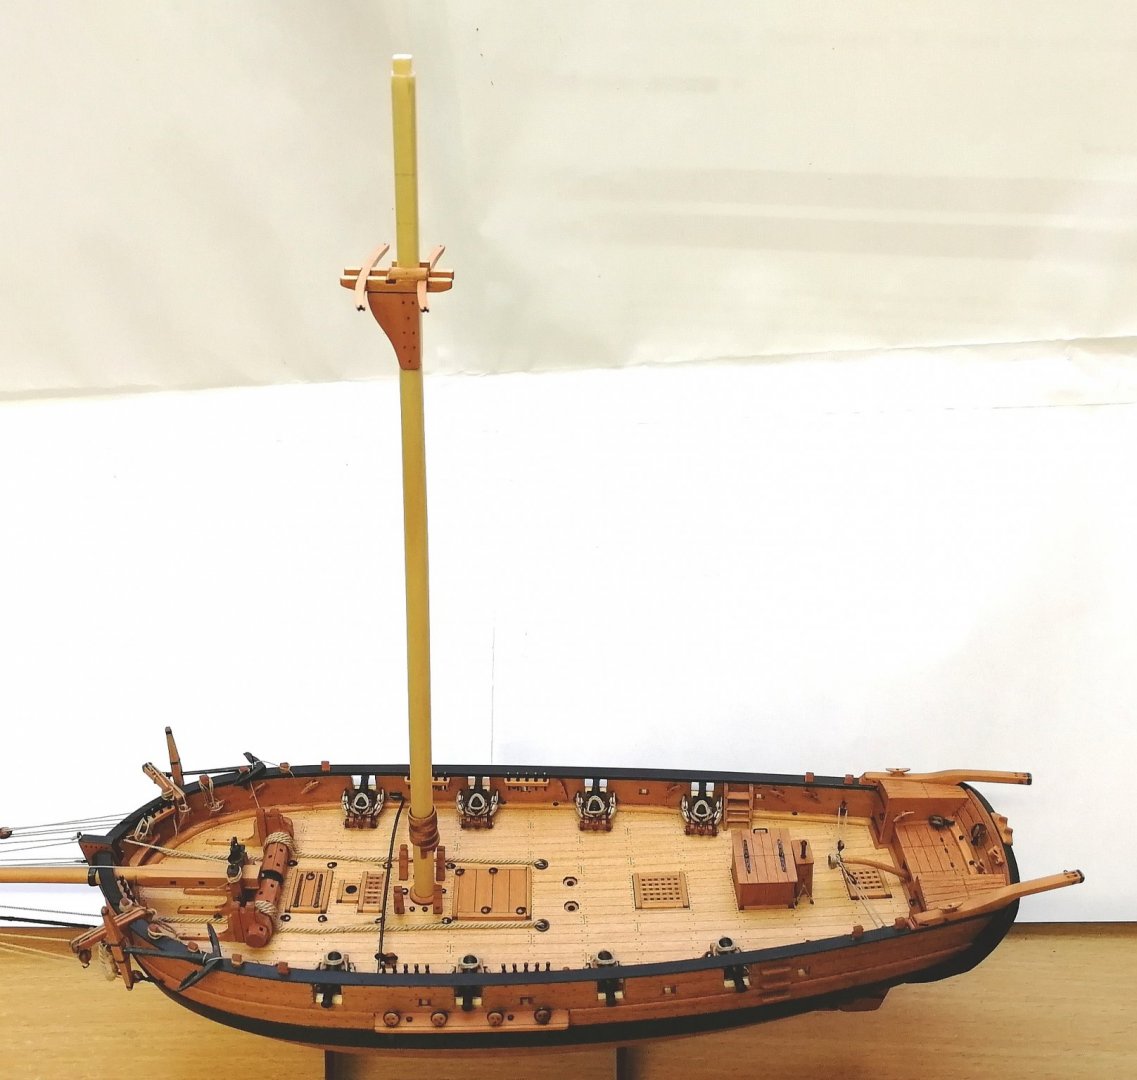
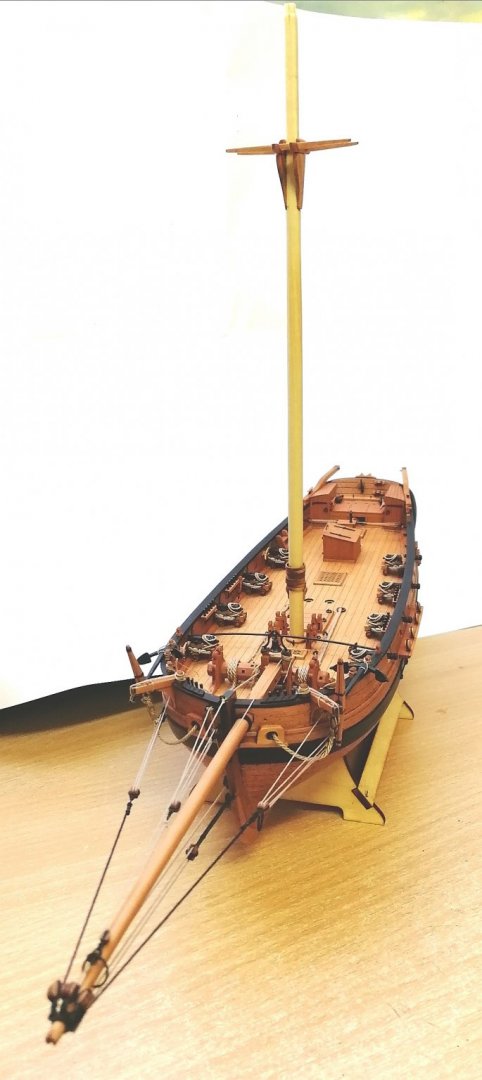
Top mast ready and full height reached! She is quite tall. Mast cap with Iron belt. There will be also 2 Iron belts on the mast head but I want place stays and shrouds first. Comparision with RC 1:48 (she is waiting for the rest of the rigging in the dock)

- 315 replies
-
- 17
-
-
- master korabel
- avos
- (and 1 more)
-
Thank you very much for all reactions! Preparation of the mast. It is carved from 6mm dovel. Not sure what kind of wood that is. Top mast, yards, boom, gaff are all in pear again. First I was sad that the main mast is not also in pear but now I like the light color. It will look good with contrast of other pear items.

- 315 replies
-
- 17
-
-
- master korabel
- avos
- (and 1 more)
-
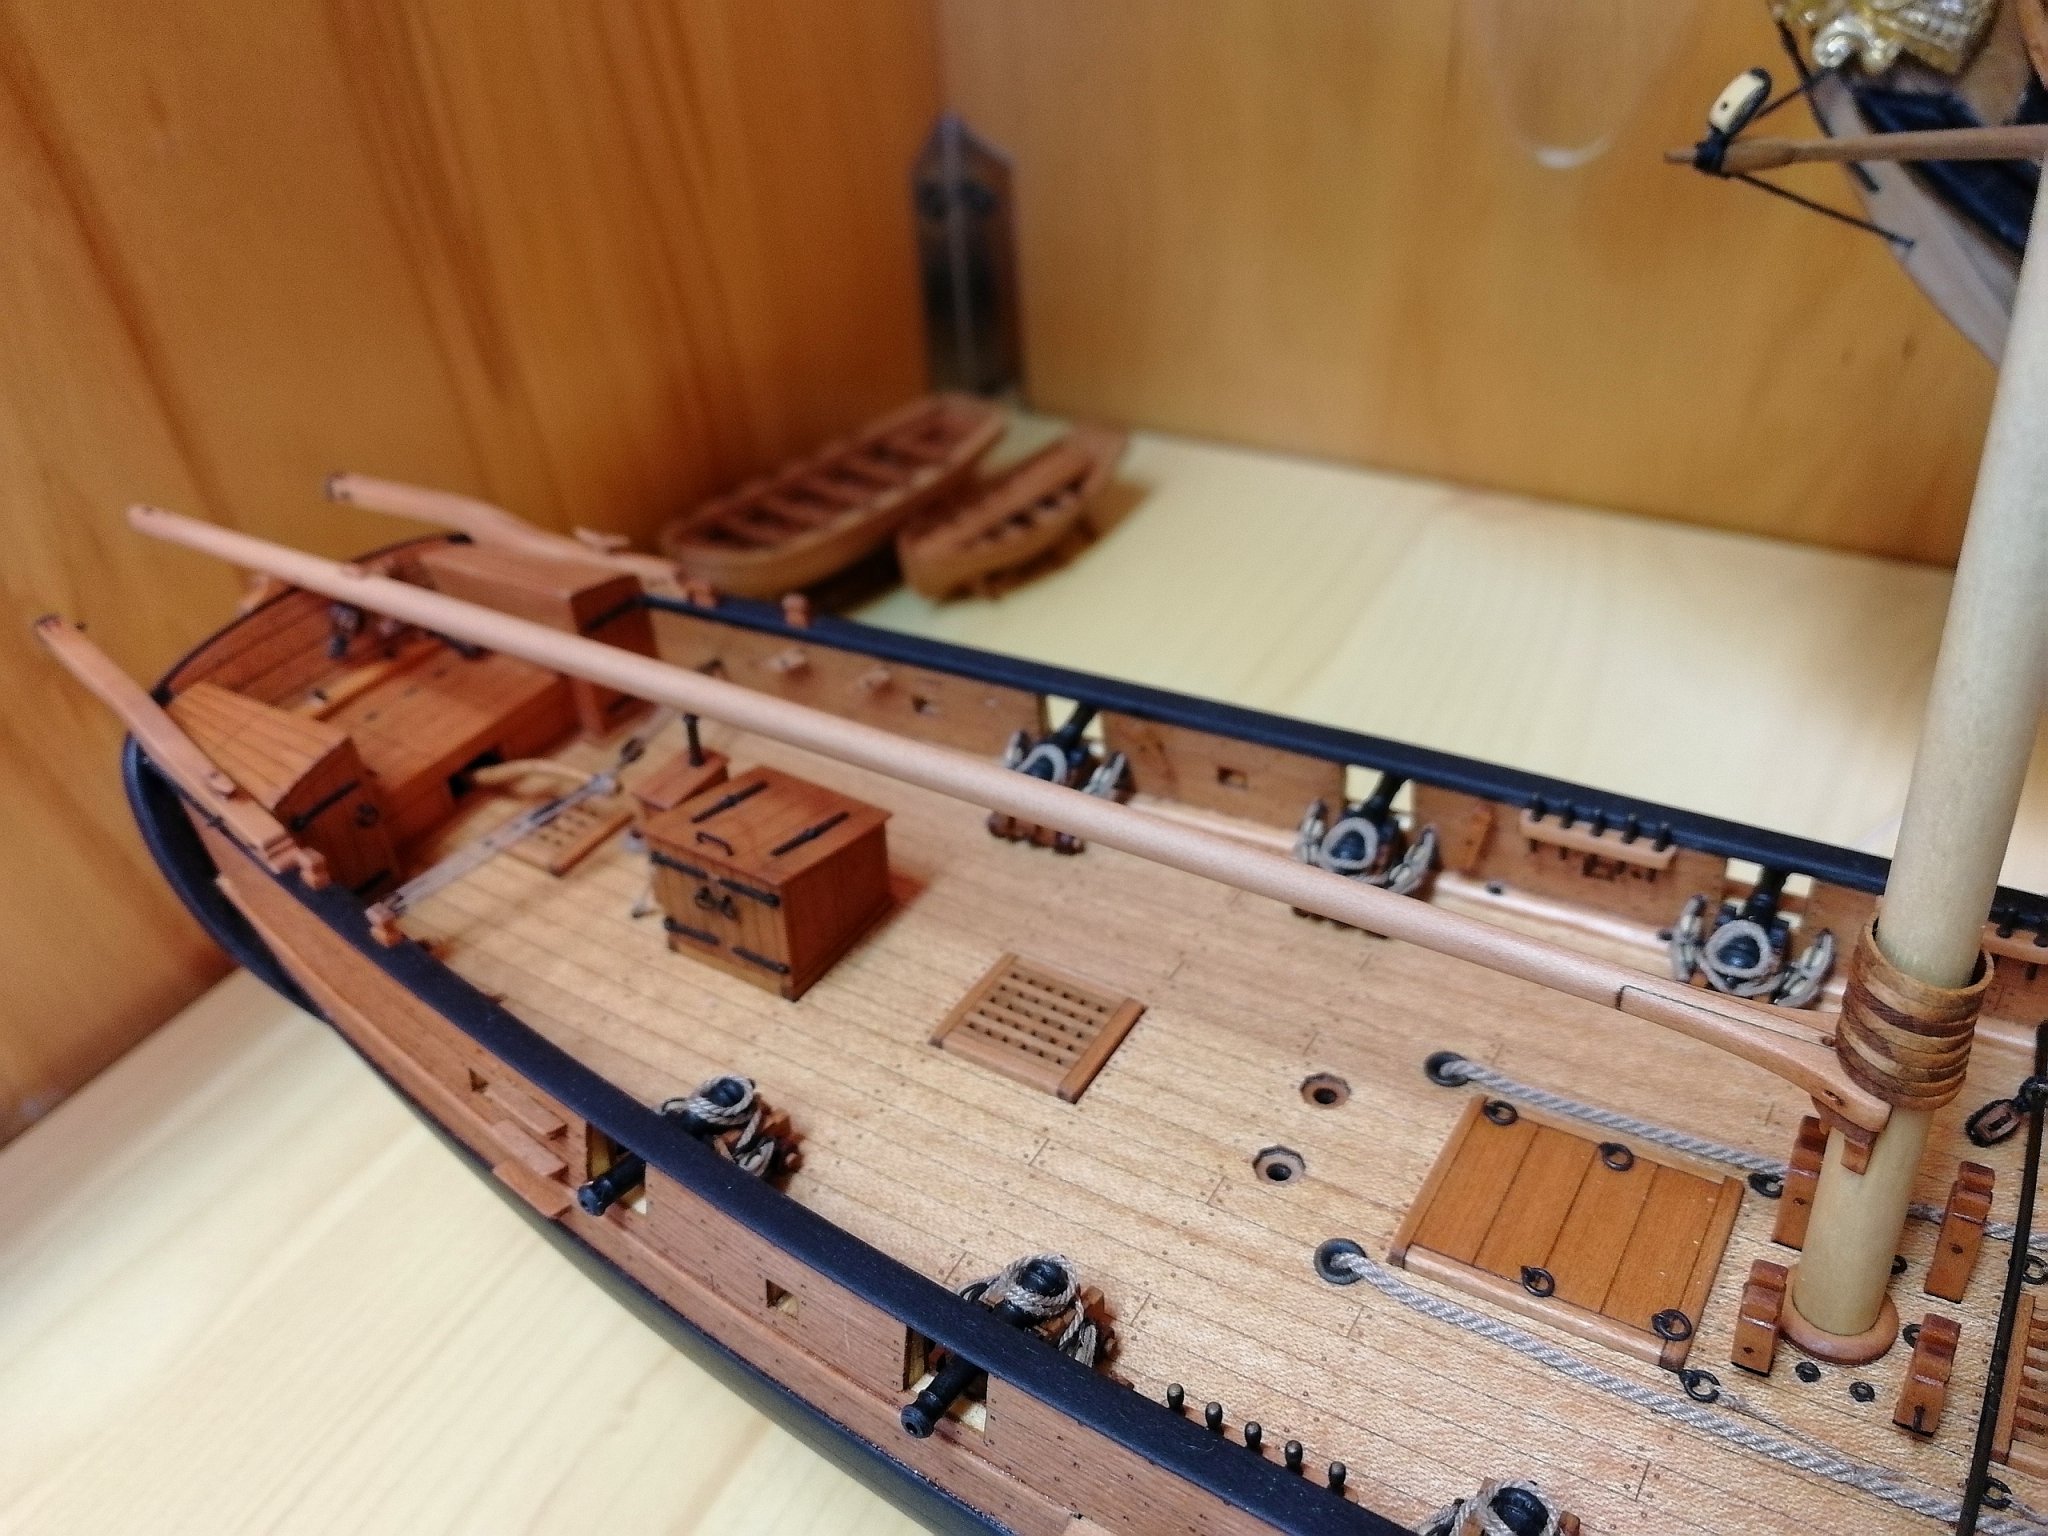
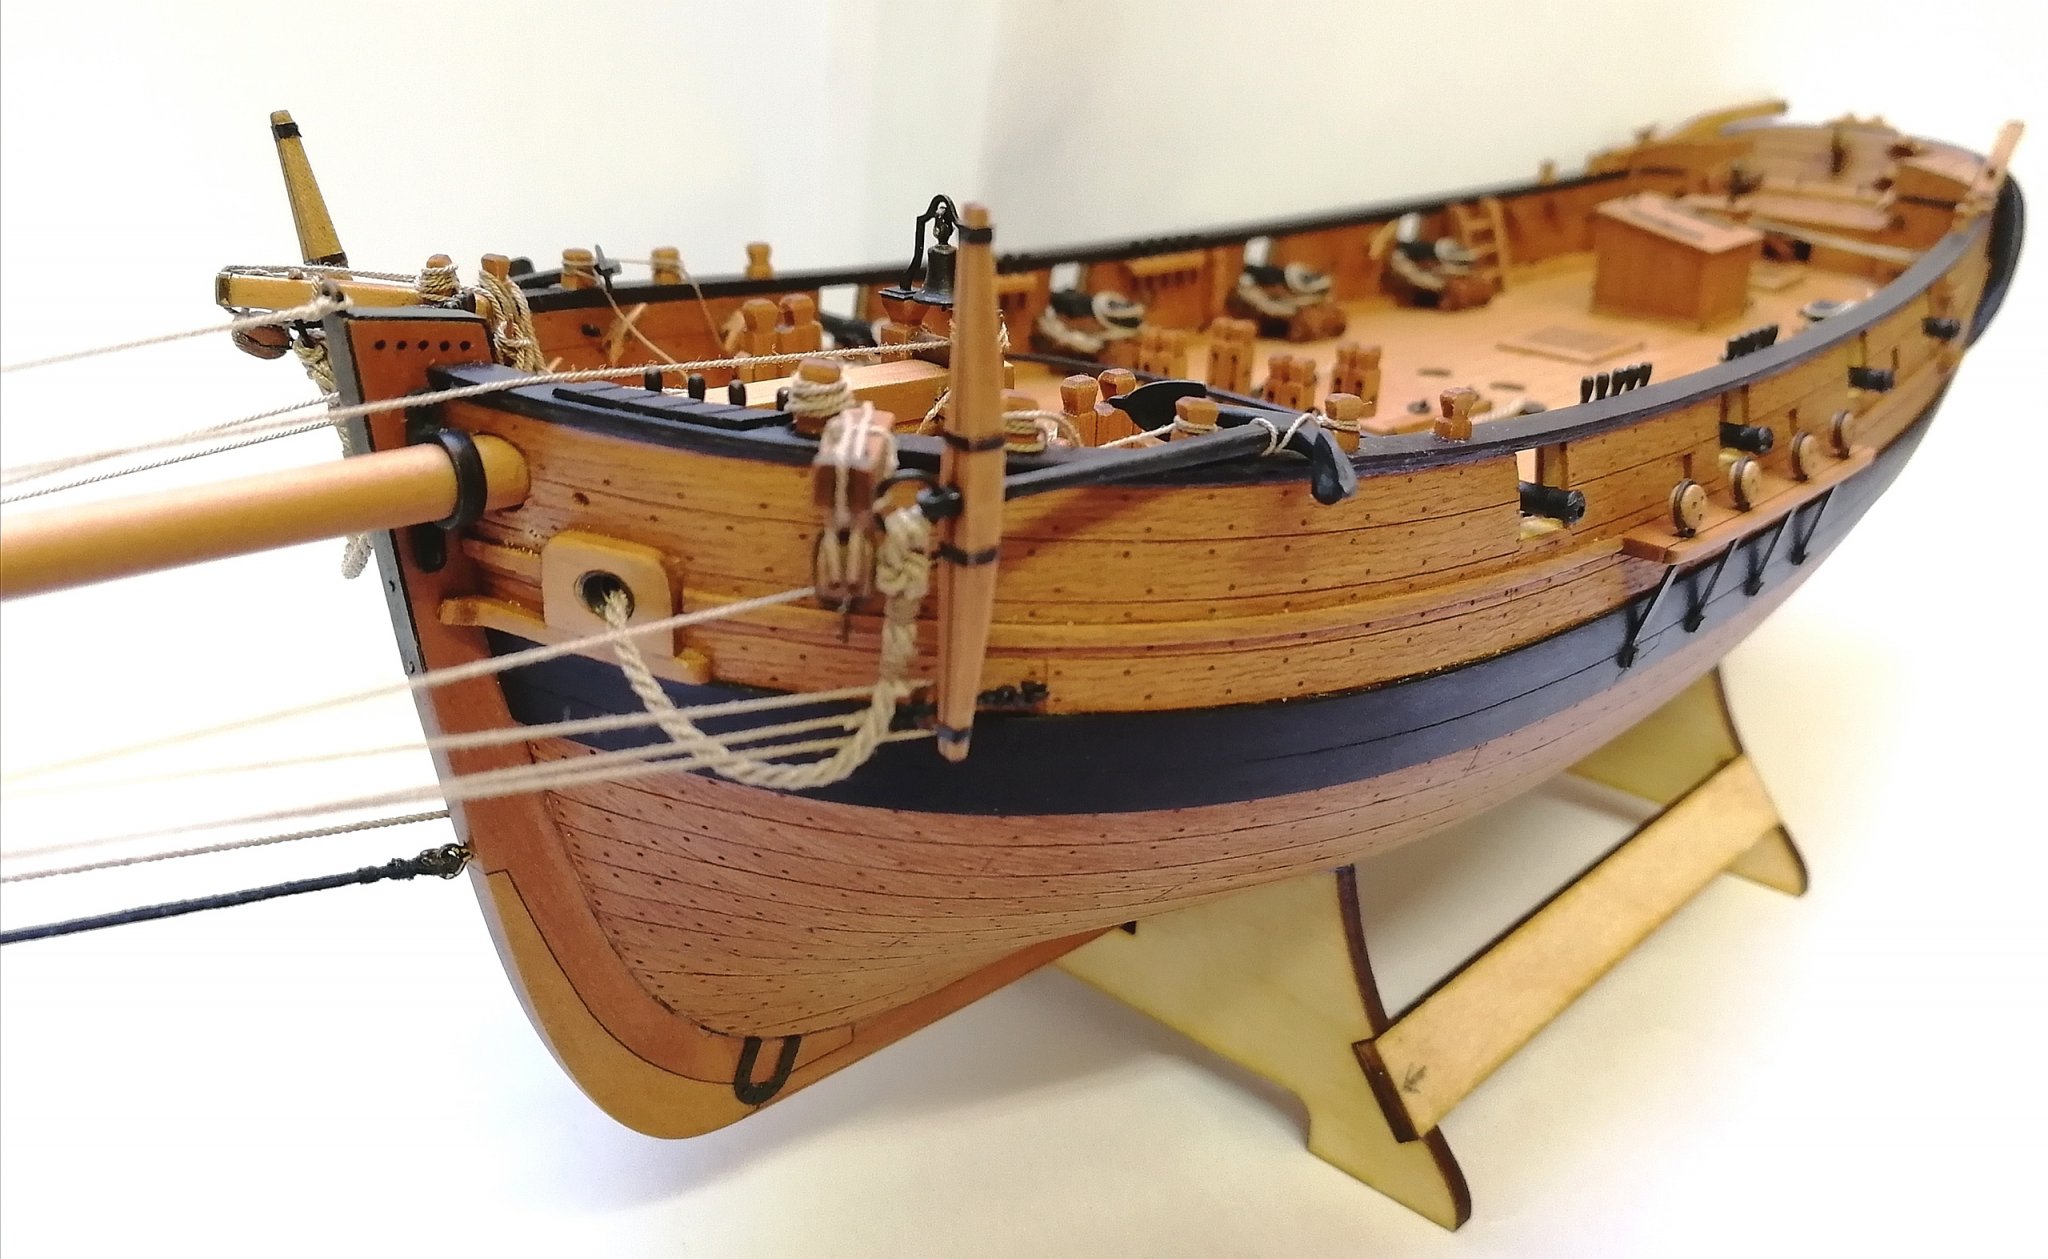
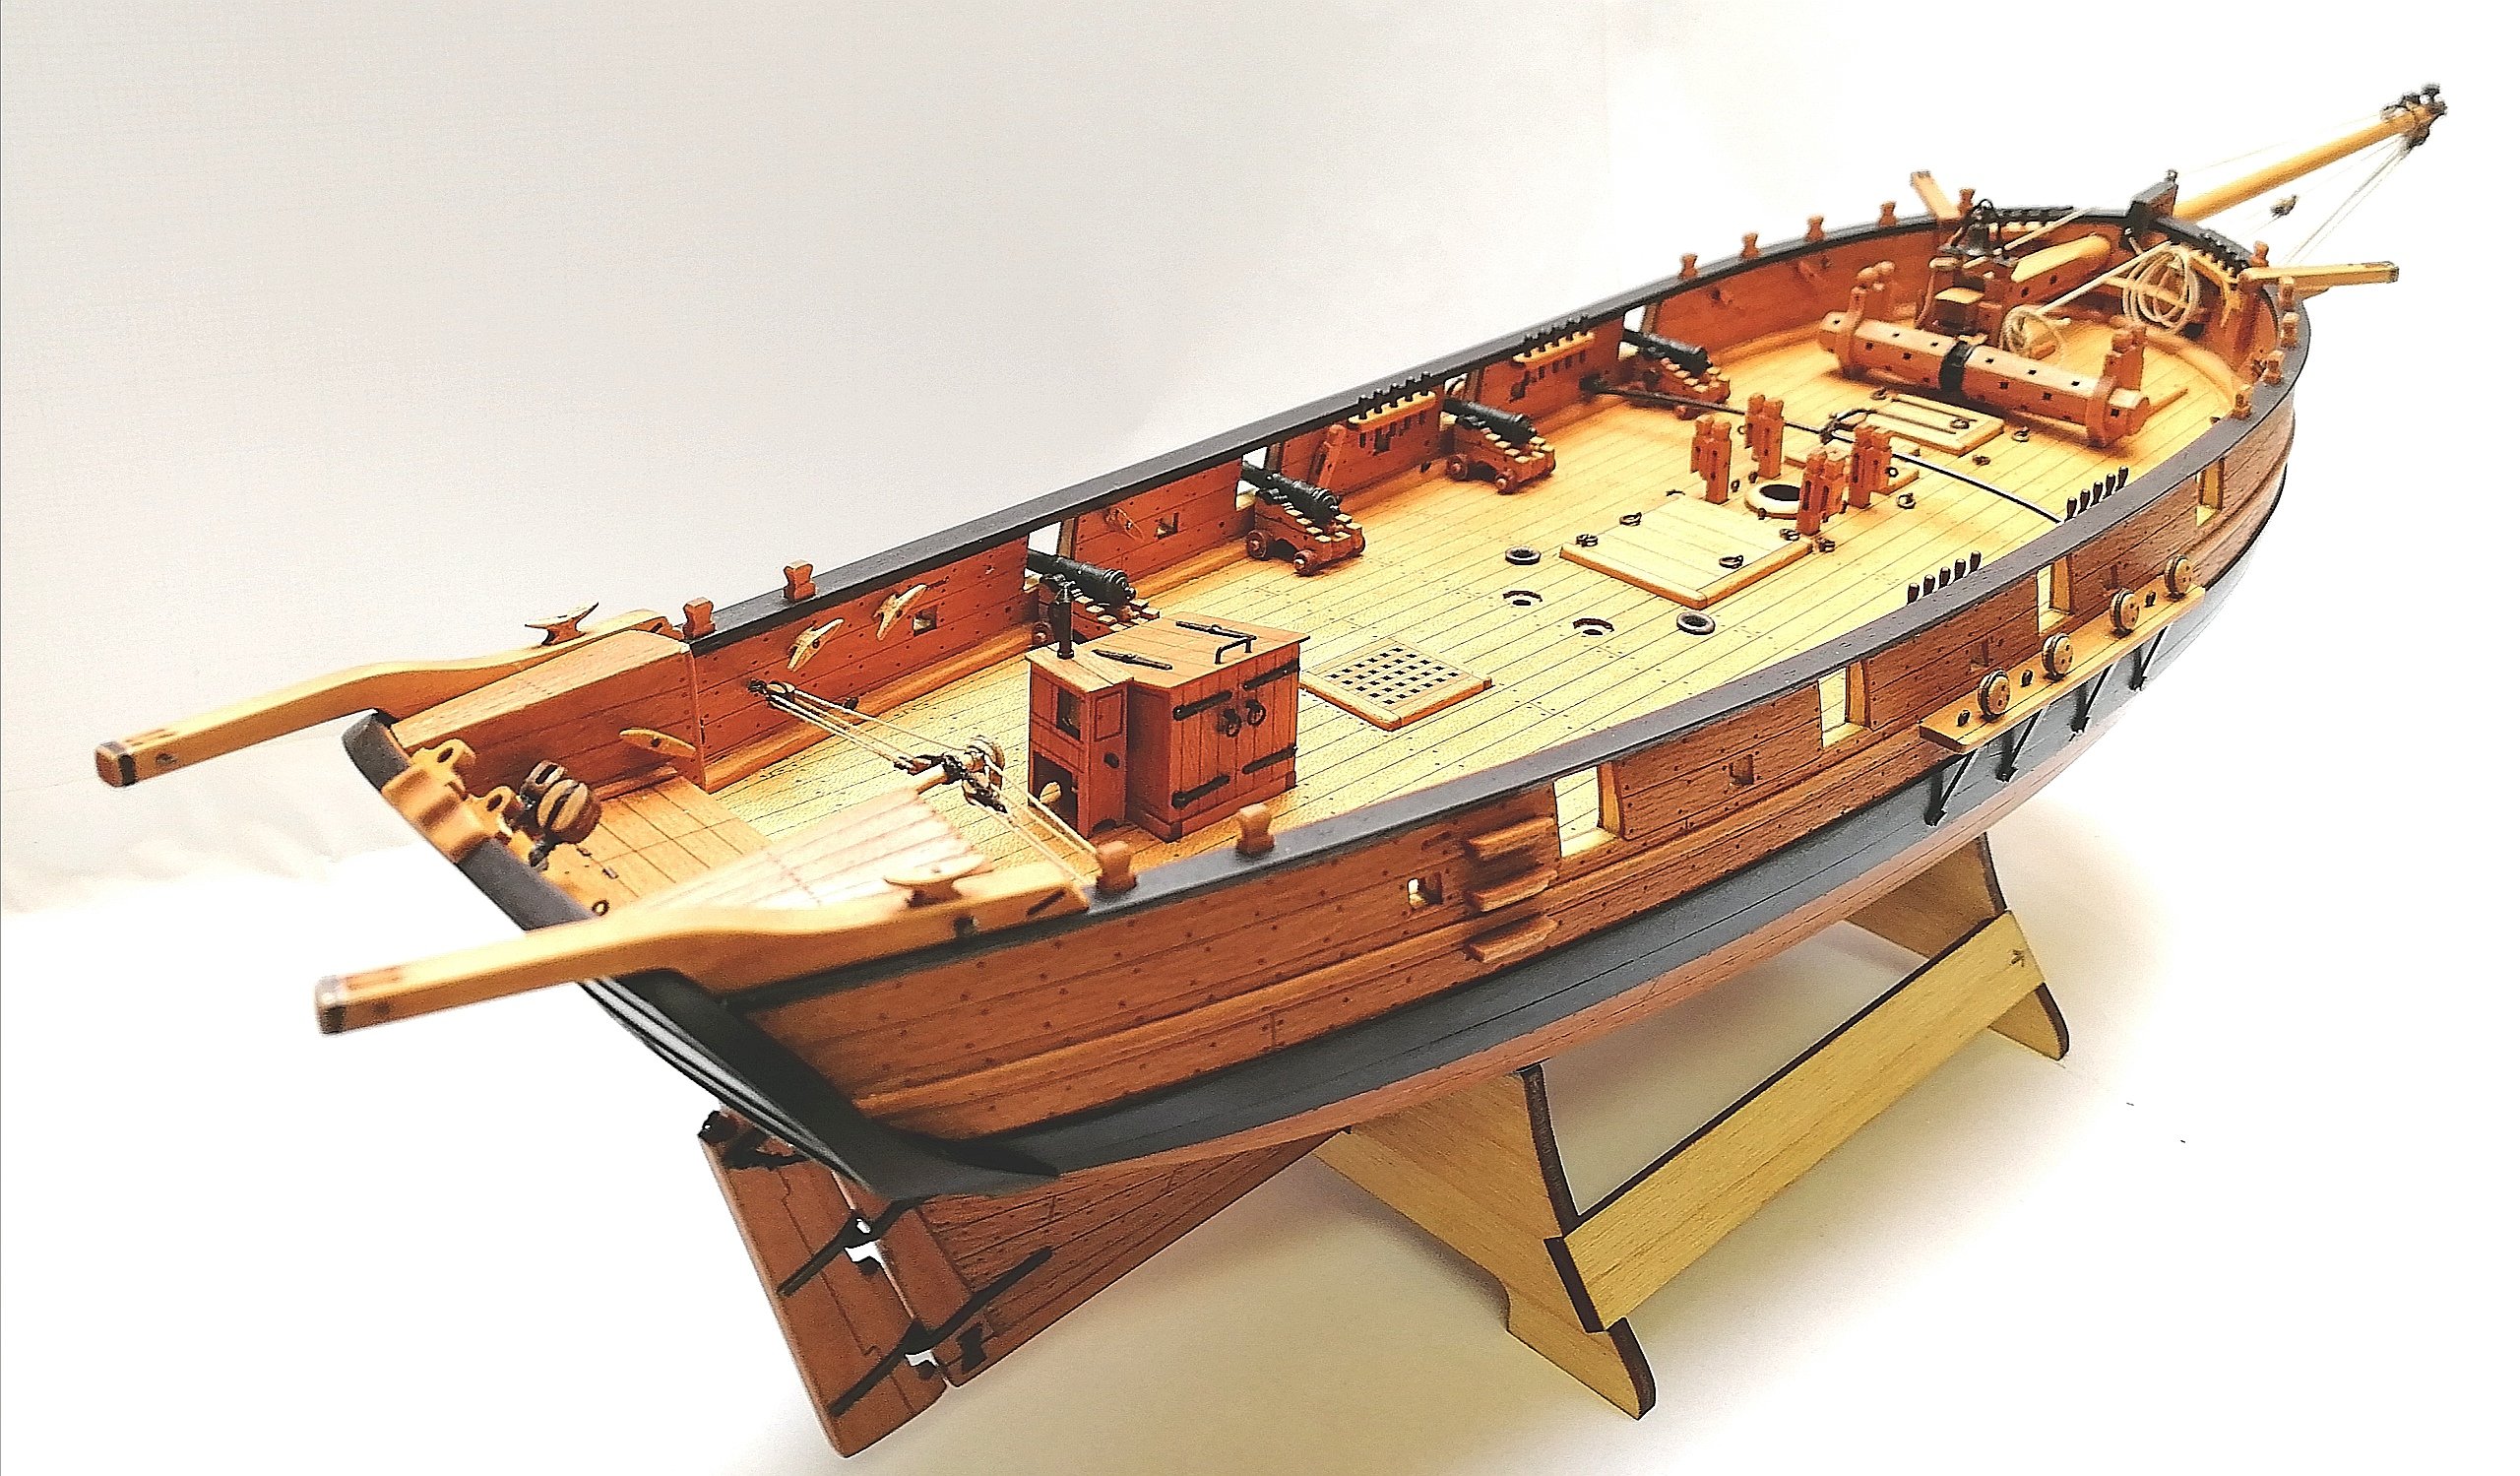
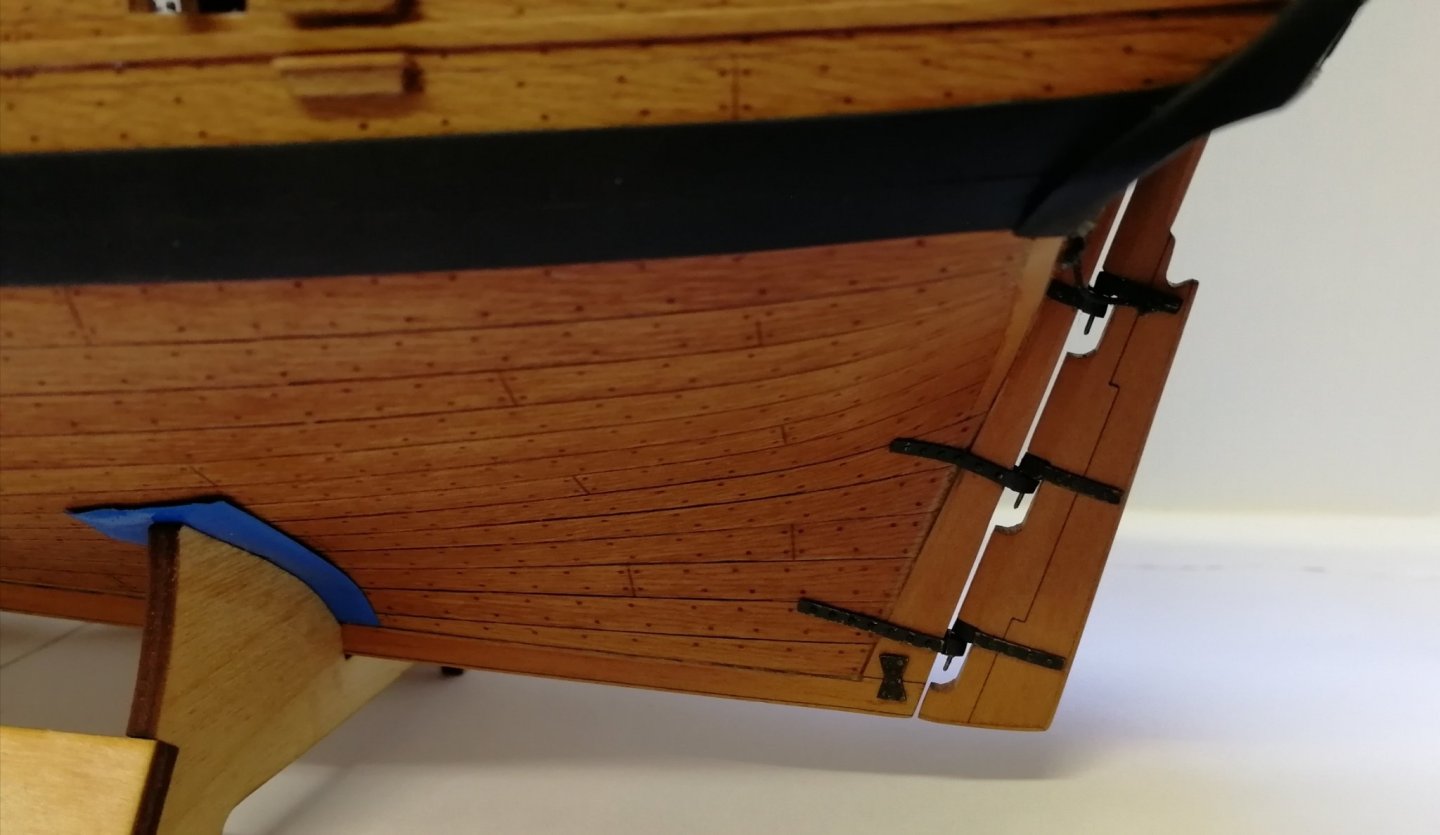
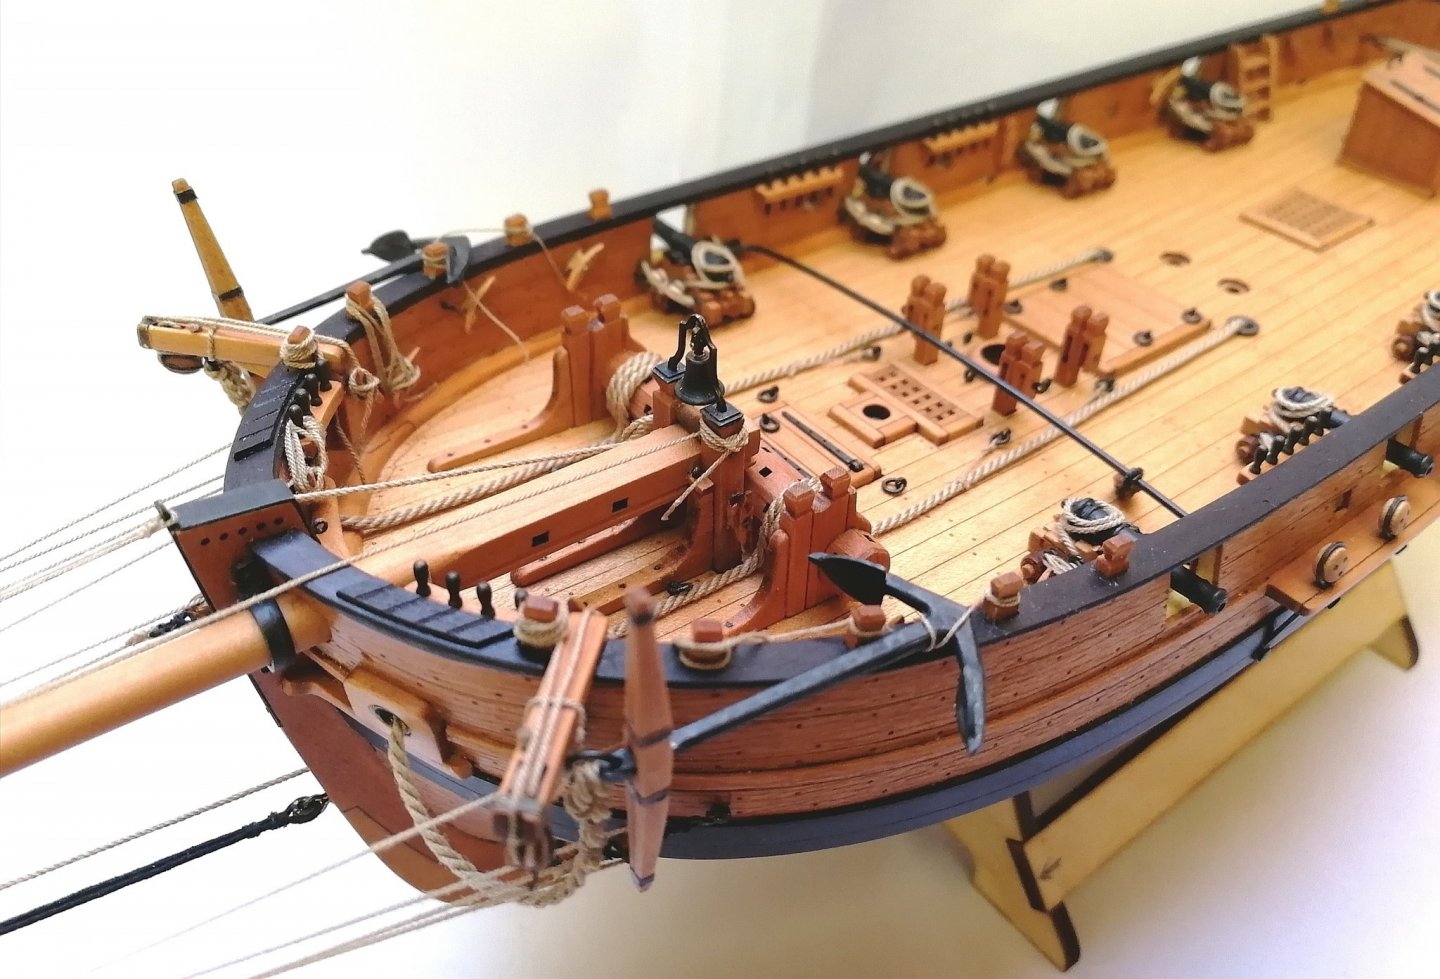
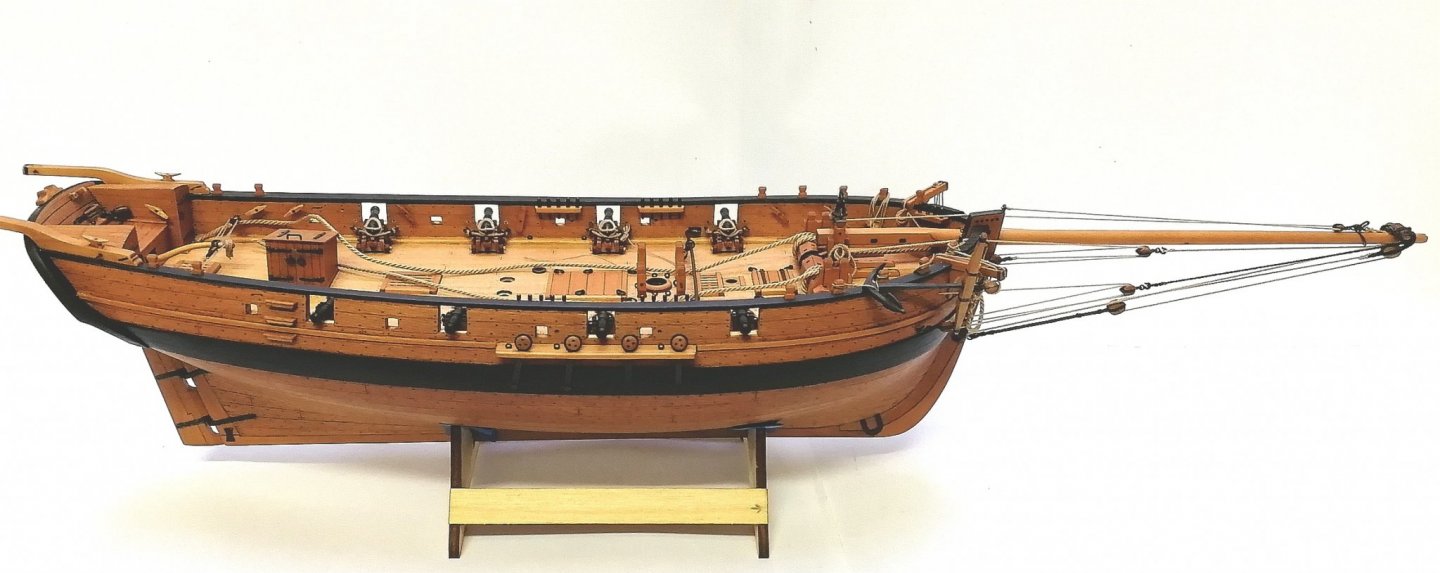
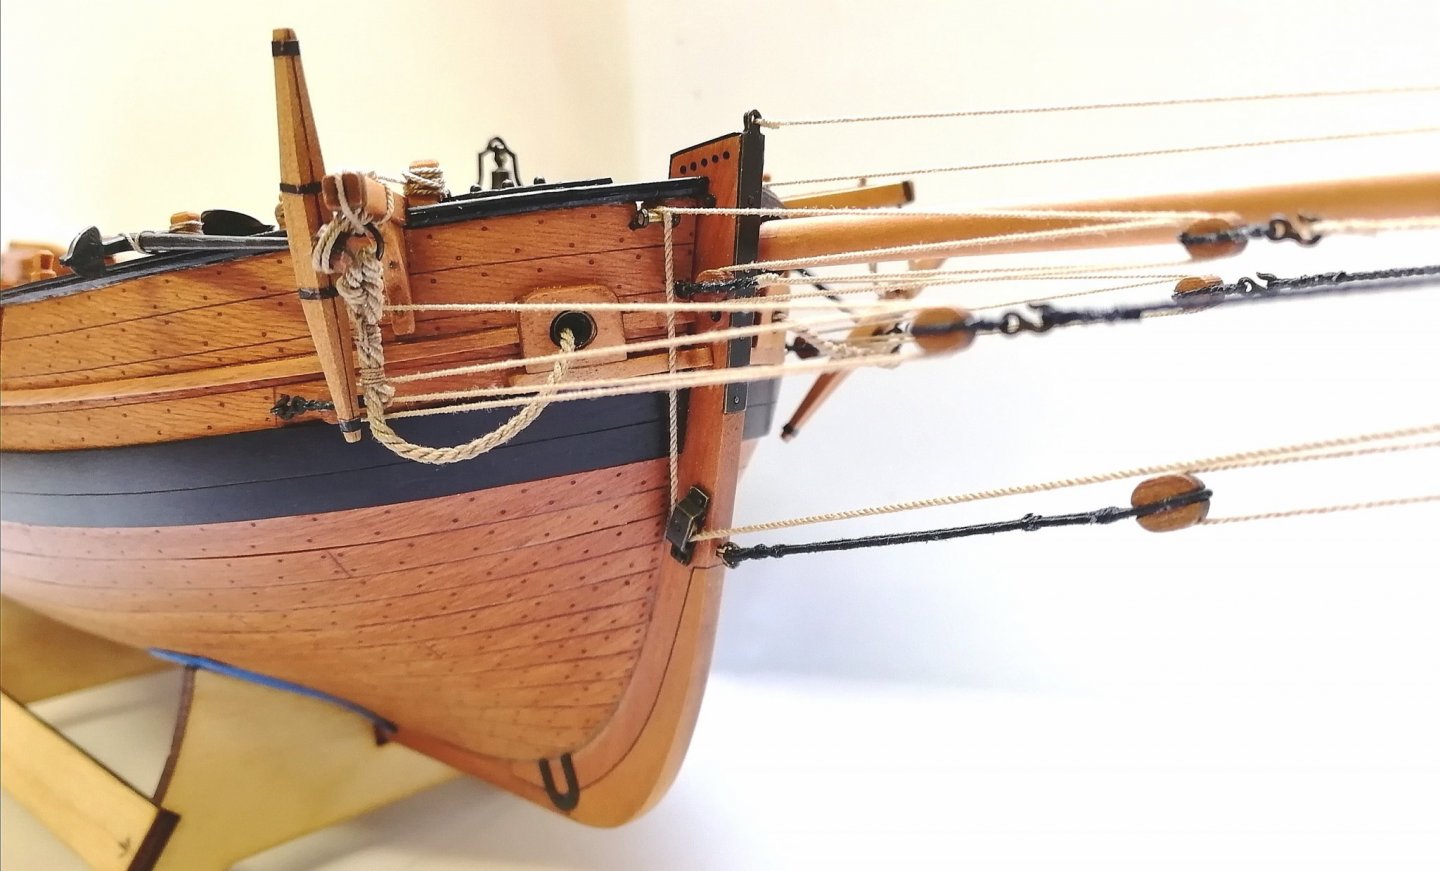
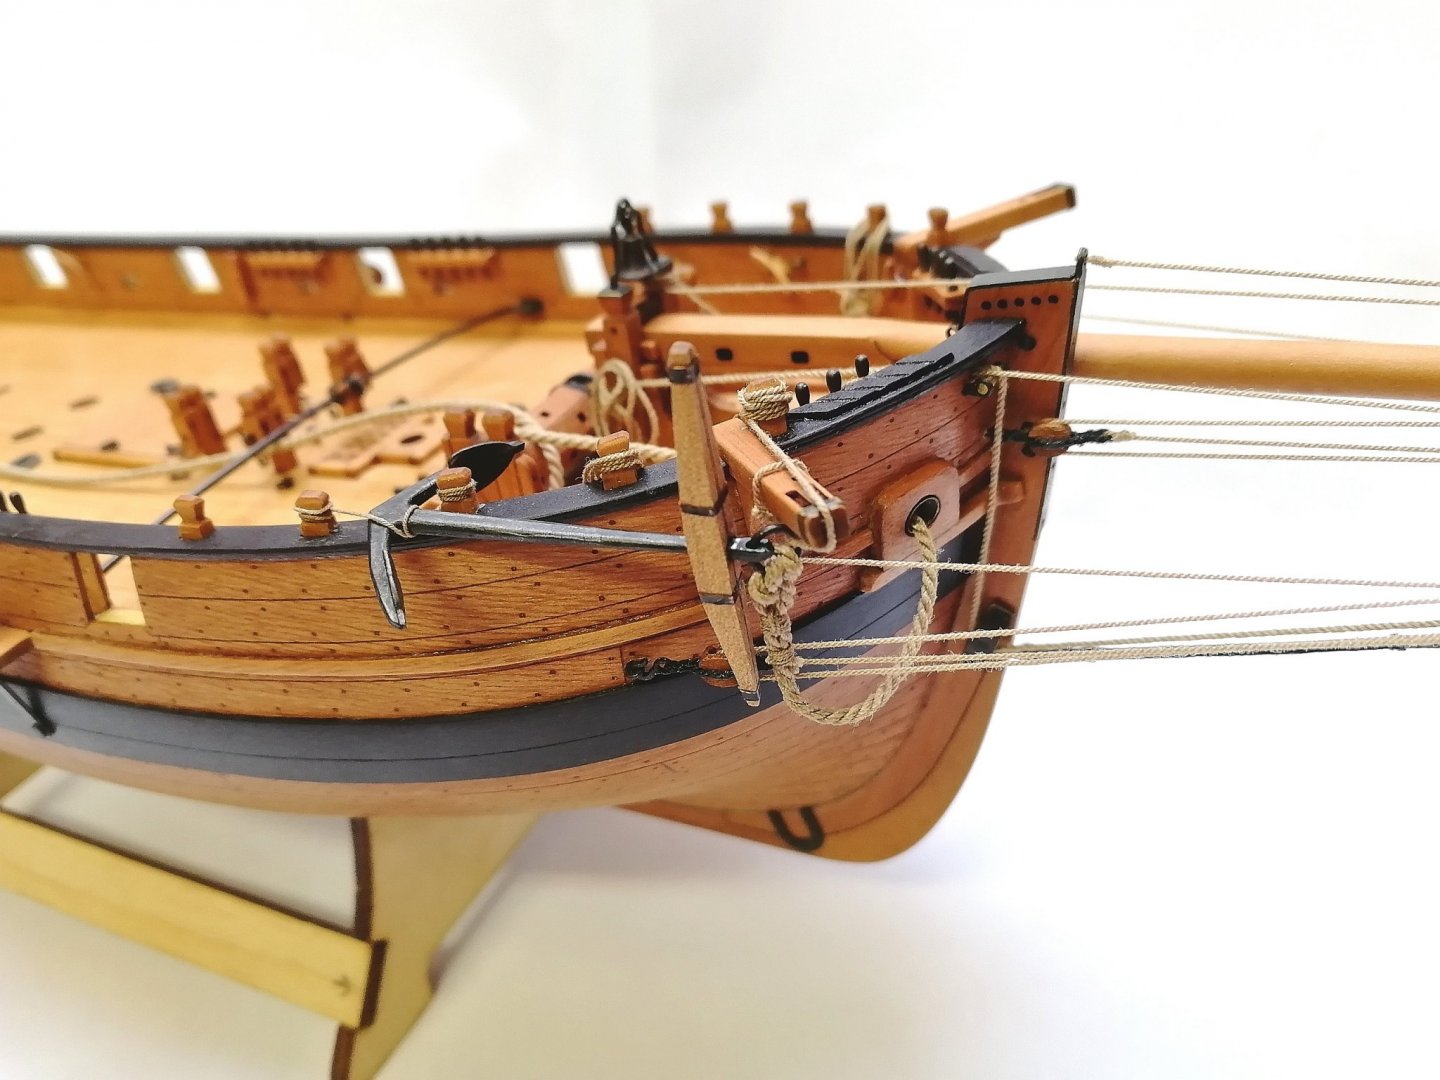
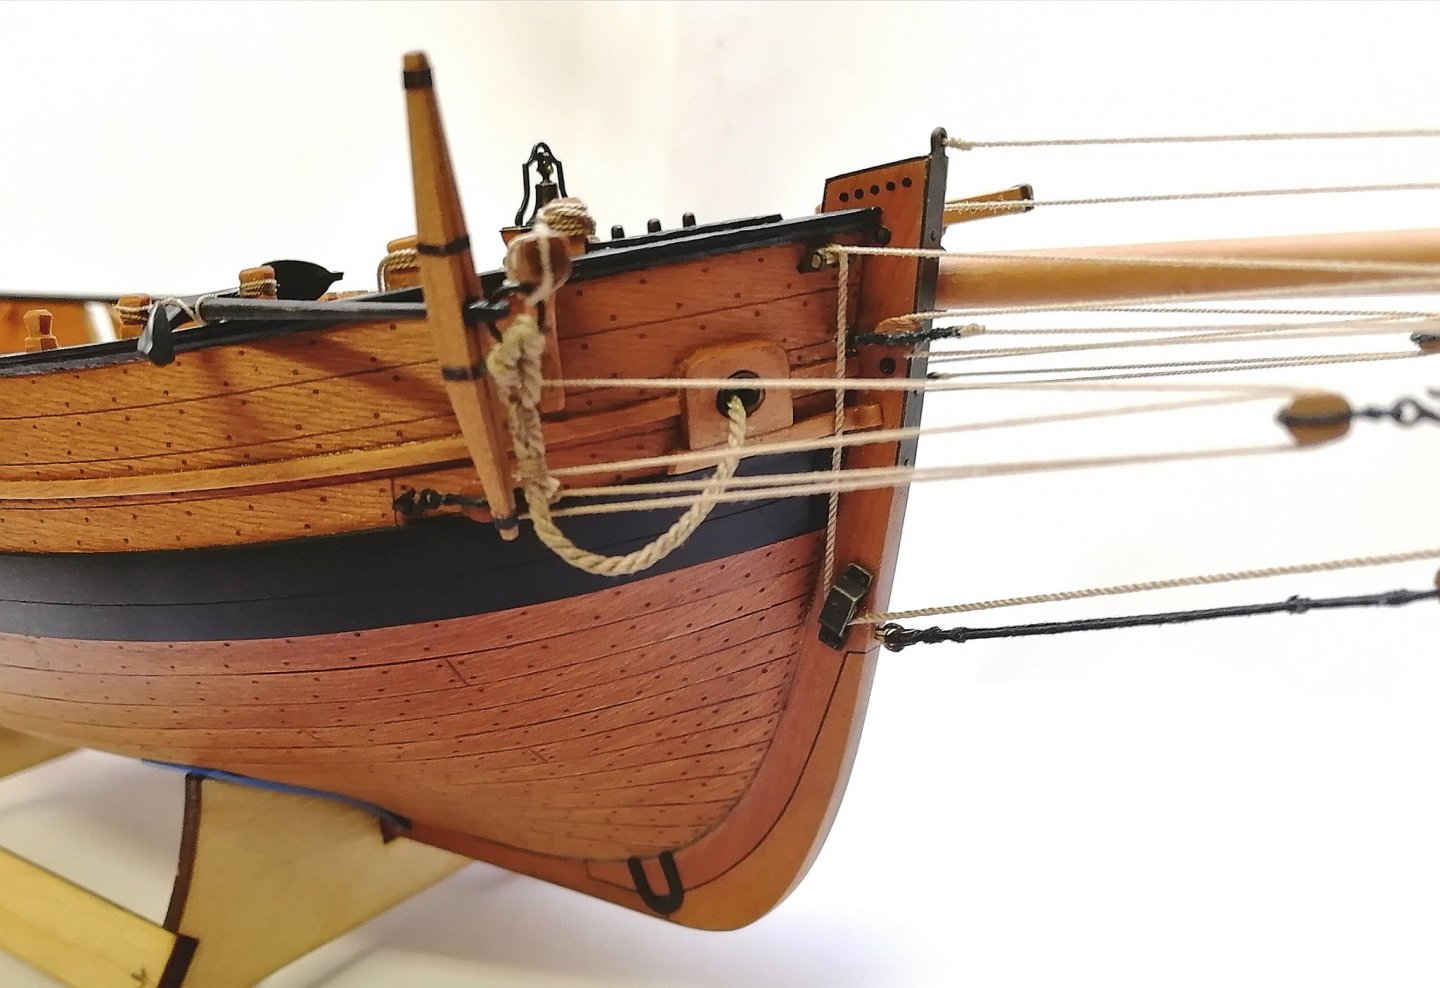
Working on the las details of the hull. Anchors, ladders etc. It is very close to stand the mast!


- 315 replies
-
- 19
-
-
- master korabel
- avos
- (and 1 more)
-
Hi, yes you are right. I did the mistake that the blocks on the tiller were fastened further from the end (that was the first version). I have corrected it and this is the final result (with hooks).
- 315 replies
-
- 10
-
-
- master korabel
- avos
- (and 1 more)
-
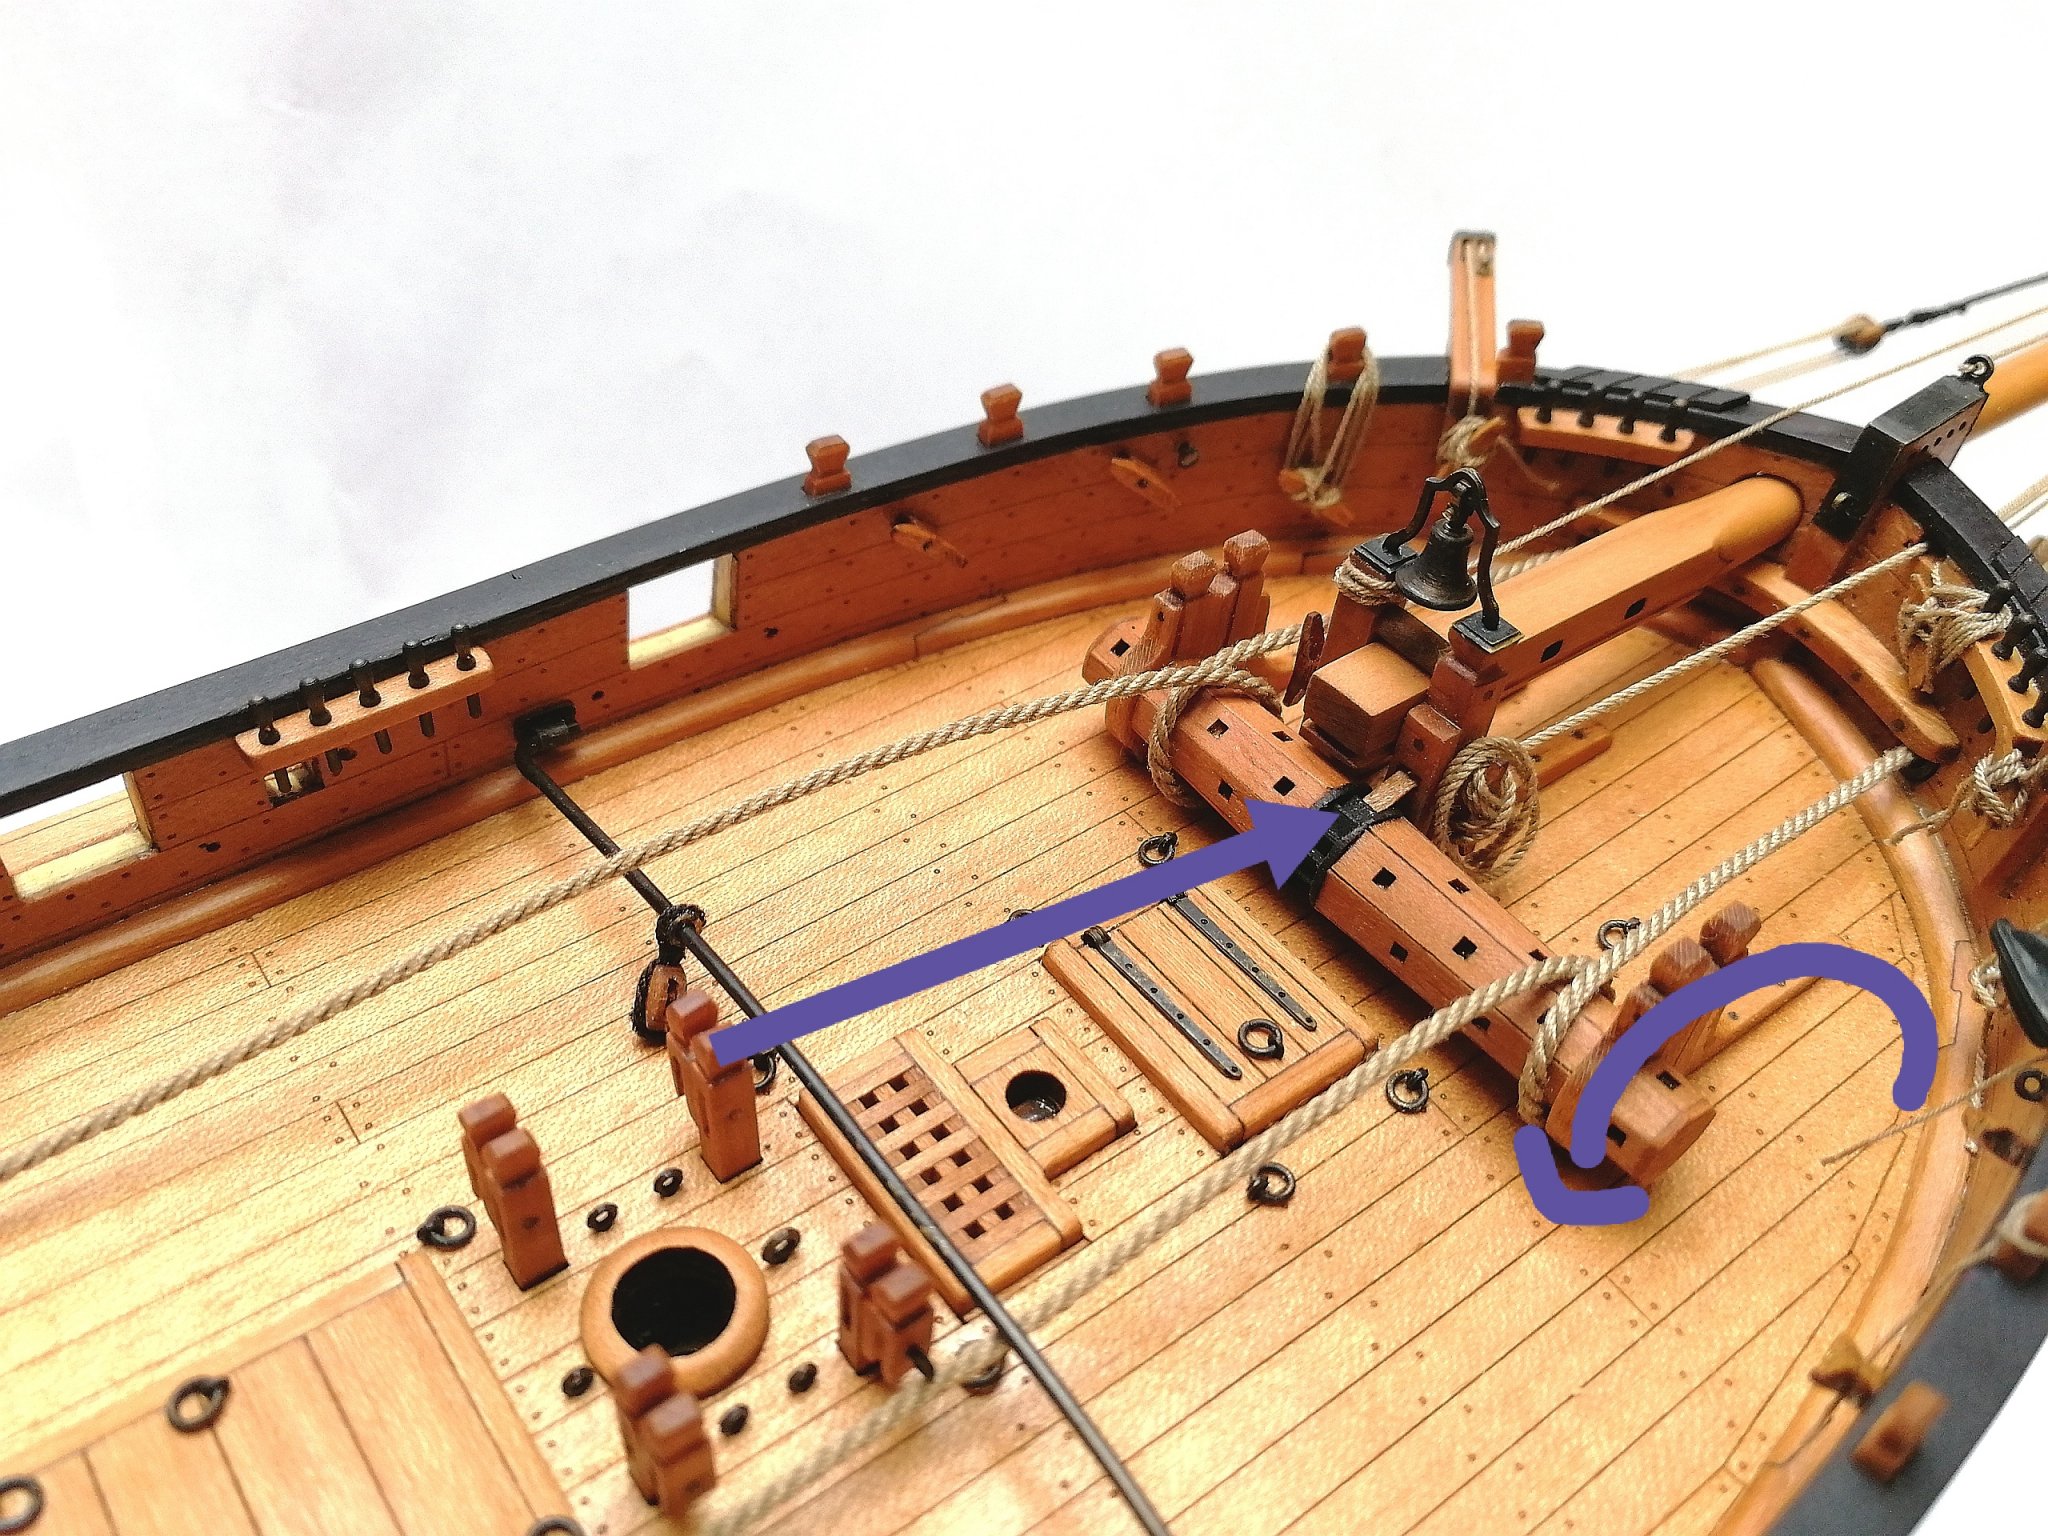
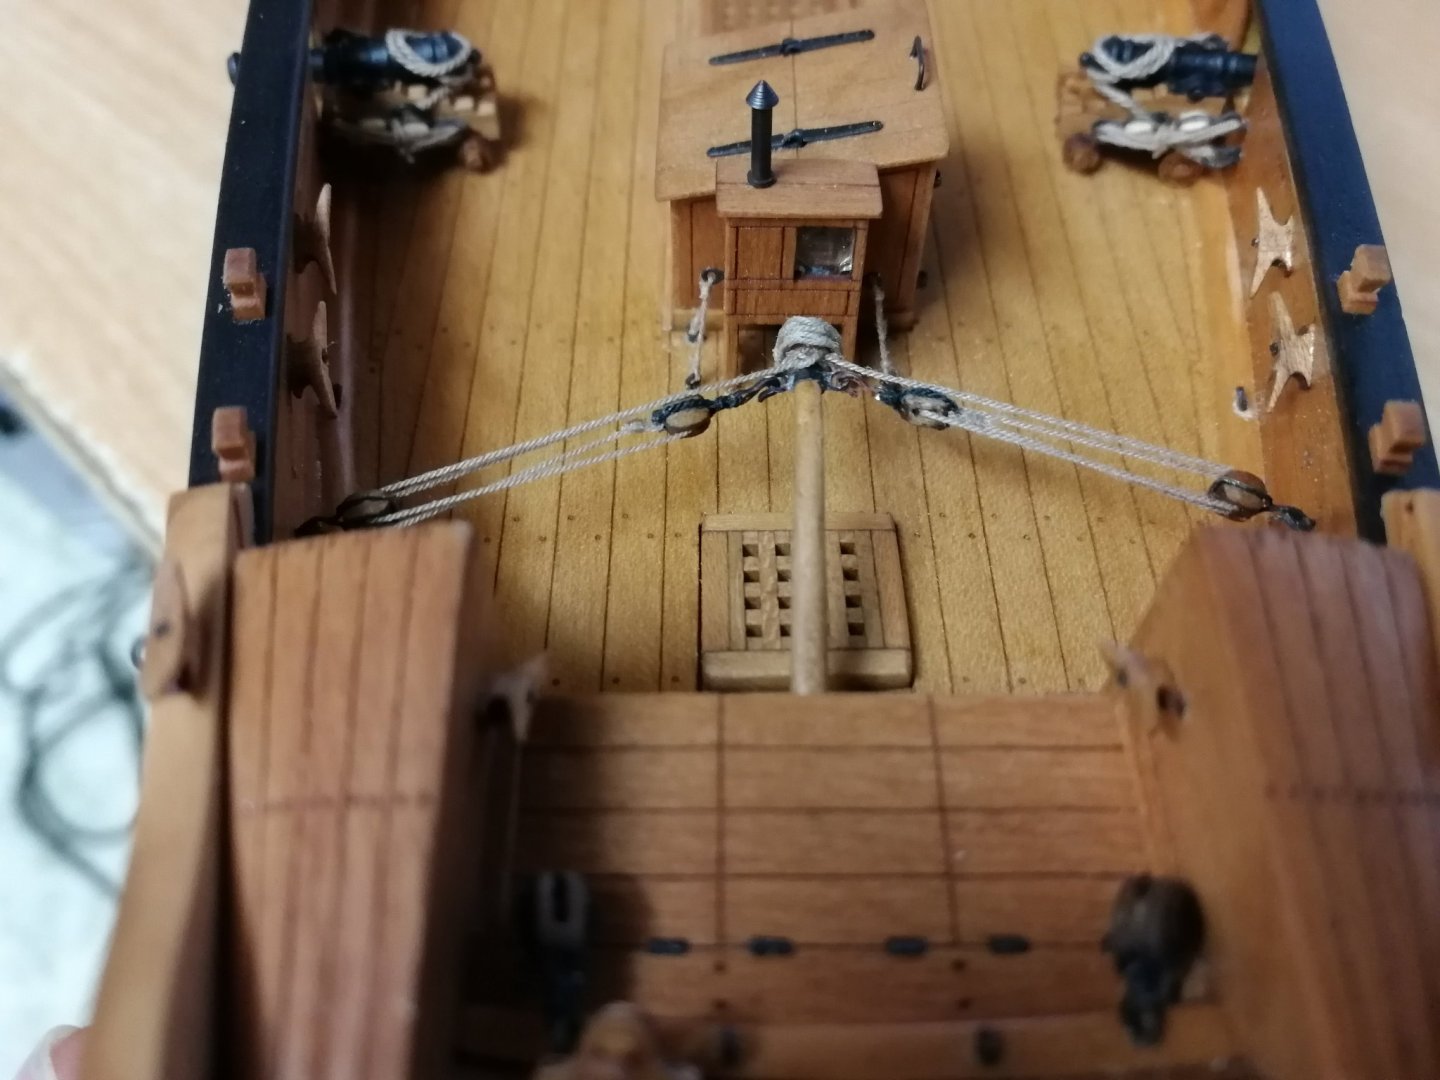
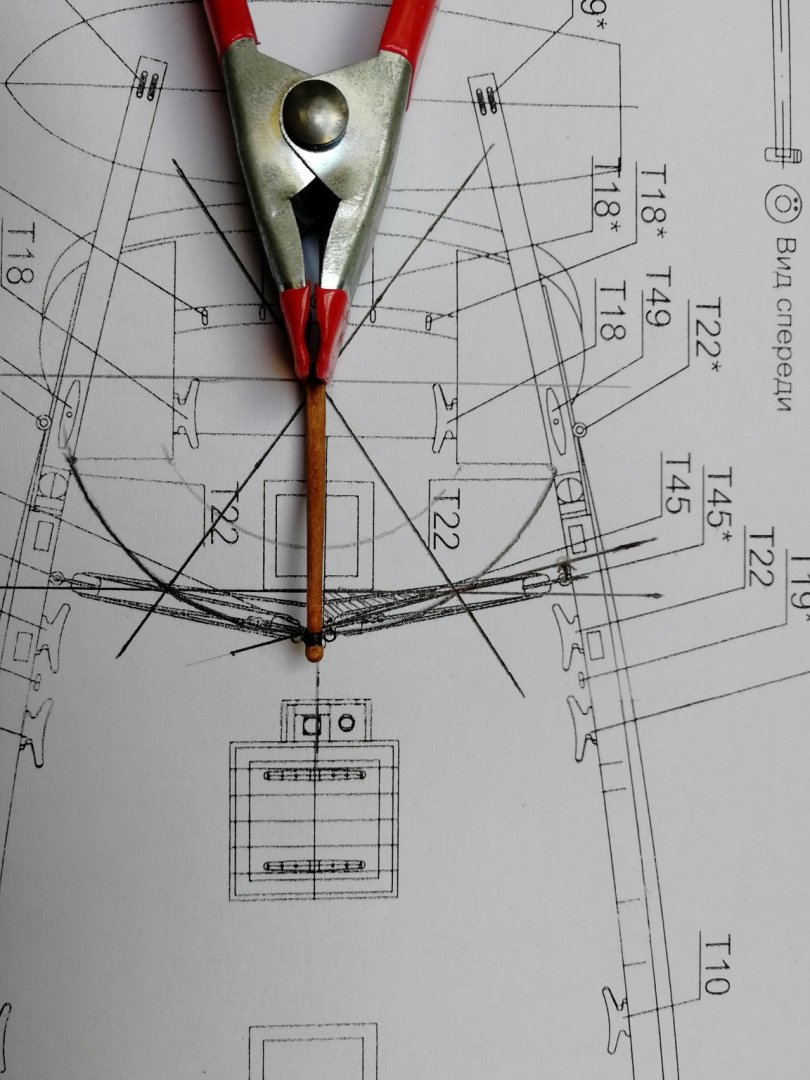
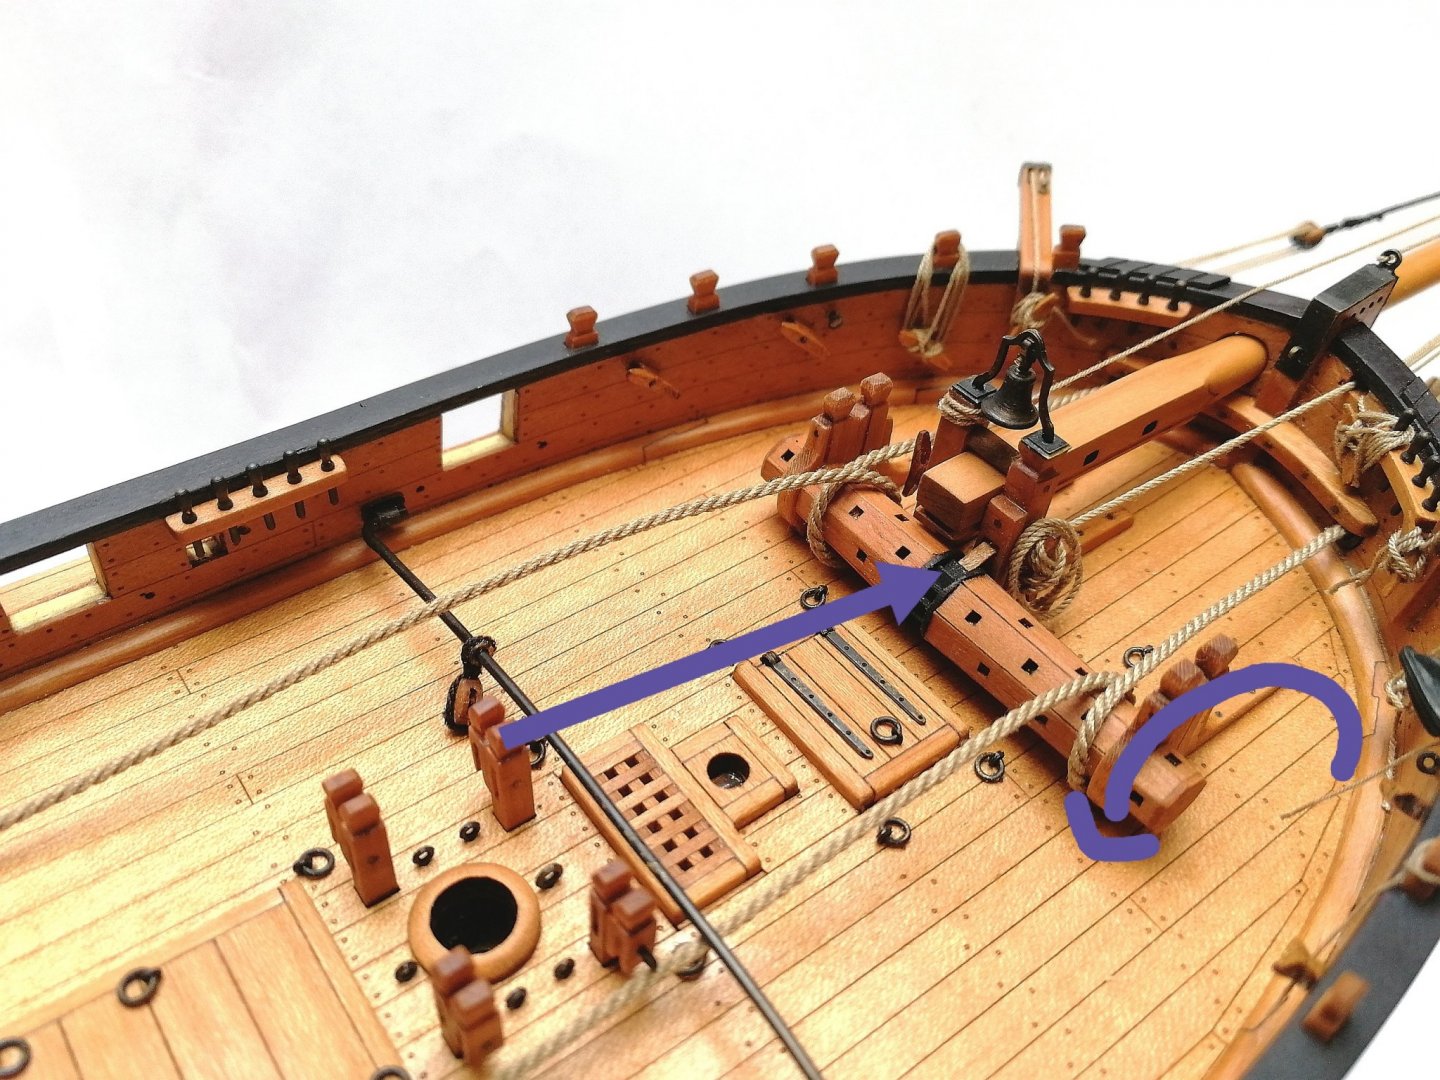
Adjustments of tiller tackles. According to the scheme from Dirk I draw the lines to AVOS plans to see how much I need to move the bulwark double blocks. It turned out that not much which is great as it will not be in the way of latrine doors. I have take the tiller out of the model and made Iron belt with 2 eyes for tackle hooks And the result (the coil will be replaced later) It looks much cleaner then before..


- 315 replies
-
- 14
-
-
- master korabel
- avos
- (and 1 more)
-
Hi Dirk, thanks for your comment. Looking at your picture it is clear that the tiller has to move around the circle which the setup from the kit will not allow! I had this section in mind for a long time. I plan to re-do it anyways. Use iron hooks instead of strap on the tiller (so the tackle can be easily removed) and also I will look at the possibility to move the bulwark block more aft.
- 315 replies
-
- 6
-
-
- master korabel
- avos
- (and 1 more)
-
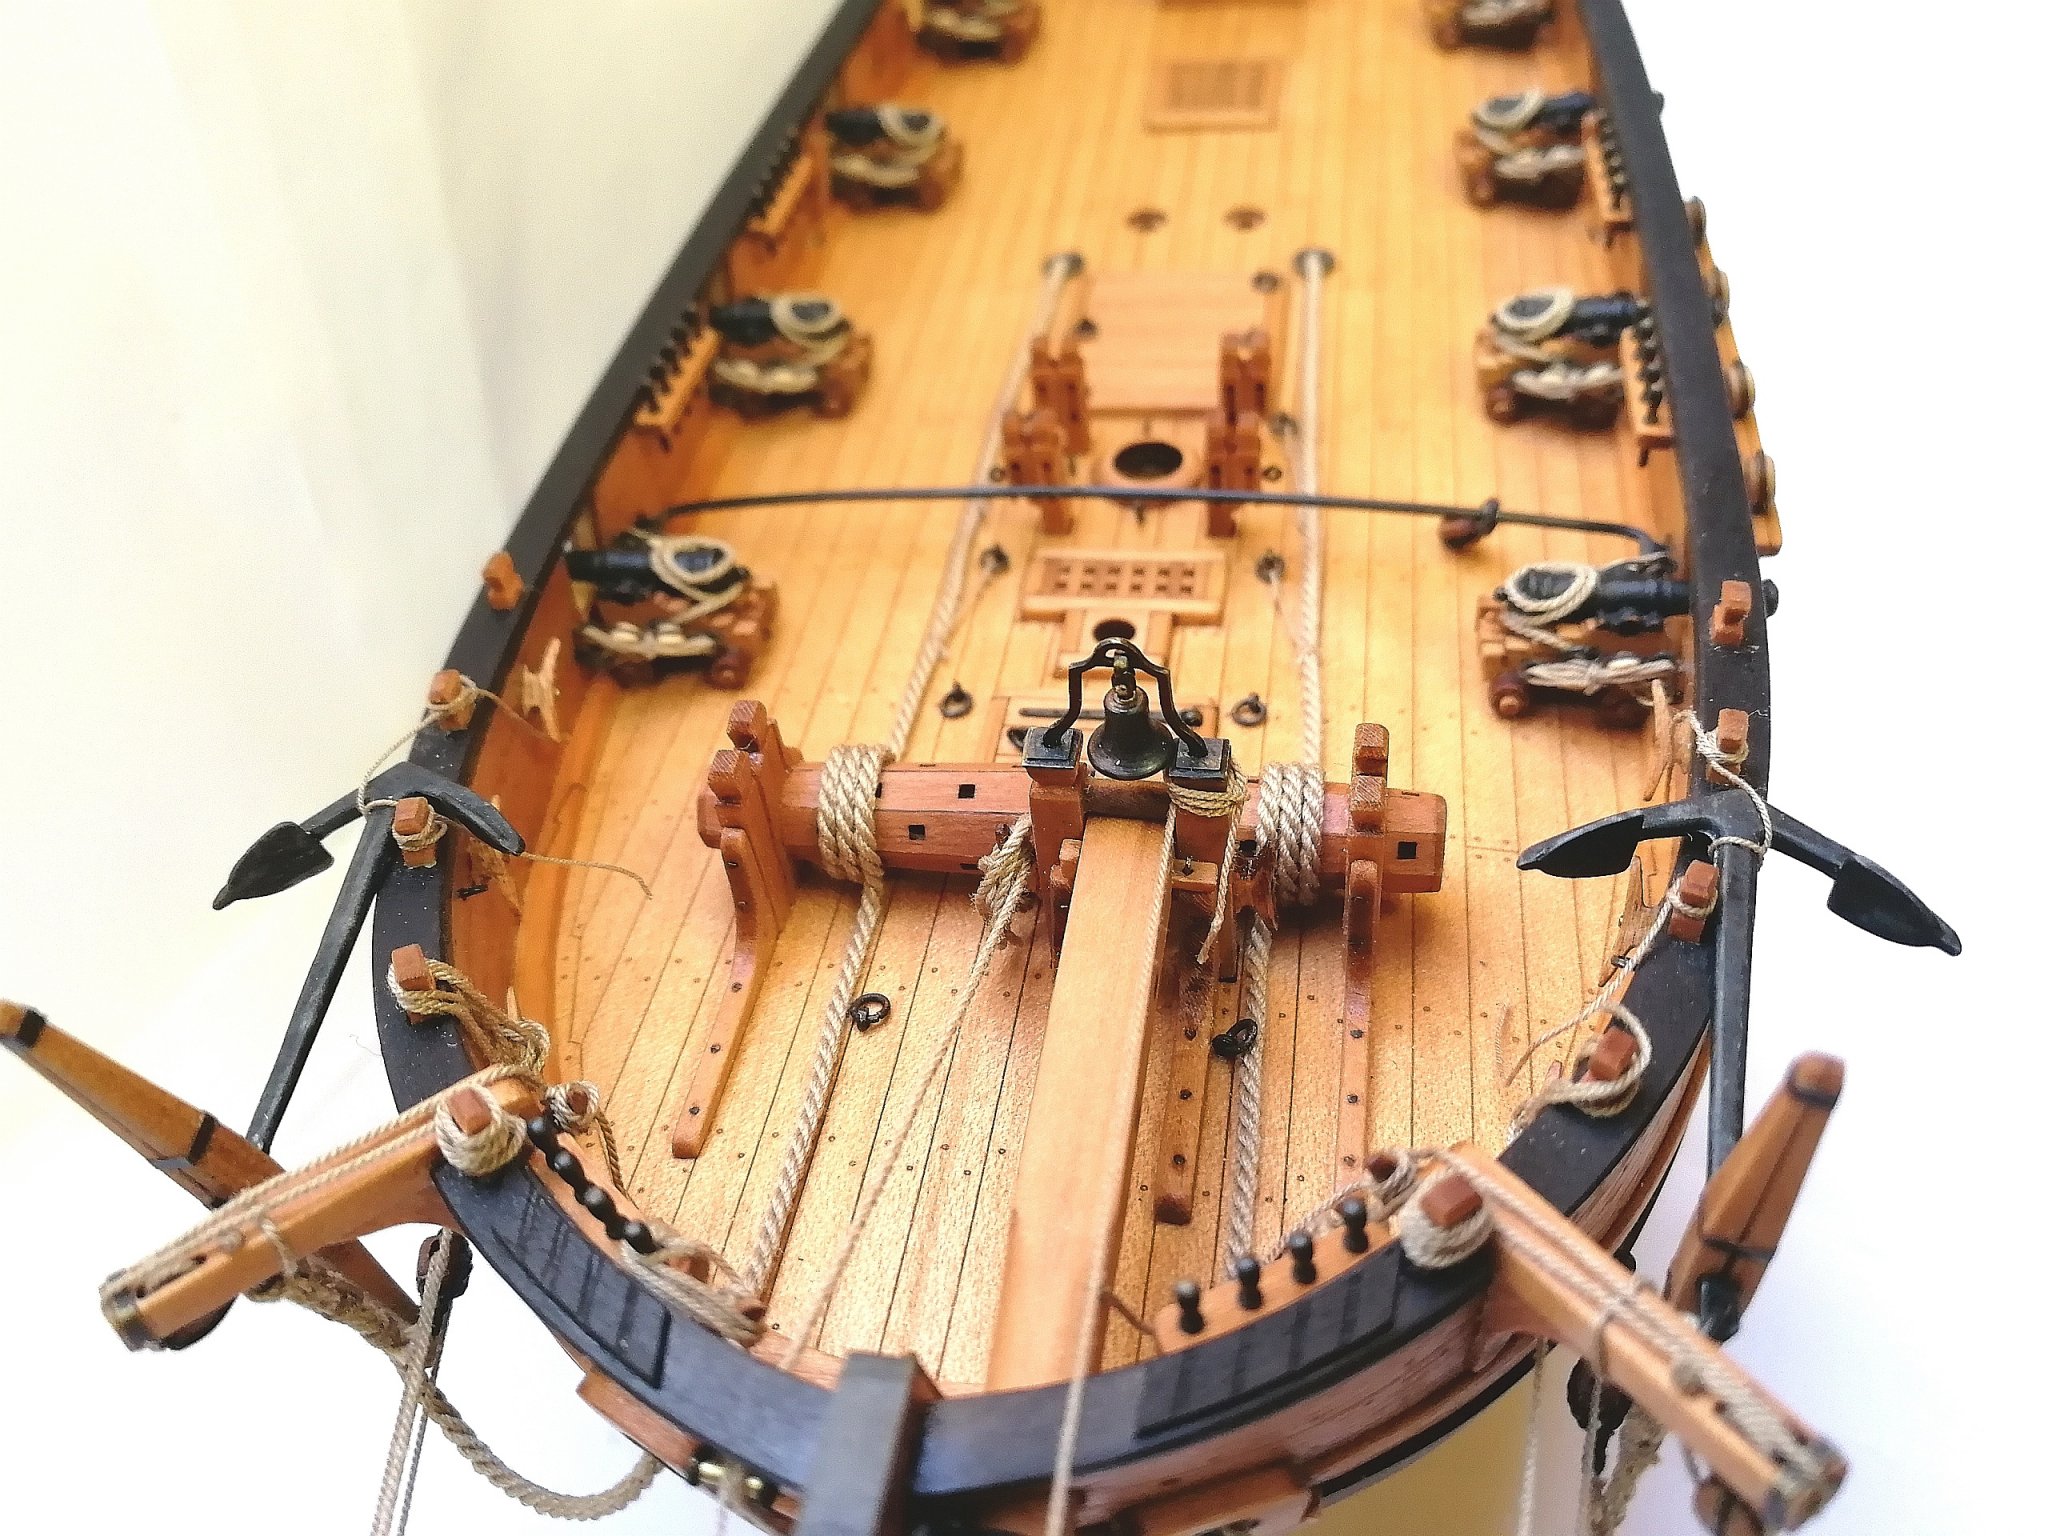
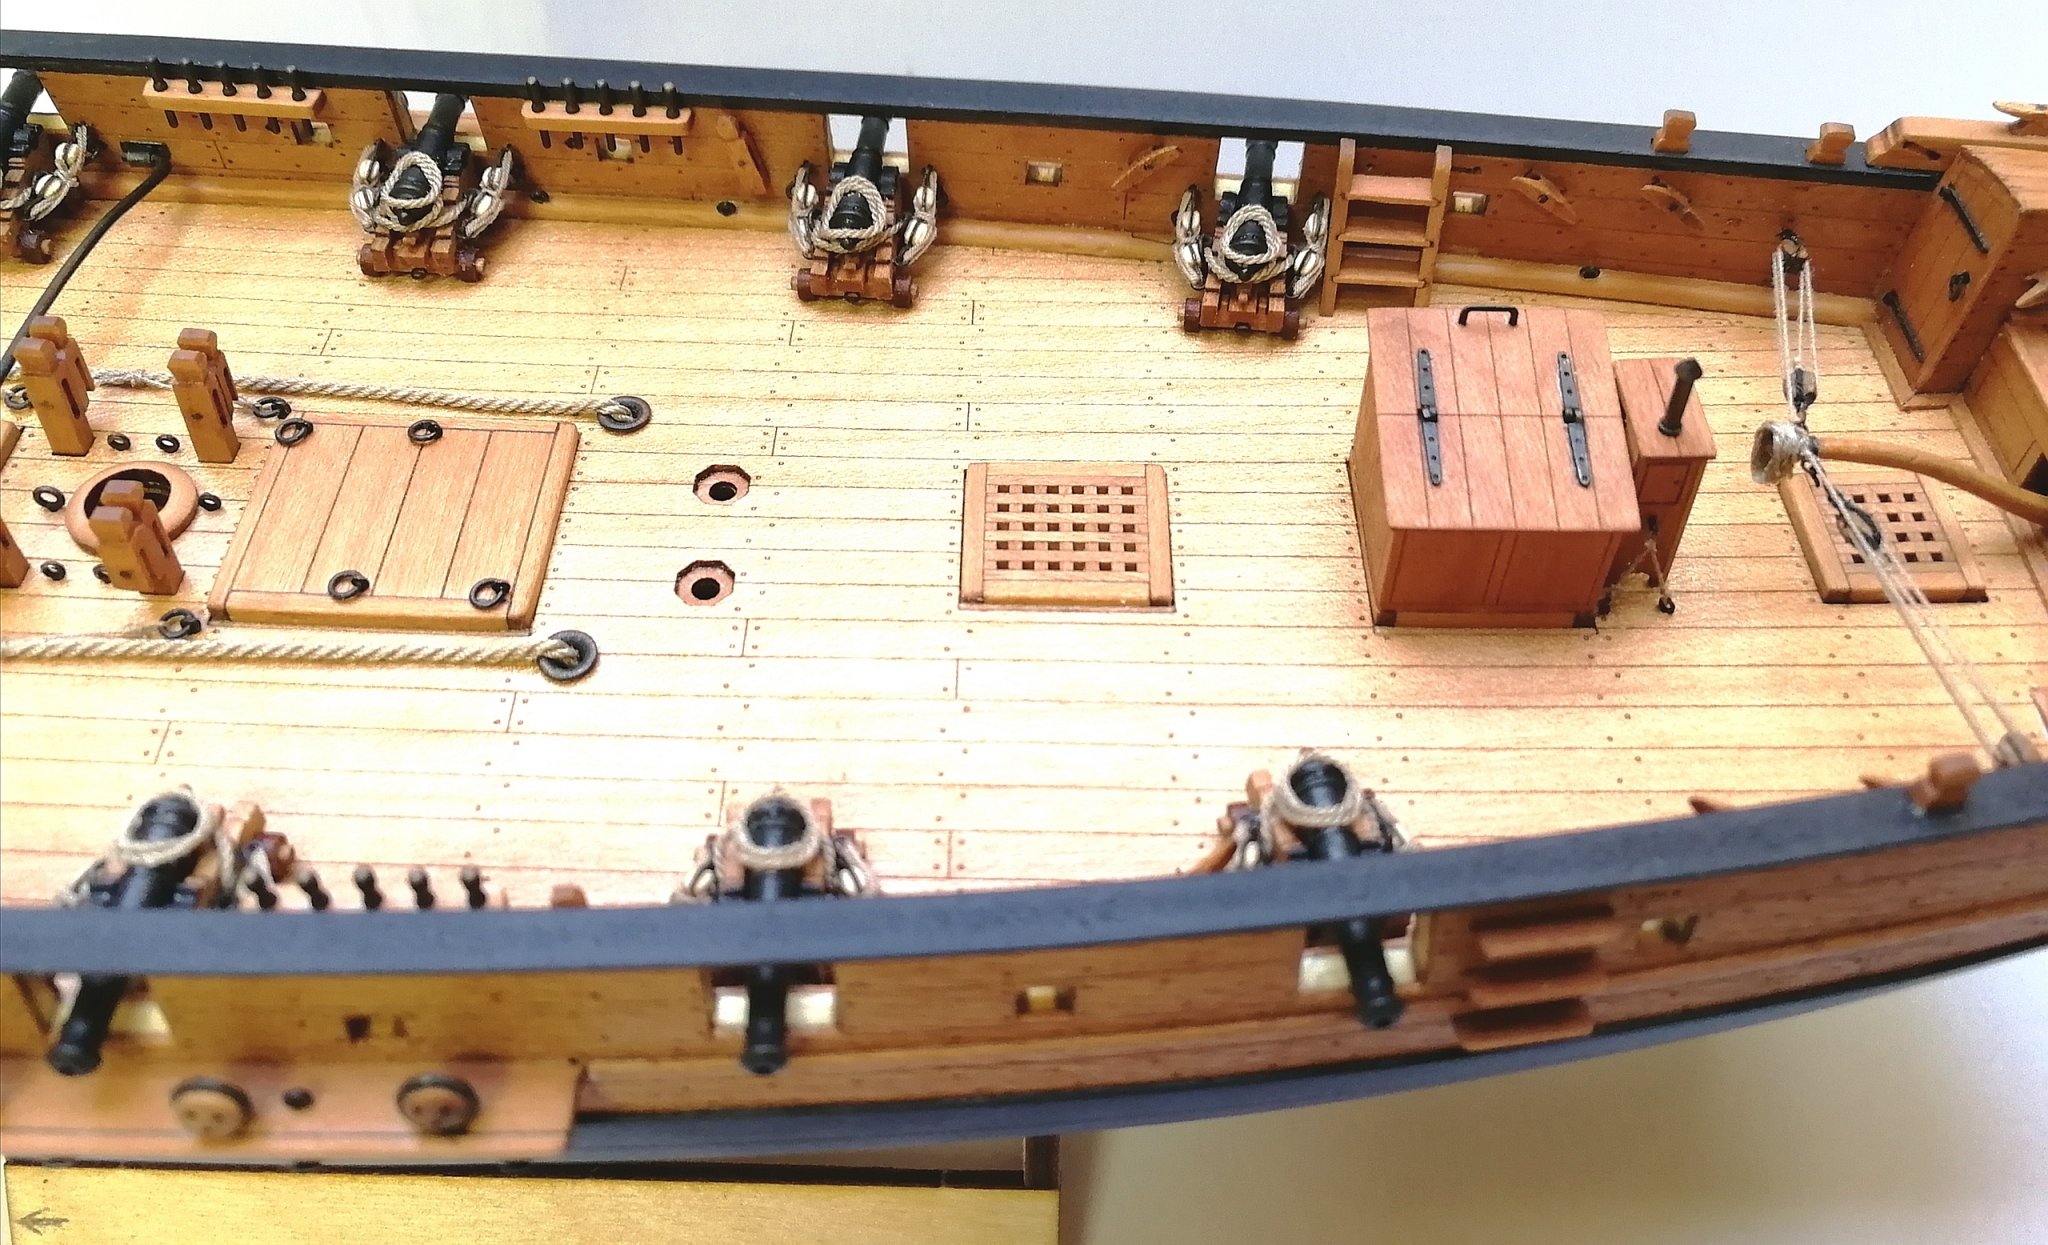
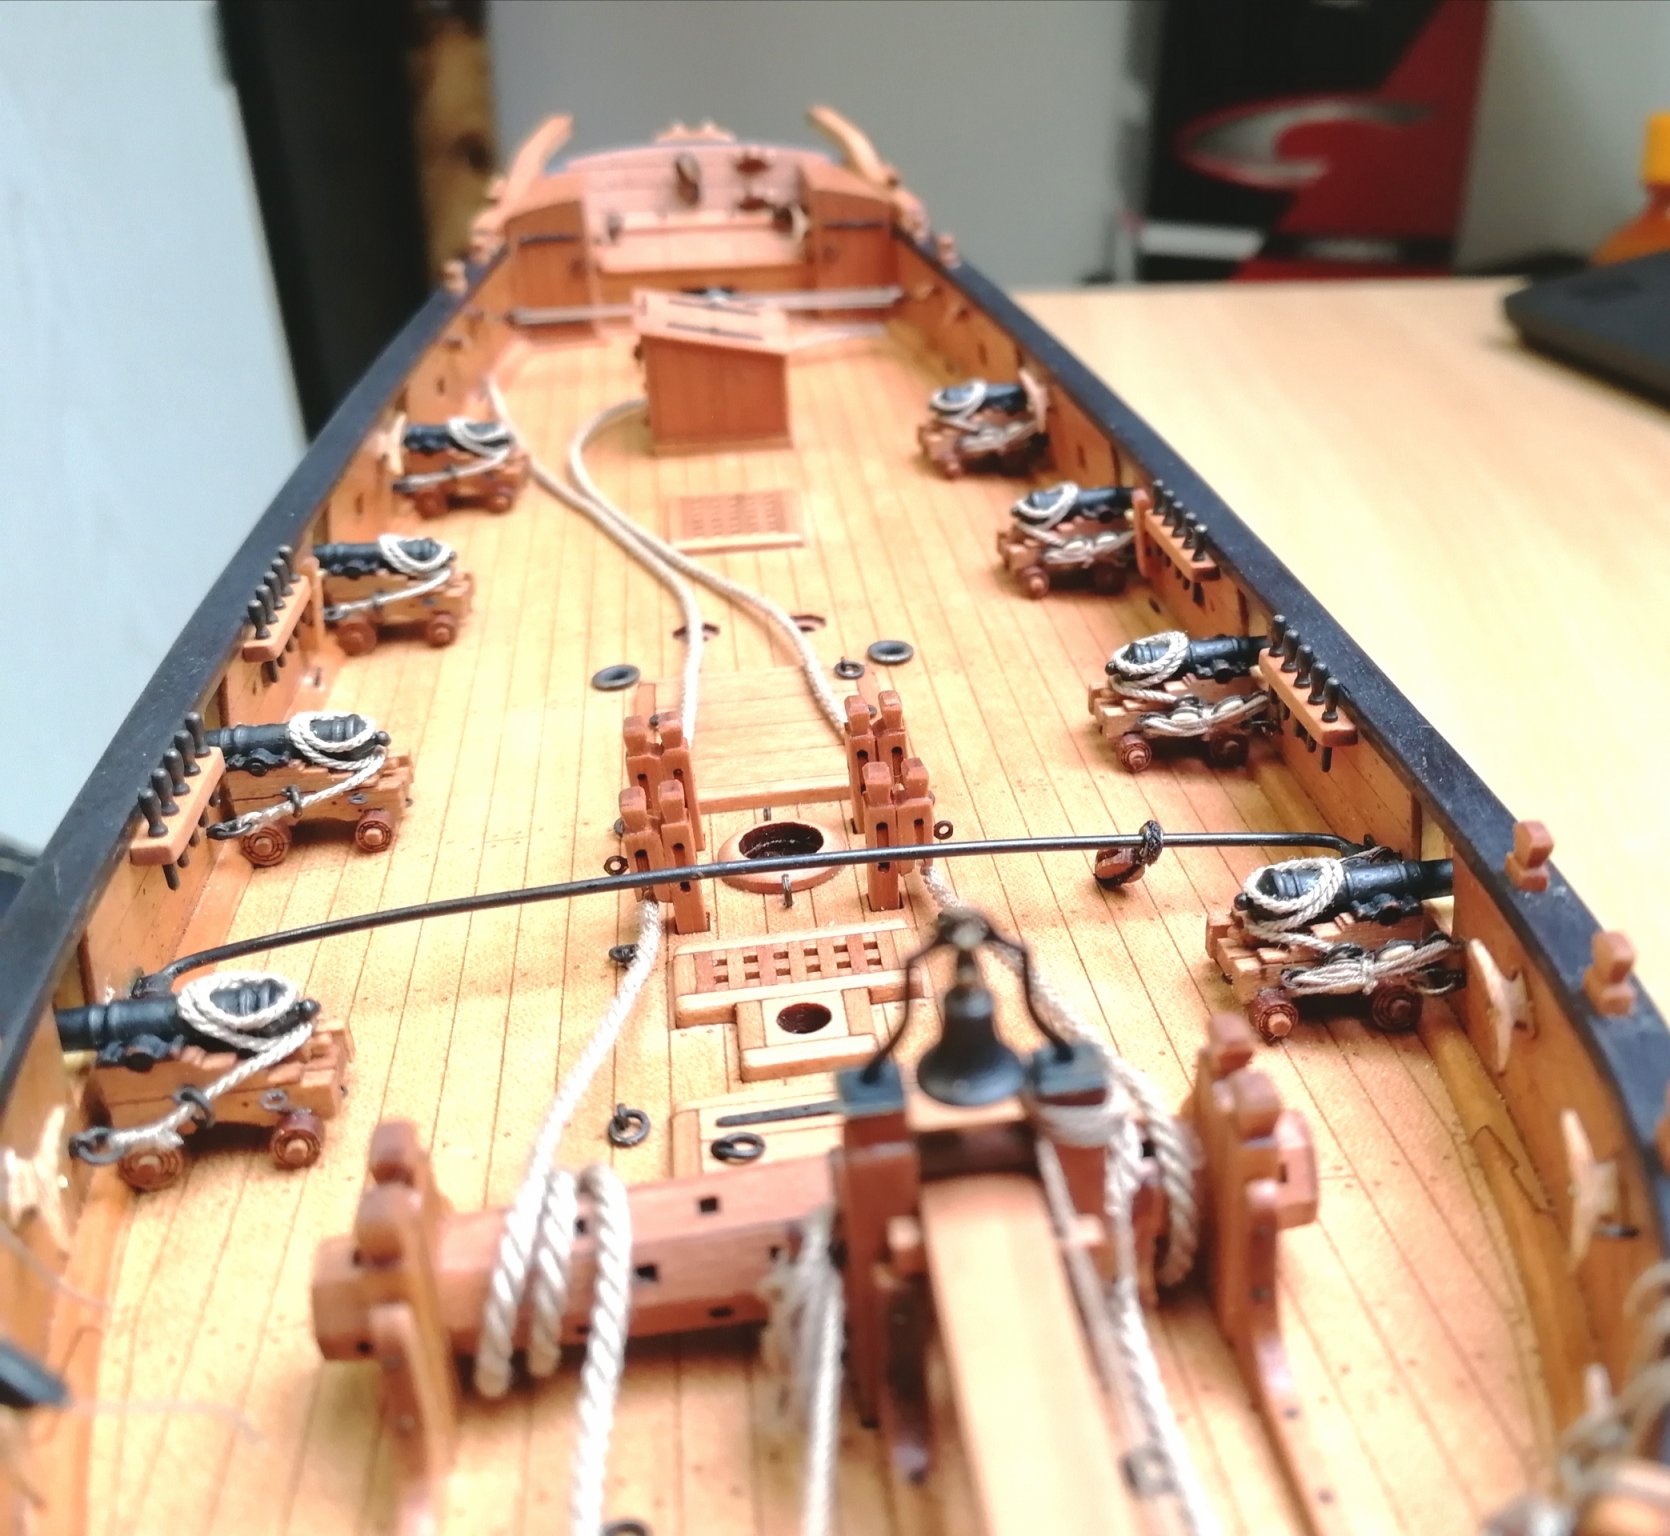
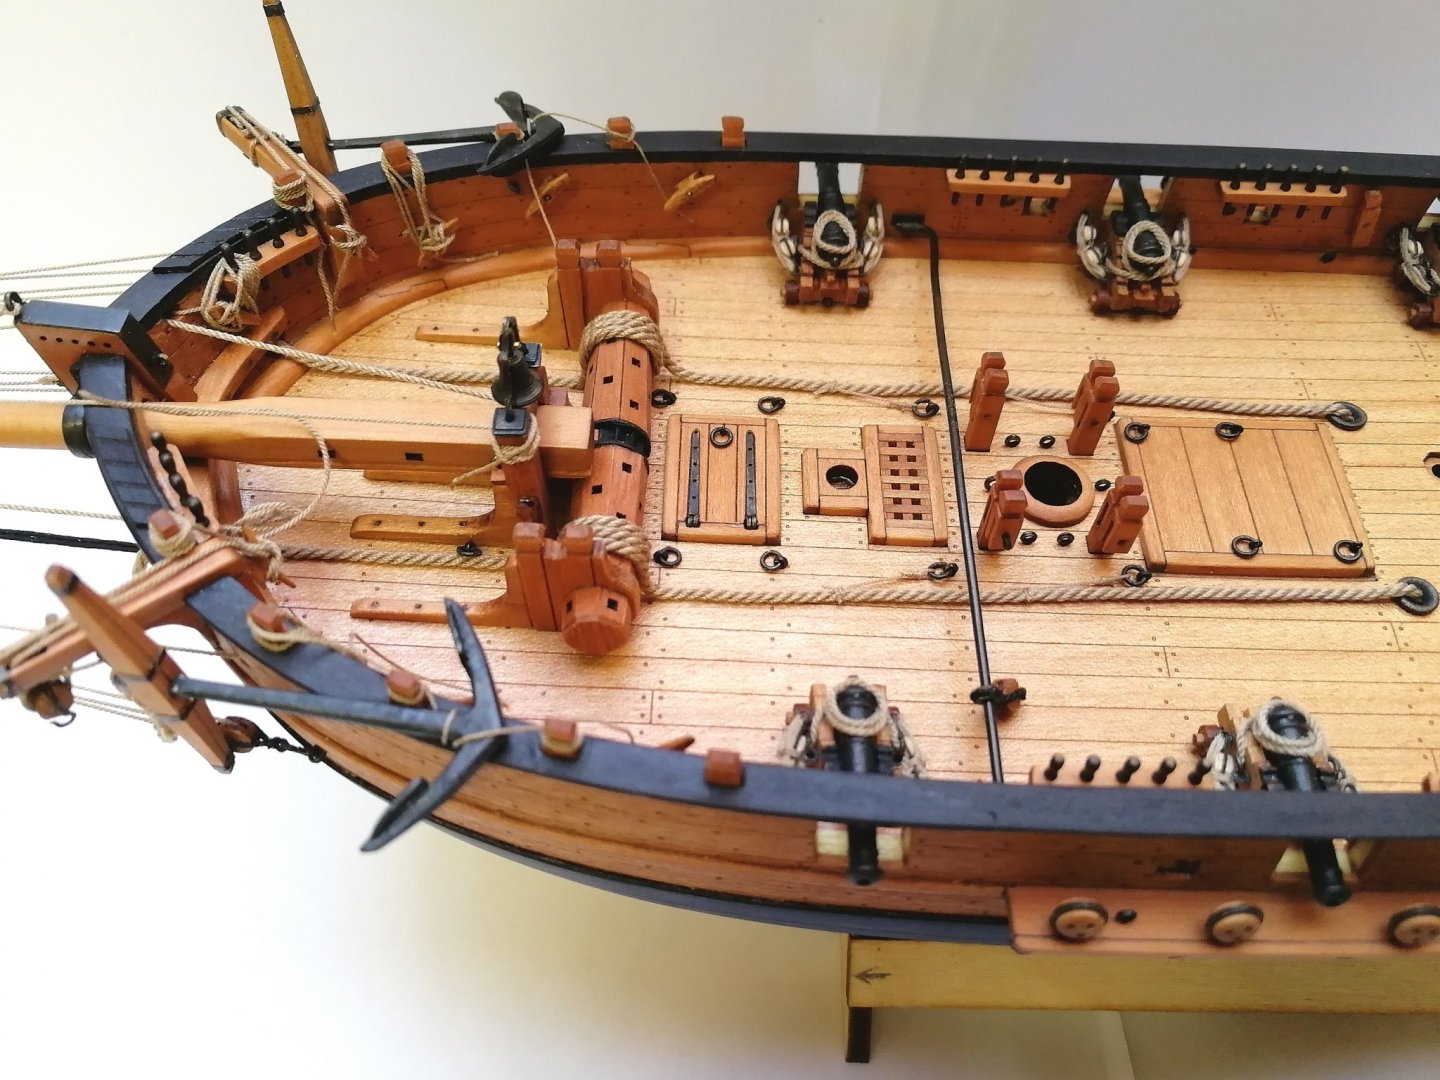
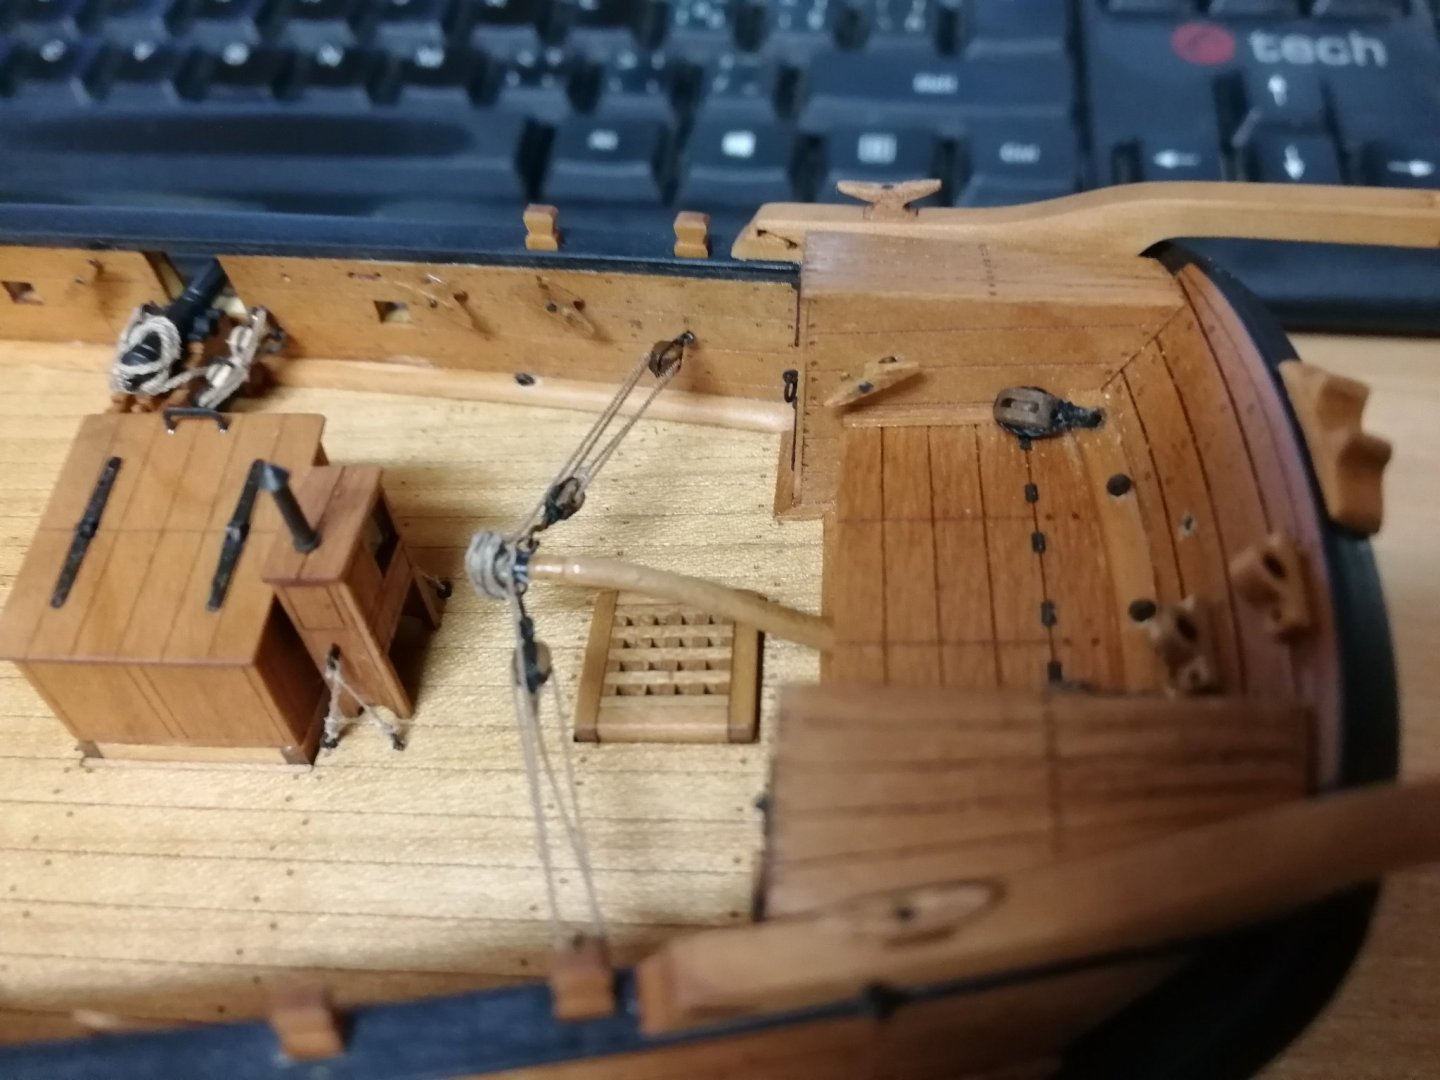
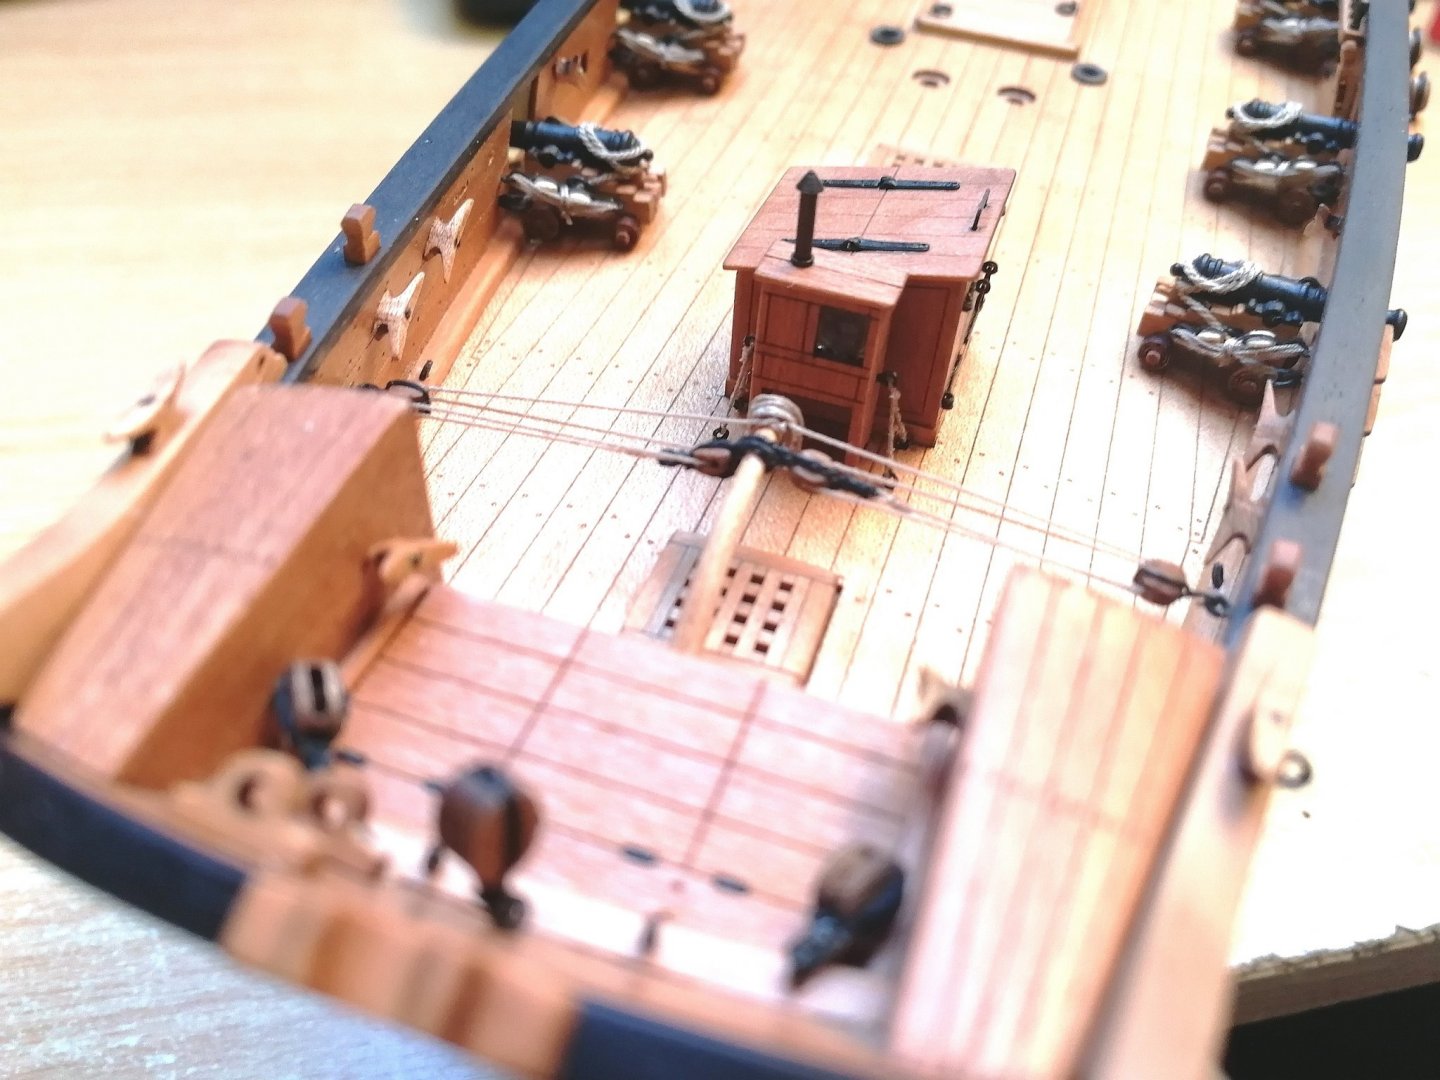
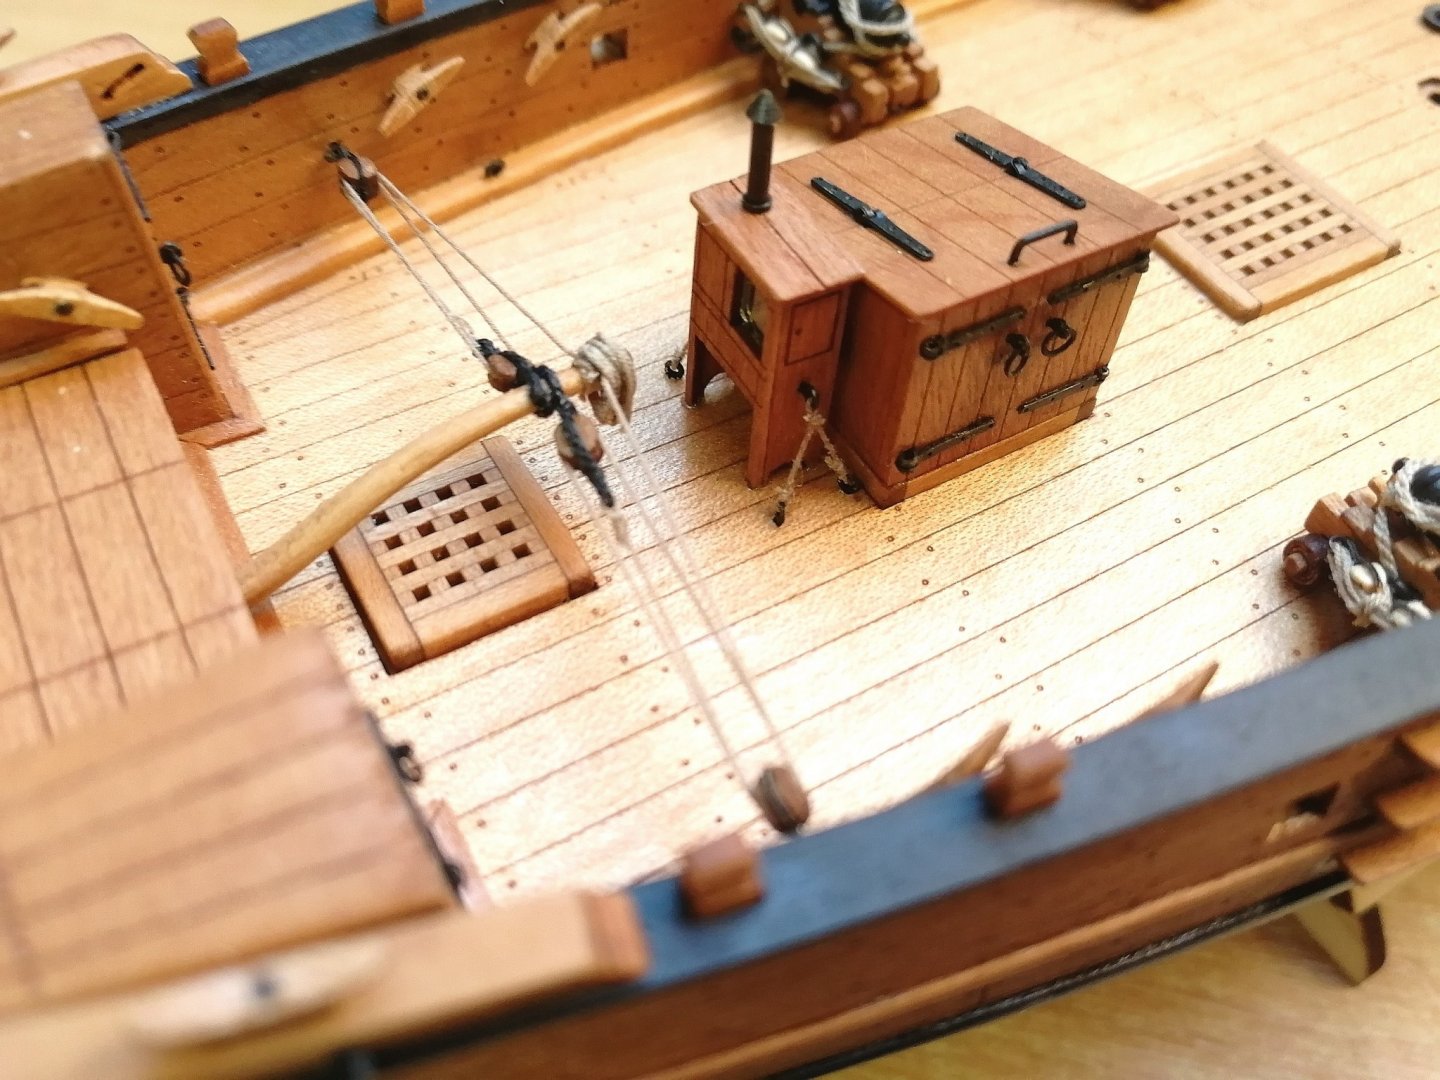
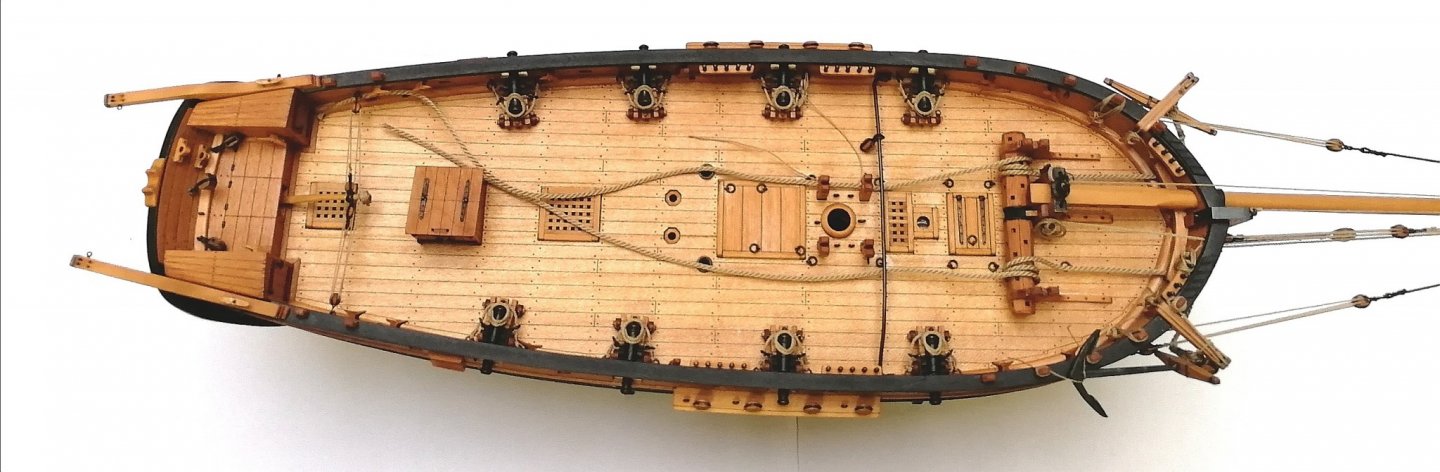
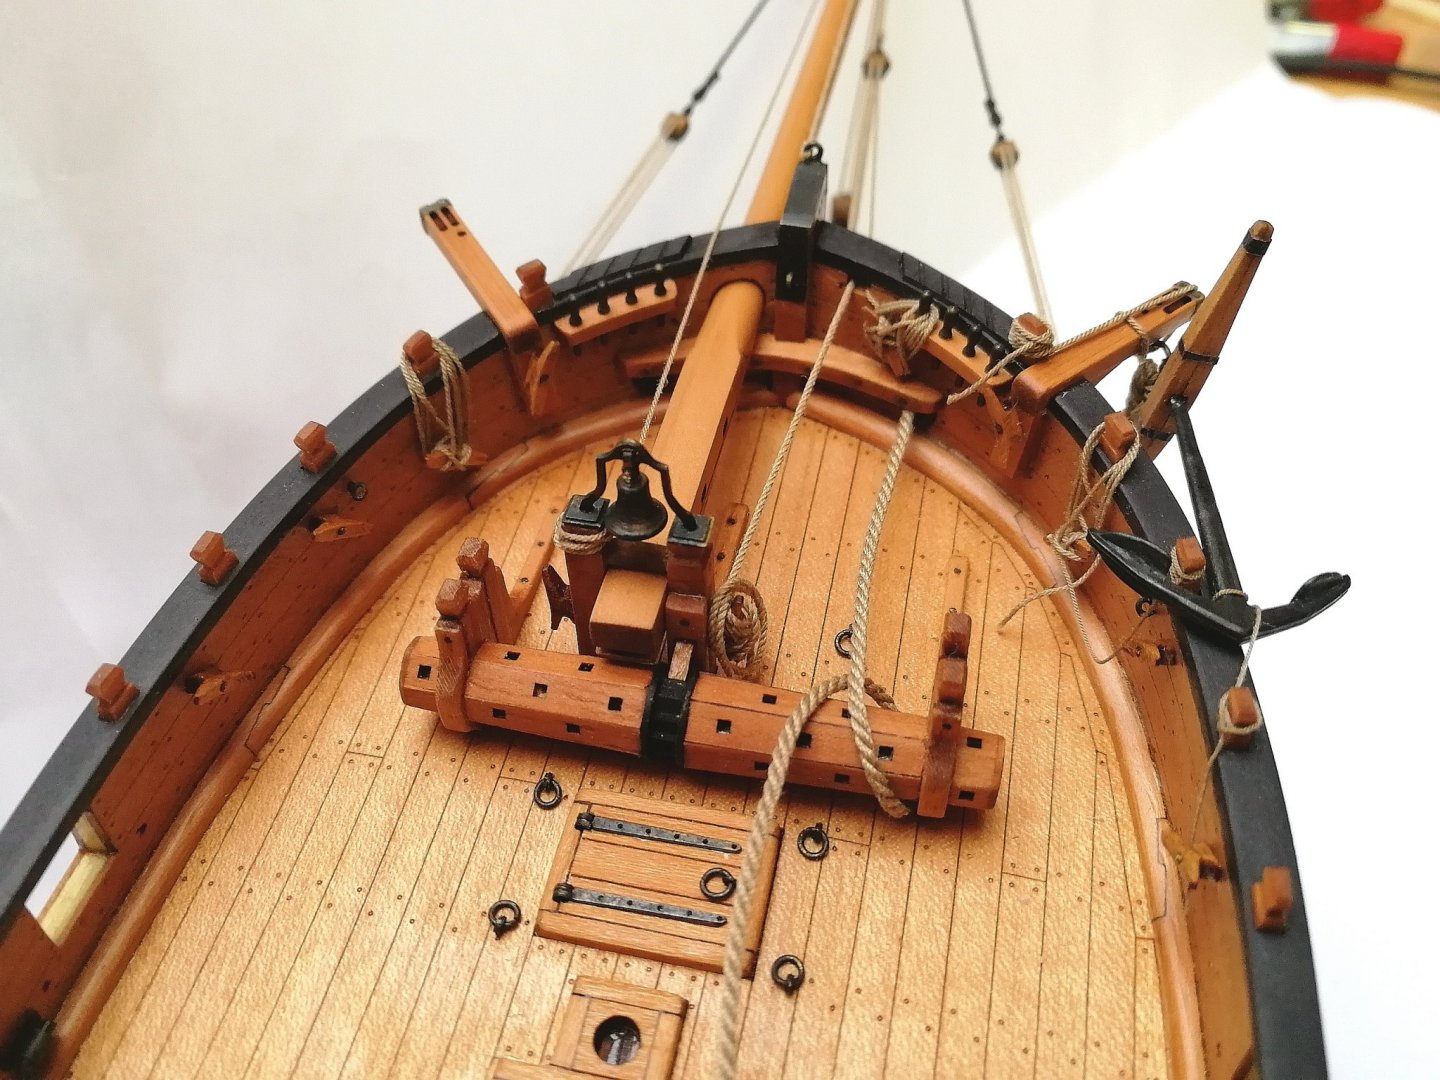
Binnacle house and companionway secured on the deck.
- 315 replies
-
- 13
-
-
- master korabel
- avos
- (and 1 more)
-
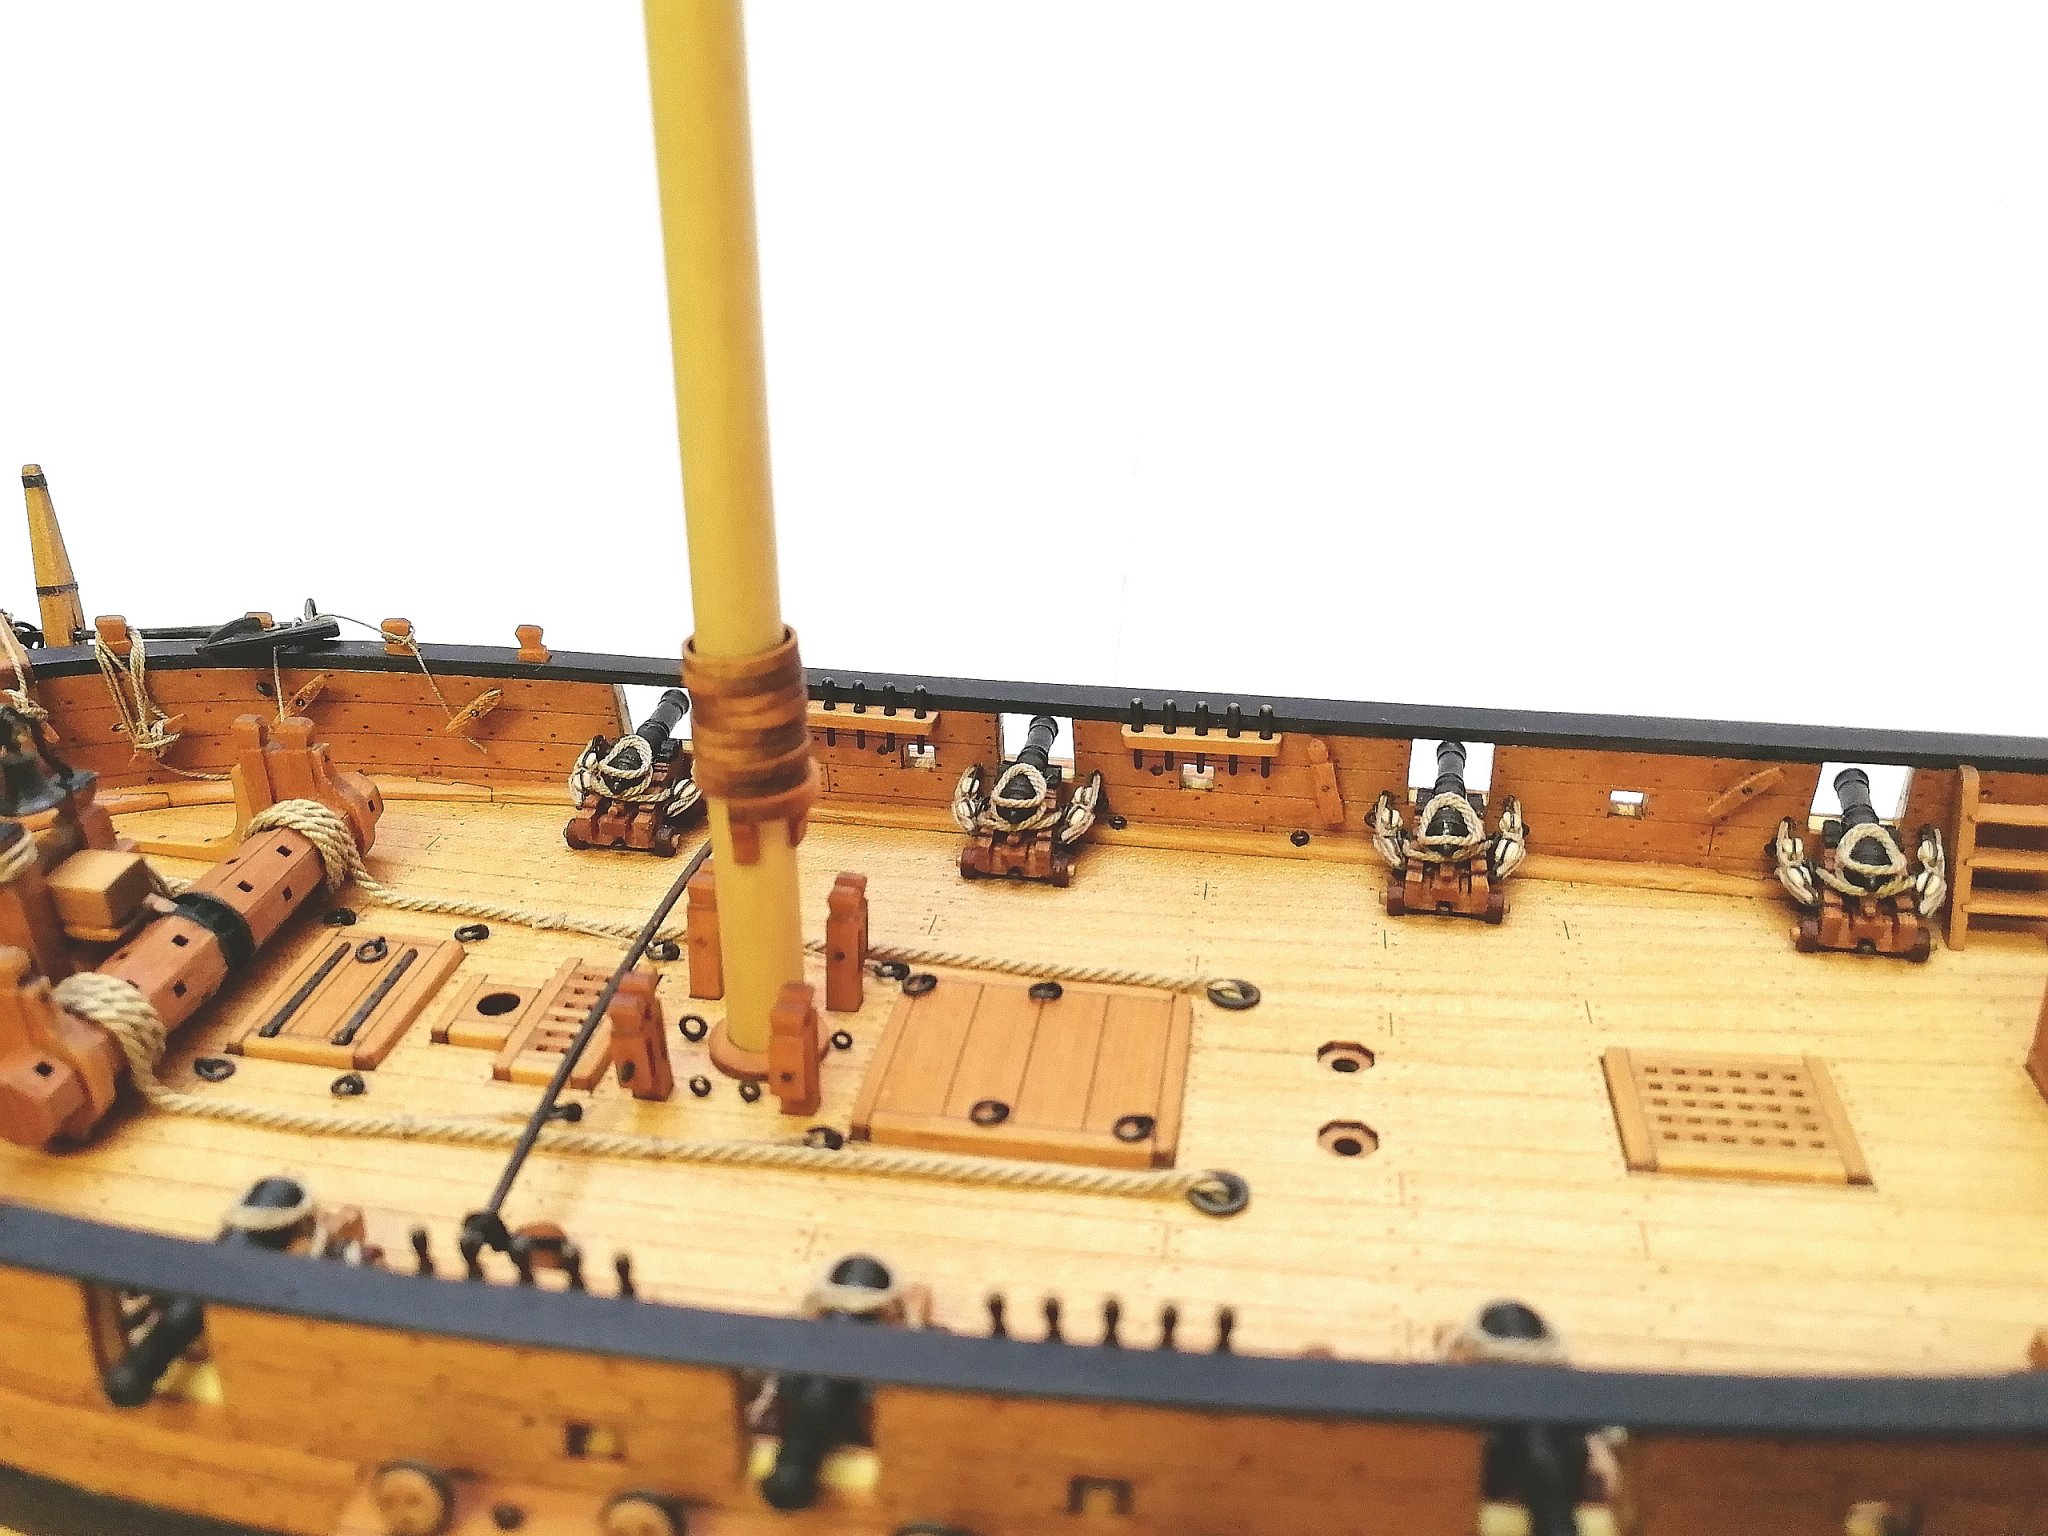
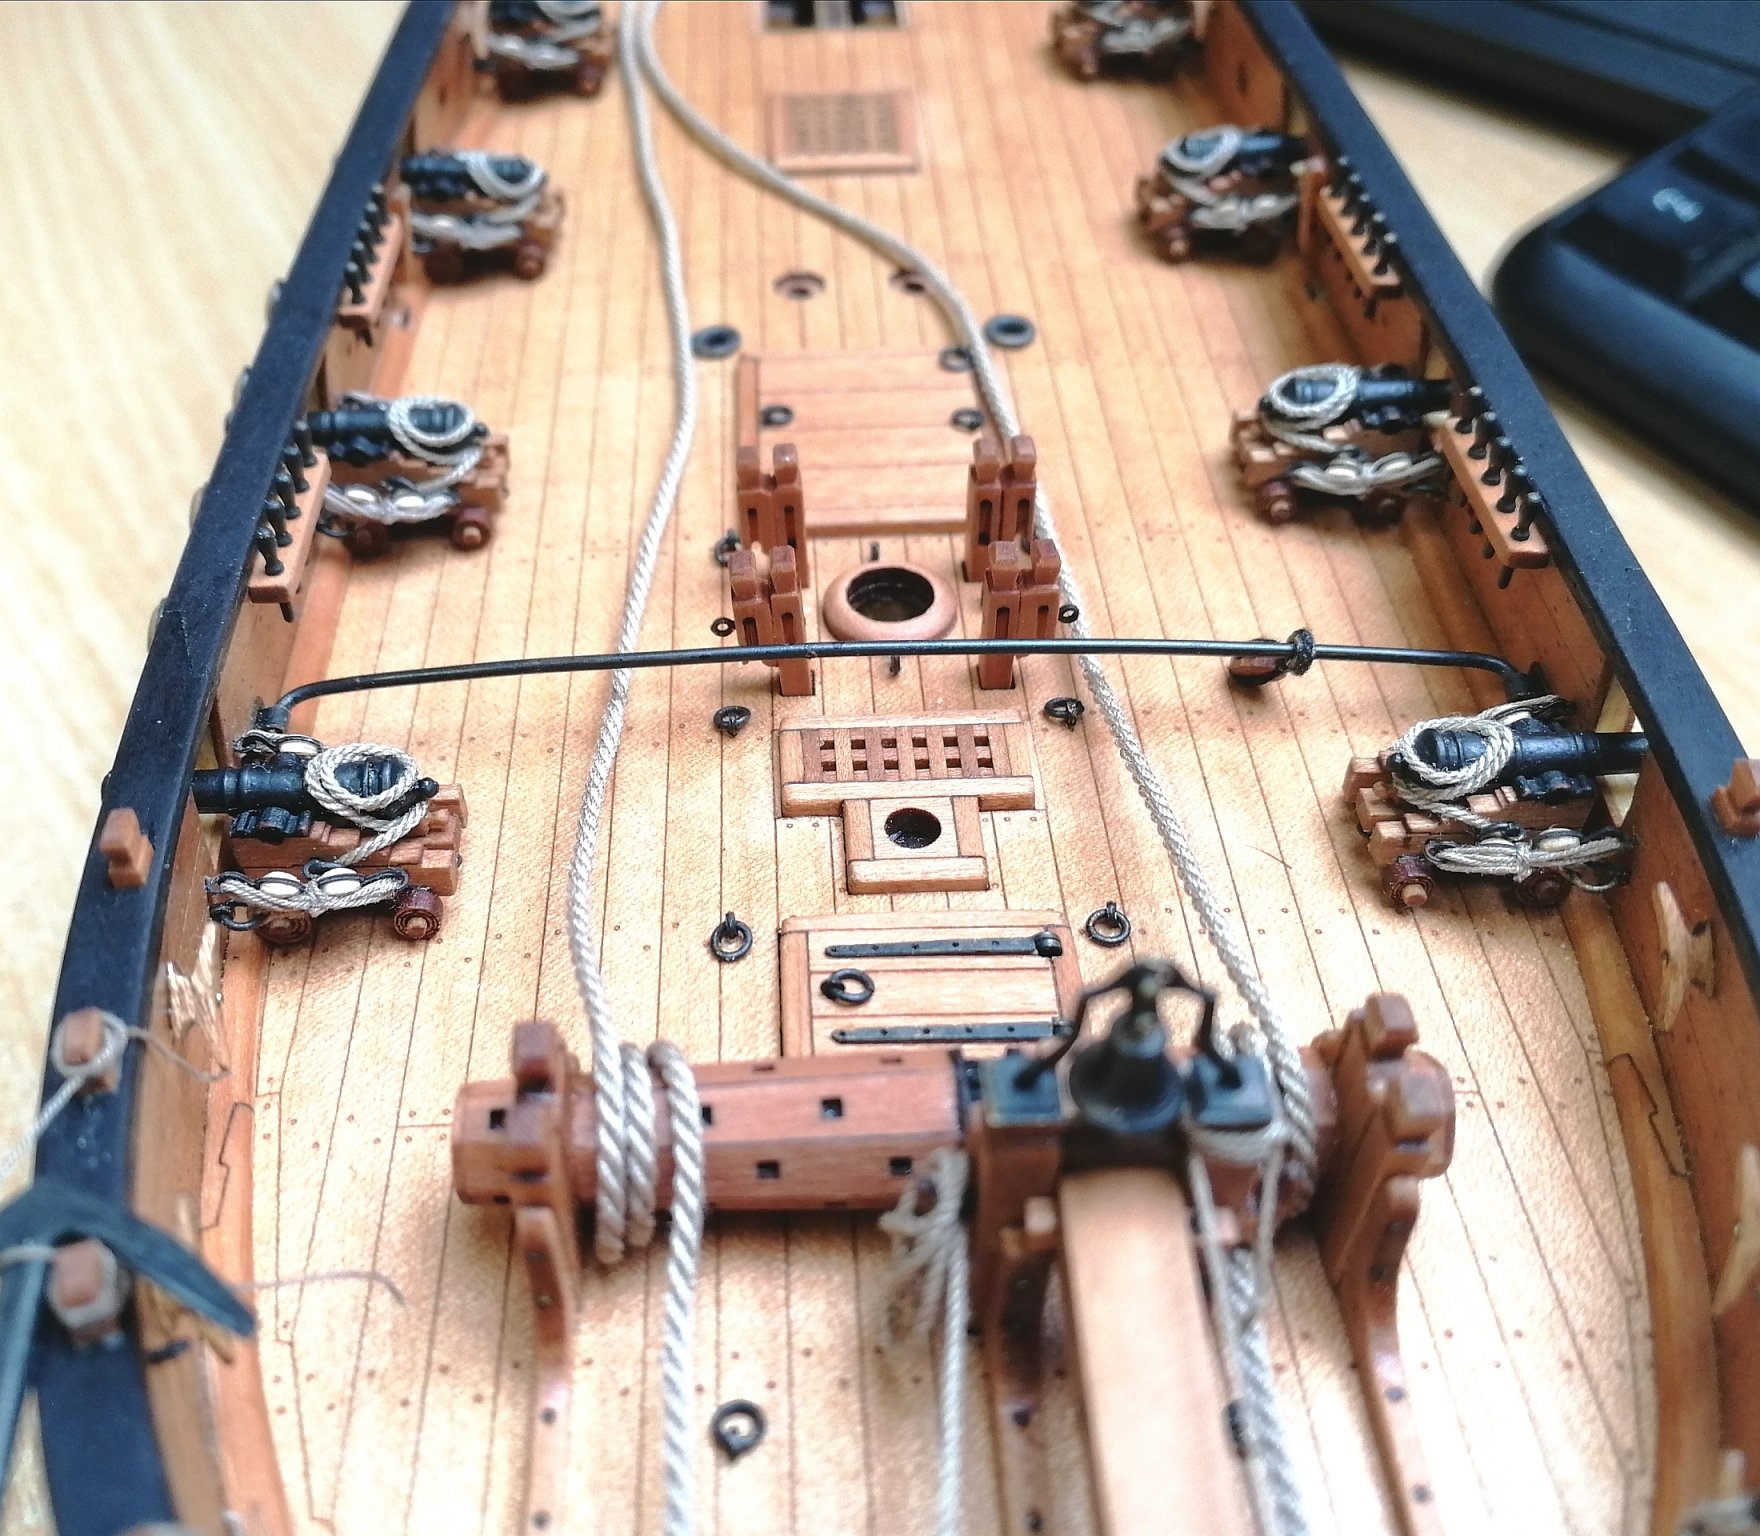
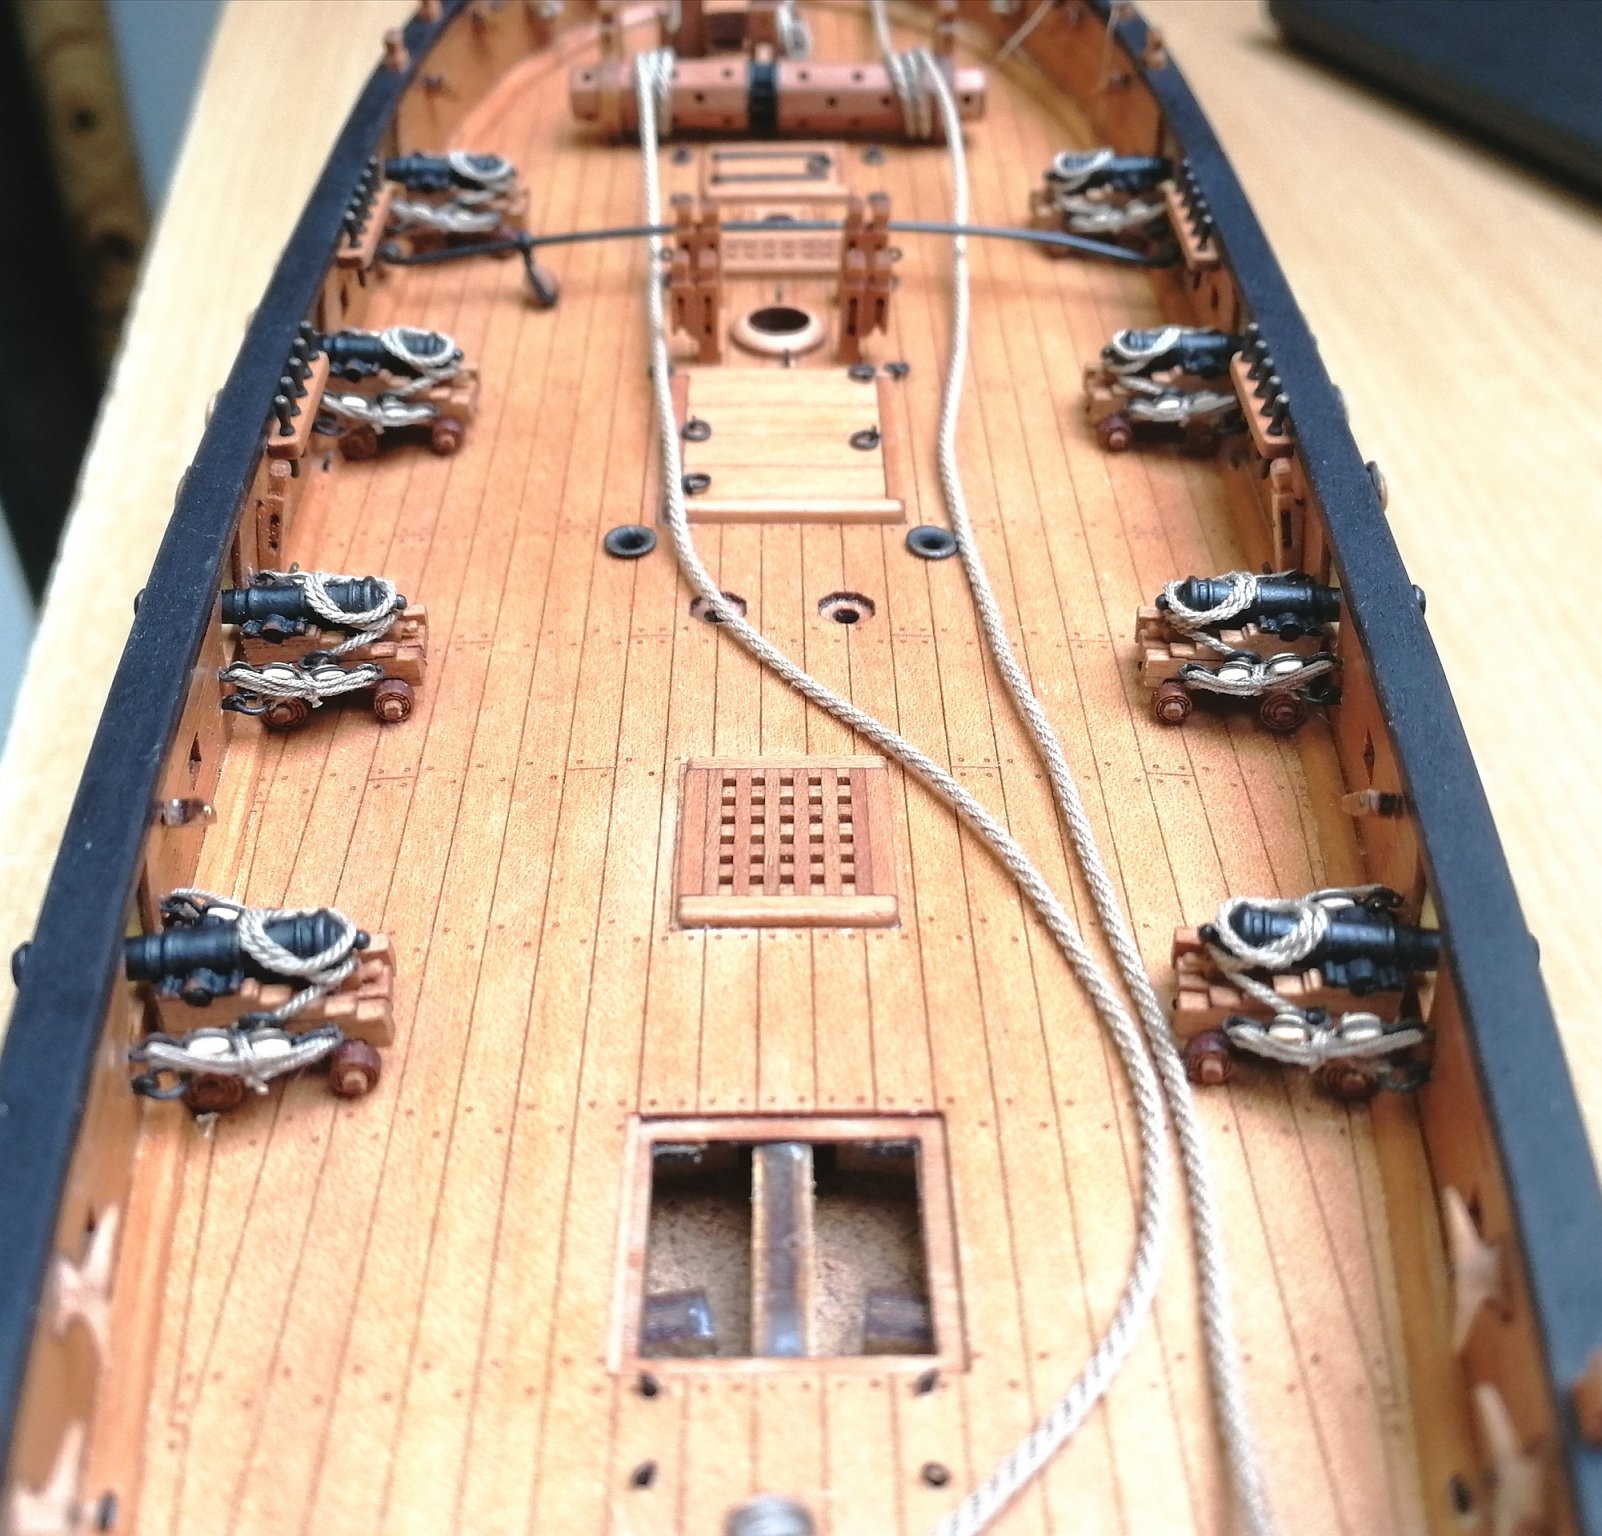
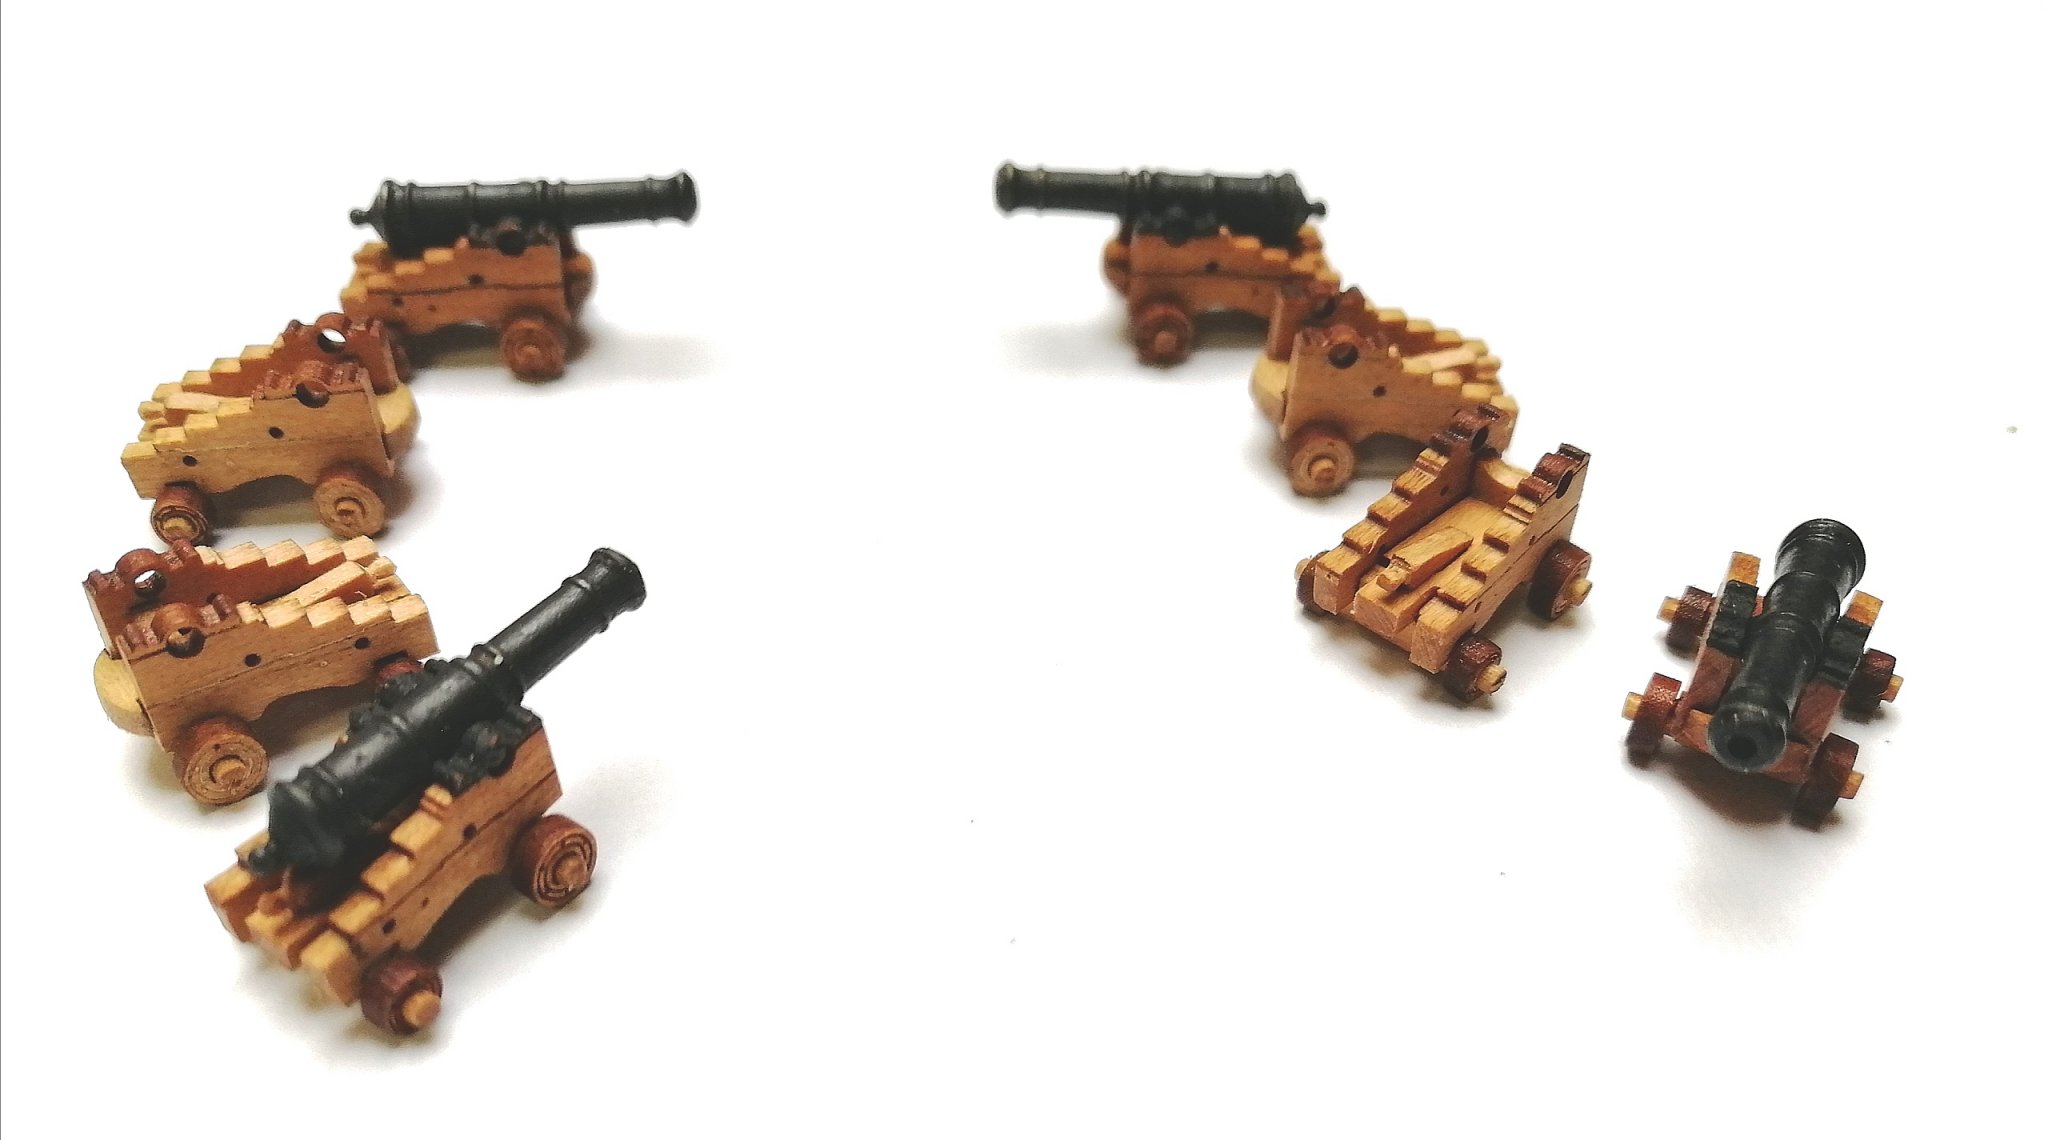
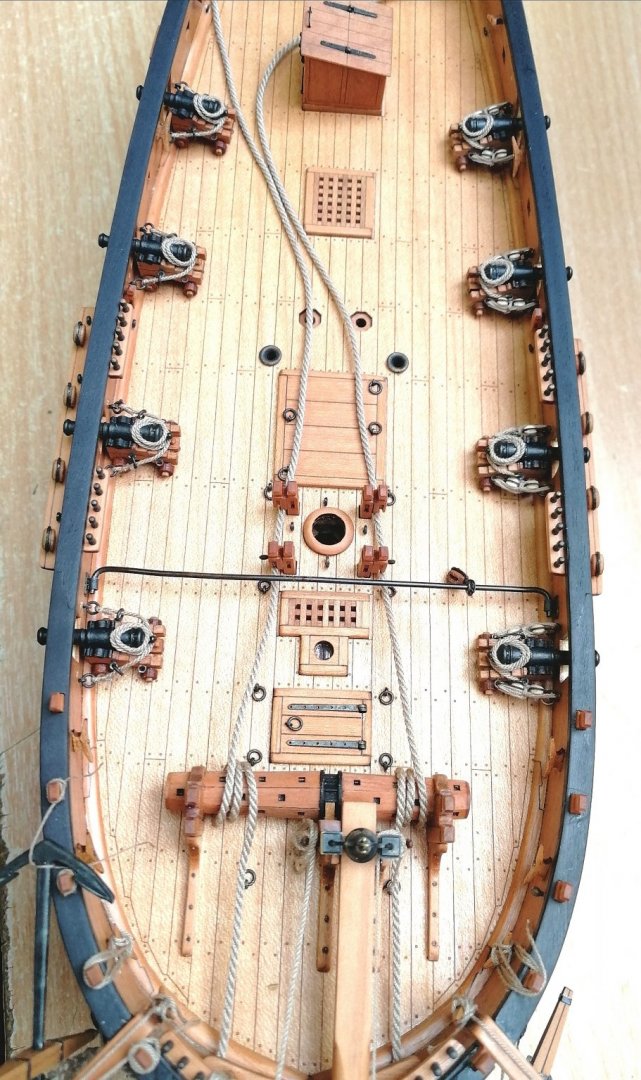
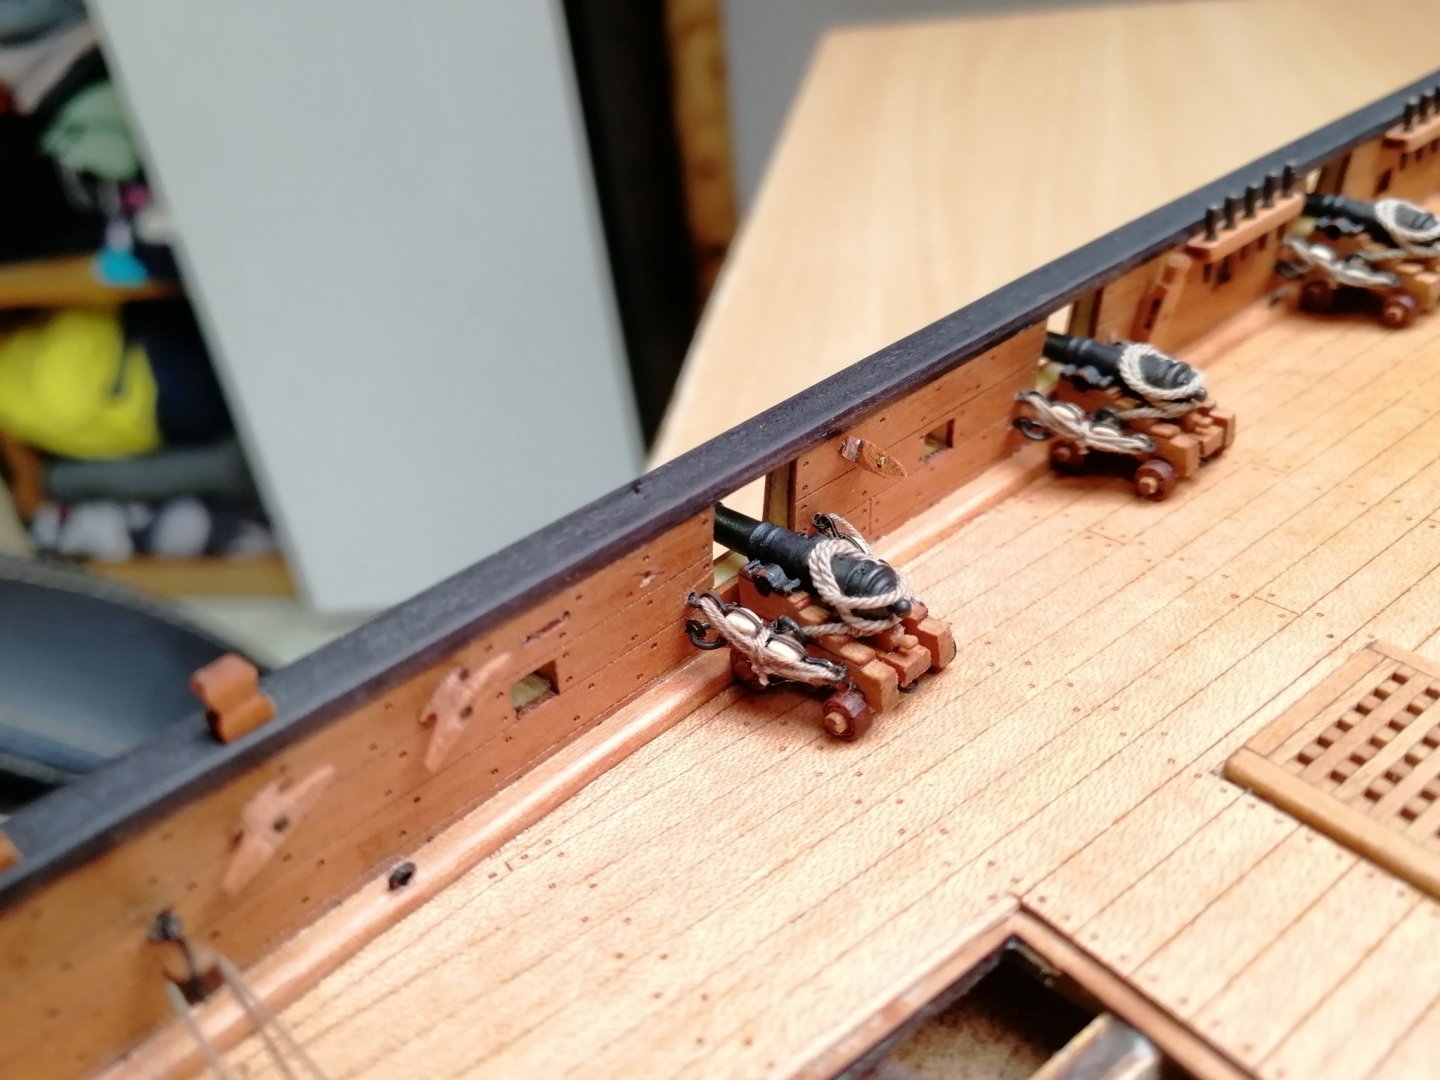
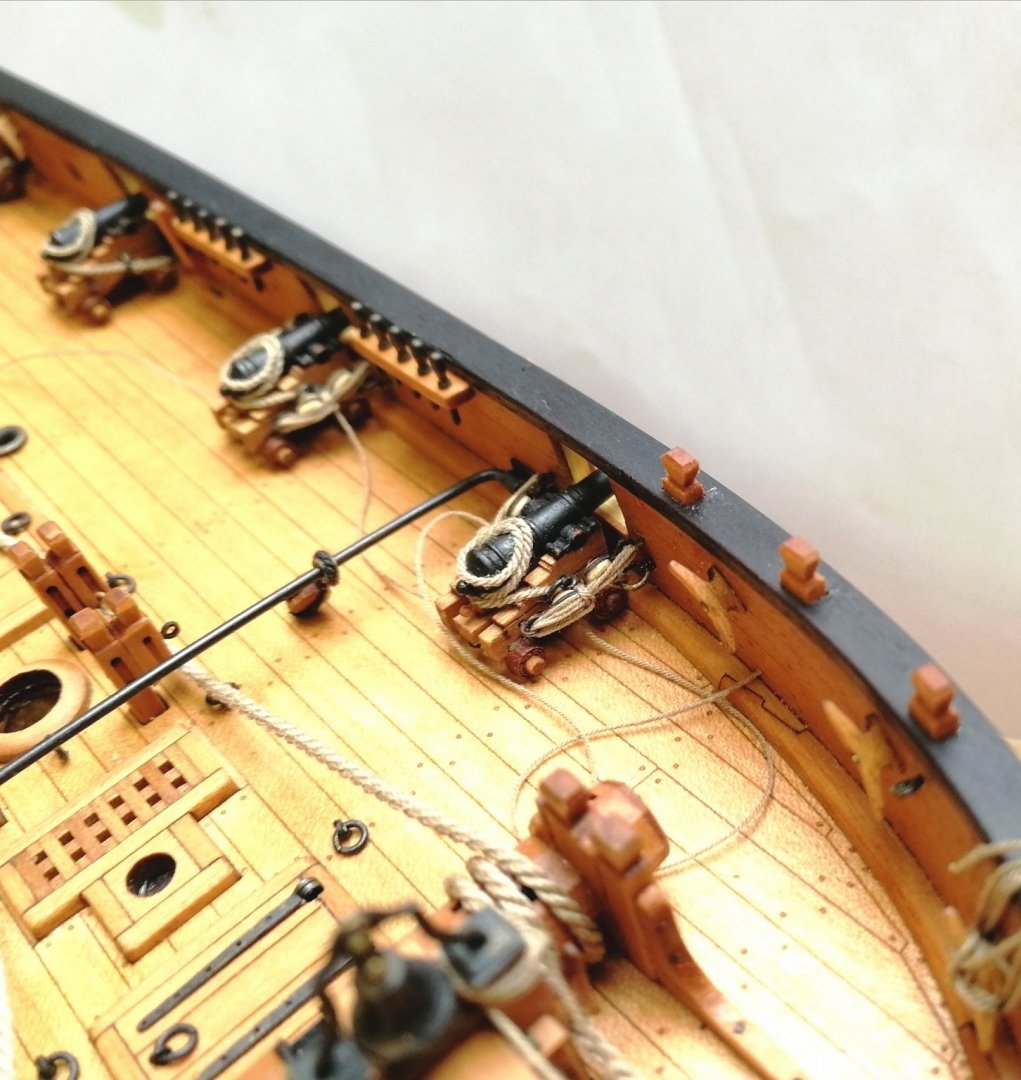
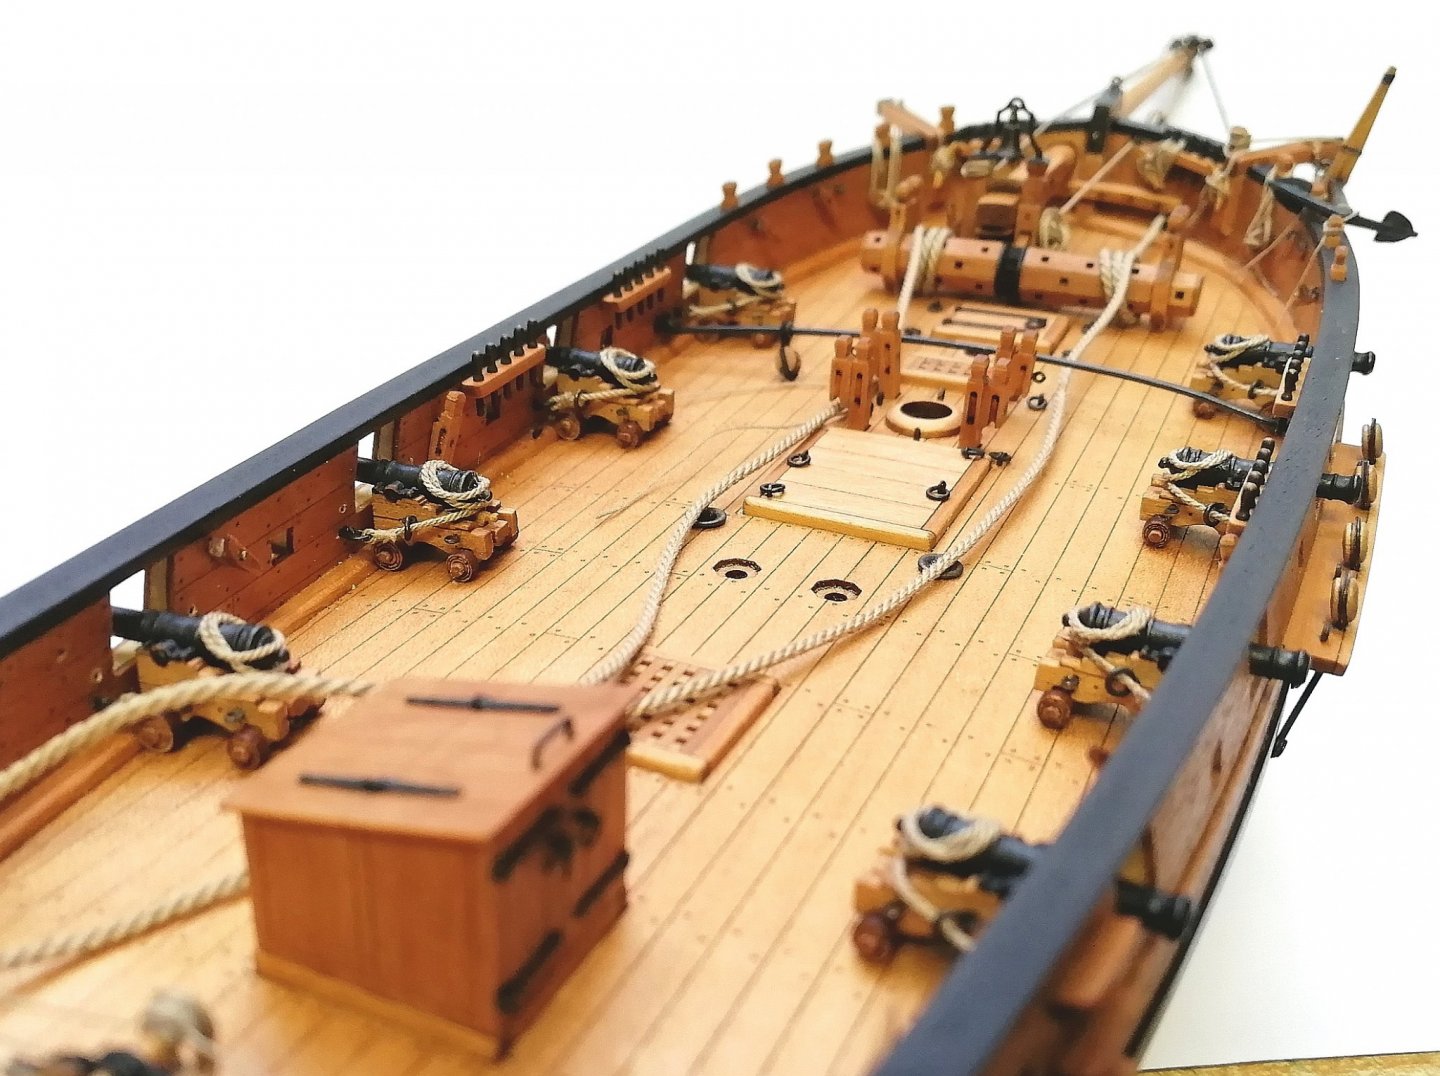
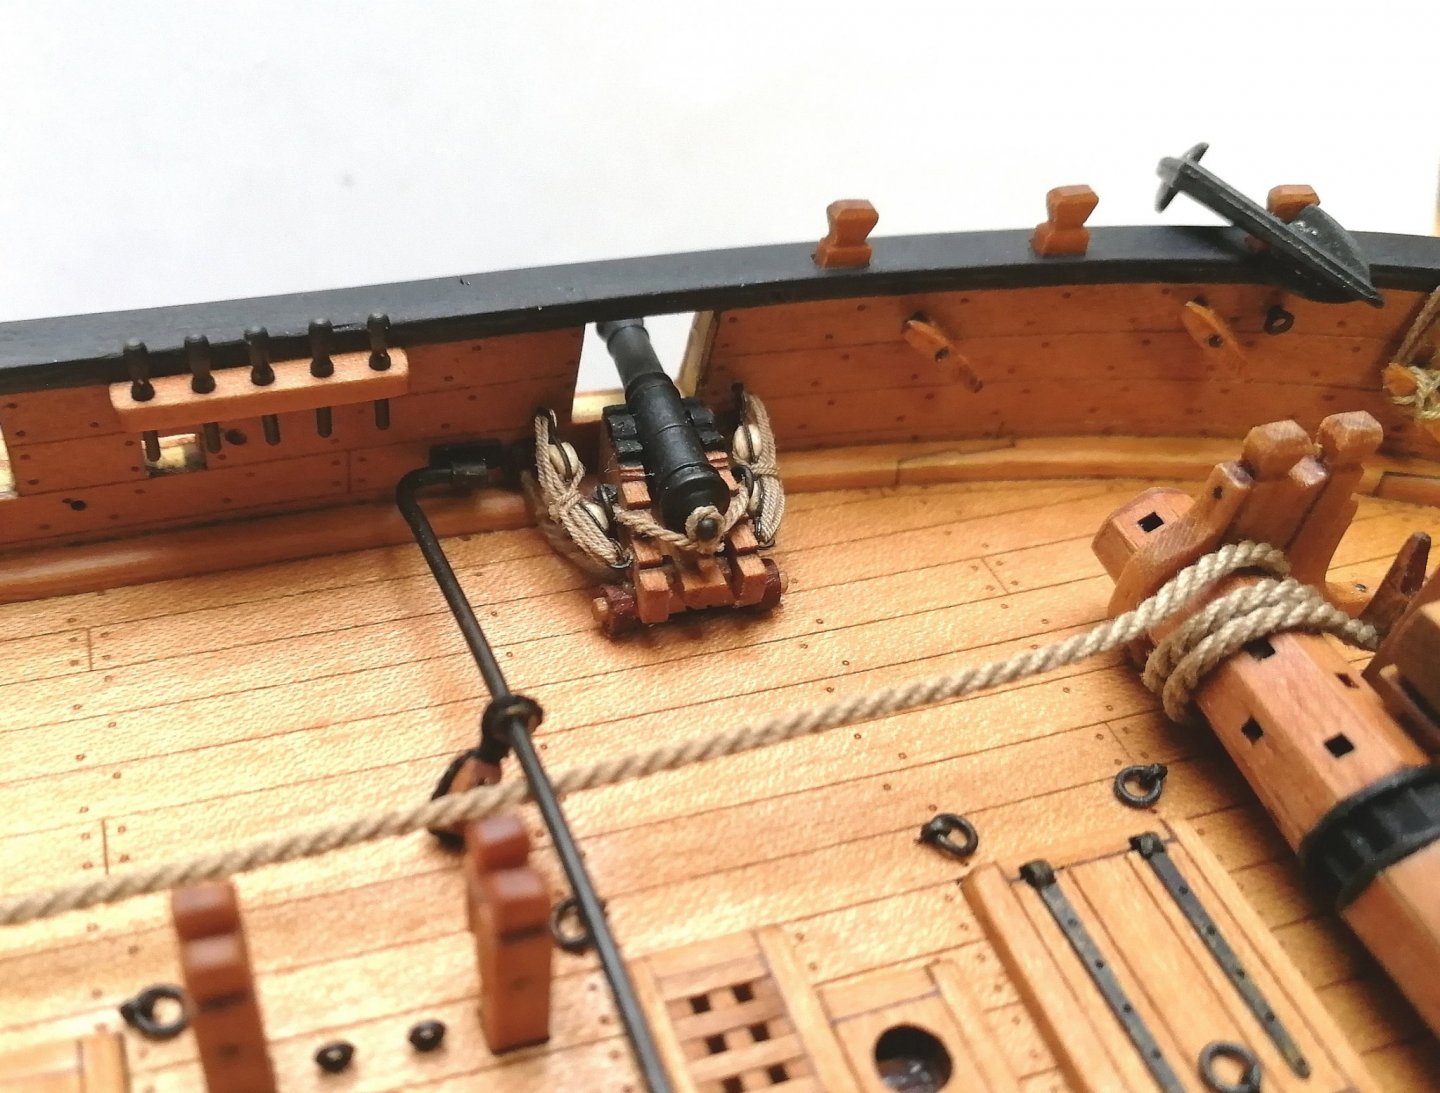
Finaly all guns secured in place. I'm So glad There are only 8 of them. Can't imagine doing 40 of those!

- 315 replies
-
- 13
-
-
- master korabel
- avos
- (and 1 more)
-
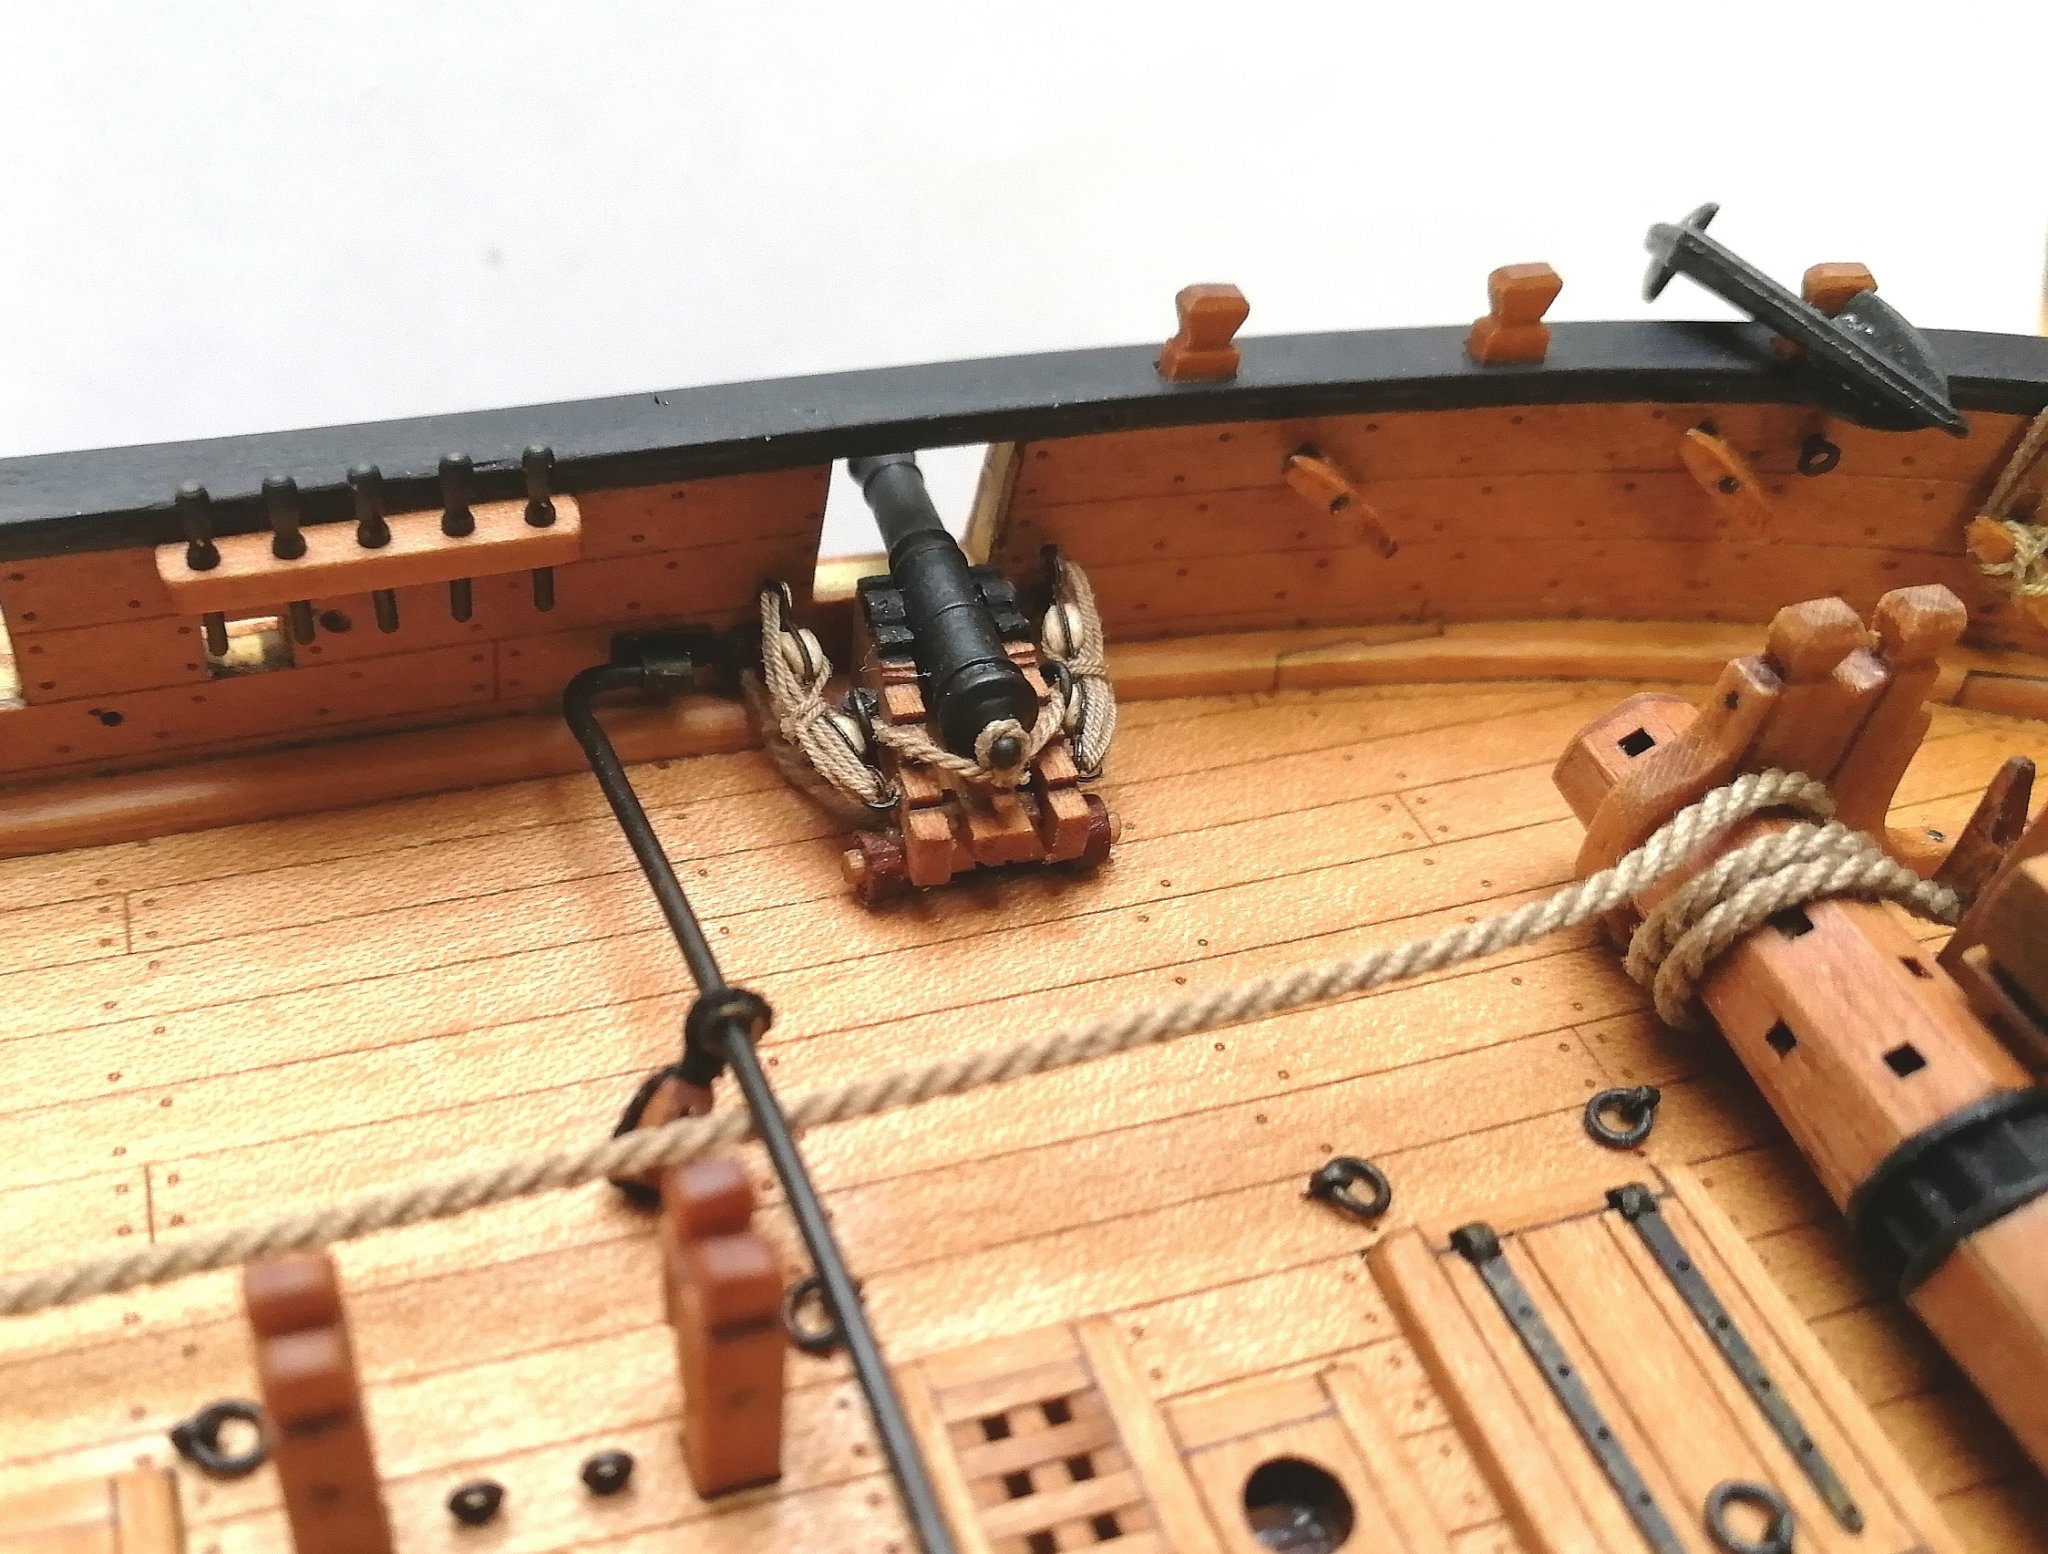
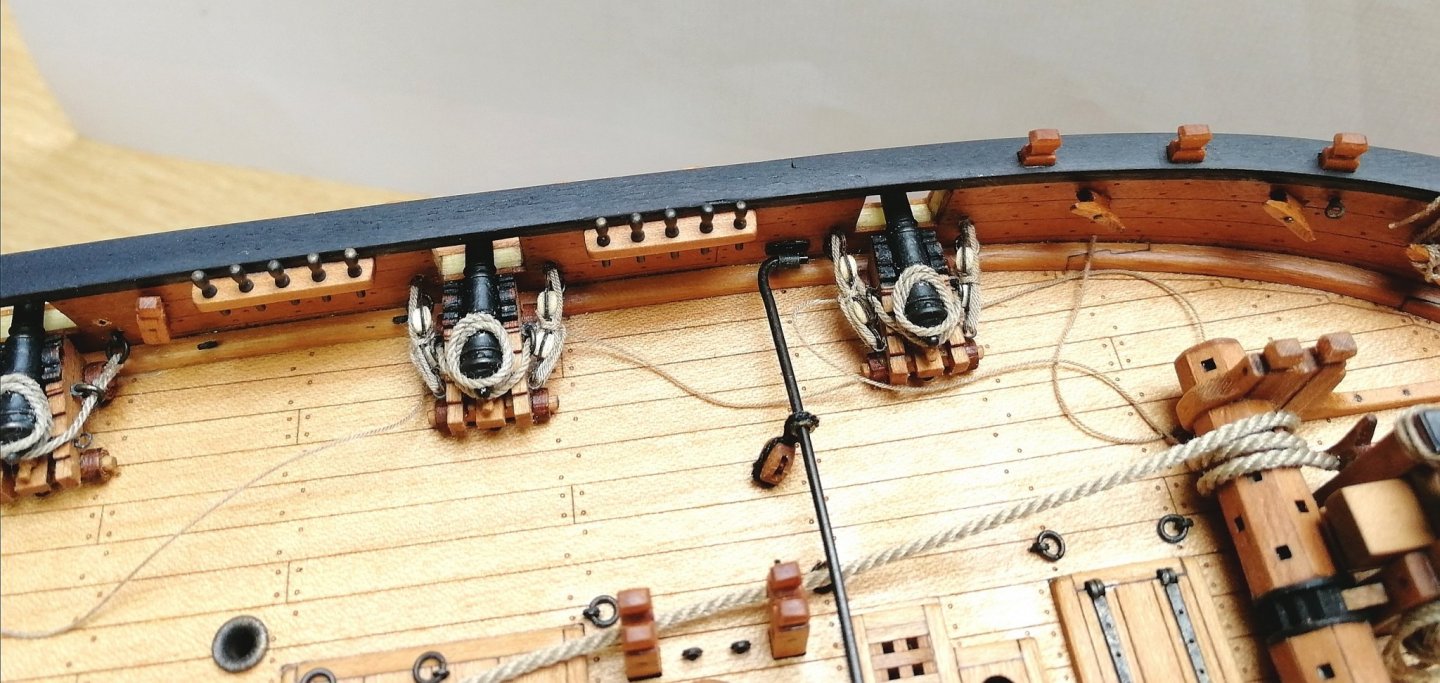
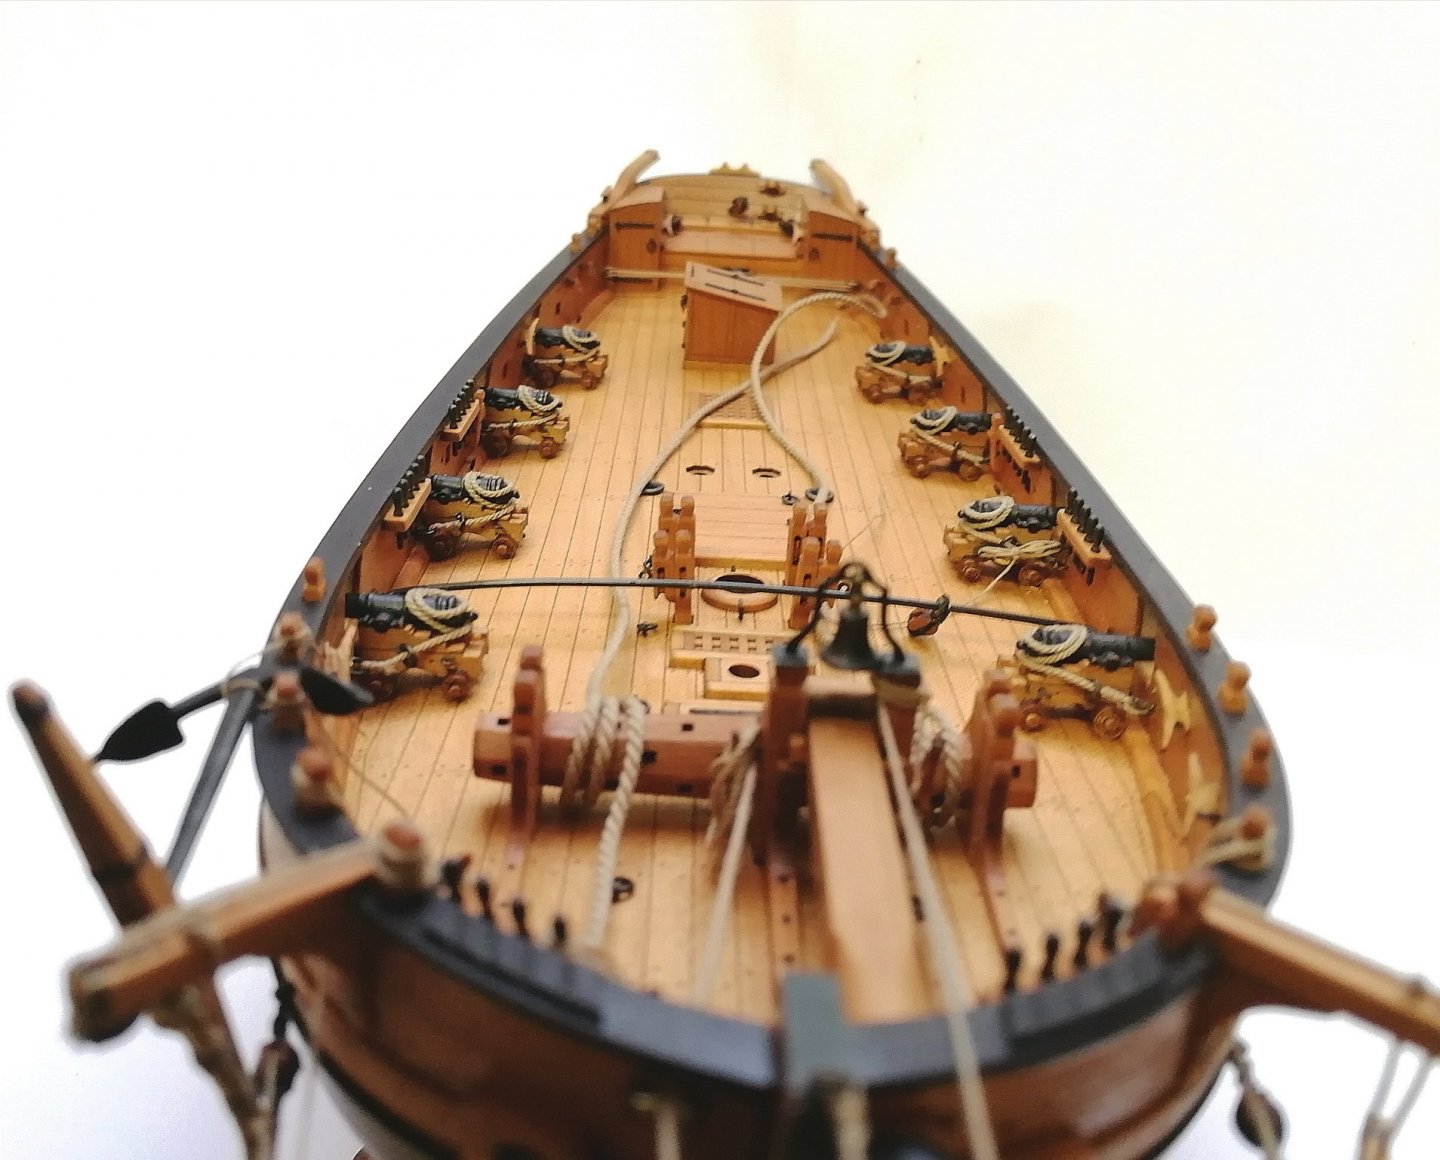
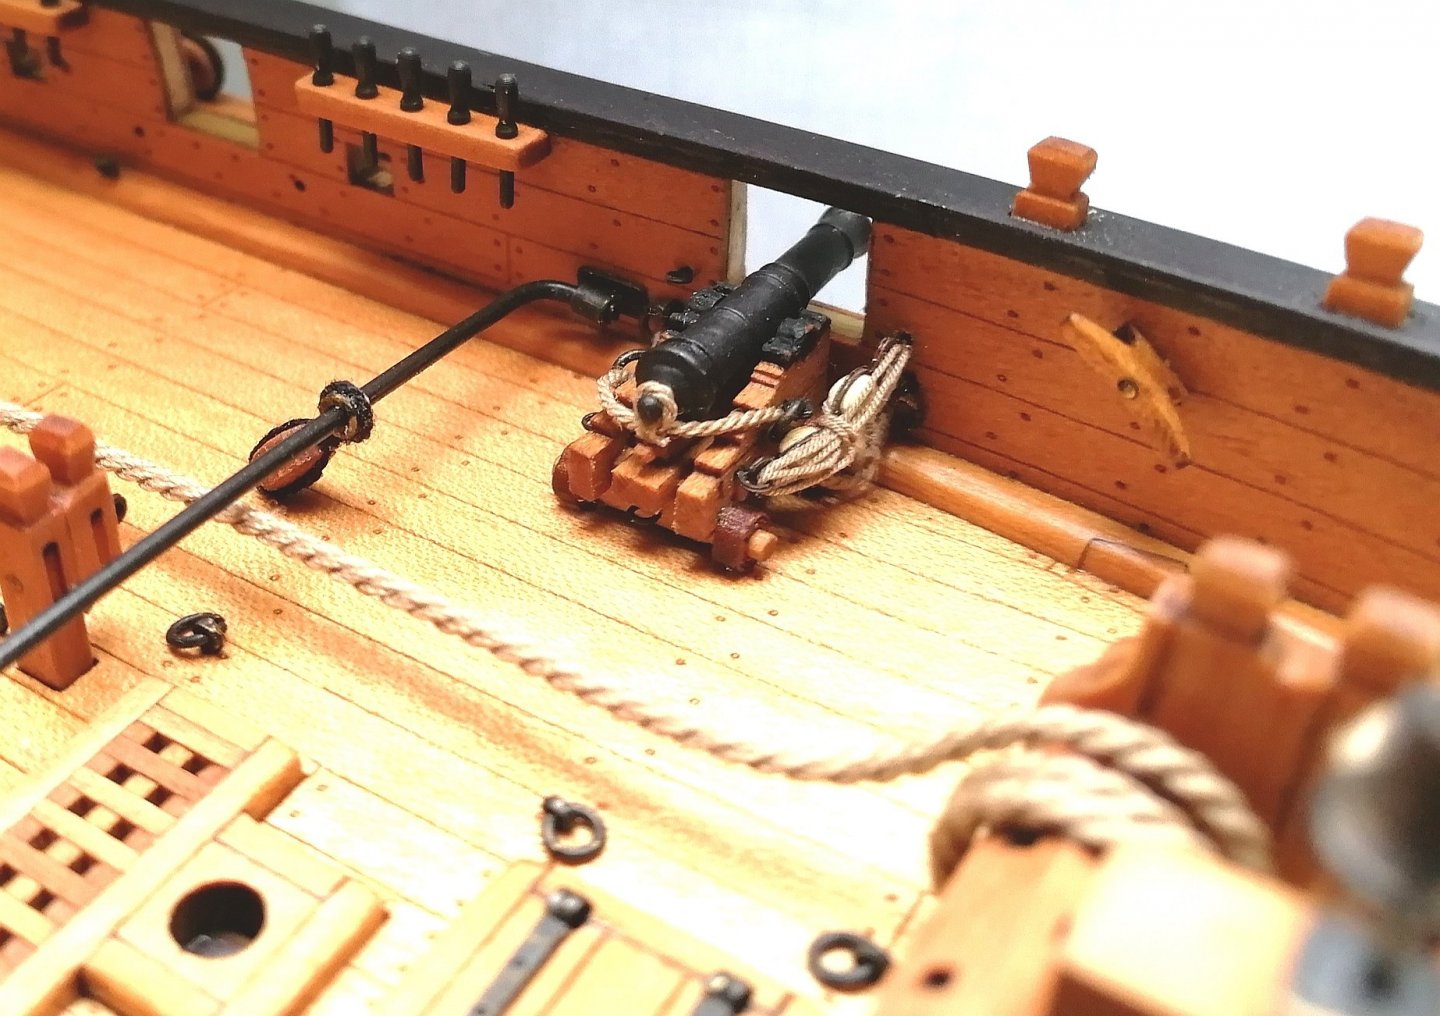
Few more images with half of artillery fully rigged.

- 315 replies
-
- 16
-
-
- master korabel
- avos
- (and 1 more)
-
Thanks a lot guys! Adding the gun tackles. Supricingly after you got the rythm it goes quite well!

- 315 replies
-
- 8
-
-
- master korabel
- avos
- (and 1 more)
-
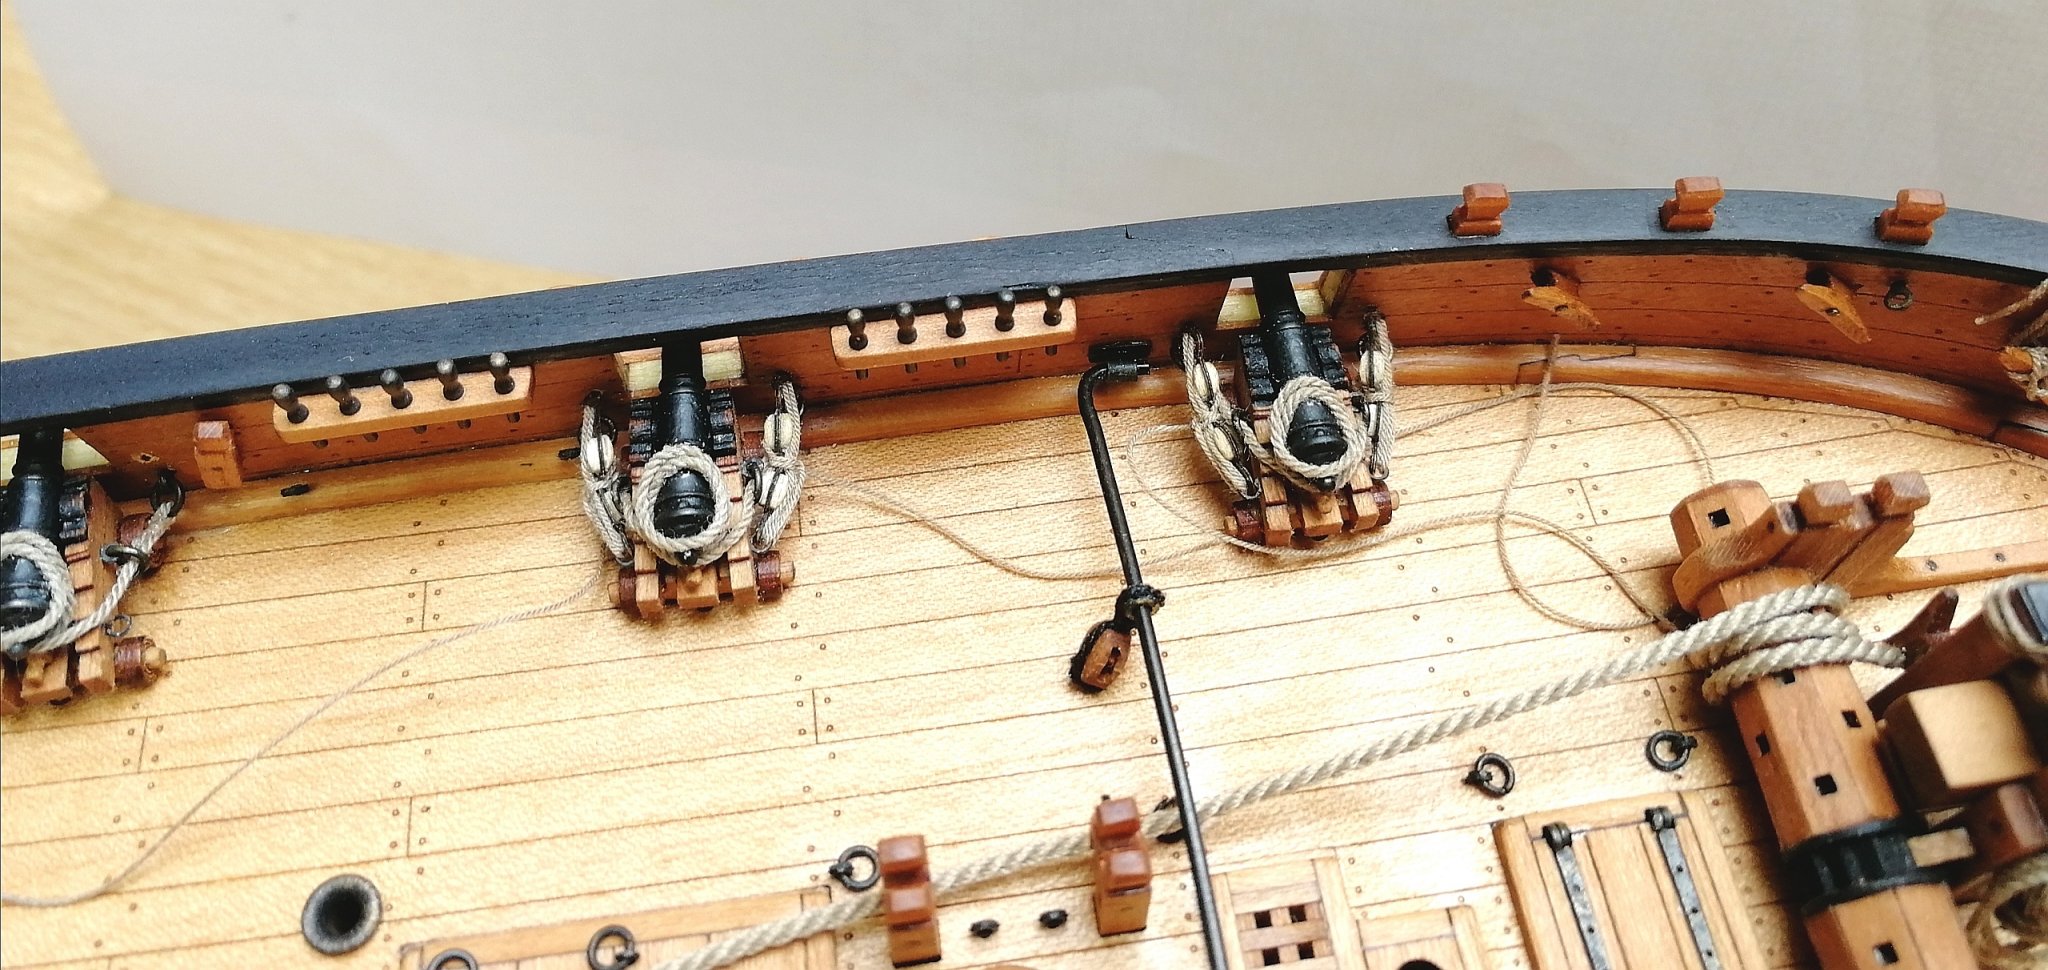
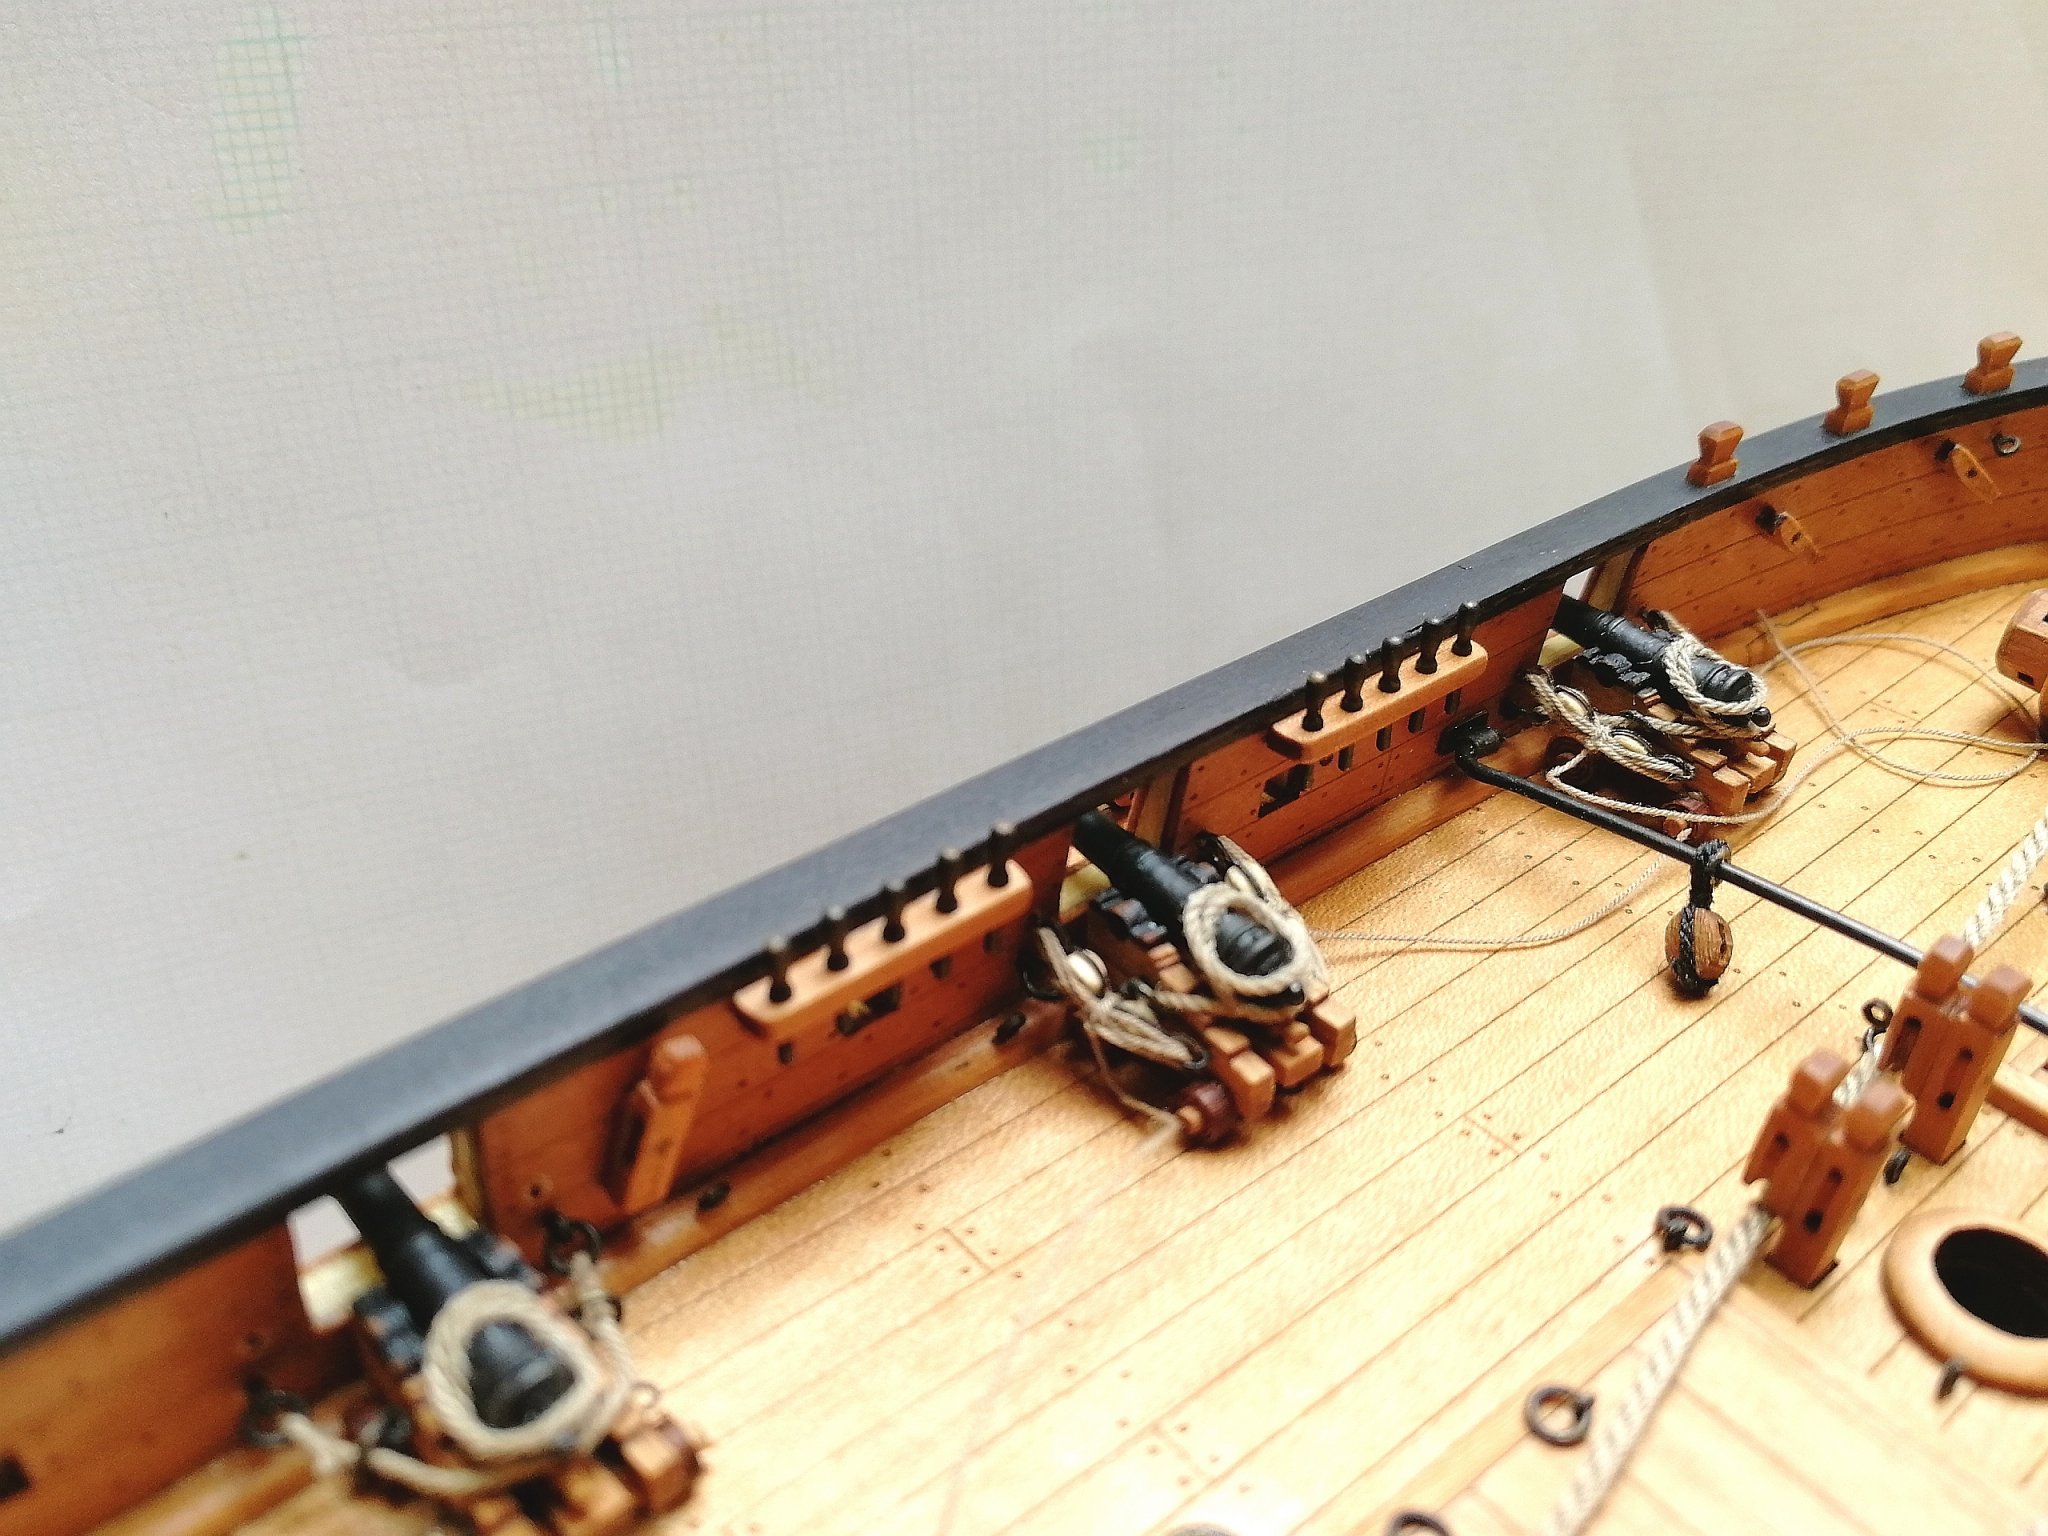
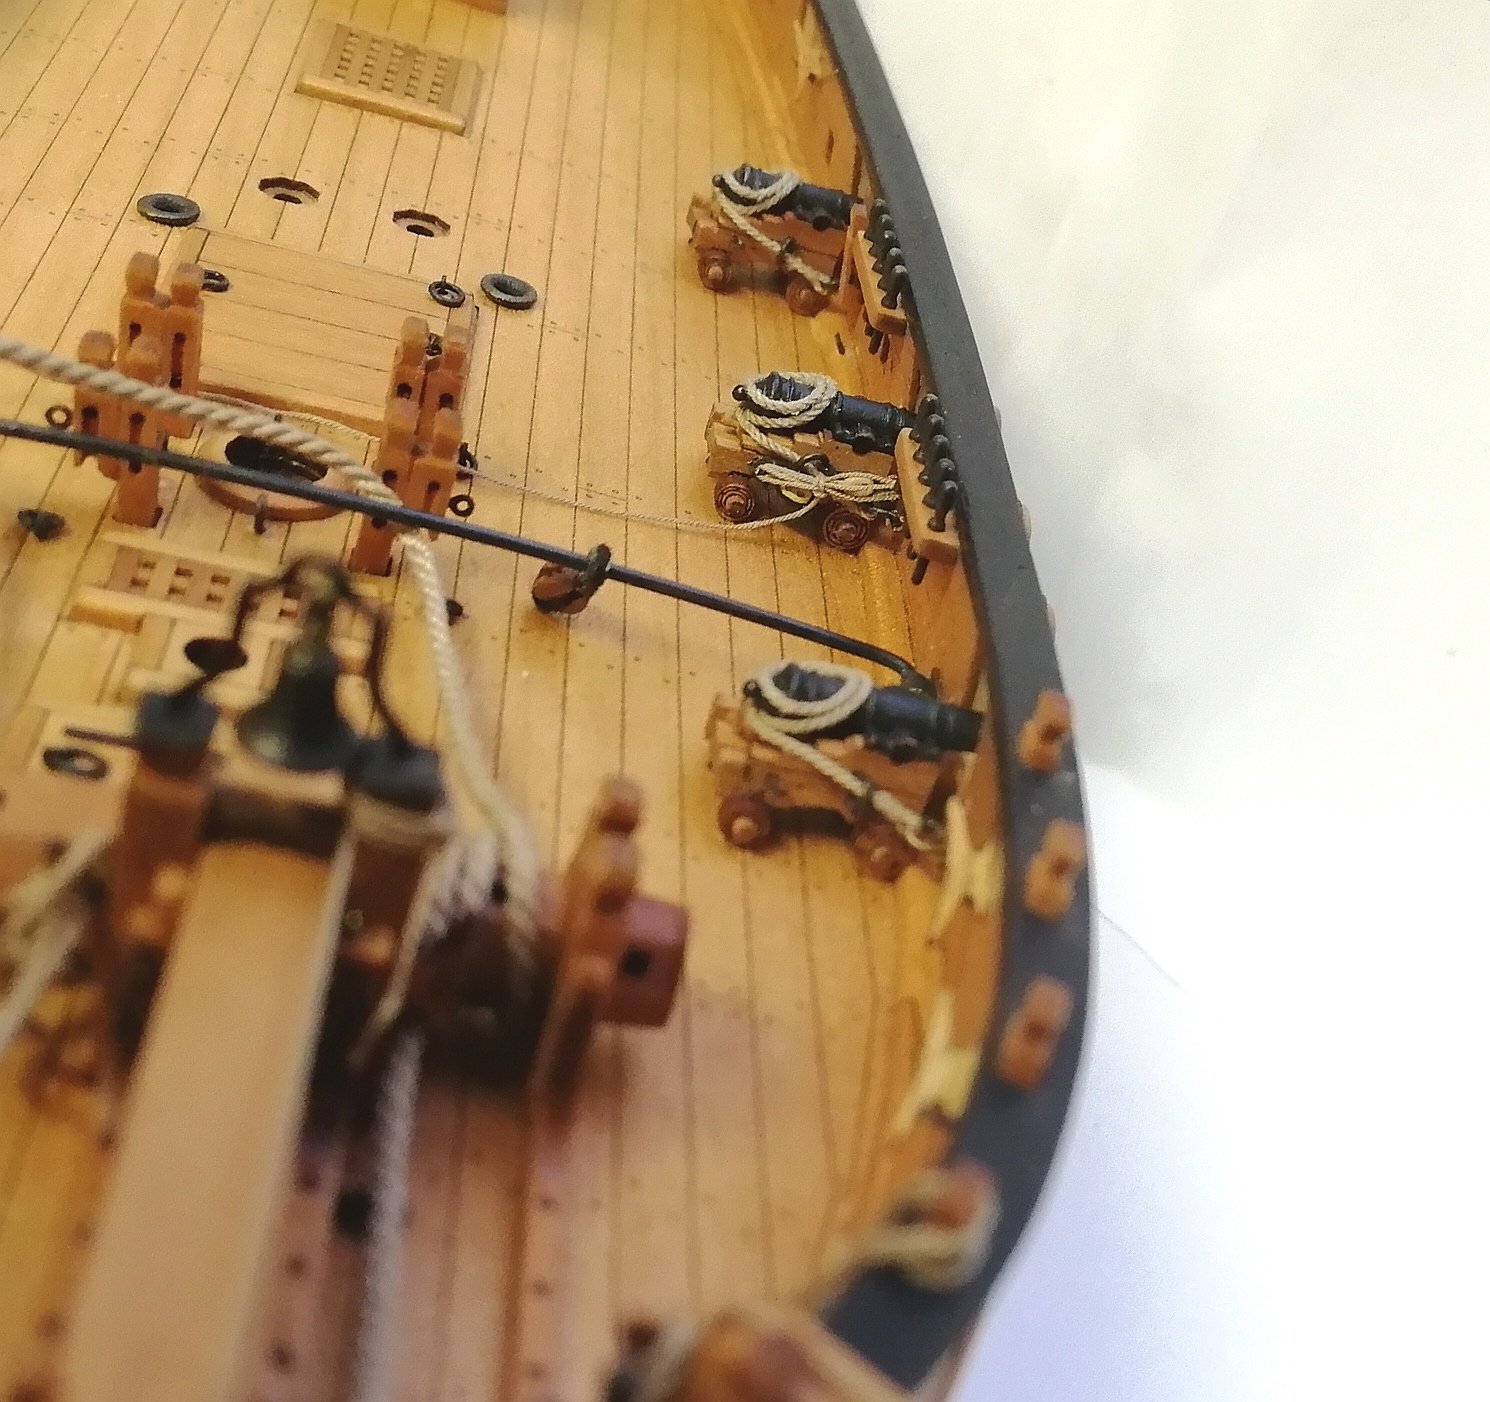
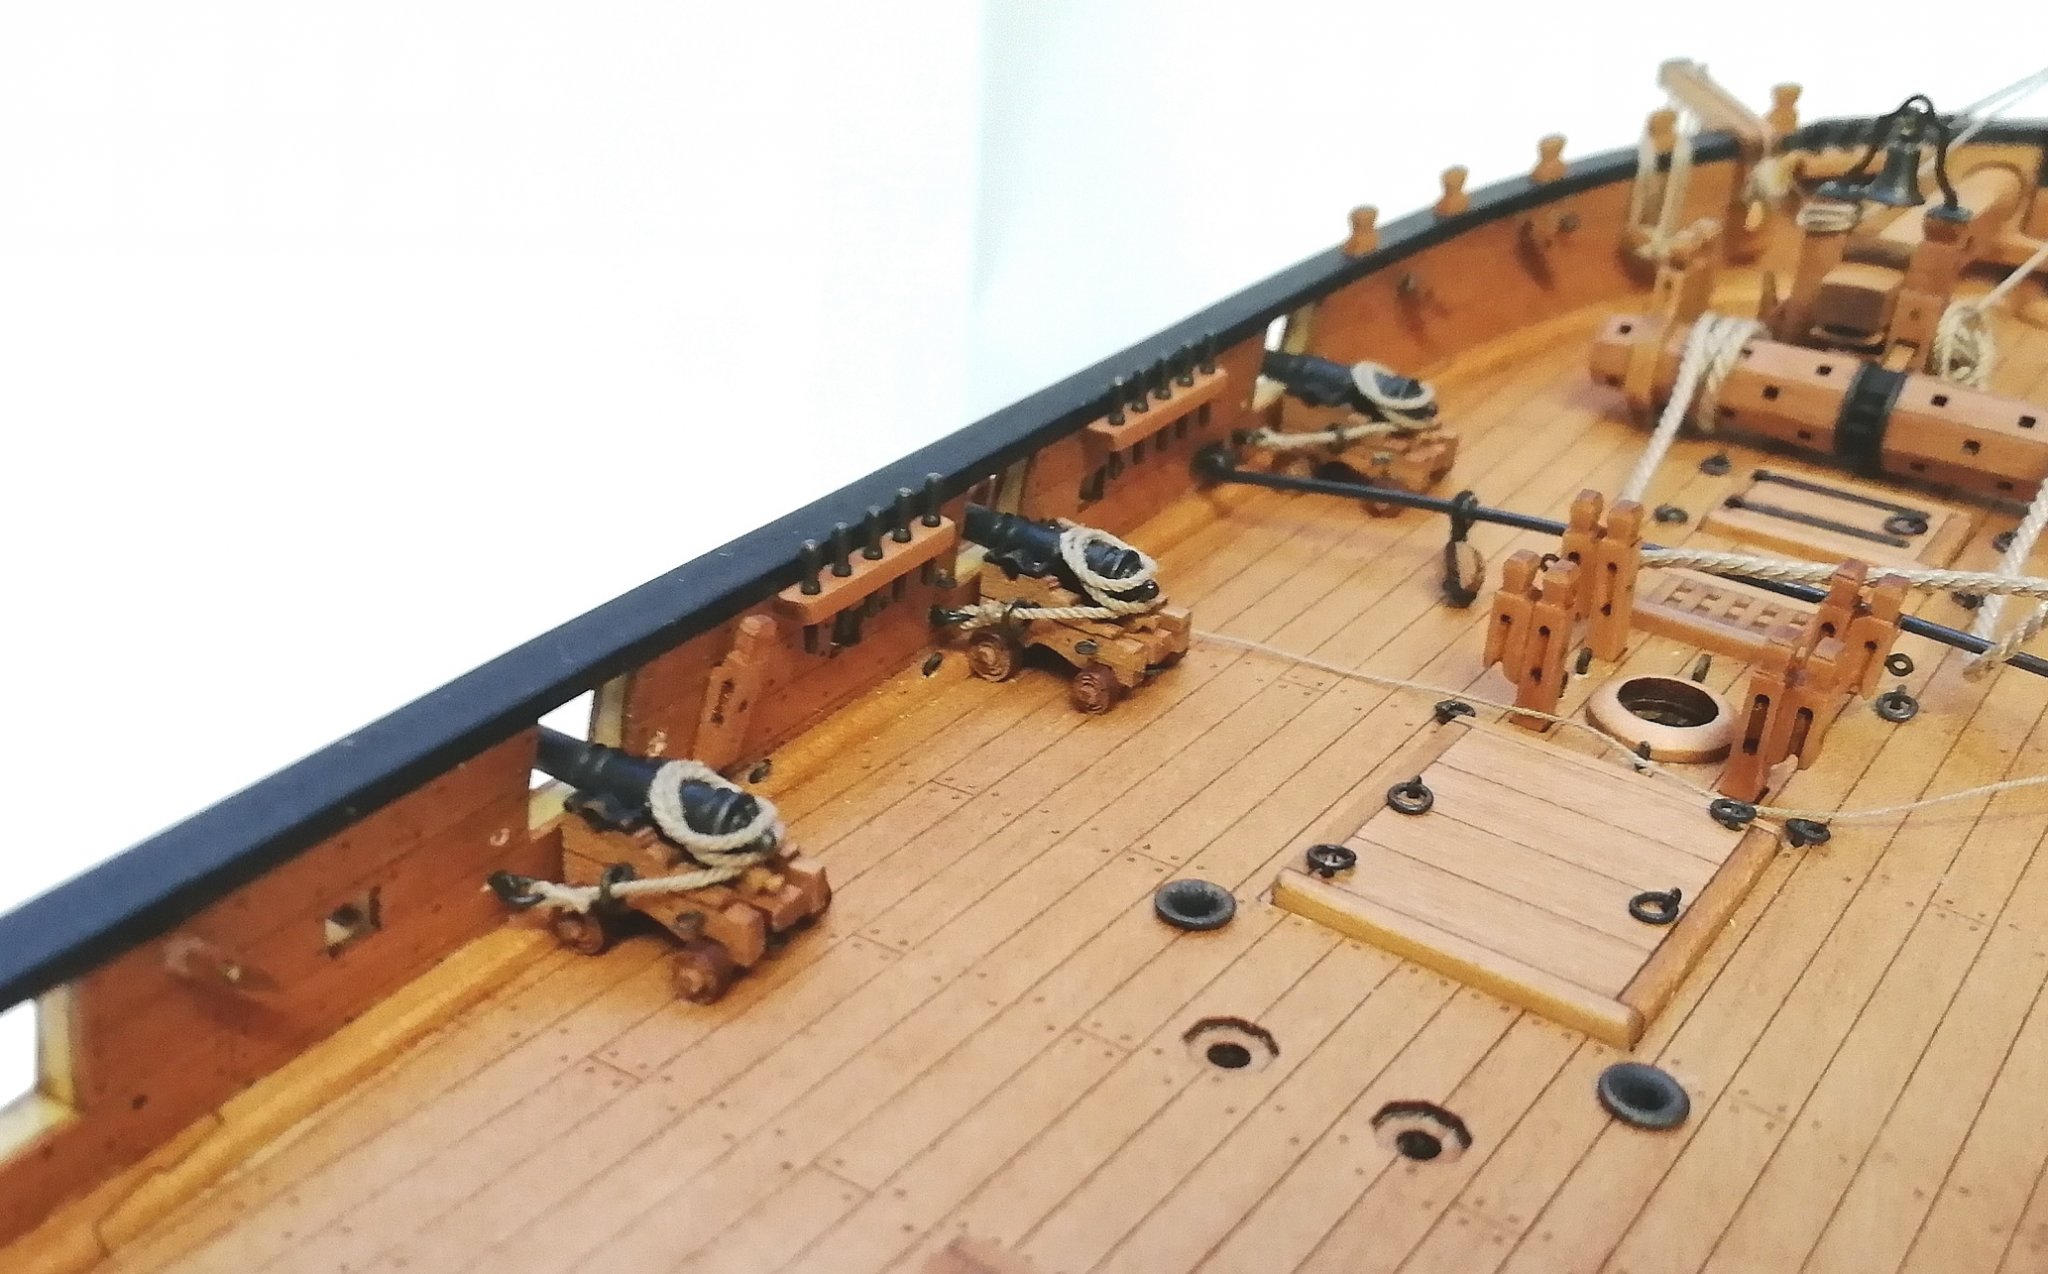
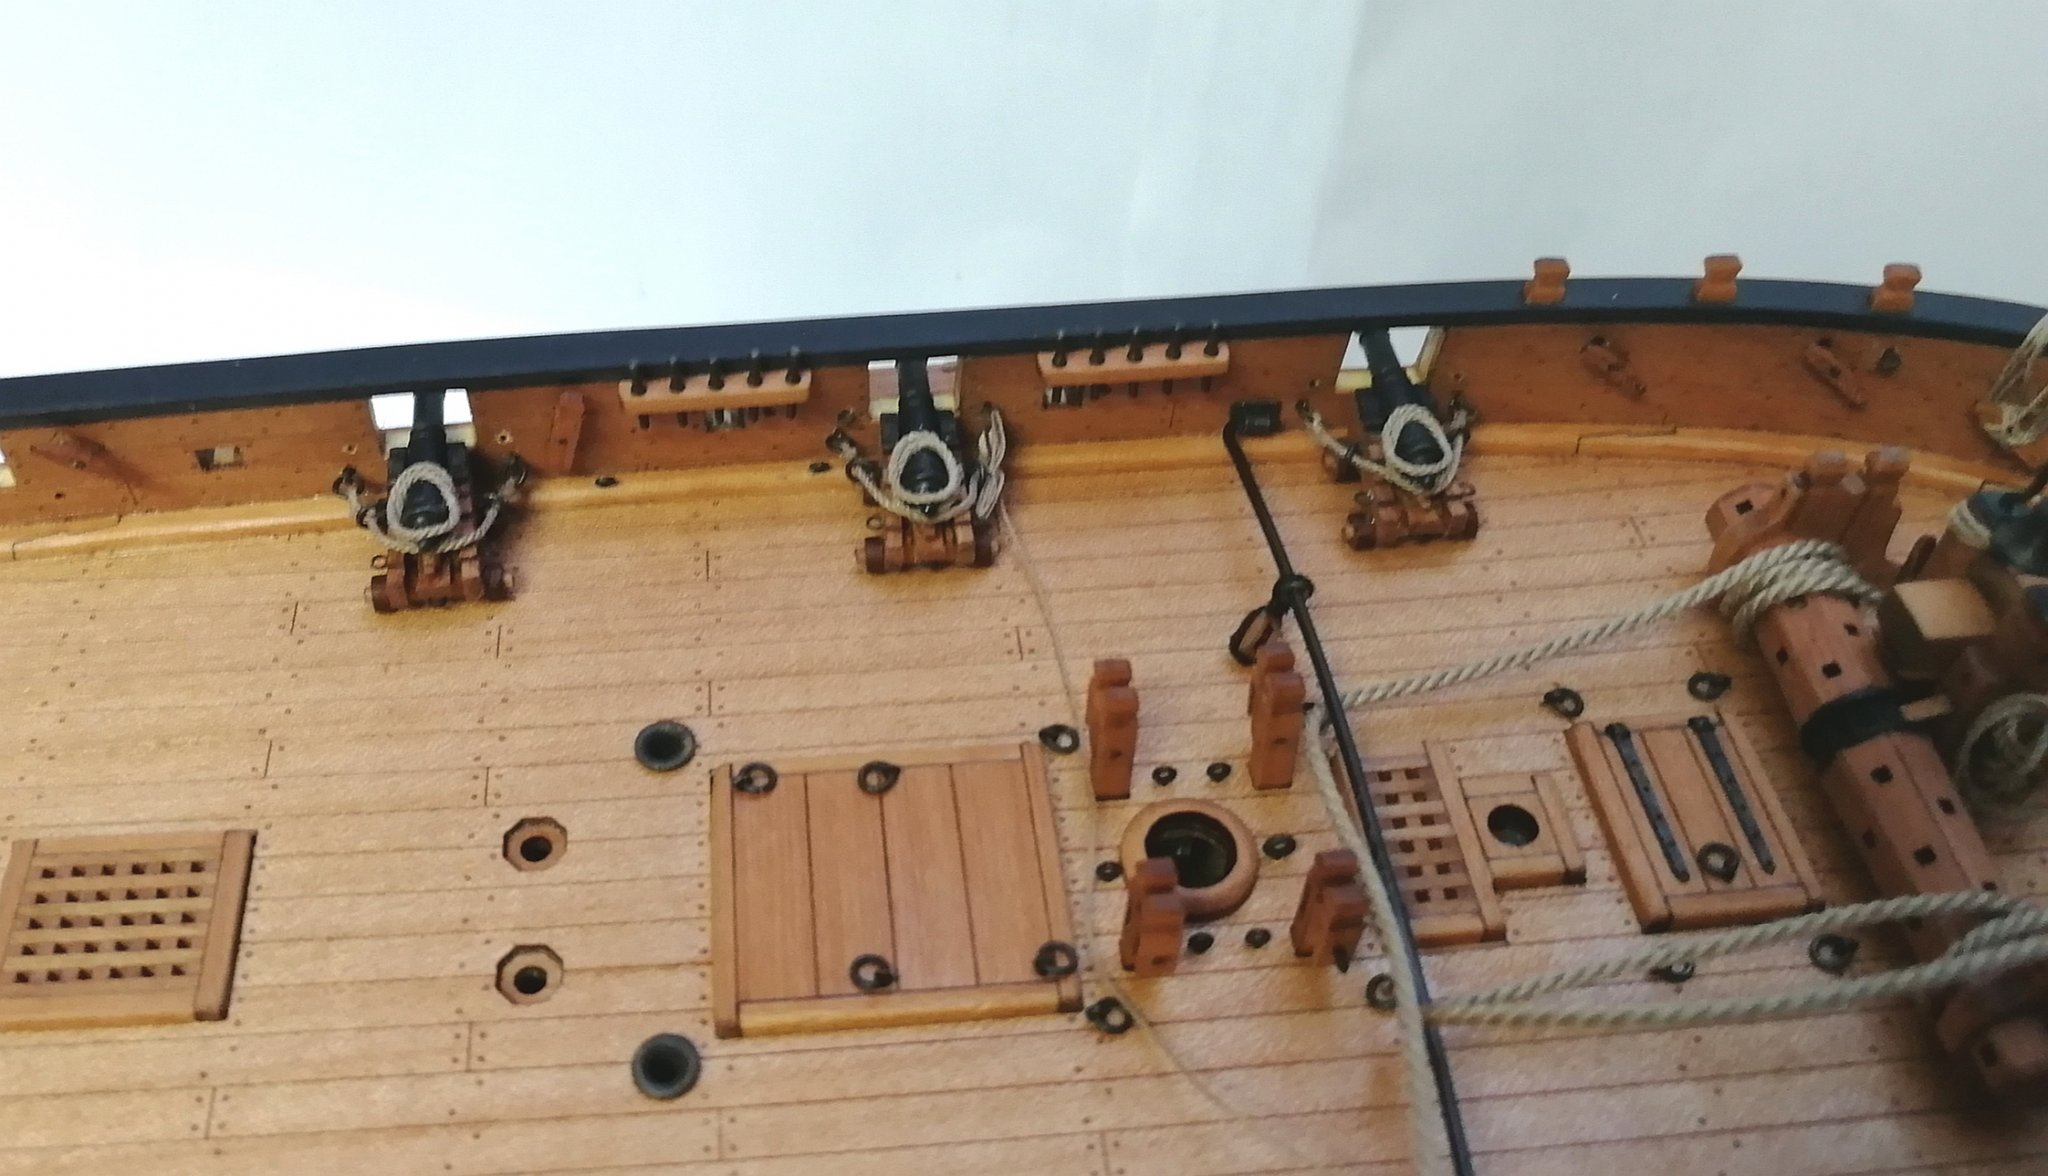
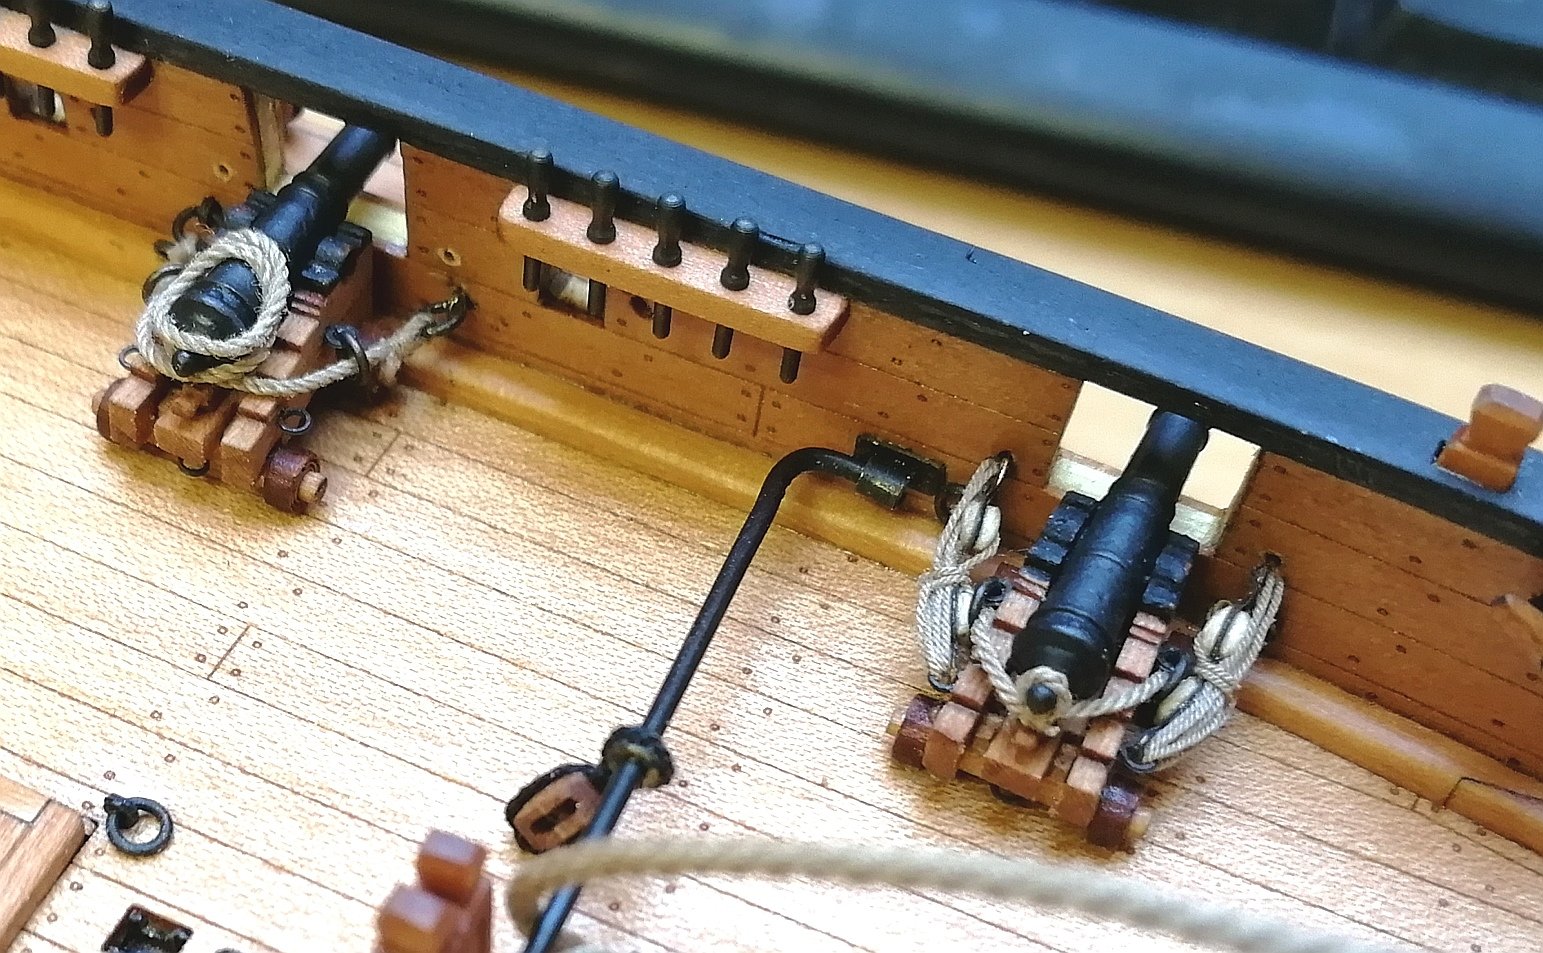
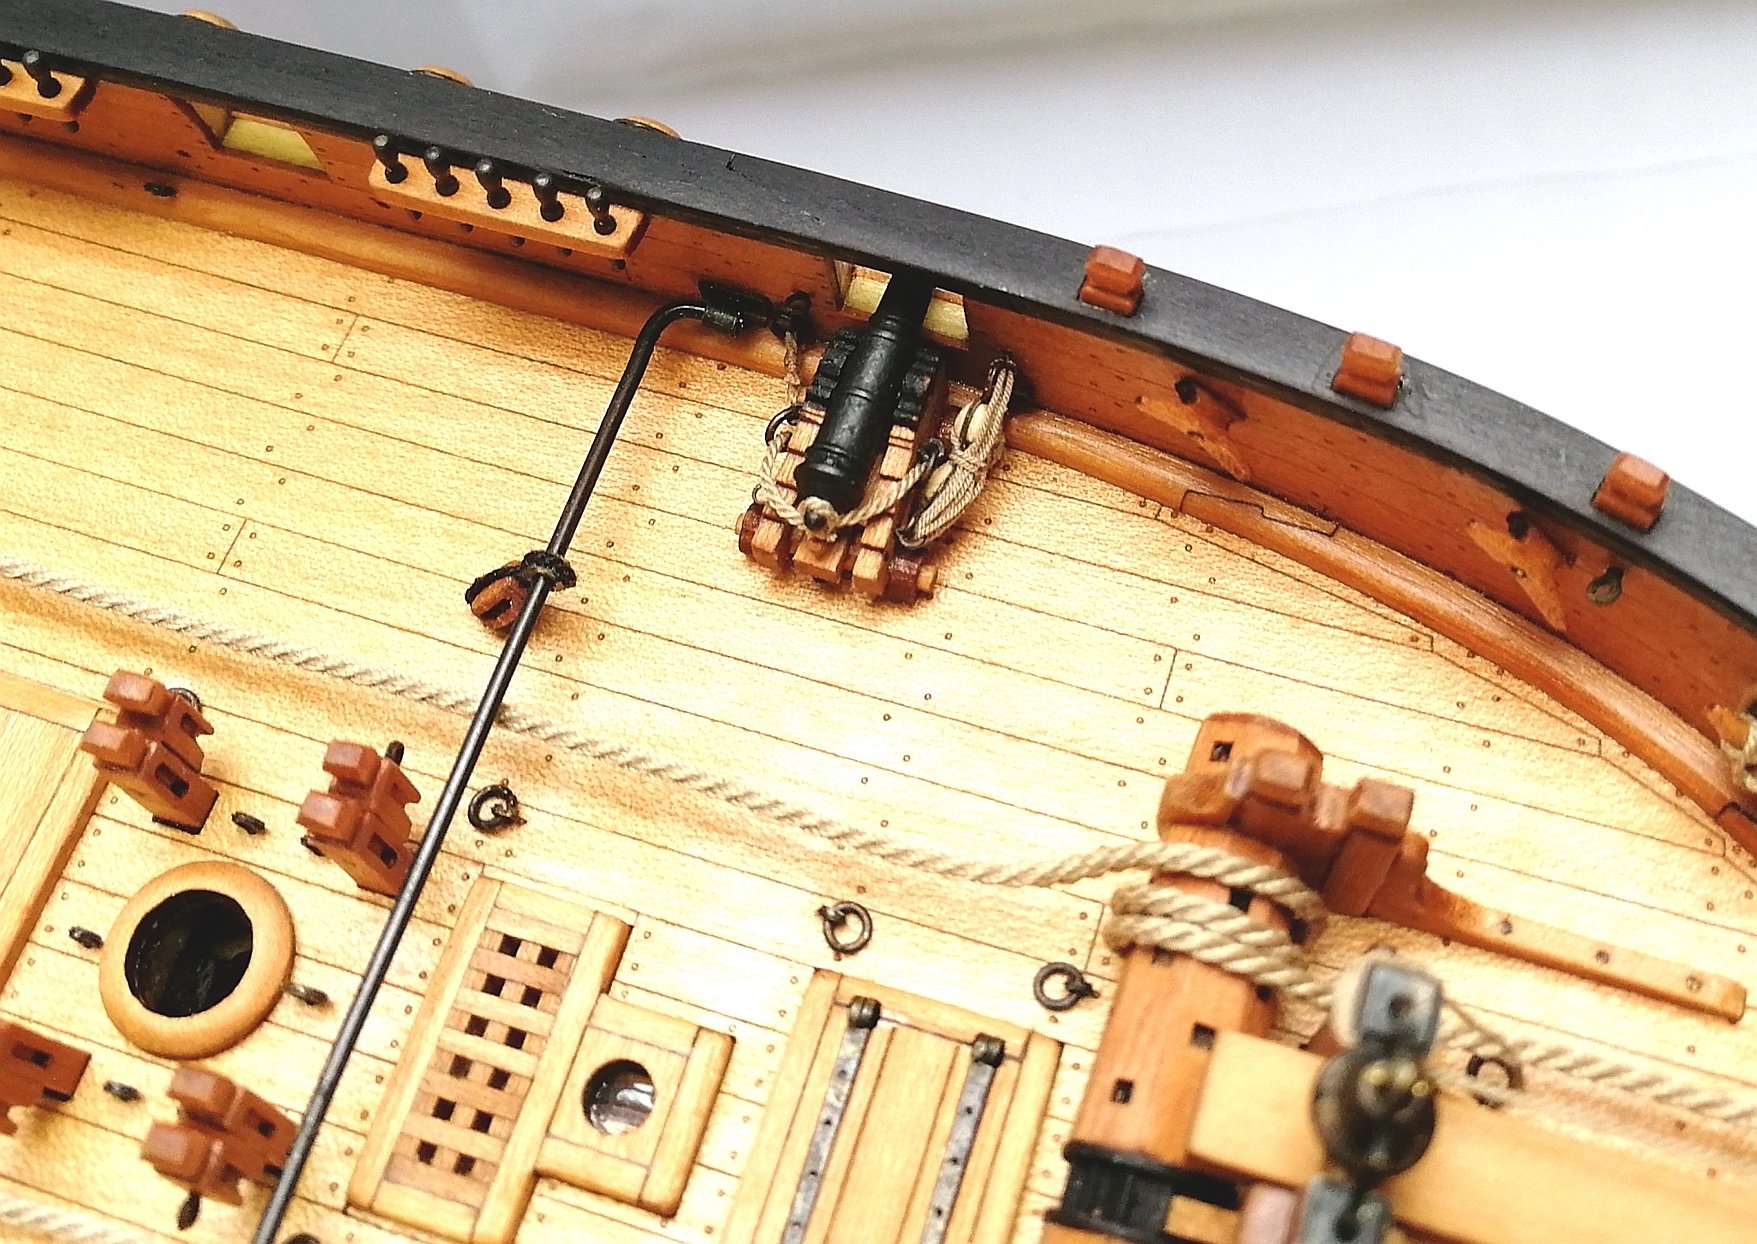
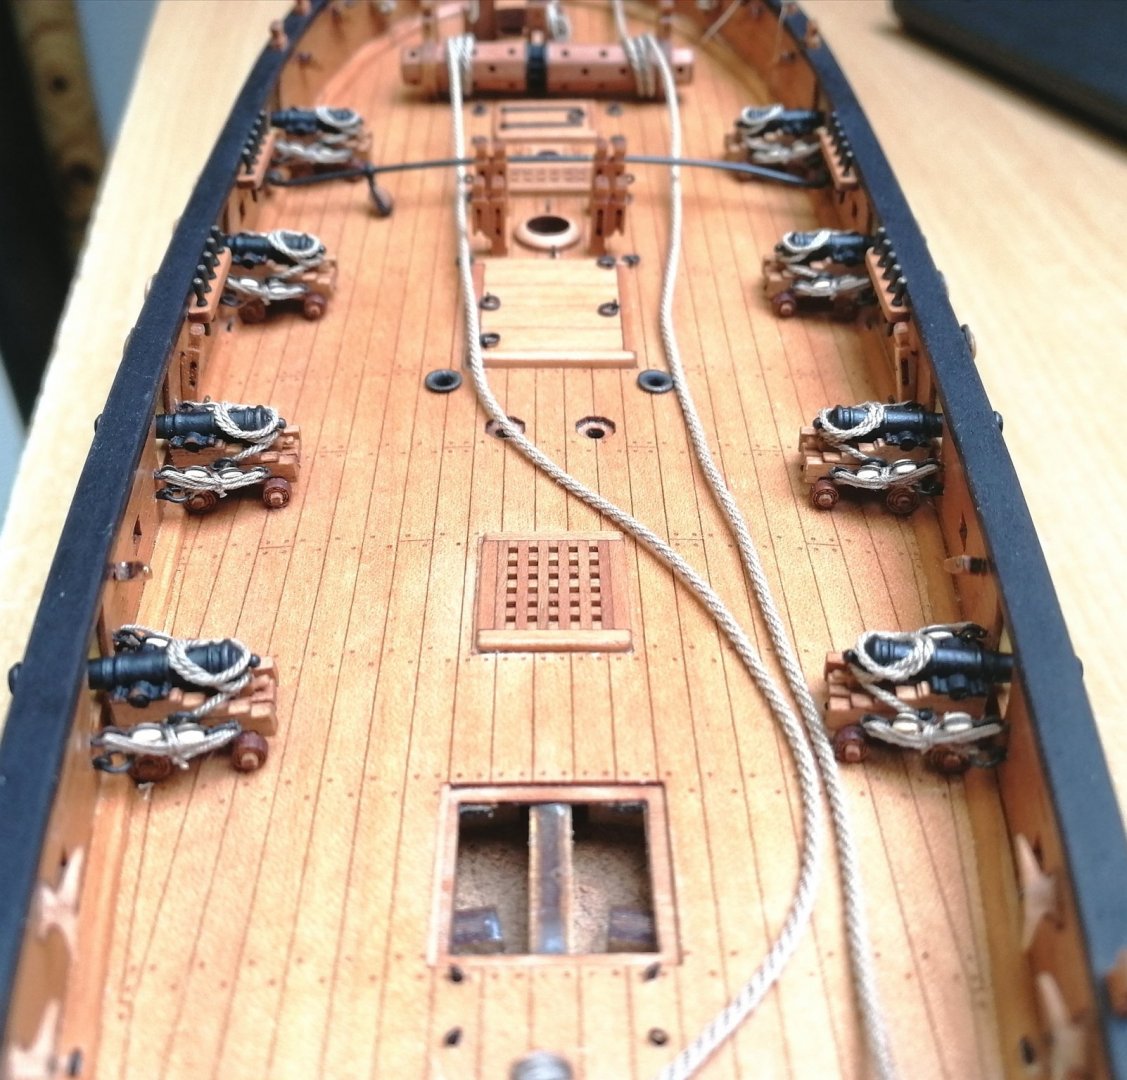
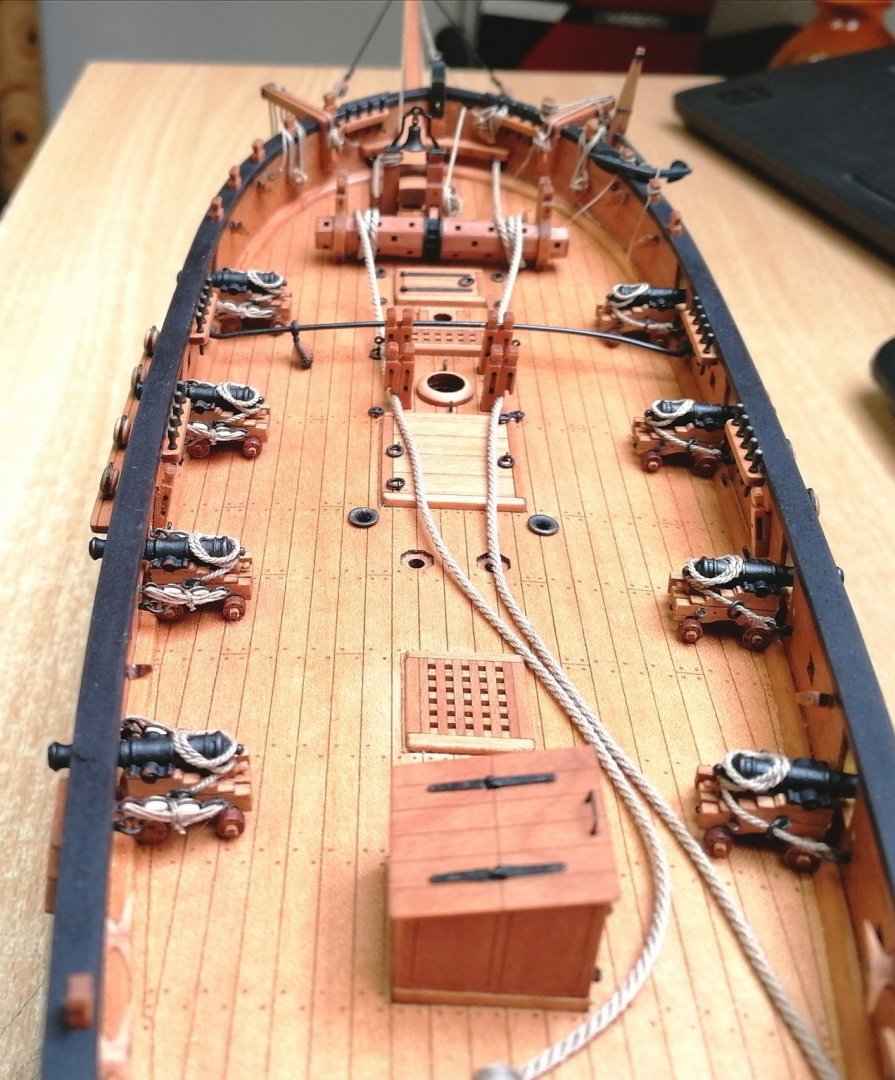
All guns in place with breeching ropes secured for sail. I think it looks interesting and different. Gun tackles will follow.
- 315 replies
-
- 18
-
-
- master korabel
- avos
- (and 1 more)
-
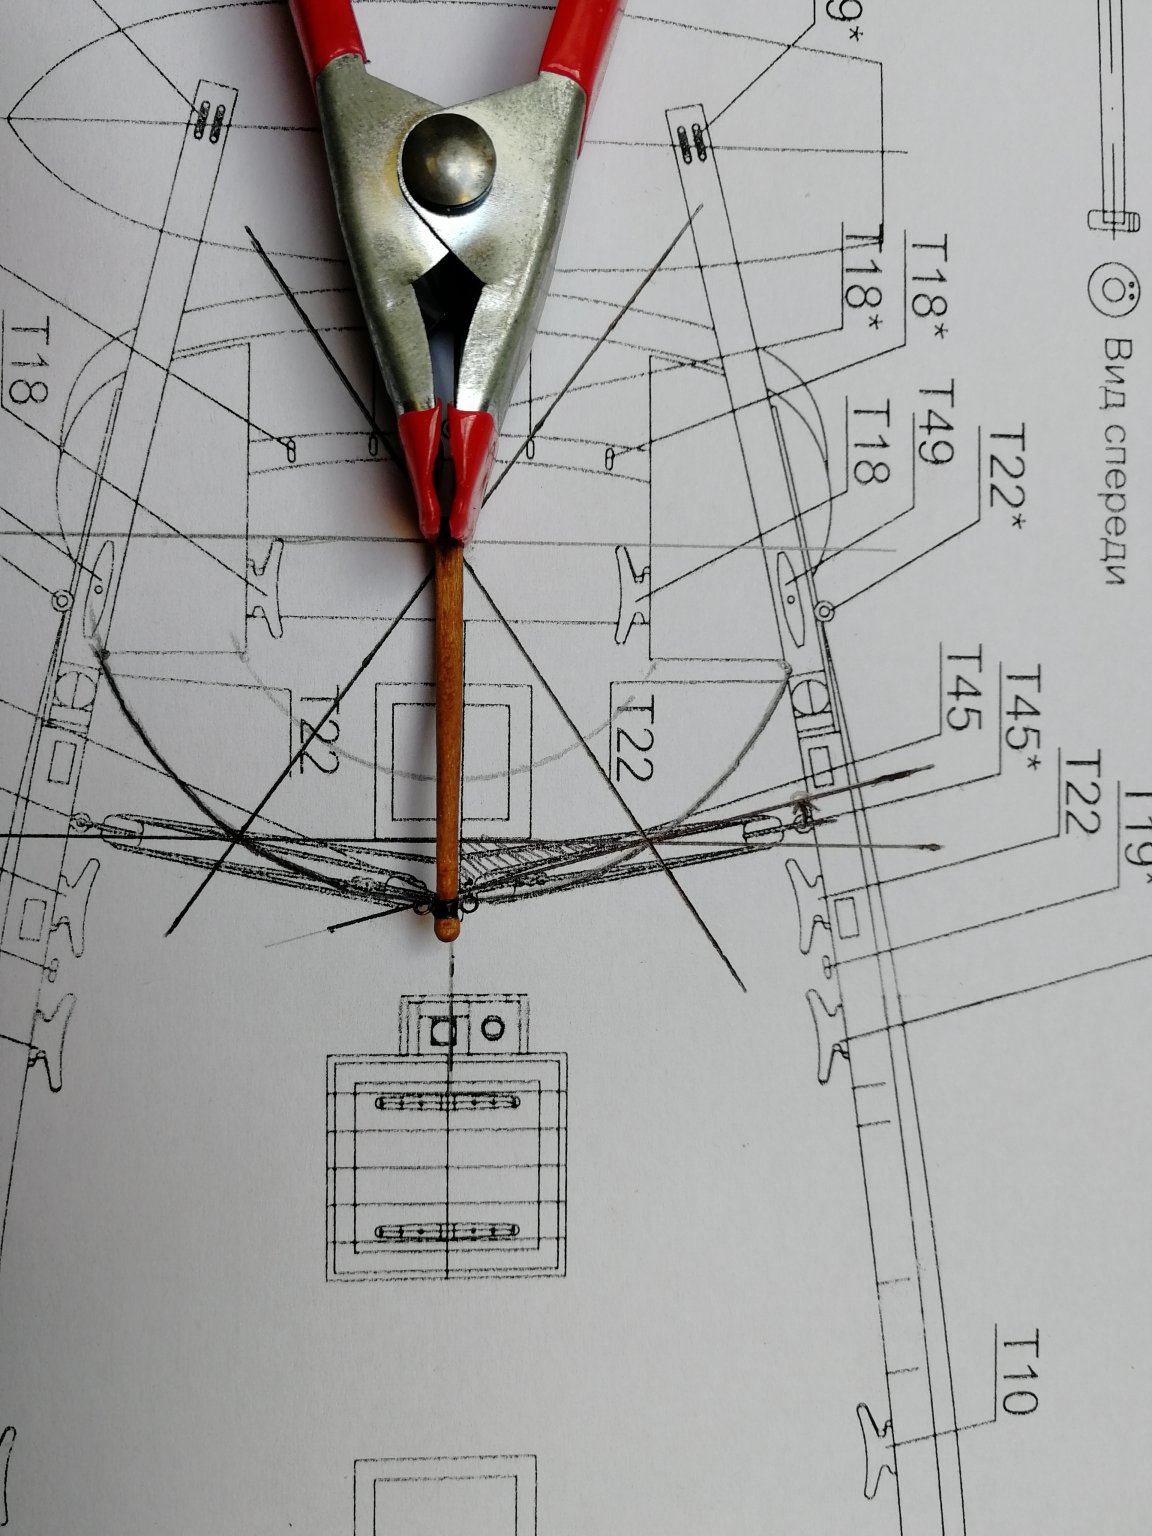
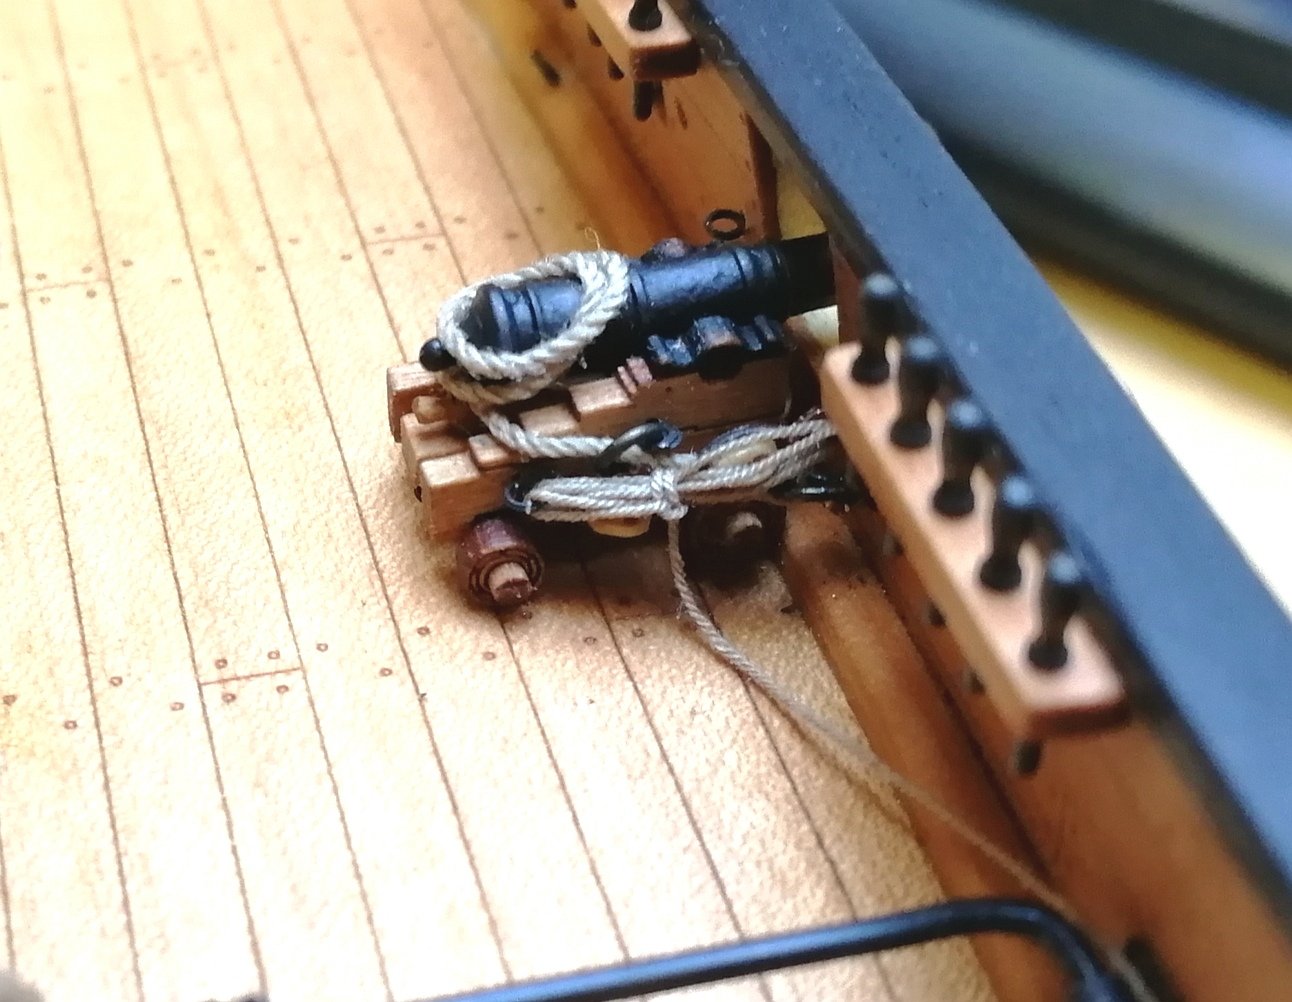
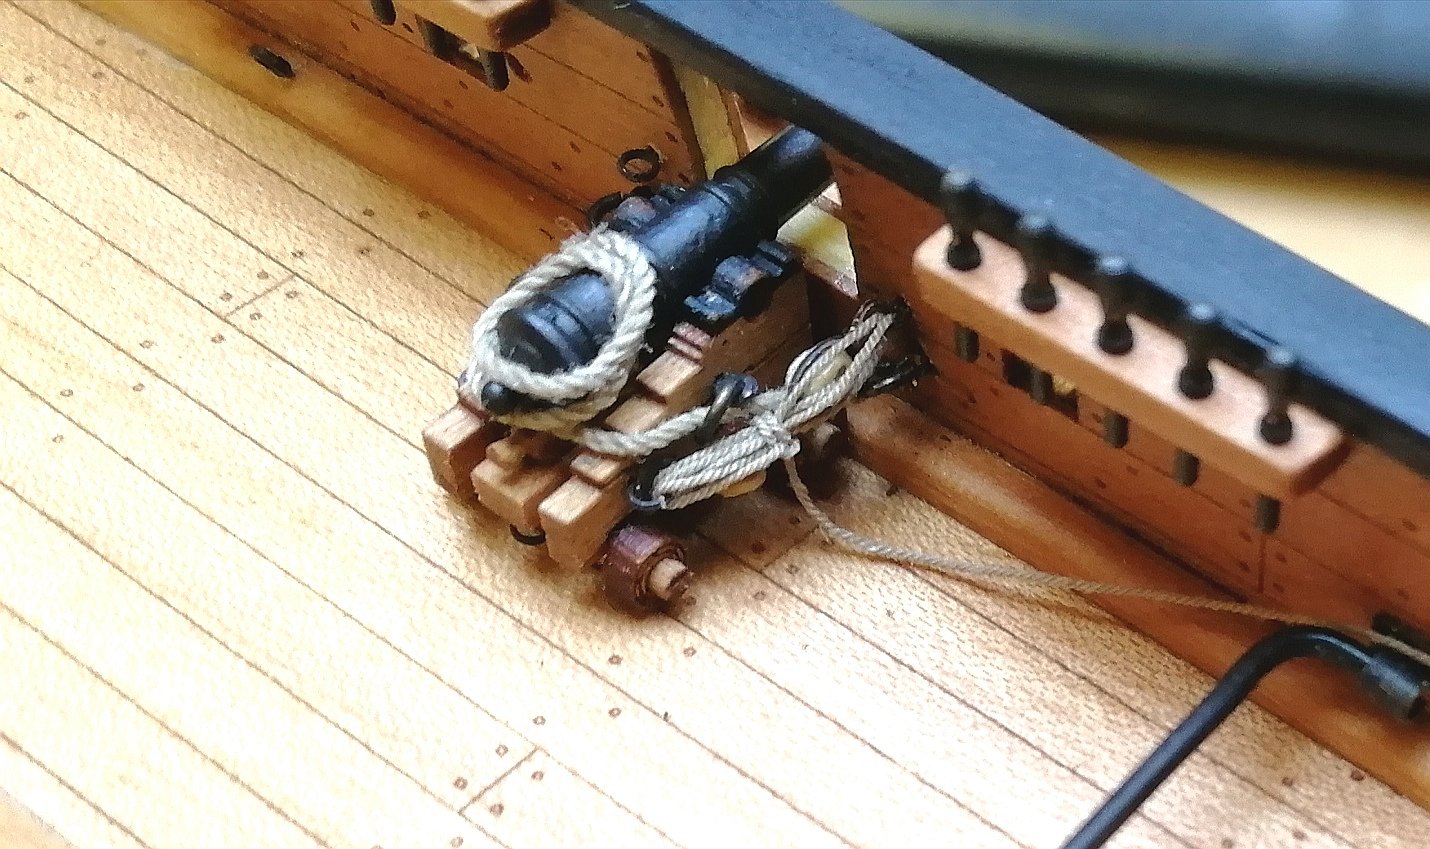
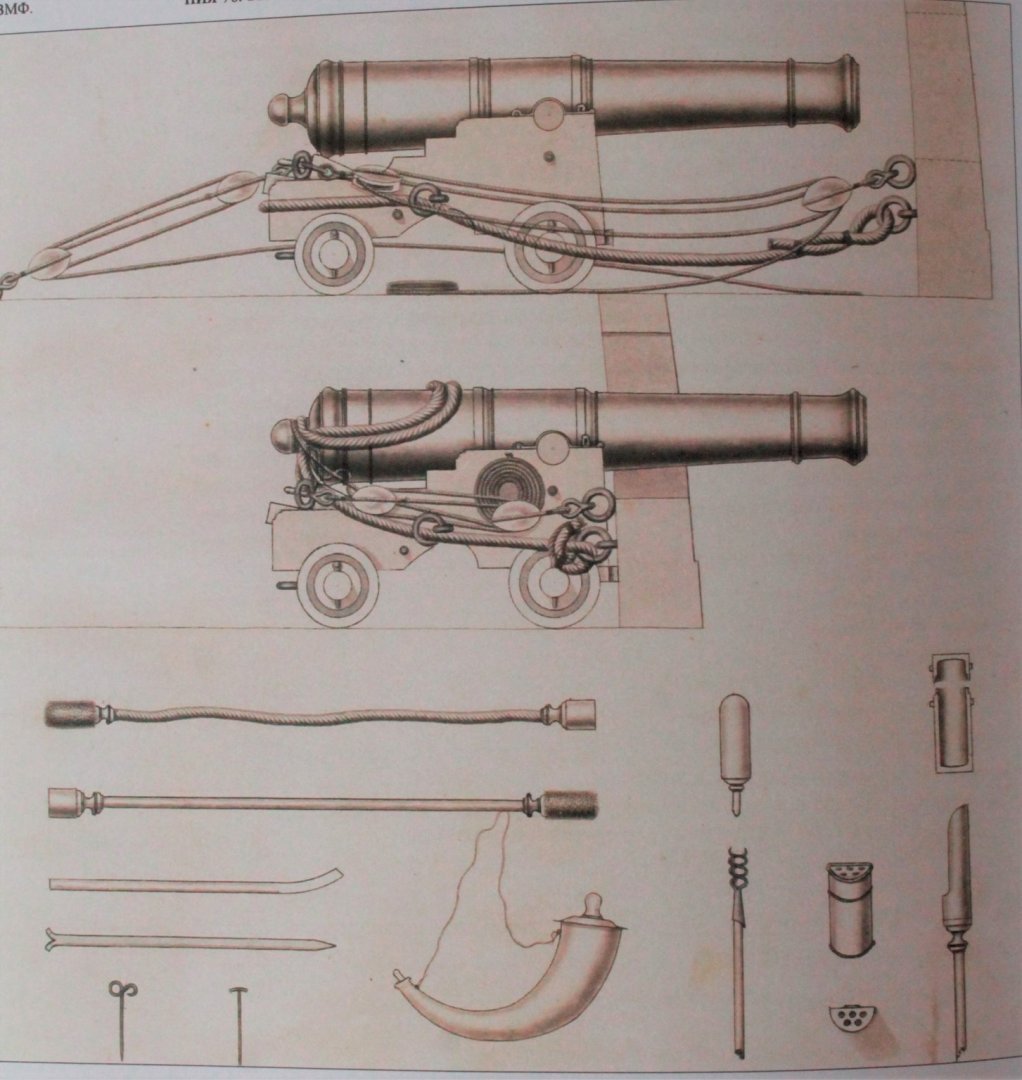
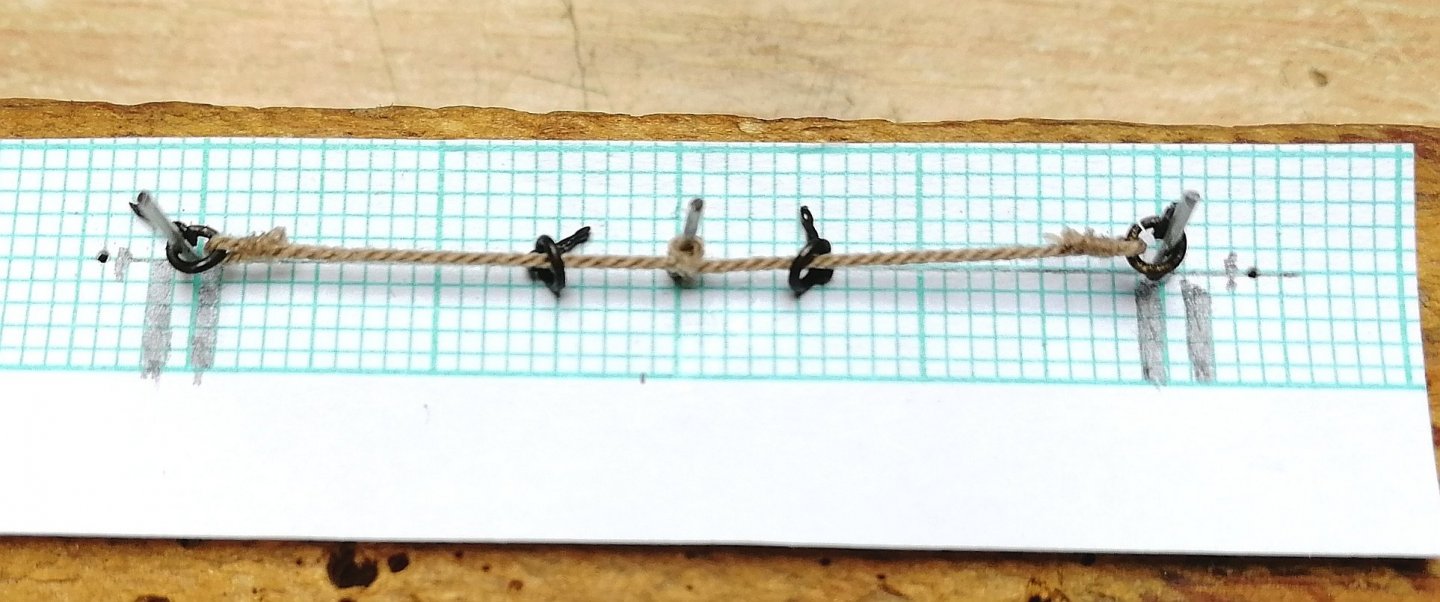
Second attempt with the gun rigging. I fixed the breeching rope according to the bellow picture

- 315 replies
-
- 15
-
-
- master korabel
- avos
- (and 1 more)
-
Brilliant as always!
-
@Fernando E, @Gregory Thanks a lot guys! I'm trying to do my best. It is a lot of fun to build this kit!!!
- 315 replies
-
- 1
-
-
- master korabel
- avos
- (and 1 more)
-
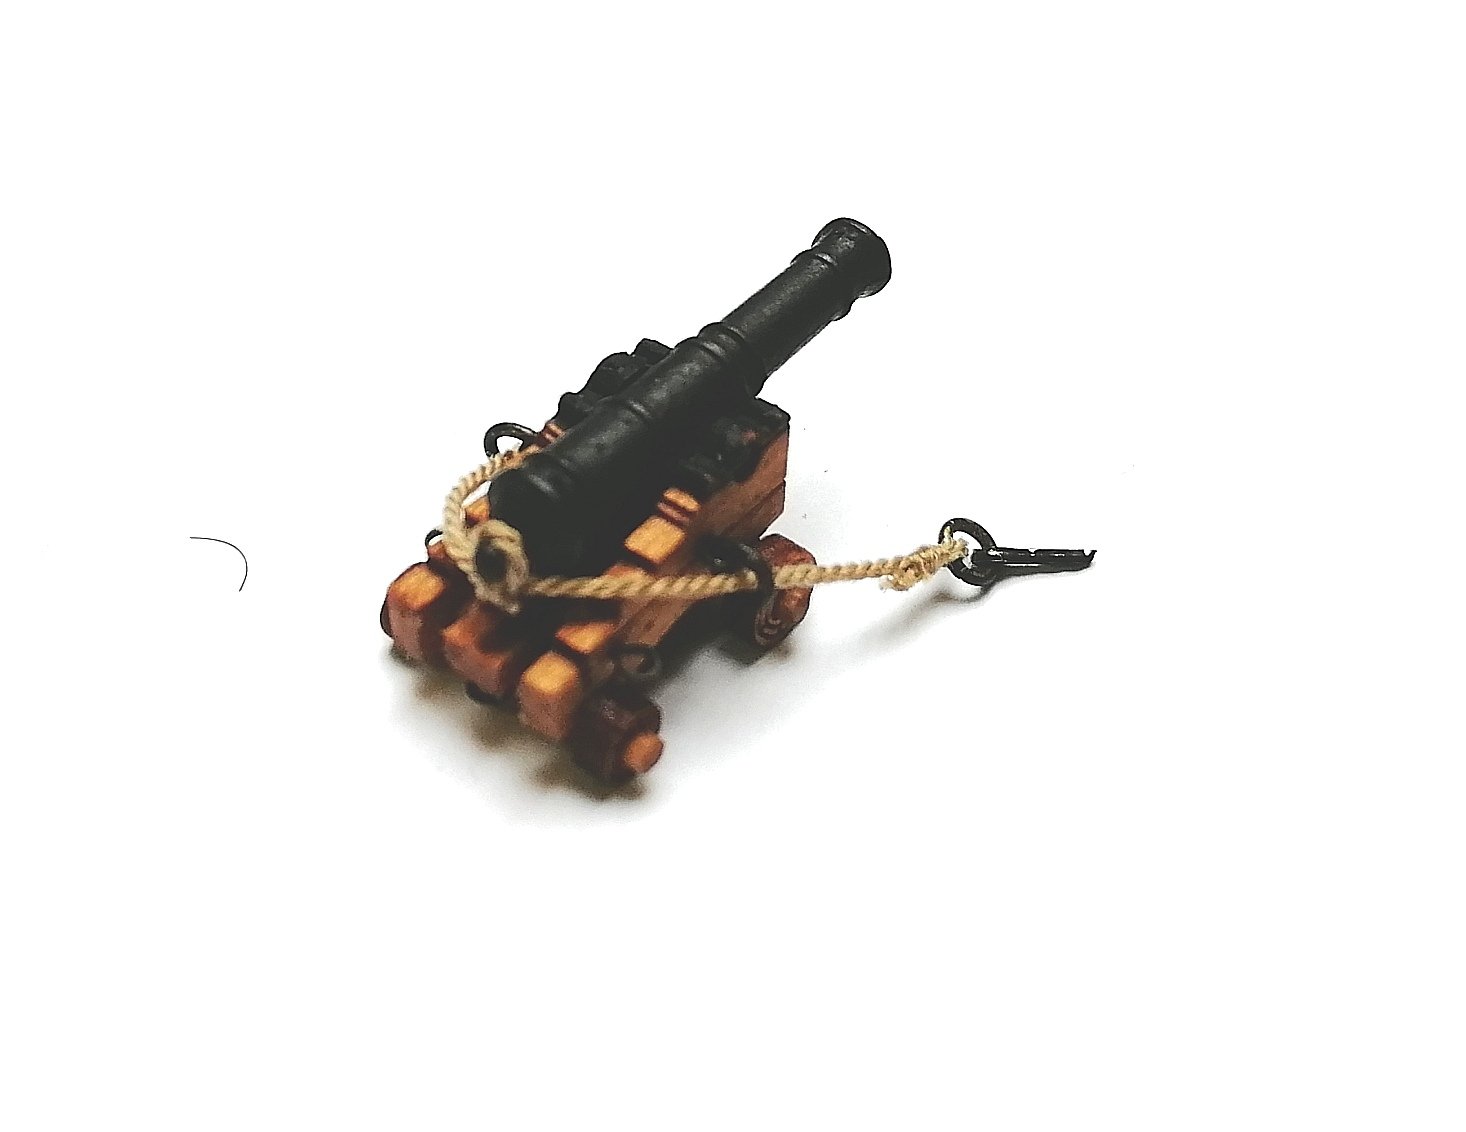
Full army...... It is scary big! Jig for breeching rope and ready gun for first "Sharp fit" Gun on the deck with first tackle


- 315 replies
-
- 21
-
-
- master korabel
- avos
- (and 1 more)
-
Thanks a lot guys, also for all the likes! Much appreciated. If I could make one person interested in ship modeling through my build I'd be more than happy! Having so many followers and reactions is really great motivation. Never thought I could cought so many people by building something what many now days people think didn't exists. Happy to be here in MSW! THANKS
- 315 replies
-
- 5
-
-
- master korabel
- avos
- (and 1 more)
-
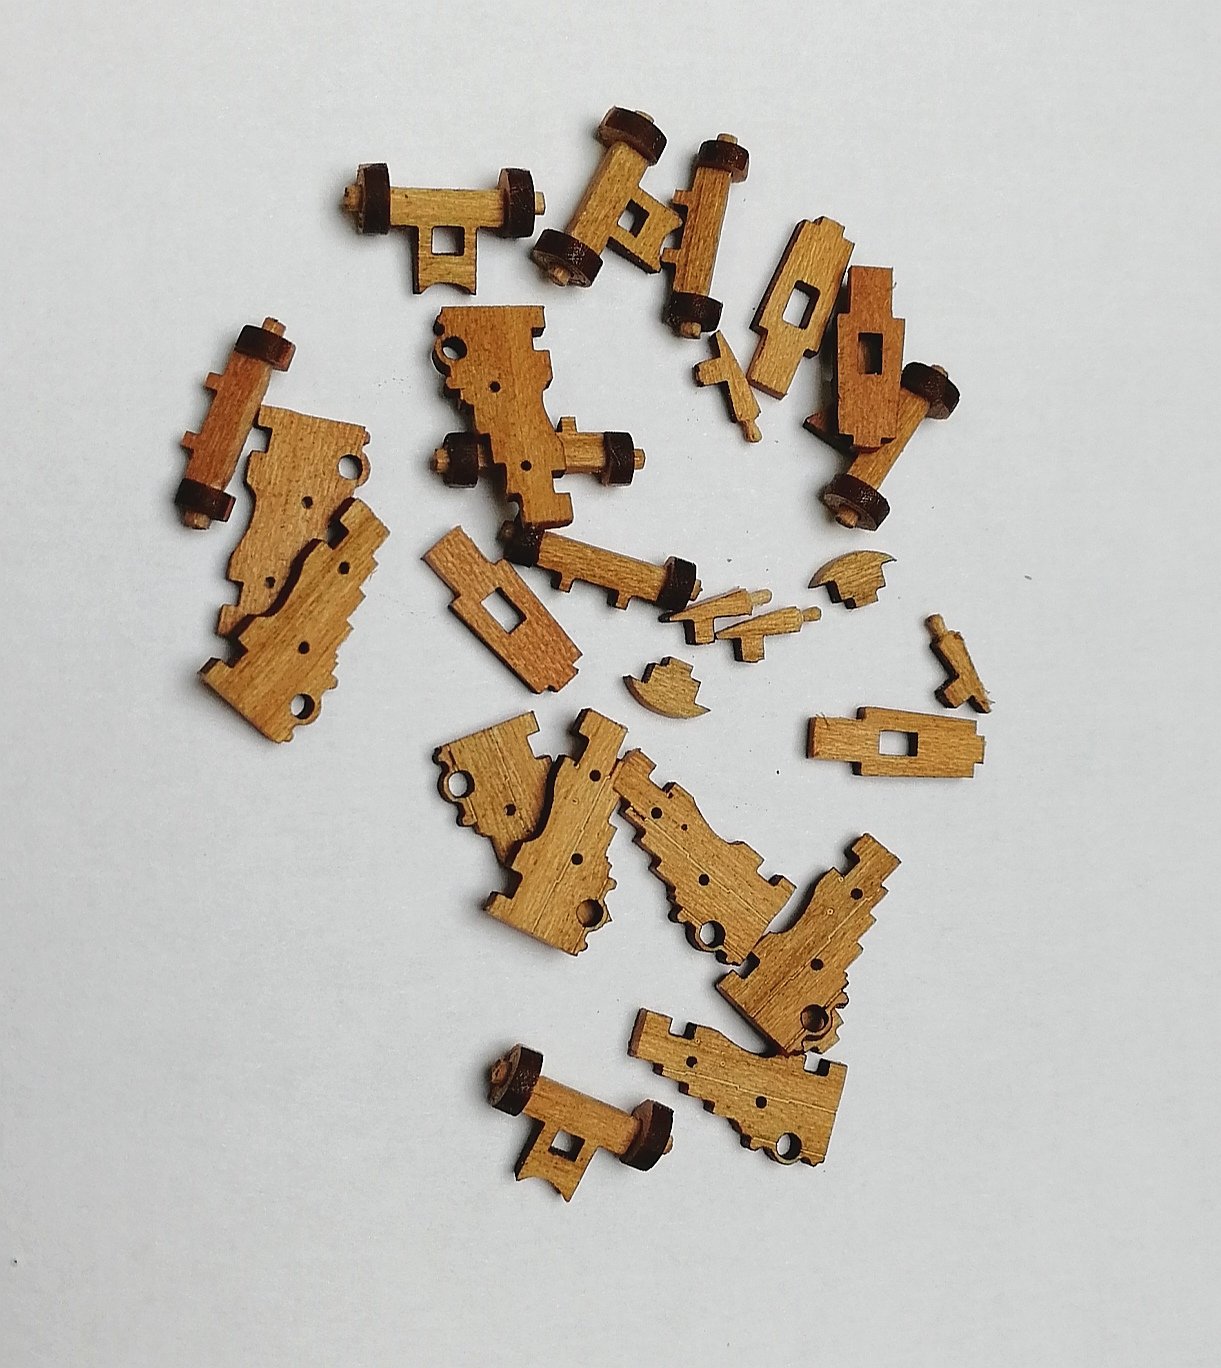
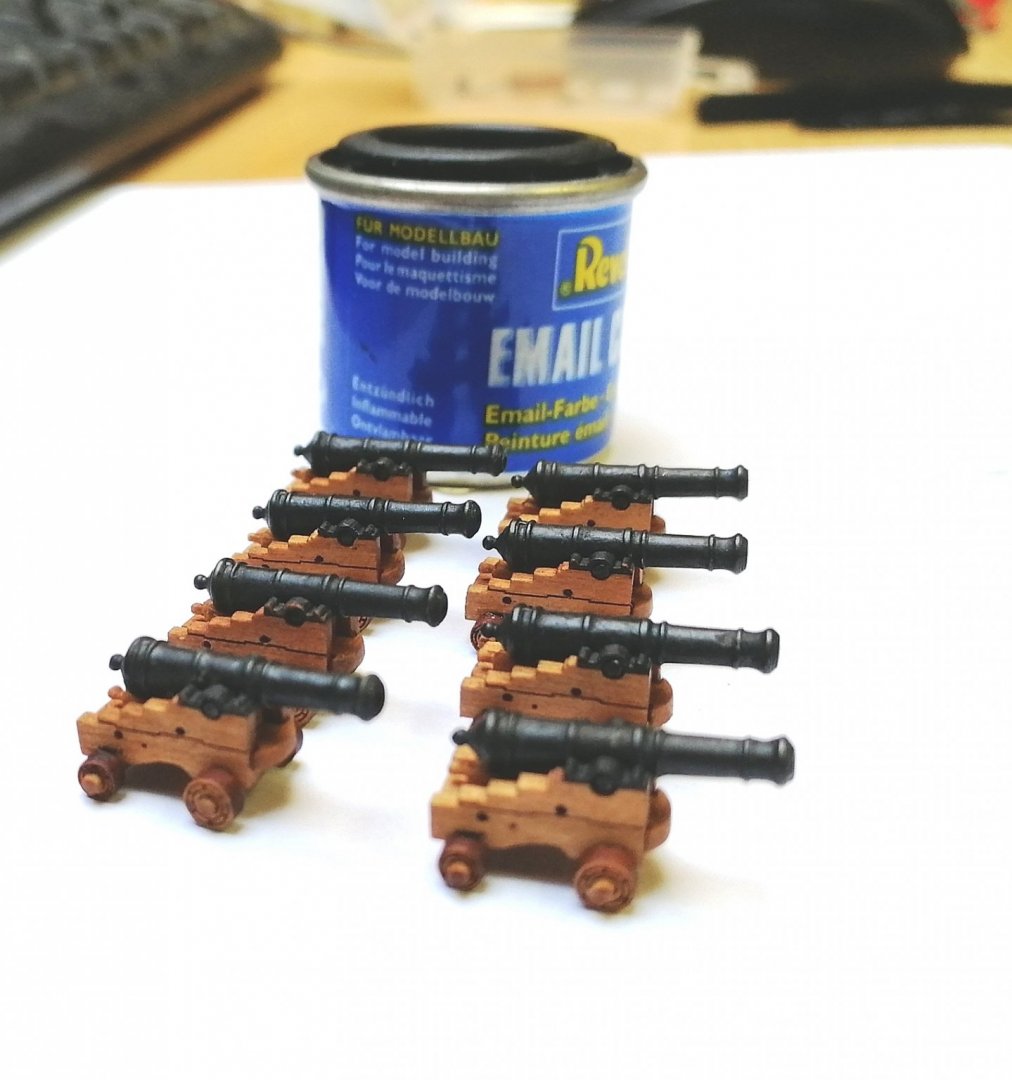
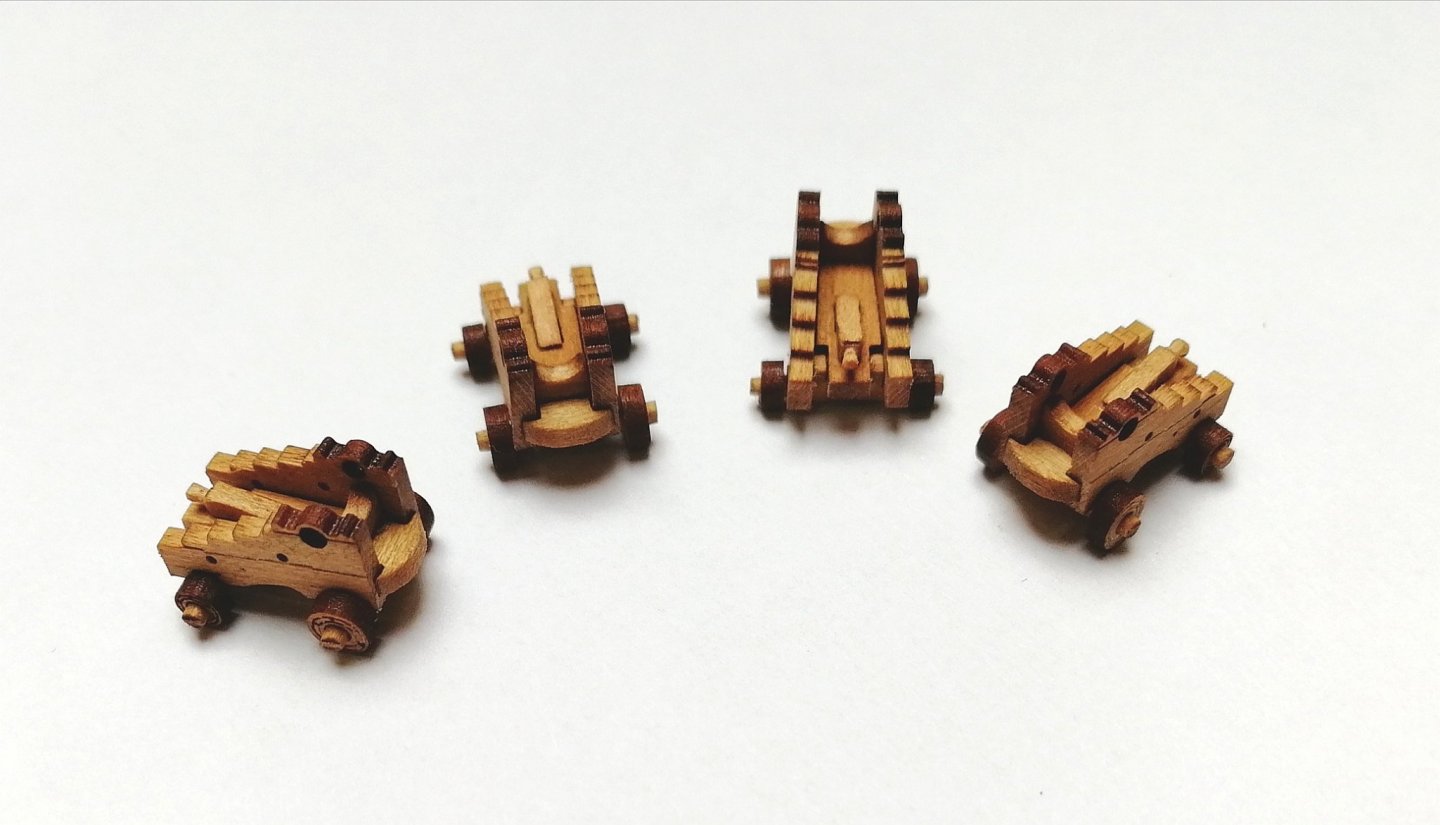
Thanks @greenstone Assembling the rest of artillery.


- 315 replies
-
- 15
-
-
- master korabel
- avos
- (and 1 more)
-
@Dubz thanks a lot Dirk! Now it does make much more sense 🍻
- 315 replies
-
- 3
-
-
- master korabel
- avos
- (and 1 more)
-
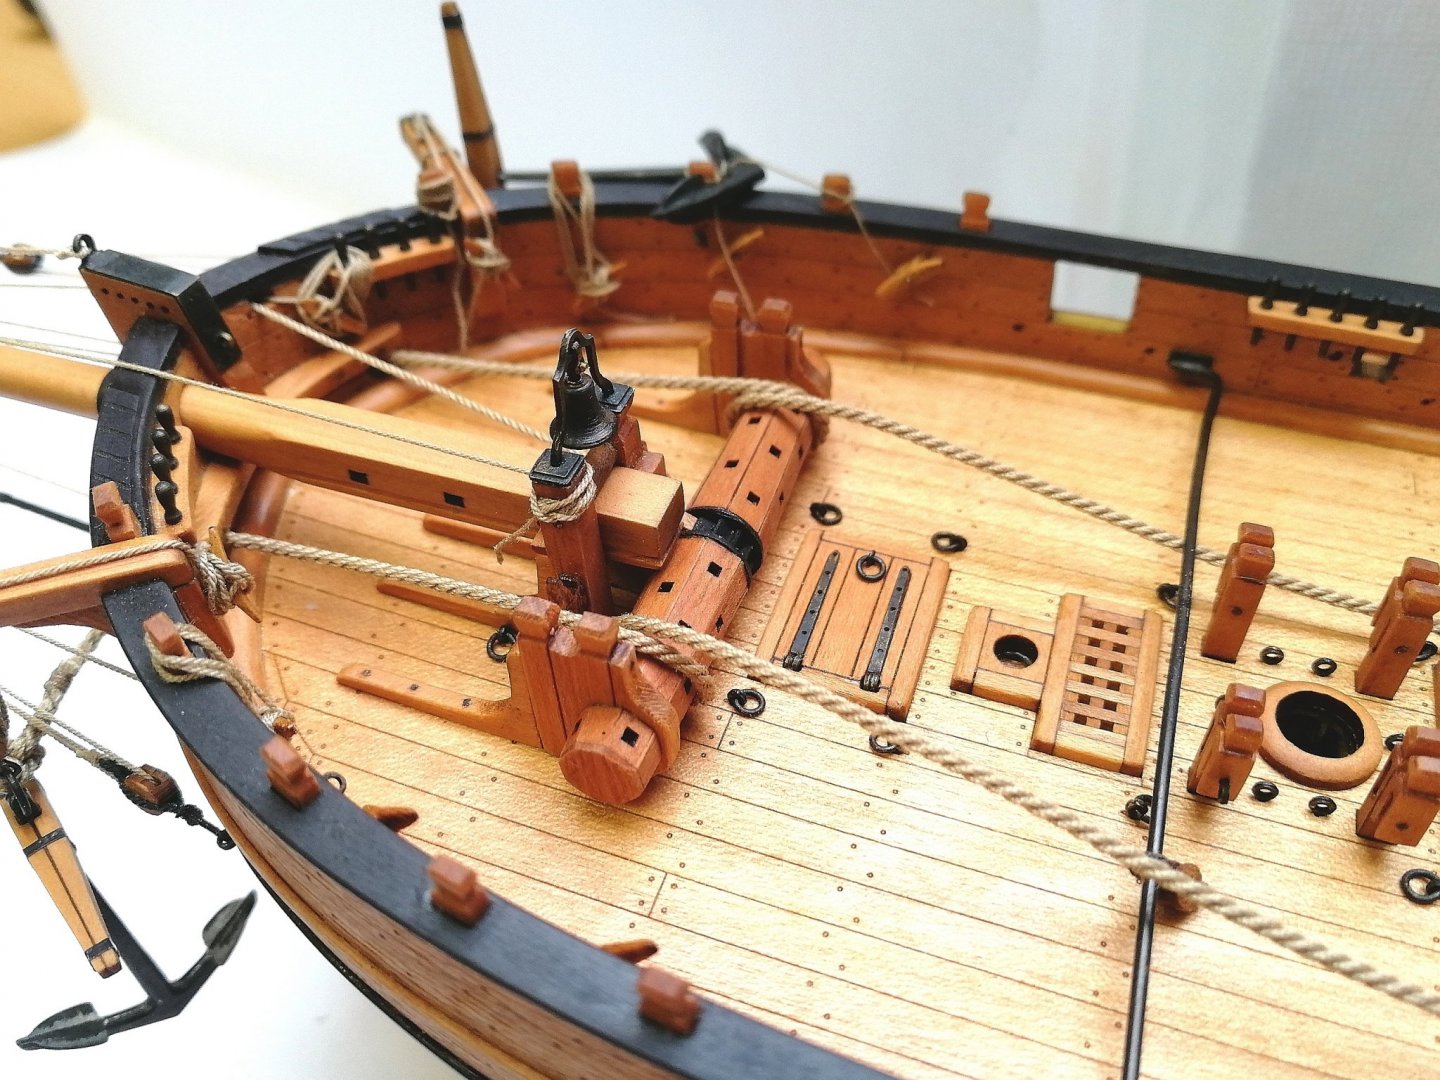
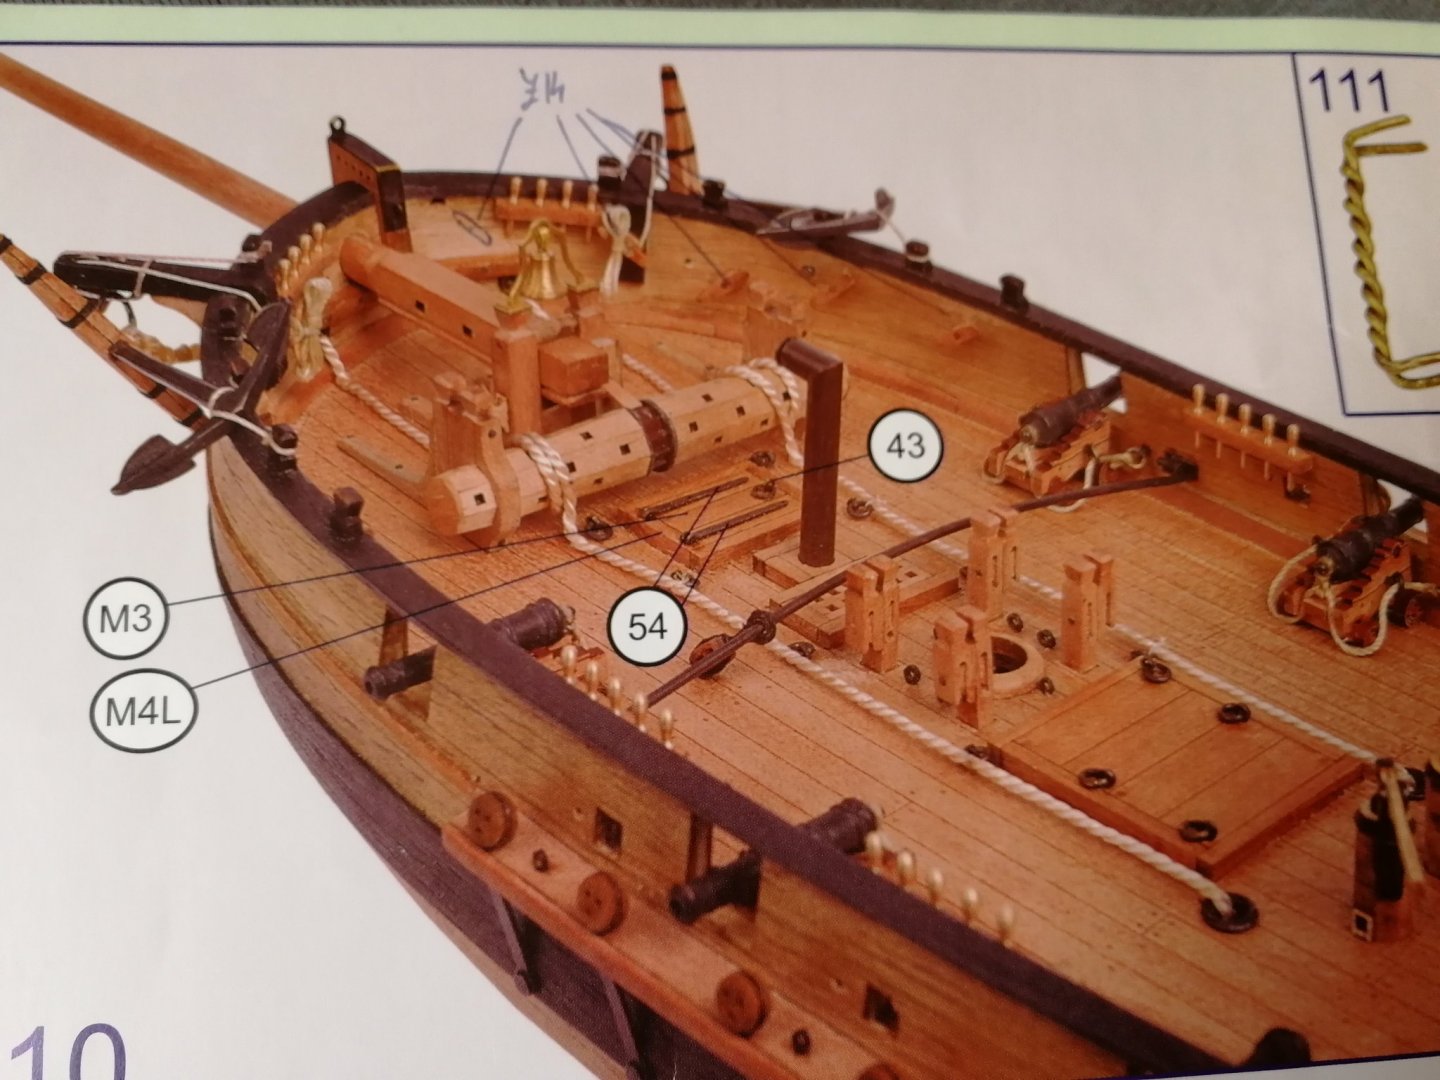
Second anchor + anchor tackles. It still needs some final touches but first I need decide few things. Running the anchor cable through windlass... I'm convinced I have it right (same as in plans) as windlass wind the anchor up rotating anti-clockwise and pawl in the bell bitt securing the spinning other way. But when "sinking" anchor is the cable still Running through windlass and spin with it? Were both anchors operated in one go? It does not make much sense to me how it is in plans. In this setup I do not see the way how to detach cable from windlass. PLEASE HELP!! Plan

- 315 replies
-
- 17
-
-
- master korabel
- avos
- (and 1 more)
-
While waiting a supply for gun tackles I'm working on other details. Today anchor. Again I used brass tape Iron belts. It is Just temporary fited to the deck nothing is glued.
- 315 replies
-
- 21
-
-
- master korabel
- avos
- (and 1 more)
-
Thank you Evgeny! Exactly what I need 👌 How is that breeching rope secured in the second picture?
- 315 replies
-
- 3
-
-
- master korabel
- avos
- (and 1 more)