HOLIDAY DONATION DRIVE - SUPPORT MSW - DO YOUR PART TO KEEP THIS GREAT FORUM GOING! (Only 13 donations so far - C'mon guys!)
×

Peta_V
-
Posts
351 -
Joined
-
Last visited
Content Type
Profiles
Forums
Gallery
Events
Everything posted by Peta_V
-
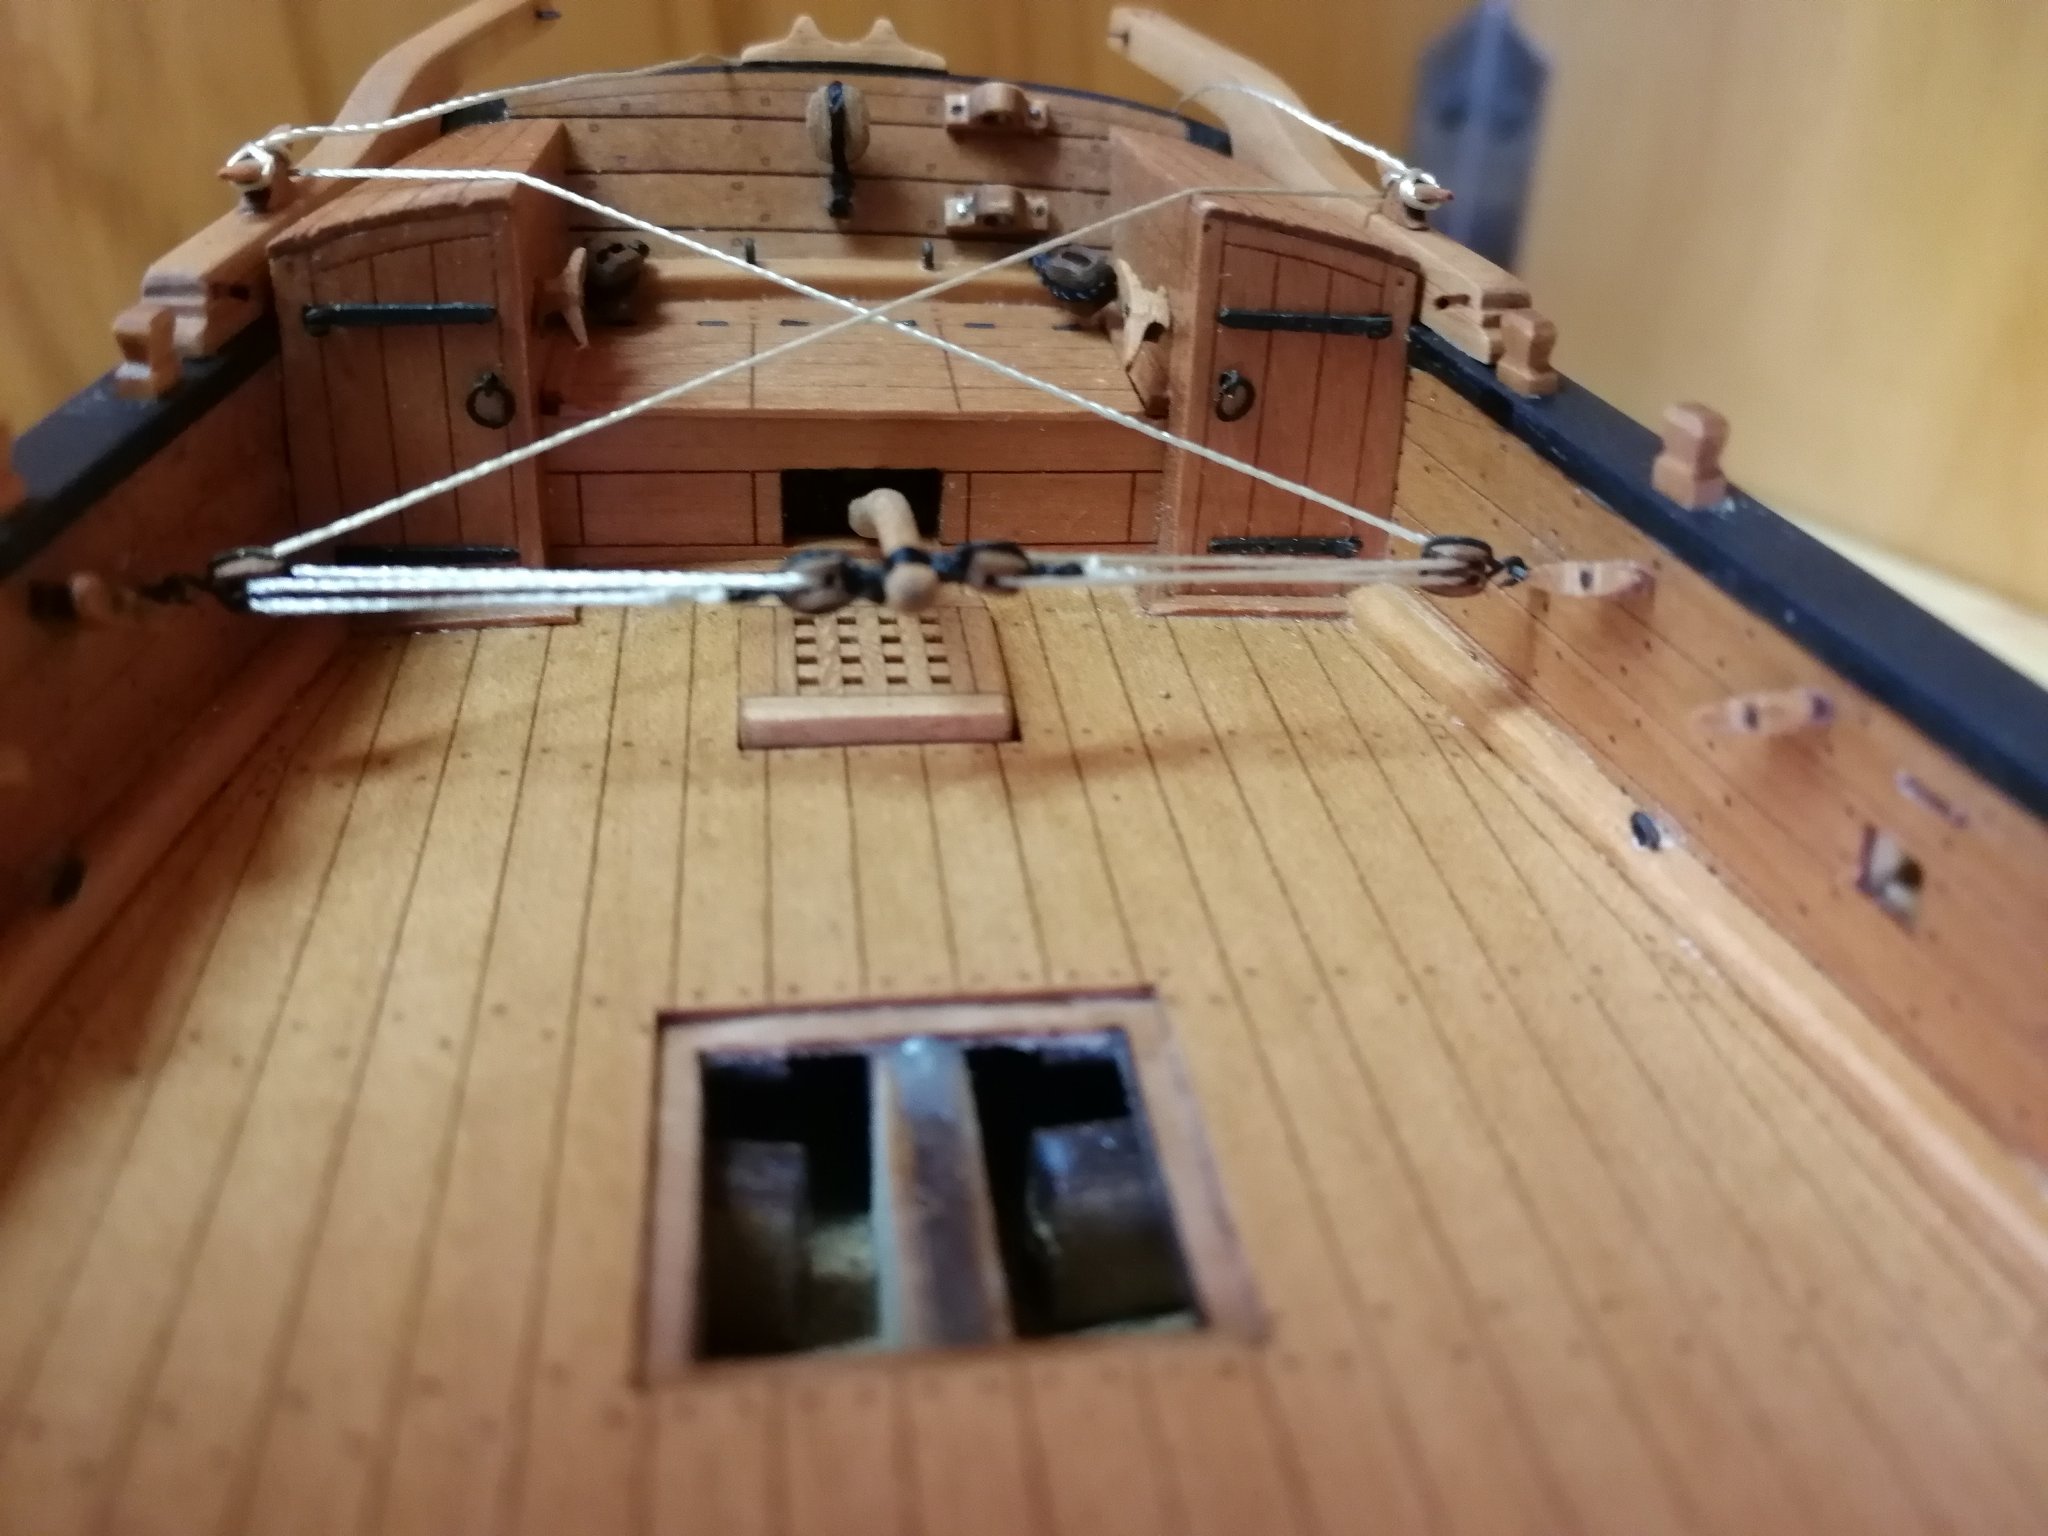
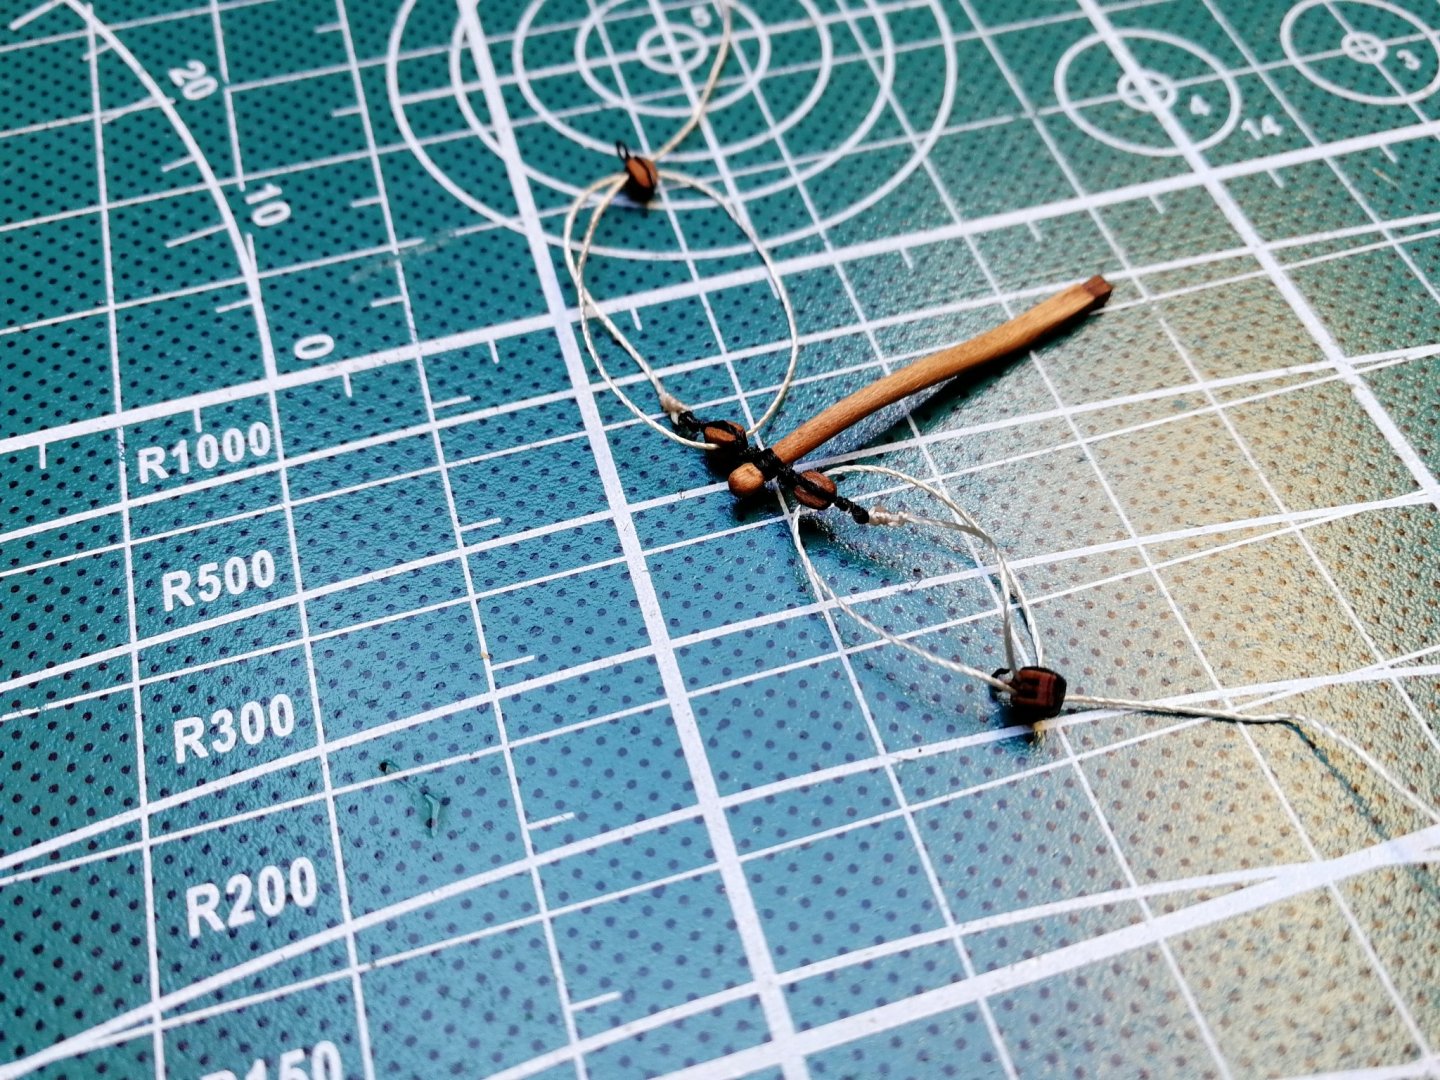
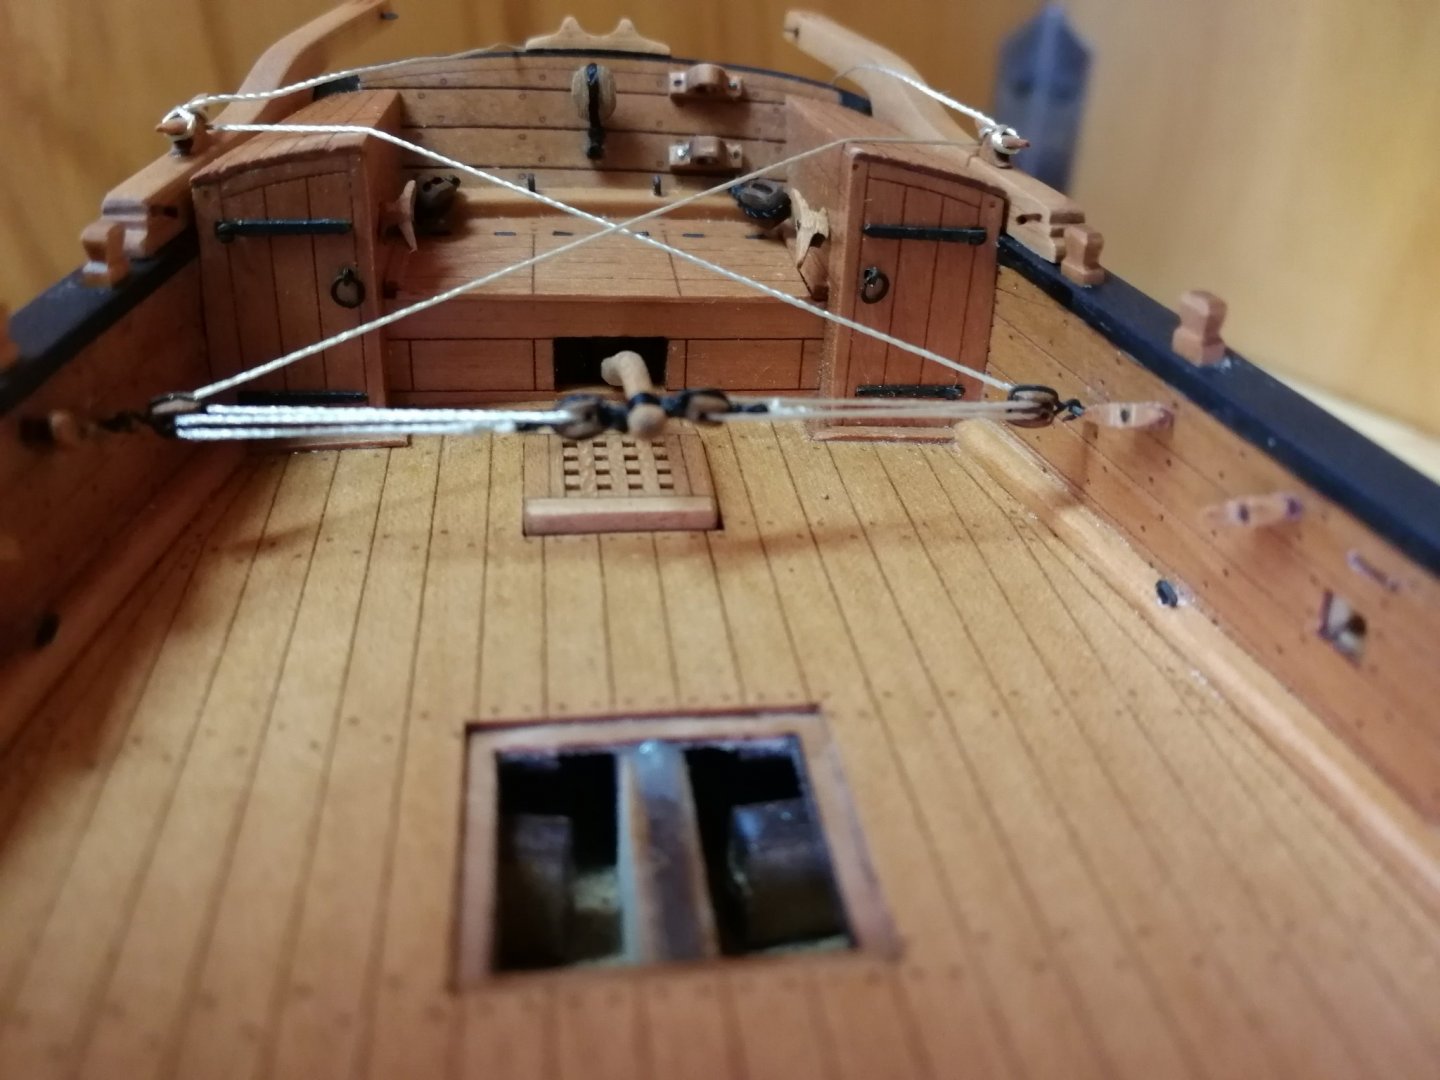
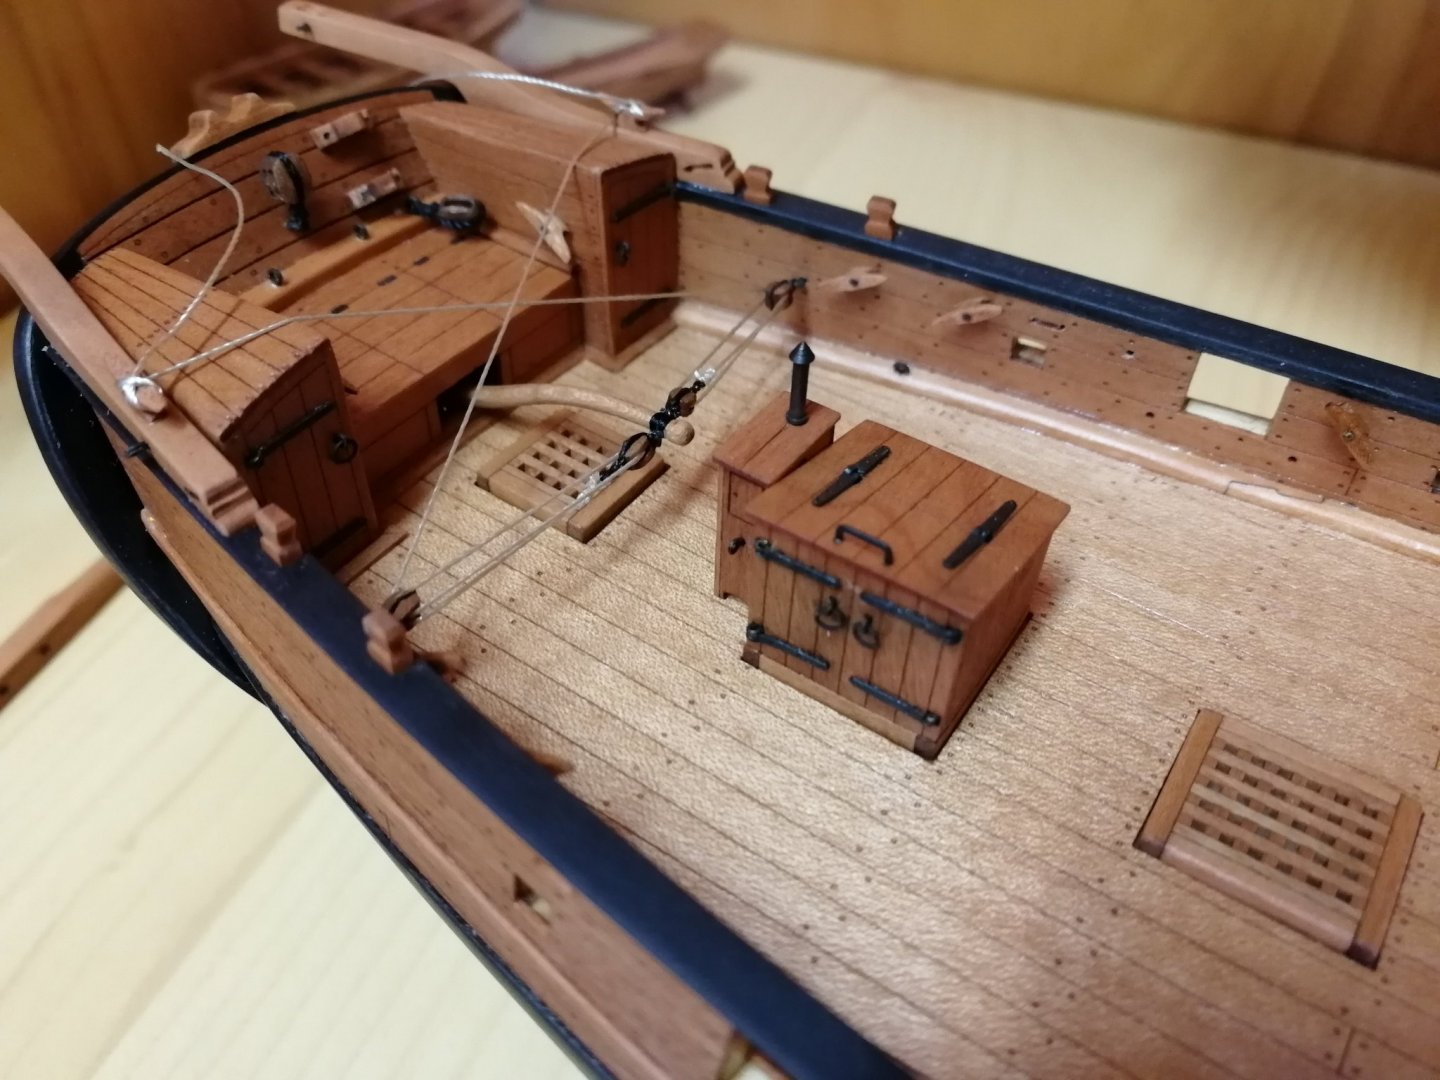
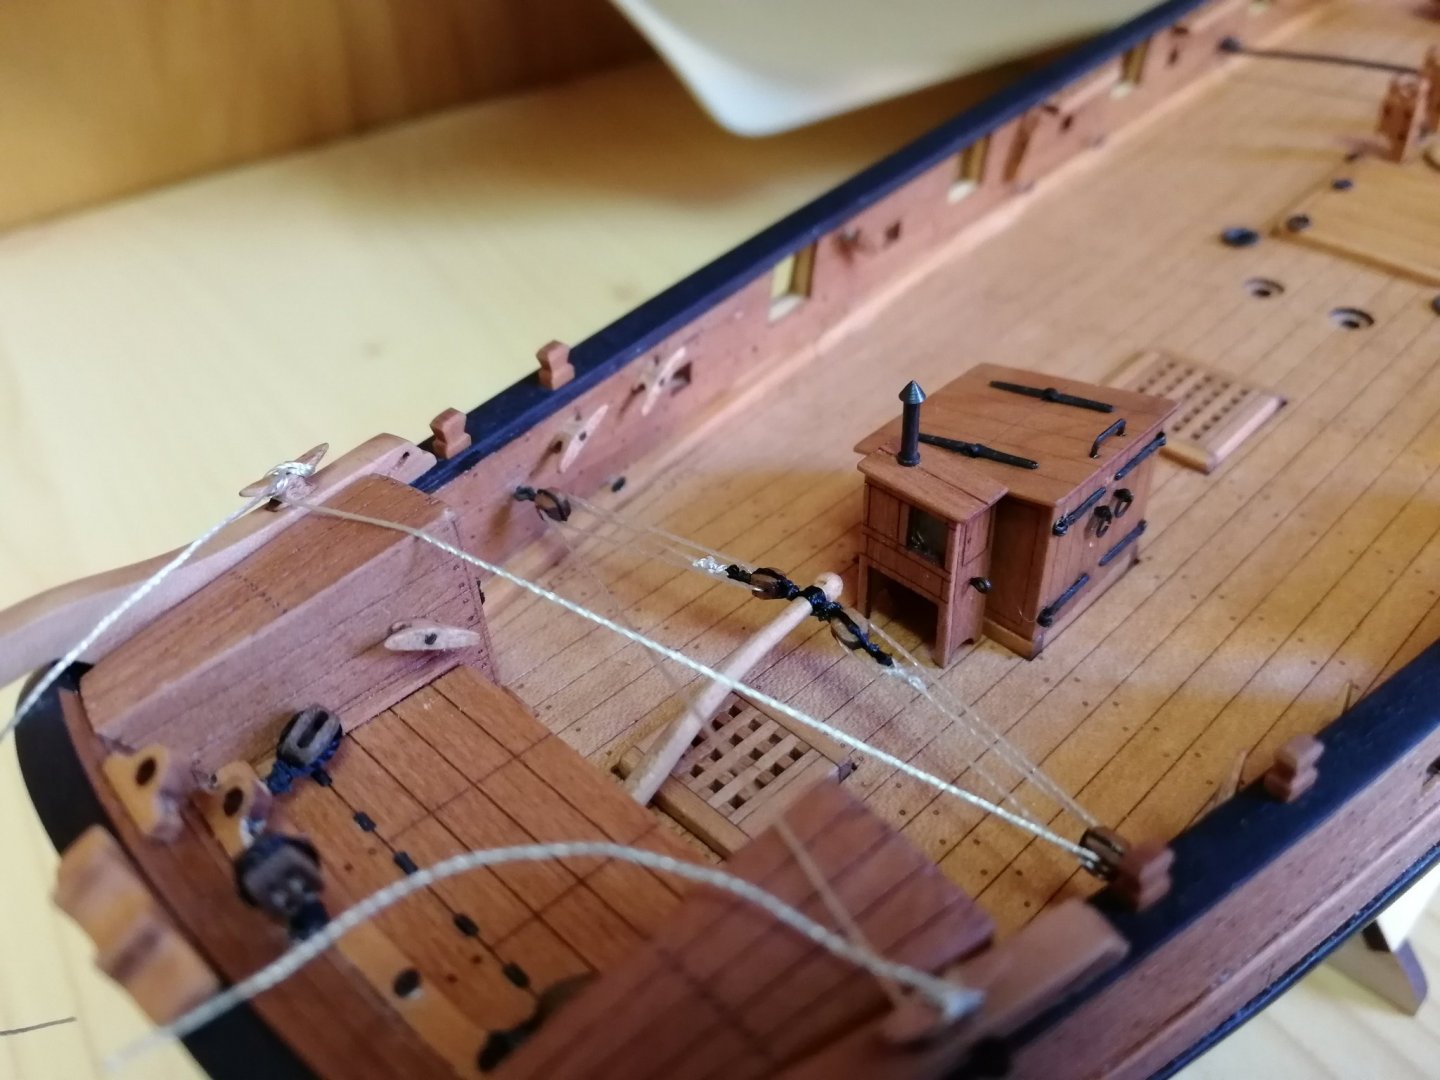
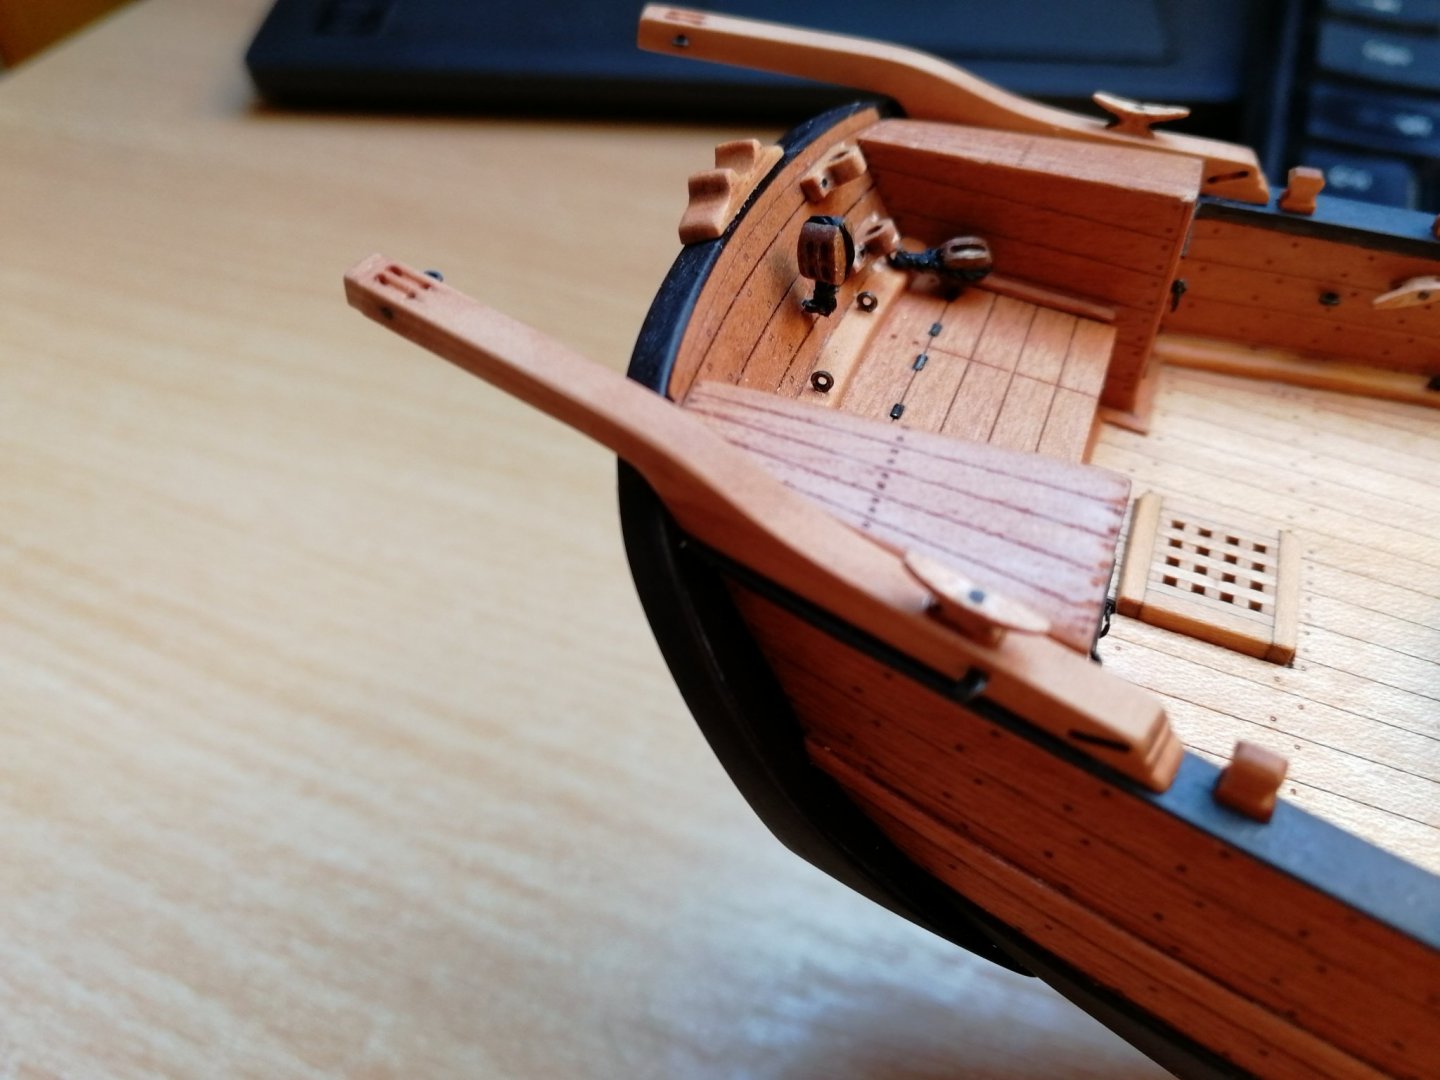
I have shaped the rudder tiller and did the tiller tackles. The end of the rope will end on the rudder tiller as well, this is just temporary fastening on the cleat as I'm not sure about the colour of the tackle. This thread is supplied with the kit. The quality is fine but I'm not a fan of that white and glossy colour. I'm thinking of replacing it by my own thread with matt tan colour.

- 315 replies
-
- 13
-

-
- master korabel
- avos
- (and 1 more)
-
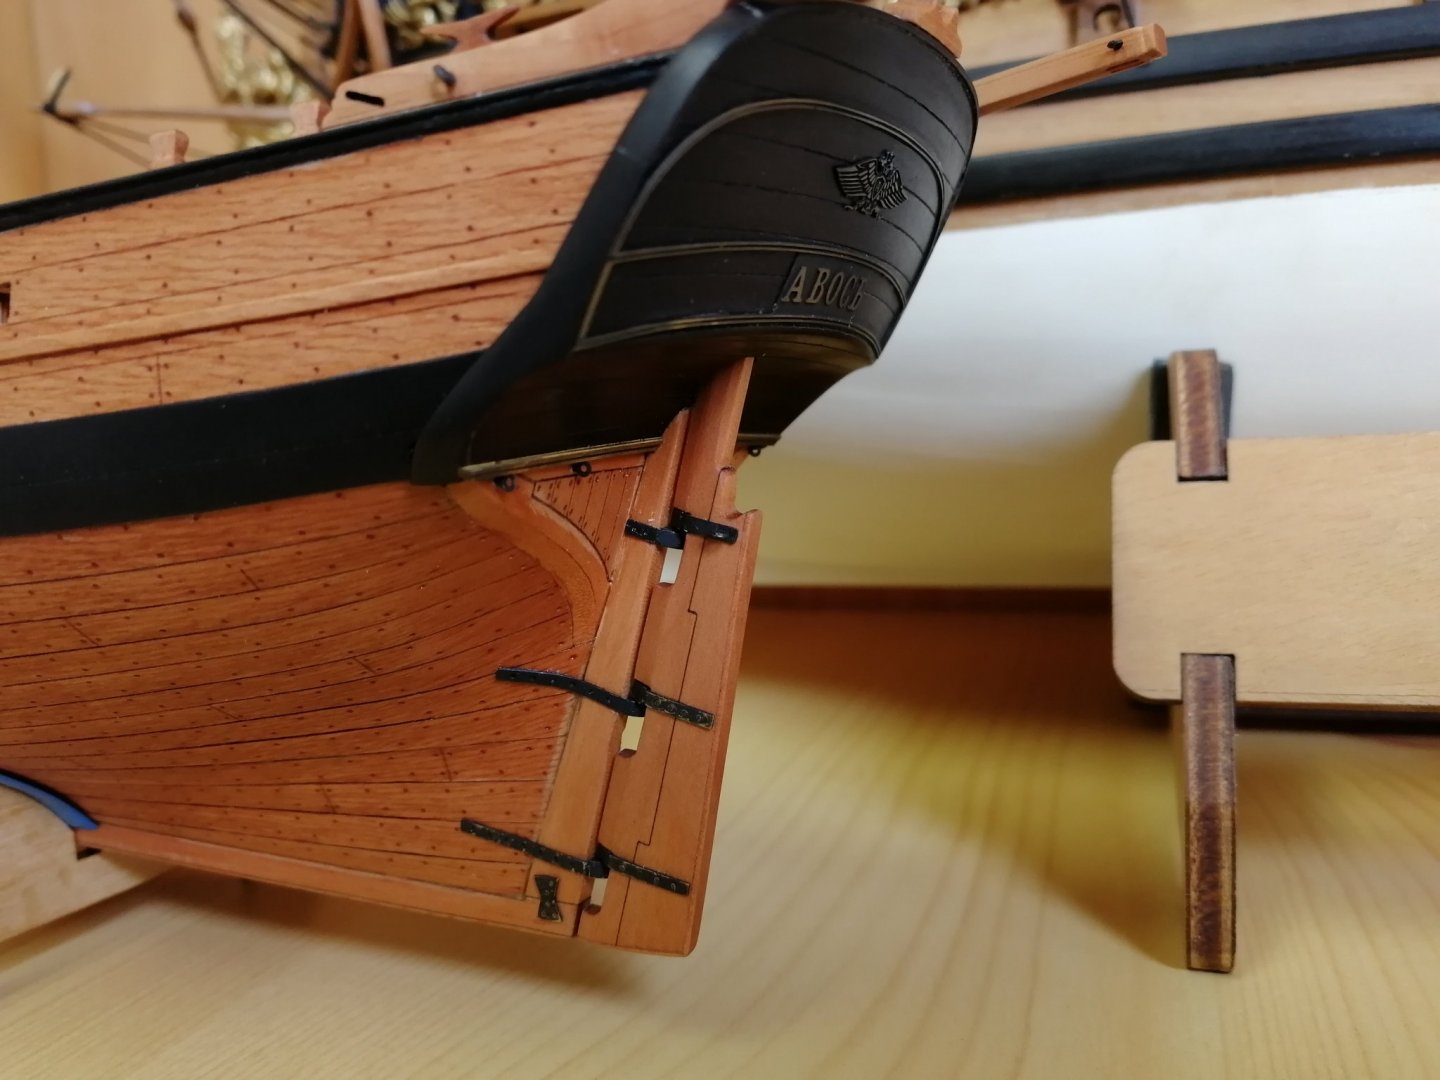
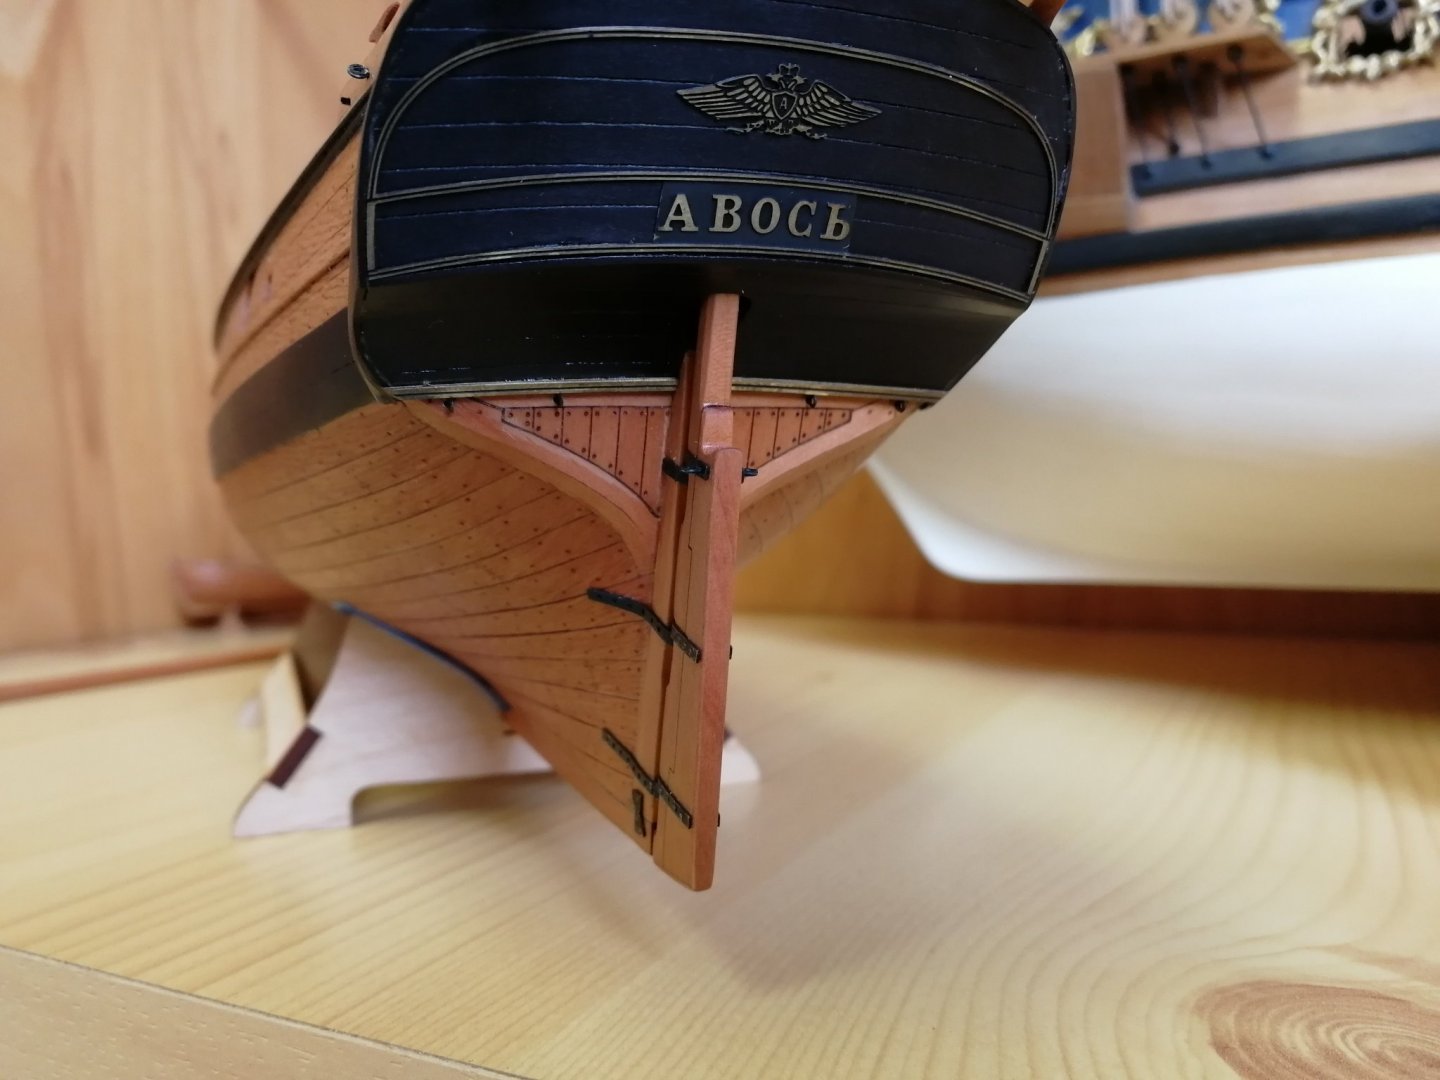
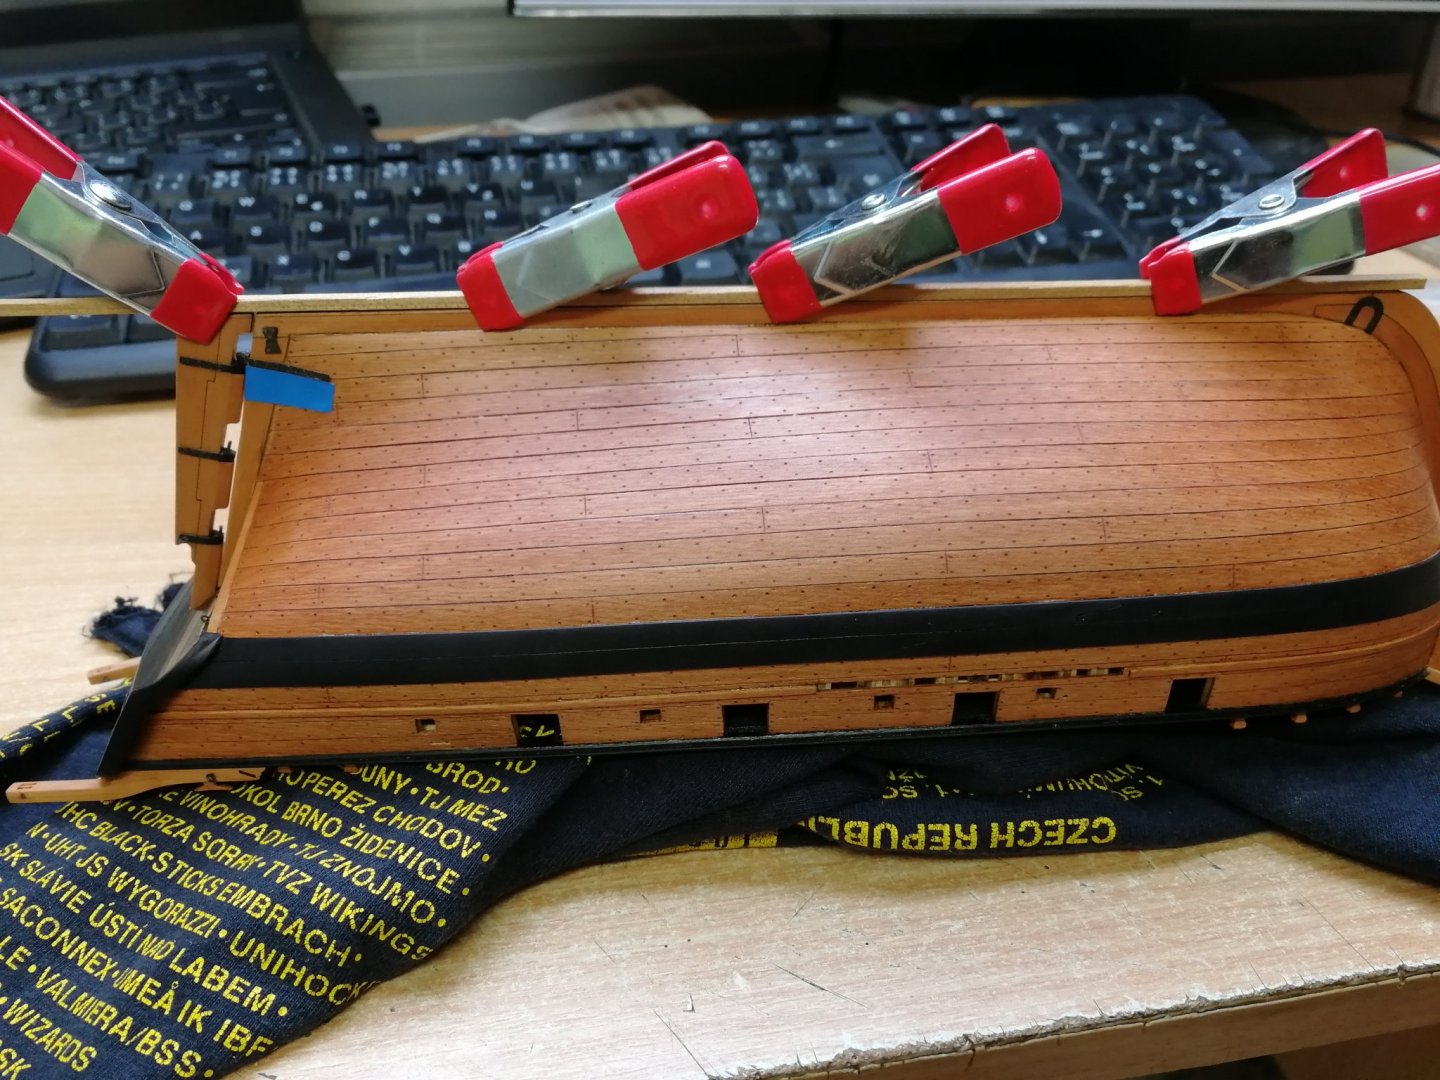
Instalation of the rudder braces to the hull. It took me while to figure out how to position it properly. At the end I clamped the plank to the keel which protrude to the stern and fix the rudder to the position. Once I was happy with the position of the brace I marked the position with the tape. Remove the rudder and glue the brace.
- 315 replies
-
- 17
-
-
- master korabel
- avos
- (and 1 more)
-
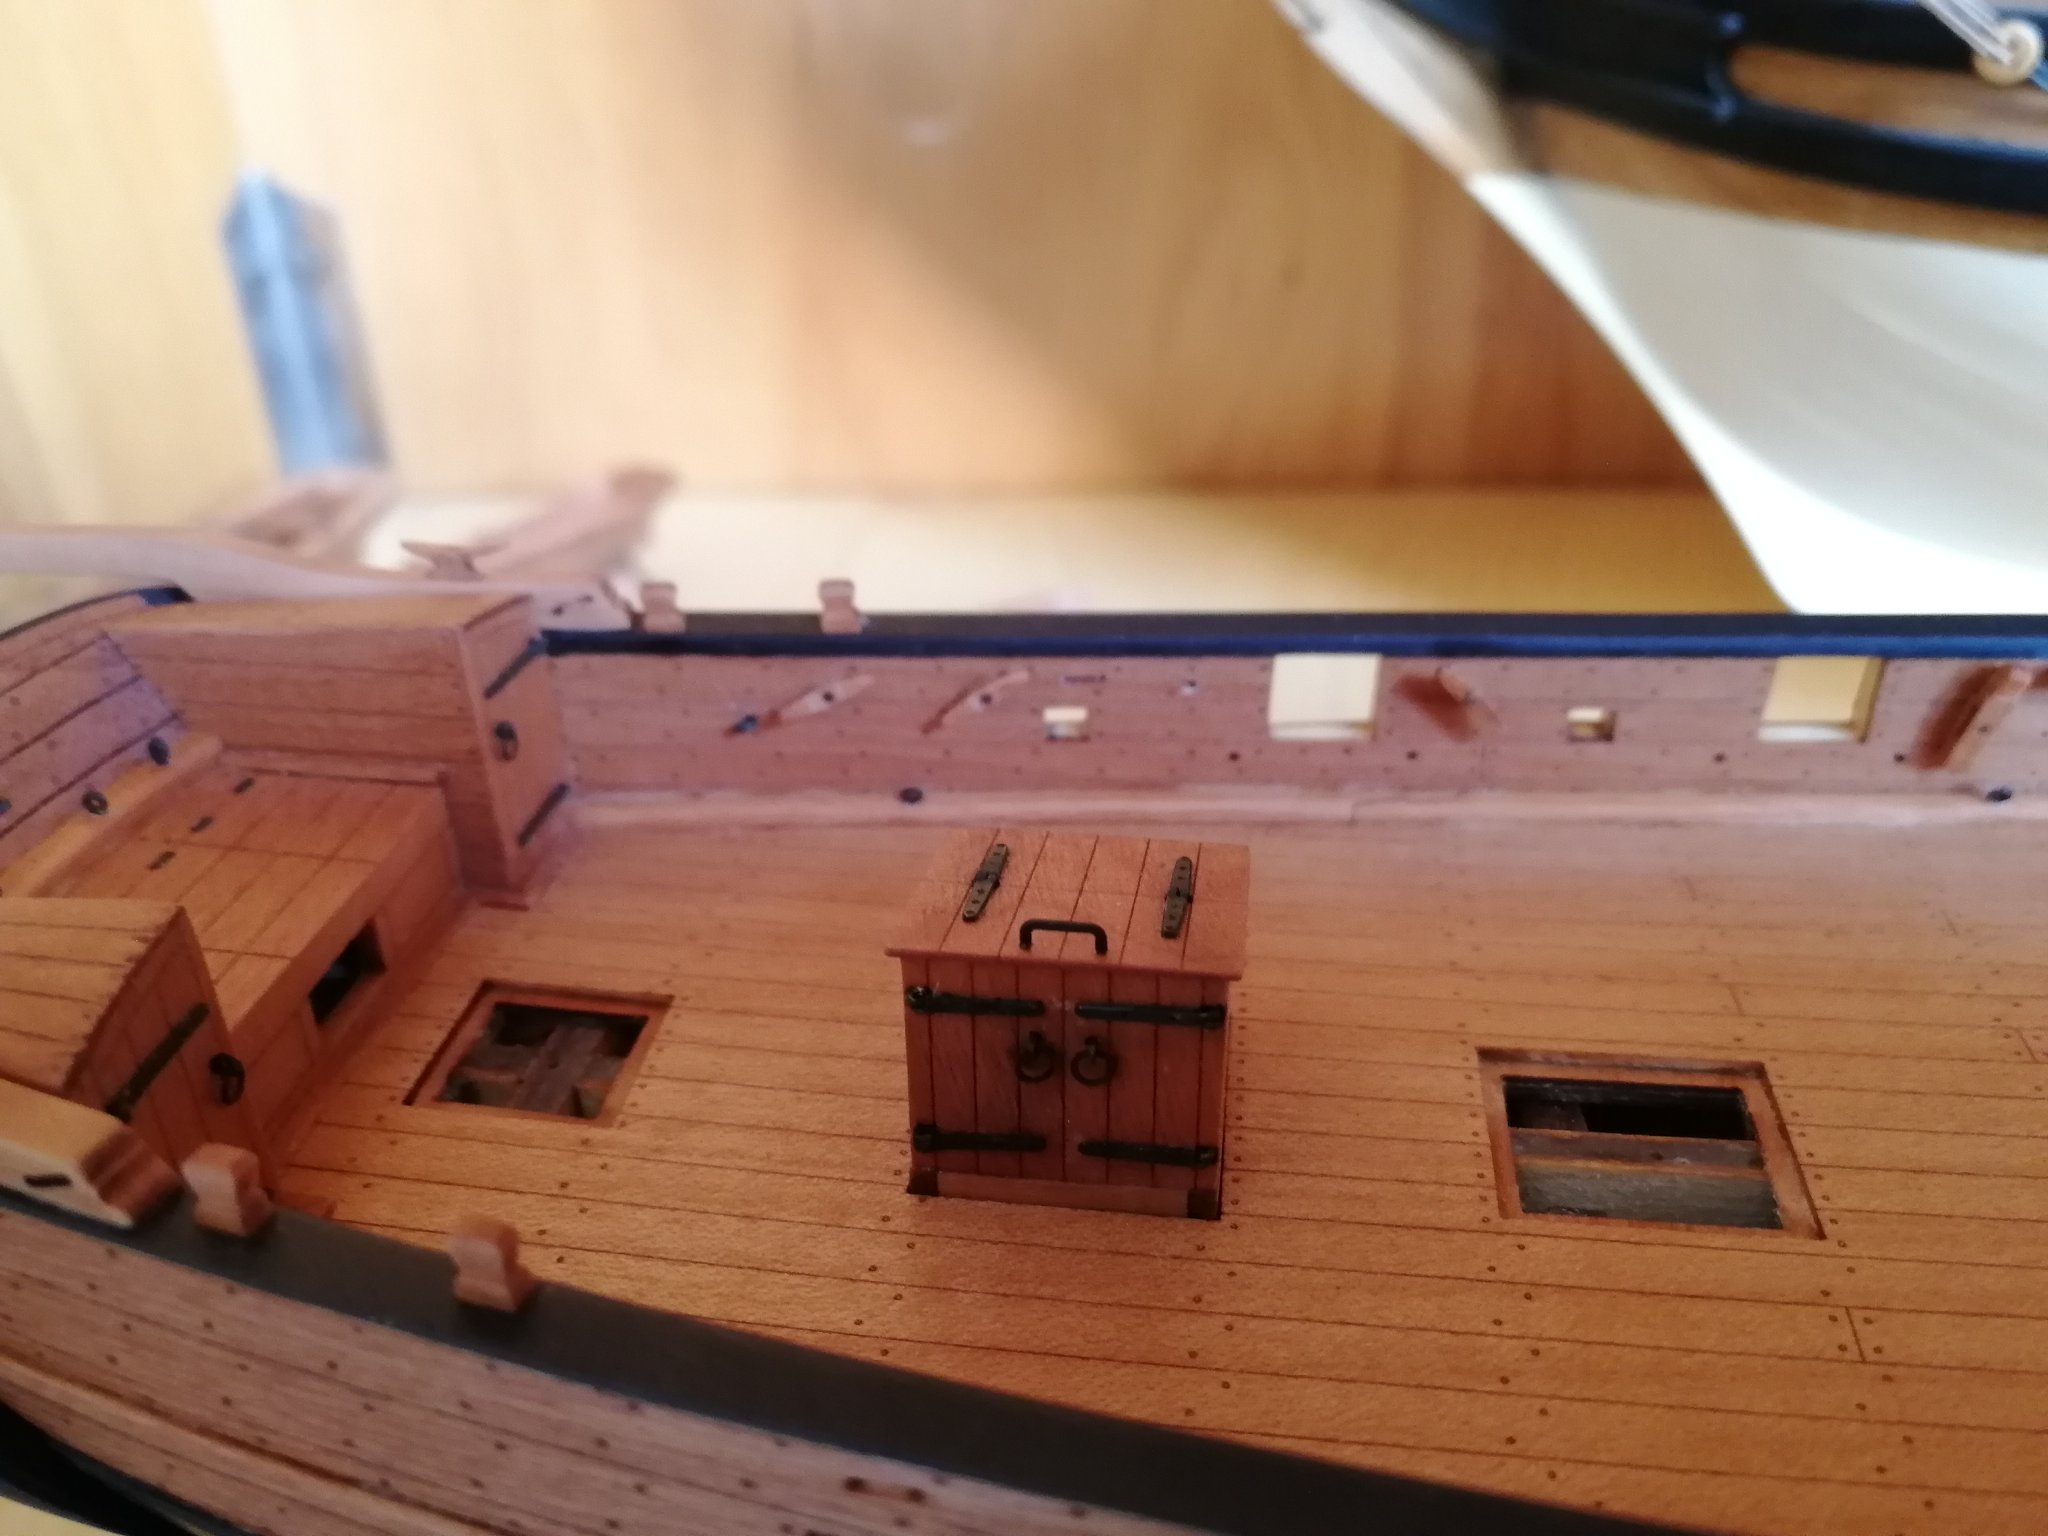
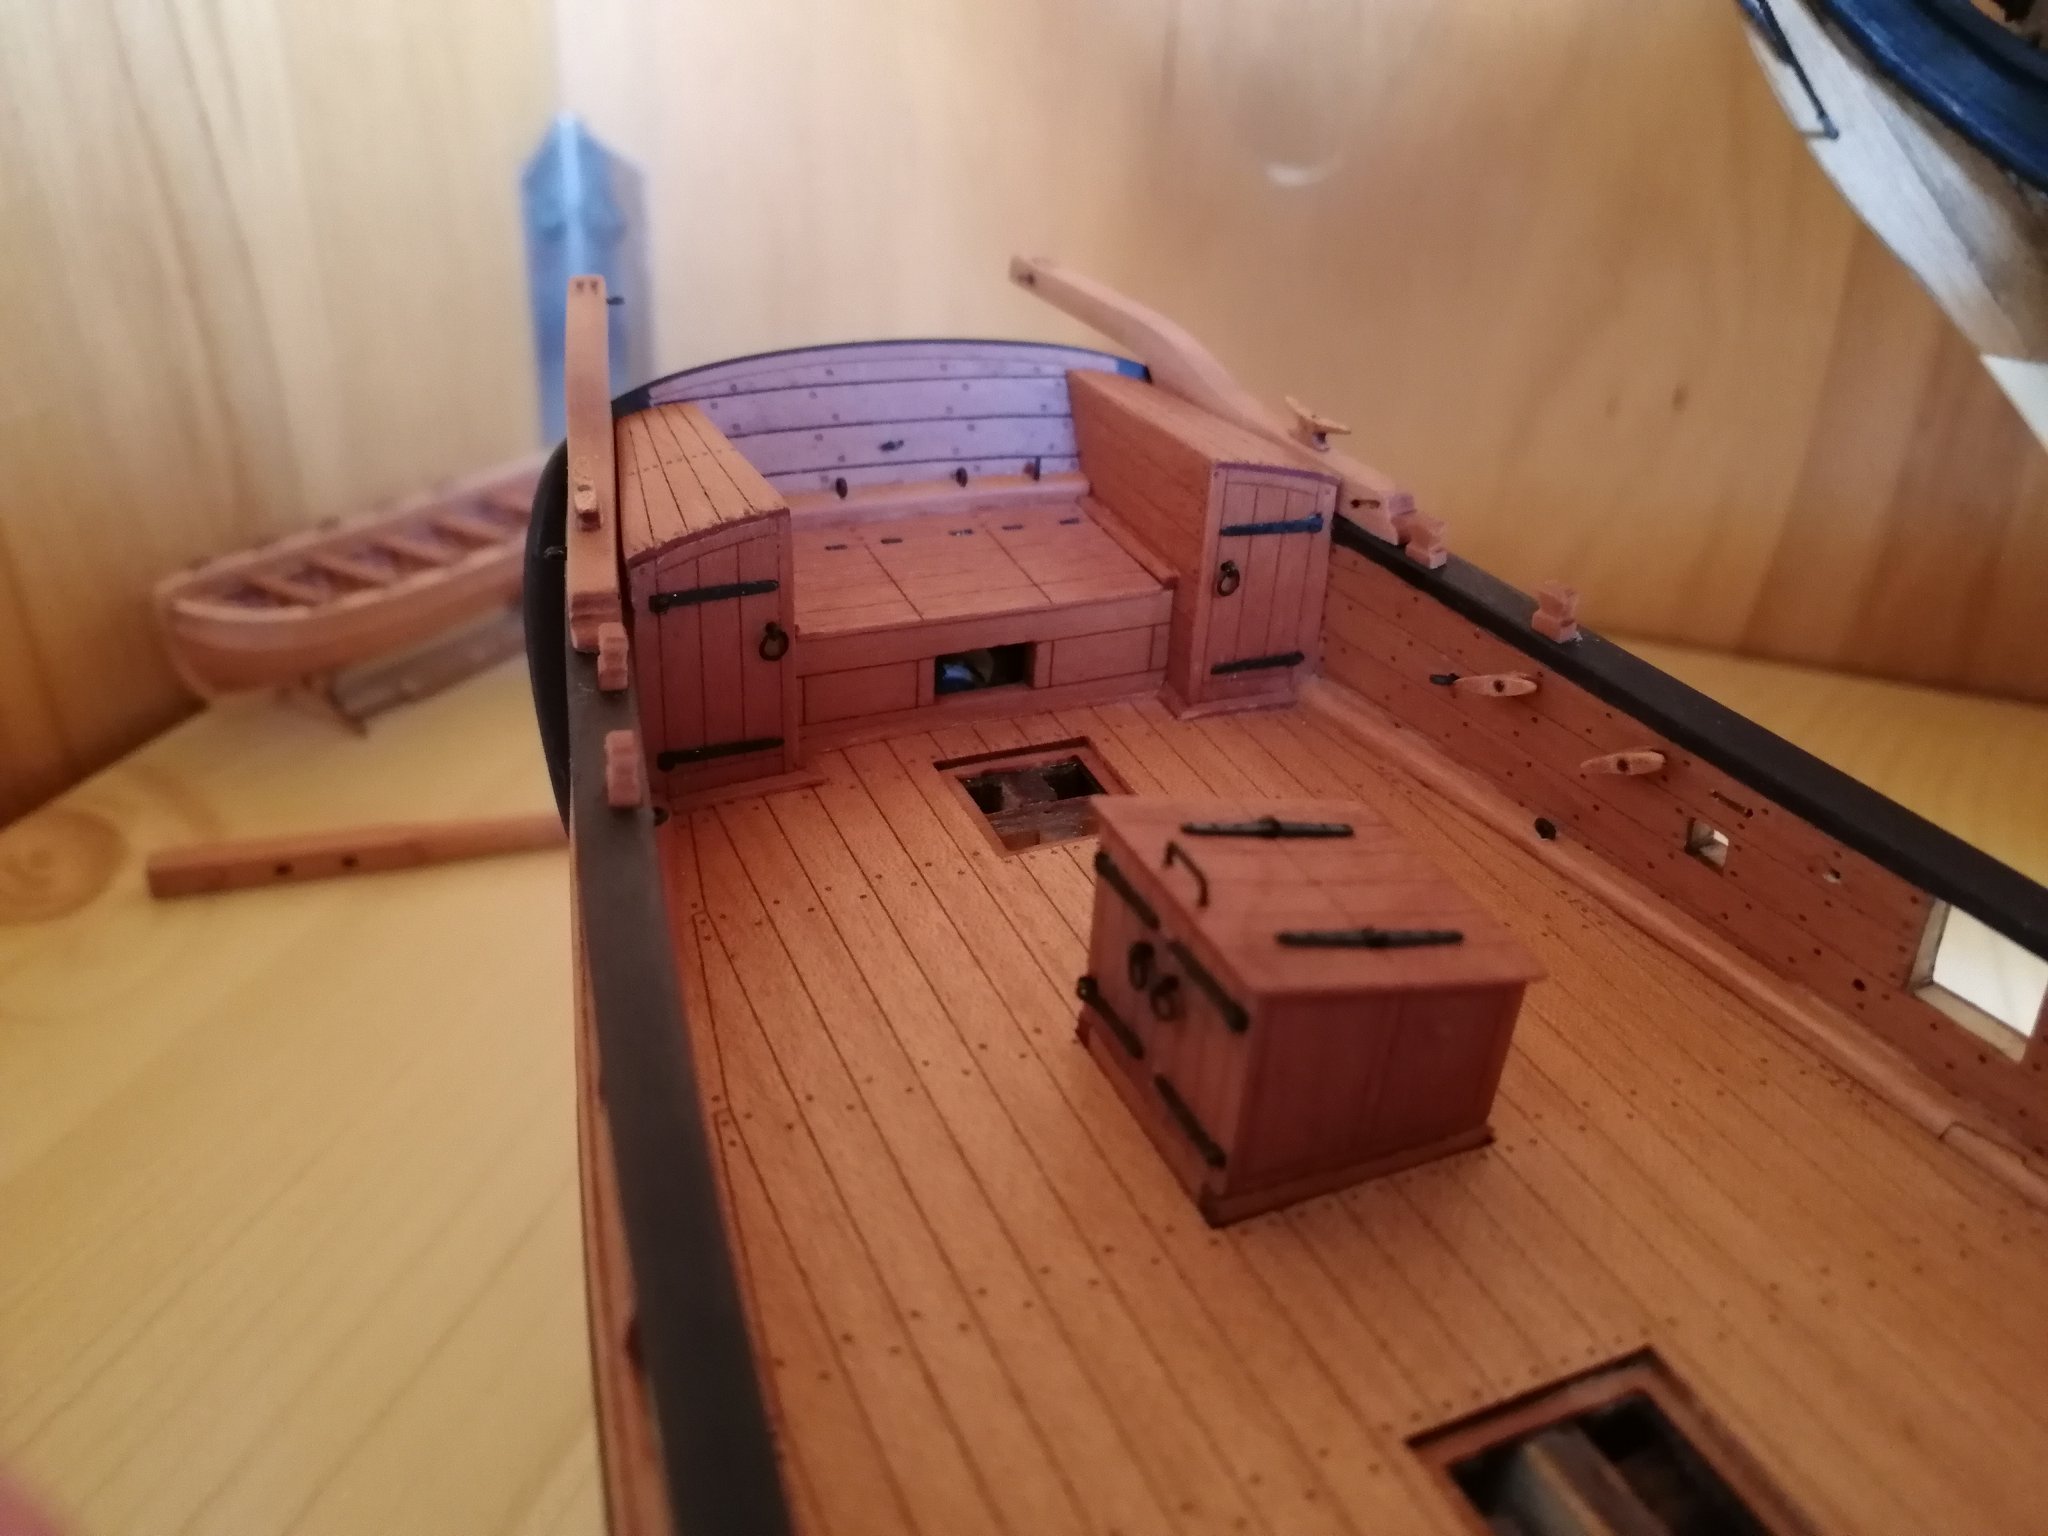
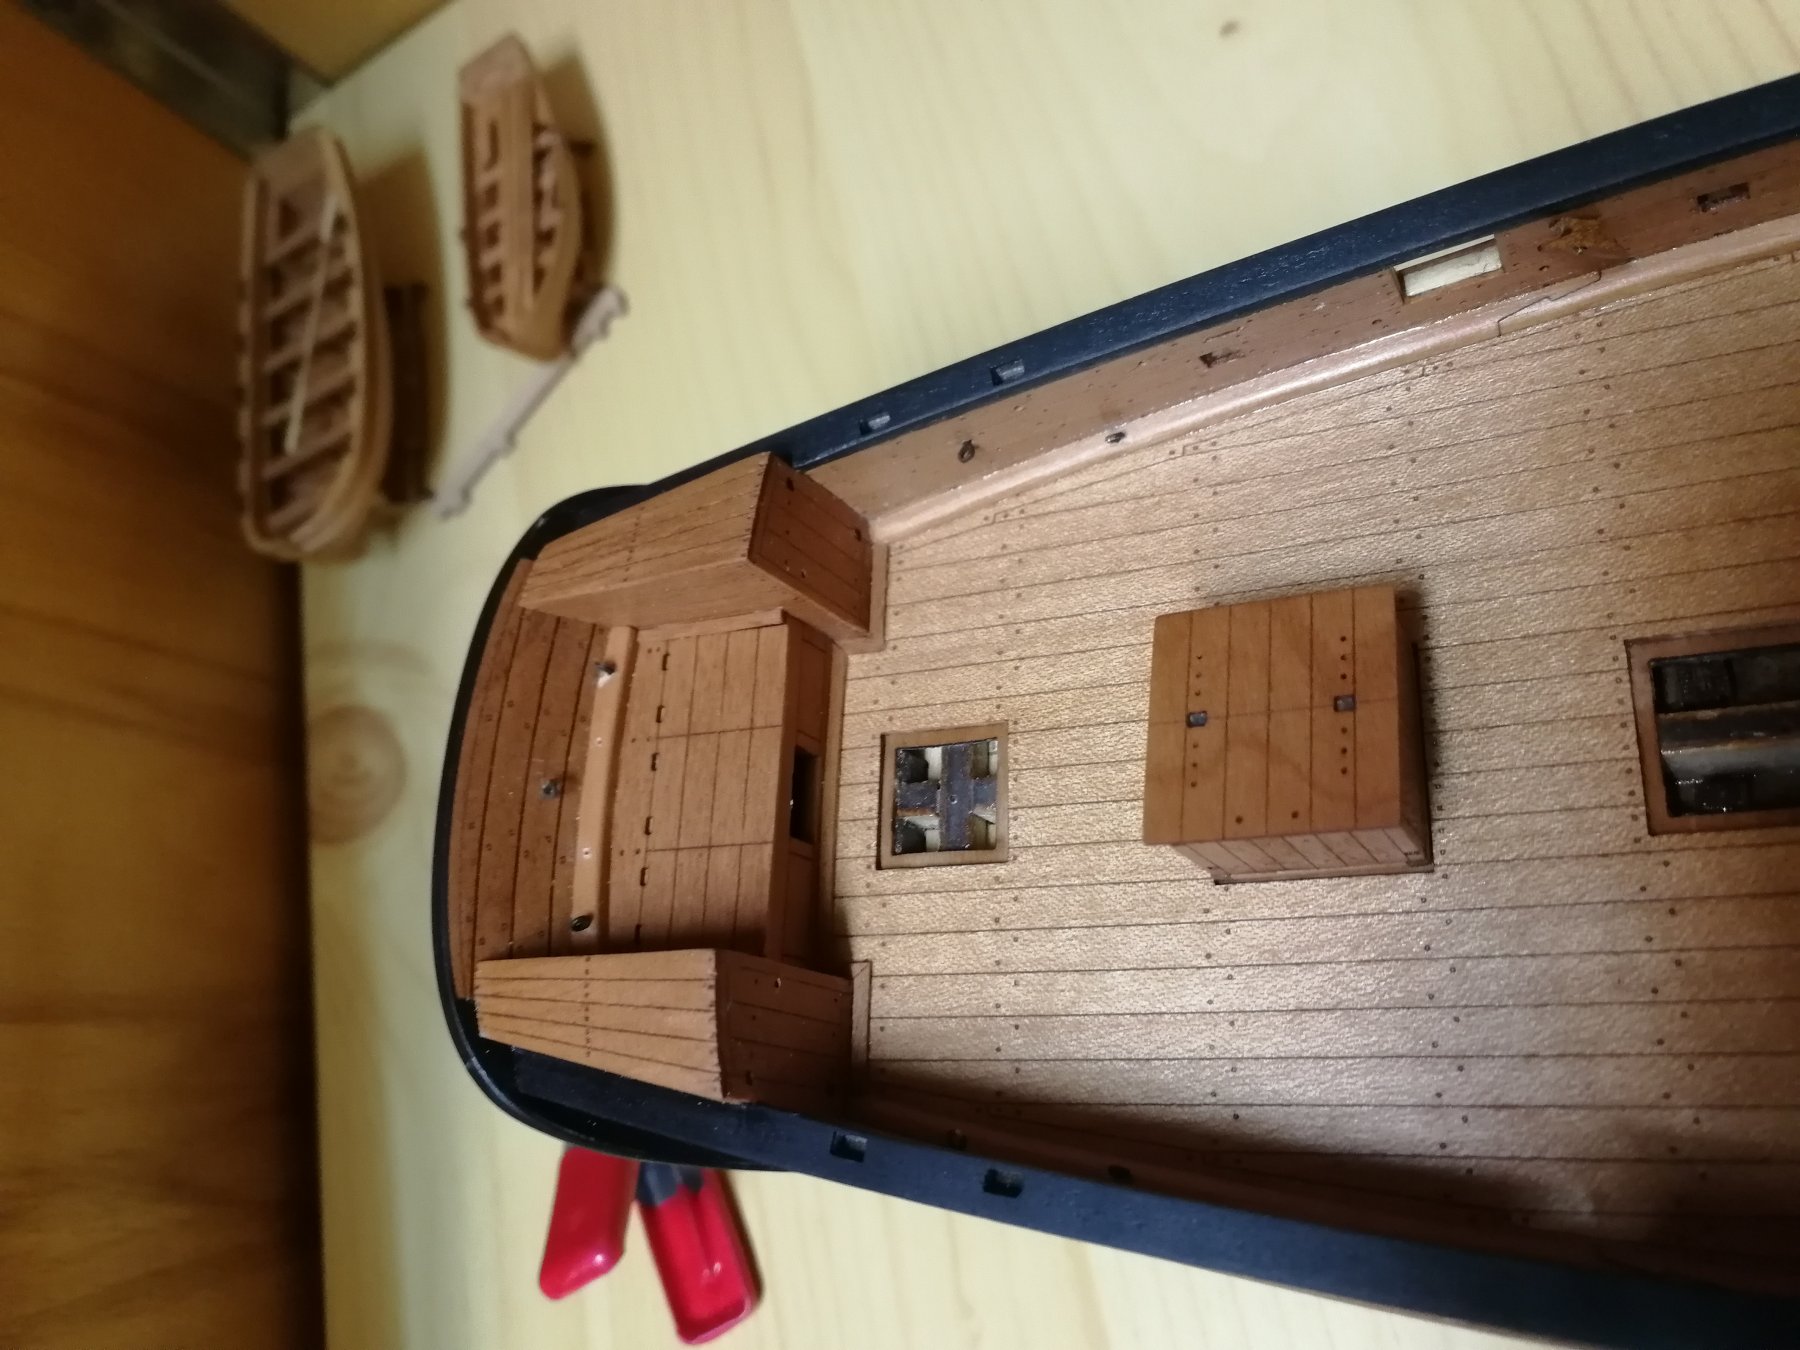
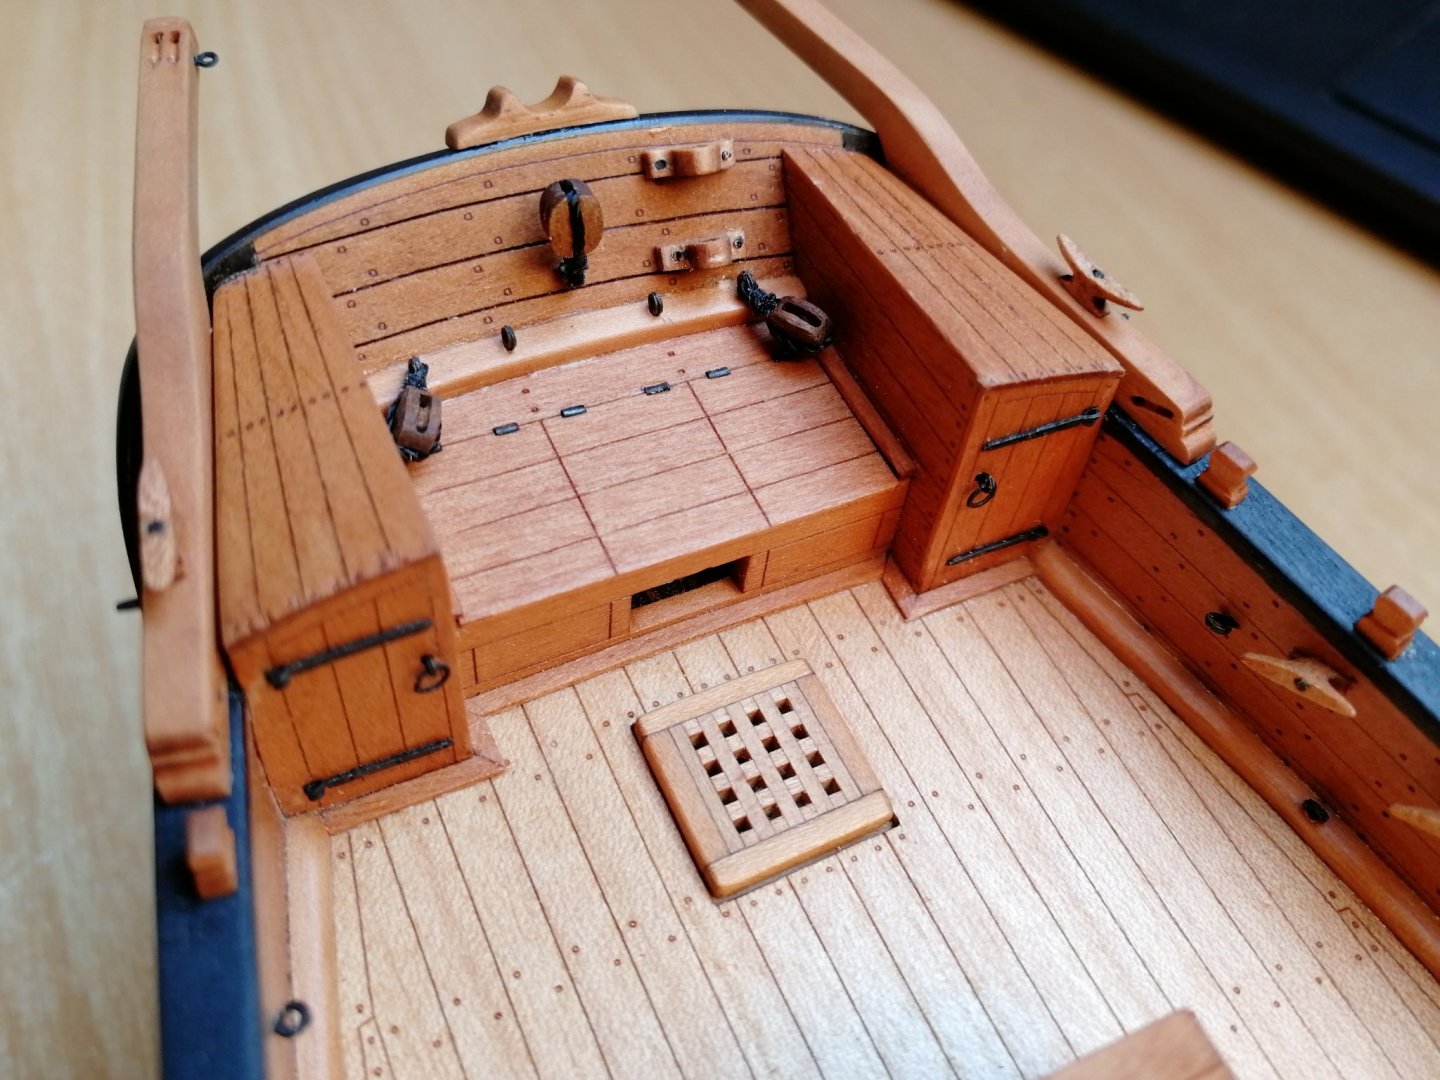
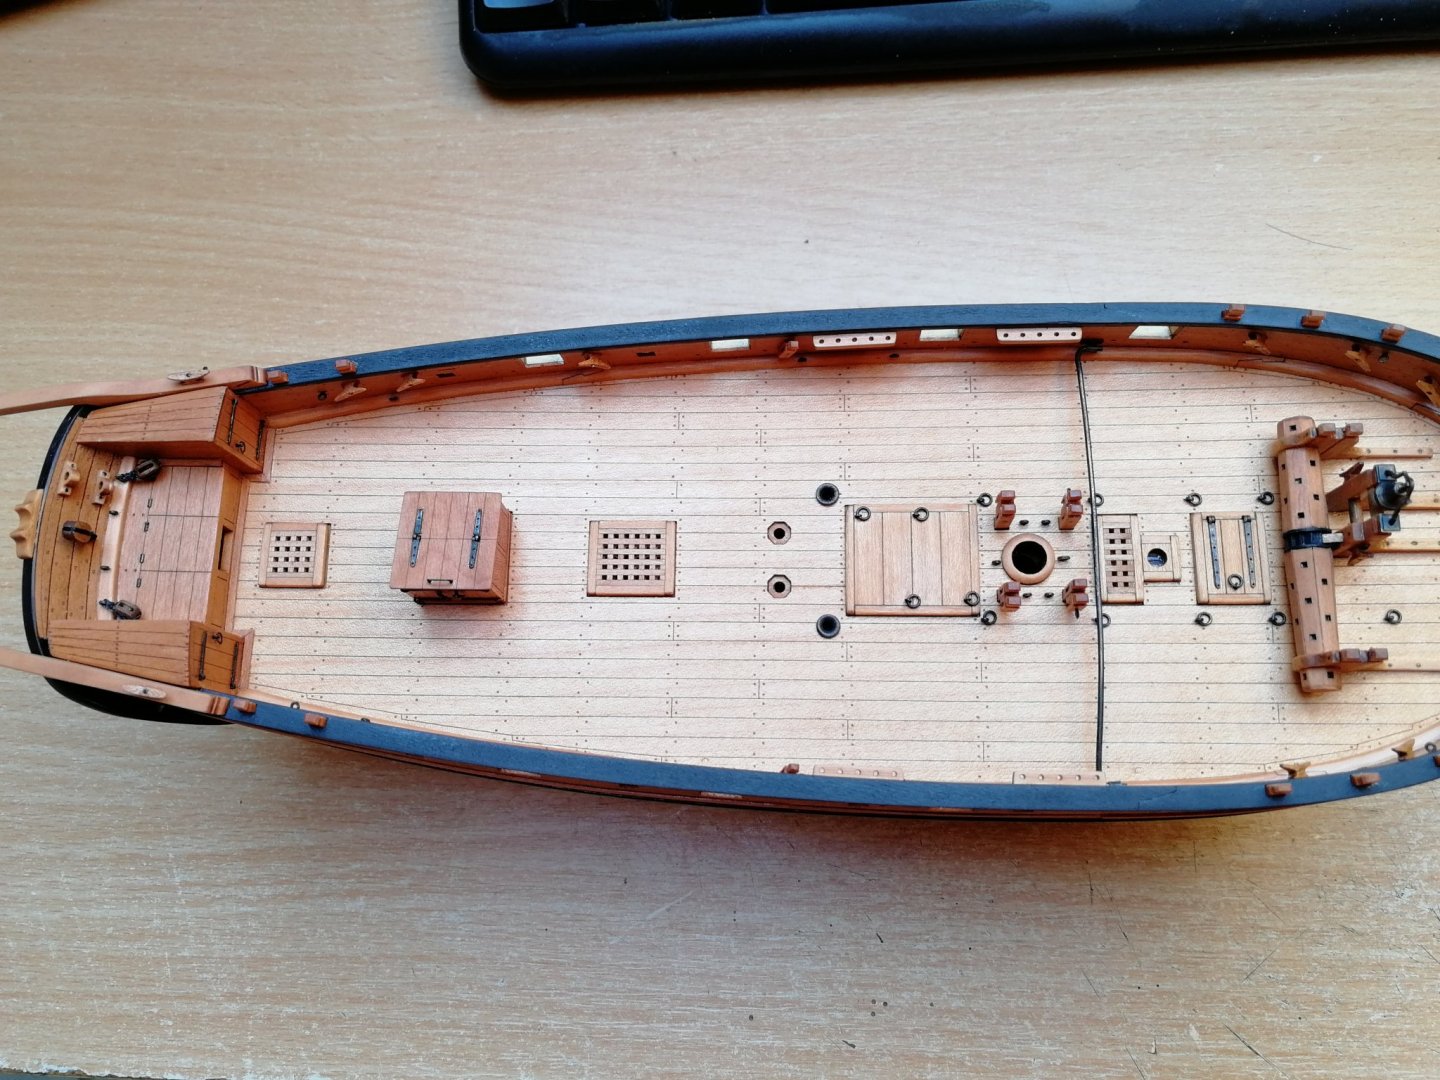
Next deck details....... Two last hatches, flagpole planks and sail boom pad. I have also started with fastening of the blocks in the eyes where hook is not used. It would be really tricky to do this on the ship so I decided to remove the eye, Fast the Block outside and put it back. Will do this for all eyes which holds block this way.
- 315 replies
-
- 14
-
-
- master korabel
- avos
- (and 1 more)
-
Few more deck details. Irons on the latrine doors, cleats, bitts on the bulwark rail, pawl in windlass and mast coat.


- 315 replies
-
- 17
-
-
- master korabel
- avos
- (and 1 more)
-
I have finished the rest of the mast bitts. Horse has been blackend and add some Iron details to the companionway.

- 315 replies
-
- 15
-
-
- master korabel
- avos
- (and 1 more)
-
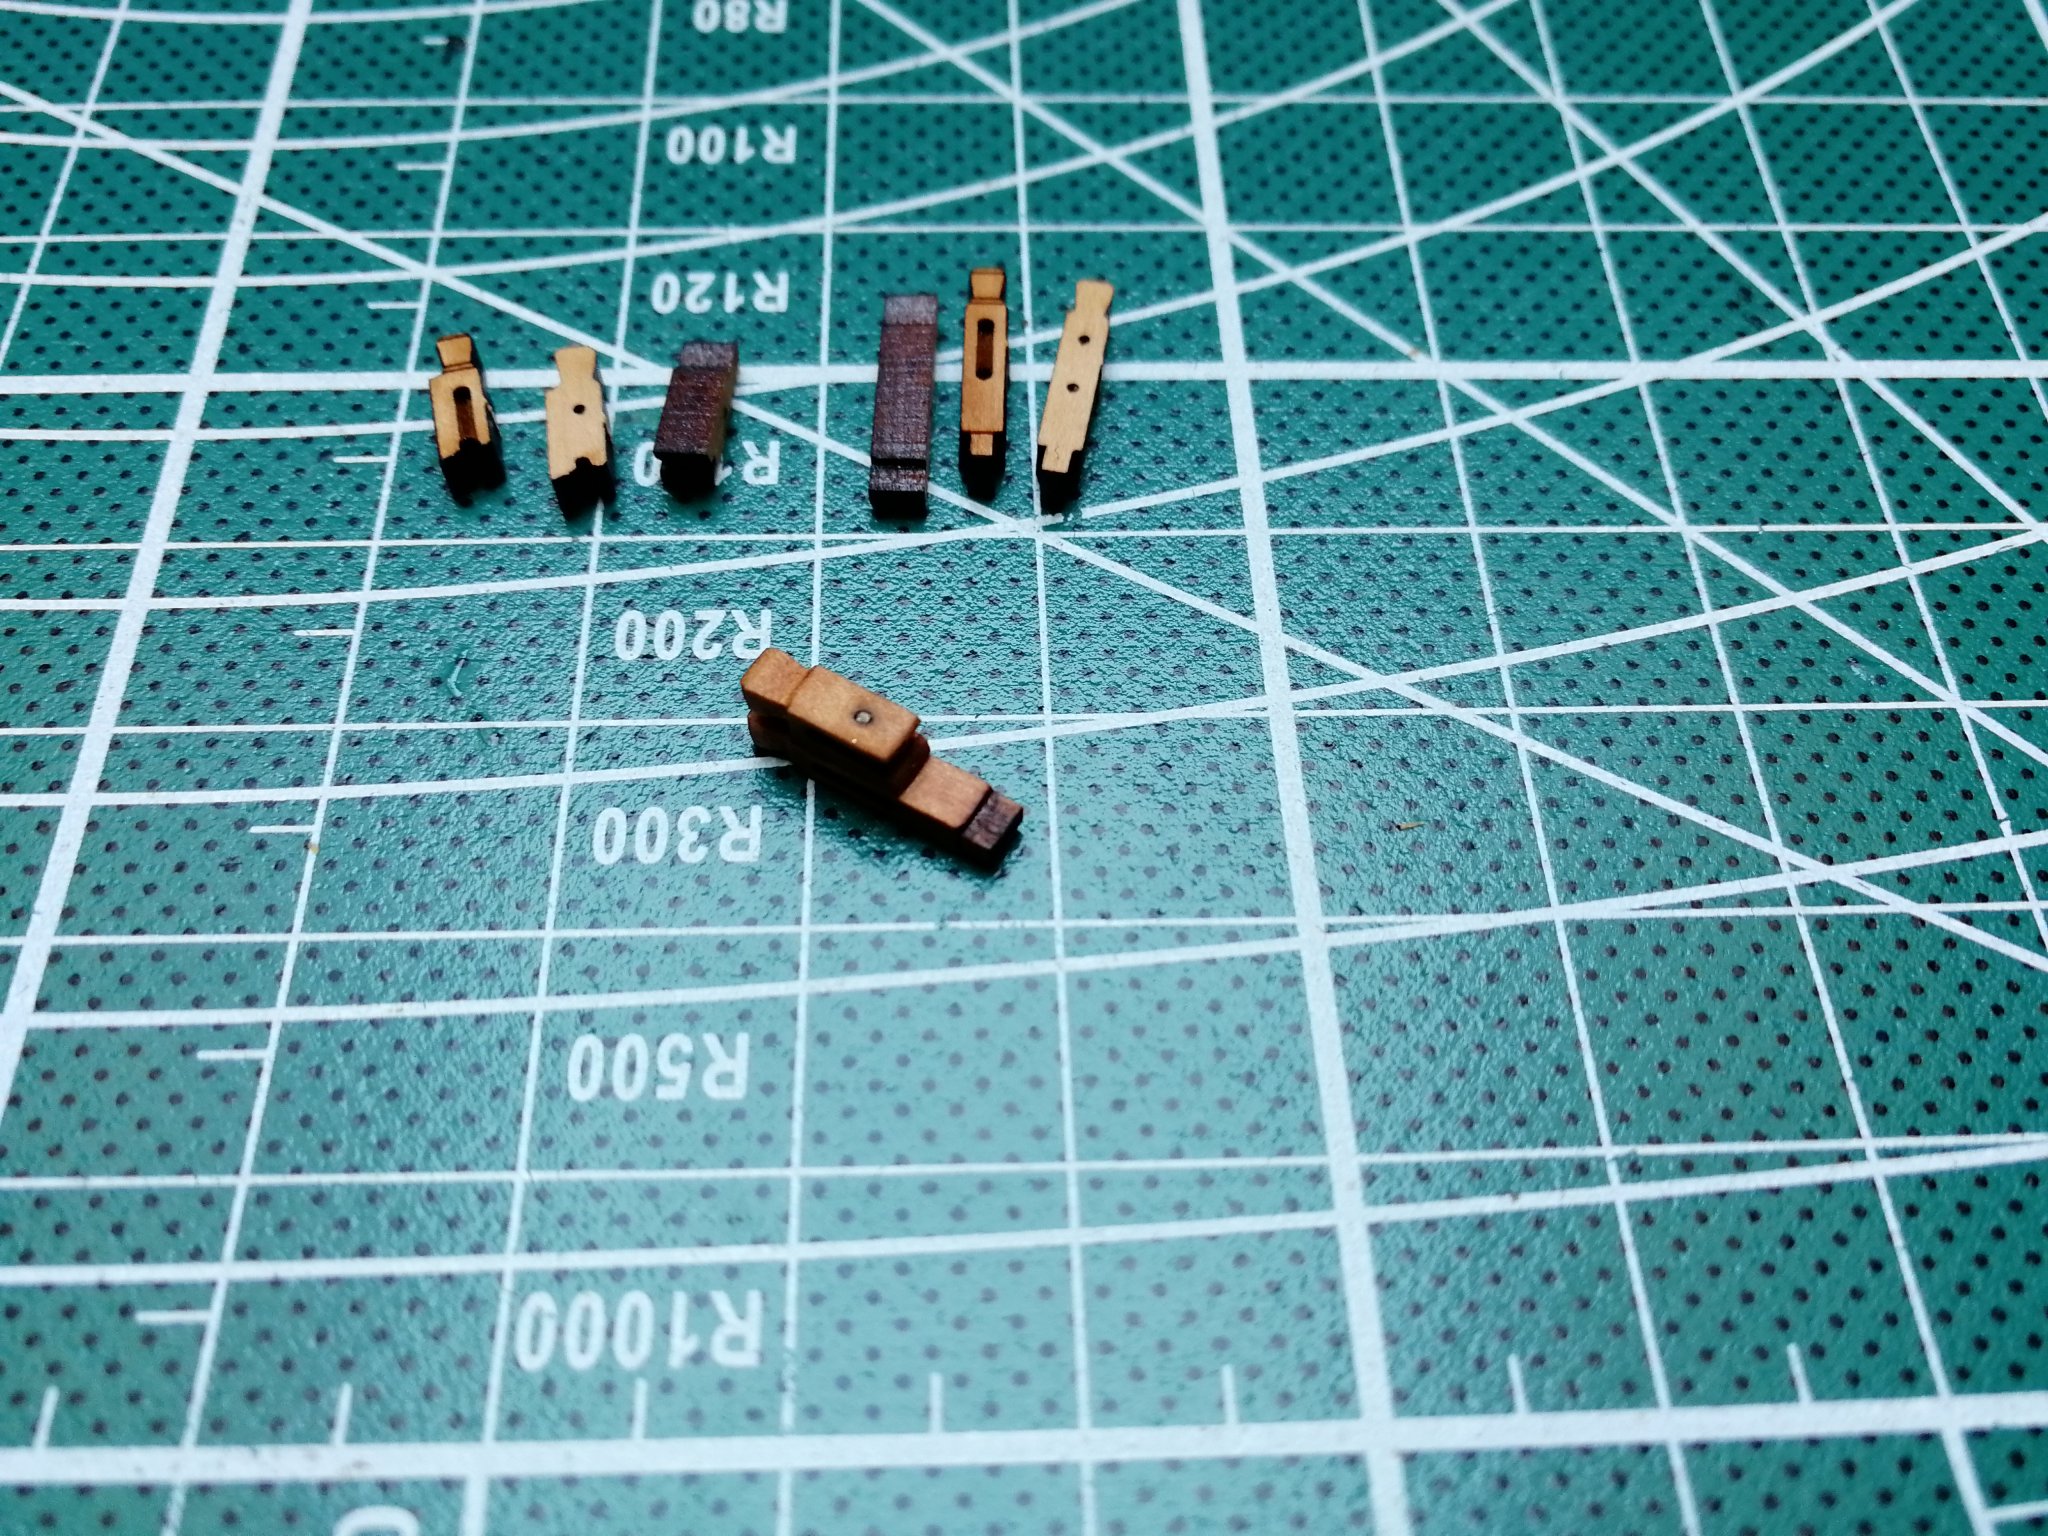
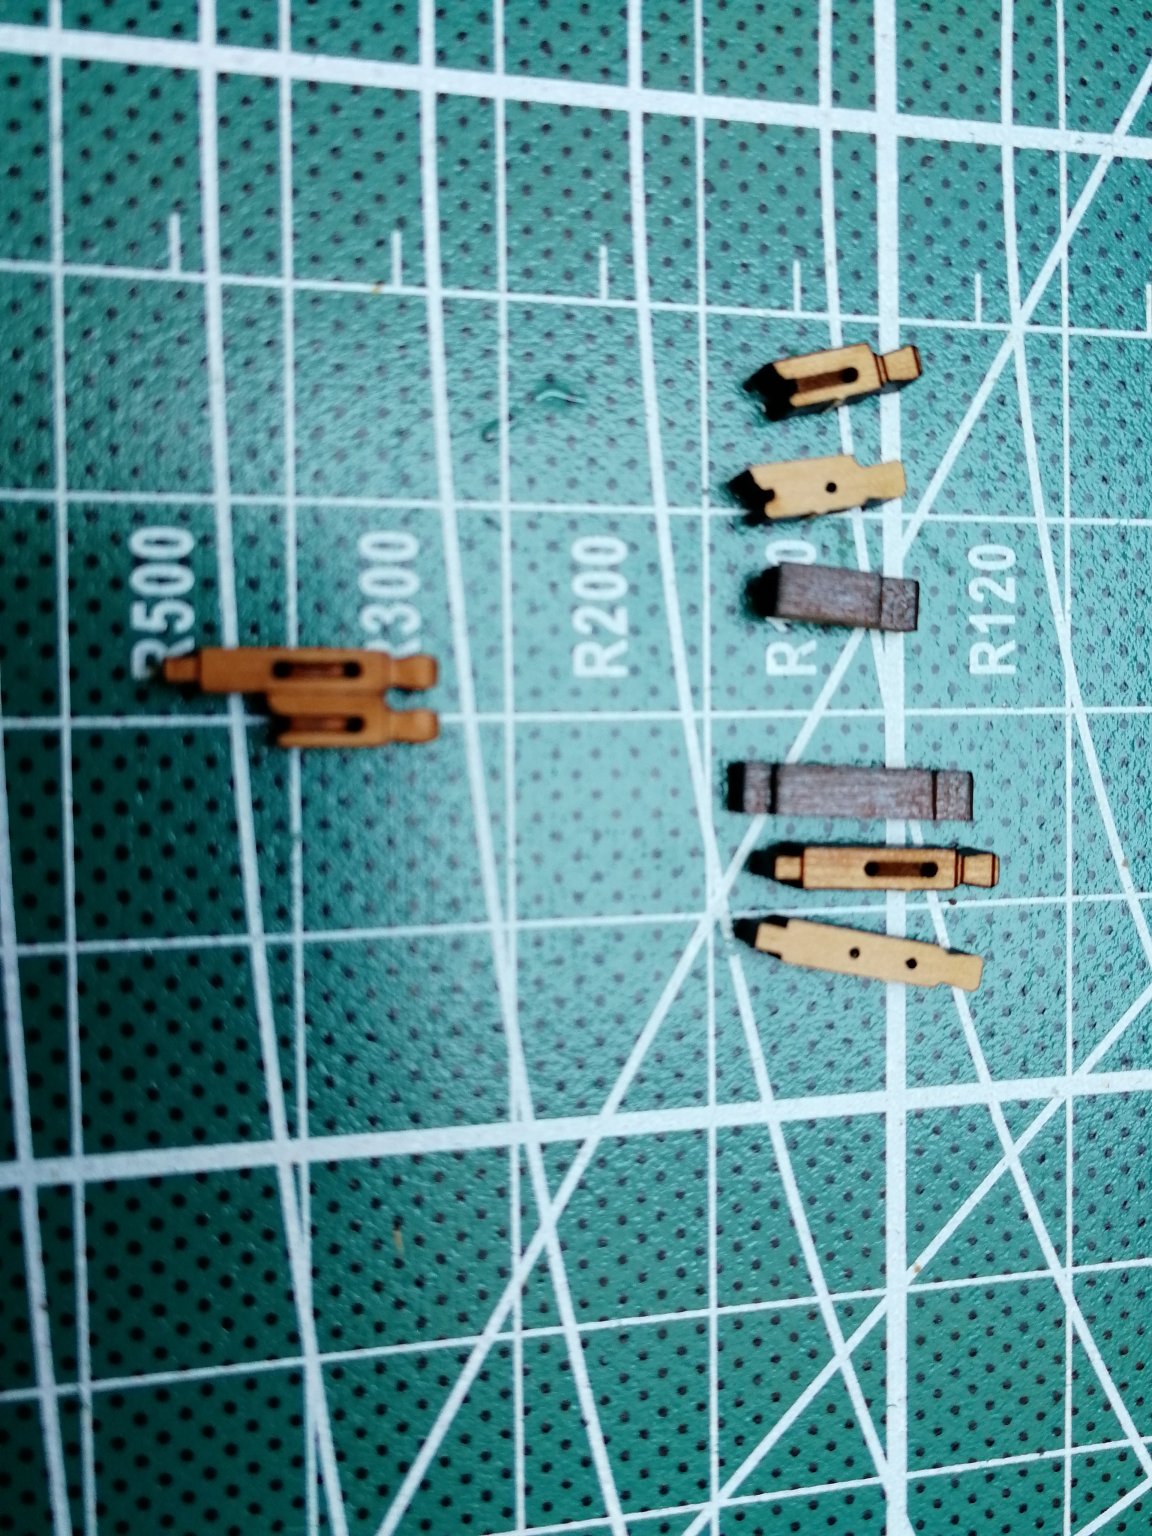
Thanks Jim. Next are the mast bitts. It is time consuming due to the sending off the char and processing the head and sheaves. It is very small so fun work. 2 already prepared, 2 more to go.

- 315 replies
-
- 14
-
-
- master korabel
- avos
- (and 1 more)
-
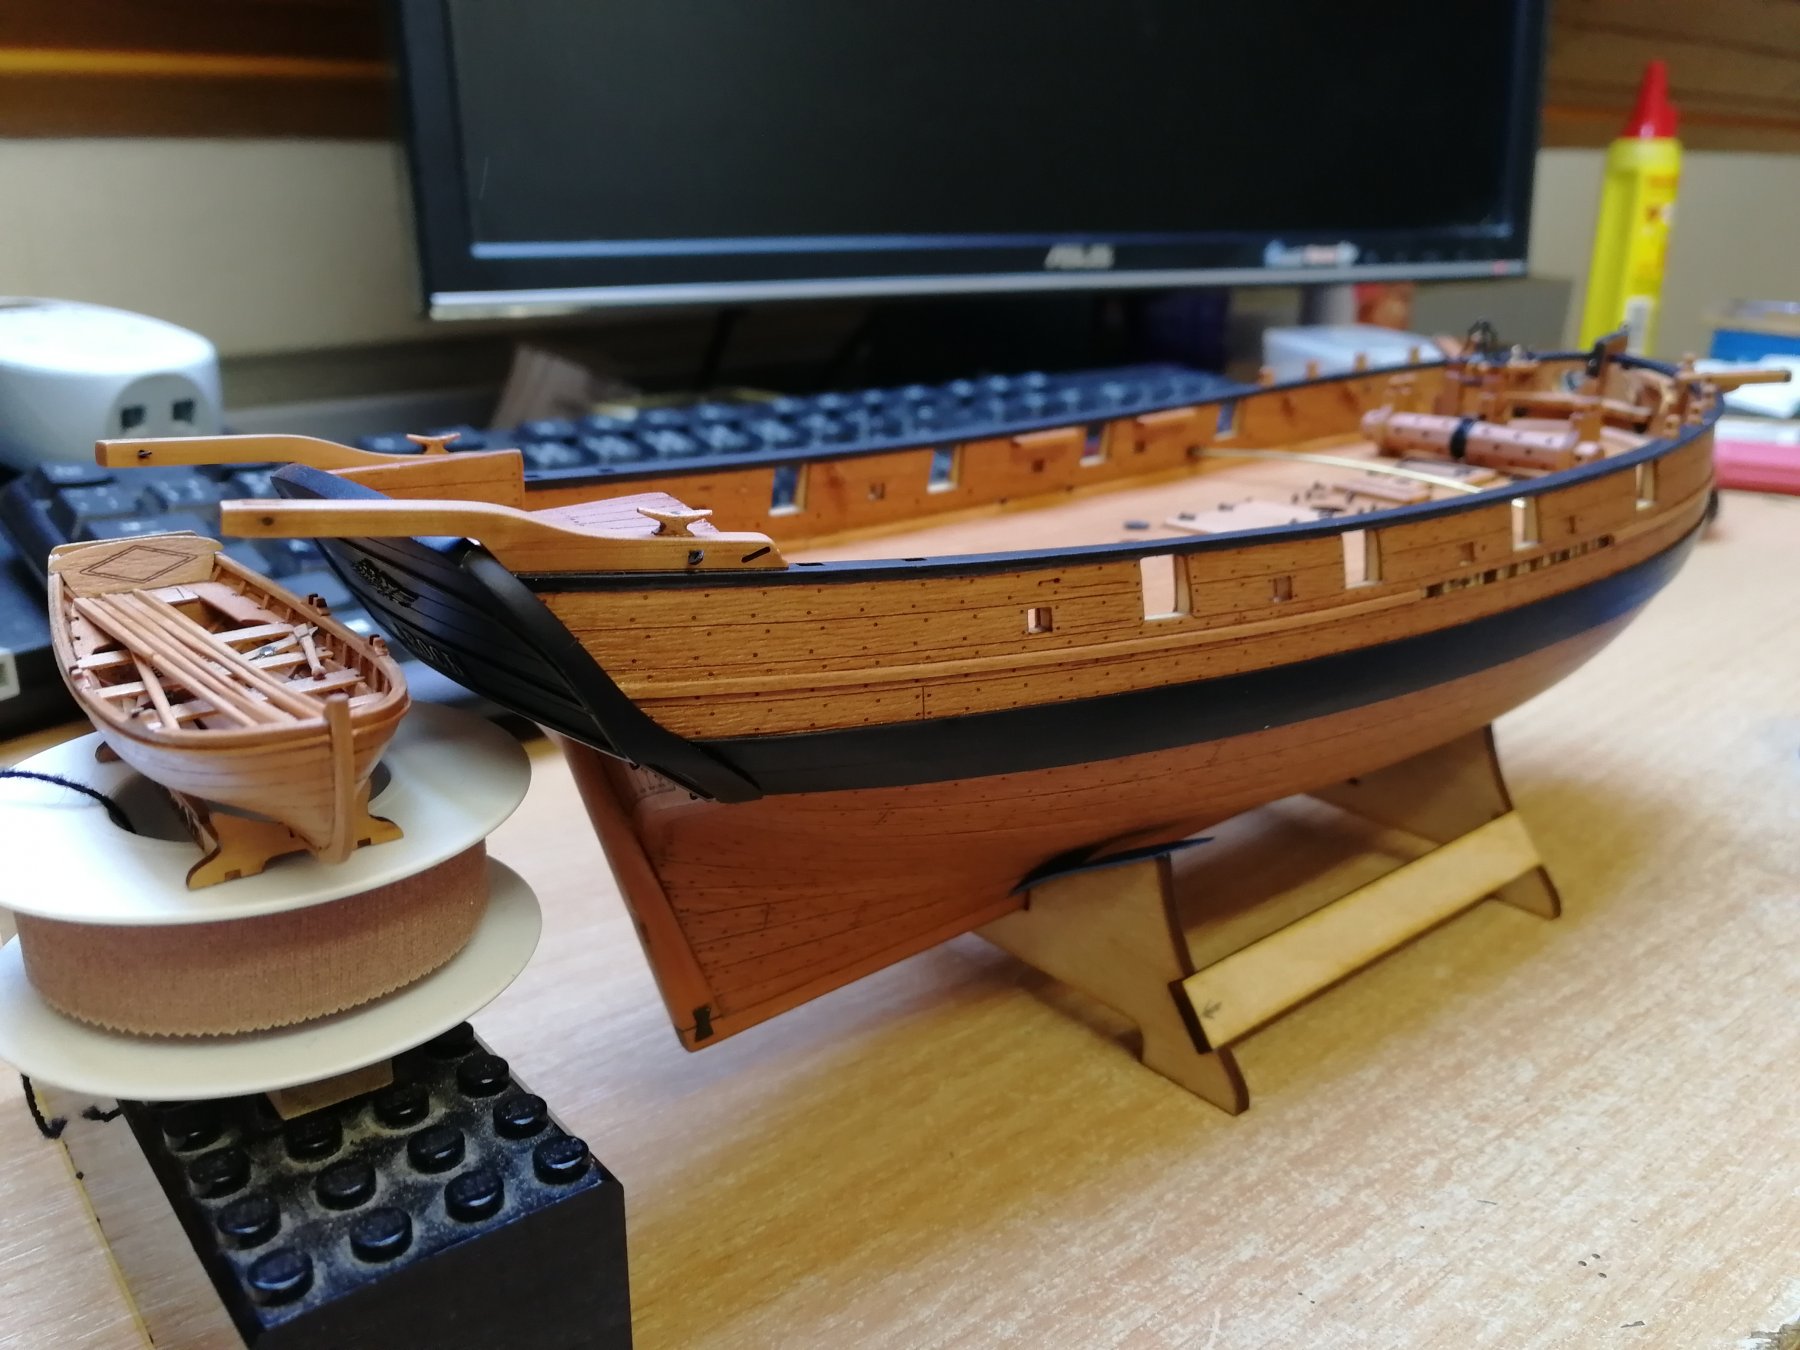
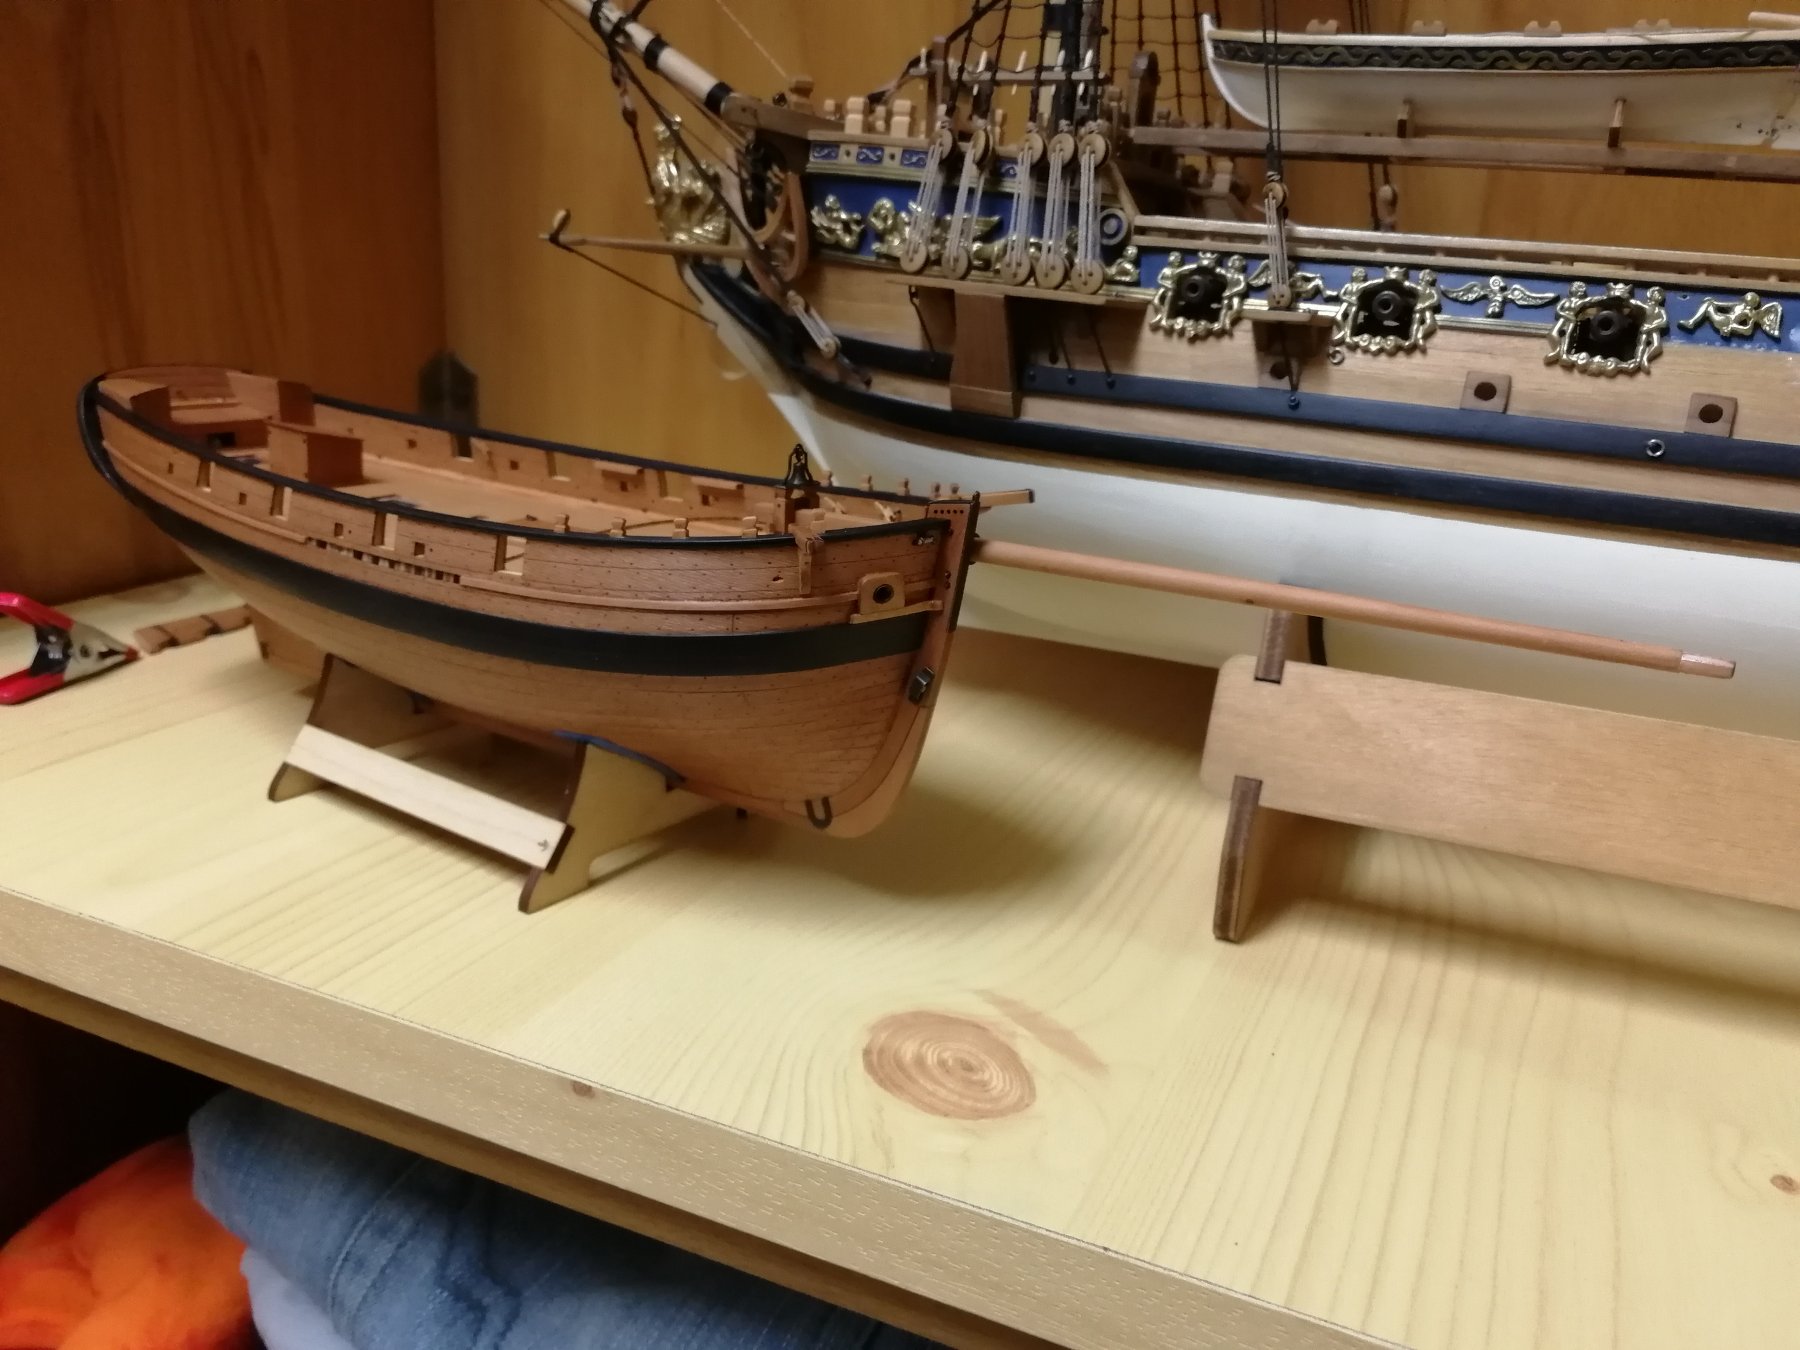
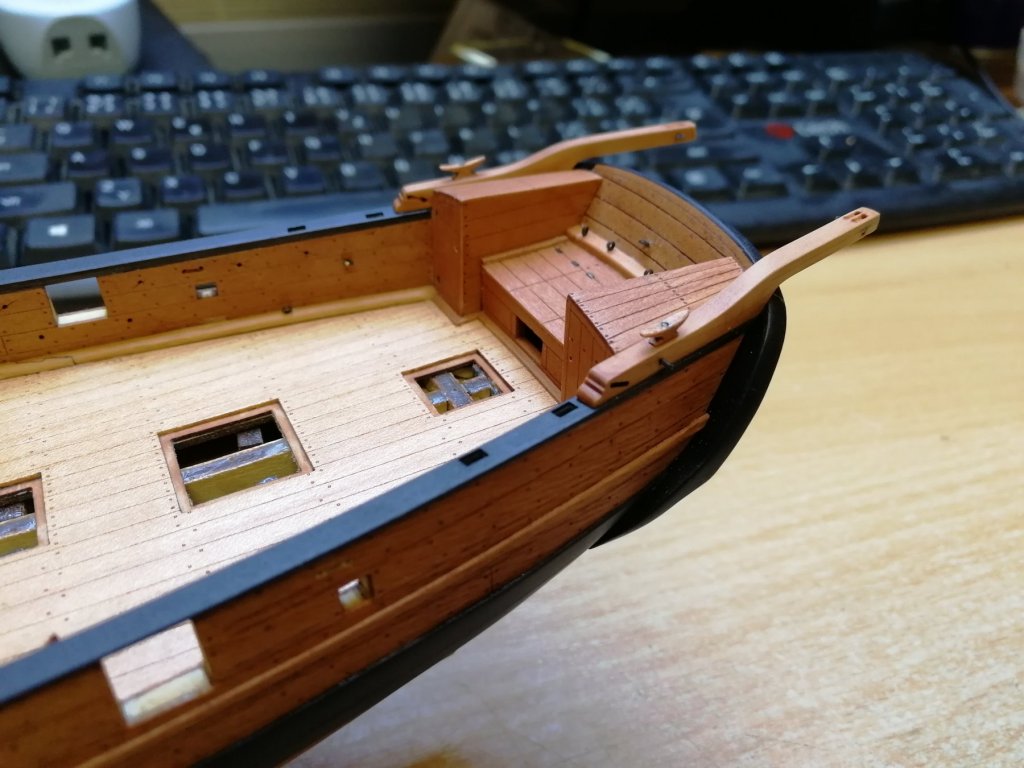
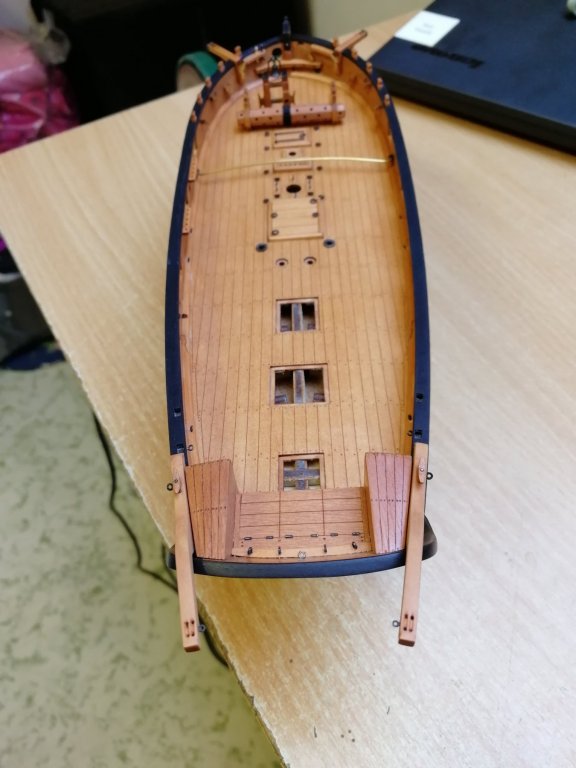
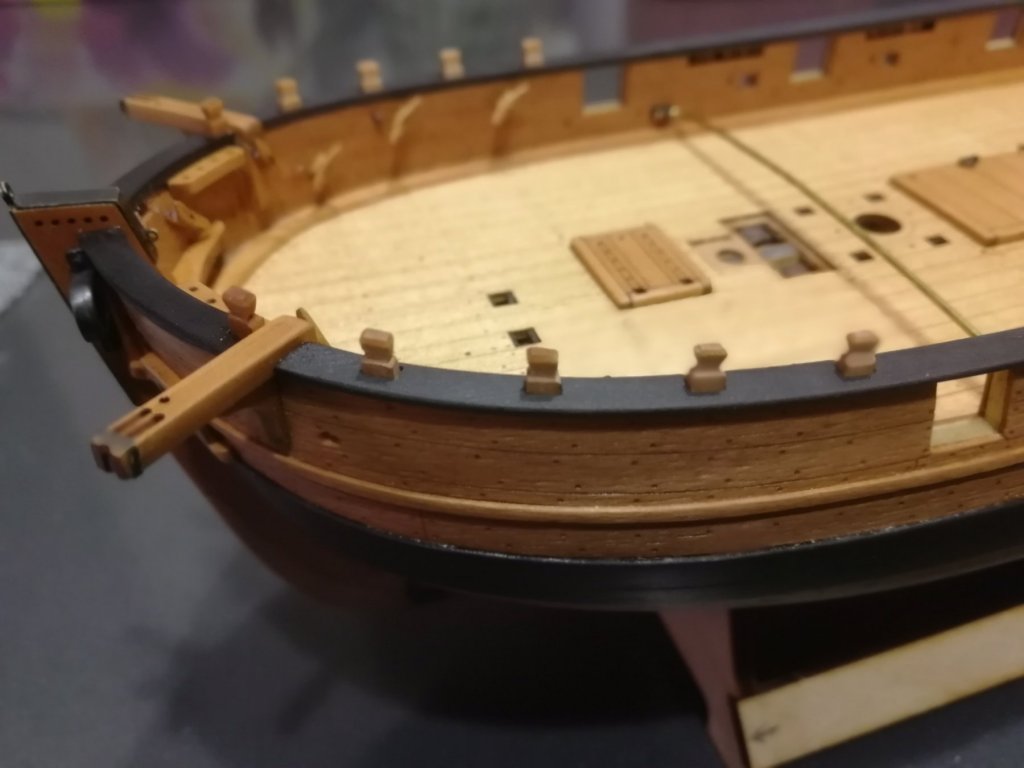
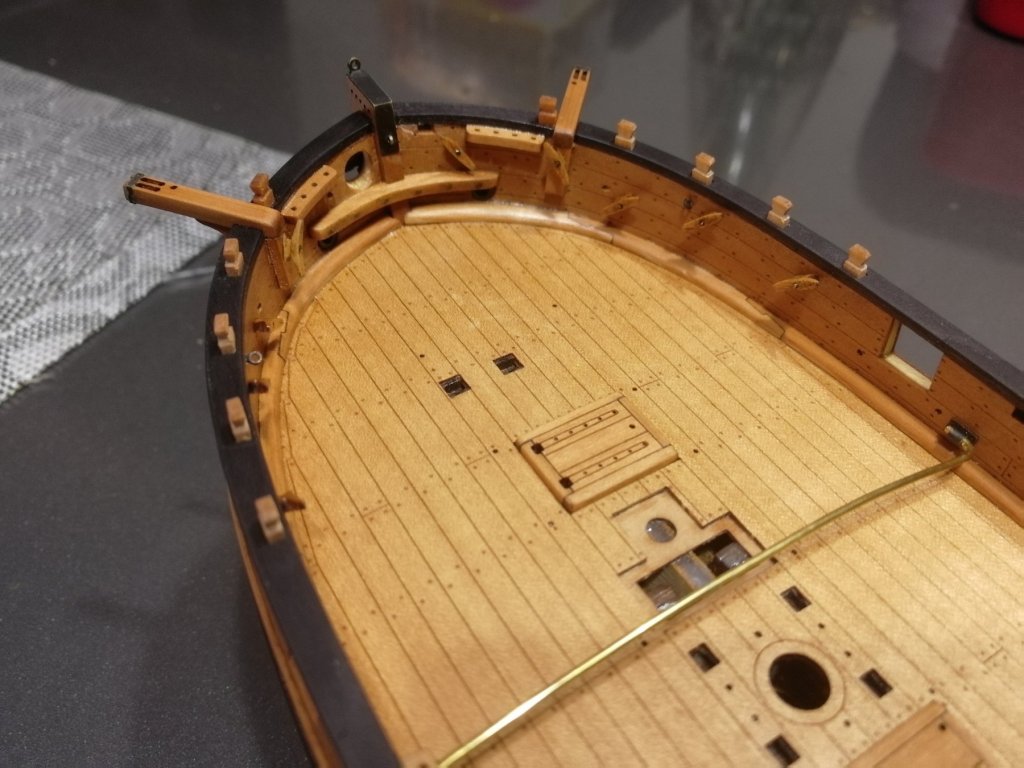
Boat davits. I'm leaving them in pear wood instead of black colour. I like it more in natural wood. I'm going to simulate the iron bands at the end of each davit once I receive Copper tape. Simulation with a yawl And in its full (almost) lenght


- 315 replies
-
- 13
-
-
- master korabel
- avos
- (and 1 more)
-
Thanks a lot for all likes and kind comments. Love it! @Katoom and @Dubz thank you for your opinion, I share the same one as well. I took other 2 or 20 looks at it and black goes much better with other details. I try to avoid the brass fittings which is the next reason for black 👍
- 315 replies
-
- 1
-
-
- master korabel
- avos
- (and 1 more)
-
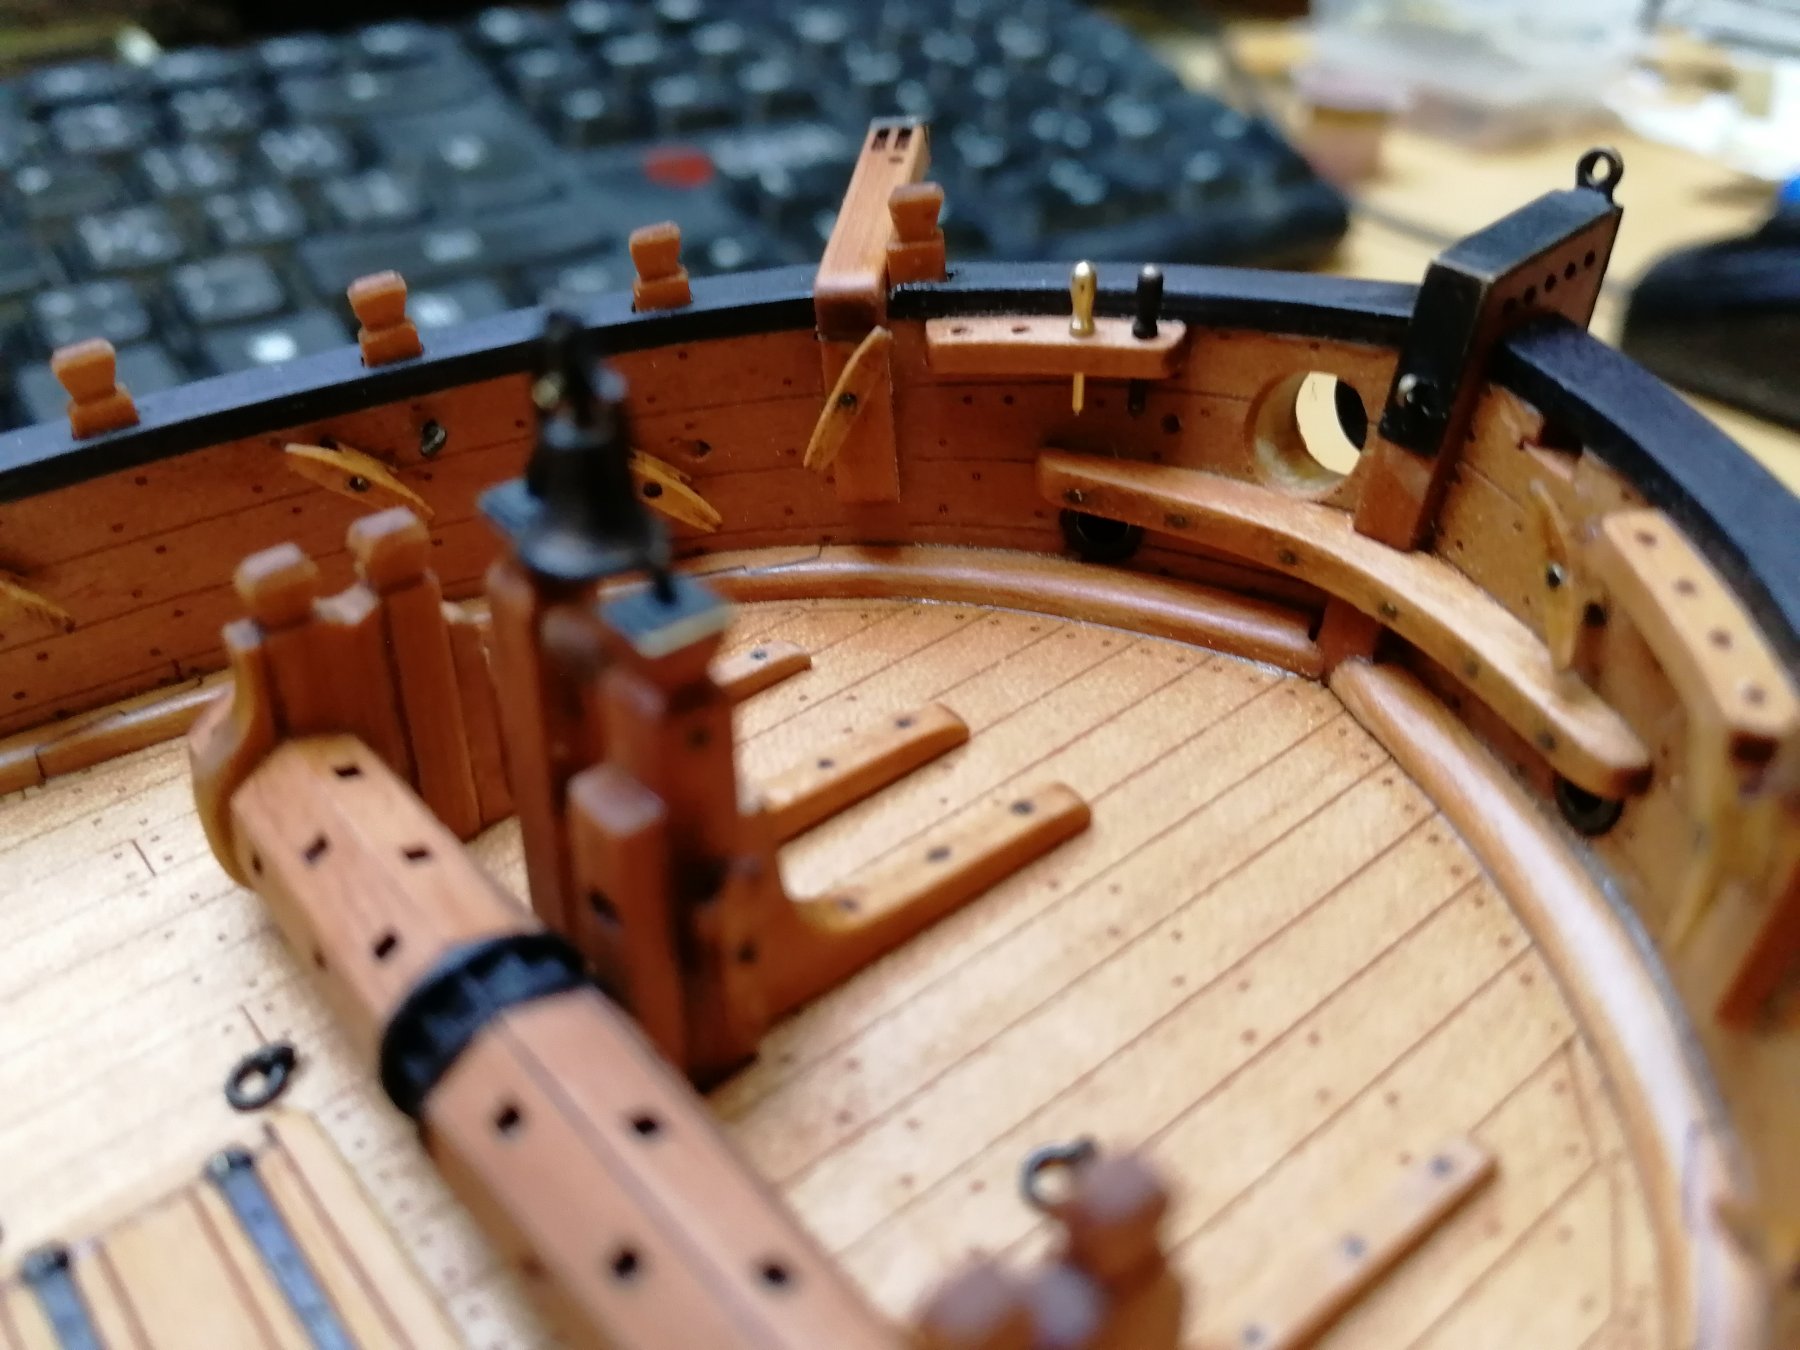
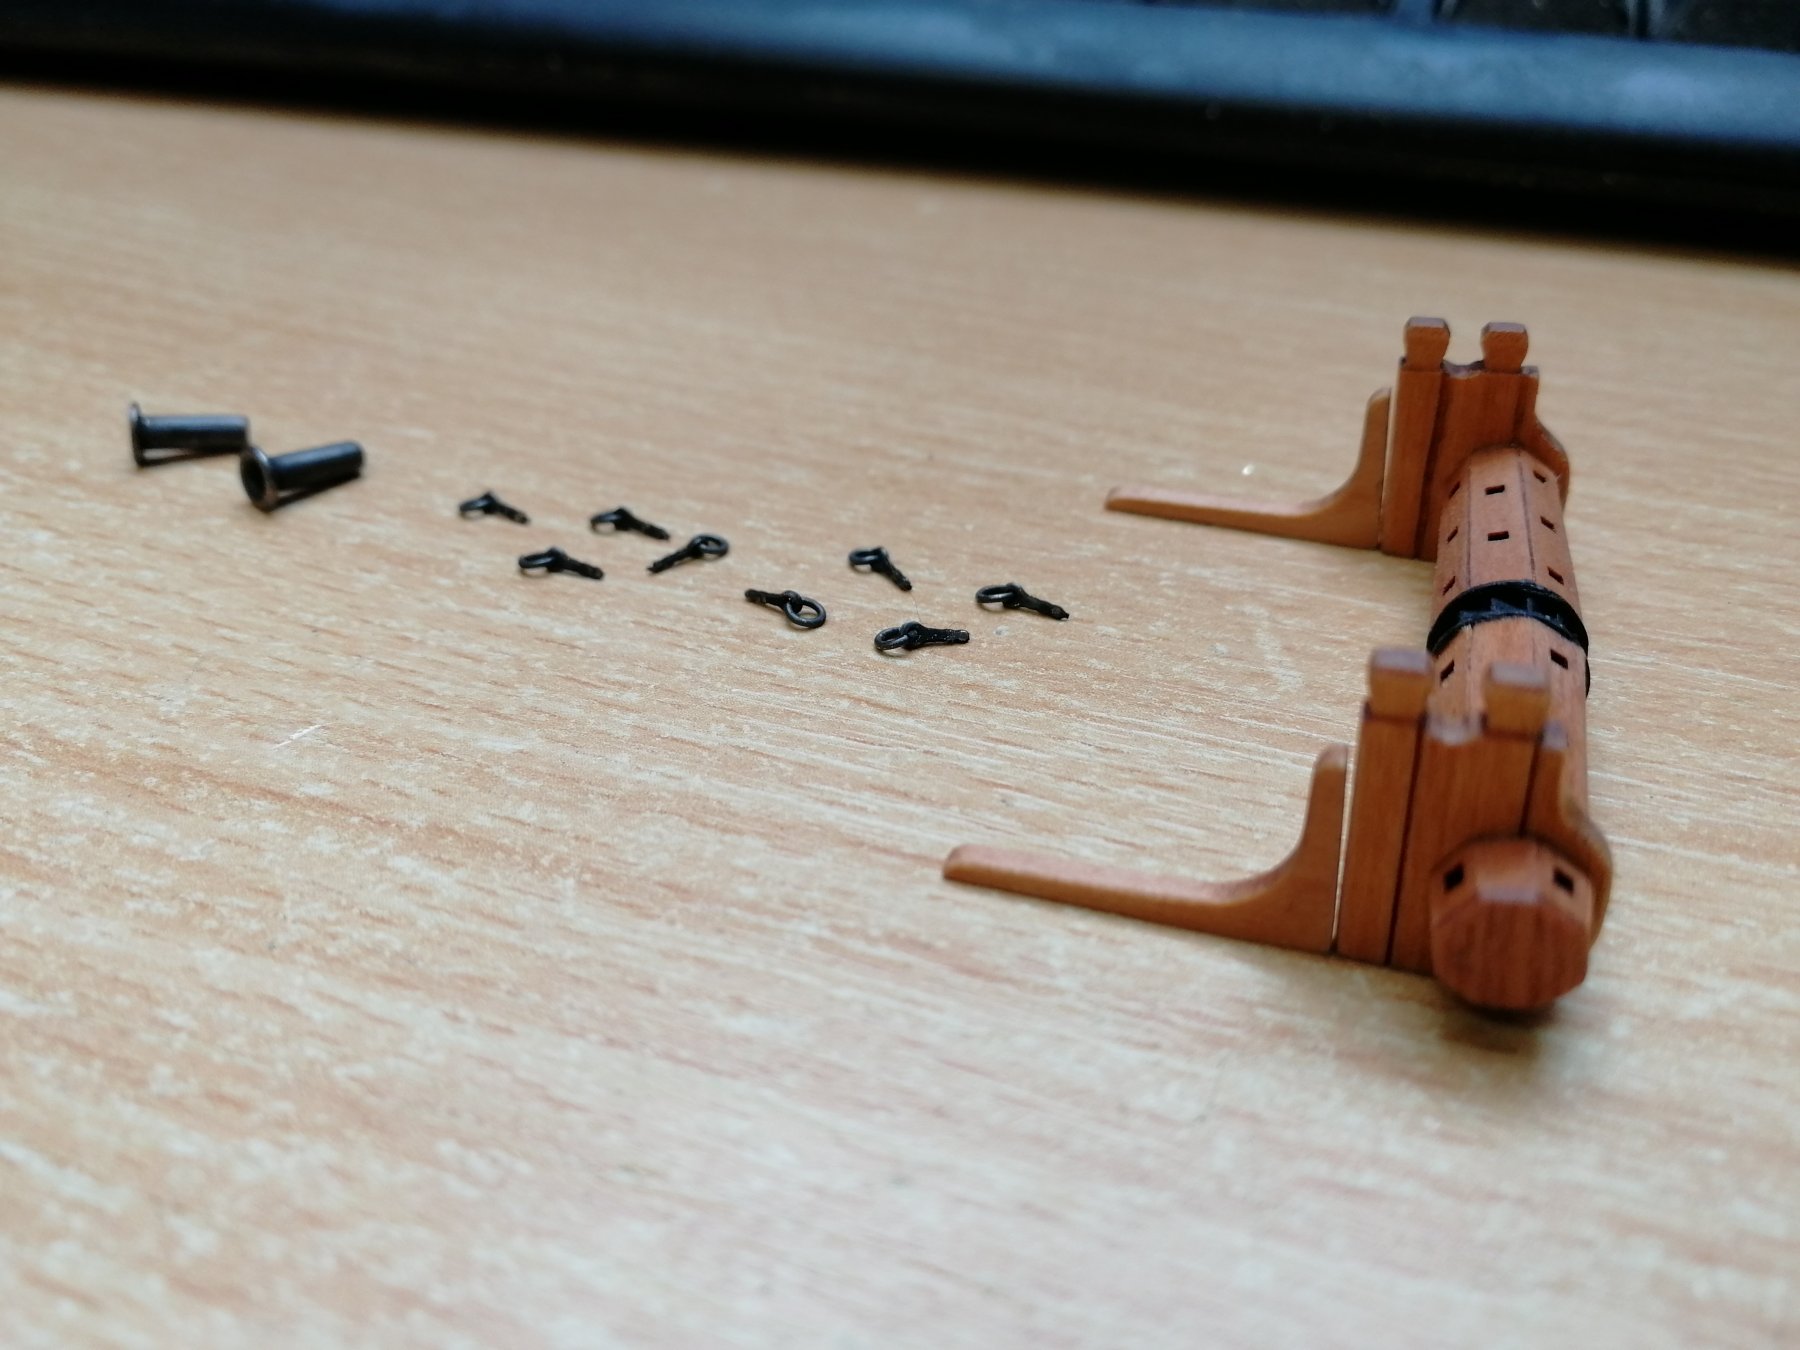
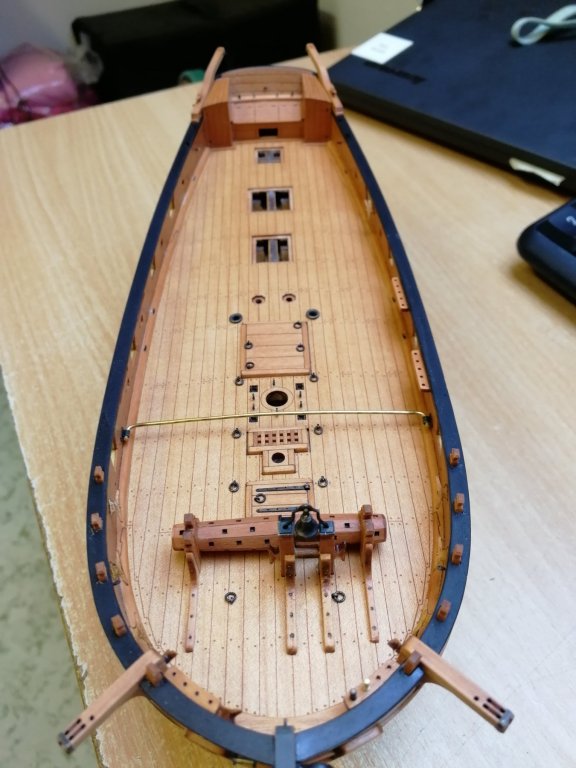
Back in the workshop with some small progress. I have added another pair of the secure rings @DPK's advice. Thanks again. I have finish few final touches on the windlass and secured it on the deck. I have experimented with the belaying pins. Luckily There are few spare so I could blacken one to se how it looks on the ship. Still not sure what I will use, if clean brass or black (leaning little bit more for black version). Here is the comparison. What do you think??


- 315 replies
-
- 17
-
-
- master korabel
- avos
- (and 1 more)
-
That is very nice! 👏
-
Perfect, thanks a lot @DPK I will do 2 more rings and go with ladders👍
-
Thanks man, that is what I thought. Similar case would be with inner bulwarks planking.

- 315 replies
-
- 4
-
-
- master korabel
- avos
- (and 1 more)
-
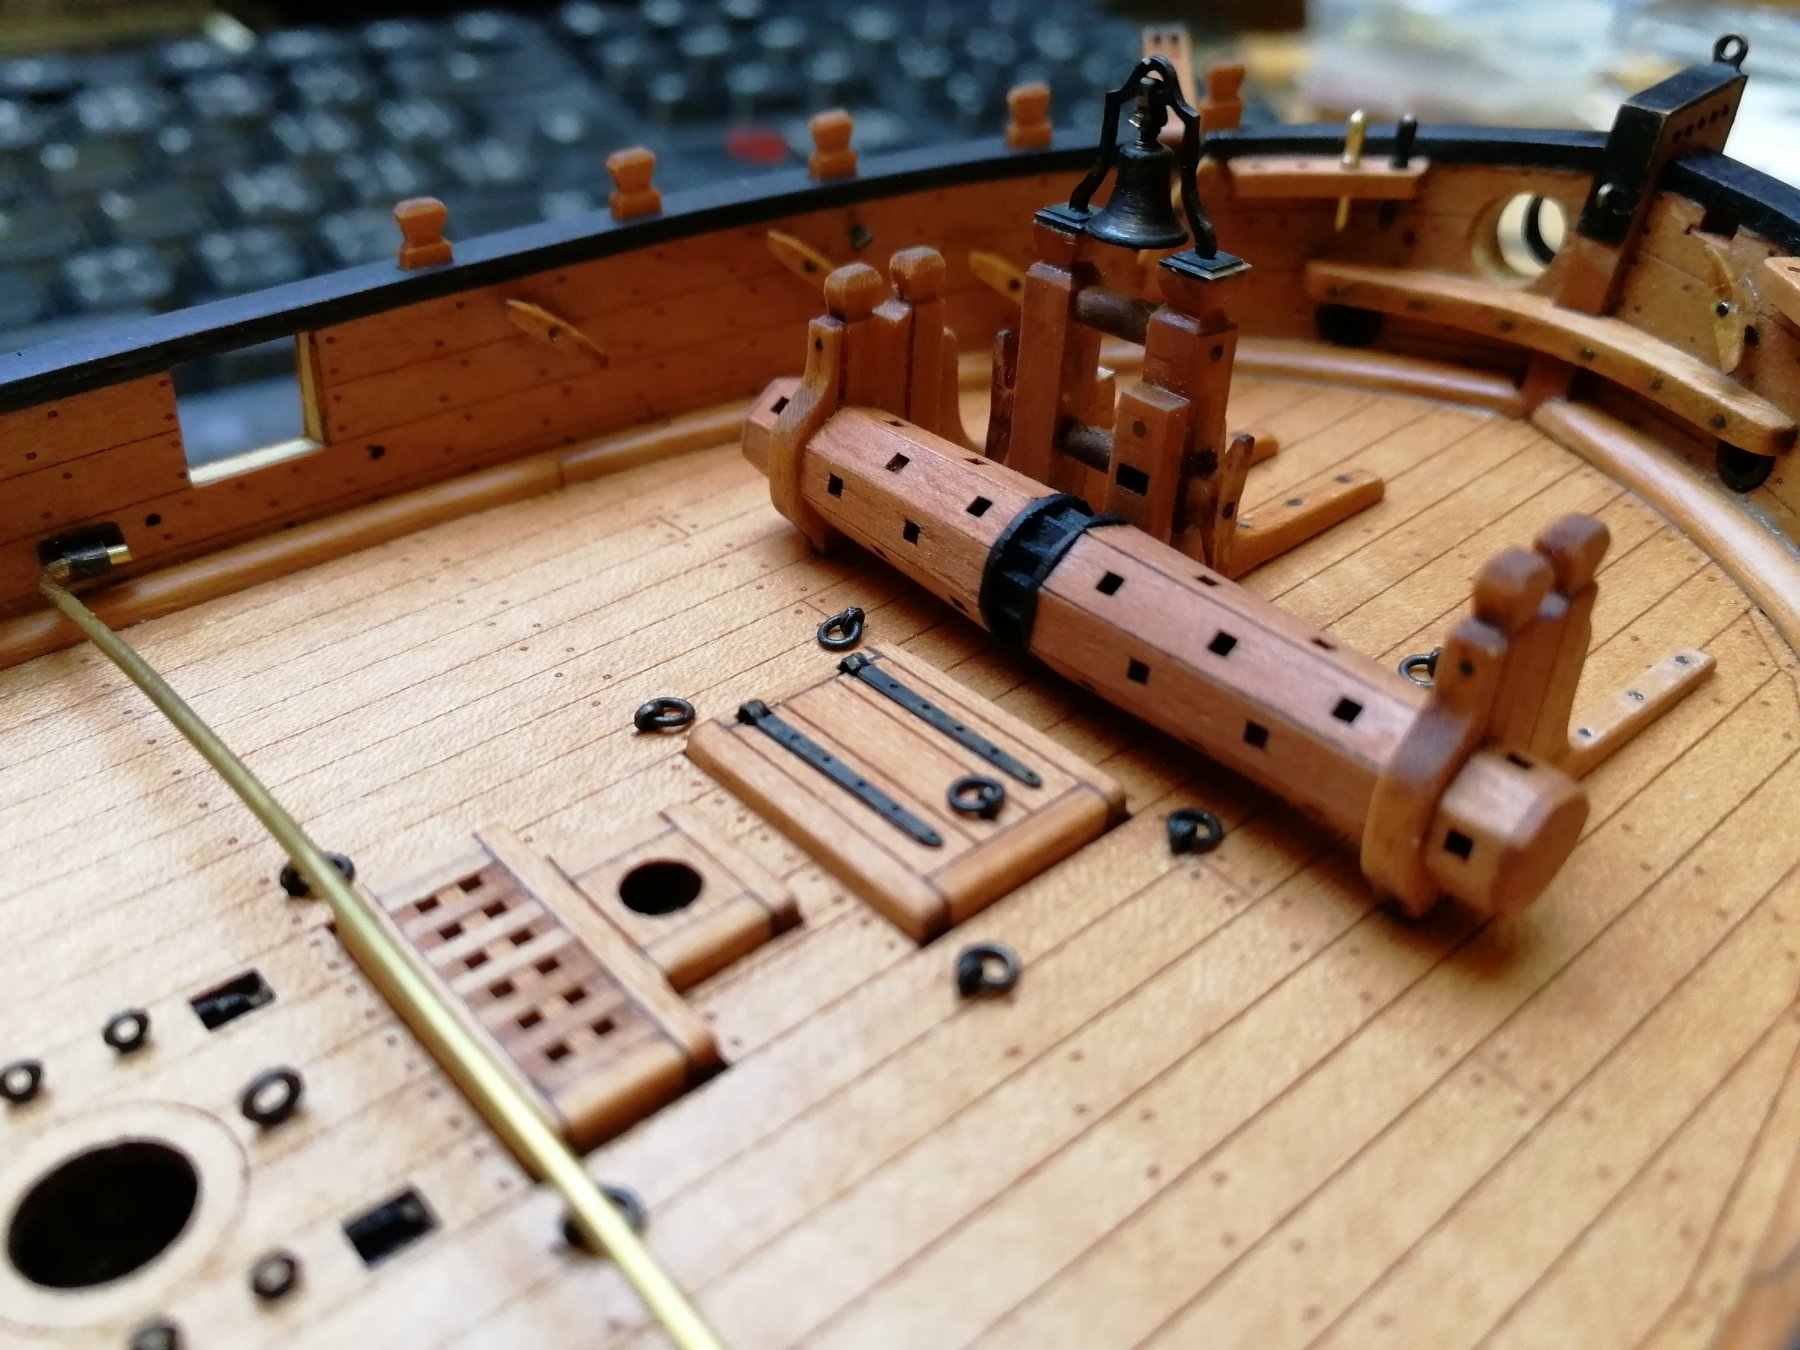
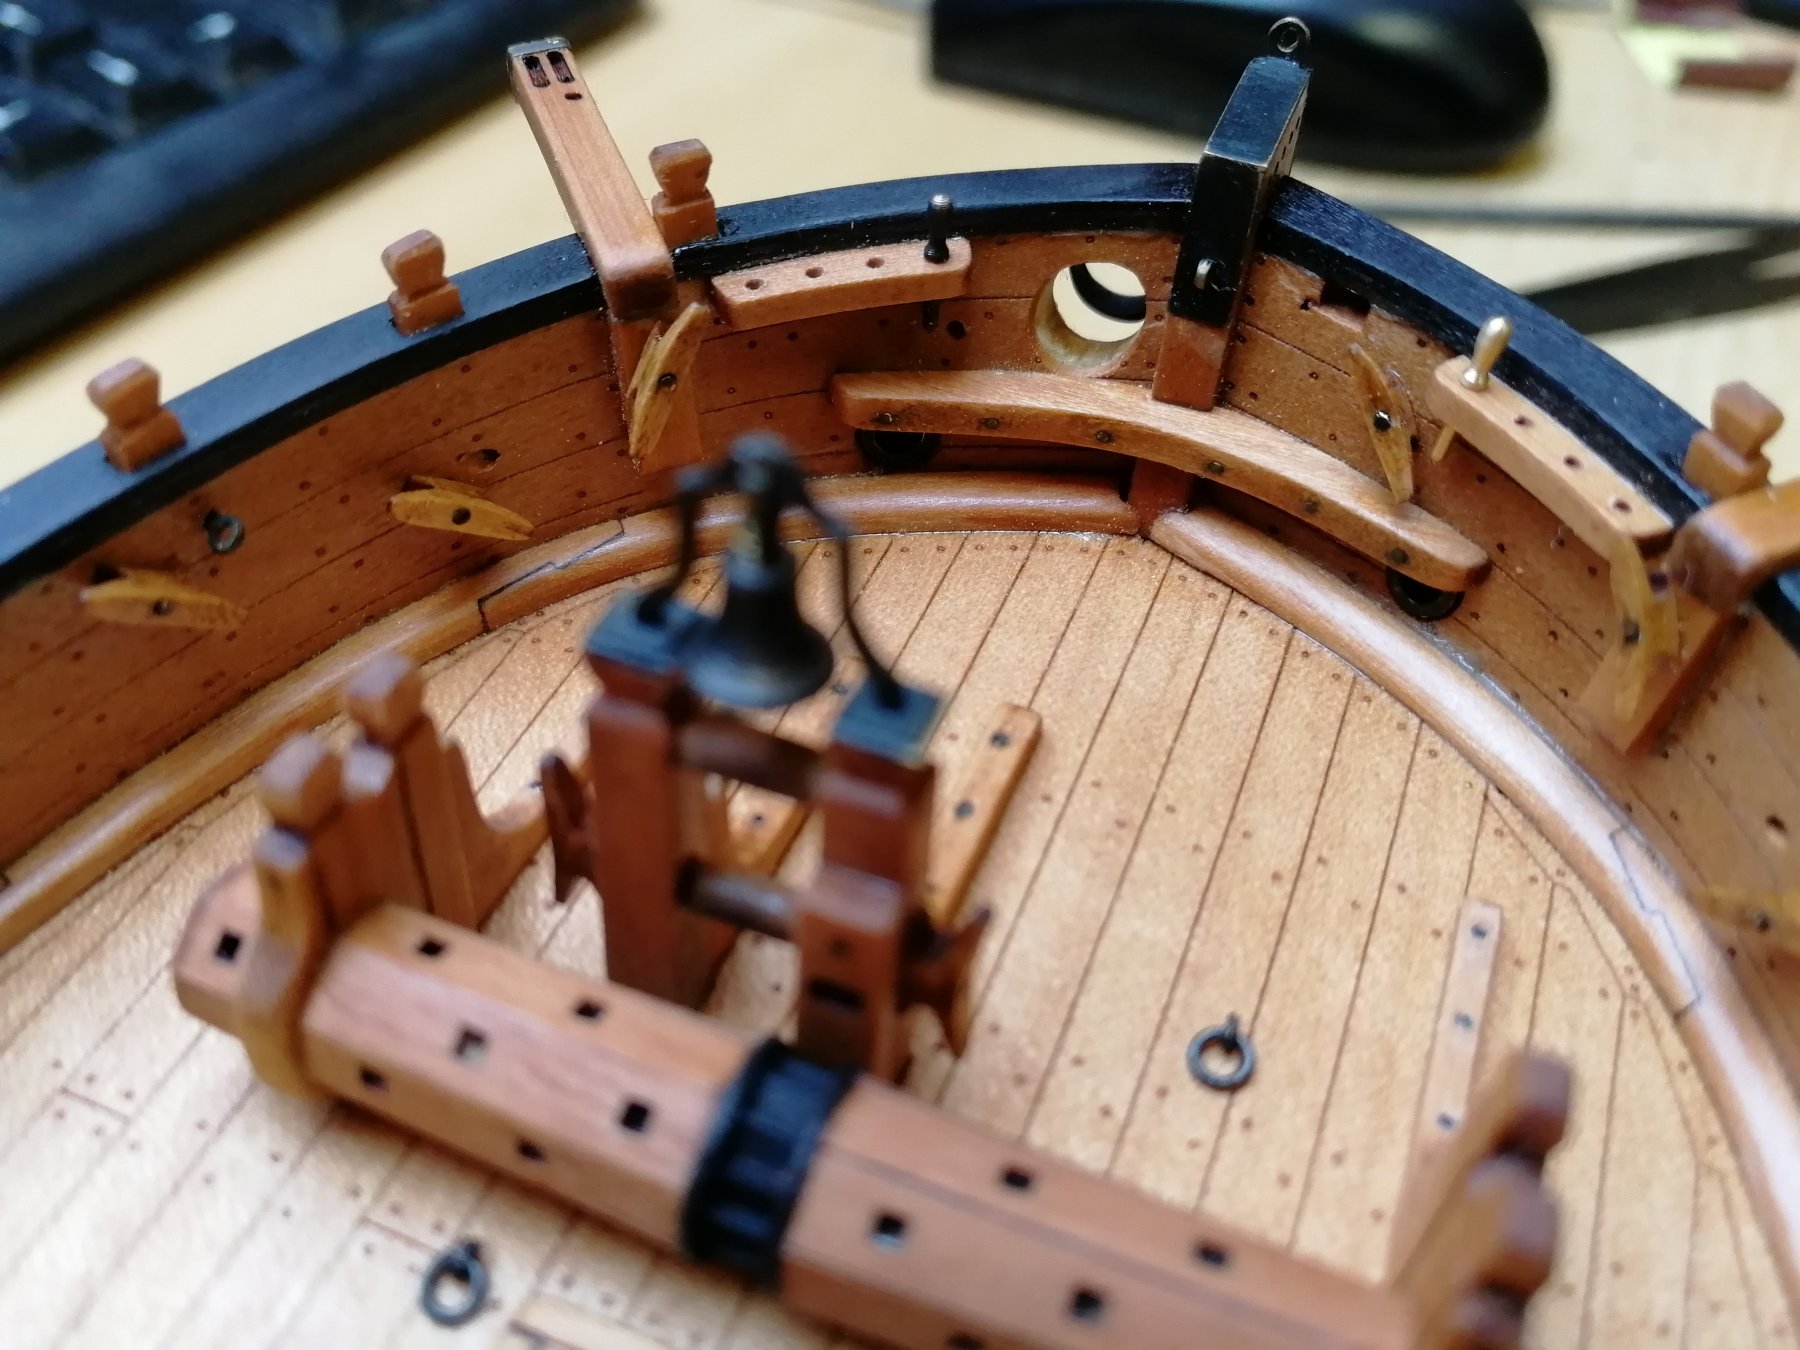
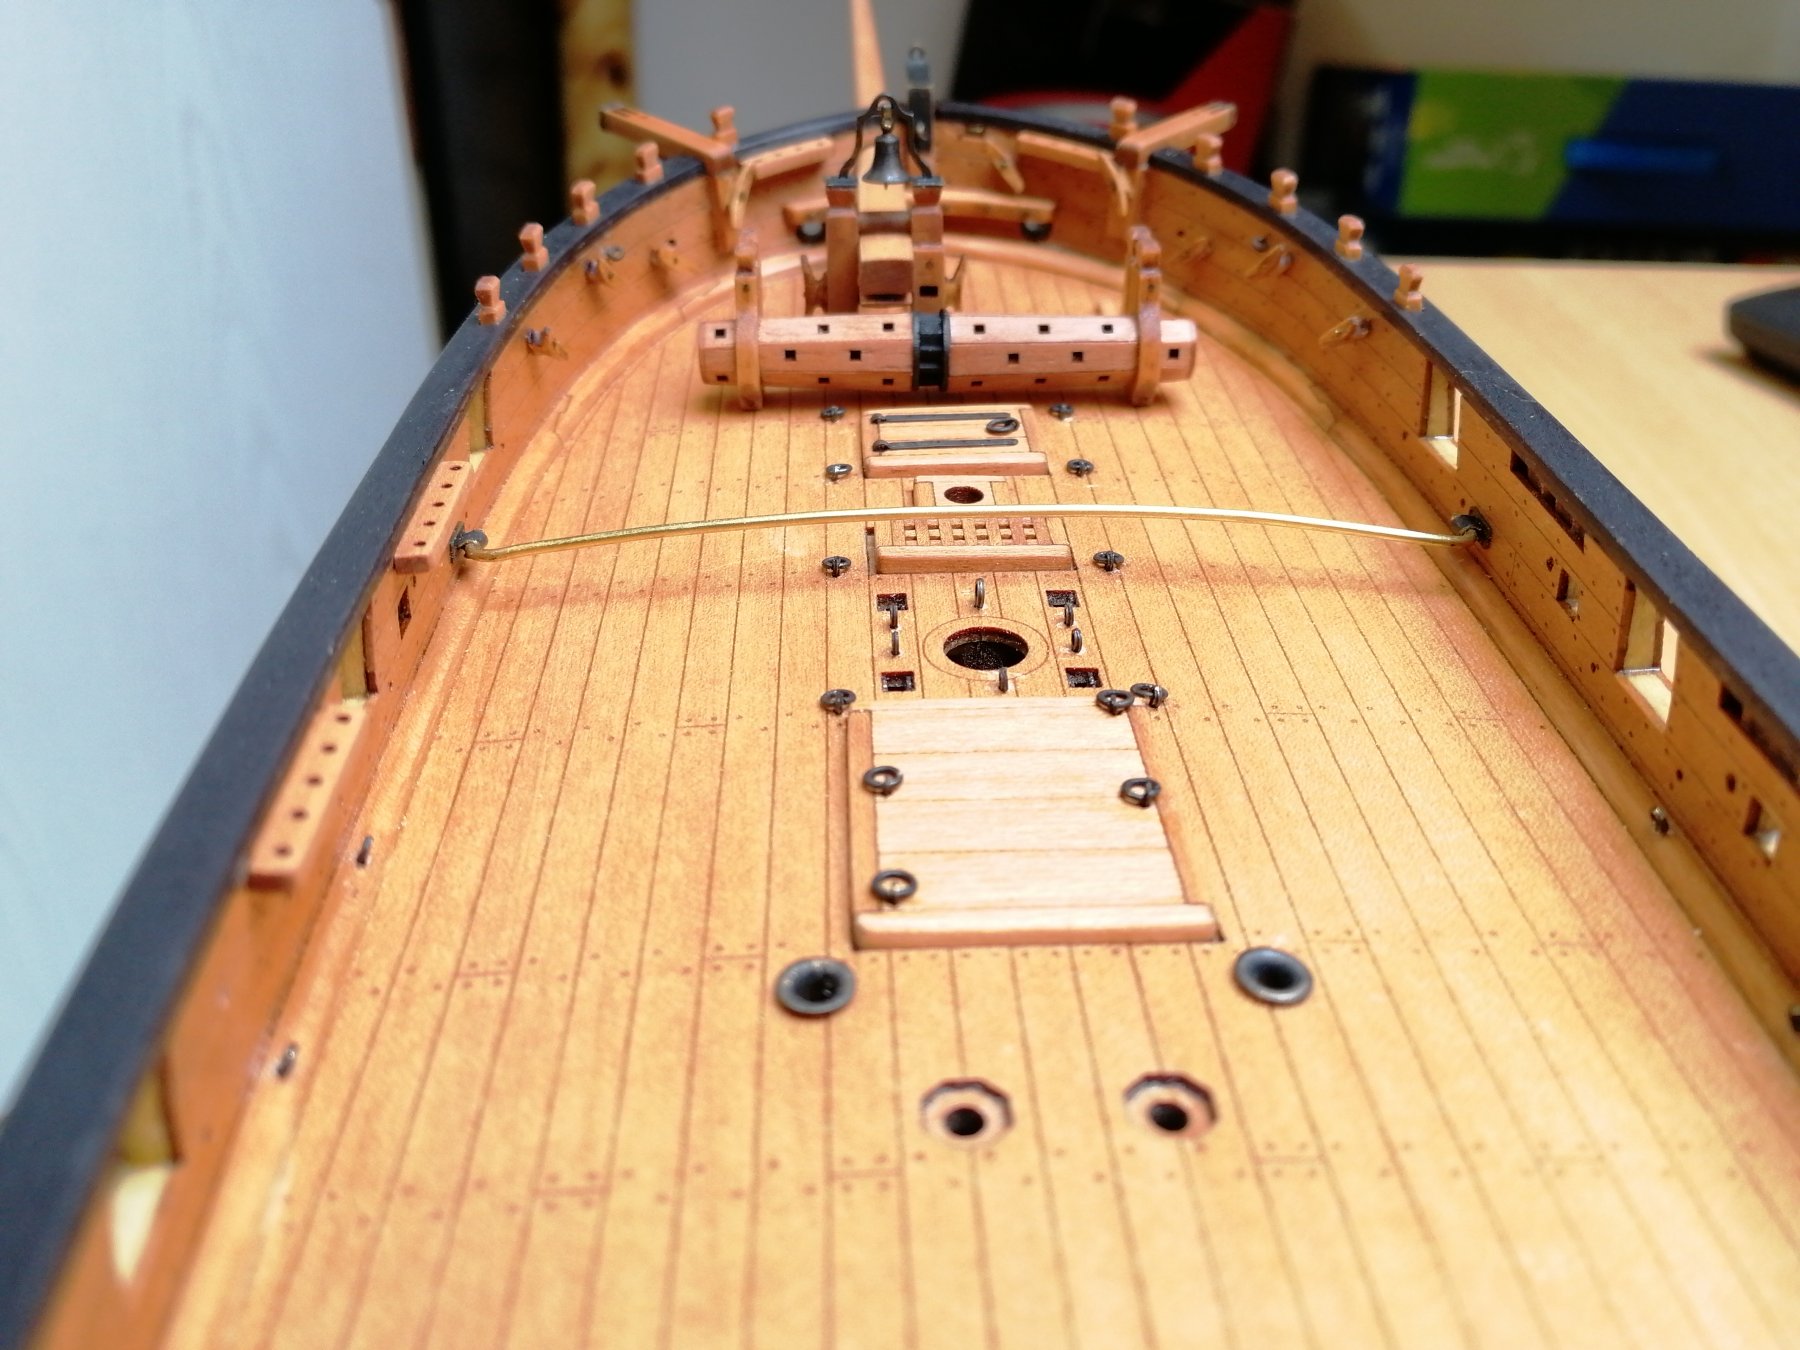
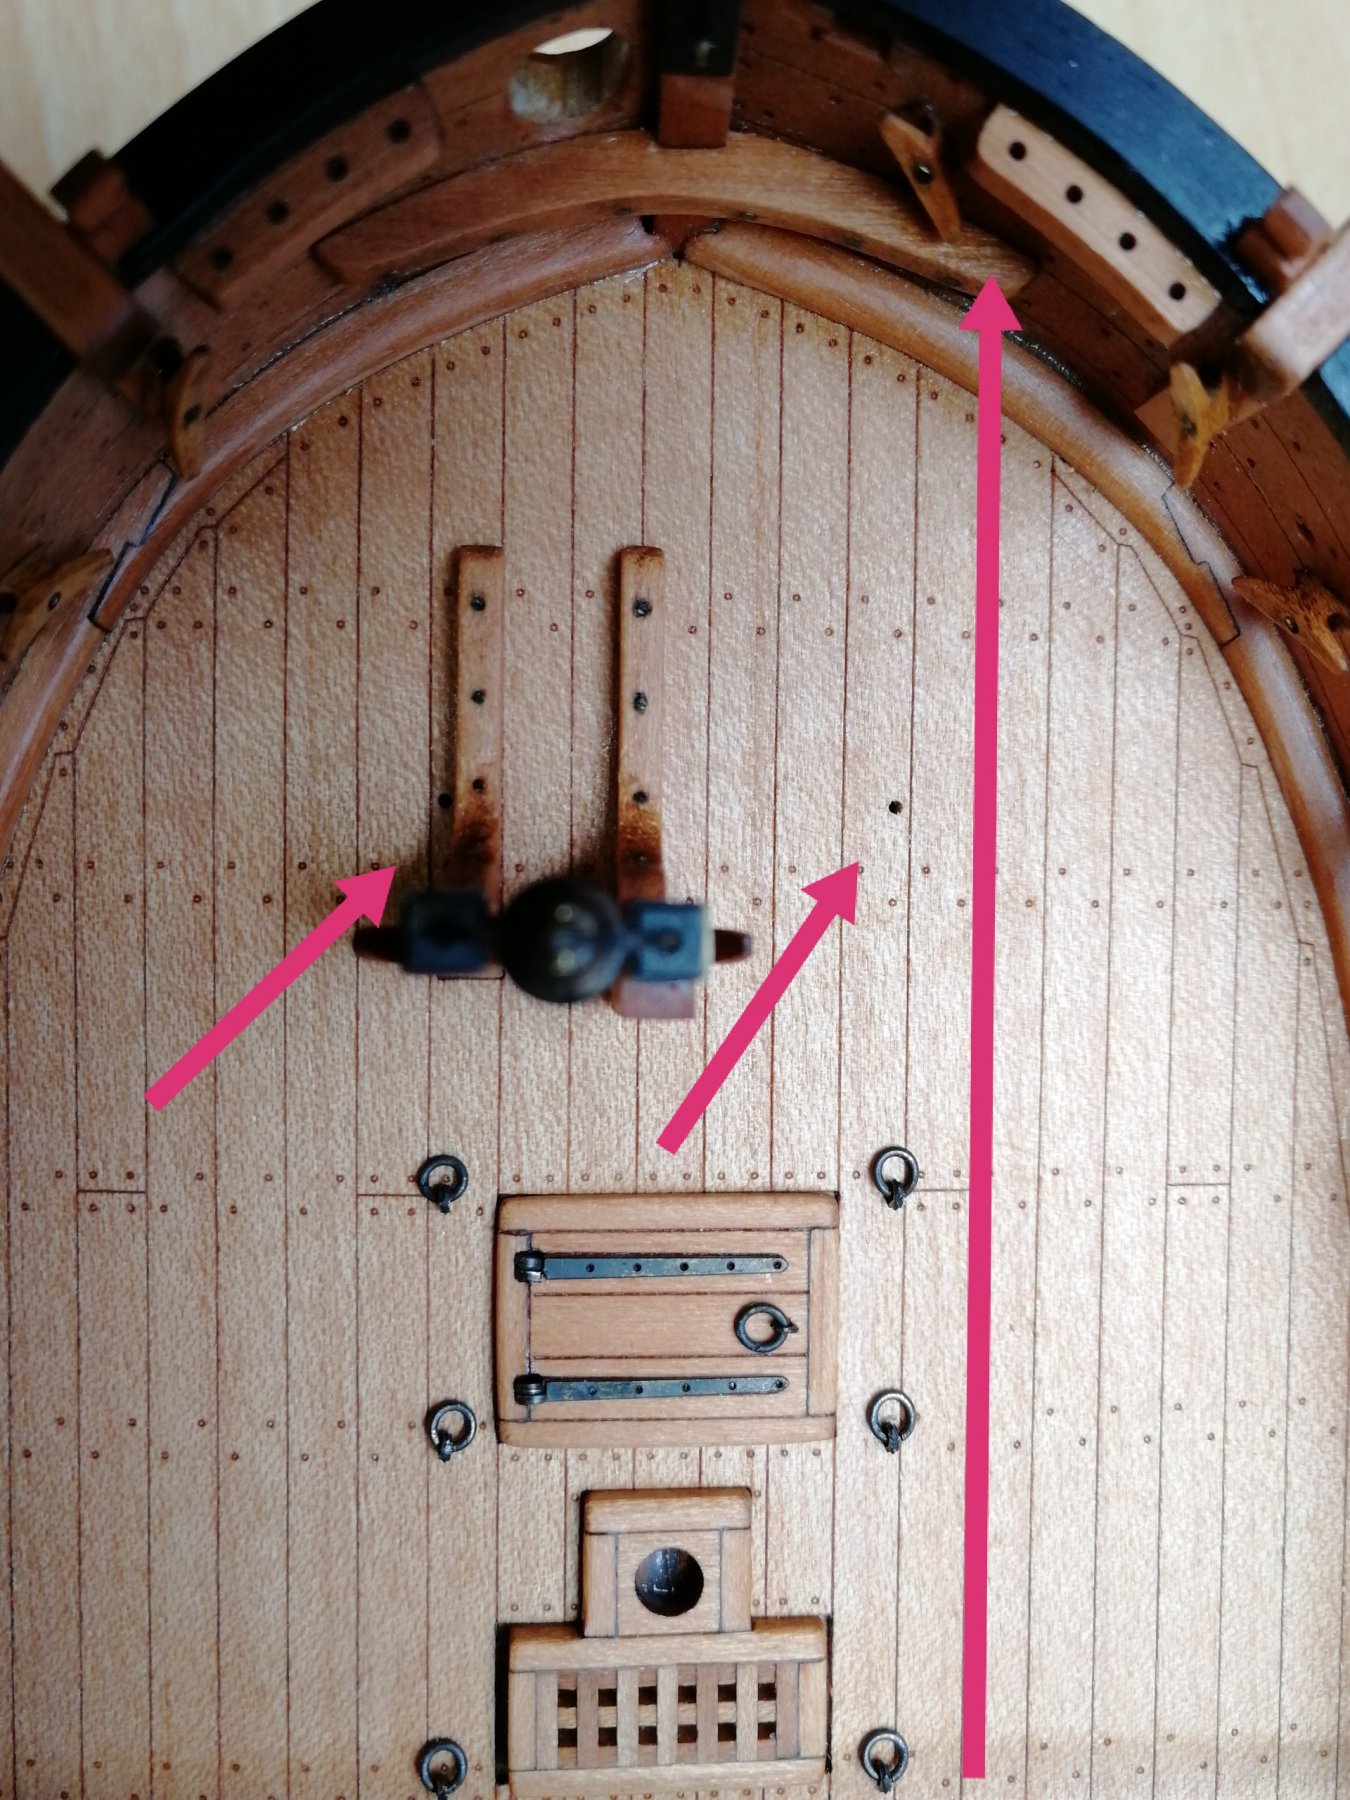
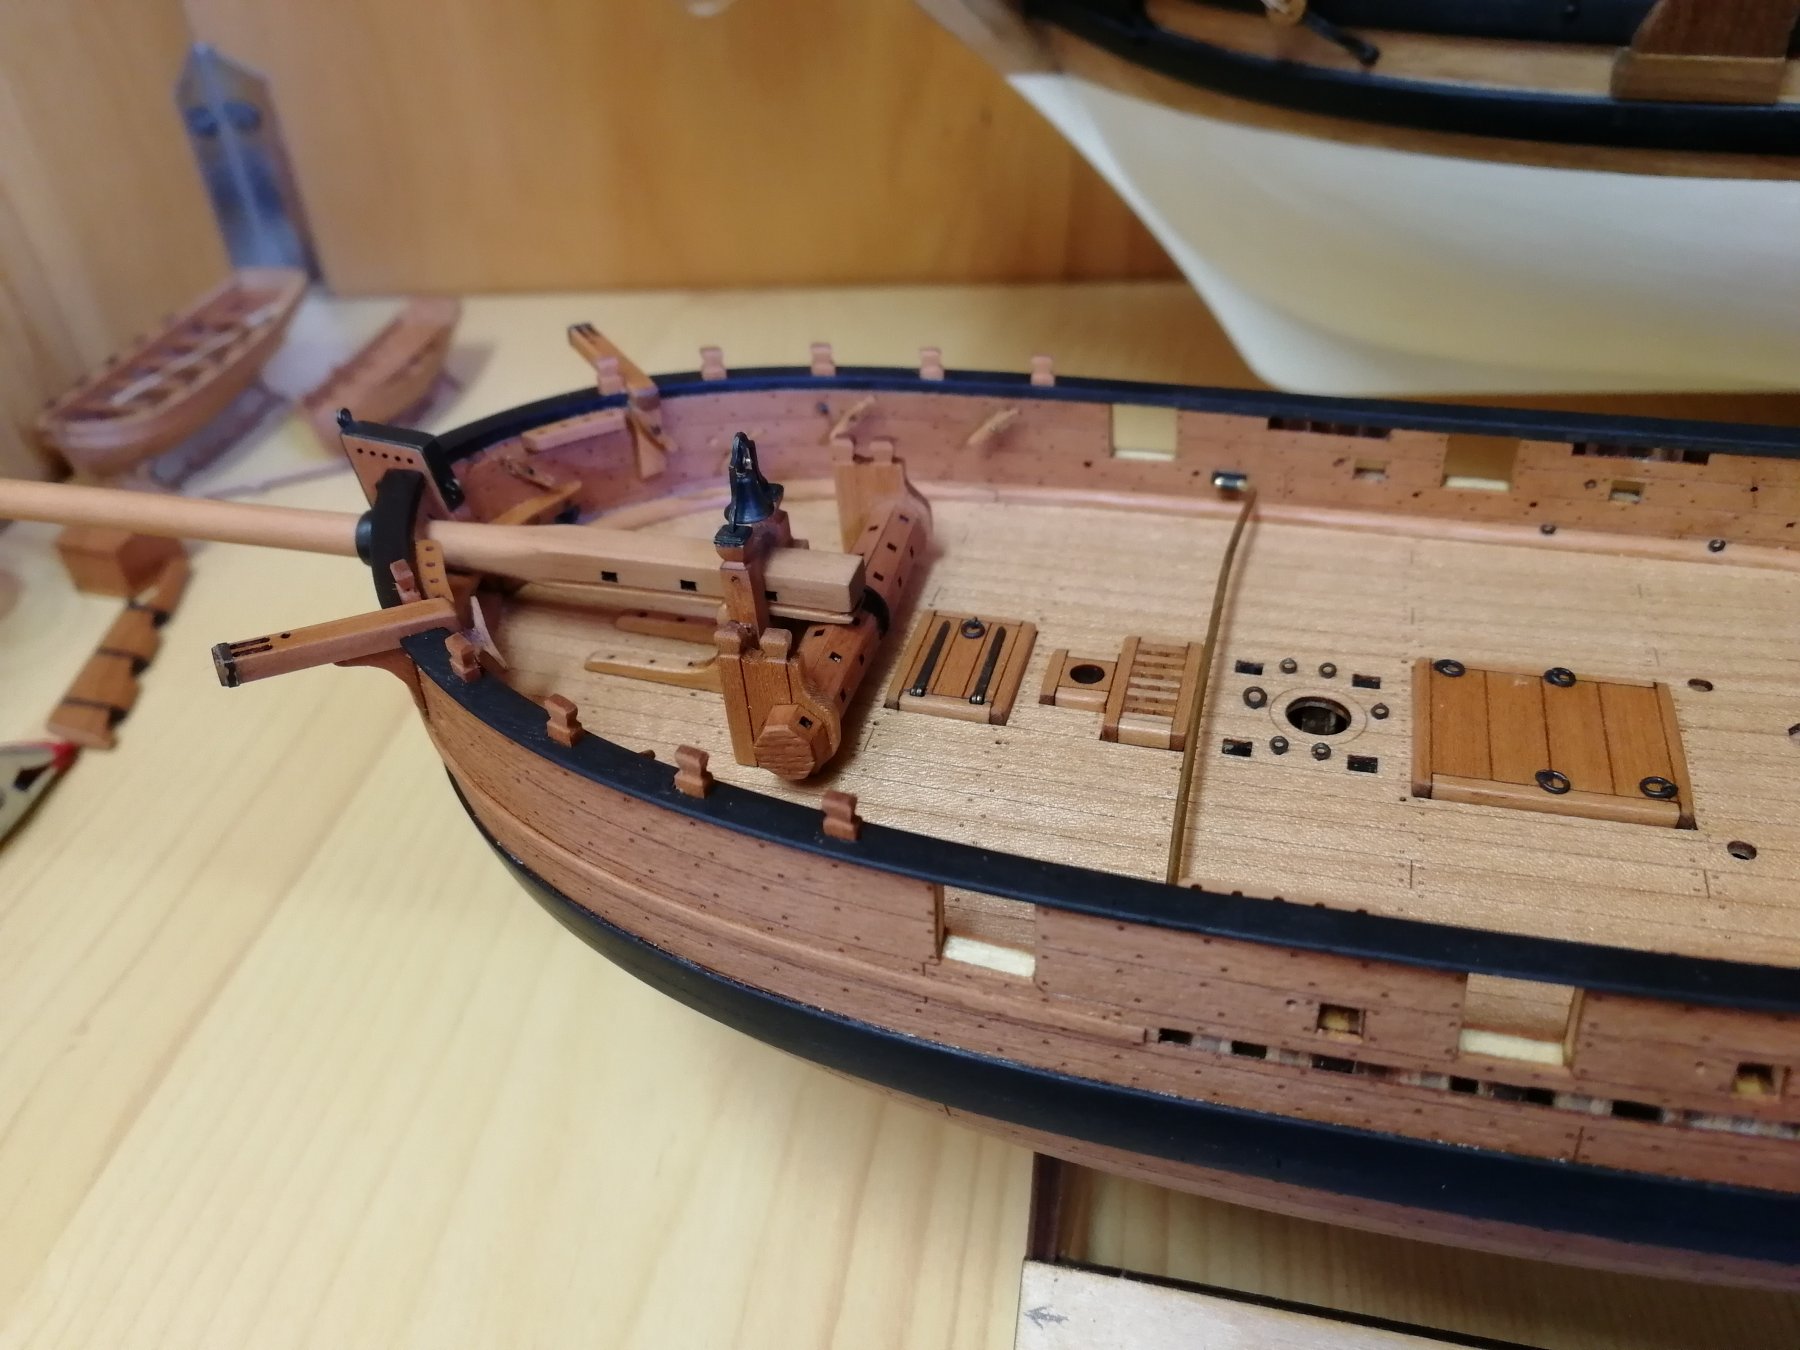
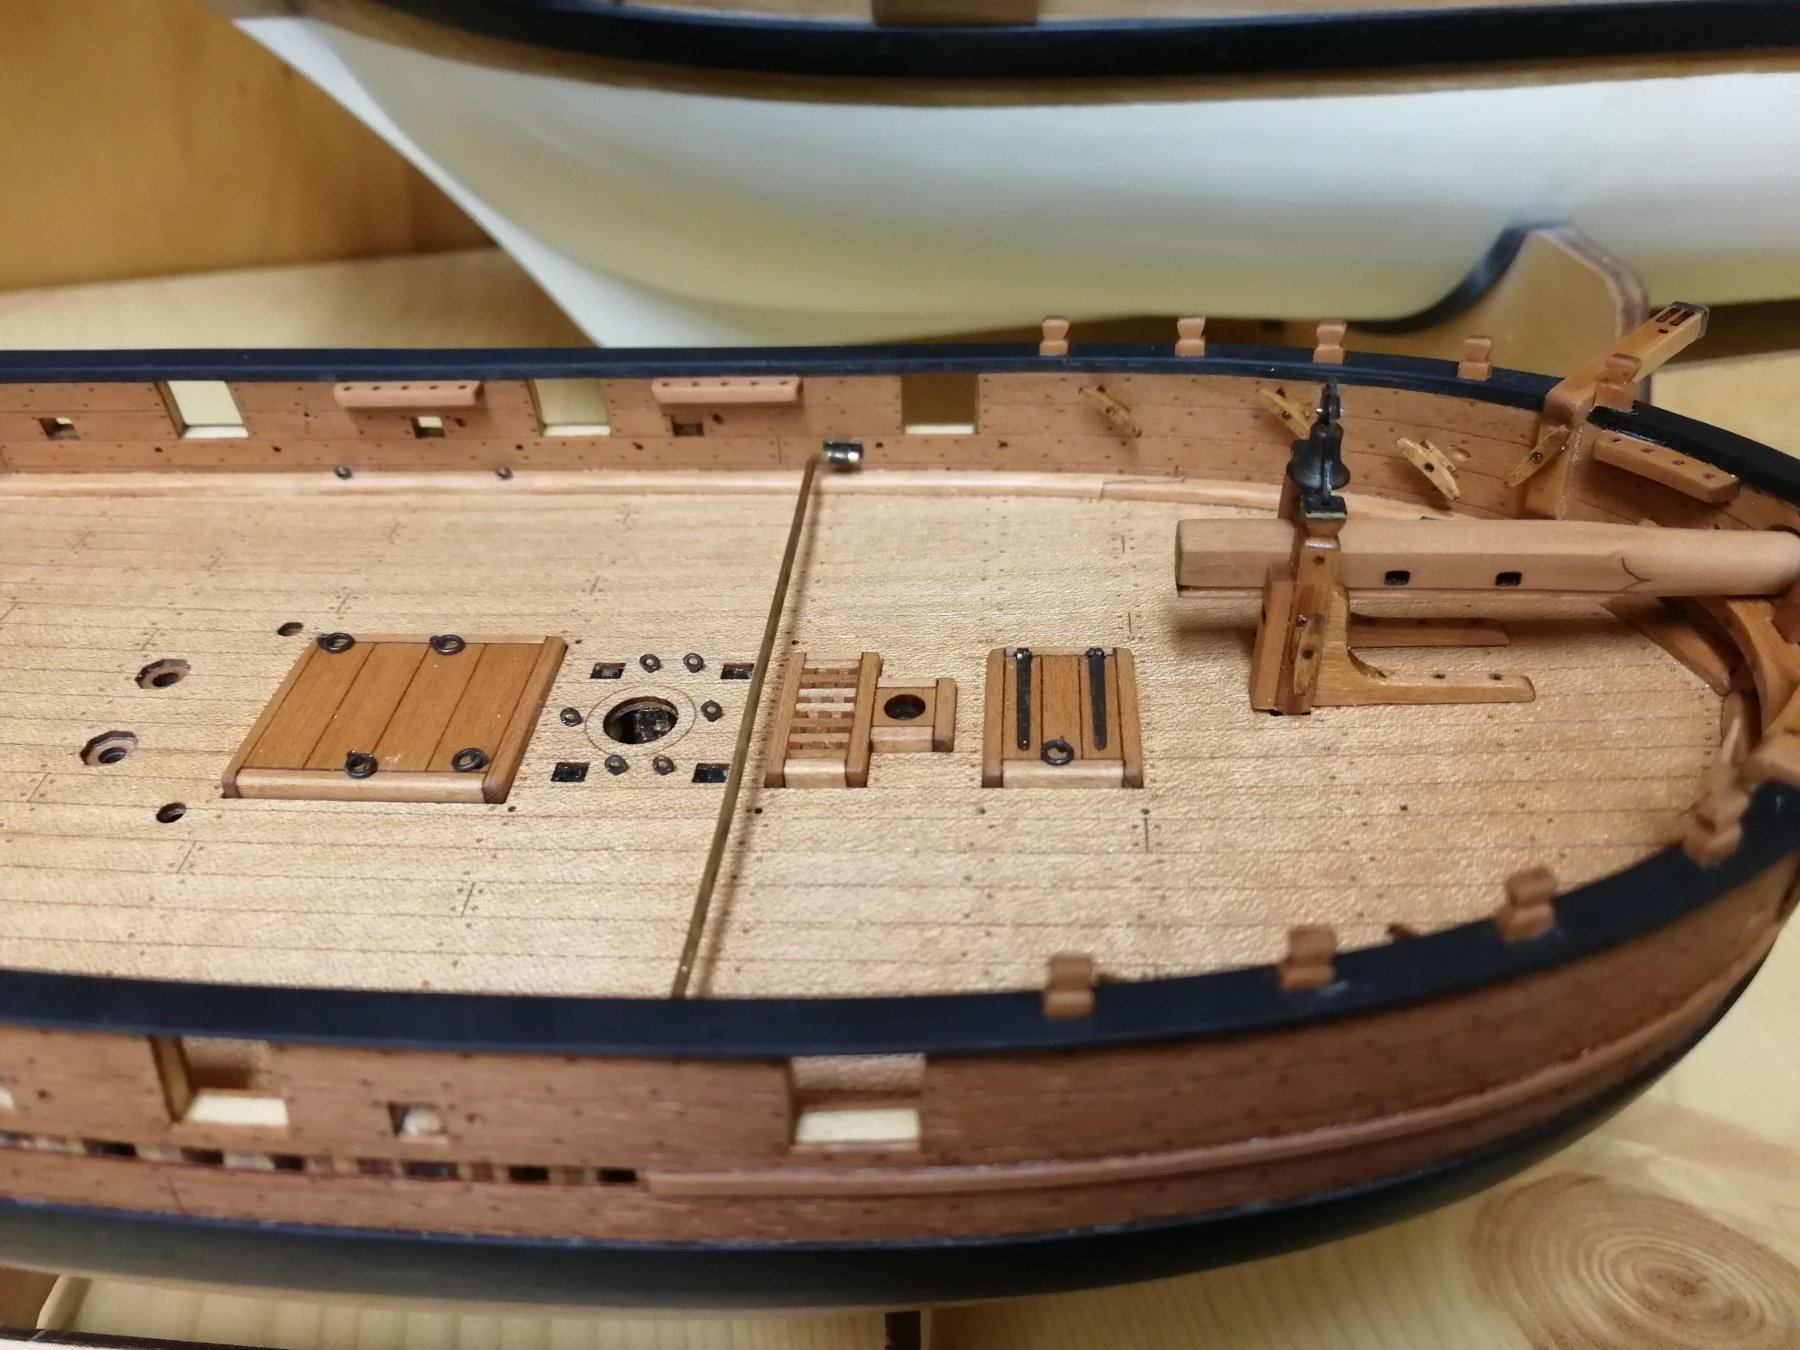
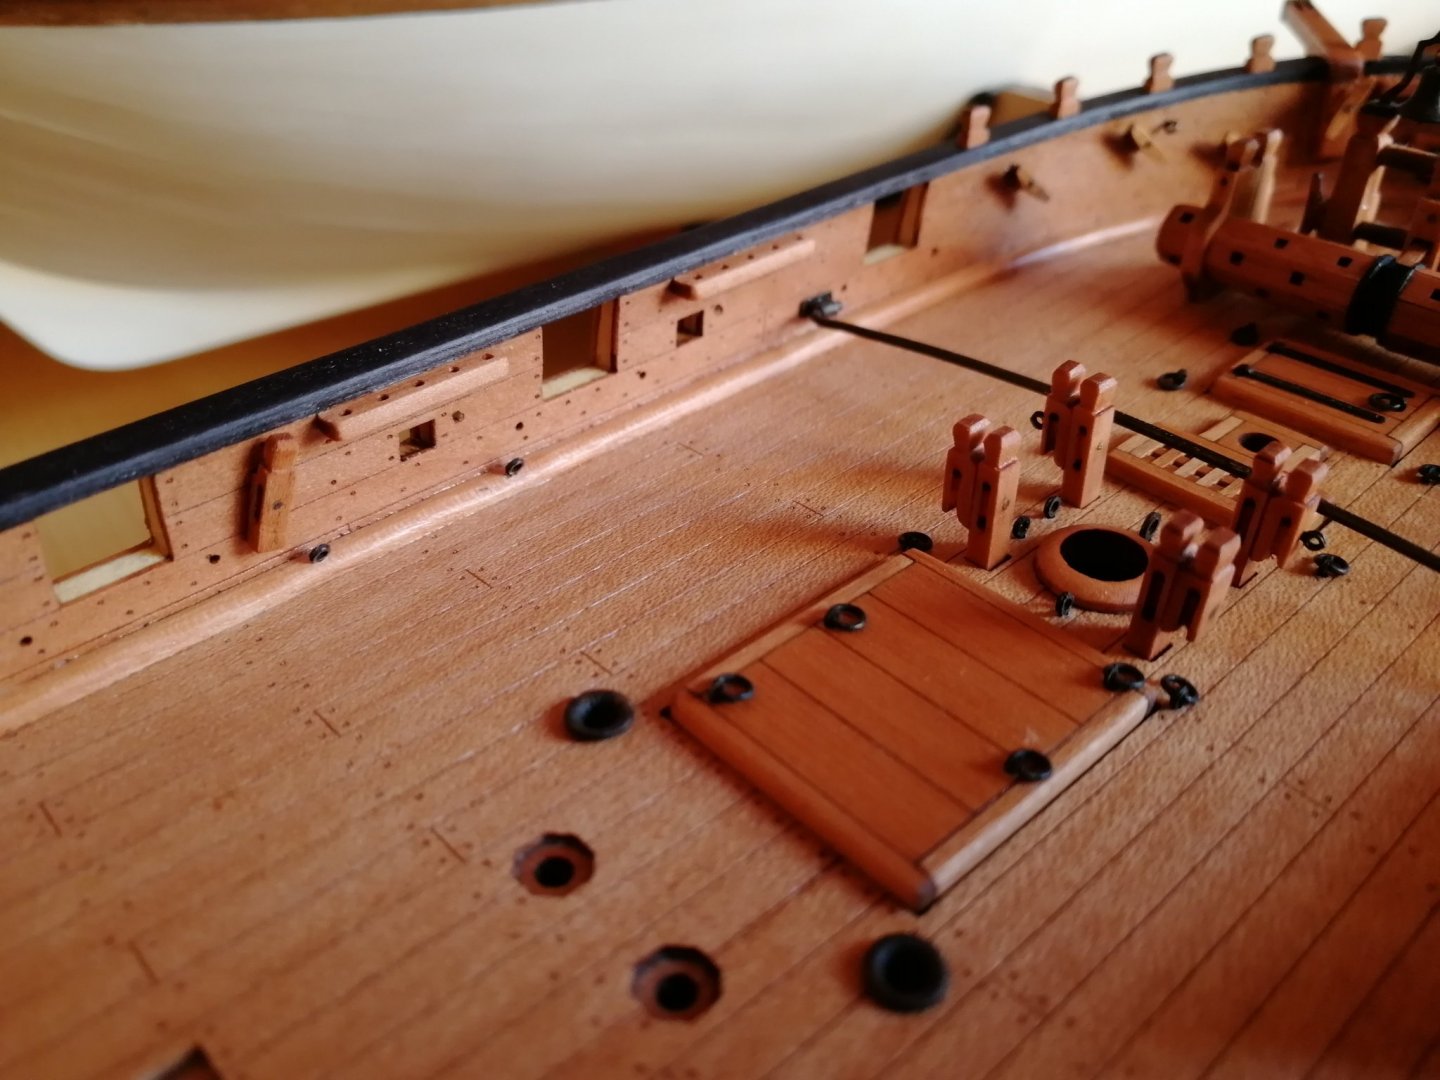
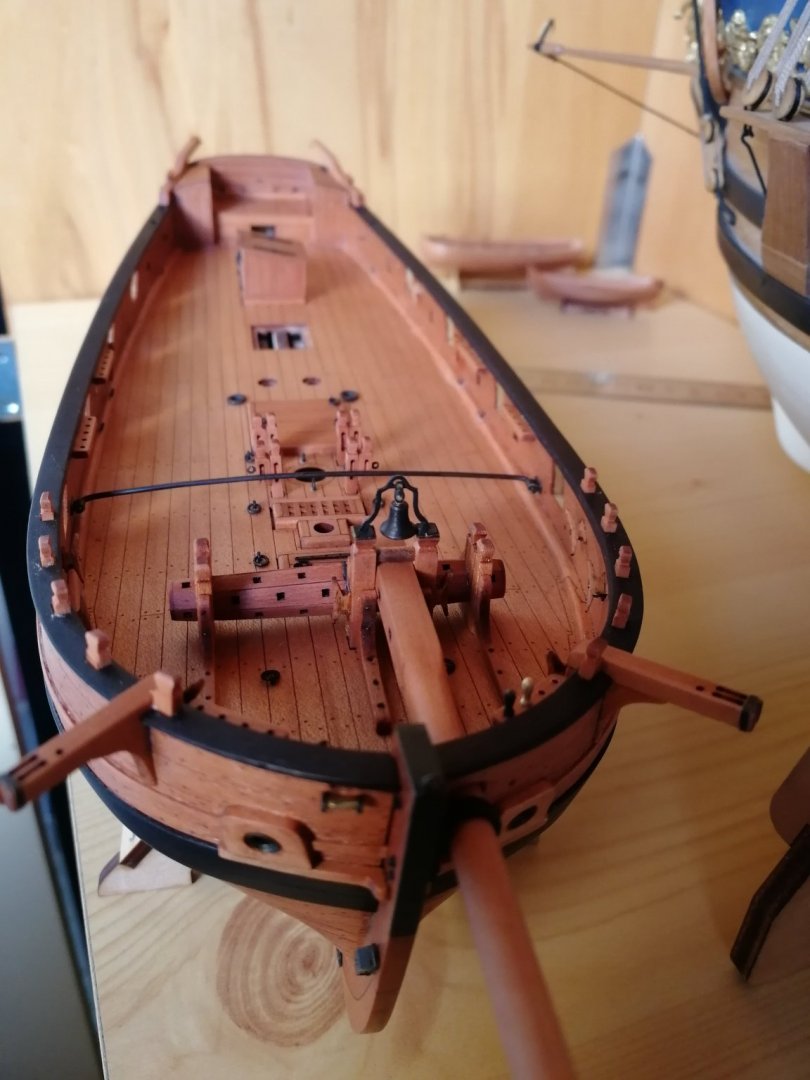
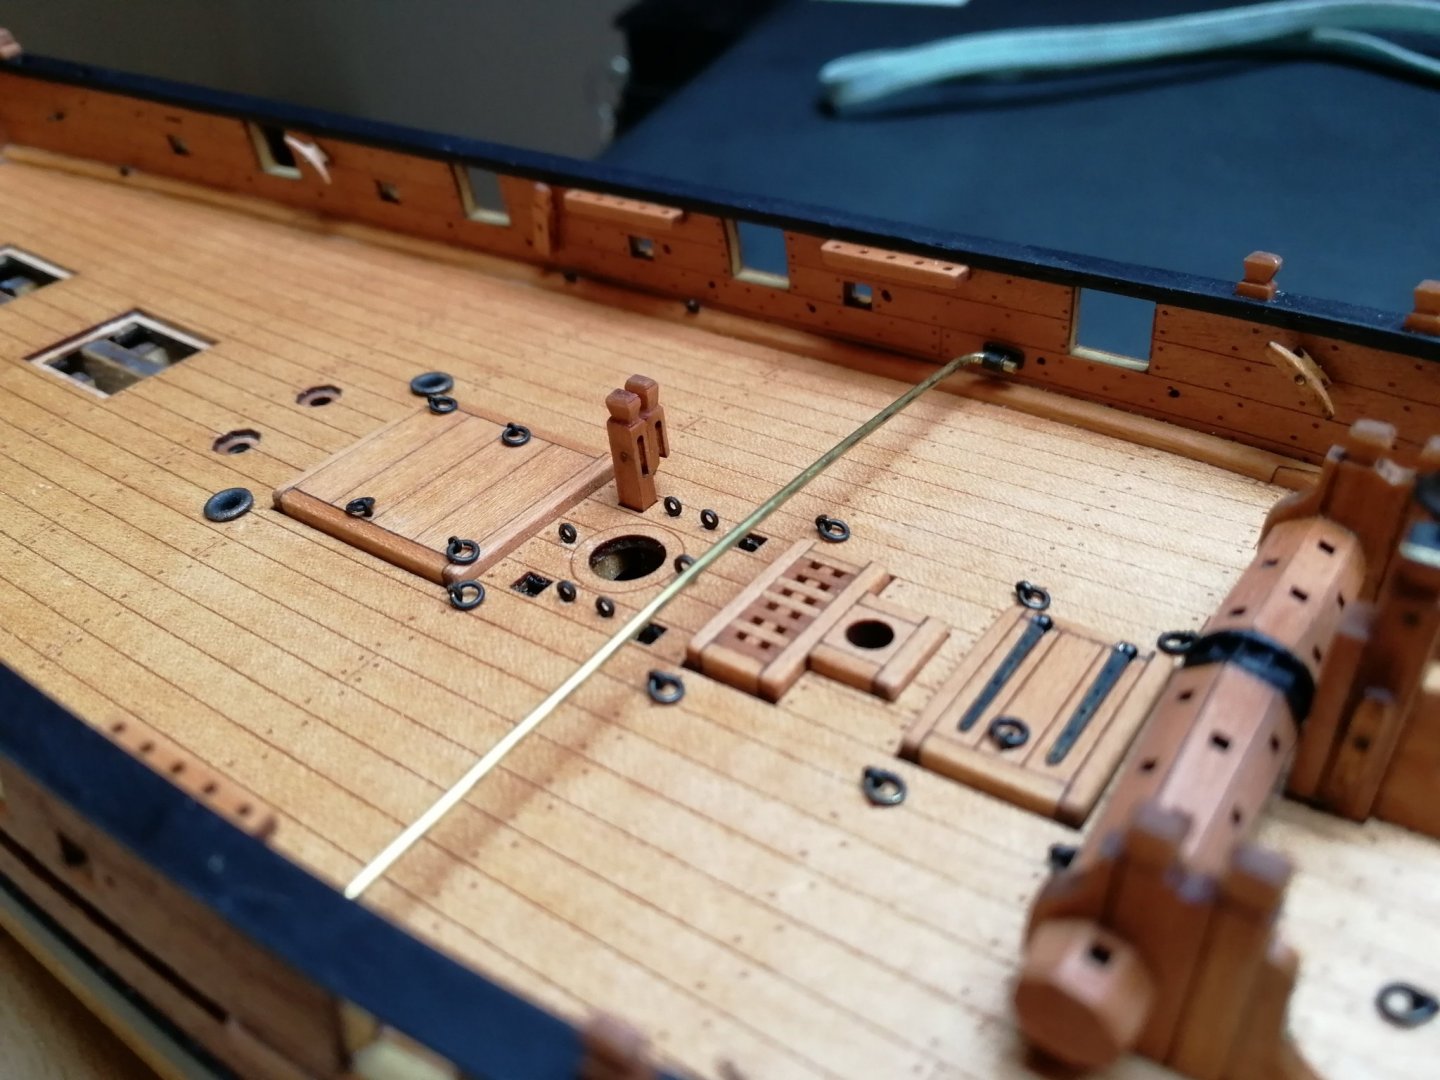
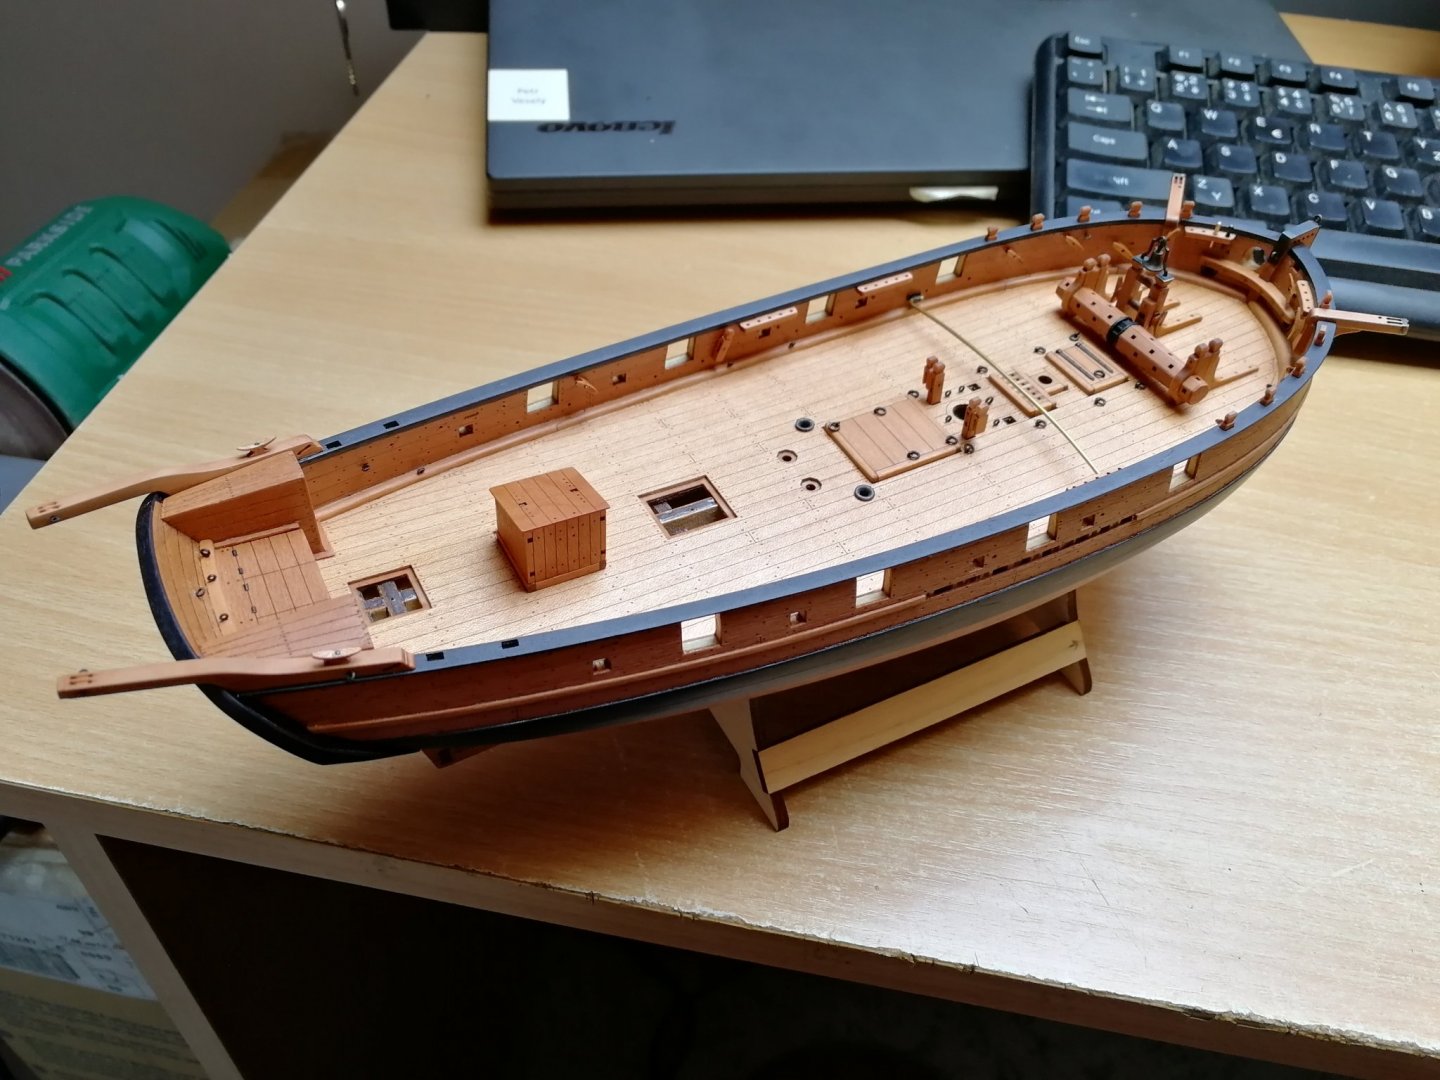
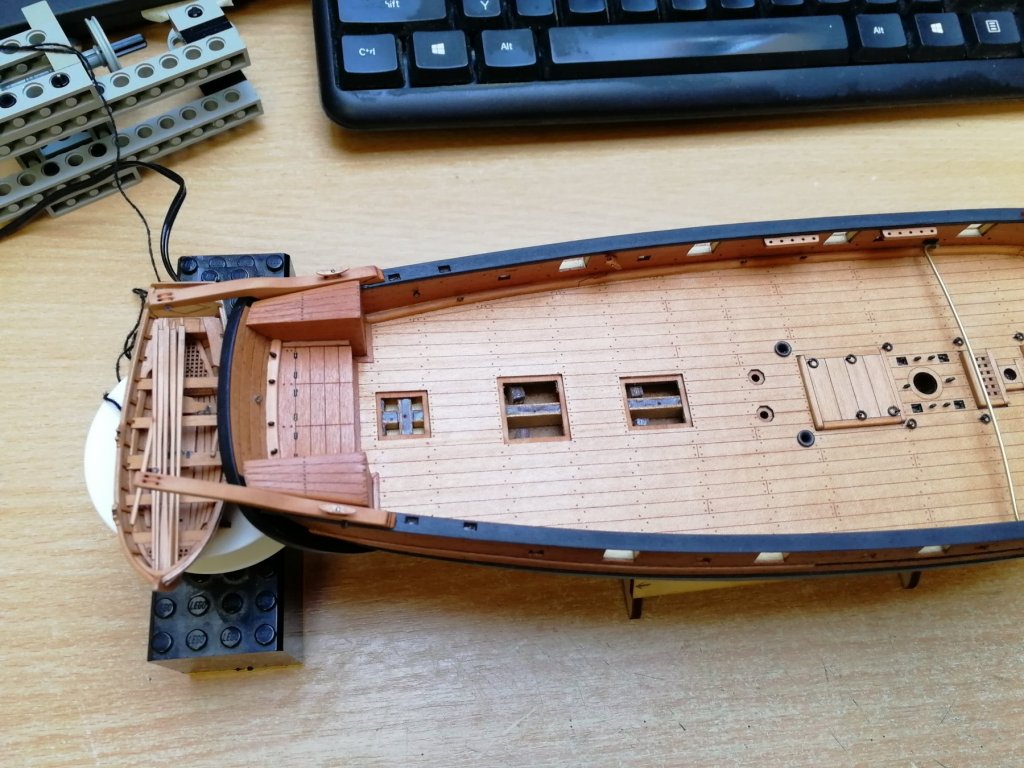
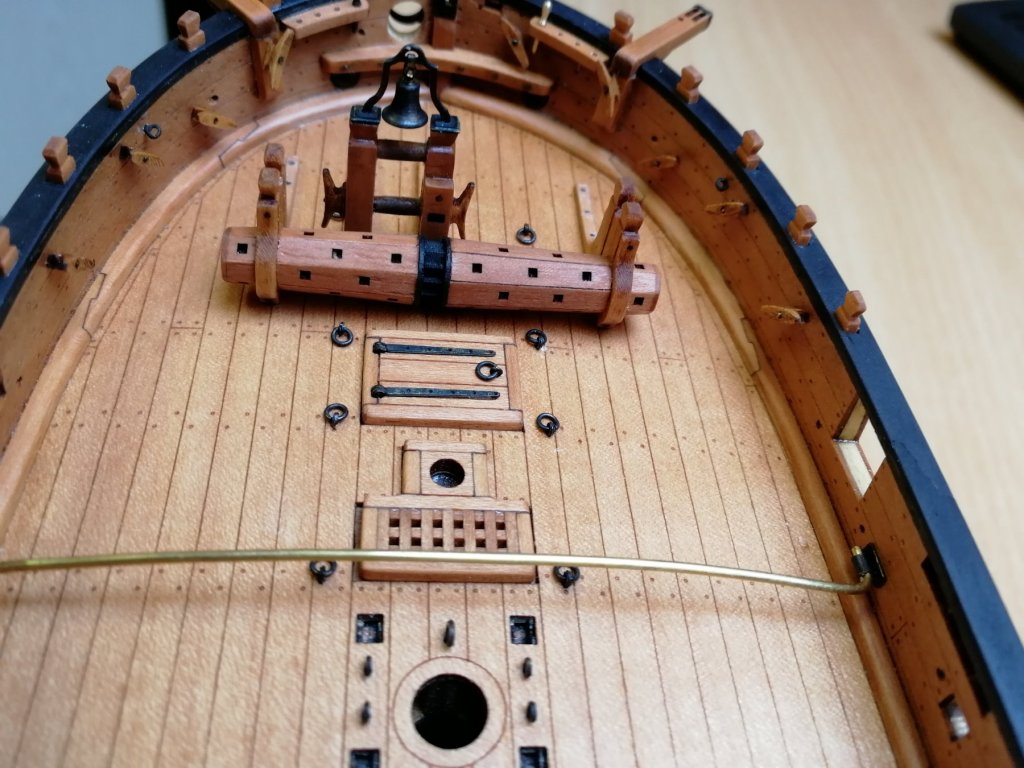
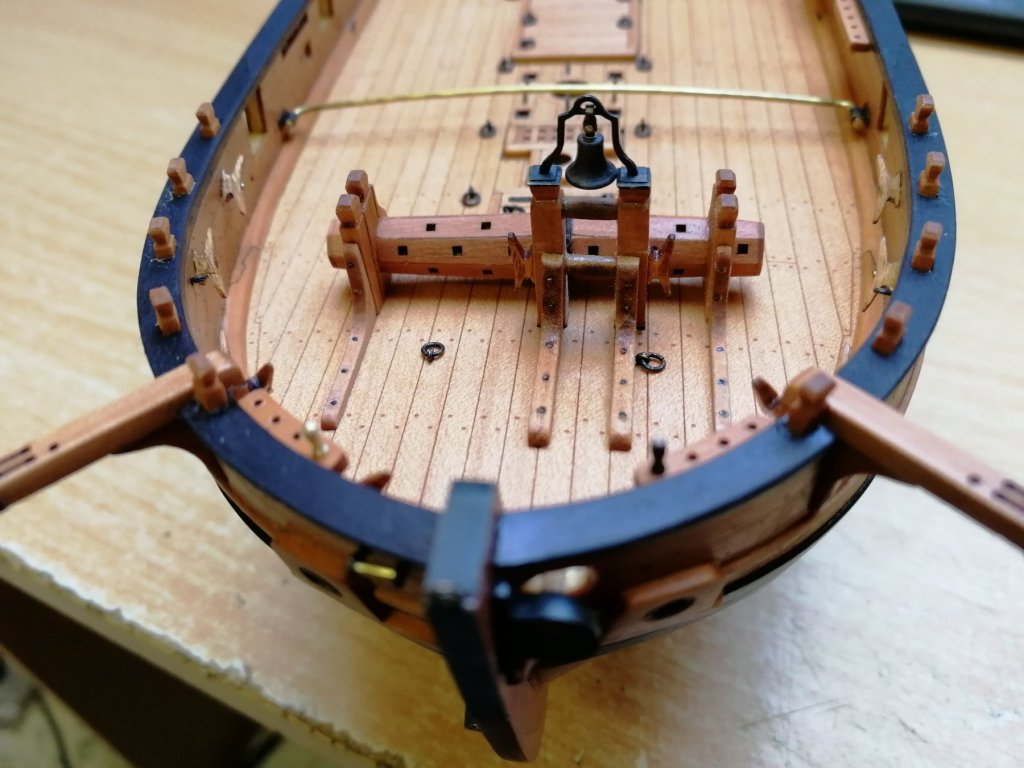
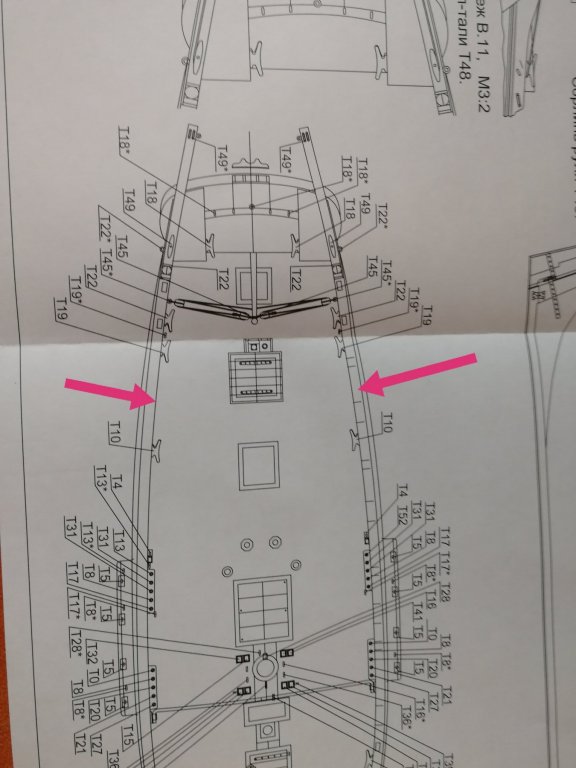
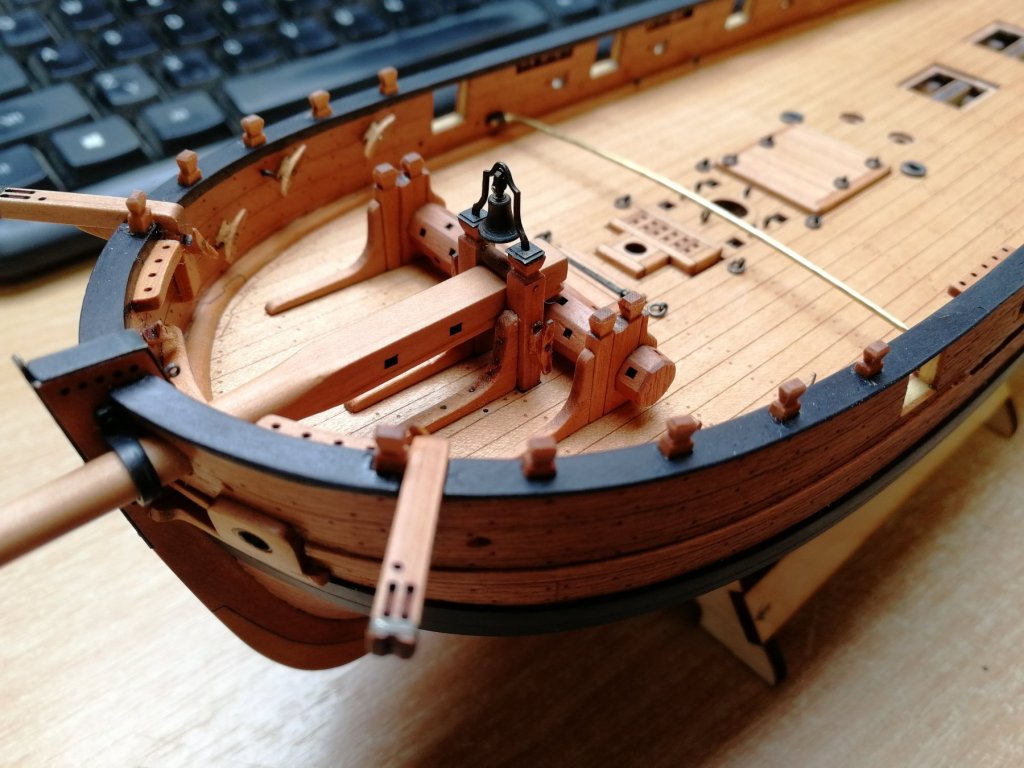
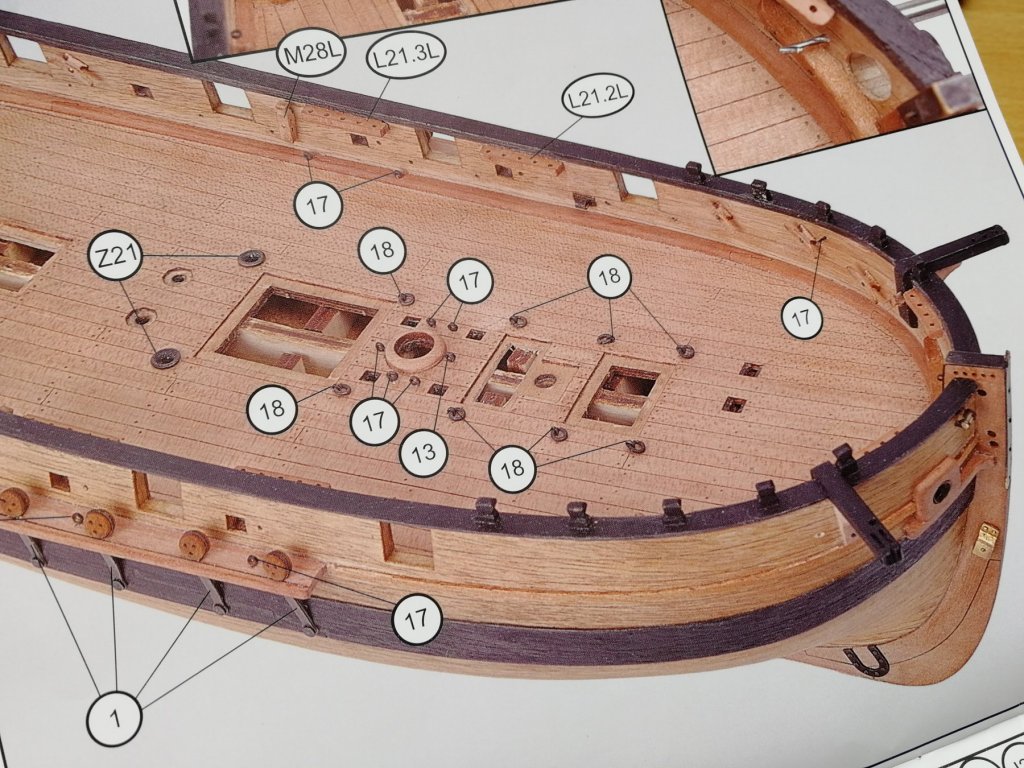
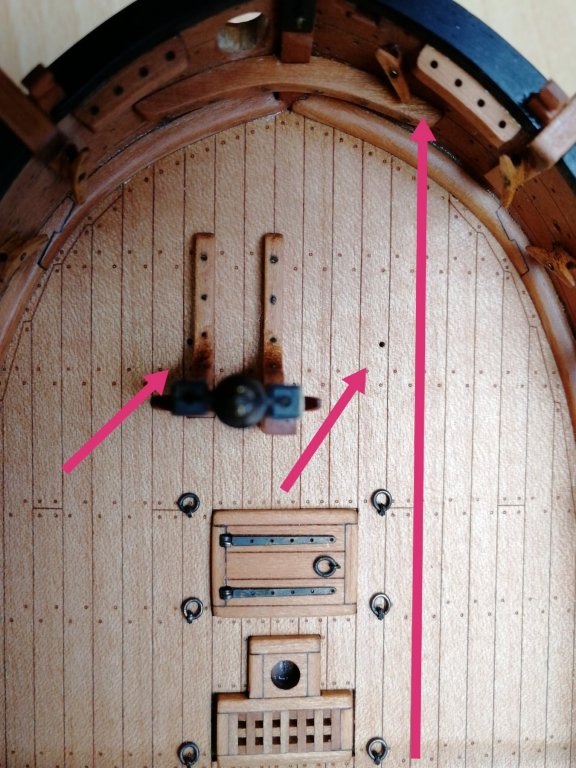
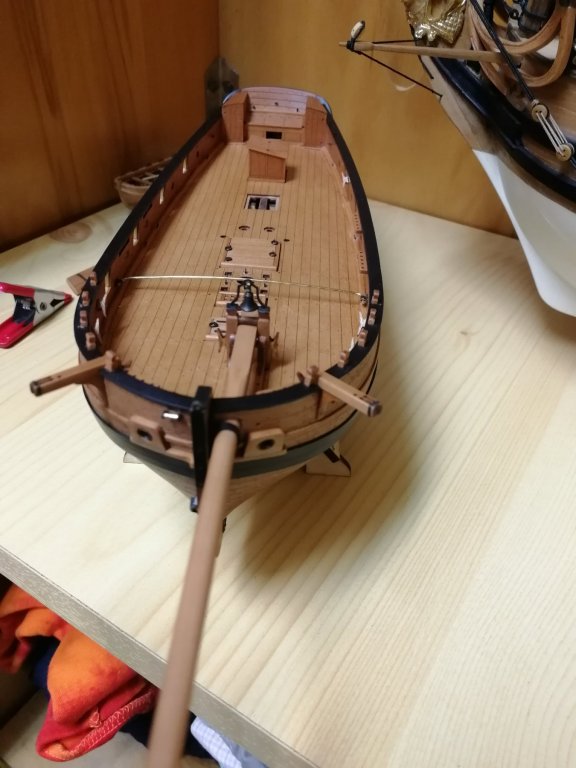
Preparation of the route for anchor cable. @DPK @greenstone can I ask you guys for advice? There are two pre-drilled holes in the deck forward to the bow from the bell in the same line with other rings for securing the cable. I guess There should be another pair of rings? But it is not in instructions so I do not know if I can use 2 more photo etched parts #18 (are there some spare or the count is exactly for the model?) or should I produce my own? Thanks a lot!


- 315 replies
-
- 10
-
-
- master korabel
- avos
- (and 1 more)
-
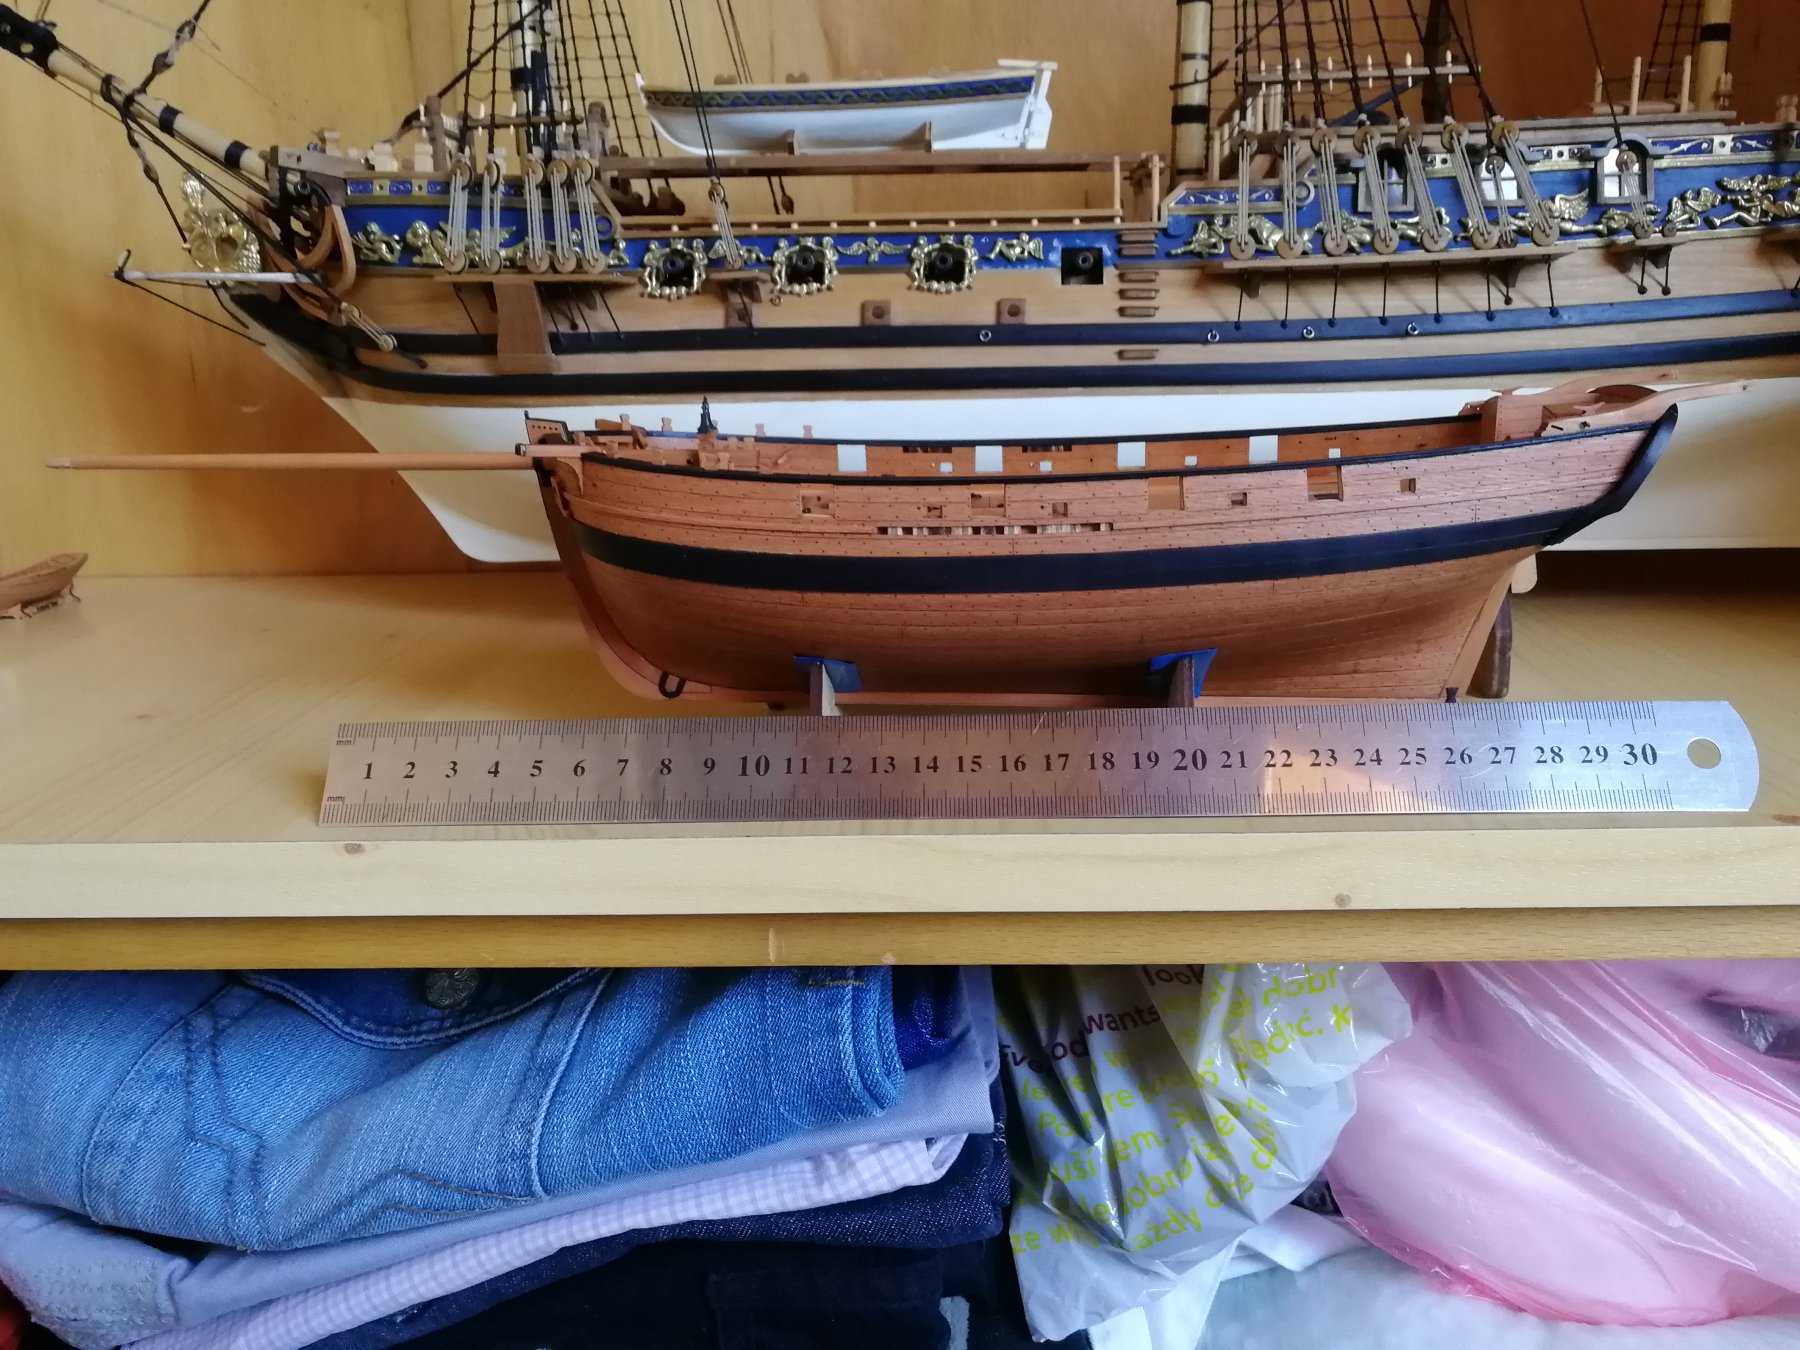
Ohh god, I feel so bad now (I scrolled Down this thread) and see the stage where I stopped. But I really needed rest from rigging. Unfortunately/fortunately AVOS cought me so deeply that I can't go back to RC right now BUT I PROMISE I'm GOING TO FINISH THIS PROJECT!! please Just be patient. Thanks to all followers and all who likes what I am doing. In case you would like to see the ship I'm working on right now..... It is a lovely kit. So much fun building it! PetaV
- 128 replies
-
- 3
-
-
- panart
- anatomy of the ship
- (and 1 more)
-
Thank you Greenstone. It is my personal choice.I found it distracting leave it in brass when all other irons are black. I do not like colourfull models so that is the reason. Not sure what I do with belaying pins🤔
- 315 replies
-
- 2
-
-
- master korabel
- avos
- (and 1 more)
-
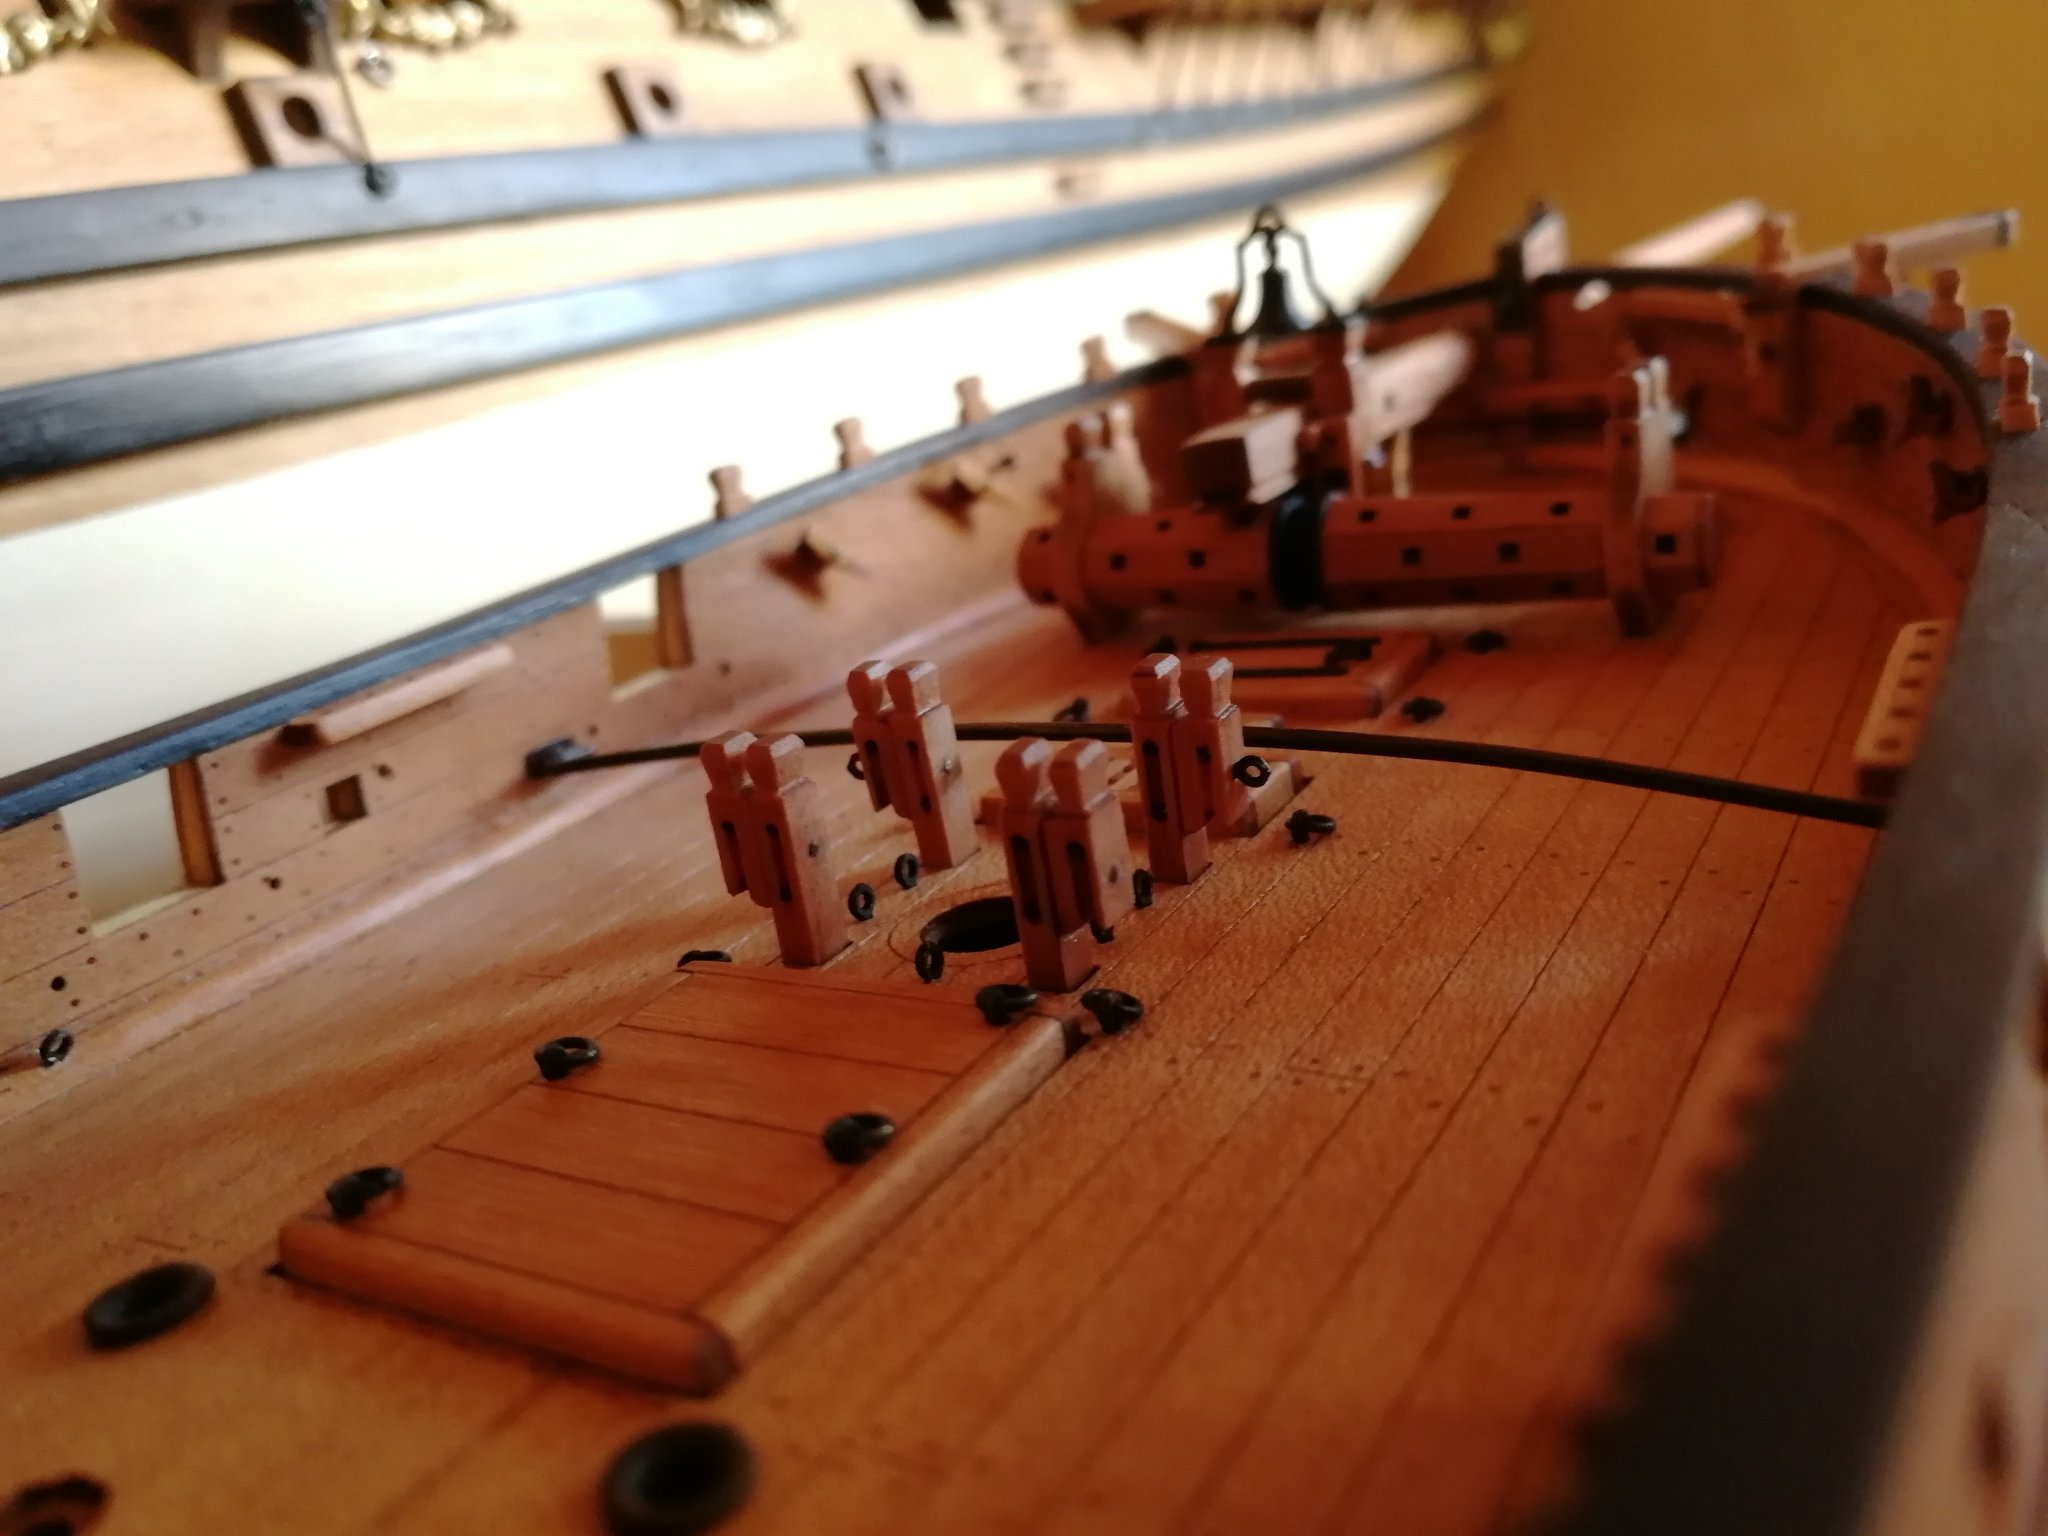
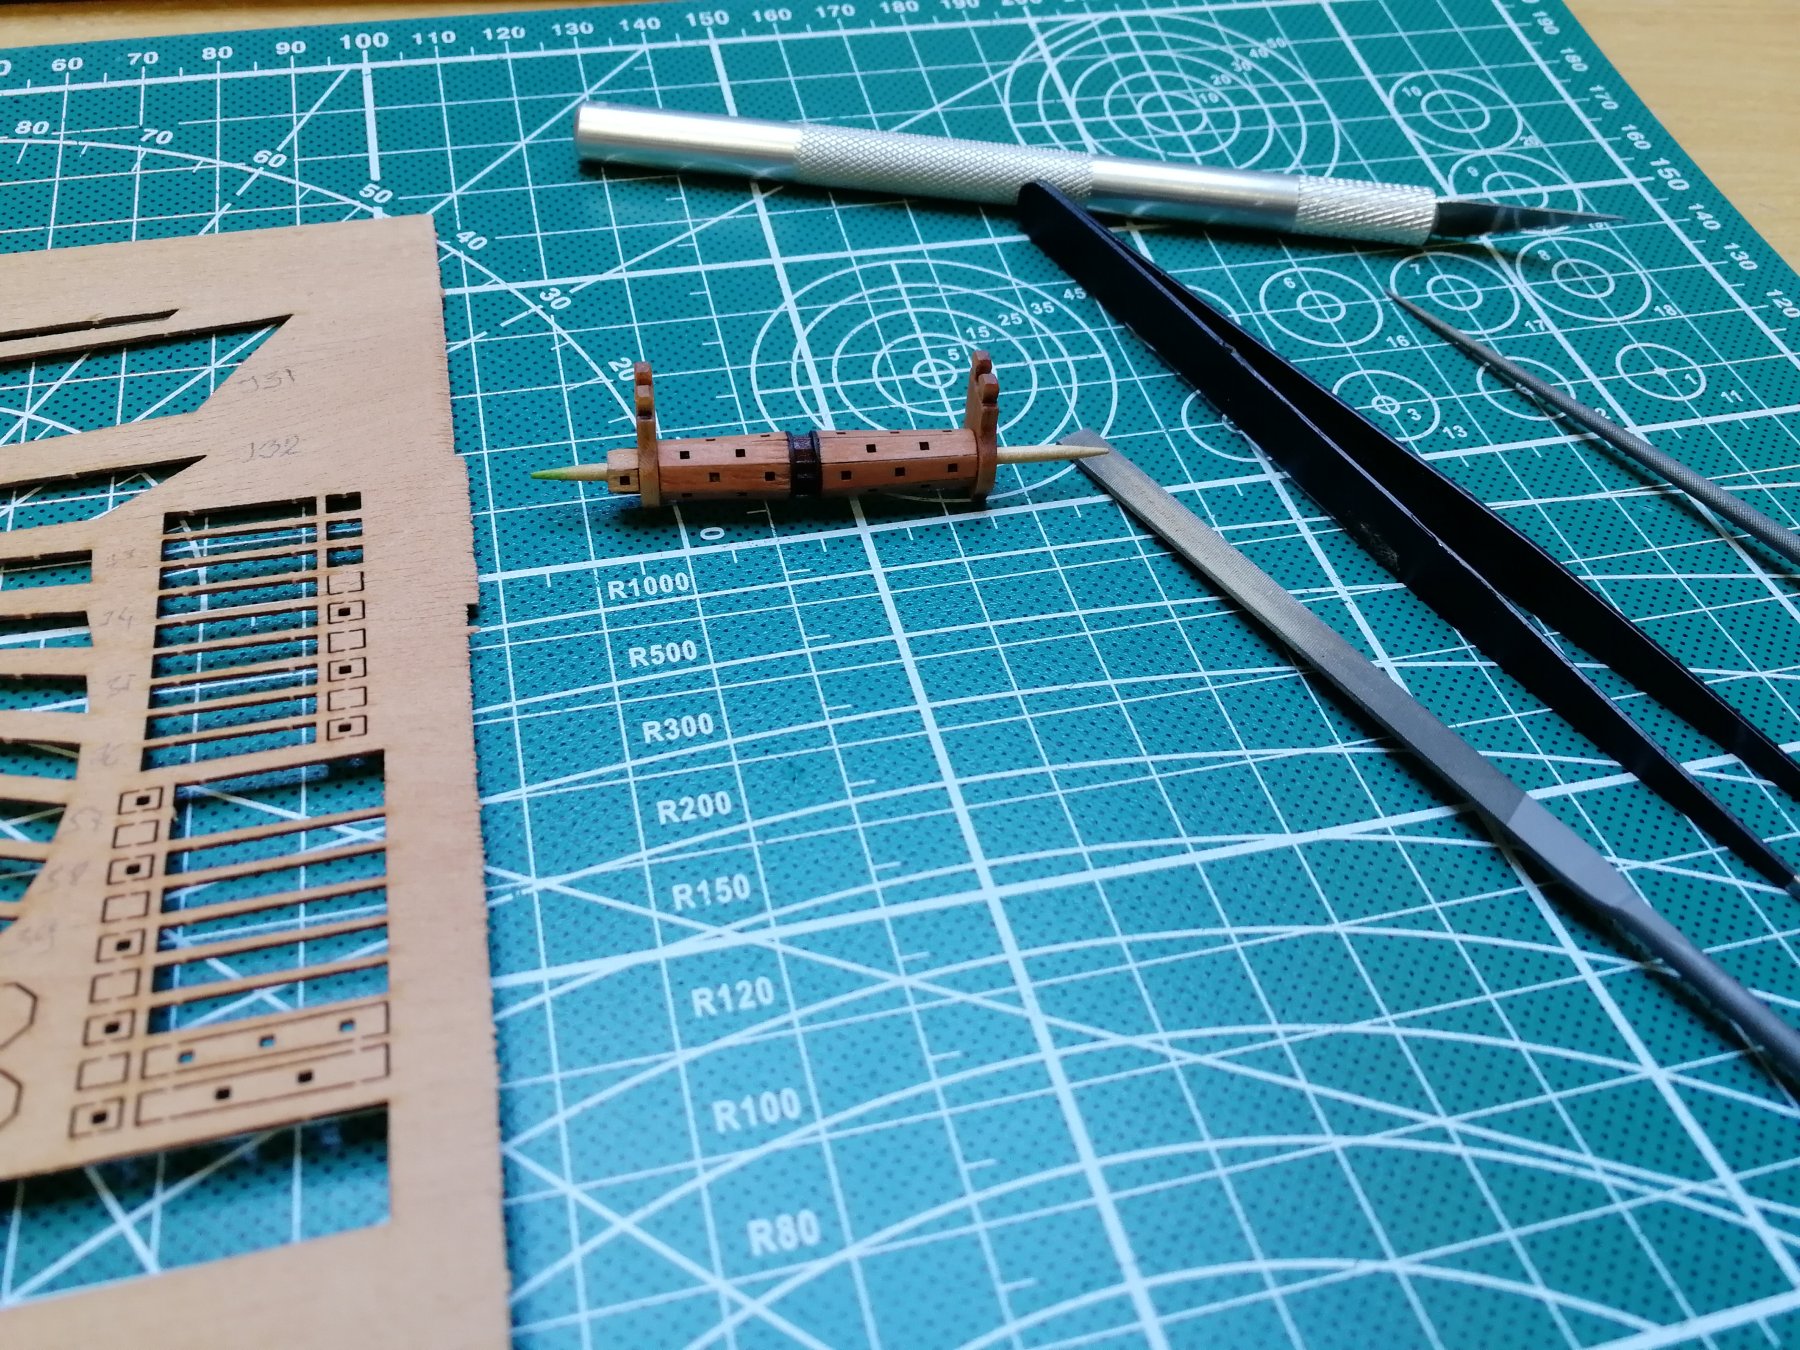
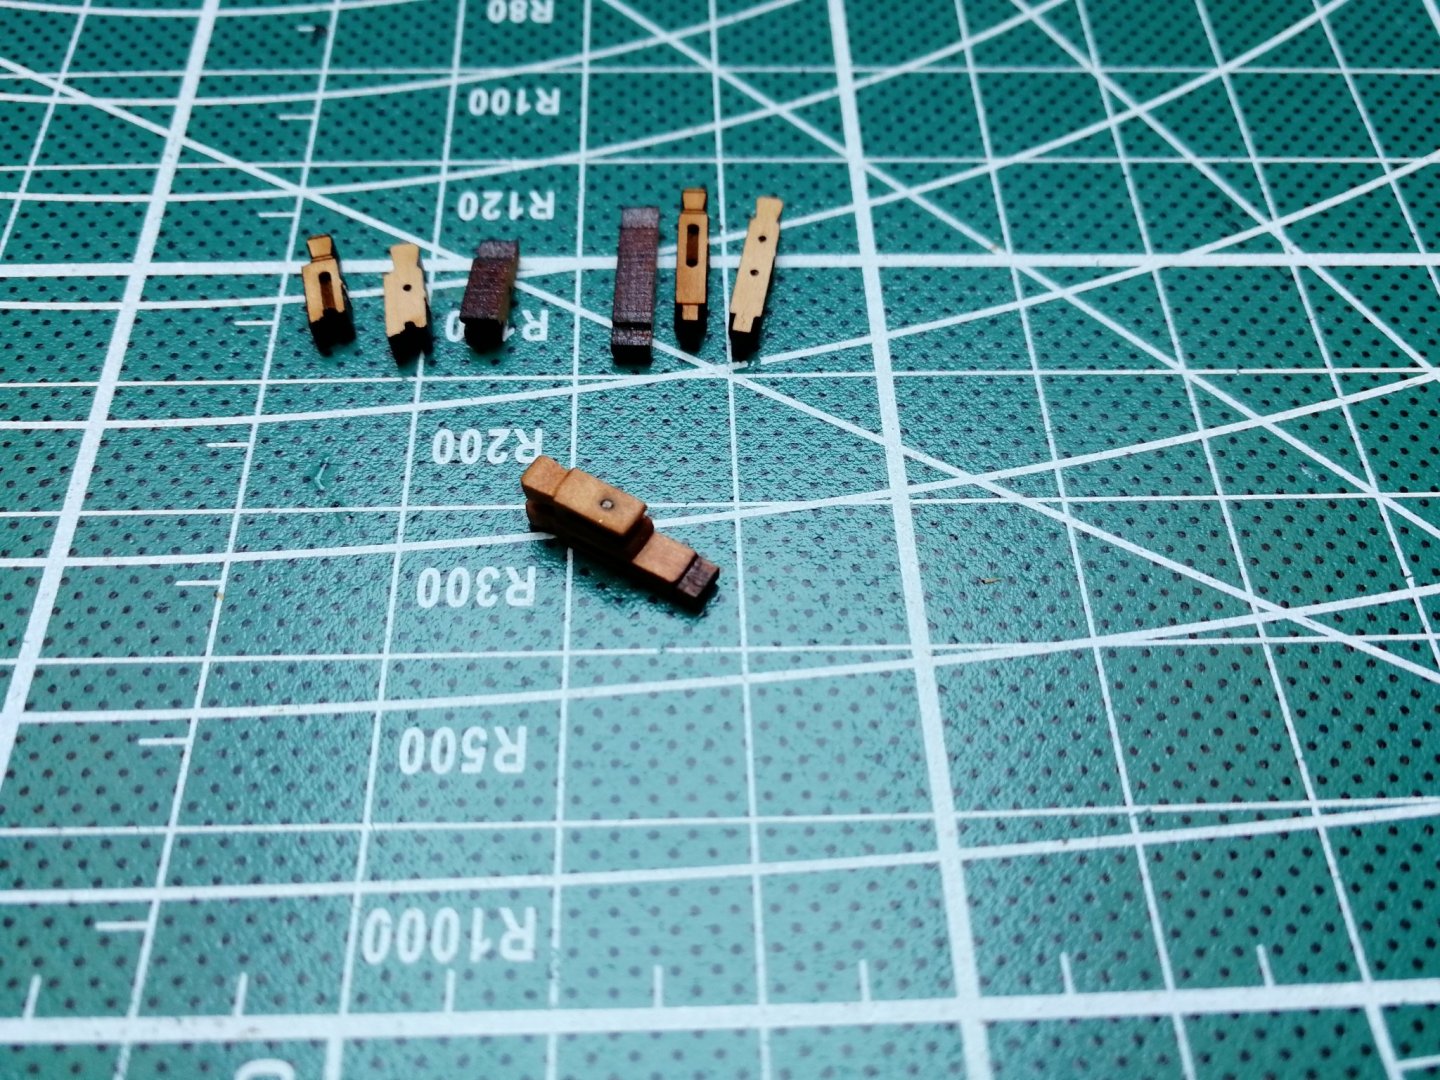
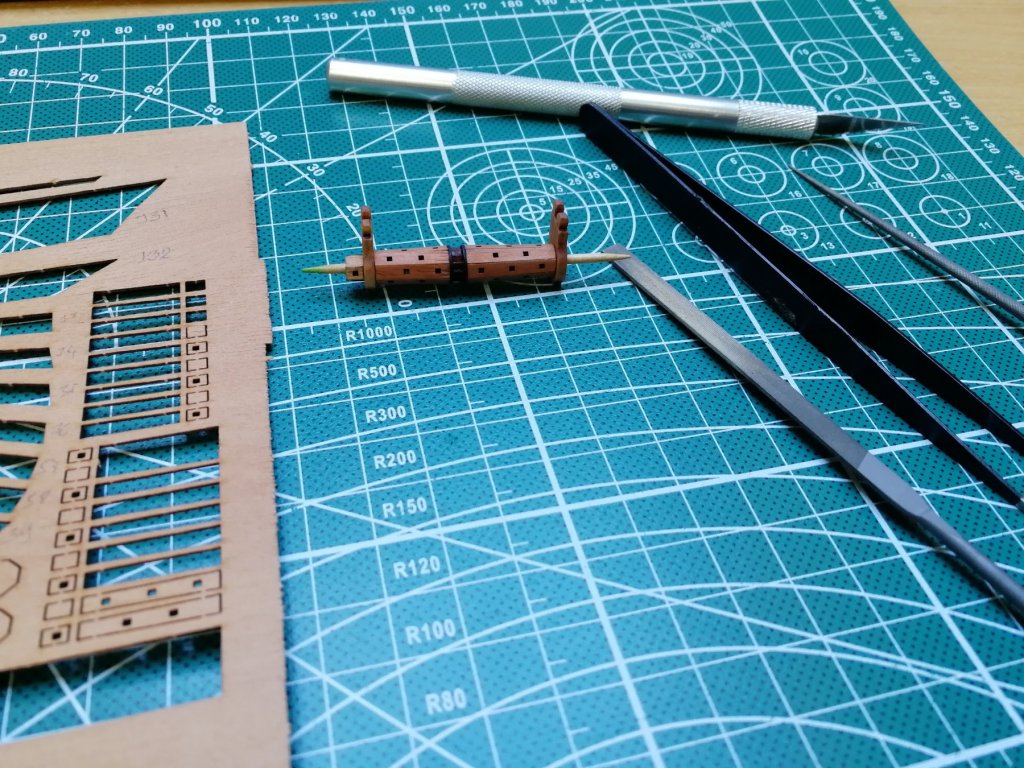
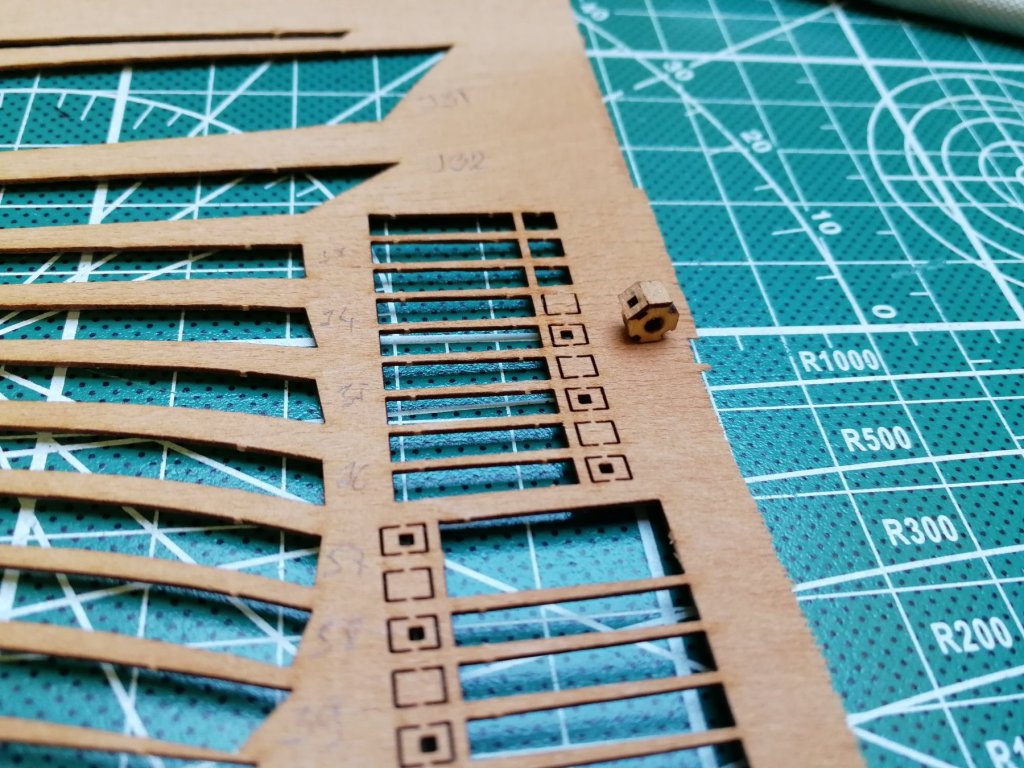
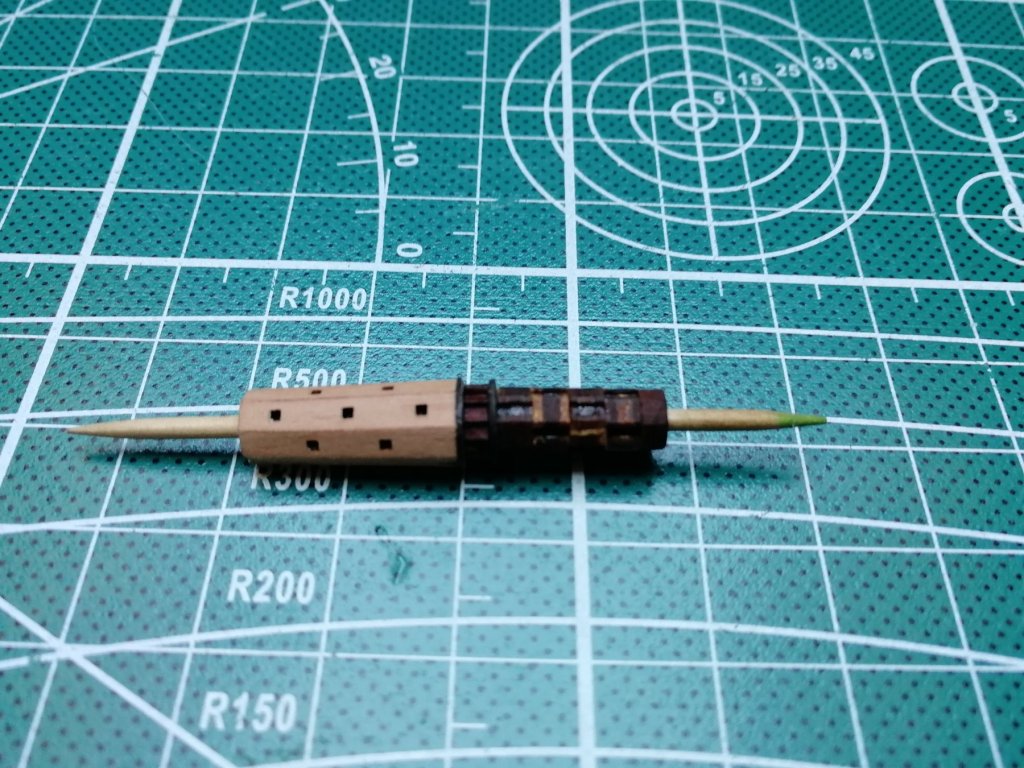
Windlas part2. Everything went fine to this stage. Time consuming as there are lot of pieces but smooth process. Until this small detail came. It is so tiny and will be made from 10pieces. Nice test for the nerves


- 315 replies
-
- 10
-
-
- master korabel
- avos
- (and 1 more)
-
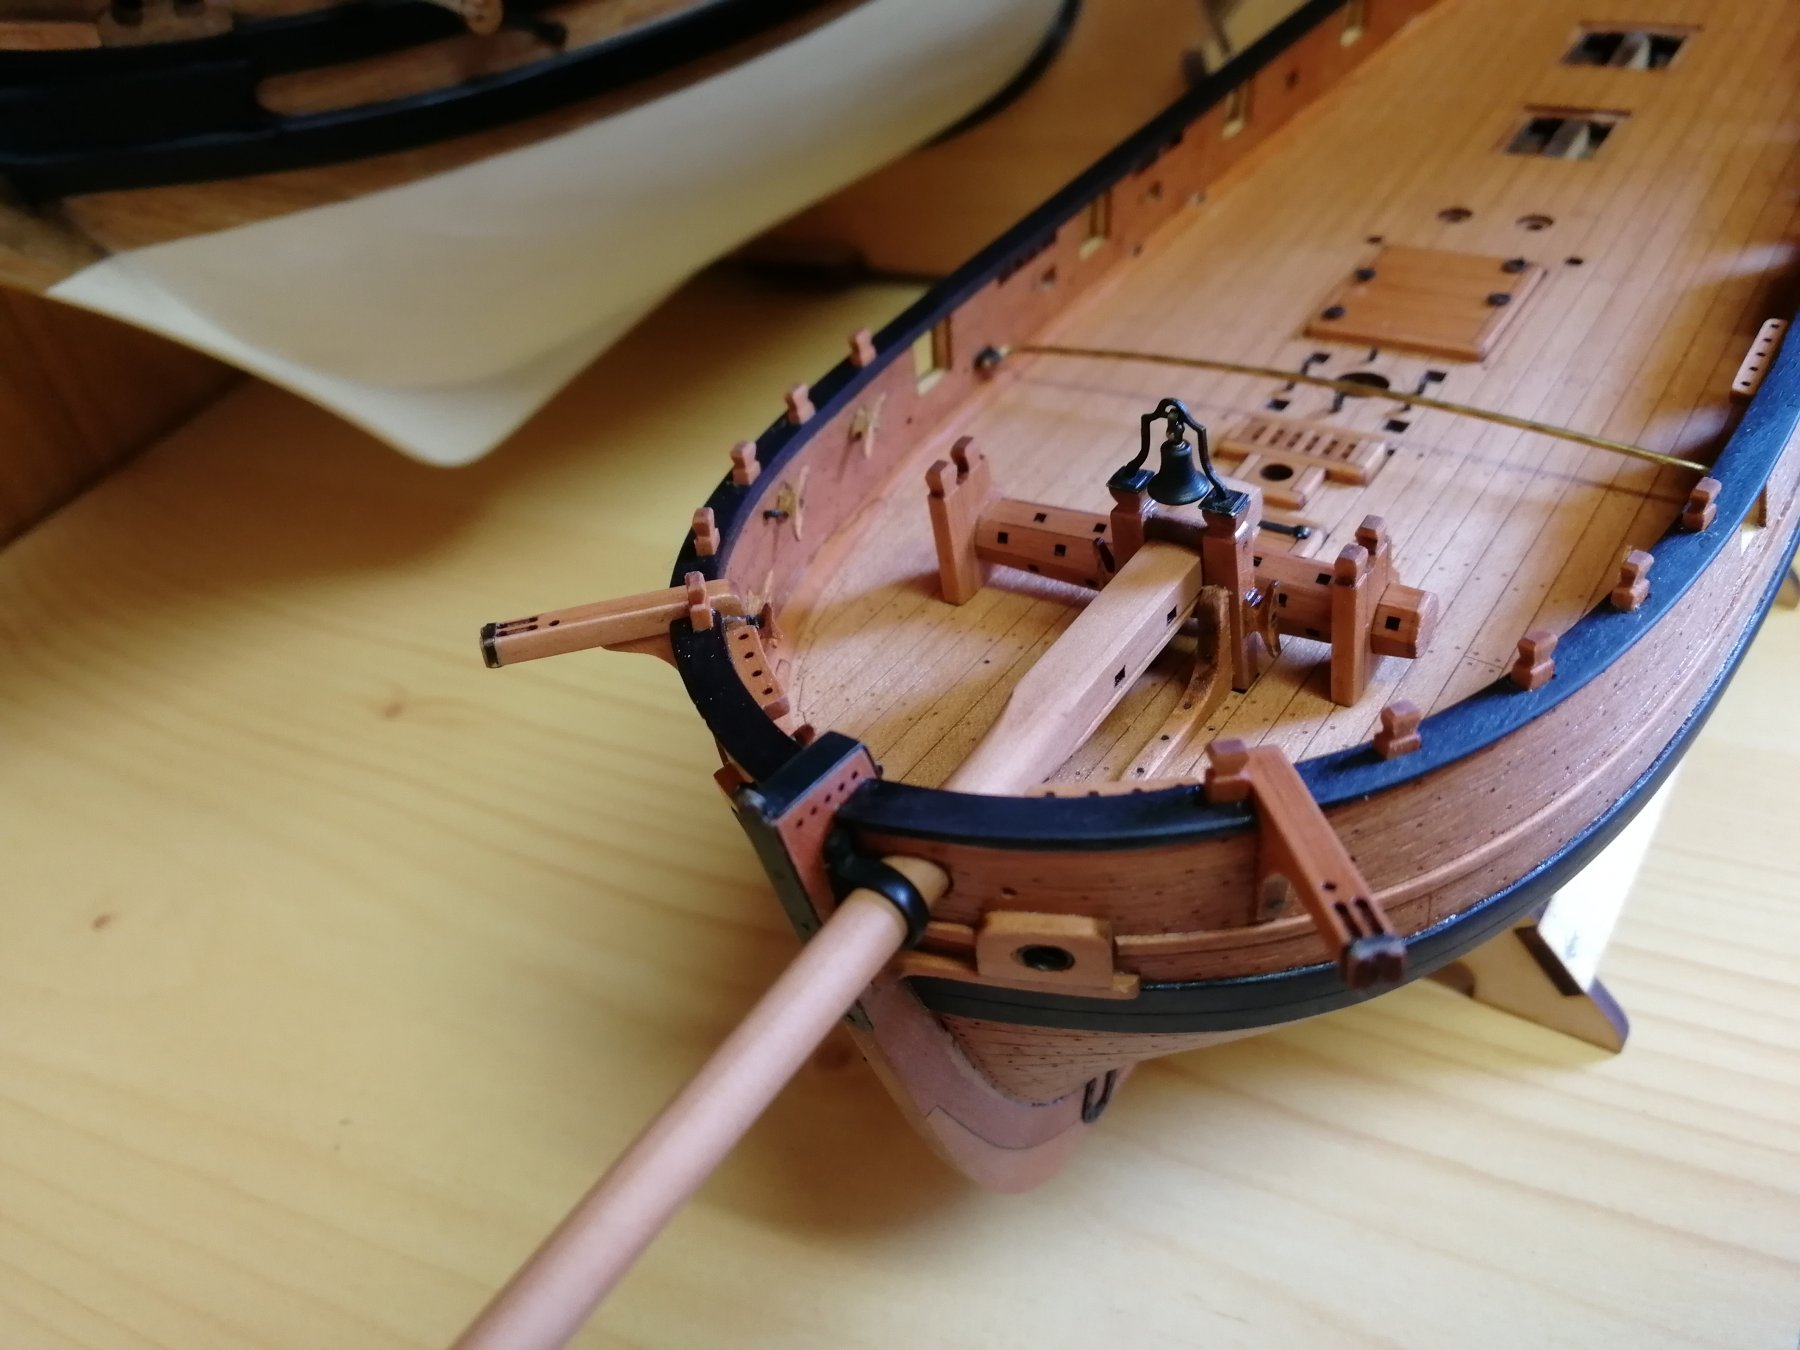
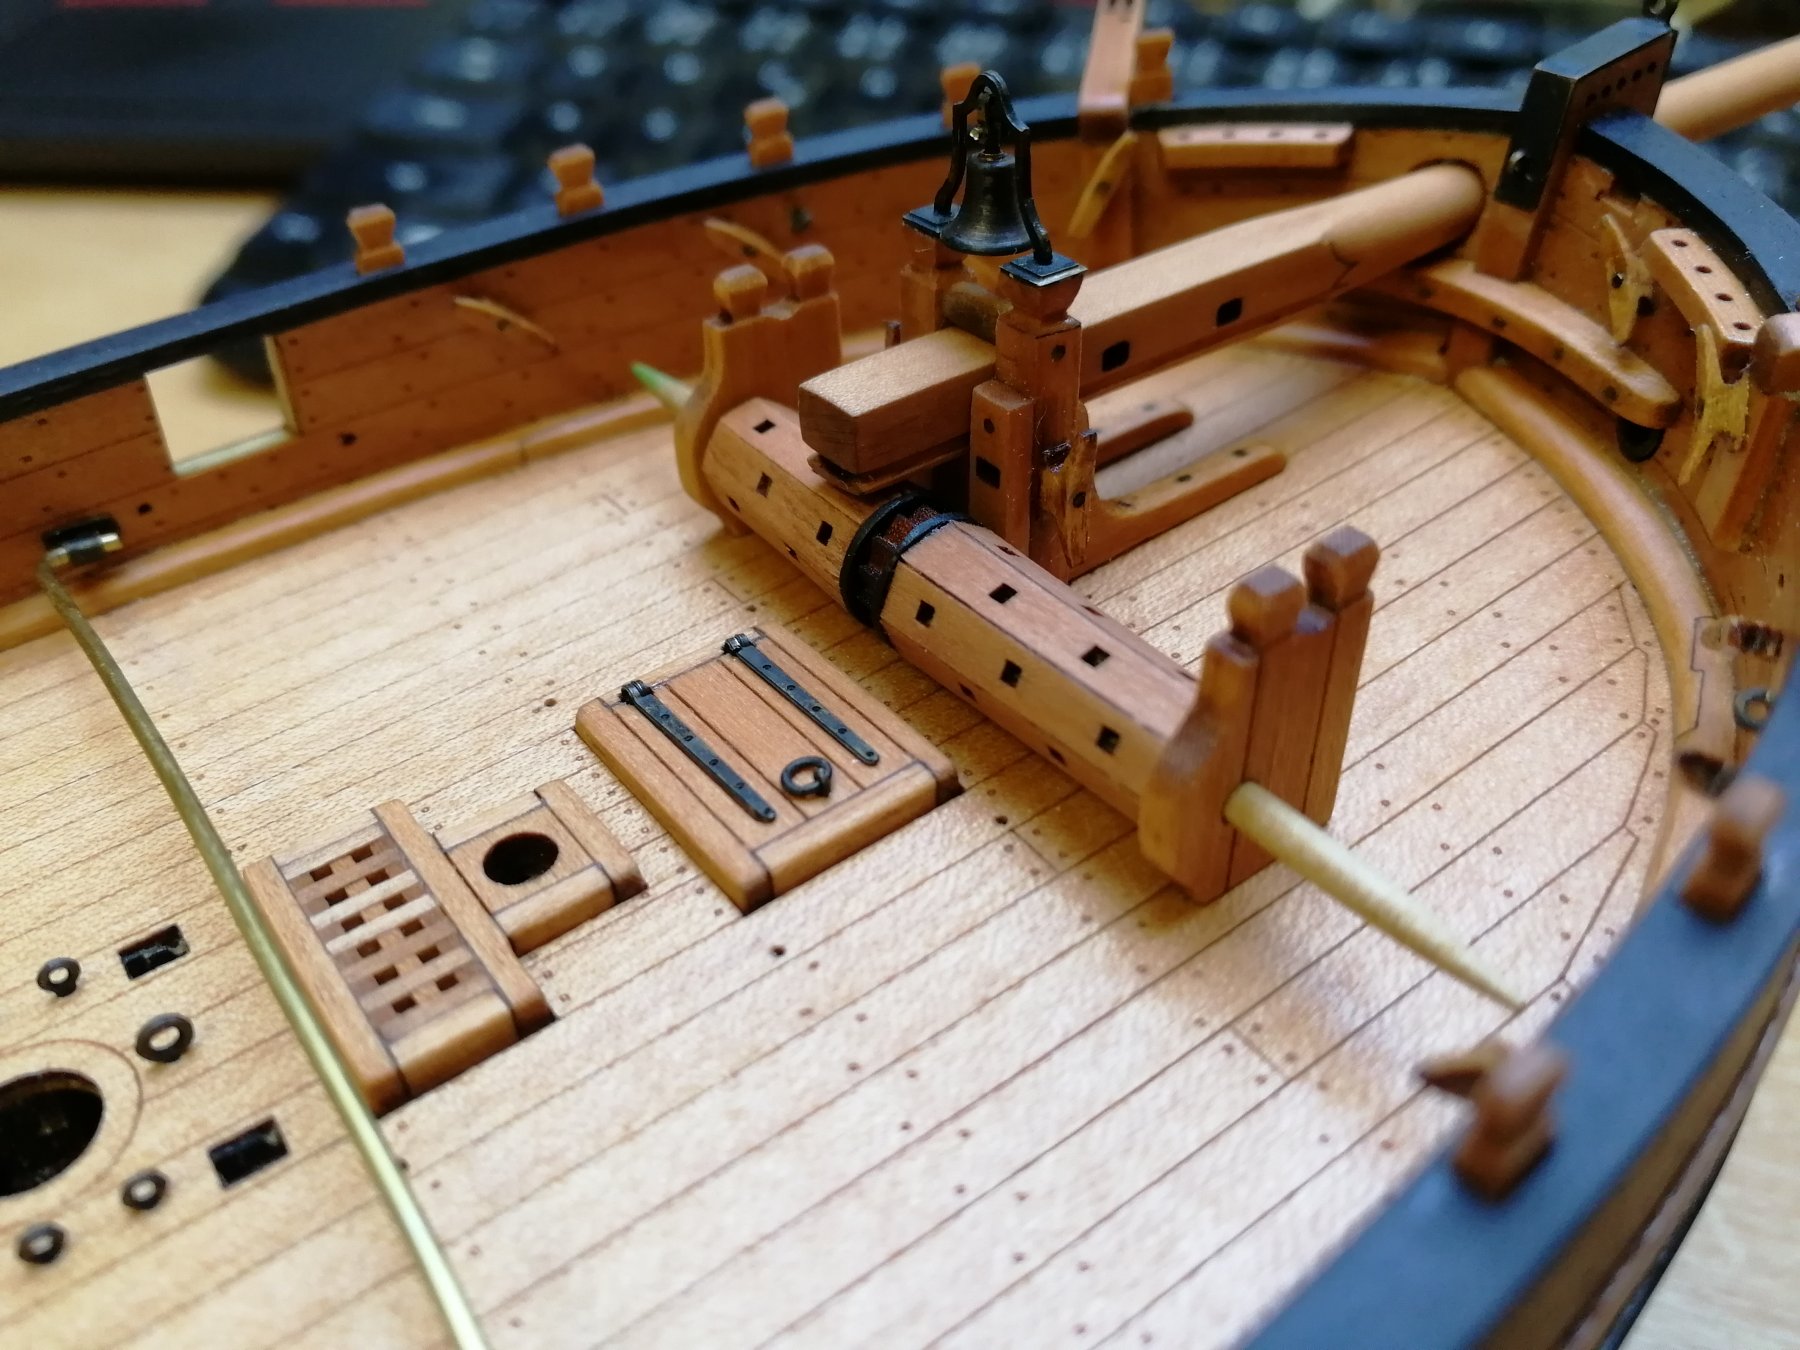
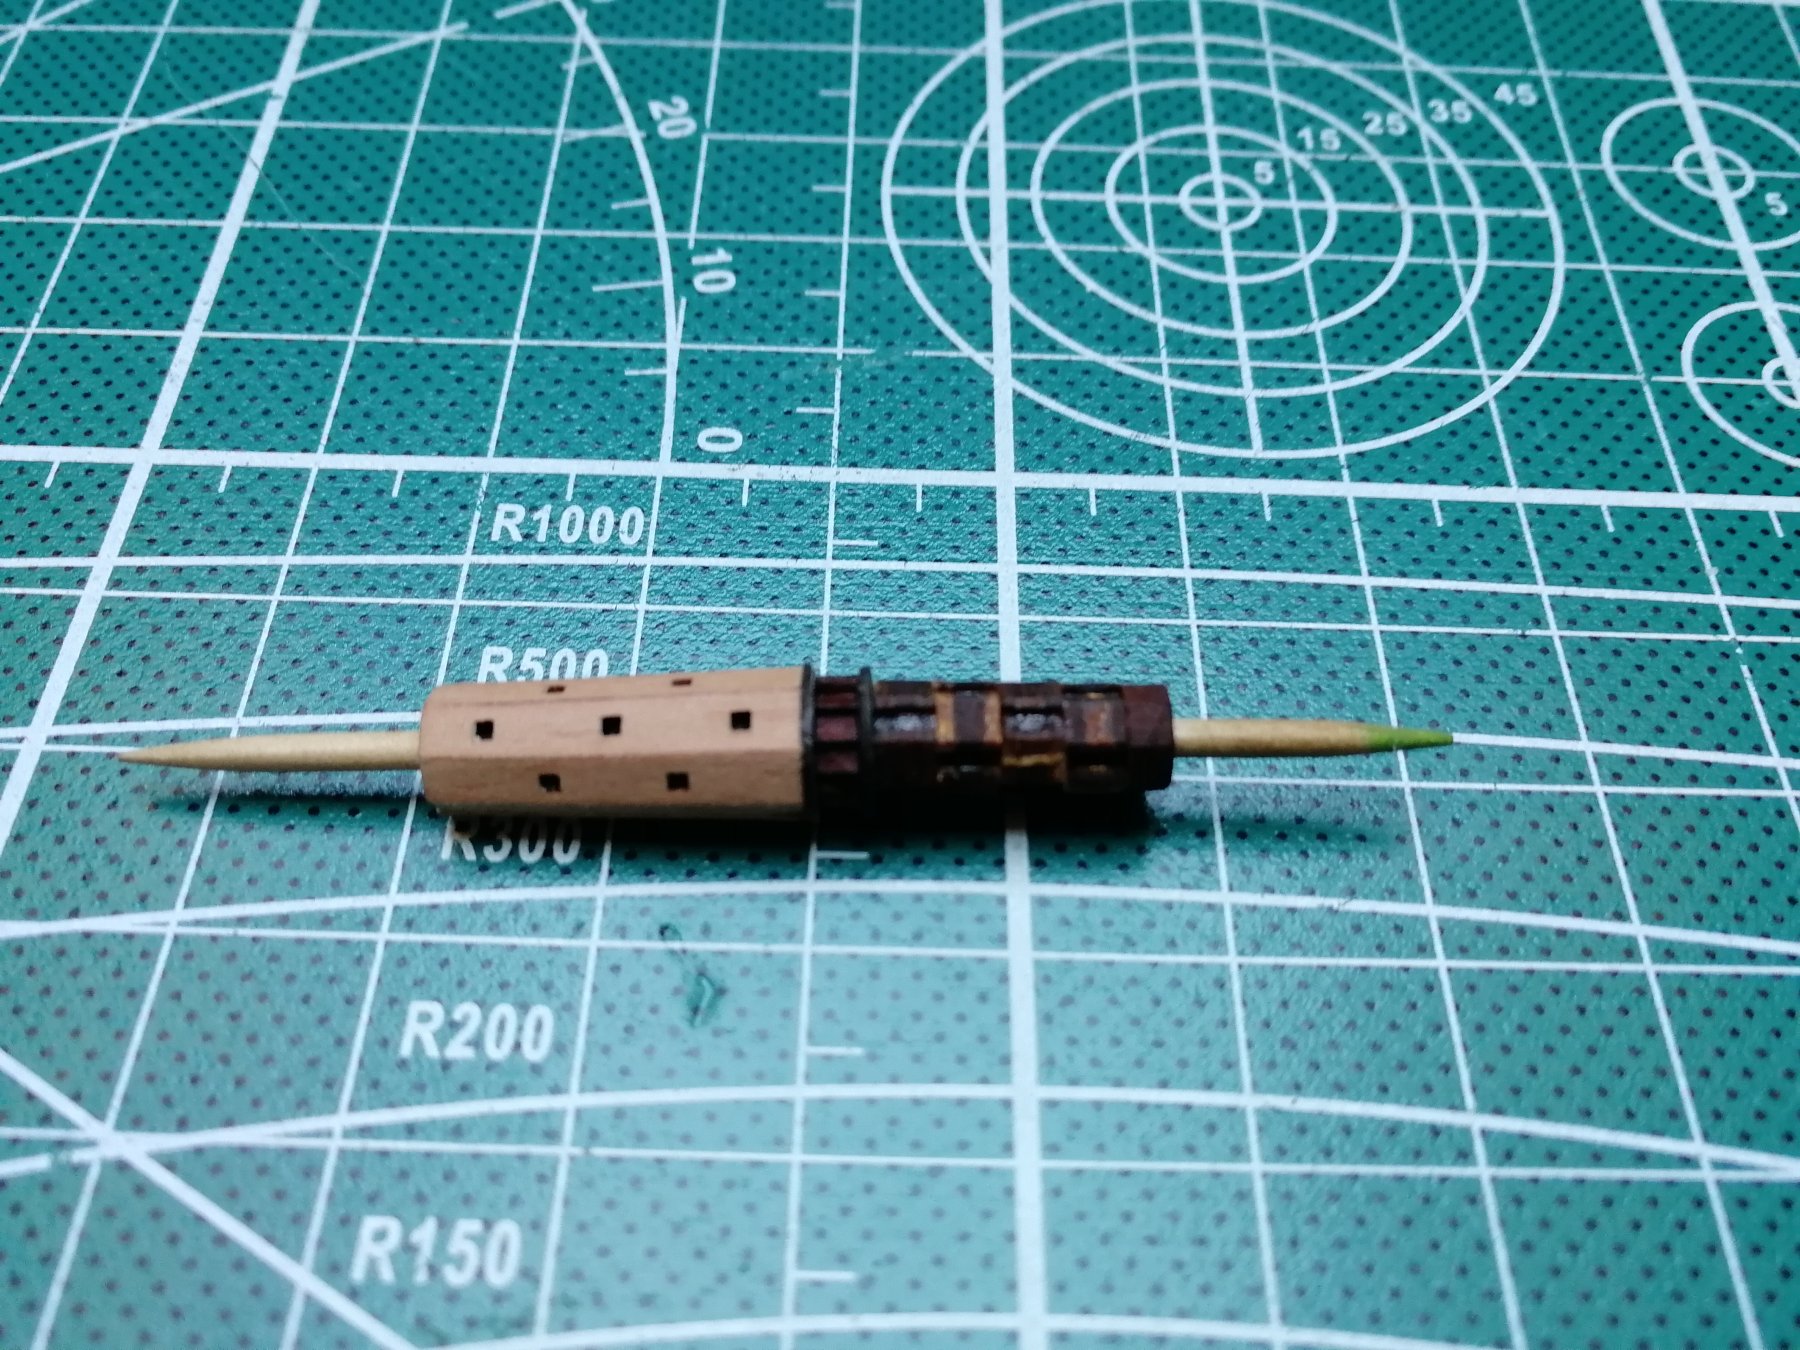
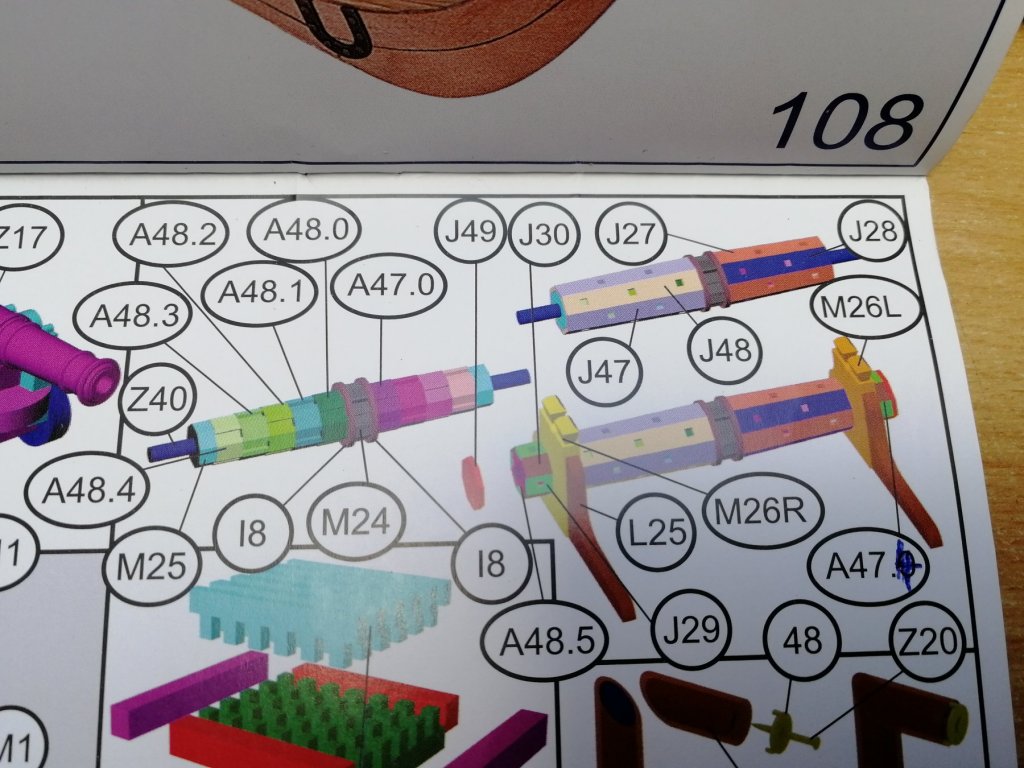
Windlas assembly. It has pretty complex shape but it is cut to "hundereds" small pieces that creates all the details which makes the assembly much more friendly then carve it from one piece of wood.
- 315 replies
-
- 12
-
-
- master korabel
- avos
- (and 1 more)
-
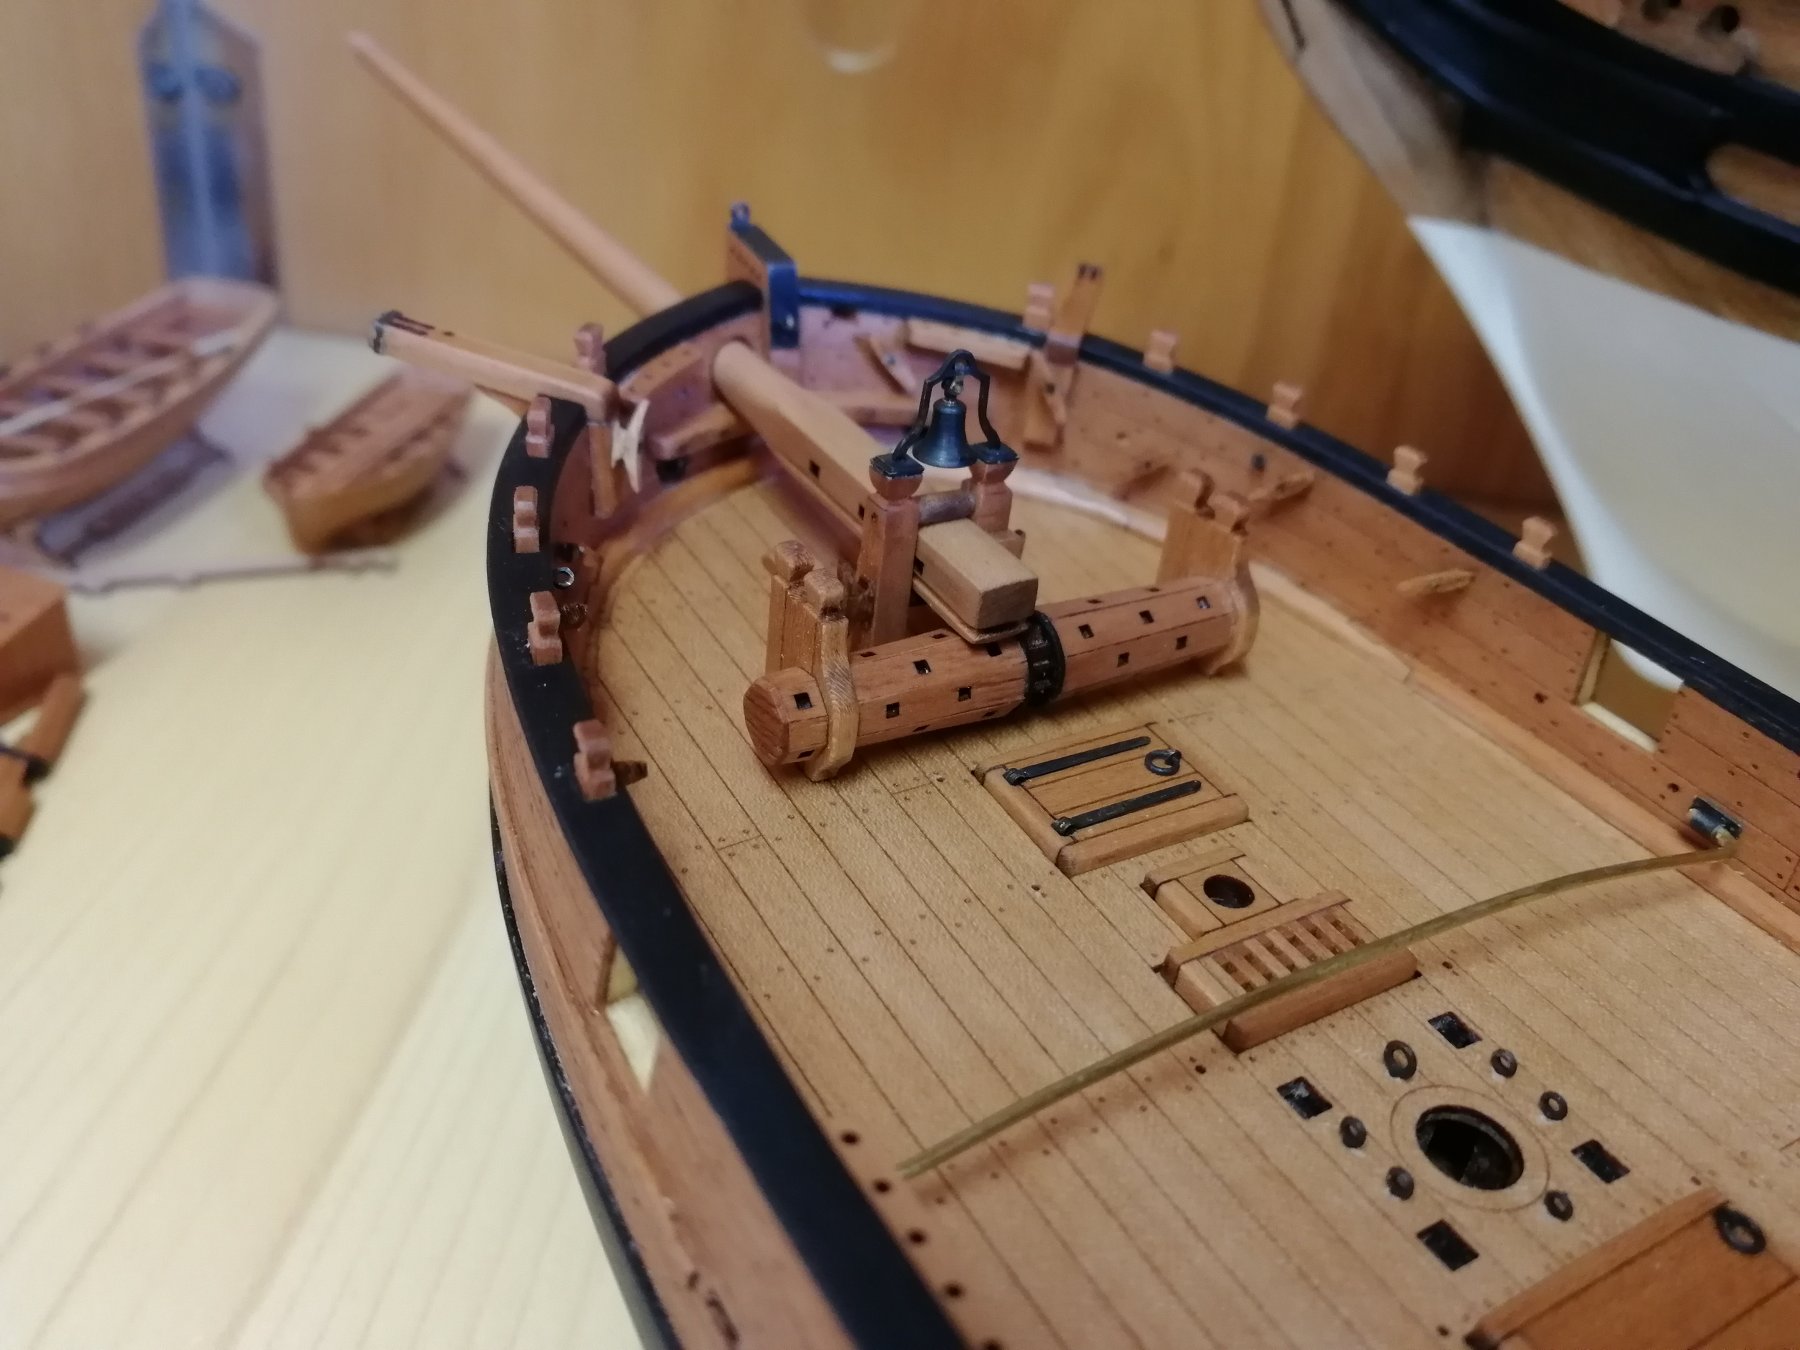
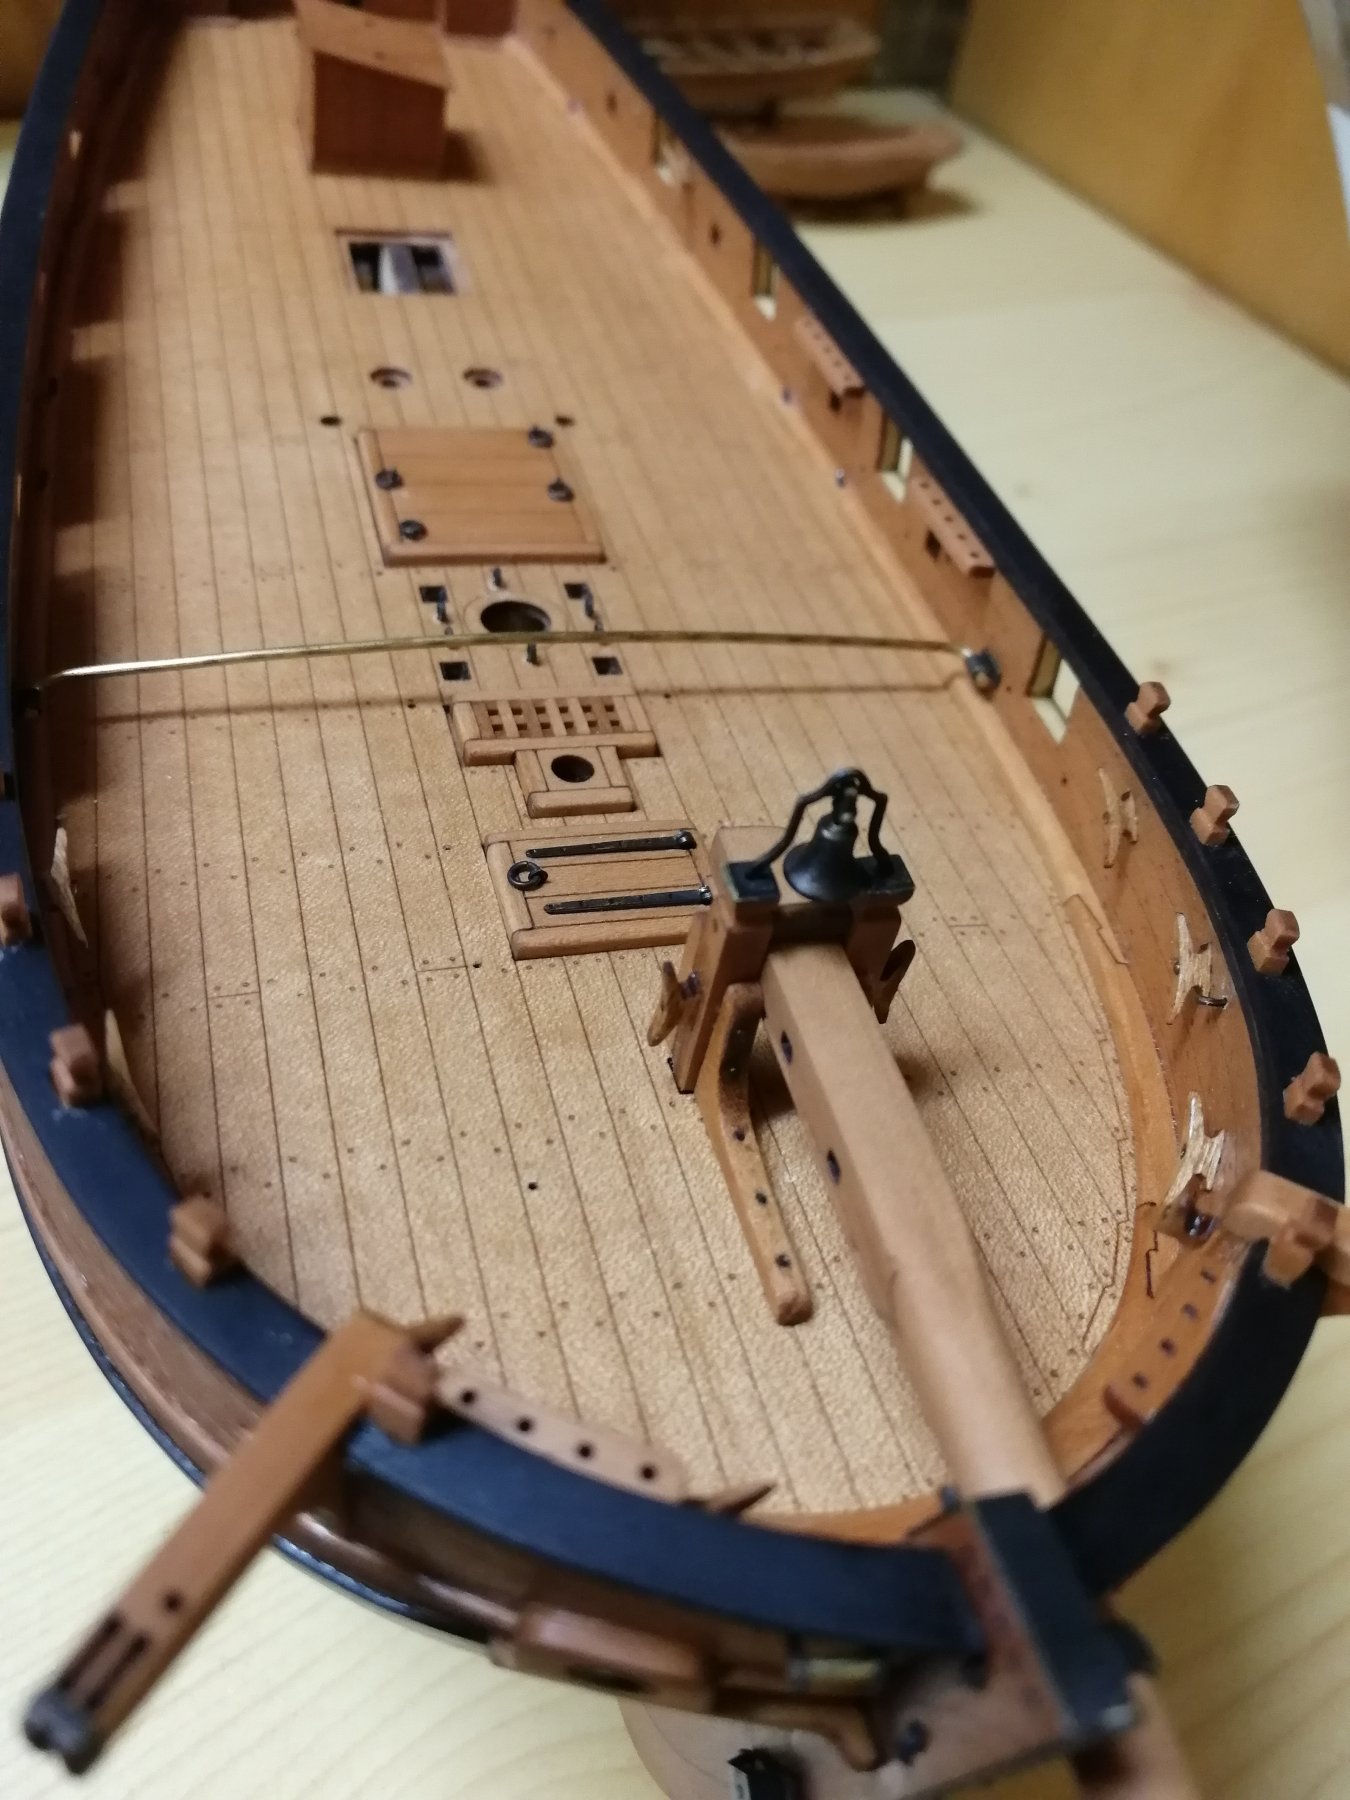
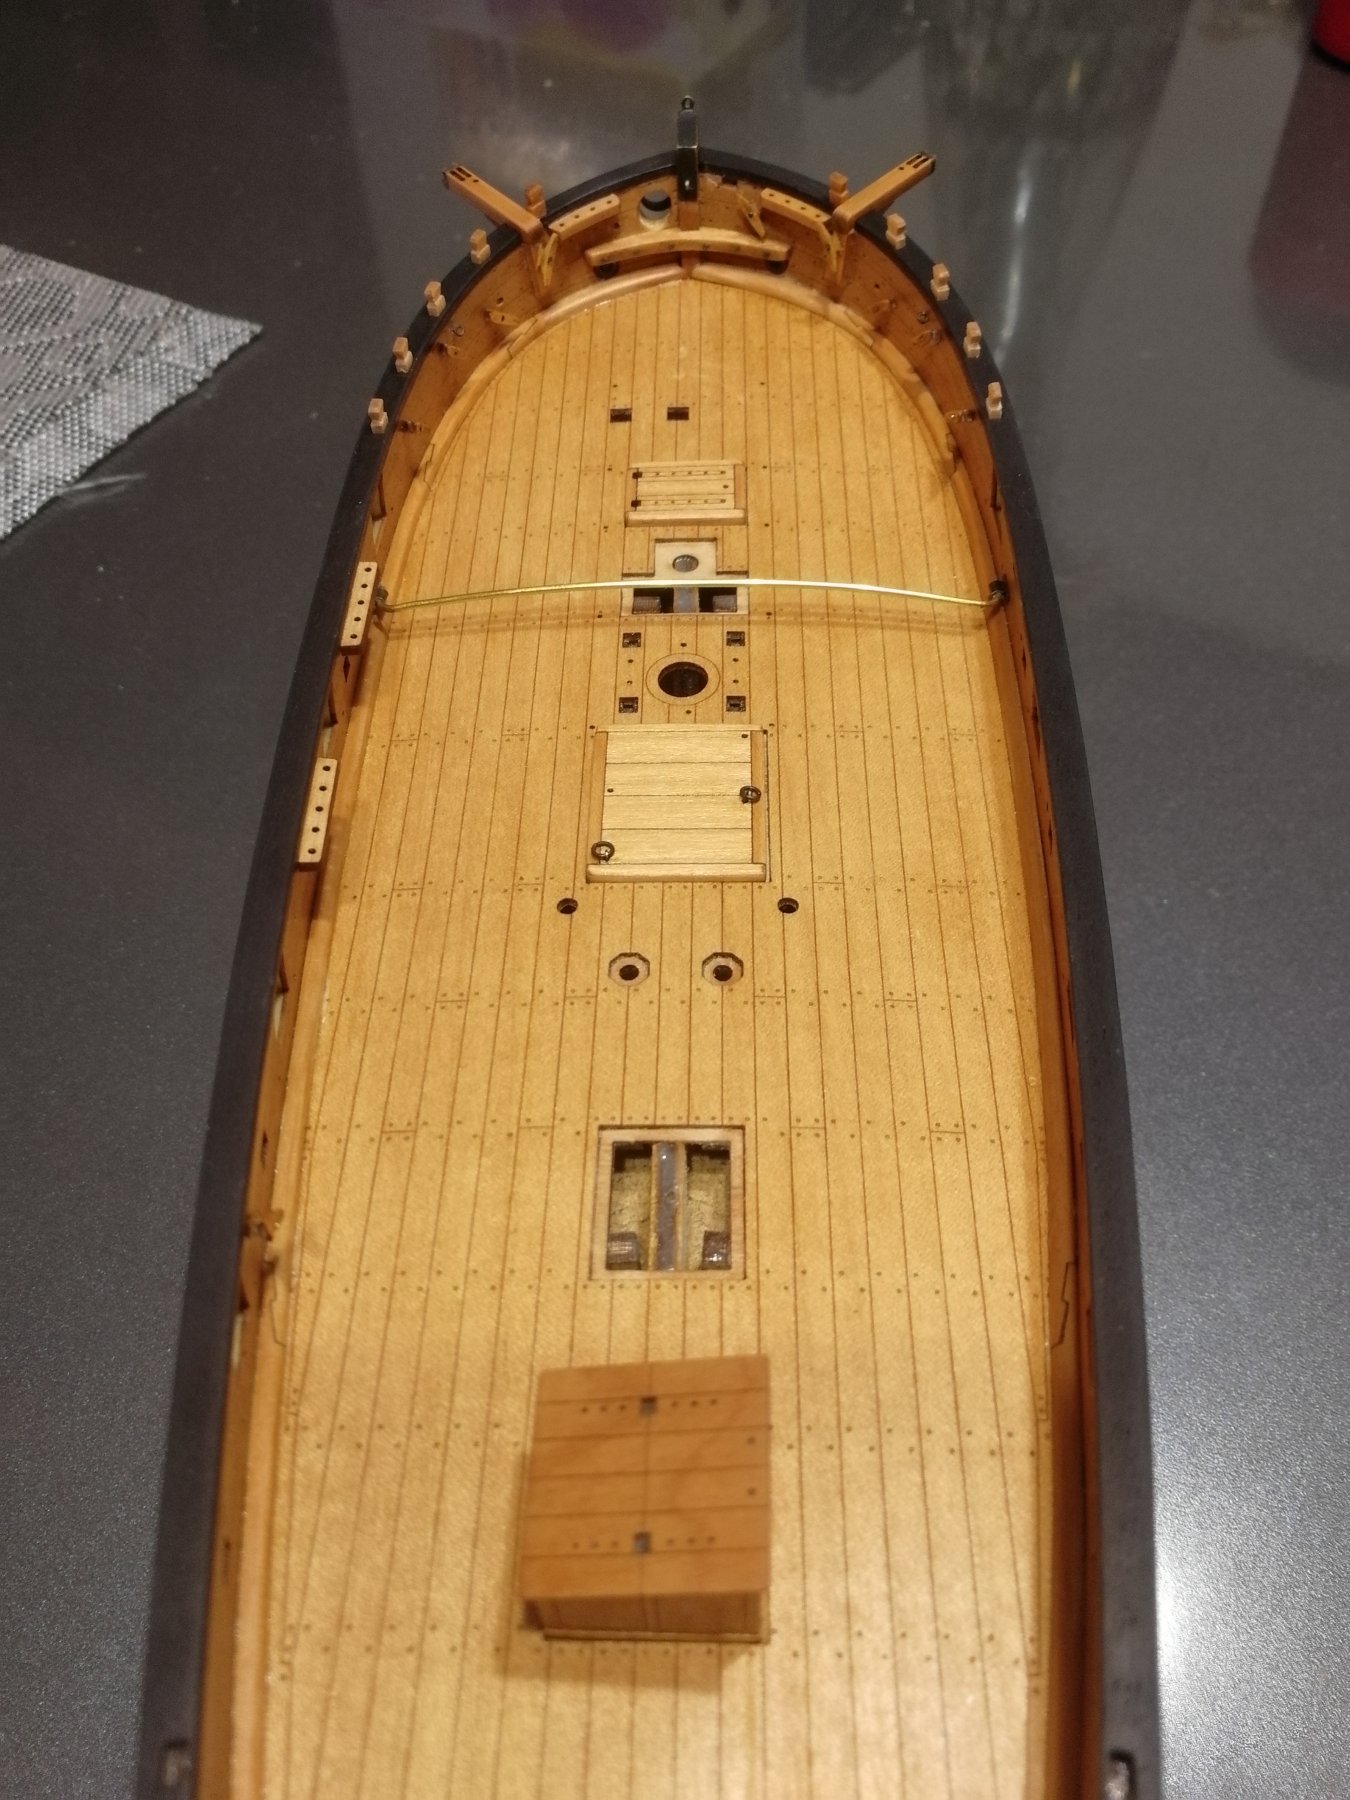
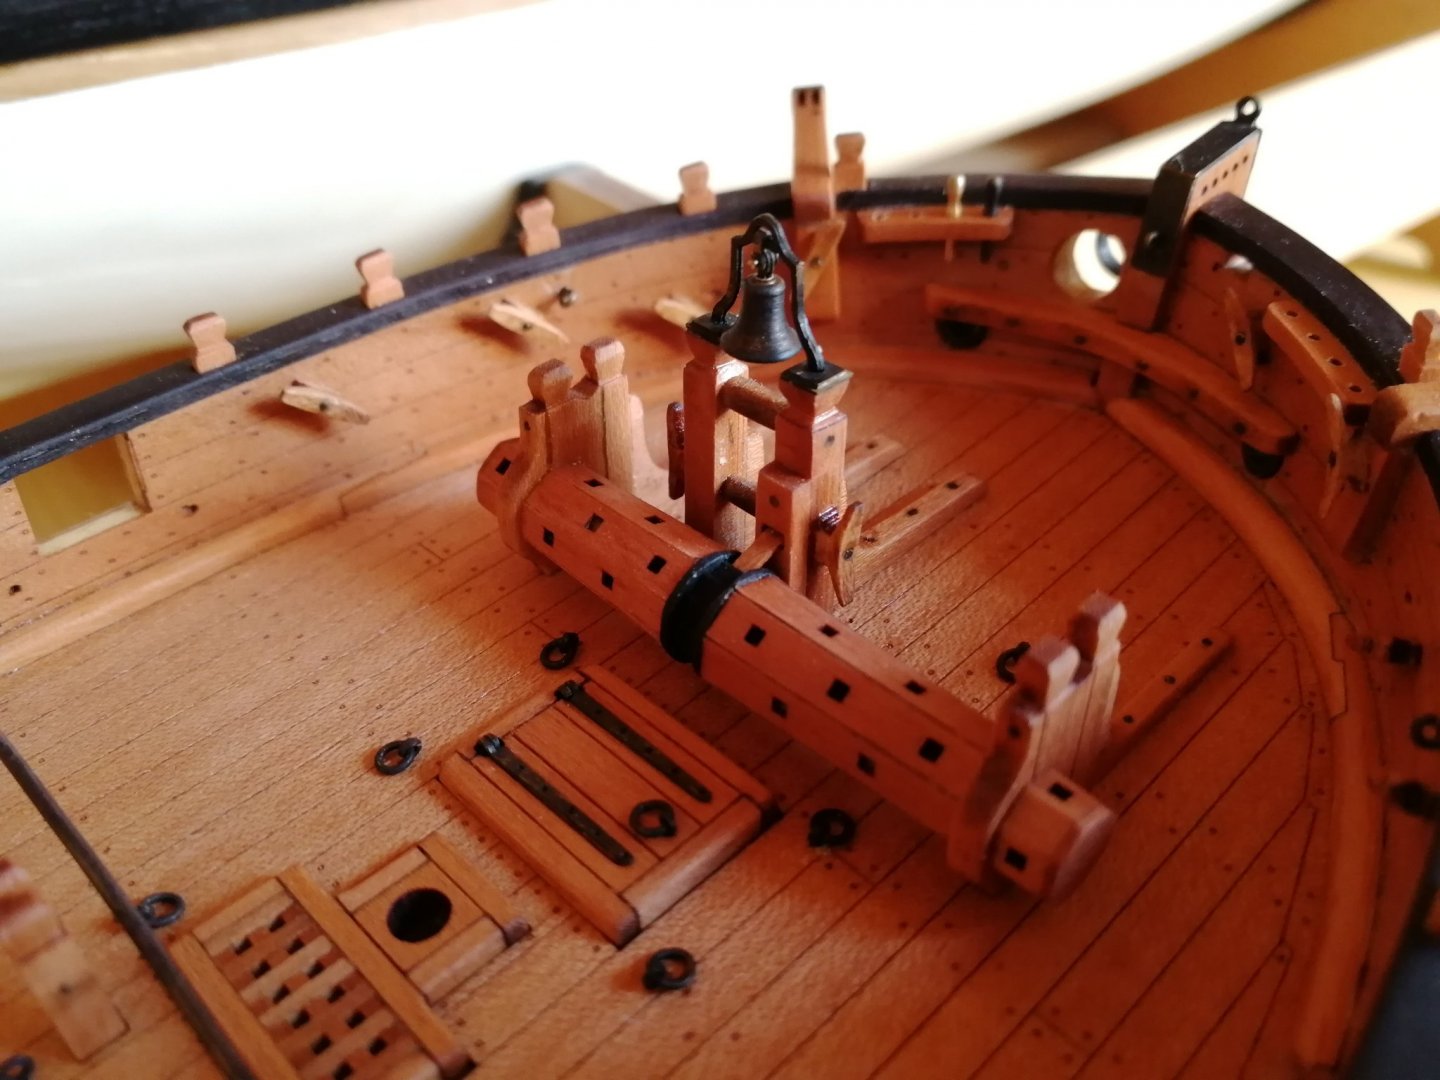
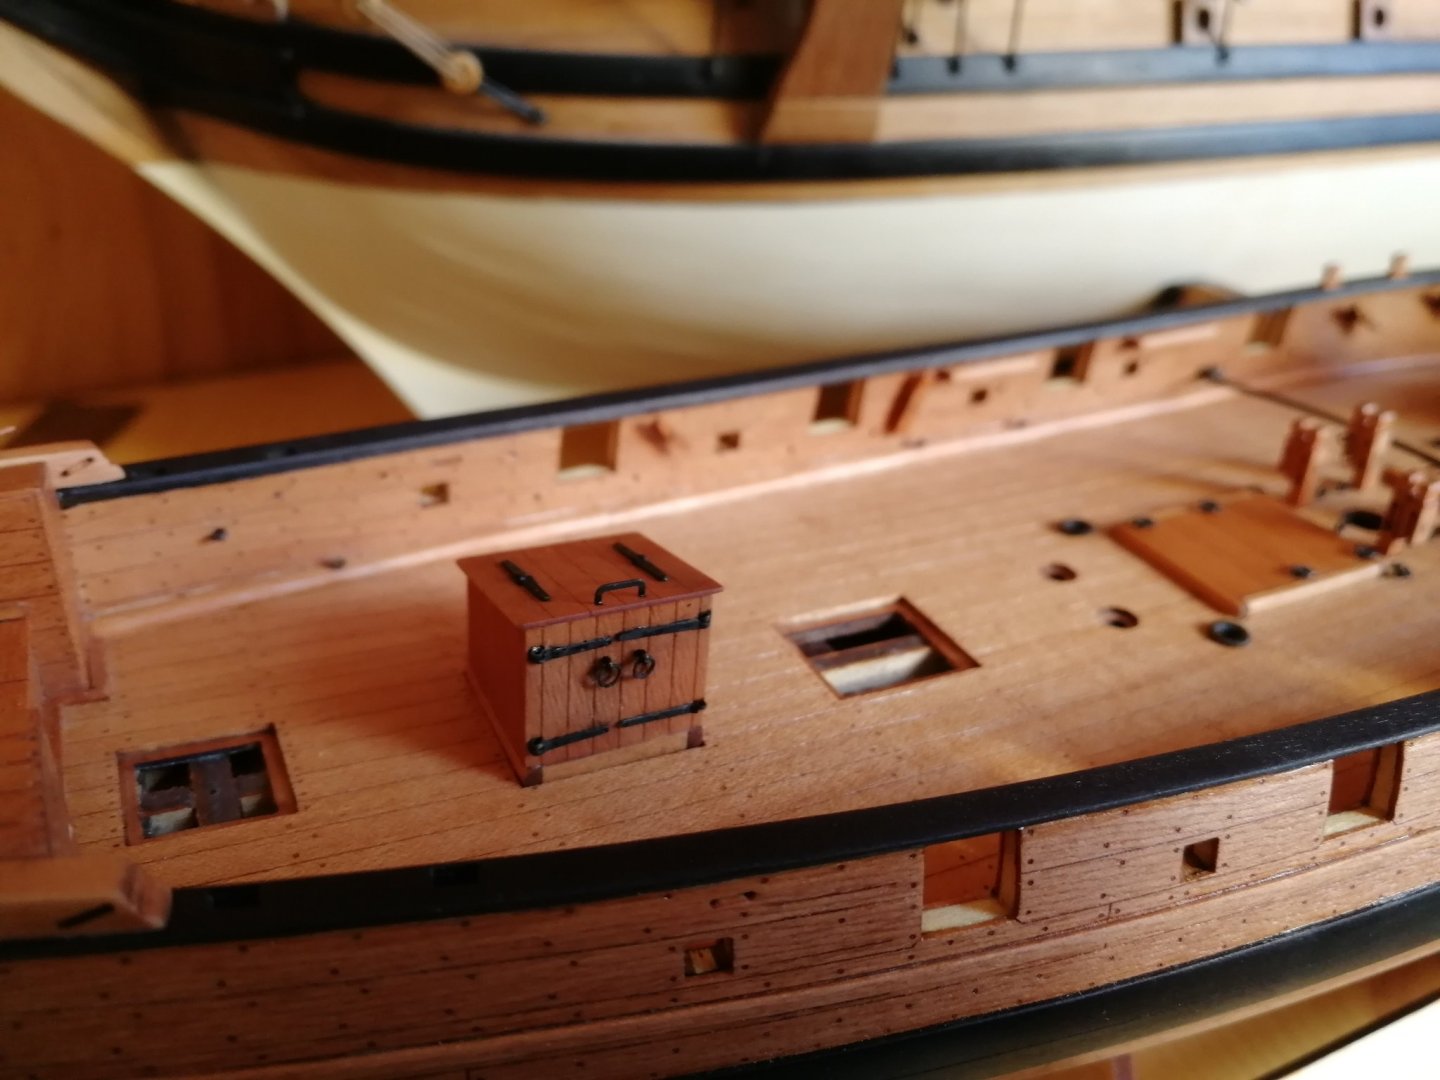
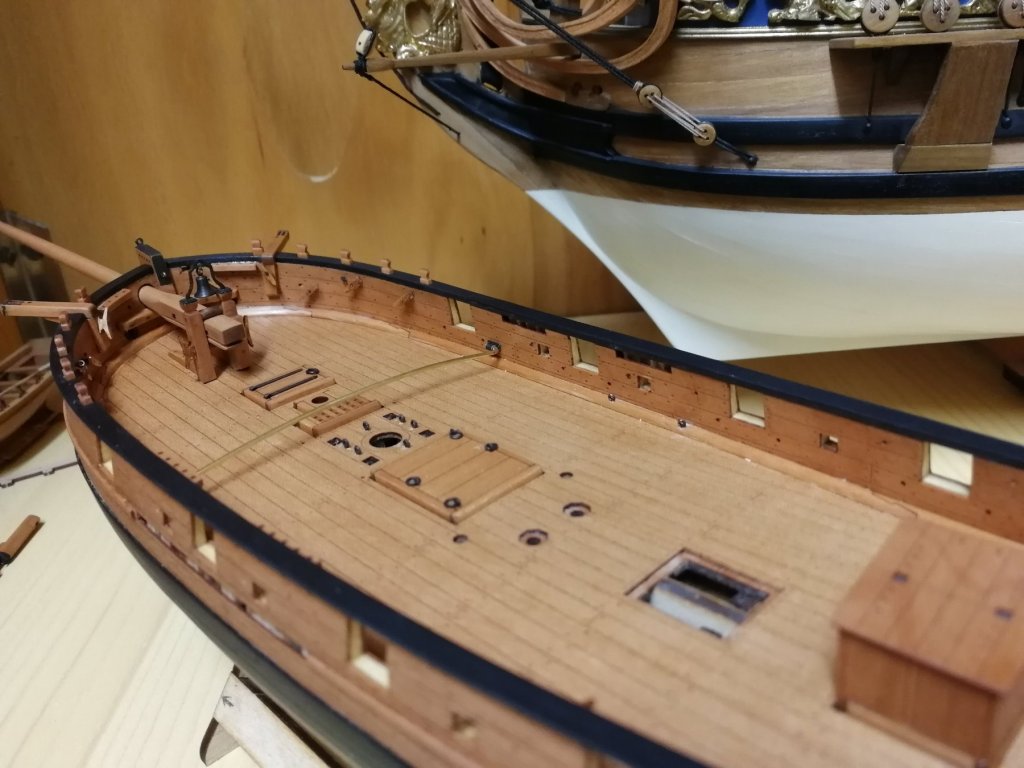
Continueing with the deck details. I added some hatches with Iron work. I have also placed many eyelets but it is still not all. I have also added the supporting knees to the belfry and glue it in the pkacd


- 315 replies
-
- 16
-
-
- master korabel
- avos
- (and 1 more)
-
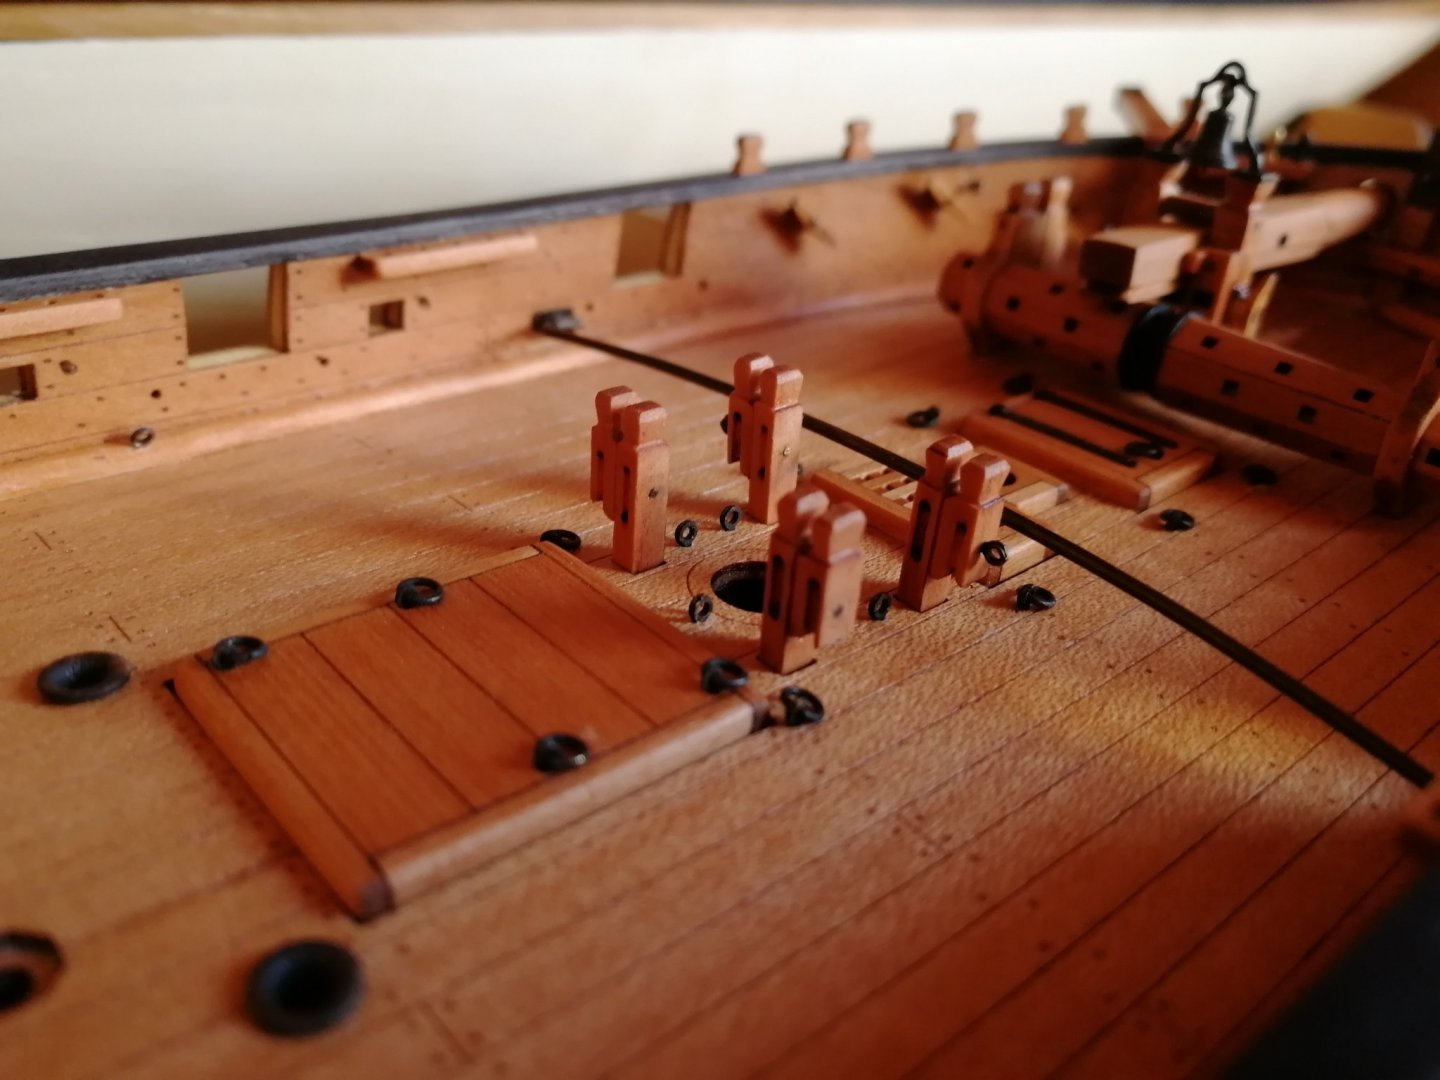
Just a small progress. Few processed belaying bitts.
- 315 replies
-
- 13
-
-
- master korabel
- avos
- (and 1 more)
-
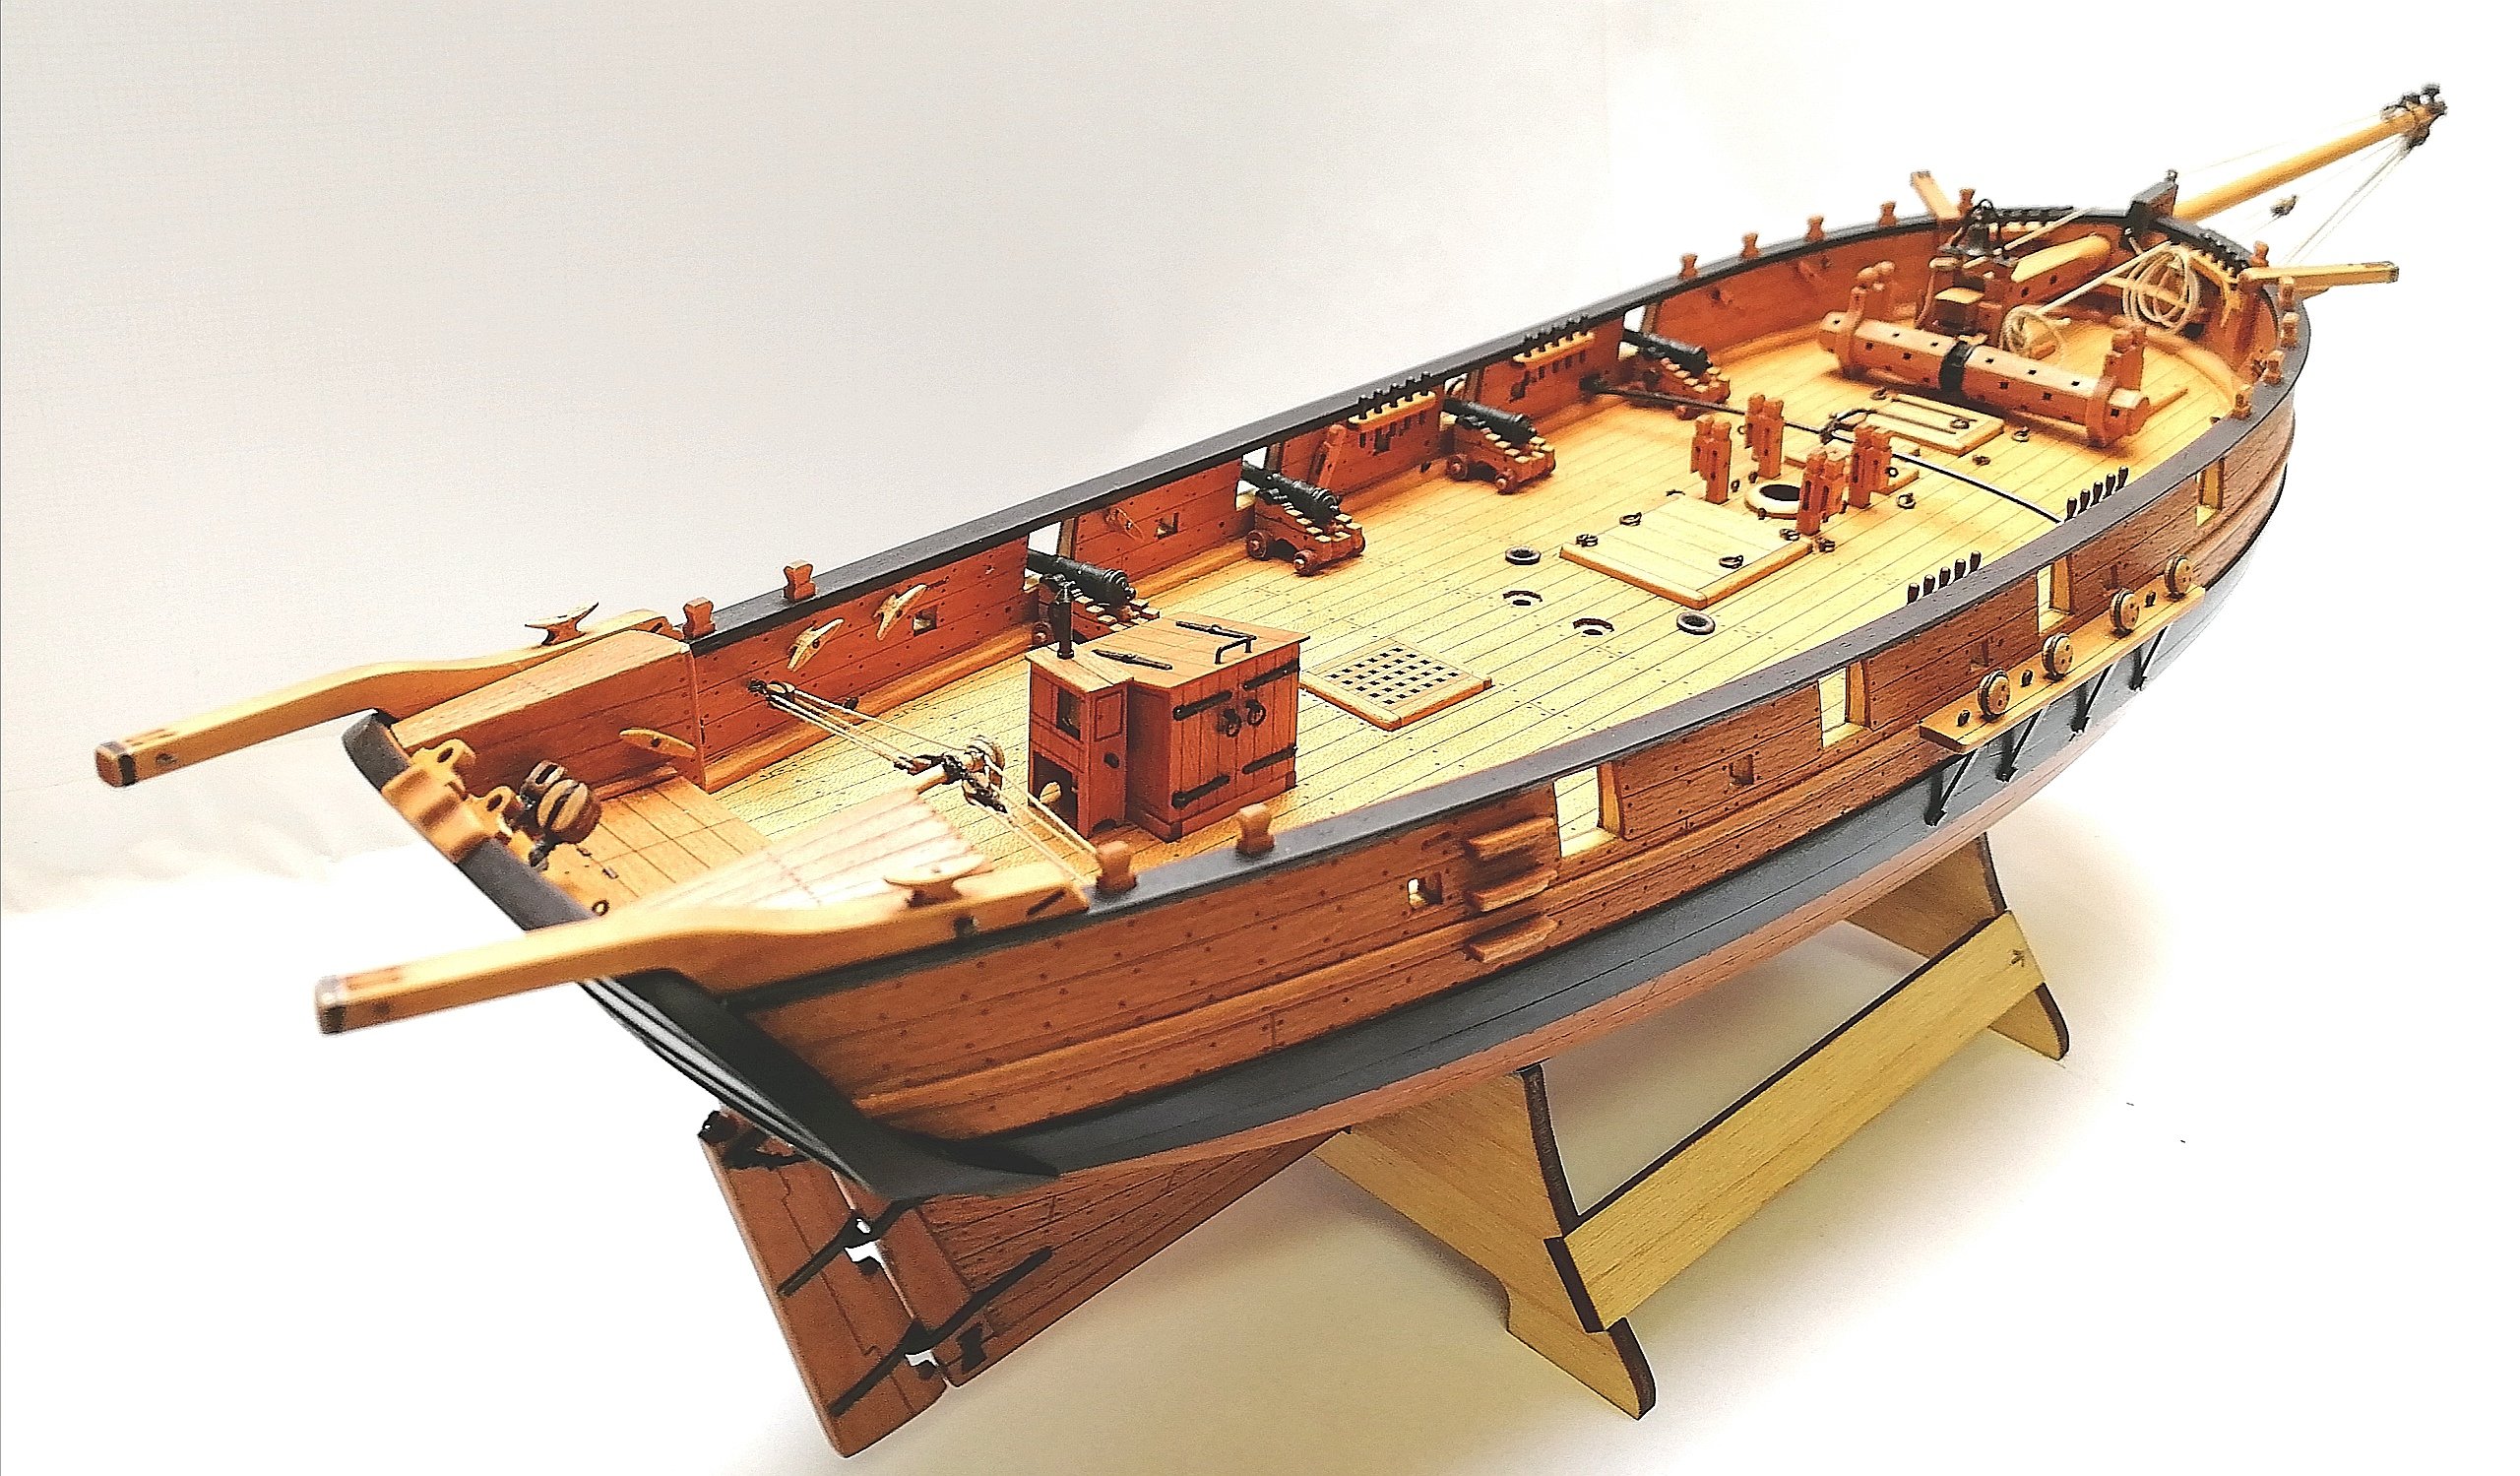
What a ship! Congrats for finishing her. It is a Master piece! 🥳
- 306 replies
-
- 6
-
-
- schooner
- la jacinthe
- (and 1 more)
-
Thank you! But half of the work came from you guys! I did only assembly.
- 315 replies
-
- 1
-
-
- master korabel
- avos
- (and 1 more)