HOLIDAY DONATION DRIVE - SUPPORT MSW - DO YOUR PART TO KEEP THIS GREAT FORUM GOING! (Only 13 donations so far - C'mon guys!)
×

Peta_V
-
Posts
351 -
Joined
-
Last visited
Content Type
Profiles
Forums
Gallery
Events
Everything posted by Peta_V
-
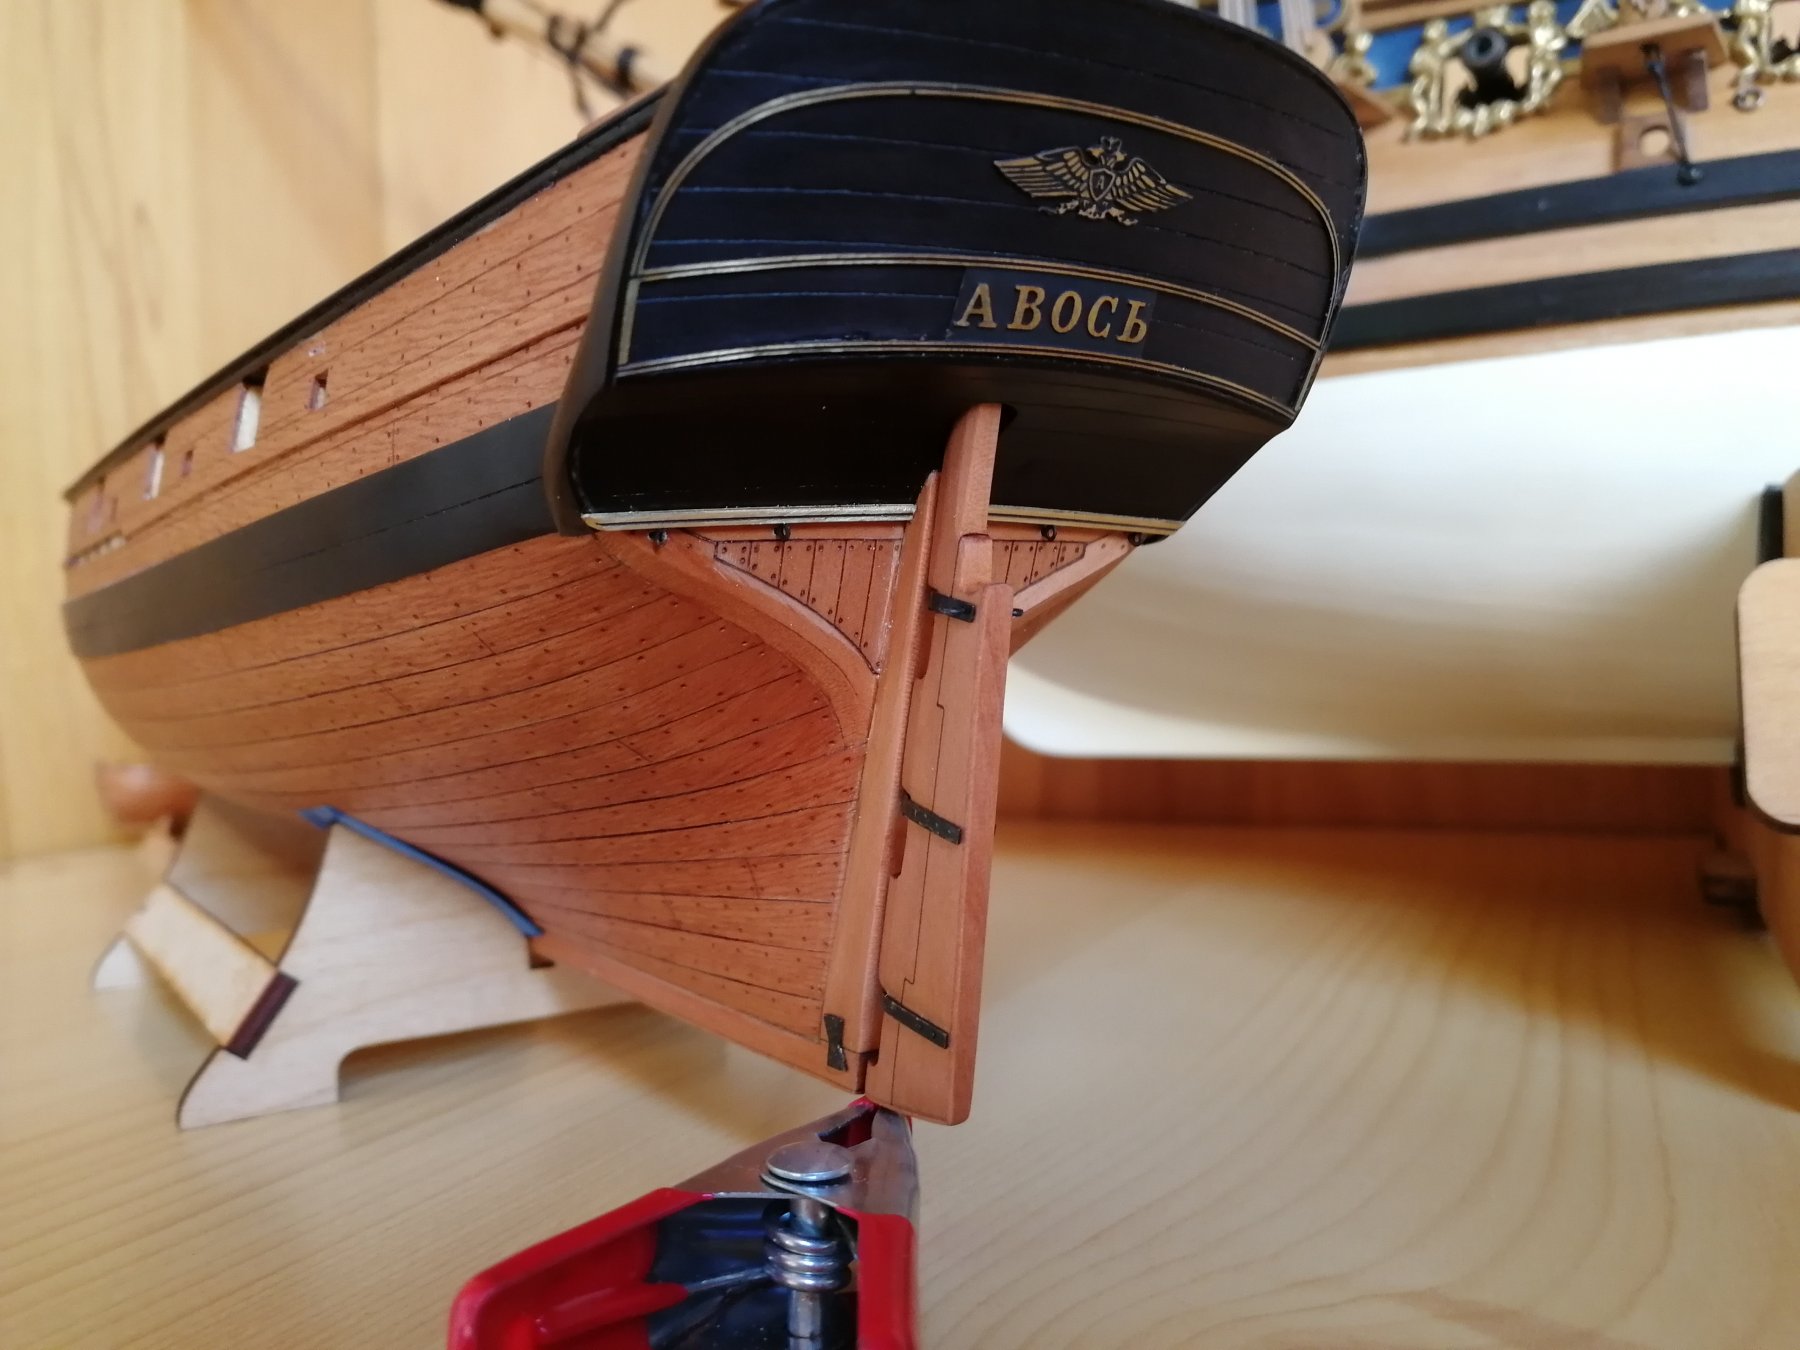
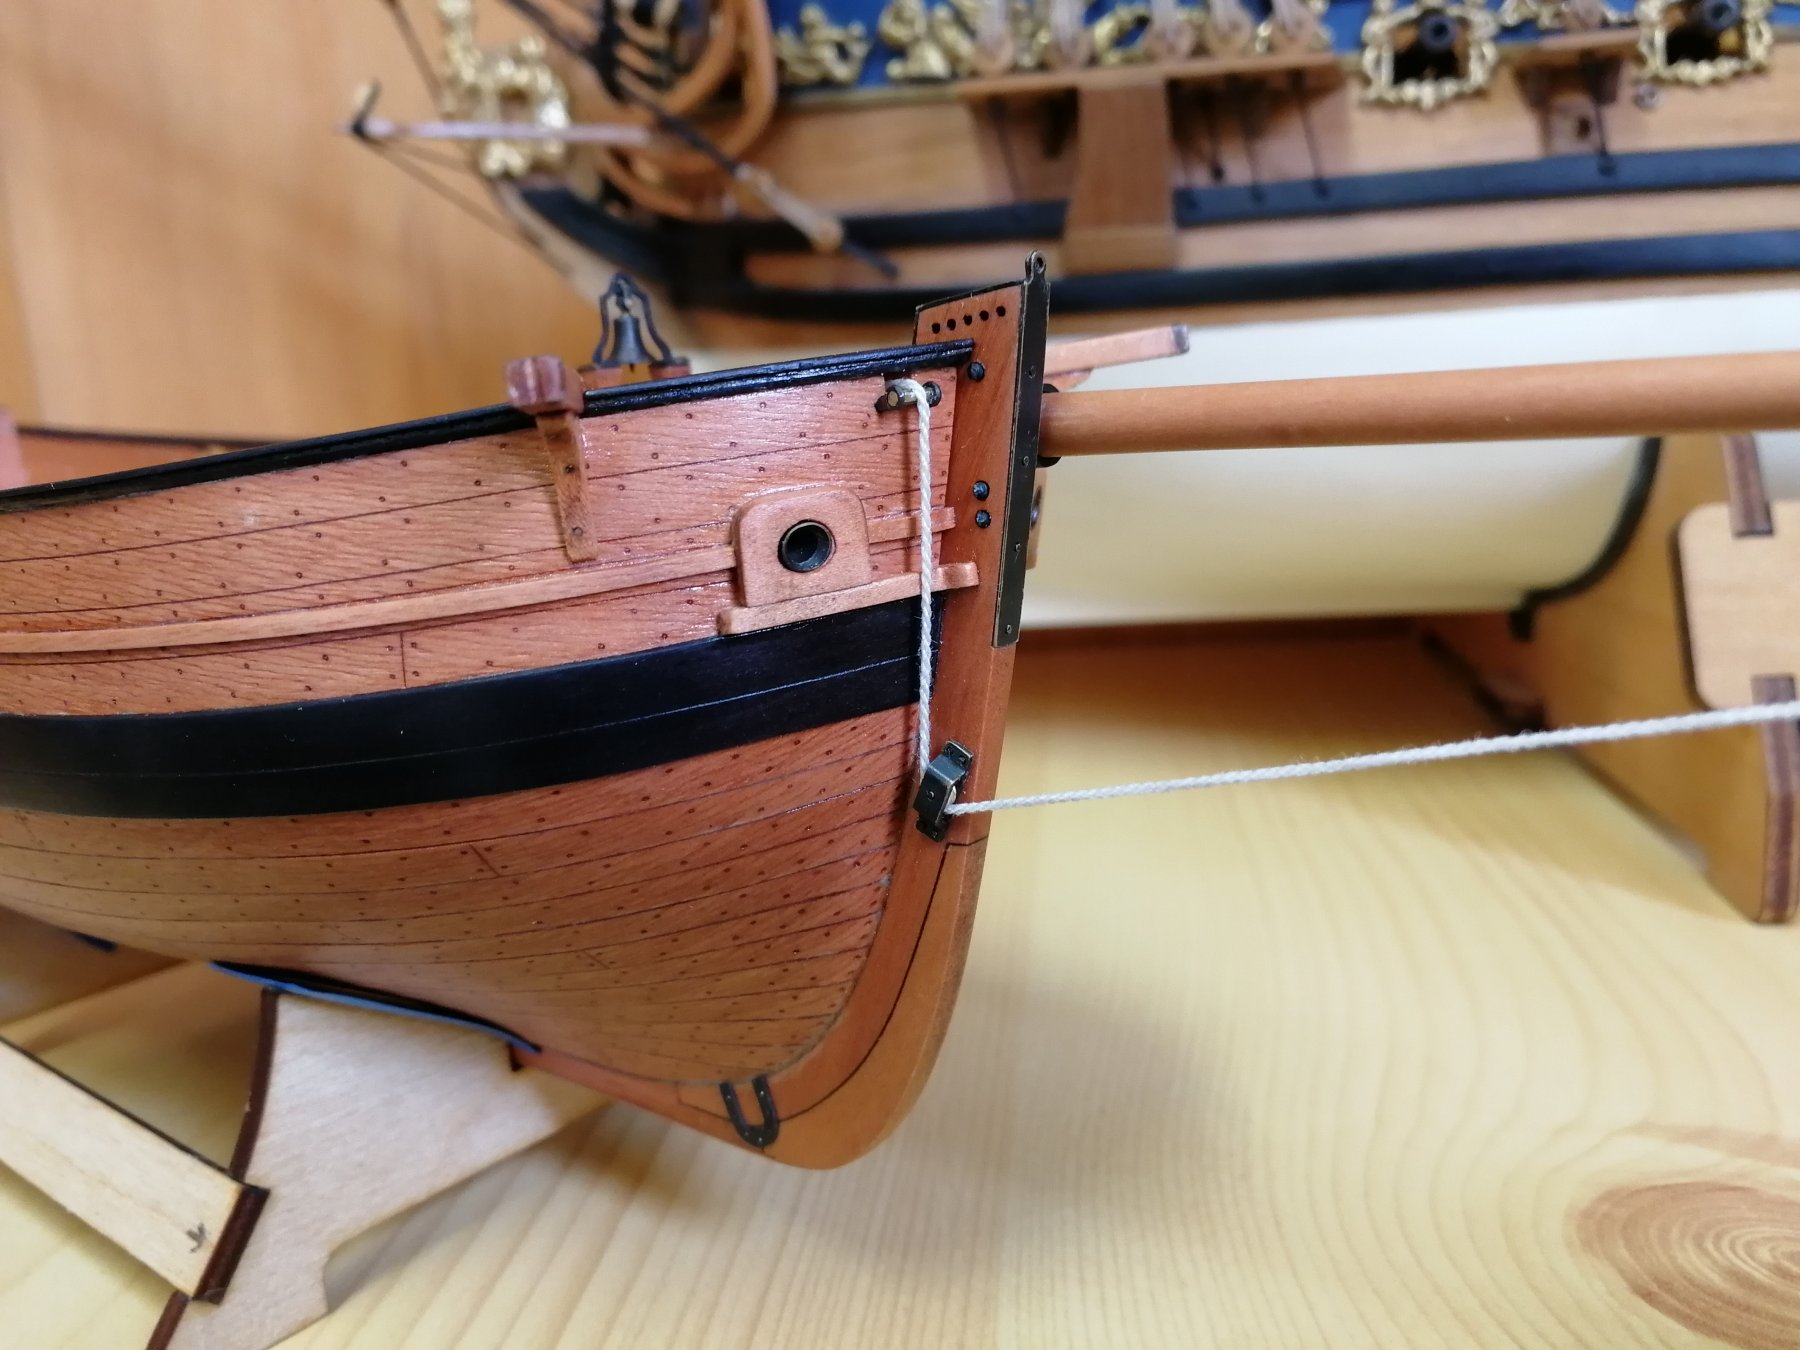
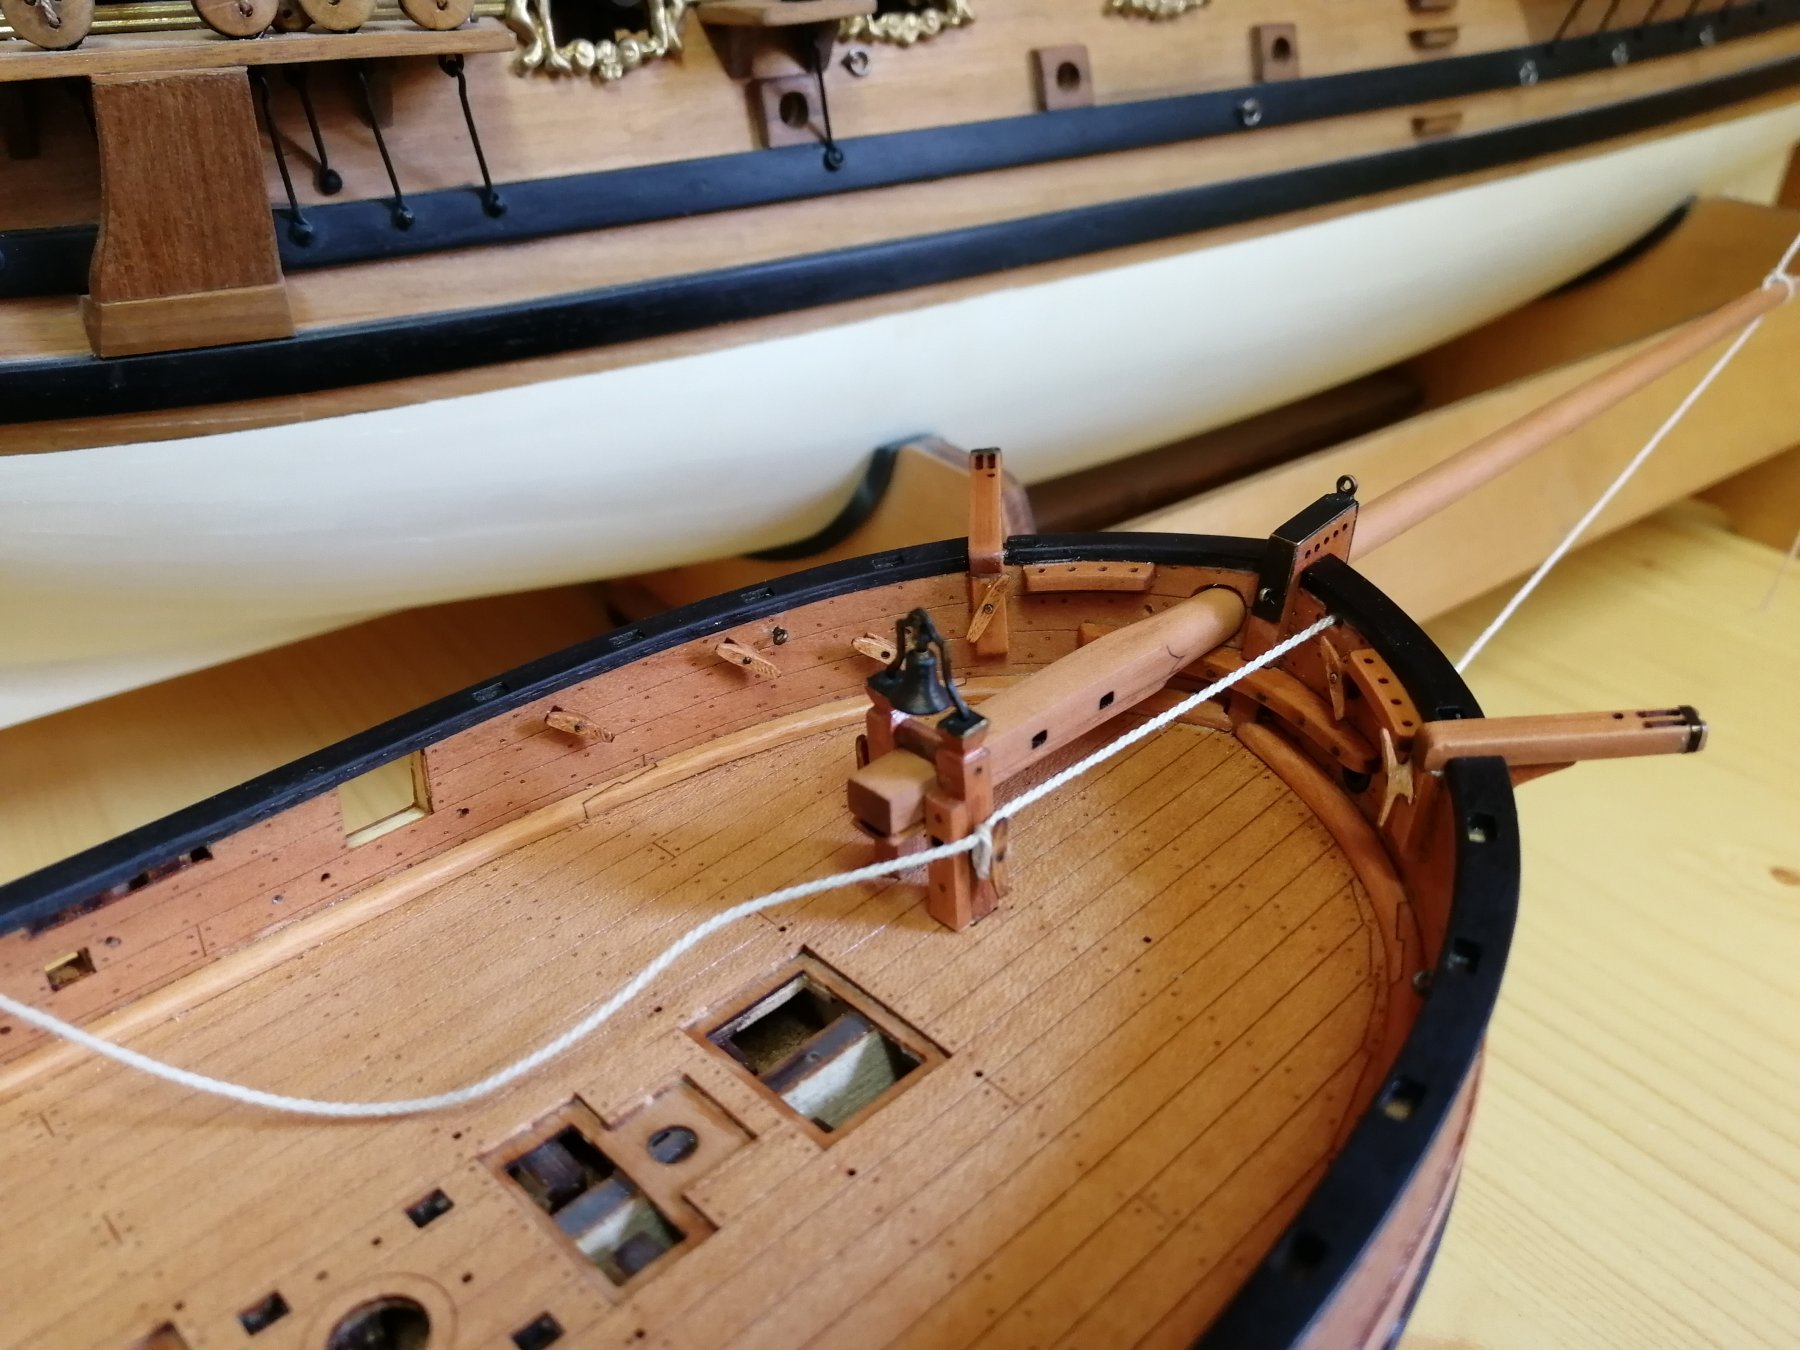
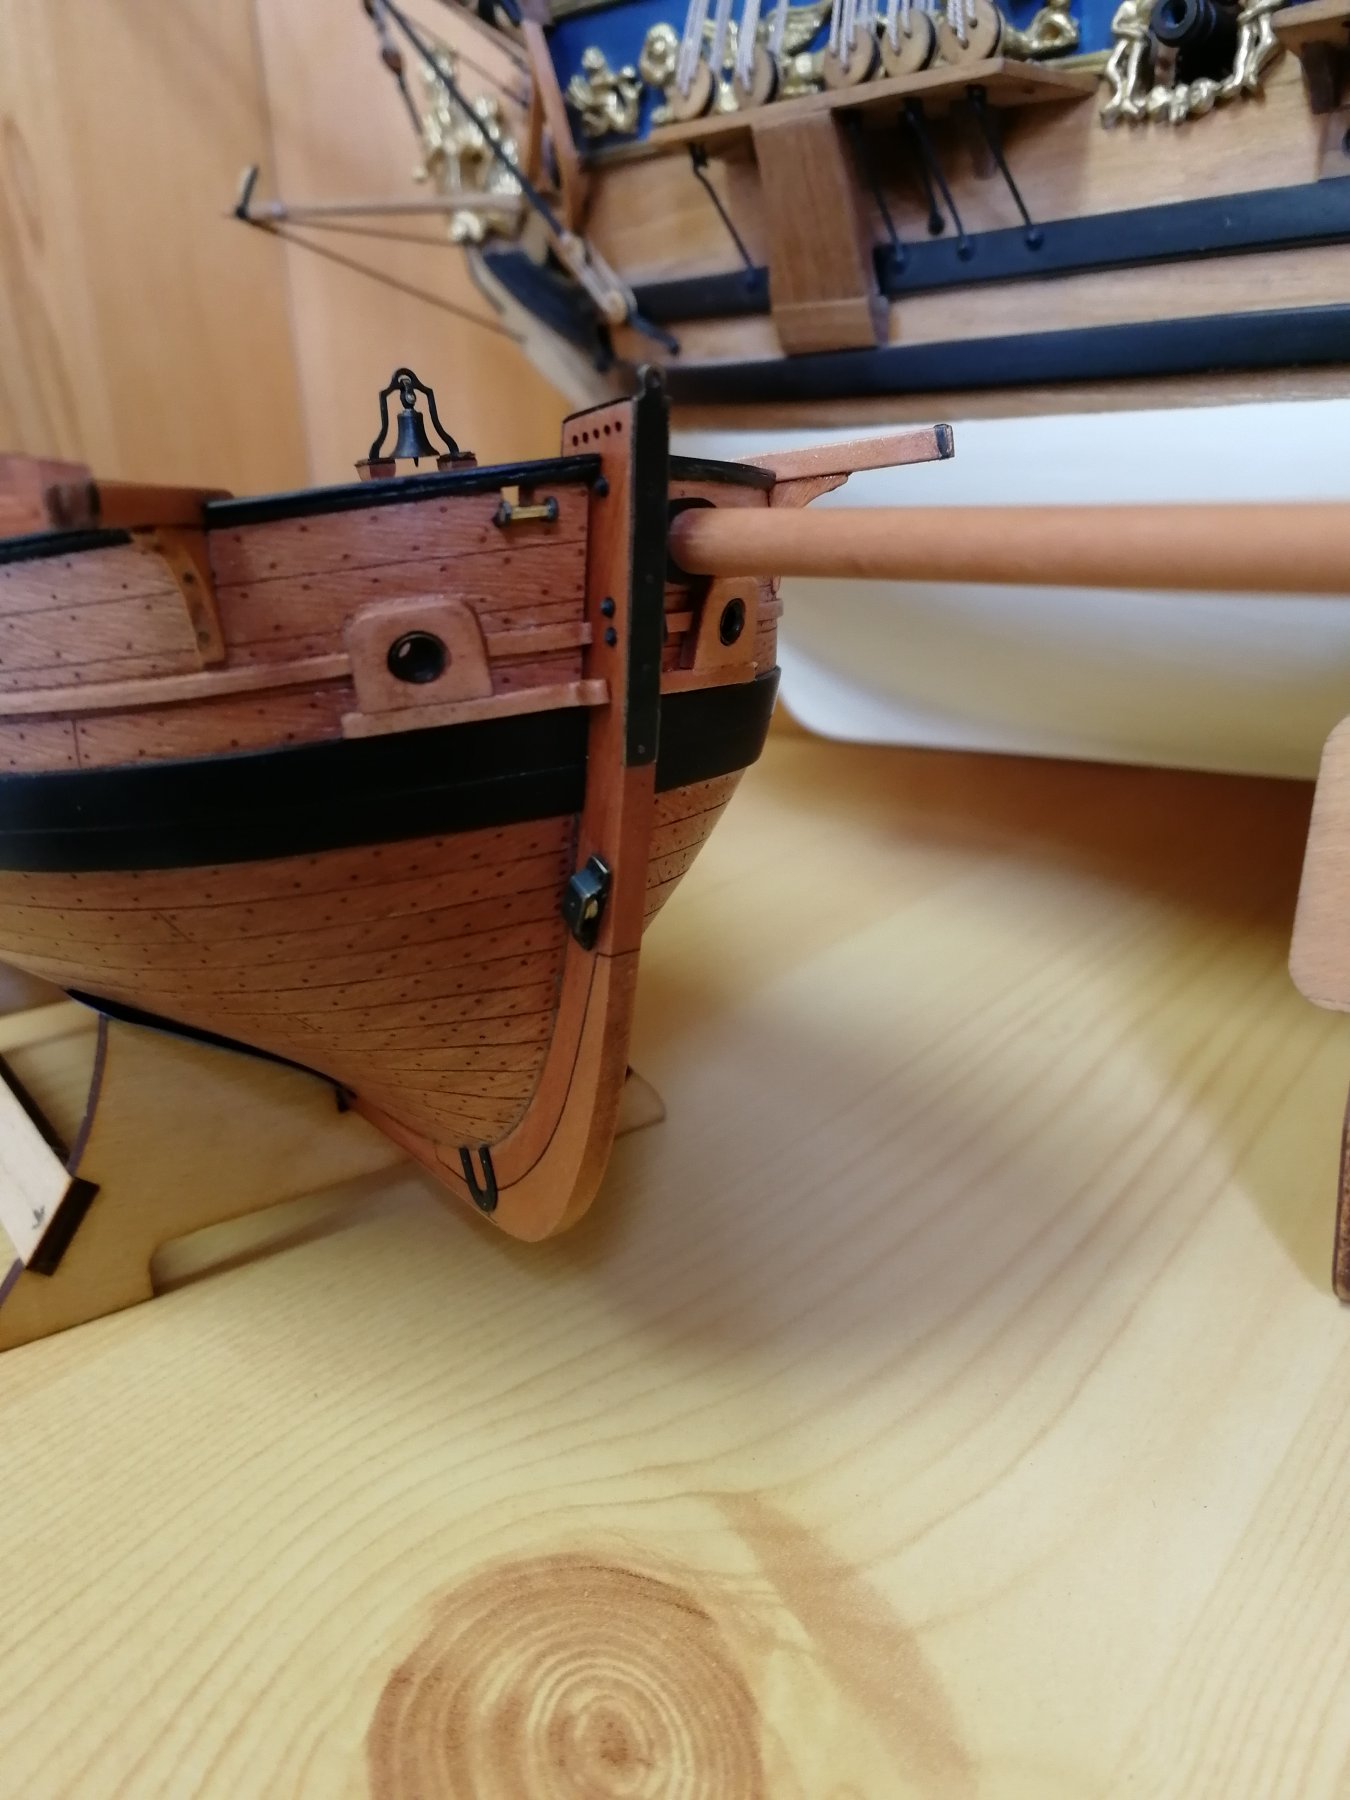
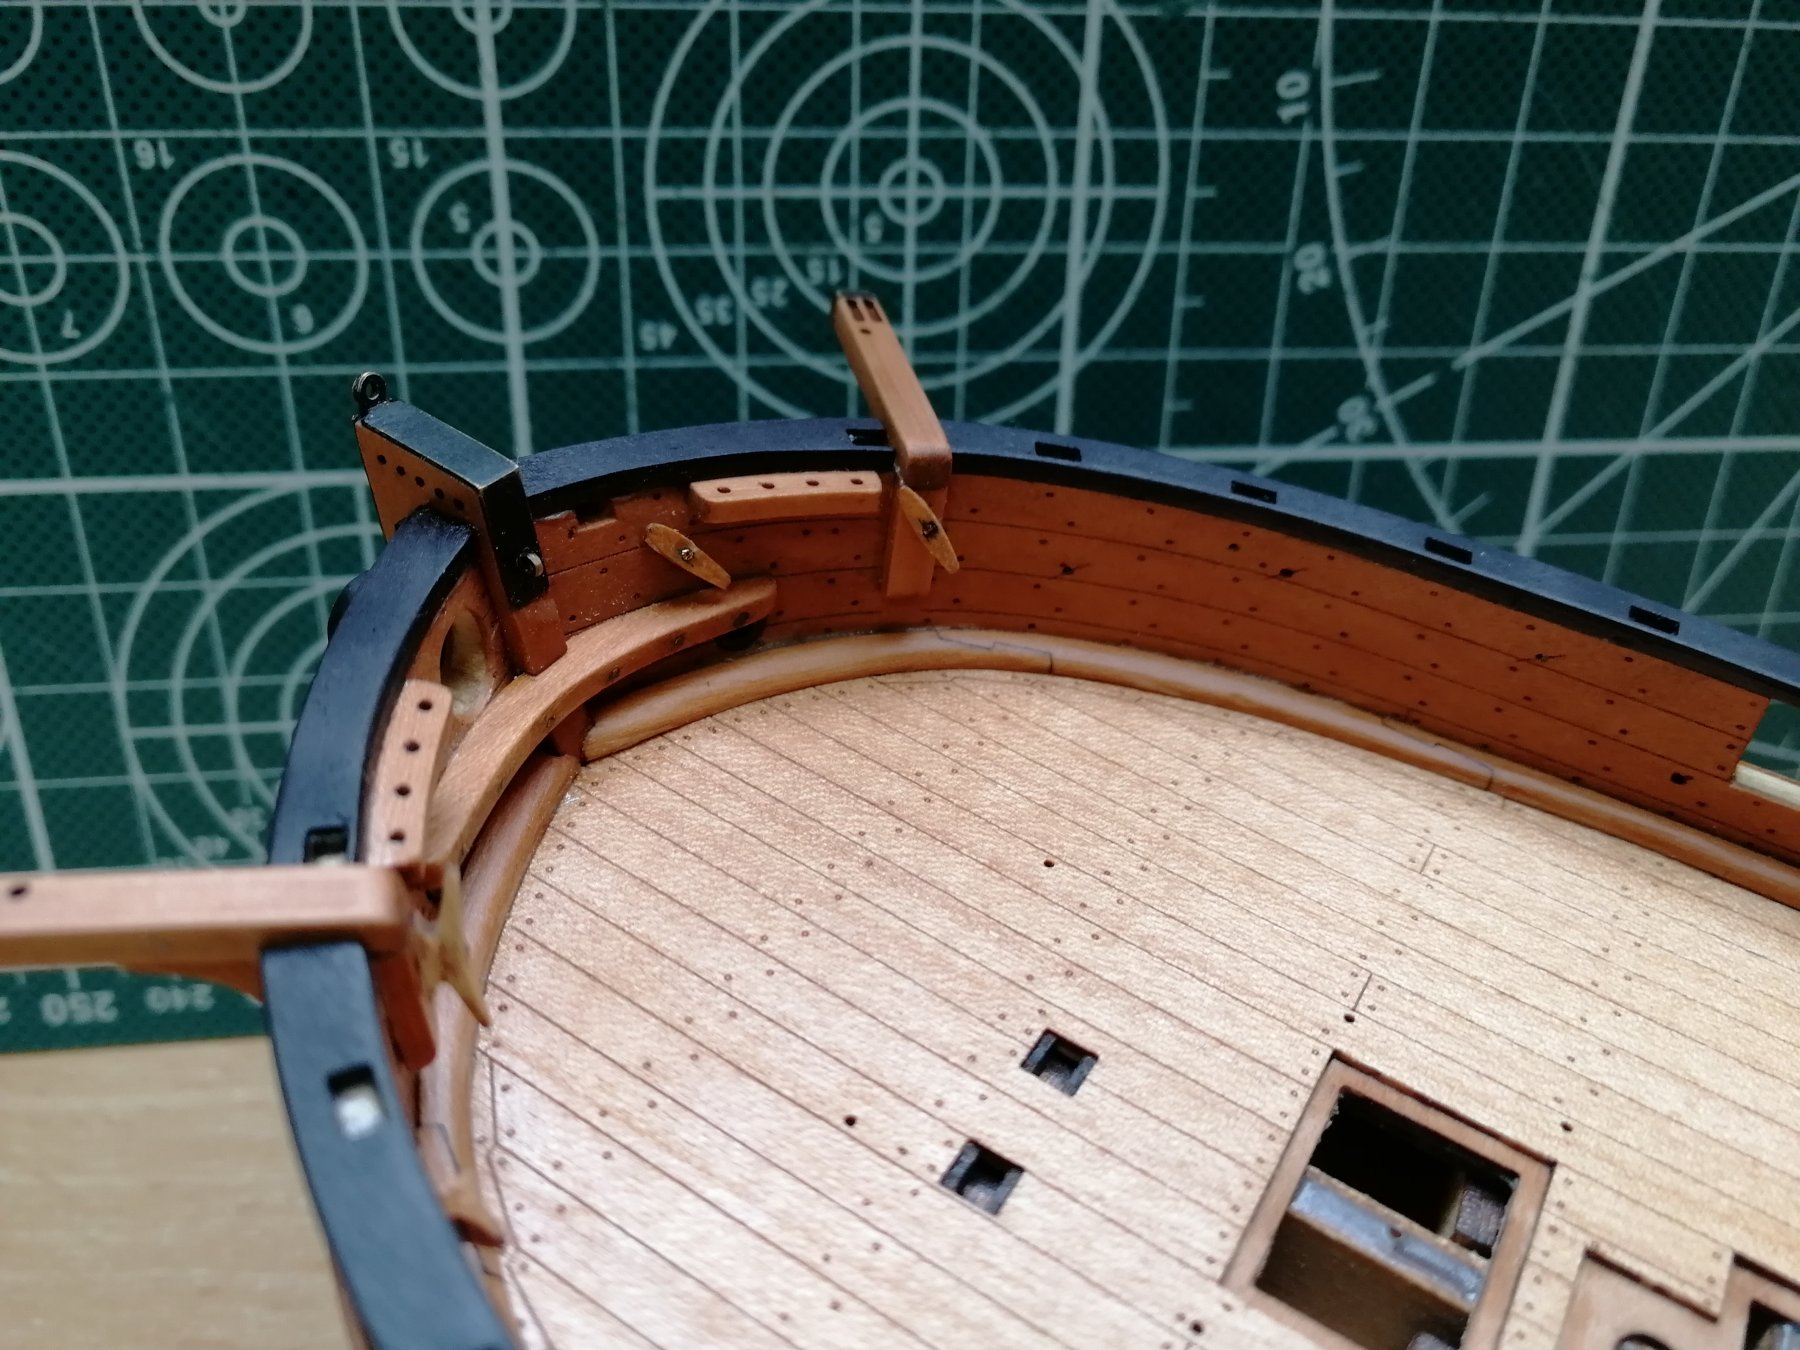
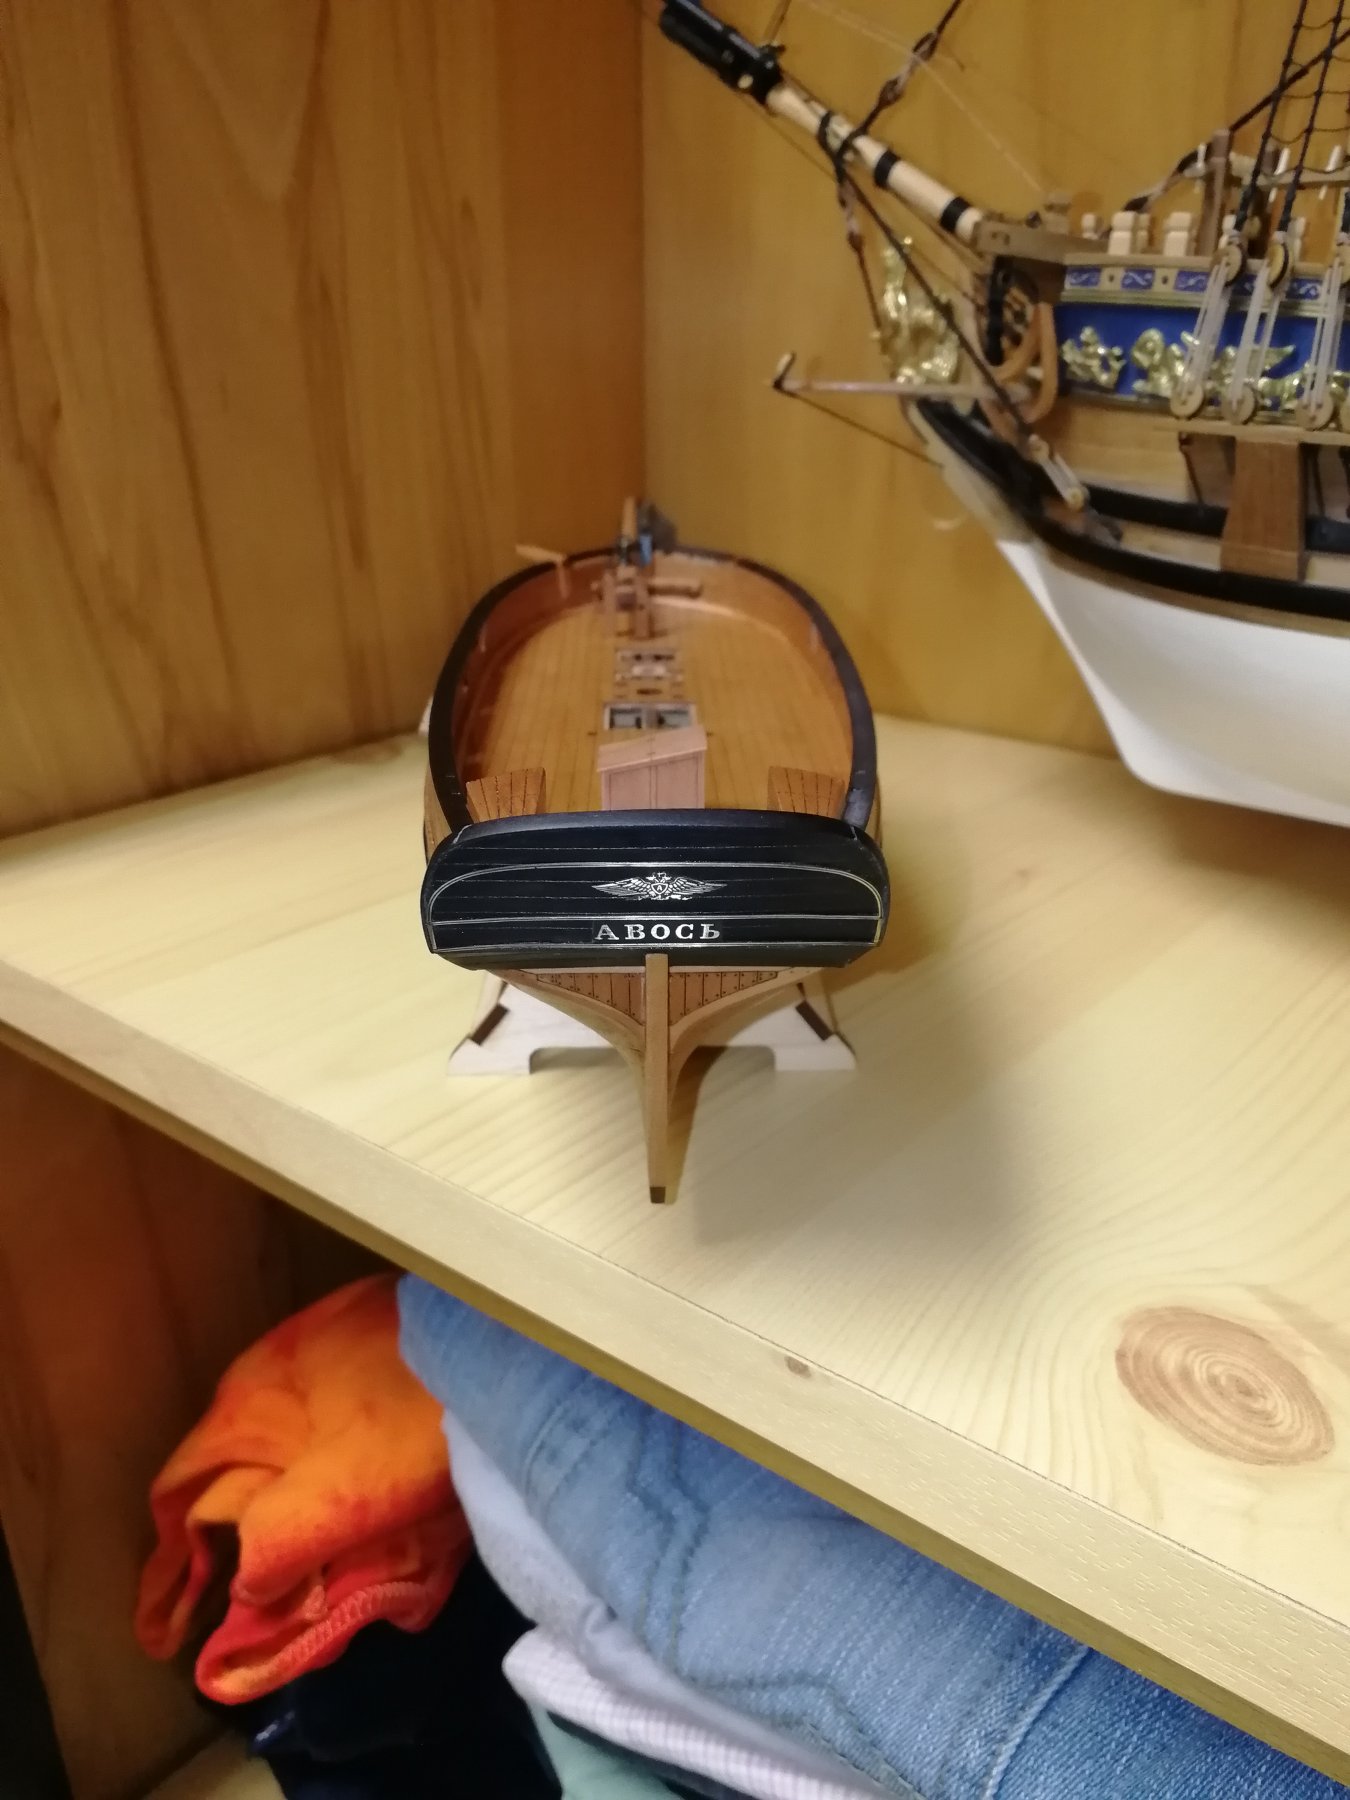
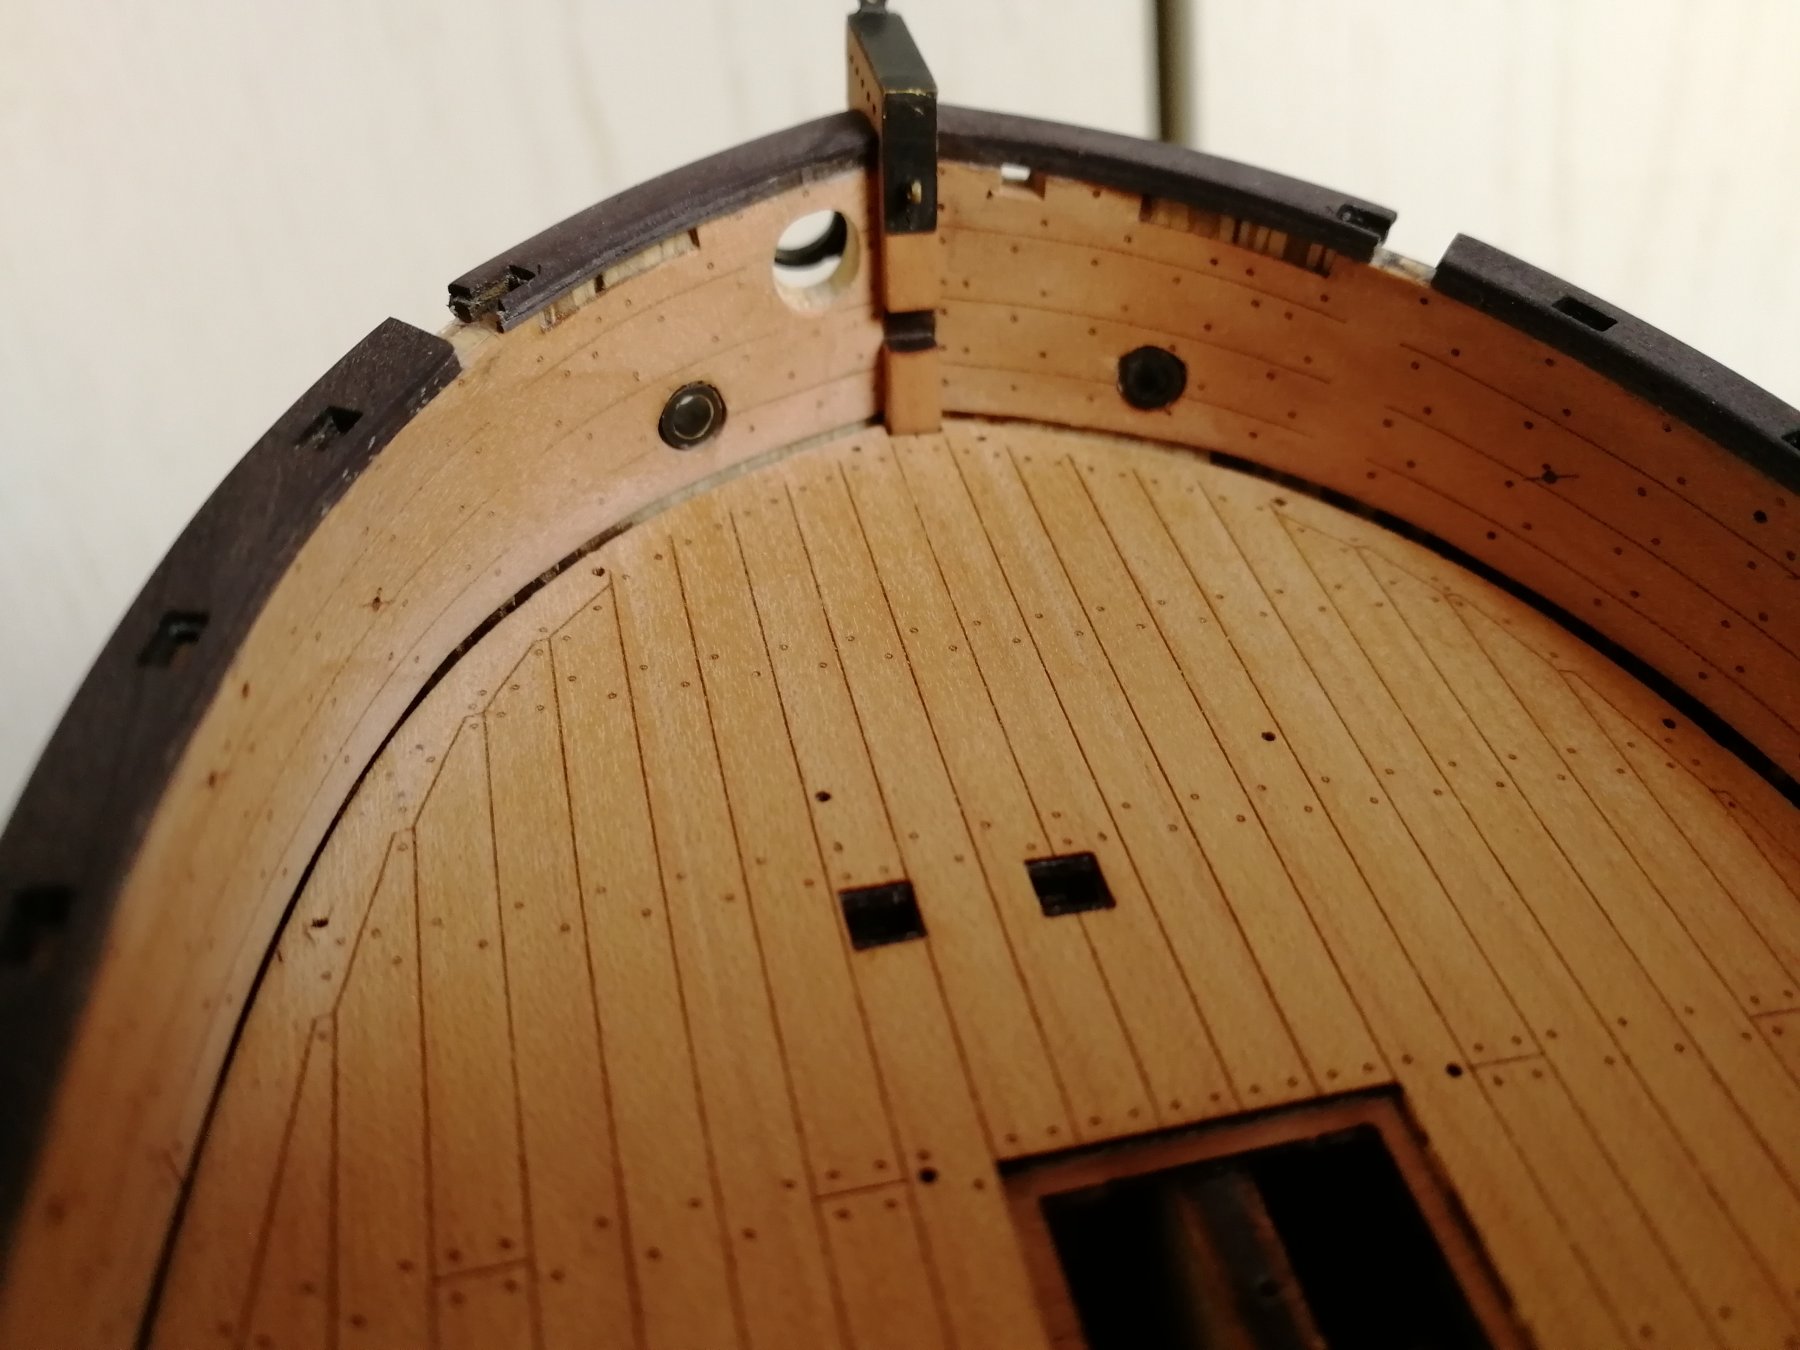
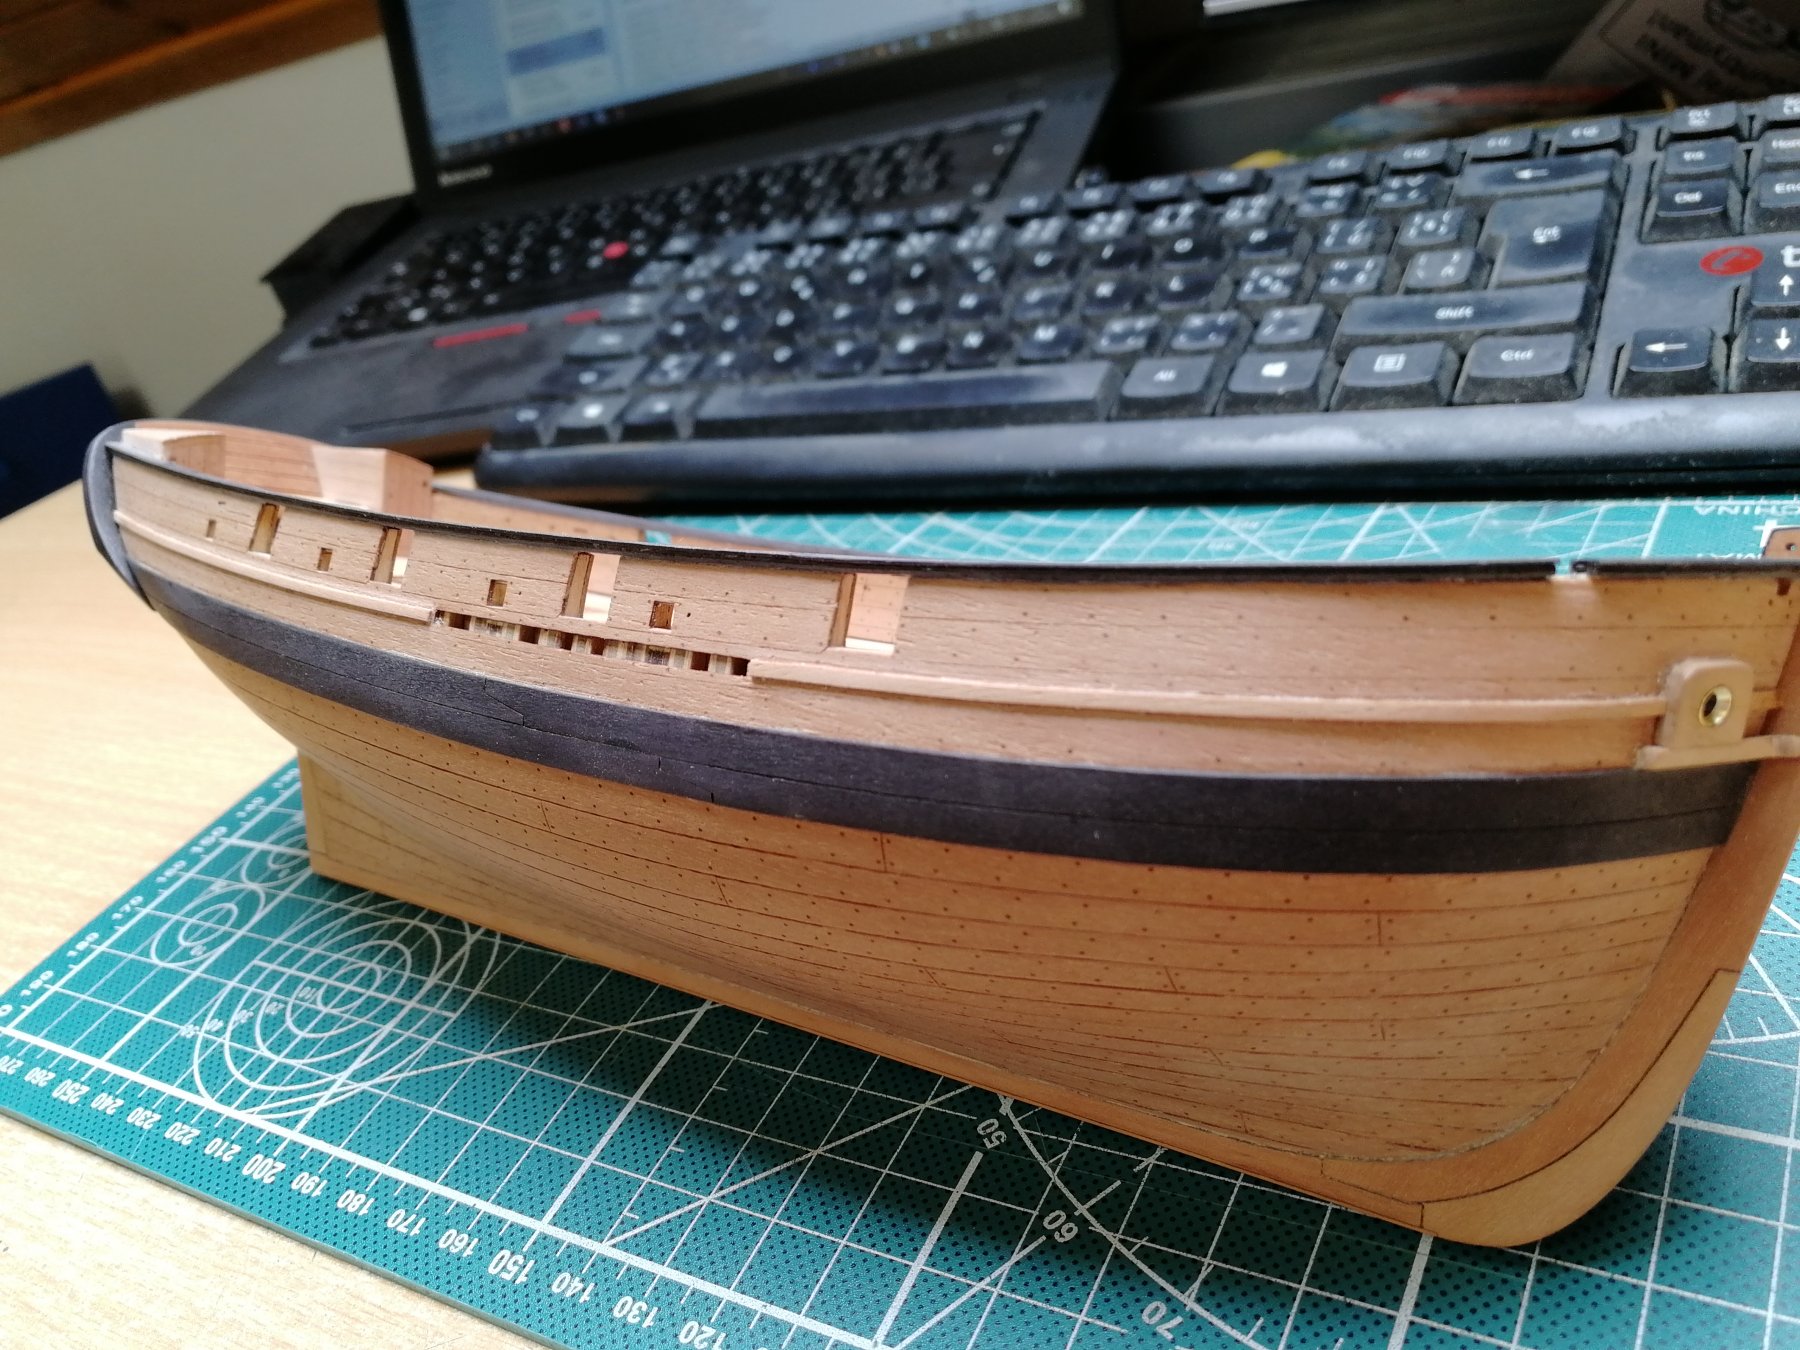
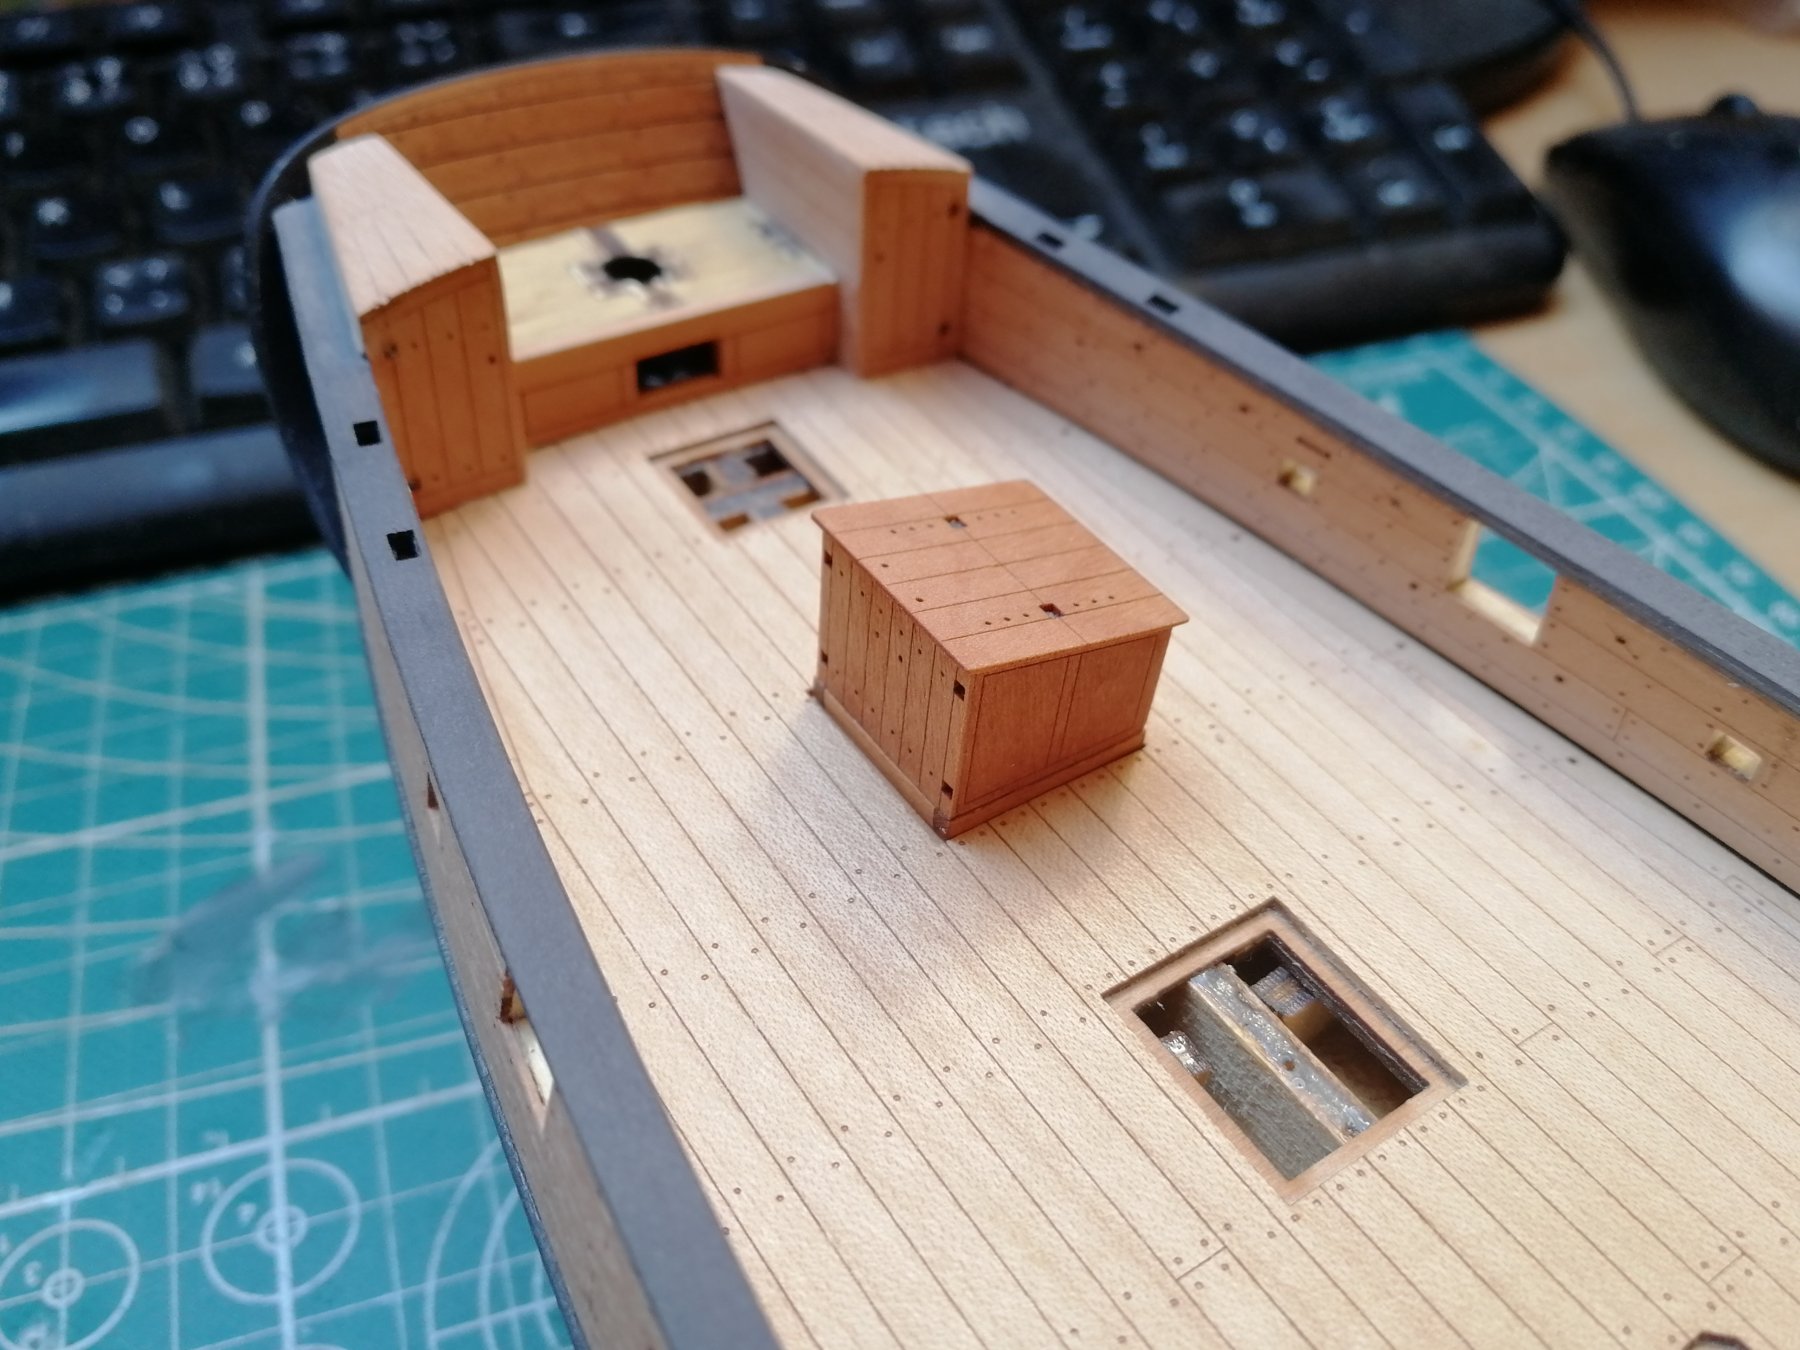
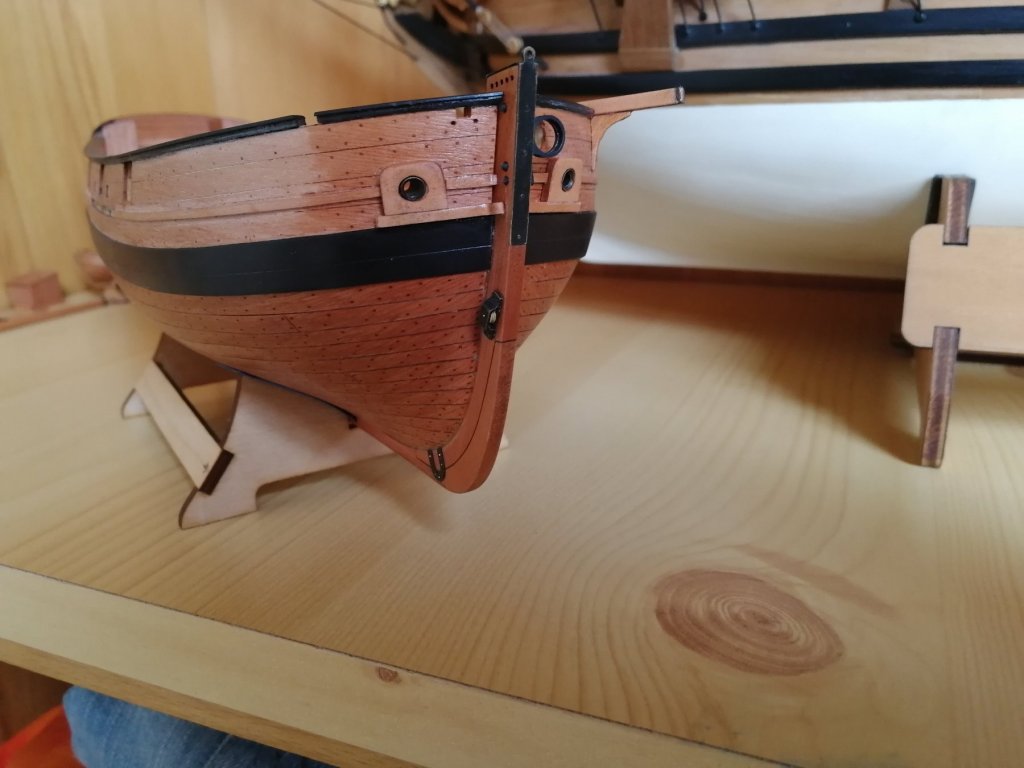
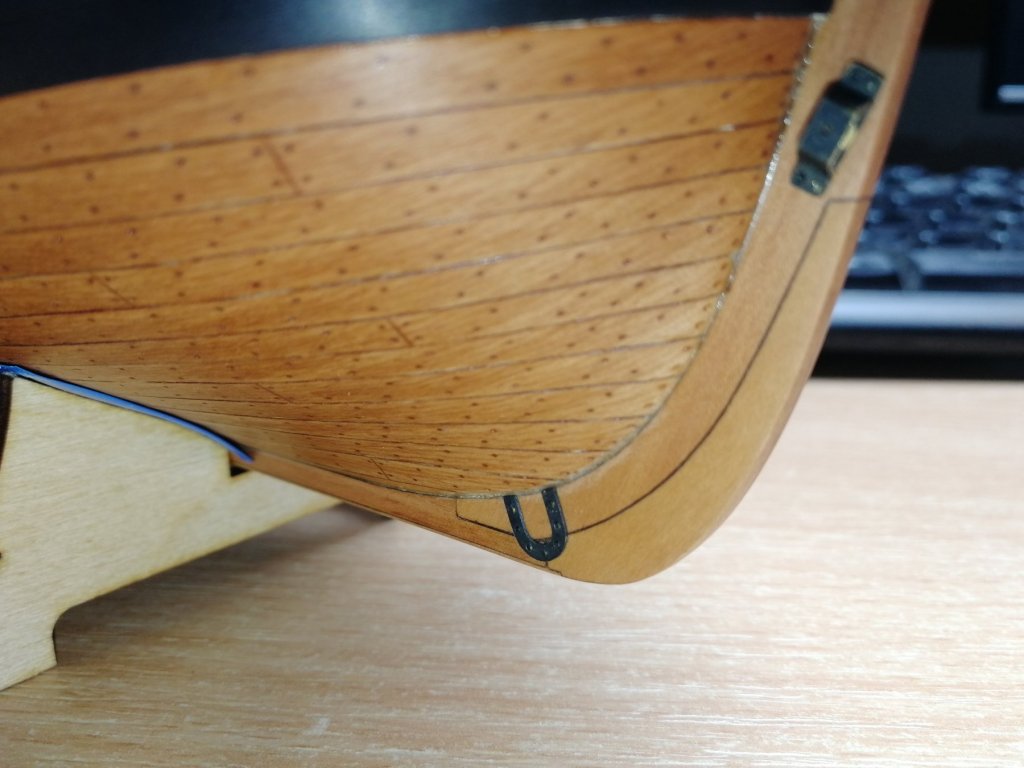
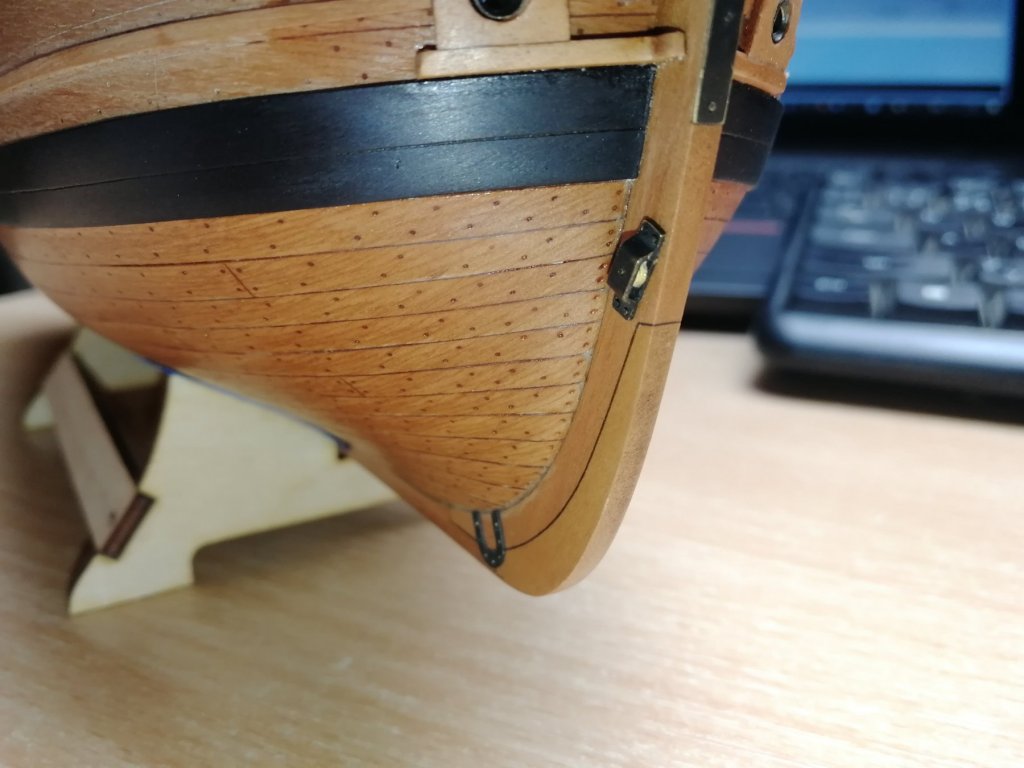
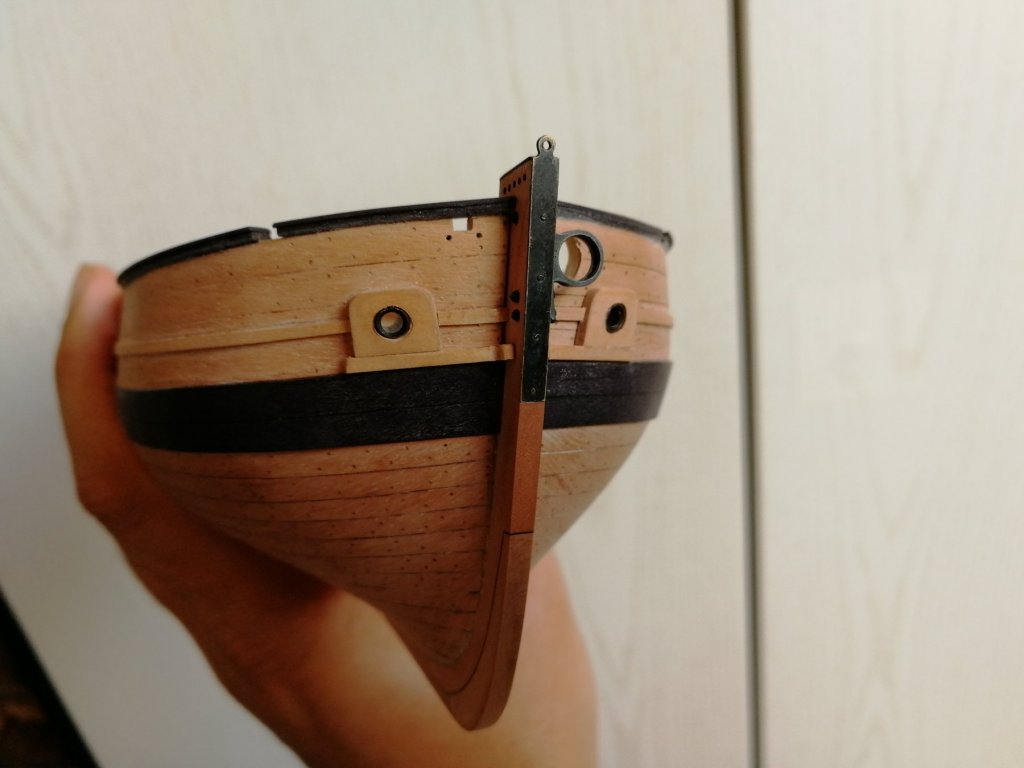
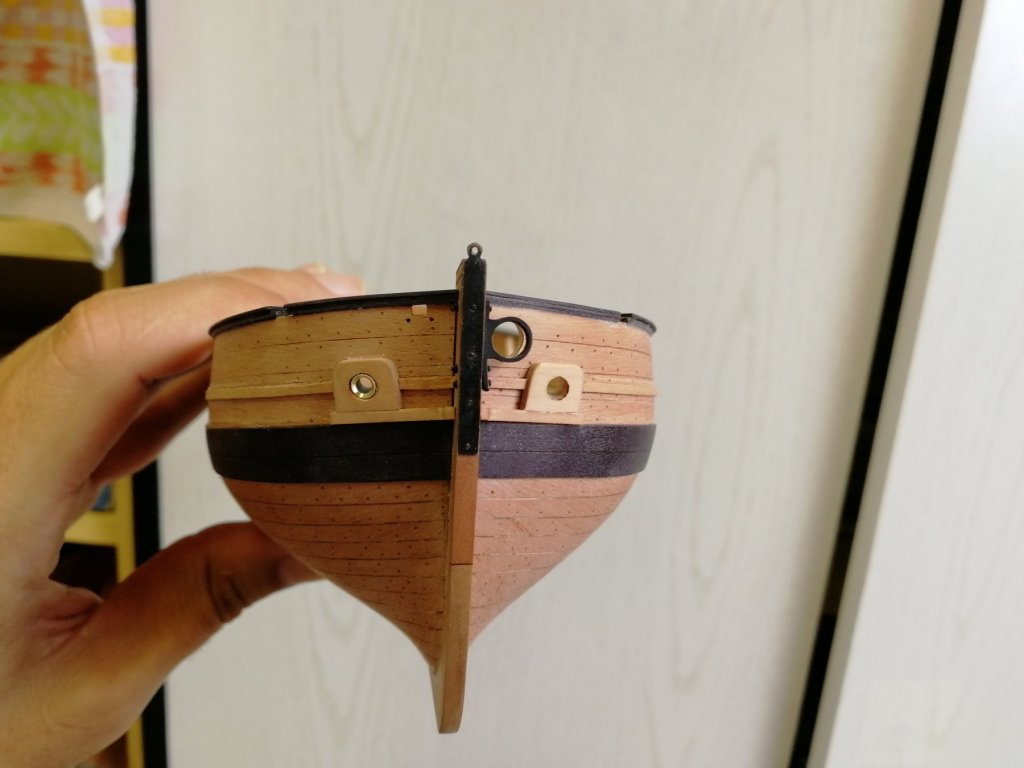
Rudder. You start from the photoetched part that needs to be bent to create a "hook". I have then silversolder the edges and smooth it with file. Blackening and the irons are ready. I have added the eyebolts and decoration of the transom And starting preparations of the deck furniture


- 315 replies
-
- 21
-

-
- master korabel
- avos
- (and 1 more)
-
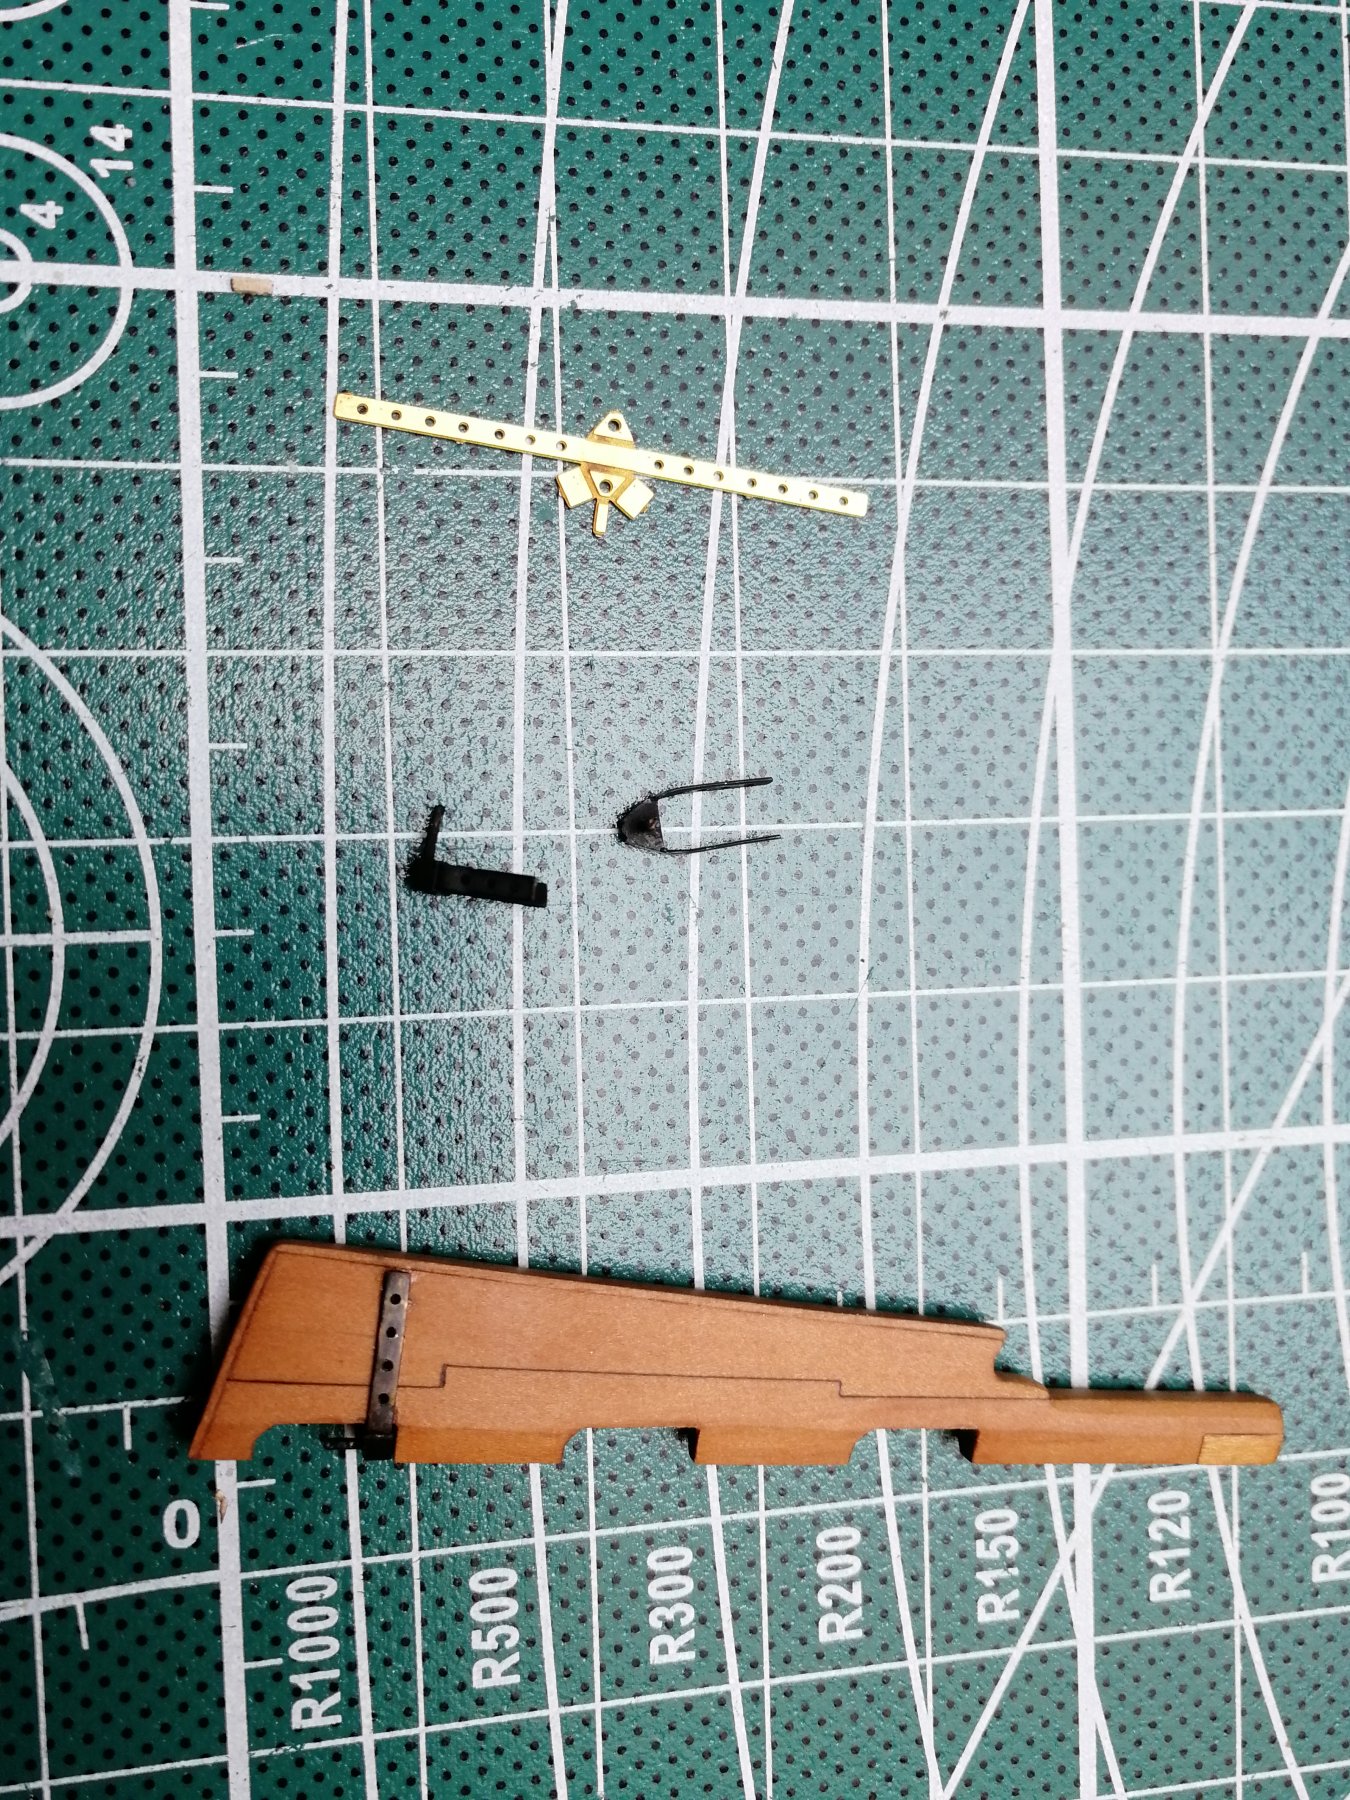
Some more Iron works. 1. Rolling chock (with testing tack) 2. Fastening of the stern-post to the keel 3. Horse (it will be blackend later)


- 315 replies
-
- 21
-
-
- master korabel
- avos
- (and 1 more)
-
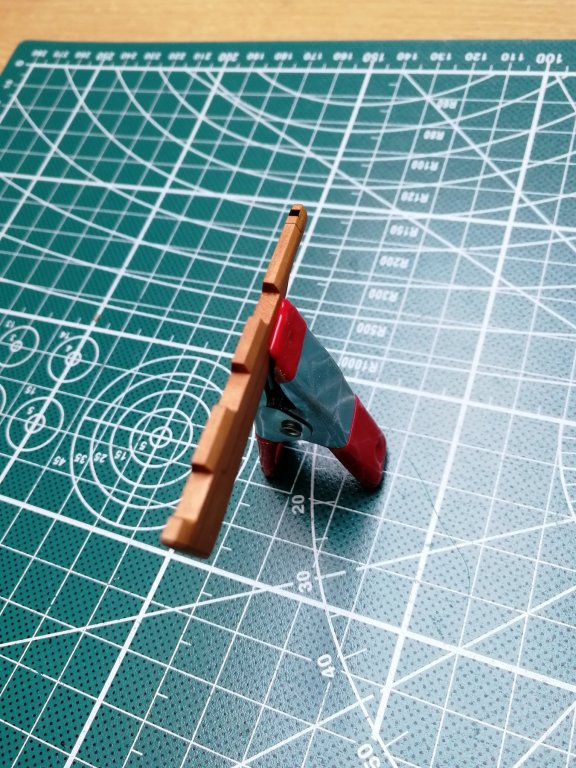
Yep, that wasn't easy step. But still somehow doable.
- 315 replies
-
- 1
-
-
- master korabel
- avos
- (and 1 more)
-
Amazing!
-
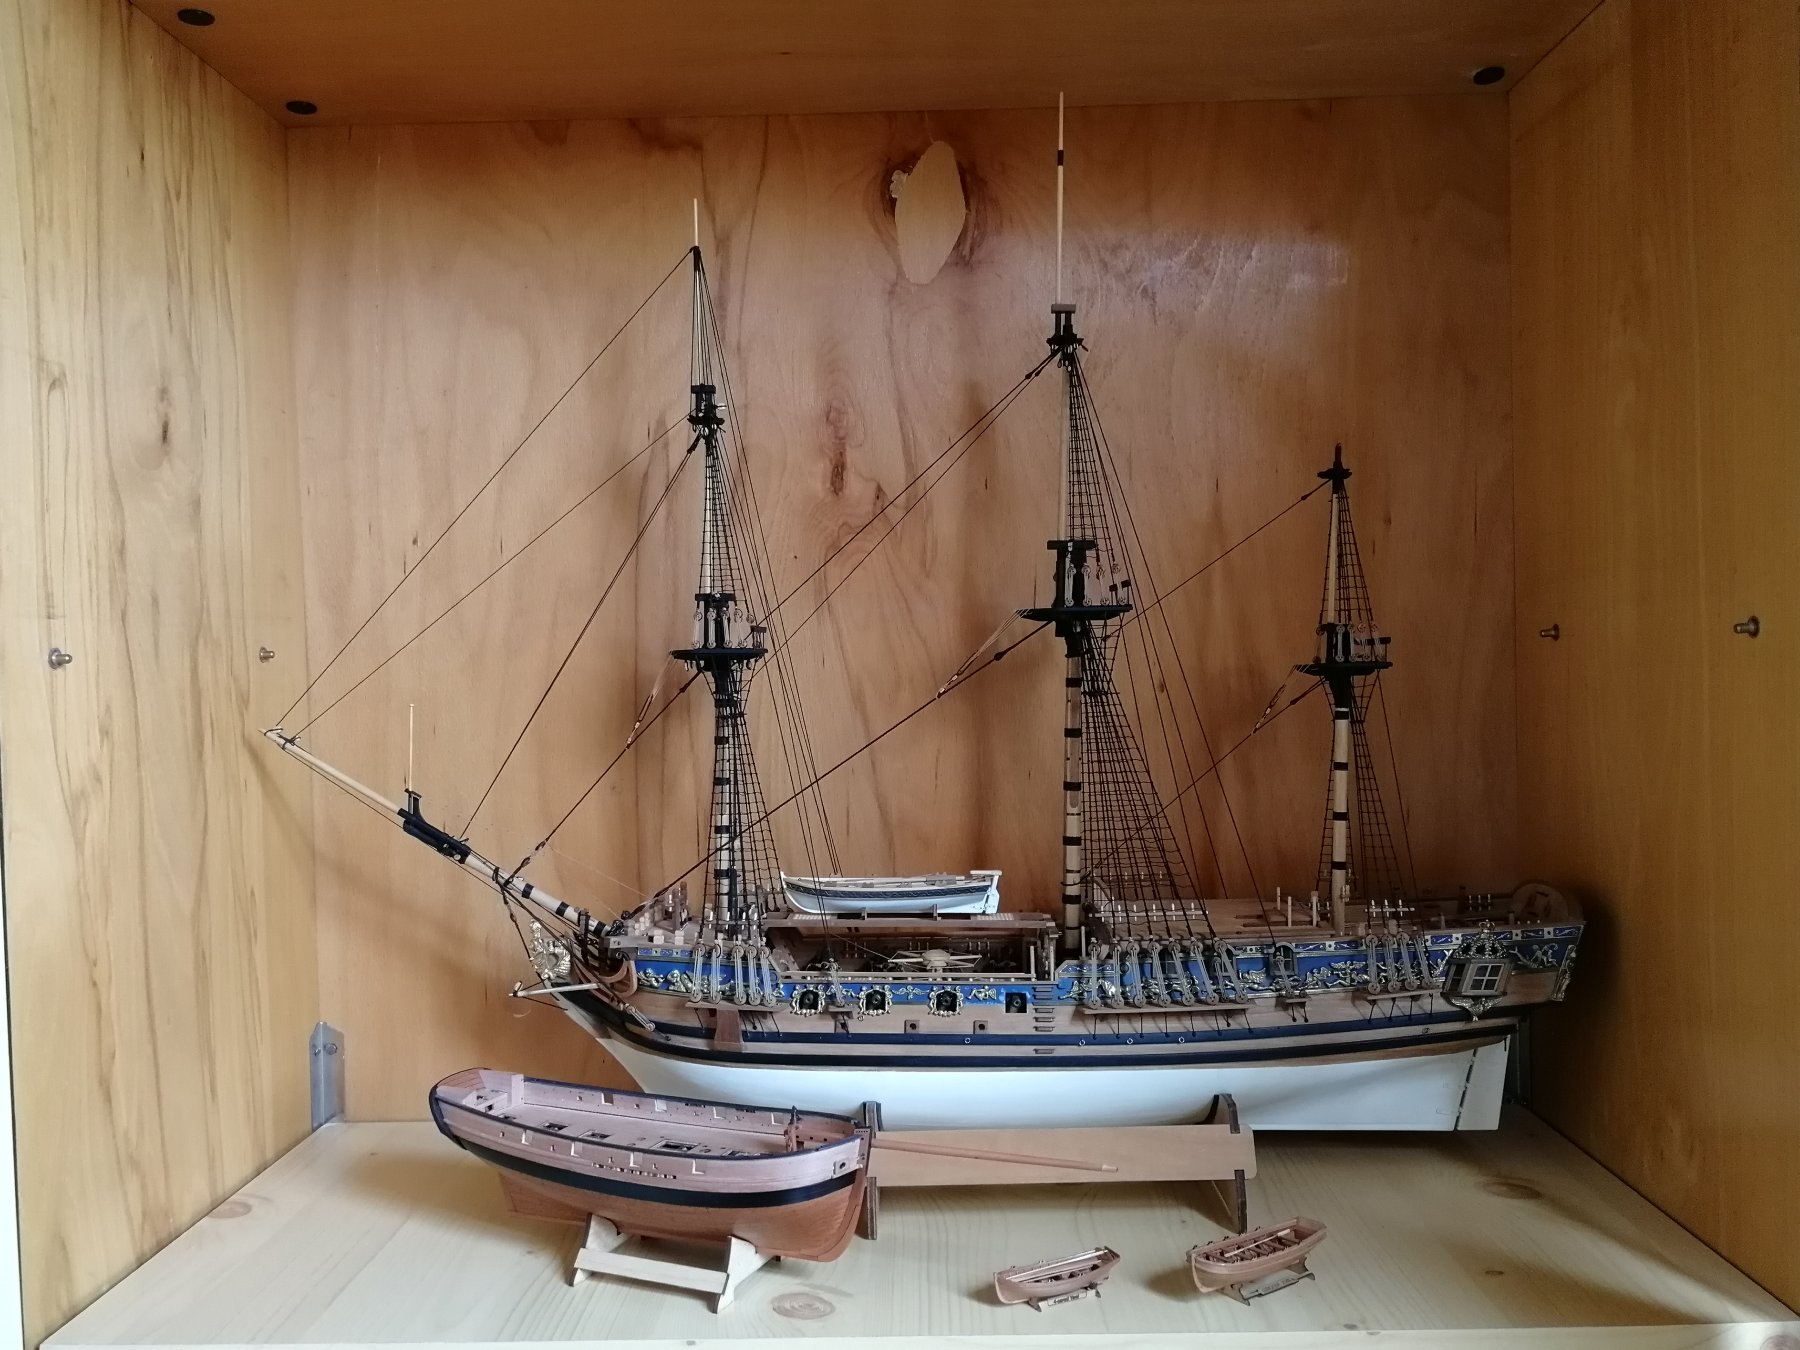
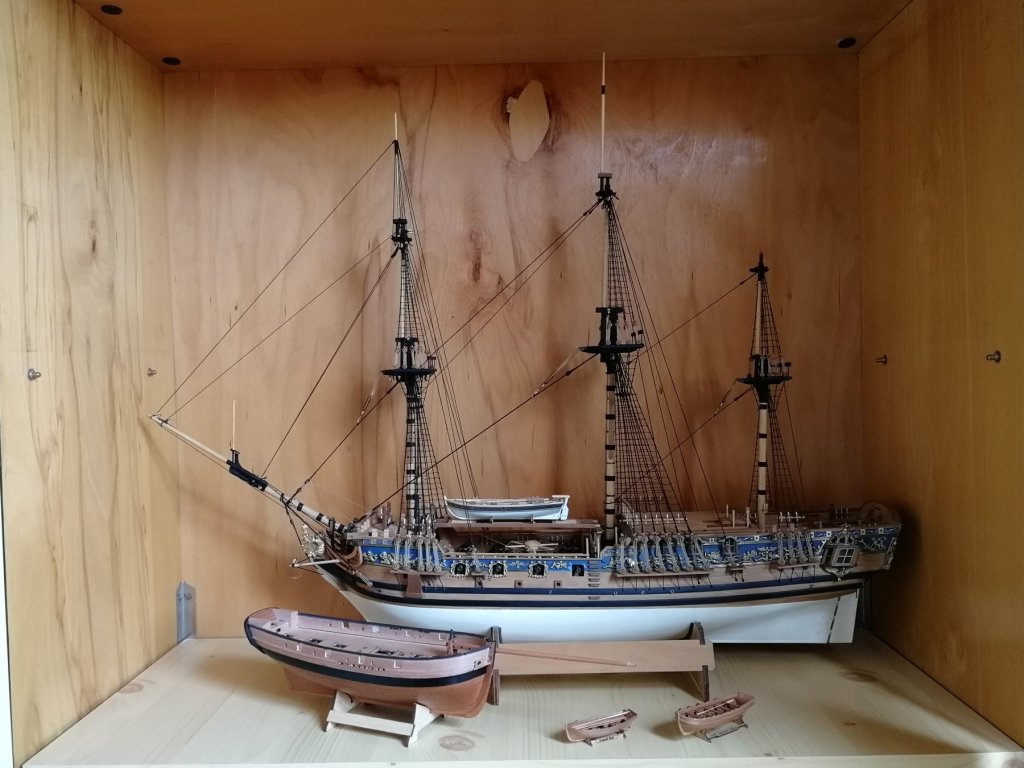
Thanks Jim! Thanks also for all the comments and likes. It keeps me motivated. It starts to look really great, I love the shape of the ship and all the wooden and brass details. Truly enjoyable built. I'm little bit afraid what I will do after AVOS and RC. Hope MK will release some new gem!
-
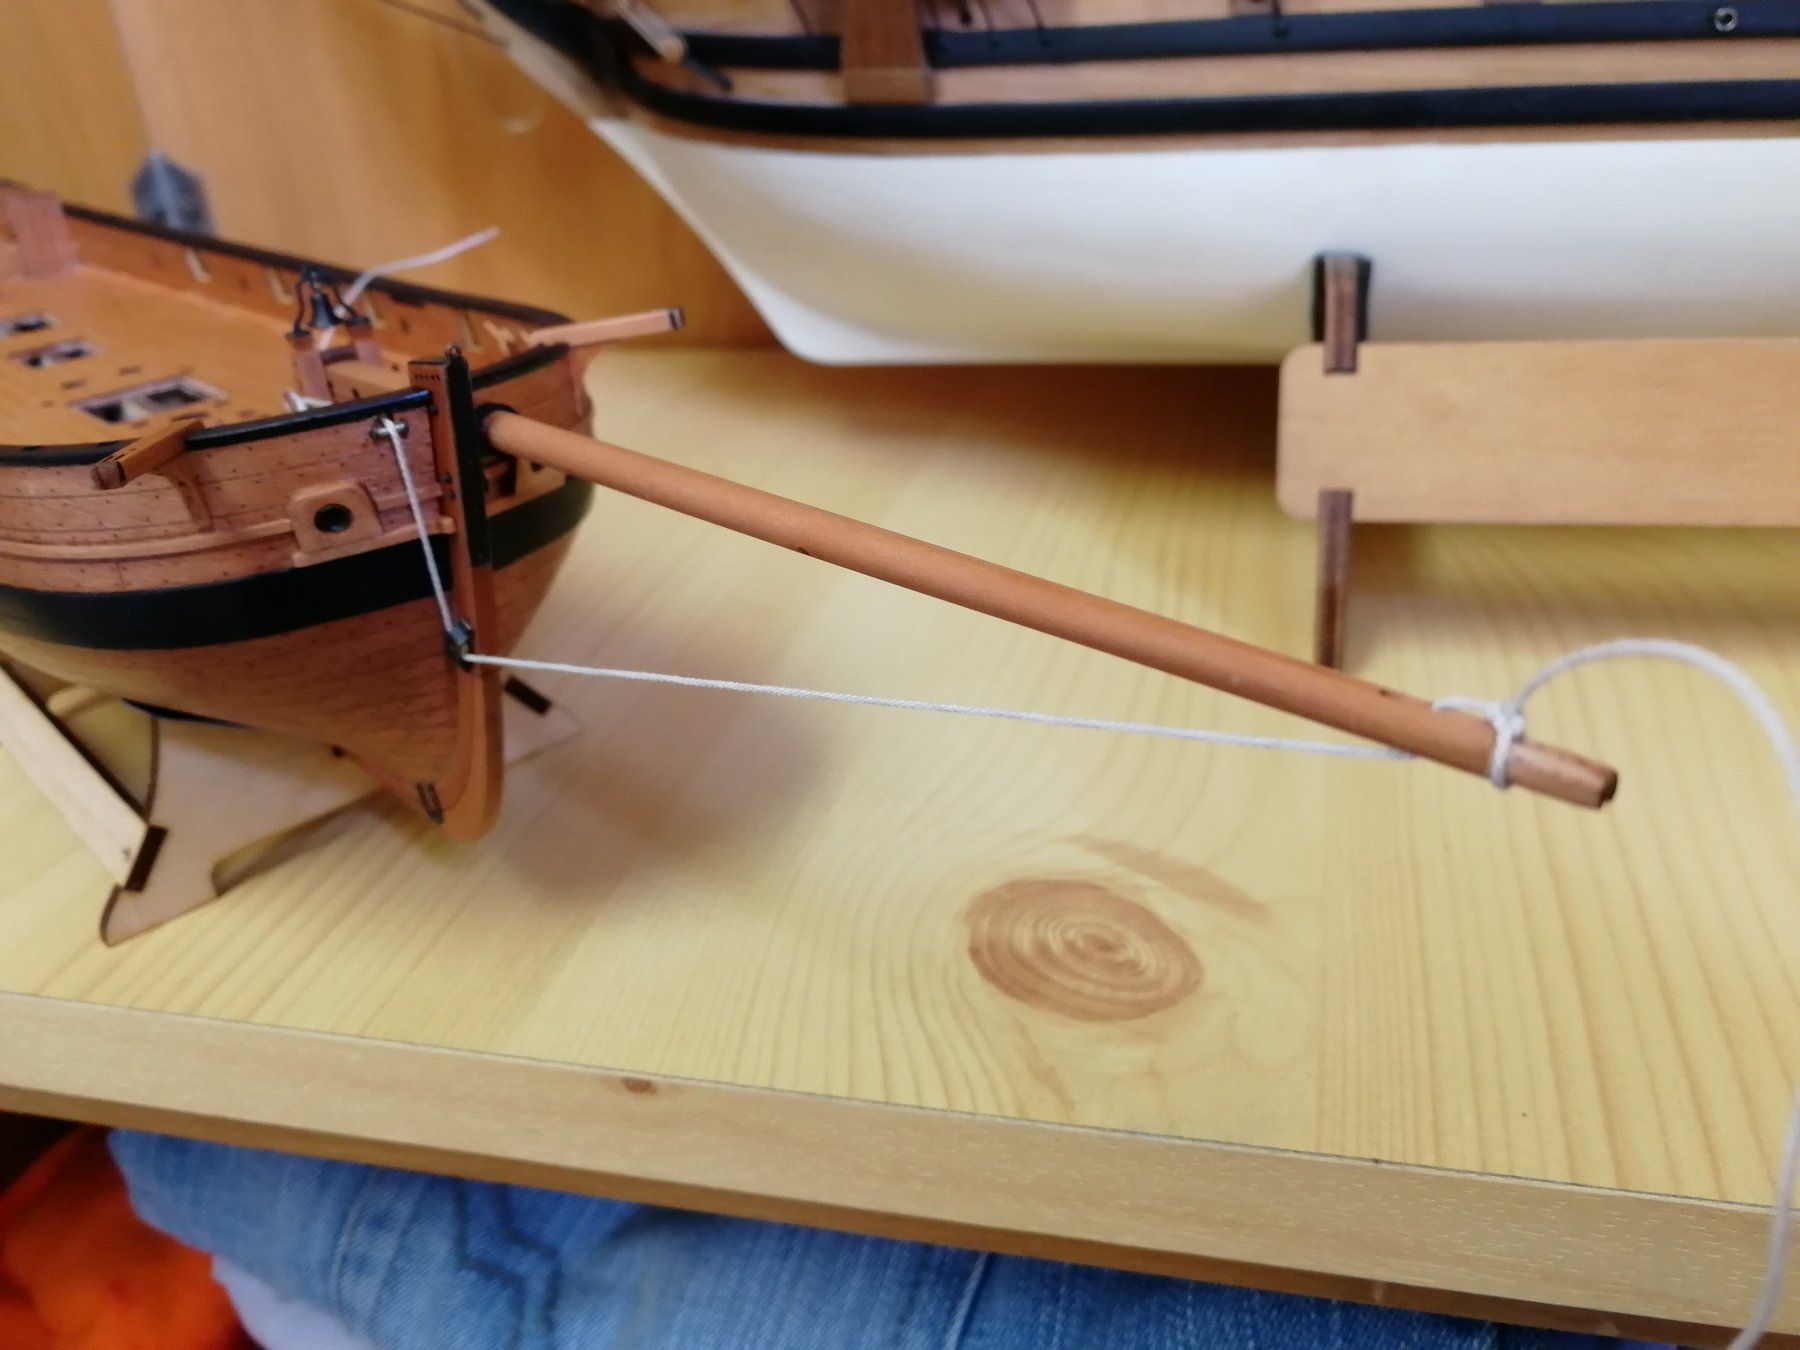
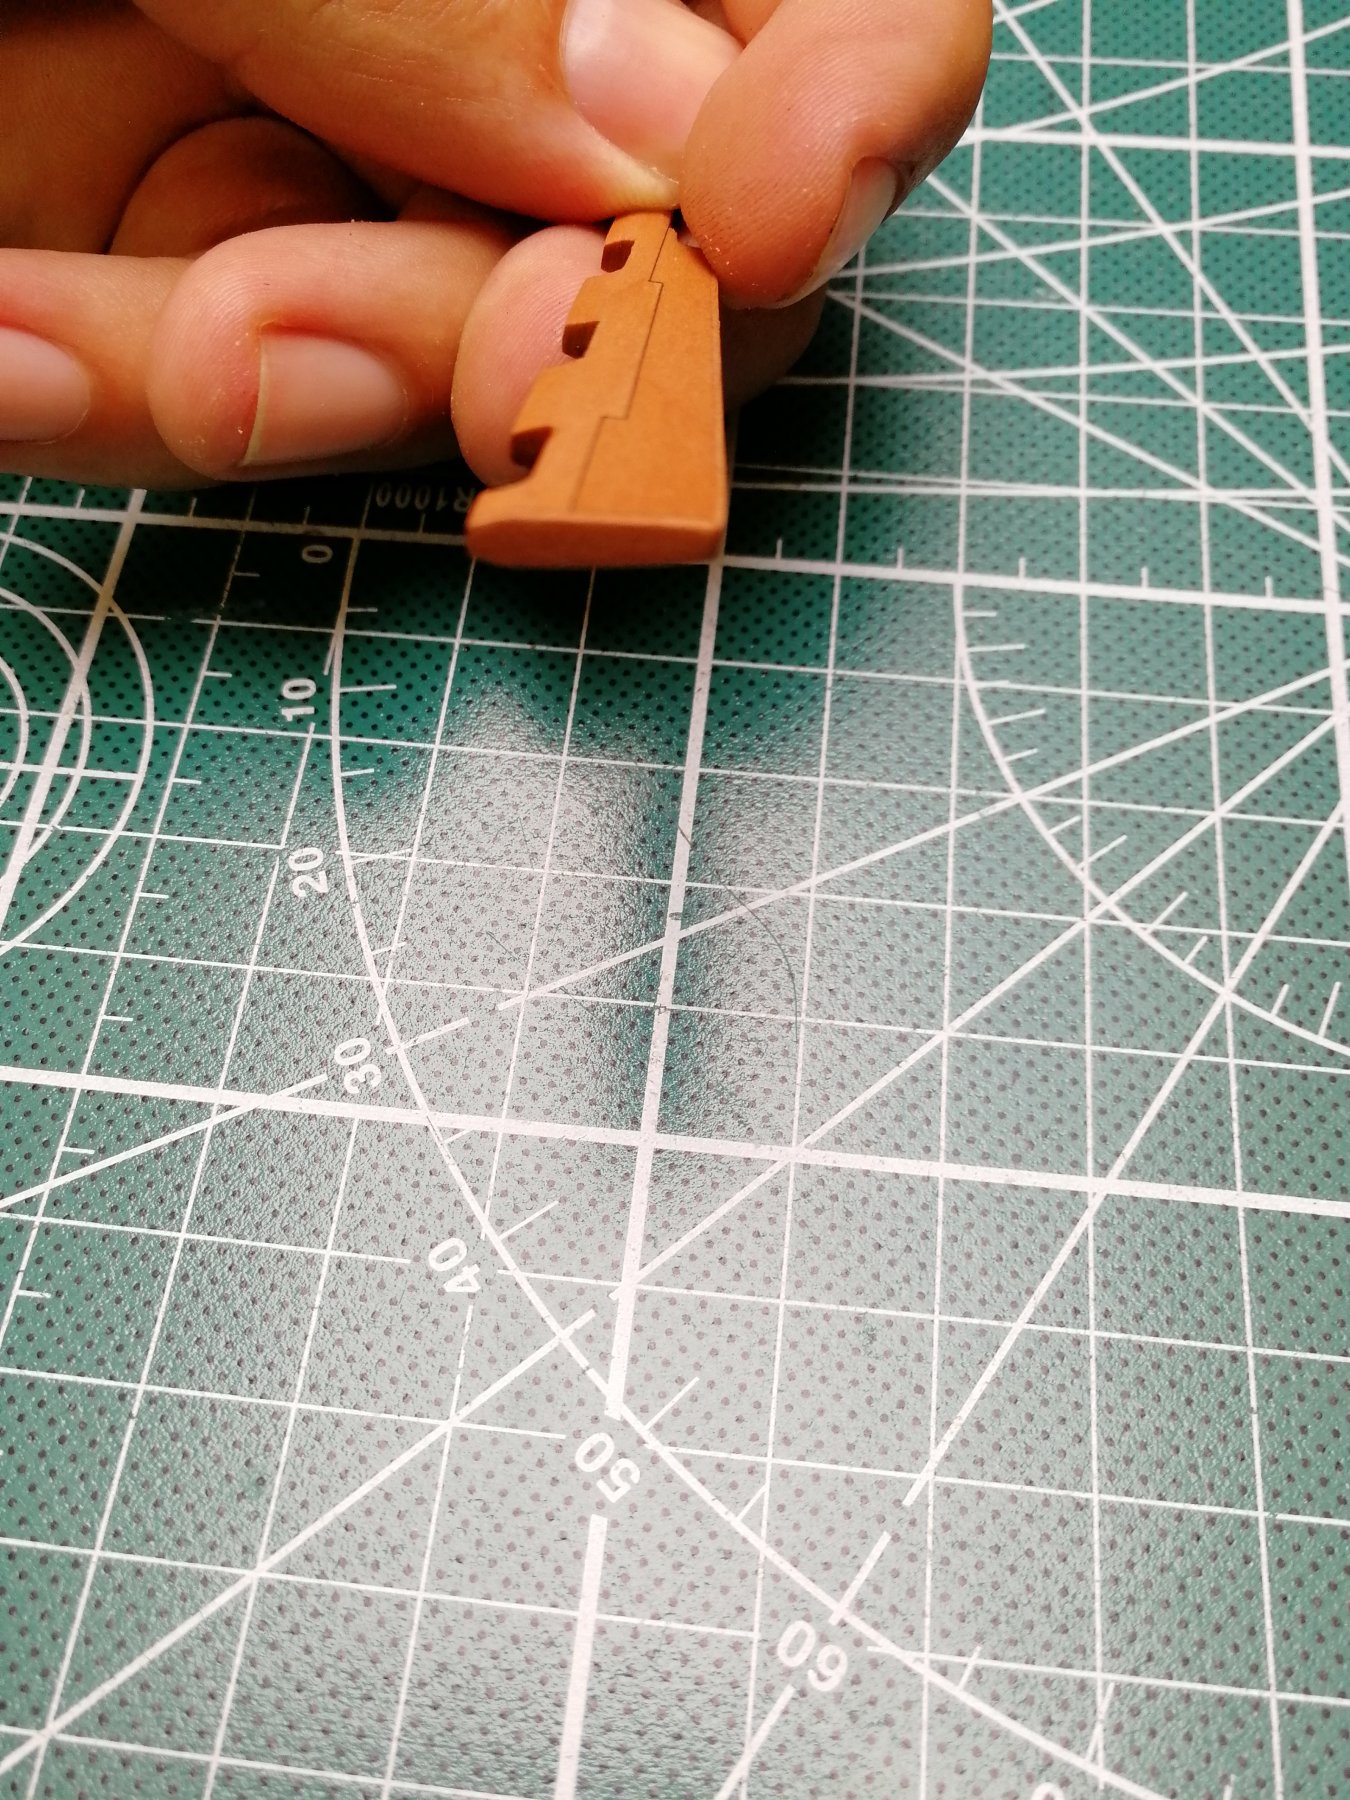
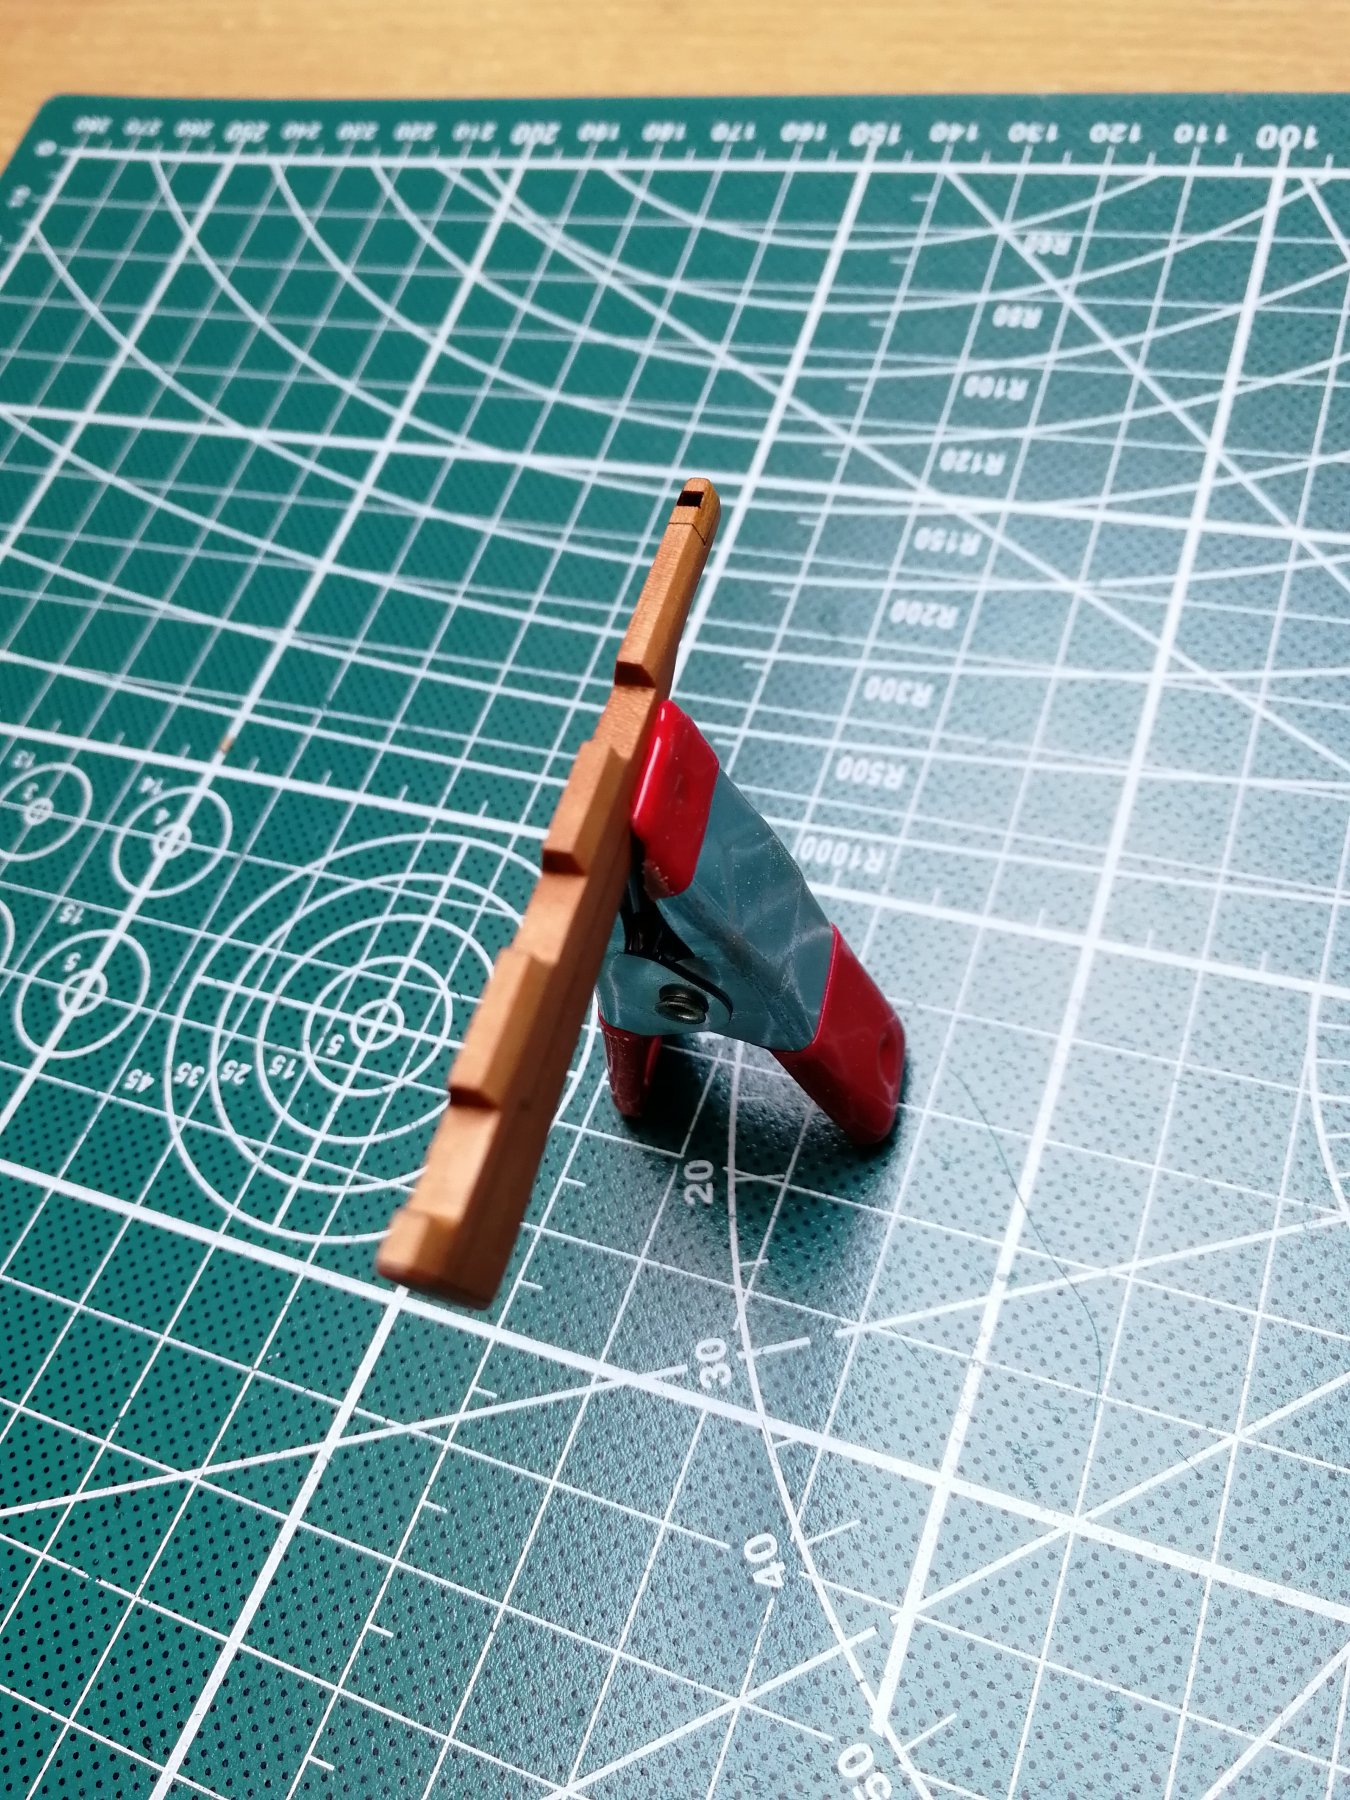
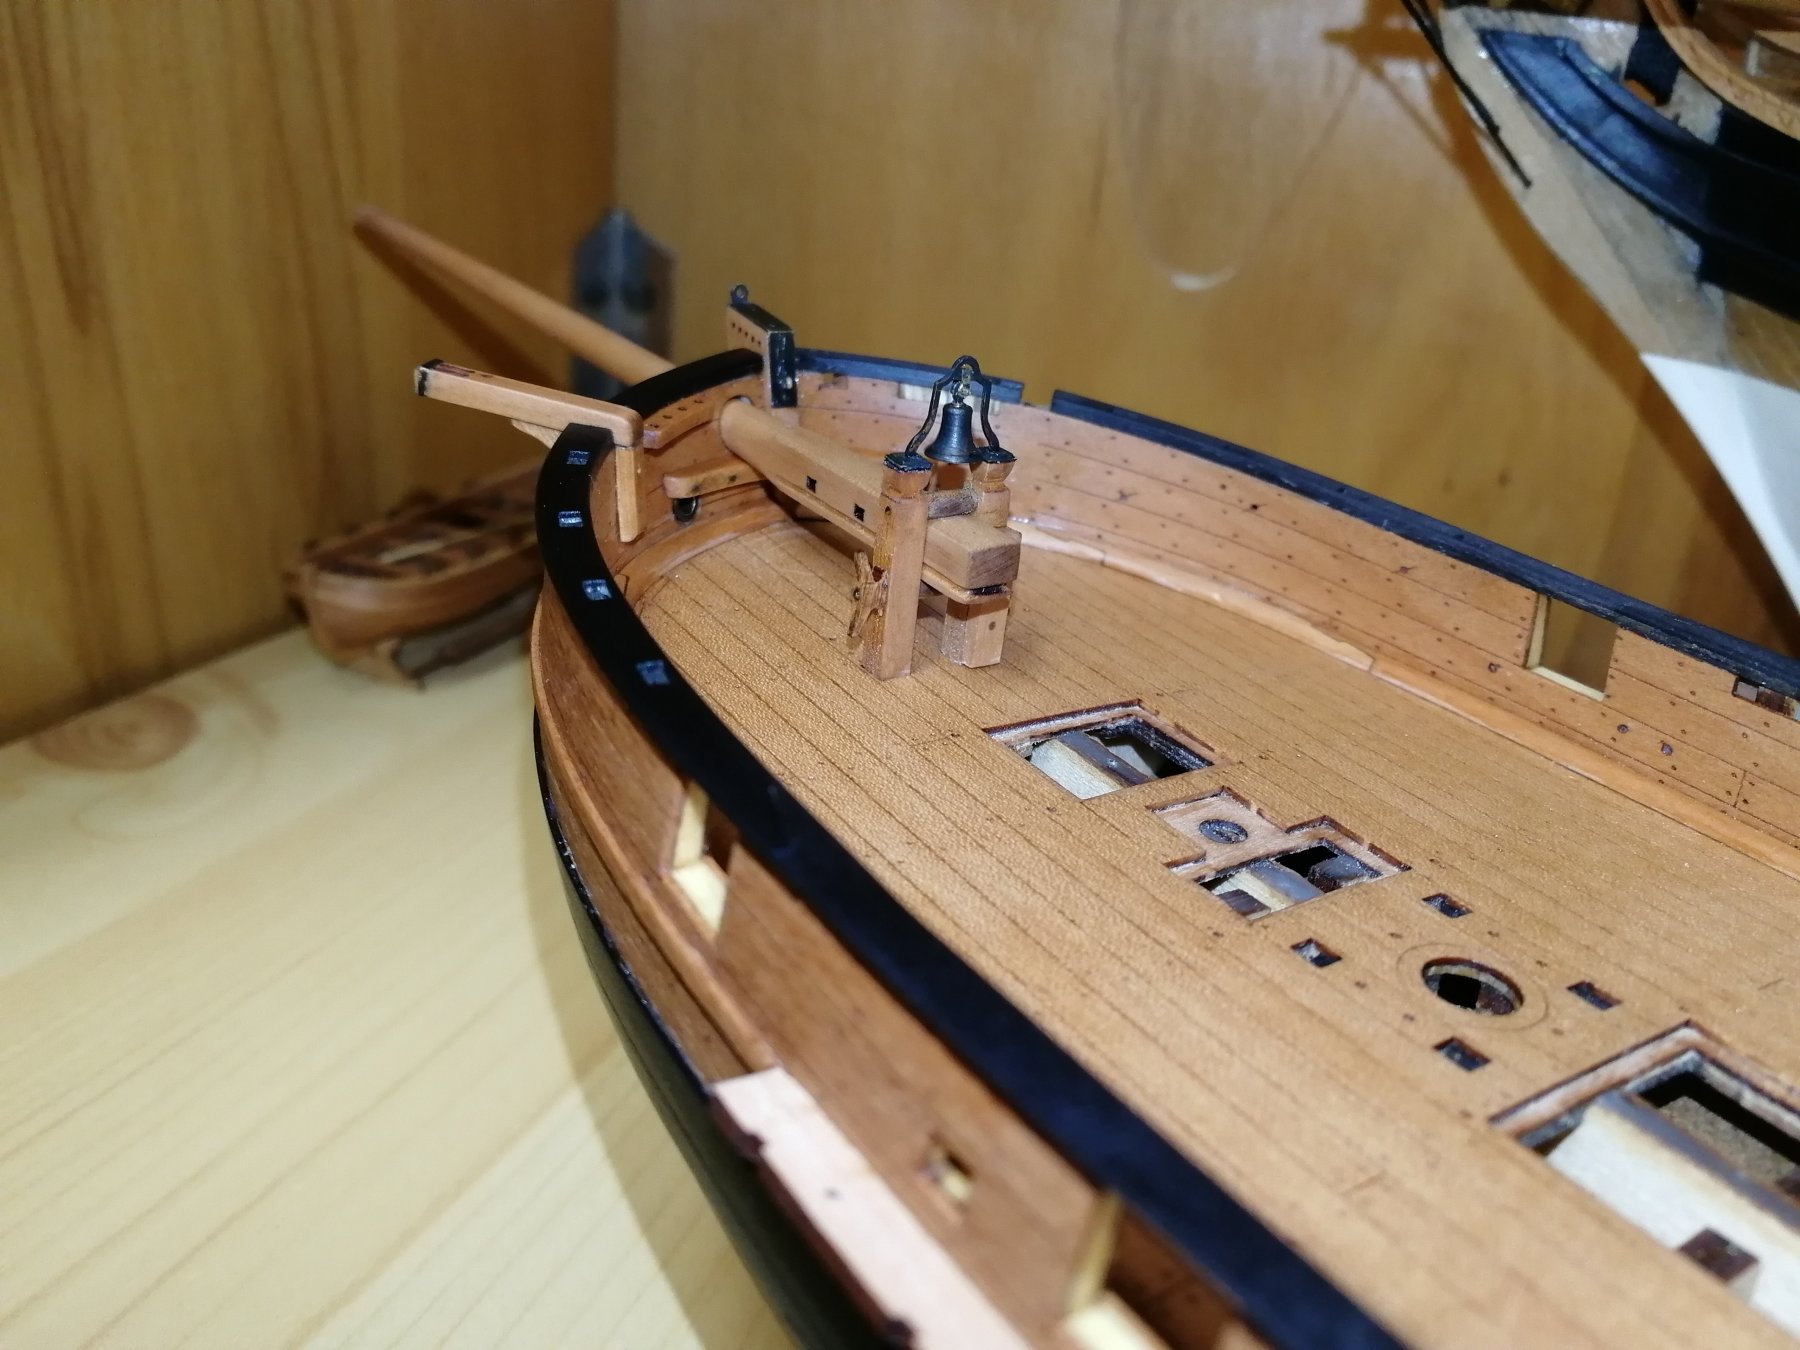
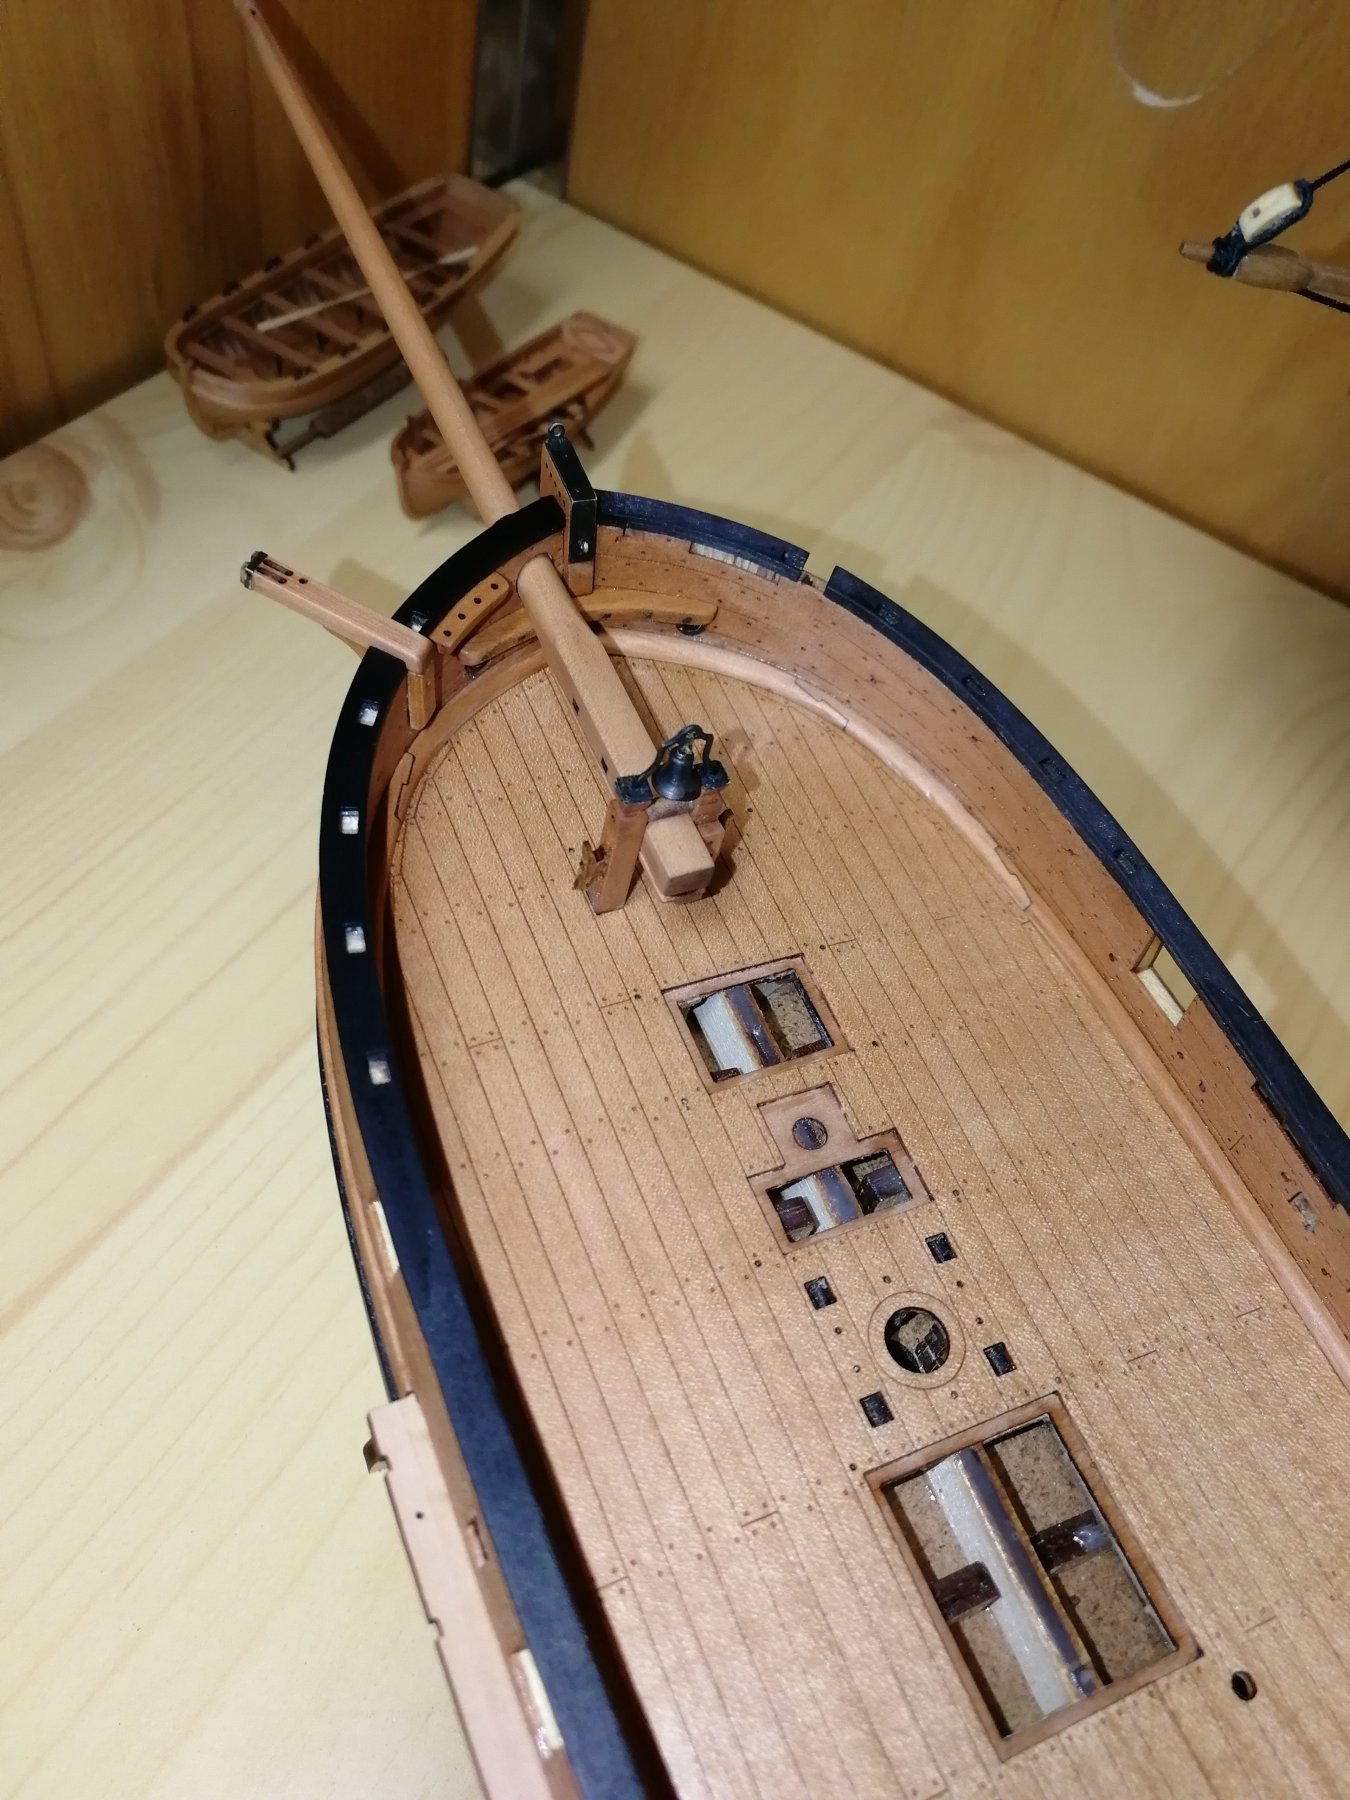
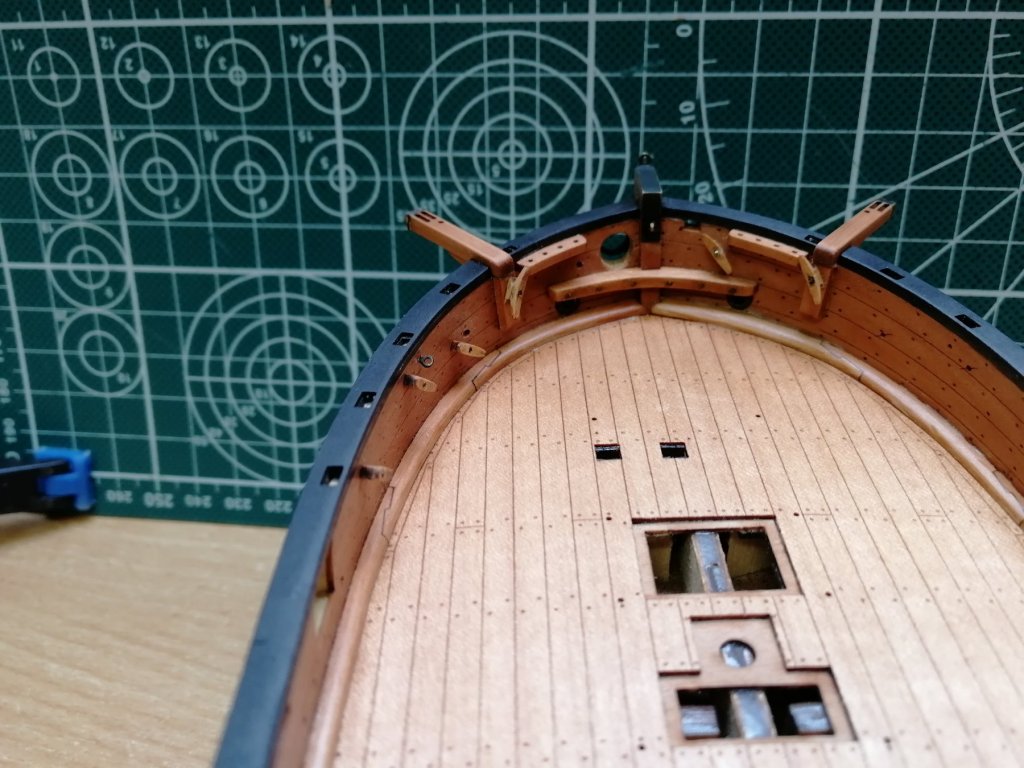
Second cathead assembly. I Started to assemble the rudder. Every edge has to be beveled so it takes some time to shape it. Iron works next.


- 315 replies
-
- 16
-
-
- master korabel
- avos
- (and 1 more)
-
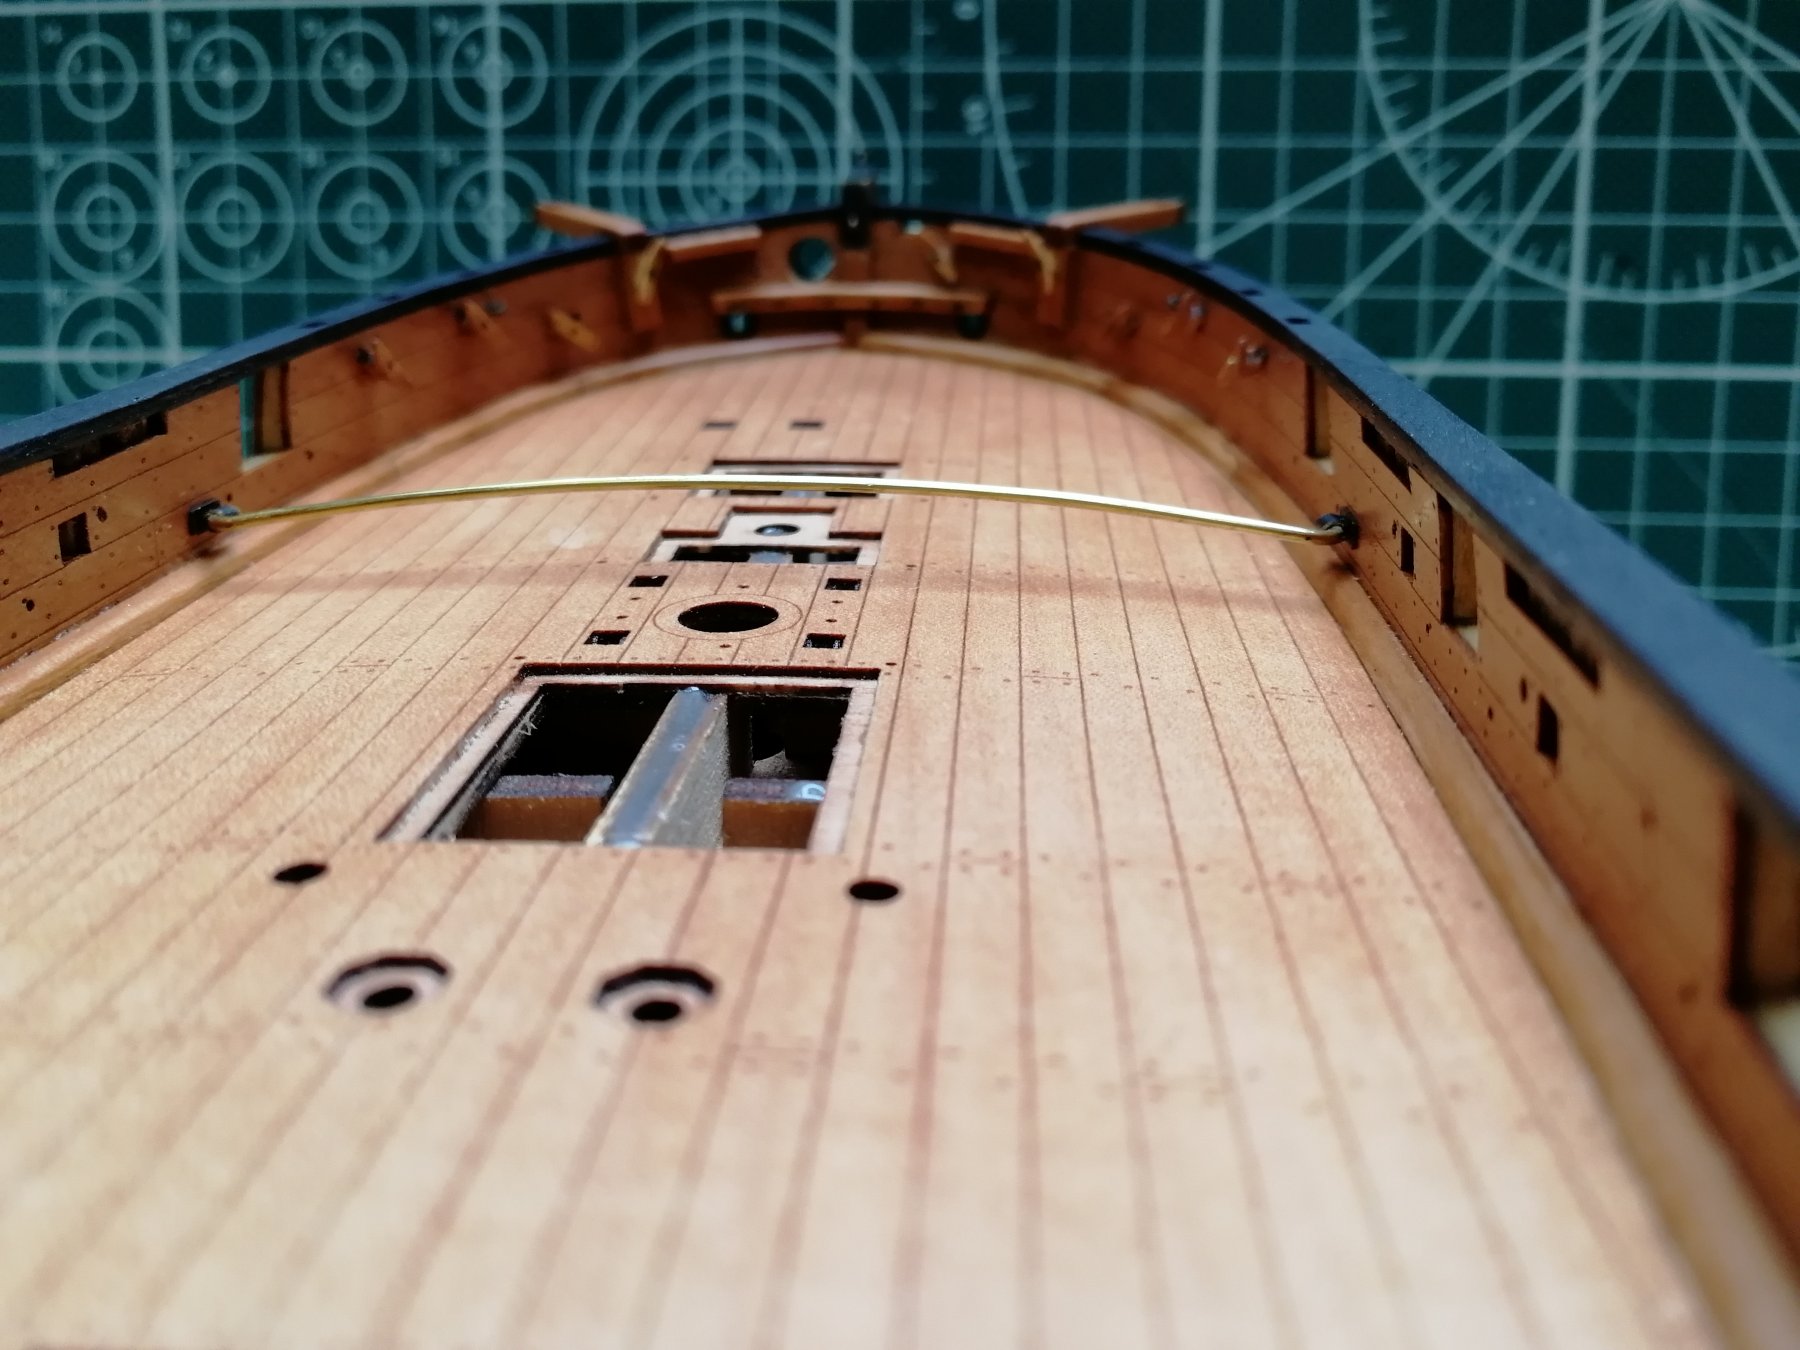
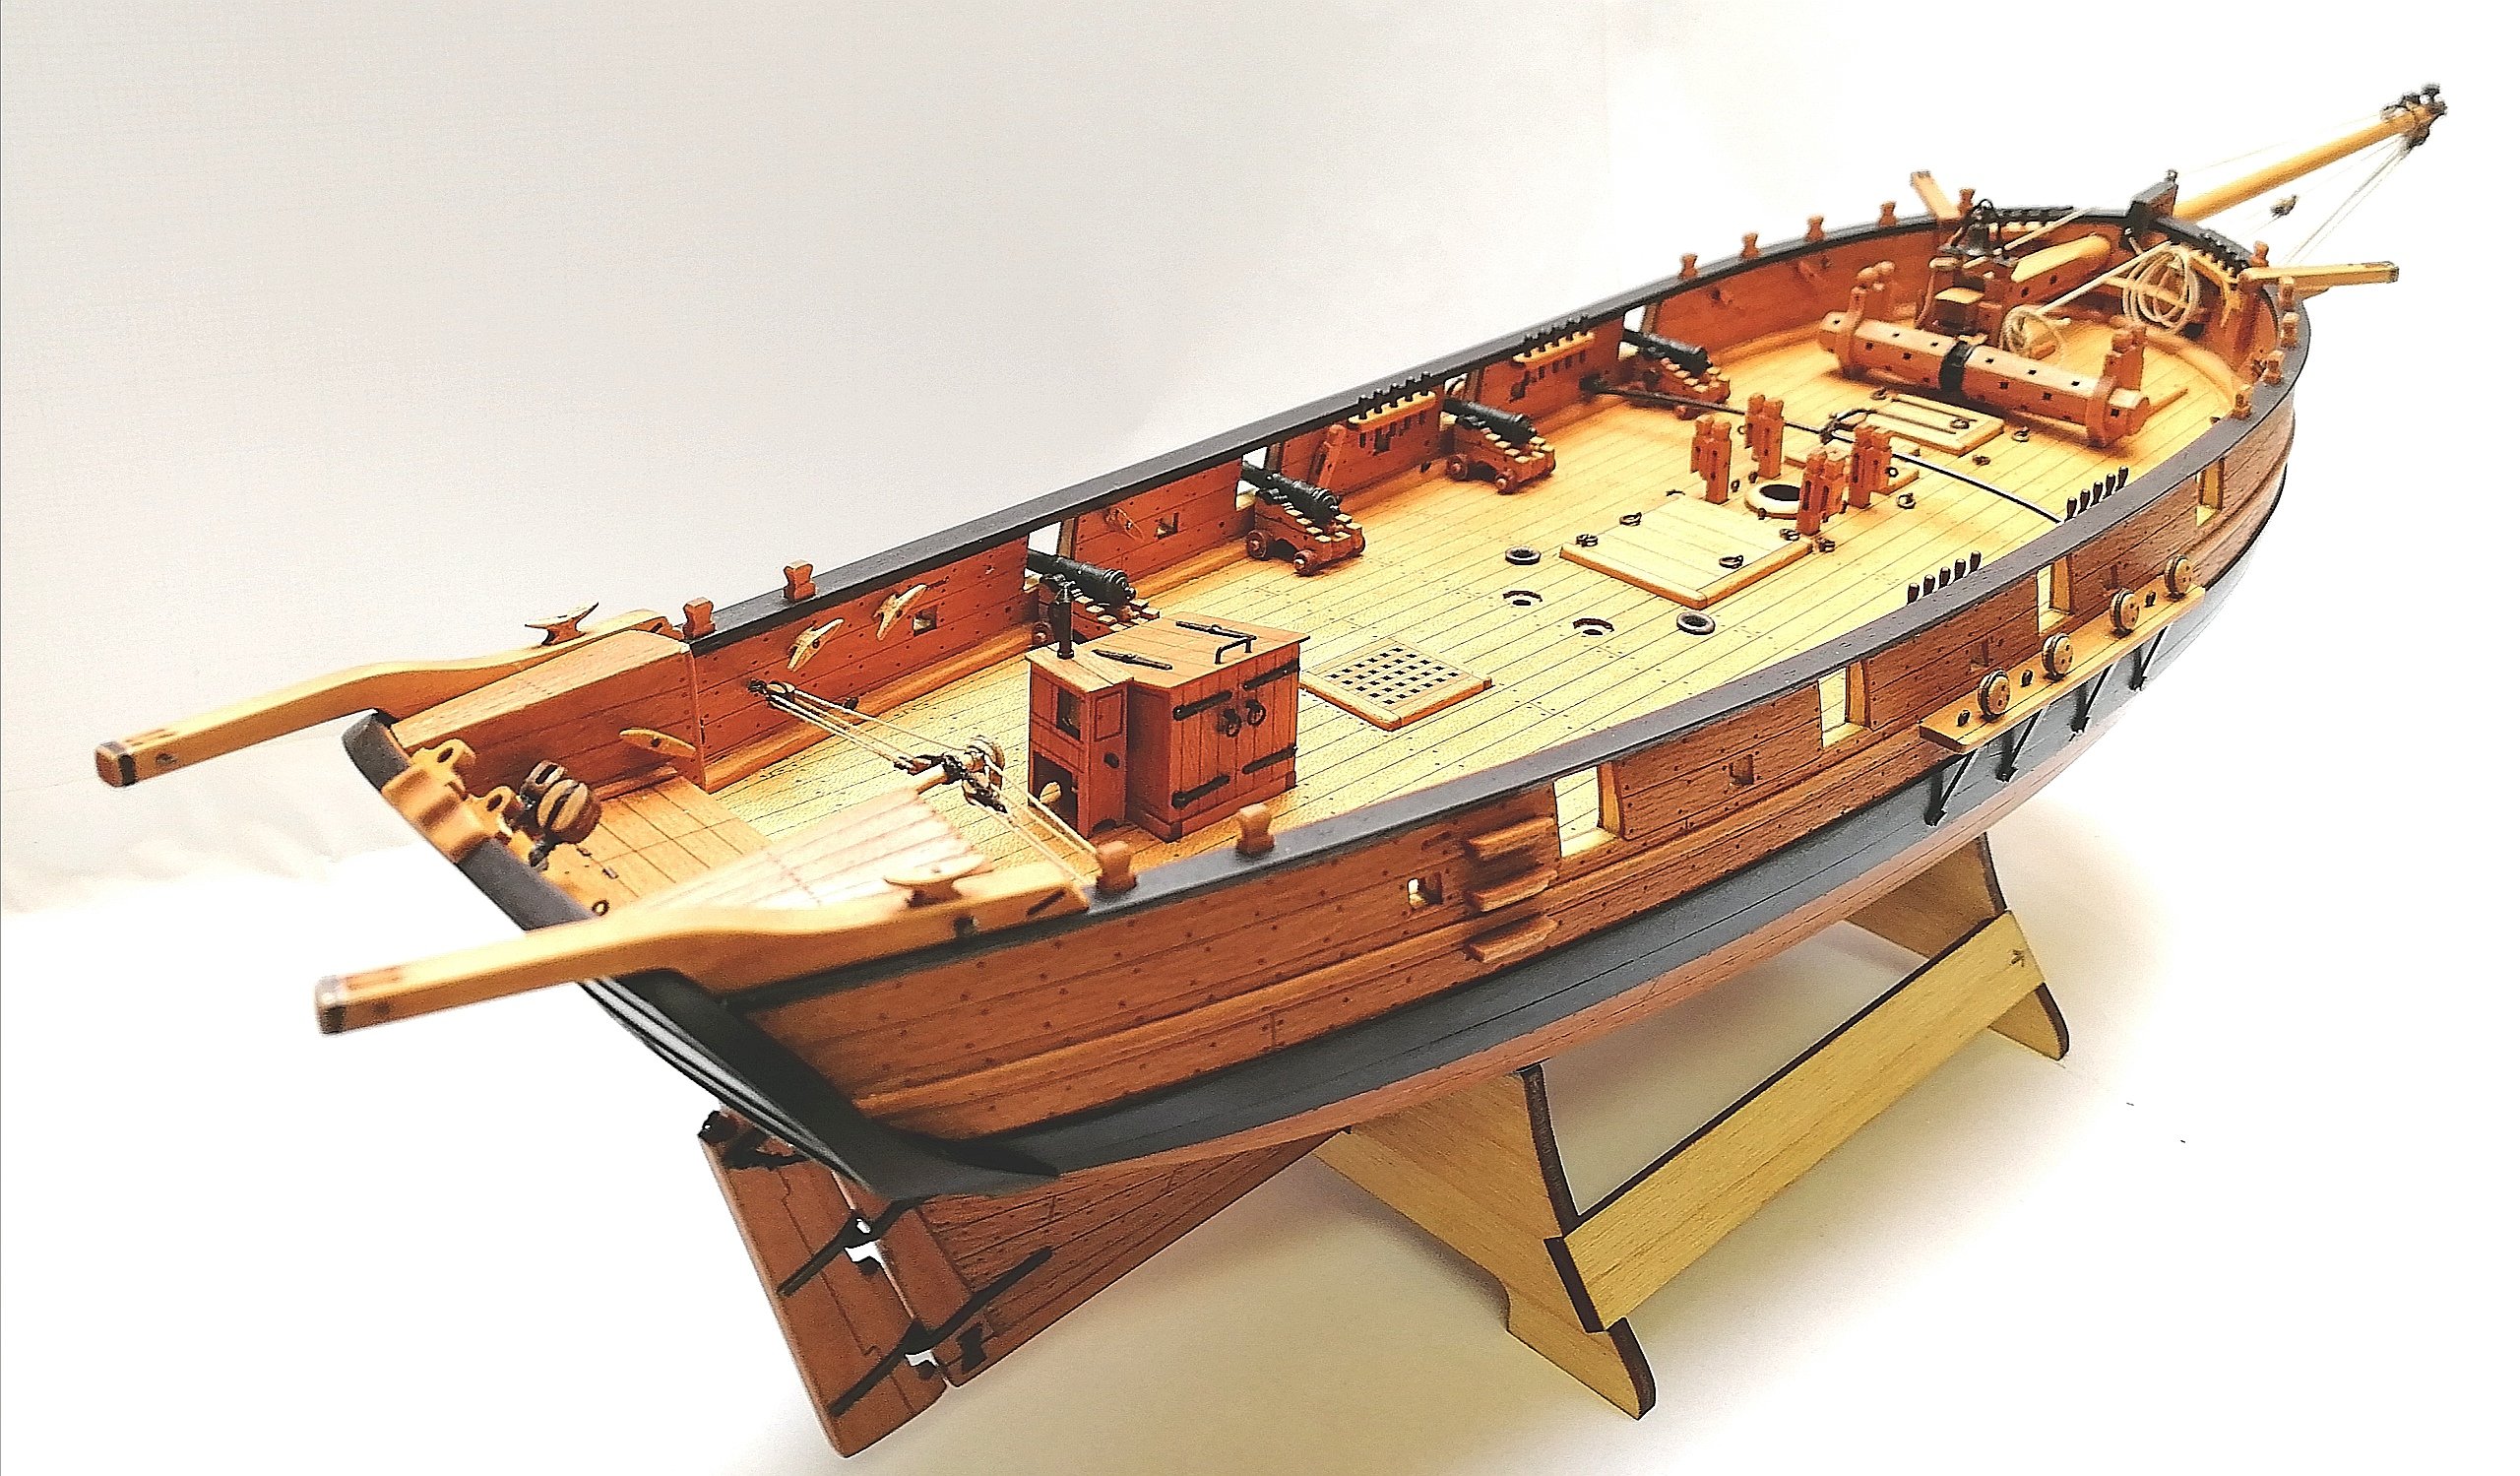
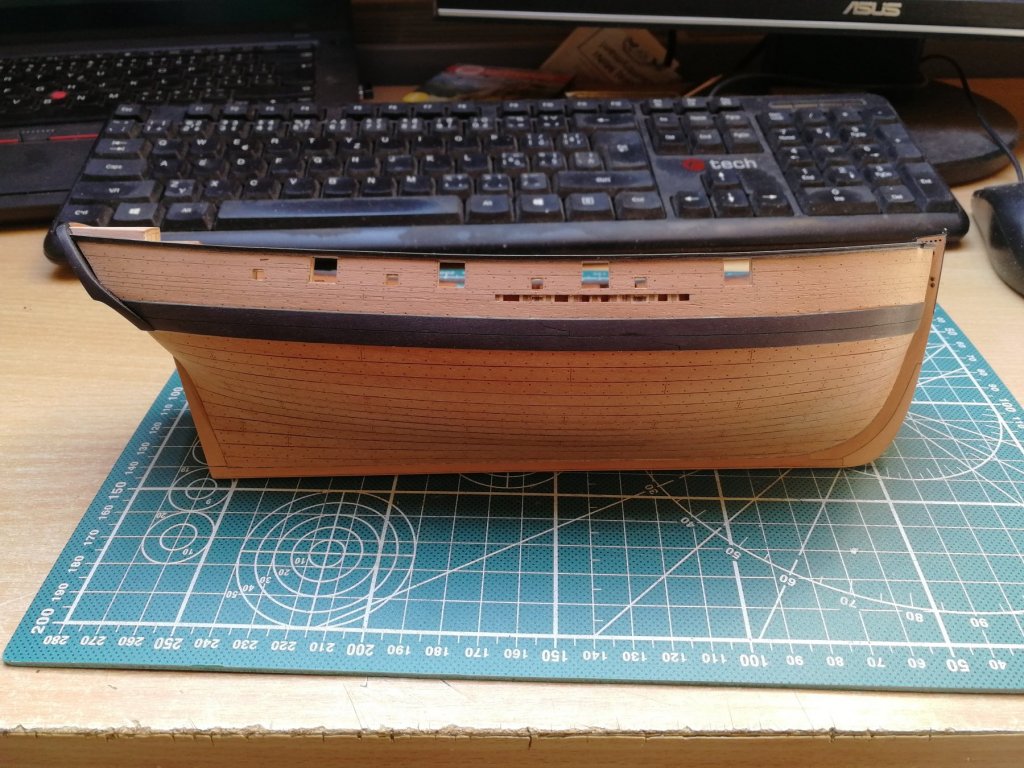
@ccoyle thank you. Each person different feeling. Personaly I like more less colours on the model. As parts became smaller and smaller the progress slows Down as well. I have installed few cleats (they are laser cut from the side and also from above so it is shaped very well I only had to remove the char). I have assembled the pulley on the bow from 3 photoetched parts and add the horseshoes to the keel. All is blackend with "brass black".

- 315 replies
-
- 19
-
-
- master korabel
- avos
- (and 1 more)
-
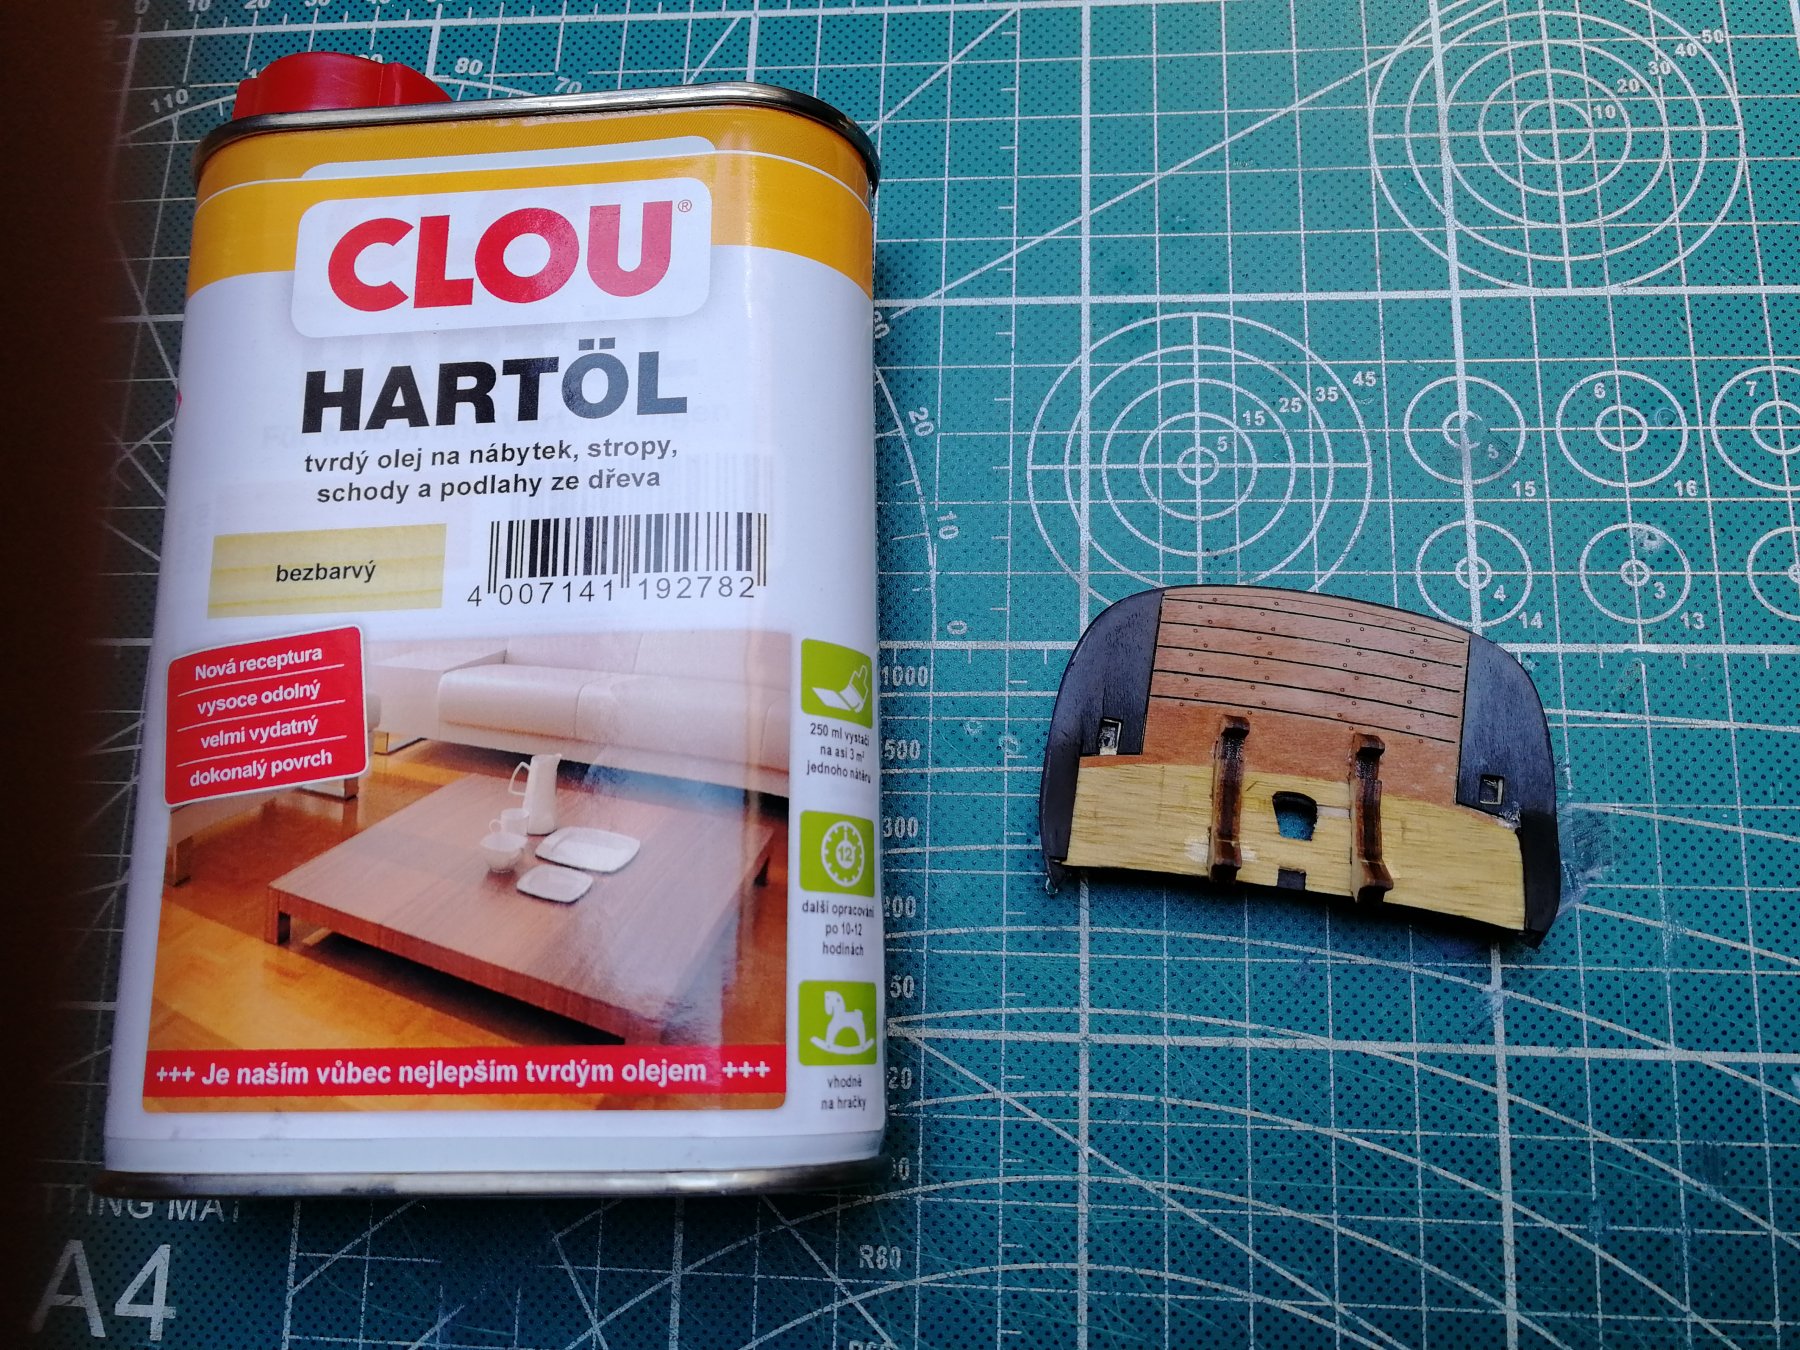
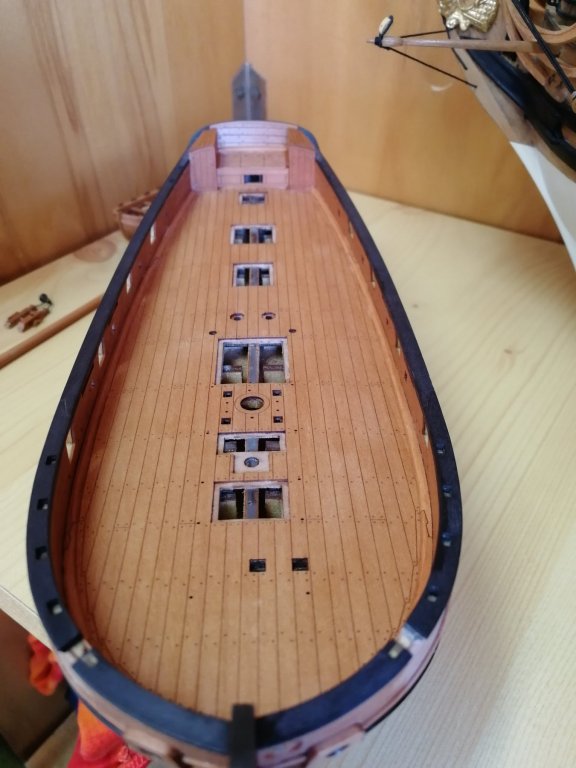
The deck after second layer of oil looks fantastic 😲 it is super smooth and the colour is beautyful I have put some other elements on. Now I can continue with woodwork.


- 315 replies
-
- 20
-
-
- master korabel
- avos
- (and 1 more)
-
Thanks man. I did that on the hull bellow the wales. After oil send to the very smooth and give very thin layer of oil again and directly také off the remains of the oil with a cloth. It makes nice surface. That is why I decided to put oil now inside before There are many conners which will be not easy to access with cloth. Hope it was good decision. It is my First time dealing with a oil finish. So it is a try! But So far si good. Love the result.
- 315 replies
-
- 2
-
-
- master korabel
- avos
- (and 1 more)
-
Perfect! Good luck. It is very easy to get them back so no worries. Looks like the pencil lines worked very good👍
- 31 replies
-
- 3
-
-
- master korabel
- avos
- (and 1 more)
-
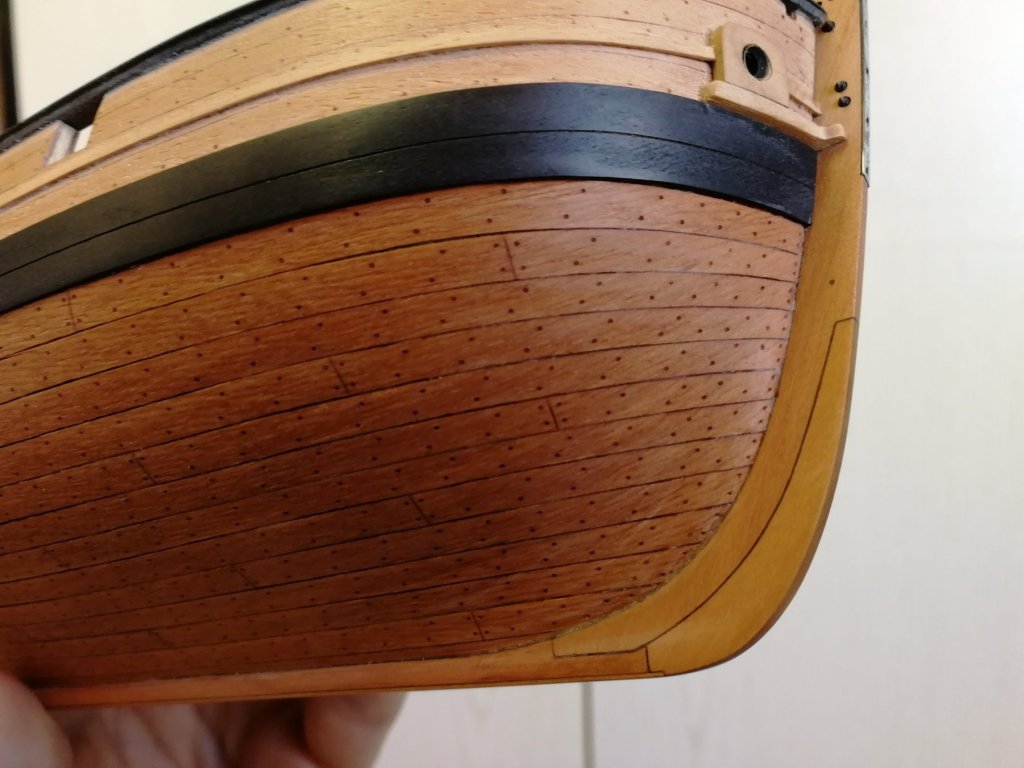
Lovely work Jim, looks like you are not loosing treenails due to the lenght at the stern. Is the bow also OK?
- 31 replies
-
- 3
-
-
- master korabel
- avos
- (and 1 more)
-
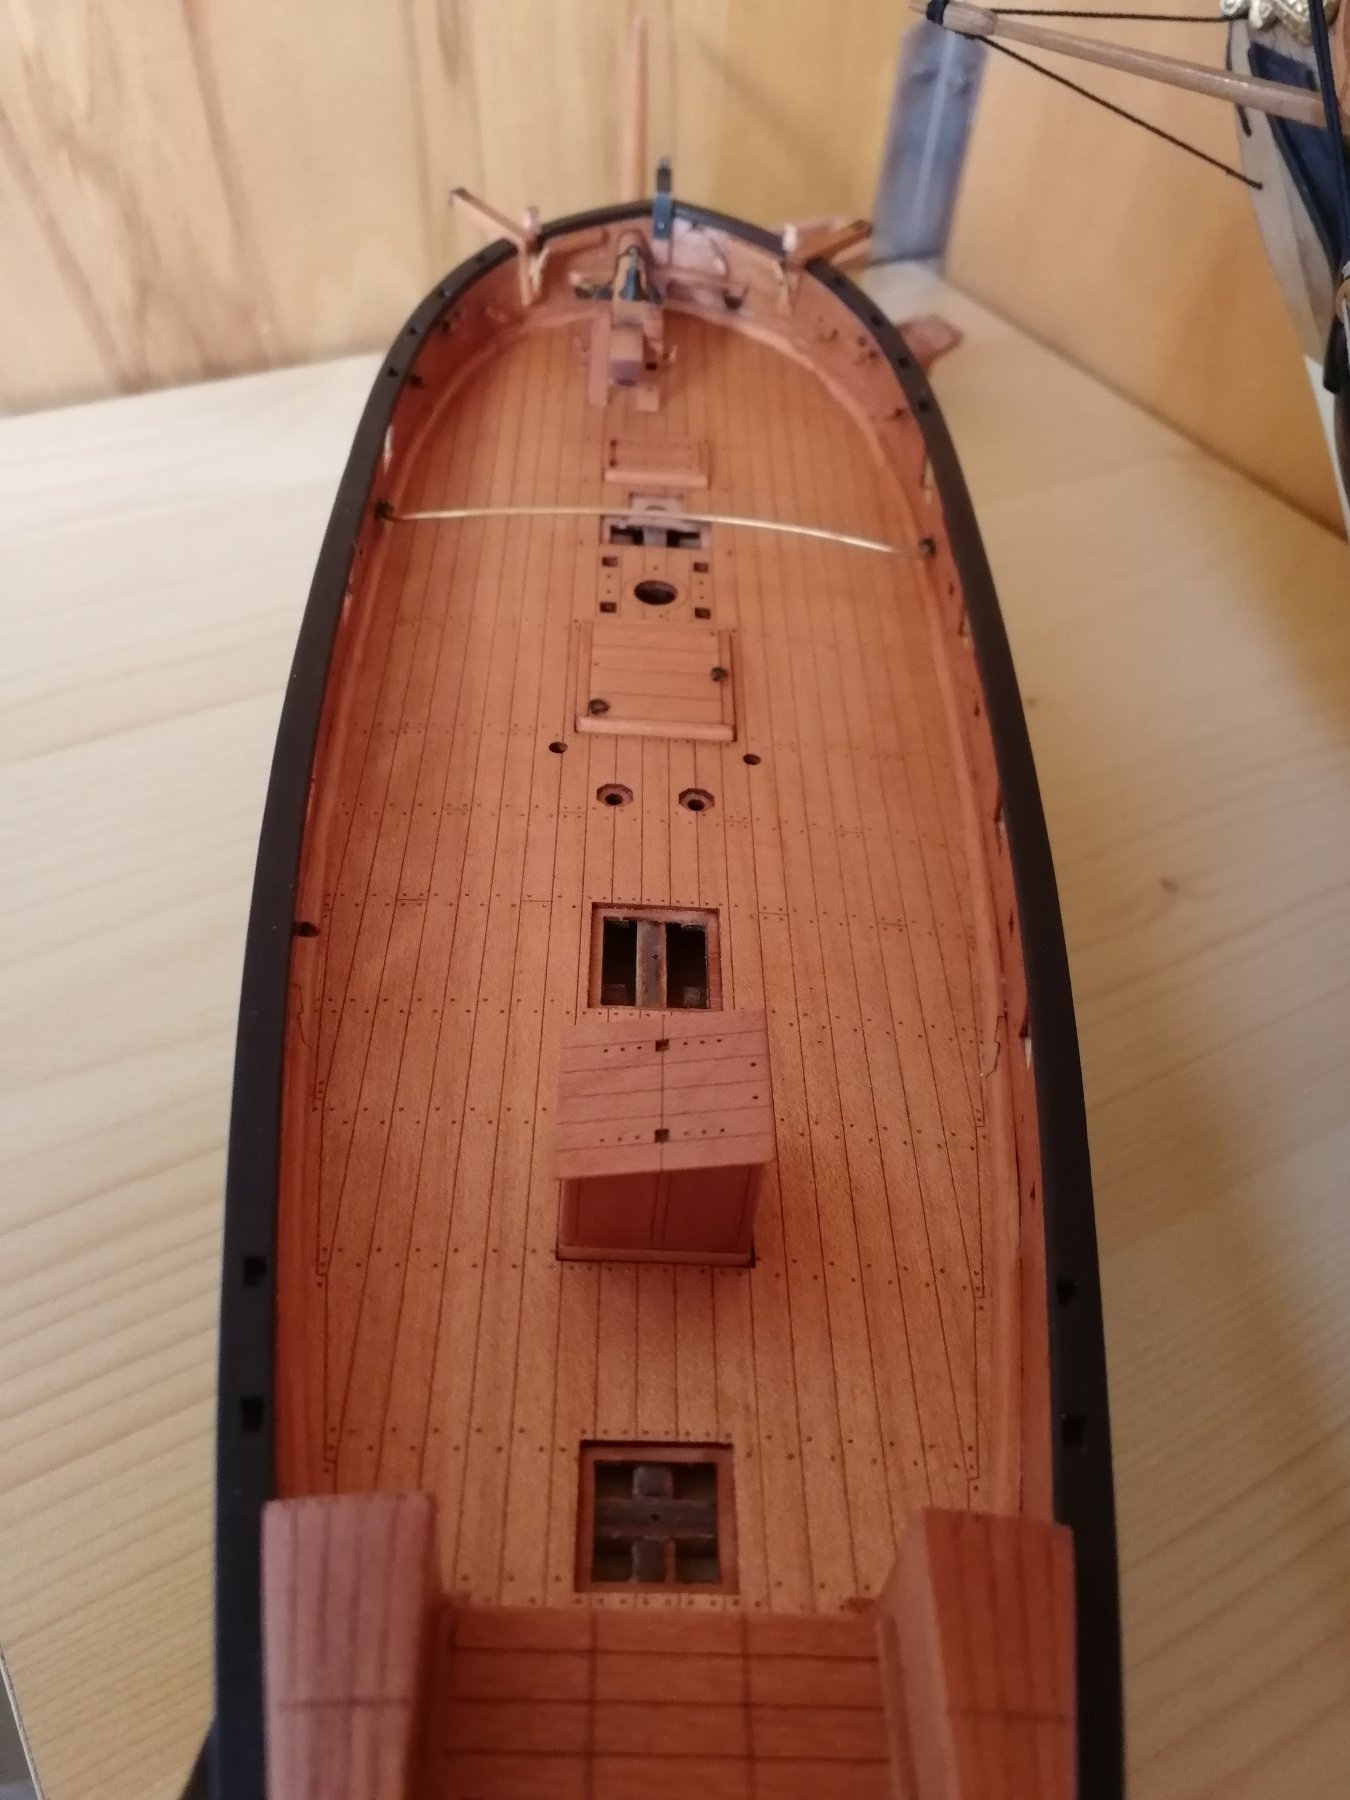
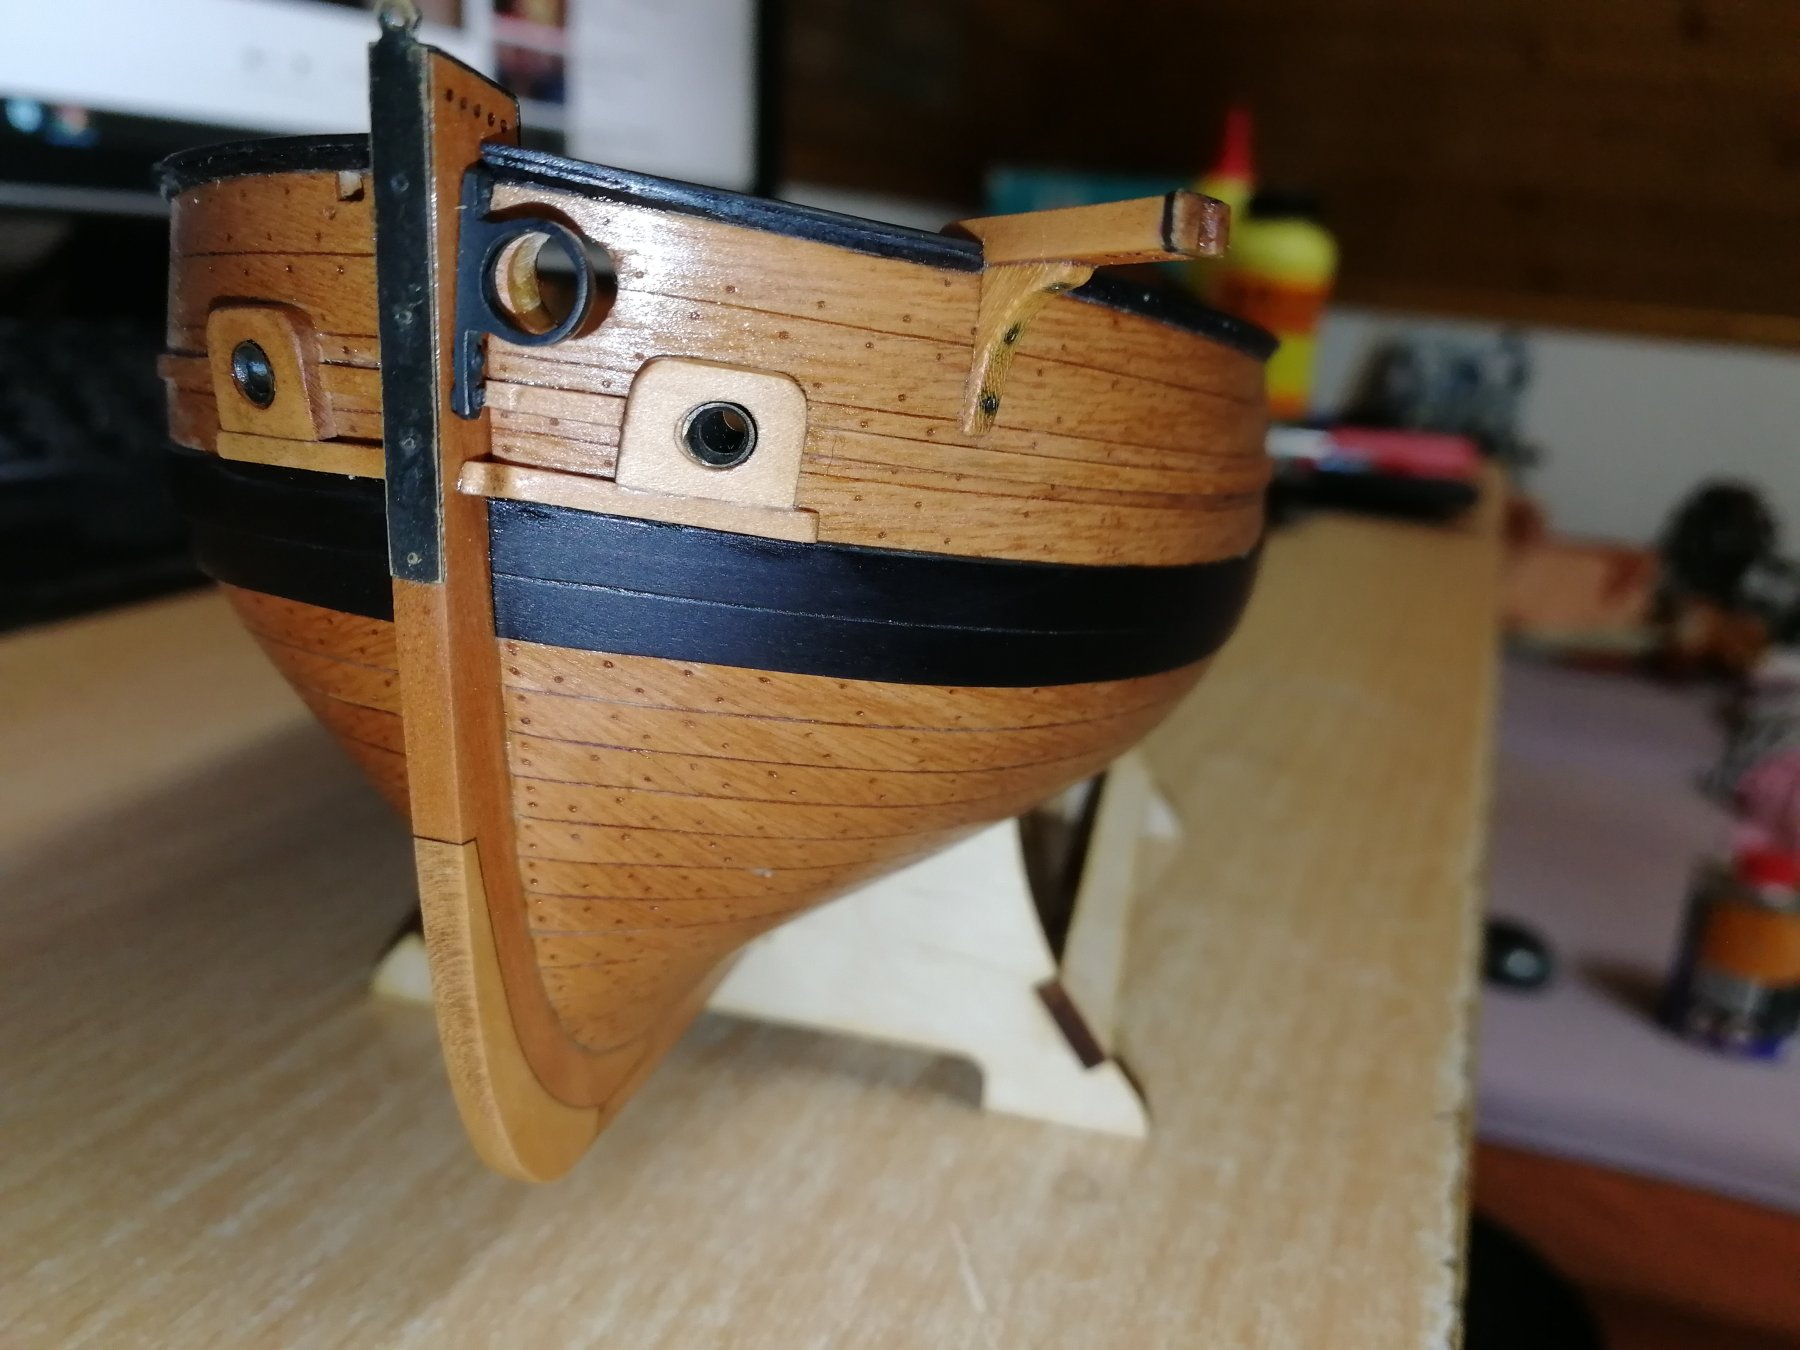
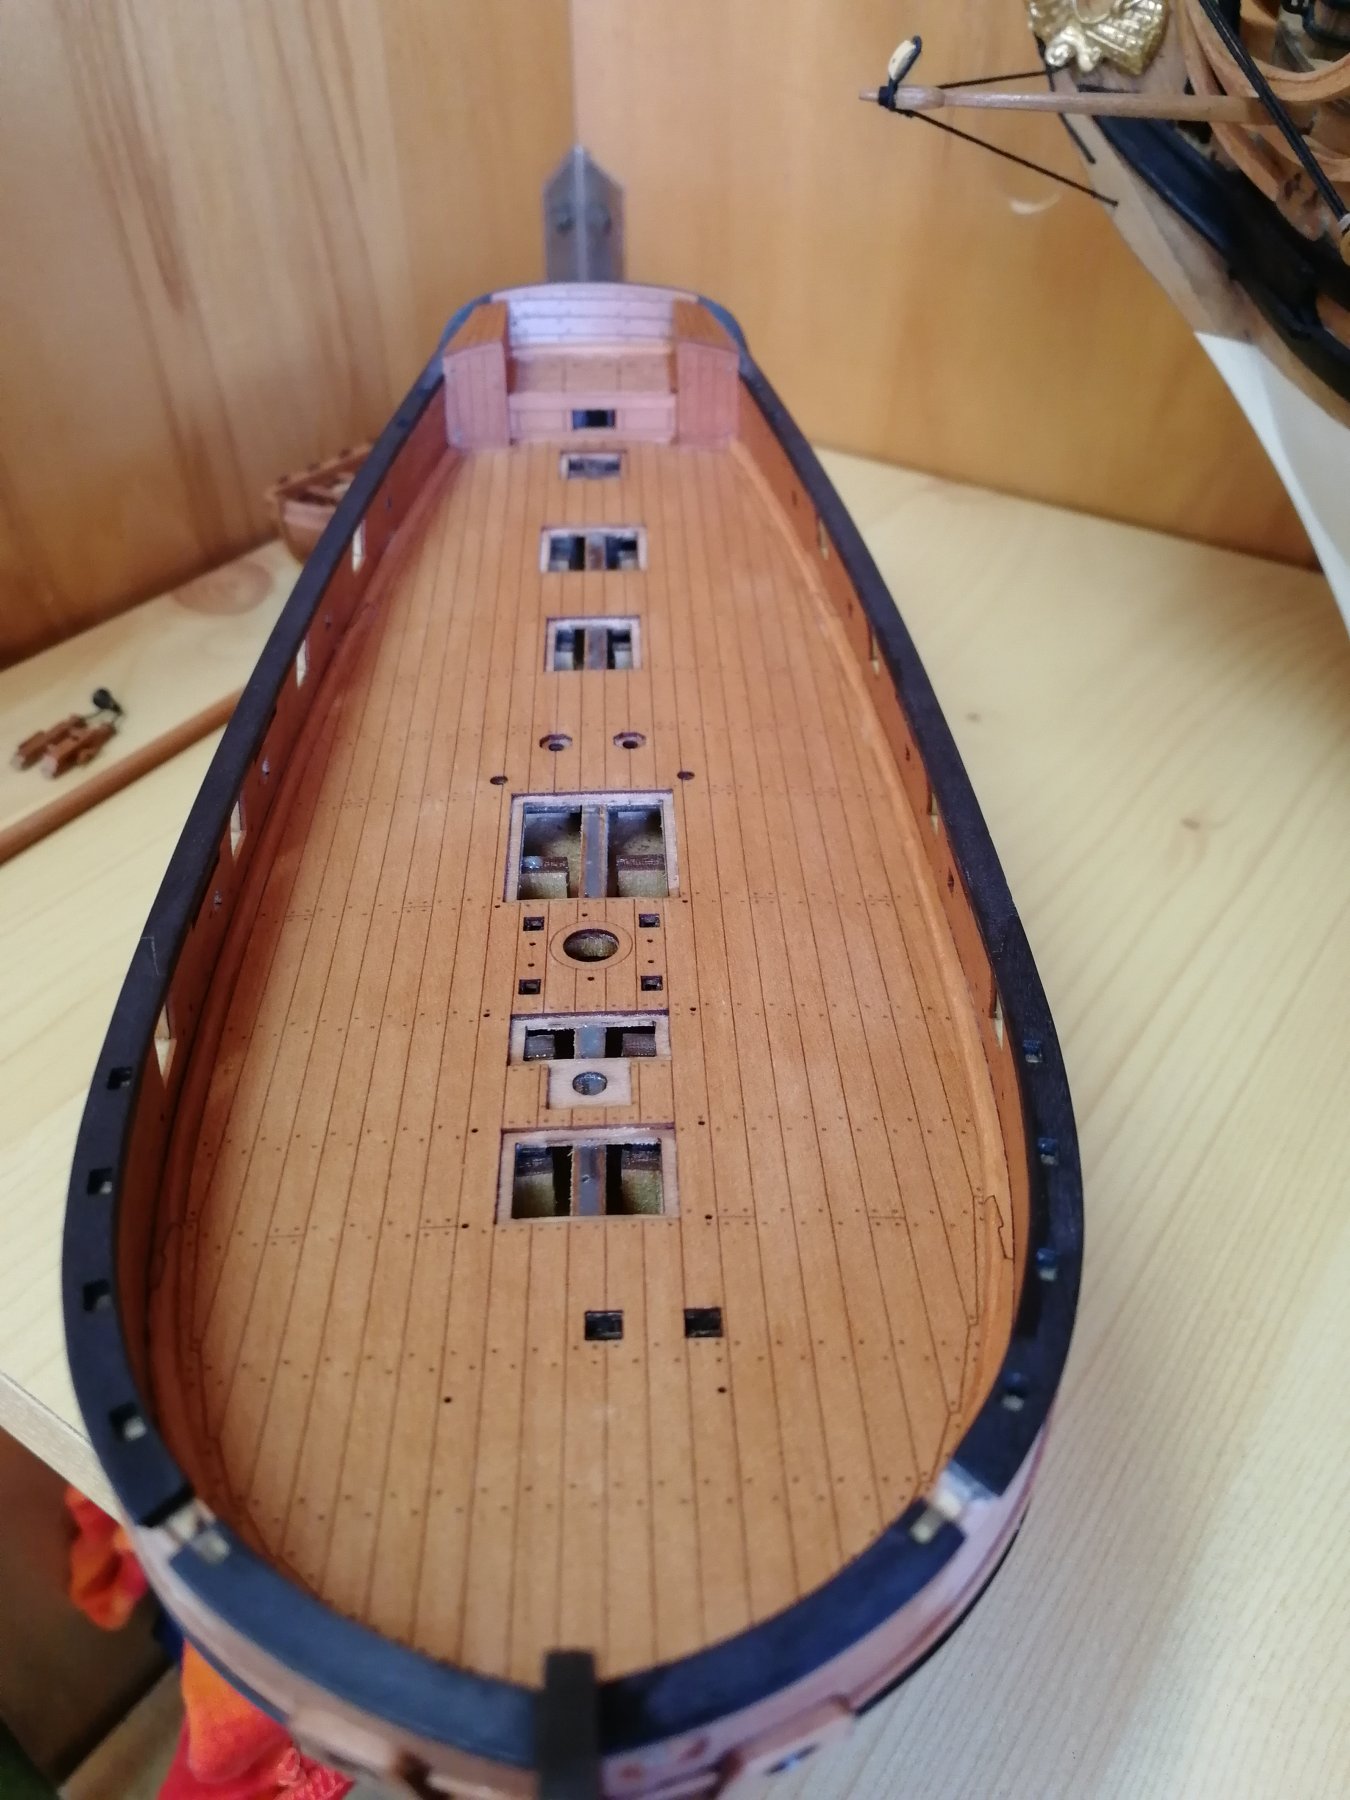
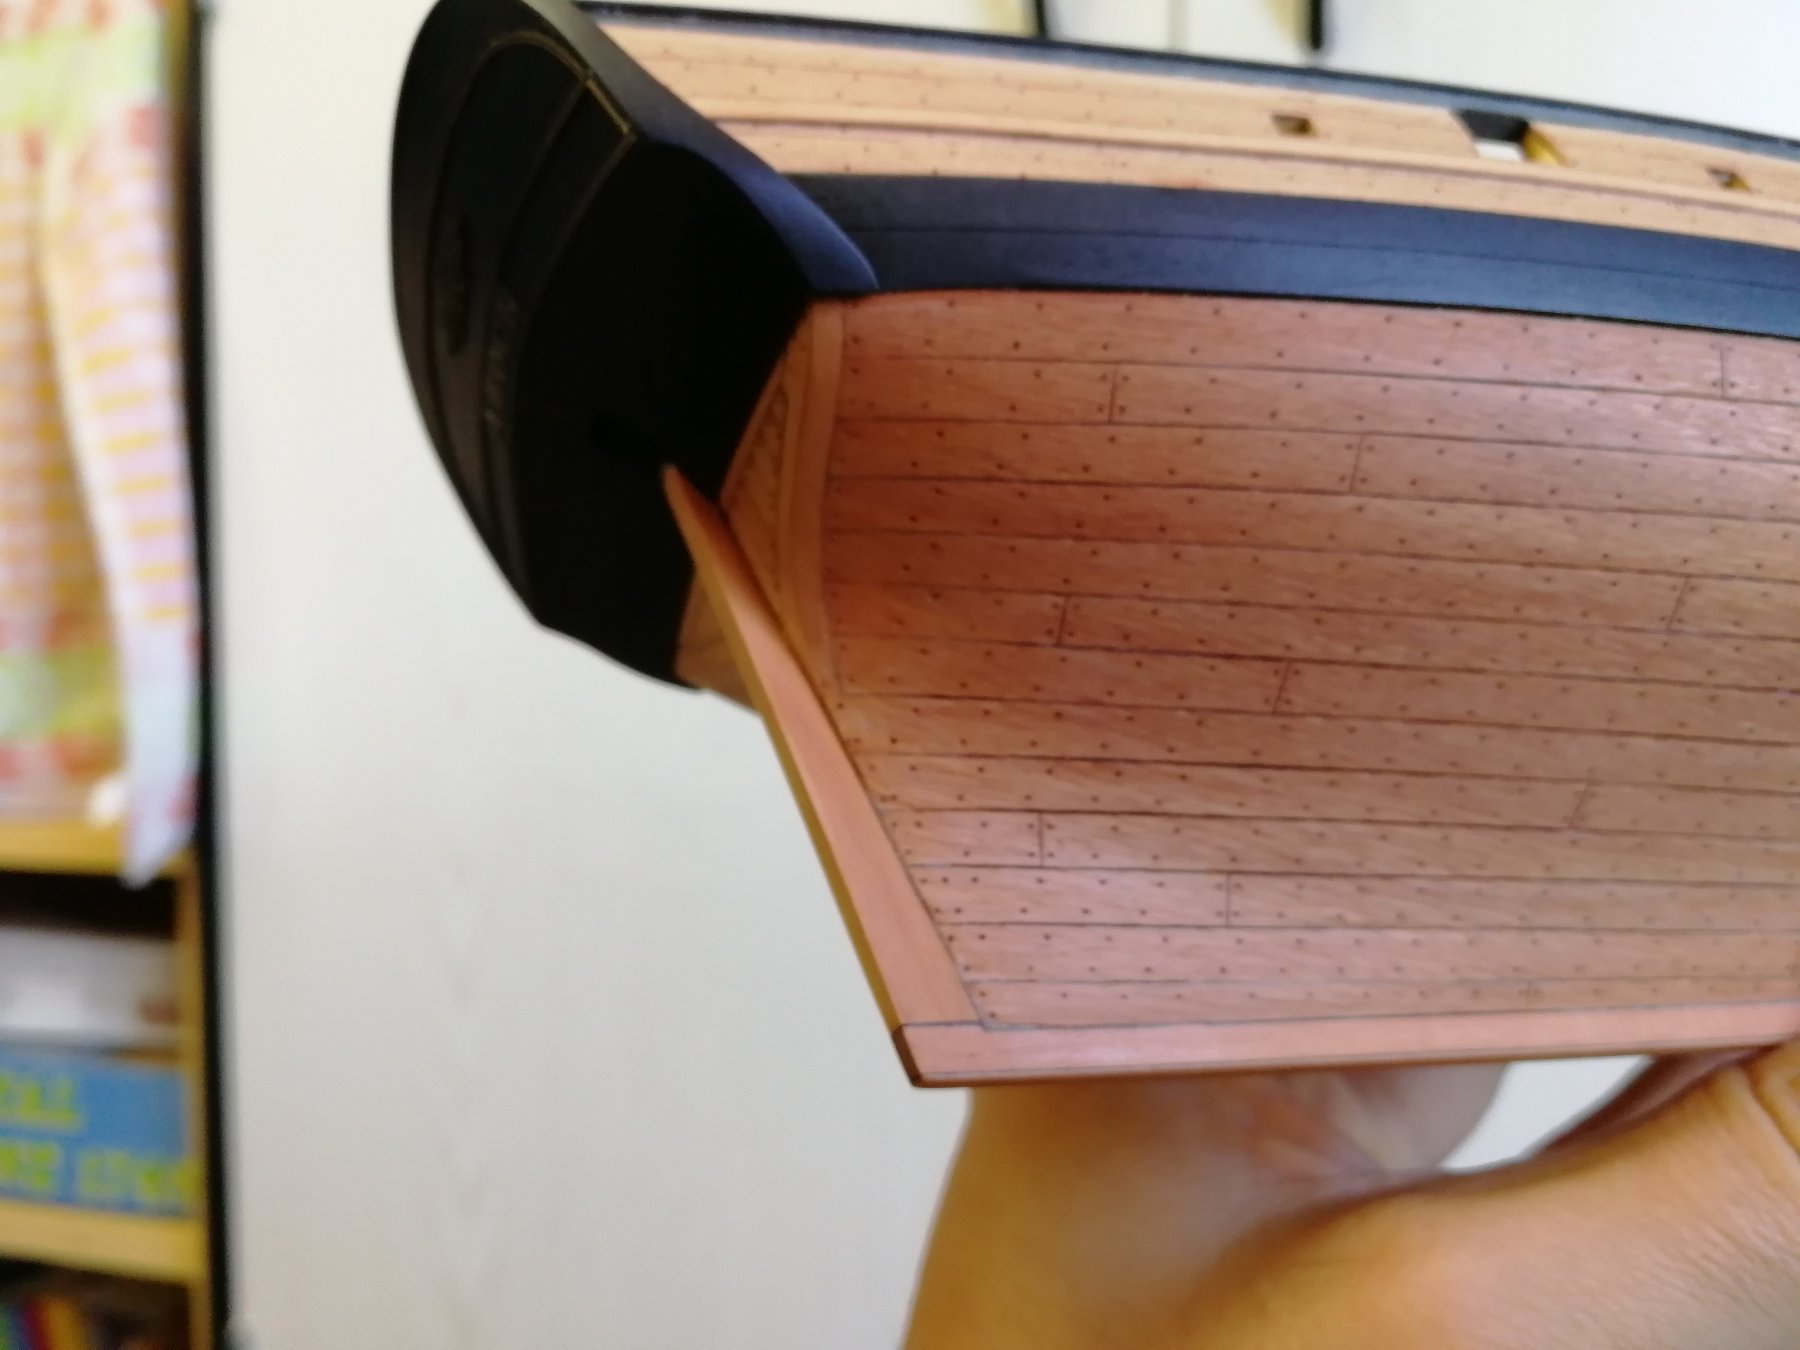
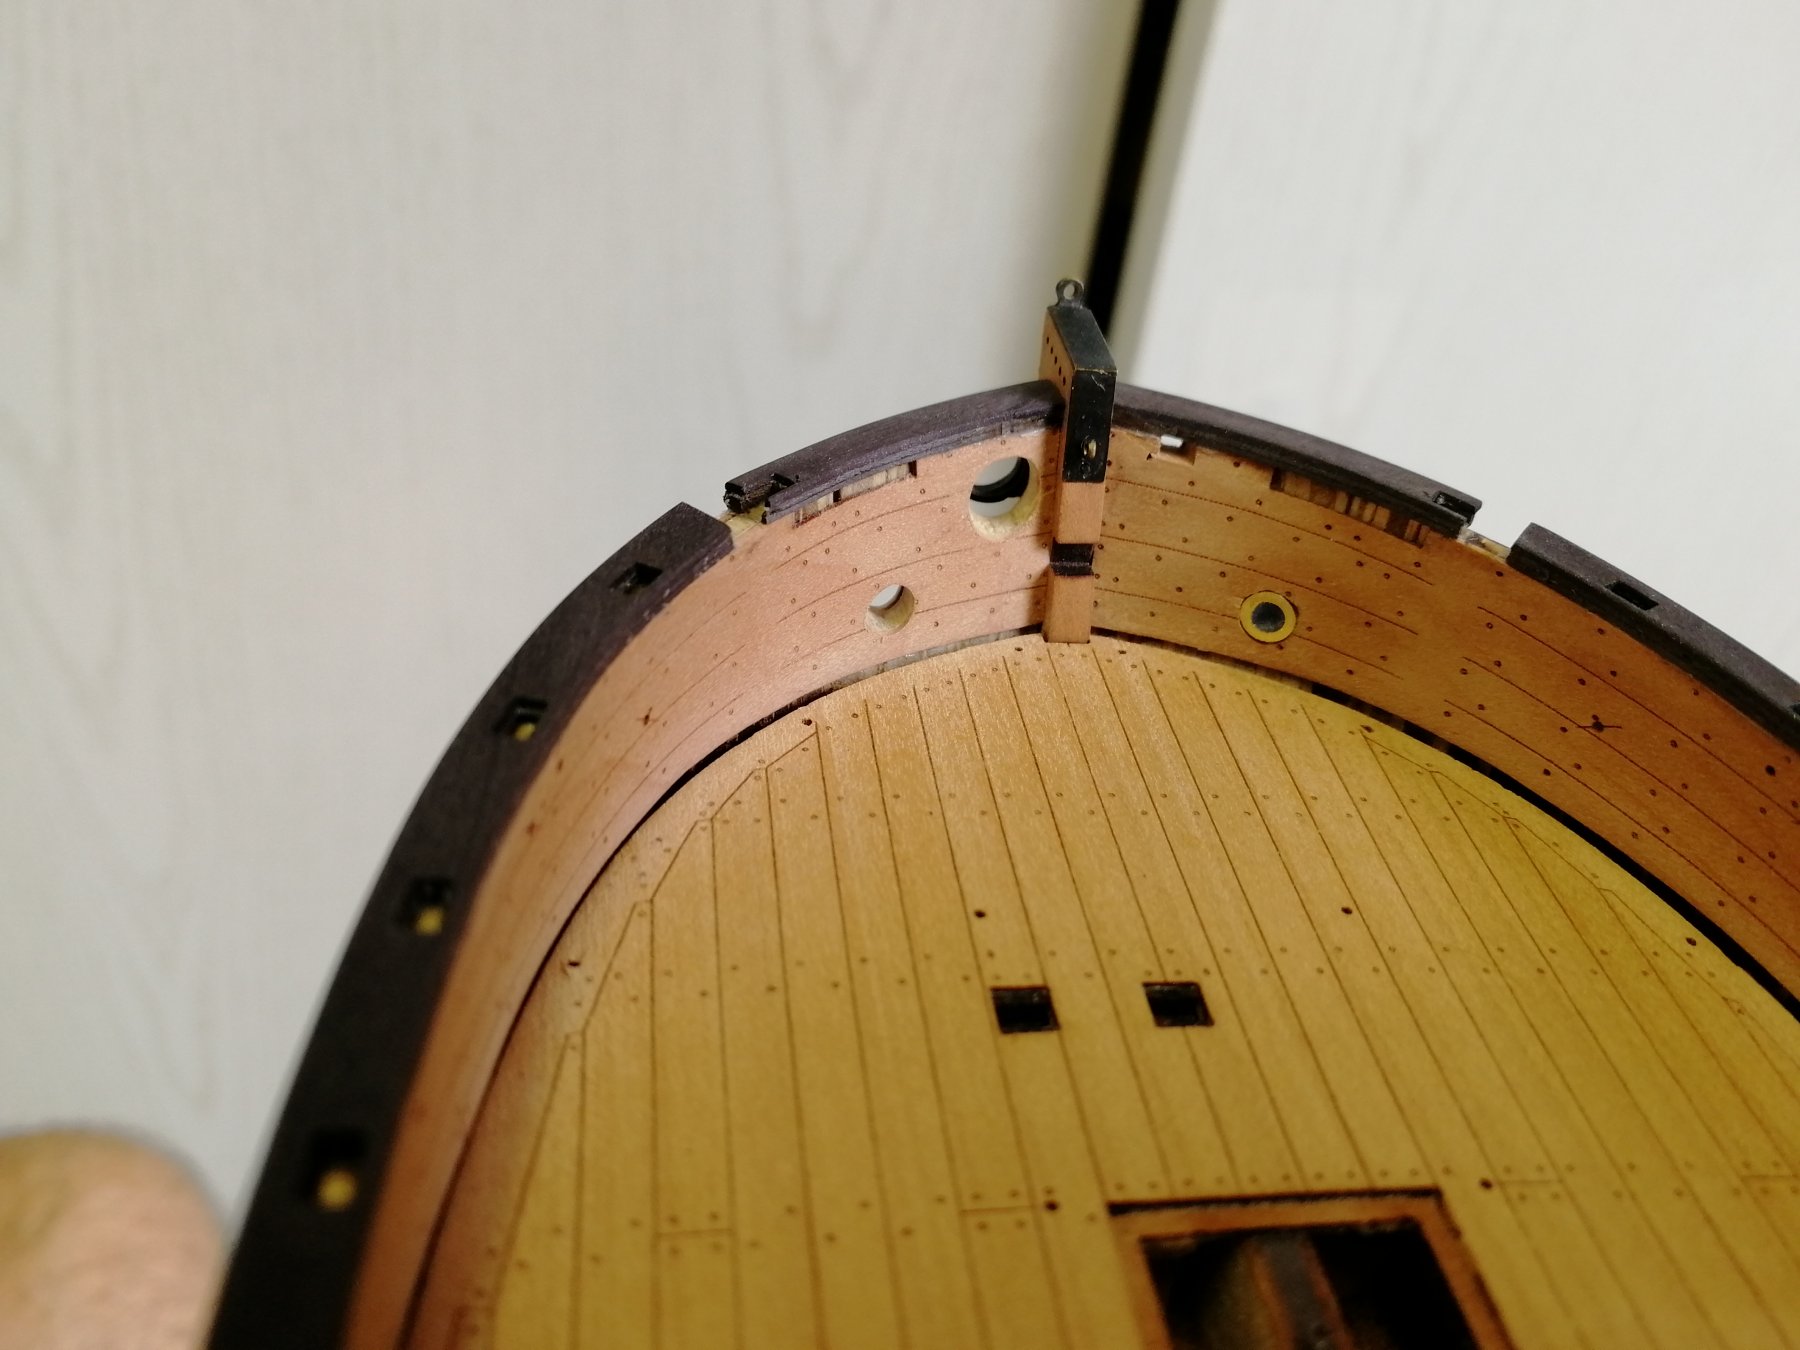
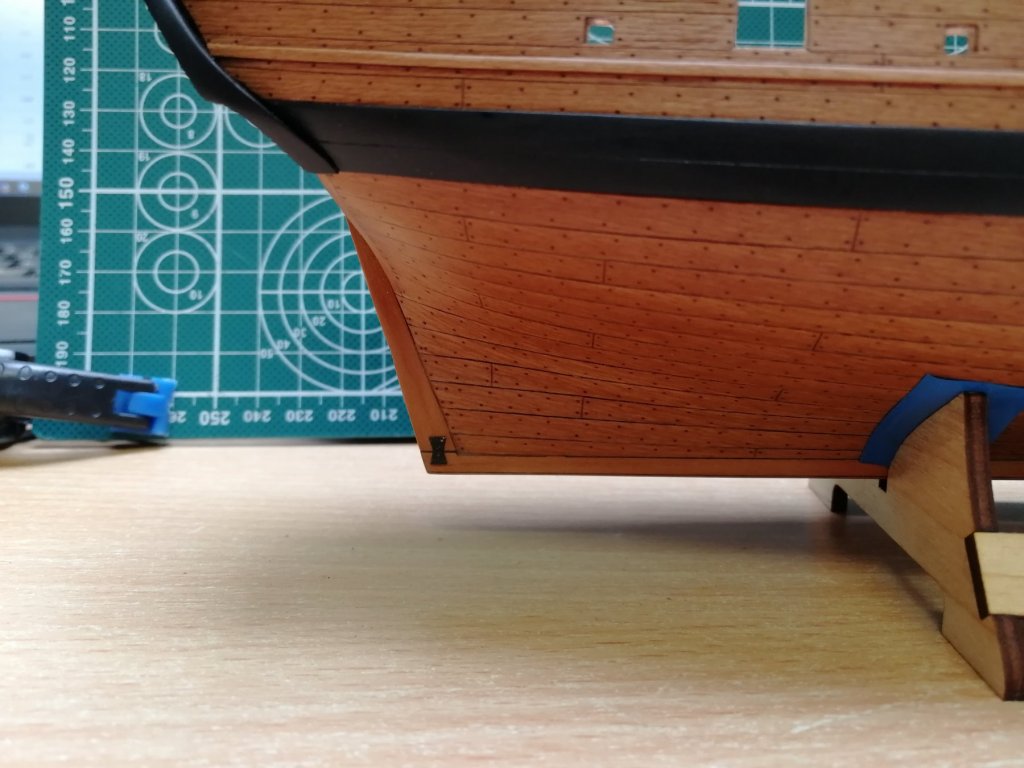
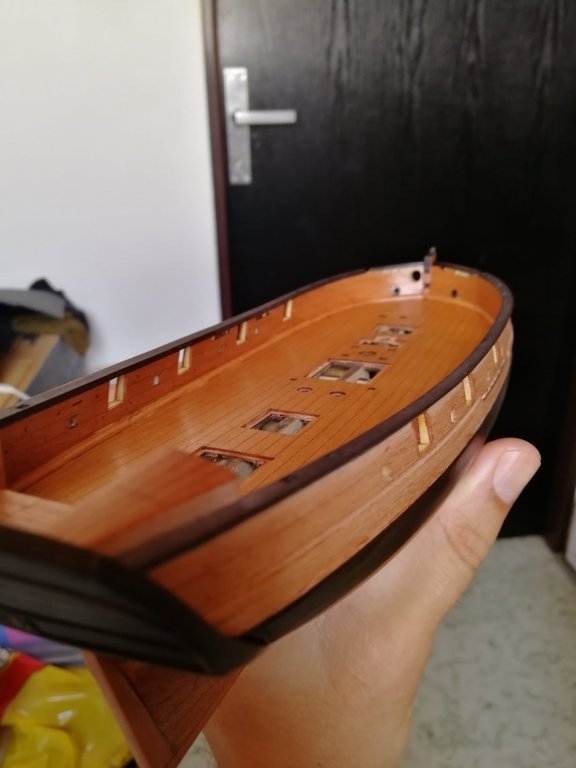
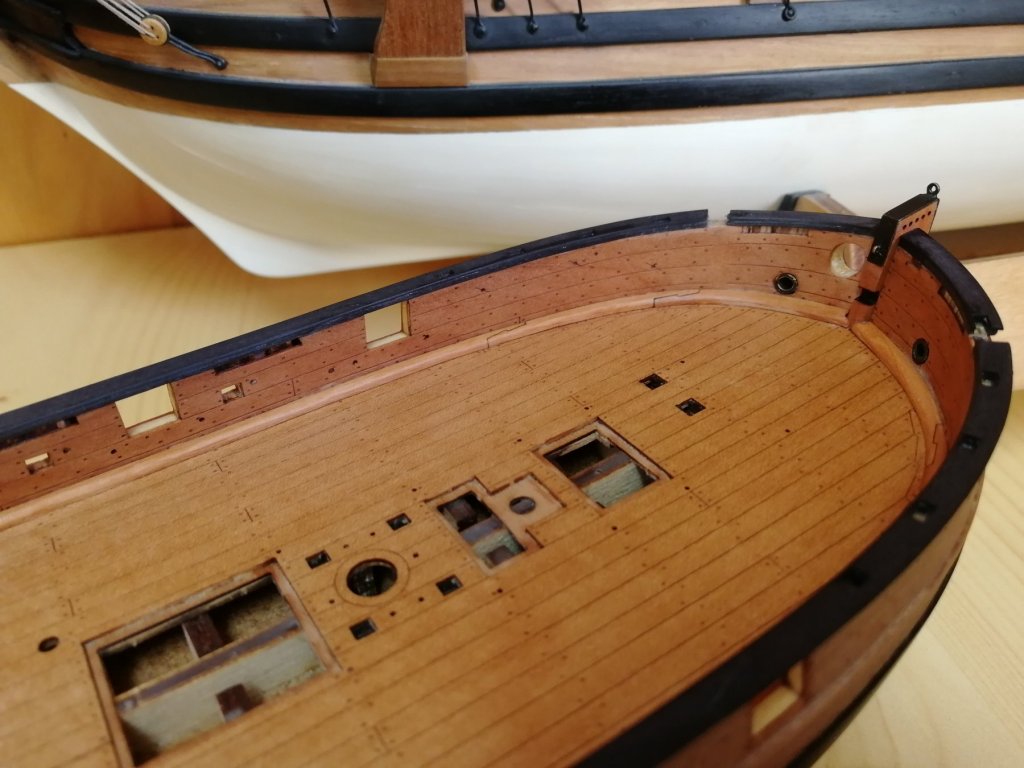
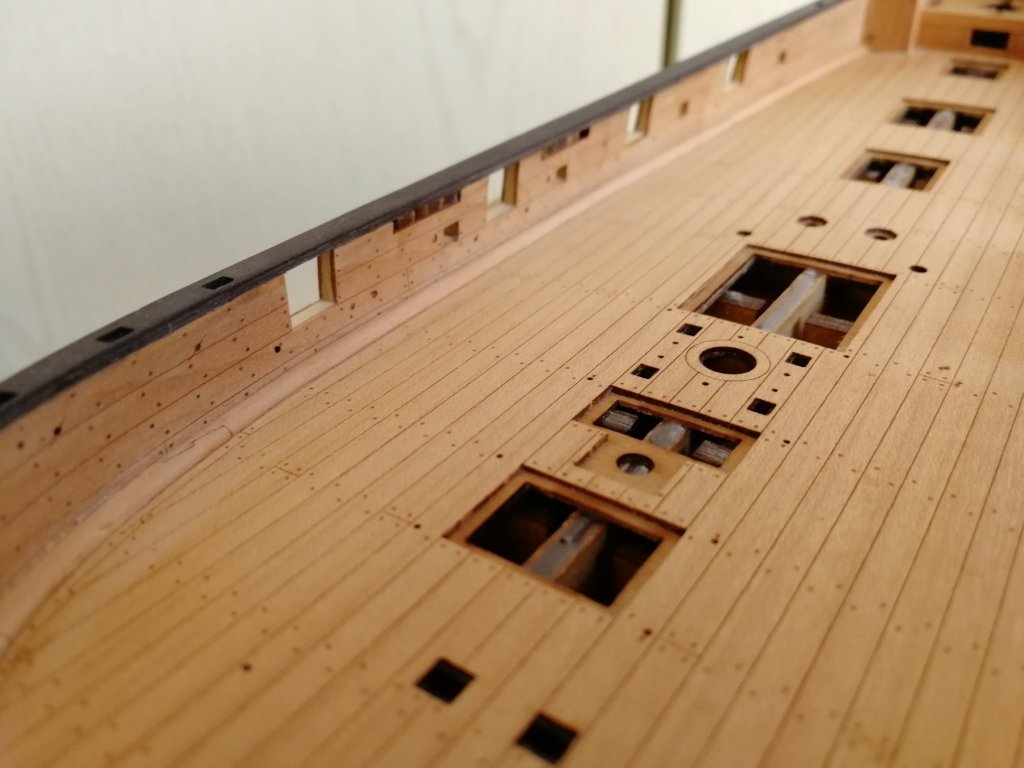
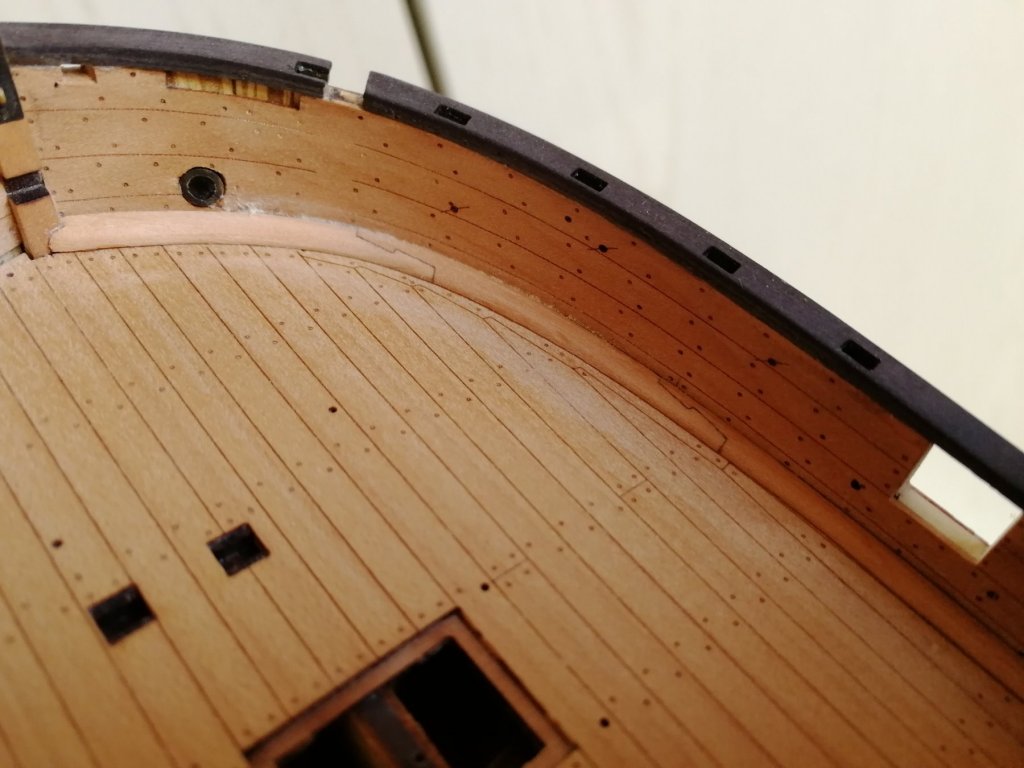
I have finished water ways. Before I move on with other fittings I put inside of the hull under first layer of oil.
- 315 replies
-
- 16
-
-
- master korabel
- avos
- (and 1 more)
-
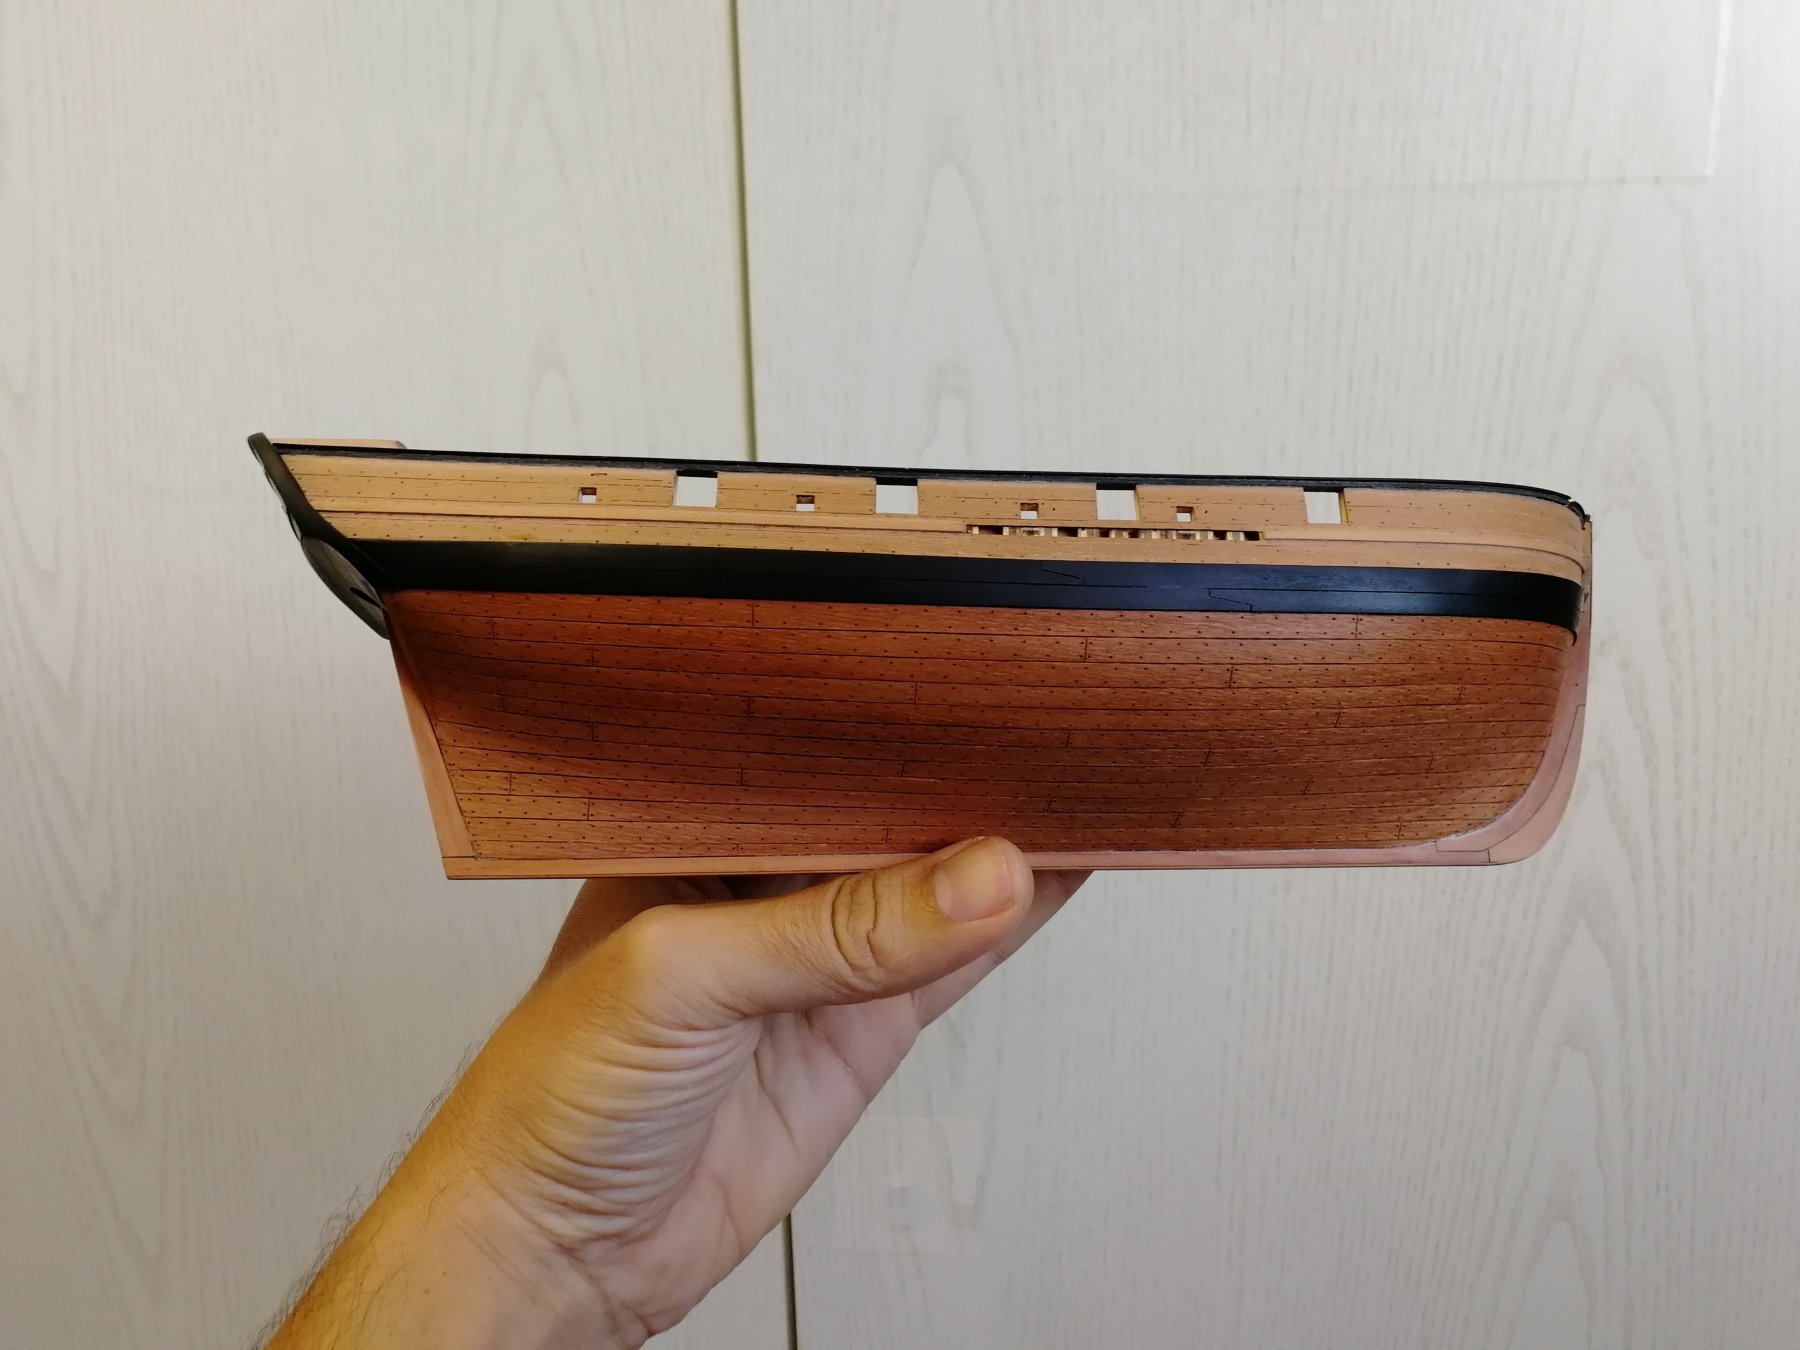
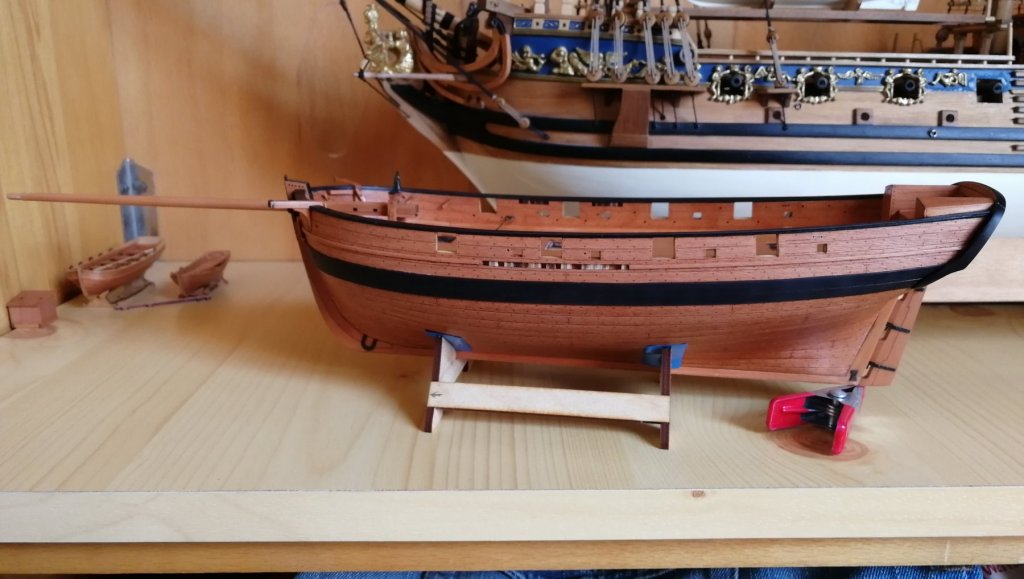
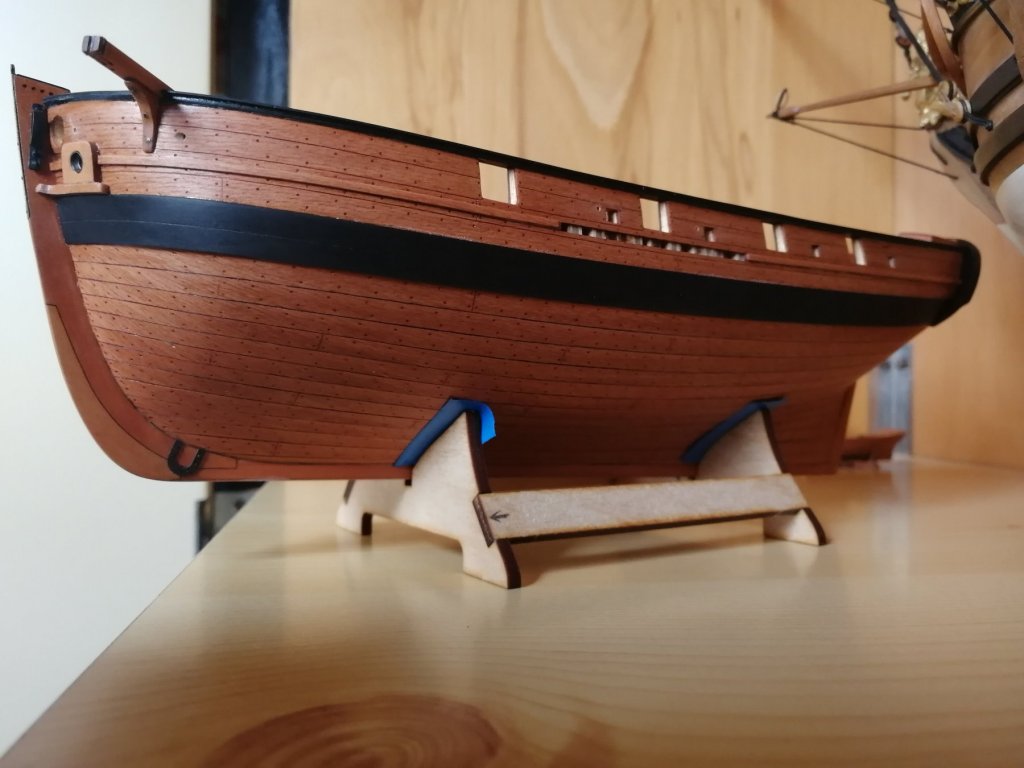
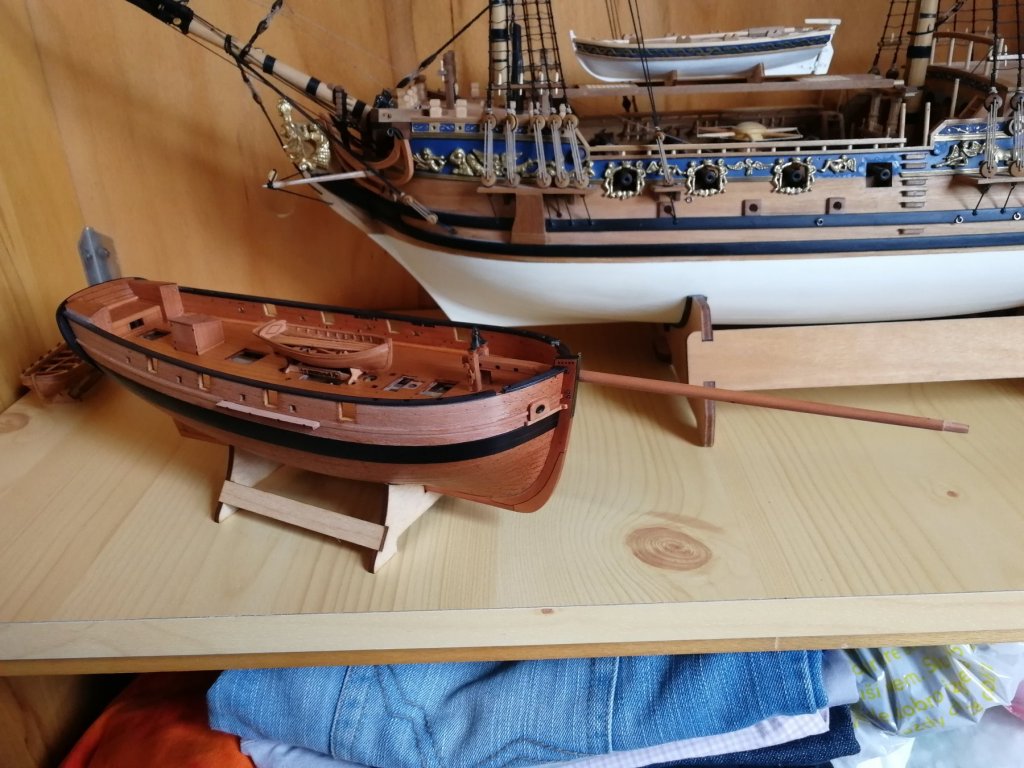
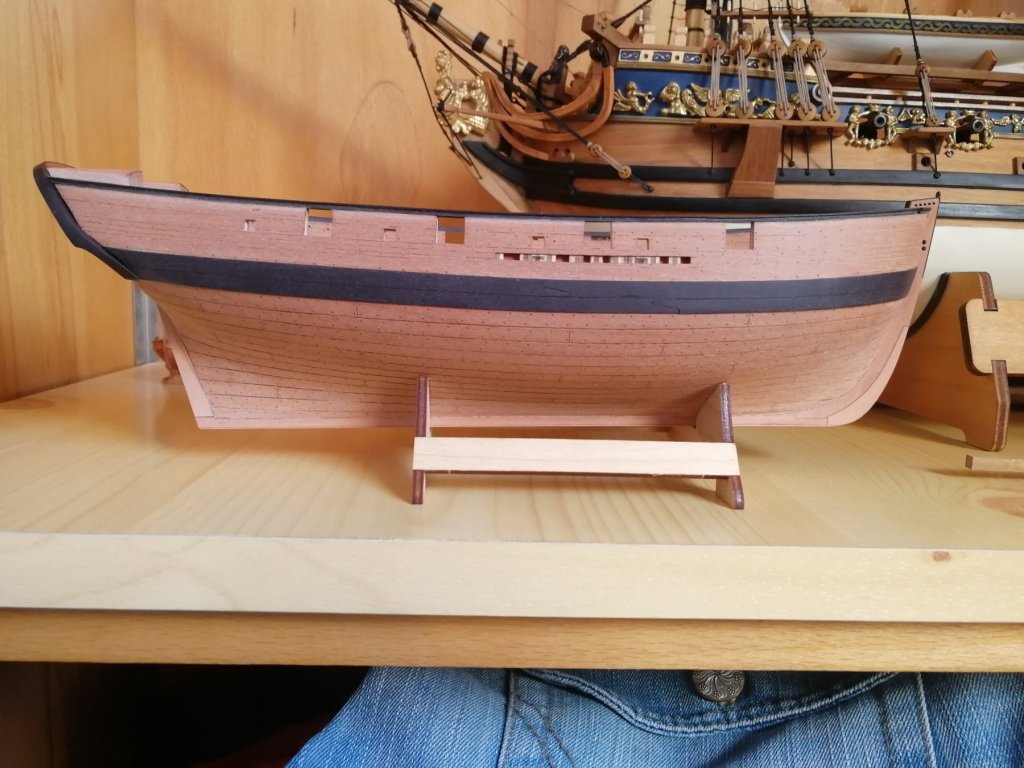
Thanks man, Similar to the AVOS kit, so much fun for the money 👌It performs quite well: https://photos.app.goo.gl/yVfKFMD55SNsMc386 But back to AVOS. I was not completely happy with the surface after oil, it was not smooth enough. I have sanded it again with 800 1200 1500 grit to get really smooth hull and apply thin layer of oil again, right after the application I have removed the accessed oil with a rug and polished it. That result makes me happy now.

- 315 replies
-
- 14
-
-
- master korabel
- avos
- (and 1 more)
-
Hi guys, I took my other honey to the alps for the ride for one week. Saalbach-Hinterglemm what a place to ride! But I missed my dock! So good to be back and put some work on the AVOS!
- 315 replies
-
- 8
-
-
- master korabel
- avos
- (and 1 more)
-
I hate those pictures! In the most possitive way. It makes me take my ships and throw them away. Simply beautyful! 👌
-
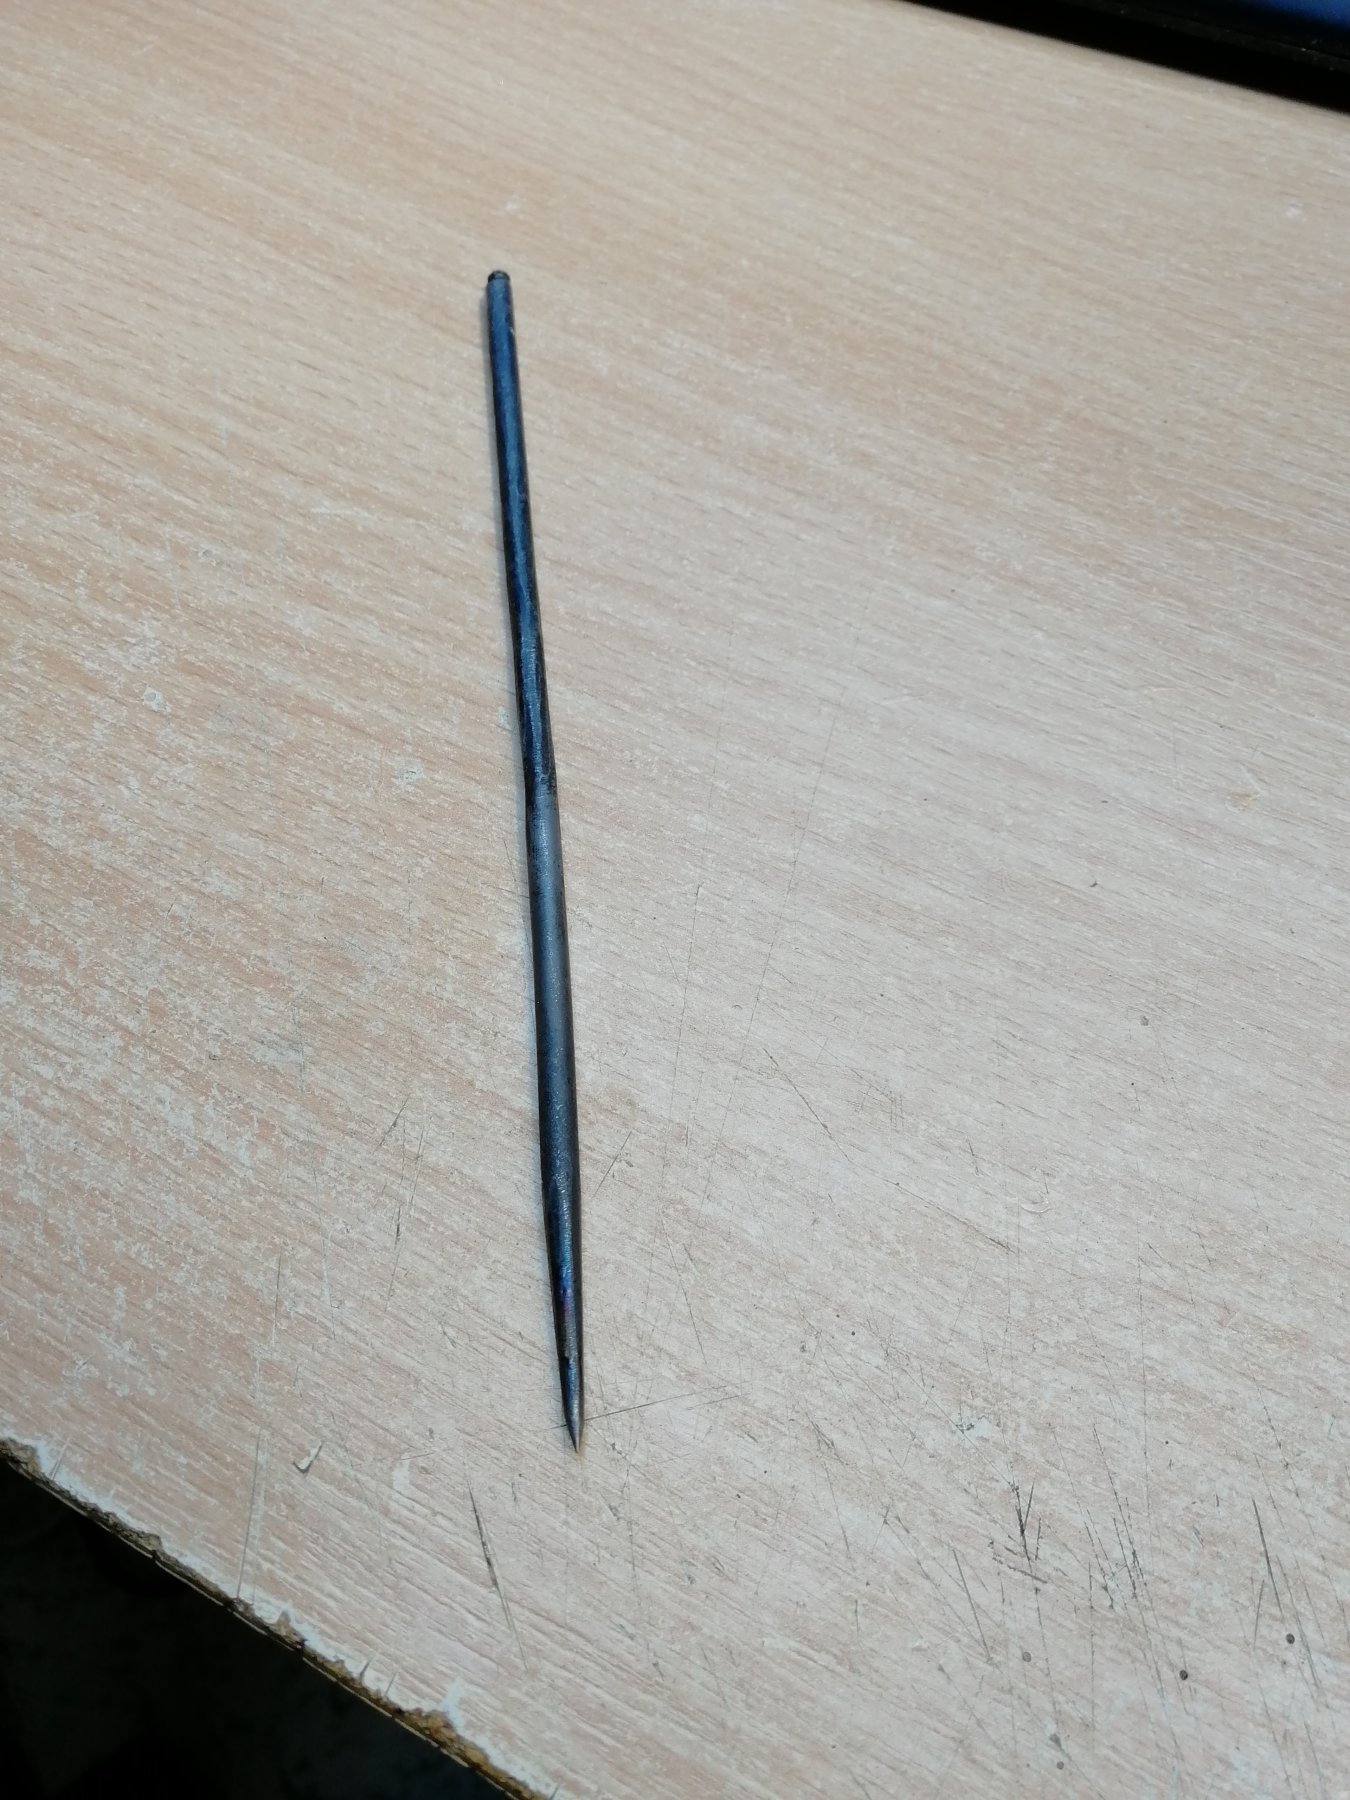
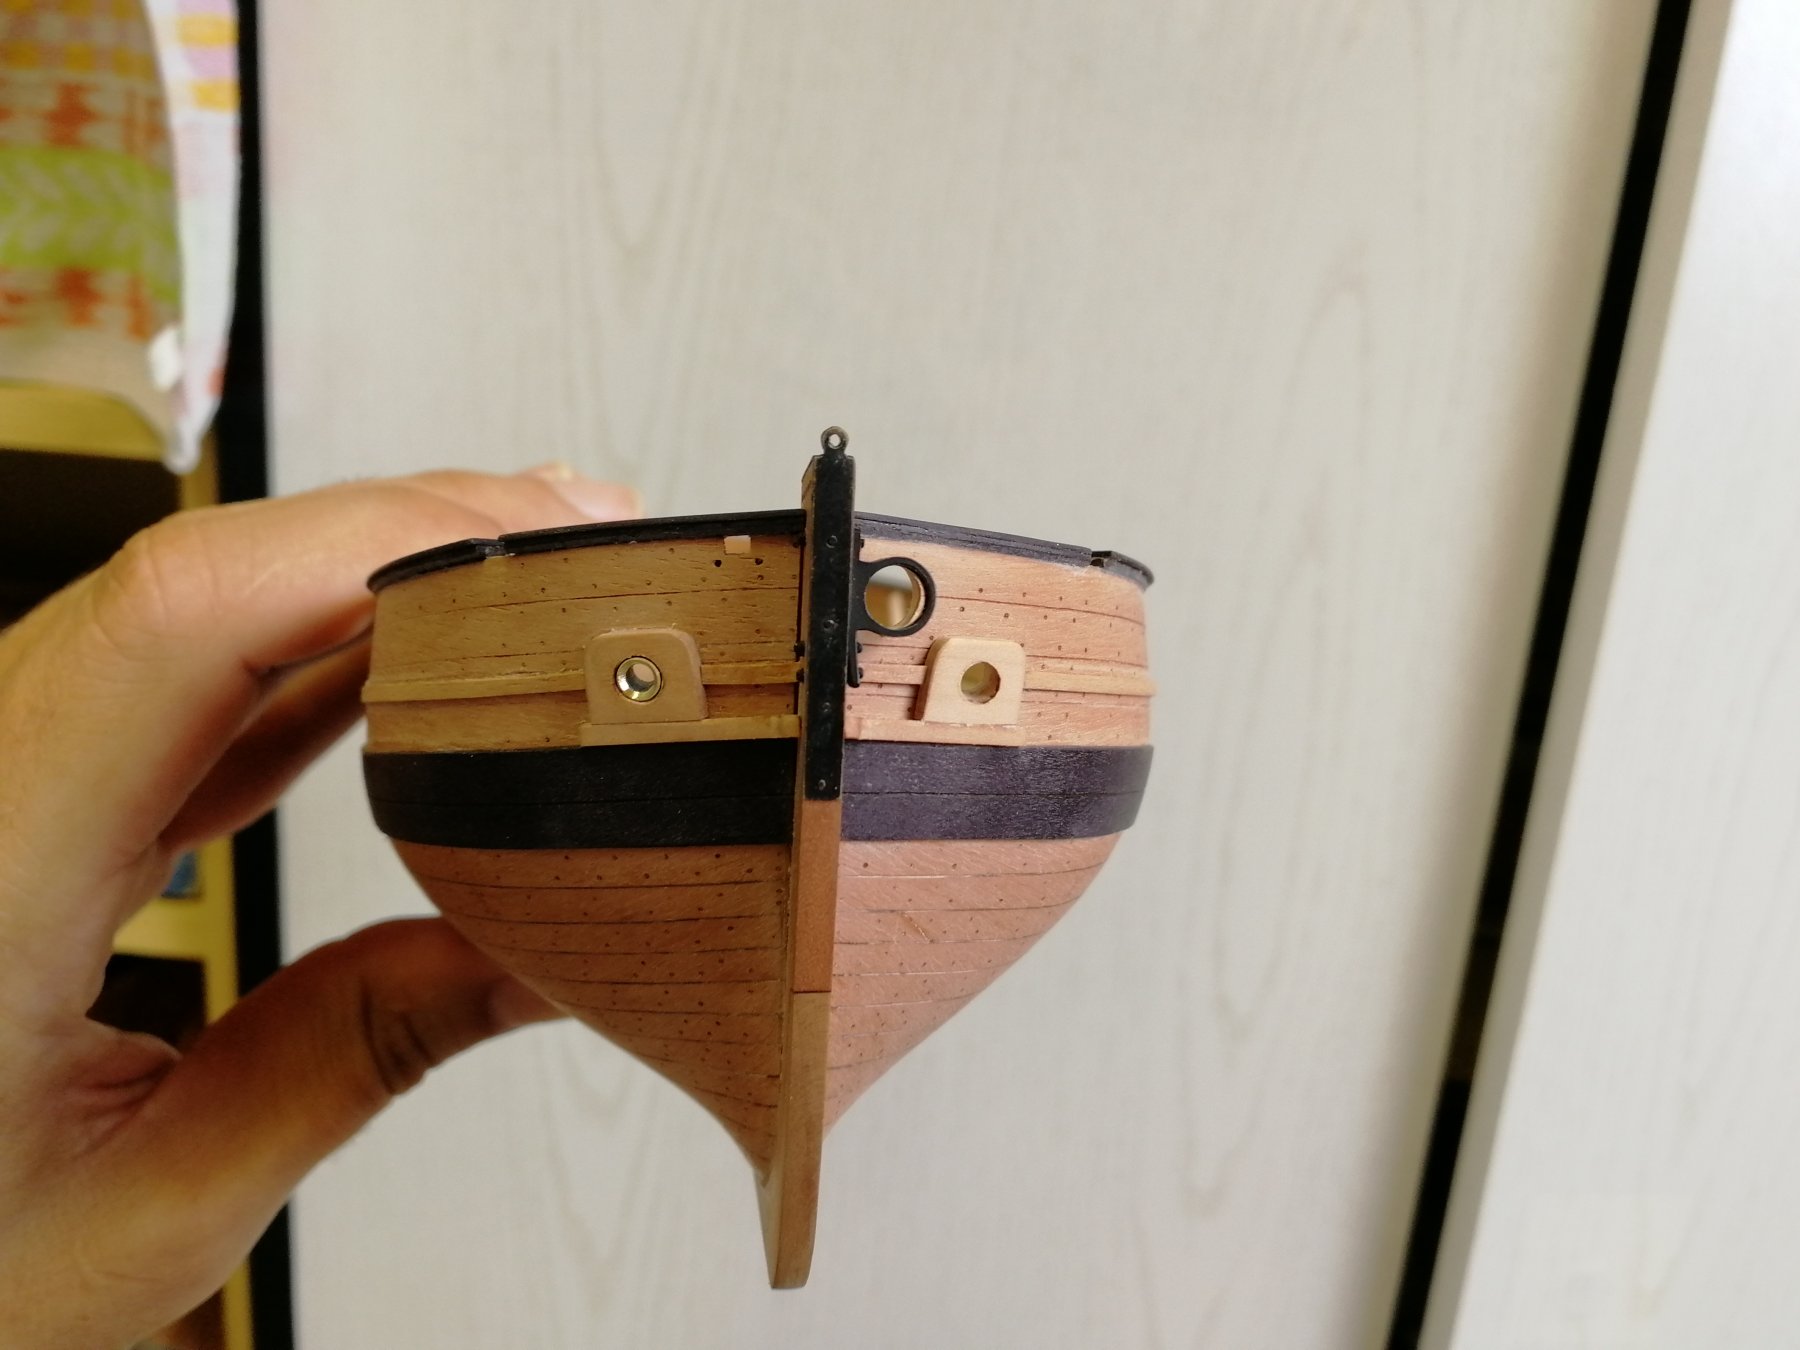
Hi mate, It turned out (again) that the simpliest solution is the best! I Just take something what is called in my language "prubojnik" and do the holes There. Mega perfect it matches the laser very well. All the hull after oil! Looks awesome

- 315 replies
-
- 19
-
-
- master korabel
- avos
- (and 1 more)
-
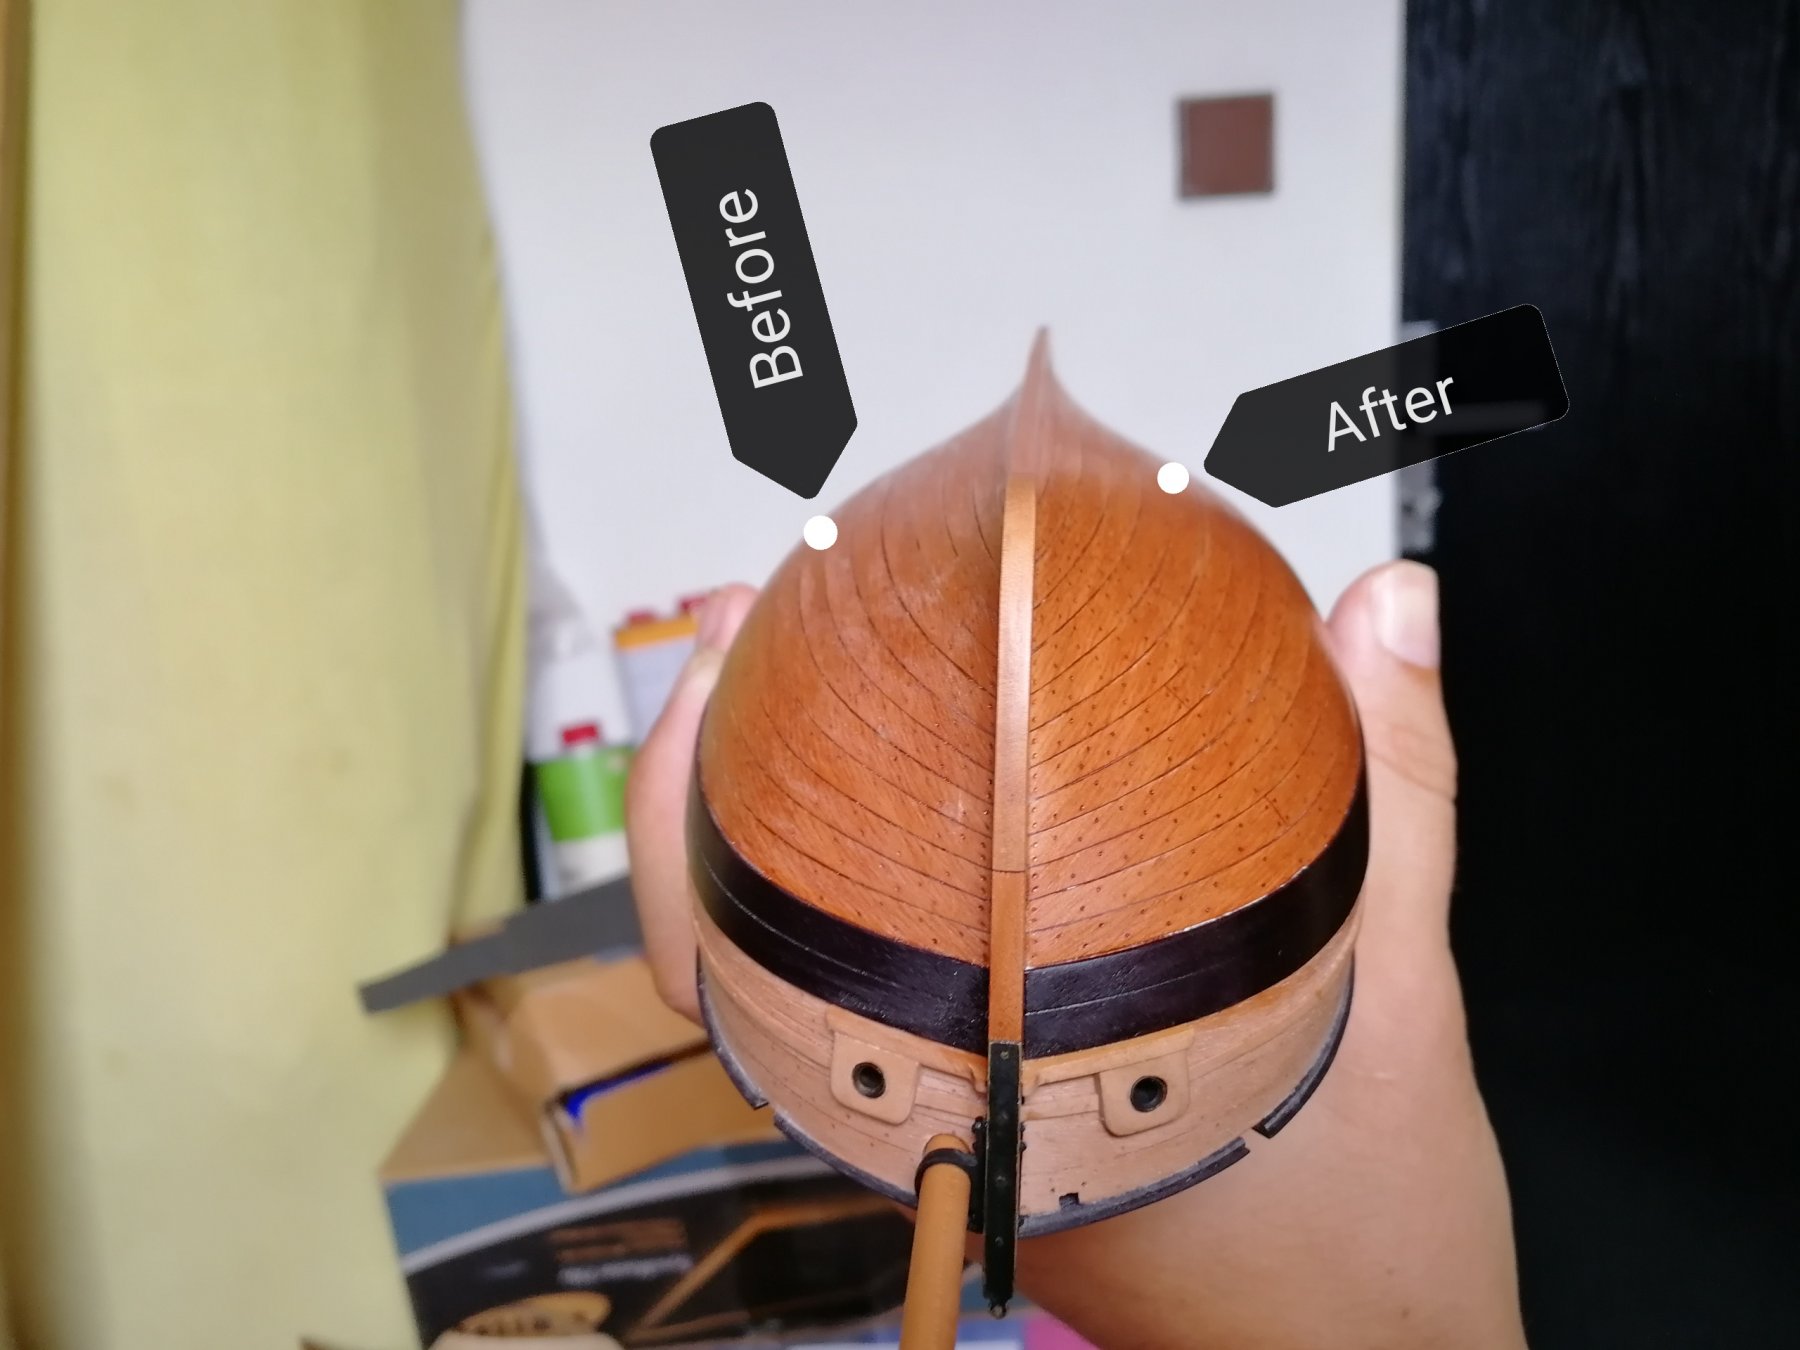
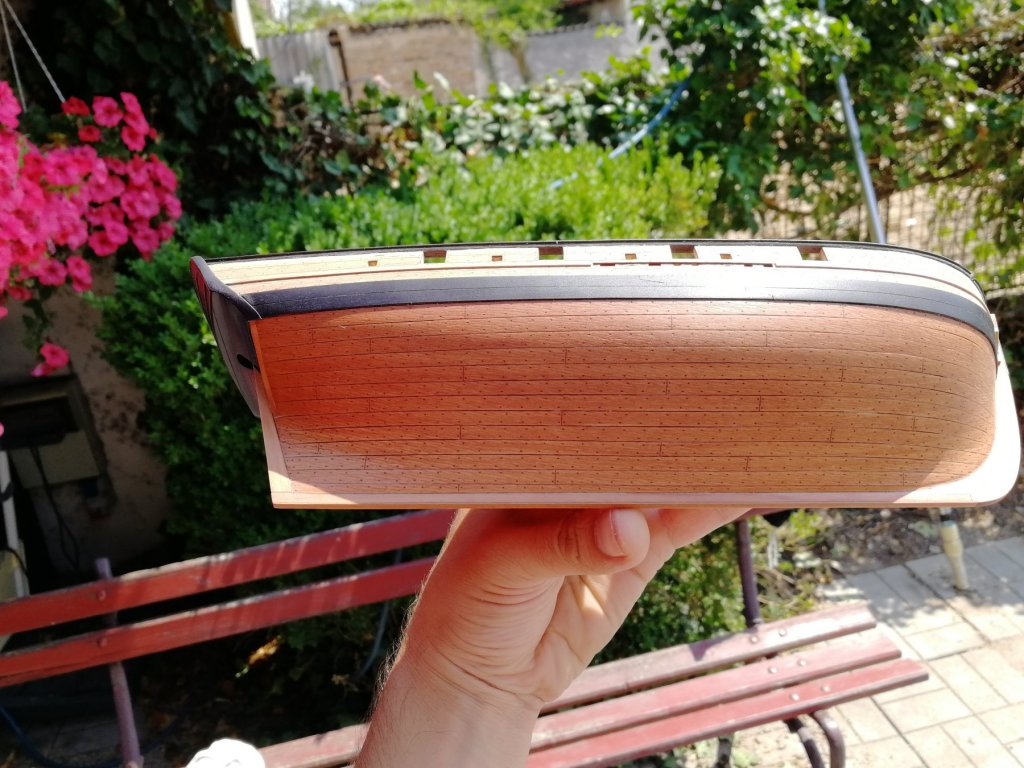
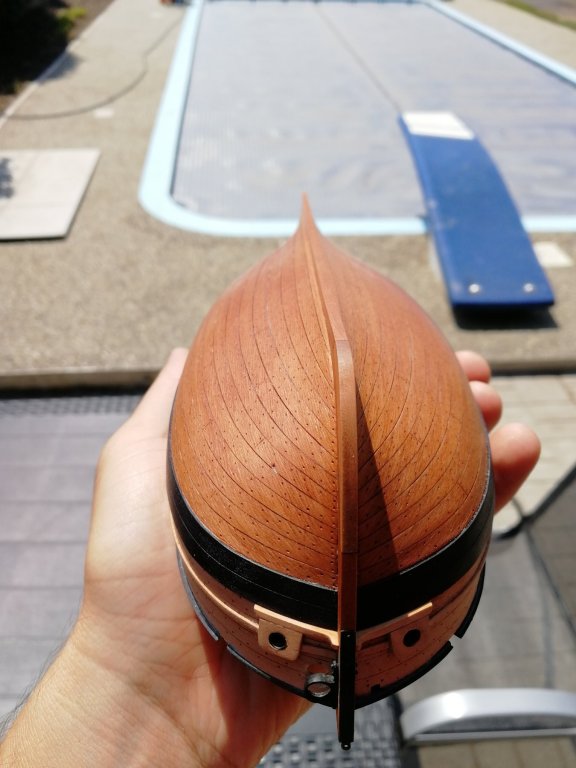
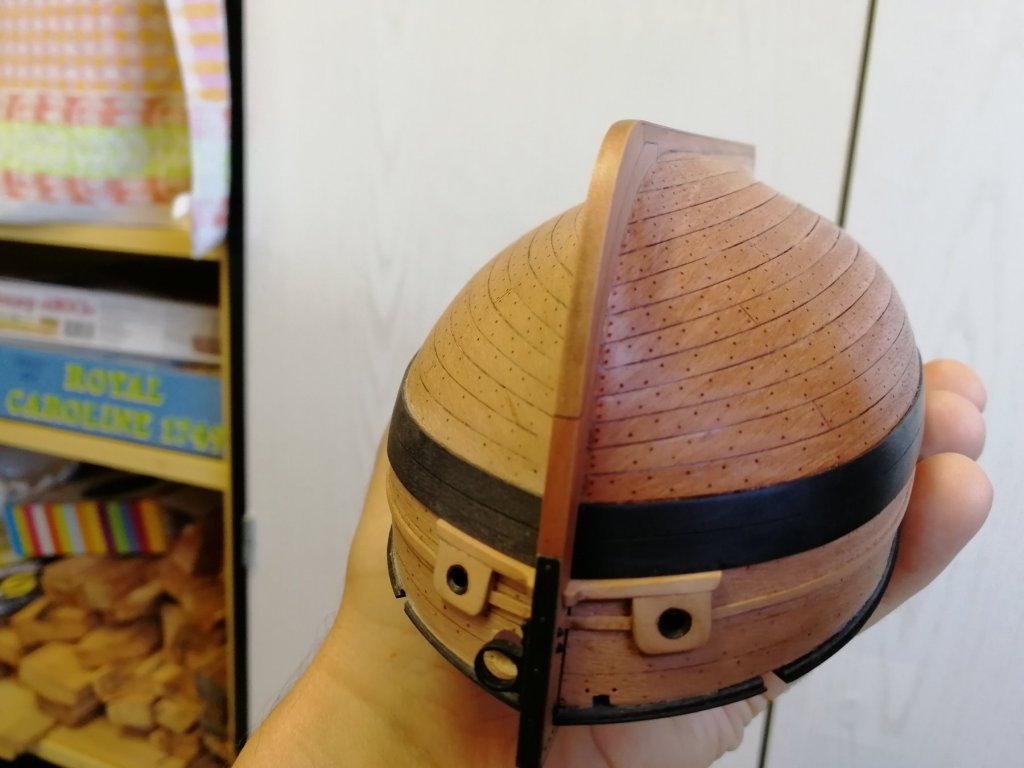
Could not wait and as the lower part of the hull is finished I soked one half with First Layer of the oil! How cool is the colour? I'm living it. The hull before oil was sanded with 400, 600,800 First Layer of oil with 1200 and the second will be with 1500. Will see if I add 3rd....not sure. Plus also the restoration of the treenails in the bow and stern section. Turned out better then expected. So happy about the result!


- 315 replies
-
- 24
-
-
- master korabel
- avos
- (and 1 more)
-
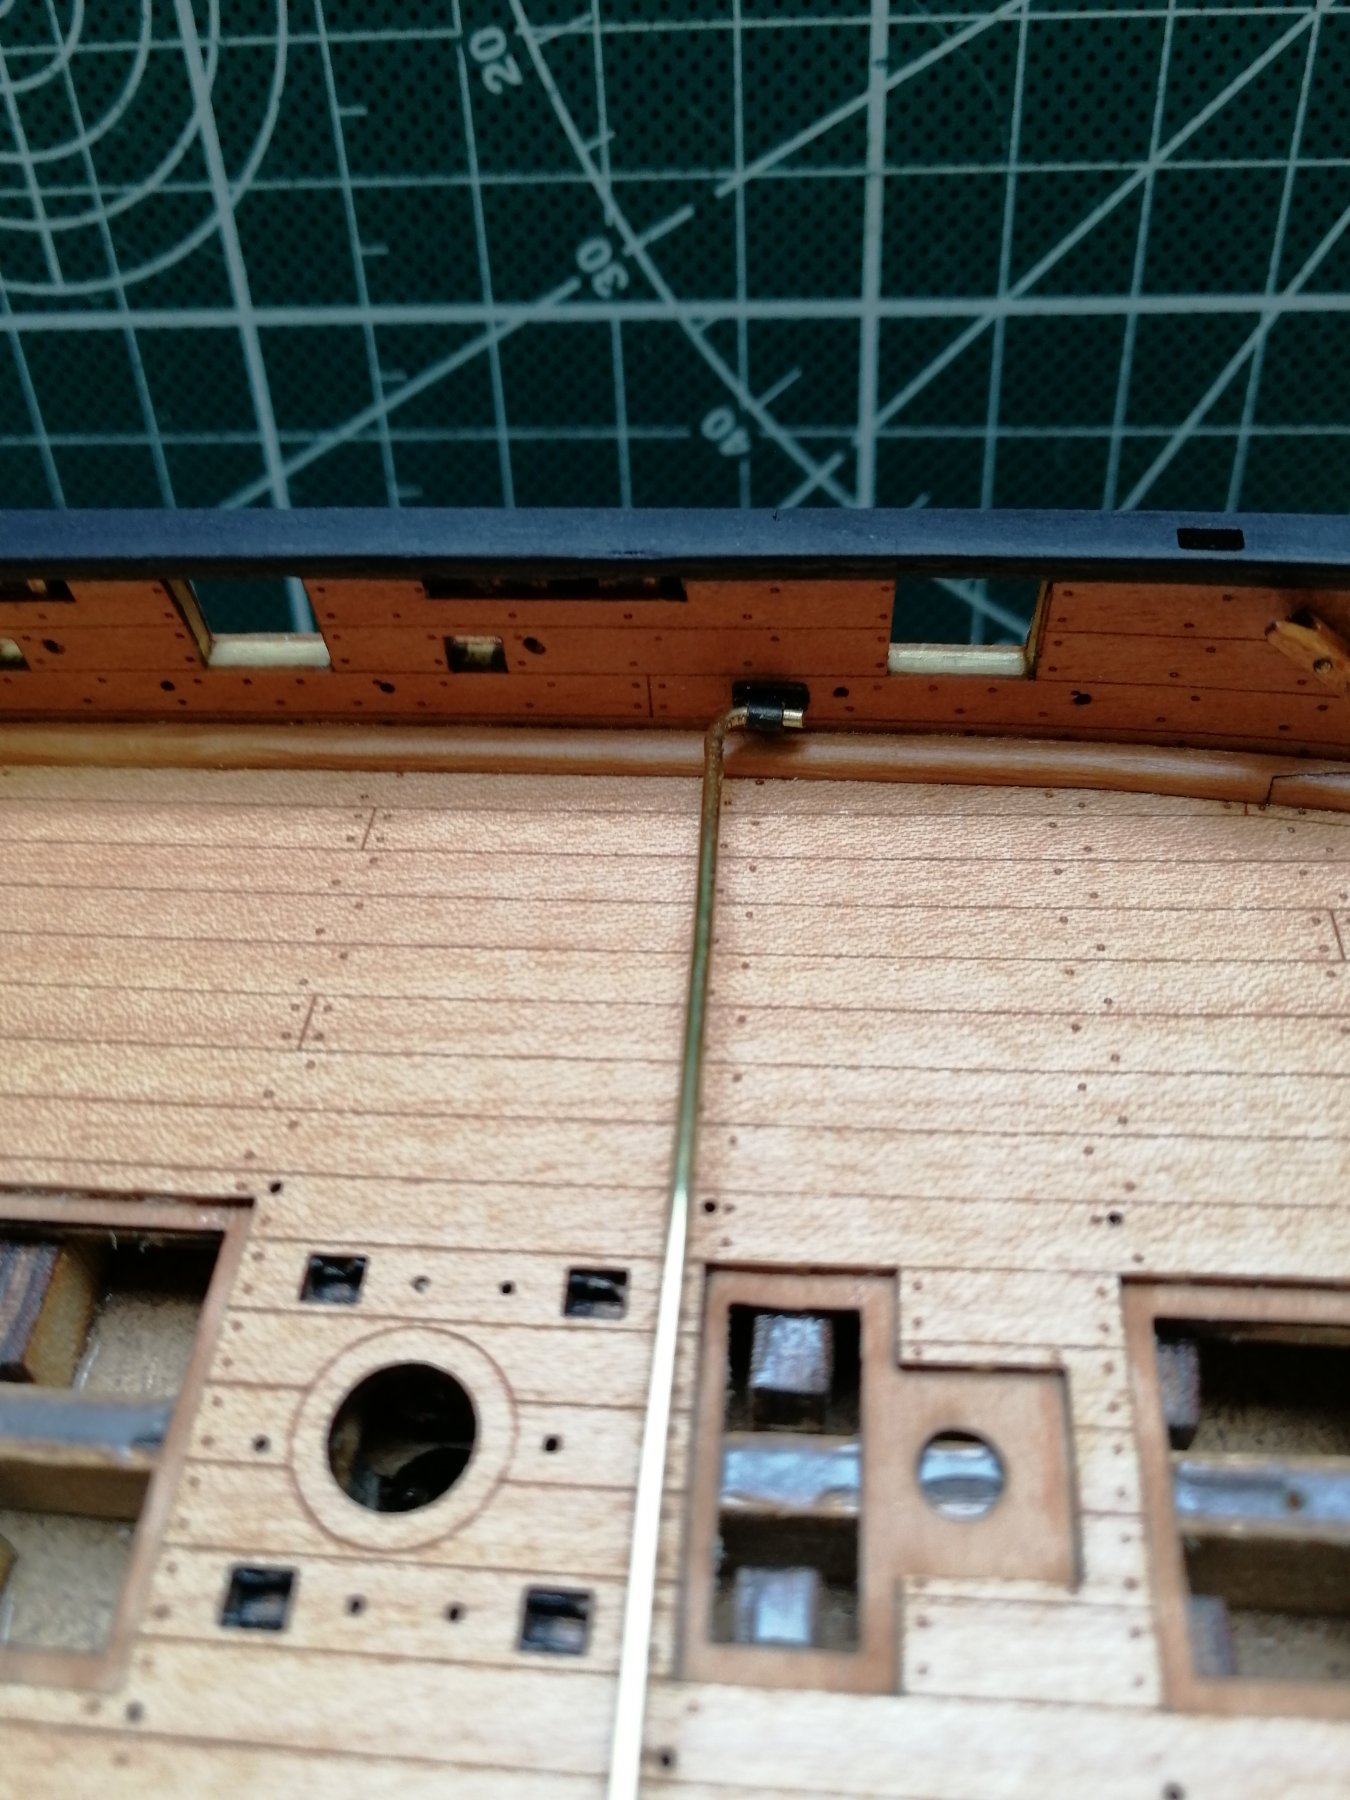
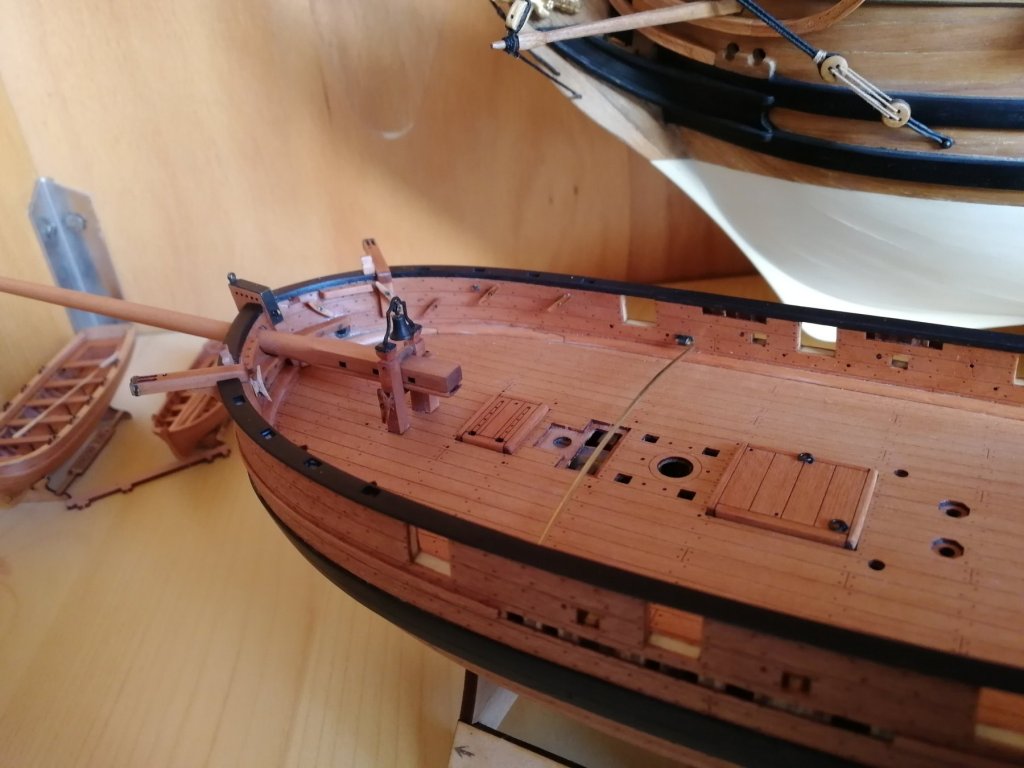
Playing with hawse plates and pipes. The waterways in the process.


- 315 replies
-
- 13
-
-
- master korabel
- avos
- (and 1 more)
-
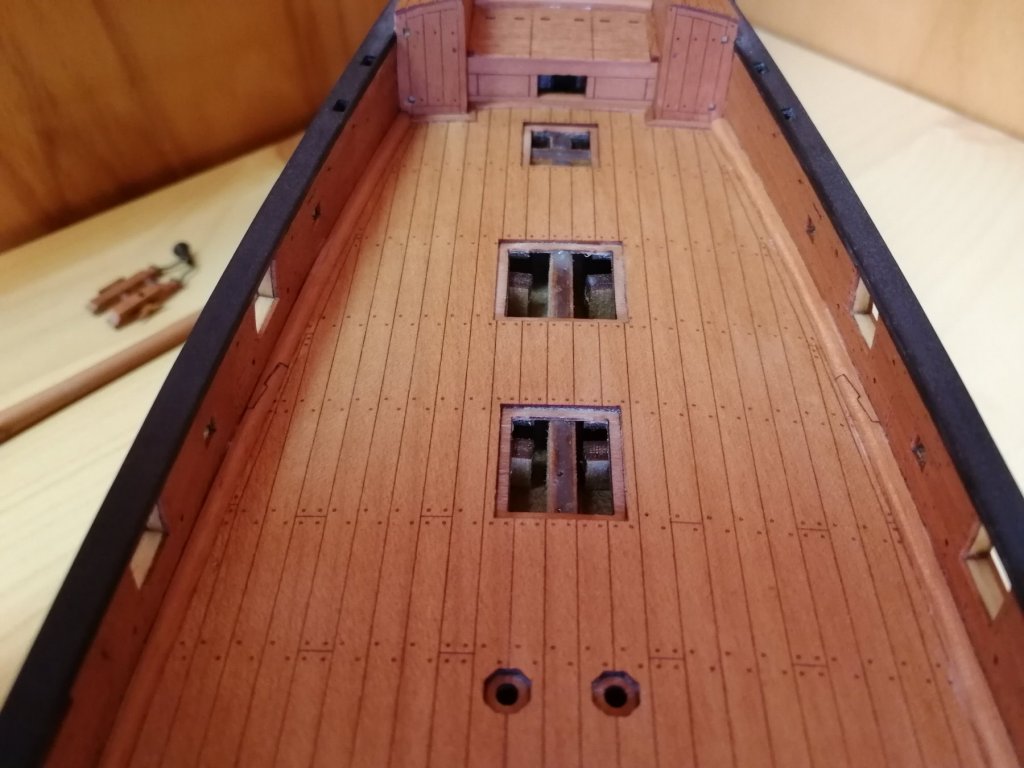
I have no idea. History was always big trouběmle in the school and I'm not a big fun of research as well . Here I believe guys from MK and quoted what was in instructions. (the big vessels have latrines ať the bow section without roof) @James H I hope not. It is some Hard oil and the testing pieces (and the taffrel and bowsprit looks pretty good) matt, like a silk tone and after 2 layers smooth as Hell! This is what I have bought. Not a long go and I'll use it to the hull. Pretty excited (and scared) in the same time💣

- 315 replies
-
- 6
-
-
- master korabel
- avos
- (and 1 more)
-
Thanks a lot guys for a kind words. I'm really glad you like it. I can't wait how the planking will look like after oil🧐 Should be really nice colour!
-
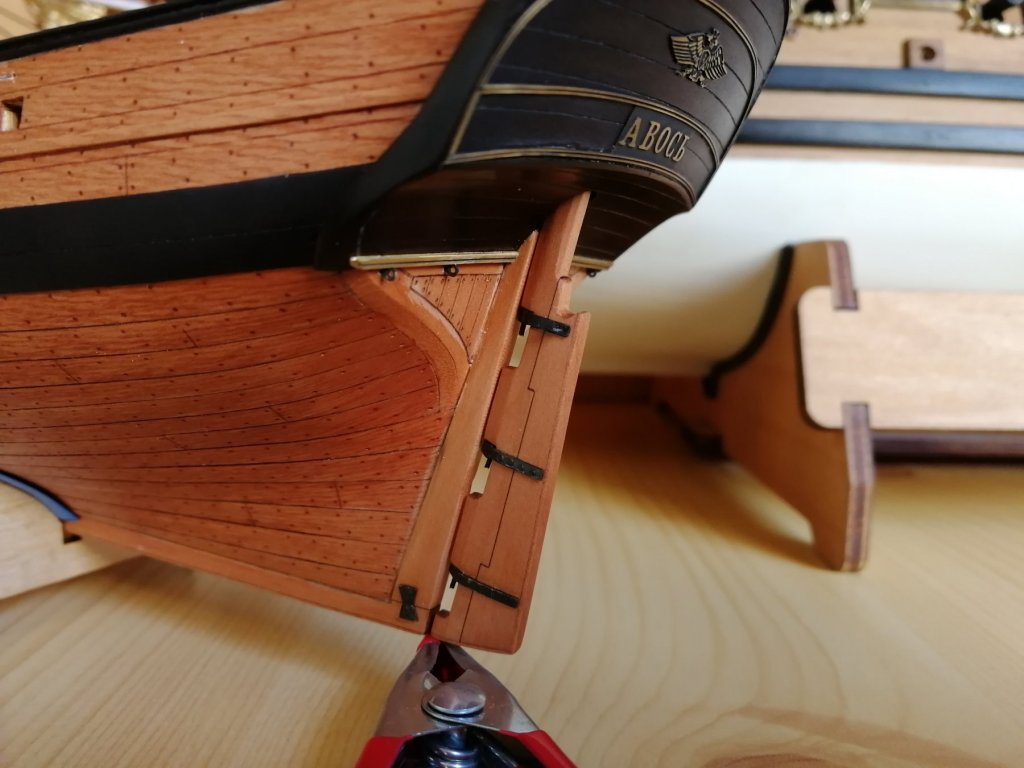
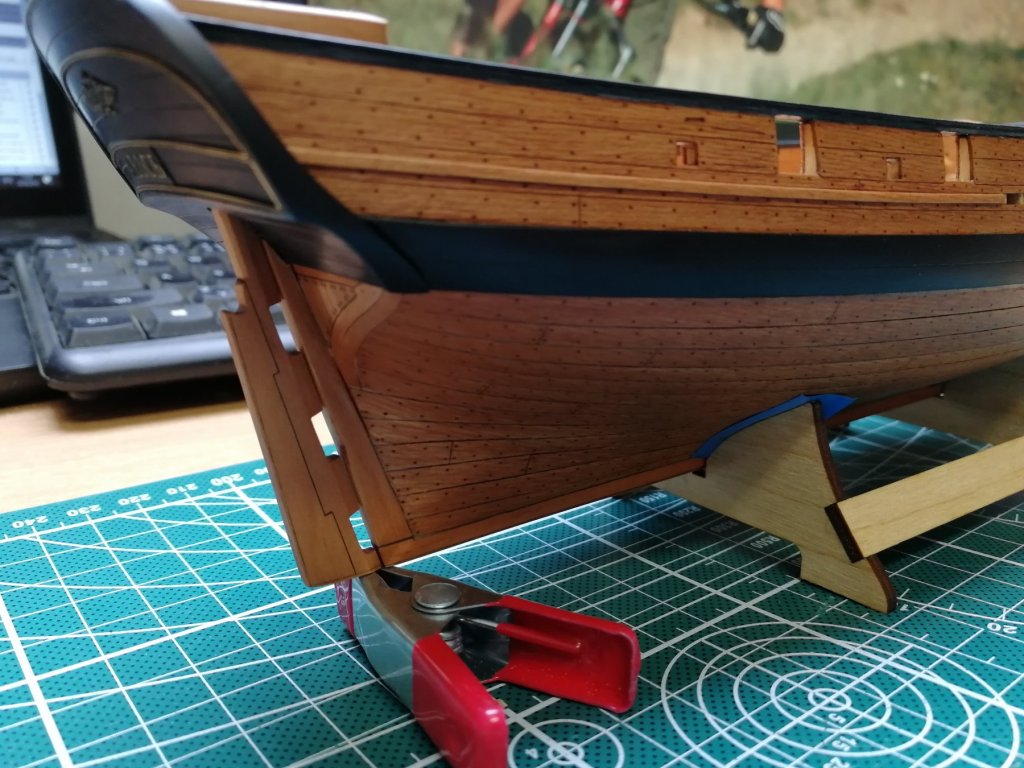
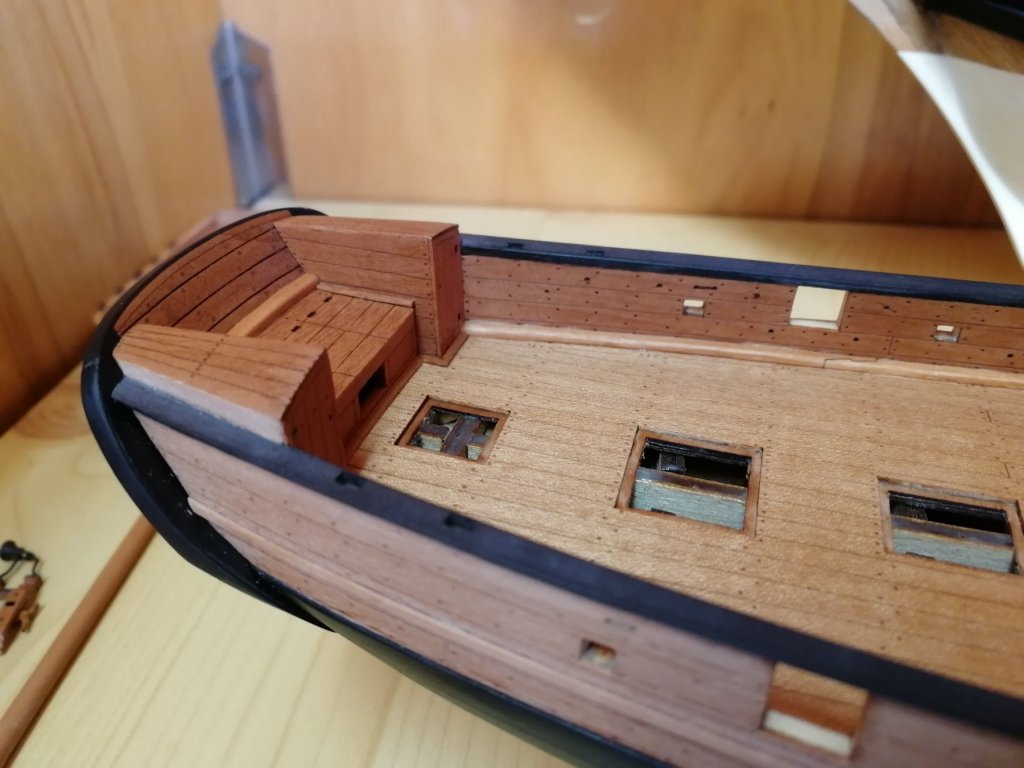
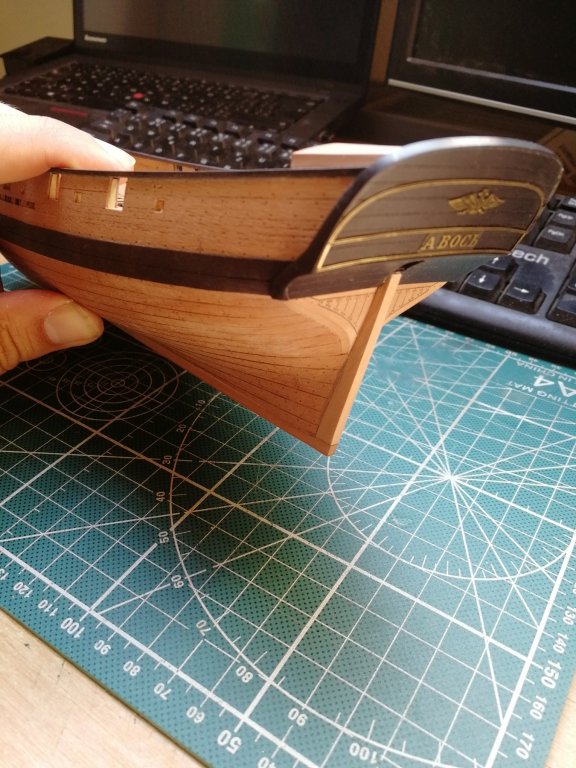
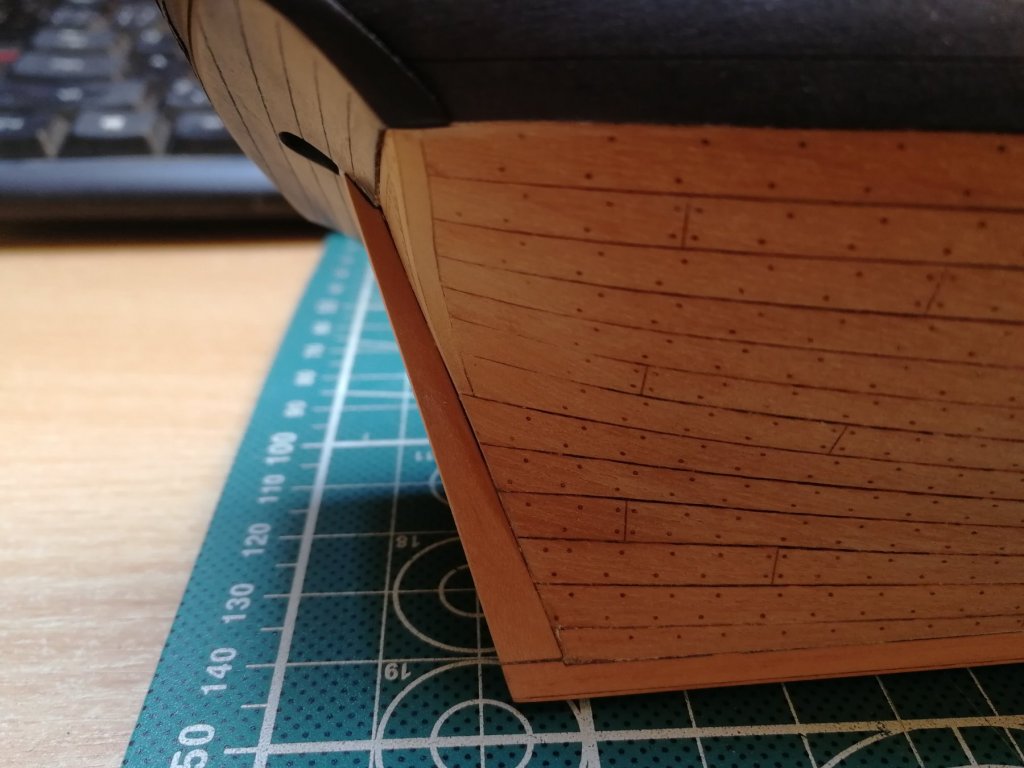
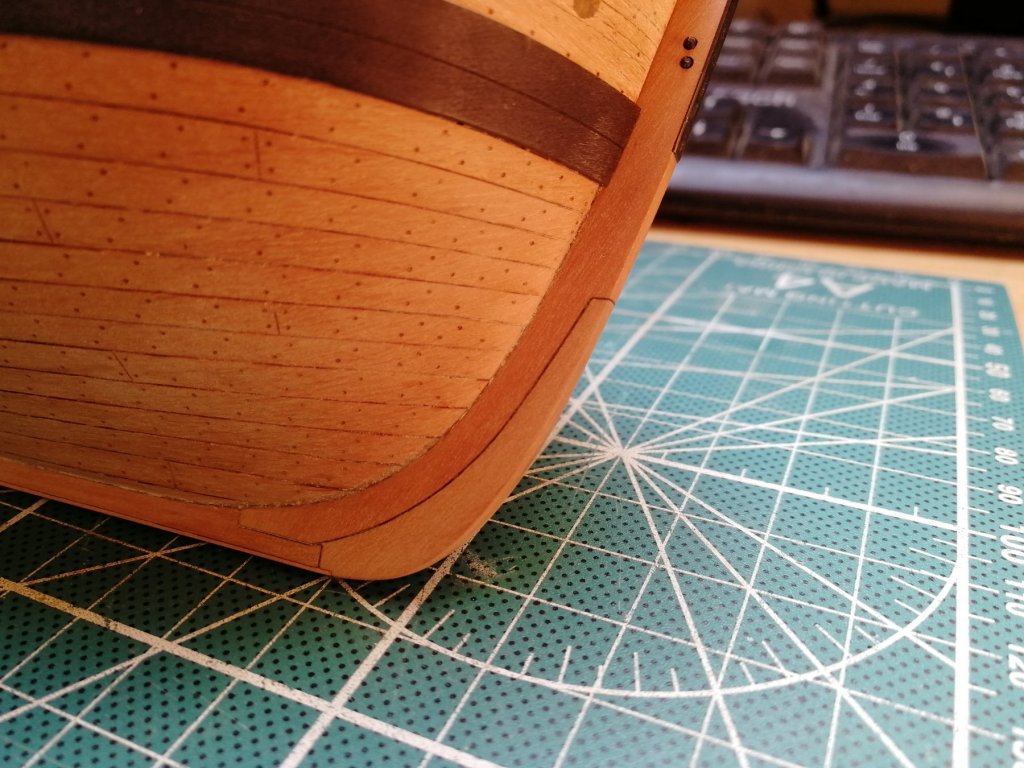
Glueing things together. I have finished the planking of the latrines so now it is time to glue the taffrel and counter to the hull. I have also glued and smoothend the stem, keel, false keel and stern-post.

- 315 replies
-
- 19
-
-
- master korabel
- avos
- (and 1 more)
-
Looks like I can stop my photo thread. And you will do that job much better! I will not confuse with bad photos anymore. Perfect pictures making the work better👍
- 31 replies
-
- 2
-
-
- master korabel
- avos
- (and 1 more)