


jburchfield1@wowway.com
-
Posts
302 -
Joined
-
Last visited
Content Type
Profiles
Forums
Gallery
Events
Posts posted by jburchfield1@wowway.com
-
-
Well, I've made a little bit of progress.
Got the thwarts installed.
Here's the hull after the first coat of poly.

It's not as "glossy" as in the images, but I'm gonna use a little steel wool, when it's finally completely dry.
I've noticed that putting enamel (testors) over the stain (minwax) extends the dry time from hours to days. Is that common?
Maybe I should be using acrylics?
- Mike Y, fnkershner, Ryland Craze and 1 other
-
 4
4
-
Ouch!
Is that repairable? (hope so)
-
Floyd - Yeah, I tried the acetone, didn't clean it enough. My process was - draw the brass thru some 400 sand paper a couple times on the flat surface, then soak in acetone for 10 minutes, rinse, soak in vinegar for 10 minutes, rinse, soak in Novacan Black for about 10 min, rinse, pat dry.
I figured the acetone would remove finger oils left after sanding/handling.
However, I used a 10 to 1 ratio for the Novacan Black. Maybe not strong enough because I noticed that it rubbed off in a couple small spots.
Actually, just read the instructions (gotta learn to do that first) and it says to use it straight from the bottle - so that's probably the problem.
- Mike Y and Stuntflyer
-
2
-
Party Time!!

Just successfully blacked my first brass parts. Those parts for the thwart holding the mast.
Took several tries, but figured out that if I run the brass strip thru some 400 a couple times before I make the parts, they are much cleaner and take the blackener perfectly.
Can't focus the camera that close so no pic, but you'll see them on the next shot.
- fnkershner and dgbot
-
2
-
Tks for the link.
I don't have any boating/sailing experience (except one 3 day gambling cruise) and the only oars I've ever seen belonged to a canoe.
Never realized that there were so many (and so long) types of oars.
-
Maybe it's done in the fairing process?
Mike, you know I'm totally new but I think that's where I screwed up on mine.
-
I was working on the oars while waiting for paint to dry and I have a question.
If my math is correct (5" oar x 48" scale = 240" or 20 feet).
Were the longboat oars really that long?
-
Tks everybody.
Floyd, not treenailing this one. Too small and I had enough problems just getting the planks on!

Mike - Nope, no holes. Just for clarification "in service" means (at least to me) that the boat is being used on a daily basis - not looking like it just came from the manufacturer. That look (new) is ok, I just prefer something that looks more aged/scuffed/used. Although, there are a couple of small holes in the planks at the stern between the 3rd and 4th planks (that spot where there is such a major change of direction.
Grant - I just meant I didn't follow the instructions. But since I eventually want to scratch build, guess maybe that's a good thing. Just couldn't get the edge glued boards cut without snapping something off somewhere. So made them out of one piece.
Working on the thwarts and locker today.
-
And how did you keep you edge bend when you resoaked and bent the curve?
I had the same question.
The way I solved it (at Mike's suggestion) was to soak the plank, and do both the curves at one time by clamping it to the hull itself.
-
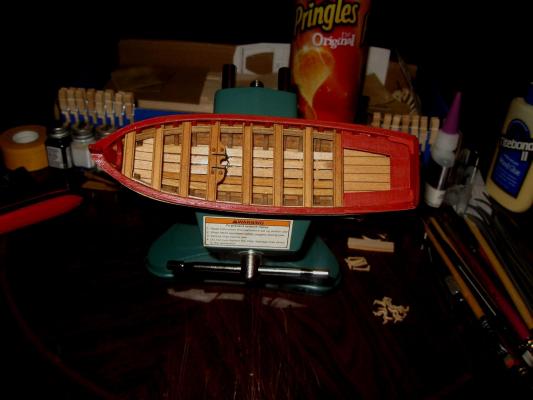
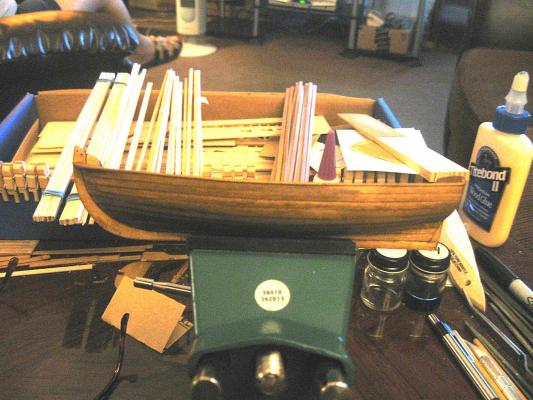
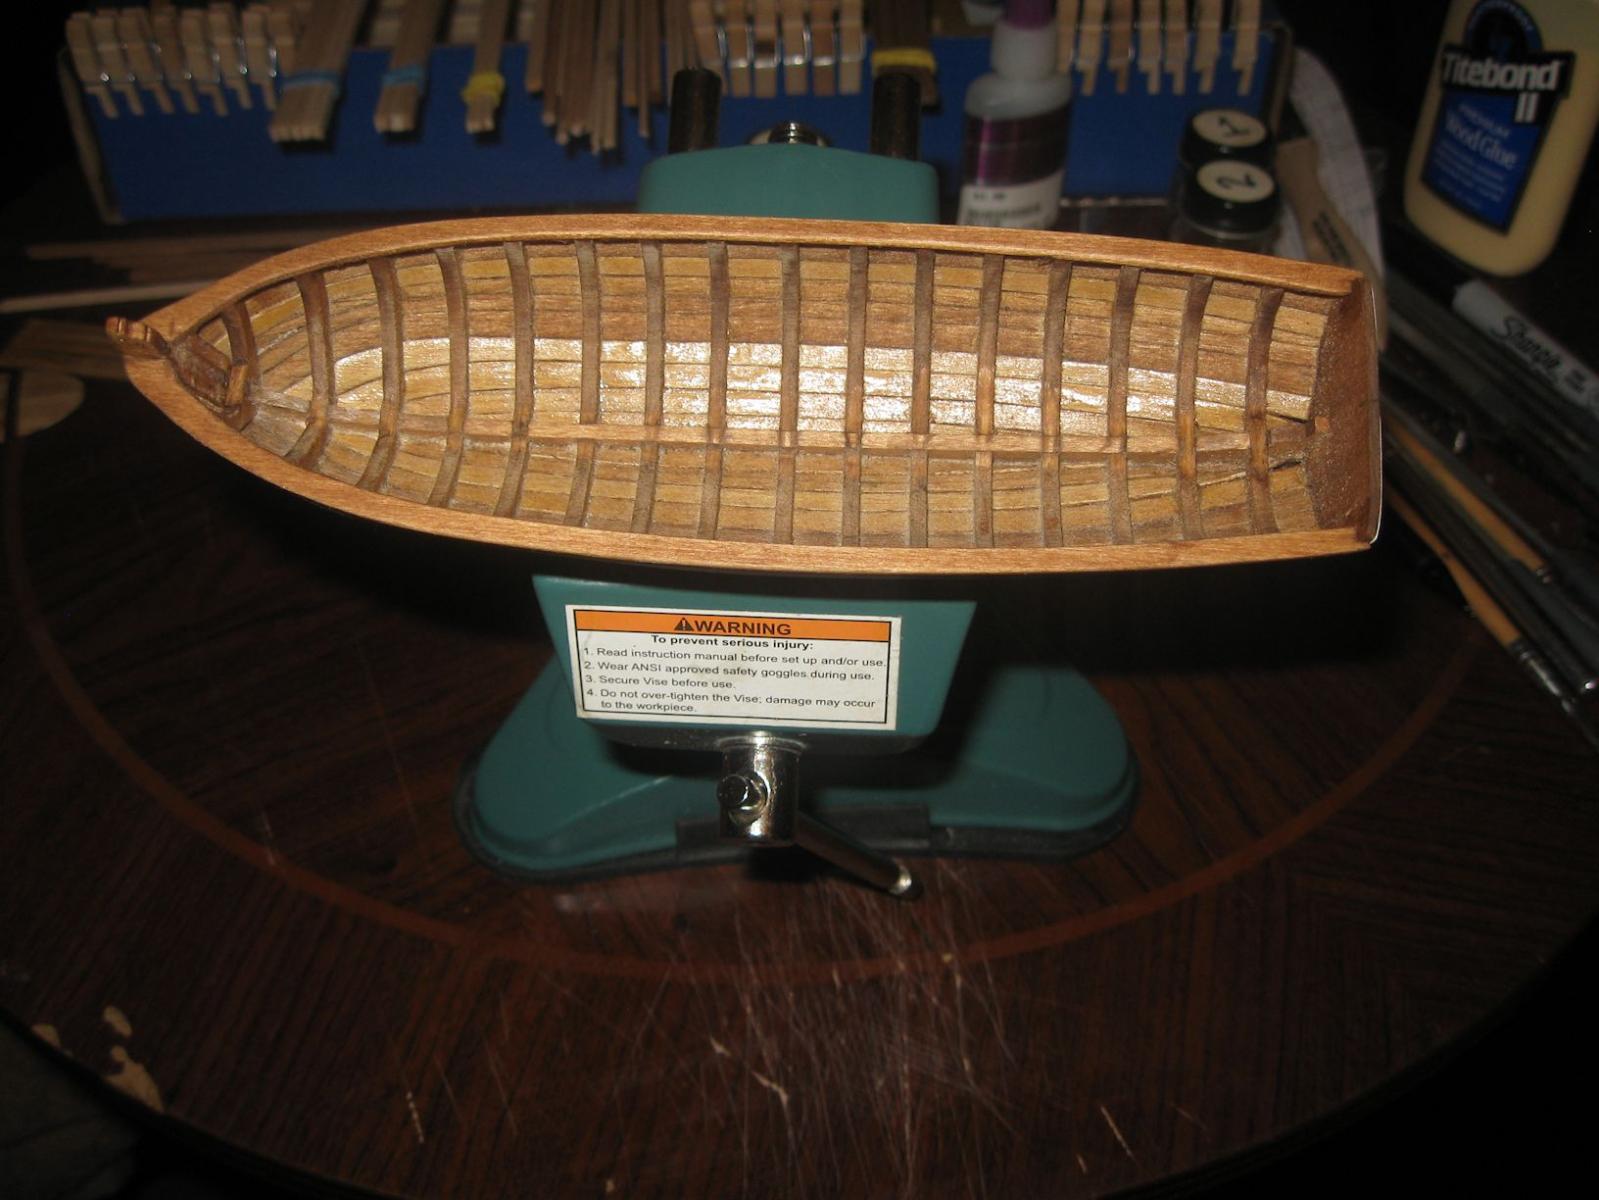
New Pic.
Got the floors, platforms, rear bulkhead, risers, and paint done.
Never did like the color red, so I darkened it up a bit. I think this is more in keeping with the service look I want for the boat. Don't know yet if I'm gonna put the white below the water line. Even if I do, it's gonna be scuffed looking.
So anyway,
Forgot to say, I cheated on the platforms. Kept breaking them so used one piece of 3/16 and scribed the lines.

-
That looks good Mike,
I take it the boxwood wouldn't twist the 45 degrees necessary?
-
Tks Ryland, and everyone else for the likes. I'm starting to feel a little more comfortable with this.
But, a question for anyone who would know..........
When making the two platforms for the boat, should they be made slightly larger if you plan to notch them, or just make them the same size and let them sit lower in the boat?
DUH, never mind, solved it.
-
It's like watching a real, live ship come to life!
-
-
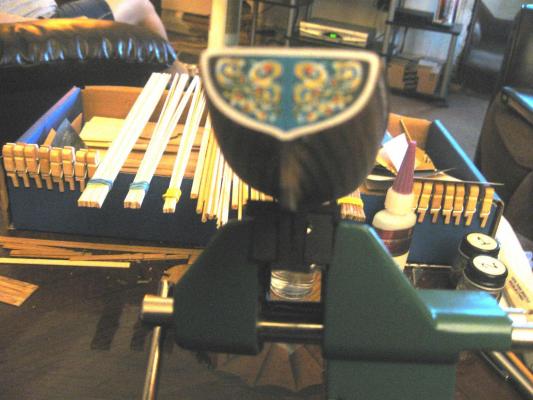
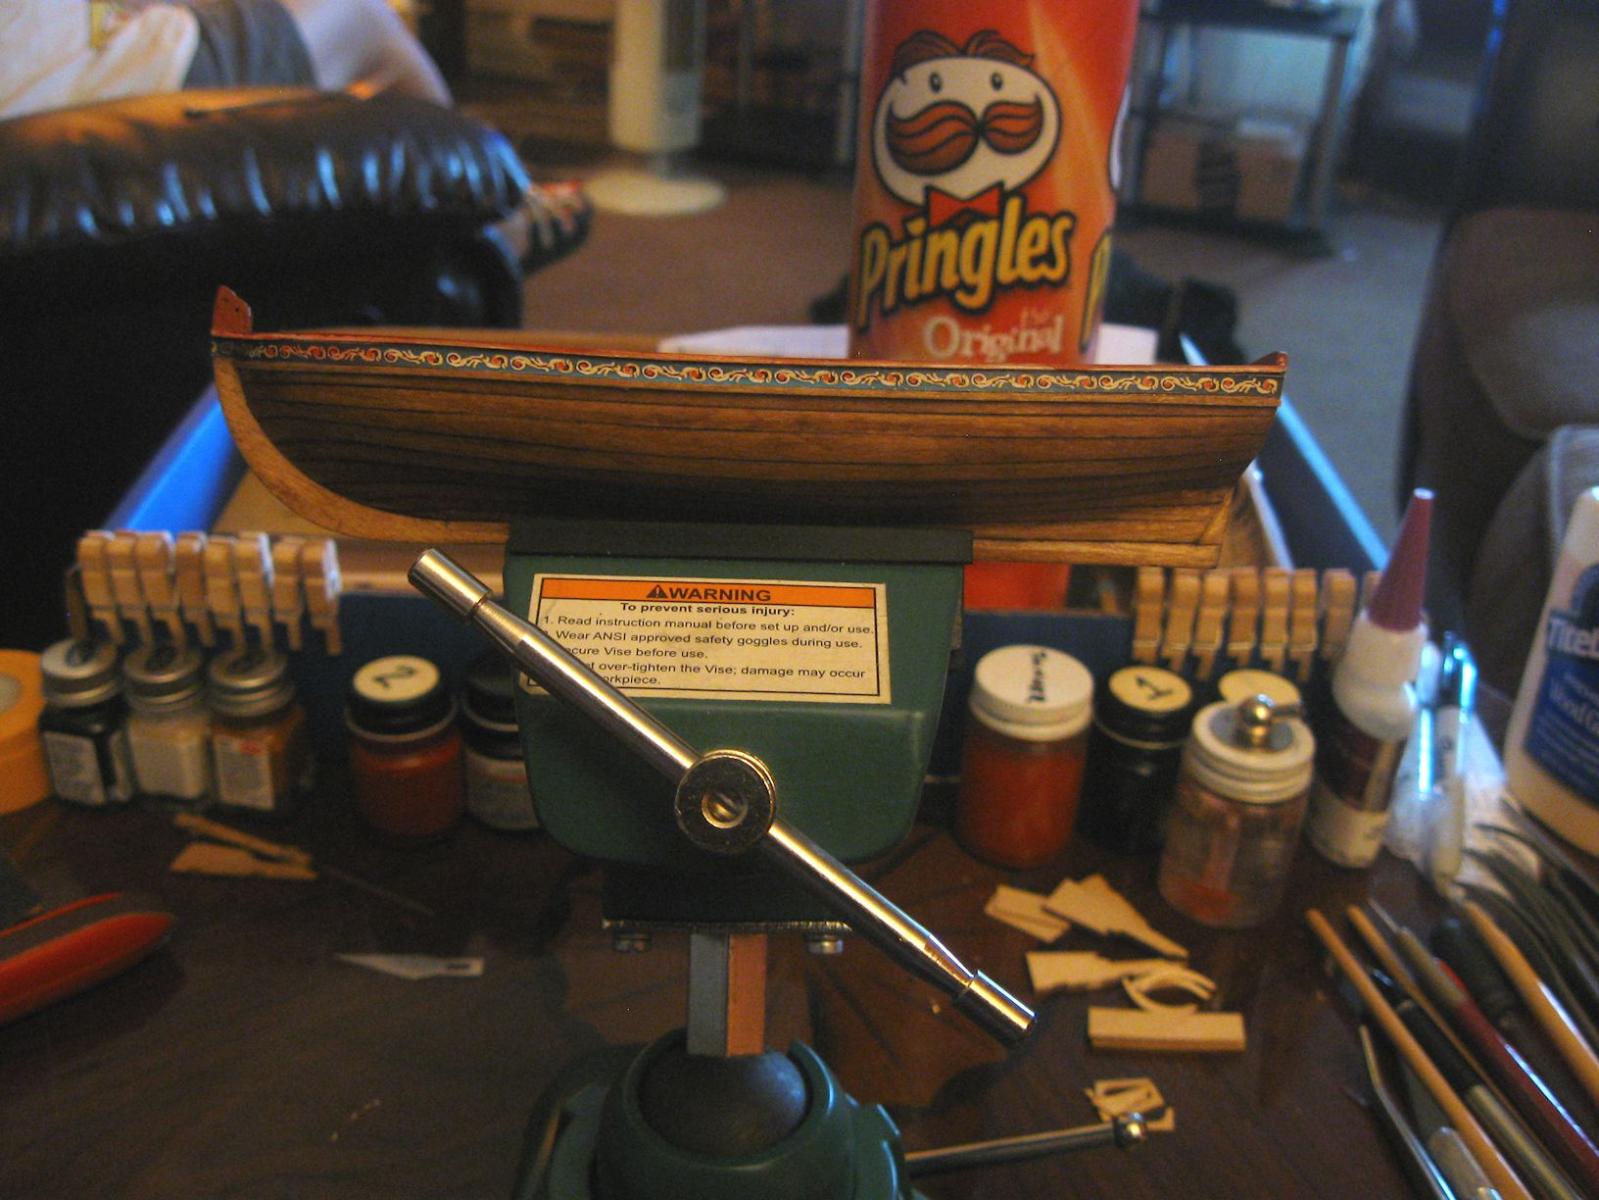
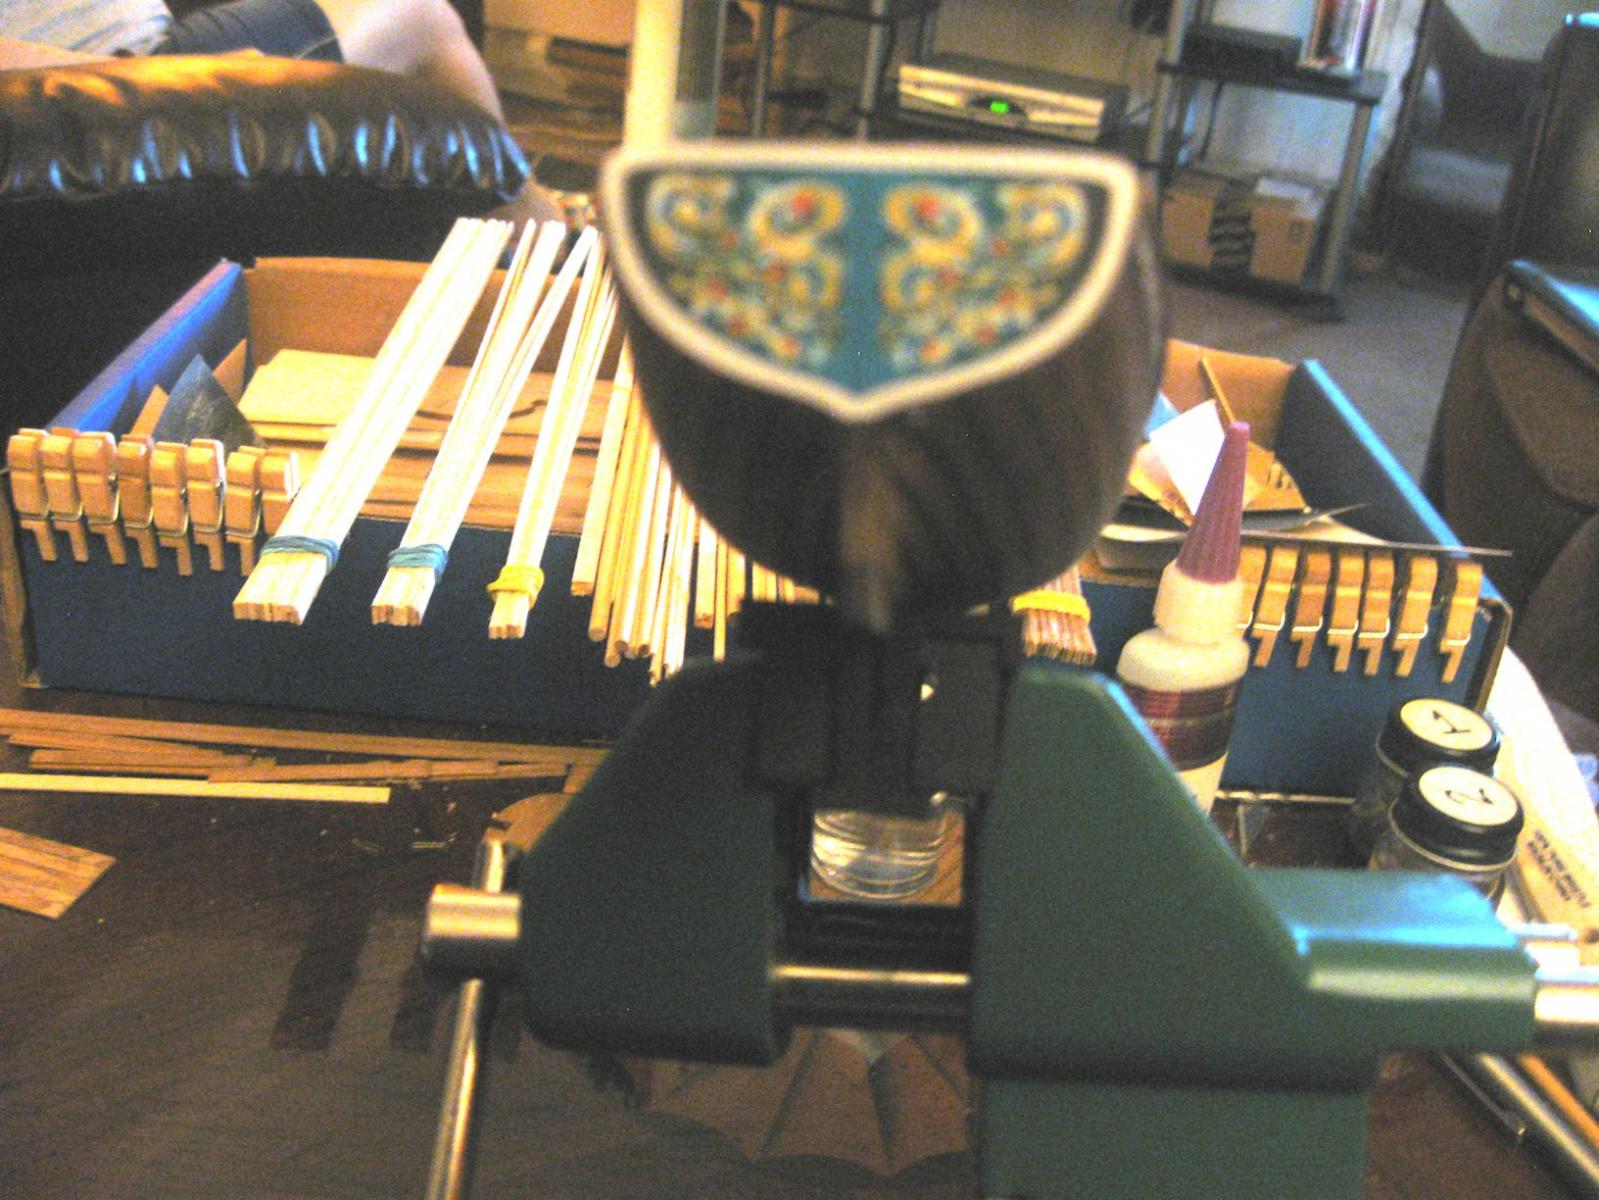
Little update for you,
Chuck - the first picture shows that I took your suggestion to heart. You're right (course I expected that
 ), looks much better.
 Second and third simply show the frieze and the stern deco.
Cap rail change per Chucks suggestion
Just the side frieze
Just the stern (got too close)
Painting tomorrow but don't expect it to look new. As I've said I want it to look "used".
- gjdale, fnkershner, dgbot and 3 others
-
6
-
That's cool!
Since I'm doing my Longboat as an "in service" model, I might try that.
-
Thanks for all the likes and great comments guys. Much appreciated. But don't hesitate to point it out if you see something not quite right.
Floyd, thanks for the computer adjust tip. I changed to shots above. Don't know where my brain went (out to lunch I guess).
I should have thought of that because I used to do 3d game modeling/texturing. Should have been second nature.
Also, since this is my 3rd attempt to get this built (2 kits and some guarantee parts) and I don't have anything else to do, no Admiral, kids got their own lives, I got all day/night (if I want) to work on it.
-
Well, I got the cap rail done today. Had problem with the joint between the port/starboard sides so I made a small mod to the stem. According to the pics in the instruction manual, it shouldn't interfere with anything.
Sorry the pics are so dark. I tried using the flash but it just washed everything out. Gotta do something about some more lights.
Stem Modification
Cap Rail

- Mike Y, mtaylor, fnkershner and 2 others
-
5
-
Looks great Stuntflyer!
Be good when I get that far along.
-
Thanks to everybody for all the likes.
Floyd - Tks for the kind words, but I realize that I am very much still a novice. But one positive trait that I do have is I've NEVER made the same mistake twice so the next time I plank I expect to do a much better job.
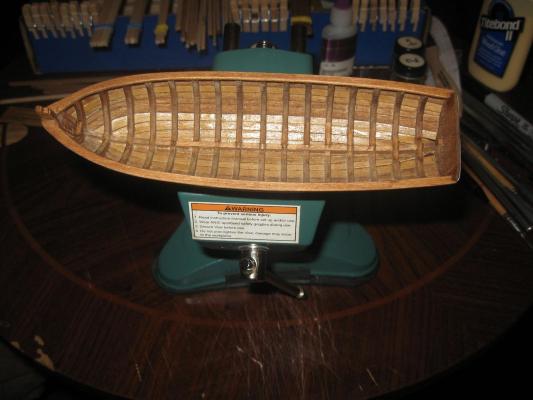
Spent the night working on the interior ribs/keel, got that all faired down properly, and have the cap rail roughed in.
More pics tomorrow.
-
Yeah, it's stained. A custom mix was applied to the raw wood, then the sanding removed most (but absolutely not all) of that stain, then followed with a straight from the can coat.
The custom coat was 10parts Natural, 6parts Early American, and 1 part Golden Oak.
After sanding, I applied a coat of straight Golden Oak.
It's actually not finished yet, before I seal it I will 400 sand the outer hull and then seal with matt urethane or maybe semi-gloss steel wooled down.
- fnkershner, mtaylor and Mike Y
-
3
-
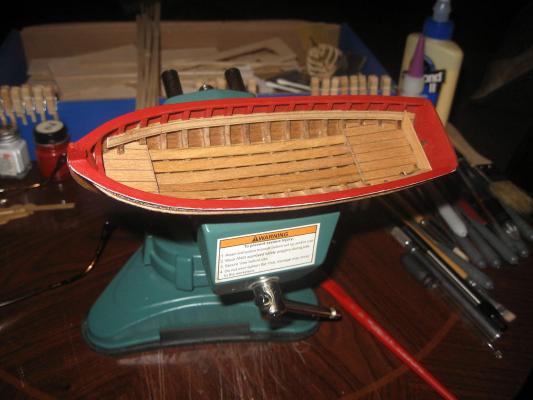
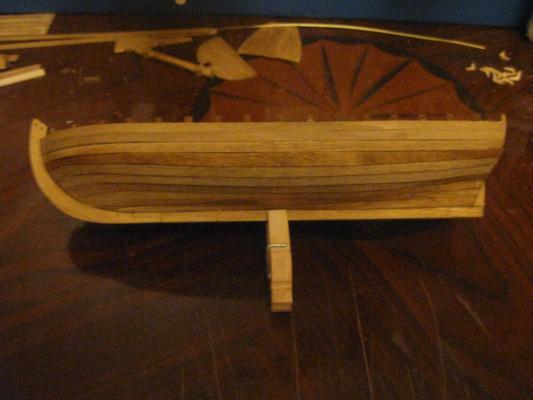
Thanks for the kind words guys, (and to everybody for all the likes) but it's not as good as I hoped. However, practice makes perfect so I'm continuing.
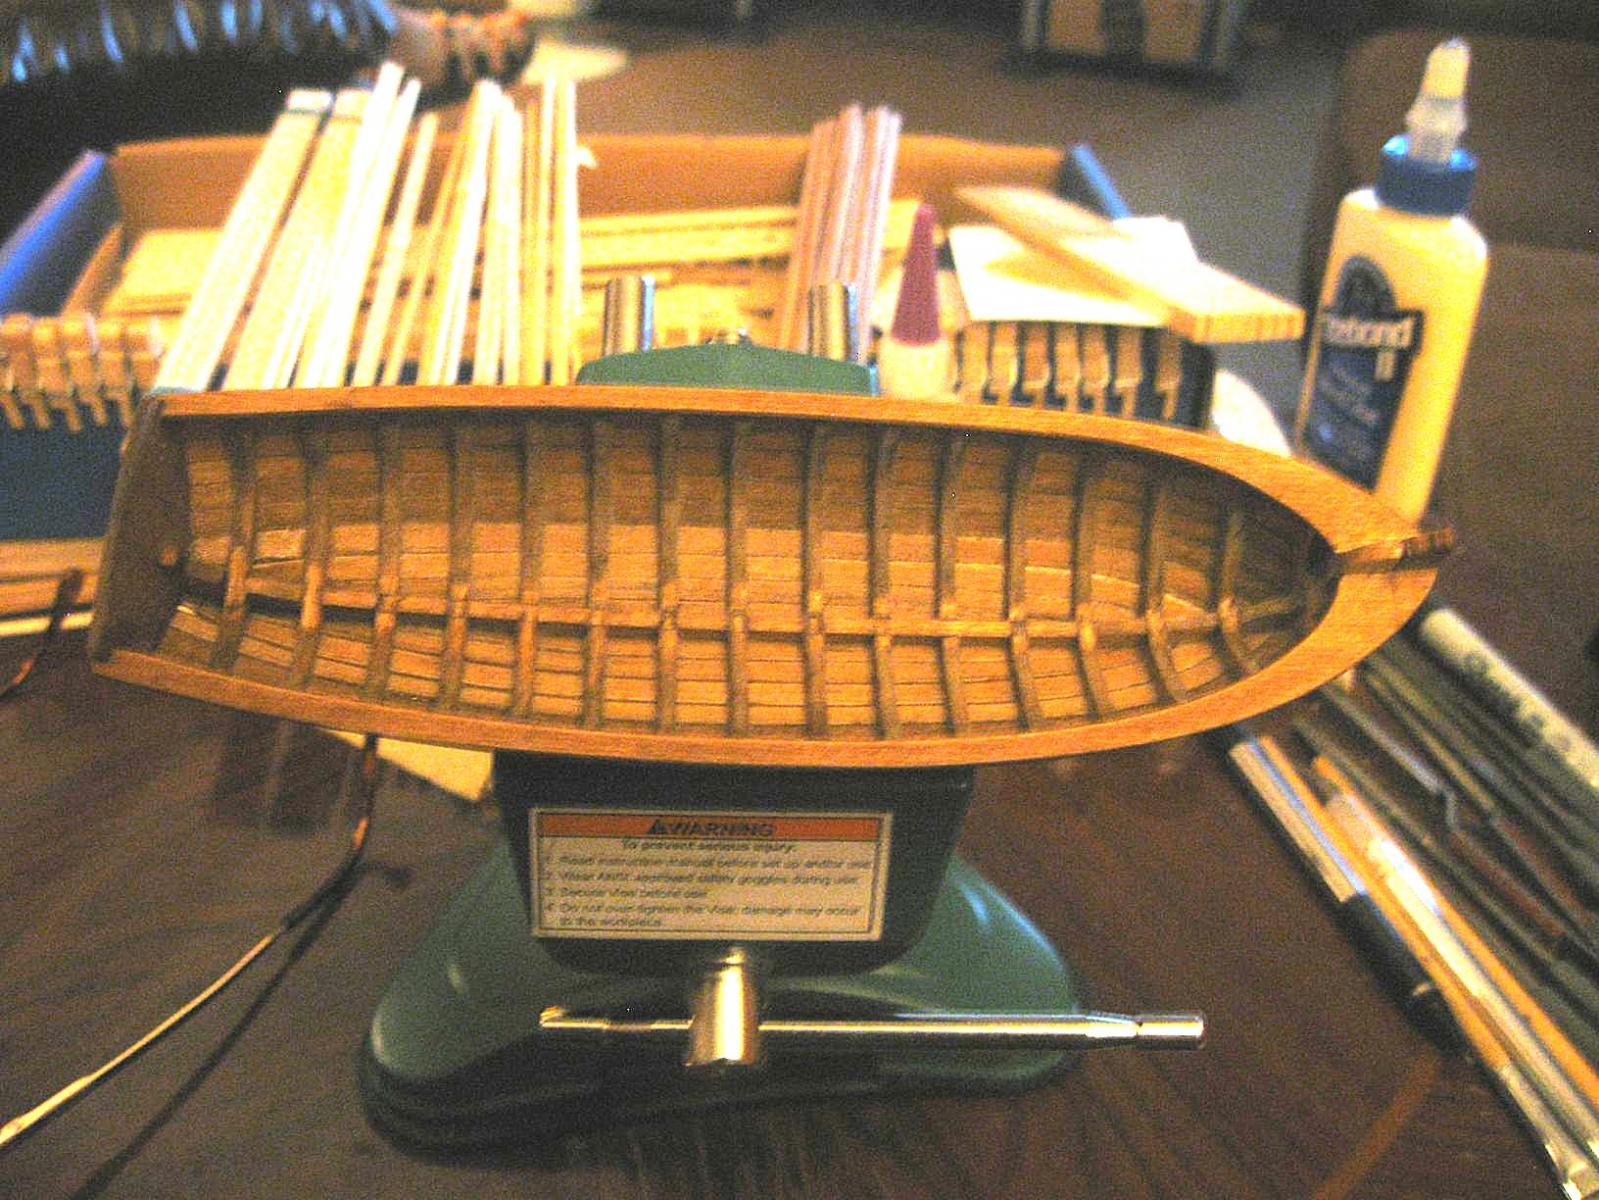
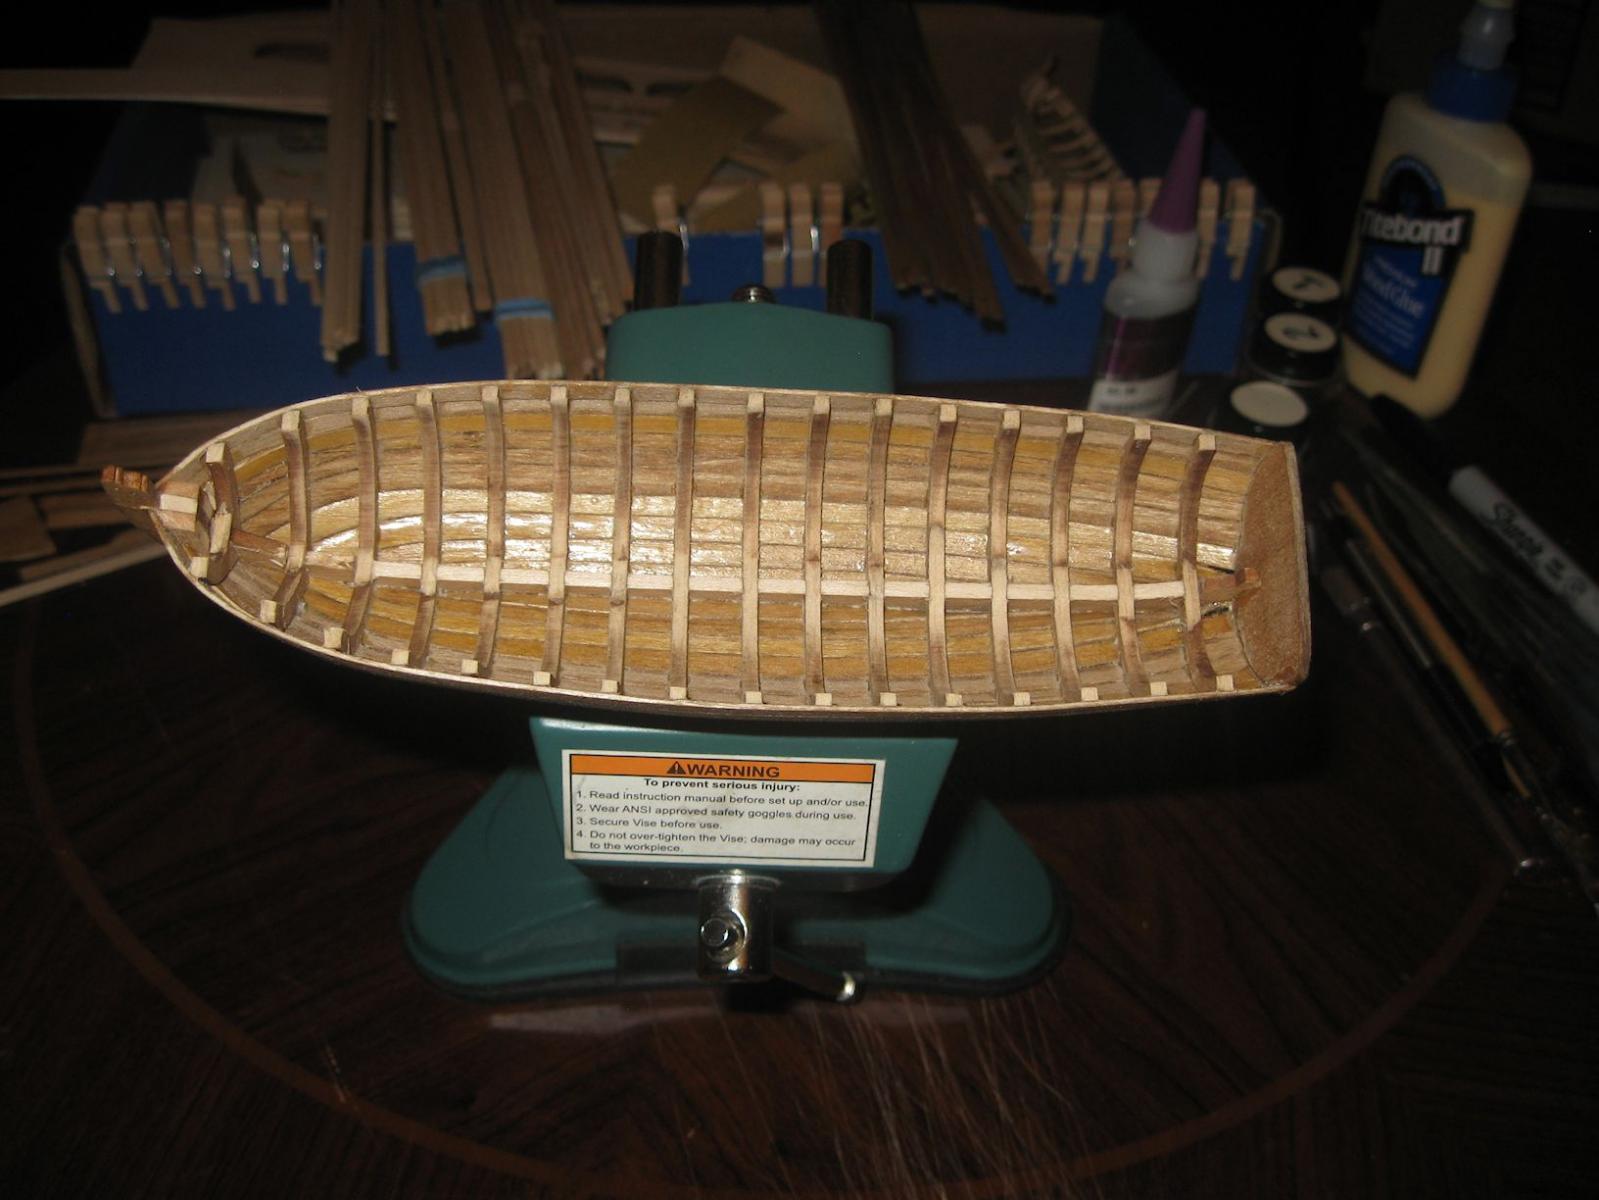
Got the outer hull sanded and stained and the bulkheads removed. Remember, I'm going for an "in-service" look and not new.
There are a couple of holes at the very stern of the hull, but I know how that happened and they won't be visible from the inside (and nobody is gonna be allowed to pick them up) so I just left them, but they won't occur again.
Also figured out the Macro setting on this camera so should be no more blurry pictures.


- fnkershner, dgbot, mtaylor and 2 others
-
5
-
-
No problems putting pics here to demonstrate something. Actually seeing something really helps.
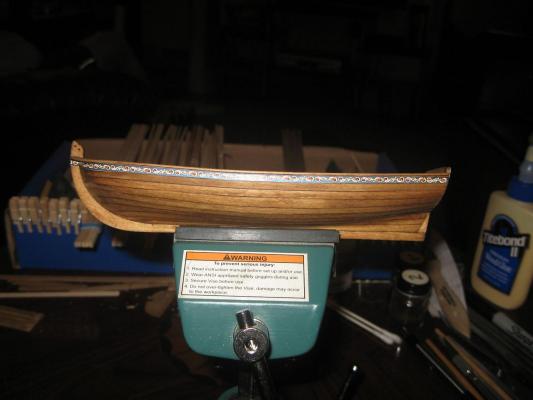
Well, I've got all the planks on sorta. Color is not accurate - parts are still wet and I haven't started sanding yet (tomorrow), but for what it's worth.
I know that some of the planks (hell, most of the planks) are not equal in width. I lost track of following the tick strips so hadda make do. My next models' first requirement is double planks so that I can practice more on the layer that won't be seen.
So tomorrow, I'm gonna sand the outer hull and get the color equalized, seal and then on to the inside.
Remember - ALL critiques are welcome.
Port side
Starboard side
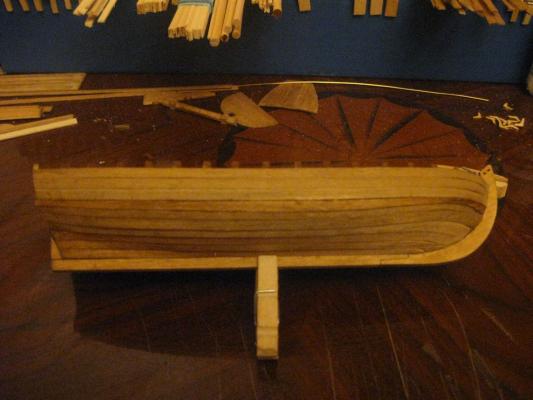
Bow view
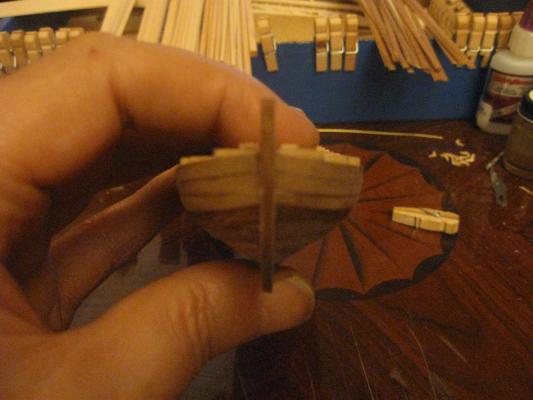
Apologize for the blurry shots. Gotta find a book for this camera.
- Mike Y, Ryland Craze, fnkershner and 1 other
-
4


18th Century LongBoat by jburchfield1 - Model Shipways - 1/4" scale - SMALL - 1st ever build
in - Kit build logs for subjects built from 1751 - 1800
Posted
I just used Minwax Clear Satin but I don't use their wipe-on products, just a brush.