HOLIDAY DONATION DRIVE - SUPPORT MSW - DO YOUR PART TO KEEP THIS GREAT FORUM GOING! (Only 20 donations so far - C'mon guys!)
×


Shazmira
-
Posts
1,303 -
Joined
-
Last visited
Content Type
Profiles
Forums
Gallery
Events
Everything posted by Shazmira
-
 And the planking continues...I can't tell if I am just slow or what, but I swear yesterday 6 hours work netted me about 4 new strips of planking is all Maybe by this weekend I will finally be done with this step.
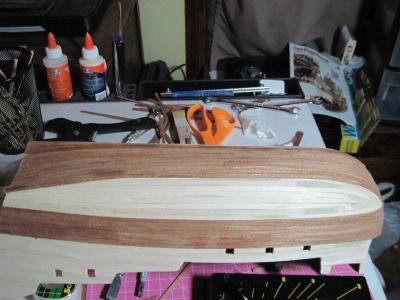
- 773 replies
-
- 1
-

-
- san francisco ii
- artesania latina
- (and 1 more)
-
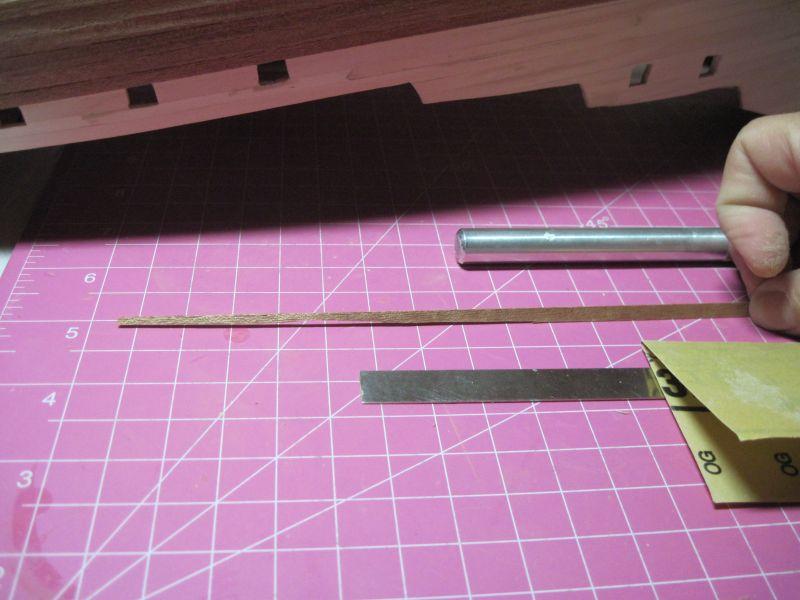
I have to say, all the tapering that needs to be done for this hull is certainly tedious and boring. Really wish there was a way to skip over this, or at least make it less time consuming. Oh well, I know if I take the time now I will have better results in the end, right? please somebody tell me I am right and this is worth it!
- 773 replies
-
- 1
-
-
- san francisco ii
- artesania latina
- (and 1 more)
-
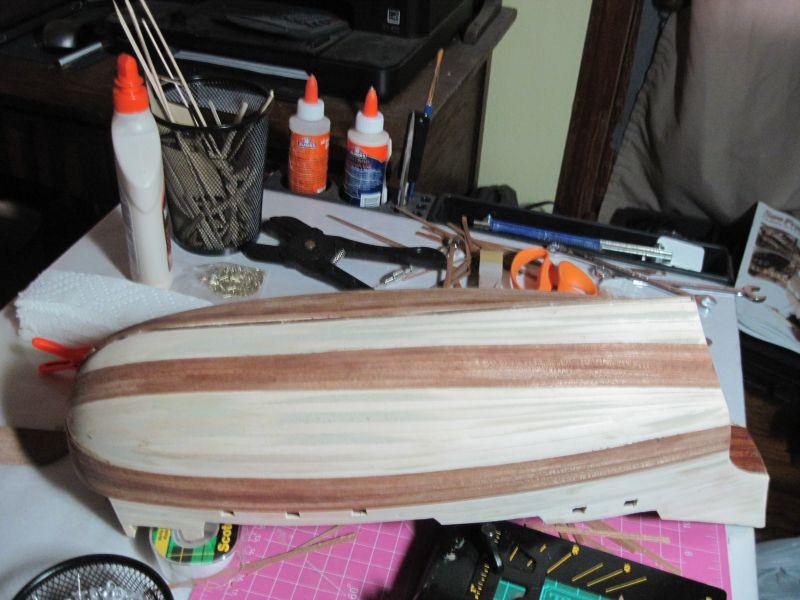
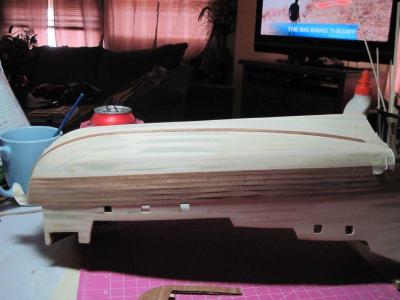
And the second layer of planking begins.
- 773 replies
-
- 2
-
-
- san francisco ii
- artesania latina
- (and 1 more)
-
Gee, another reason I do so love this site. Thank you BareHook, for showing me, a simple yet effective way to spile my timbers....dang, I have a whole roll of tape just sitting there, and I was using it for all the wrong reasons. This is so much easier than trying to use tracing paper like I have been doing!
-
Surprise Discovery of AL Charles Morgan
Shazmira replied to Shazmira's topic in Wood ship model kits
Wayne, Now that is awesome! So glad she can do her part! -
Surprise Discovery of AL Charles Morgan
Shazmira replied to Shazmira's topic in Wood ship model kits
Wayne, That's a no go on the grand babies...1 1/2 and almost 3...not a good combination around small fragile parts -
25 years ago I intended to start this wonderful hobby and I bought myself an AL Charles Morgan kit. I remember beginning to plank the hull and found I did not have the skill, nor was there a site like this to teach a new person how to do it correctly, and at that time I don't even think I owned my first computer yet. Anyway to make a long story short, the model went on a back shelf somewhere and was forgotten. 12 years ago I had a house fire and everything was a total loss, except for a couple old dusty boxes stored in the garage. Since that time I have survived 5 more moves, a divorce, recieved my BA and my Masters, raised my son to adulthood, witnessed the birth of 2 beautiful grandaughters, begun a new chapter in my life with a new job, new fiancee, and basically a new life. Anyway, last night I was rummaging around in the basement, looking for some sandpaper I knew I had stored in a plastic tote, when lo and behold, in the middle of a tote I discovered the hull (partially planked) of my Charles Morgan. I was surprised as heck to find I still had this 25 year-old relic, assuming it had been lost in the fire. I quickly dug through the rest of the contents of the tote, and there at the bottom lay the instructions, the unopened plastic containers of all the fittings, and two tightly bound bundles of "sticks"!! Everything is there except the box it came in, and it all appears to be in pristine condition. Questions. After this many years, will the wood supplied with the kit still be usable, or will it all be too dried out and brittle? Ddoes anyone know anything about this particular kit from the 80's? Is it worth my time, sweat, blood, and bother...or should I look for something newer and better to purchase?
-
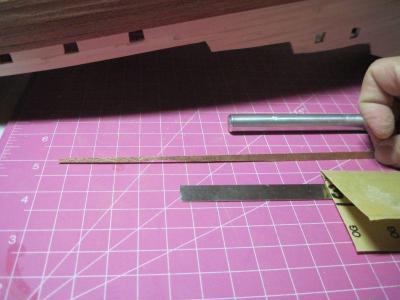
Bending strips laterally
Shazmira replied to Michiel's topic in Building, Framing, Planking and plating a ships hull and deck
Wow, thanks Michiel...lucky me I have an iron in a closet somewhere I have been struggling with my second layer and trying to figure out the best (easiest) way to get the bend I need in these extremely fragile strips. -
I actually discovered Modelers Shipyard www.modelshipyard.com.au/timbers/ Hobby Mill here in the US was shut down for their winter holiday so I need to get my wood from somewhere else. I found the people at the Shipyard extremely helpful, and they have a wide variety of wood in stock in varying lengths and thicknesses. They do ship internationally as well, you will pay an extra $30 USD for the shipping, but for me, I chose to do that rather than wait until mid March to begin my build.
-
I actually discovered Modelers Shipyard http://www.modelshipyard.com.au/ Hobby Mill here in the US was shut down for their winter holiday so I need to get my wood from somewhere else. I found the people at the Shipyard extremely helpful, and they have a wide variety of wood in stock in varying lengths and thicknesses. They do ship internationally as well, you will pay an extra $30 USD for the shipping, but for me, I chose to do that rather than wait until mid March to begin my build.
-
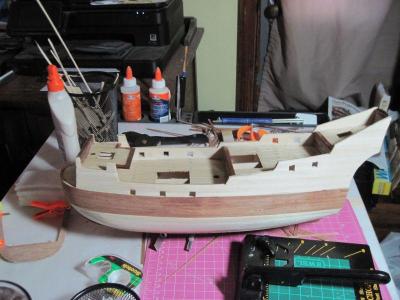
The ship itself when completed is beautiful, just look at Vulcanbomber's completed log. I am currently building this kit, as are a few others. Luckily I had time to read (on the old site) all the issues and problems with the kit while I waited for mine to arrive. By the time I got mine, I was pleased to see that AL had addressed and fixed some of the major issues and complaints about the kit. The newest version has better cannons, AL replaced the die cast gun carriages, gratings, ladders, and created a better die cast version of the lifeboat (a hybrid version, requiring some wood installation as well). Unfortunately, although they give you all wooden parts to correct the old die cast deficiencies, they did not update the instructions. My version of instructions are still written for installation of die cast parts so they do not give you any info how to assemble the wooden parts at all. However, I don't feel anything is too difficult to figure out. The biggest complaint is that it is a single planked kit, and the thick mahogany is near impossible to work with. A few have single planked it as designed and managed to achieve a respectable build. Myself, and many others new to the hobby have opted to double plank, as that seems to be the easier way for a first build. Since you already have a build behind you, you may be well suited to choosing only to single plank, and achieve awesome results. In all, I am pretty pleased with the kit and the quality of the parts. I do believe that AL has addressed and corrected most of the earlier deficiencies.
- 1 reply
-
- 1
-
-
Aaron, Thanks for getting your log back up and running, and thanks for letting me know you did. The second layer is looking quite good. I started mine yesterday, but am not liking that clinkered effect on the bow that I seem to be getting too. I am trying to correct it, or at least make it less noticeable, but not having much success. I look forward to watching your progress, as you know I am a half step behind on my own. Again, very nice job.
-
Thank you banyan, I had not considered that possiblity, my plan was to follow the same lines as the first layer, but you are correct, that would make way for a future gap; something I surely do not want. Thanks again for throwing some common sense my way.
-
Wow, quite impressive, it is nice to see that even a rough start can result in s very beautiful ship in the end. well done!!
-
yes, msberkman, I am impressed with the job you did on the other side...I did not have the guts to try only single planking as this too is my first build, so I opted to double plank and hopefully avoid some of those nasty trouble spots I saw others dealing with. best of luck, I have no doubt someone knowledgeable will be able to help you, I look forward to following your log.
-
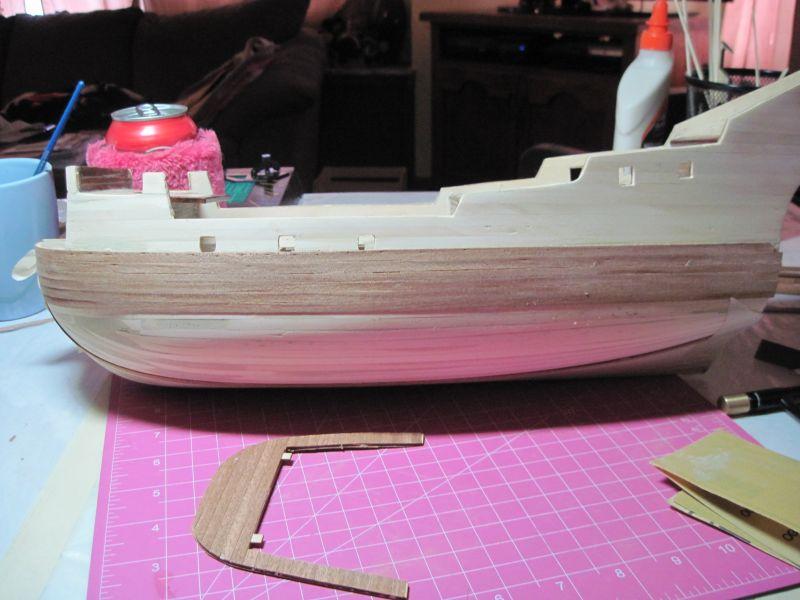
Jim, there seem to be two schools of thought on this very topic. the first is to sand down the bulkehead to get rid of the "lip" the bulwarks sit on and to only plank the first layer up to the bottom of the bulwark...and the second route that I chose which was to leave the bulkheads as they are and plank the first layer all the way up the bulwarks as the original single planked instructions state. I chose to do this as I was worried if the bulwarks did not have that extra supporting layer of thick planking they would be to fragile and unstable during later stages of the build. Unfortunately, when I ordered the new strips for both layers I did not have the forethought to order the two thicknesses of both to equal what the single kit-supplied thickness is. However, now that the first layer is done and sanded, I fitted that rear balocony at the stern to see if I waas going to have future problems, and it seems I must have sanded off enough of my limewood layer that I do not foresee any issues. That does not mean I wont run into something somewhere down the line...this is my first build so I don't really have enough knowledge to draw on to see the entire chessboard so-to-speak. But I am not real worried...if I hit a snag, someone on here will be able to provide me with a suggestion or work around. If you want to be safe, then yes, order your two planking strips in a combined thickness that will equal the thickness of those mahogany strips provided by AL.
- 773 replies
-
- 1
-
-
- san francisco ii
- artesania latina
- (and 1 more)
-
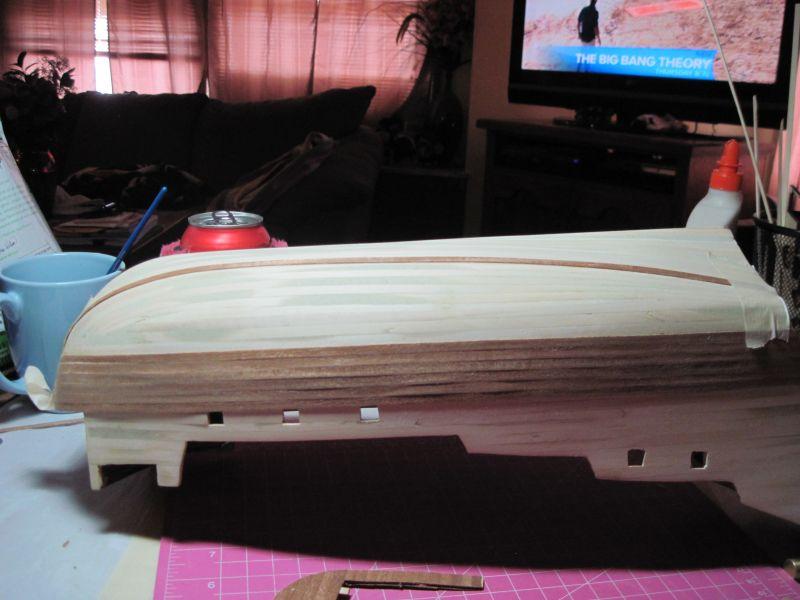
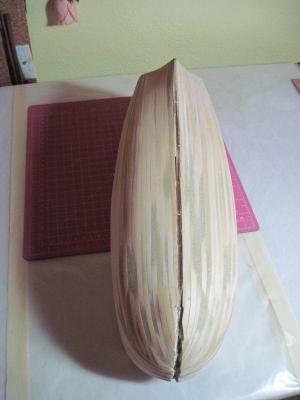
The San Fran does have a very Buff bow. On the first layer I only used stealers in the stern, but I had a few places on the bow that bulged. I left them because I knew I could sand it down. I think this time for the second layer I will go slower, I am thinking that since I have a solid base to work with now it will actually make laying out the top layer easier...I hope I am not wrong in that thinking. I am going to try using some tracing paper to acurately lay on my hull so that I have a flat version of it, that I can then use to measure and shape my stealers. I have never tried to do do that, but my mind says it should work...now to figure out how to make it work in practice
-
Caroline, Just finished the first layer of planking, I have been asking for adivice in another post as to whether my pattern is good enough to repeat for the second layer. Hoping that following the first (while avoiding the earlier troubles) will make that second layer go easier and smoothly So looking forward to your reposts of your planking pics.
-
That is exactly what I was looking for Jim! I love that big picture, makes it much easier to visualize. That also gives me a much better picture of how exactly the stealers work; better than the drawing in the beginners planking guide as well perhaps because of the size. Michiel, that log looks great too! Thank you for giving me the link, I will be referig back often to look at your pics. Mark, thank you I have the planking guide printed off...that is what I tried to follow for this first layer, and am hoping I did it justice and can just repeat (with fewer errors) my first layer with my second. I can't tell from your photos Michiel, did you use any stealers? I did use a couple on each side on my first layer, but was not particularly succesful with them, they seem to be the areas where I eaither had a bulge, or a sink hole. Good thing wood filler and sandpaper take those out, but I don't want to make those mistakes on this next layer, My mahogany strips are only 1/32" thick so there will not be much forgiveness for any sort of heavy sanding.
-
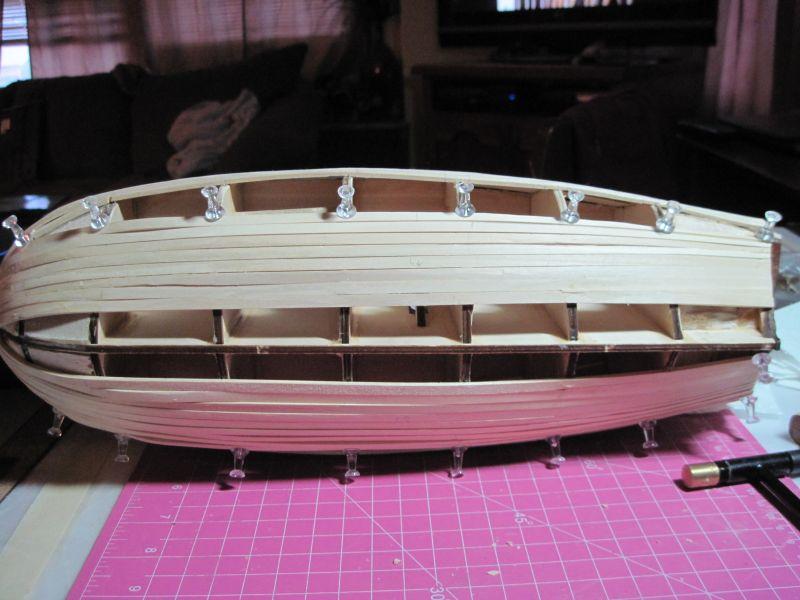
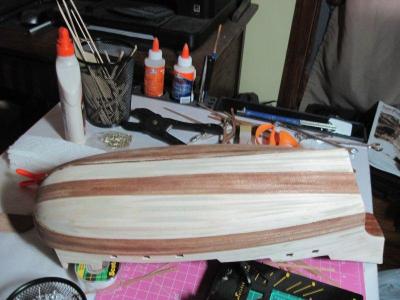
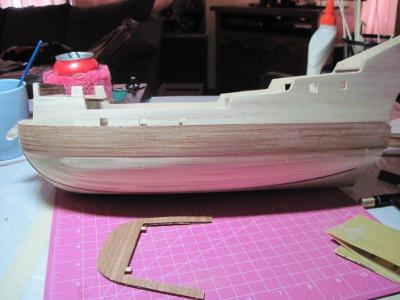
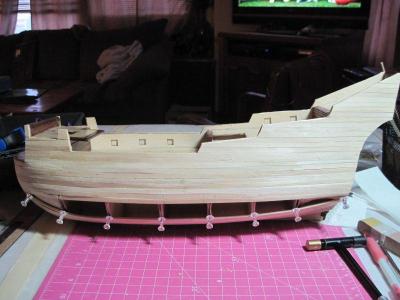
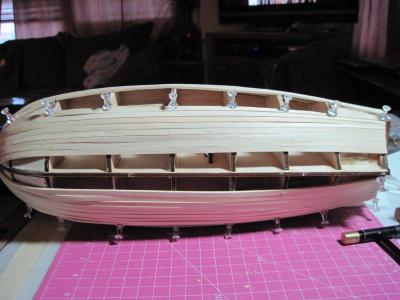
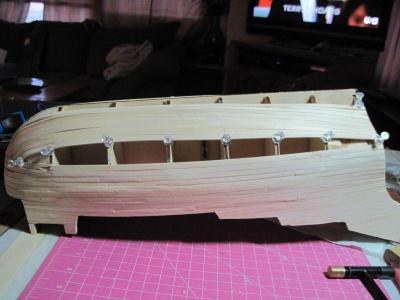
Could someone who knows more than me, which would be all of you please look at my first layer of planking and tell me if this pattern is acceptable for the next layer? I certainly don't want to mess up now, if you know what I mean. Pics can be seen here http://modelshipworld.com/index.php?/topic/84-san-fransisco-ii-by-robbyn-artesania-latina-wood/ Thank you for your help in advance.
-
Pictures sure are decieving at this point. When I look at them on here, the hull looks rather rough, but up close and in person it is actually as smooth as a baby's behind. It is a shame how the wood filler makes it look so splotchy and uneven.
- 773 replies
-
- 2
-
-
- san francisco ii
- artesania latina
- (and 1 more)
-
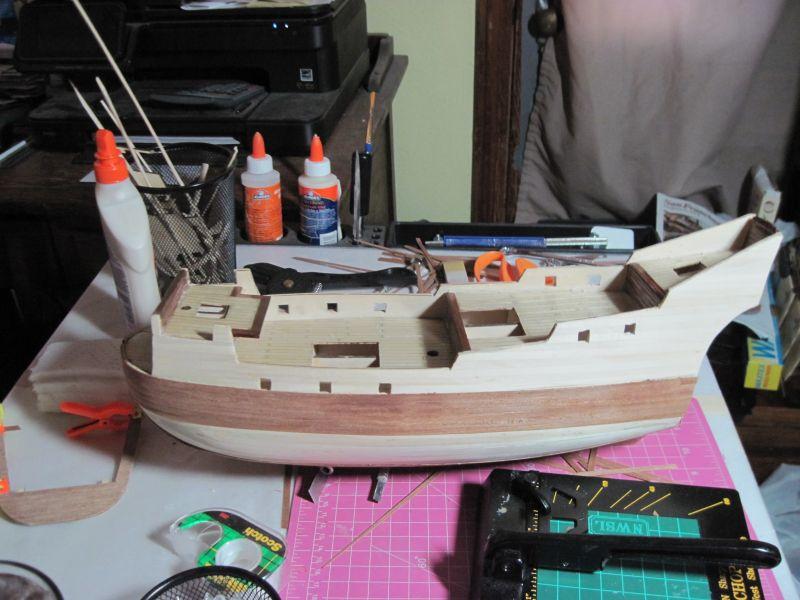
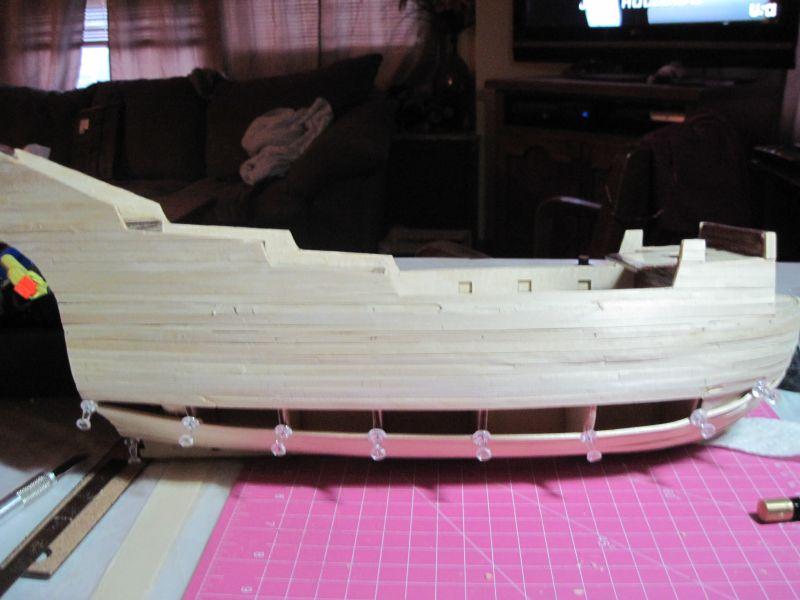
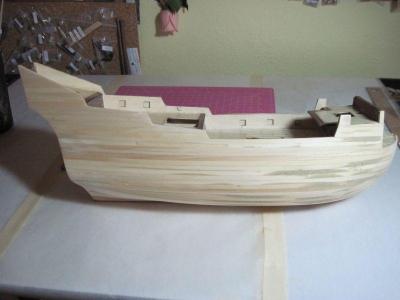
Hamilton, As for the quality of the kit...it does seem AL listened to many of the complaints and improved, or at least changed some of the issues. I still had issues with the decks, but I just trimmed off the excess so things would lie correctly and line up right. They improved the cannons, and row boat. Seems they also replaced the carriages, ladders, and grates with wooden ones that have to be assembeled. Hoping these are improvements. First layer of planking completed last night...first 3 hours of sanding finished. I do hope my planking pattern is correct enough for this model. If it is not, will someone please tell me what I need to change for the 2nd layer. Hoping to get all the sanding done today, it is nice enough to sit outside and work, a bit unbelievable for mid February in Kansas. Yes, Aaron I did plank up the bulwarks. I felt that with all the later additions in those areas, I would need the added stability of the thicker planking.
- 773 replies
-
- 3
-
-
- san francisco ii
- artesania latina
- (and 1 more)
-
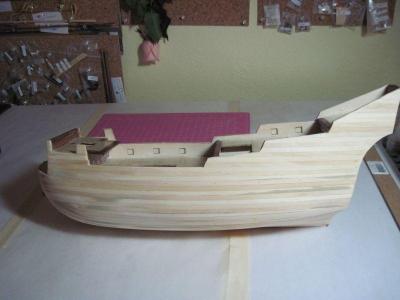
Yes, Hamilton, I chose to double plank as this is my first attempt at a kit such as this and I knew my novice skills would not be up to the challenge of bending that thick mahogany and making it look right. Nice to see you again as well Sjors. I was in a bit of a panic when the site went down, but am very happy it is back up and running again. I don't believe I could get through this near as well without the help, input, and knowledge to be found here. As you can see from the attahed pics, planking has progressed. Ran into a couple of problems with a couple that broke on me, as well as the fact they don't all lie nice and neat . But I have persevered none-the-less

- 773 replies
-
- 2
-
-
- san francisco ii
- artesania latina
- (and 1 more)
-
Caroline, So happy to see you had this log backed up and saved. Although I am currently building a II, I have been refering often to your log for inspiration and guidance.
-
Hi Aaron, Very glad to hear from you. I had replied to your last post on your log, just before the crash...the one regarding the slant of your second layer of planking....did you by chance see it? Robbyn
- 773 replies
-
- 1
-
-
- san francisco ii
- artesania latina
- (and 1 more)