HOLIDAY DONATION DRIVE - SUPPORT MSW - DO YOUR PART TO KEEP THIS GREAT FORUM GOING! (Only 20 donations so far - C'mon guys!)
×

captgino
-
Posts
620 -
Joined
-
Last visited
Content Type
Profiles
Forums
Gallery
Events
Everything posted by captgino
-
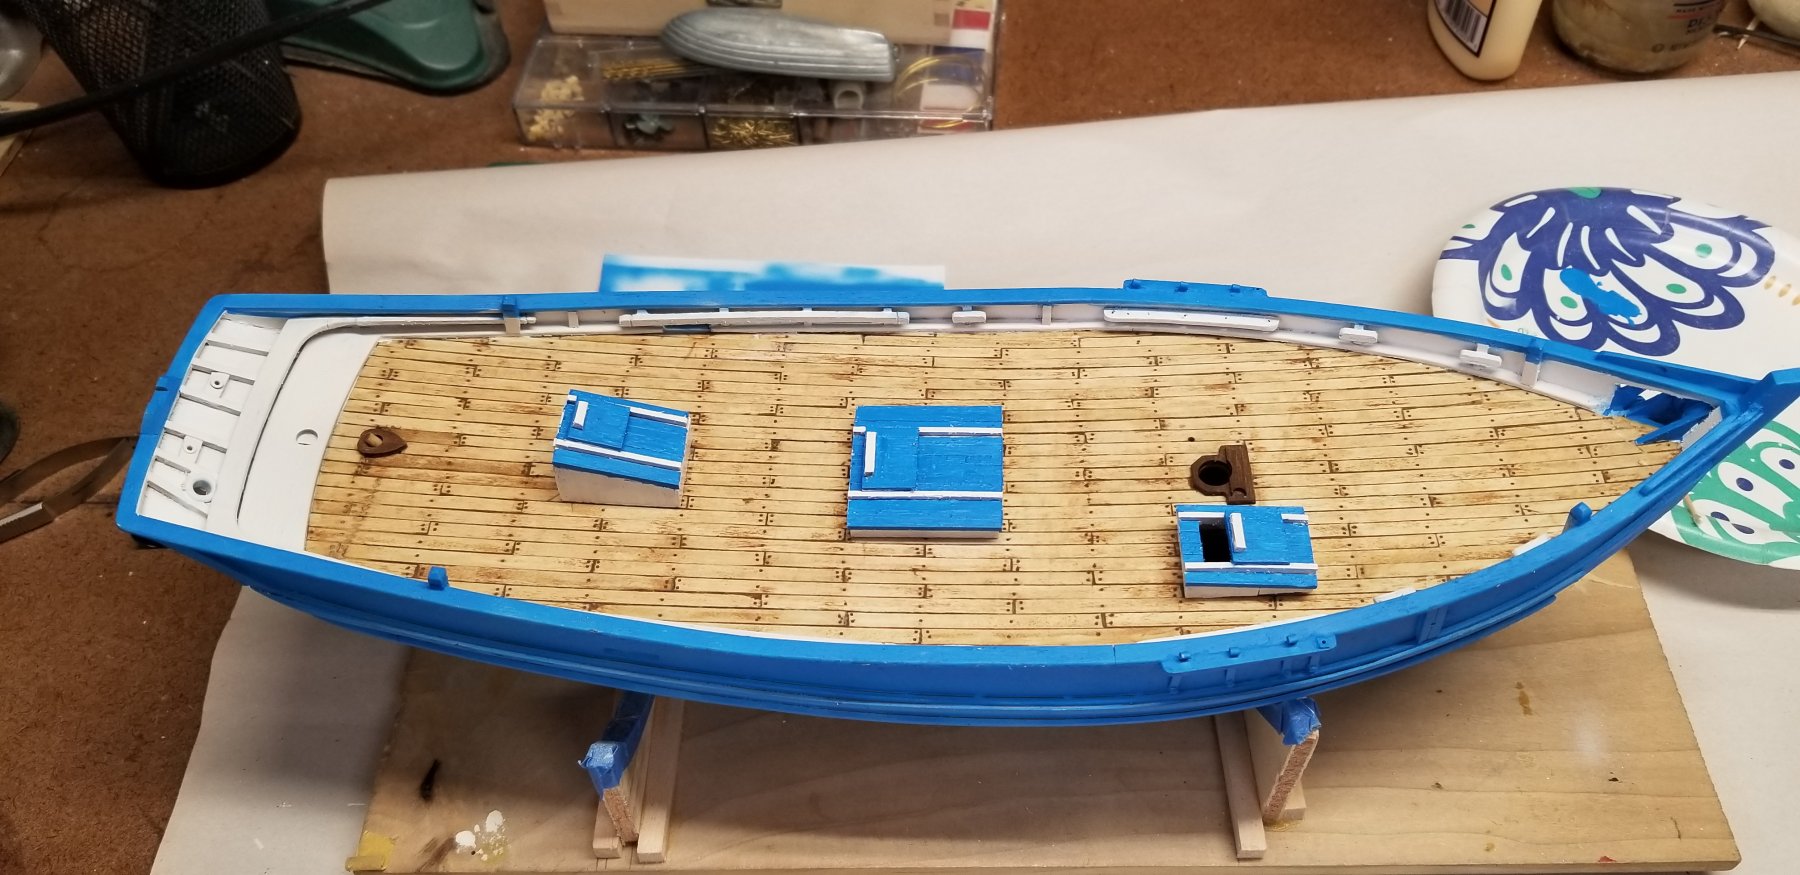
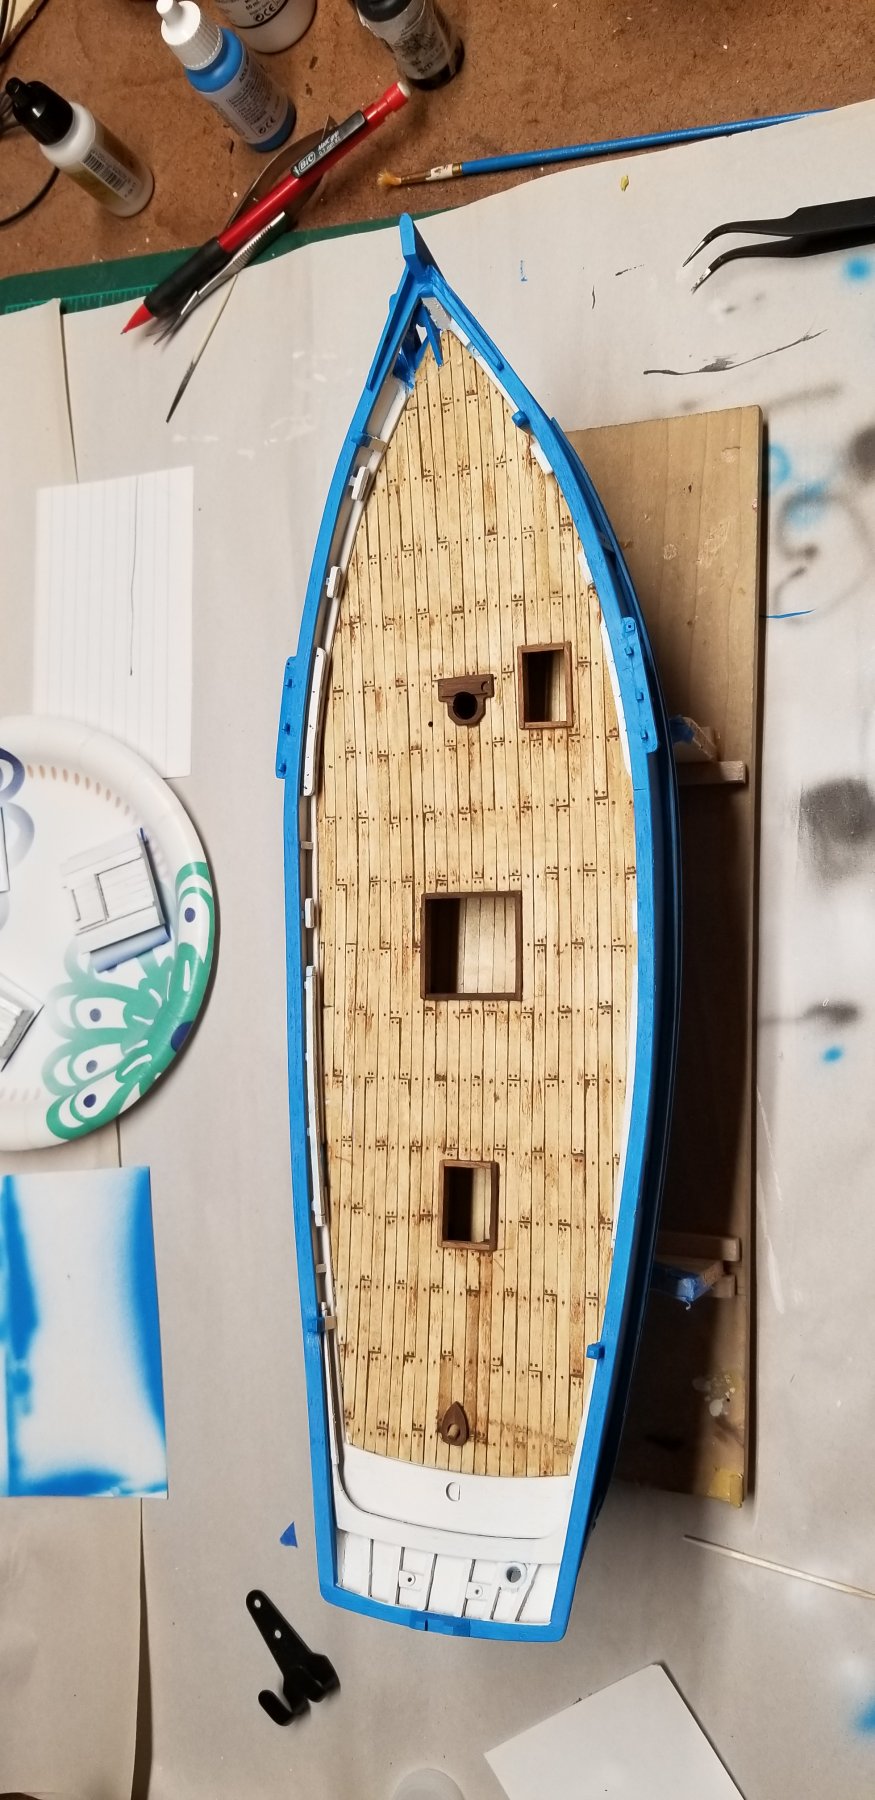
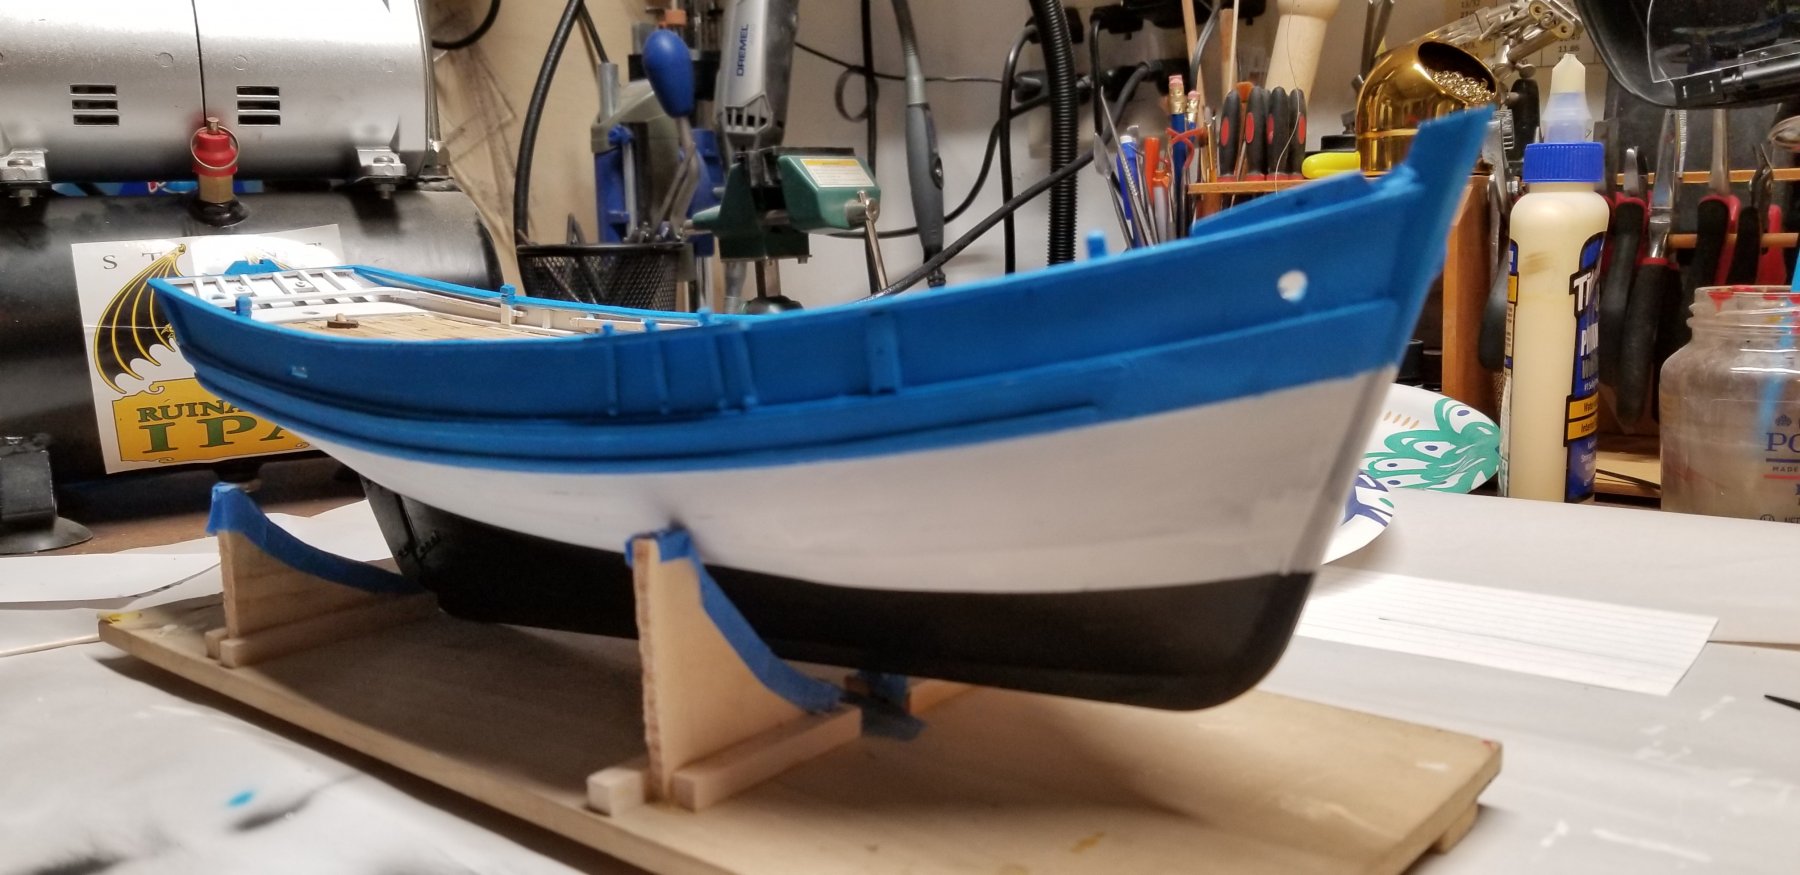
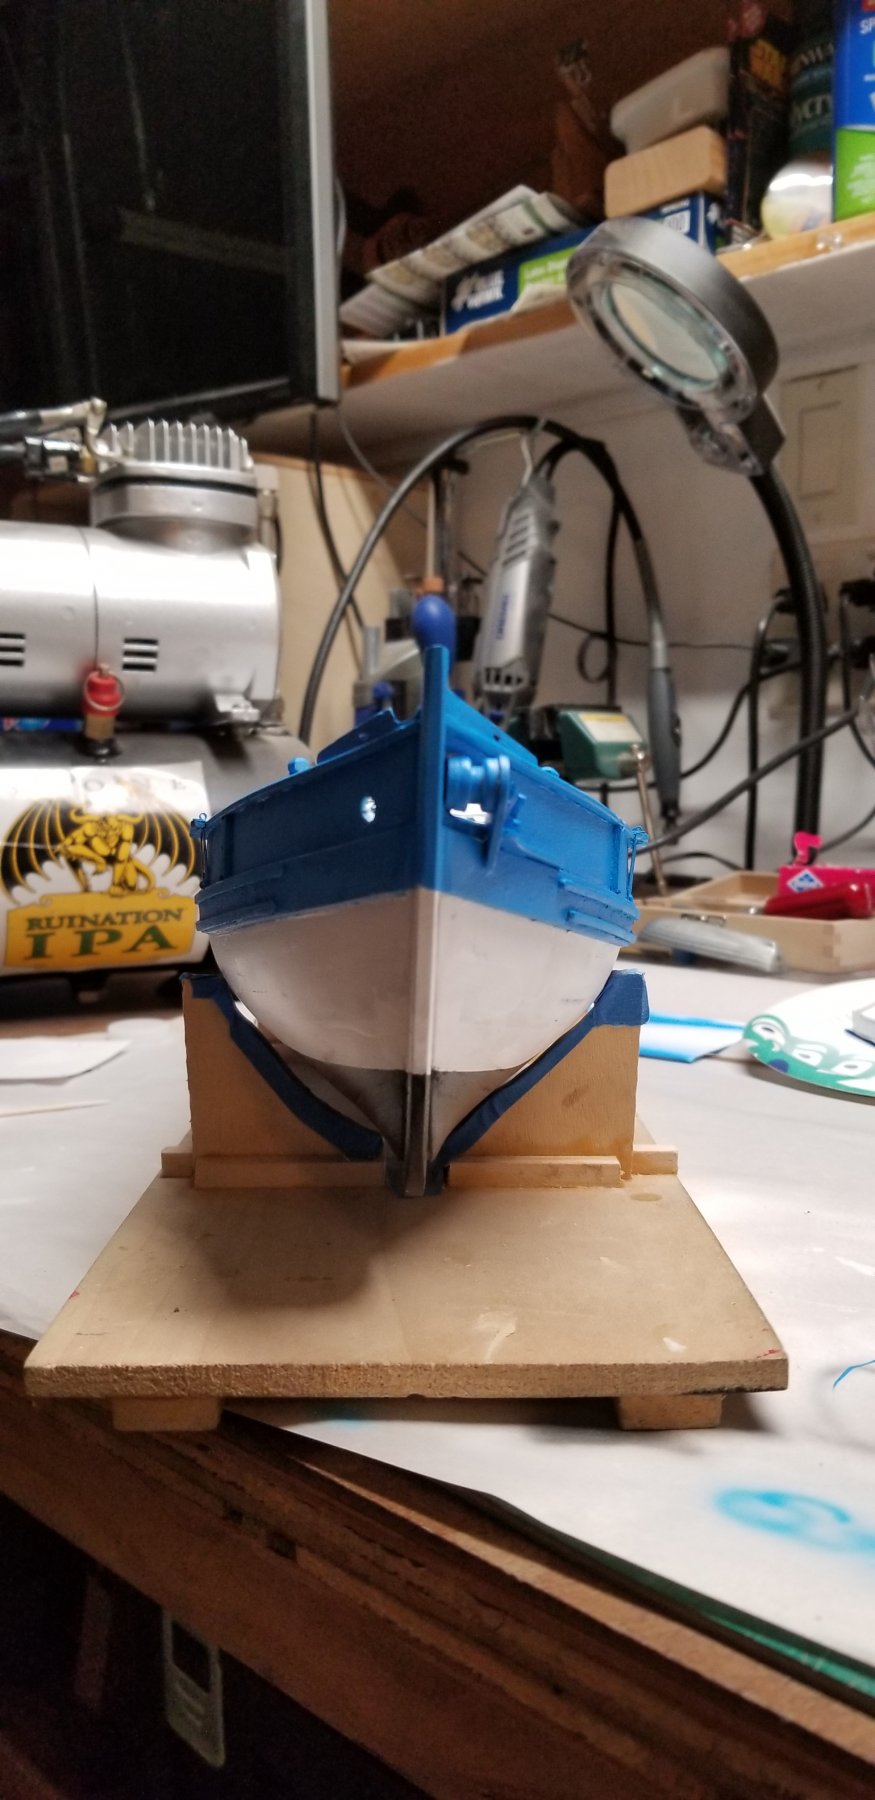
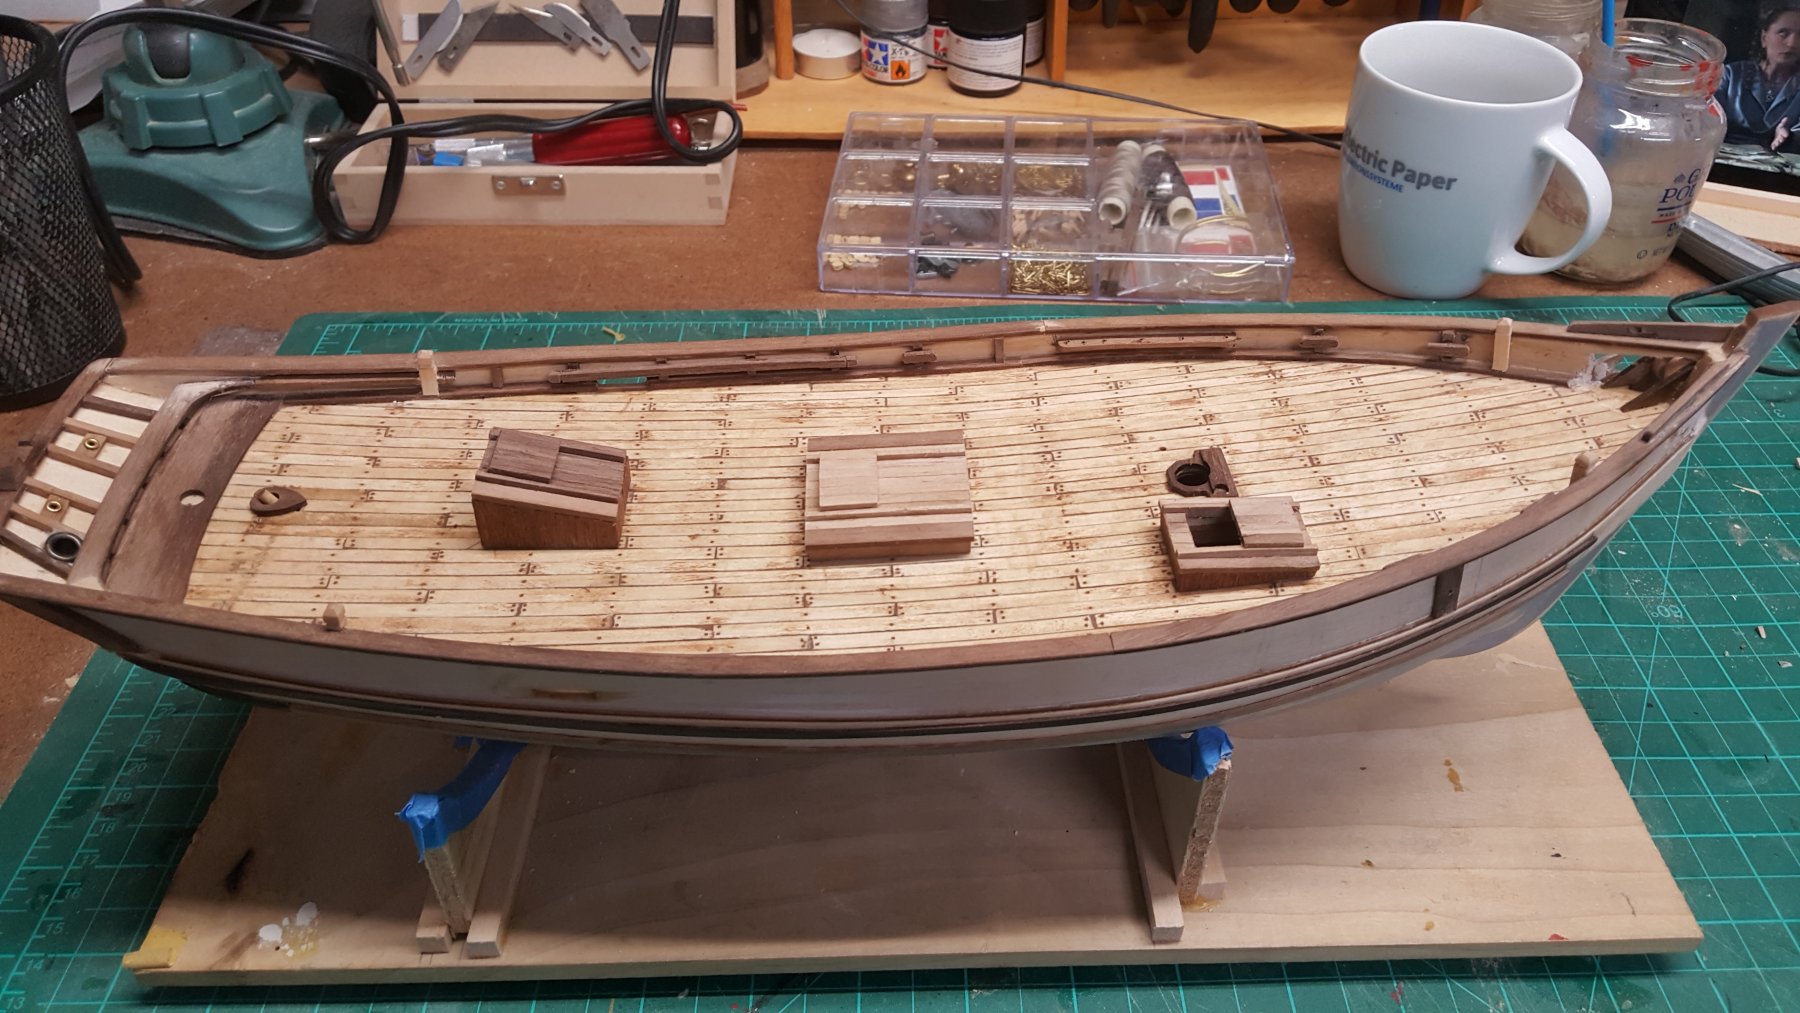
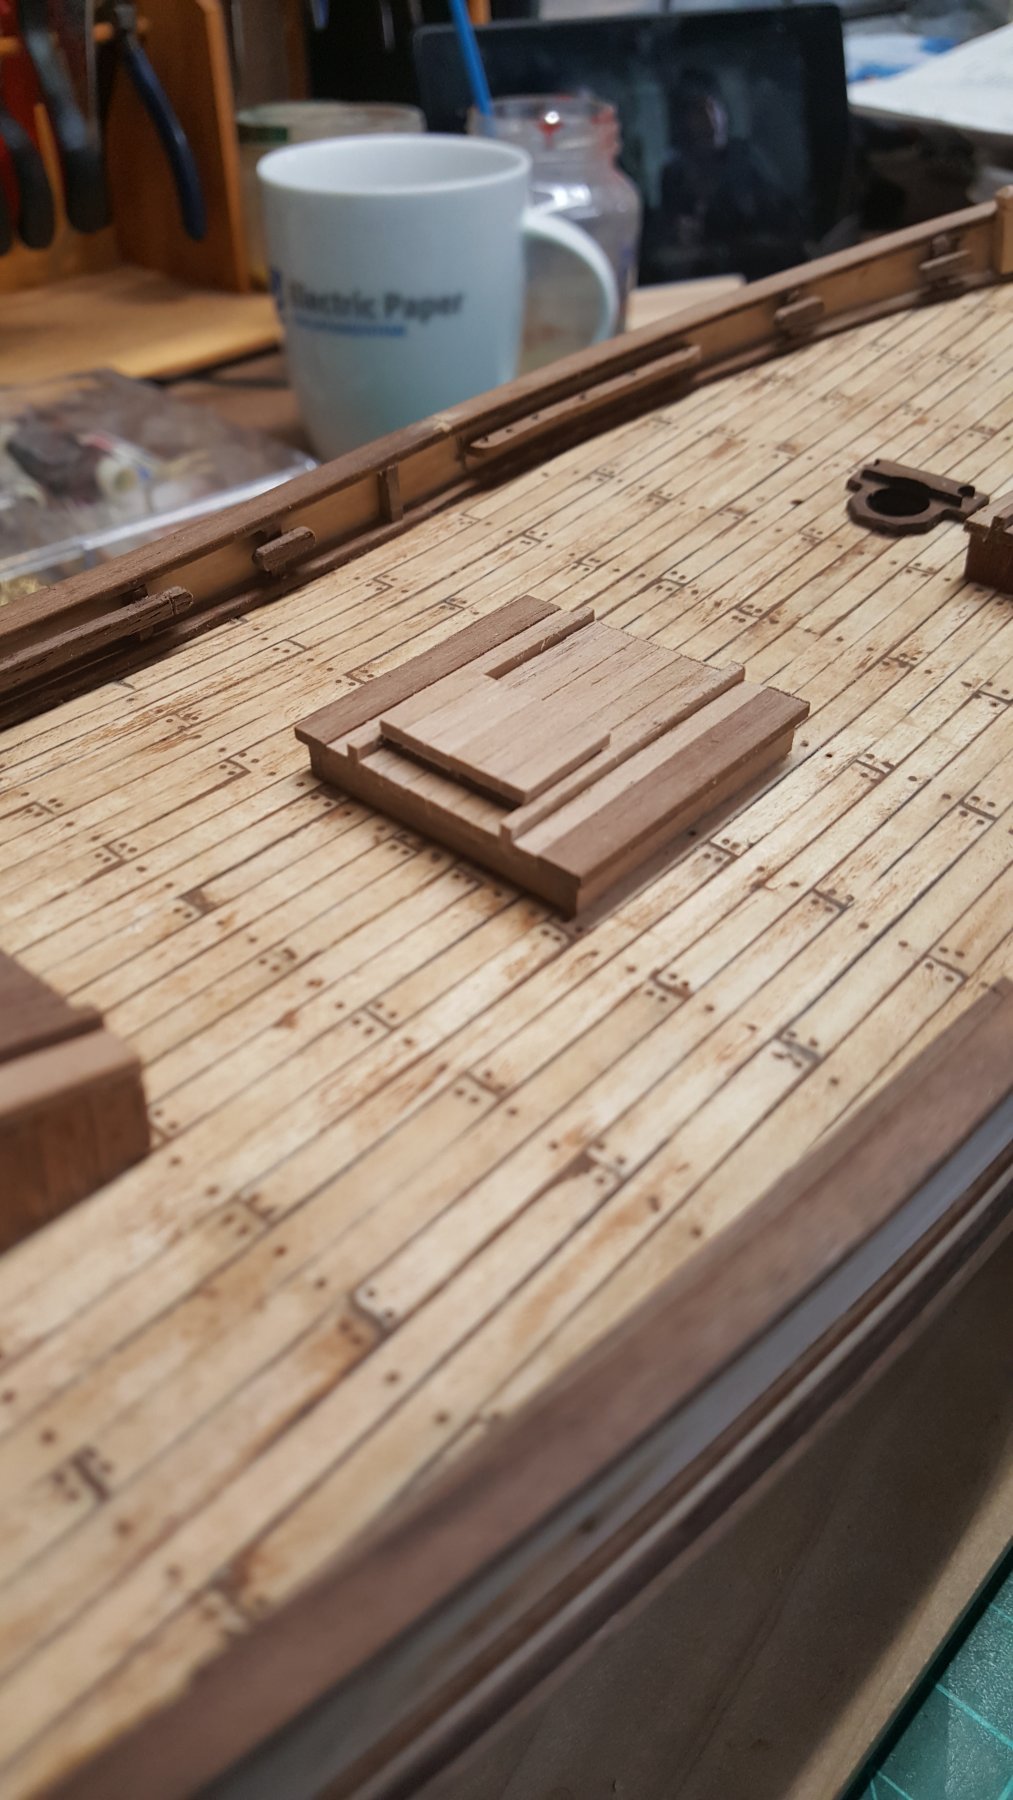
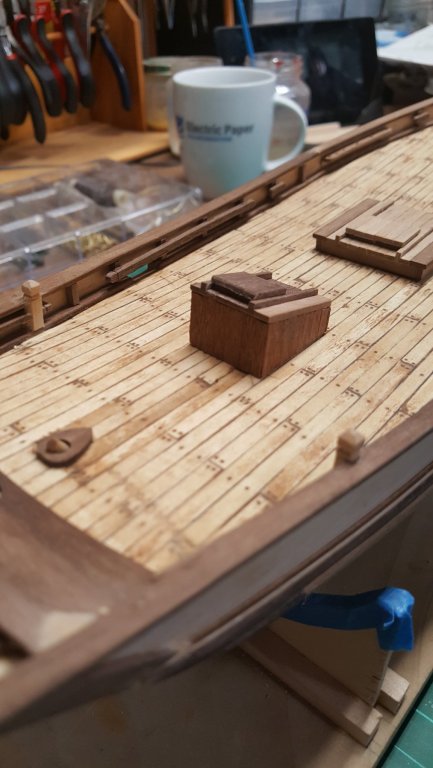
 Reworked the white a bit. Painted the deck furnitures. I did not glue them yet.
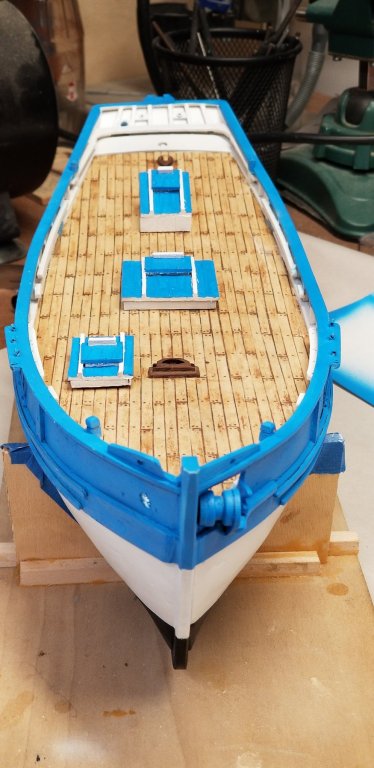
- 131 replies
-
- 8
-

-
- finished
- artesania latina
- (and 1 more)
-
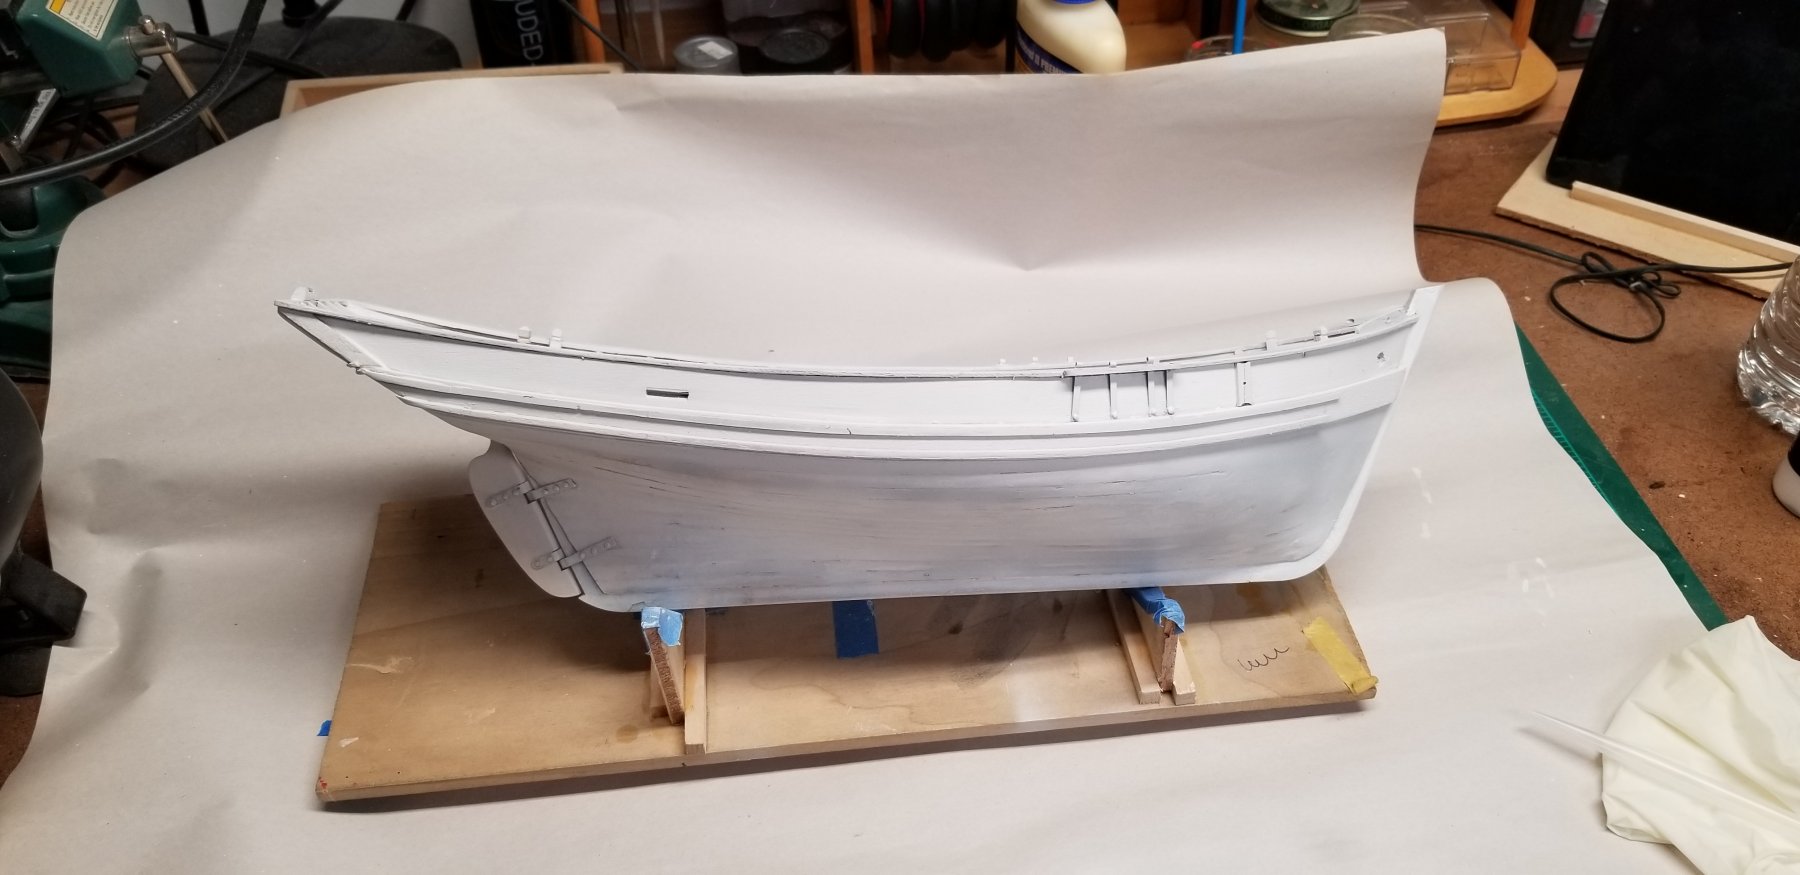
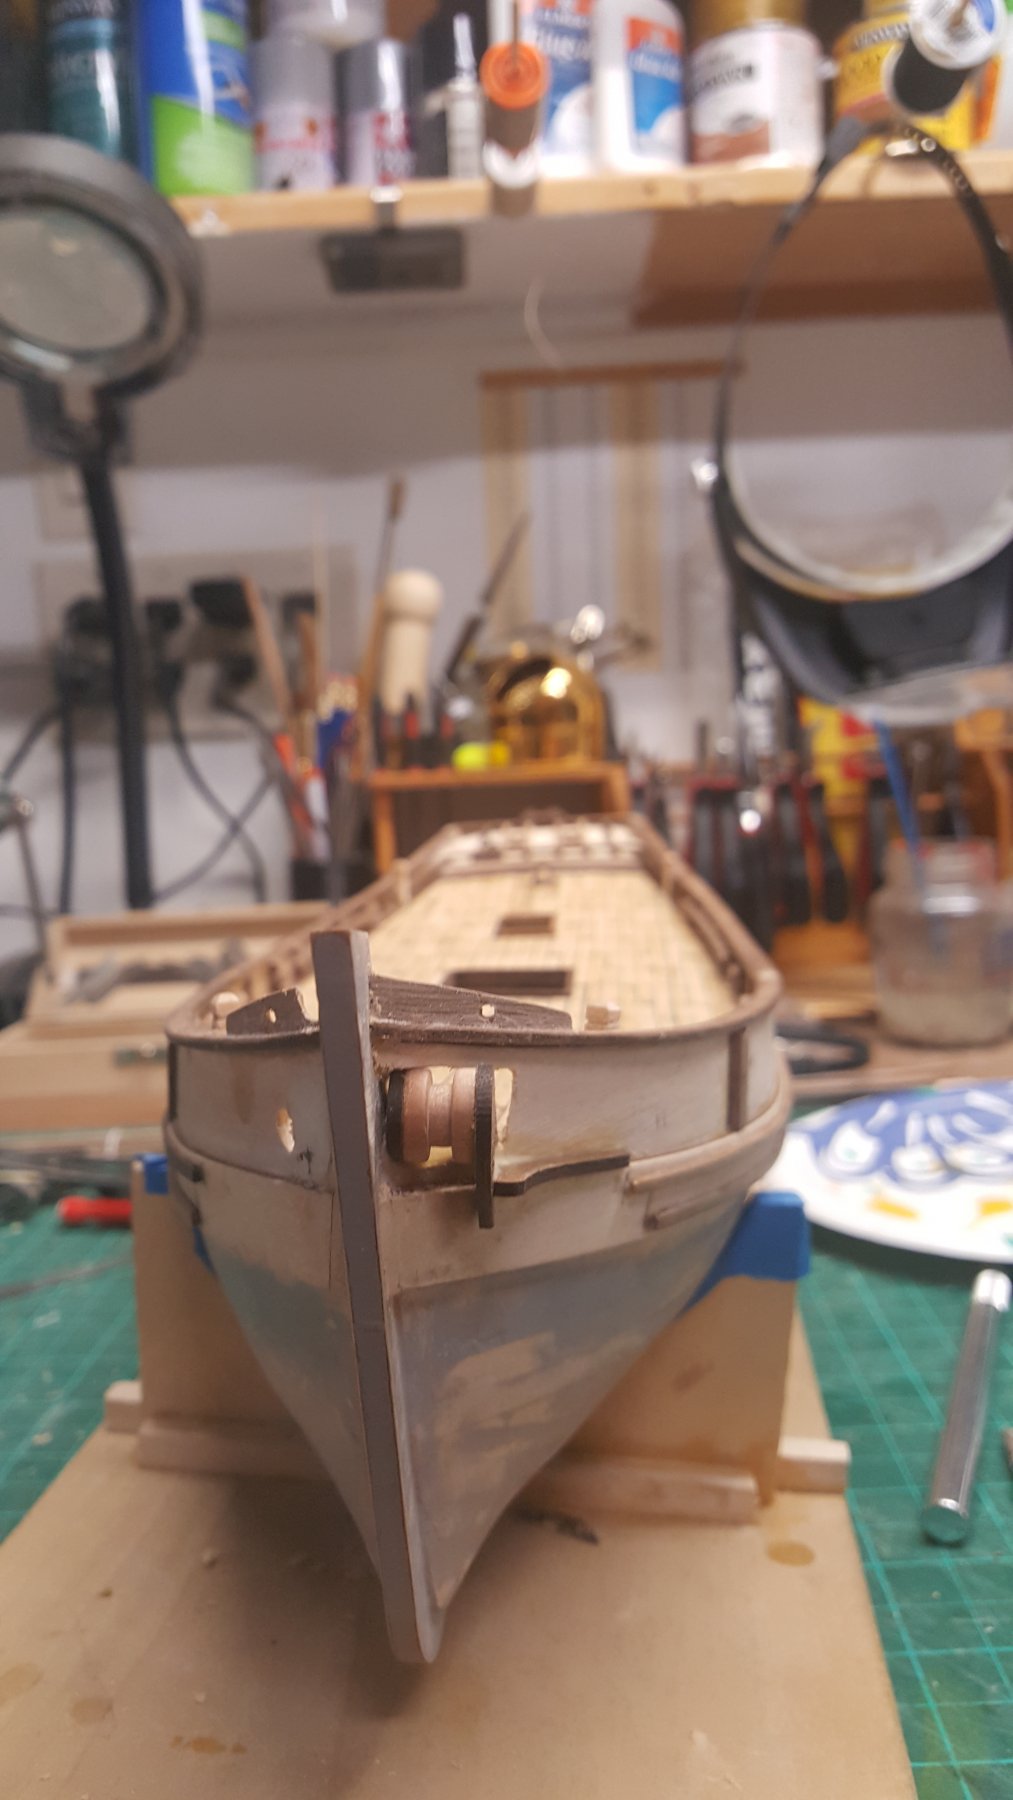
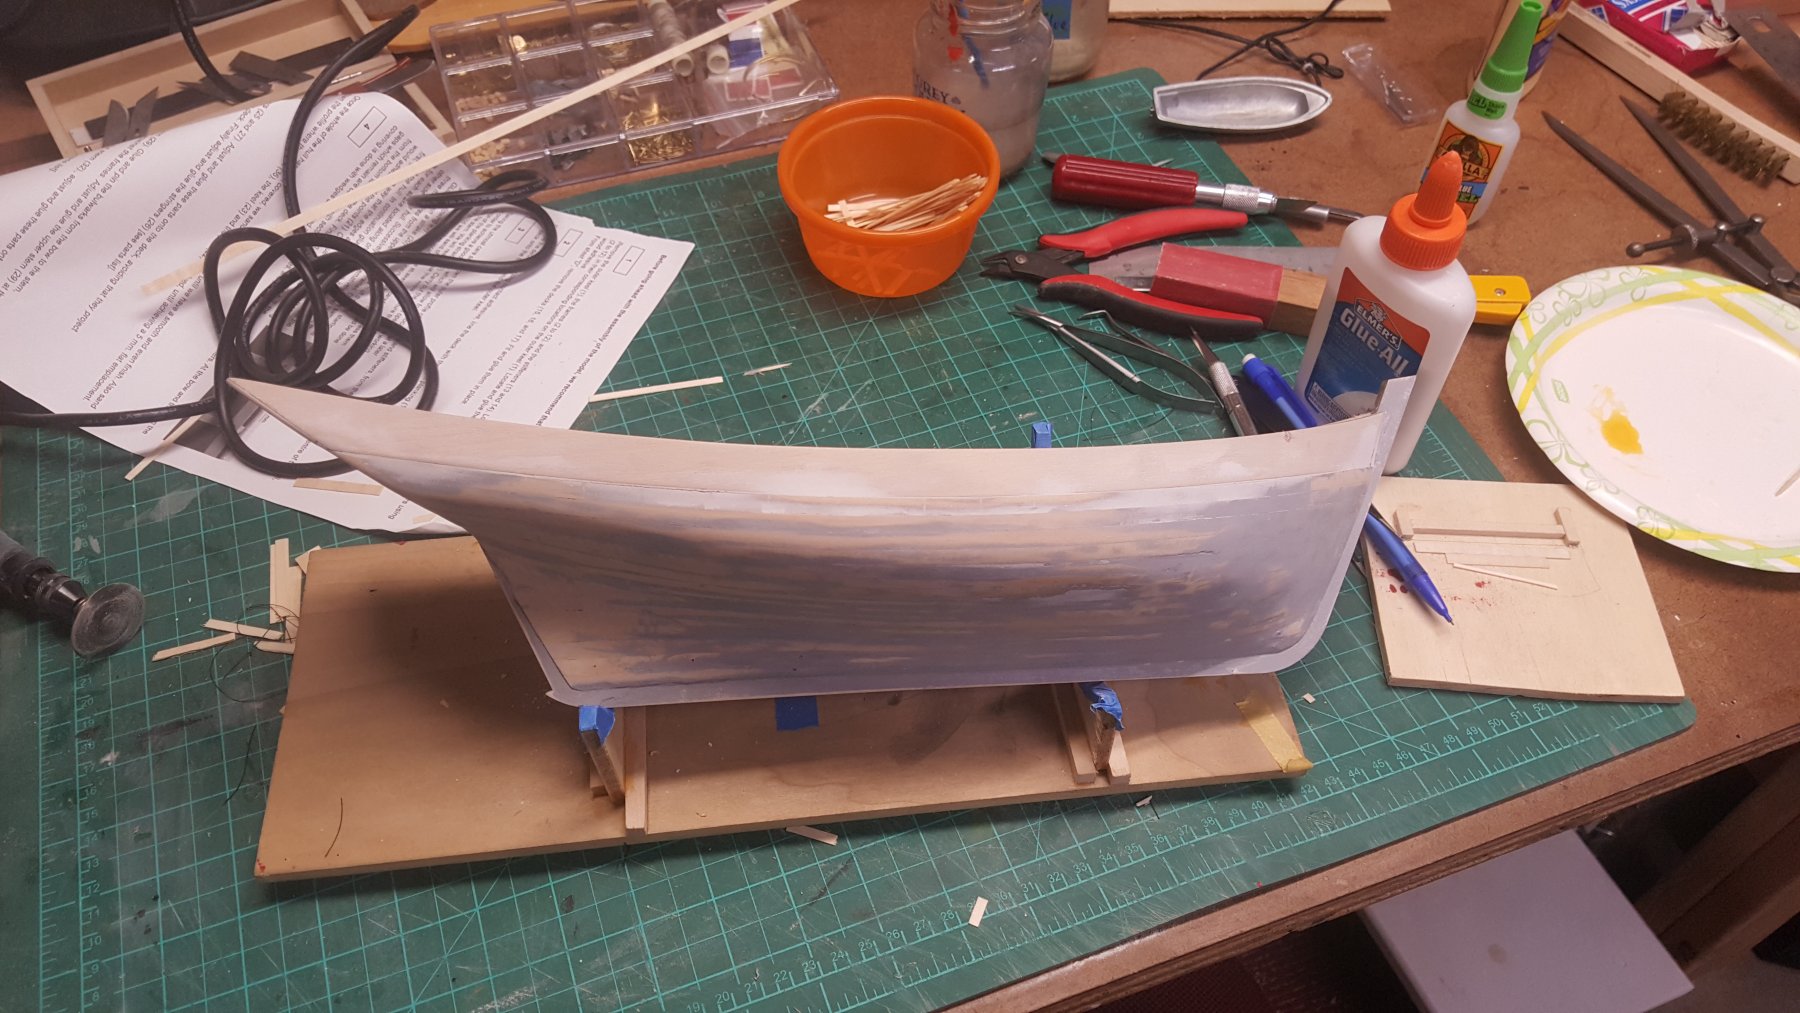
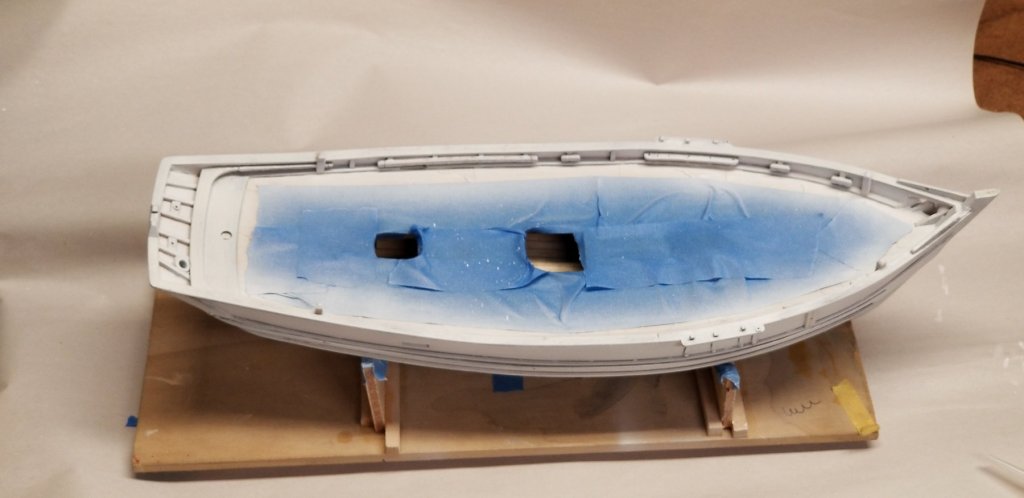
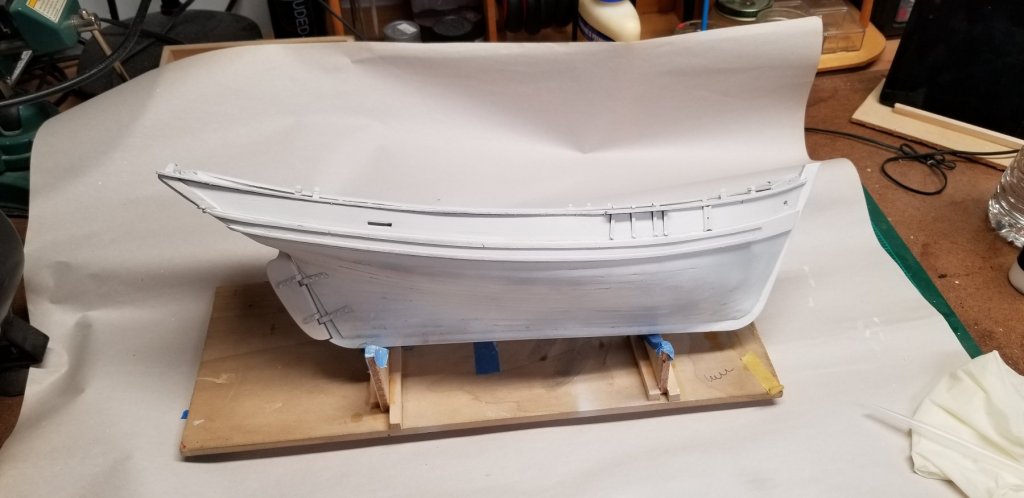
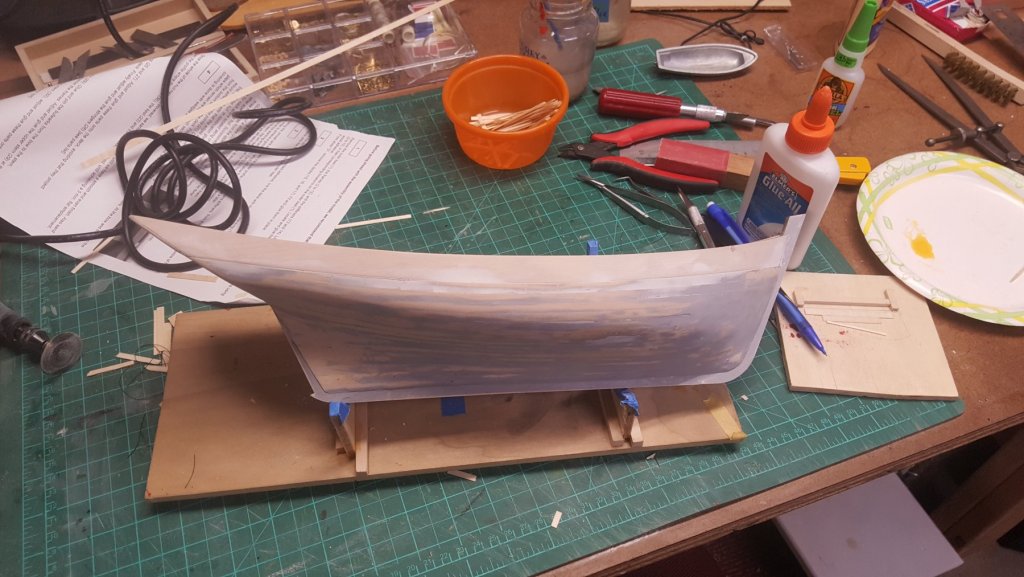
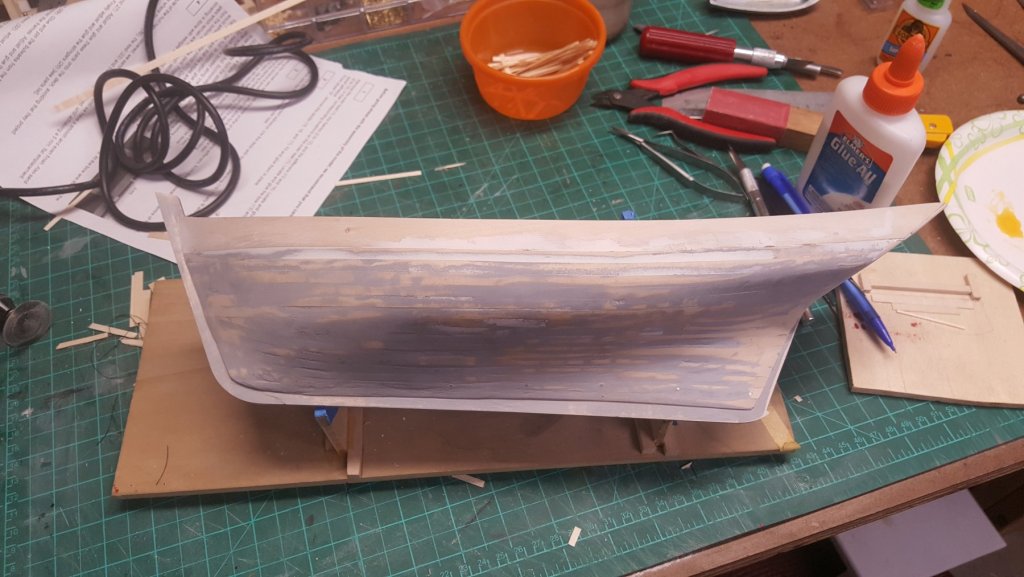
Primed her with a coat of vallejo white primer. I will let it cure for 12 hours before starting the next stage of painting. 😊

- 131 replies
-
- 5
-
-
- finished
- artesania latina
- (and 1 more)
-
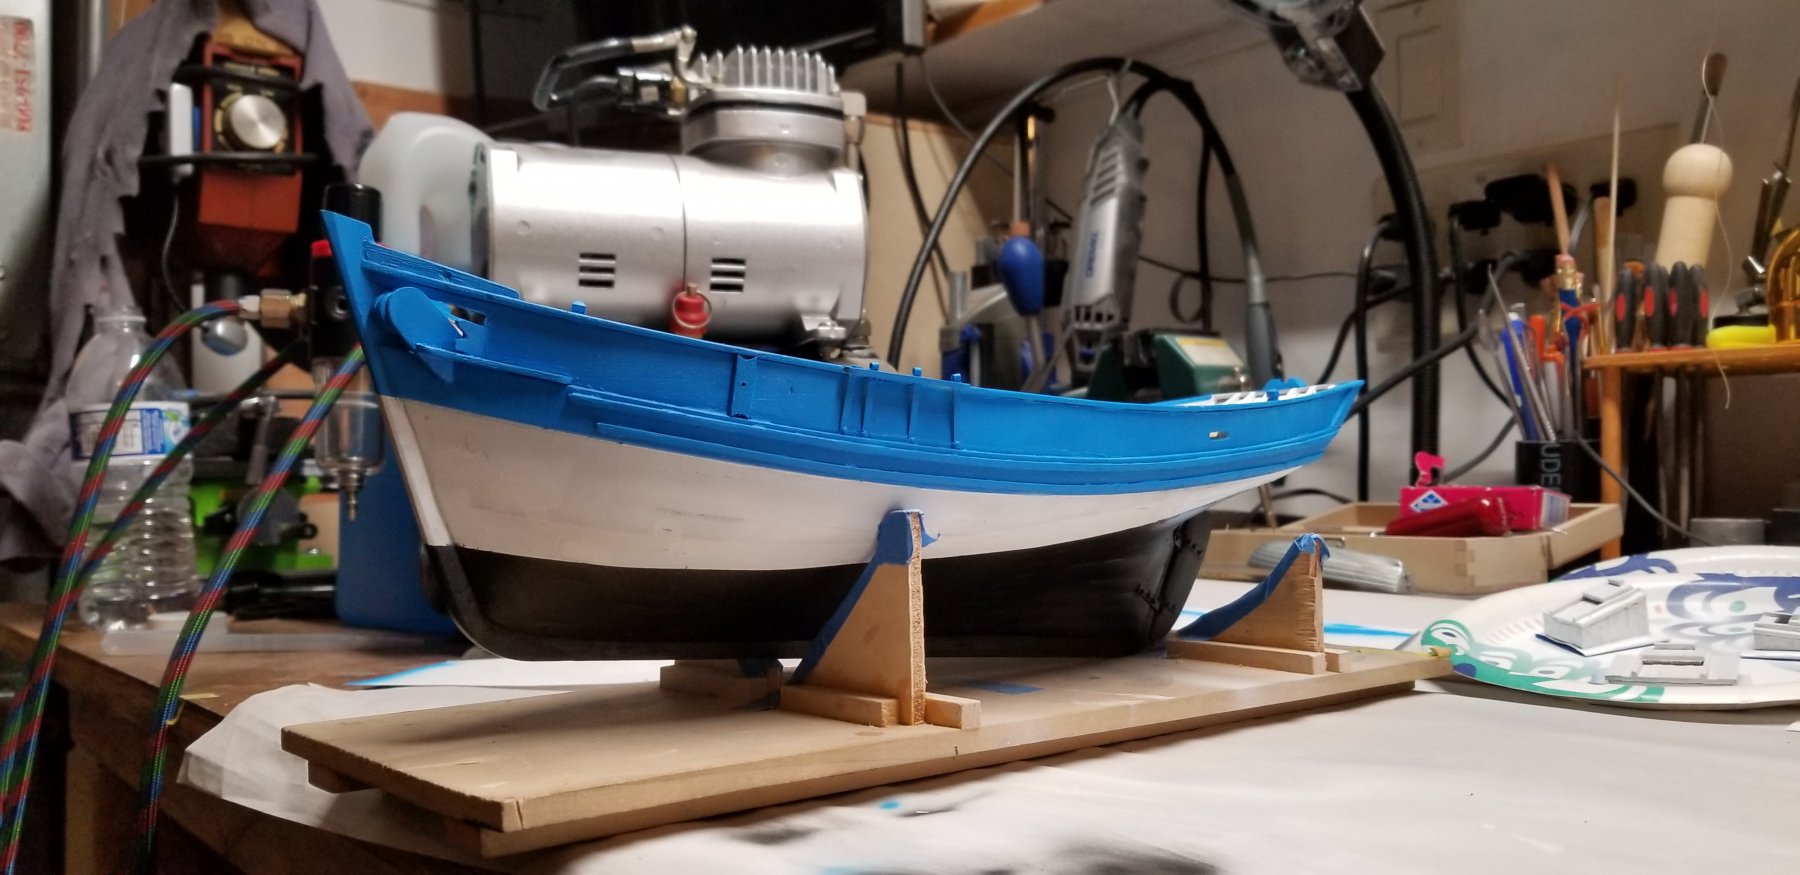
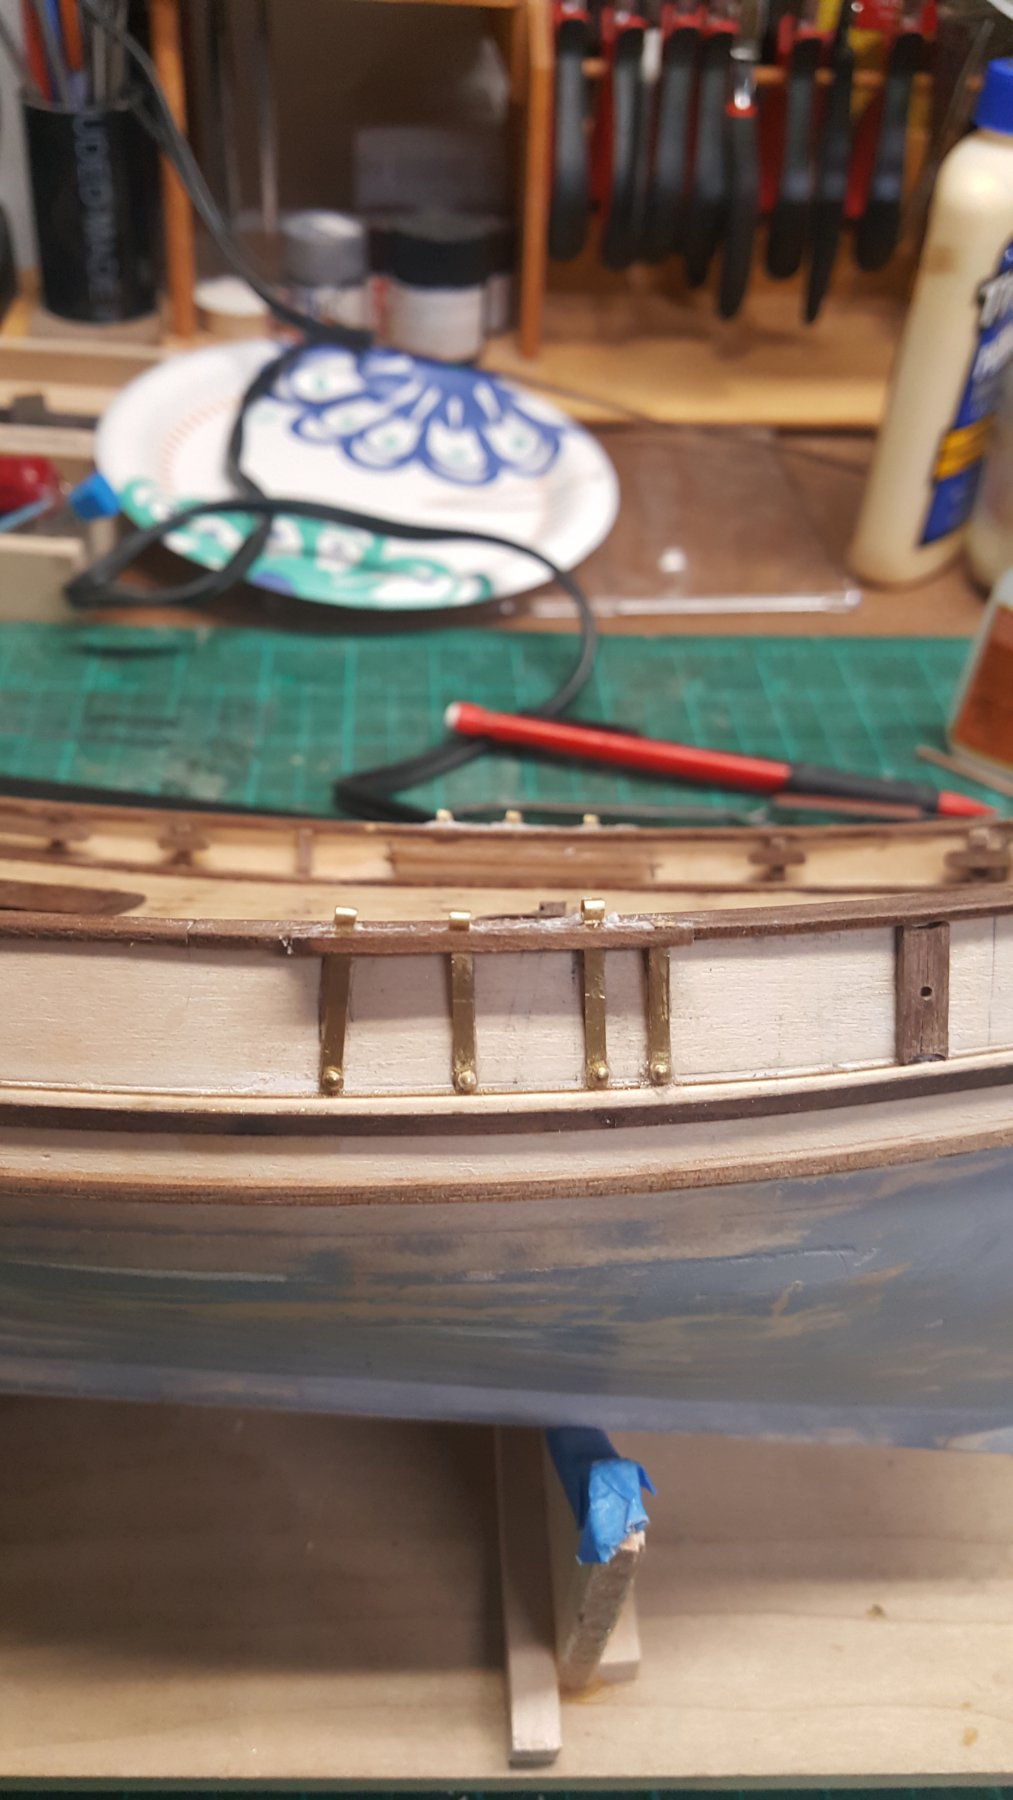
Installed the chain plates. These pictures are pre-sanding and cleaning up.


- 131 replies
-
- 7
-
-
- finished
- artesania latina
- (and 1 more)
-
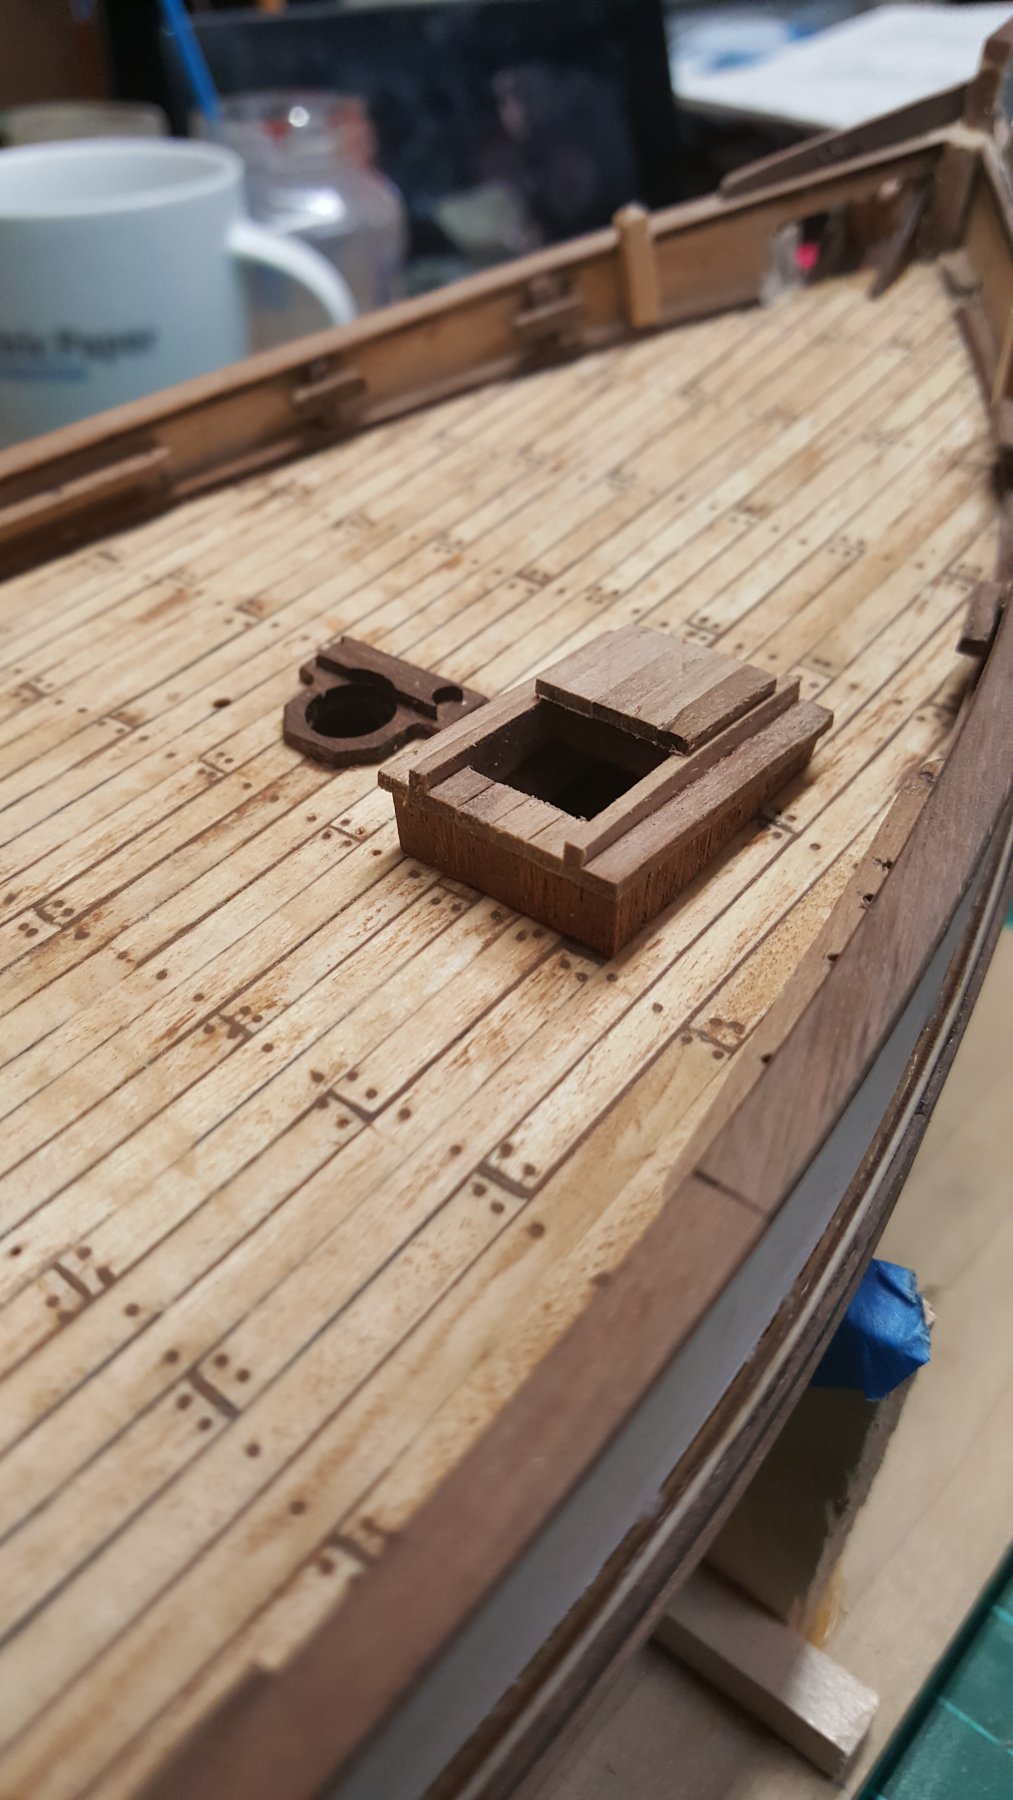
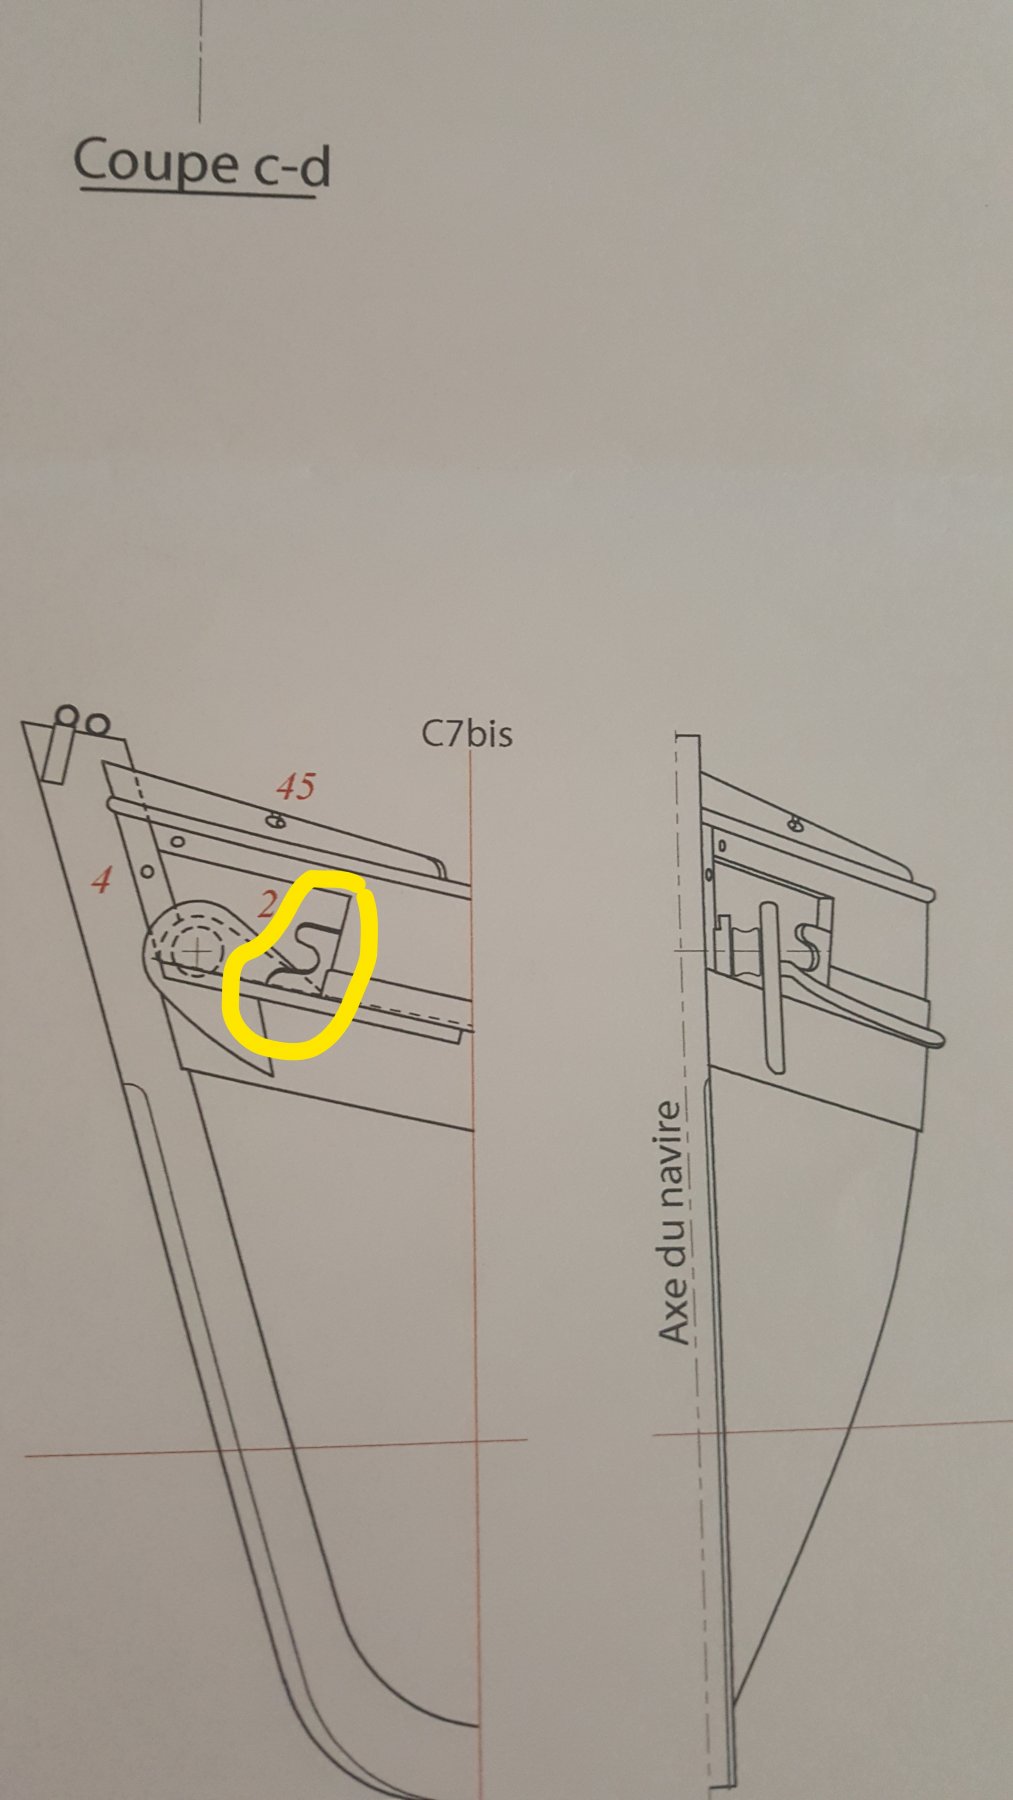
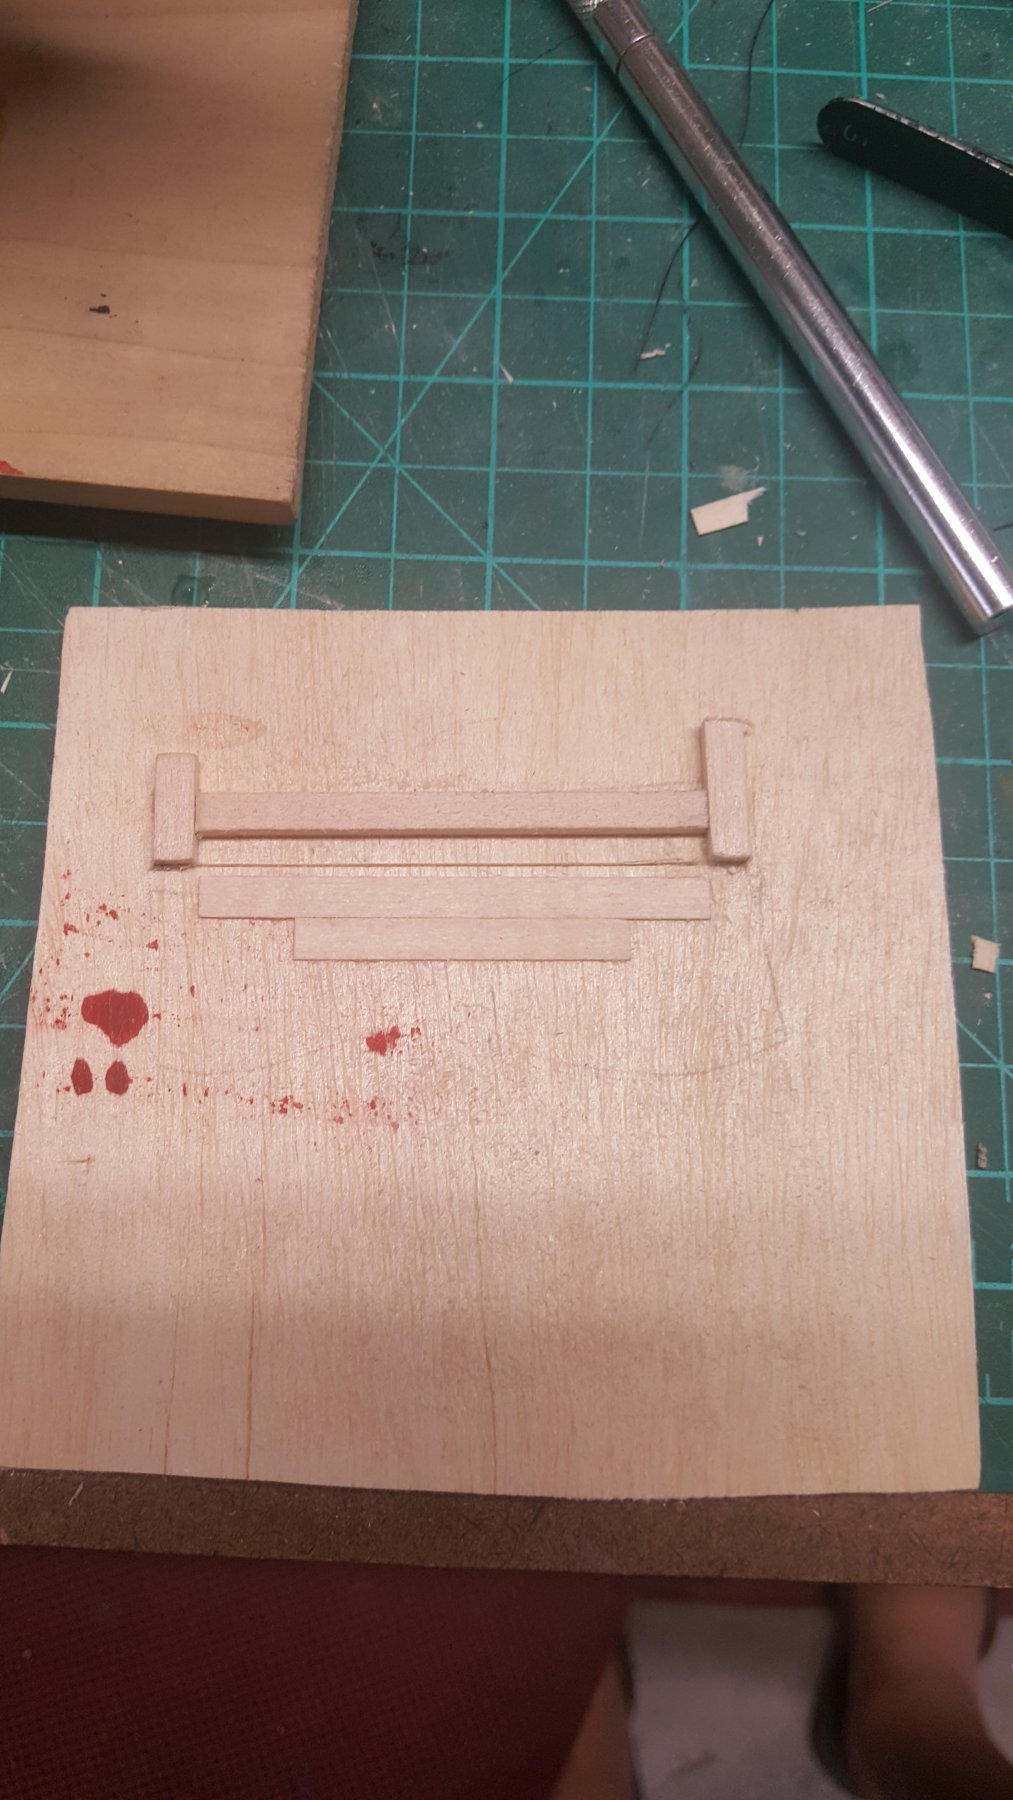
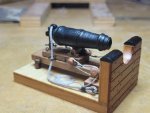
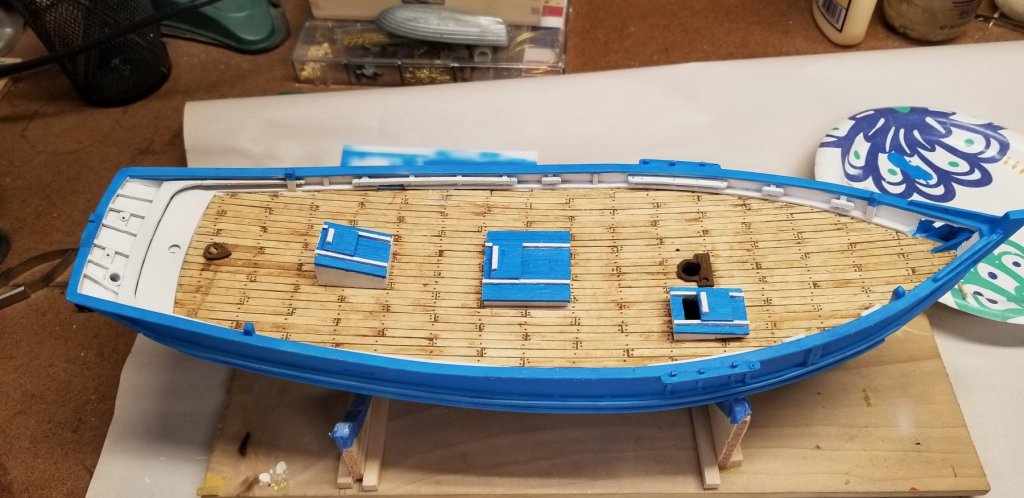
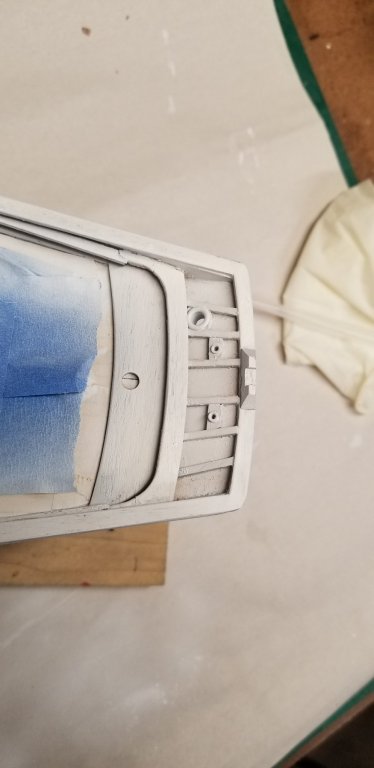
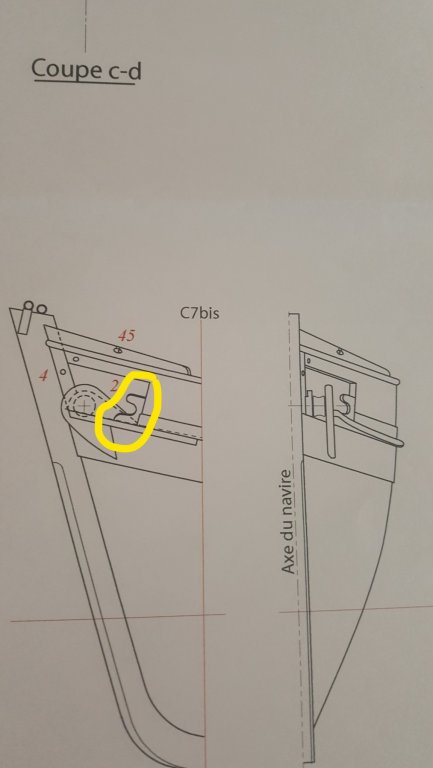
Here is my first attempt to the extra piece of the anchor system. Thoughts? Deck furniture completed. They are ready to be primed and painted


- 131 replies
-
- 8
-
-
- finished
- artesania latina
- (and 1 more)
-
Beautiful work on the sails. Terrific pictures. Going in my 'tutorial section'
- 653 replies
-
- 4
-
-
- trabakul
- marisstella
- (and 1 more)
-
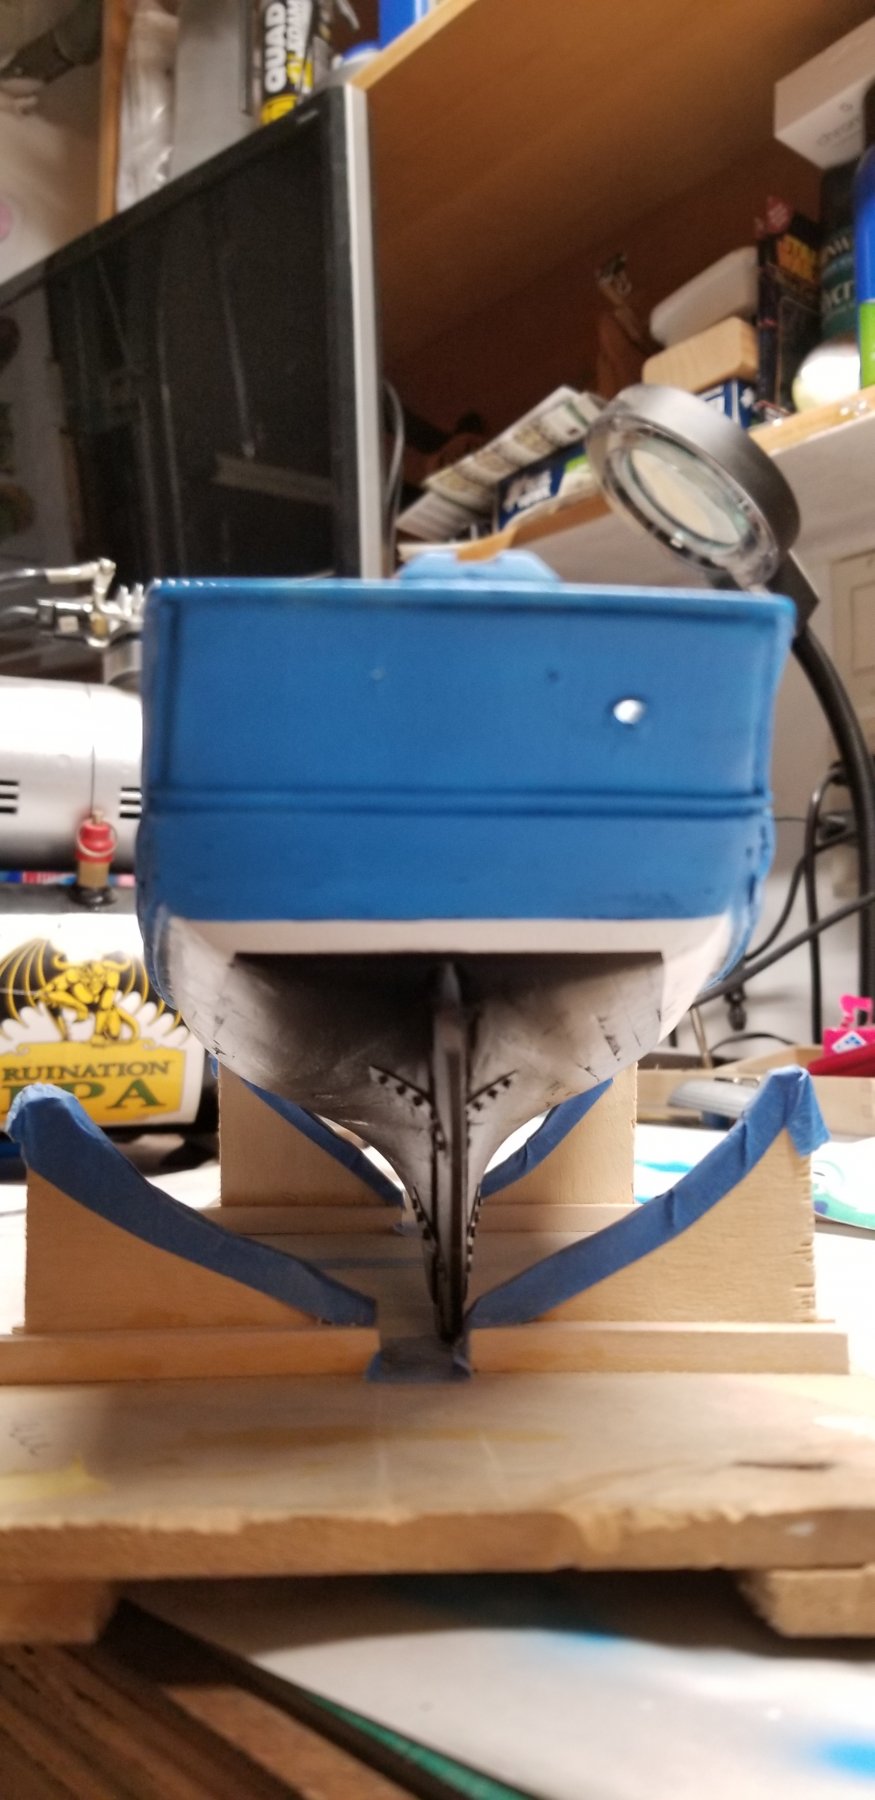
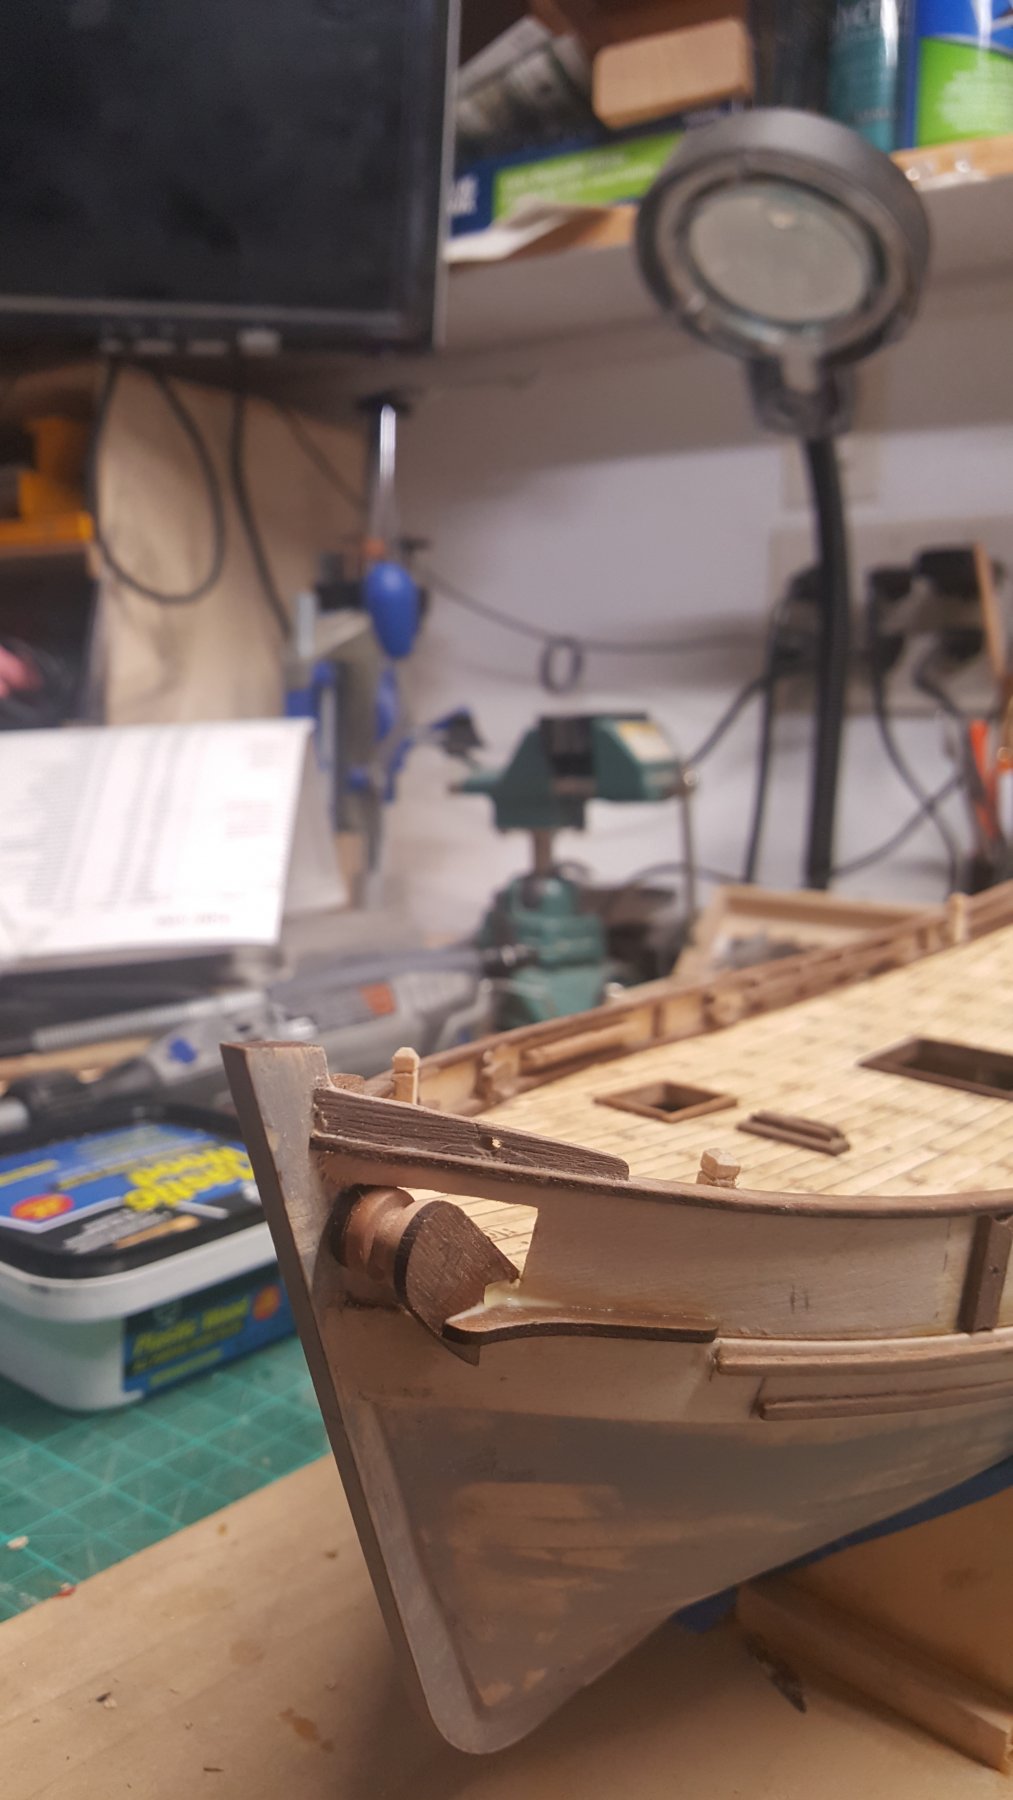
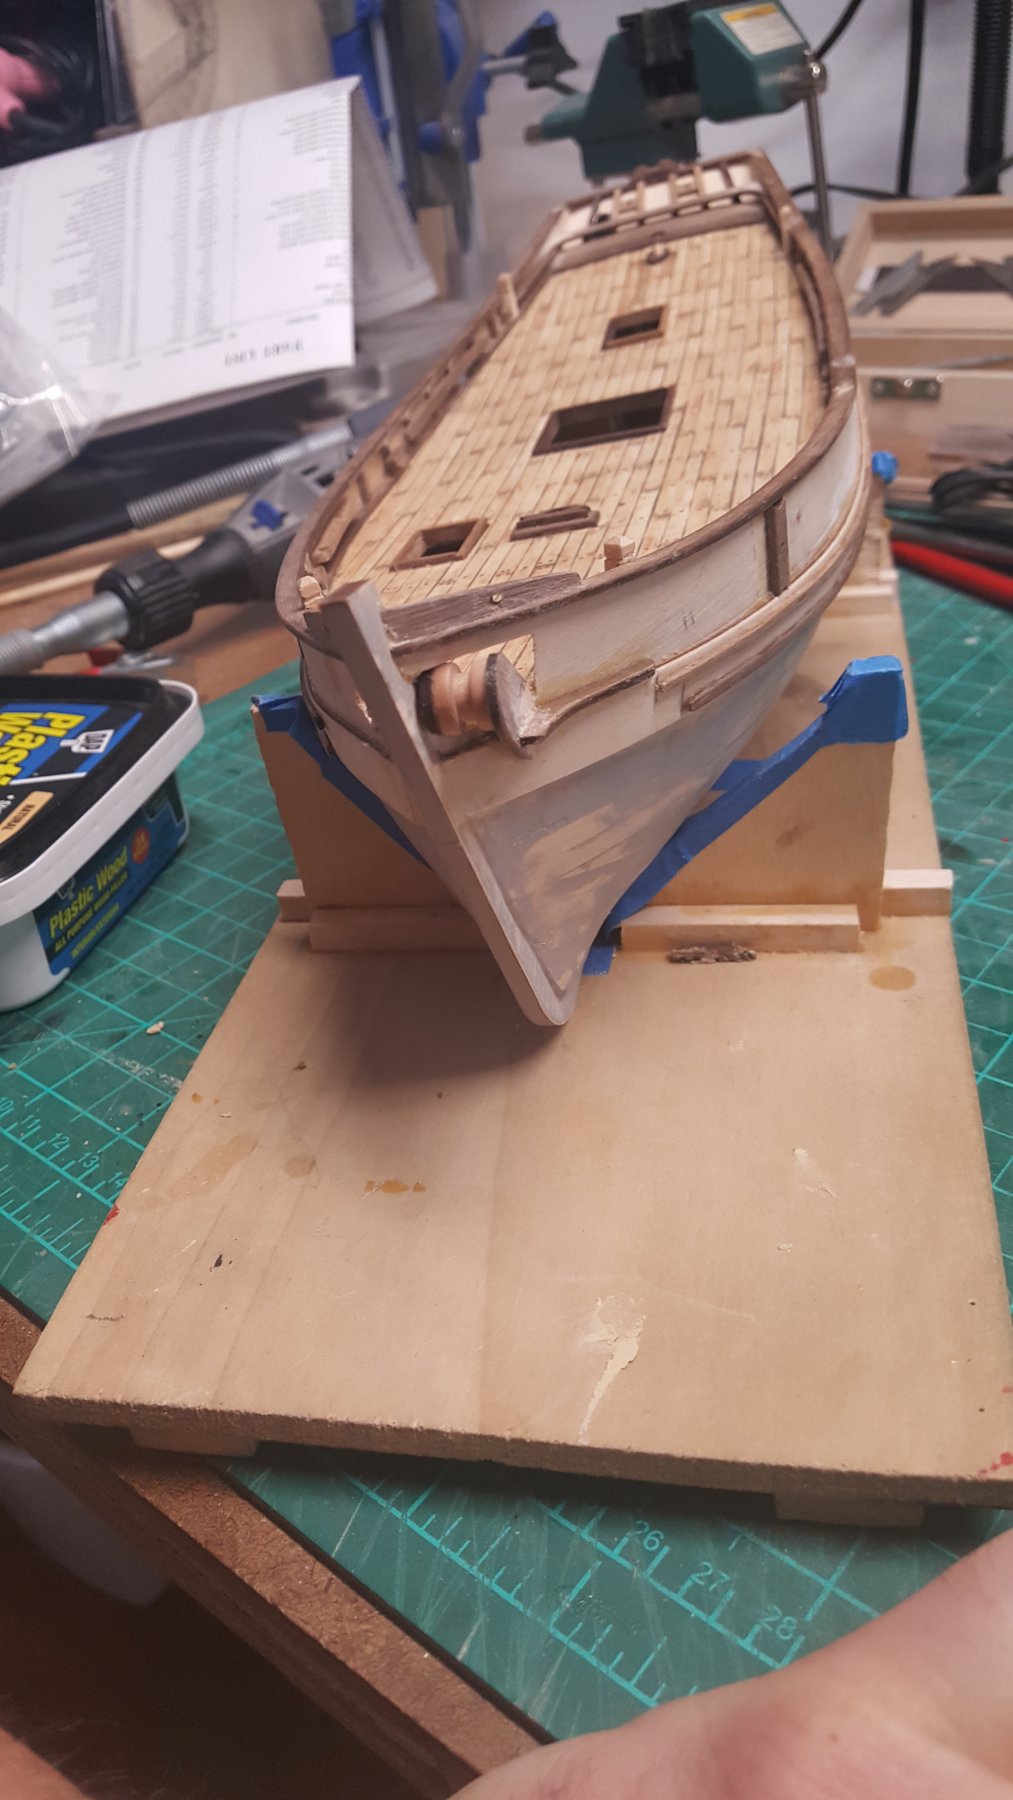
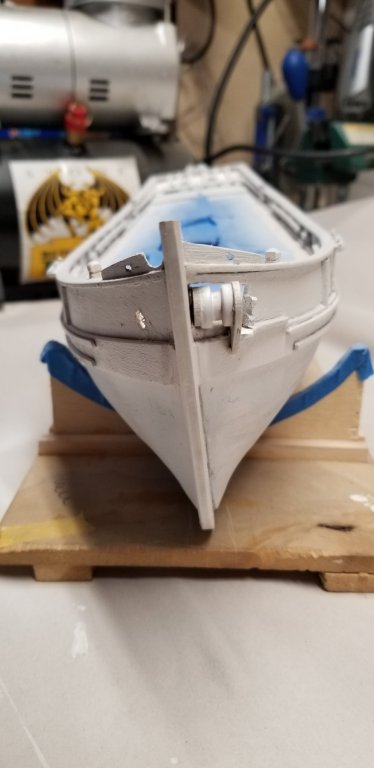
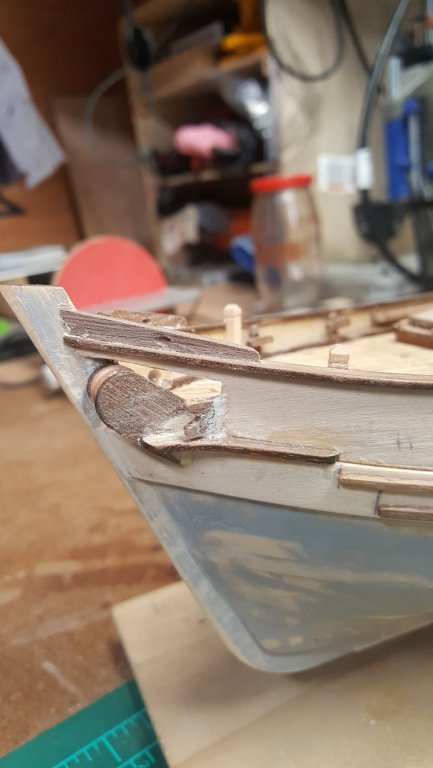
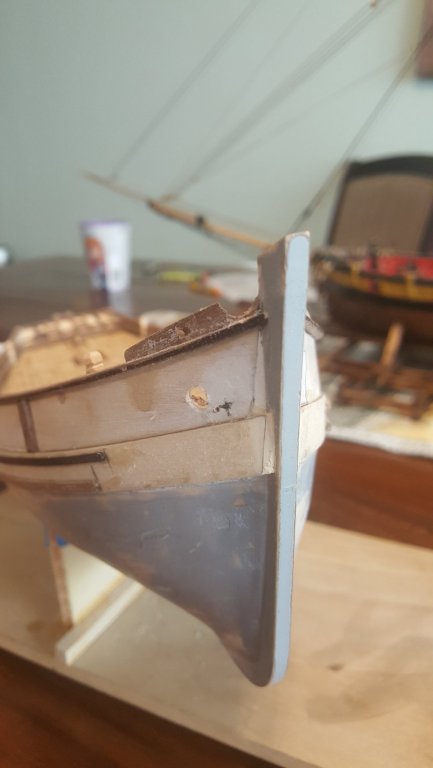
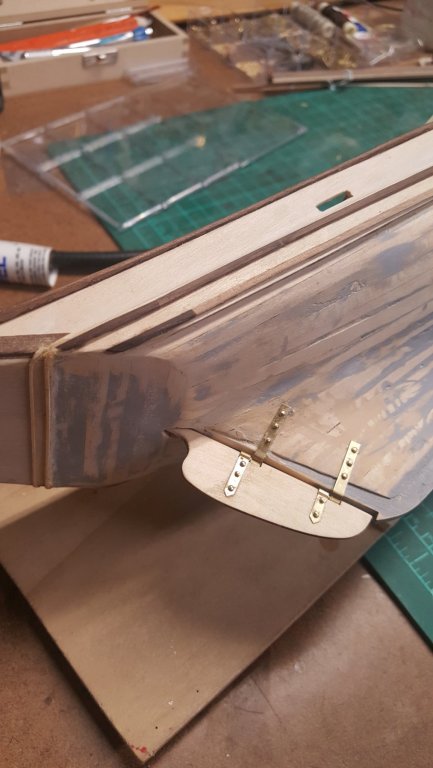
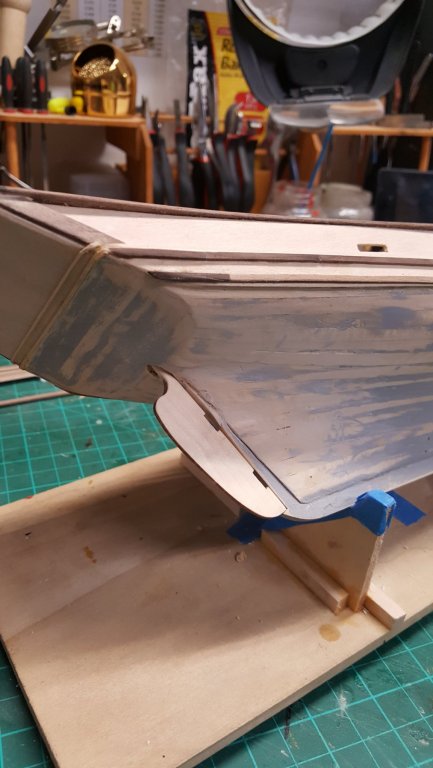
Anchor system in. I still have to do some additional sanding to ensure a smoother transition. The plan from the Association des Amis du musée de la marine (AAMM) also has an additional part that I need to build and fit.


- 131 replies
-
- 9
-
-
- finished
- artesania latina
- (and 1 more)
-
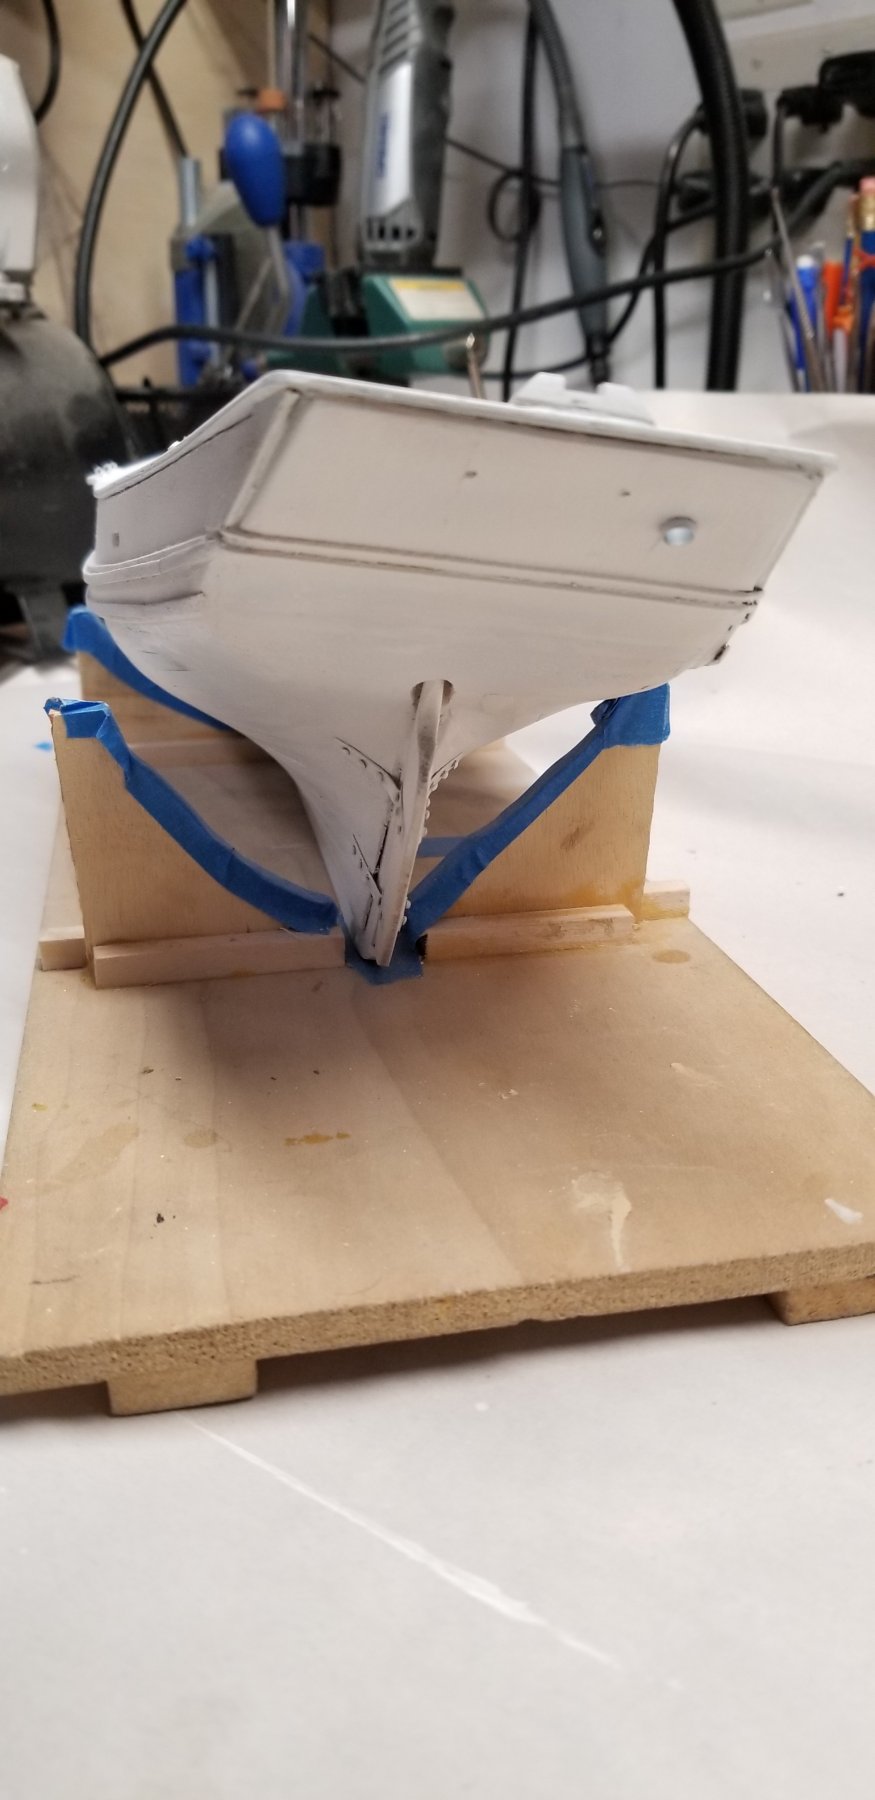
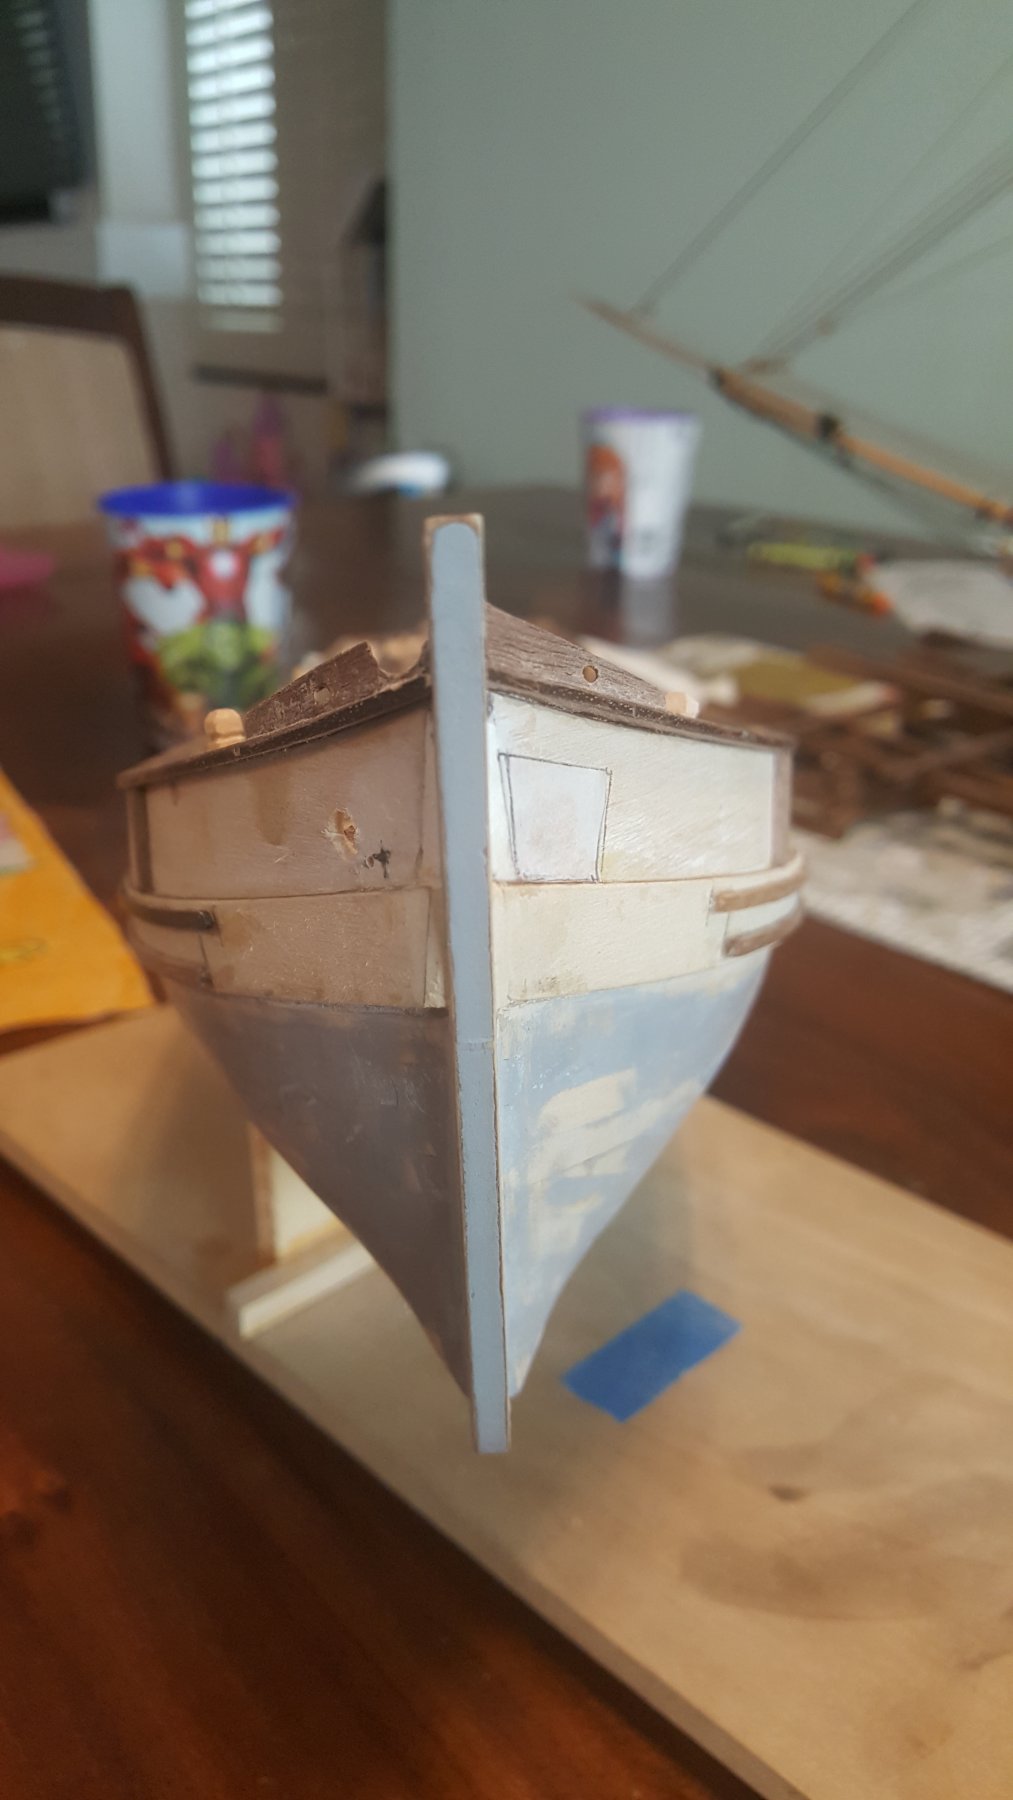
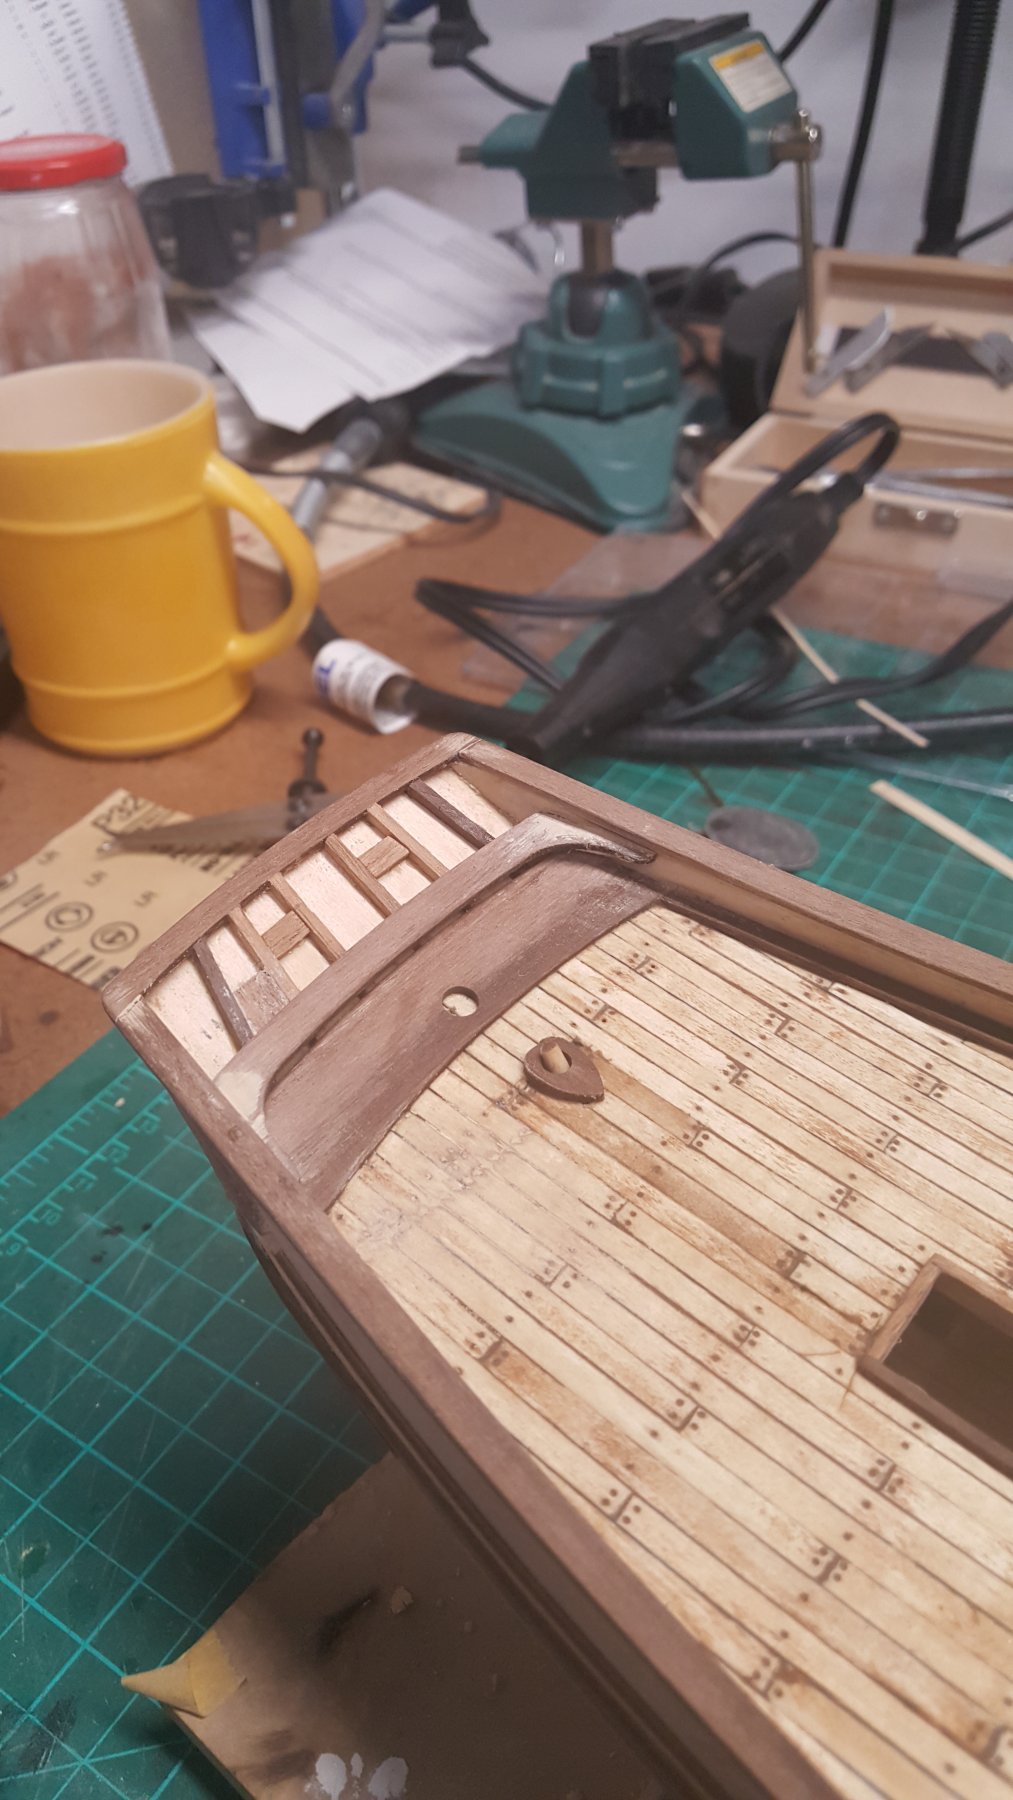
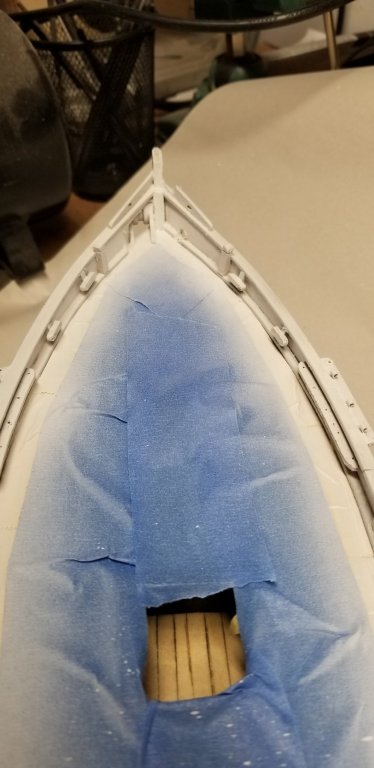
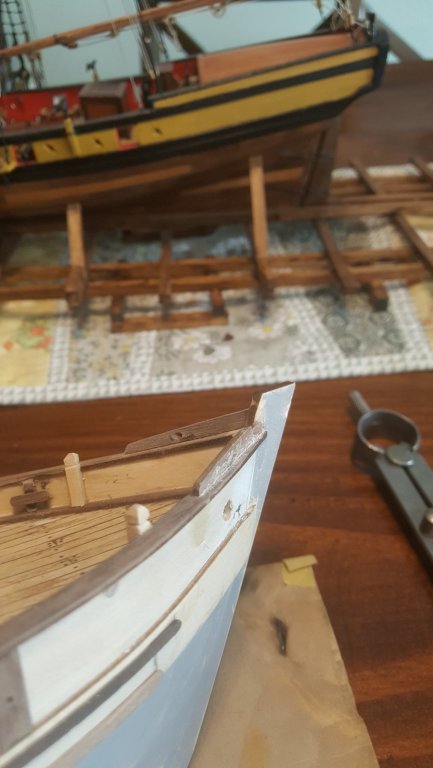
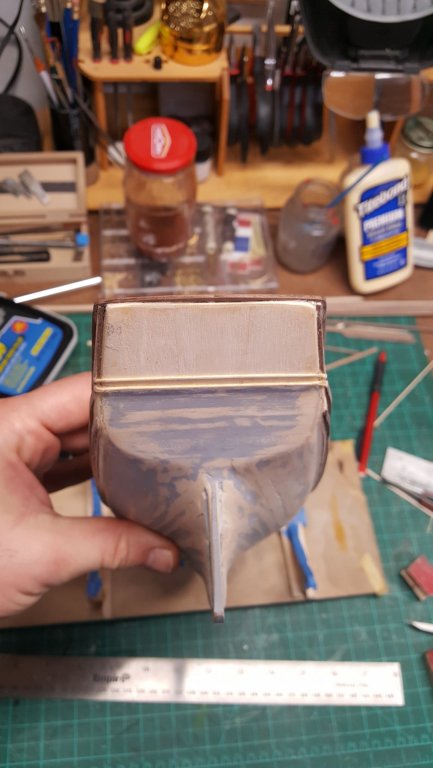
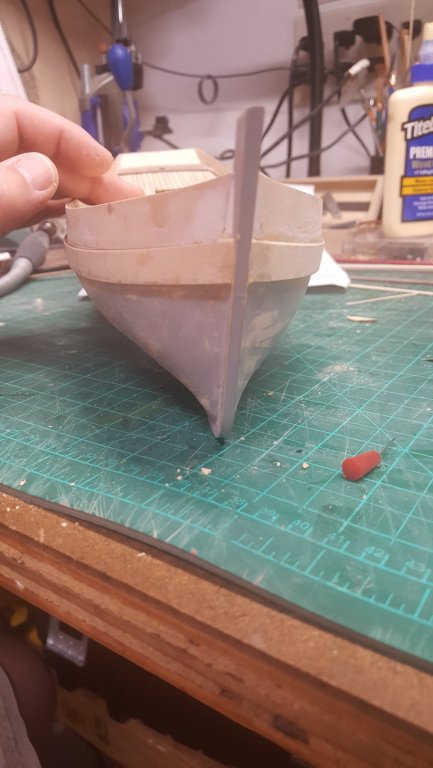
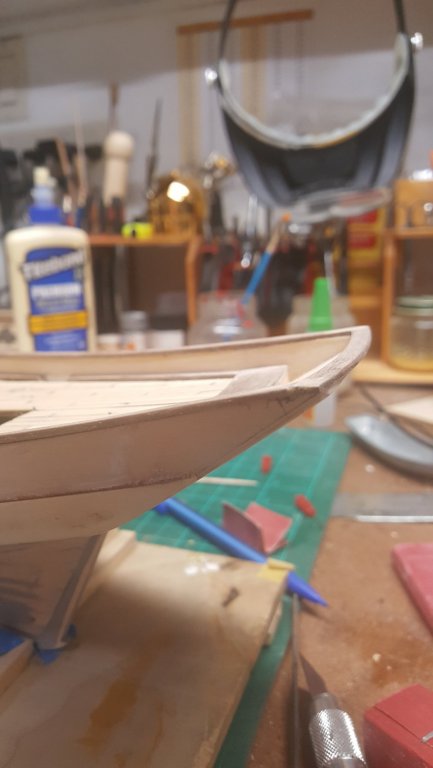
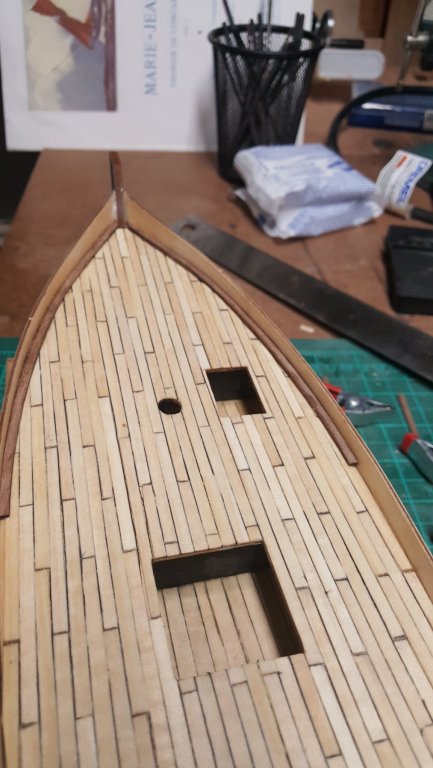
I continued working on the bow and added the breakwaters. Drilled the hole for the water evacuation. Prepare the template for the anchor system to be set.

- 131 replies
-
- 4
-
-
- finished
- artesania latina
- (and 1 more)
-
Small update. I did all the internal supports and attachments.


- 131 replies
-
- 5
-
-
- finished
- artesania latina
- (and 1 more)
-
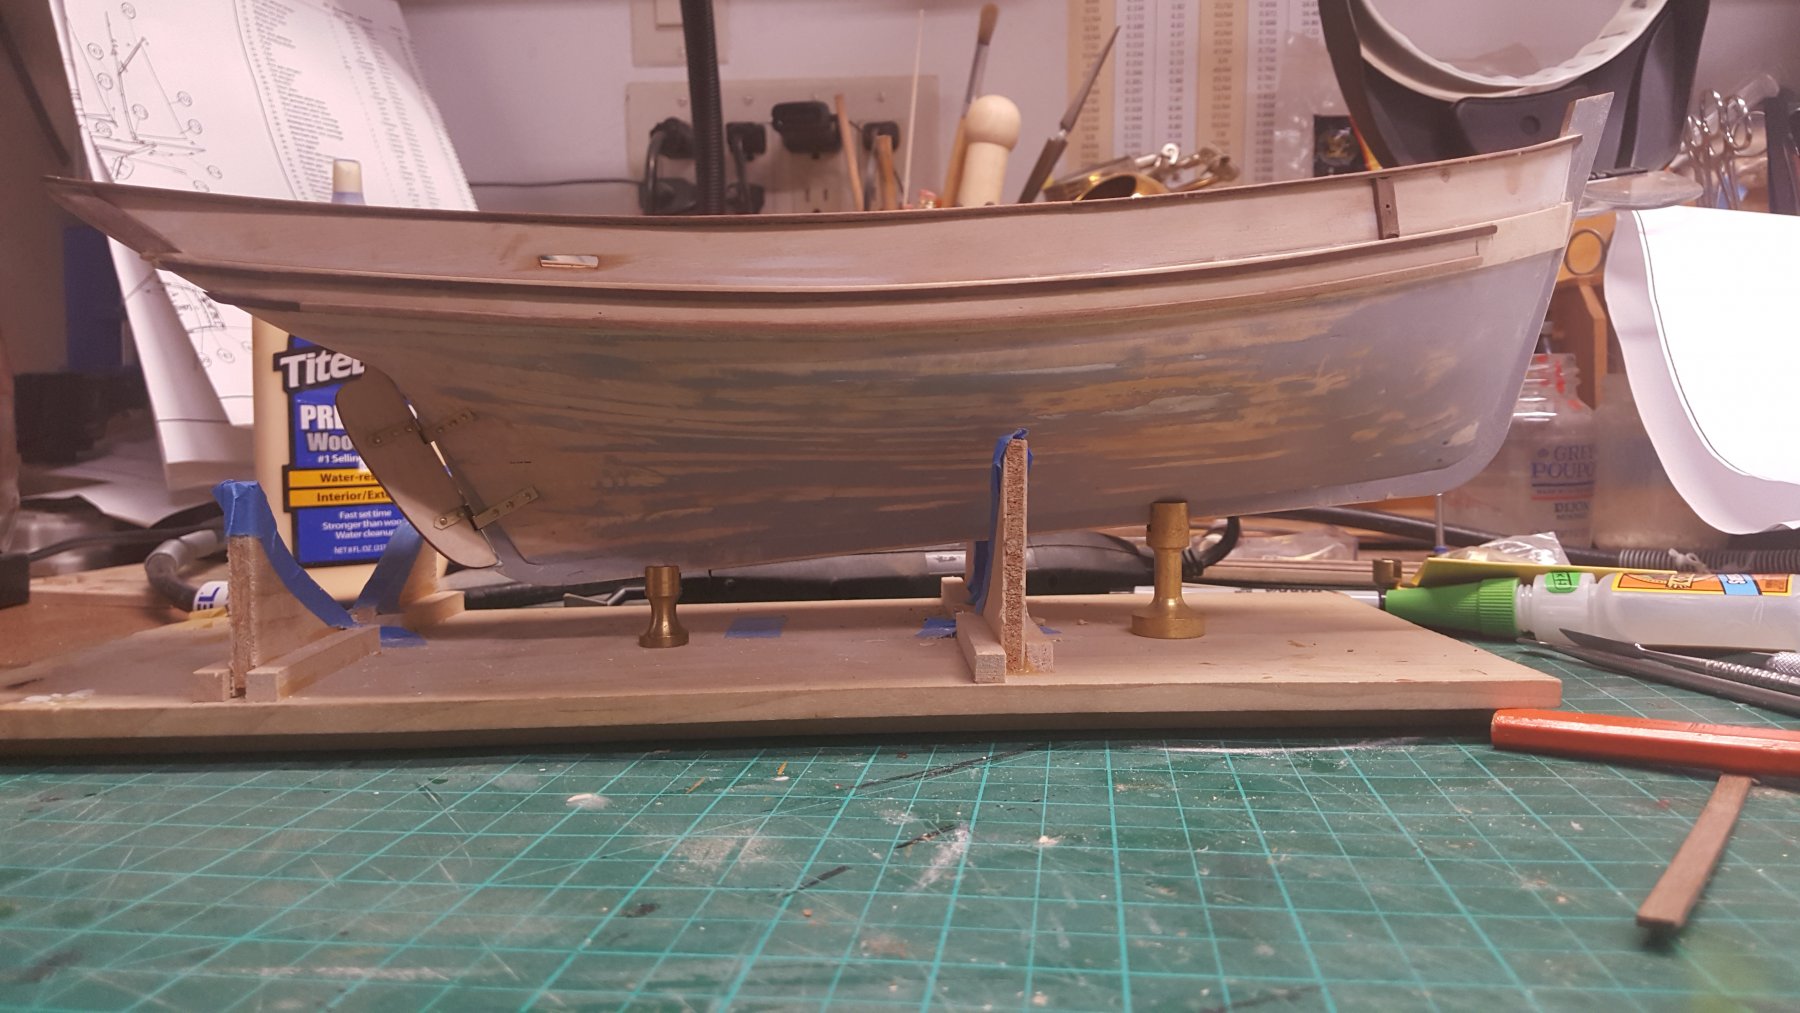
Continued to work on the stern. At this point, I am not longer using the plan from AL and switch to the plans from the Association des Amis du musée de la marine. Much better and accurate. Starting to do some testing with the pedestals. Added some timberheads Realized in the morning that they were too high. Cut and fixed that...


- 131 replies
-
- 6
-
-
- finished
- artesania latina
- (and 1 more)
-
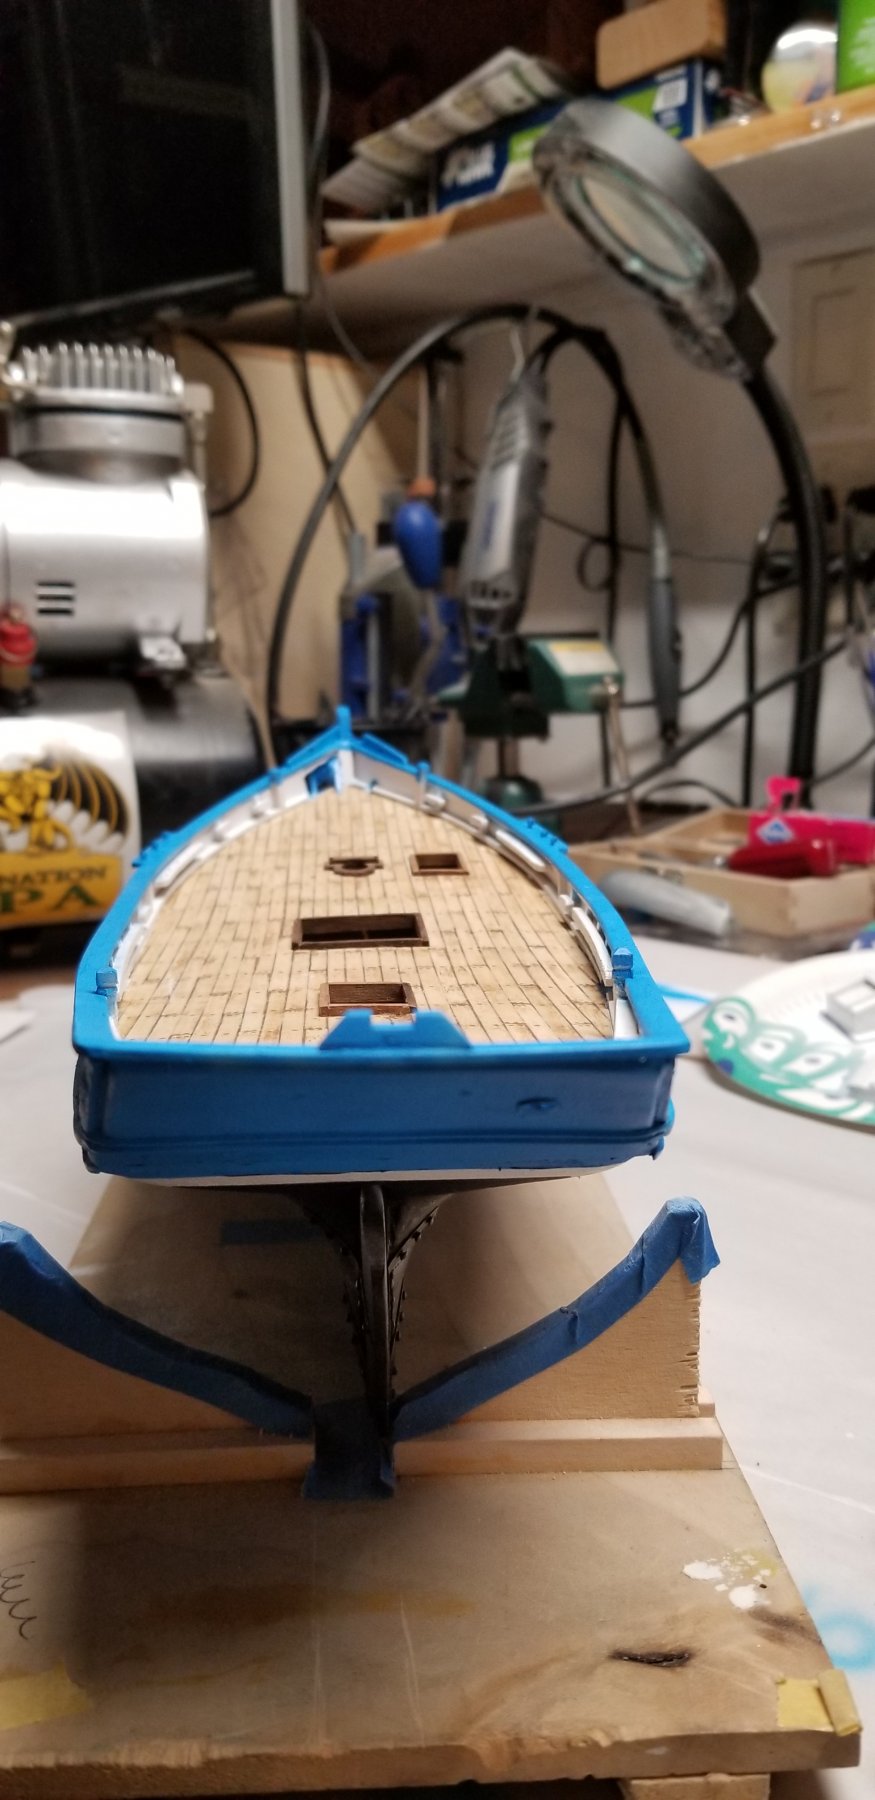
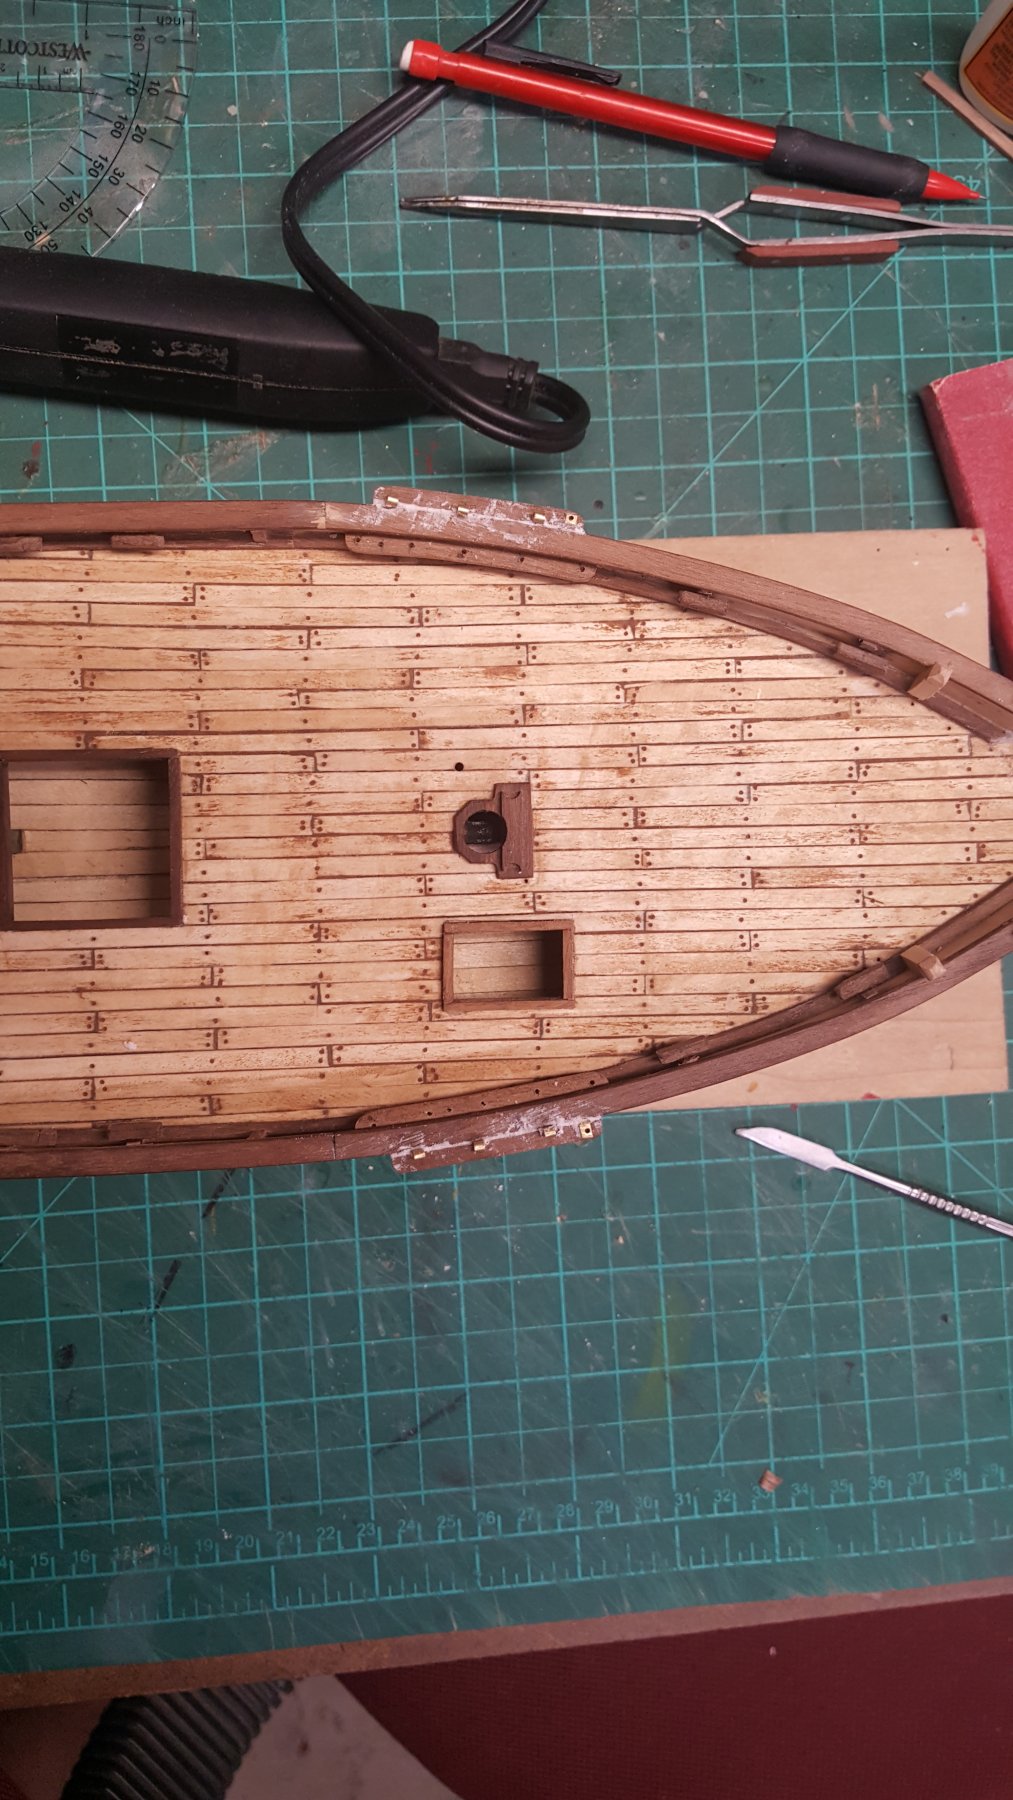
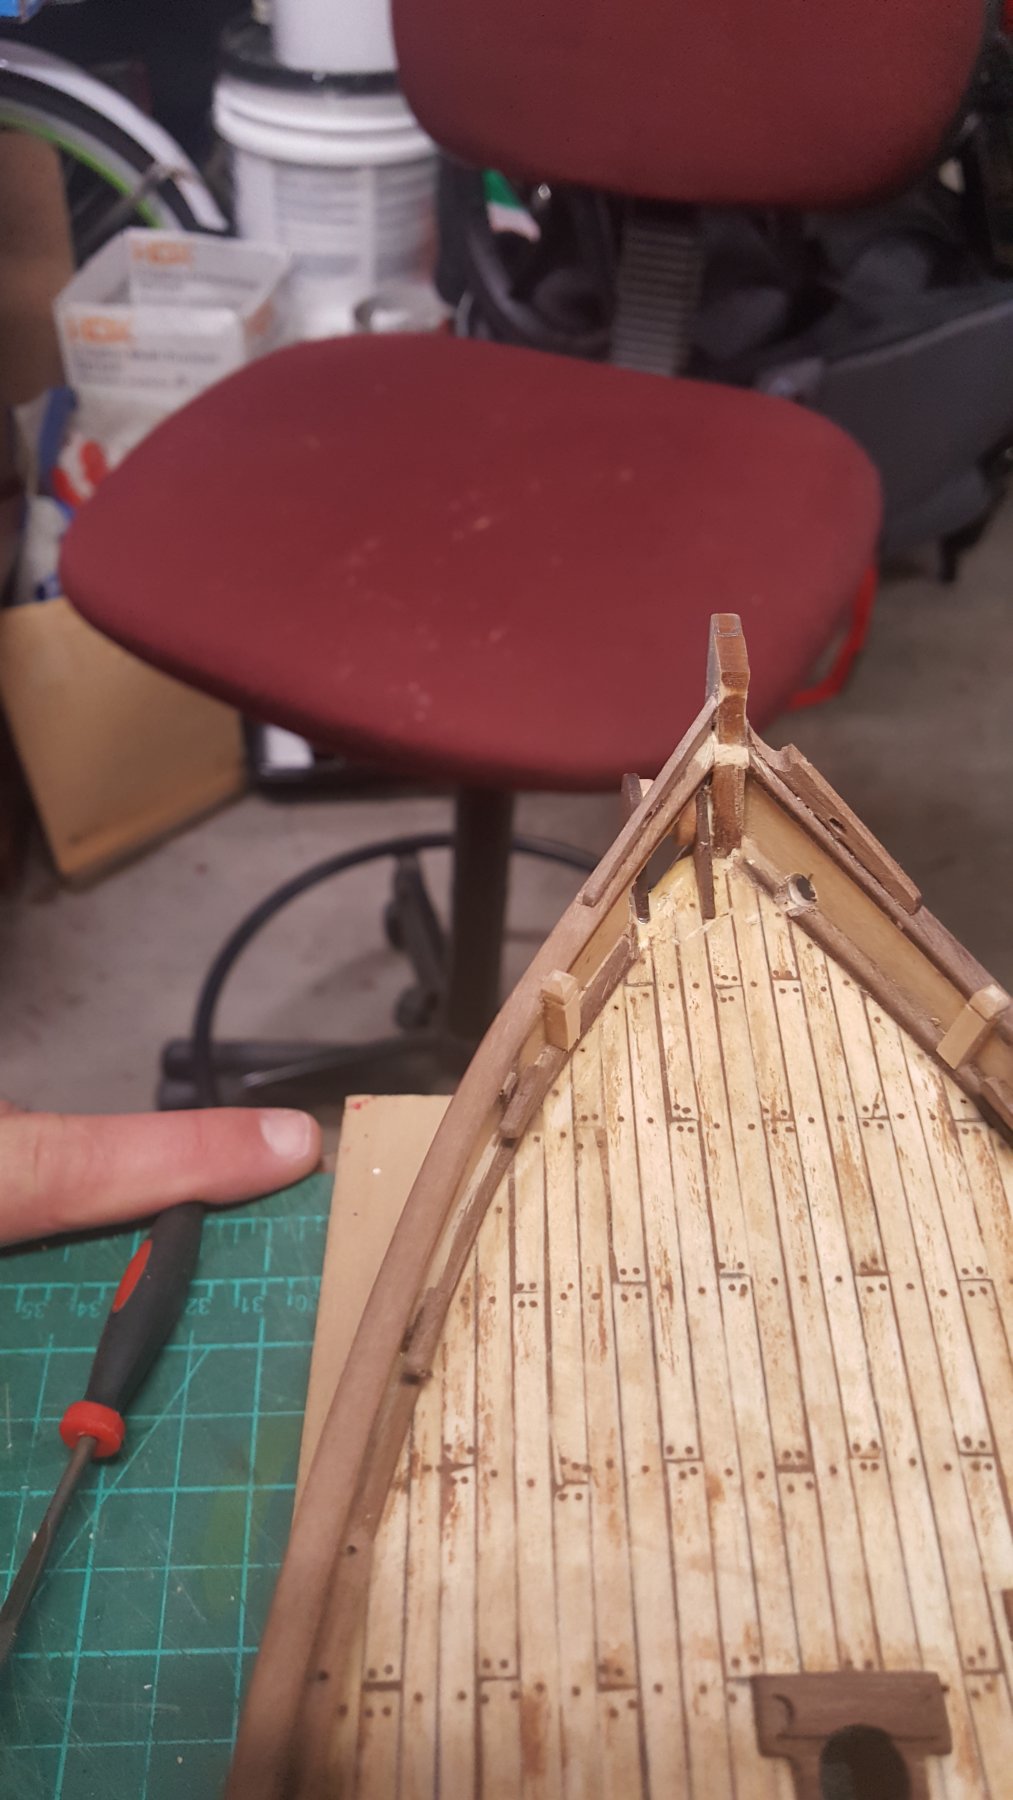
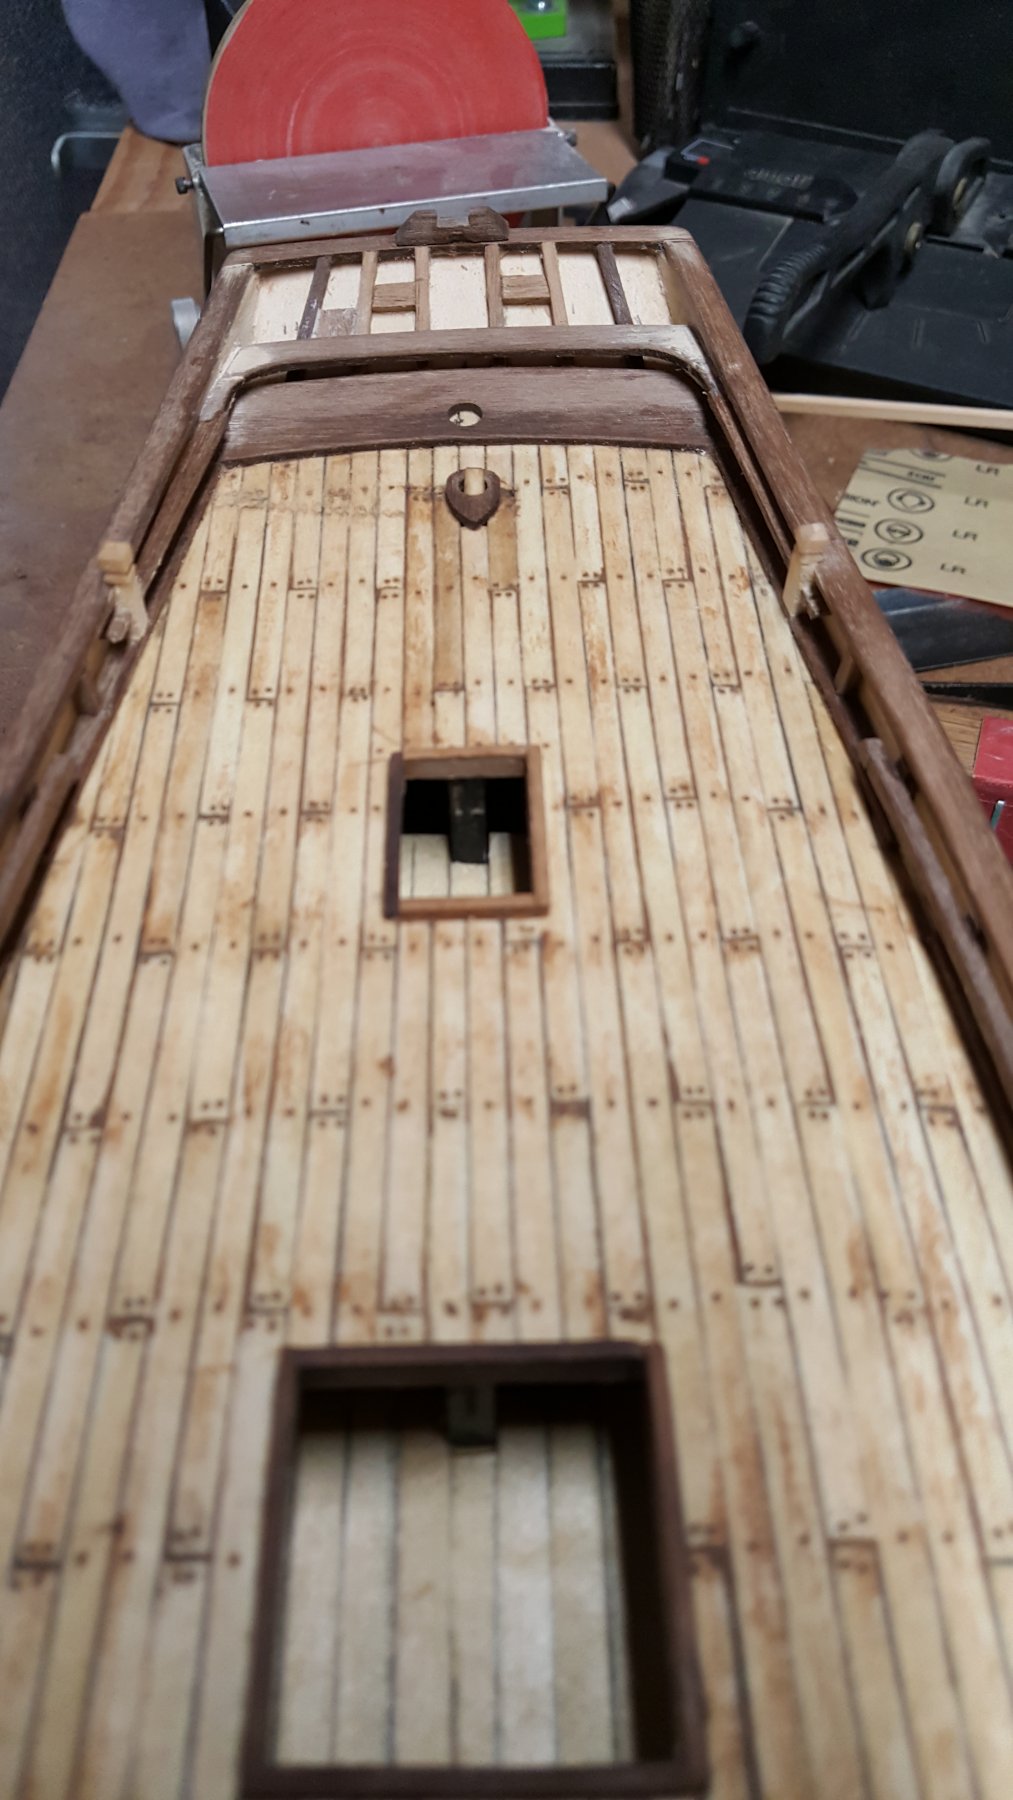
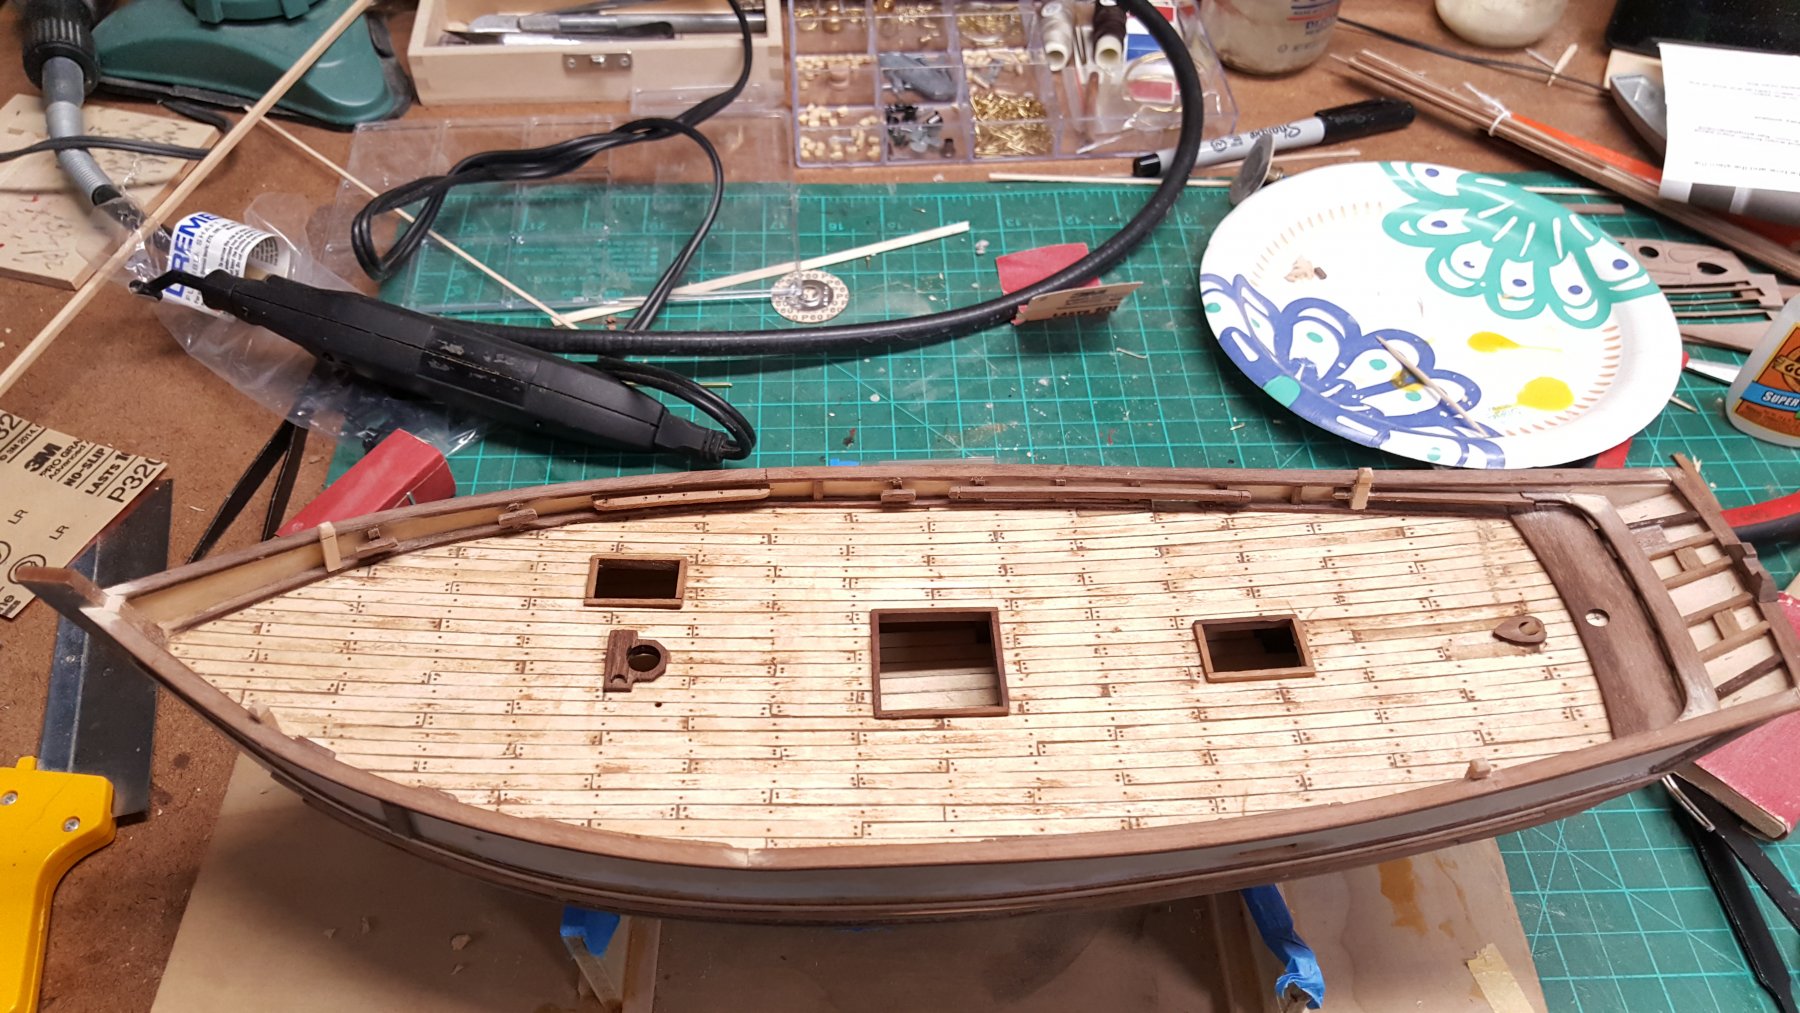
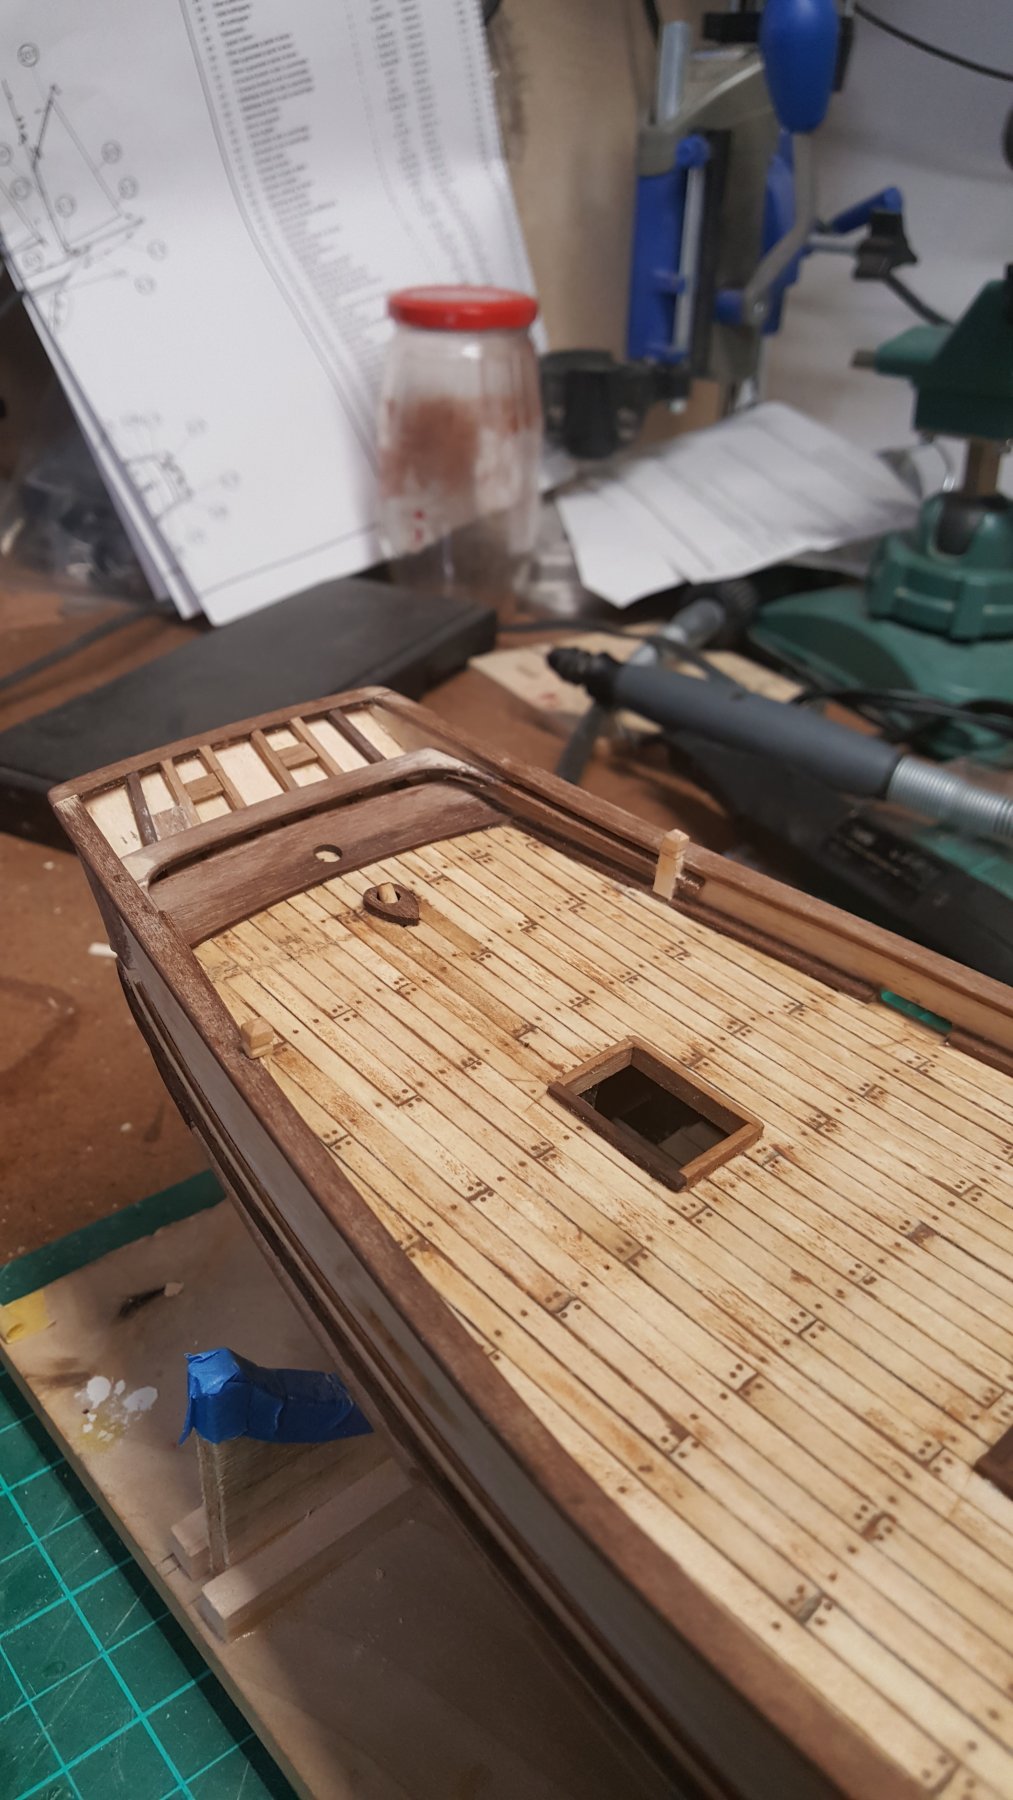
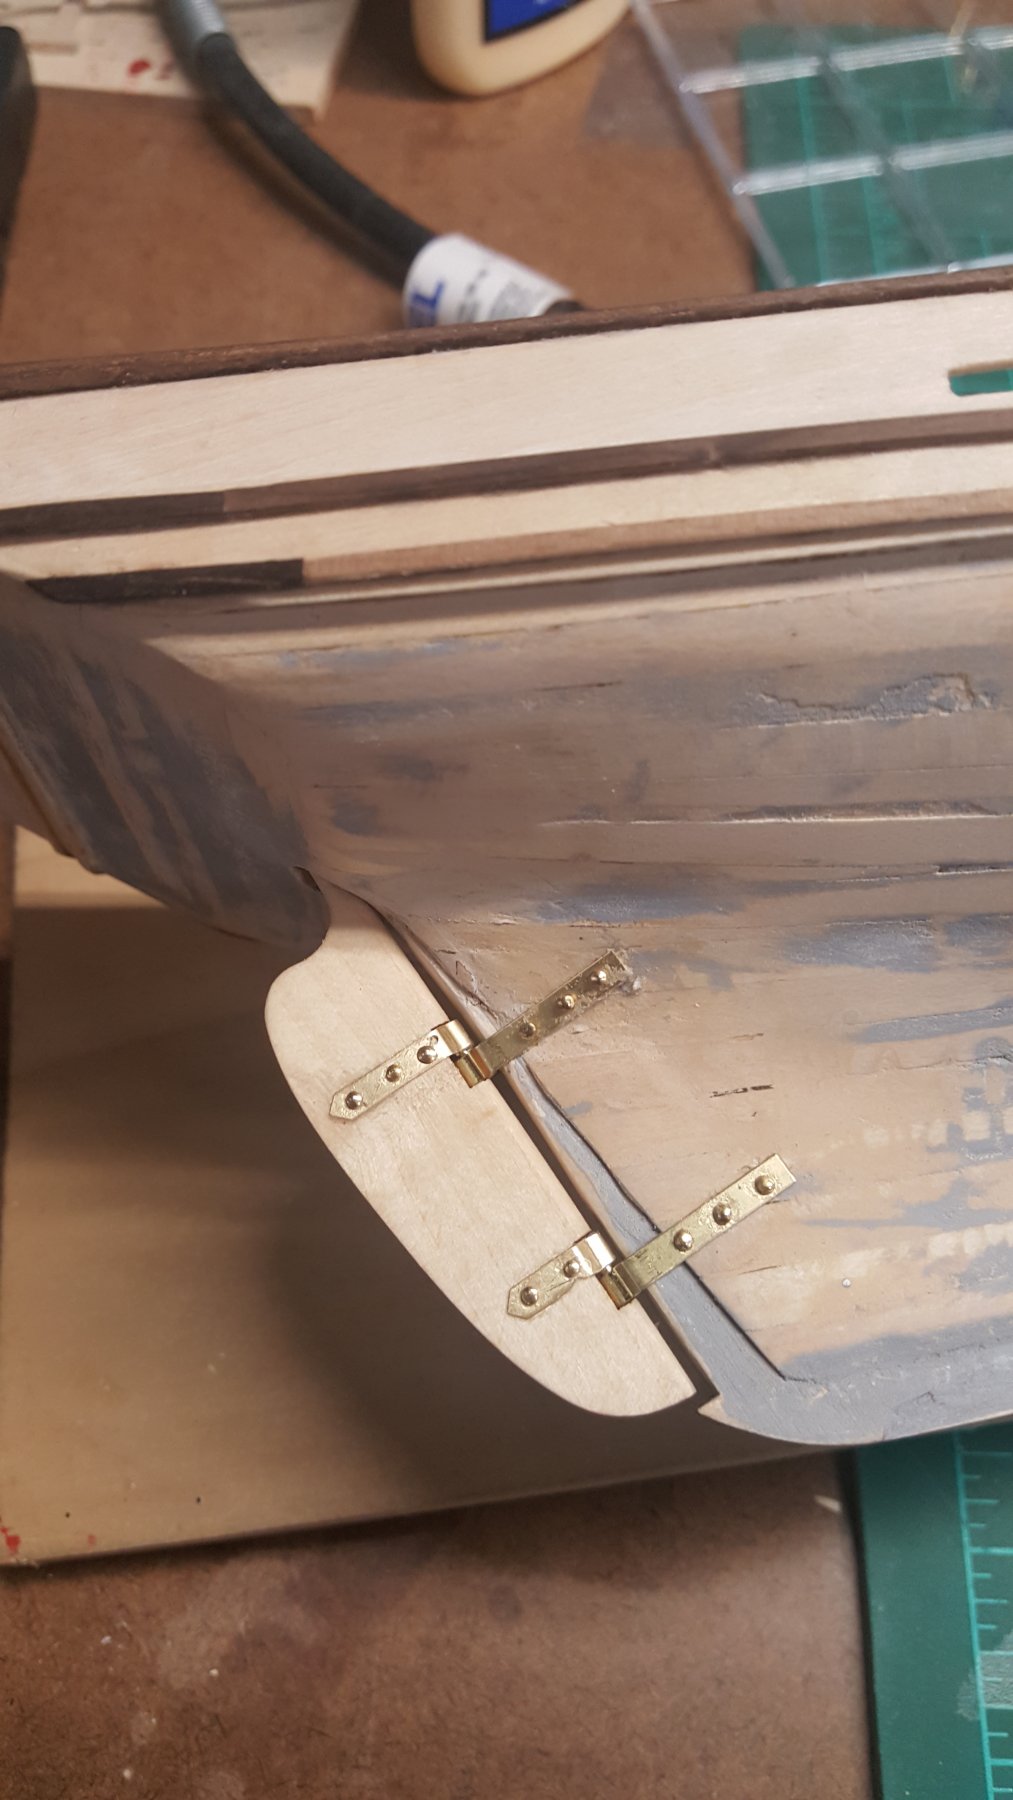
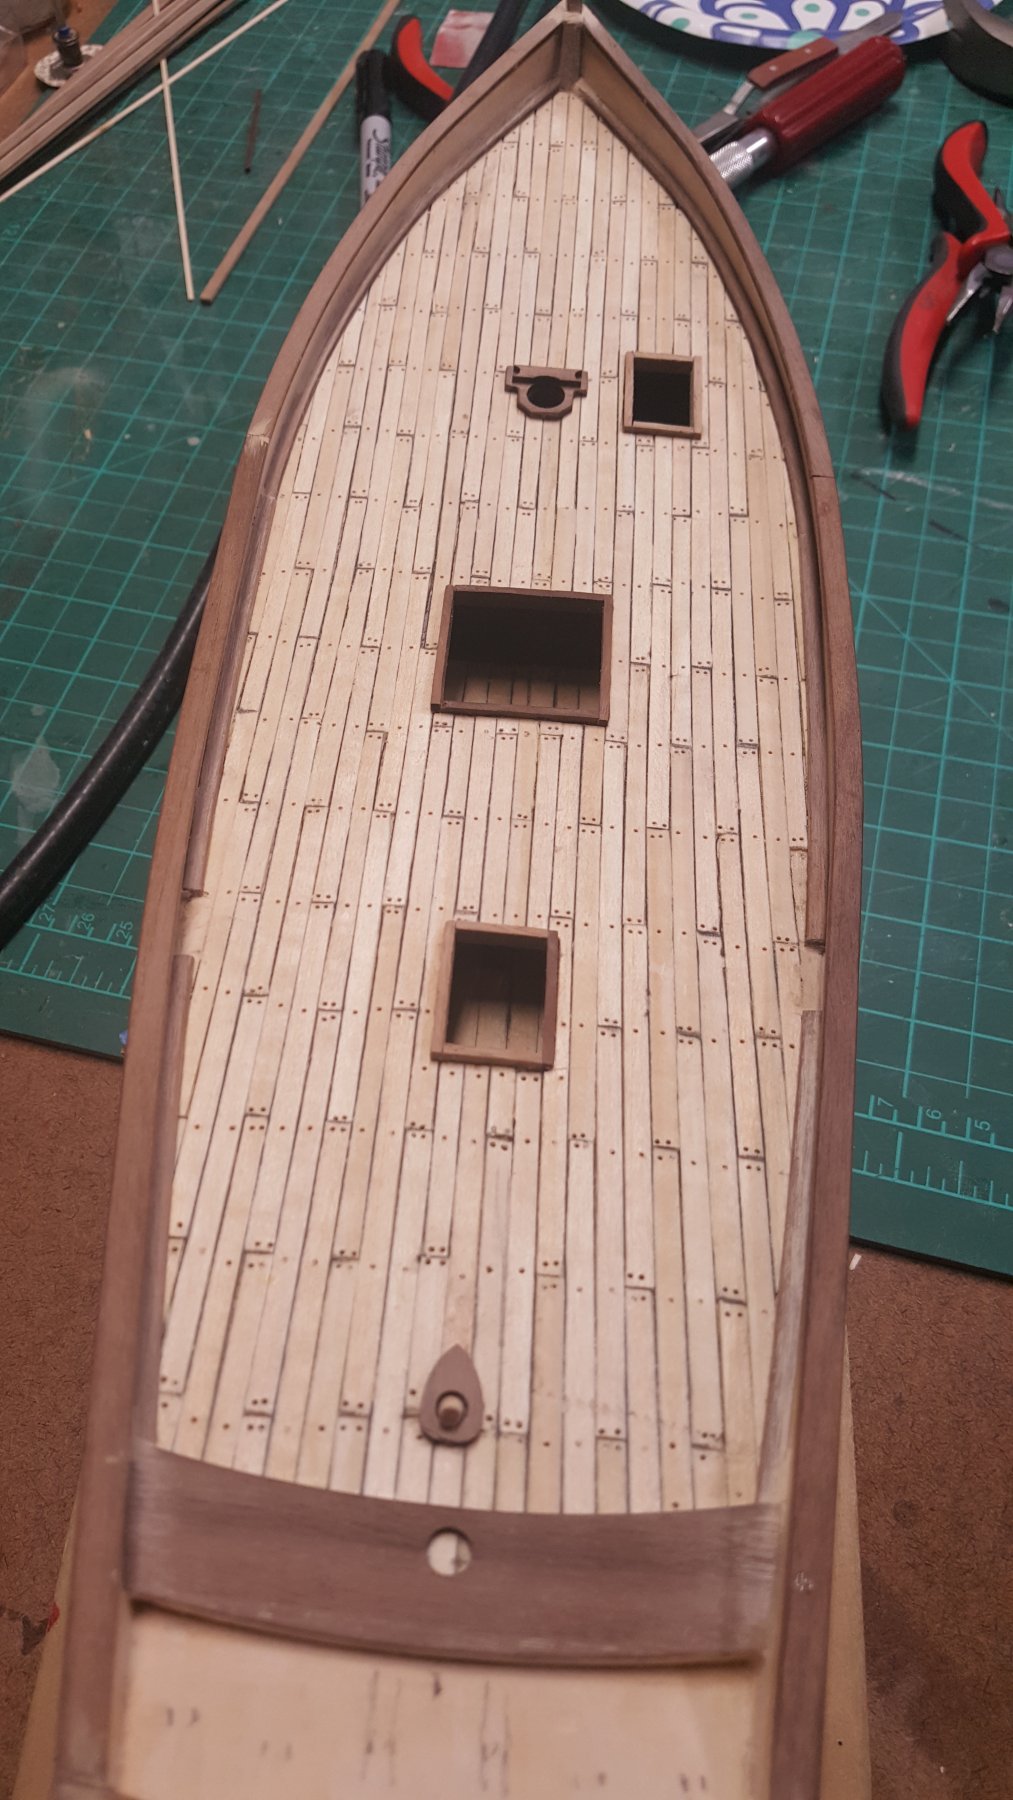
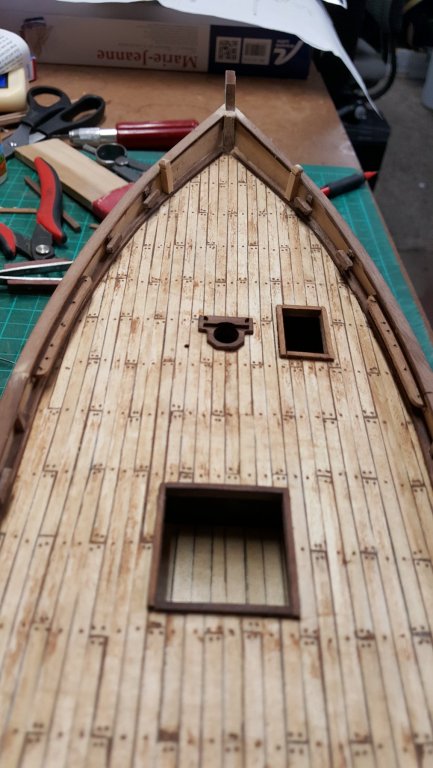
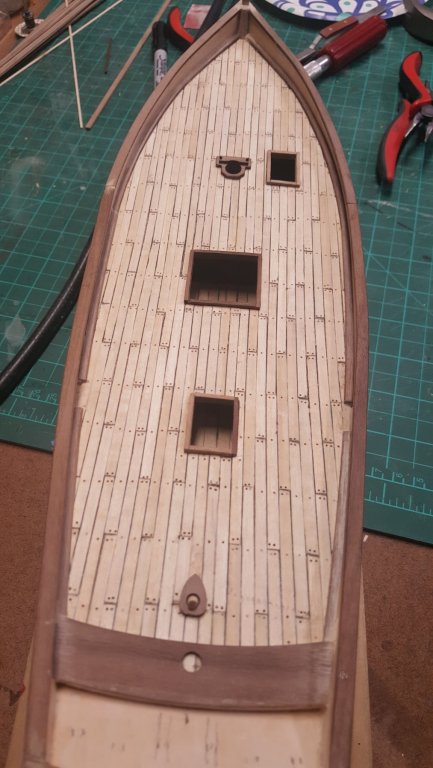
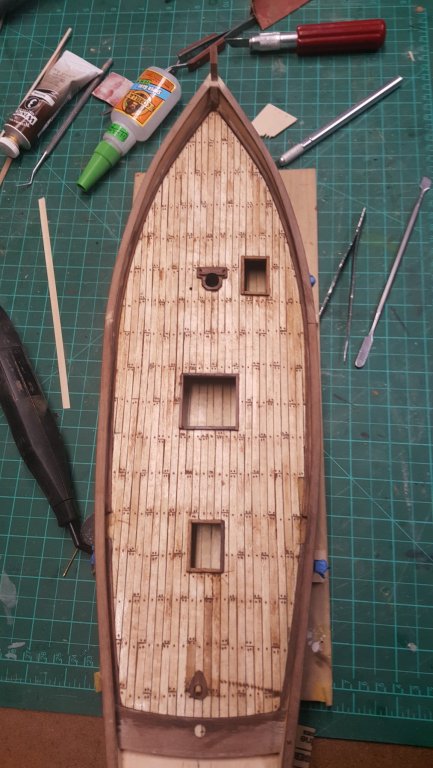
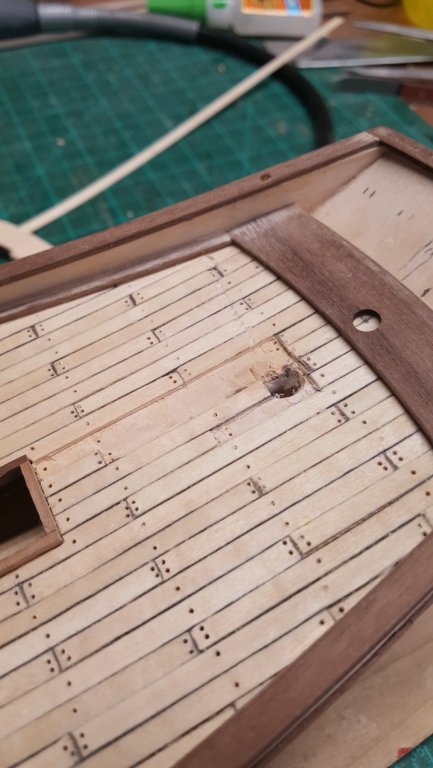
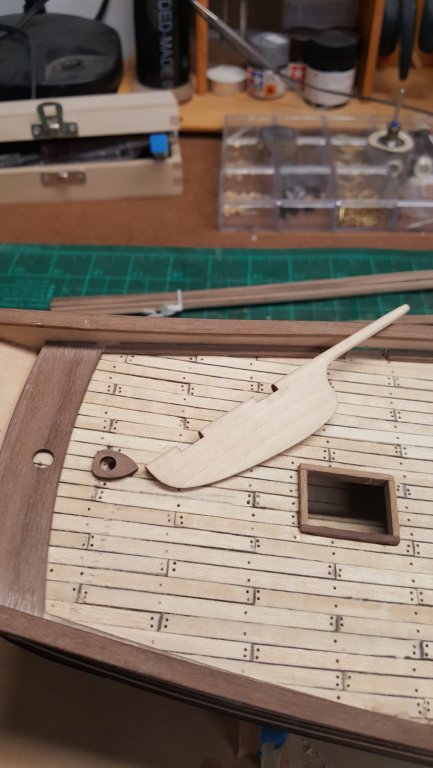
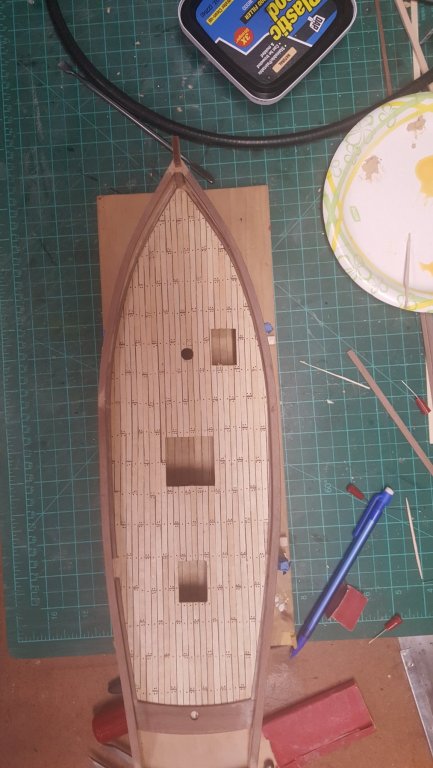
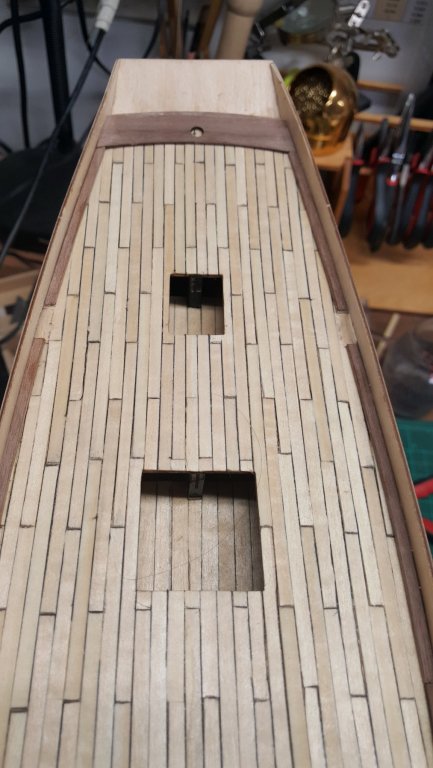
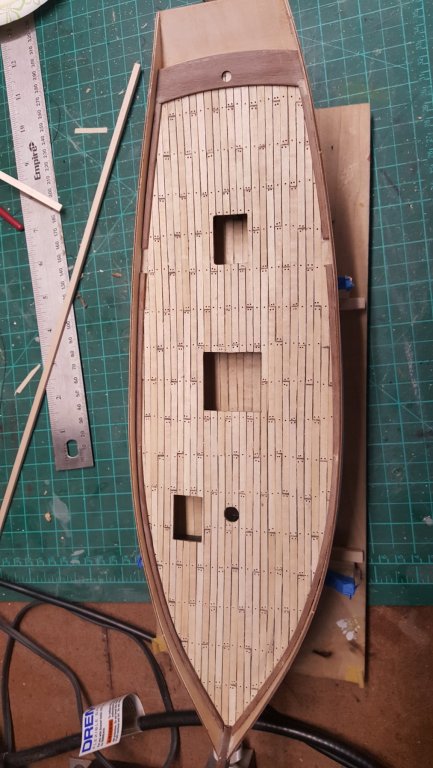
Completed the deck conditioning and treenailing. There is some damage to the deck due to the fun i had with the drill bit the other night I think it will be ok as I continue to add more details on the top of it. Worked on the rudder. Pretty easy to complete since the kit provides you everything.

- 131 replies
-
- 9
-
-
- finished
- artesania latina
- (and 1 more)
-
thank you. there was a bit of nervous during the fix rollout.
- 131 replies
-
- 2
-
-
- finished
- artesania latina
- (and 1 more)
-
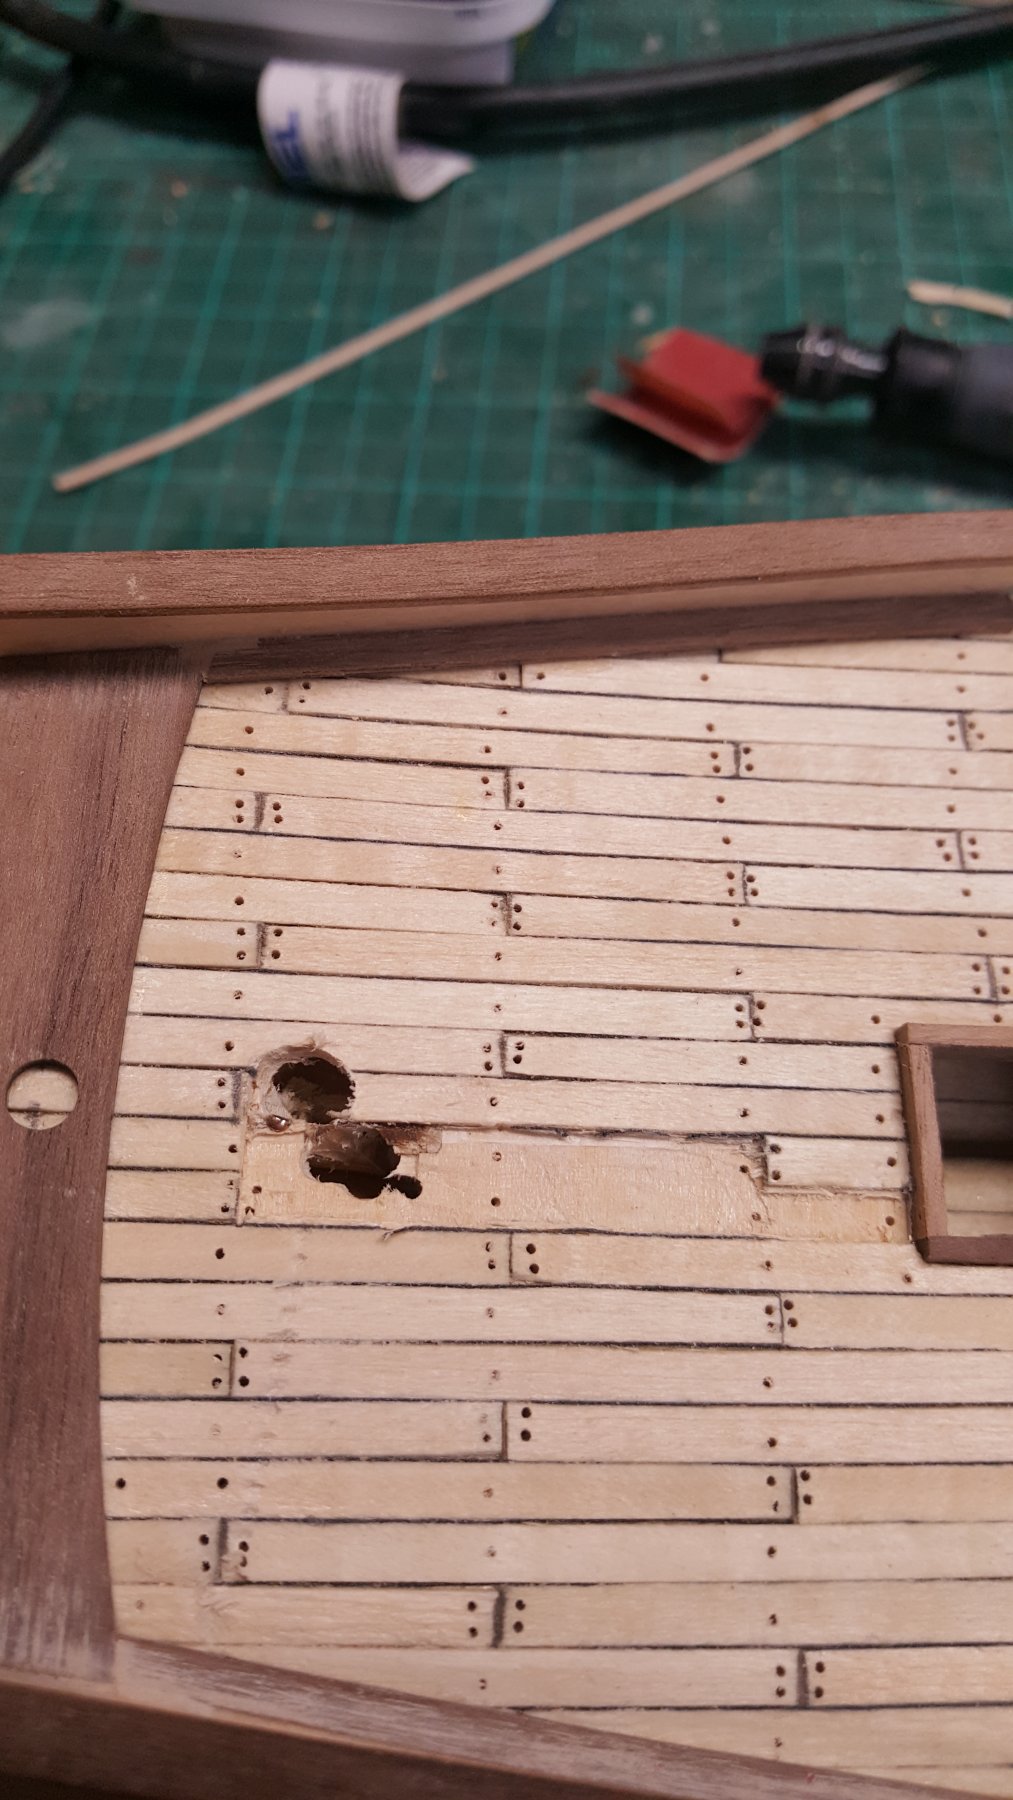
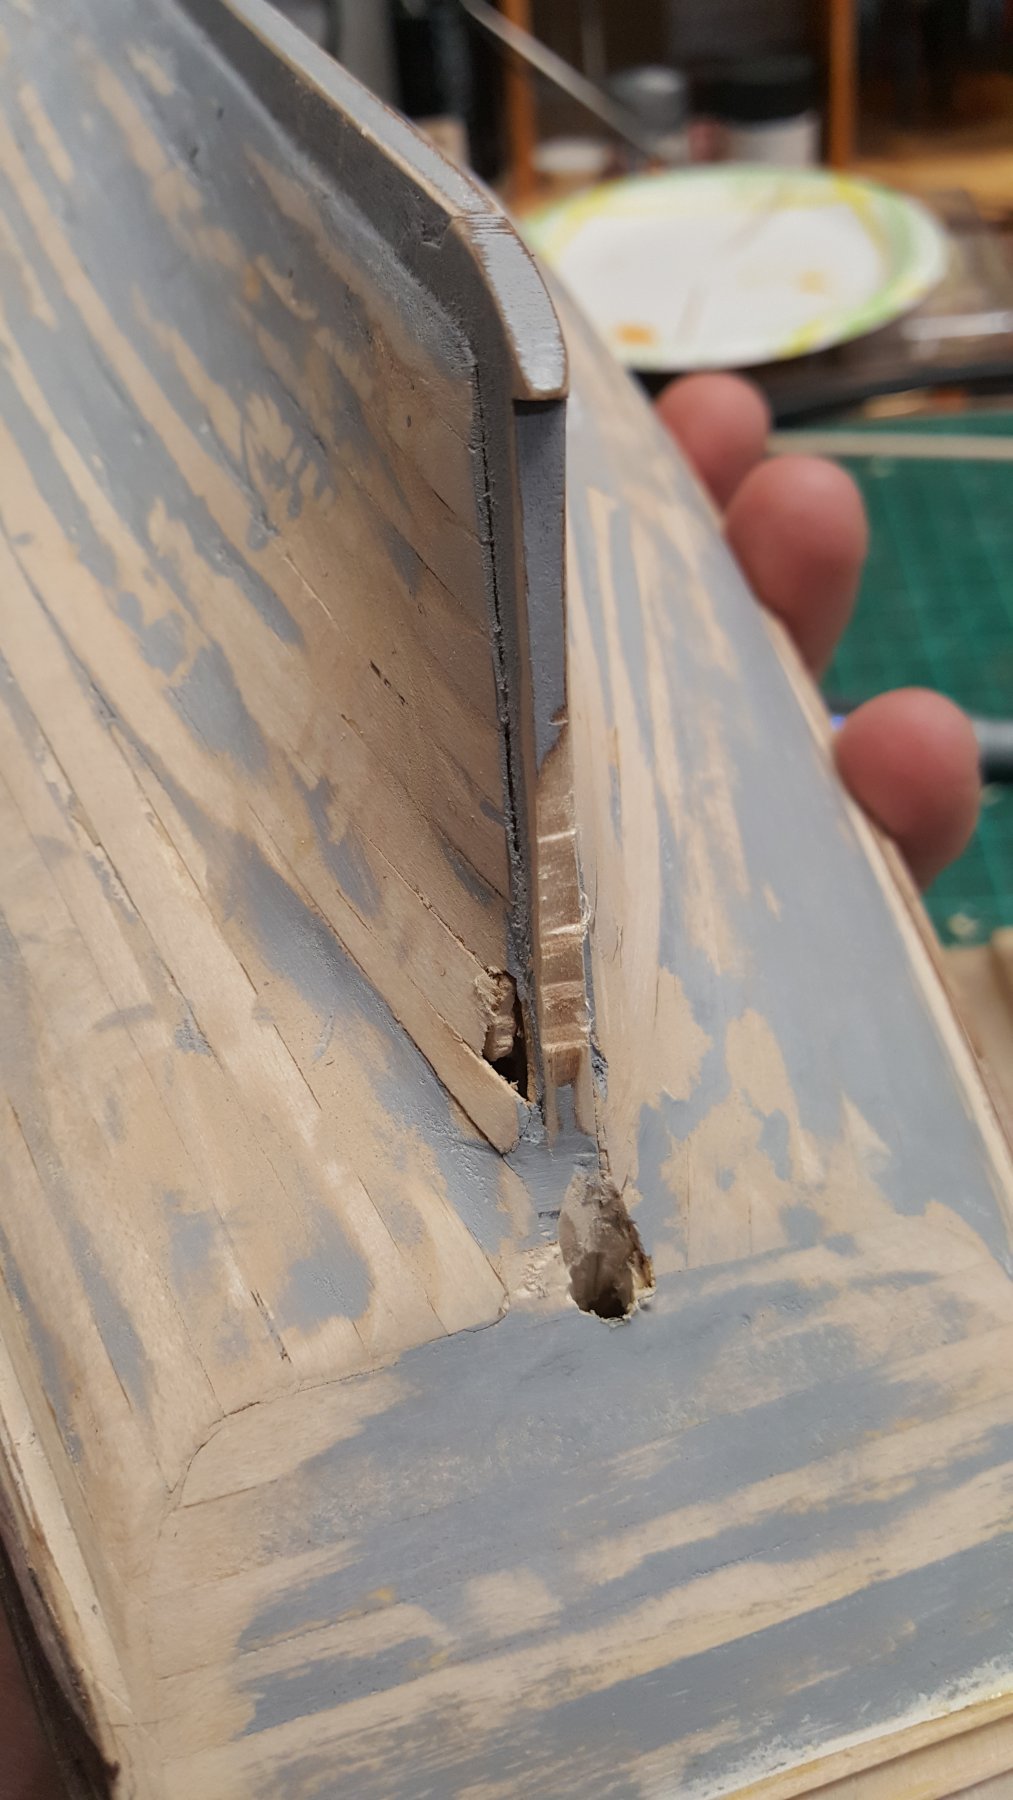
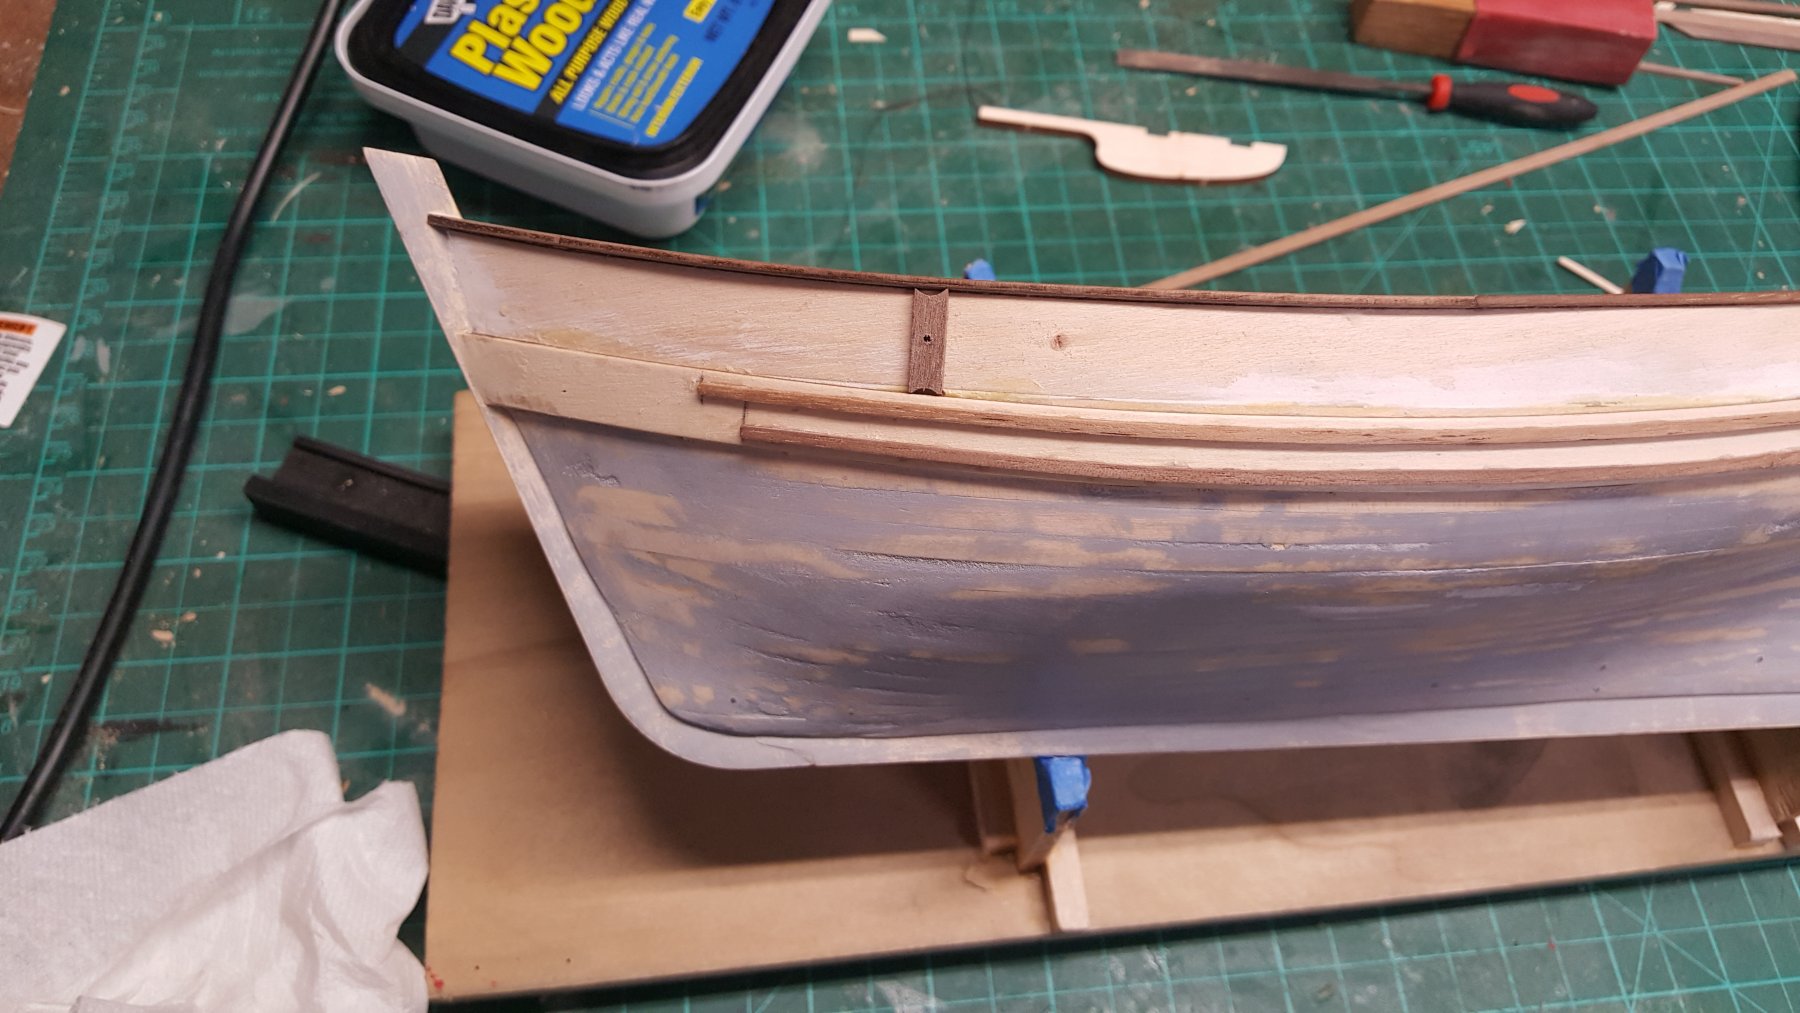
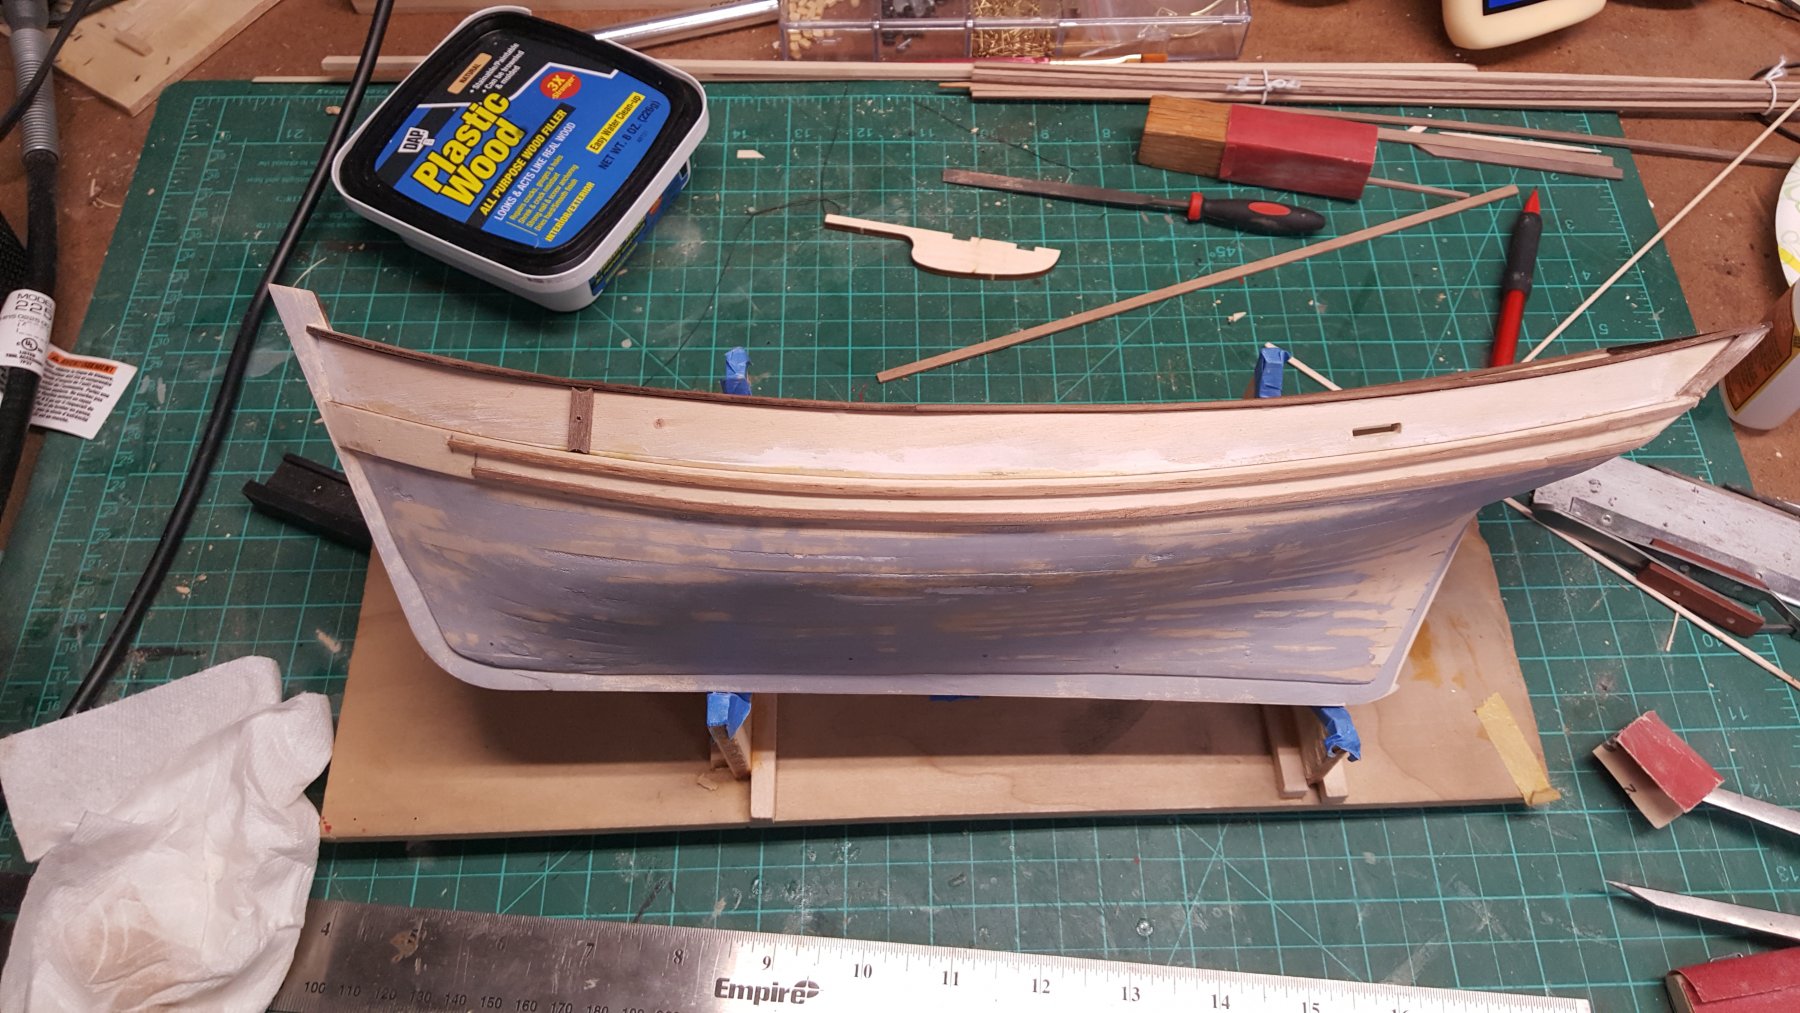
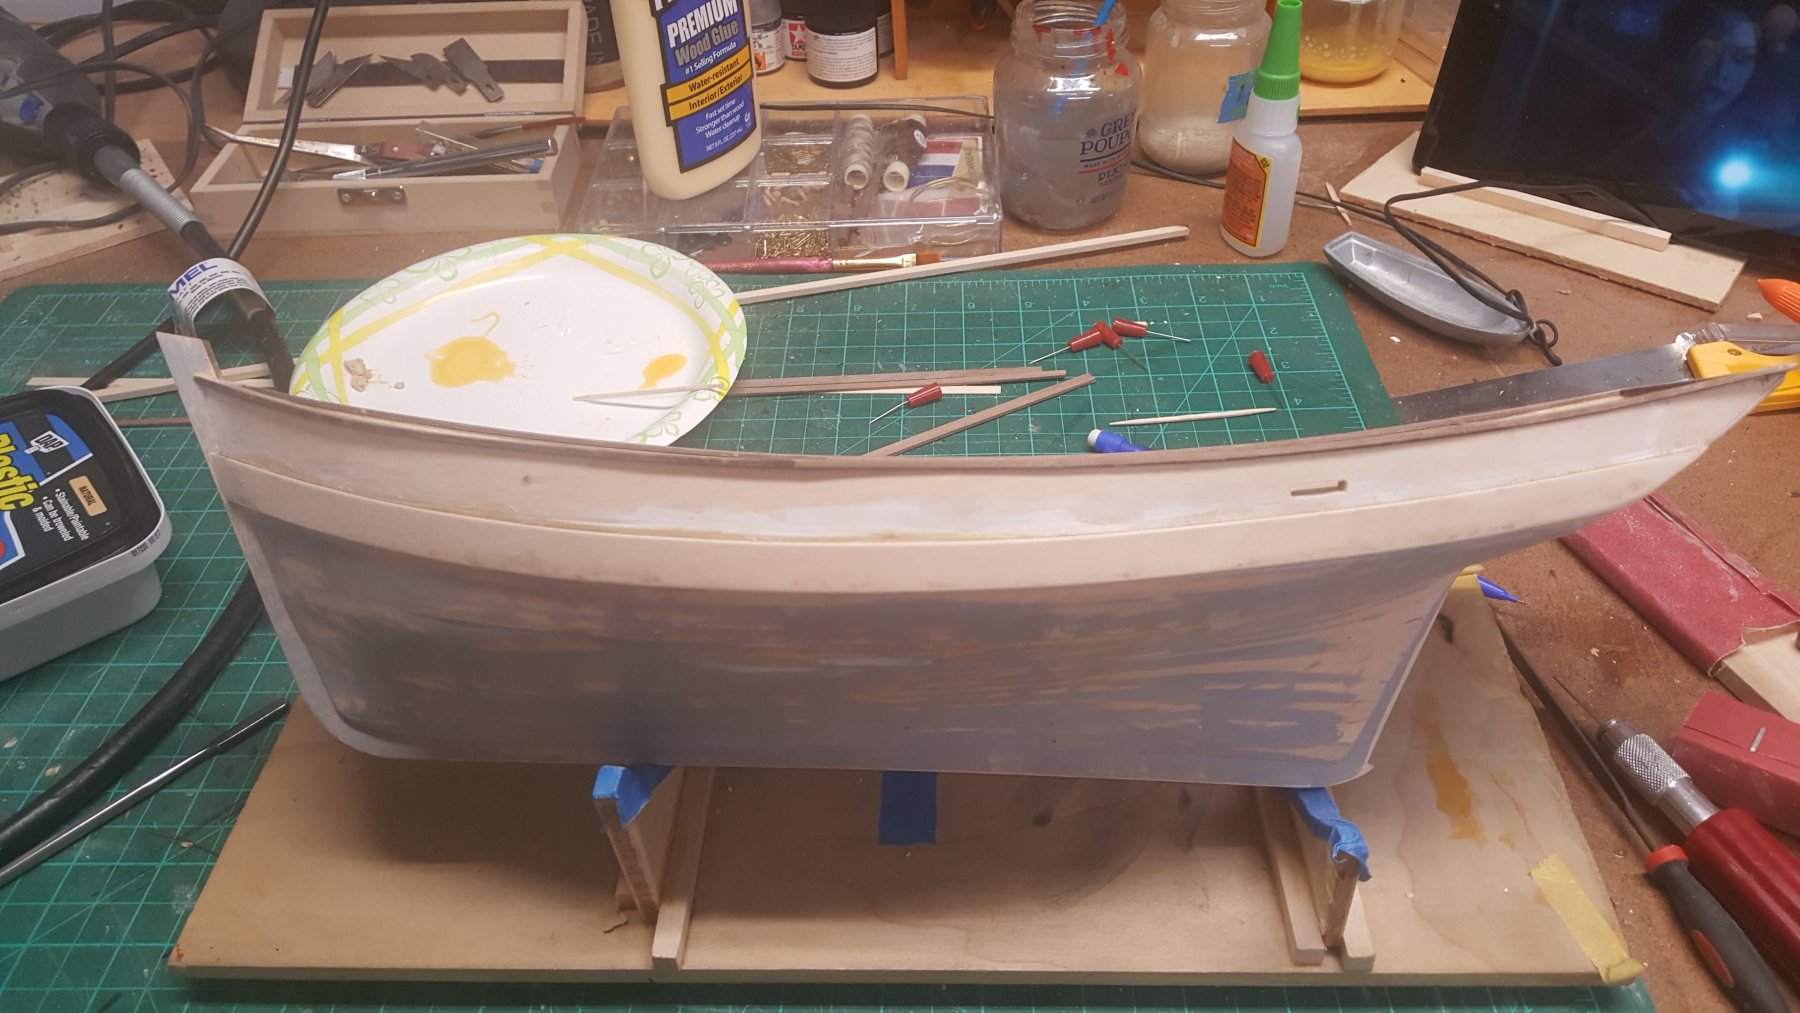
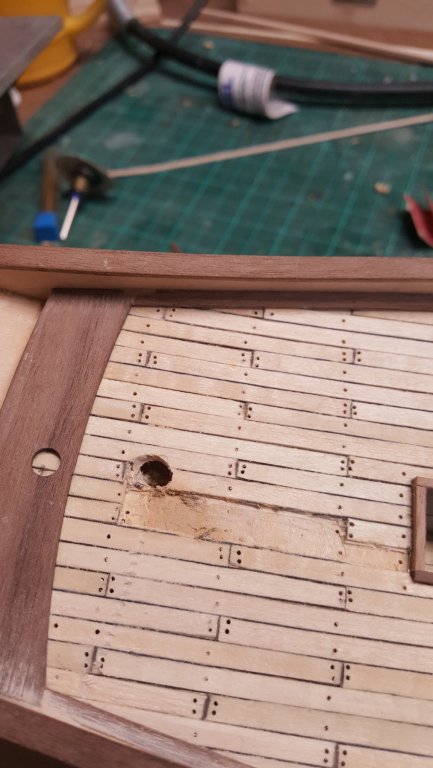
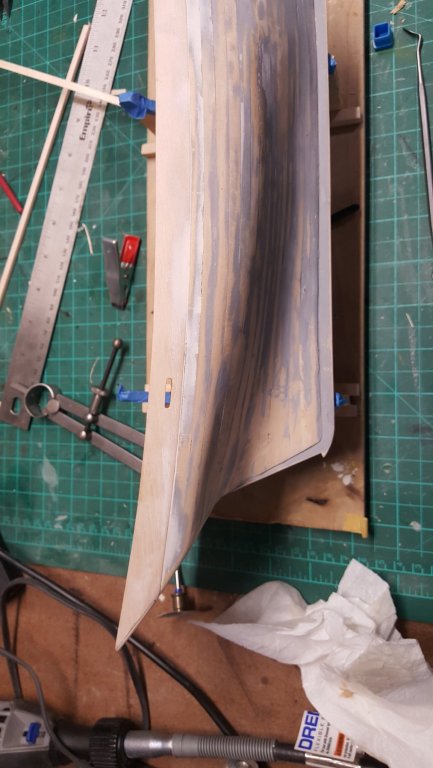
Working on the rudder and the dumb accident... The drill bit took the wrong angle and ripped through the deck. 😠😠😠 Removed some decking plank. Patched the hole and replank.🤔 Repairing is always fun 😅. Here is the result.


- 131 replies
-
- 12
-
-
- finished
- artesania latina
- (and 1 more)
-
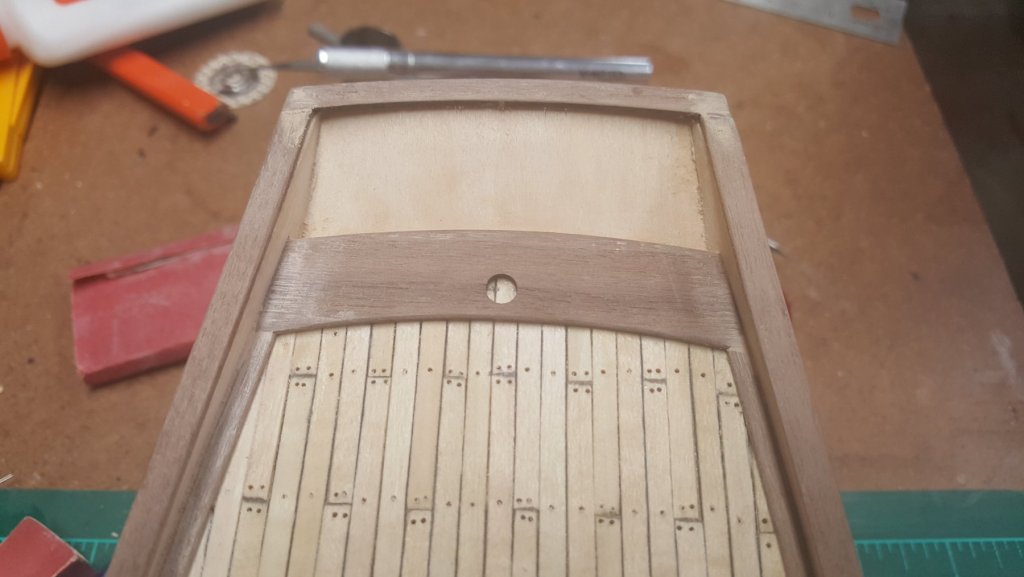
Continued to work the Wales and stern. Added the hatch cummings


- 131 replies
-
- 8
-
-
- finished
- artesania latina
- (and 1 more)
-
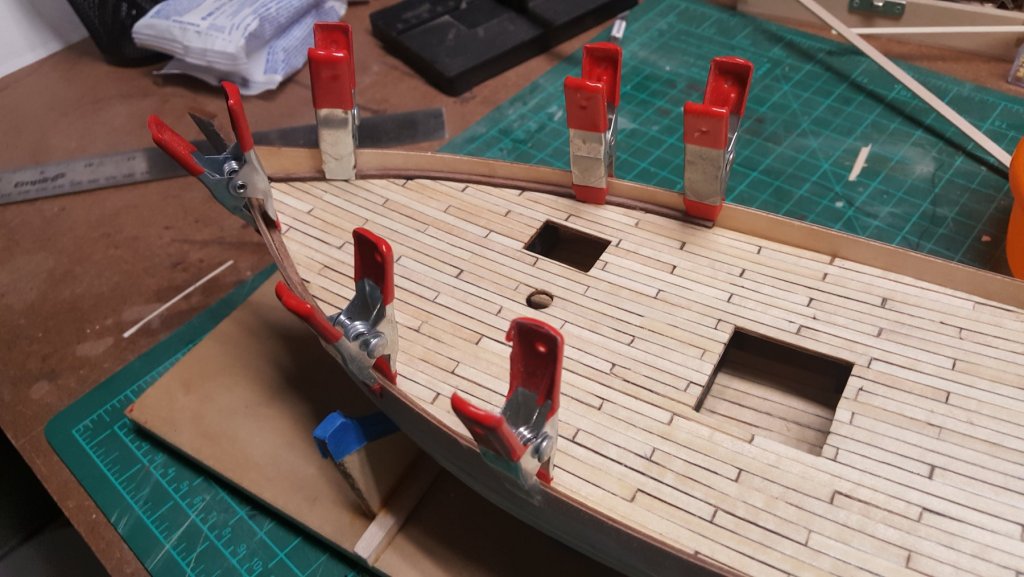
More progress on the build. I attached the railing. Attached the Wales.


- 131 replies
-
- 8
-
-
- finished
- artesania latina
- (and 1 more)
-
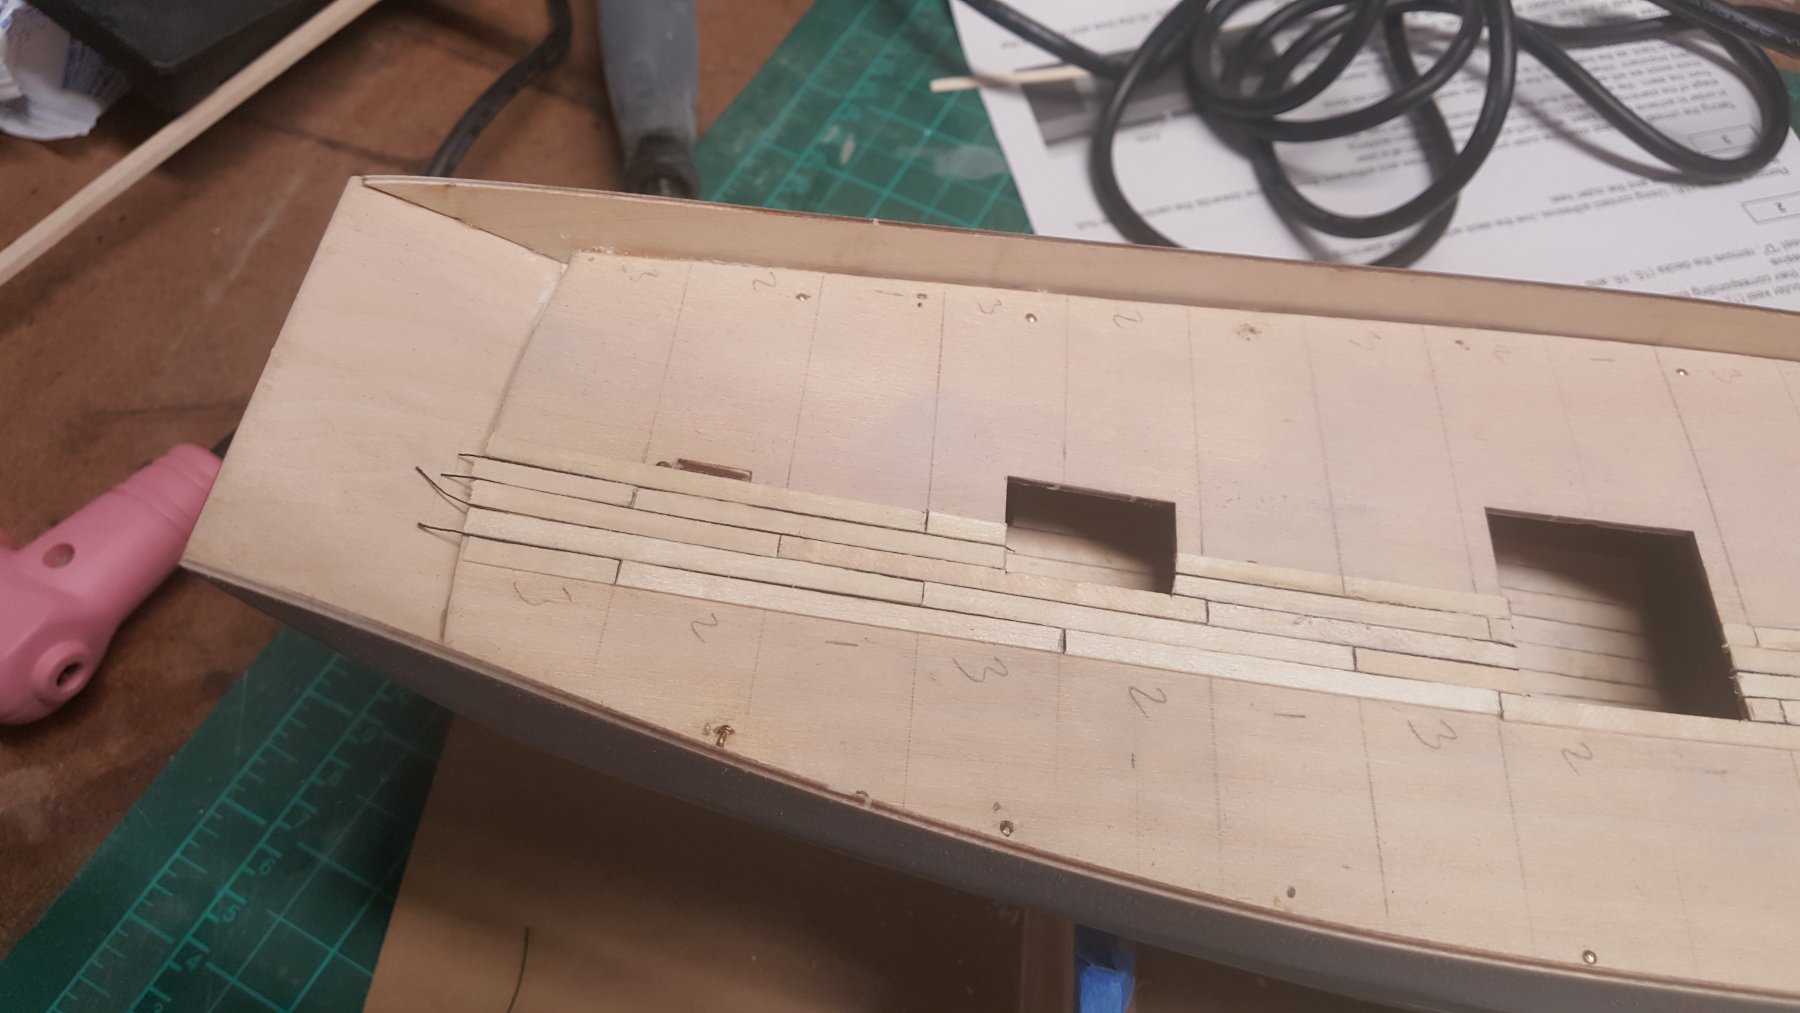
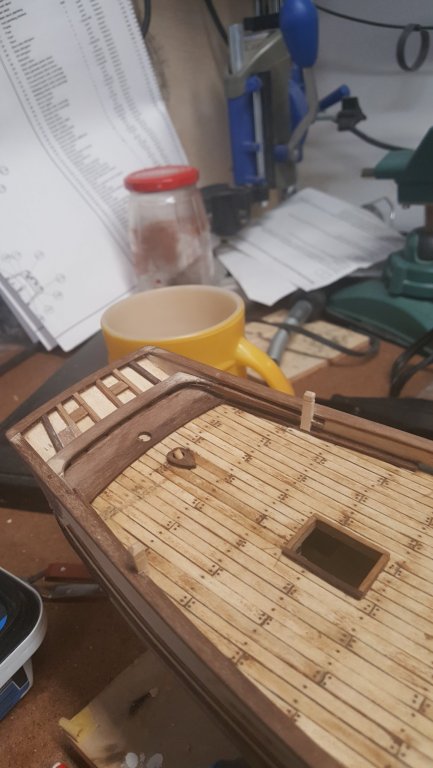
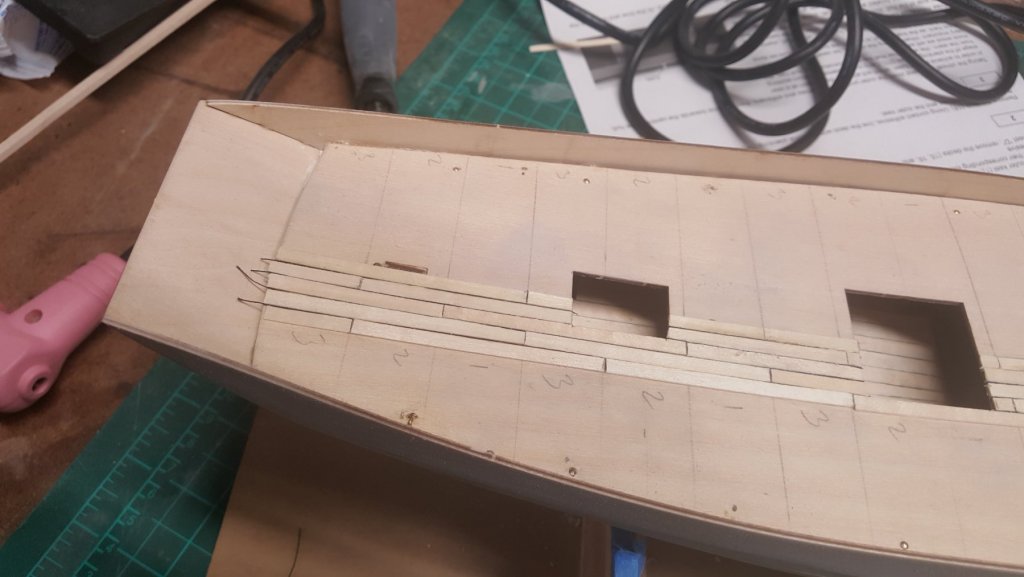
Continued to work on La Marie-Jeanne. Installed more of the stringers Craved the stringers to create the 2 scuppers. Preparation for the treenails. A lot of holes.... I am thinking about this song from Serge Gainsbourg, 'Le poinçonneur des Lila'sabout making holes days in and out. (38s to 58s) A Classic!! LOL Now I will need to fill them up.

- 131 replies
-
- 4
-
-
- finished
- artesania latina
- (and 1 more)
-
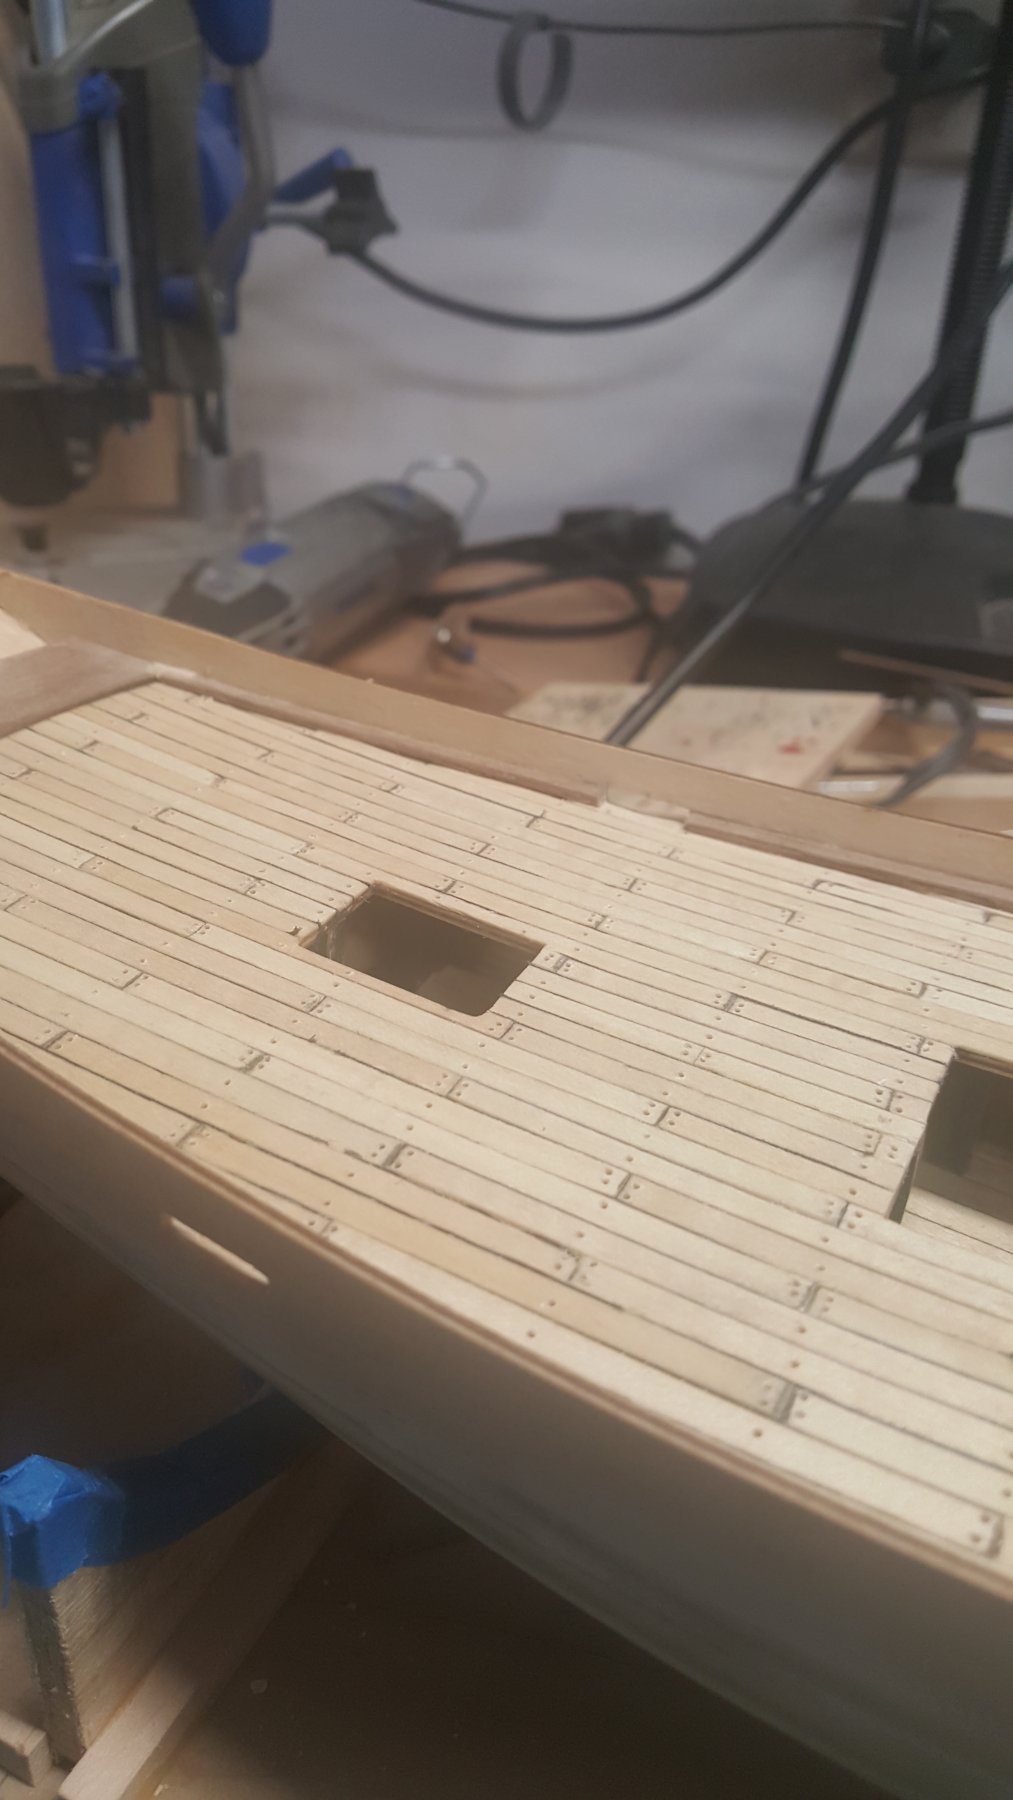
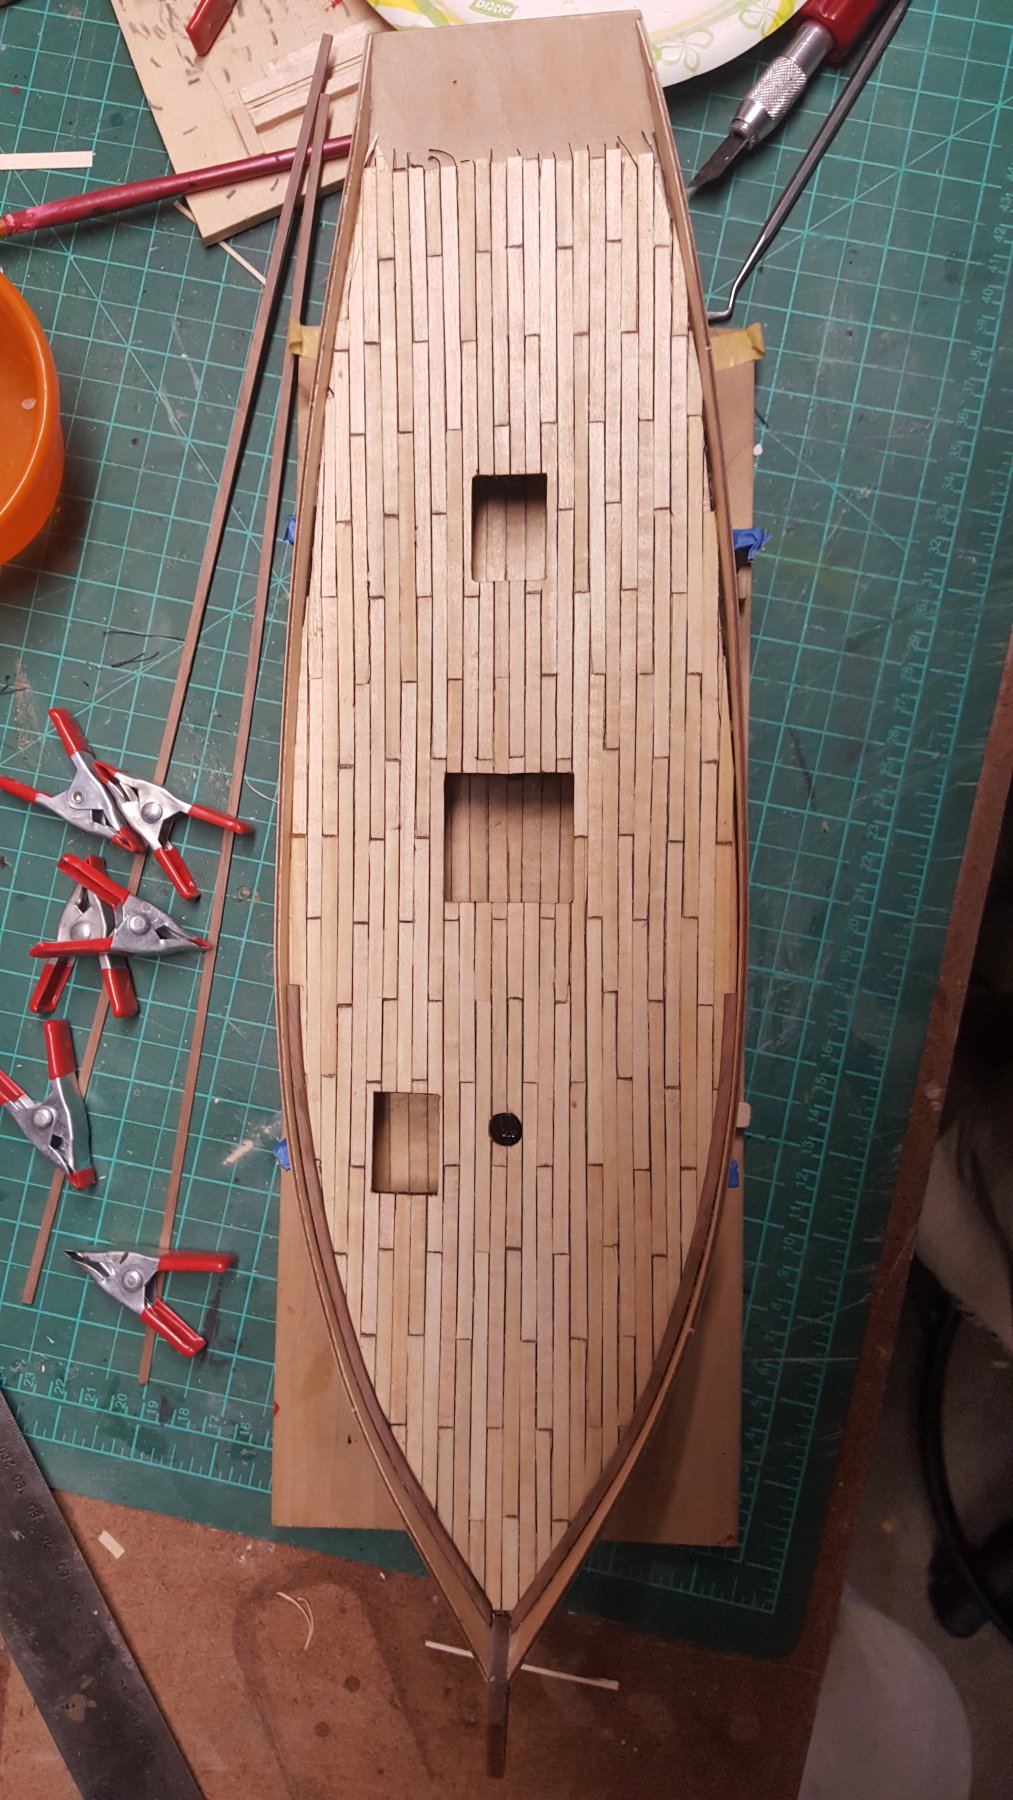
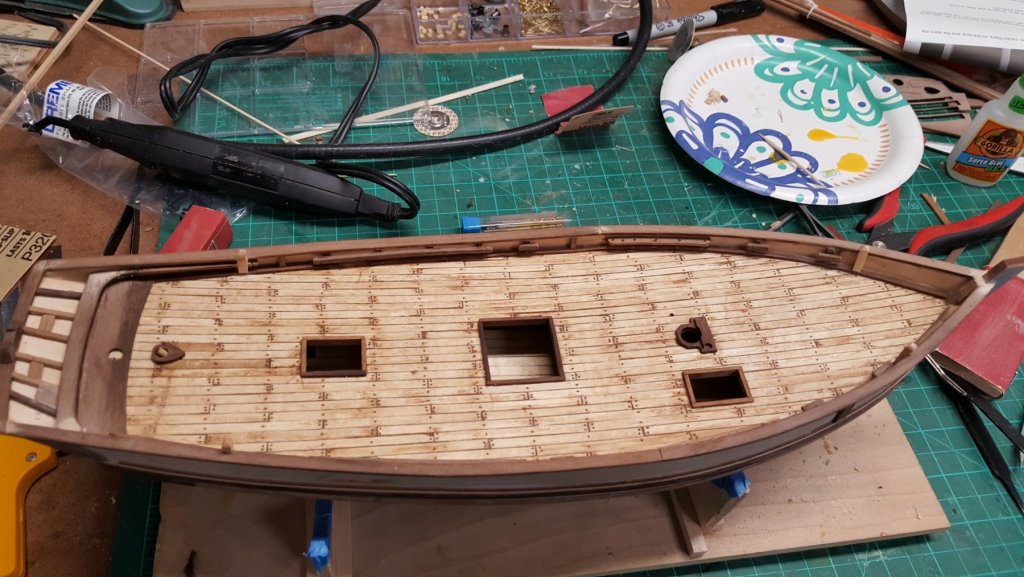
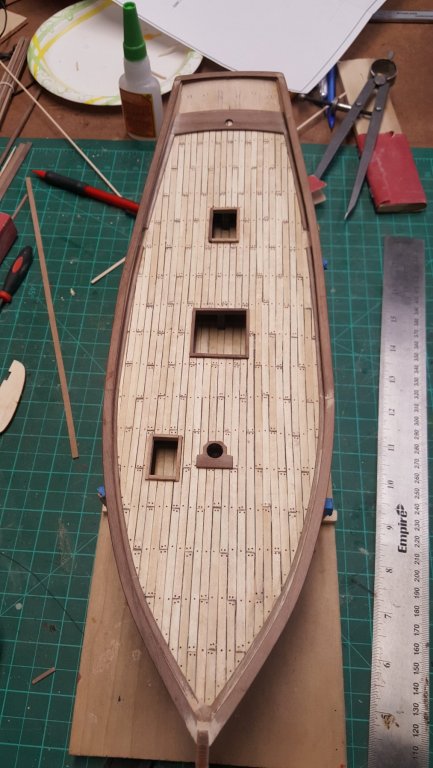
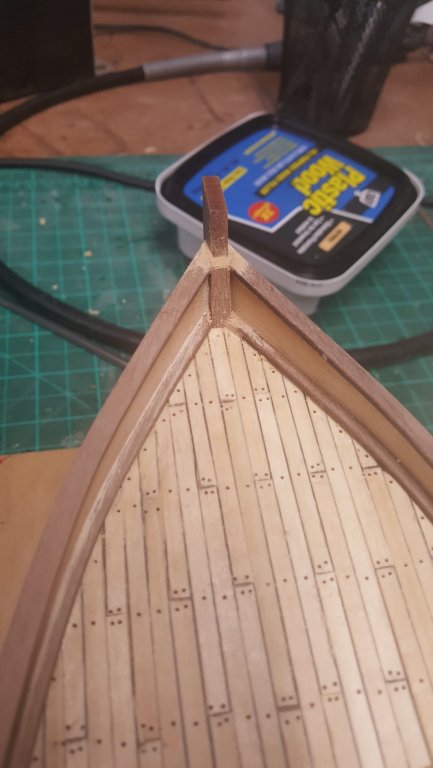
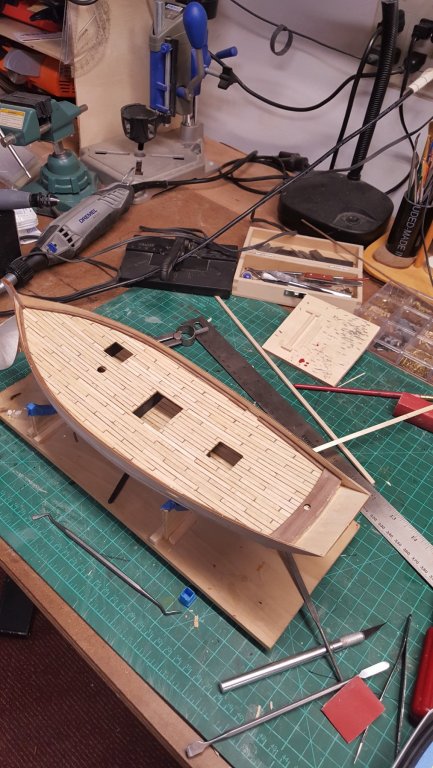
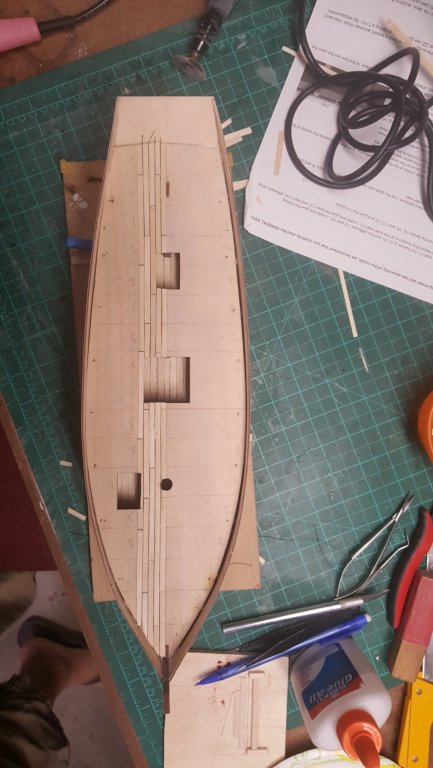
Finished the deck planking. It turned out OK I think. The main problem is the thickness and the quality of the wood. It was hard to get a clean edge. Next step are the treenails. Here it is... Attached the side stringers.

- 131 replies
-
- 8
-
-
- finished
- artesania latina
- (and 1 more)
-
Thank you Jack. You are right the bulwarks was a bit tricky. I used a hot curling iron to get the curb. For me the biggest problem was that lack of clear directions on how the upper stern should be attached.
- 131 replies
-
- 2
-
-
- finished
- artesania latina
- (and 1 more)
-
Very nice progress!!! I love it. Happy birthday to you. Hope you had a great day!
- 692 replies
-
- 5
-
-
- eagle of algier
- chebec
- (and 2 more)
-
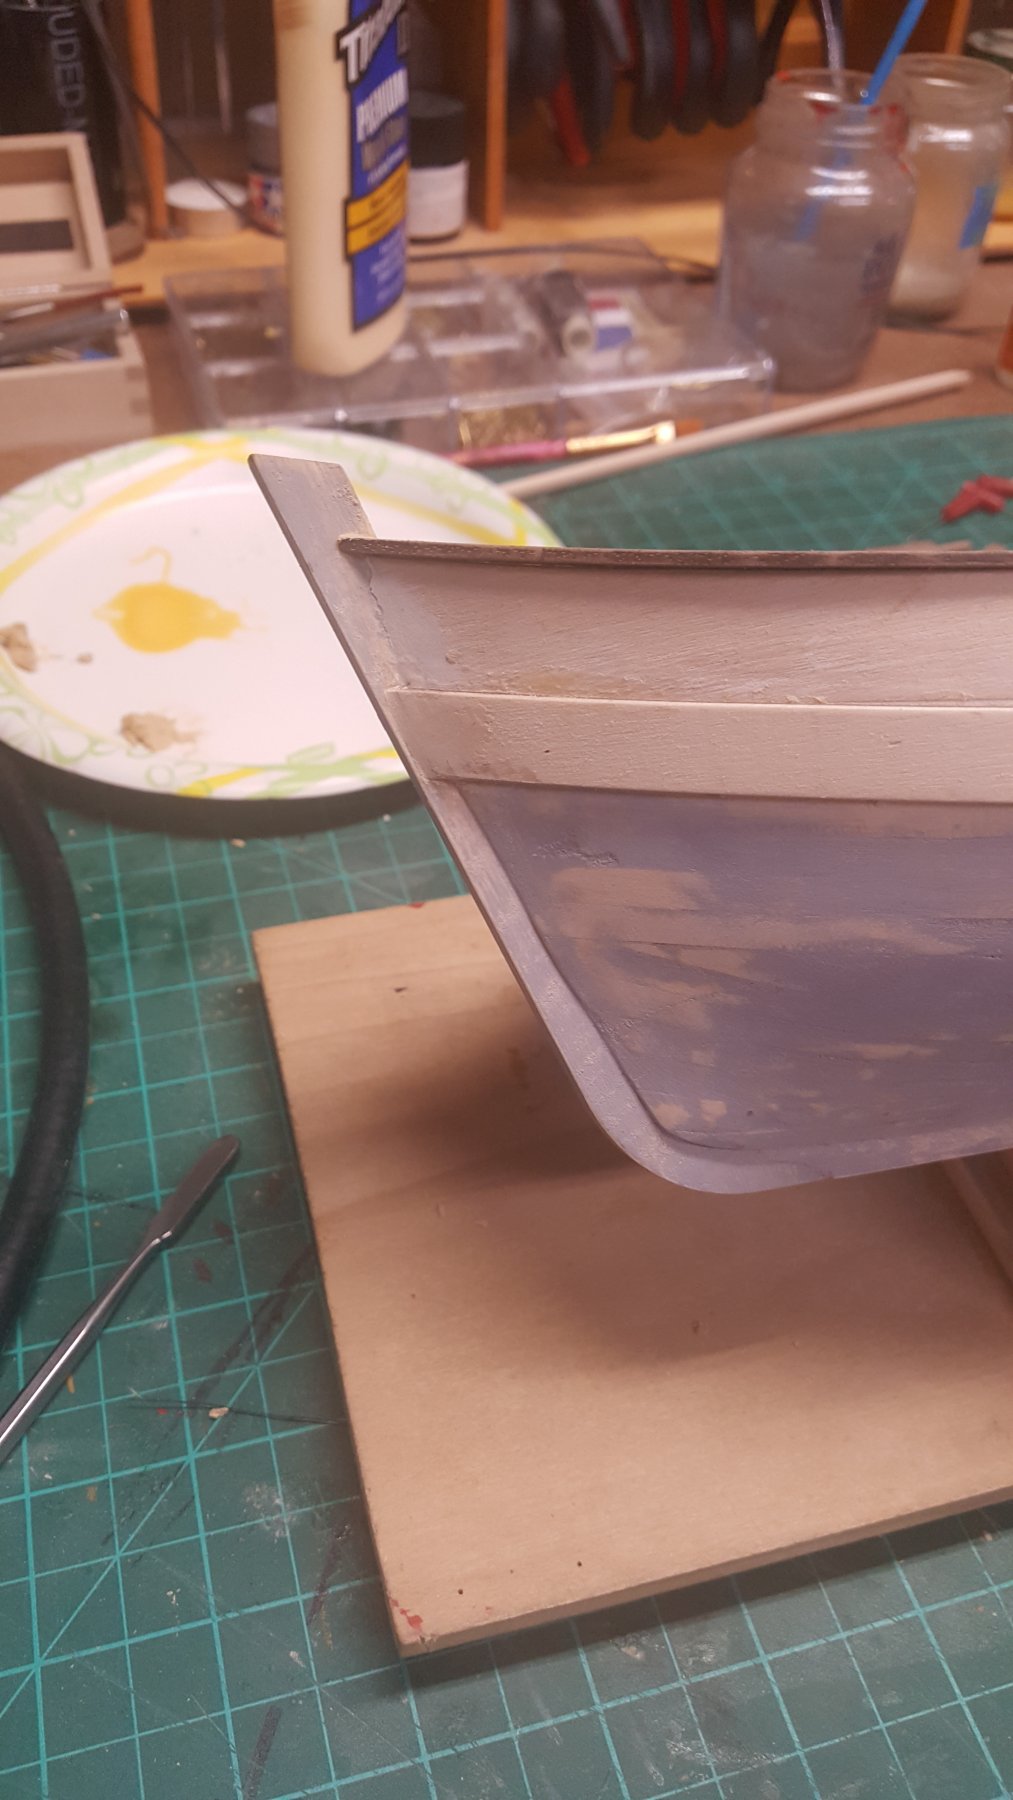
Attached the bulwarks and the upper stern. I decided to deviate from the directions à little bit by not planking first and install the stringers yet. In my opinion, it will be easier to make adjustments to ensure the stringers are nice and flush to the inner bulwarks. I started the deck planking. Another problem with the directions from AL. The width of the plank cannot be 5mm; with the scale of the ship I should be about 3mm. My planks will be 3mmx60mm in a pattern of 3. Jig used to cut the planks. I decided to use a new technique for me to represent the caulking, black thread. It is a bit more difficult and time consuming but I am happy with the results so far. Thoughts?


- 131 replies
-
- 8
-
-
- finished
- artesania latina
- (and 1 more)
-
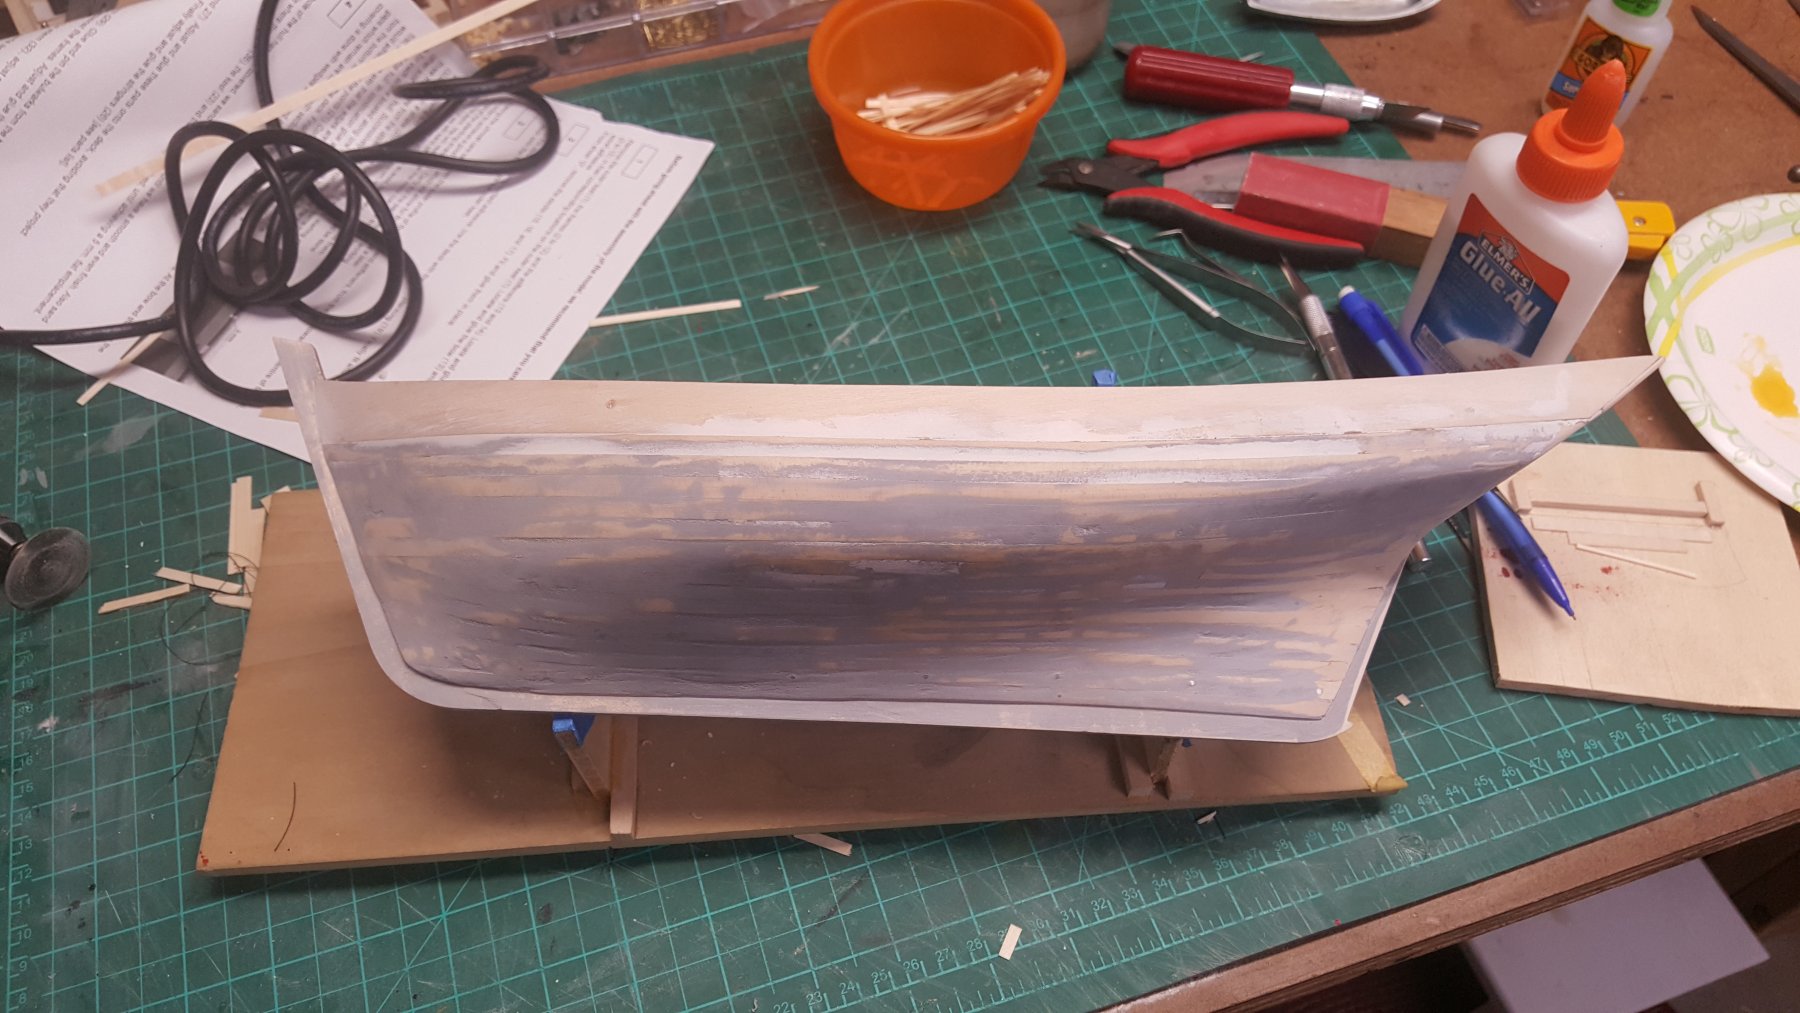
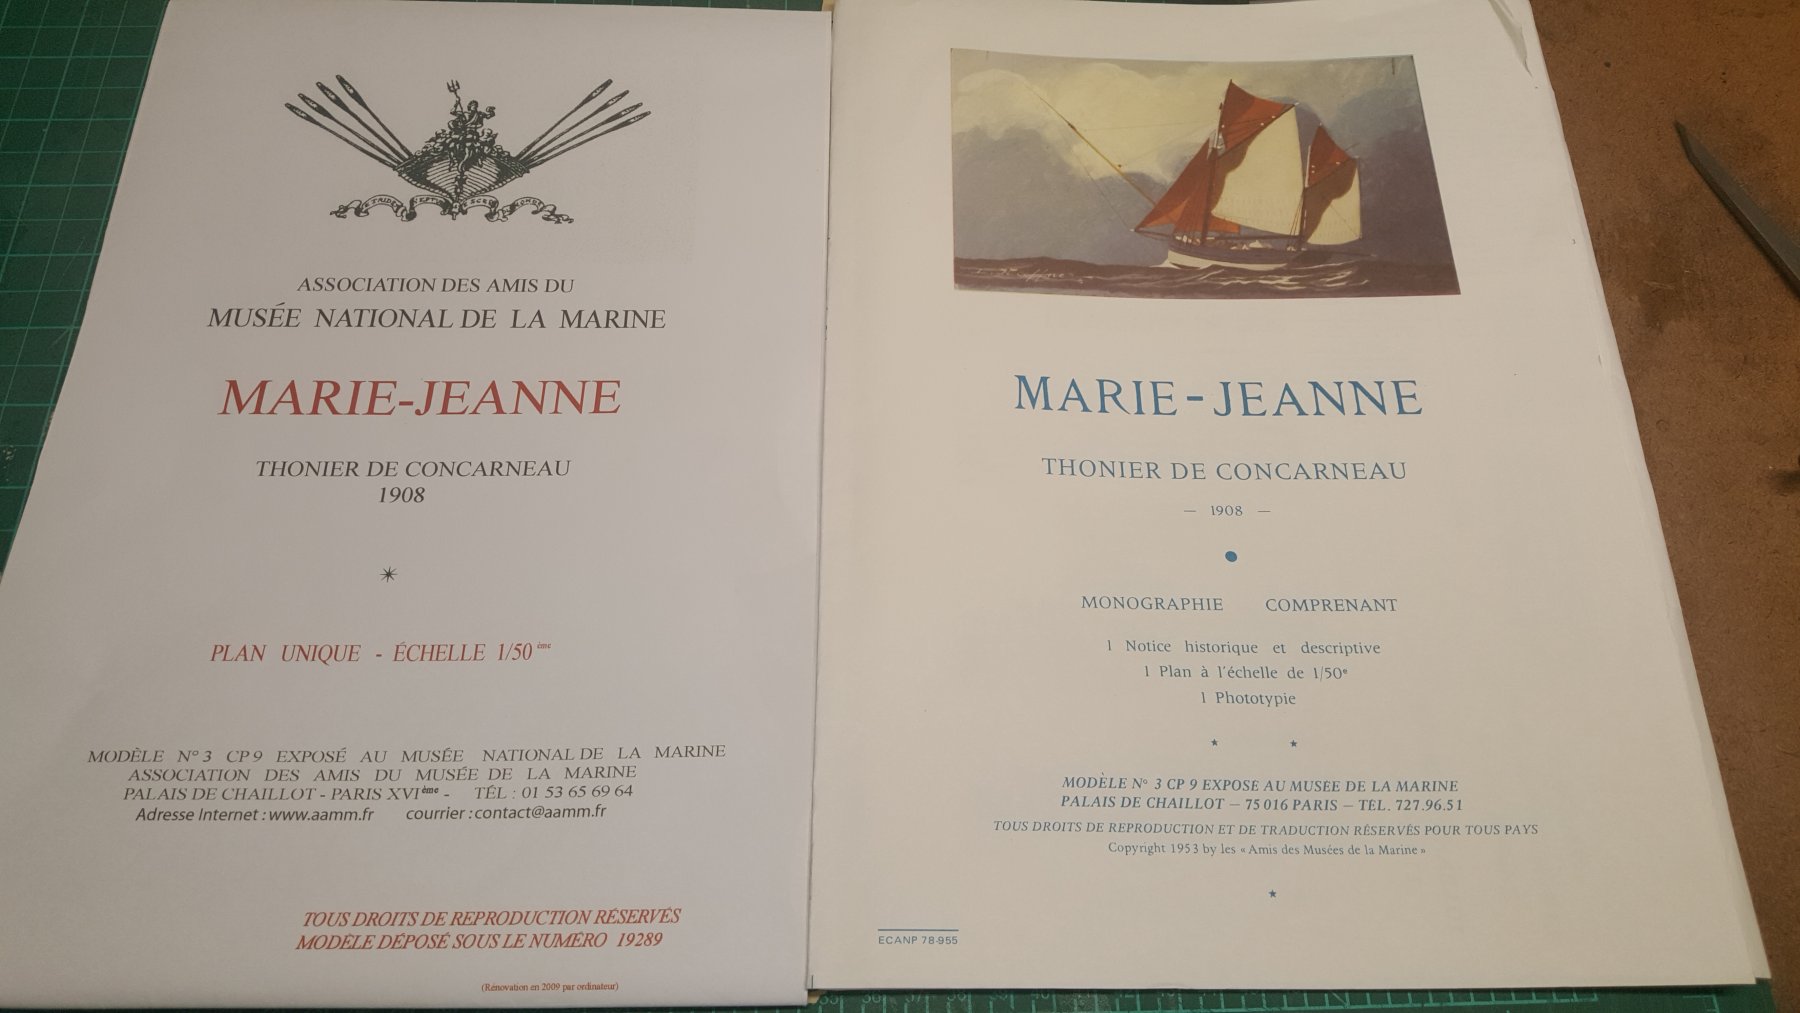
After reviewing the plan from AL and reading a few French build log. It became apparent that I needed to get some better documentation and plan. So I purchased the plans from the association des amis du musée de la marine http://www.aamm.fr/boutique/index.php?main_page=product_info&cPath=65&products_id=235 I am going to change a lot if things based on these documents. Love them, what a difference!!

- 131 replies
-
- 5
-
-
- finished
- artesania latina
- (and 1 more)