mtdoramike
-
Posts
2,094 -
Joined
-
Last visited
Content Type
Profiles
Forums
Gallery
Events
Everything posted by mtdoramike
-
I have adopted another orphaned kit
mtdoramike replied to mtdoramike's topic in RC Kits & Scratch building
I know what you mean Popeye, the crane in the upgrade fitting kit is plastic in mine as well, but the kit also included the wooden version. I'm going to see which one looks better. -
I have adopted another orphaned kit
mtdoramike replied to mtdoramike's topic in RC Kits & Scratch building
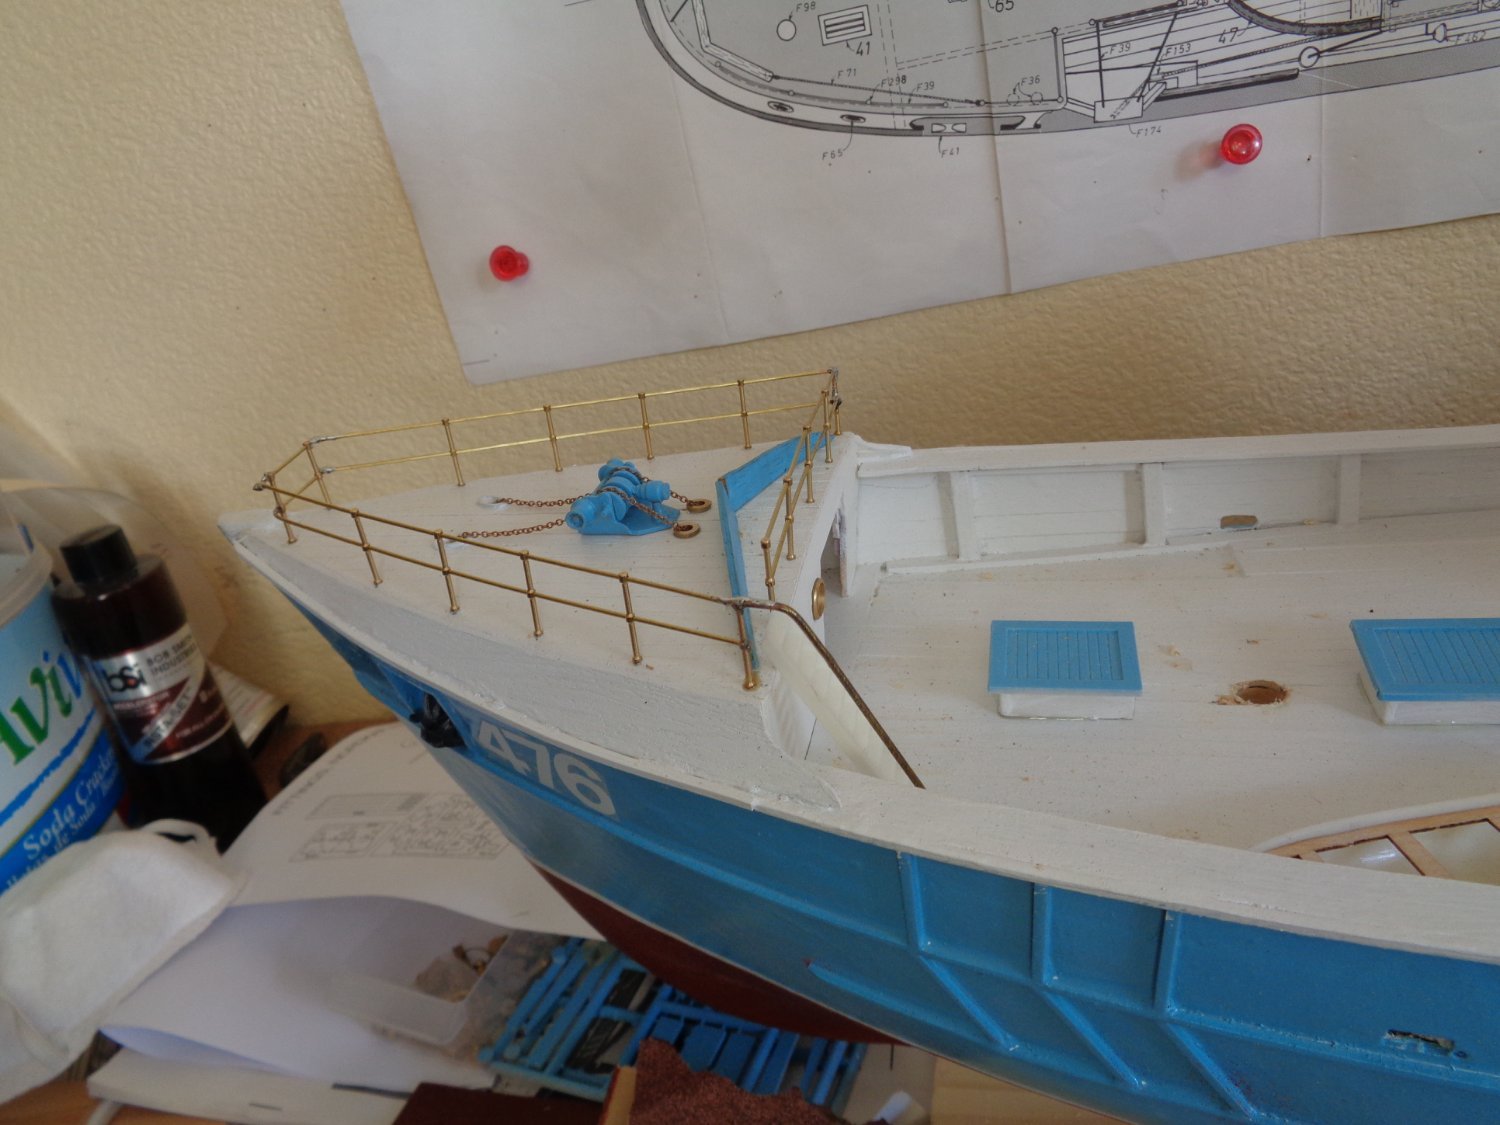
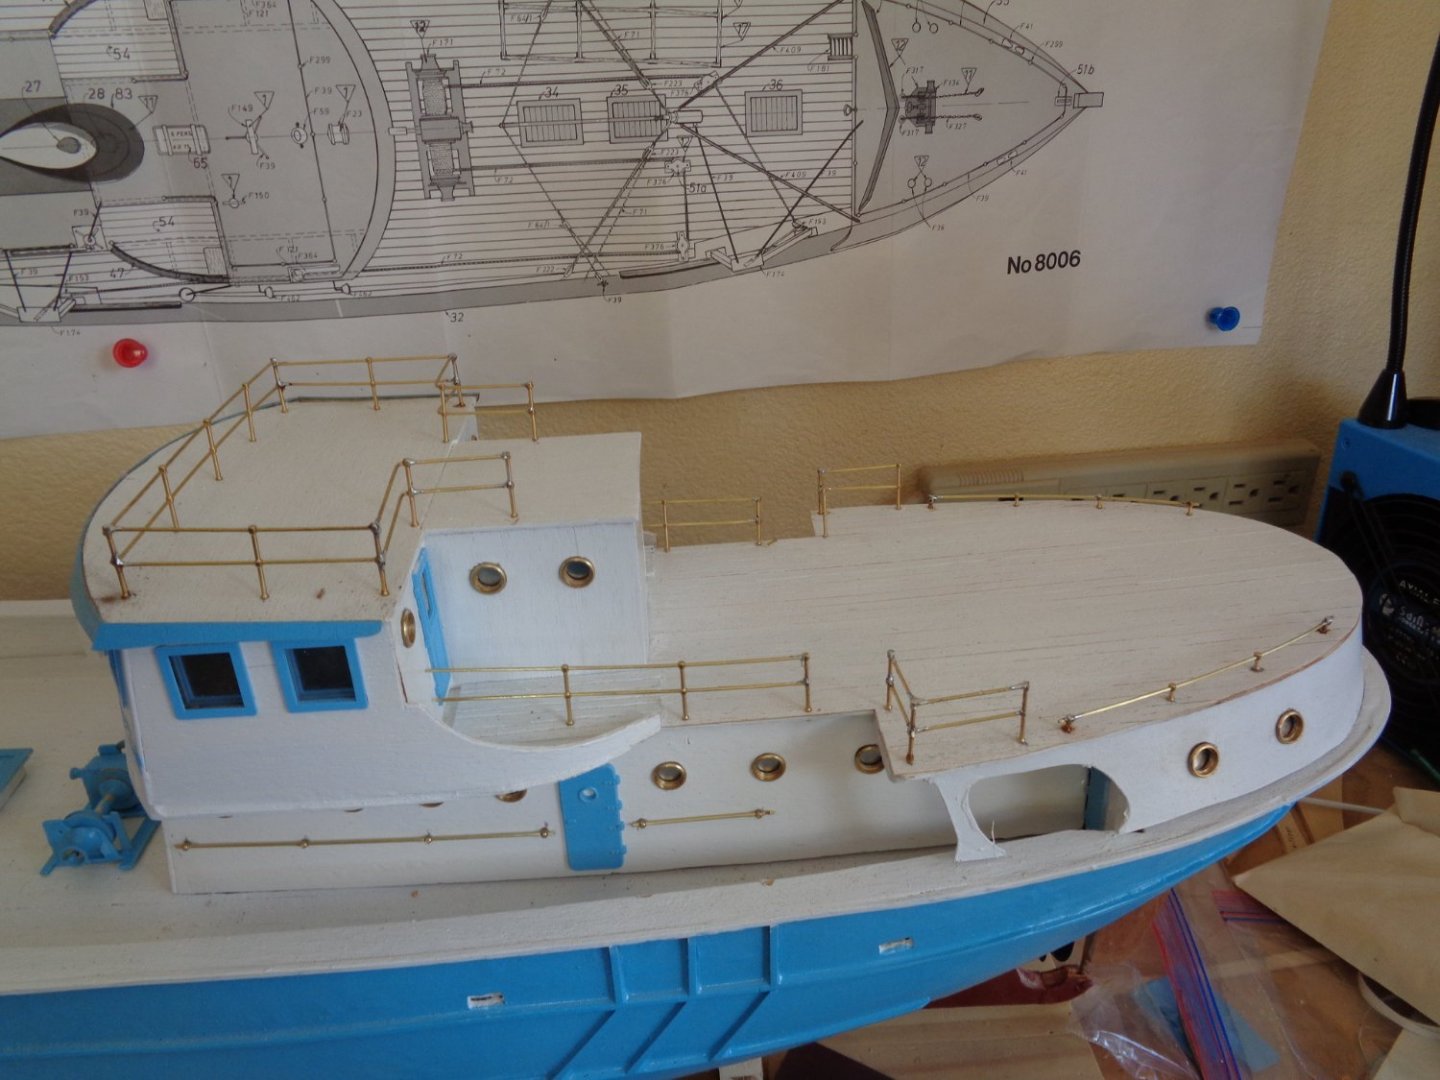
Thanks guys, I really had to practice my solder skills or the lack there of before doing the railings. I started out making a jig, and make the railings laid out on my work bench. Short story long, that was a couple of hours and materials wasted. I found the easiest and most efficient way was to just build them on the model. You know what they say about hind sight. Now to clean all that flux off the railings before painting them white. -
I have adopted another orphaned kit
mtdoramike replied to mtdoramike's topic in RC Kits & Scratch building
Finished making the railings, which was quite a bit.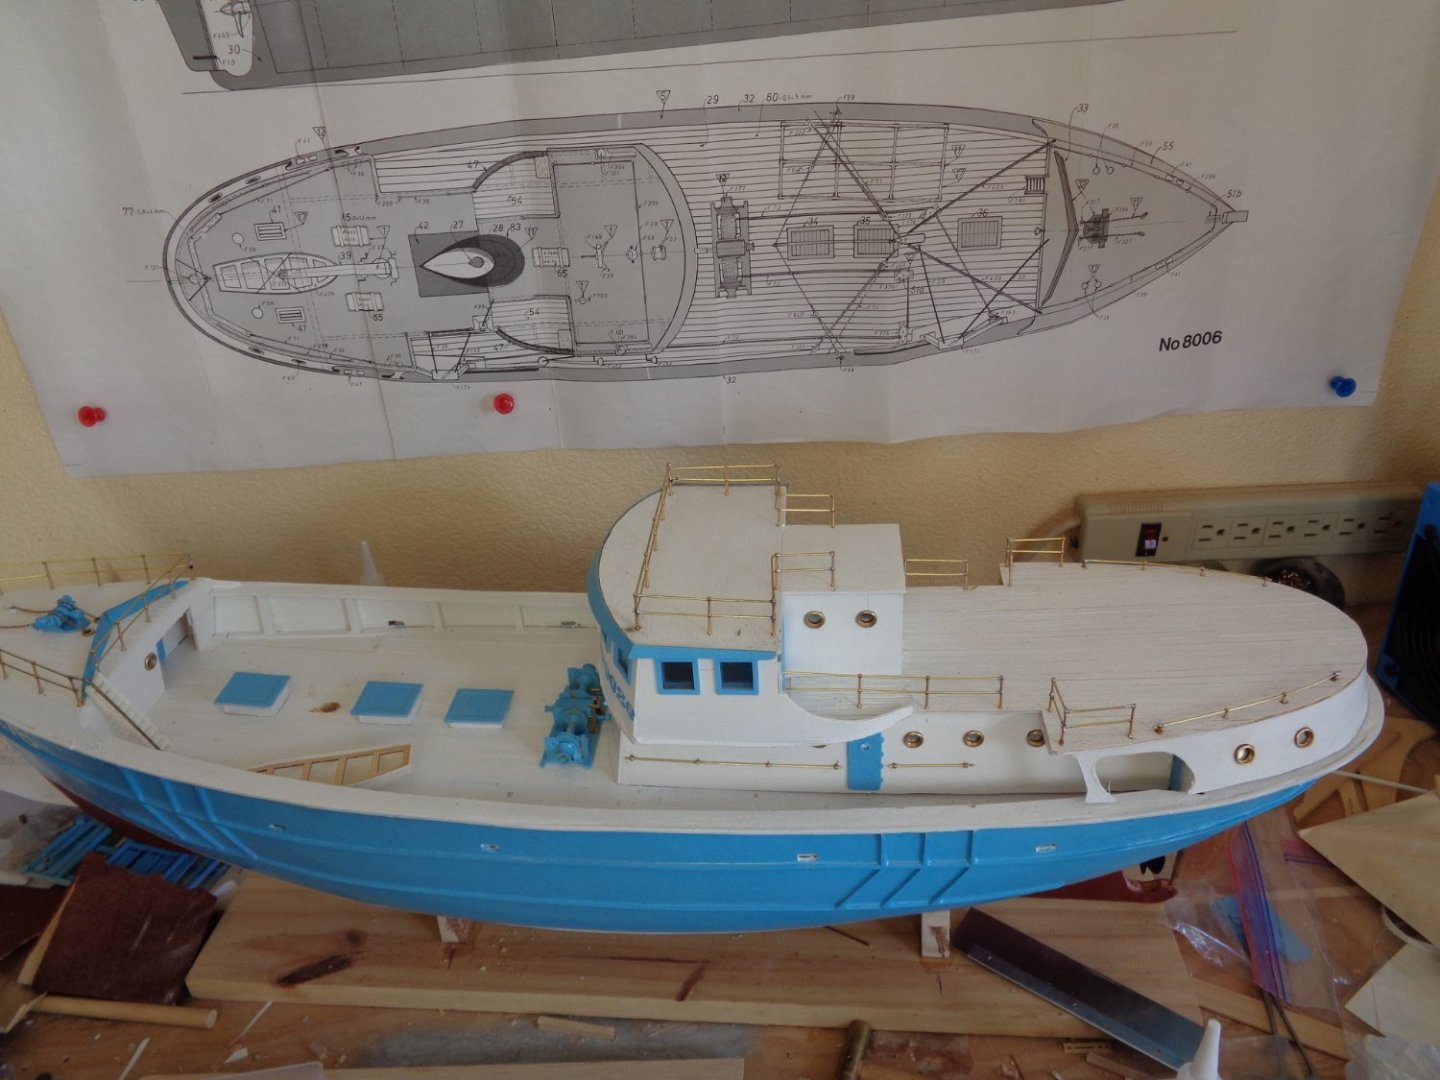

-
I have adopted another orphaned kit
mtdoramike replied to mtdoramike's topic in RC Kits & Scratch building
Thanks Keith, another couple of weeks she'll be ready for her maiden voyage. -
I have adopted another orphaned kit
mtdoramike replied to mtdoramike's topic in RC Kits & Scratch building
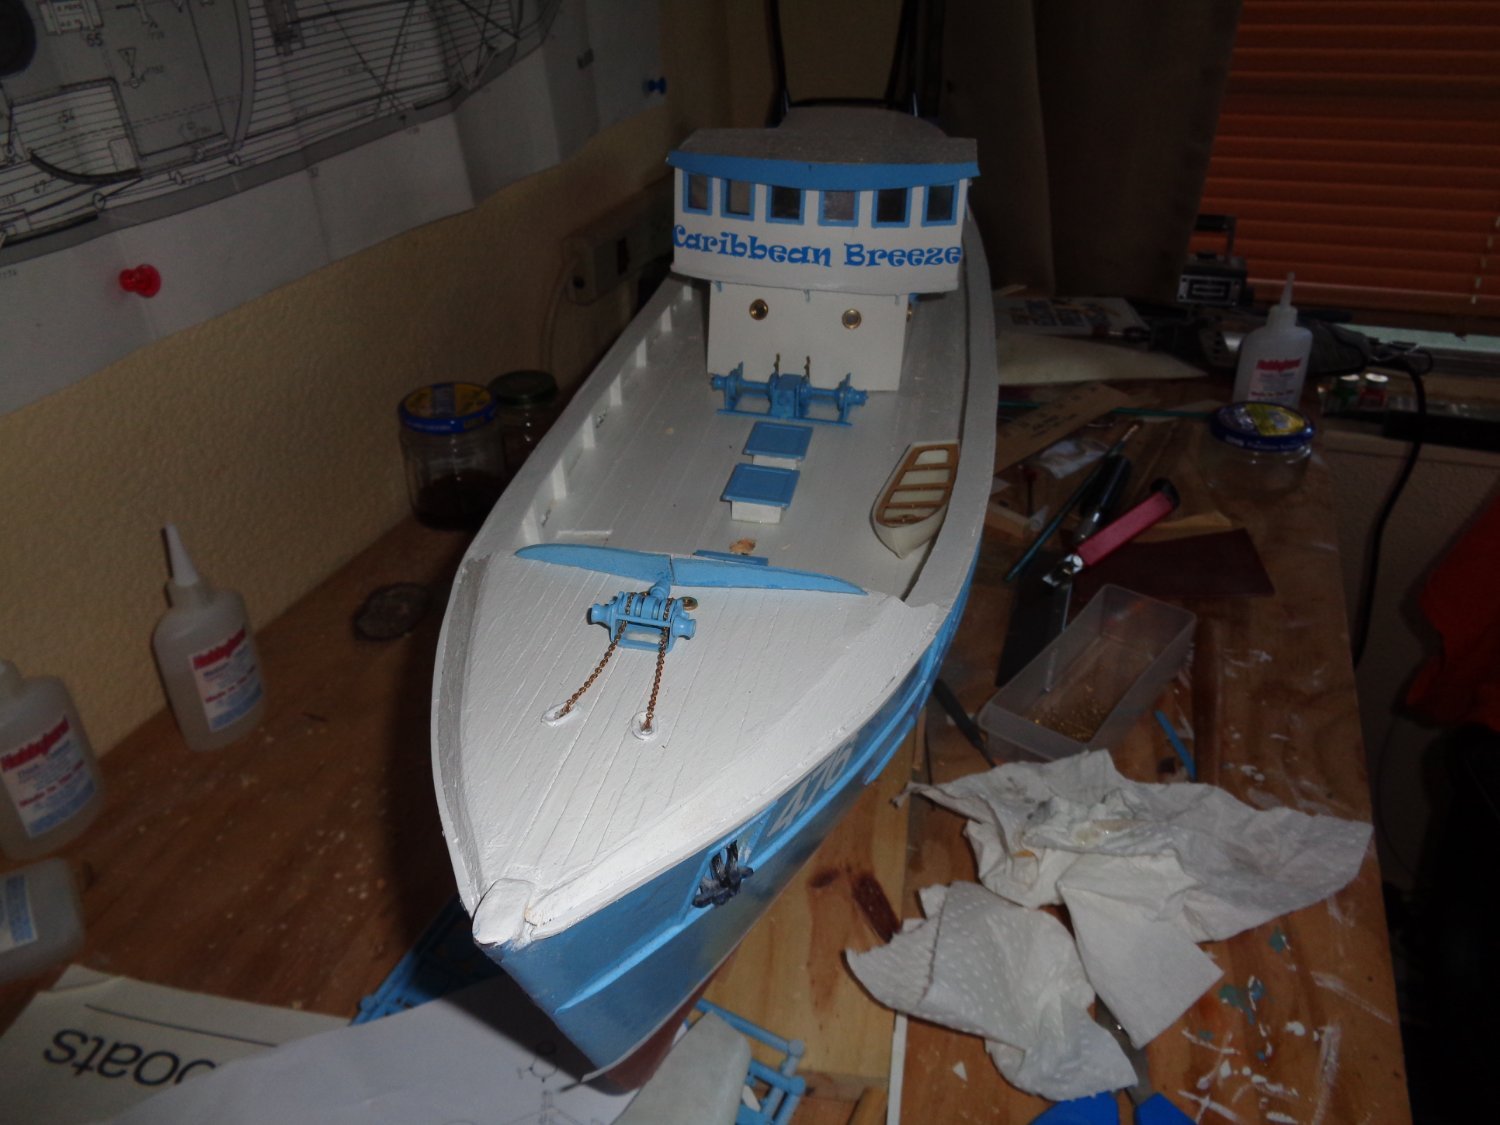
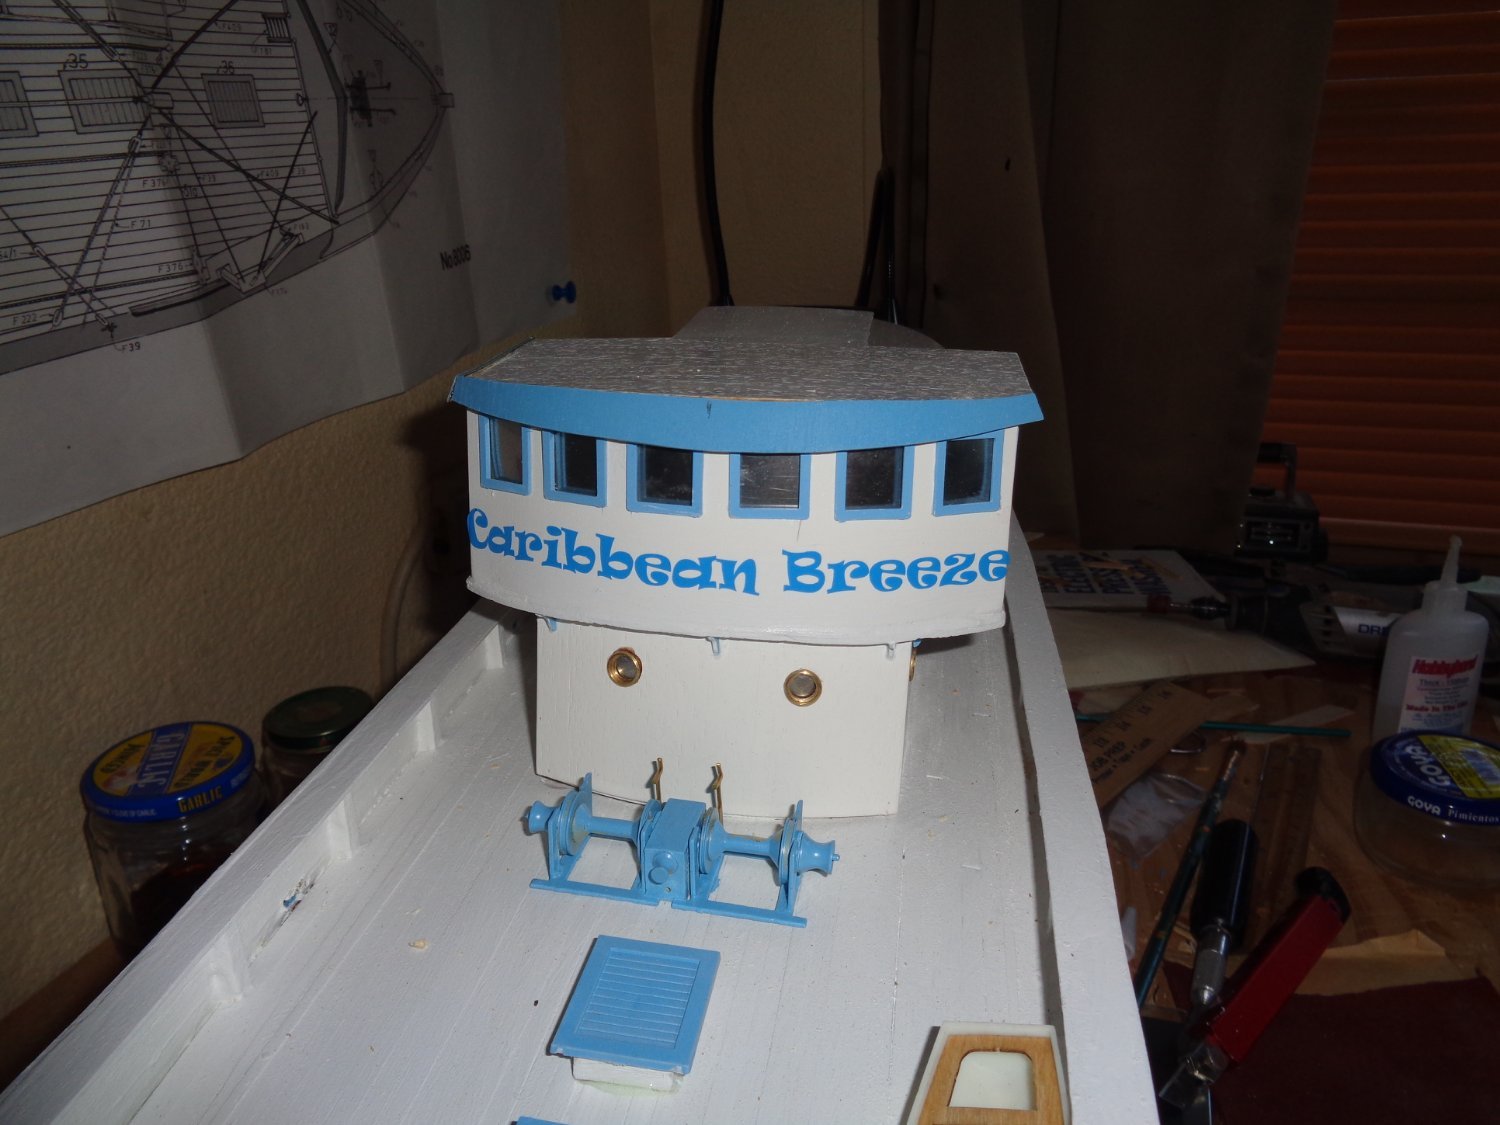
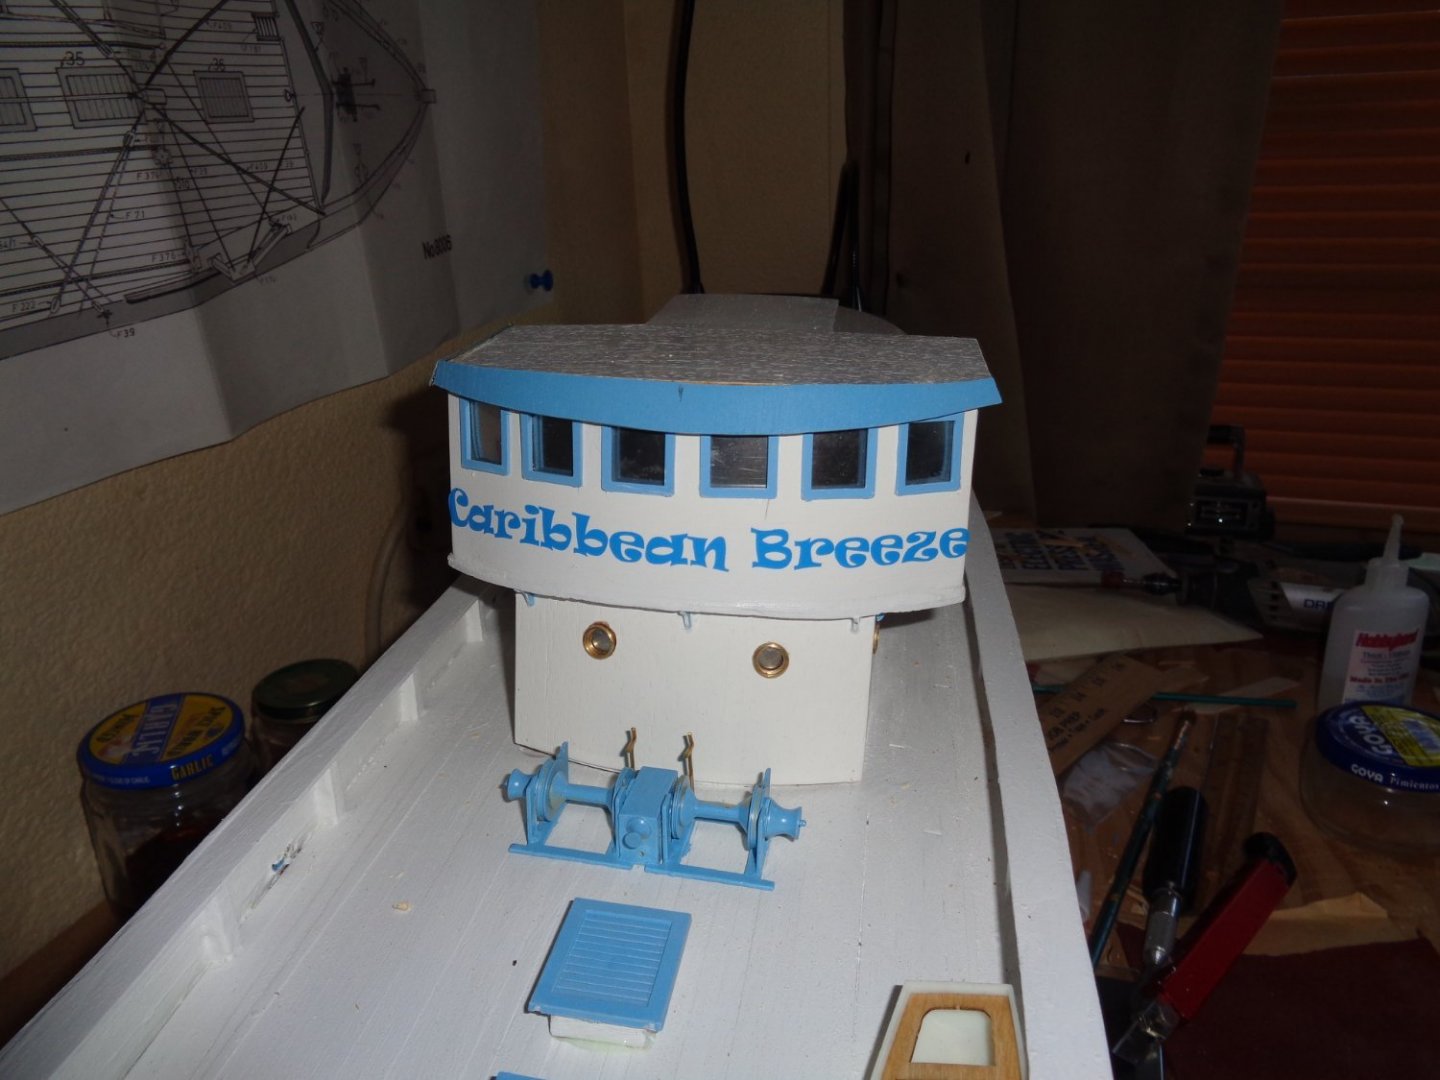
I Christen thee Caribbean Breeze.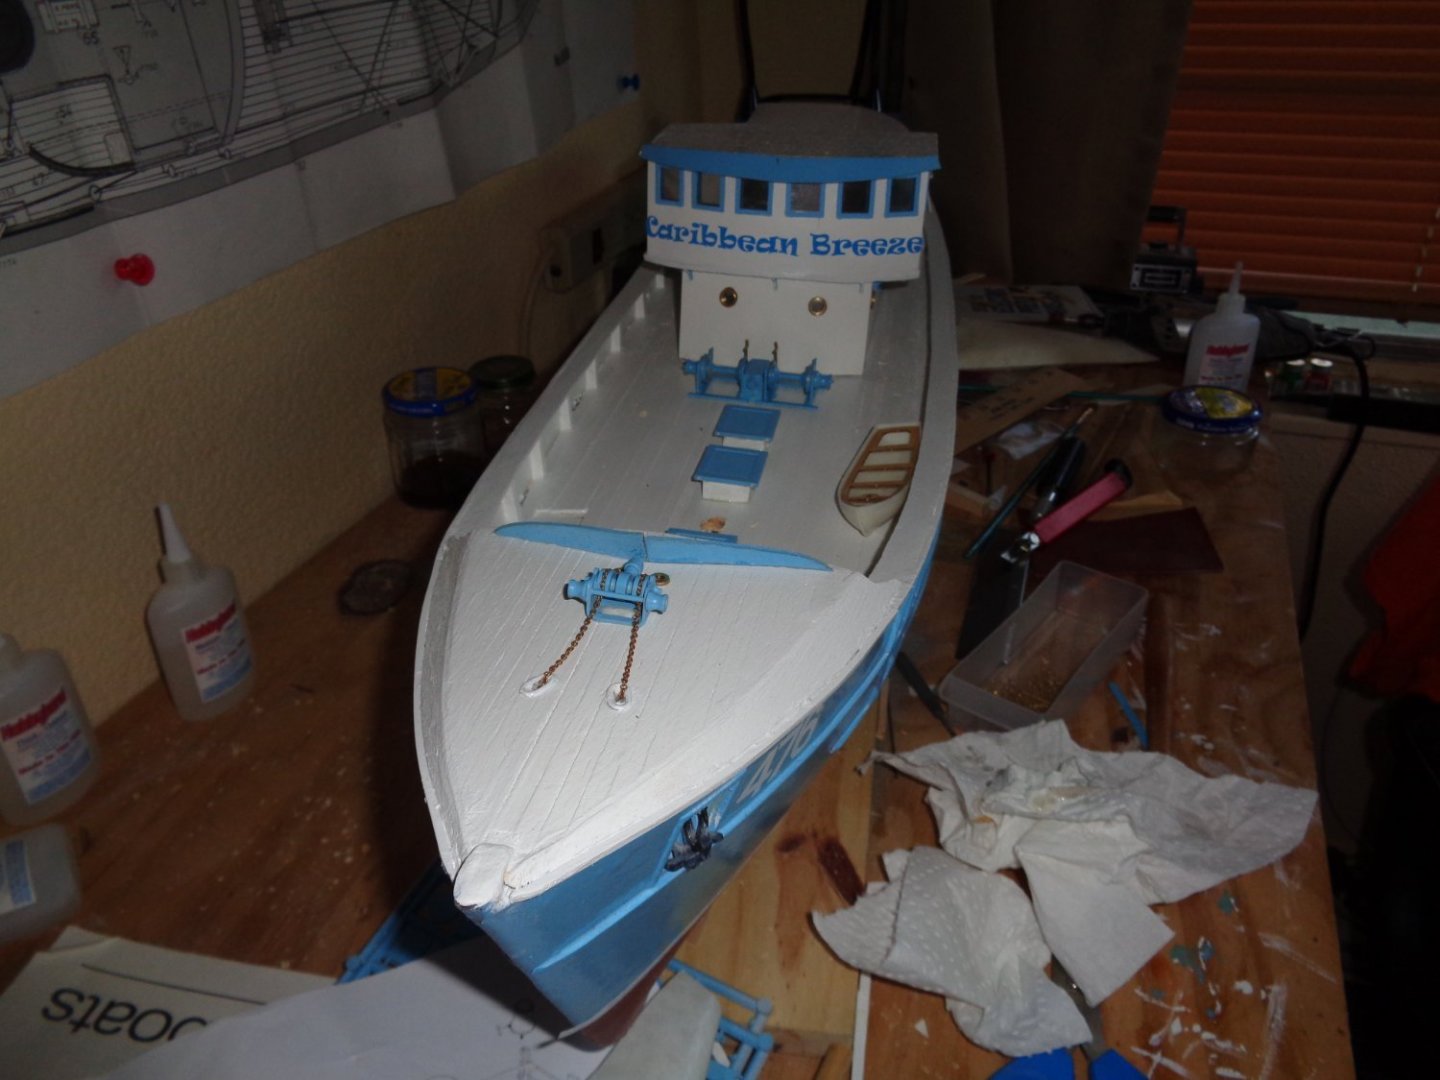
-
I have adopted another orphaned kit
mtdoramike replied to mtdoramike's topic in RC Kits & Scratch building
I would like to point out that even though the hardware/fittings package cost an additional $200.00, it did include several upgraded parts such and plastic hatch covers, doors, brackets, which or crane parts. All of those in the original kit would have to be cut out and made of wood, which looked awful. -
I have adopted another orphaned kit
mtdoramike replied to mtdoramike's topic in RC Kits & Scratch building
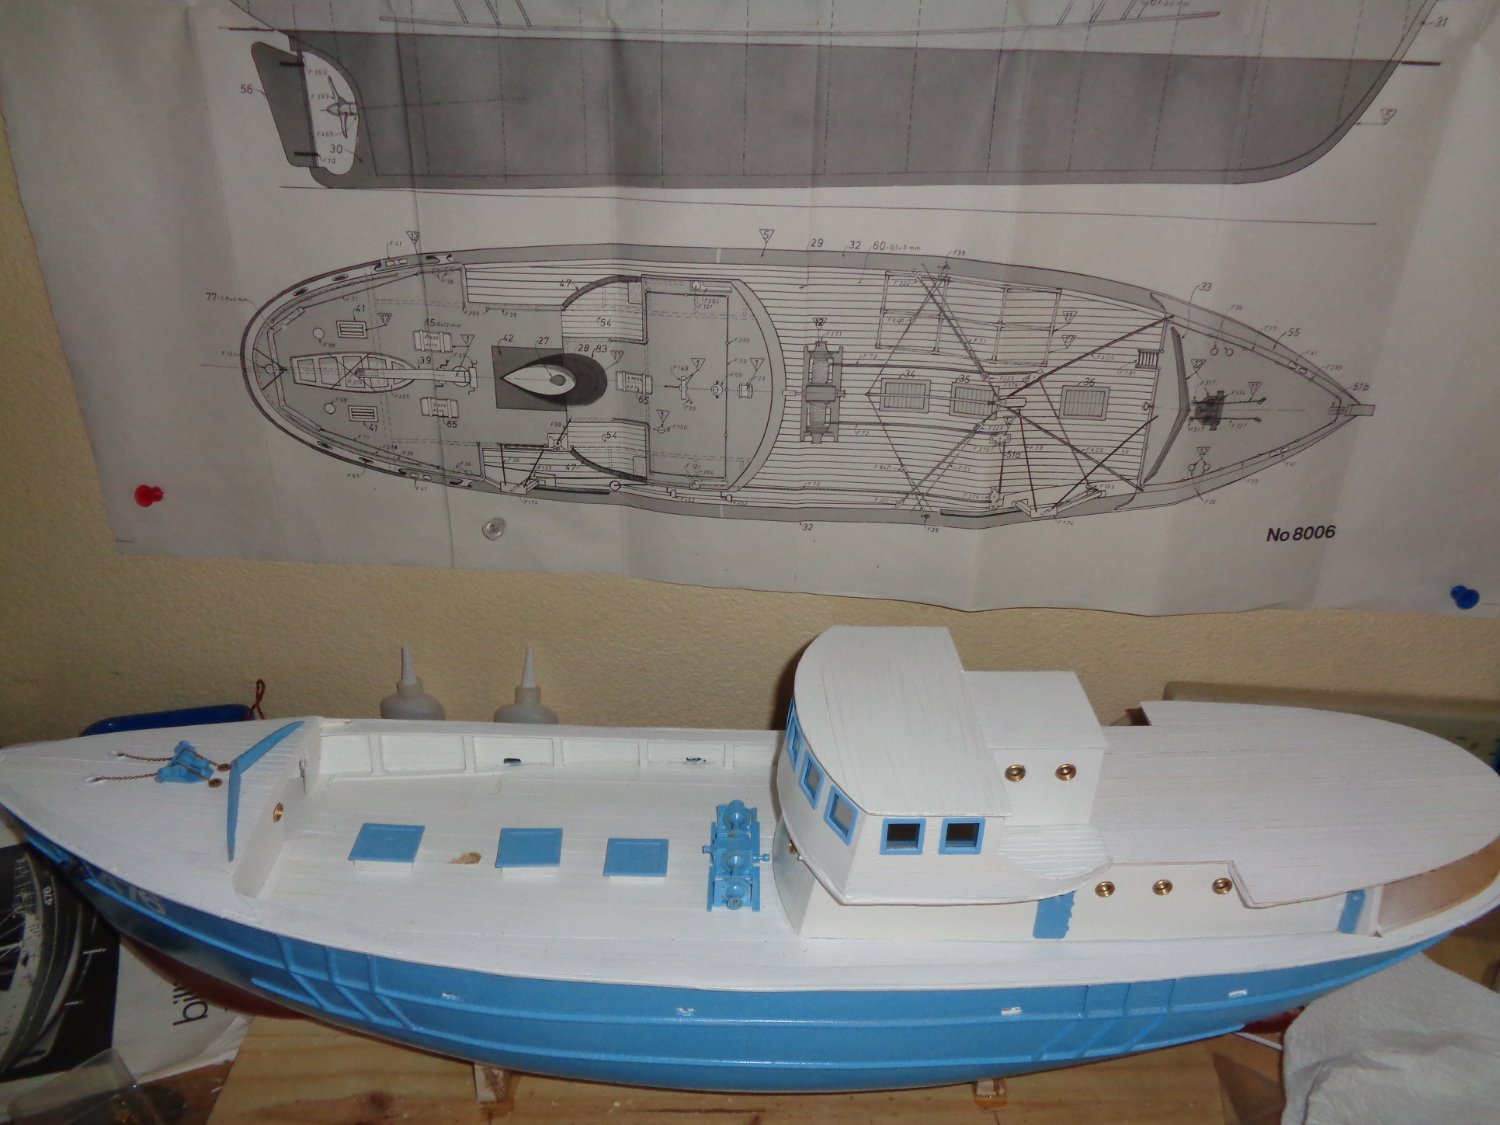
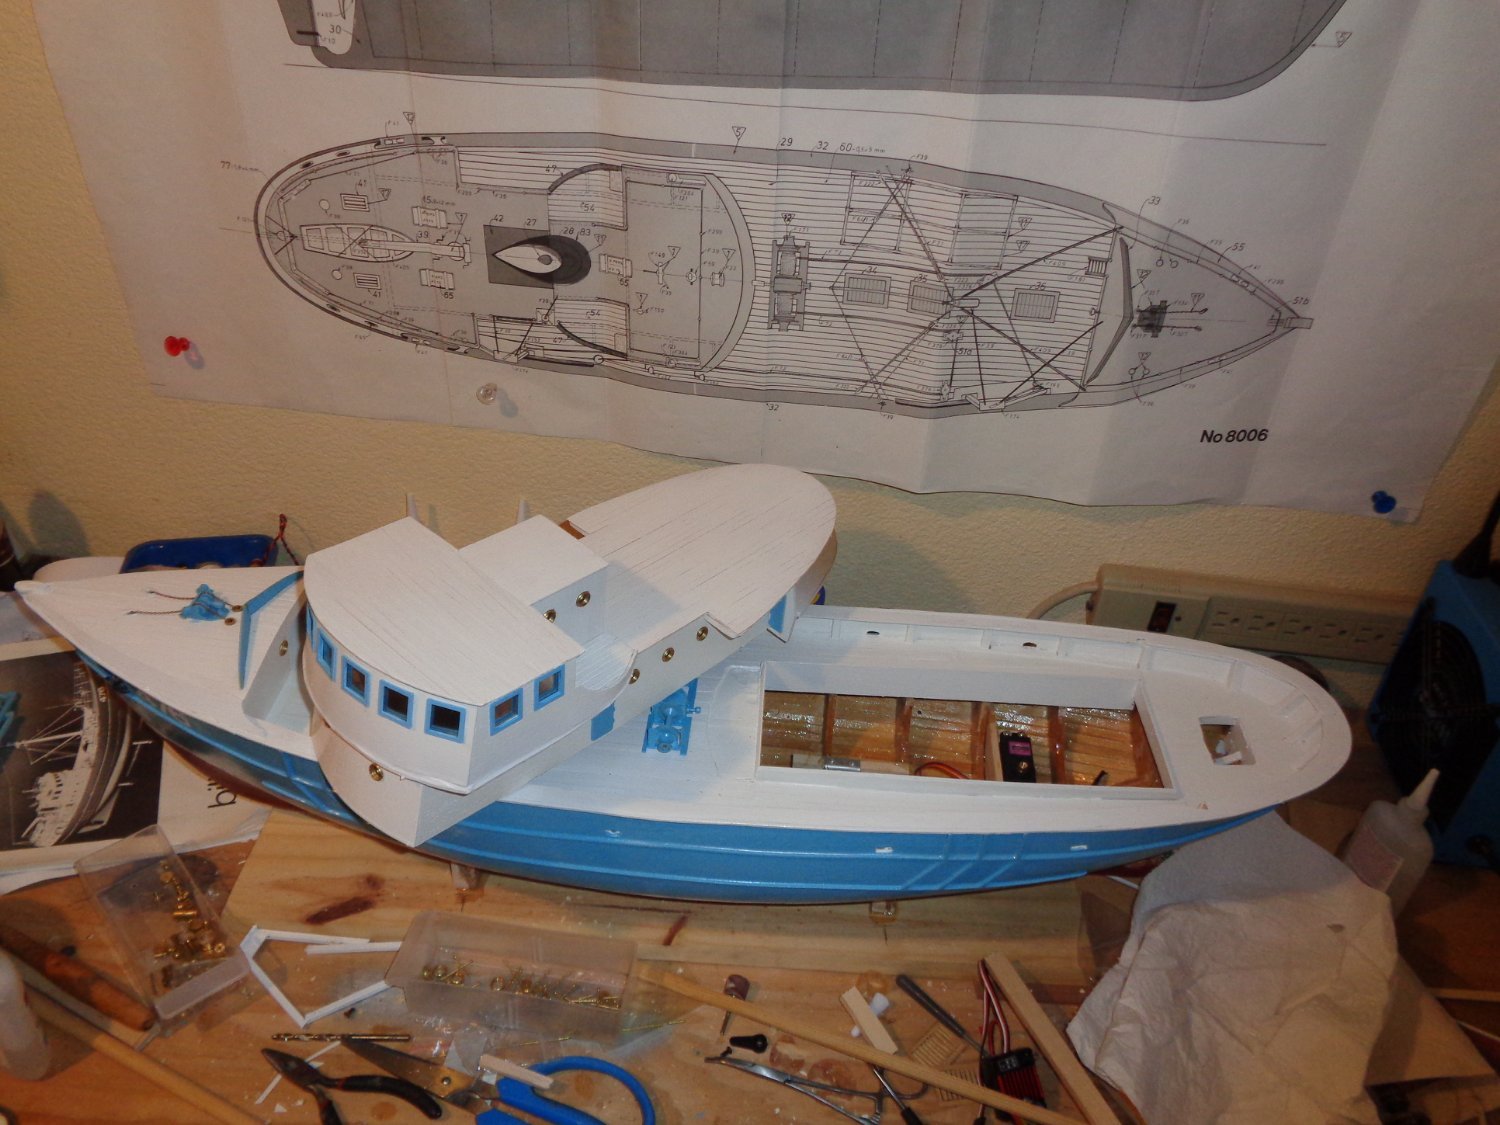
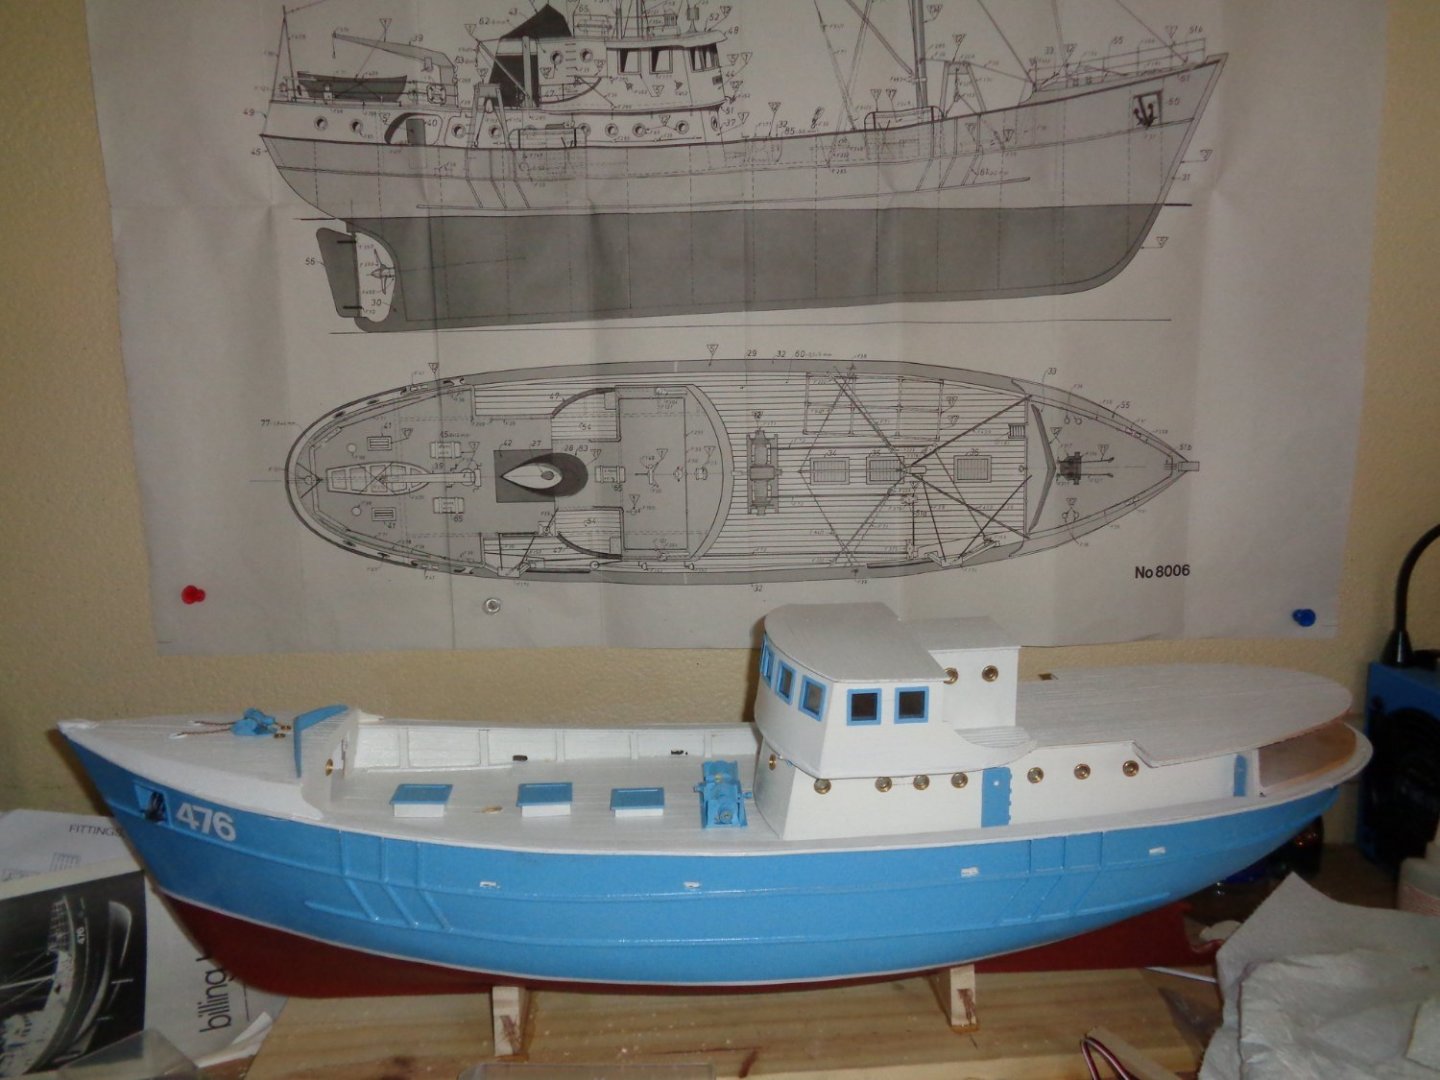
I was able to spend a few hours working on the Nordkap today and have the super structure of the deck housing installed as well as a few other odds and ends. The entire super structure is removeable to allow access to the motor bay in the hull as well as the rudder. You will have to esxcuse the messy work area, that is my process.

- 64 replies
-
- 10
-

-

-
I have adopted another orphaned kit
mtdoramike replied to mtdoramike's topic in RC Kits & Scratch building
Thanks druxey. I'm getting ready to start installing the deck cabins and all that detail stuff. -
I have adopted another orphaned kit
mtdoramike replied to mtdoramike's topic in RC Kits & Scratch building
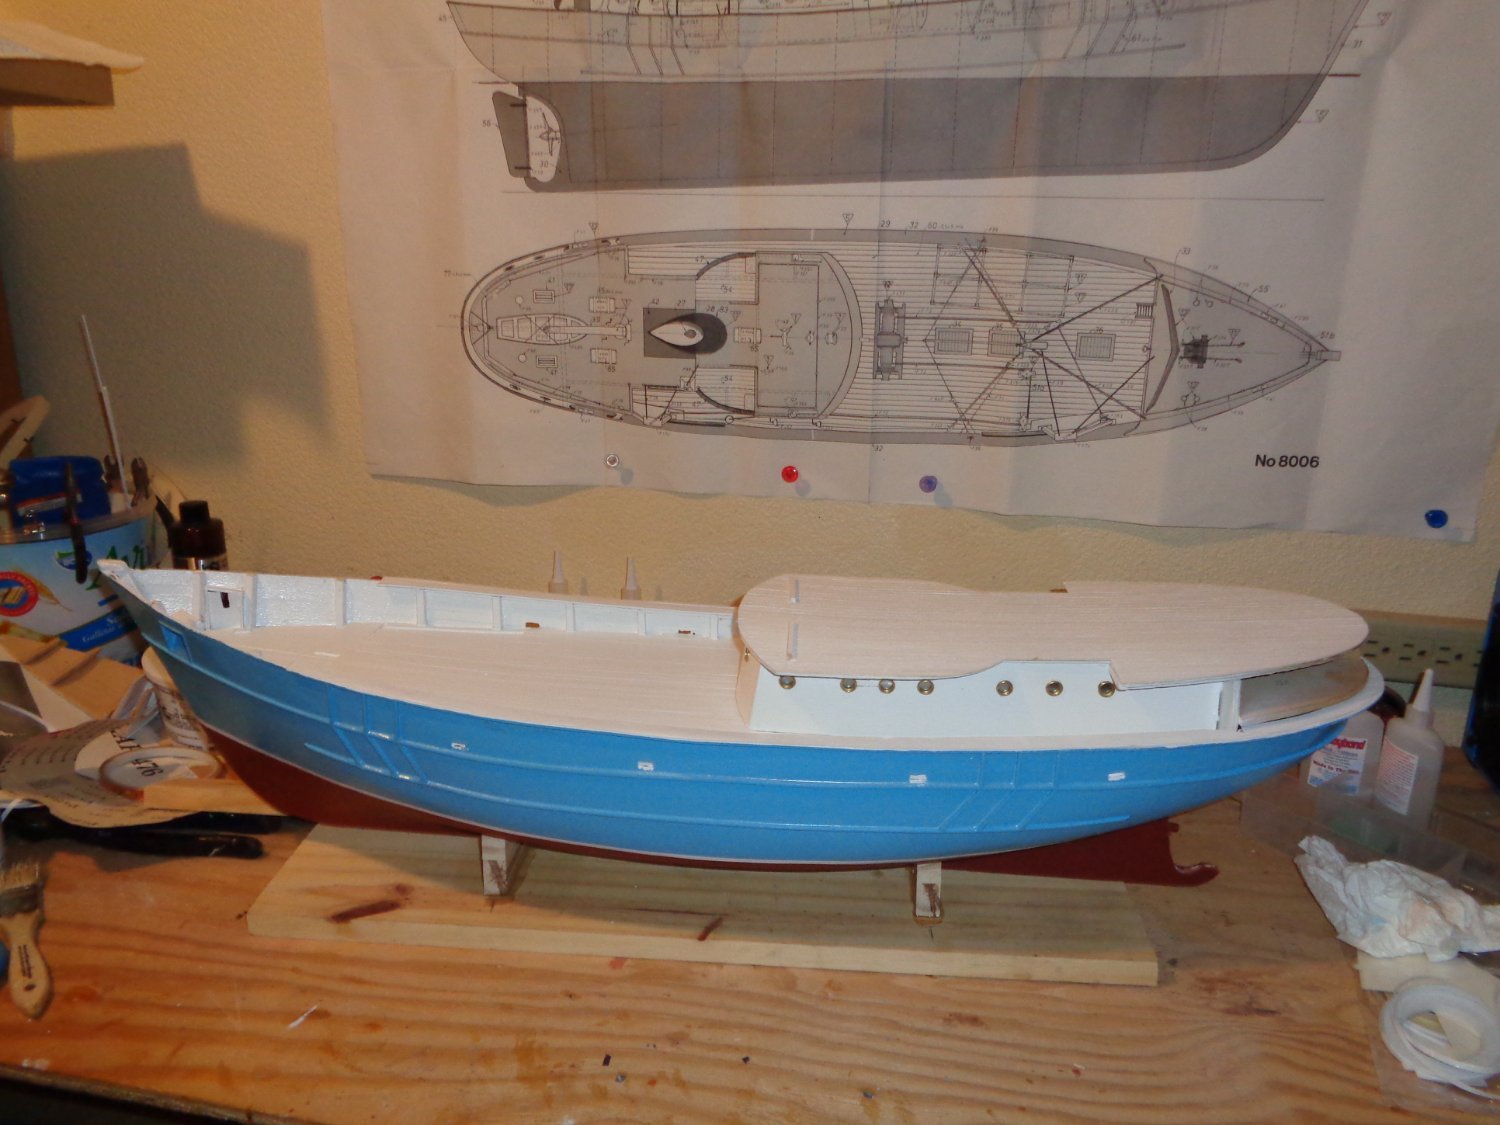
I was able to spend a little time on the Nordkap, got her painted, installed the stuffing tube, rudder tube, motor mount.
-
Brass piano hinges
mtdoramike replied to Chariots of Fire's topic in Metal Work, Soldering and Metal Fittings
Check out www.Dumas.com they have small model scale brass hinges. -
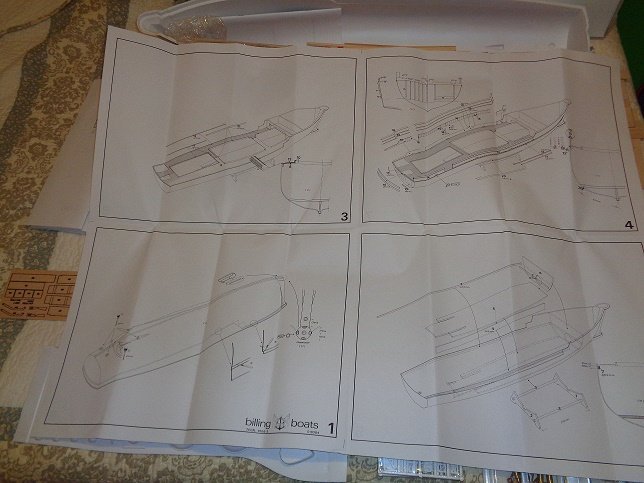
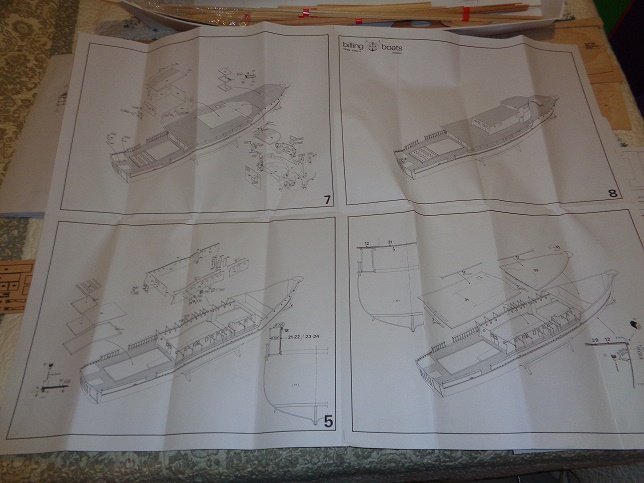
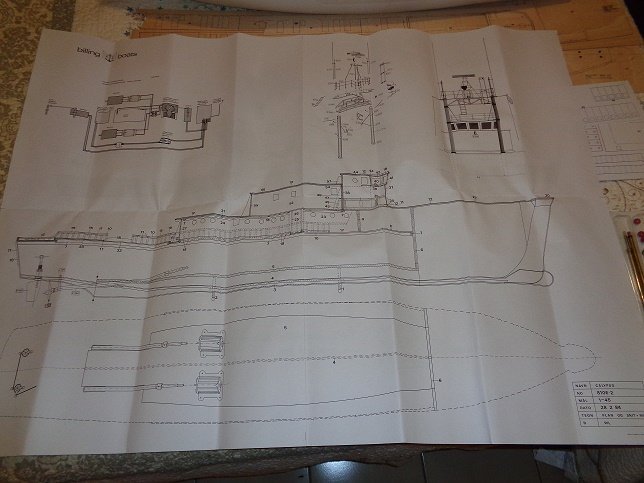
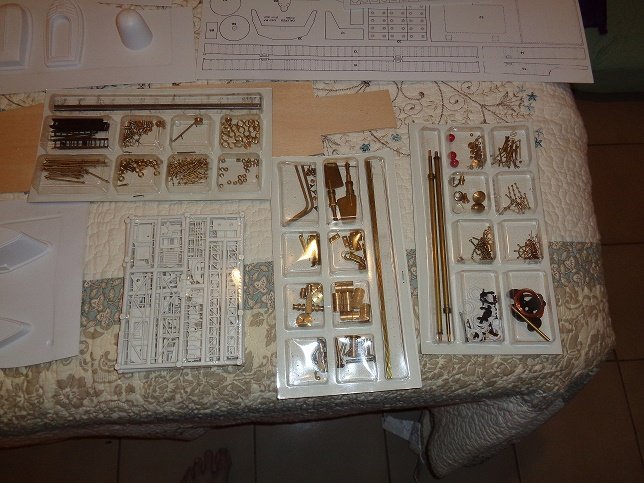
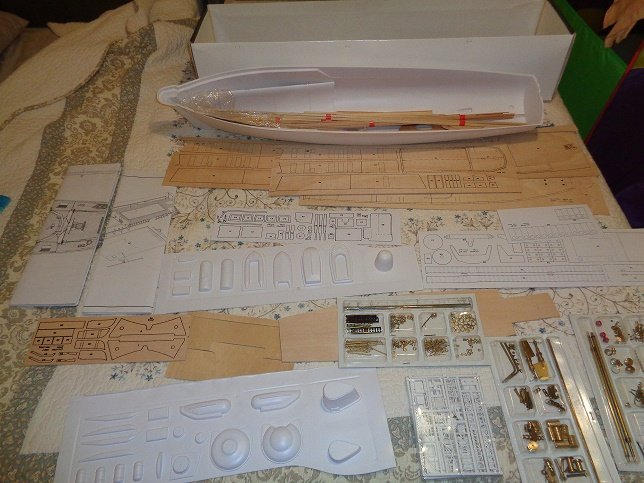
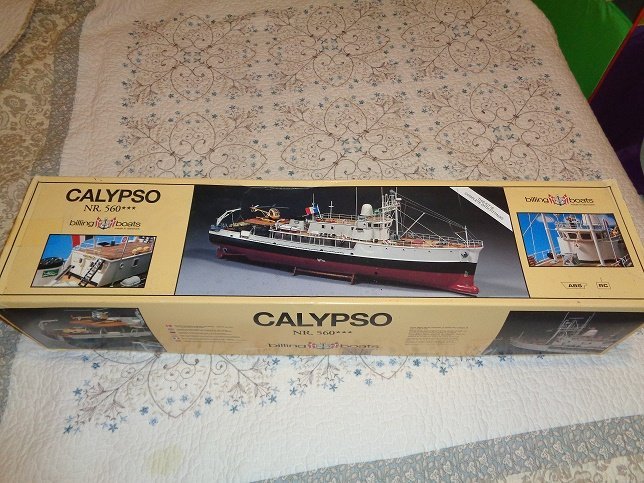
This is a Billings Boats kit of the Calypso, I received this kit from a good friend and fellow modeller a few months ago. This is not what I usually call an orphaned kit. It took me two years to finally talk him out of it. I had it stashed away in a closet for a few months waiting it's turn on the building bench. I'm finishing up the Dumas 1955 Chris Craft Cobra and then on to another Billings Boats kit of the Nordkap, which was an orphaned kit whose previous owner had passed away before completing it. I will most likely spend time working on both kits periodically. Now on to the good stuff and the Calypso ahhhh the Siren of the Sea's, she has been beckoning to me for the last two years and her time is growing near. Upon opening the box, I noticed several white printed styrene sheets, which will need to be cut out and finished, wood sheets, and a numerous fitting package, which Billings is known for, they are also known for not including the fitting packages in the kits and making the builder have to purchase them separately. But not this kit, it was included. One thing I did notice is the preformed plastic hull, which I find to be quite thin and light for this size of a model. So, it will require some re-enforcement. I also noticed the 4 sheets of plans were printed on two sheets back and front, which I also don't care for, so I will have to find a Kinko's some where to get additional prints made. Yes, I know Kinko's is defunk so on to an Office Depot. For some this may not both, but for me it is poses a bit of a problem since I like to mount the plans on the wall. This will cause me to have to remove them constantly to check as I go along. I like to check as much as 3-4 steps ahead just to make sure I'm not missing anything. I'm not good at following instructions, I find them more of a suggestion, I'm more of a plans builder. I would not recommend this model kit for a beginner, I would highly recommend they build a few boats before tackling this beast.

- 58 replies
-
- 6
-
-
- Calypso
- Billing Boats
- (and 1 more)
-
Thanks for the link, she turned out beautiful. If this one turns out half as nice, I will be thrilled.
-
Absolutely beautiful work on the Siren of the Seas
-
To you as well Craig.
-
Hi Yves, would you post a few pictures of it? We would love to see it.
-
A few things left to do on her, but she will be finished shortly. With that said, I will start back on the Billings Nordkap and finish it and then if all goes well, on to the Billings Calypso which has been calling my name such as the siren of the seas.

-
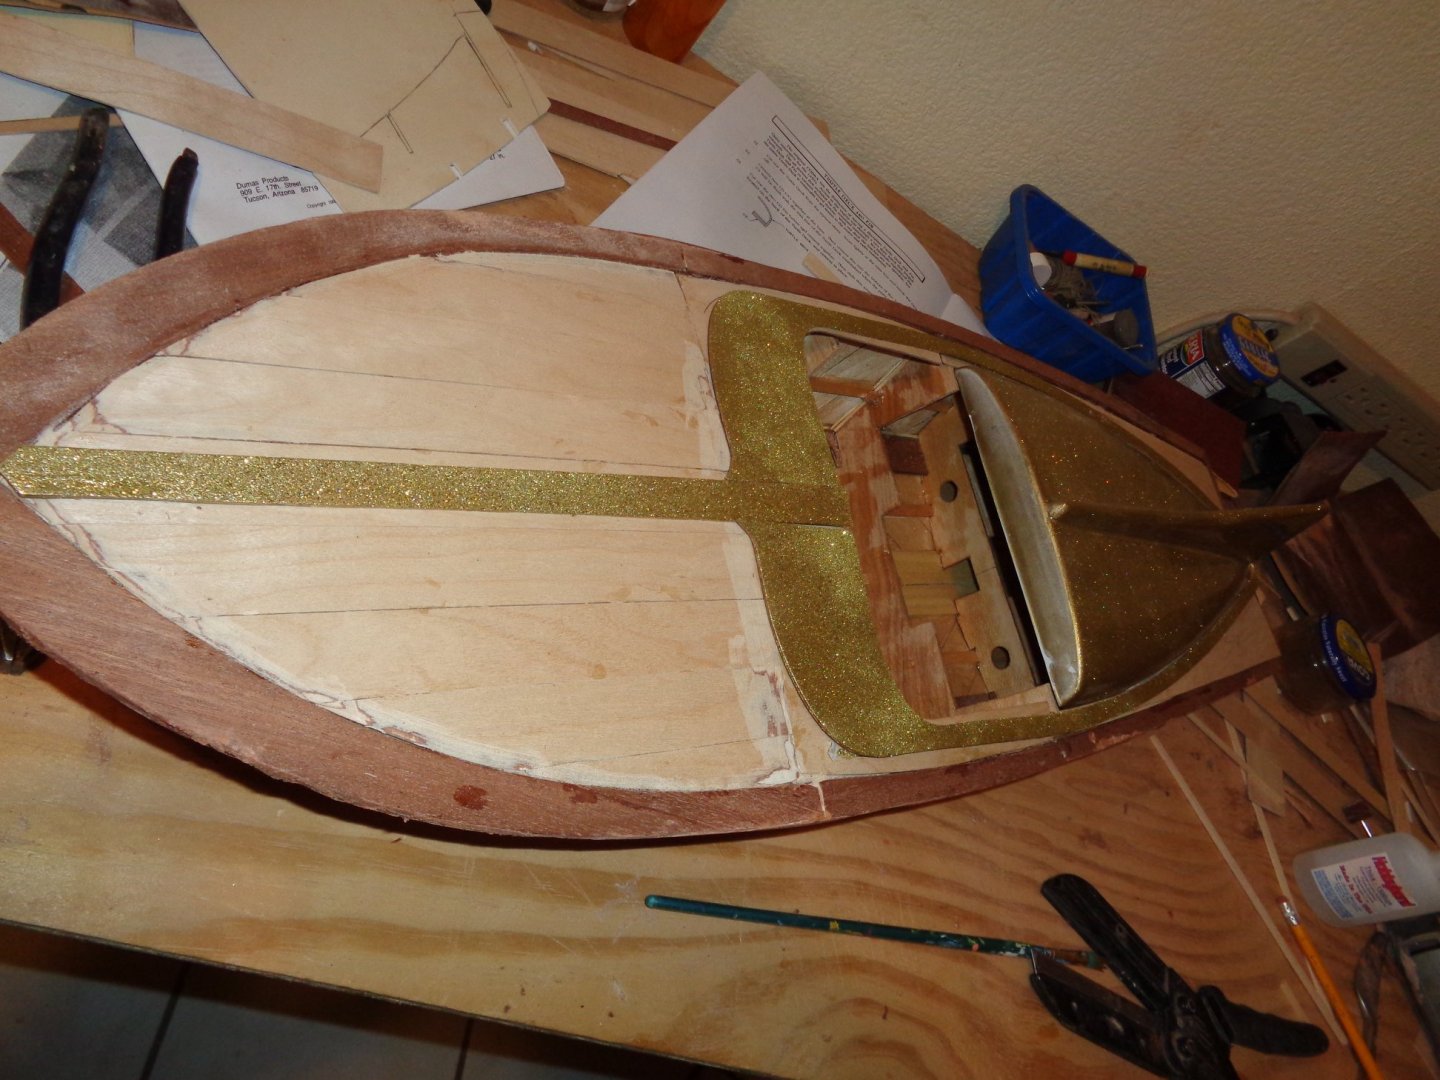
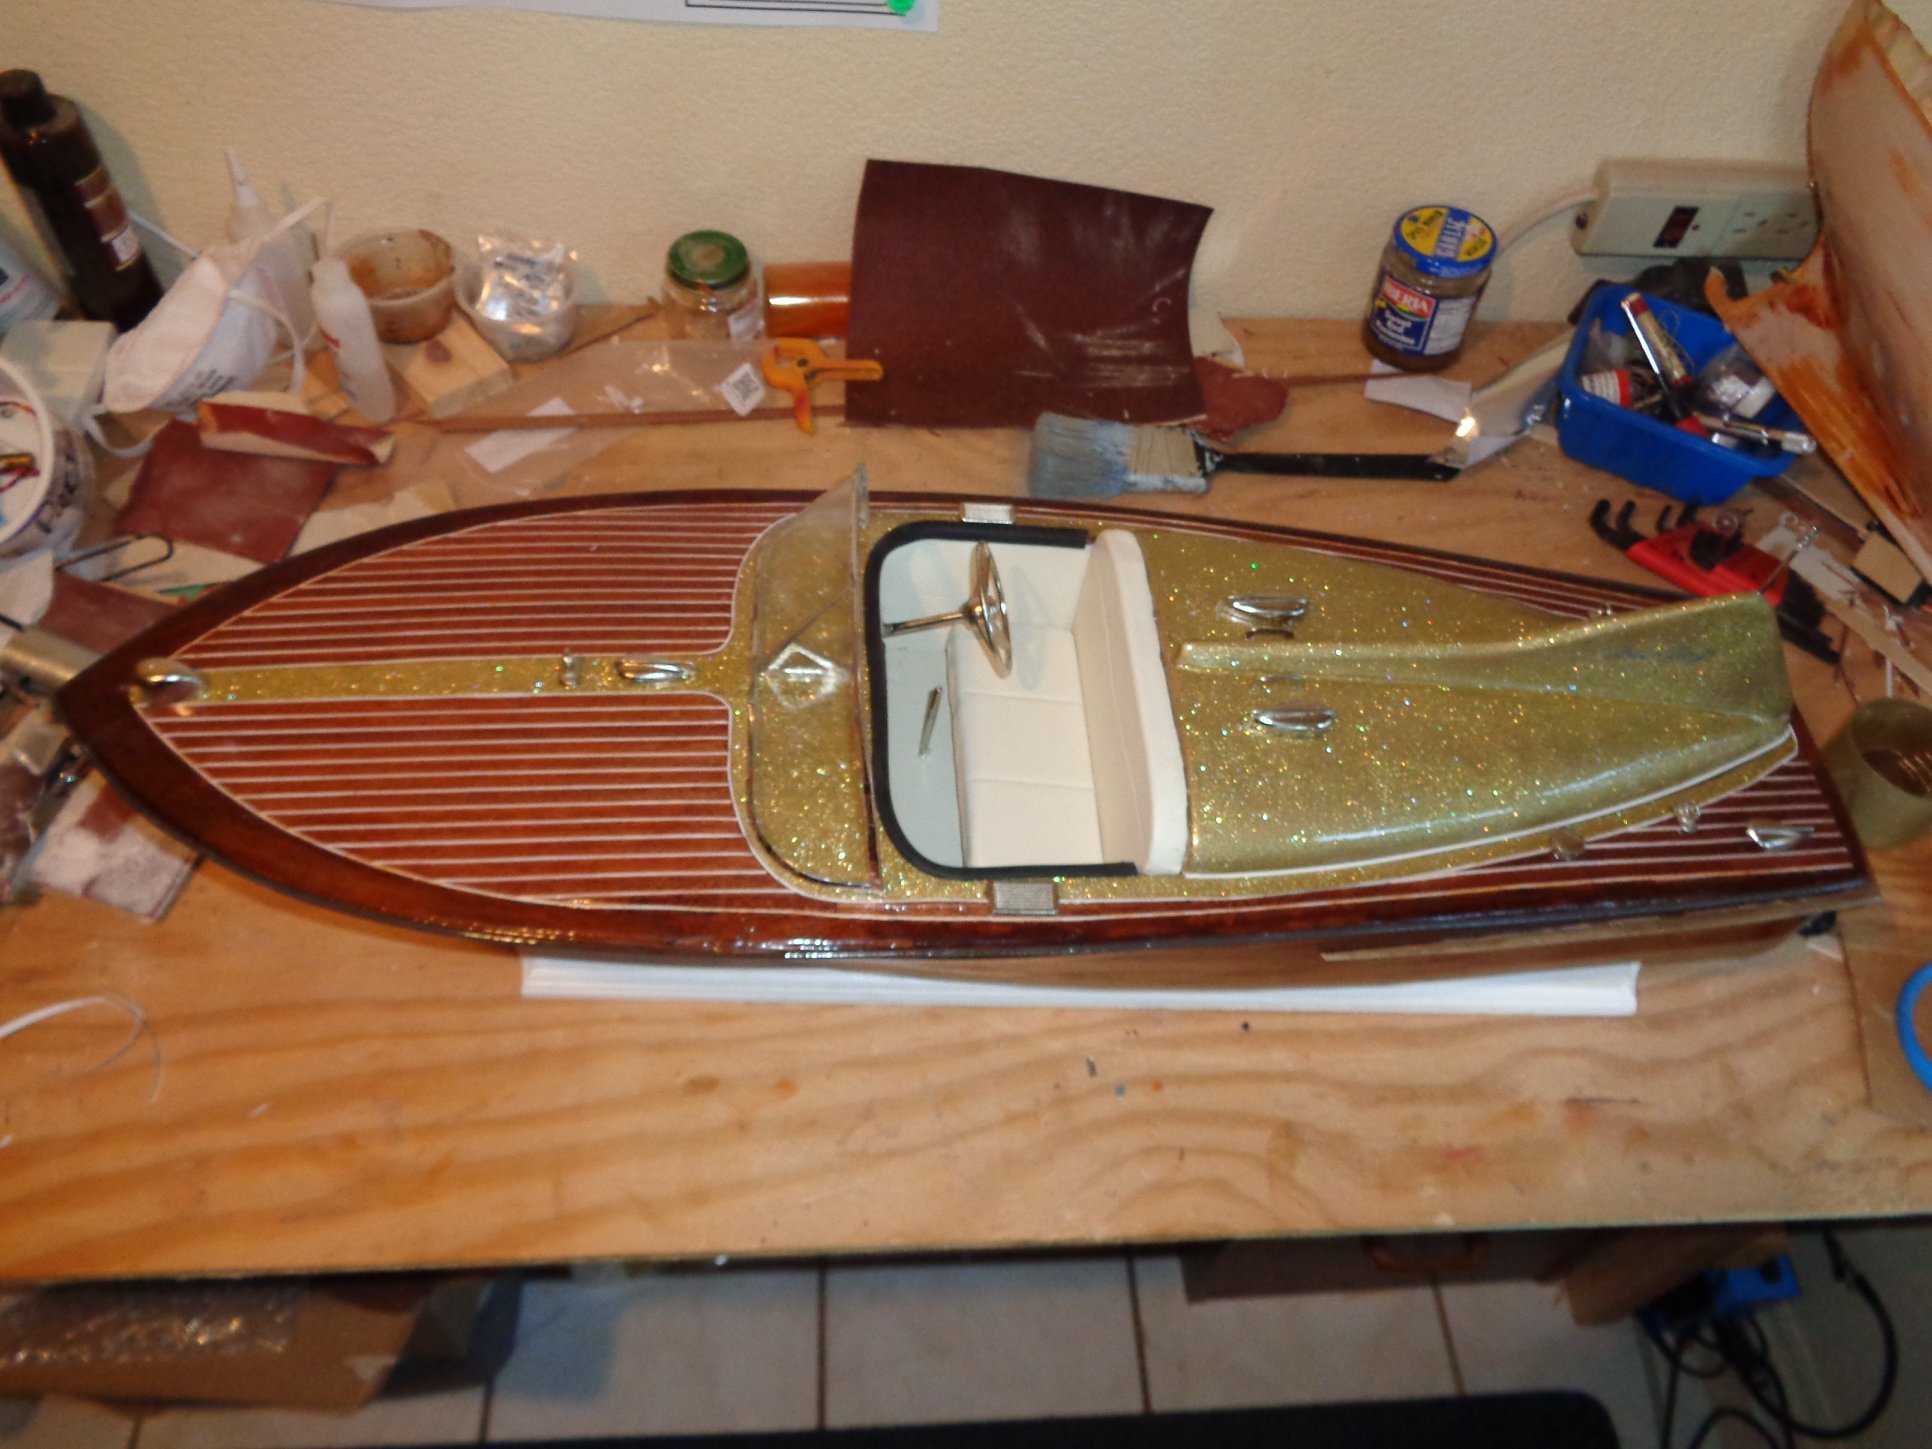
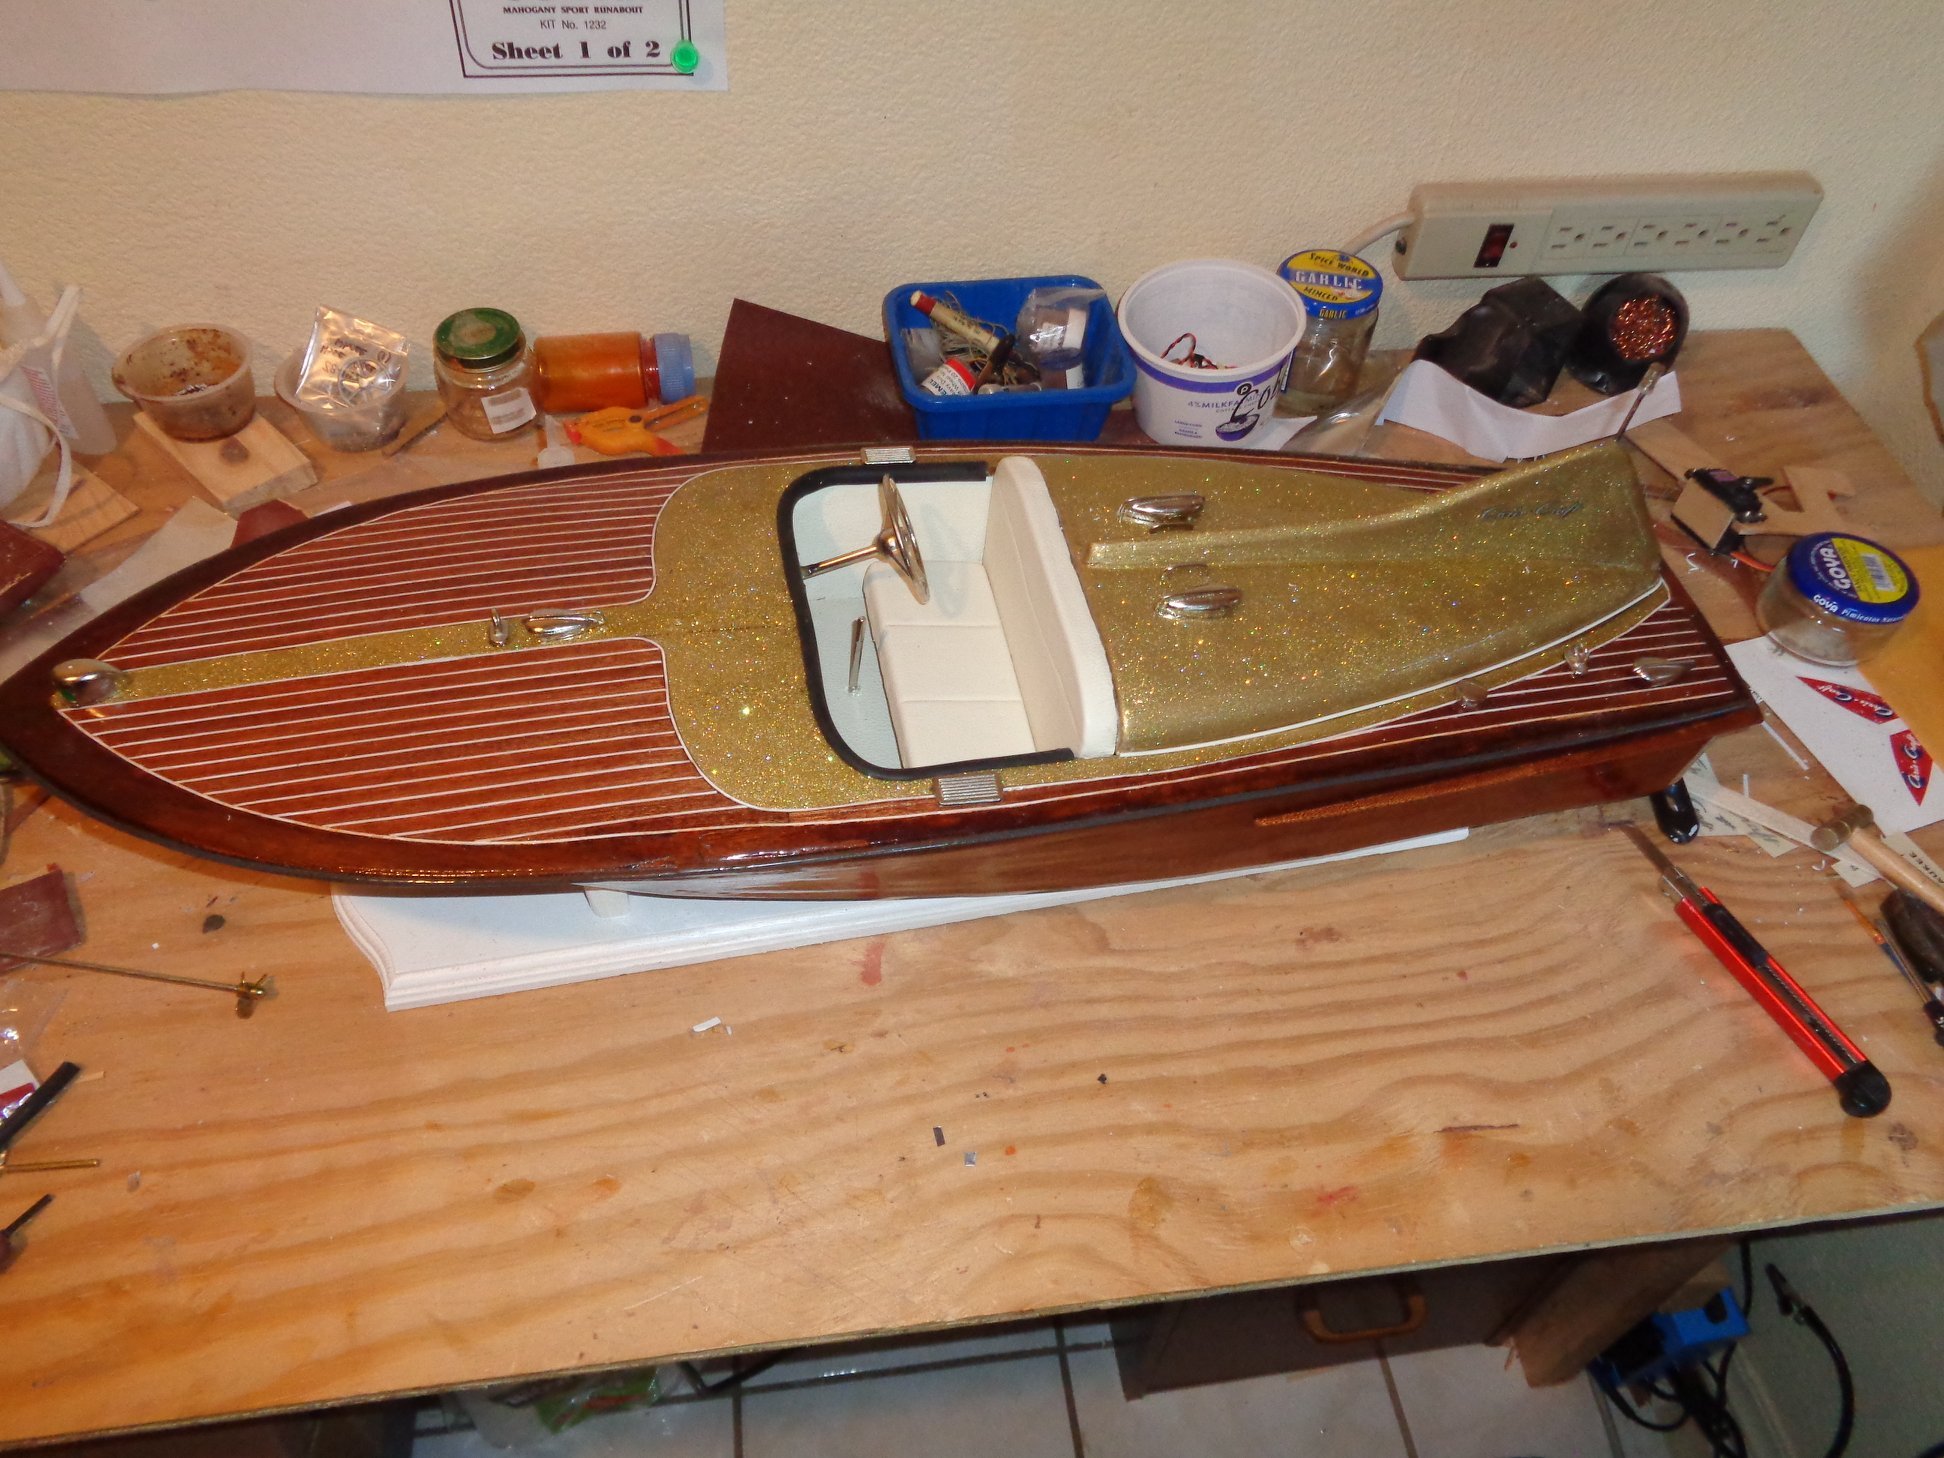
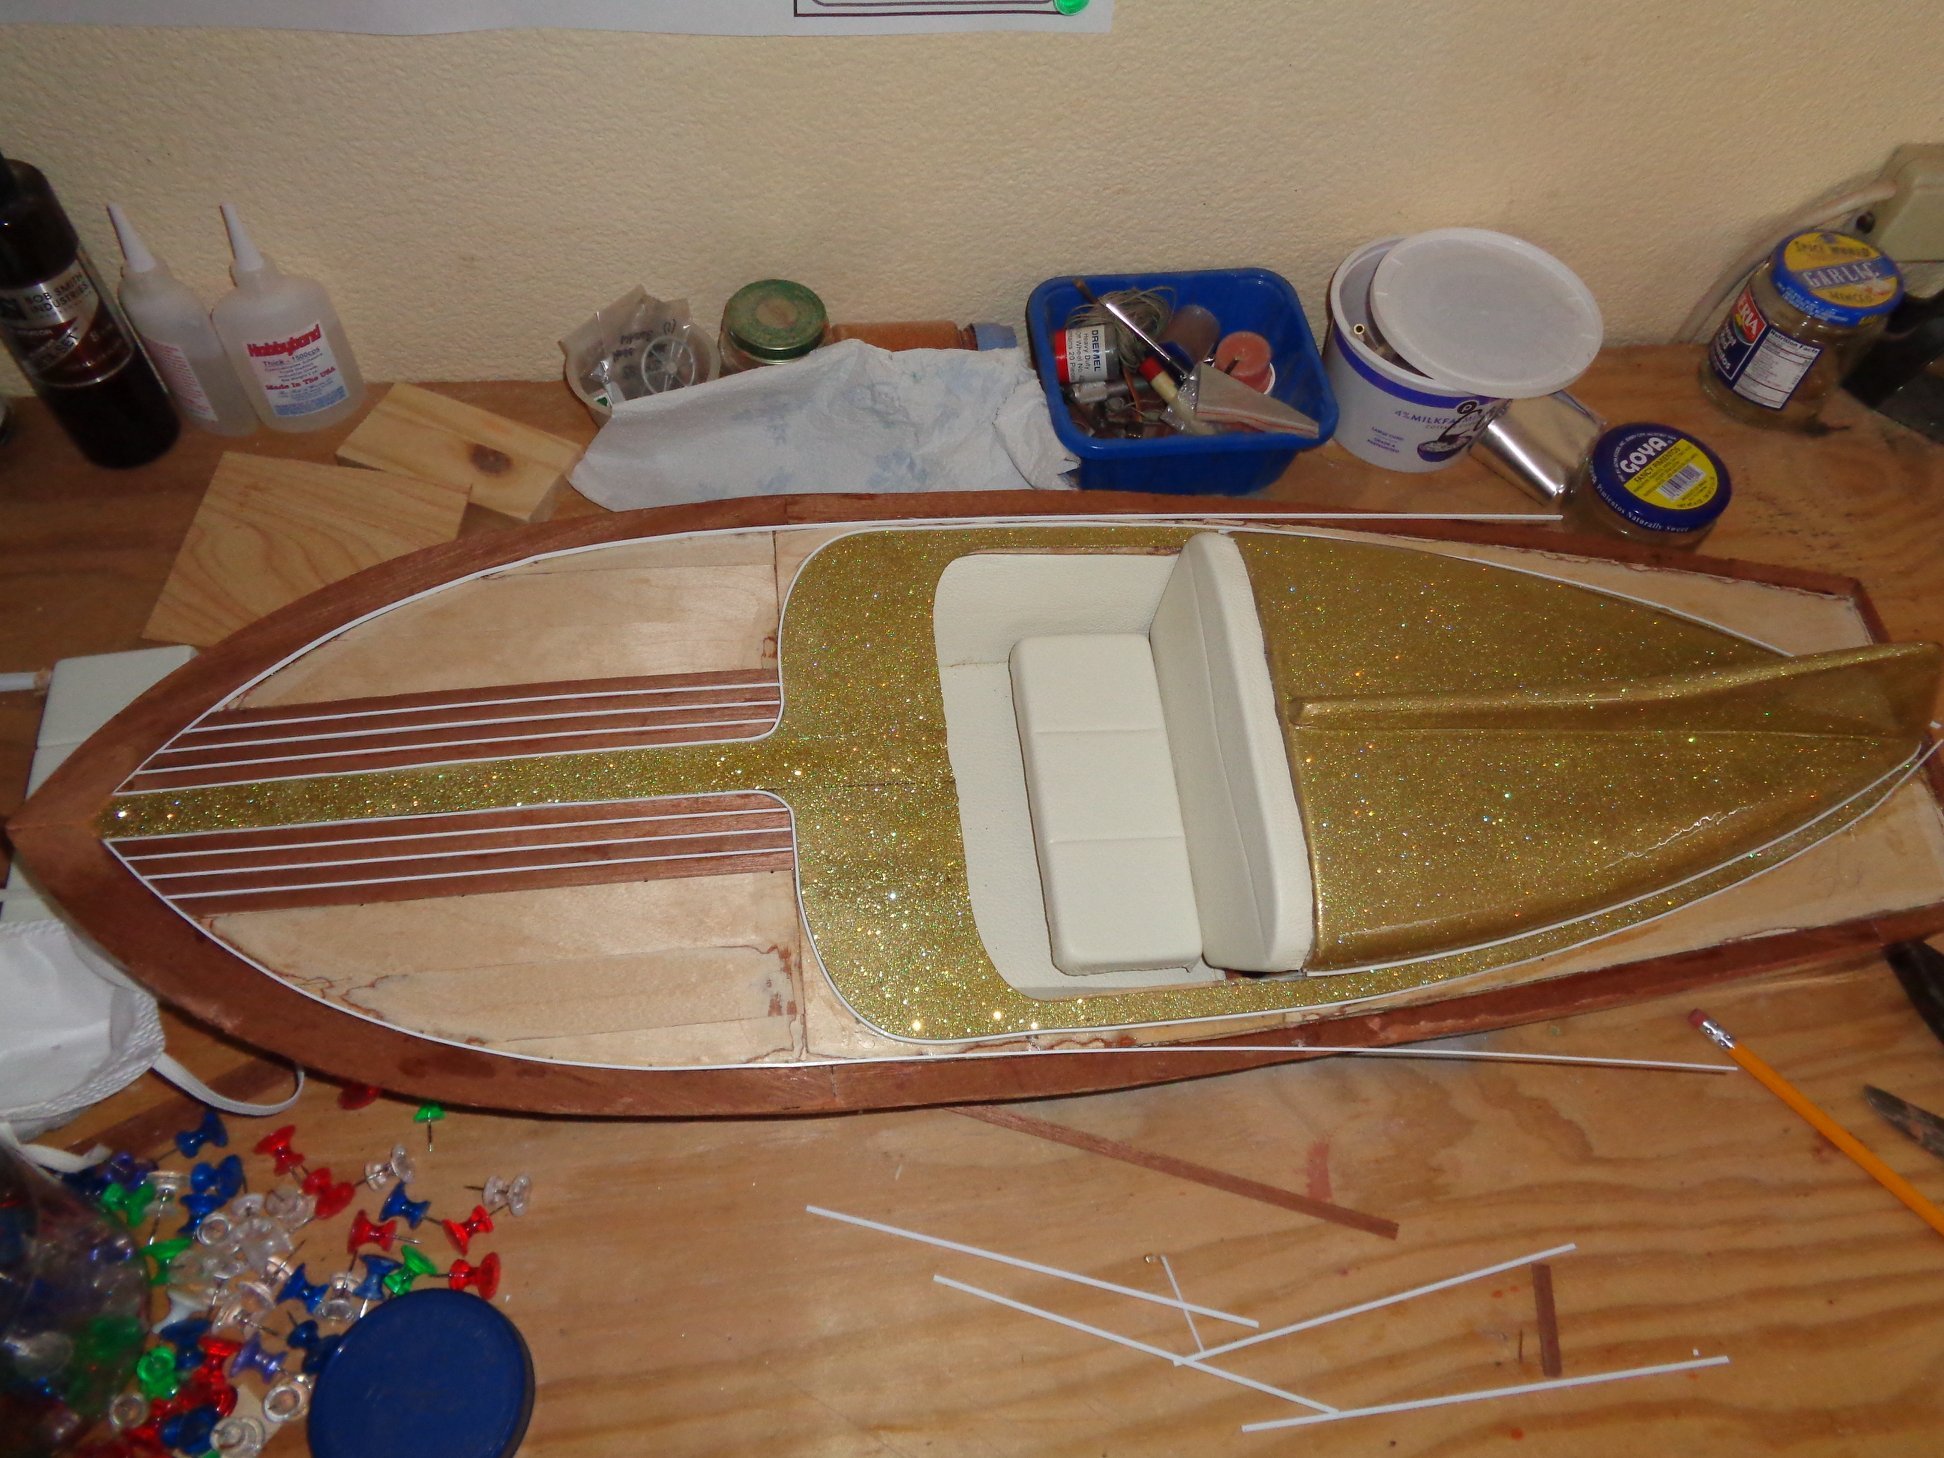
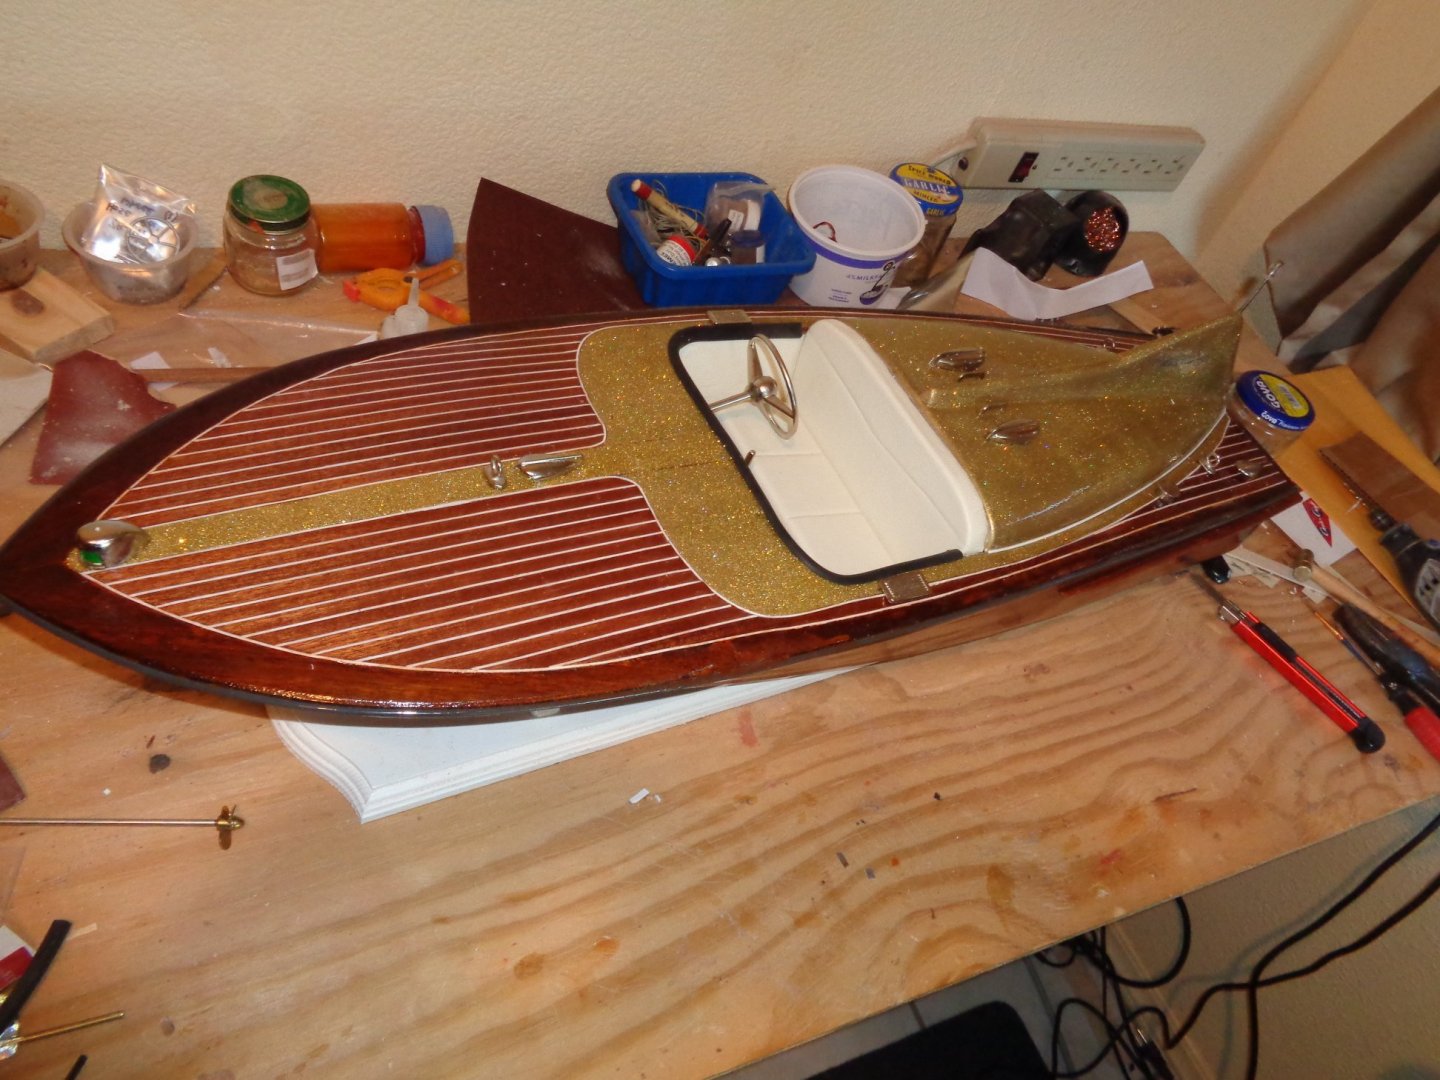
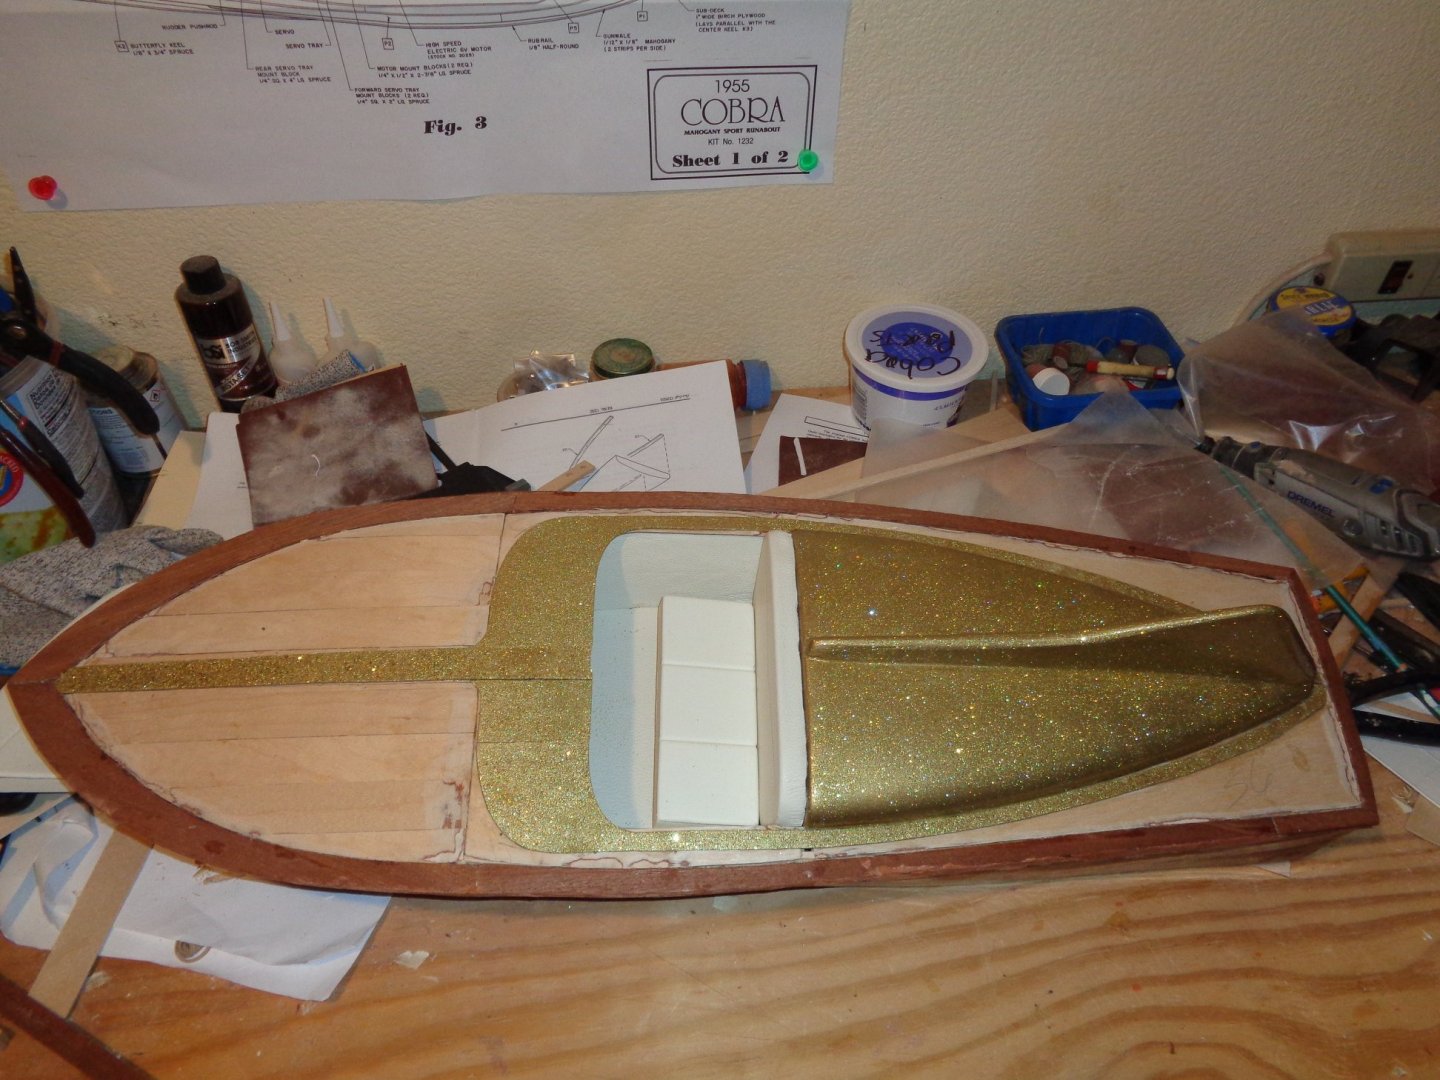
I named her Fool's Gold hahahahahaha.
-
The humidity laid down a bit here in central Florida allowing me to finish sealing the deck with three coats of resin. A fellow asked how did I sand the deck around the gold trimming, I told him "very carefully". I used a dremel tool with a sanding sleeve to cut down the white caulking strips between the planking because it was a milimeter higher than the planking. I then used 80, 120 and then 220 sand paper to finish sanding the deck. I used 400 grit wet sanding paper to sand inbetween the three coats of resin.

-
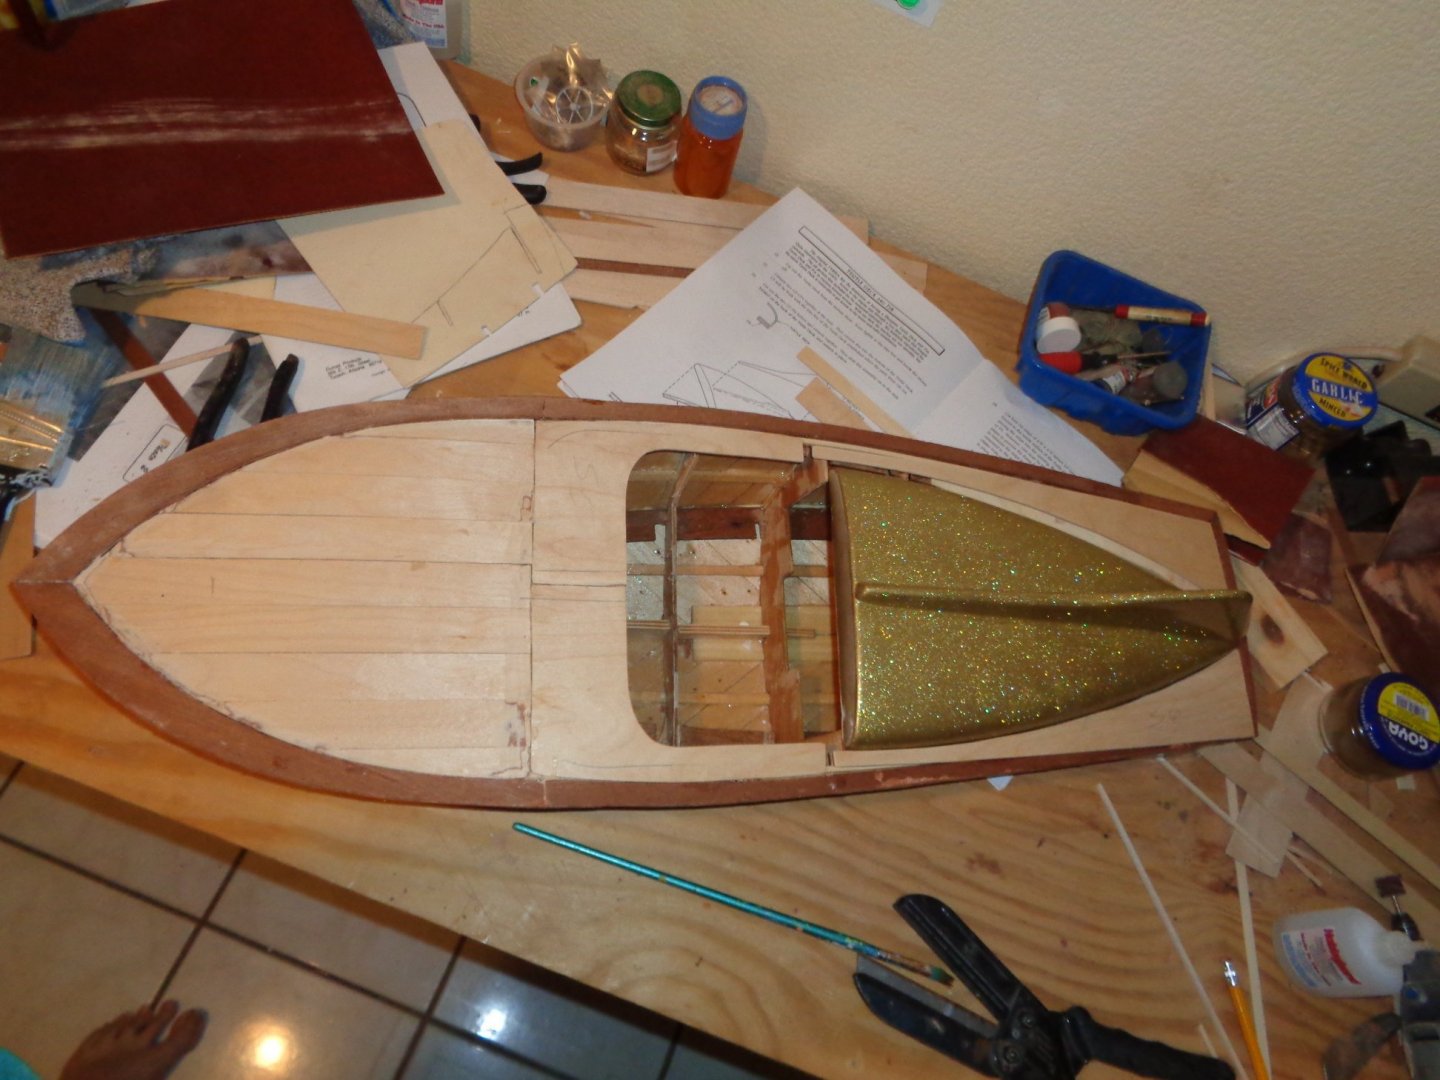
Thanks, that is what I was shooting for, one thing for sure, when it's out on the lake it will be hard to miss especially when the sun is shining because it sparkles like no bodies business hahahahaha. It kind of reminds me of those old choppers and tricked out hotrods from that era.
-
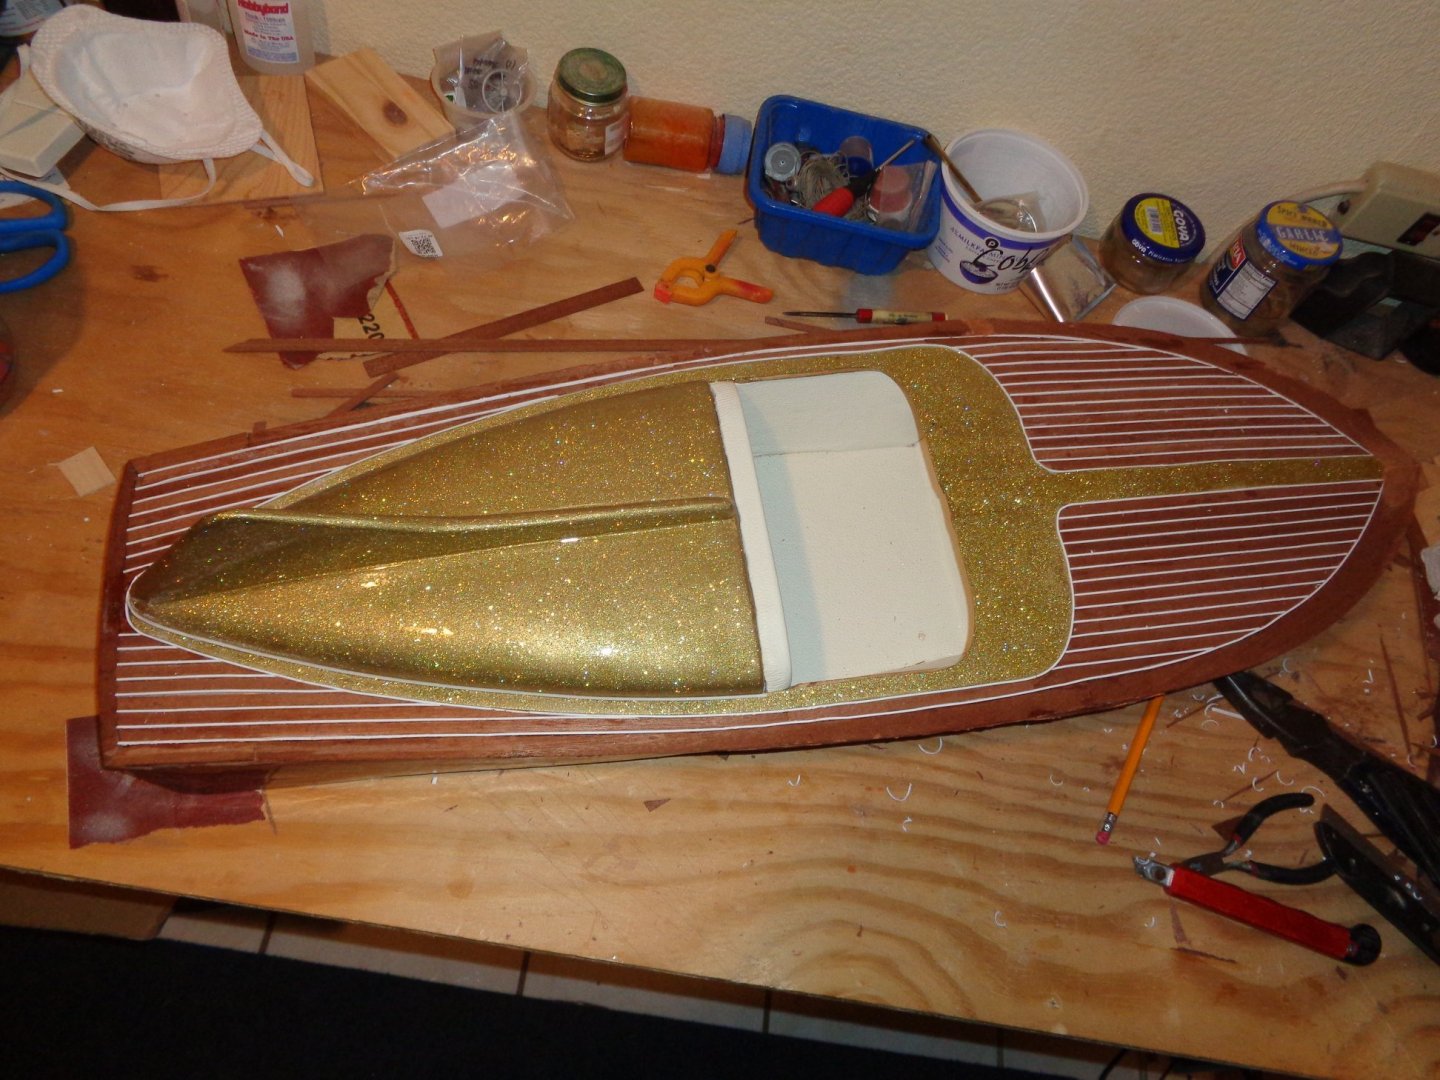
Thank you DCW, the instructions call for the deck to be planked with 3/8" mahogany planking. But we all know I don't follow instructions very well, I find them to be more of a suggestion than a rule. I thought the 3/8" planking was to wide and looked off scale, so I decided on 1/4" planking, which to me looks more accurate to the Cobra's I have seen in the past.
-
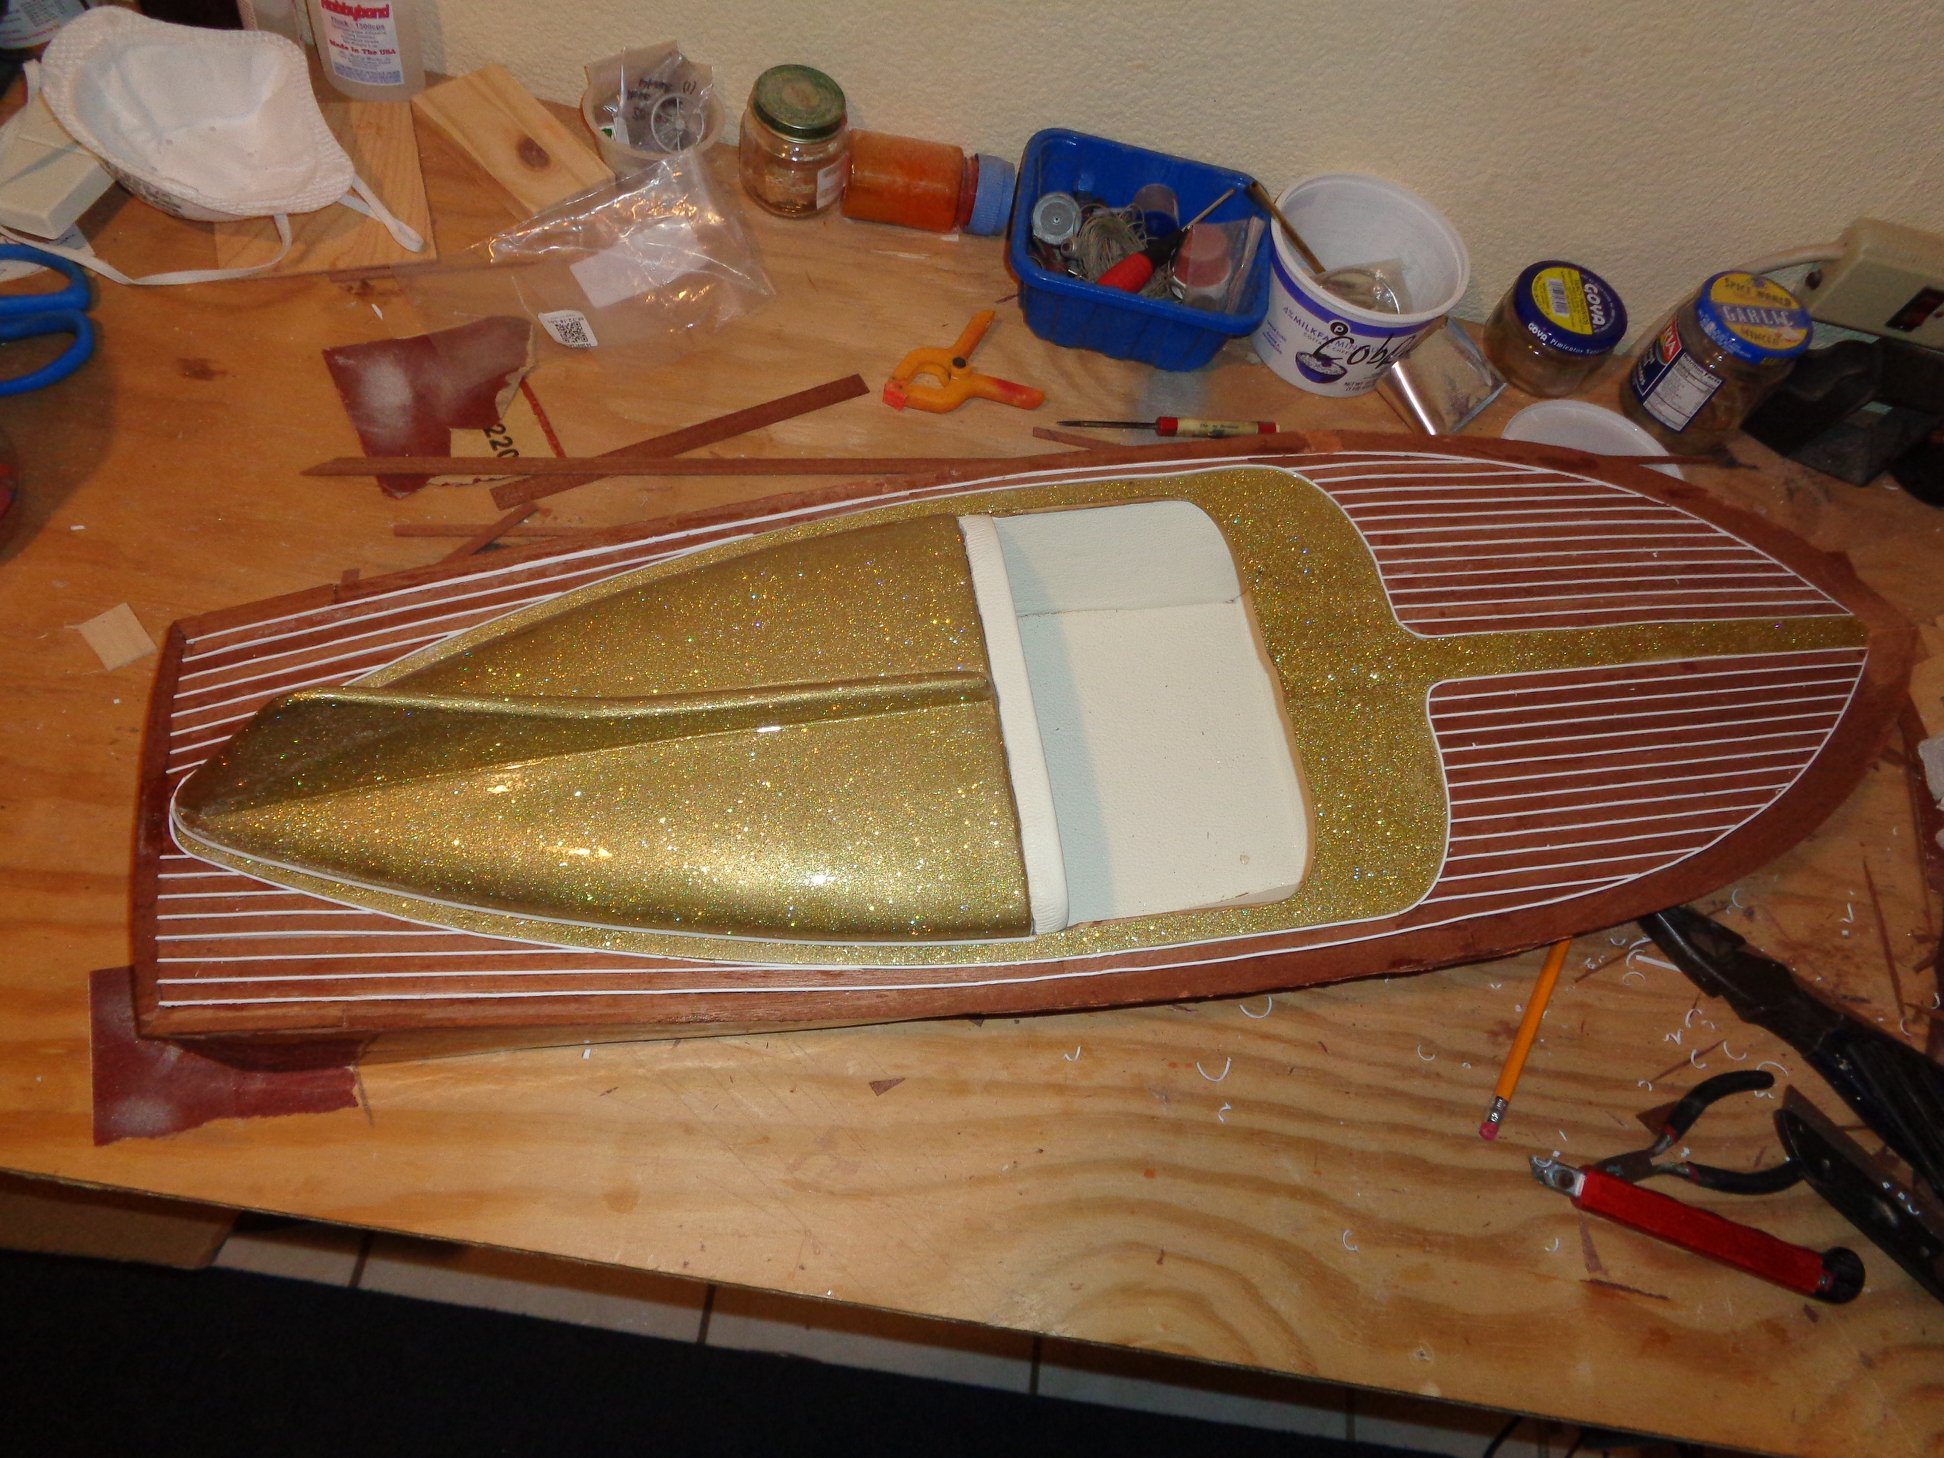
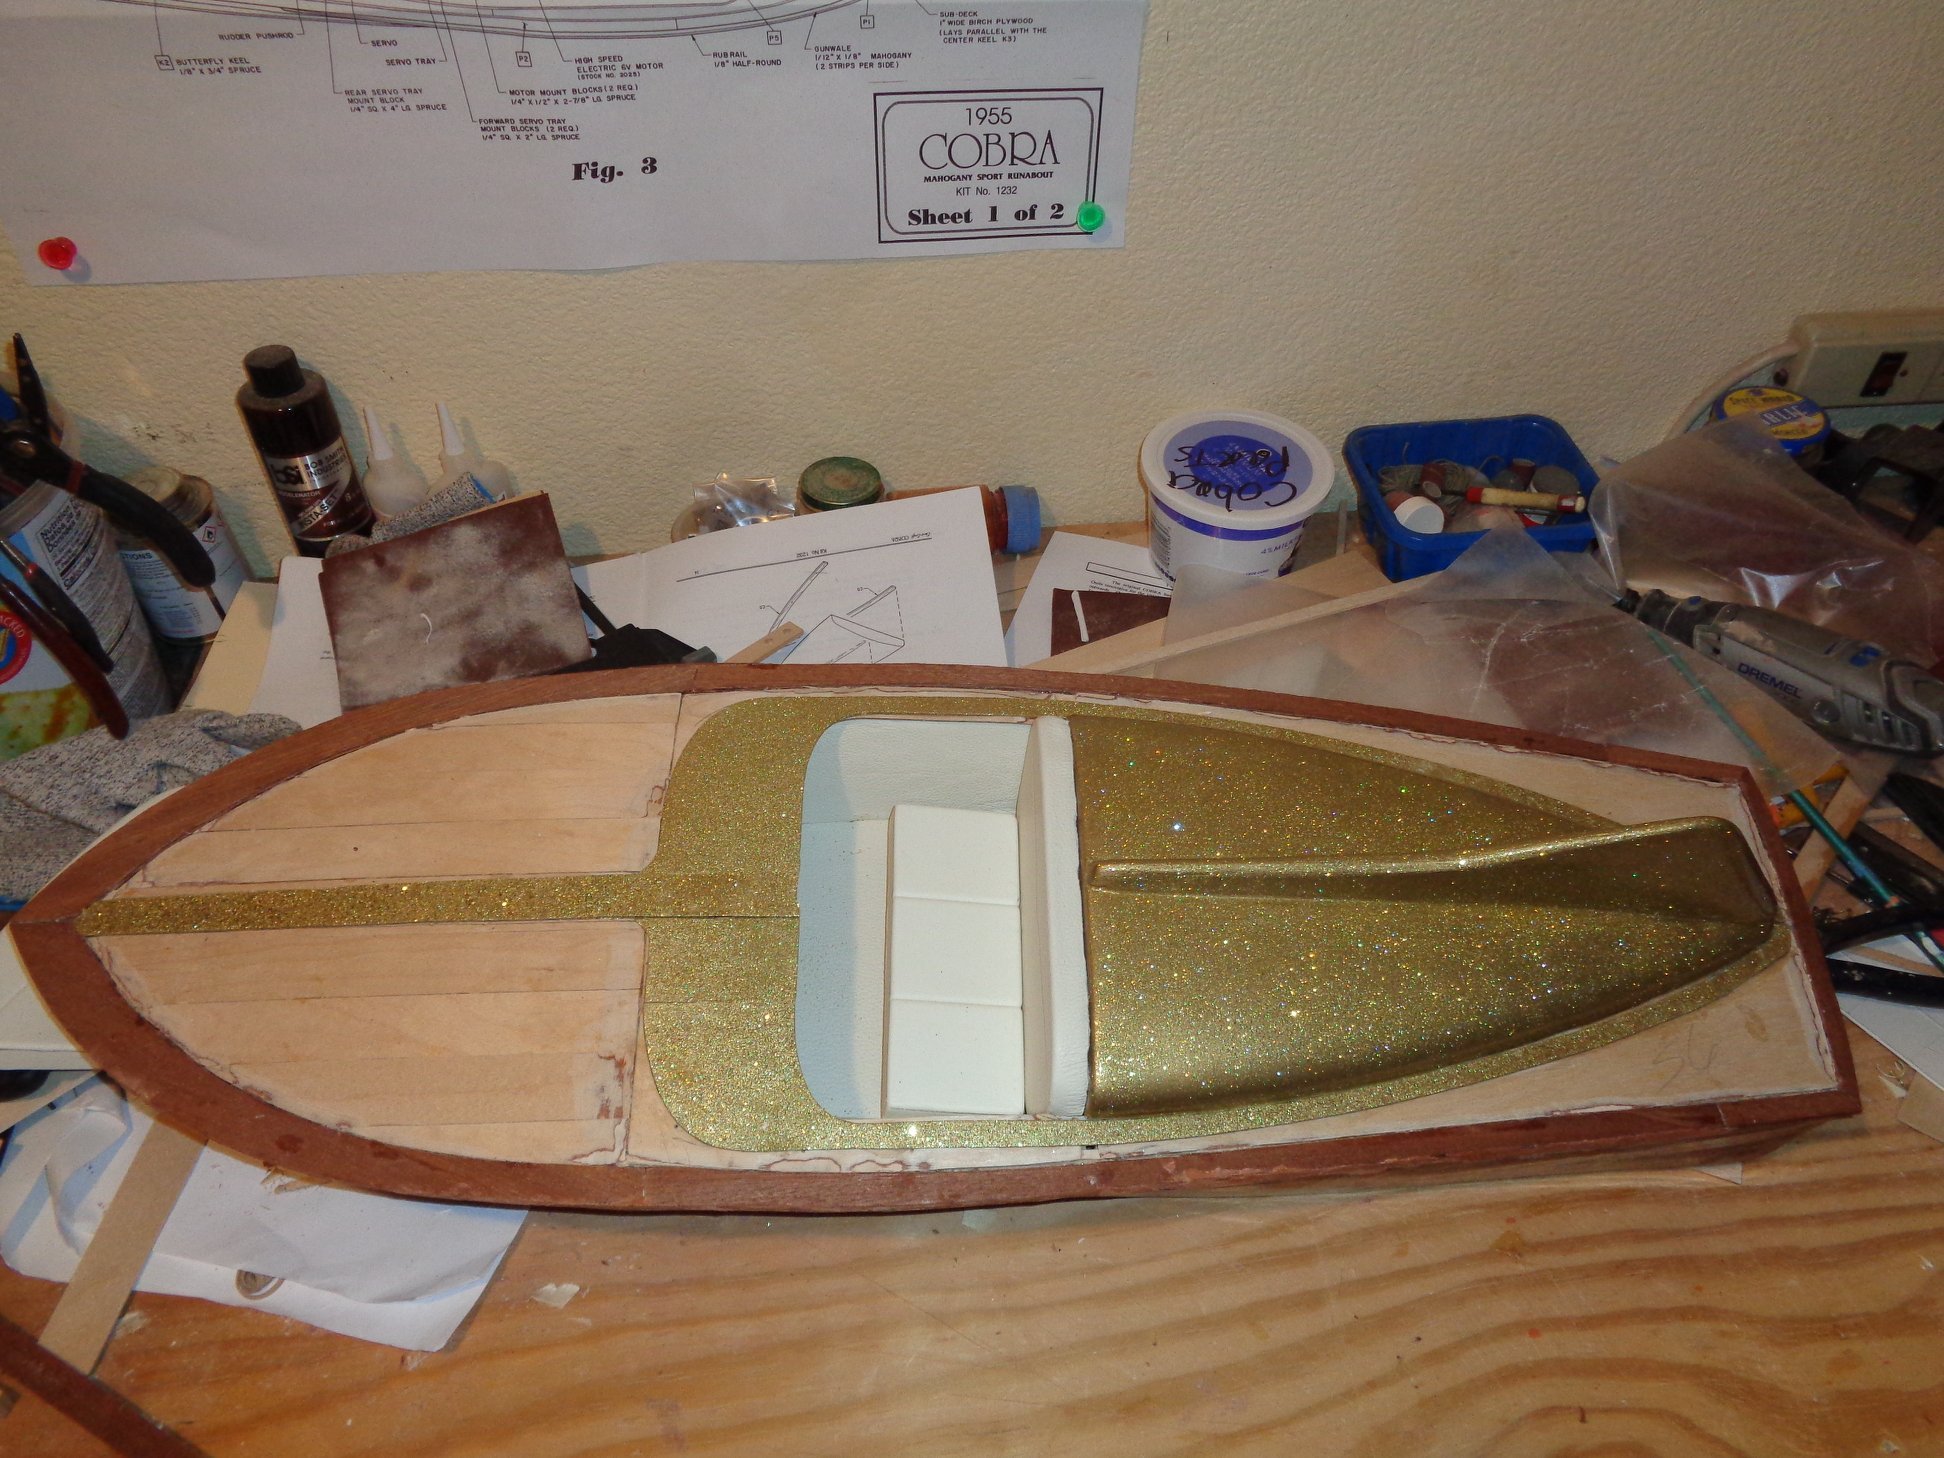
I have the deck all planked and now it's on to sanding and sealing.
-
I made a bit of progress on the Cobra by starting the deck planking with the mahogany strips. I had to seal the deck trim pieces that I metal flaked to keep the flank off of the mahogany planking. But then again, you can never get enough gold.

-
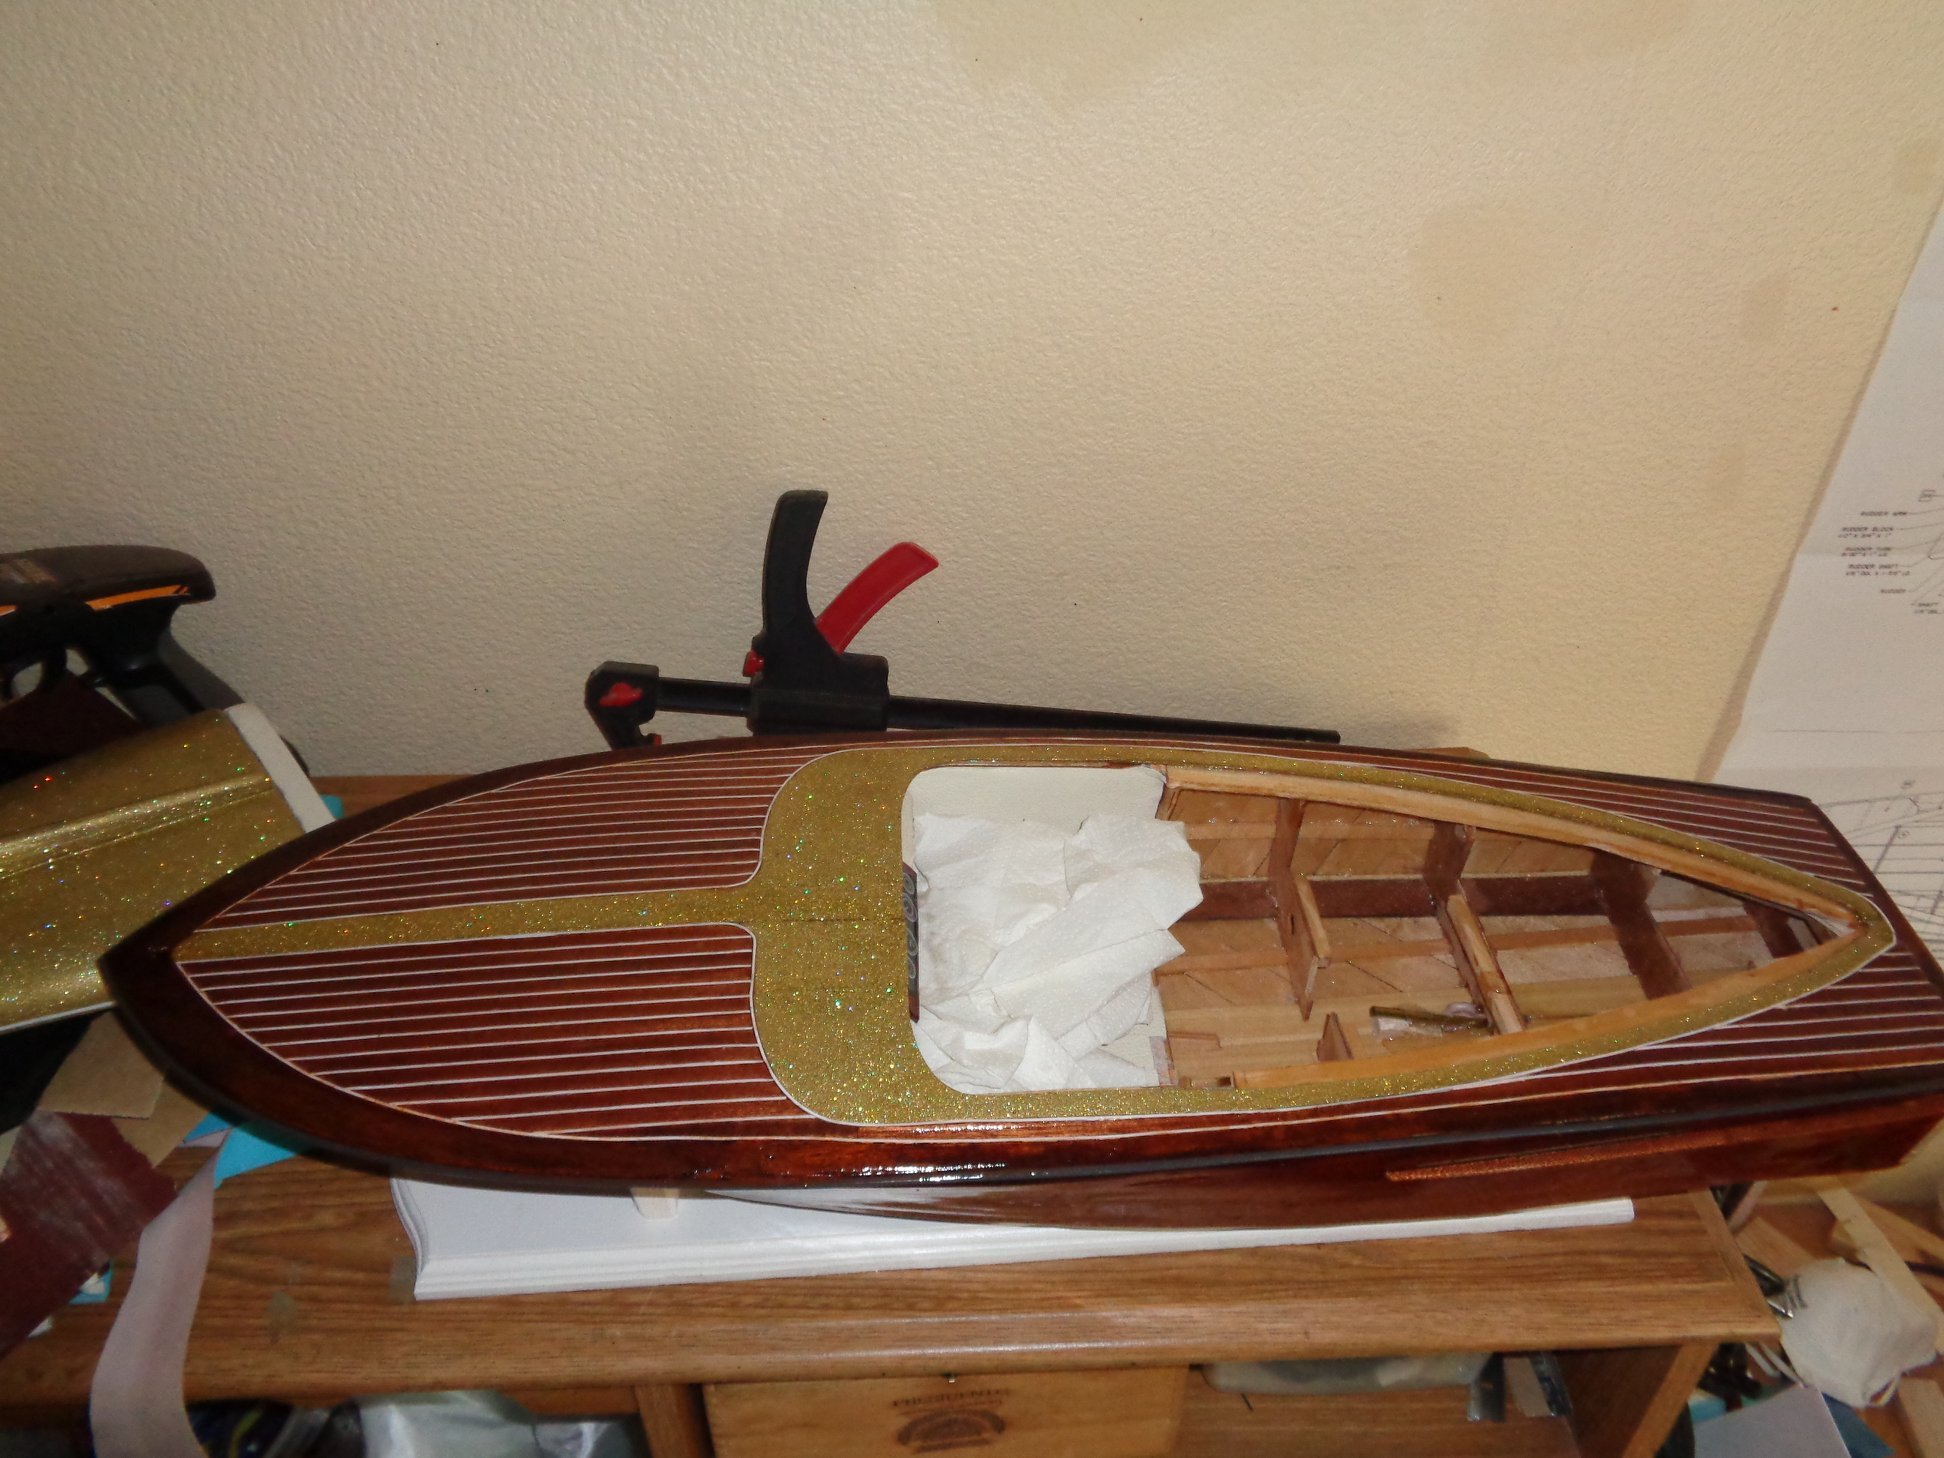
I have the seats installed as well as the side panels and flooring covered in leather and installed as welll.

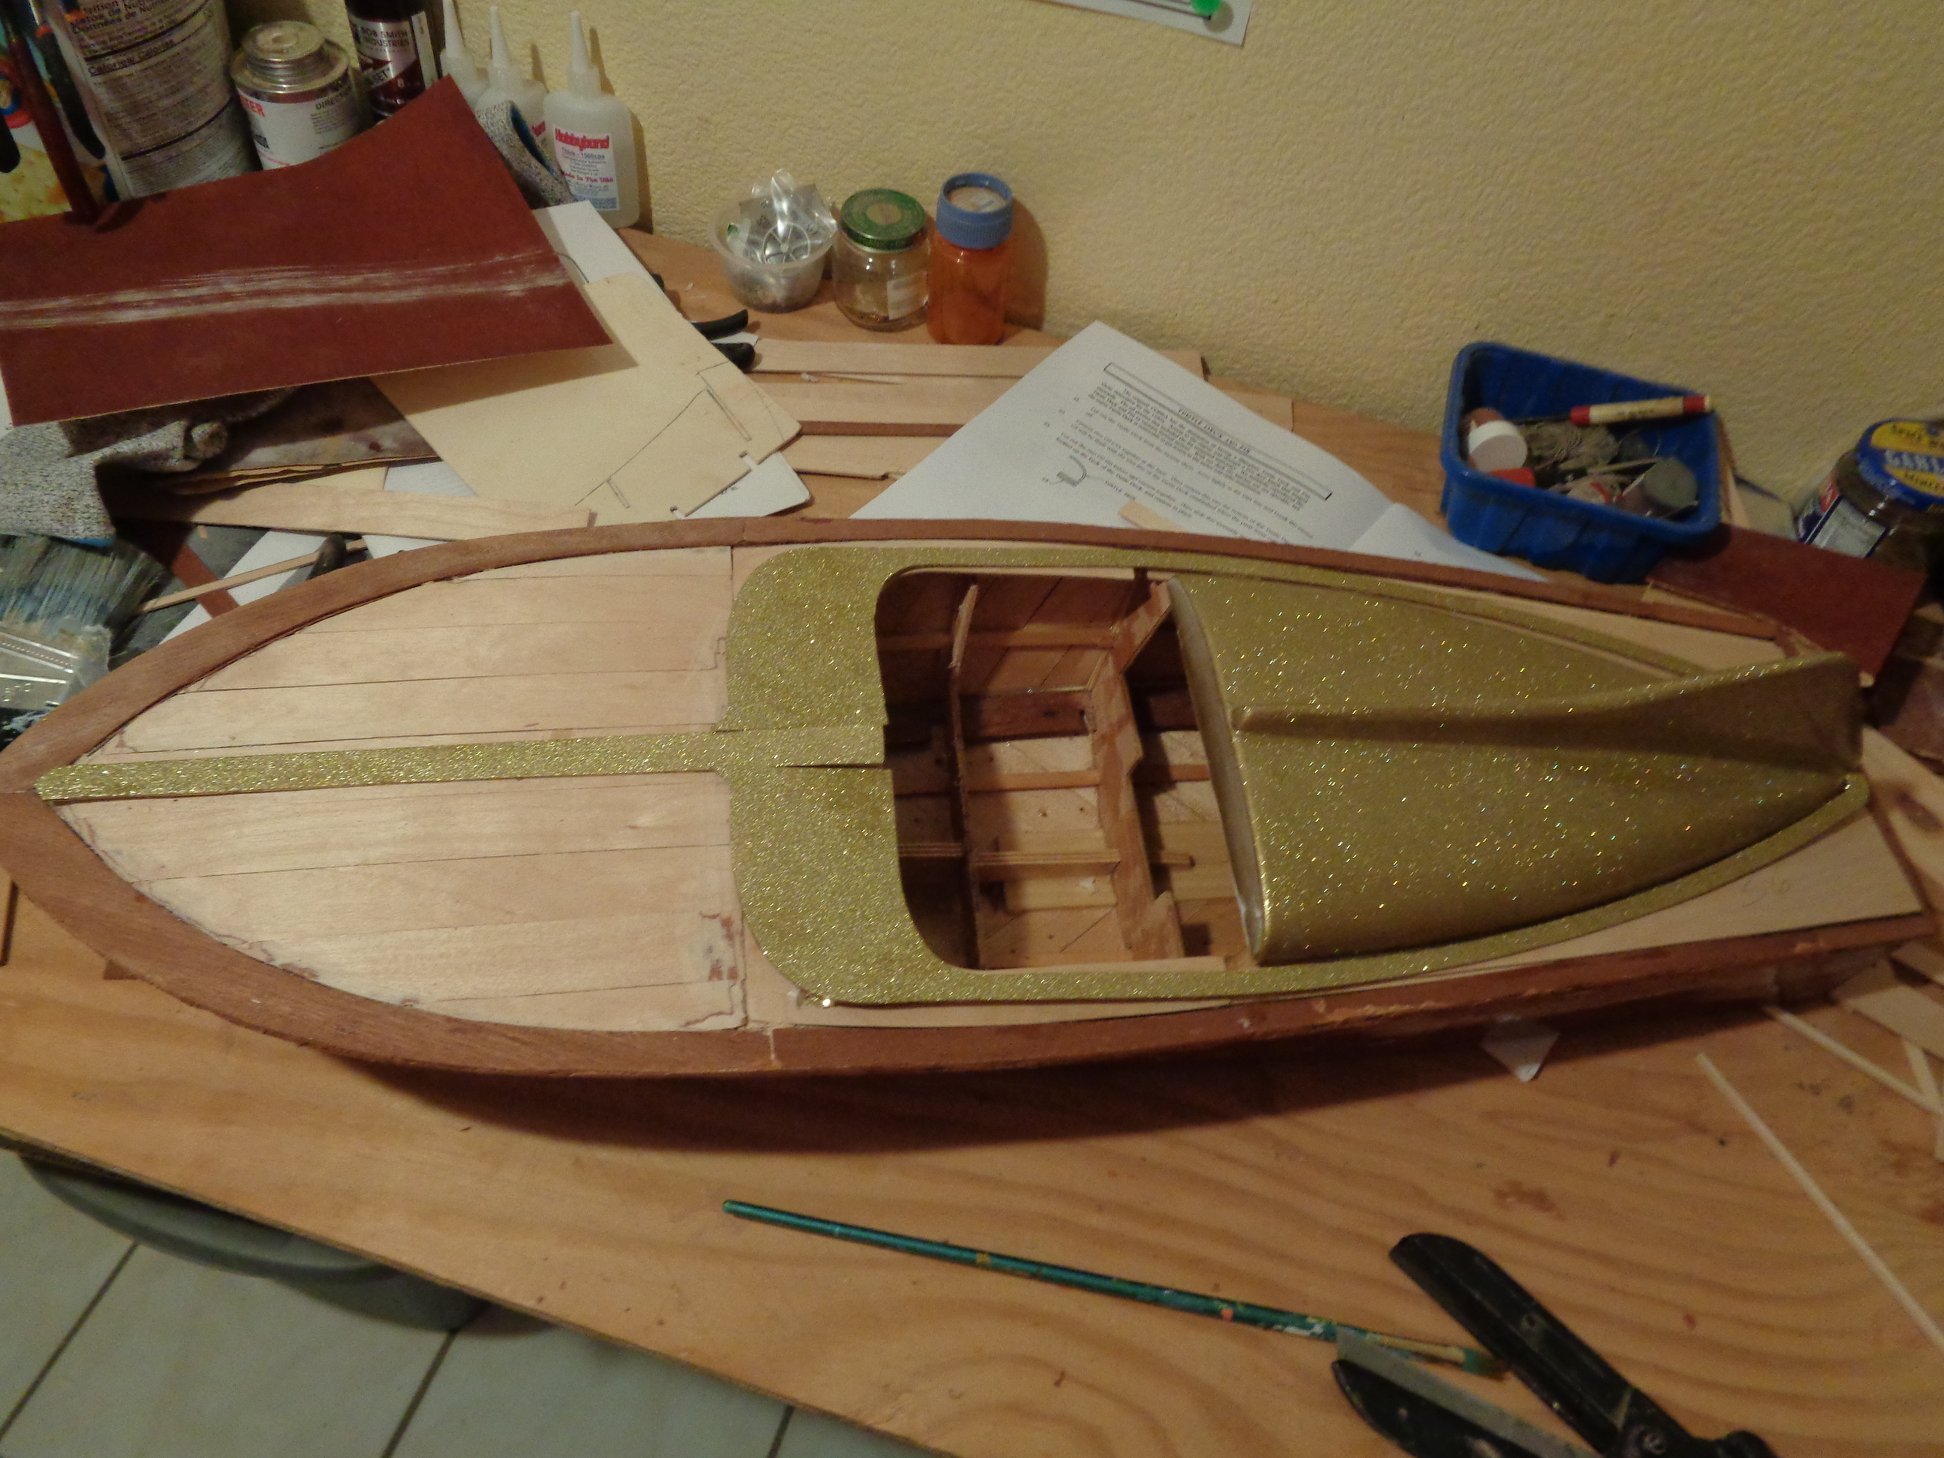
-
False decking laid, I also had to do a bit of fixin. Unfortunately when you modify a boat or basically anything for that matter, there are unforseen issue that will develope, one of which reared it'd ugly head a few days ago. When I installed the deck trimming mahogany wood, which was cut for a 27" model, not a 30". So it left an indentation on the sides of the trim pieces near where the windshield will go. So I had to scab in some scrap mahogany to fill in the dent. No big deal.