Jack12477
-
Posts
5,674 -
Joined
-
Last visited
Content Type
Profiles
Forums
Gallery
Events
Everything posted by Jack12477
-
 We had one of those monsters in our house during WWII. Remember following my Dad into cellar one time when he went to stoke it for the night. As soon as he opened the door to furnace to shovel the coal in, the air rushing in caused the fire to roar, scared the daylights out of me, I think I was 5 or 6 then. Scared me so badly, I would never go in cellar when it was running. He converted to a Delco oil burner as soon as the war ended.
 -
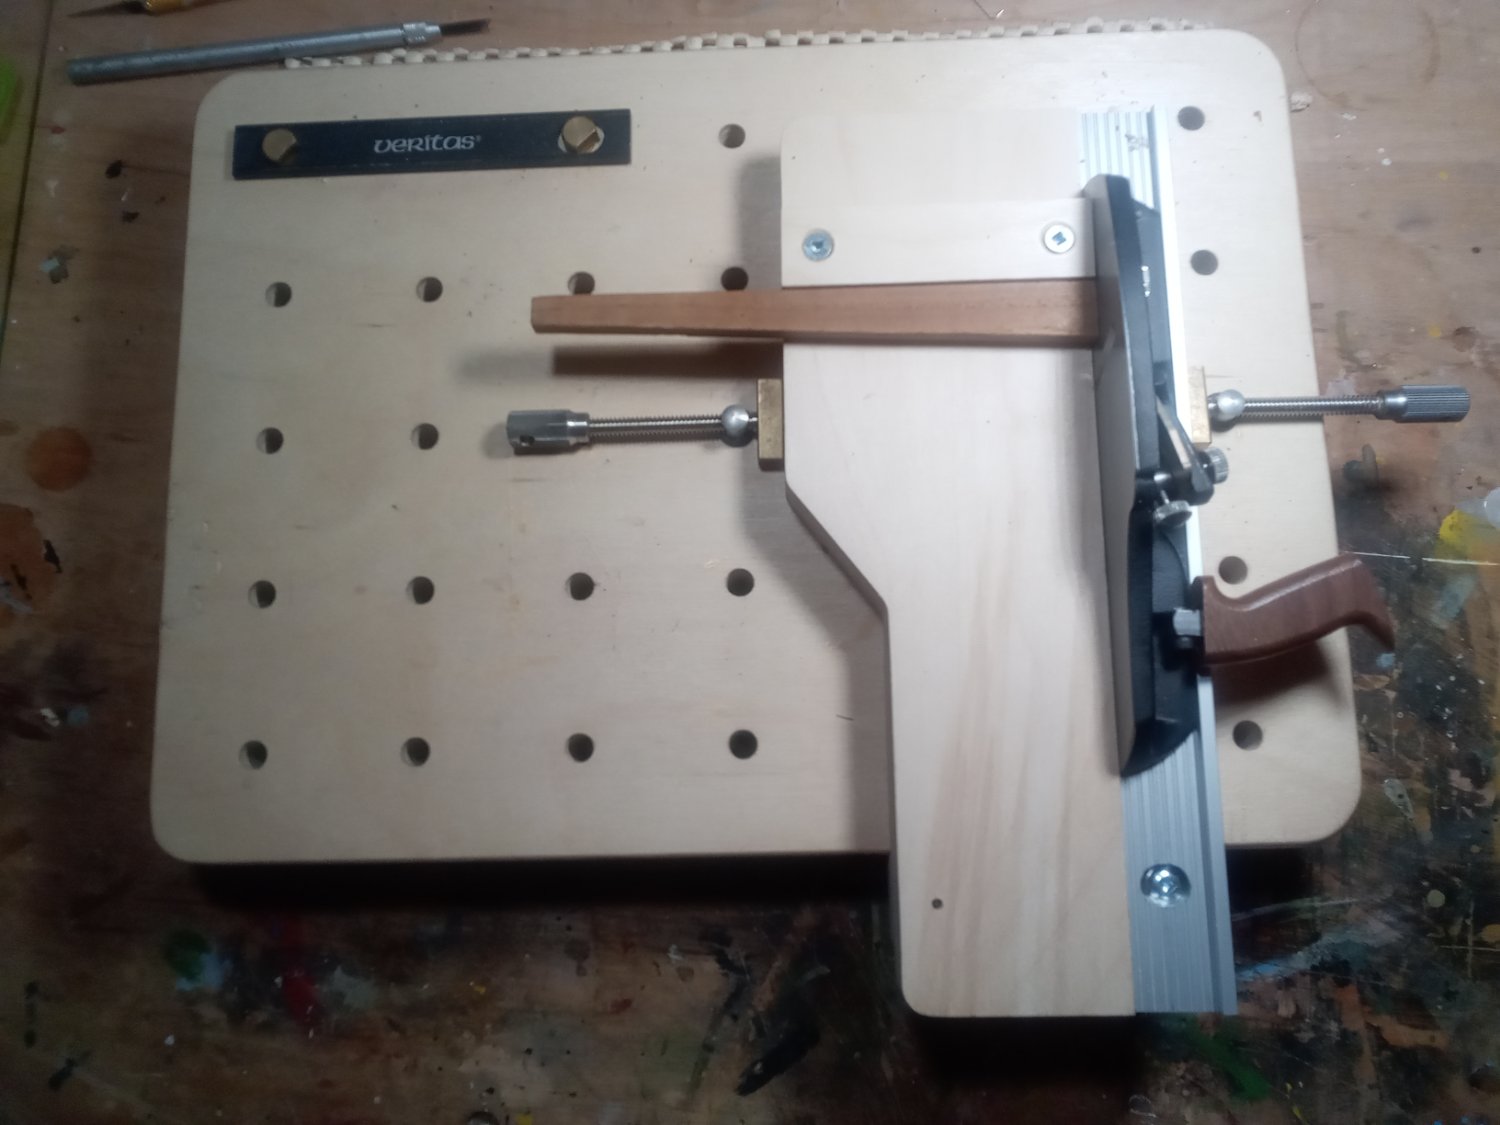
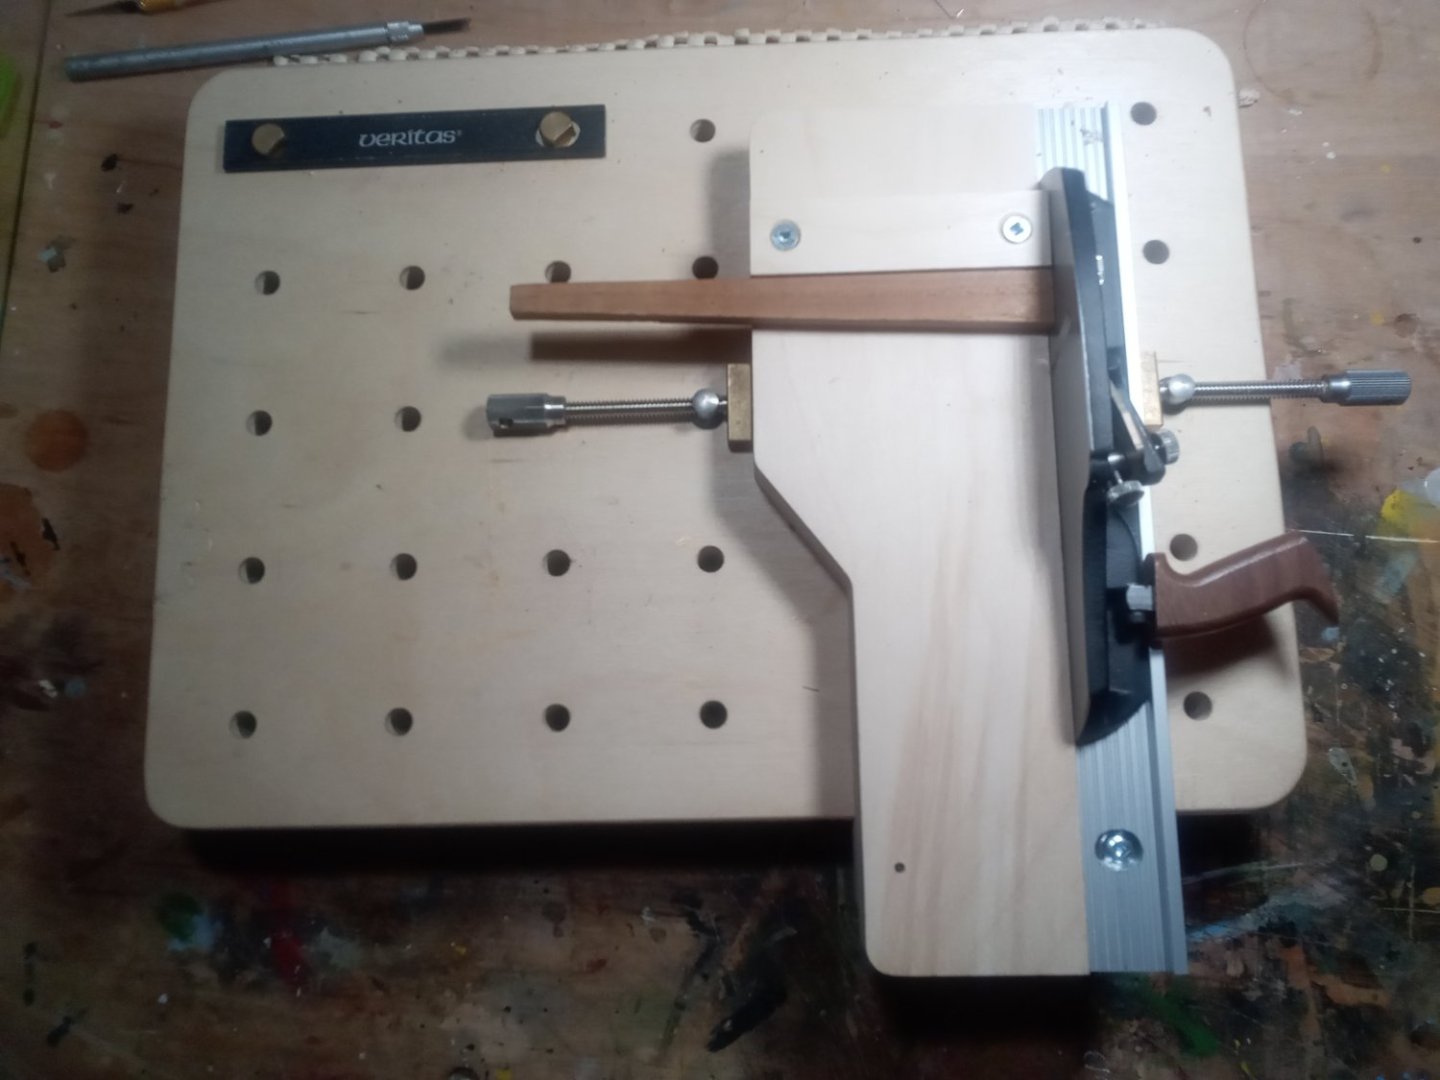
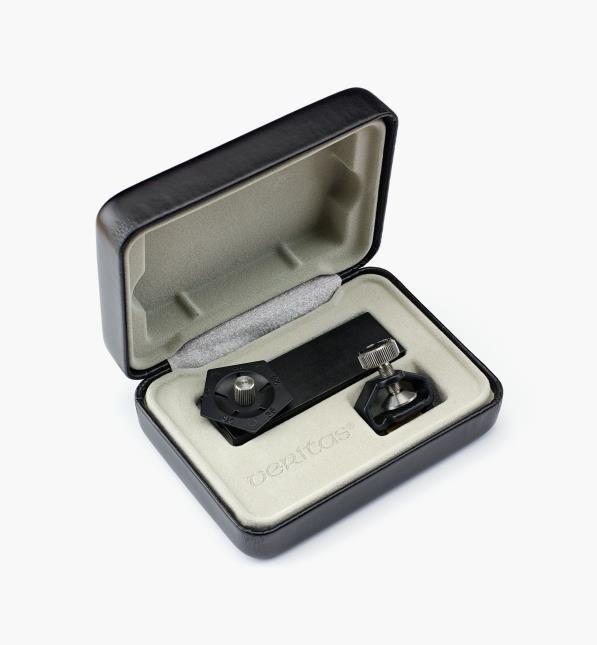
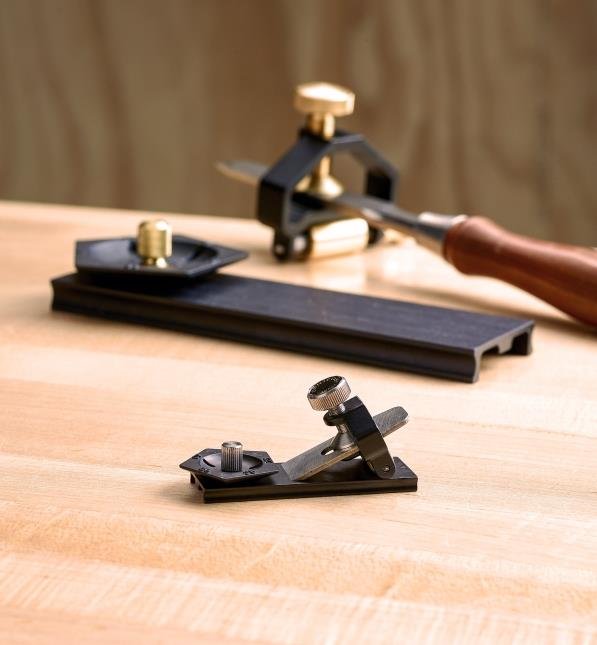
The bearded guy in the red union suit dropped this off the other night. Got a chance to play around with it. Works very smoothly, attaches nicely to the Veritas mini work table. Workmanship is superb as always. Well worth the investment
-
Me either ?
-
Thanks! I followed this guy's technique
-
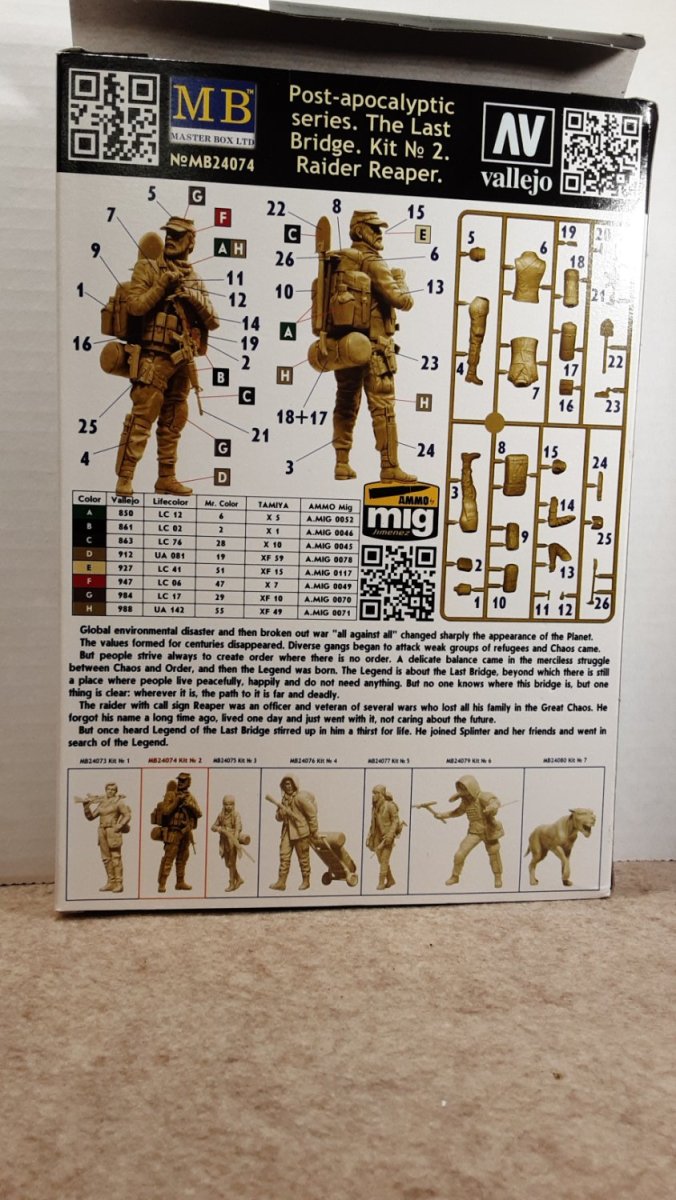
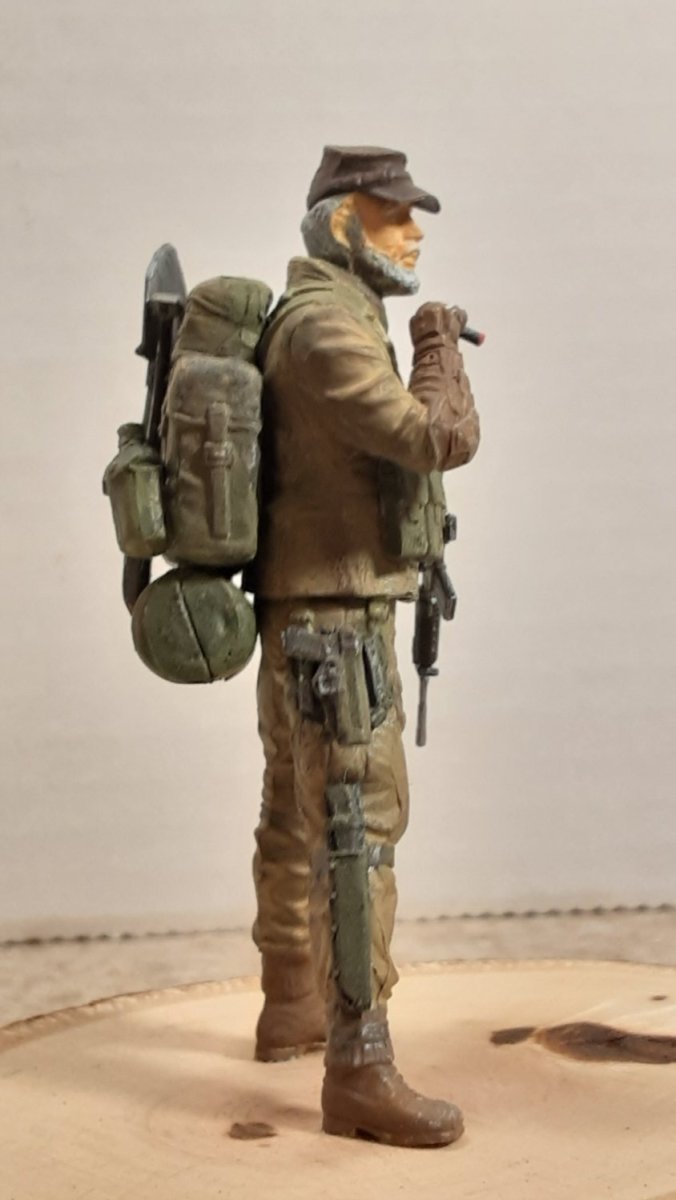
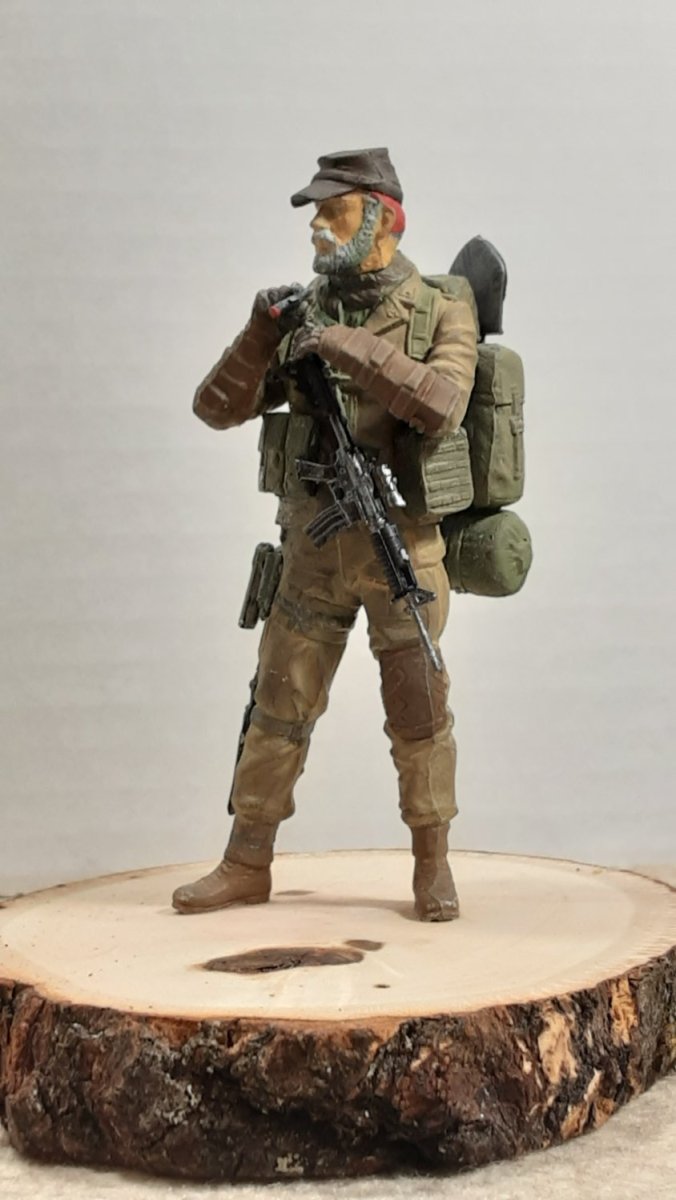
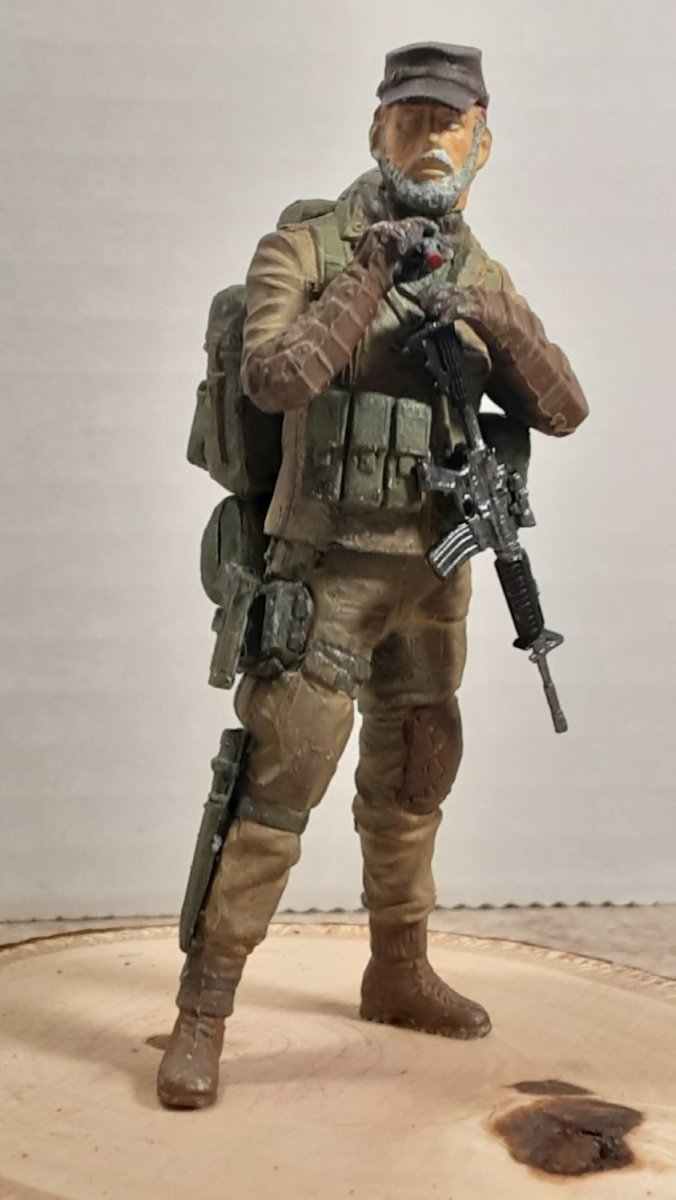
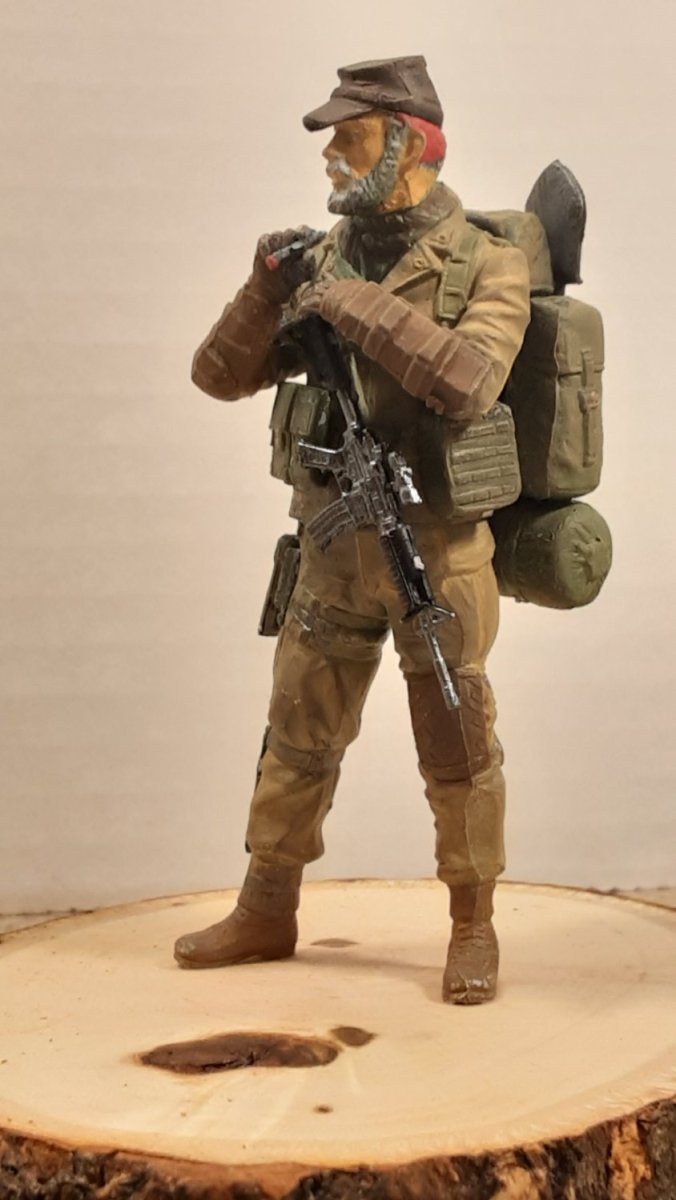
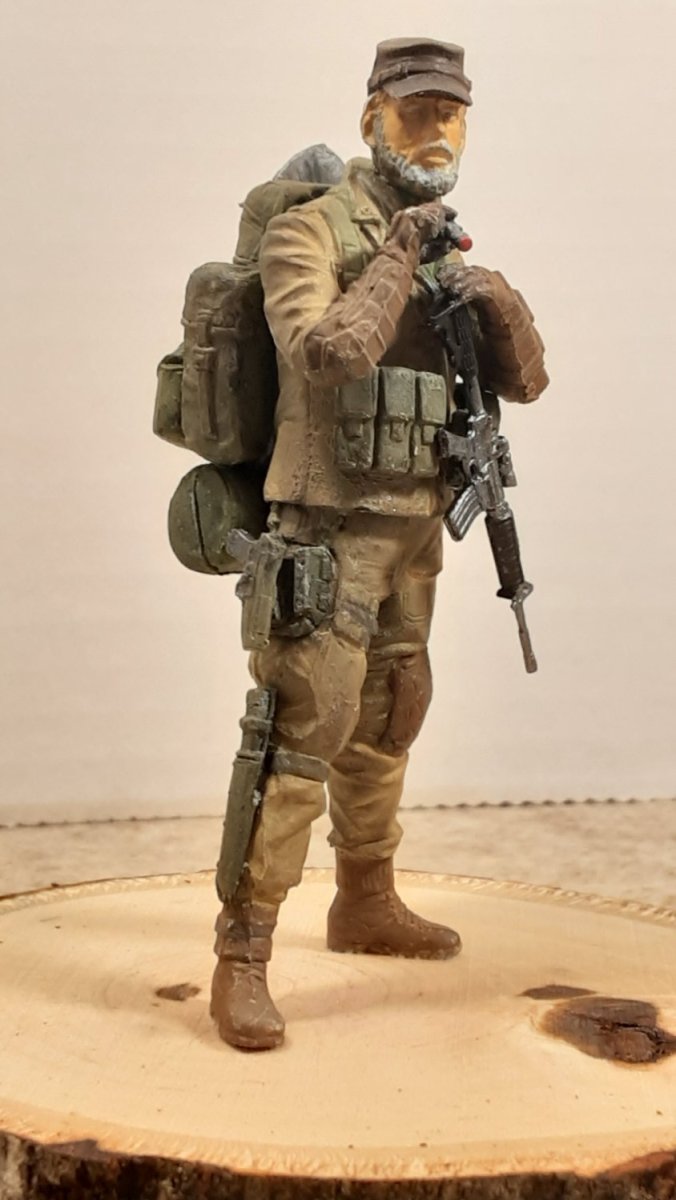
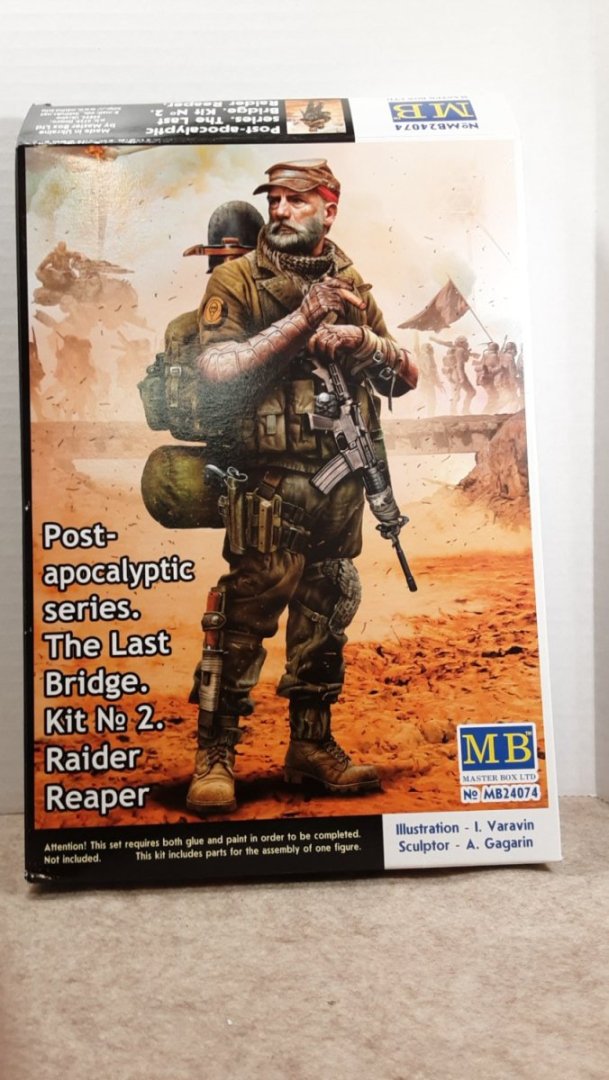
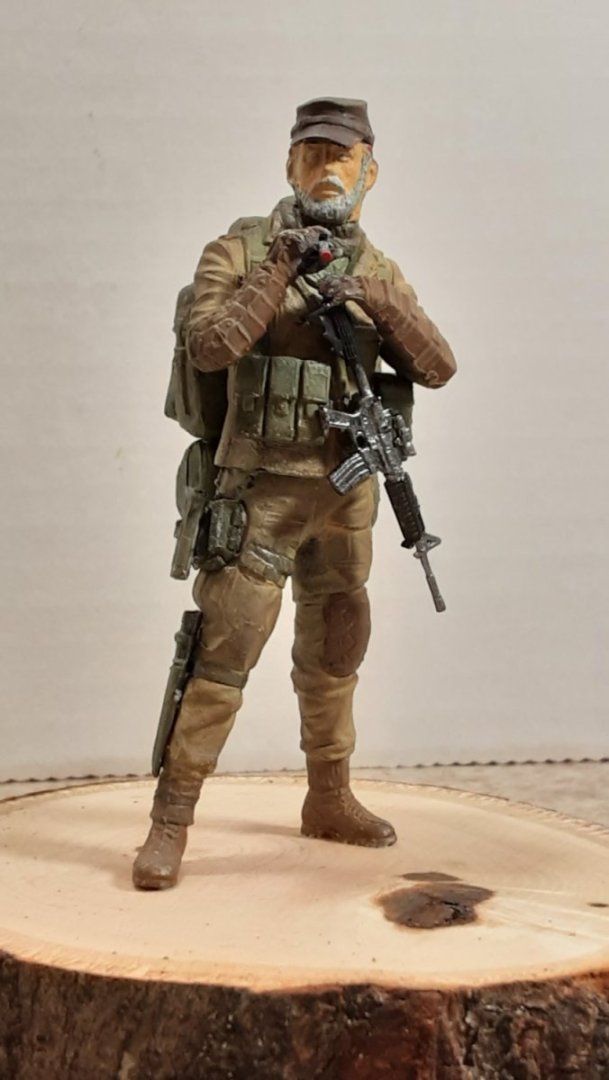
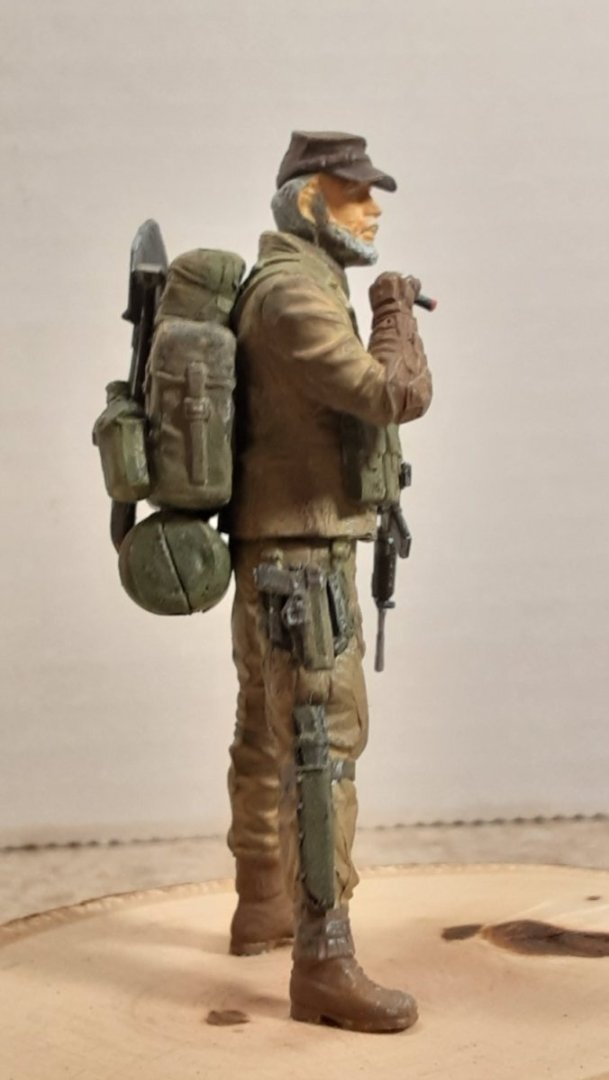
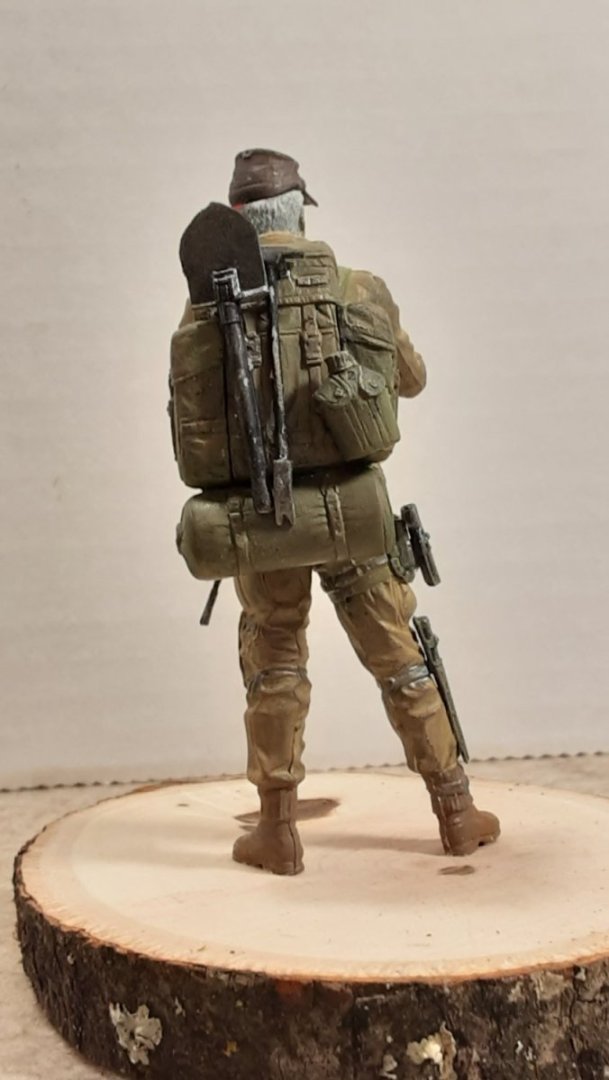
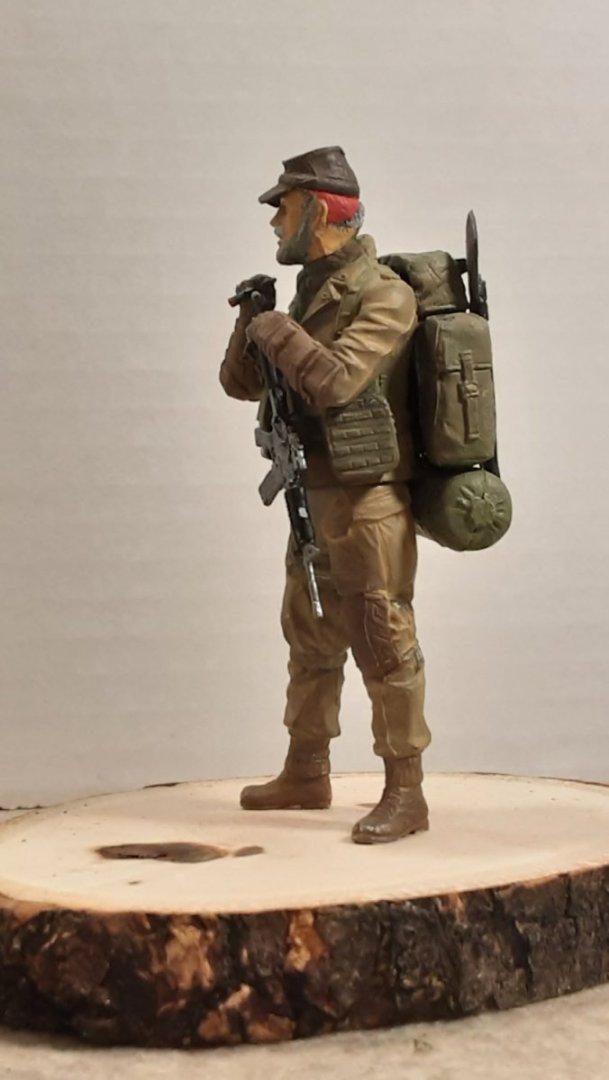
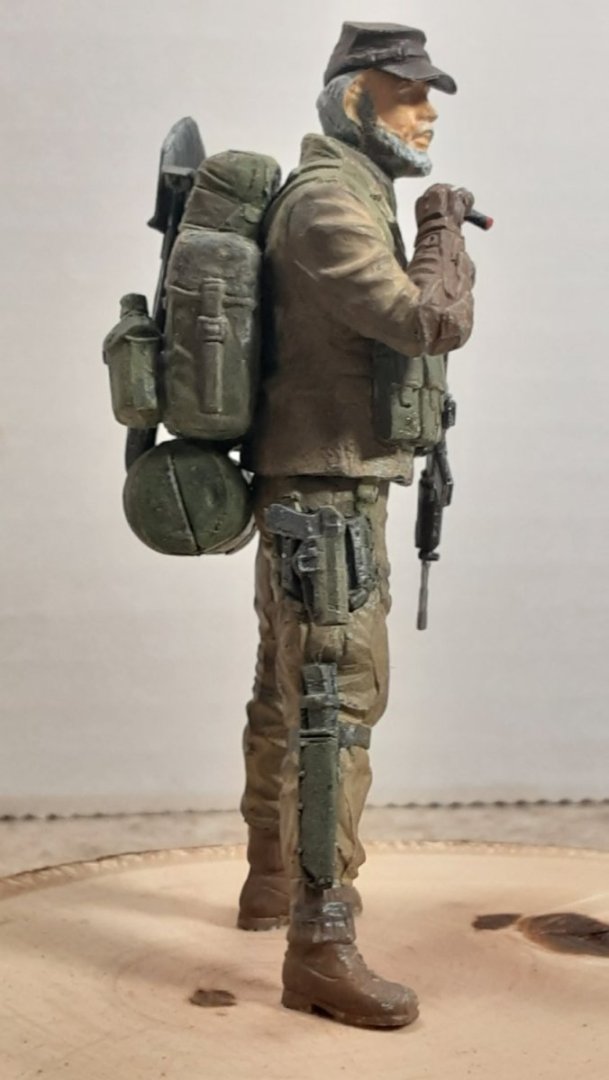
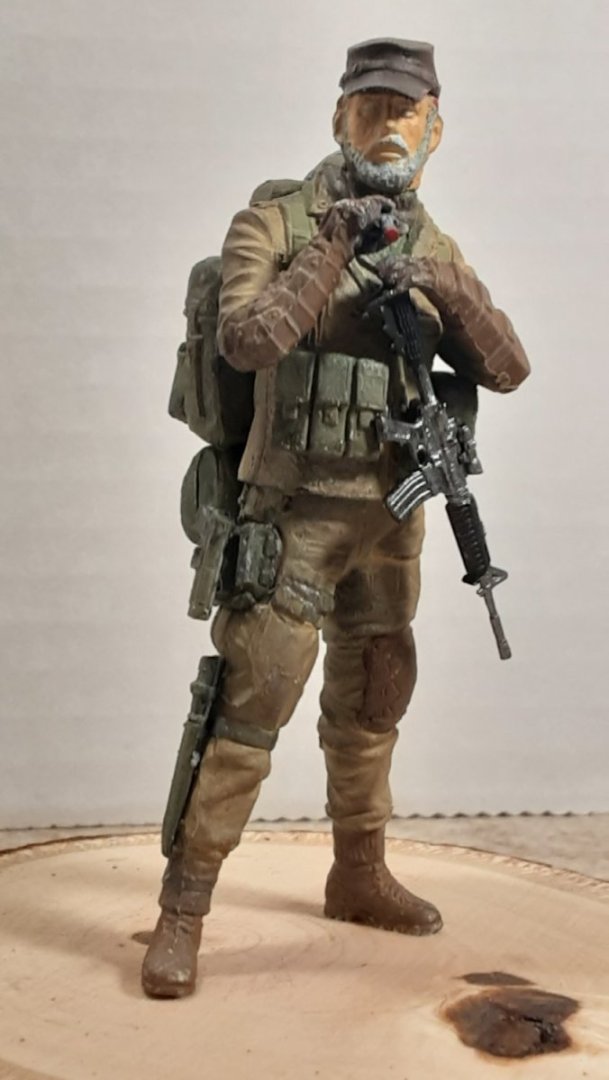
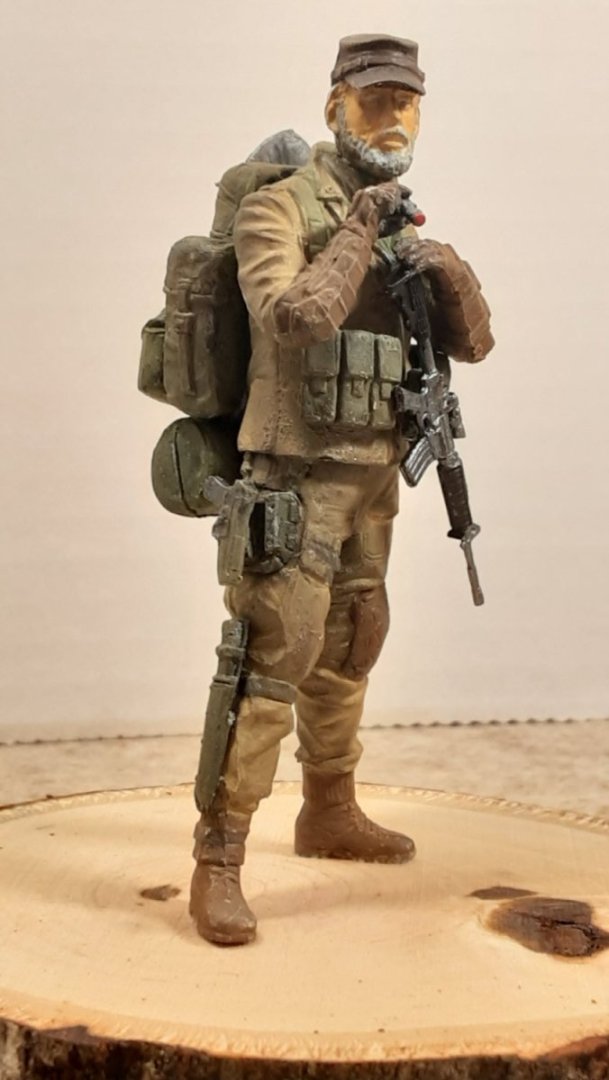
A little side diversion. From the Post-apocalyptic series by Master Box, Raider Reaper in 1:24 scale. A really simple figure kit to assemble, it’s more about painting figures. I used Vallejo paints. After assembly I sprayed the figure with Tamiya's rattle can Fine Light Grey primer, then after drying I airbrushed it with Vallejo black primer. After that cured overnight, I airbrushed it again with Vallejo white primer, except this time I held the figure so I was spraying straight down with the top of his head pointed straight at the airbrush, leaving a white over black misty finish. (Sorry, no pictures, I was following a YouTube video on the technique). Results follow:


- 10 replies
-
- 17
-

-

-
Same weather down here. We're waiting for real winter to arrive. Our favorite winter sport. 😁😁😁 Yes, that is the Hudson River !
-
The two gasses used in World War I.
-

-
Yes, there's several regions, Southern Tier, Western NY, Niagara Region, Finger Lakes region, Mohawk Valley Region,Capitol Region, Upper/Mid/Lower Hudson Valley, Adirondacks Region (the real "Upstate" 😉😊) also known as The North Country; and then there's "Downstate", basically everything south and east of Tappen Zee Bridge (Westchester, Manhattan, Long Island), or is it Spuyten Duyvil, I can never remember which! 😉😊😇
-
Is the lighthouse encased in ice yet ? 😉😉
-
Welcome ! Up near Montague? I'm originally from Rochester. Have a daughter in Buffalo. Who will win the Golden Snowball Award this season ? 🤔
-
Thanks Patrick. I'm still getting use to needing glasses for Close-up work, used to be I only needed them for distance.
-
A little ripper from Veretas
Jack12477 replied to PeteB's topic in Modeling tools and Workshop Equipment
Veritas also makes a Honing jig for their miniature planes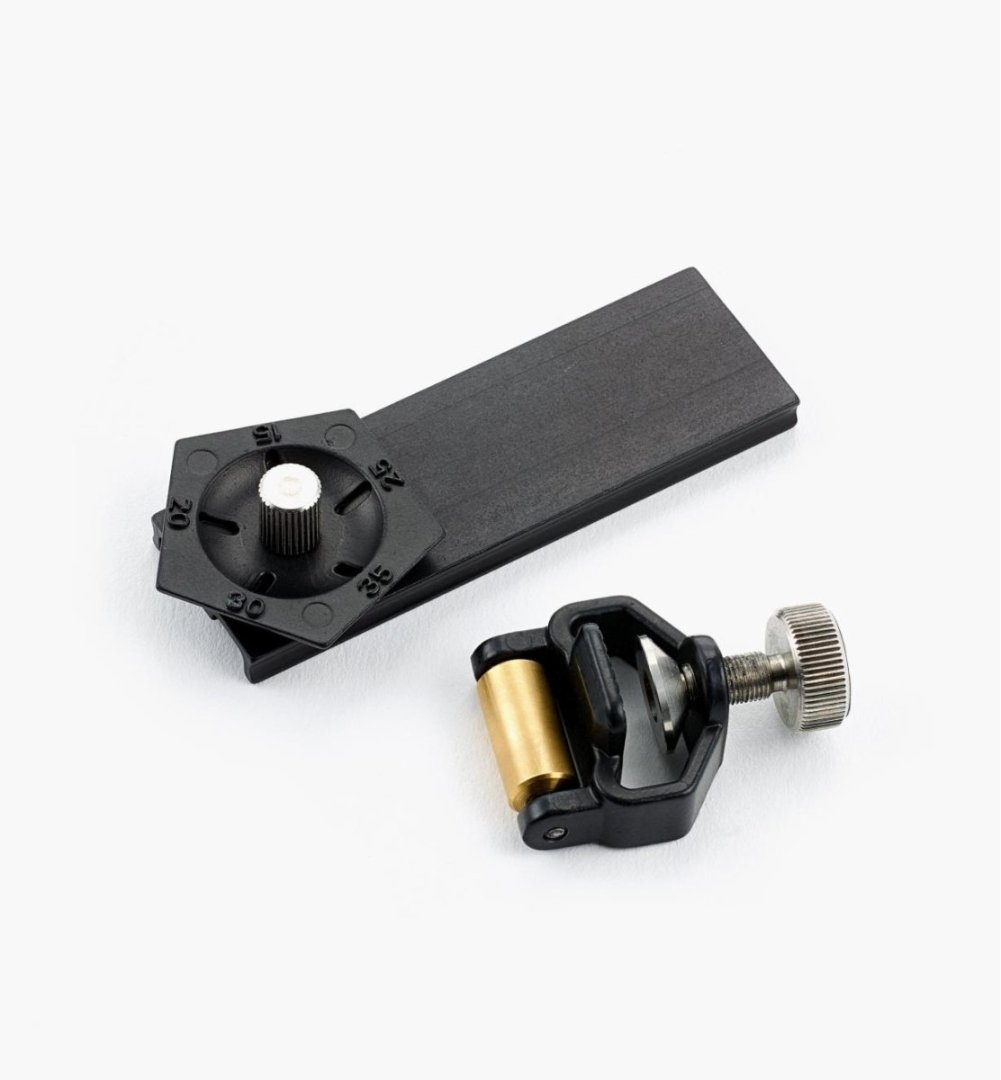
-
Try keeping a bedroom window open about 1 - 2 inches at night while you sleep regardless of outside temperatures. Your bedroom should be cooler anyway while you sleep. Close the window when you awaken in morning. I've been doing that for nearly 80 years and rarely do I get flu. My parents started me on that routine as a child. I can’t stand sleeping in hotels/motels with their sealed windows. Get well soon.
-
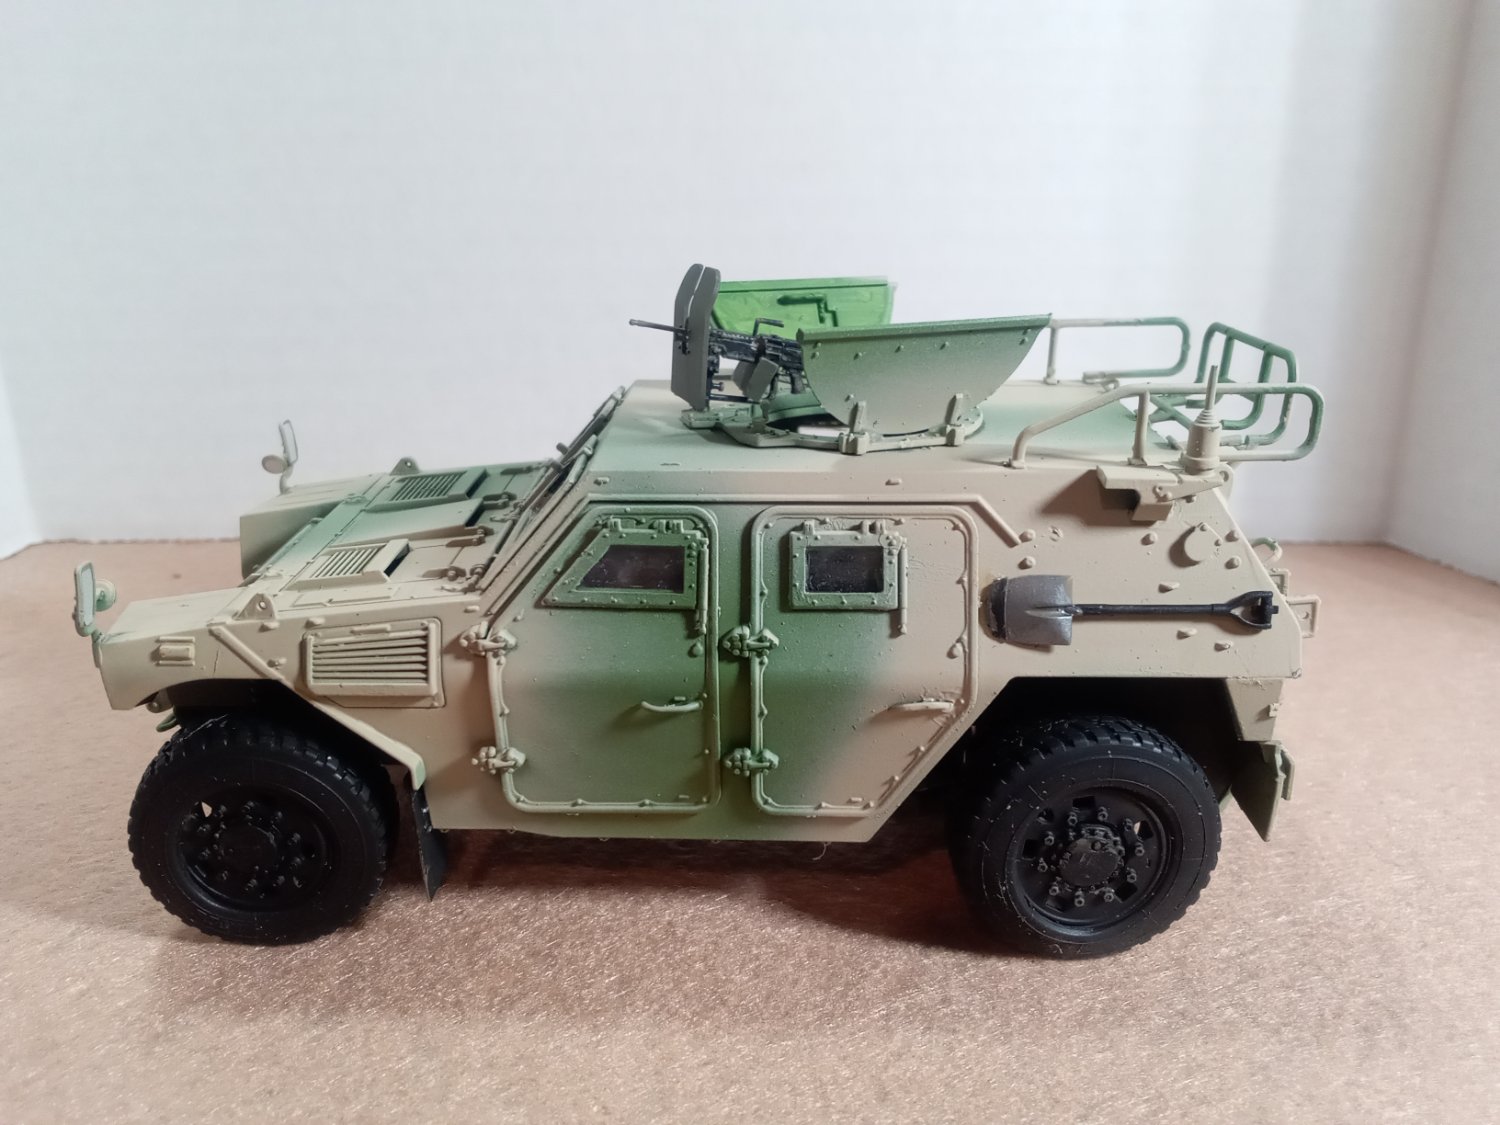
Thanks, Mark. No, this will be a shelf model. The "team" kit that goes with it has been out of stock for over a year now. Plus I have no place for another diorama.
-
Thanks everyone
-
Yes ! Had a little trouble getting a narrower spray pattern.
-
I live 14 miles from the Aerodrome, just across the Hudson River. Been there many many times. Very worthwhile visiting, especially the airshow on weekends. It was founded by Cole Palen, who hand-built the first Fokker replica for their airshow. It's in their museum. Cole used to fly it and created/portrayed the character Black Baron for the show. Met him on a number of occasions, great guy. Olde Rhinebeck Aerodrome
- 46 replies
-
- 13
-
-
Sea Harrier FRS1 by AJohnson - FINISHED - Airfix - 1:72
Jack12477 replied to AJohnson's topic in Non-ship/categorised builds
Me too ! -
1936 Rolls Royce Phantom III by CDW - Revell - 1:16 scale
Jack12477 replied to CDW's topic in Non-ship/categorised builds
Very very very bad ! Both for your wallet as well as your feet, legs, back ! I tell them " I'll be in the Pub! You can roll me home when you're done shopping! "- 97 replies
-
- 10
-

-
-
1936 Rolls Royce Phantom III by CDW - Revell - 1:16 scale
Jack12477 replied to CDW's topic in Non-ship/categorised builds
You mean you didn’t lay on the couch and watch 12 hours of non stop NFL football? 🏉🏈🏉🏈🏉🏈🏉🏈🏉🏈🏉🏈🏉🏈 😴😴😴😴😴😴😴😴😴😴- 97 replies
-
- 10
-
-
-
I haven’t used mine yet ! But given that I tried to make a full size shooting board that sort of works with their pocket plane and larger bench plane, I think this will work much better for me on smaller dimension wood like kit planks etc. I still have two antique ice boat models on the drawing board I want to build in scale like the previous one, 1888 Rocket (link in signature). I have not been disappointed with any of the Veritas miniature tools I've purchased thus far. They are well made and very sharp right out of box.
-
Dehavilland Mosquito by Edwardkenway - Tamiya -1:48
Jack12477 replied to Edwardkenway's topic in Non-ship/categorised builds
They also make a Gloss and Flat finish in same size bottles, which I use for smaller areas. And I also use Pledge Revive It (bottle on right in Egilman's post above).- 33 replies
-
- 10
-
-

-
Dehavilland Mosquito by Edwardkenway - Tamiya -1:48
Jack12477 replied to Edwardkenway's topic in Non-ship/categorised builds
I'm here also.