Jack12477
-
Posts
5,678 -
Joined
-
Last visited
Content Type
Profiles
Forums
Gallery
Events
Everything posted by Jack12477
-

Sea Harrier FRS1 by AJohnson - FINISHED - Airfix - 1:72
Jack12477 replied to AJohnson's topic in Non-ship/categorised builds
I'm in
-
Nice job ! Both look good together !
-
Andy, seems Canada Post, UPS, and FedEx all use the same tracking software, I get those same kind of updates here, except here they mark it as "in transit" .
-
I placed an order with Scale Hobbyist on 10/12, they shipped it out on 10/13 via UPS. UPS picked the package up in Nashua NH, transported it to Bristol RI, then to East Syracuse NY, then to Kingston NY to deliver to me. It traveled approximately 606 land miles to reach me. A car leaving Nashua NH would only need to drive 215 miles in 3 hours 45 minutes to reach me. UPS could have shipped it thru Albany NY a more direct route. But it did arrive in 2 days time on Saturday 10/15. Don't know how it was transported from Bristol RI to East Syracuse NY (air or road) but they passed right by me enroute to Syracuse. Don't feel bad Andy !
-
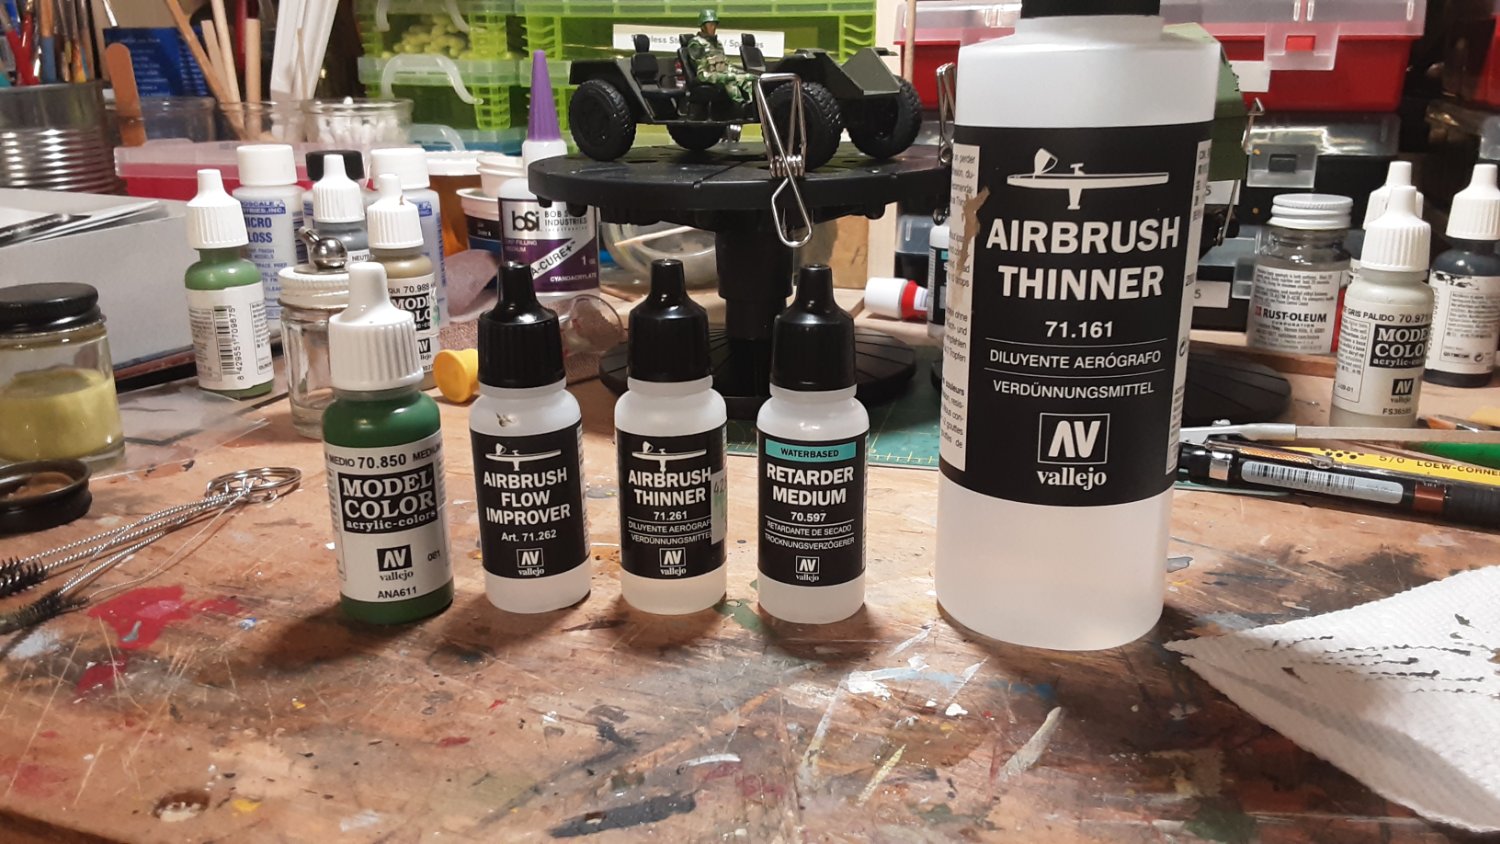
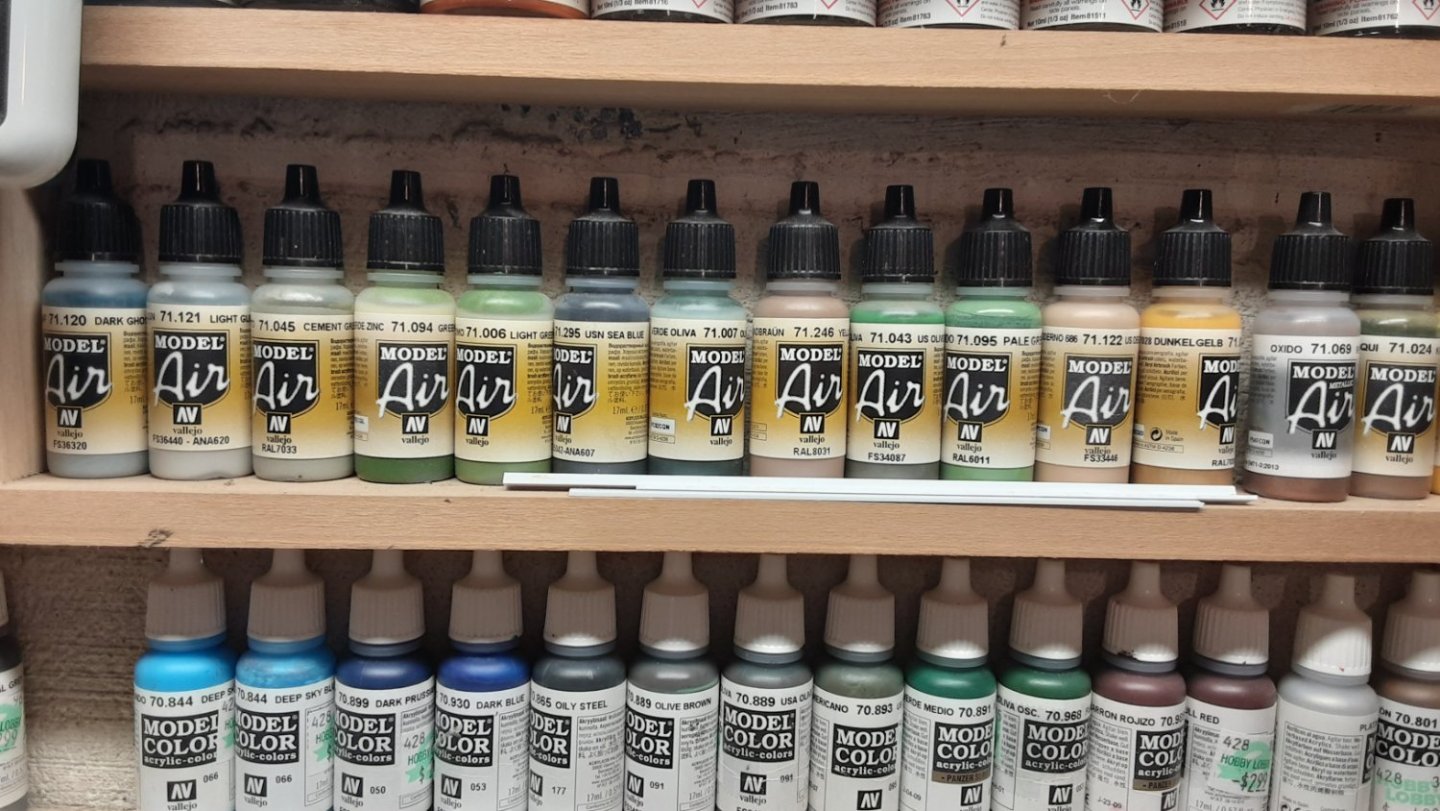
While waiting for my eyes to heal and settle down, I ordered a resupply of Vallejo paints, thinners etc, and this new kit to add to the stash.

-
I recommend using Hydrocal casting plaster, it’s lightweight, strong and easy to use. Woodland Scenics makes it. ScaleHobbyist is a good source for Woodland Scenics products including the rubber rock molds.
-
Thanks! The 2 ruins are old Verlinden cast plaster kits I had. The 3rd dio is freelanced scenery using rubber rock molds from Woodland Scenics. Oops my bad ! The other Verlinden diorama is in my M16 Multi-gun Motor Carriage Diorama
-
Yes, you're right Mark, but at 1:35 scale. Alan is right they are bulky, mine are about 12x12x12. Link is in my signature under Sherman tank dioramas I'm in too, Alan.
-
F-86F-30 Sabre by Egilman - Kinetic - 1/32nd scale
Jack12477 replied to Egilman's topic in Non-ship/categorised builds
I still have mine. But after several failed attempts at developing and printing color film, decided it was cheaper to let Kodak do the color and concentrated on doing B&W in the home darkroom. -
F-86F-30 Sabre by Egilman - Kinetic - 1/32nd scale
Jack12477 replied to Egilman's topic in Non-ship/categorised builds
Yea, took the family on a 3 week drive from NY to Colorado, Wyoming, South Dakota and back visiting, Mesa Verde, Rocky Mountain National Park, Estes, Yellowstone, Tetons, Rushmore, Badlands et al. Left with 36 rolls of 36 exposure Kodachrome 200, ran out midway thru Yellowstone, had to buy 10 rolls of 36 exposure Ektachrome 200. Ran out of that too by the time we go home. Of course back then film & processing was cheapest part of trip. Sorting thru them was a fun time. -
F-86F-30 Sabre by Egilman - Kinetic - 1/32nd scale
Jack12477 replied to Egilman's topic in Non-ship/categorised builds
That does look sharper and more depth. BTW Some camera terms ISO ( or ASA in the old days) is a measure of film speed or sensitivity to light. The higher the number the more sensitivity or as we used to say "speed". F-stop is the ratio of the cross sectional diameter of the aperture to the focal length of lens, expressed as f/nn , e.g. f/16, f/22, as the number goes up, the diameter decreases allowing less light to pass thru, as the number go down the diameter increases allowing more light to pass thru. As you go from one F-stop to another the amount of light passing thru increases/decreases by a factor of 2. So going from f/8 to f/11 ( or from f/16 to f/22) you let in 1/2 the light, reversing and going from f/22 to f/16 (or from f/11 to f/8) you let in 2x the light. So f/8 on a 50mm lens is the same as f/8 on a 300 mm lens, only difference is the aperature diameter. Aperature - think Iris of your eye. Same factor applies to shutter speed. f/8 at 1/250 sec is the same exposure as f/11 at 1/125 sec. Feel free to PM me with questions. I cut my teeth on mechanical manual cameras with hand-held light meters. 😅 -
F-86F-30 Sabre by Egilman - Kinetic - 1/32nd scale
Jack12477 replied to Egilman's topic in Non-ship/categorised builds
Nice looking model, nice photos. Great job as usual! 👍👍 Suggestion: For greater depth of field aka depth of focus, take the camera out of Auto mode and select Aperture Preferred mode, designated as Av on most camera dials. Choose an aperture of f/16 or higher, e.g., f/22, f/32, (my Pentax DSLR will go to f/32), leave the ISO setting on Auto, it might select ISO 3200, make sure the shutter speed it selects is 1/50 sec or higher, if you are not using a tripod or the deck railing, e.g., 1/125, 1/250, etc. I think your camera has Center Weighted and Spot metering and Center Weighted and Spot focus, if so select them also. Experiment a little, it's digital so no wasted film to worry about. Just delete the bad ones. 😉 You're shooting in bright sunlight so plenty of light. Remember the higher the f/nn value, the smaller the diameter of the aperture and the greater the depth of field/focus, the lower the value the bigger the diameter and shorter depth of field. -
And the Insurance on a aircraft is Marine Insurance. (It was one of Dad's trick questions.)
-
At least it's not United Parcel Smashers or US Pony Express. 😁😁😁
-
Modeling is on hold till my eyes readjust to cataract surgery. Right now even with cheaters I can’t see what I'm doing.
-
Modeling is on hold till my eyes readjust to cataract surgery. Right now even with cheaters I can’t see what I'm doing.
-
F-86F-30 Sabre by Egilman - Kinetic - 1/32nd scale
Jack12477 replied to Egilman's topic in Non-ship/categorised builds
EG what scale are your F4 kits ? 1:48 or 1:32 ? -
Yes, Doris lives in the Czech Republic. Her husband died just before she completed her last build, she finished it as a tribute to him. Outstanding artistry.
-
I had to put a respirator mask on even with the Vallejo, fumes from thinner started getting to me.
-
My favorite go-to supplier. 😊 Thanks
-
Which brand of lacquer/enamel model paints do you recommend ?
-
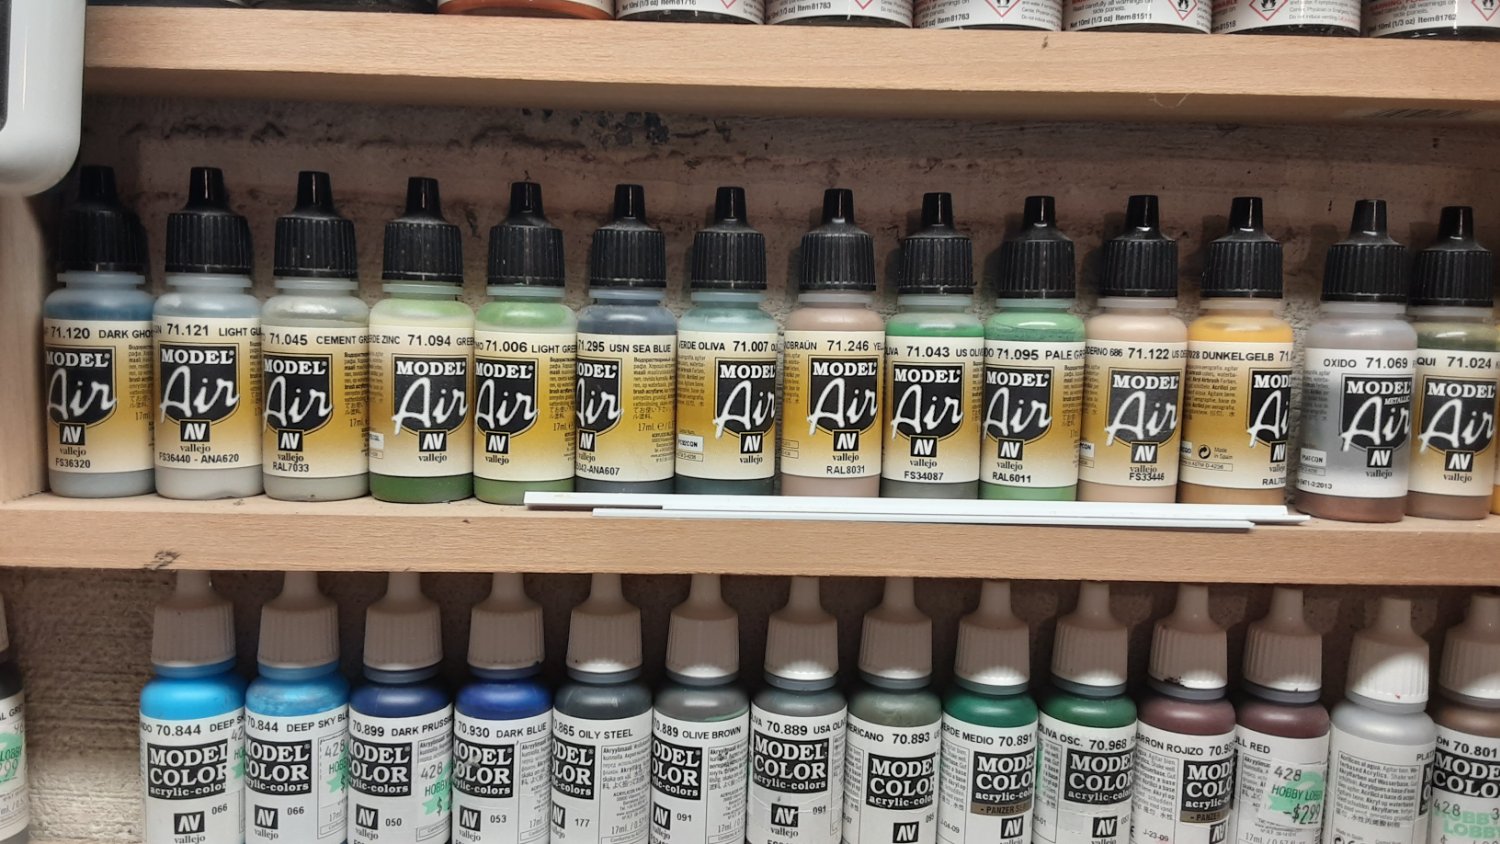
Thanks Craig. I guess I need to lay in a larger supply/assortment of Model Air to the Model Color stash. Do you add any of their Flow Improver to the mix ? If so how much? Their bottle label says 1-2 drop for every 10 drops of paint !?!?!?
-
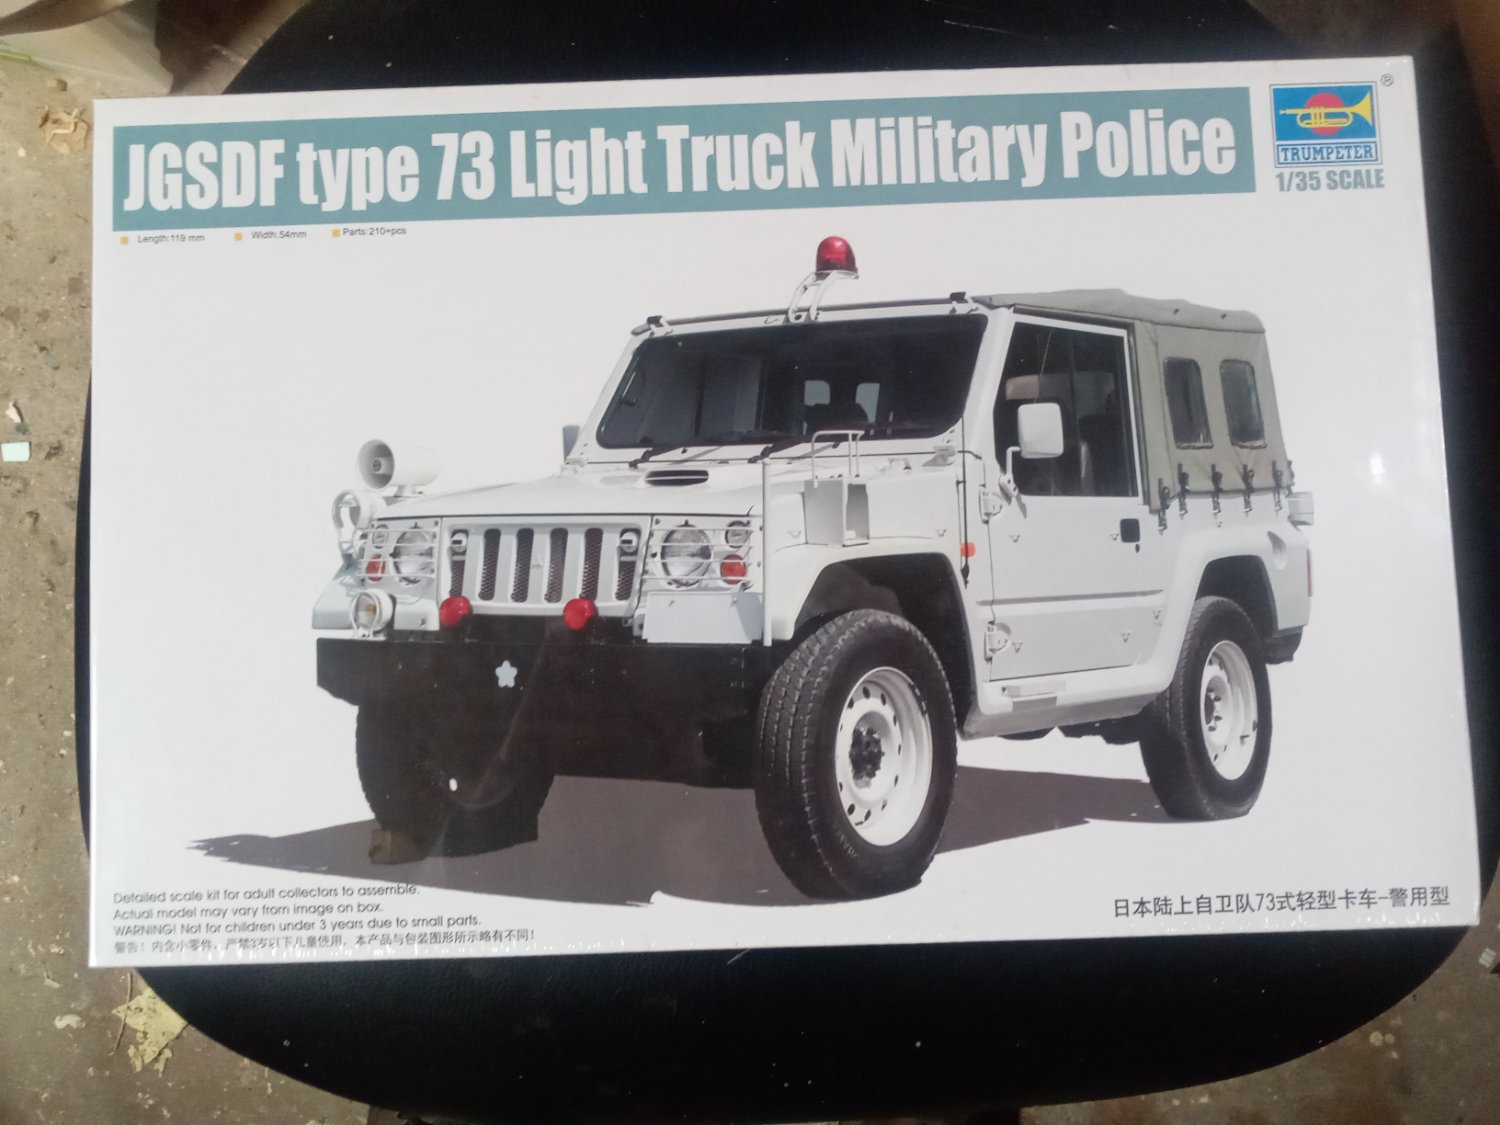
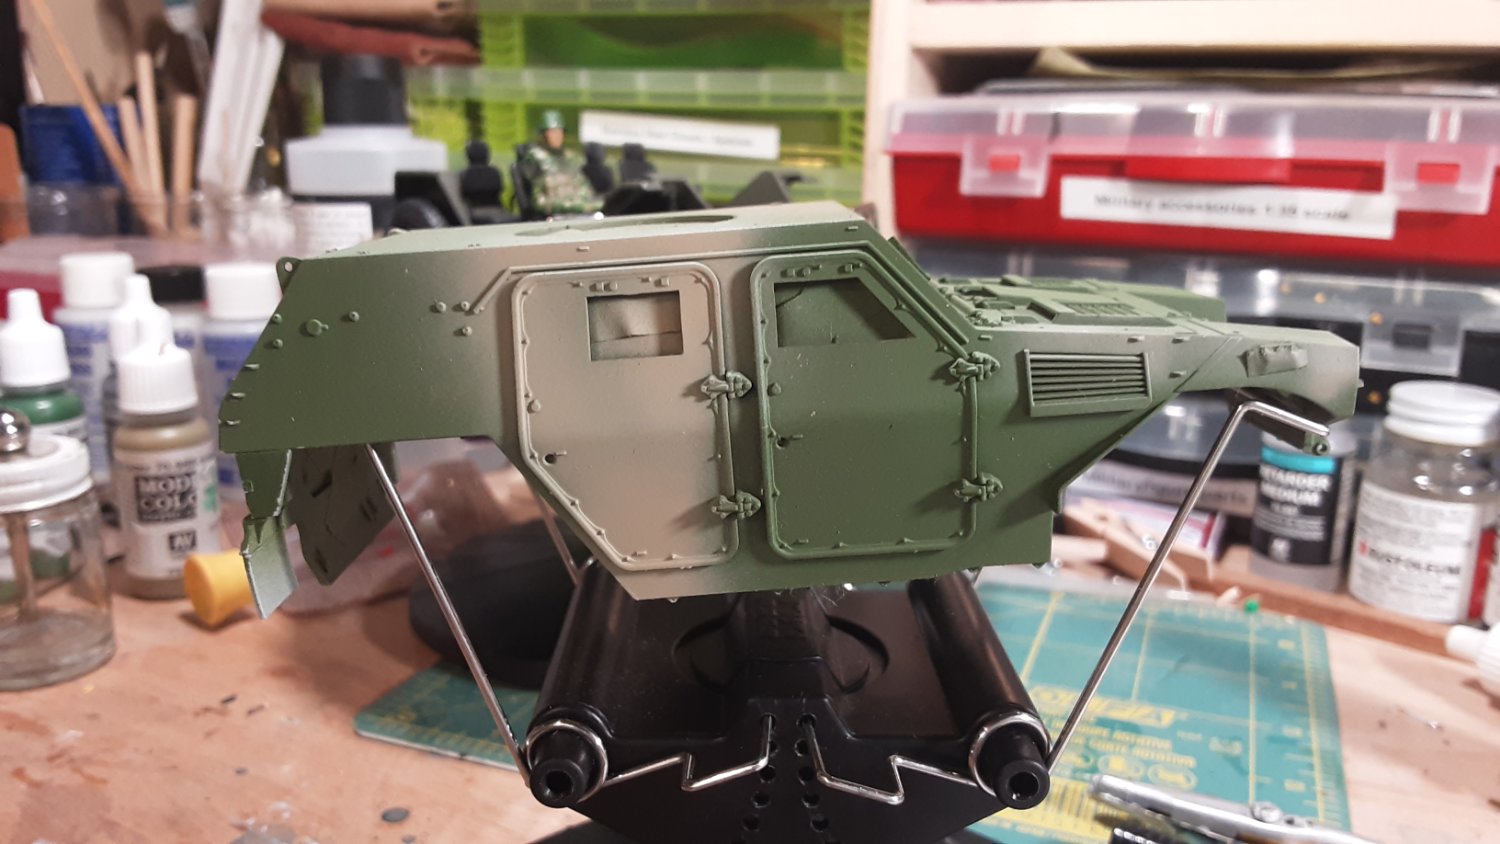
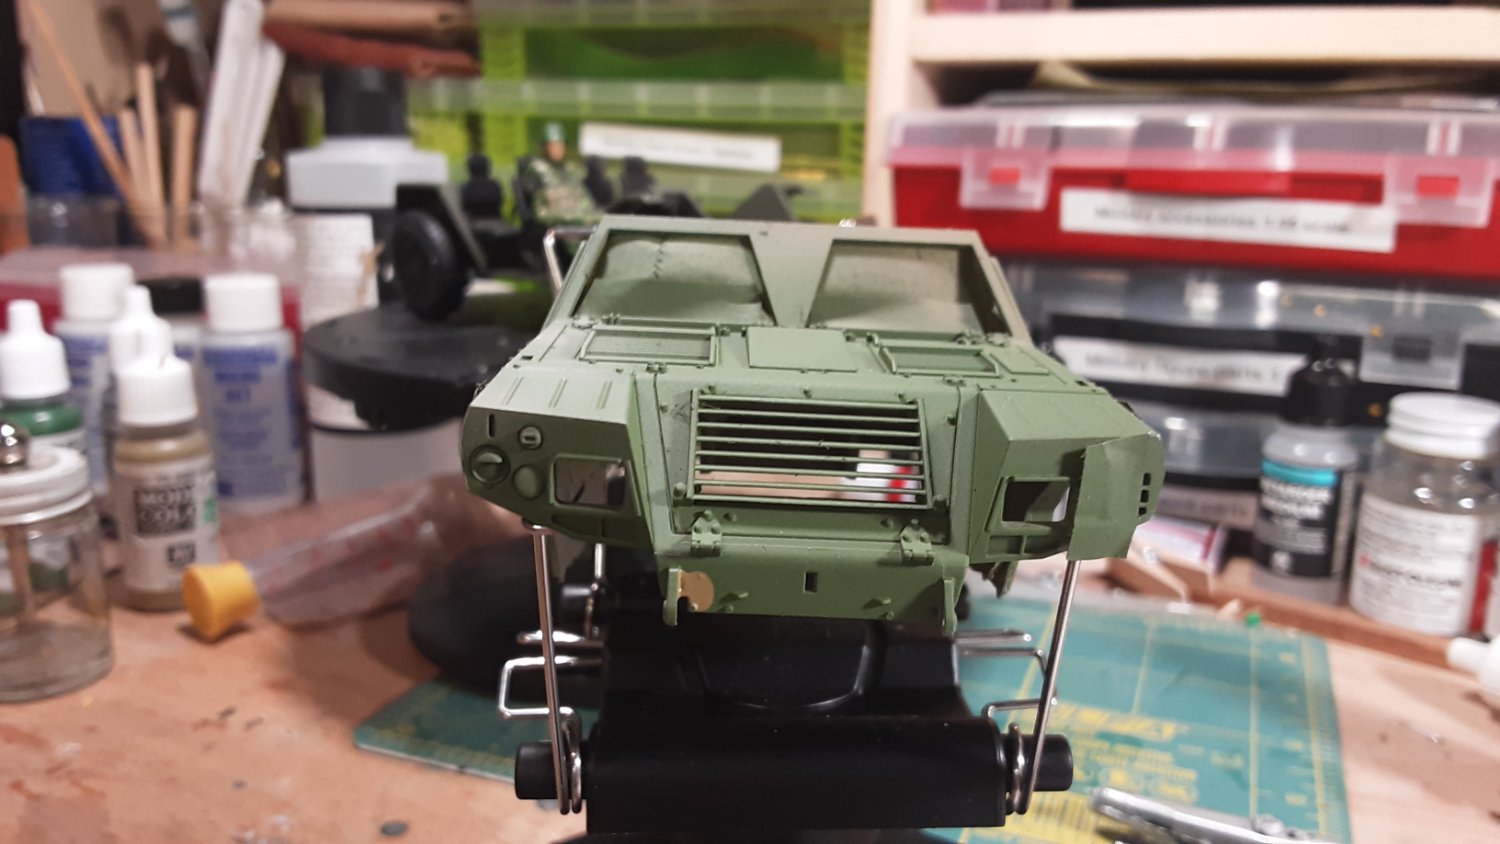
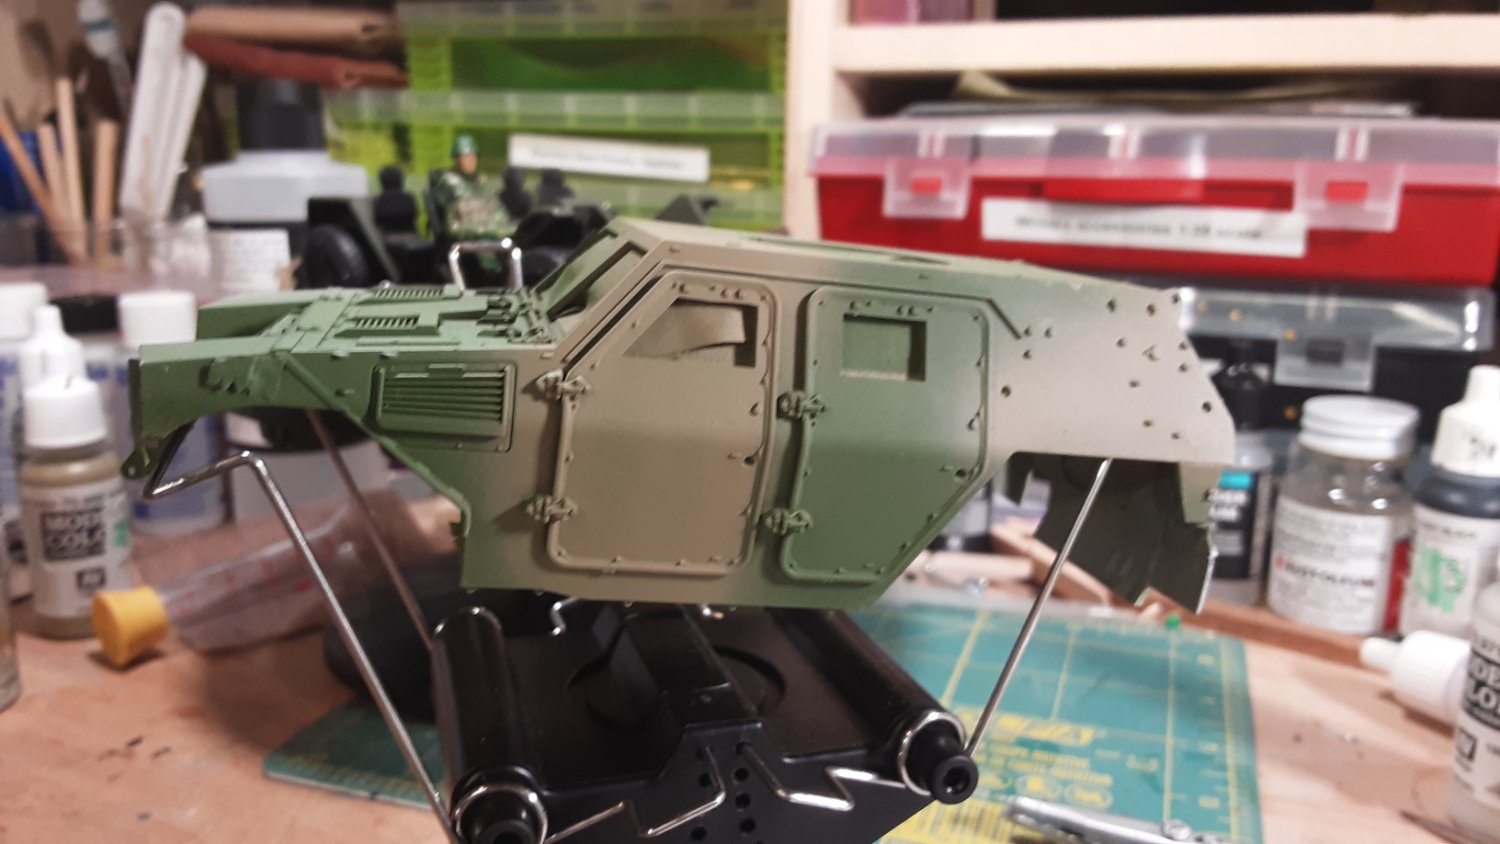
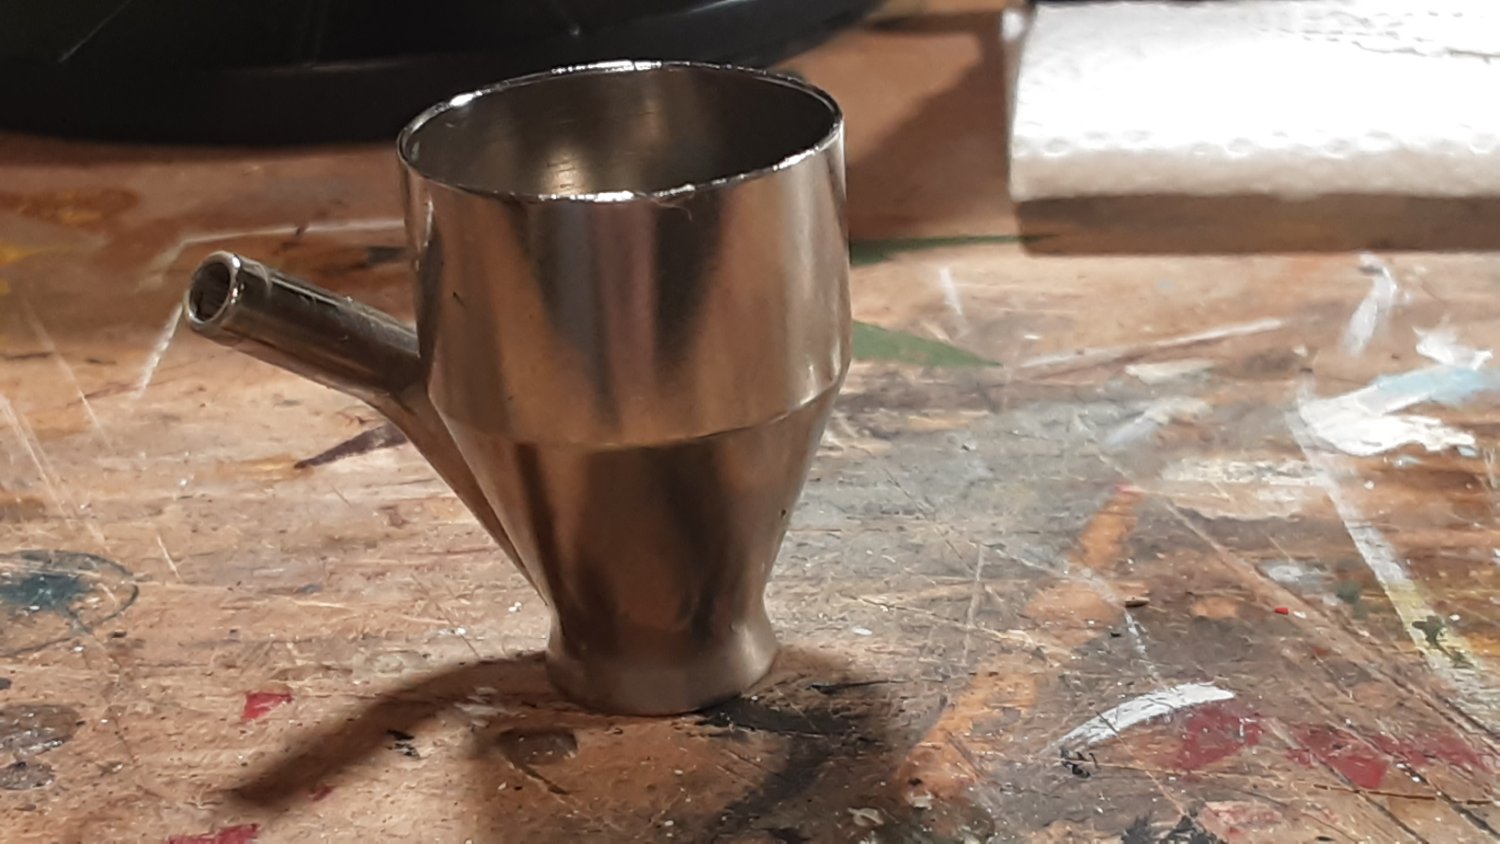
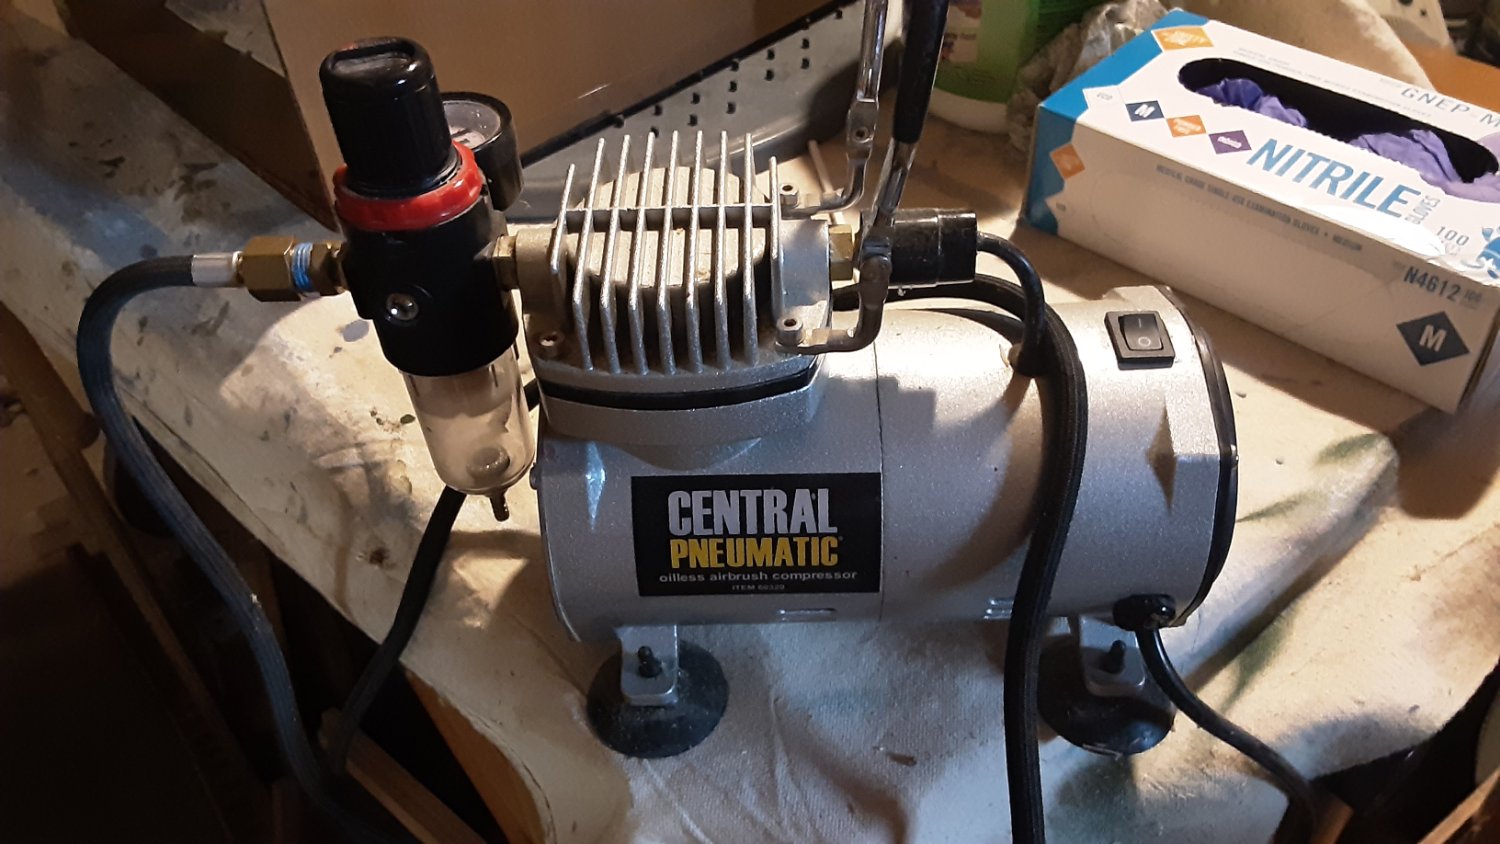
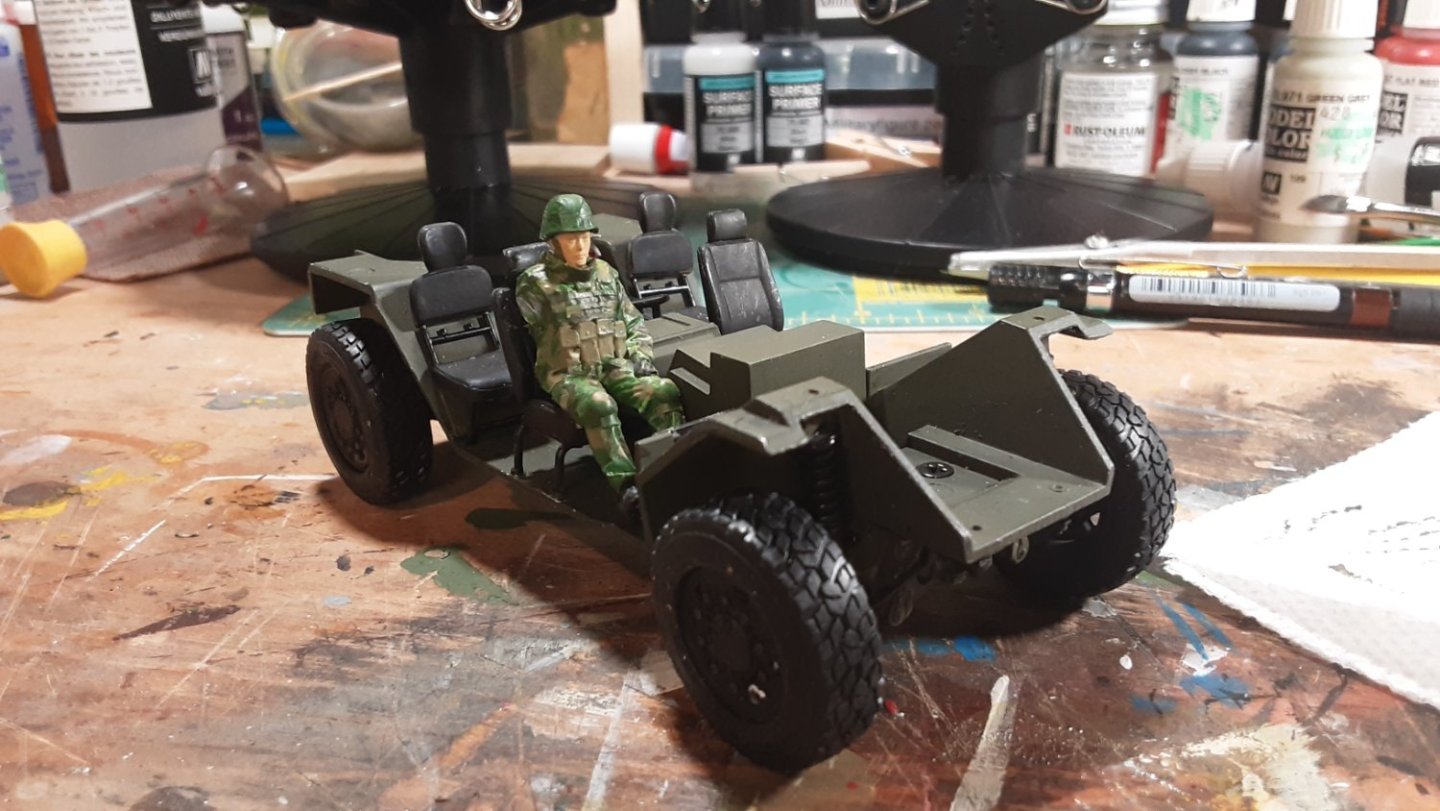
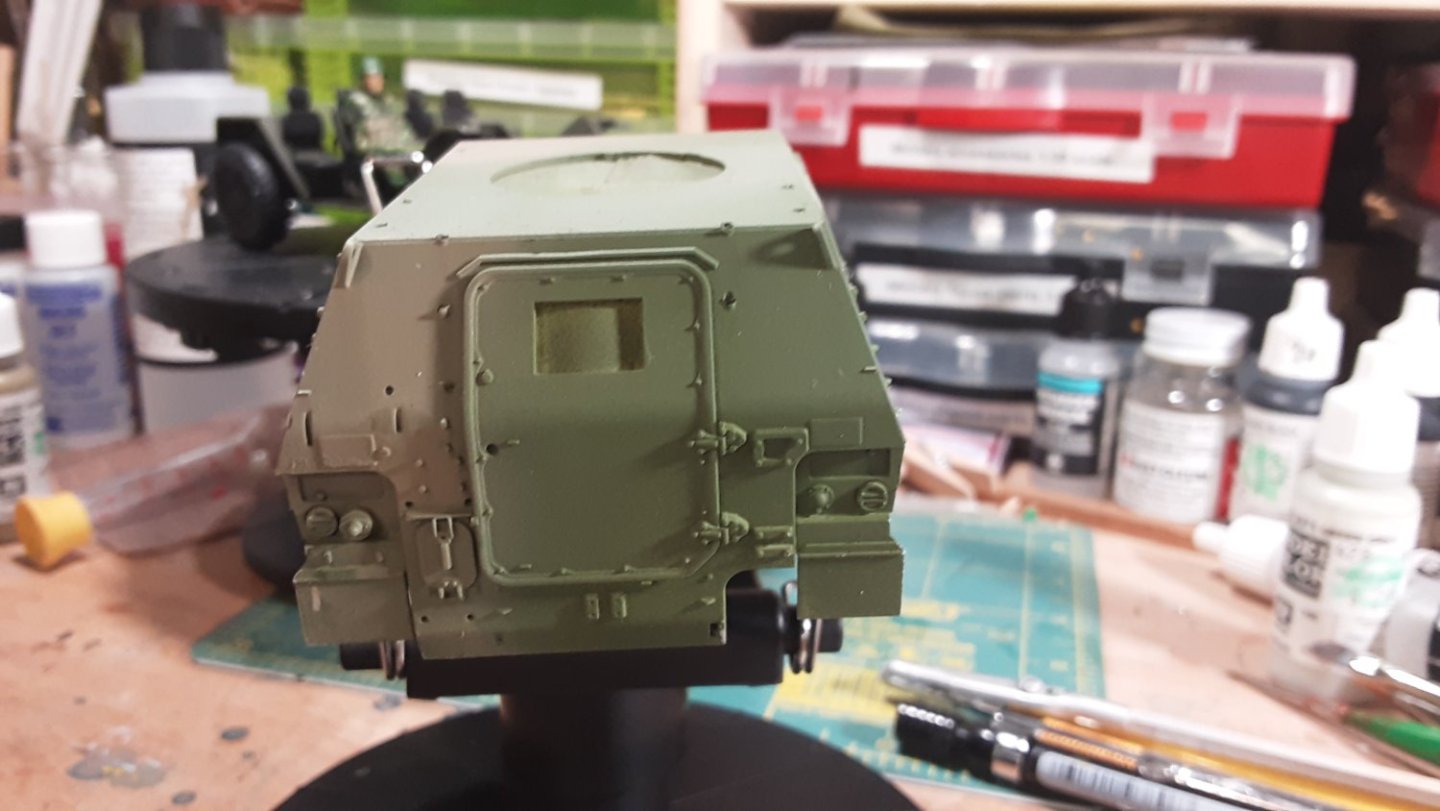
Update : it now has wheels and a driver. Instructions say to attach his right arm after the shell is attached, so I guess one door must remain off until then Continuing on with the air brushing of the camo pattern I repeatedly hit snags. First the color cup kept falling off spilling paint everywhere. Then the airbrush kept clogging after a few minutes of spraying. Here's the 1st attempt results ⁹ For the main coat (green) I used a ratio of 1 part paint to 1 part thinner, adding for every 10 drops of paint 1 drop of flow improver. No clogging problems. For the tan camo coat I repeated the ratio and clogged the airbrush. This is my setup Badger 200 and 200NH Brush, small compressor at 40 psi (20 psi wouldn’t move any paint), Badger color cup. I tried the Model Air with no better results. 😌 BTW this is the same setup I used when I was using Floquil brand. And YES I did strip down and clean all parts of the airbrush BEFORE I started. So what am I missing? Craig @CDW , EG @Egilman ? Anybody using Vallejo paints in an airbrush your advice is needed ! What's the magic formula for Vallejo acrylics? Thanks !


- 66 replies
-
- 10
-

-
Excellent! Well done! Nice looking model!