HOLIDAY DONATION DRIVE - SUPPORT MSW - DO YOUR PART TO KEEP THIS GREAT FORUM GOING! (83 donations so far out of 49,000 members - C'mon guys!)
×


palmerit
-
Posts
1,056 -
Joined
-
Last visited
Content Type
Profiles
Forums
Gallery
Events
Everything posted by palmerit
-
Model Expo is certainly not at the cutting edge of model ship kits. I don’t know the last time they came out with a new kit. They’re re-issuing Midwest kits with few updates. I’ve heard that they’re planning to reissue something own kits. It is a shame they don’t improve the quality a bit. They could channel some of their energy and money from ads and sales to kits.
-
The cleats and blocks are pretty low quality plastic. I’ll be replacing them.
-
Painted, with a few bleed throughs to patch up.


- 33 replies
-
- 3
-

-
- crabbing skiff
- Chesapeake Bay crabbing skiff
- (and 1 more)
-
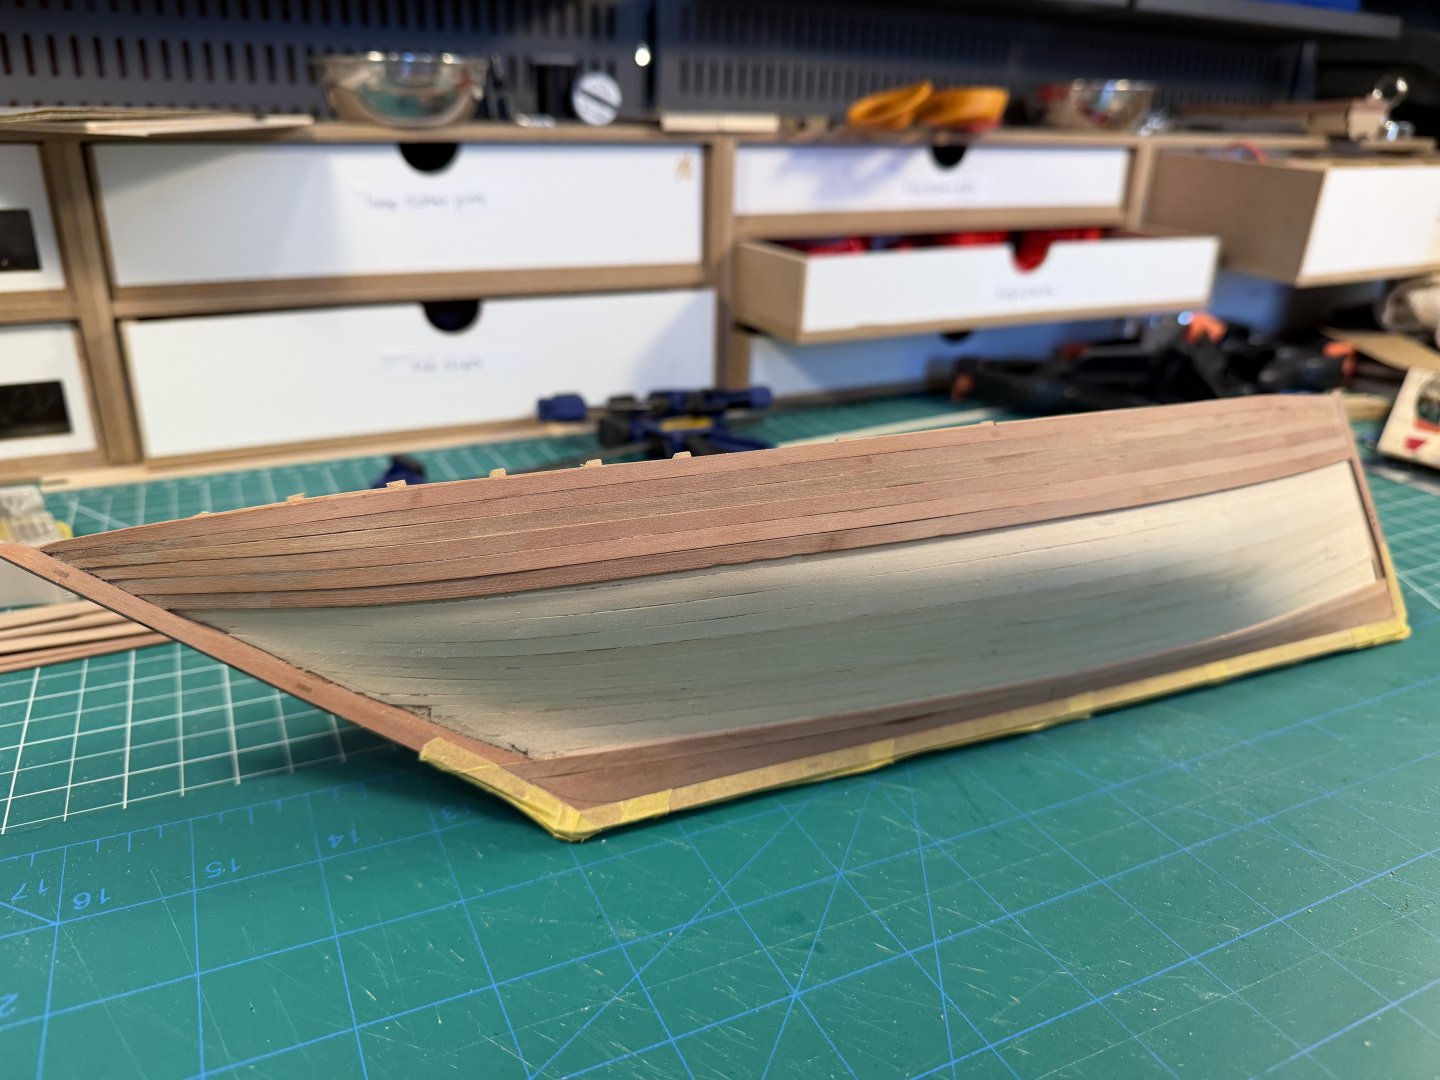
Slow but steady progress on the planking. A couple of planks per day. Each its own project.
- 43 replies
-
- 2
-
-
- Lady Isabella
- zulu
- (and 1 more)
-
Spoiled by Vanguard’s engineering. A bit of a challenge to make sure these “old school” frames are aligned properly.
-
I can't imagine building five Sphinx-scale models at once 😉
-
I’ll need to check. They are plastic and oddly shaped on the Midwest Crabbing Skiff kit. I’m planning to replace those with Syren blocks for have. The Crabbing Skiff did come with descent wood cleats, not the garbage Britannia metal that often comes with Model Shipways kits. I’m definitely planning to replace the rope - with Syren, or left over Vanguard, or some I make myself if I get a rope walk. One reason for doing this kit is that Olha spends several episodes on the sails, doing them the right way. I’m planning to follow along. With other Midwest kits I’ve worked on, Model Shipways updated I think the laser cut planks, and had to re-source the material. The instructions are barely updated. In the kits I’ve built they reference a paint brand that hasn’t been around for years. They recommend using electrical tape to mask off while painting. And mostly use CA glue in the instructions - I generally use PVA.
-
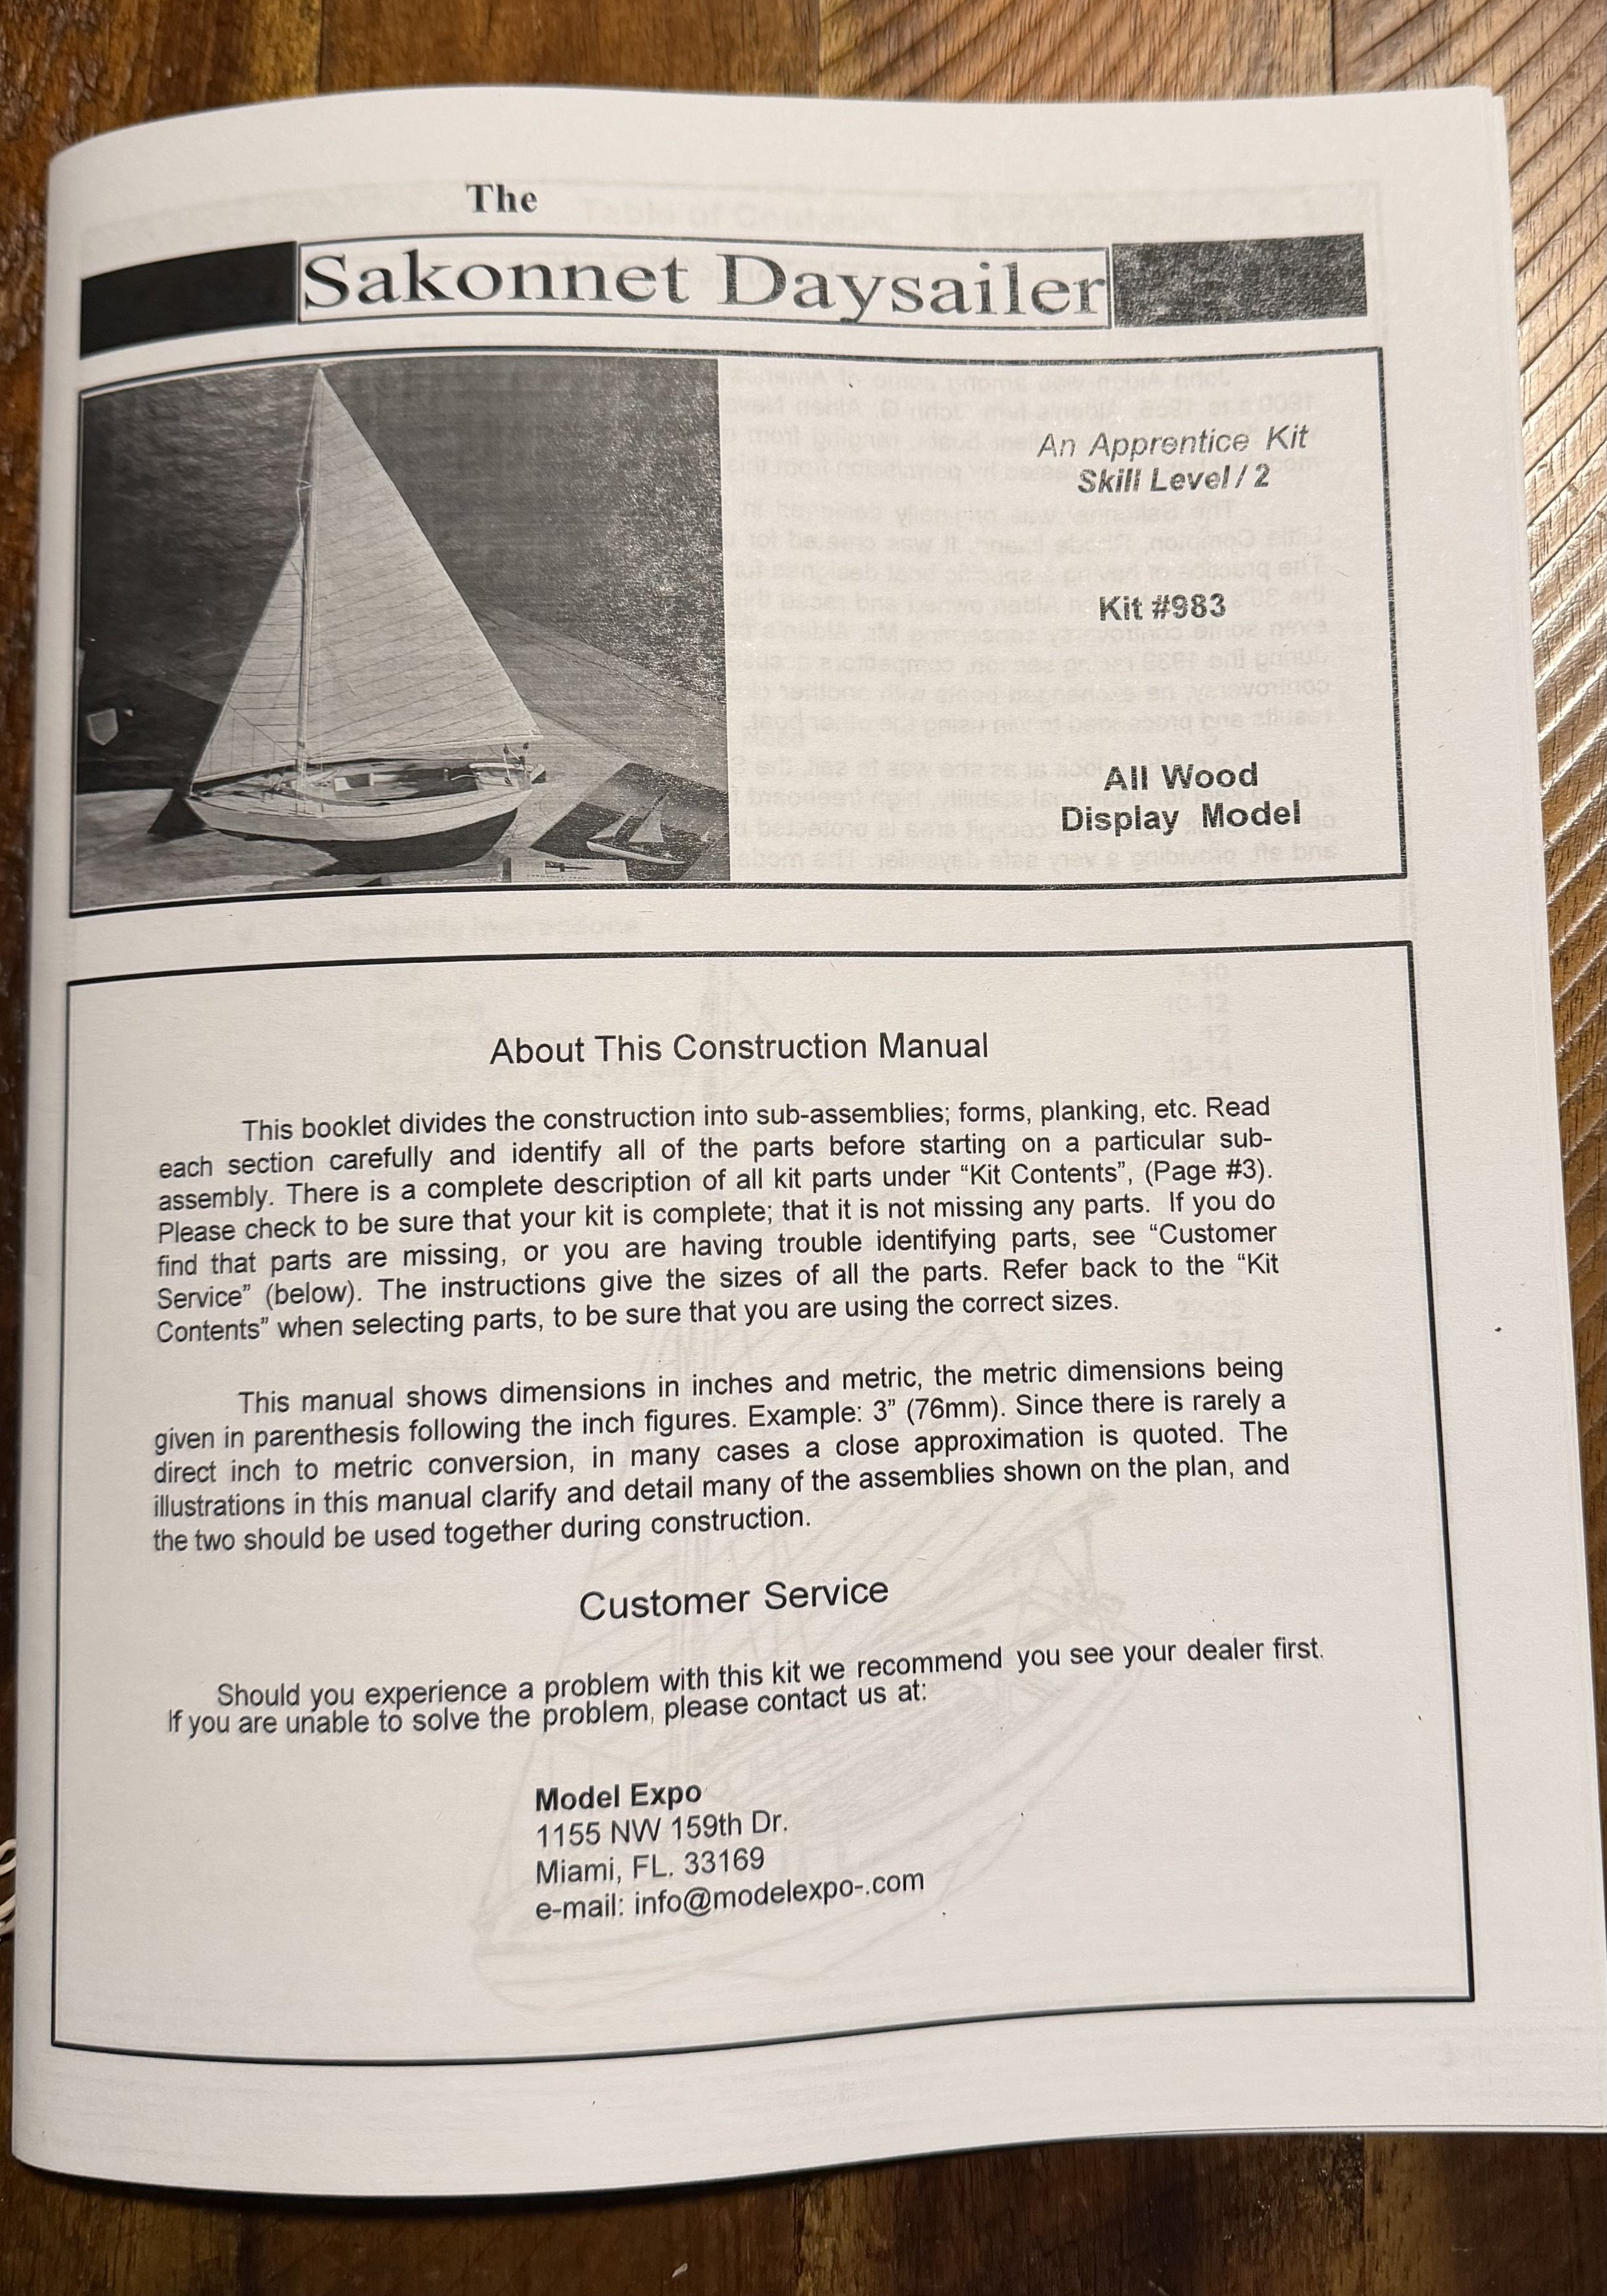
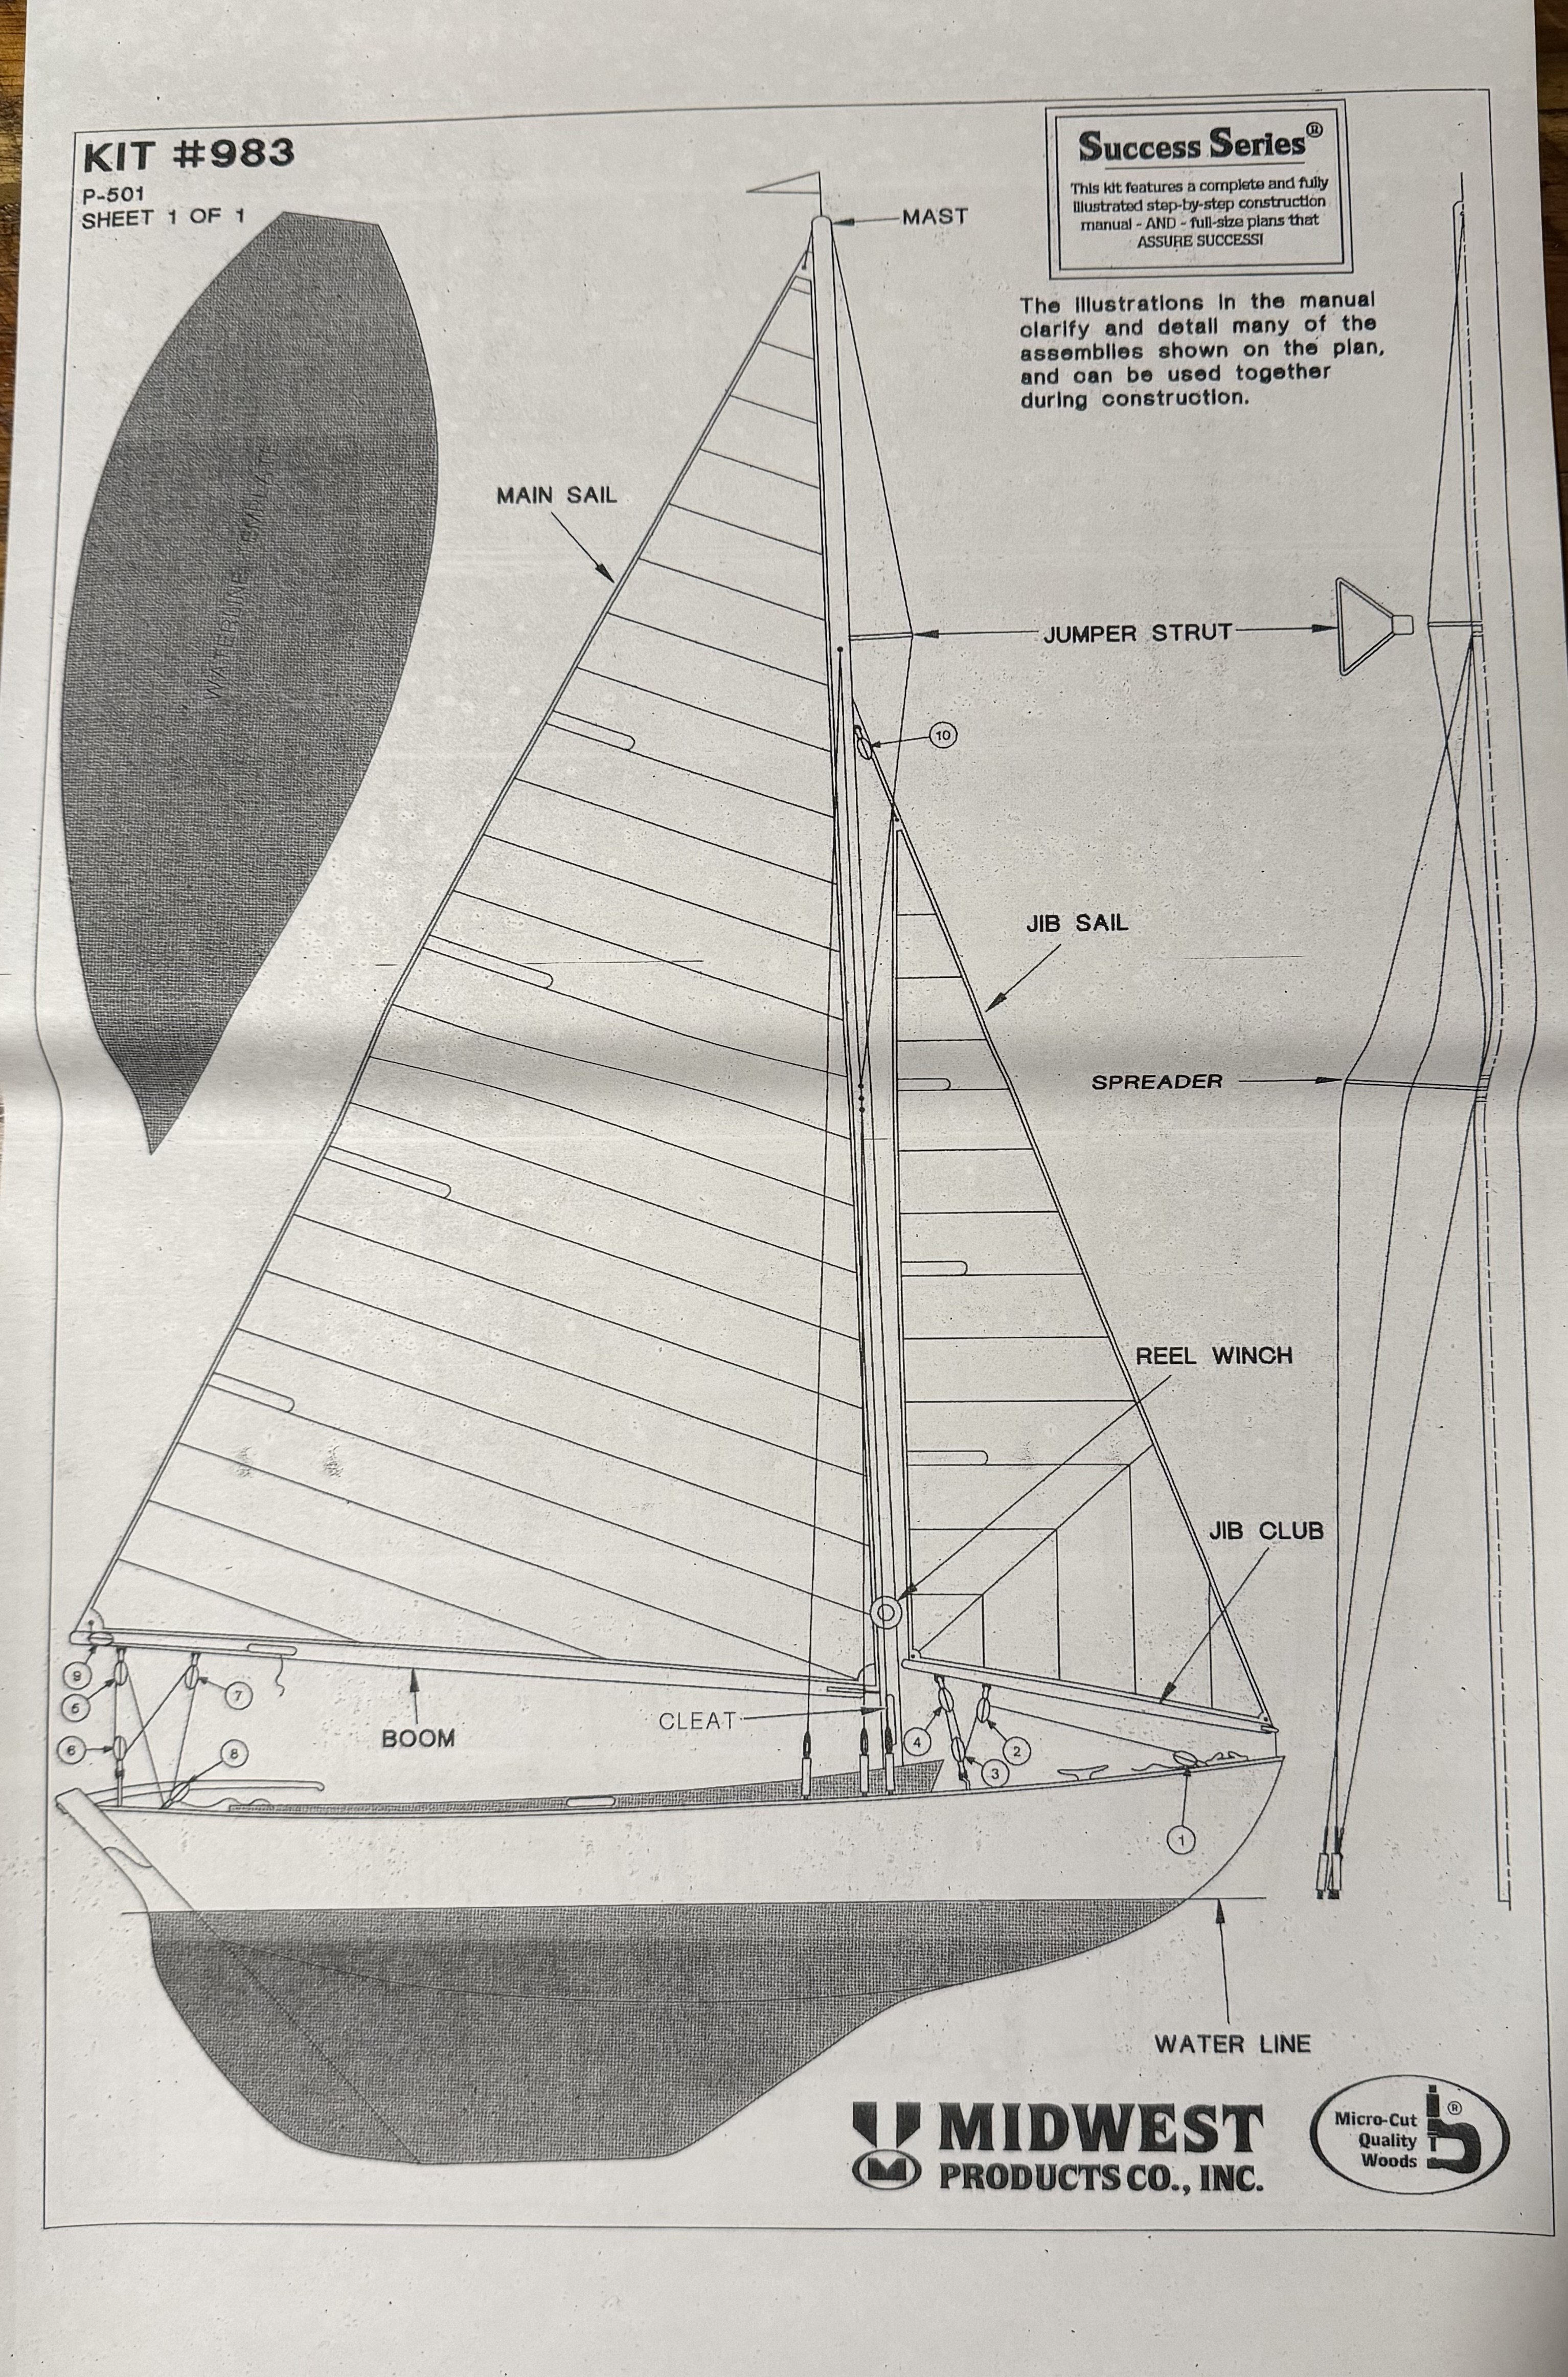
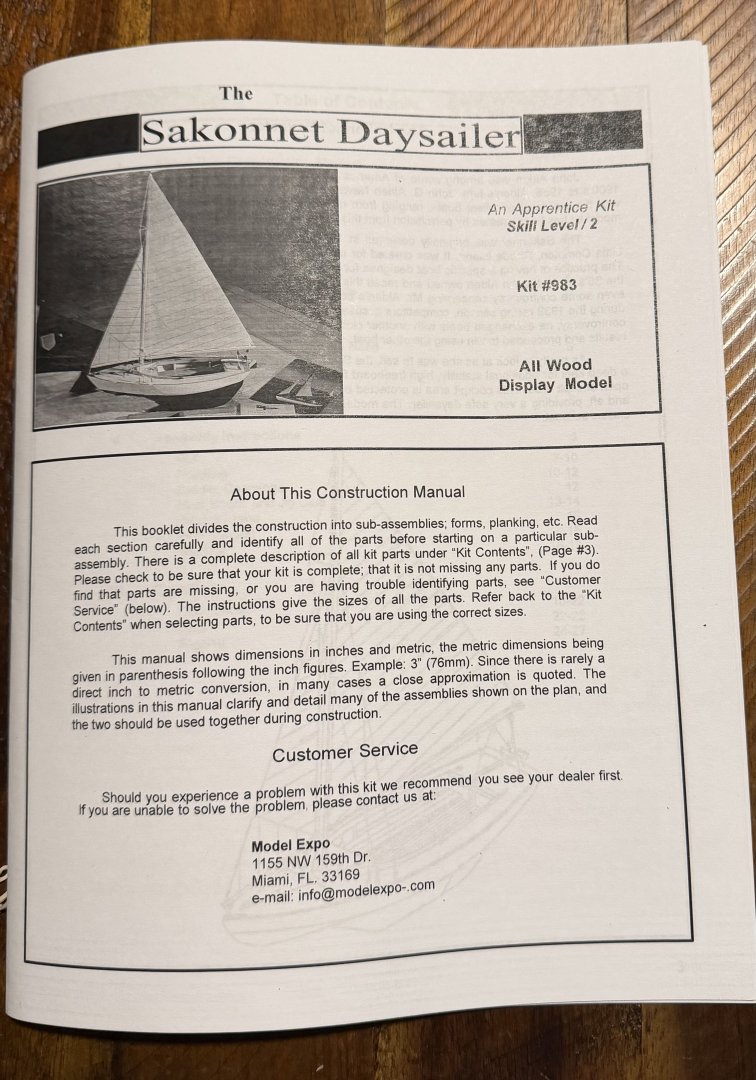
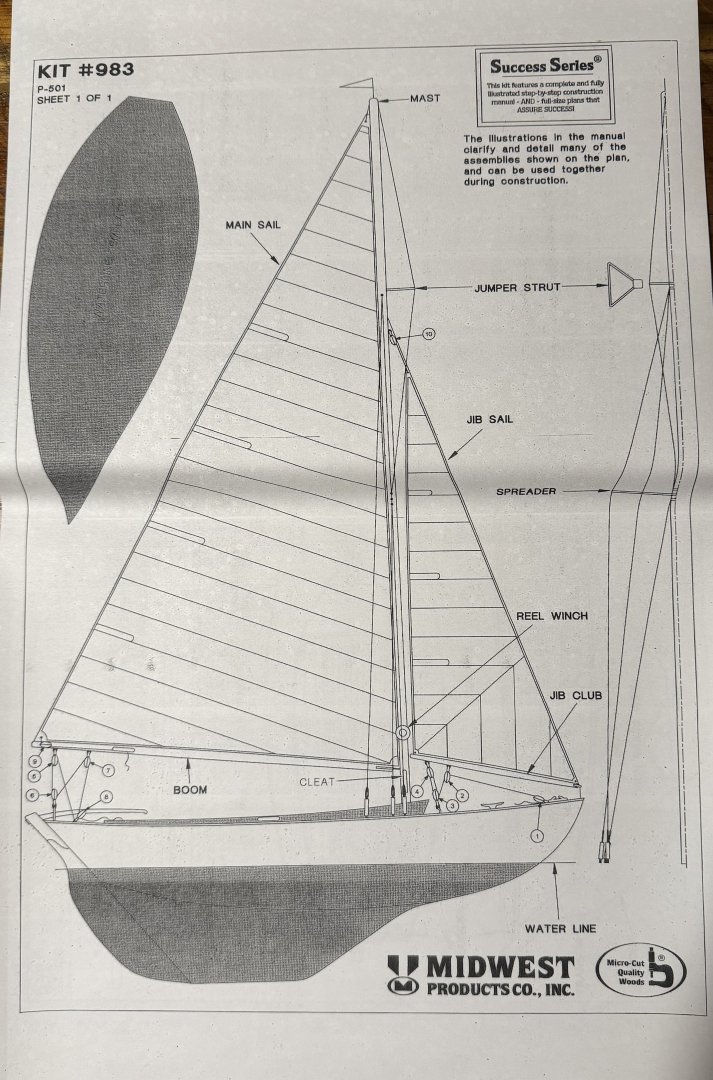
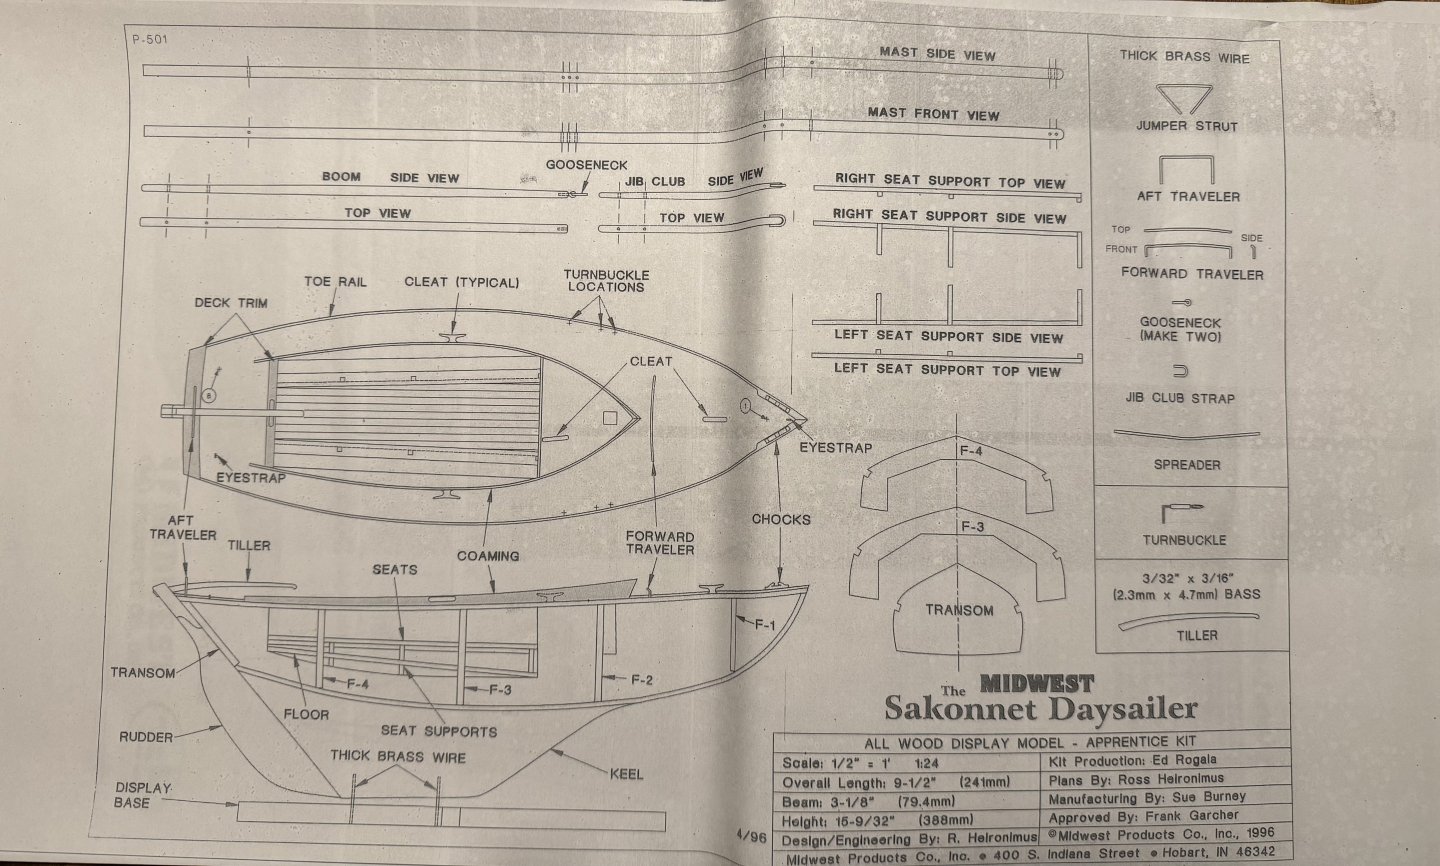
Here's Olha Batchvarov's playlist for building the Sakonnet Daysailer. This is her first live build.
-
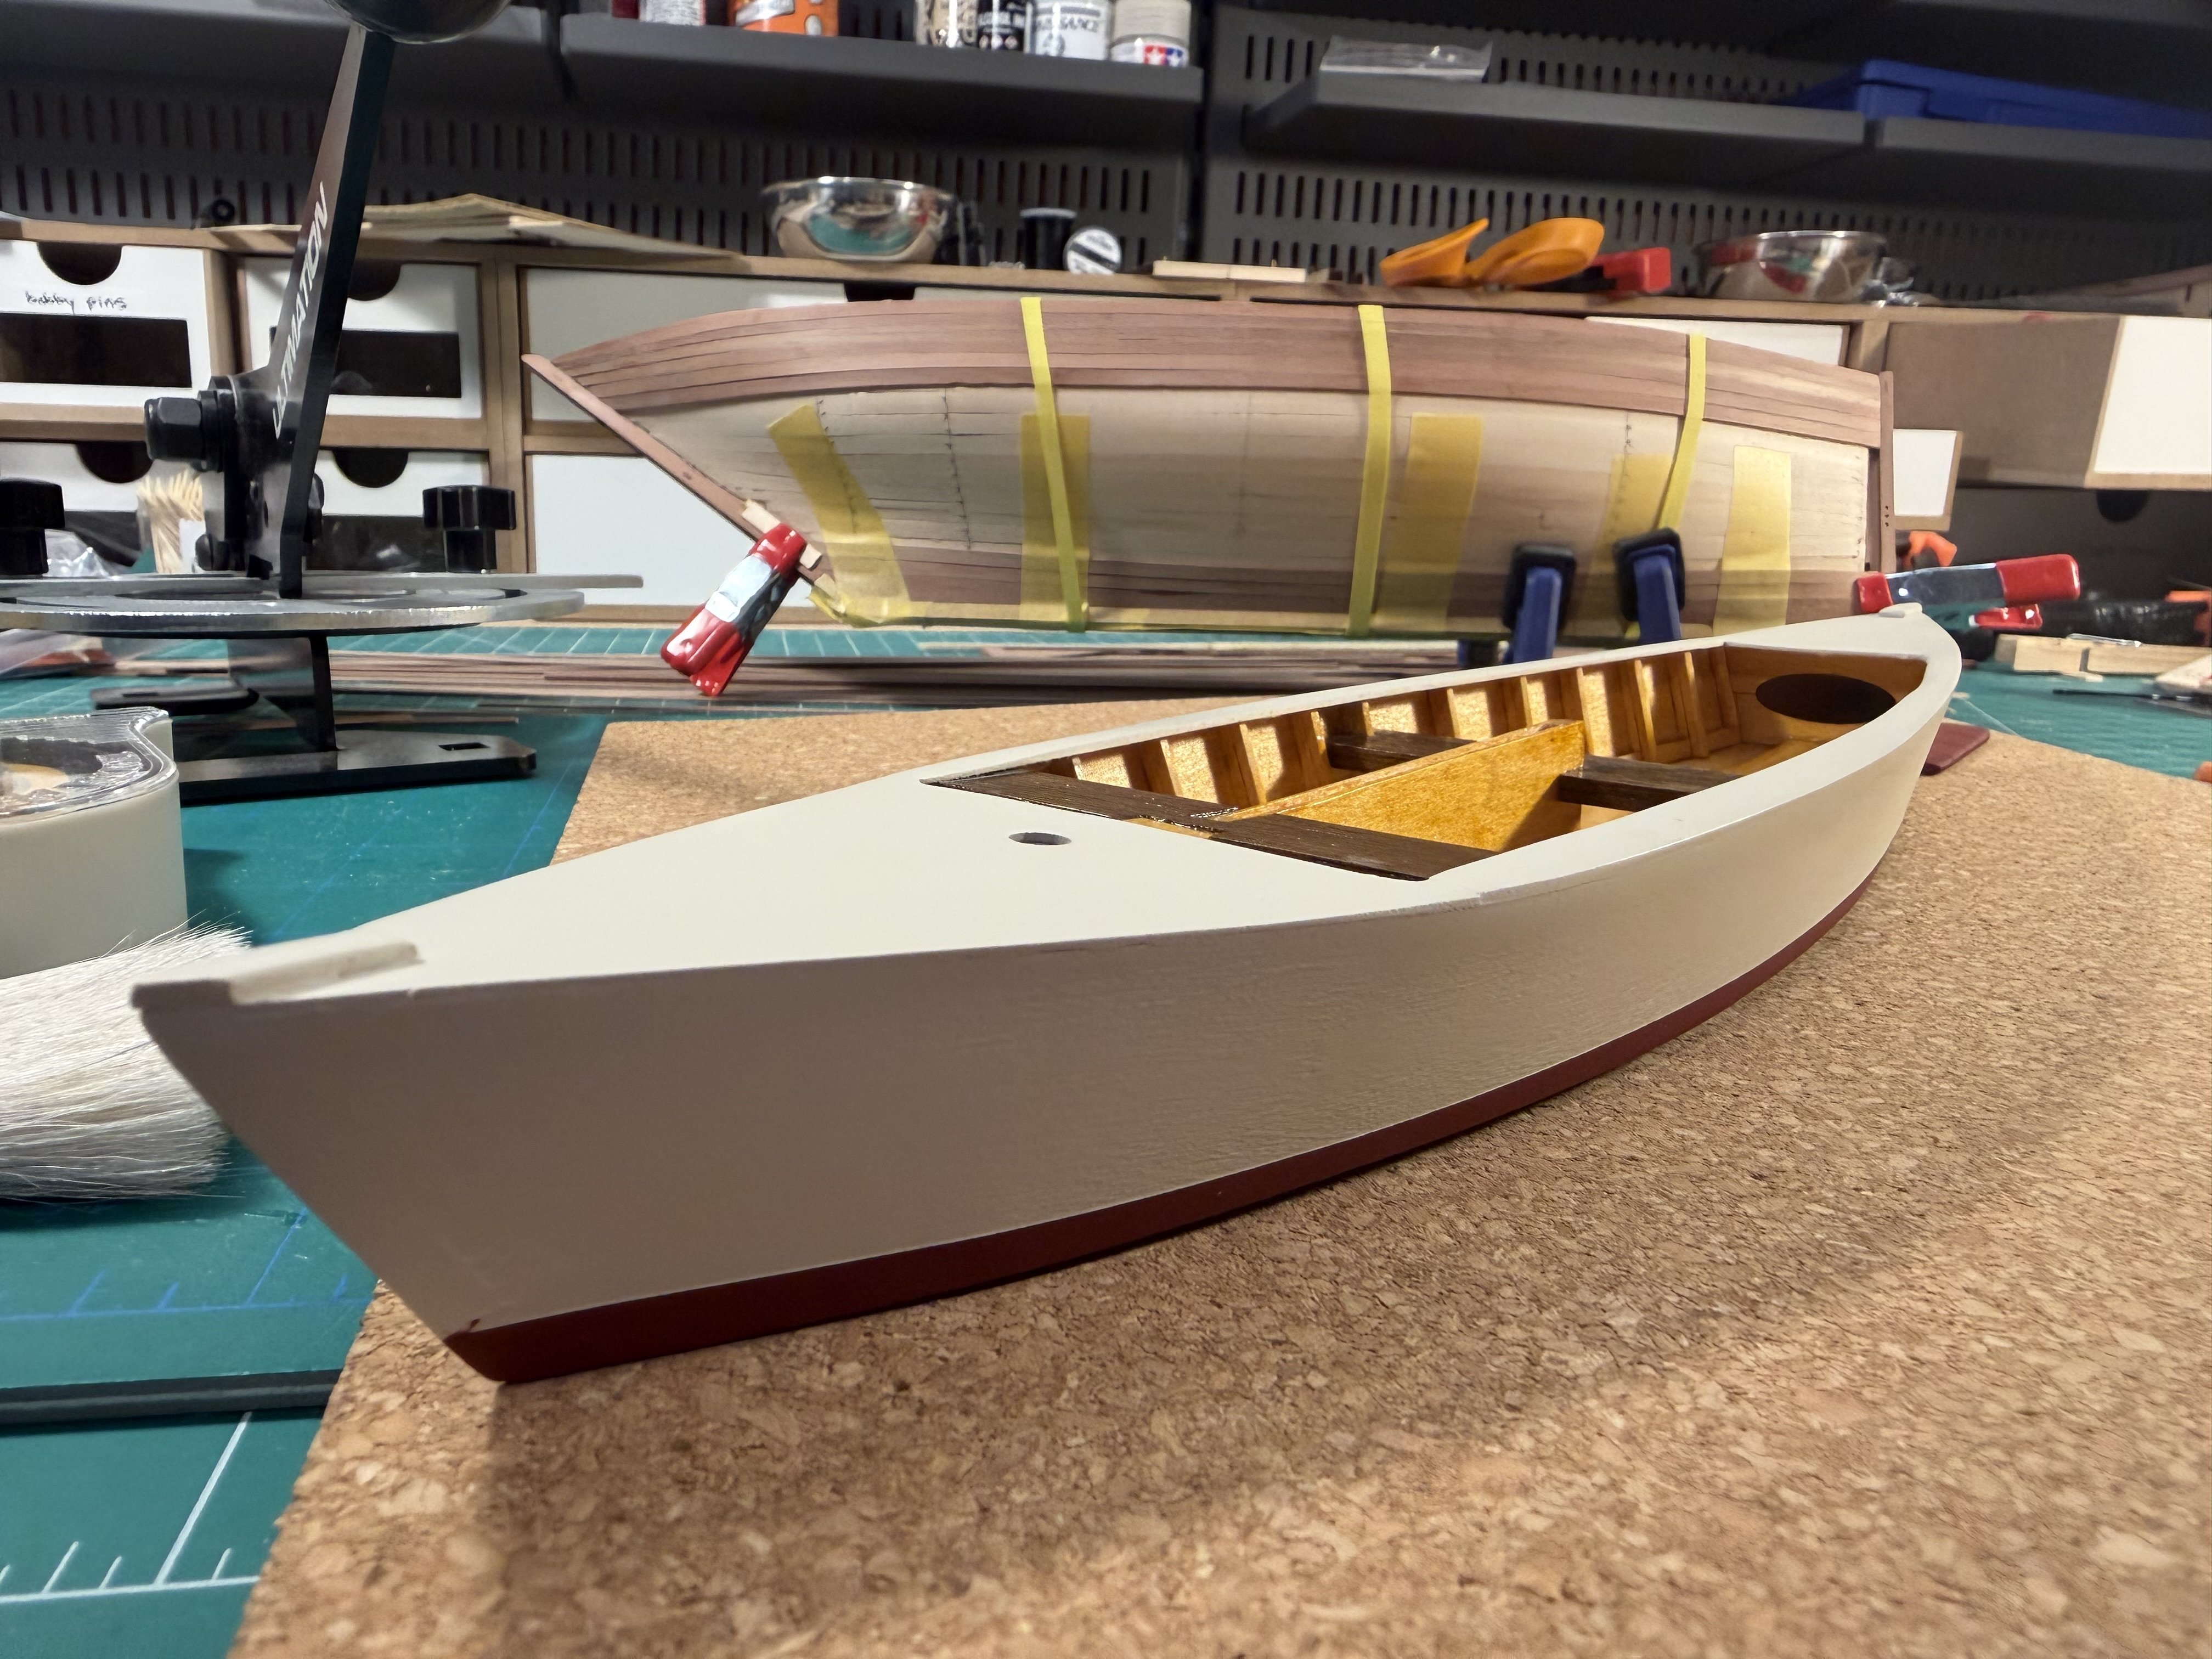
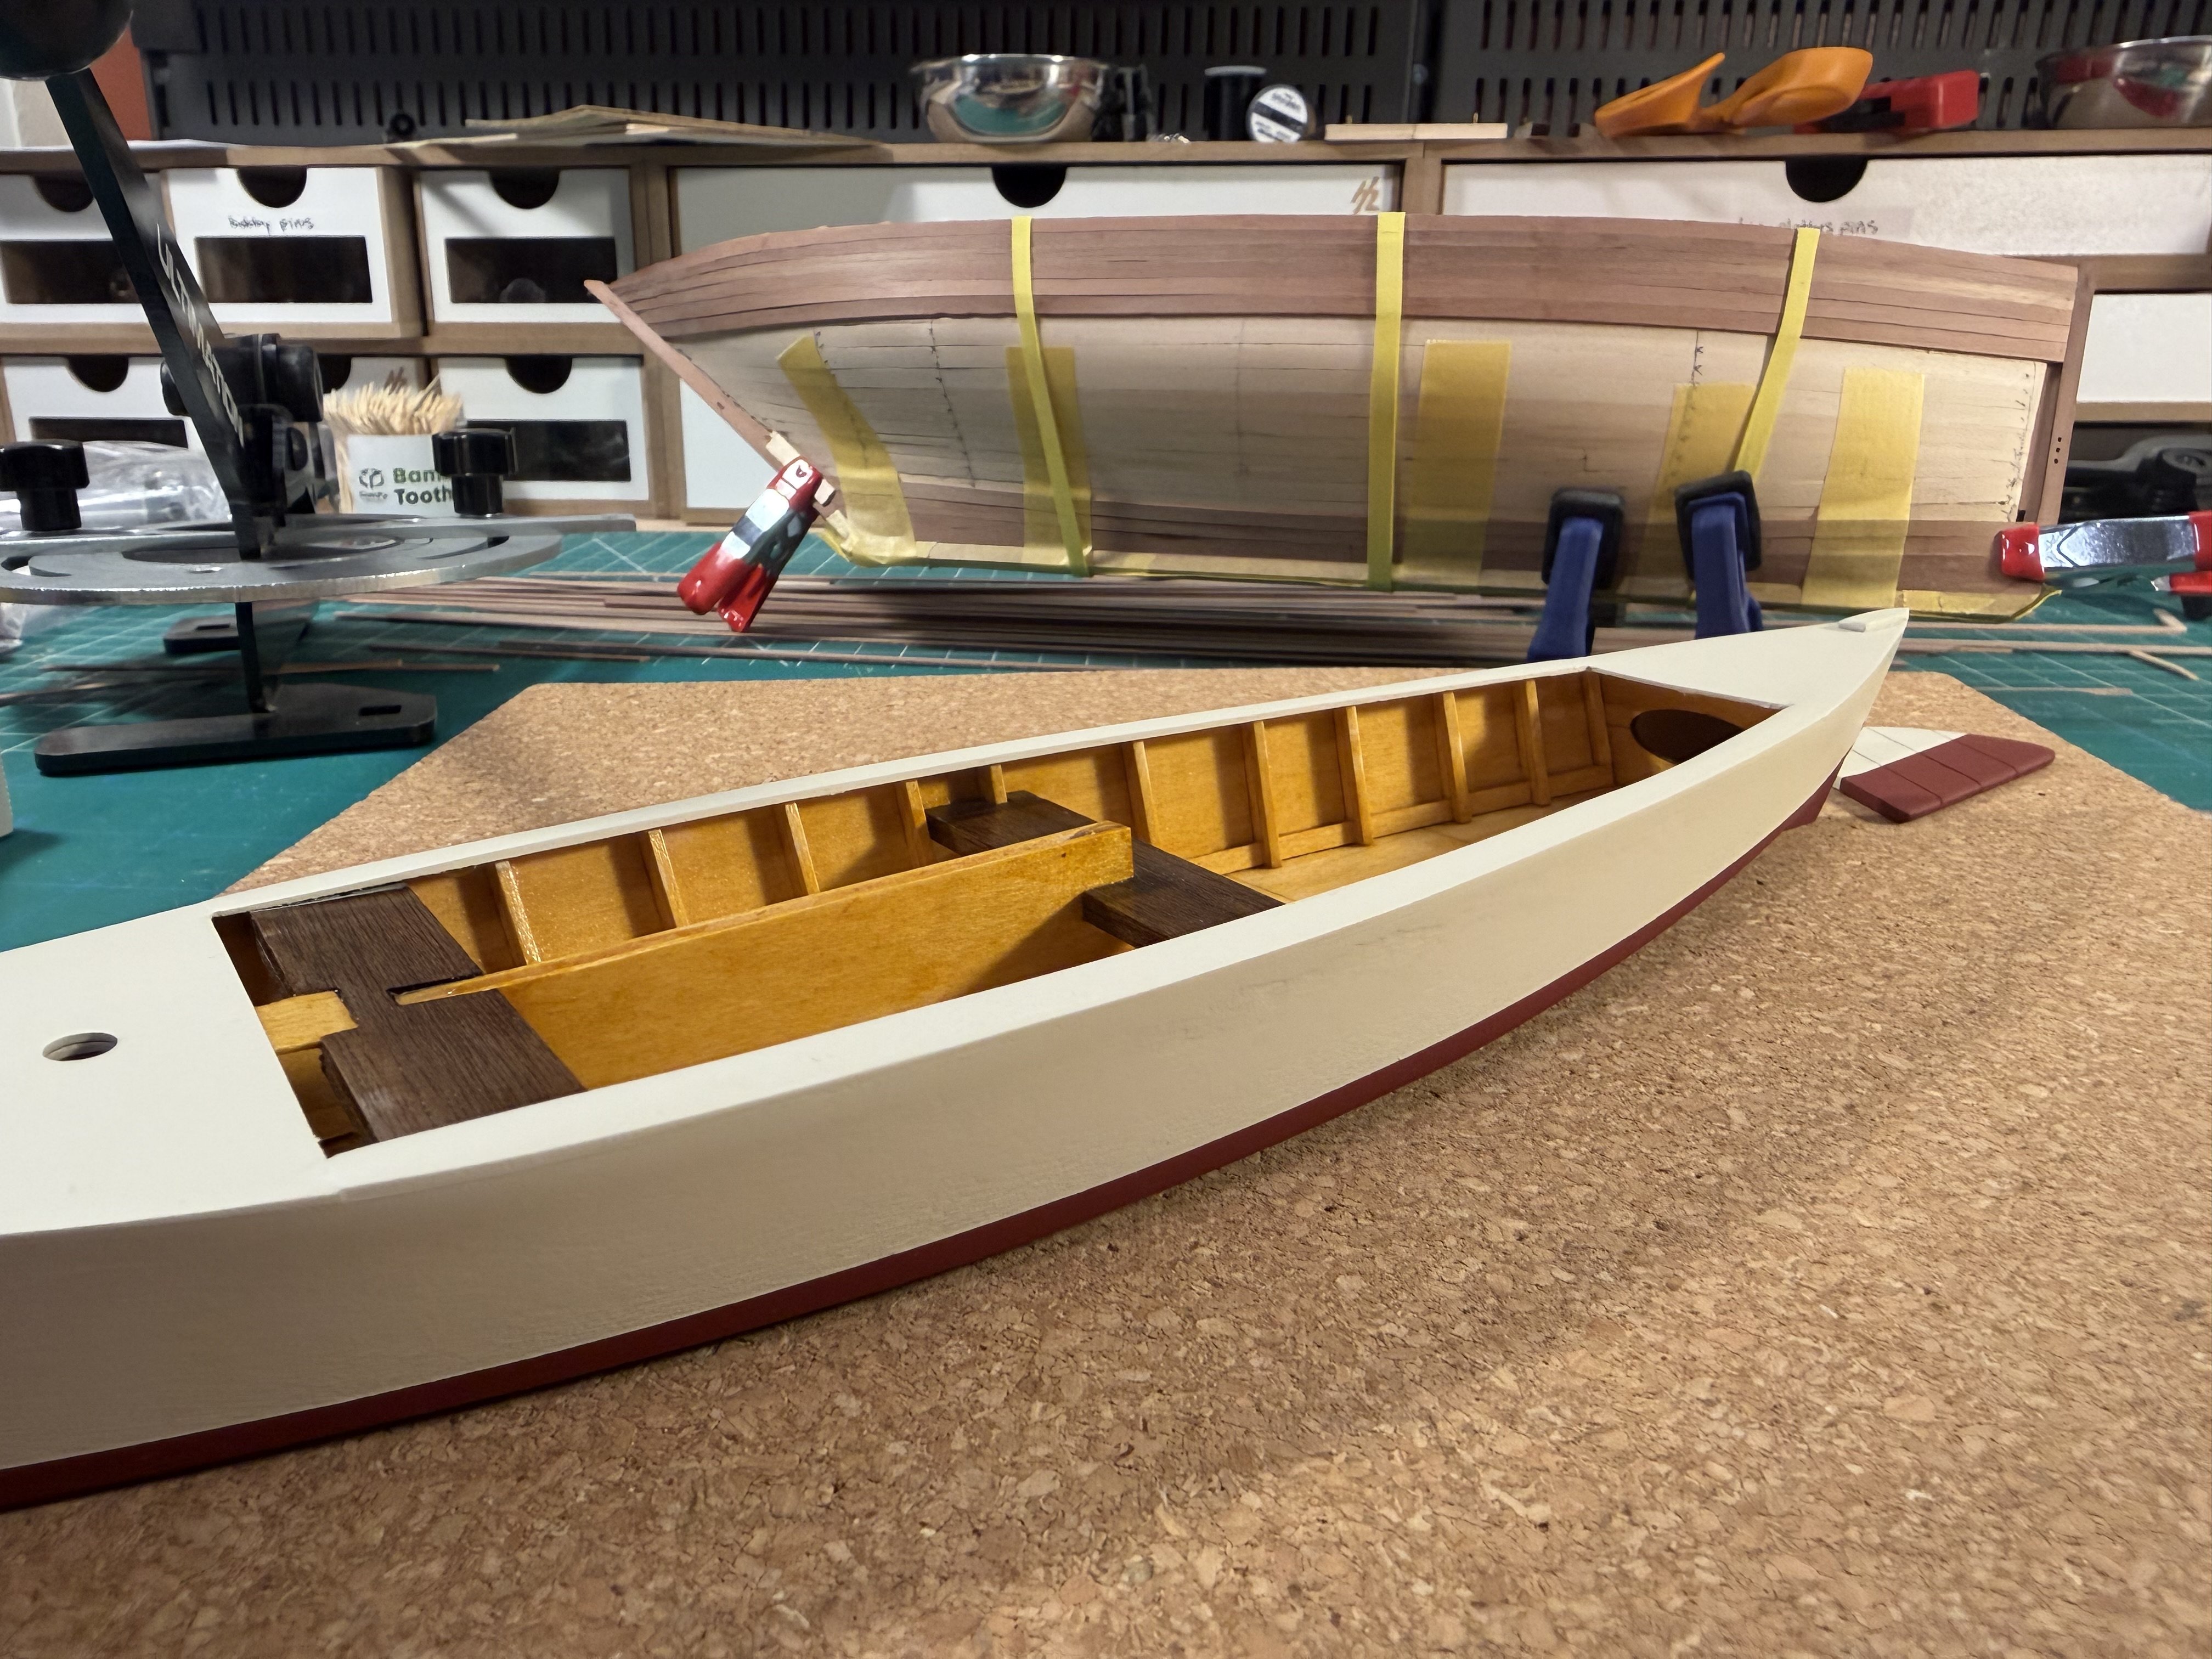
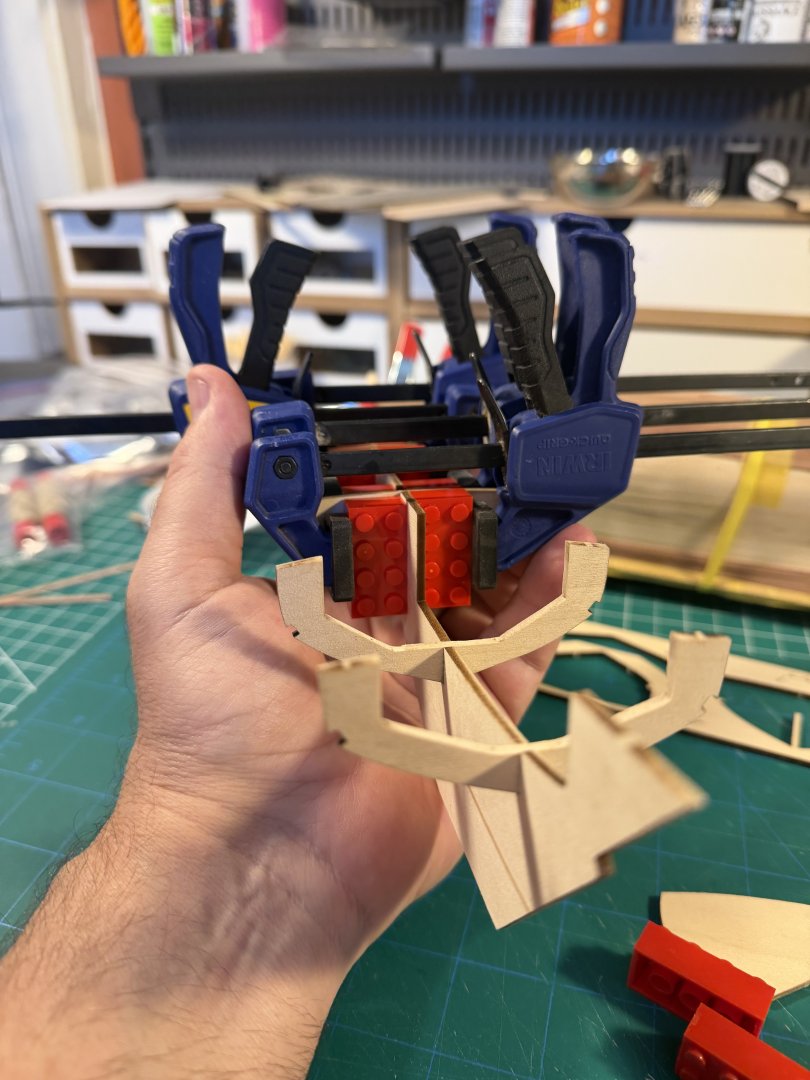
I bought this Sakonnet Daysailer model during a 1/2 off sale at Model Expo months ago - not that it was expensive to begin with. This is based on an old Midwest model. I believe Model Expo / Model Shipways bought out their kits several years back and they have been gradually reissuing them under the Model Shipways banner. Olha Batchvarov used it for her first YouTube live stream build. I bought it because it was small, inexpensive, and because of Olha's video build log. I figured I could follow along on her build - fast forwarding over many of the sections - to see if there is anything I can learn by following along. This one is considered a "Skill Level 2" for Midwest kits. I have four models underway now (the Phildelphia is packed away for a bit because it is a fairly large model). After planking the Lady Isabella and setting it aside to dry, shaping some planks on the Peabod and leaving it to dry, and doing a bit of painting on the Crabbing Skiff and Scow Scooner and leaving them to dry, I wanted something else to work on for a bit while waiting to pick up my younger son from the airport late tonight. I figured this Daysailer would be a relatively easy filler build from time to time, even if it takes a while before I finish it.


-
Perfect solution. I had a similar issue and ended up using some wood filler, which was okay I suppose since it was all painted. I "discovered" your solution when trying to fix a problem later (the trim pieces around the stern).
-
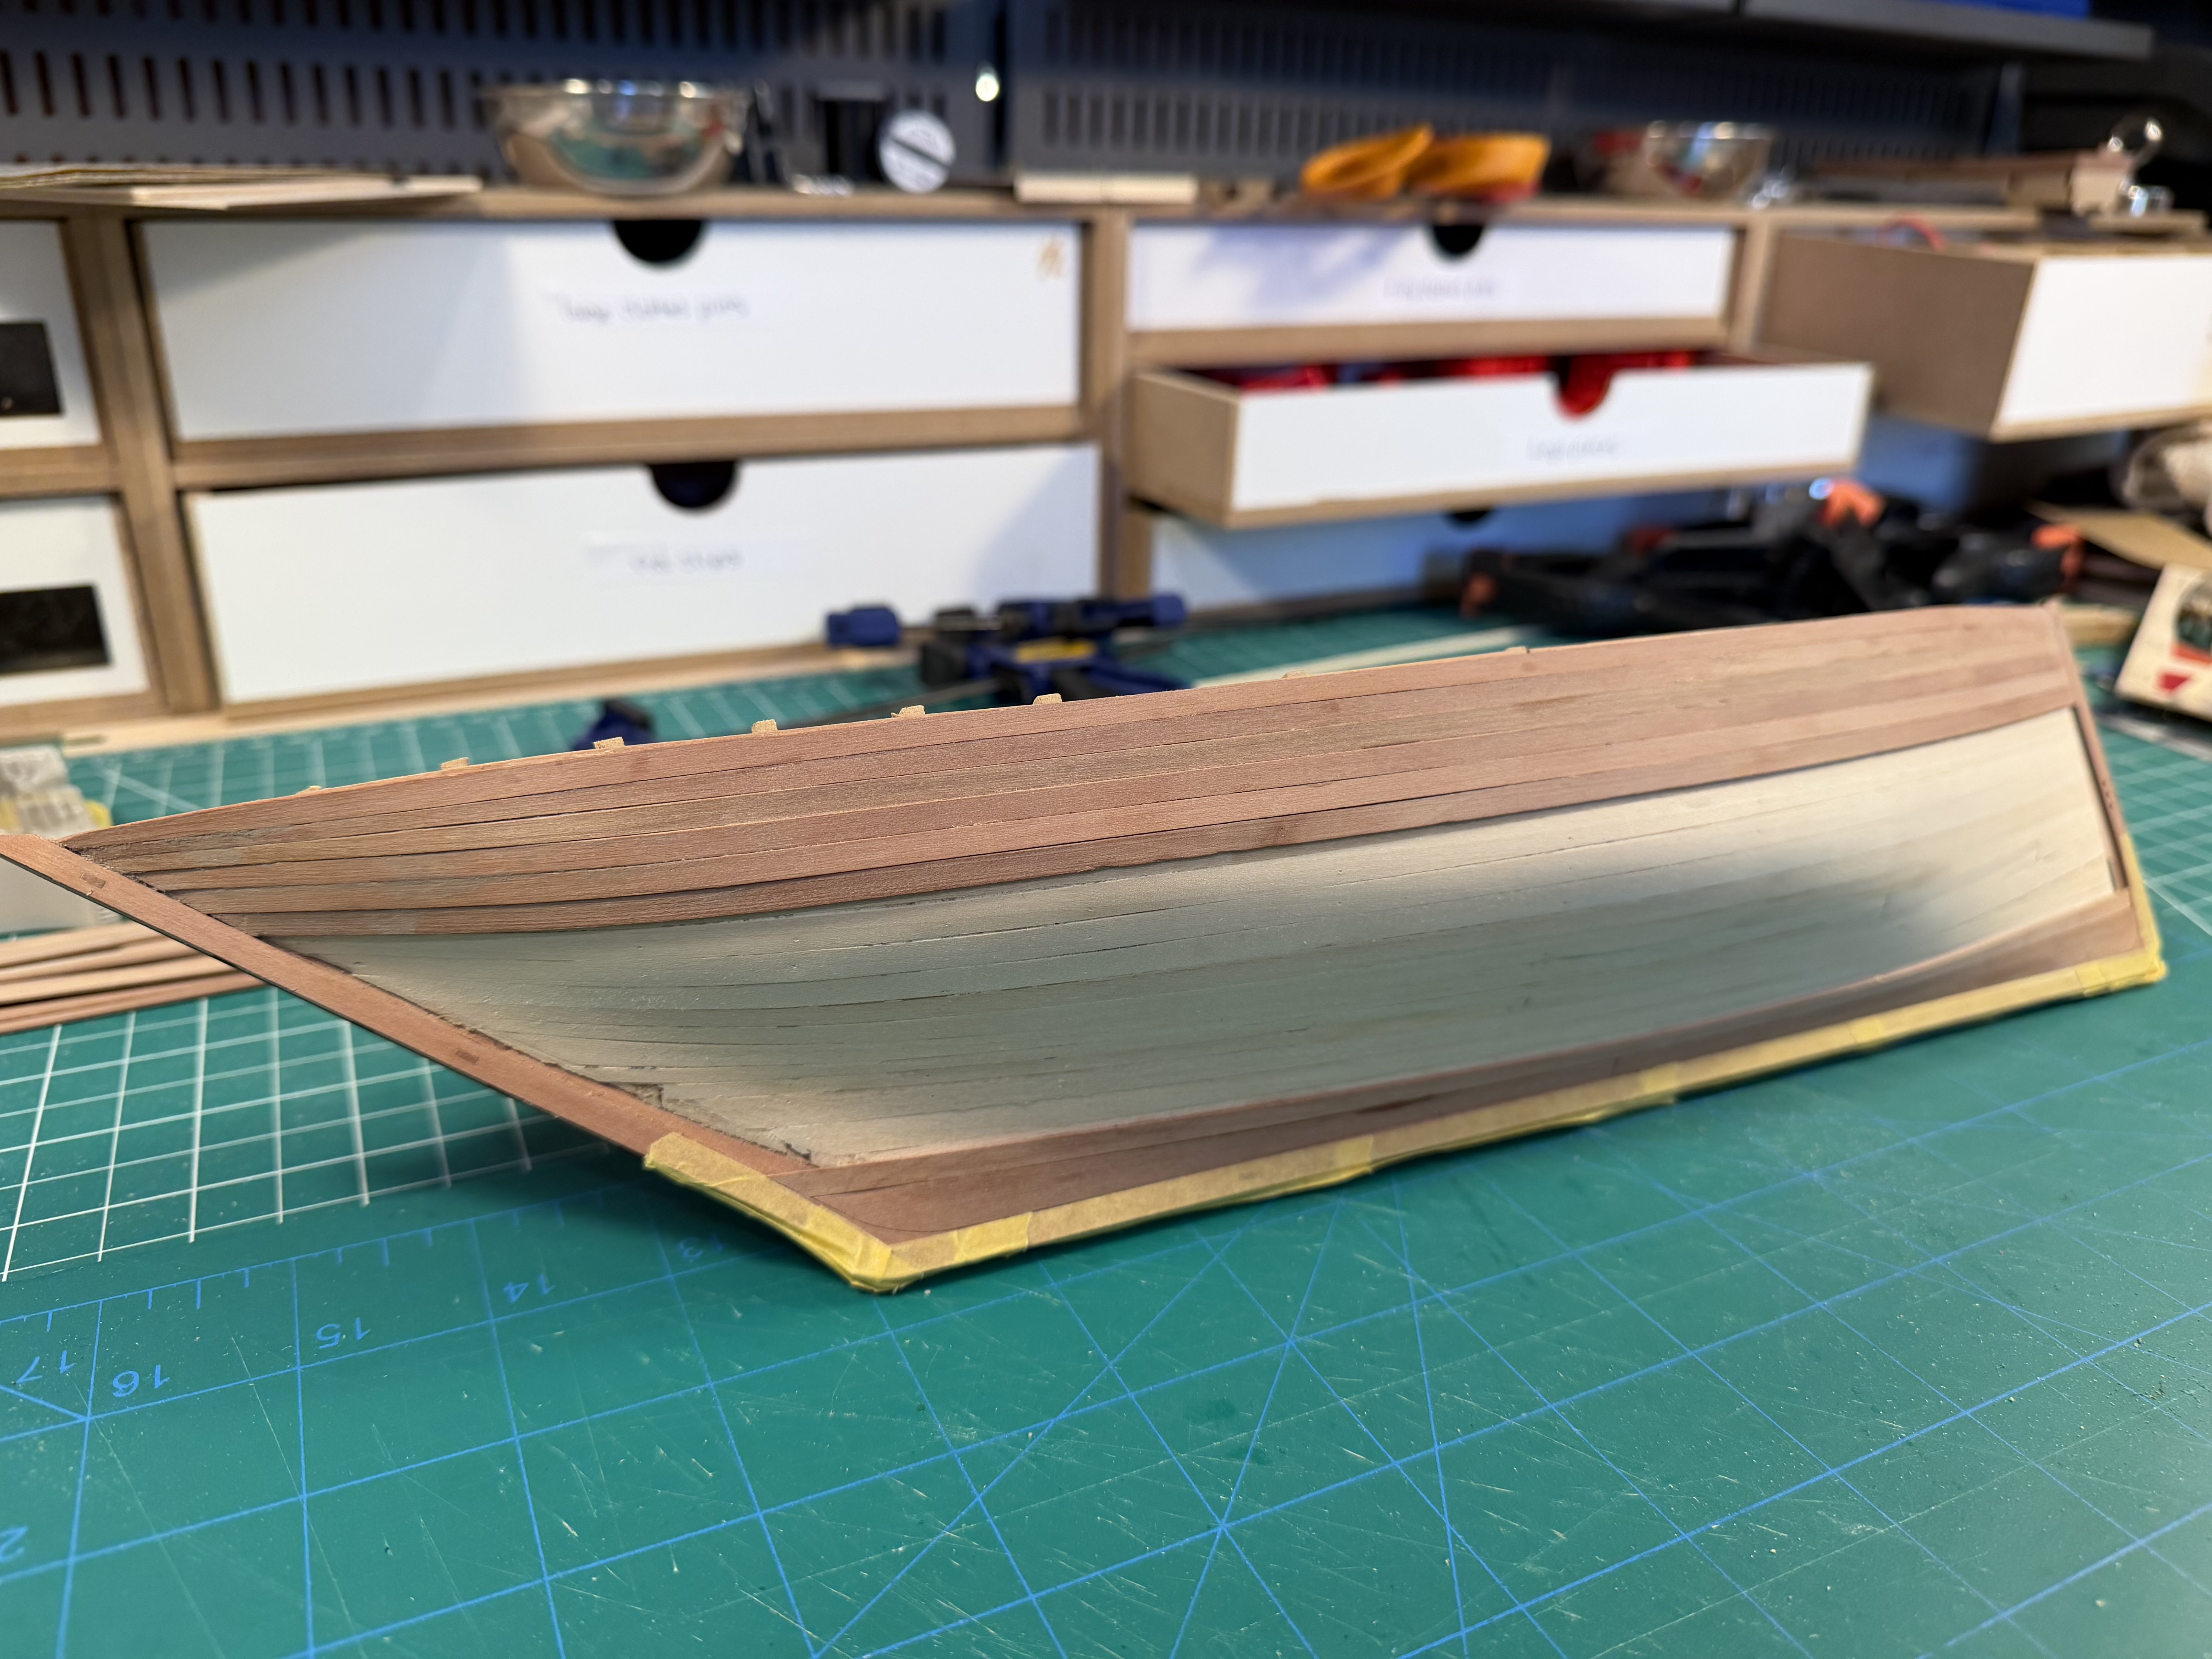
The pear wood strips for the second planking can sometimes be a bit uneven and splintery in places. Fine scotchbrite pads do a good job of prepping the planks.

- 43 replies
-
- 3
-
-
- Lady Isabella
- zulu
- (and 1 more)
-
Basswood Strips
palmerit replied to DGraley's topic in Building, Framing, Planking and plating a ships hull and deck
Find a local arts supply store, especially one that has a university in town. Basswood is often used by artists, art students, architects (and modelers). At least one arts supply store in my city has a descent supply of Midwest products wood in various sizes and thicknesses. I often have extra sheets in a few thicknesses and some dowels just in case I need them. You can also find on amazon, but they're often third party non-amazon vendors and I usually do not trust them unless I know the company. I tried Michaels and they had almost nothing. I haven't tried Hobby Lobby near me, but I think big box stores are often hit and miss. My wife is a quilter and has never bought fabric at one of these places. Small arts supply stores are usually better stocked and you can support a local business too. My local place is now where I go to get wood and paint brushes and the like. -
Slow progress on the planking. I’m taking each plank slow to try to do a better job than my last two models. We’ll see if the upper part of the hull can stay bare wood and not be painted.


- 43 replies
-
- 5
-
-
- Lady Isabella
- zulu
- (and 1 more)
-
Plank (singular) glued in and secured. It’ll dry overnight. I use rubber bands and hair clips to maintain the curve to the center board and use pieces of scrap plank and clips to try to minimize the clinkering a bit.


- 24 replies
-
- 4
-
-
- maine peapod
- midwest products
- (and 1 more)
-
I only use nails on the first layer of planking, never on the second layer. That's in part because the first layer of planking is often just glued to the bulkheads. The second layer of planking is glue along the entire length of the hull. There are lots of ways of holding a second layer plank in place without nails and you want to make sure the plank is shaped so that you don't need to keep a plank held in place that wants to bend away from the hull. Part of this hobby is learning to get creative securing parts and planks into place. I tend to do one (sometimes two) planks at a time and glue them into place and then let the glue dry for at least a few hours before adding the next plank. I know some people are able to work at a faster pace. That's in part why I have a few models going on at once - last night, I did a little work on four different models (adding planks to two of them, did a little painting on two of them).
-
I've tried a couple of "pin pushers" and they don't work for me. I bought this and it works way better: https://micromark.com/products/pin-insertion-plier

-
Right. I’m just trying to shape them a bit now. I fiddle with them a lot more when I’m gluing them in position. When gluing, I’ve only done one side at a time. I’m at a pace of about a few planks a week. This is definitely a filler model. Actually, this evening was a case where I was glad I had a bunch of models being built at once. I shaped two planks on the Peabody, I shaped and glued down two planks on the Lady Isabella, I painted the bottom and the rudder of the Crabbing Skiff, and I painted a rub rail on the Scow Scooner.
- 24 replies
-
- 3
-
-
- maine peapod
- midwest products
- (and 1 more)
-
I shape the soaked planks overnight with a combo of clamps, rubber bands, and hair pins.

- 24 replies
-
- 2
-
-
- maine peapod
- midwest products
- (and 1 more)
-
Testing some reds for the bottom of this hull. Some are clearly wrong. I like the 1/2 Cavalry Brown (70.982) and 1/2 Scarlet Red (76.102).

- 43 replies
-
- 5
-
-
- Lady Isabella
- zulu
- (and 1 more)
-
This is definitely continuing to be a slow and challenging planking of this small boat. It has been especially challenging making the curve around the bottom but it’s getting there. Thankfully the planks are thick enough that they’ll allow for a good bit of sanding.

- 24 replies
-
- 4
-
-
- maine peapod
- midwest products
- (and 1 more)
-
The metal base of my Quad Hands makes for a nice base to do edge bending of planks.

- 43 replies
-
- 3
-
-
- Lady Isabella
- zulu
- (and 1 more)
-
How serious do you get about dust protection
palmerit replied to bigcreekdad's topic in Modeling tools and Workshop Equipment
I bought one of these (Coway AP-1512HH Mighty Air Purifier) for my work area in the house (under the table where I work) - where I have my air brush booth but otherwise it's just hand tools and sandpaper. In part it helps keep dust out of the room. https://www.amazon.com/dp/B00BTKAPUU?ref_=ppx_hzsearch_conn_dt_b_fed_asin_title_2&th=1 I've been wanting to do something in the cellar where I have some power tools. -
Getting Started: From Dollhouses to the USS Constitution
palmerit replied to Jasennord's topic in New member Introductions
Smart decision. Before finding this site I almost stumbled into buying a model far beyond my capabilities - far beyond where I am now. I assumed wooden model kits would be like buying a Lego model or something and as an adult I could start with a fairly advanced kit. Glad I found this site first. The Shipwright Series is a great model set to start with. And the NRG Half Hull will give you a deeper knowledge of how planks need to be shaped - it did for me. Neither the Shipwright Series nor the NRG Half Hull have the kind of planking done on a Constitution model, which would involved bending thin strips of wood for planking (bending in both directions). Lots recommend Vanguard models. I do anytime I can. A great choice after the Shipwright Series is a model like the Vanguard Models Sherbourne (the Modelkit Stuff YouTube channel has a build of it). This model would give you experience with the kind of planking used in lots of models, which is one of the things that trips folks up. The Sherbourne's rigging is orders of magnitude more complicated than the rigging on the Shipwright Series boats (the Dory basically has none, the Pram a tiny bit, the Smack just a bit more) - a Constitution model is undoubtedly orders of magnitude more complicated than the Sherbourne. I actually started the Shipwright Series mid-way into building Vanguard because I wanted to get some experience with simpler models, and simpler rigging - and did the NRG Half Hull after seeing folks recommend it. I'm now doing my third Vanguard model, but it's still a Novice model. After that I'm planning to do a couple Amateur Vanguard models before starting the Duchess, which I bought intending it to be my second model before realizing that was absolutely foolish. I'm guessing a Constitution model would be comparable to a Vanguard Sphinx or Indefatigable, which are 3-4 levels higher than the Vanguard models I've done. Have fun! -
These are the tweezers: https://www.universityofsewing.com/shop/c/p/BERNINA-Tweezers-8-Series-x53811611.htm (Probably available lots of other places - Bernina is a big brand.)