palmerit
-
Posts
1,110 -
Joined
-
Last visited
Content Type
Profiles
Forums
Gallery
Events
Everything posted by palmerit
-
Great job! I was recently at a great display of model ships (all of them historic models) in Toronto and a large proportion of them did not include masts or rigging - saw the same at a display in Scotland last summer.
-
While building my Sherbourne, I broke the stern end a couple times being clumsy. Was good experience on gluing broken pieces back together and being more careful.
-
Great! Thanks for the pointer. I actually have all the volumes thankfully. Haven't been able to read them all.
- 48 replies
-
- 1
-

-
- San Francisco Bay Scow Schooner
- Scow Scooner
- (and 1 more)
-
The one from here (thanks @JacquesCousteau) simulates internal stropping with wire around the block that is painted using wood filler to hide the wire and painting with Vallejo Old Wood (so you can't see that the wire is actually on the outside rather than the inside of the block). I suppose that's something I could try.
- 48 replies
-
- 1
-
-
- San Francisco Bay Scow Schooner
- Scow Scooner
- (and 1 more)
-
For those - like me - who don't know the differences between blocks, here's another useful discussion (with drawings):
- 48 replies
-
- 1
-
-
- San Francisco Bay Scow Schooner
- Scow Scooner
- (and 1 more)
-
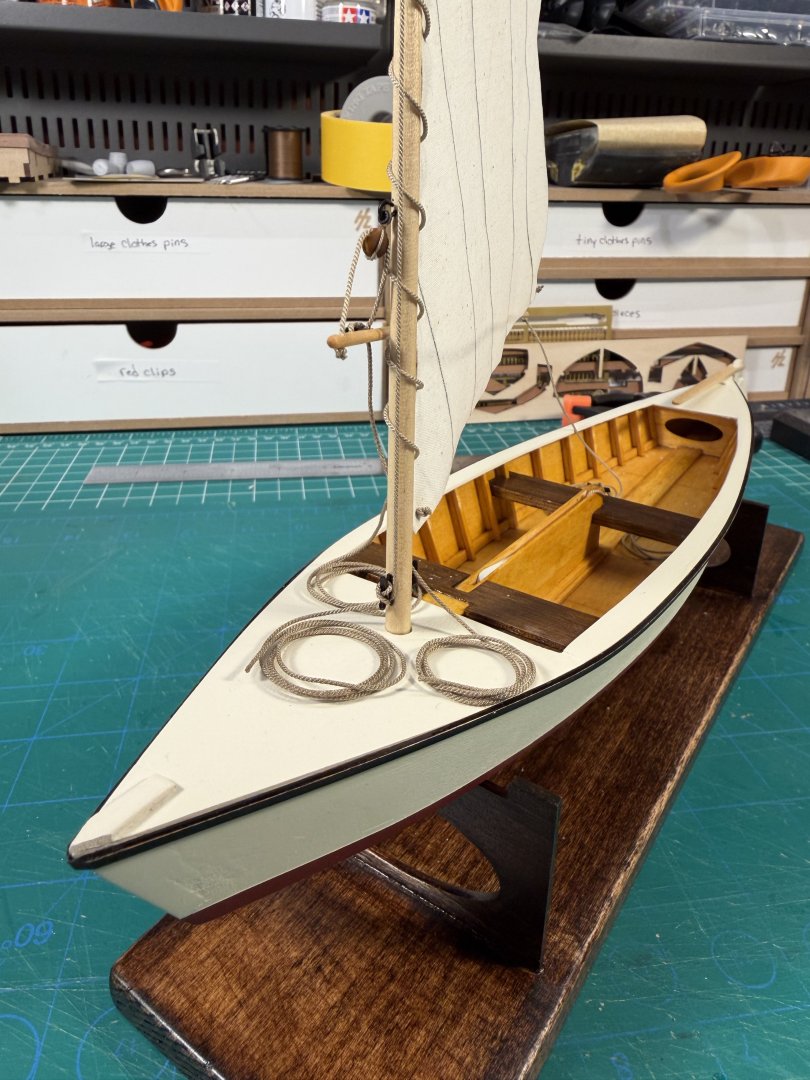
Syren has internally-stropped blocks, but their smallest is 6mm. The blocks on this model are closer to 5mm. Though who knows how close these plastic bits are to what was actually used on this boat. They're the same plastic blocks that were included in the Midwest Crabbing Skiff I built. I wouldn't be surprised if these are just the generic blocks they include in lots of Midwest kits. My options are (1) use the plastic blocks that come with the kit that look terrible (and likely aren't really period appropriate either), (2) use nice Syren blocks that aren't period appropriate but look nice, and look like blocks, (3) use Syren internally-stropped blocks that are too big by a mm, (4) try to make my own, (5) check with Bluejacket. I can't get myself to do (1). And (4) is beyond me, at least for this model at this time. It's probably going to be (2) but I might order a set of the Syren internally-stropped blocks just to see how they look and even if I don't use them here I might use them in a future model and I might order some from Bluejacket after I take a look at what they have online.
- 48 replies
-
- 1
-
-
- San Francisco Bay Scow Schooner
- Scow Scooner
- (and 1 more)
-
Are there alternative sources?
-
I was planning to place a Syren order for more blocks and rope and knew I wanted to replace both on this kit. I hadn’t yet opened the plastic ziplock with these pieces and found this for the blocks. Sad.

- 48 replies
-
- 2
-

-

-
- San Francisco Bay Scow Schooner
- Scow Scooner
- (and 1 more)
-
As @ccoyle said, just glue in place and maybe let it cure overnight before adding the other bracing pieces going the other direction. There is so much engineered redundancy in Vanguard models that it should all be fine. You could add some additional bracing pieces (after finishing the skeleton) between the broken piece and the adjacent pieces if you want to be completely sure. The Vanguard pieces often need a bit of filing so that they don't fit so snuggly that they snap when you push them into position. Snug is what you want, but too snug can be too much. This is way better than some models that do the opposite: I saw a recent YouTube video of someone who focuses entirely on Occre models and its skeleton with bulkheads inserted shook like a set of castanets - if you turned it upside down, they'd all fall out.
-
Cutters, Choppers, Guillotines, Slicers
palmerit replied to MintGum's topic in Modeling tools and Workshop Equipment
I don't know, there's so much variability in uses, needs, wood types, and even within the same wood type that I can't imagine it would be possible to do those kind of comparisons. And I imagine companies that produce these kinds of niche products operate on small margins. And can you imagine if they published some specs and someone complained or sued. I can tell you that it's not going to slice a 2x4 😉 -
I did the same thing and was able to repair it.
-
Very cool. (Is there any update on whether your supplier in Europe will be able to send parts so you can start selling the Syren rope walk again?)
-
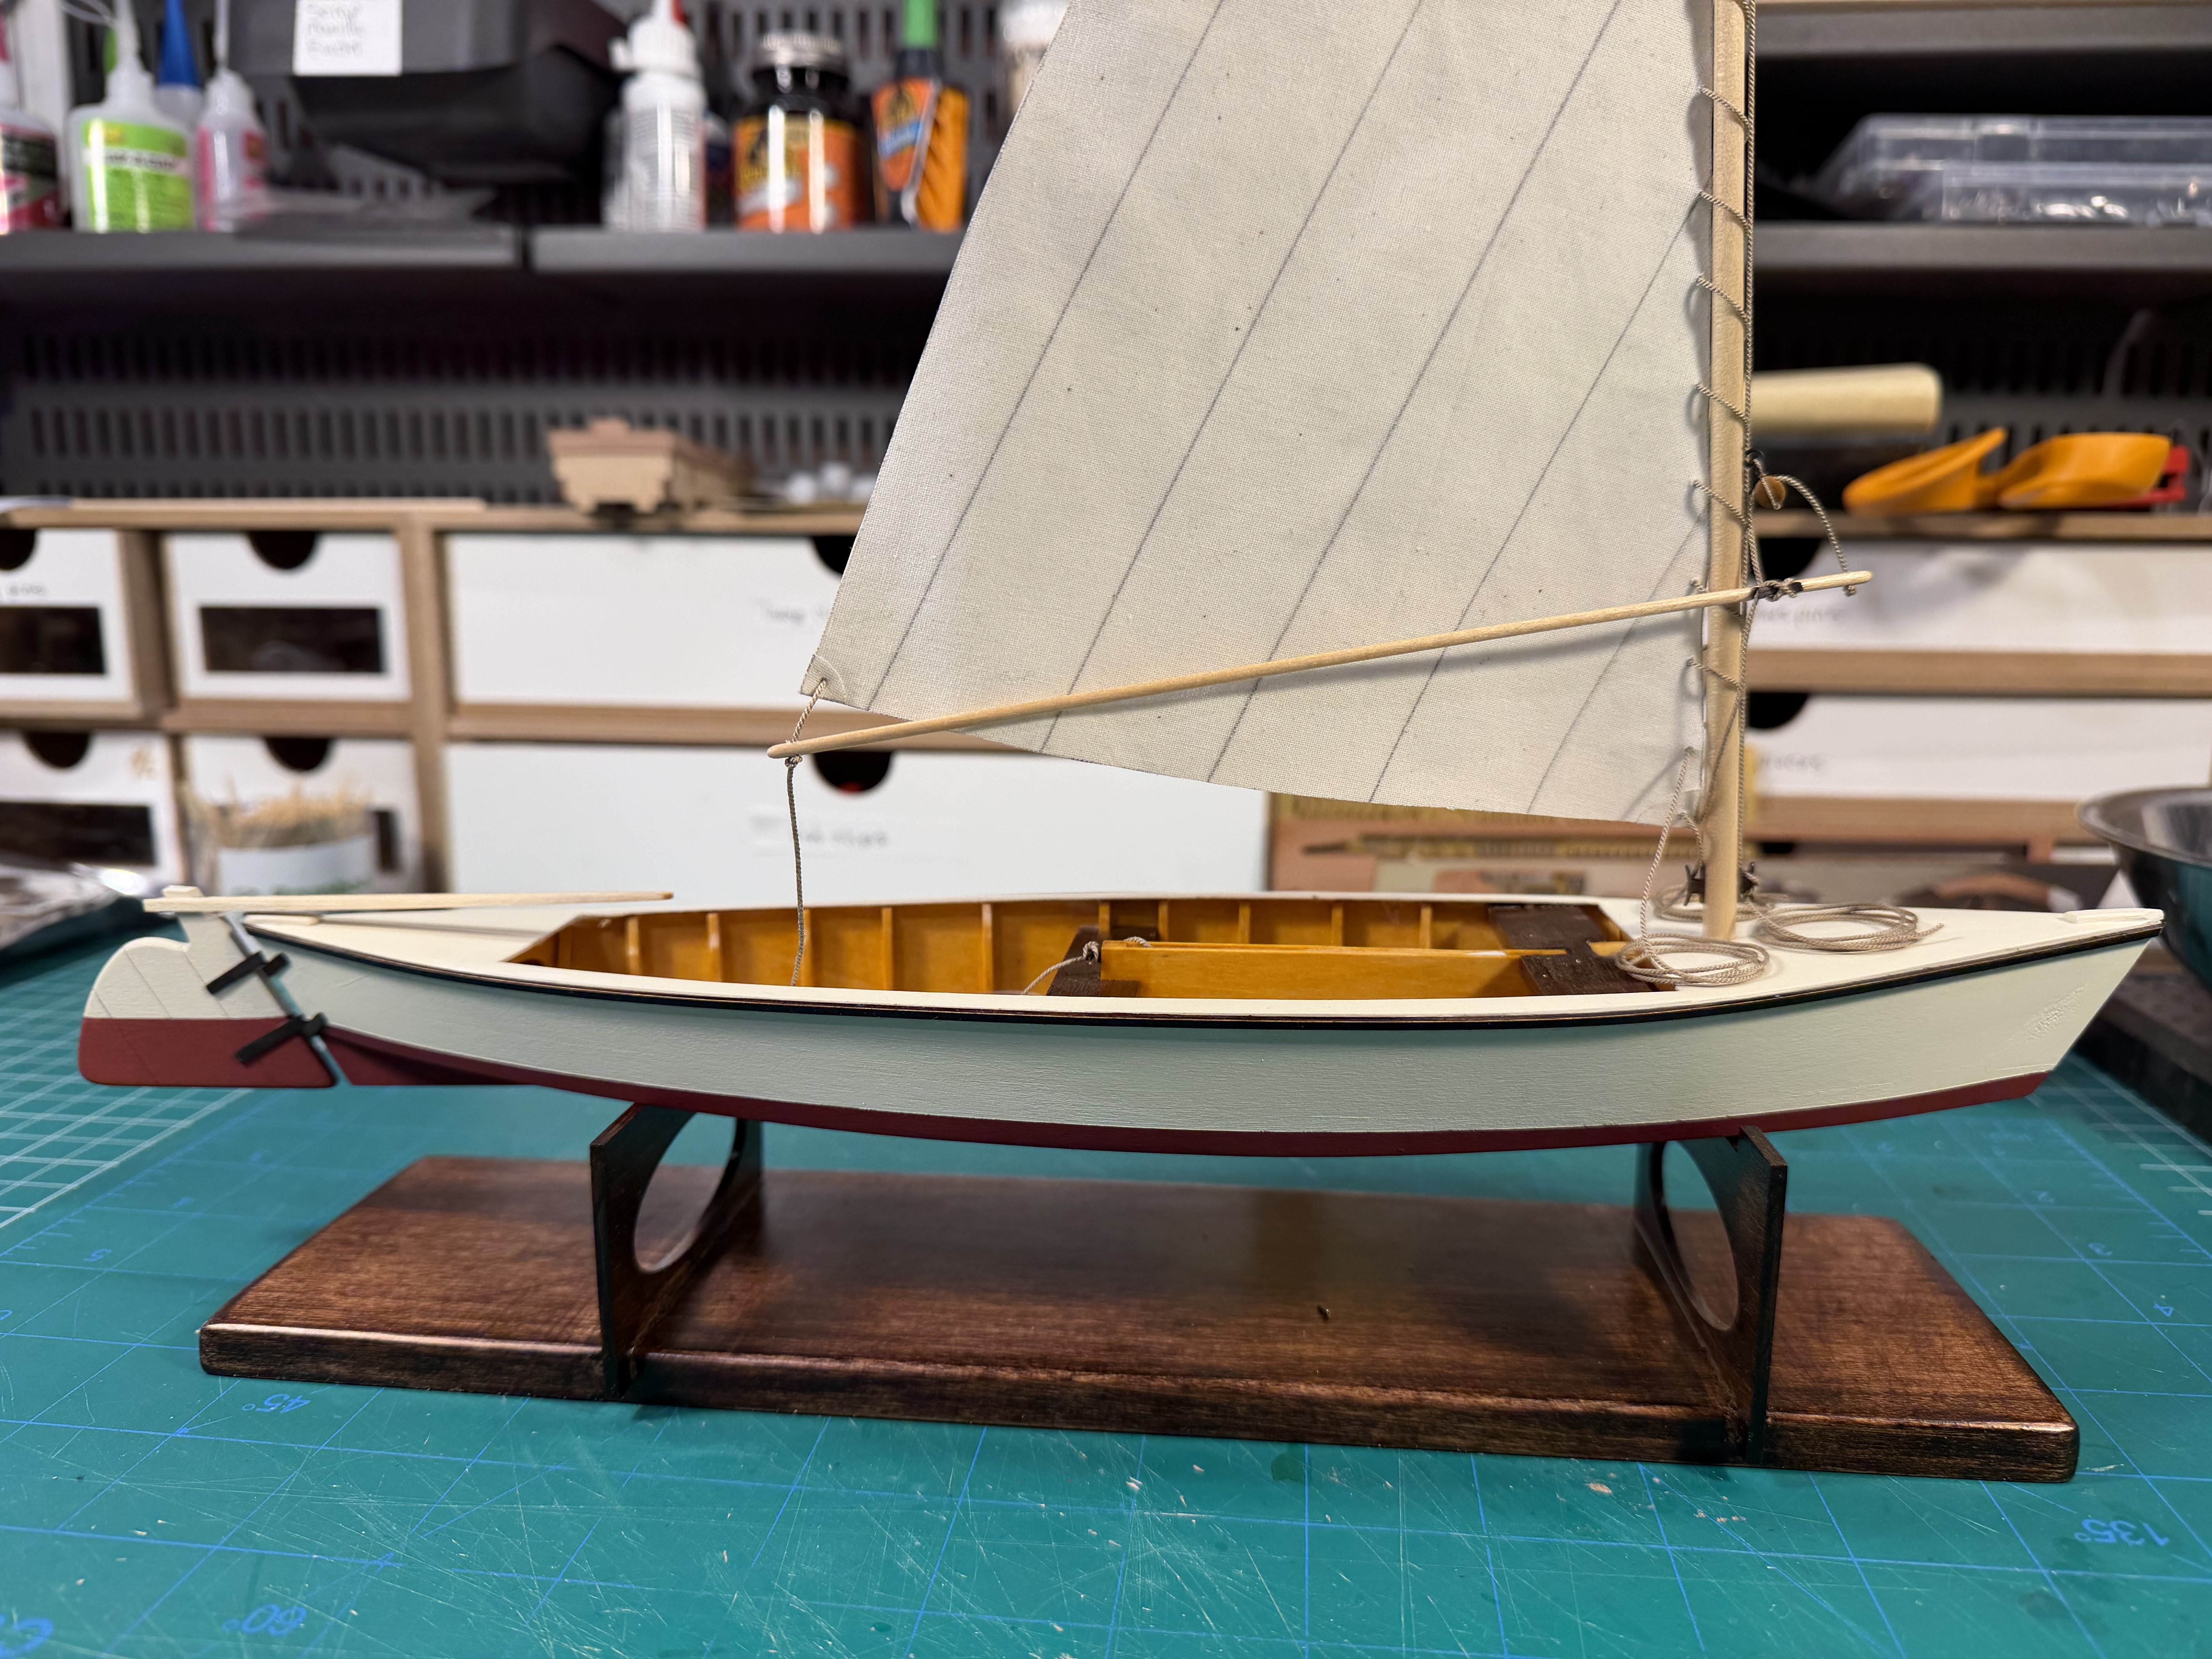
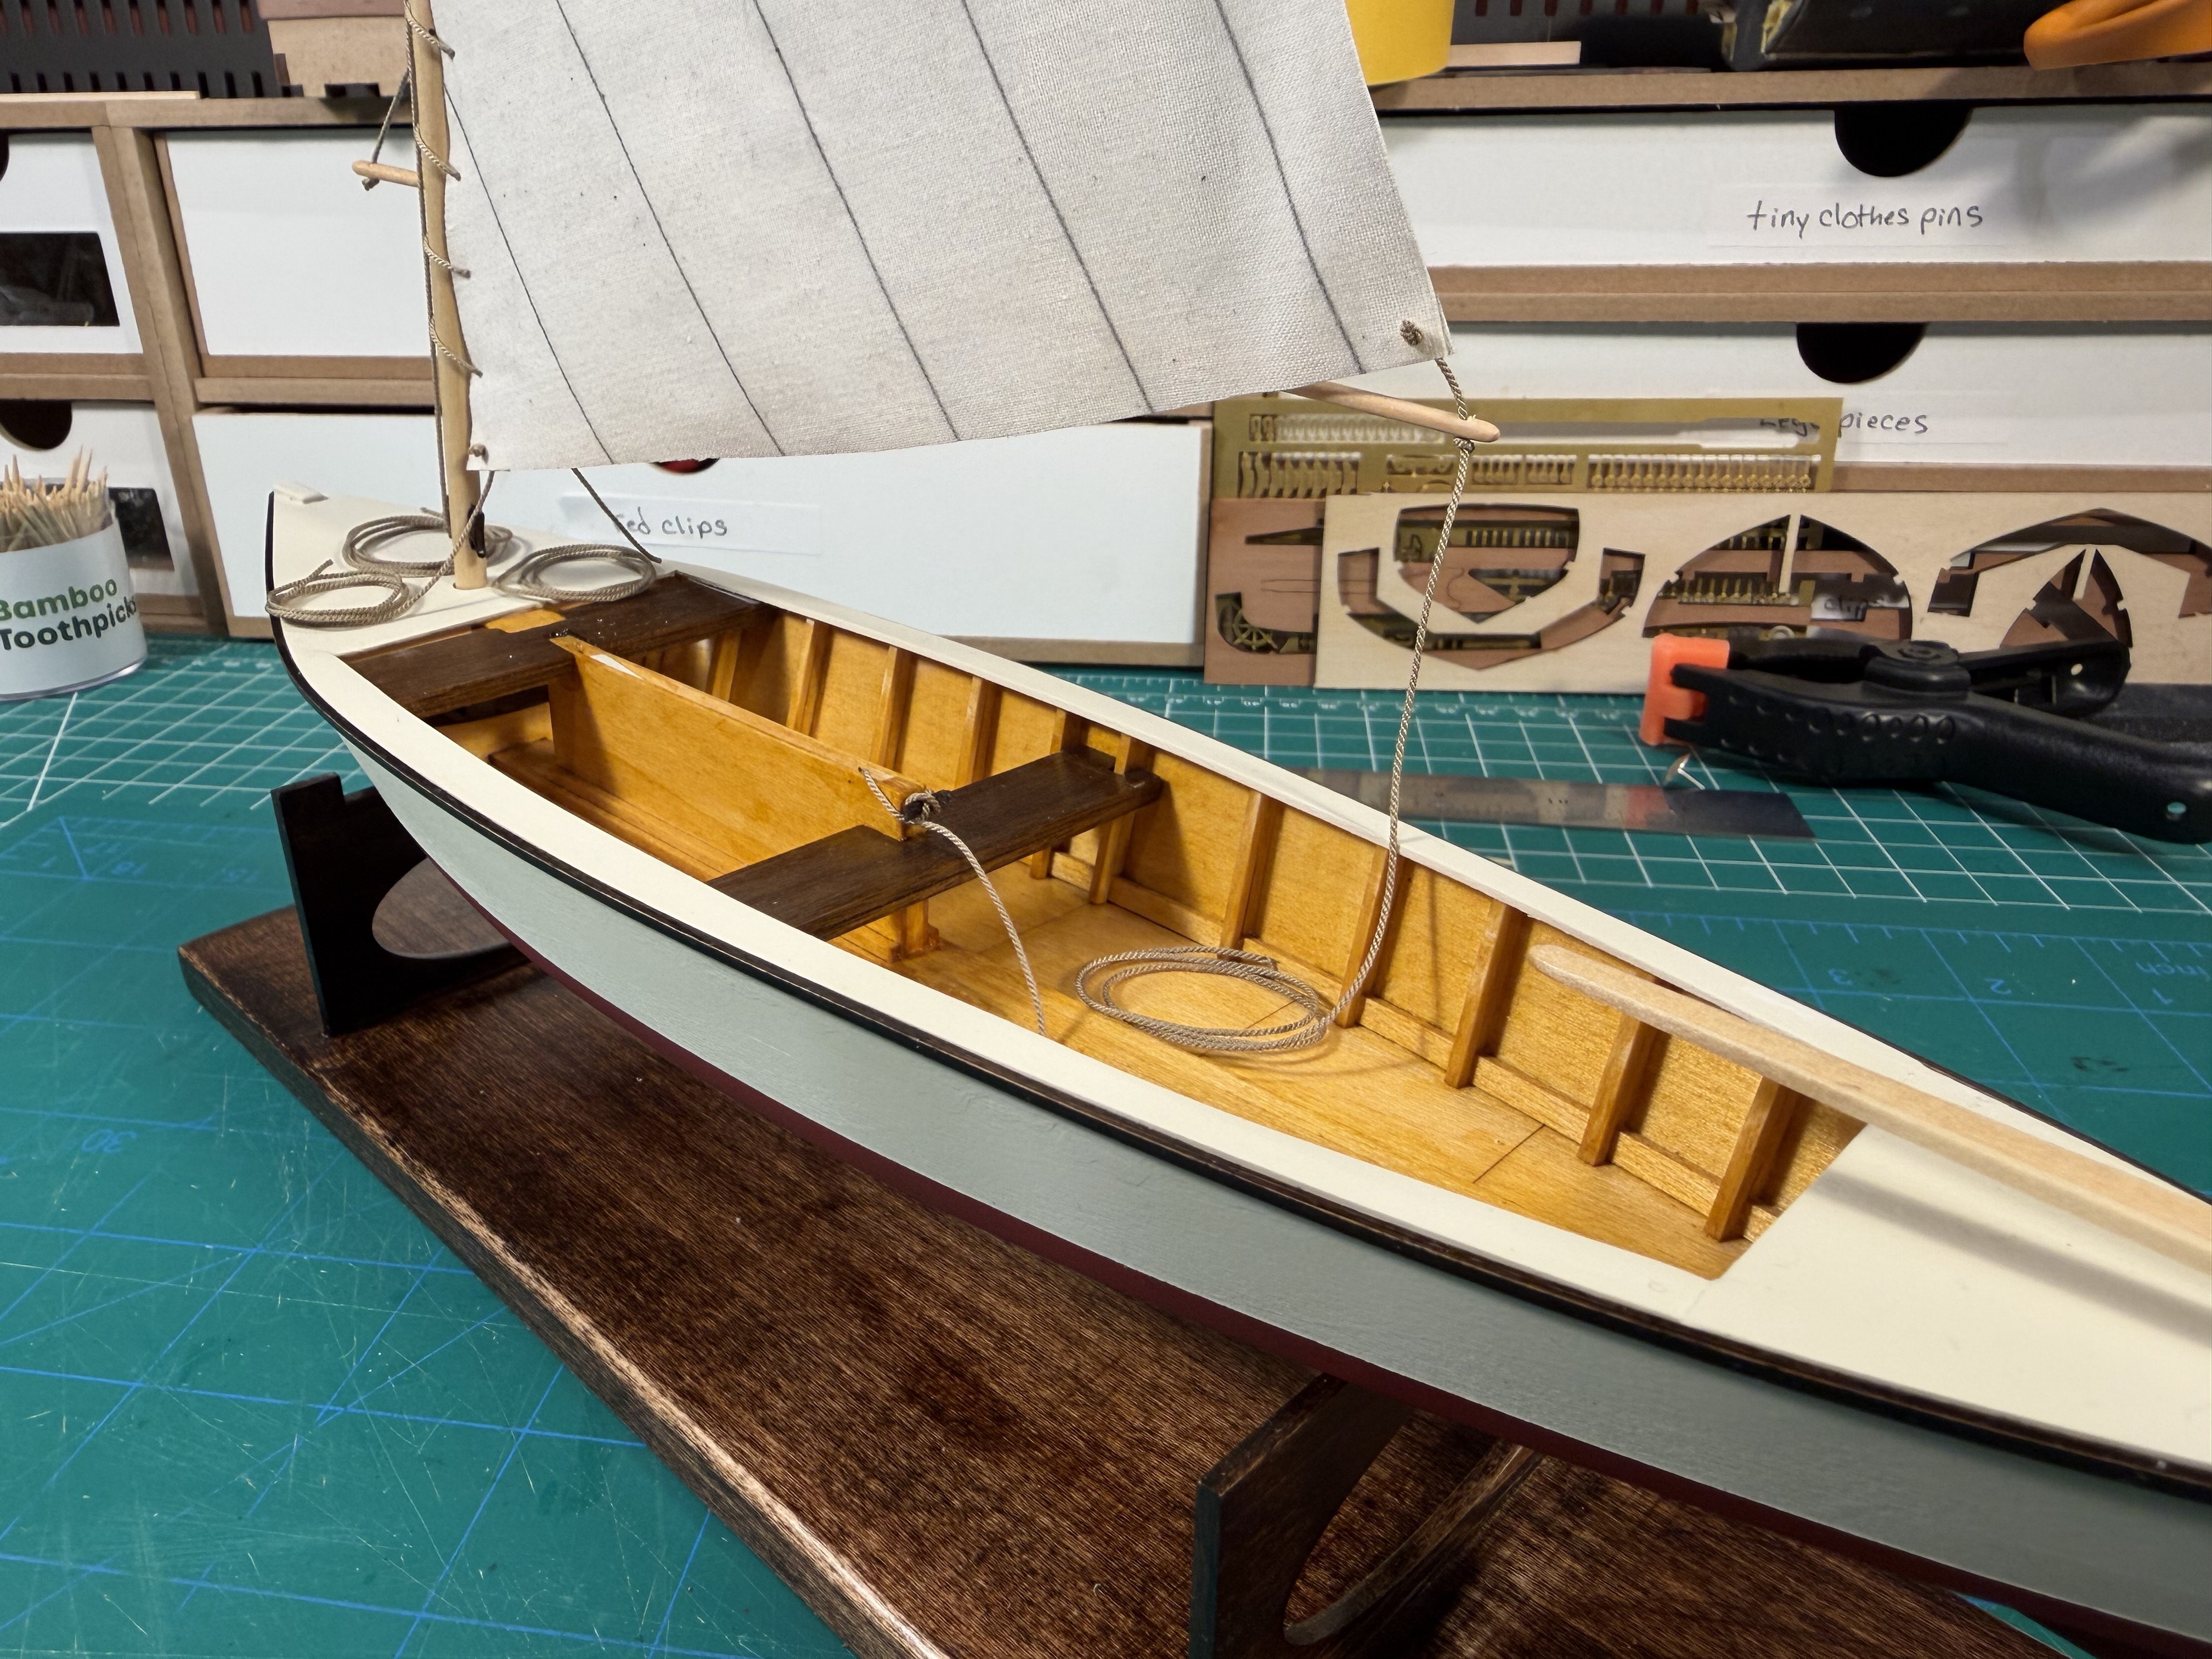
Starting on the frame. This kit is oddly made in half hulls that are later glued together. The Nonsuch is a fiberglass hull, which the instructions say is why the hull can be assembled this way - lots of filler and sanding will later be done for a smooth hull.

- 3 replies
-
- 3
-
-
- Nonsuch 30
- Nonsuch
- (and 1 more)
-
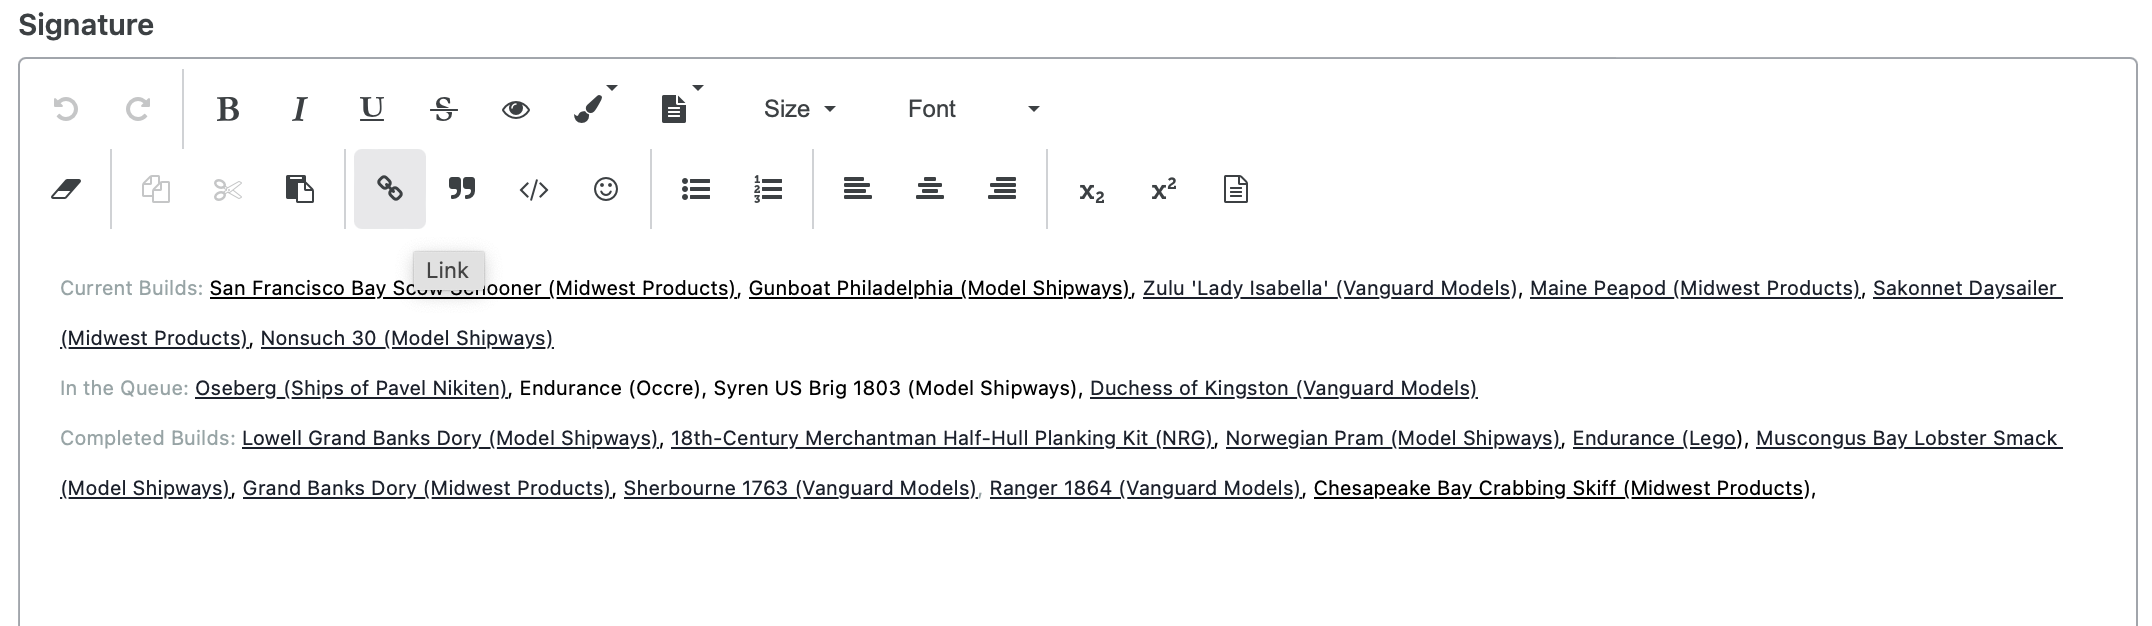
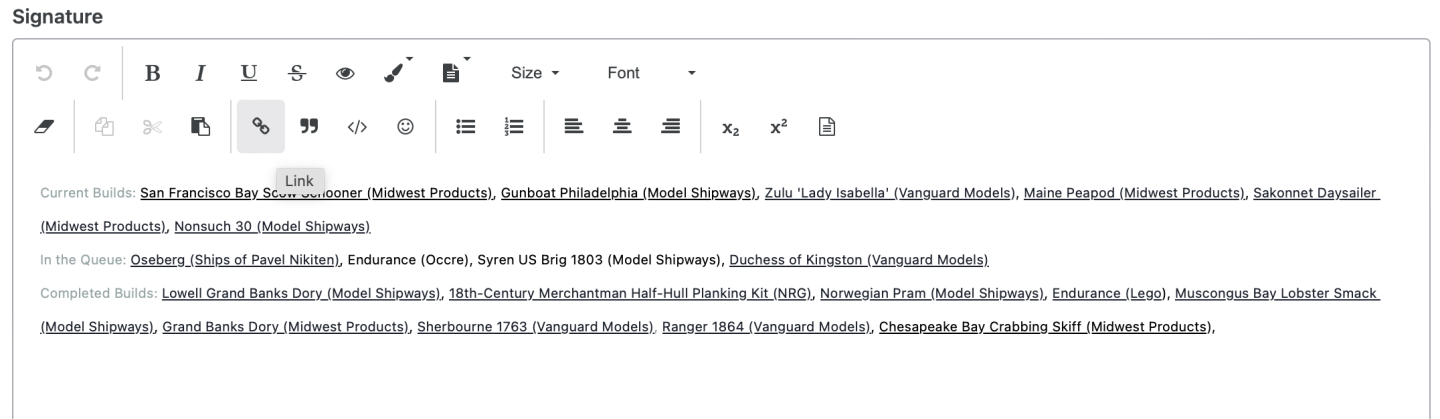
I use nothing but Macs/Apples so that’s not the issue. In your signature box, type in the name in regular text like “Pavel Nikitin Oseberg”, then select that text with your mouse, click on the link icon, and paste the web address in the box that pops up.
-
Not sure how you have your signature formatted. If you have a raw html address the web site might be auto-formatting to show a snapshot of the log. If you're editing your signature, you should just be able to delete the web address (or the snapshop of the log) and then use the link formatting in the signature editor. (Give my experience editing web sites - the view of your log is being generated by the web site - it's not actually in your signature. If you "delete the log" in your signature you're likely just deleting the web address.) Try not putting the full web address, but use the "link" formatting command to add the link to some text.
-
Go to your account (click your user name) and click account settings and there’s a signature selection where you can then edit your signature.

-
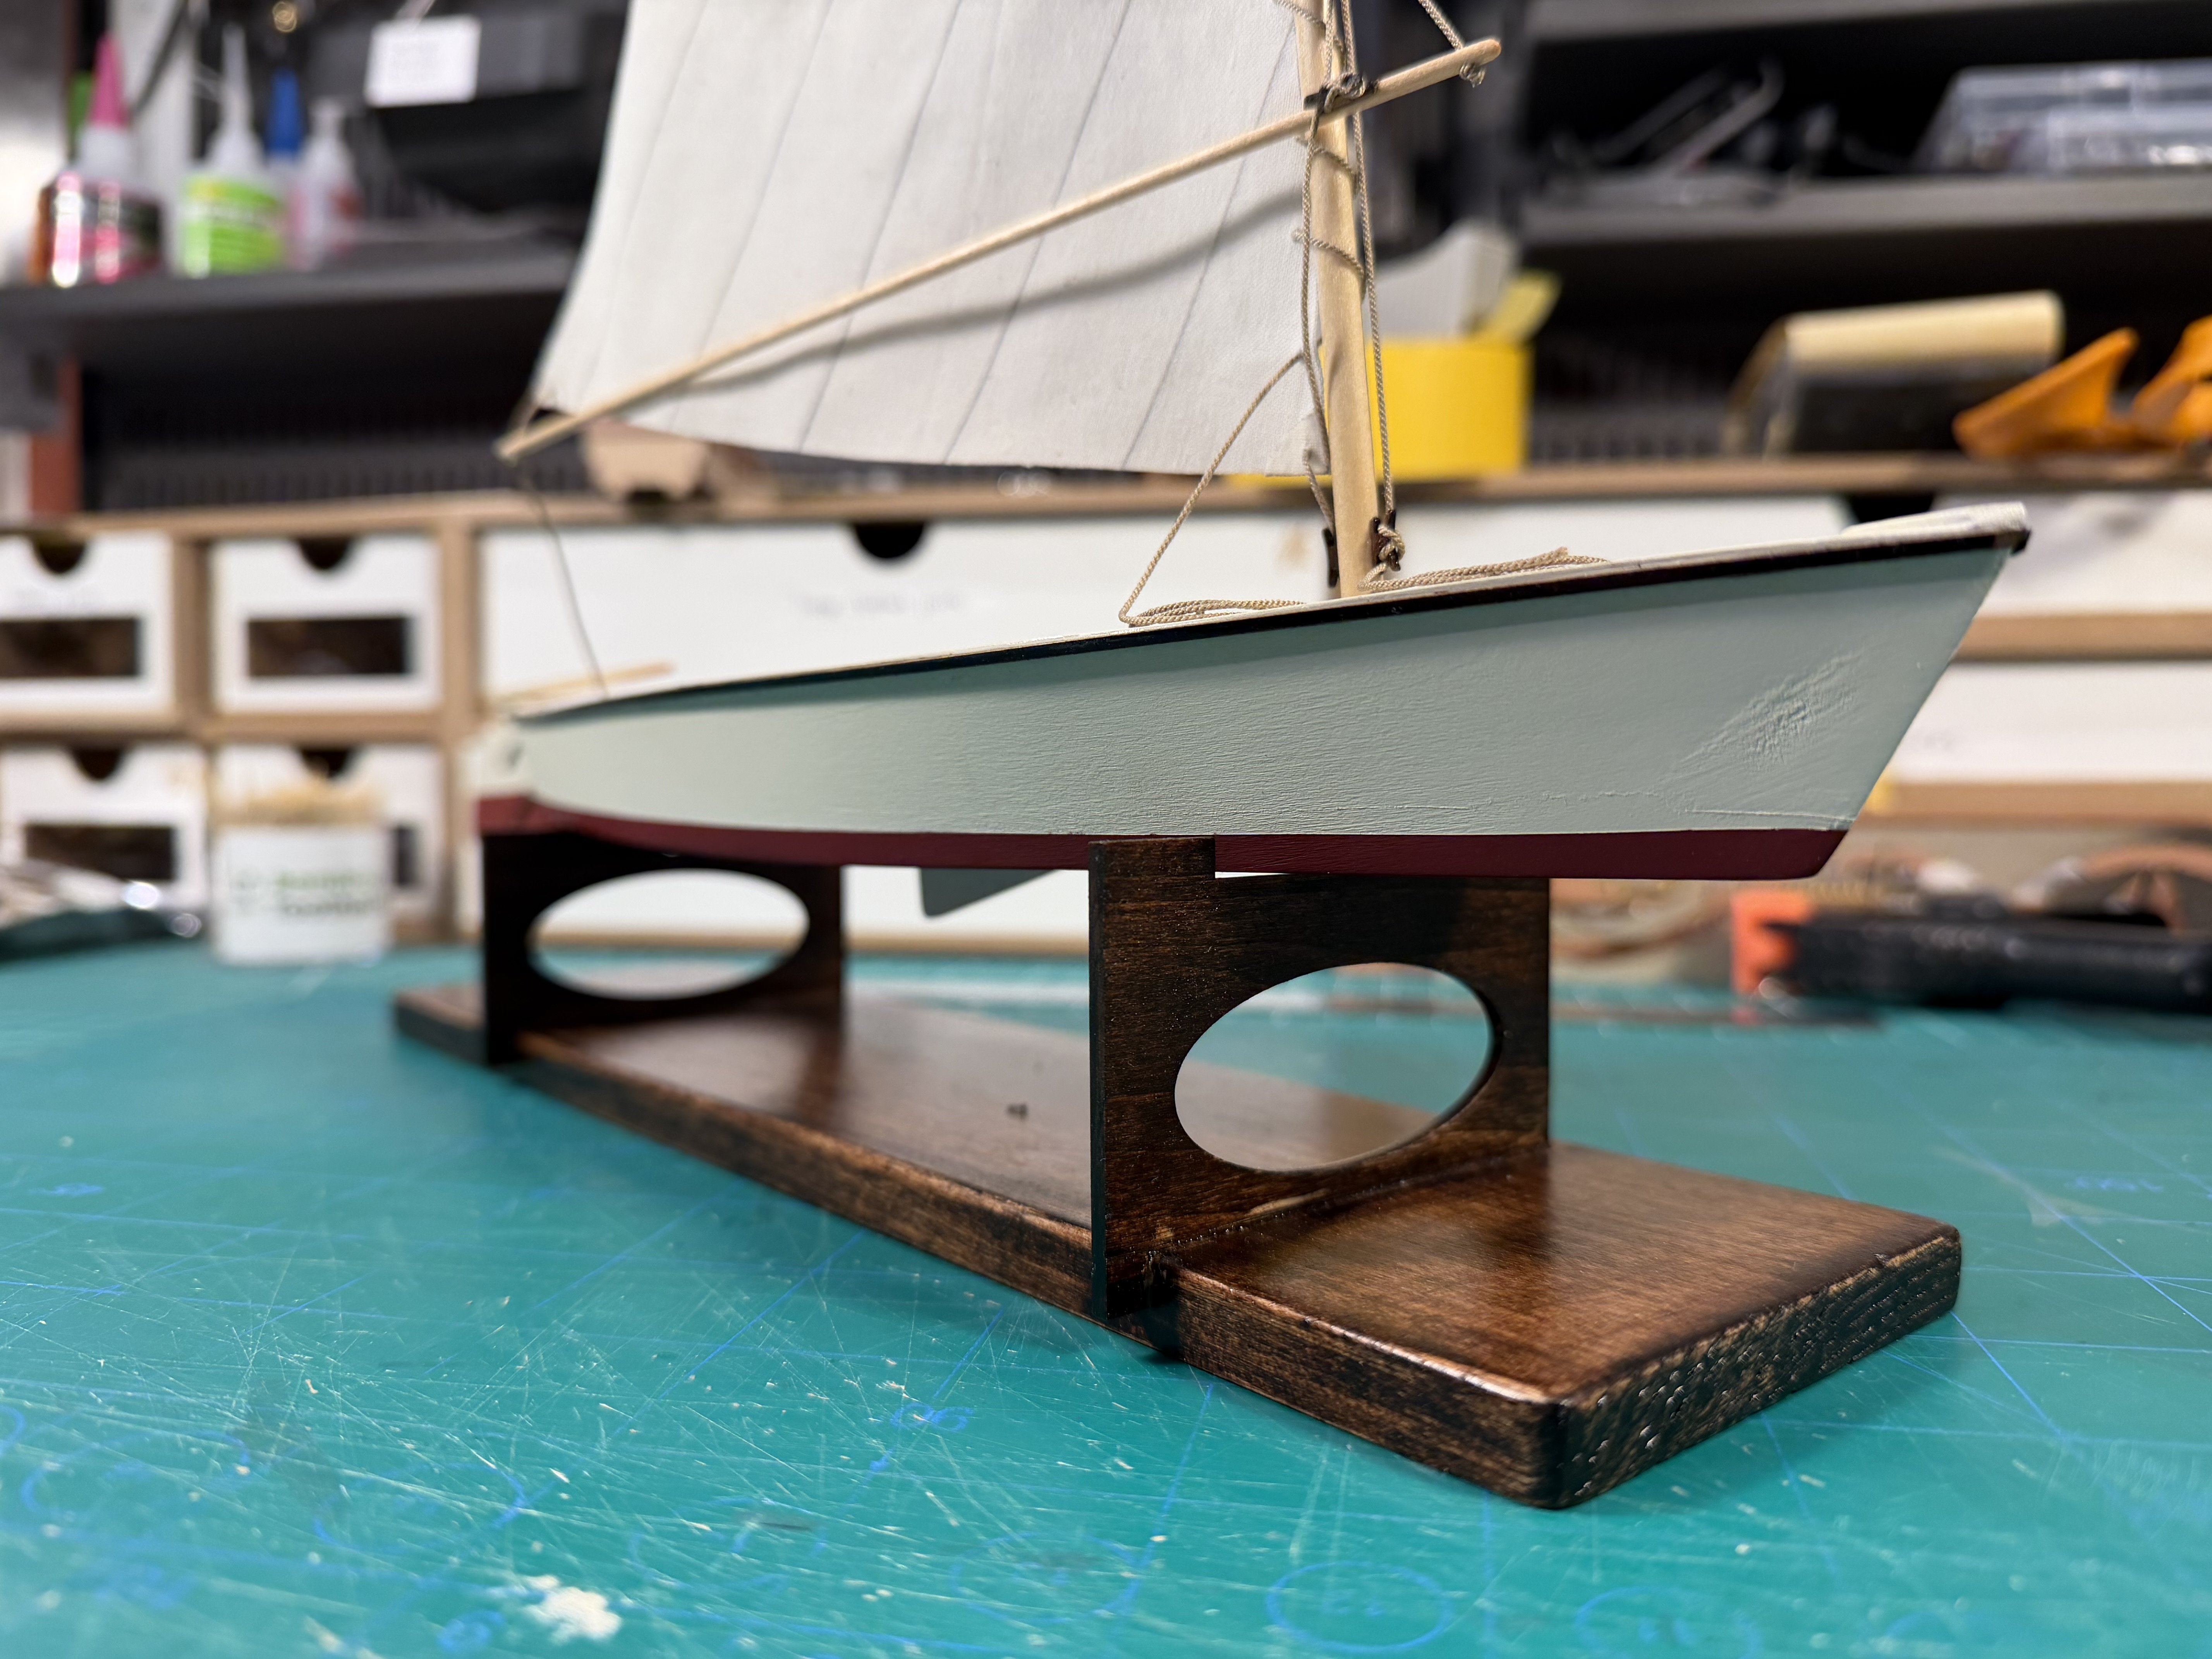
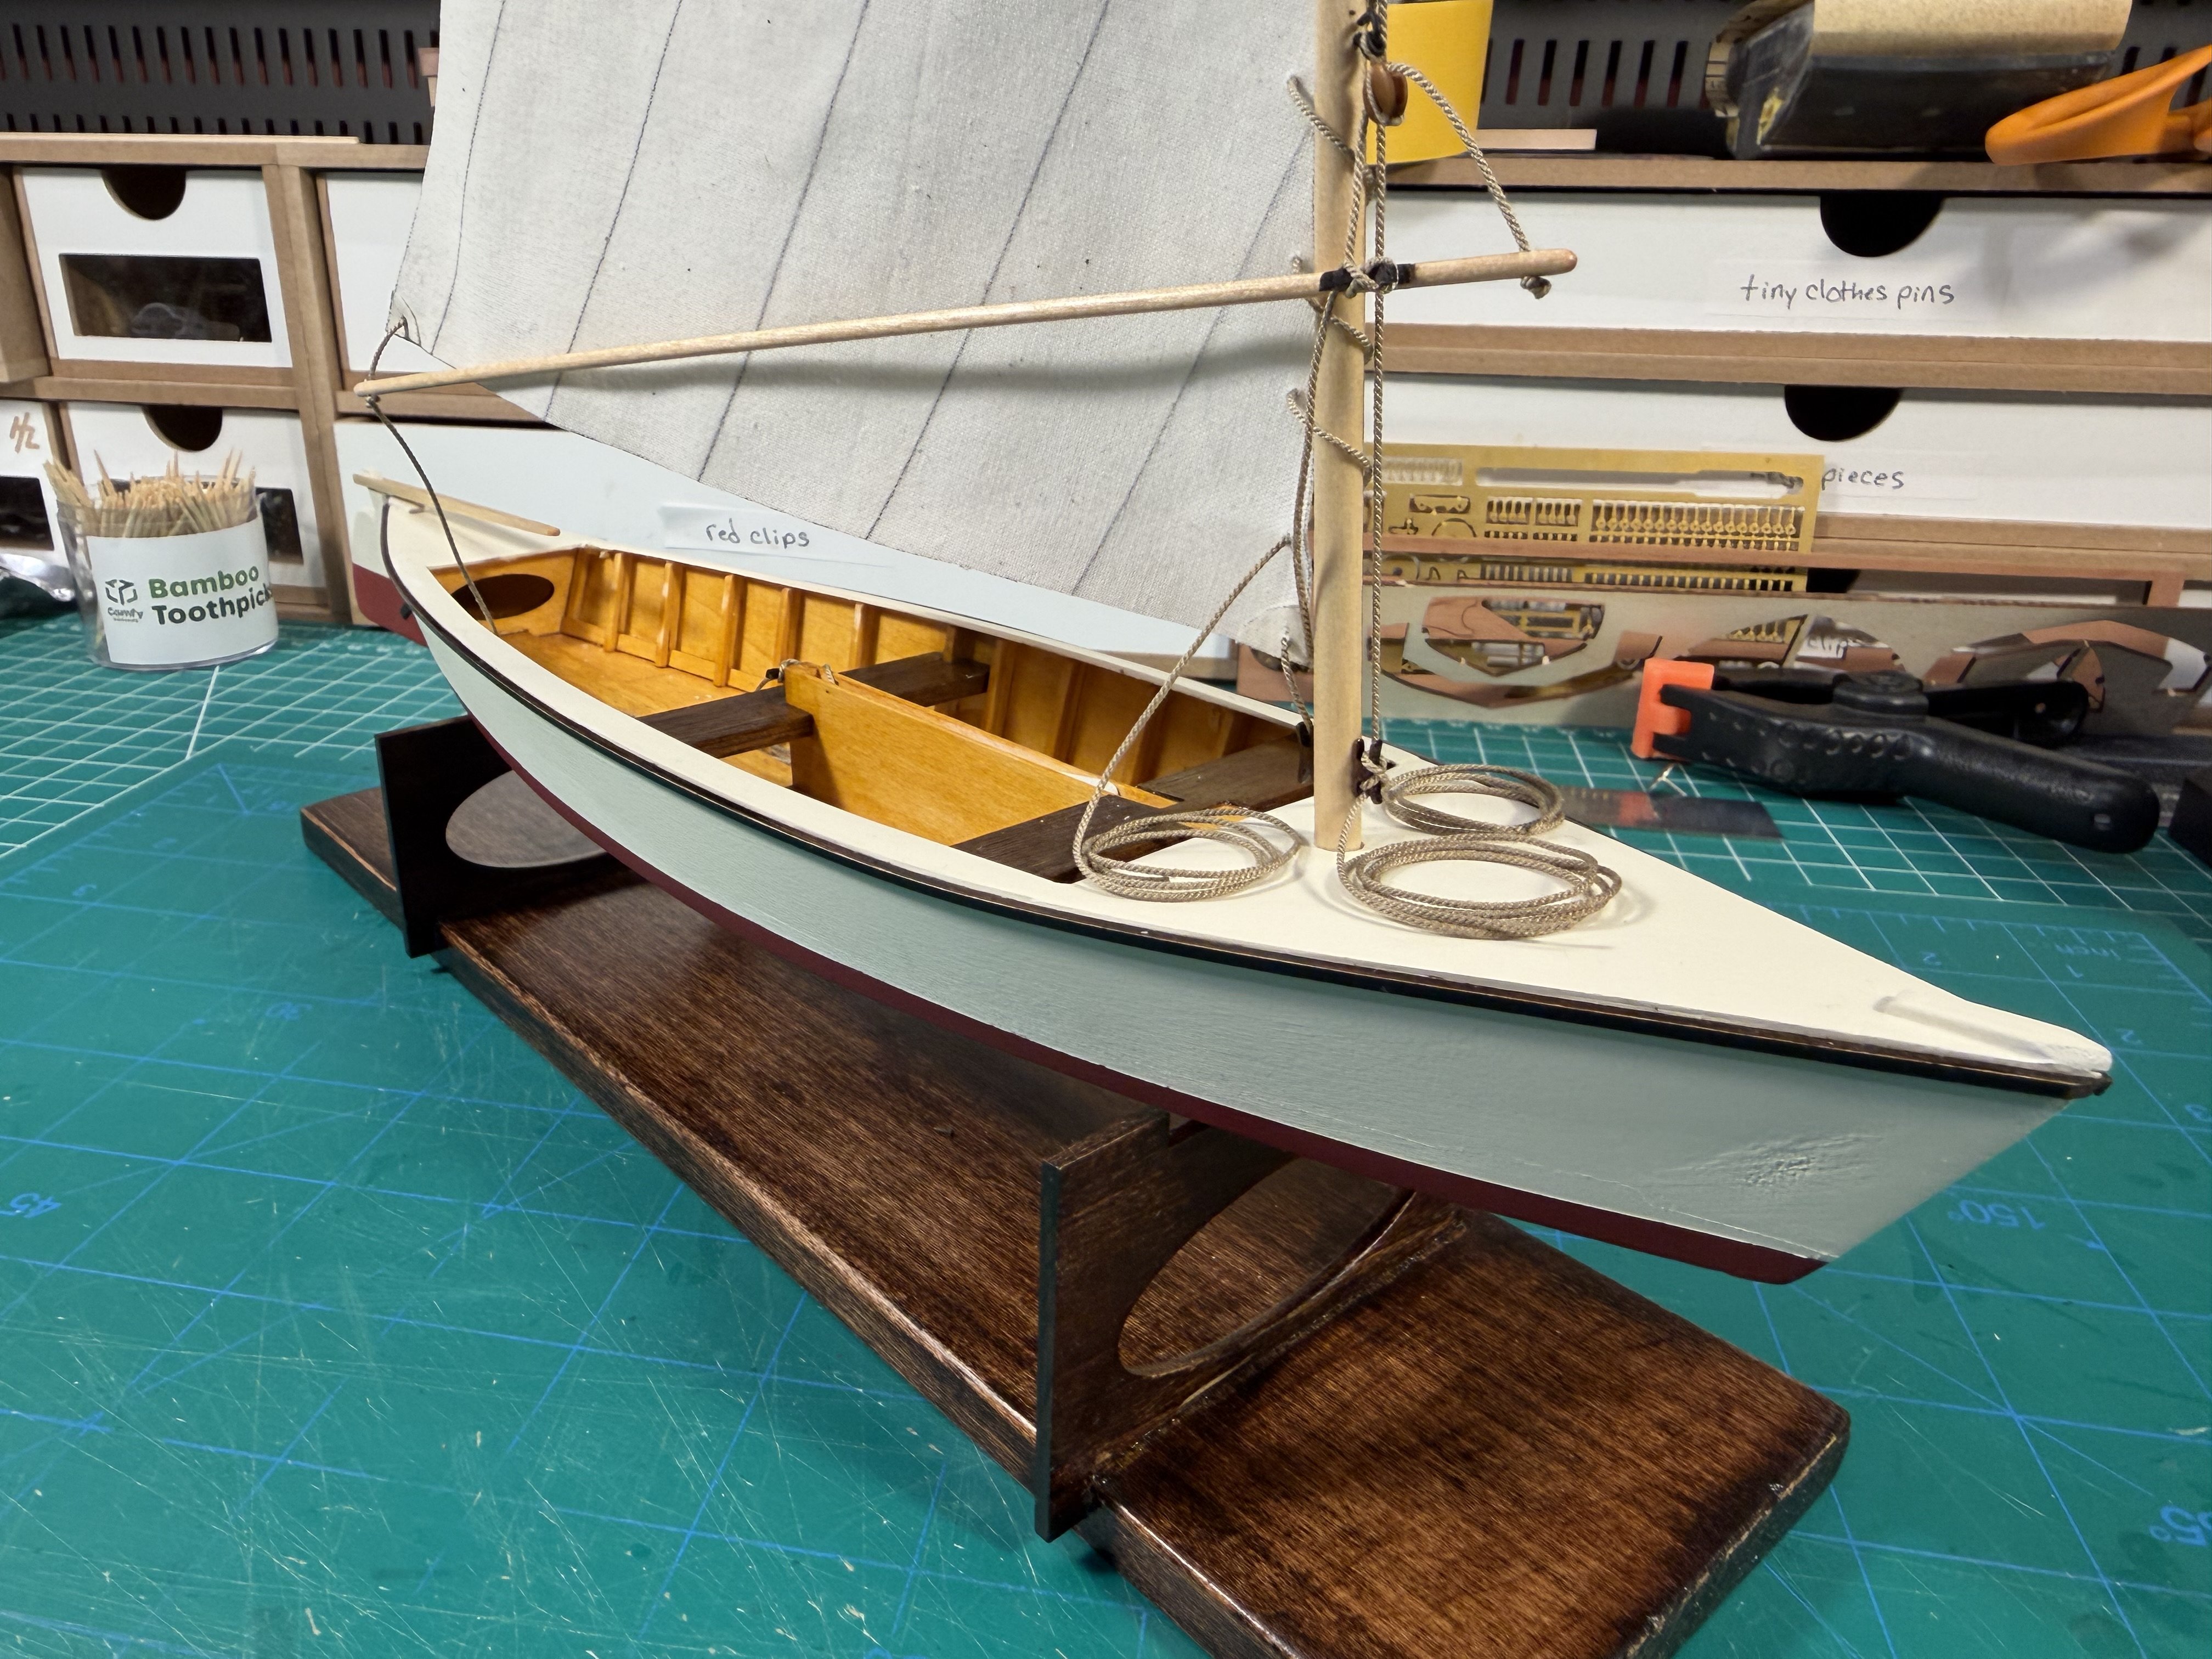
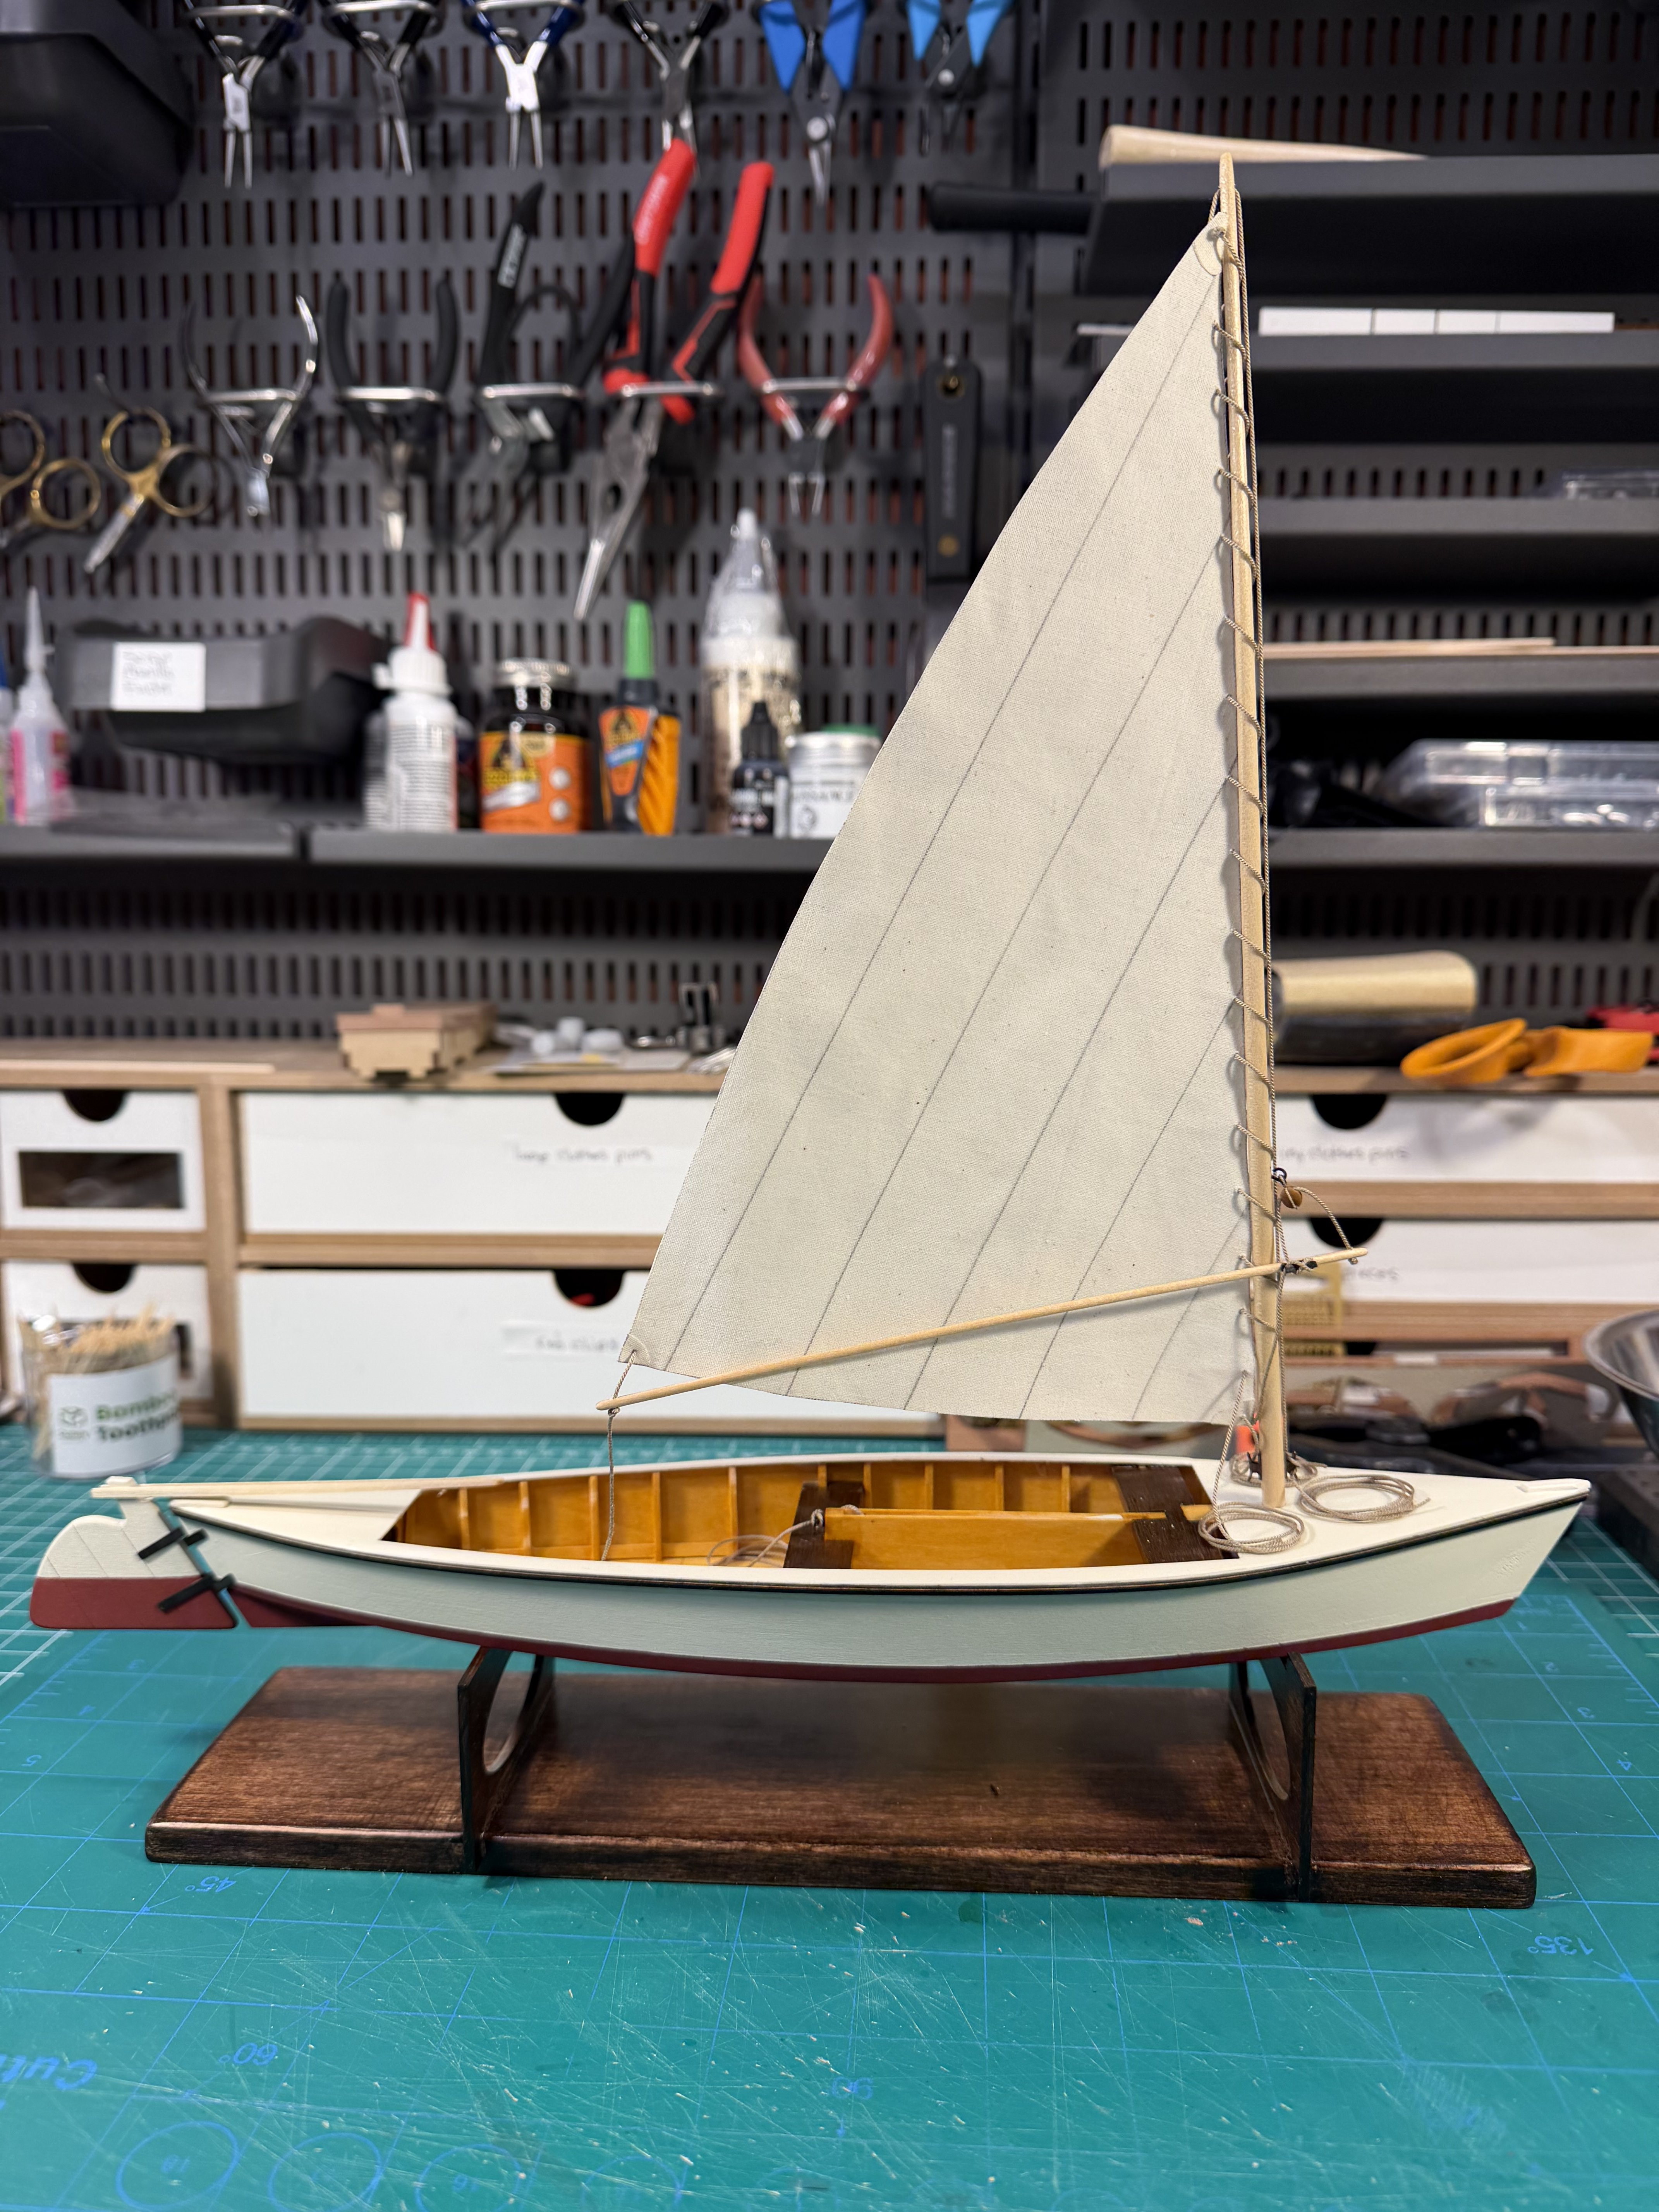
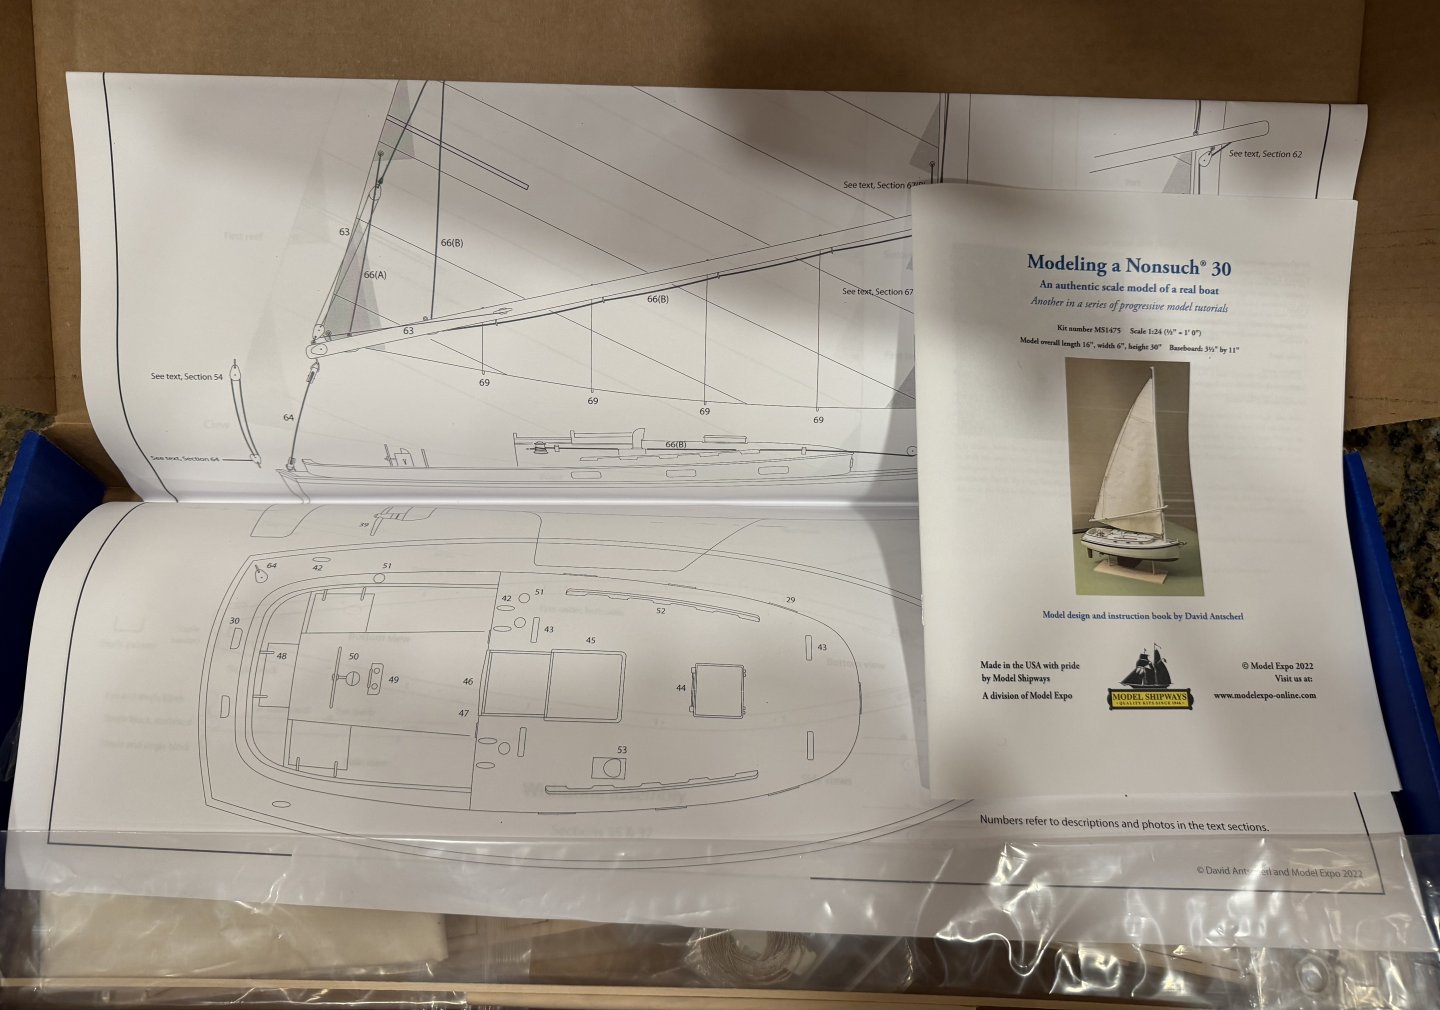
This model is from David Antscherl. Among so many other things, he designed the Model Shipways Shipwright Series kits (Dory, Pram, Smack). This Nonsuch 30 is a more modern sailboat as "Another in a series of progressive model tutorials". I bought it last year during a deep Model Expo sail for 1/2 price as a model to follow up on the Shipwright boats I completed last year. I'm going to try to finish a couple of the other models I'm working on in parallel, but I am opening this one up early because sometimes I just want to do some sanding and gluing. This is a fairly new model kit compared to other Model Shipways kits, having come out in 2022.


- 3 replies
-
- 6
-
-
- Nonsuch 30
- Nonsuch
- (and 1 more)
-
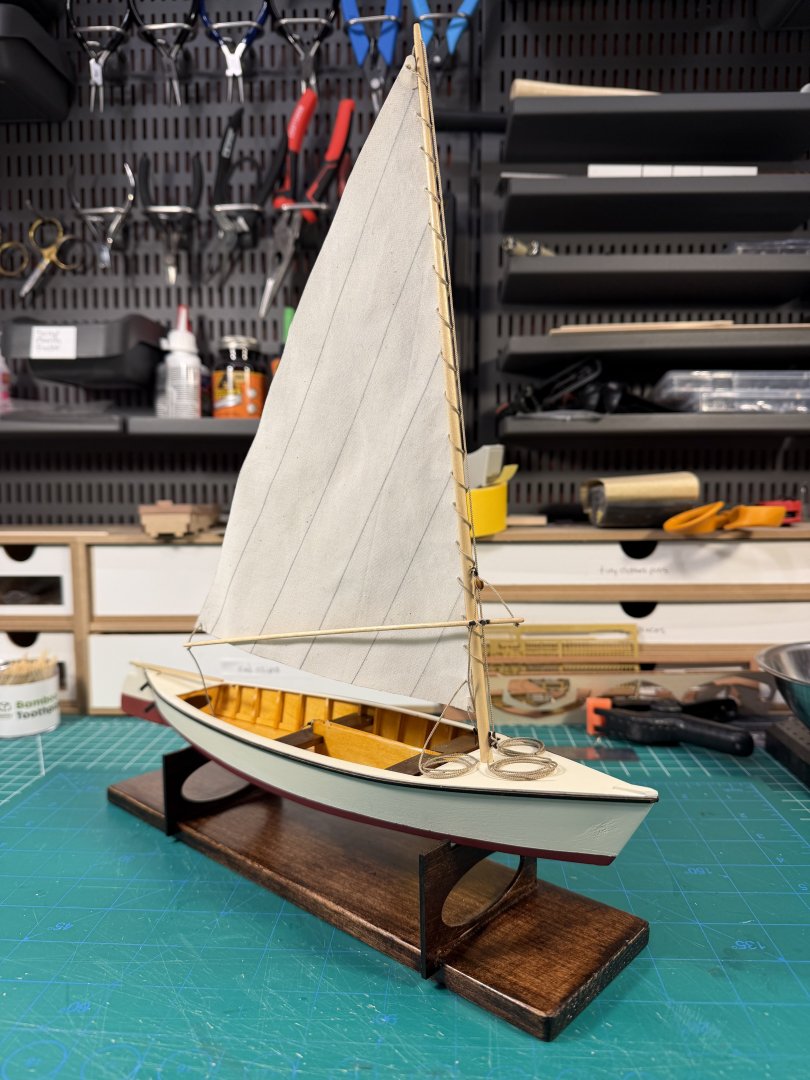
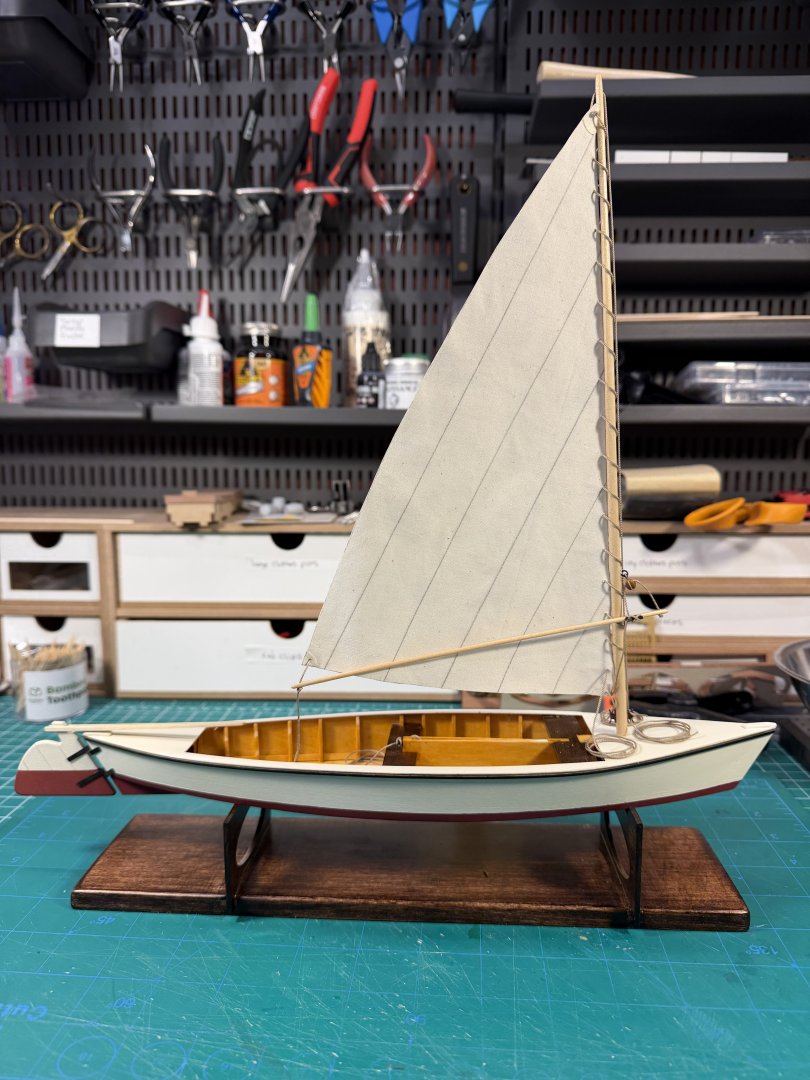
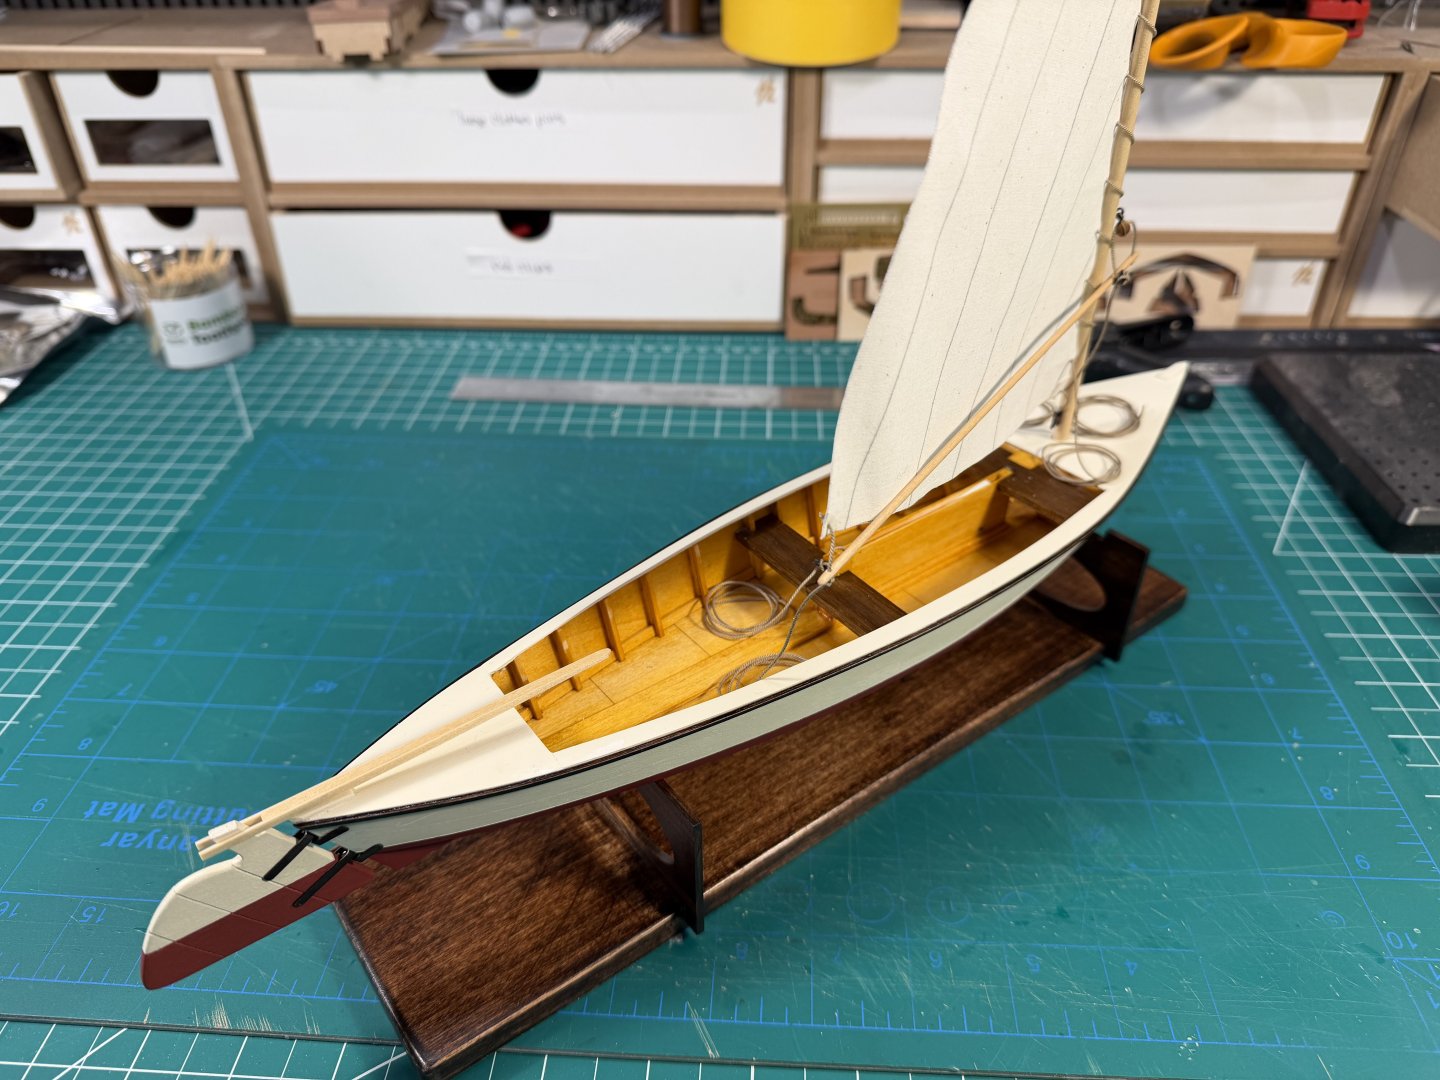
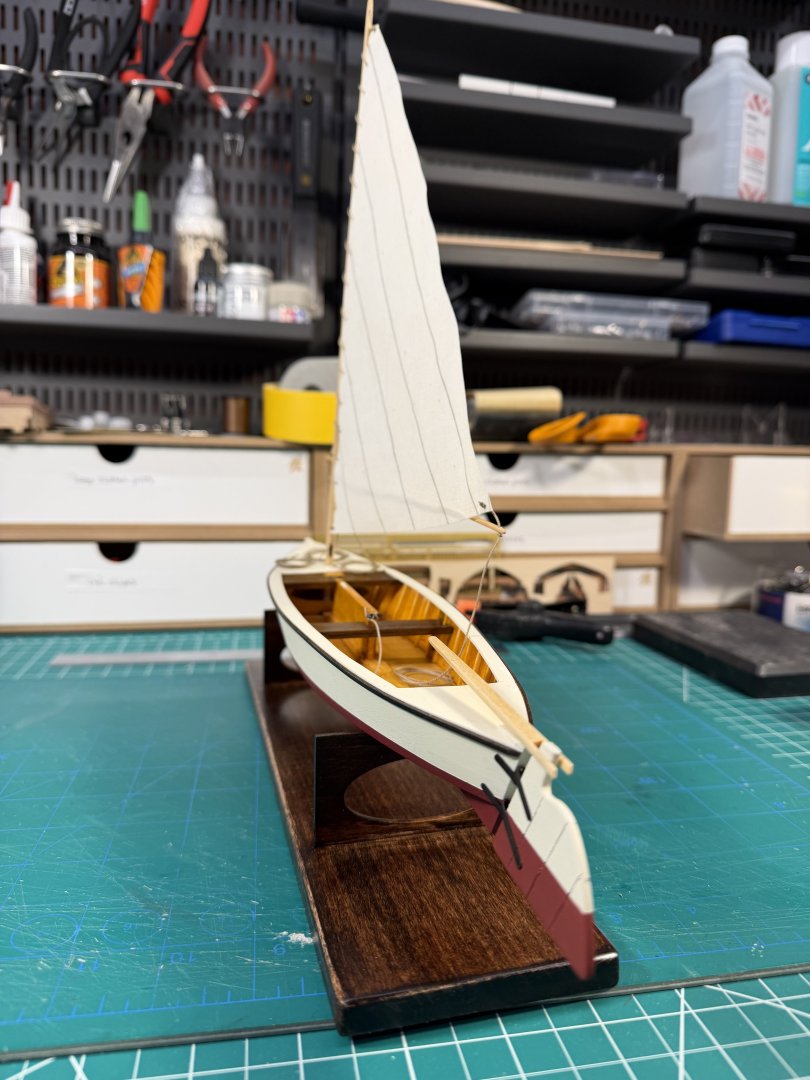
Finally finished this little model.


- 38 replies
-
- 9
-
-
- crabbing skiff
- Chesapeake Bay crabbing skiff
- (and 2 more)
-
kit review 1:48 La Renommée 1744 - CAF Model
palmerit replied to James H's topic in REVIEWS: Model kits
I’m curious - as in just curious since a model like this is far beyond me - would someone ever fully rig a model of this scale and if so would there be plans available to guide that? Or is this model just intended as an admiralty style model?- 20 replies
-
- 1
-
-
- cafmodel
- la renommee
- (and 1 more)
-
For some of us, that was out of necessity 🙂 Sherbourne was my first model with real planking and that first attempt was absolute garbage. 1/2 strip planks, 1/2 wood filler with tons of sanding. Lots of coats of paint just to hide my sins.
- 29 replies
-
- 3
-
-
- Sherbourne
- Vanguard Models
- (and 1 more)
-
I’ve used Vallejo Air Off White paint on Vanguard model kit hulls on the recommendation of Chris Watton - I imagine white might be too glaringly white (I have the Duchess in my stash and haven’t tested other colors to use yet.)
-
Another option for a child as a gradual introduction to wooden models is a model by UGEARS (https://ugearsmodels.com). No glue, no shaping, more like lego than model shipbuilding, but wood. A few of their models are trains and ships: https://ugearsmodels.com/collections/all?filter.p.m.custom.topic=Trains+and+Ships
-
Just go here to order parts from Model Expo: https://www.modelexpo-online.com/products/parts-request?srsltid=AfmBOop9v8v6X6RxdCmMFv6zJ-fdSqjpHcNBOM4MzgaonSUkxhW-MXkx They’ll send them, but it could be a few weeks before you get them.
-
I don’t know, the first post was asking what the oldest book on ship modeling was. The one I saw in the Art Gallery of Ontario might be one of the oldest. The photo of the book was included in a post about their model ship collection, which included this book. The text of that book is available online if anyone is interested: https://quod.lib.umich.edu/e/eebo2/A50859.0001.001?rgn=main;view=fulltext