palmerit
-
Posts
1,120 -
Joined
-
Last visited
Content Type
Profiles
Forums
Gallery
Events
Everything posted by palmerit
-
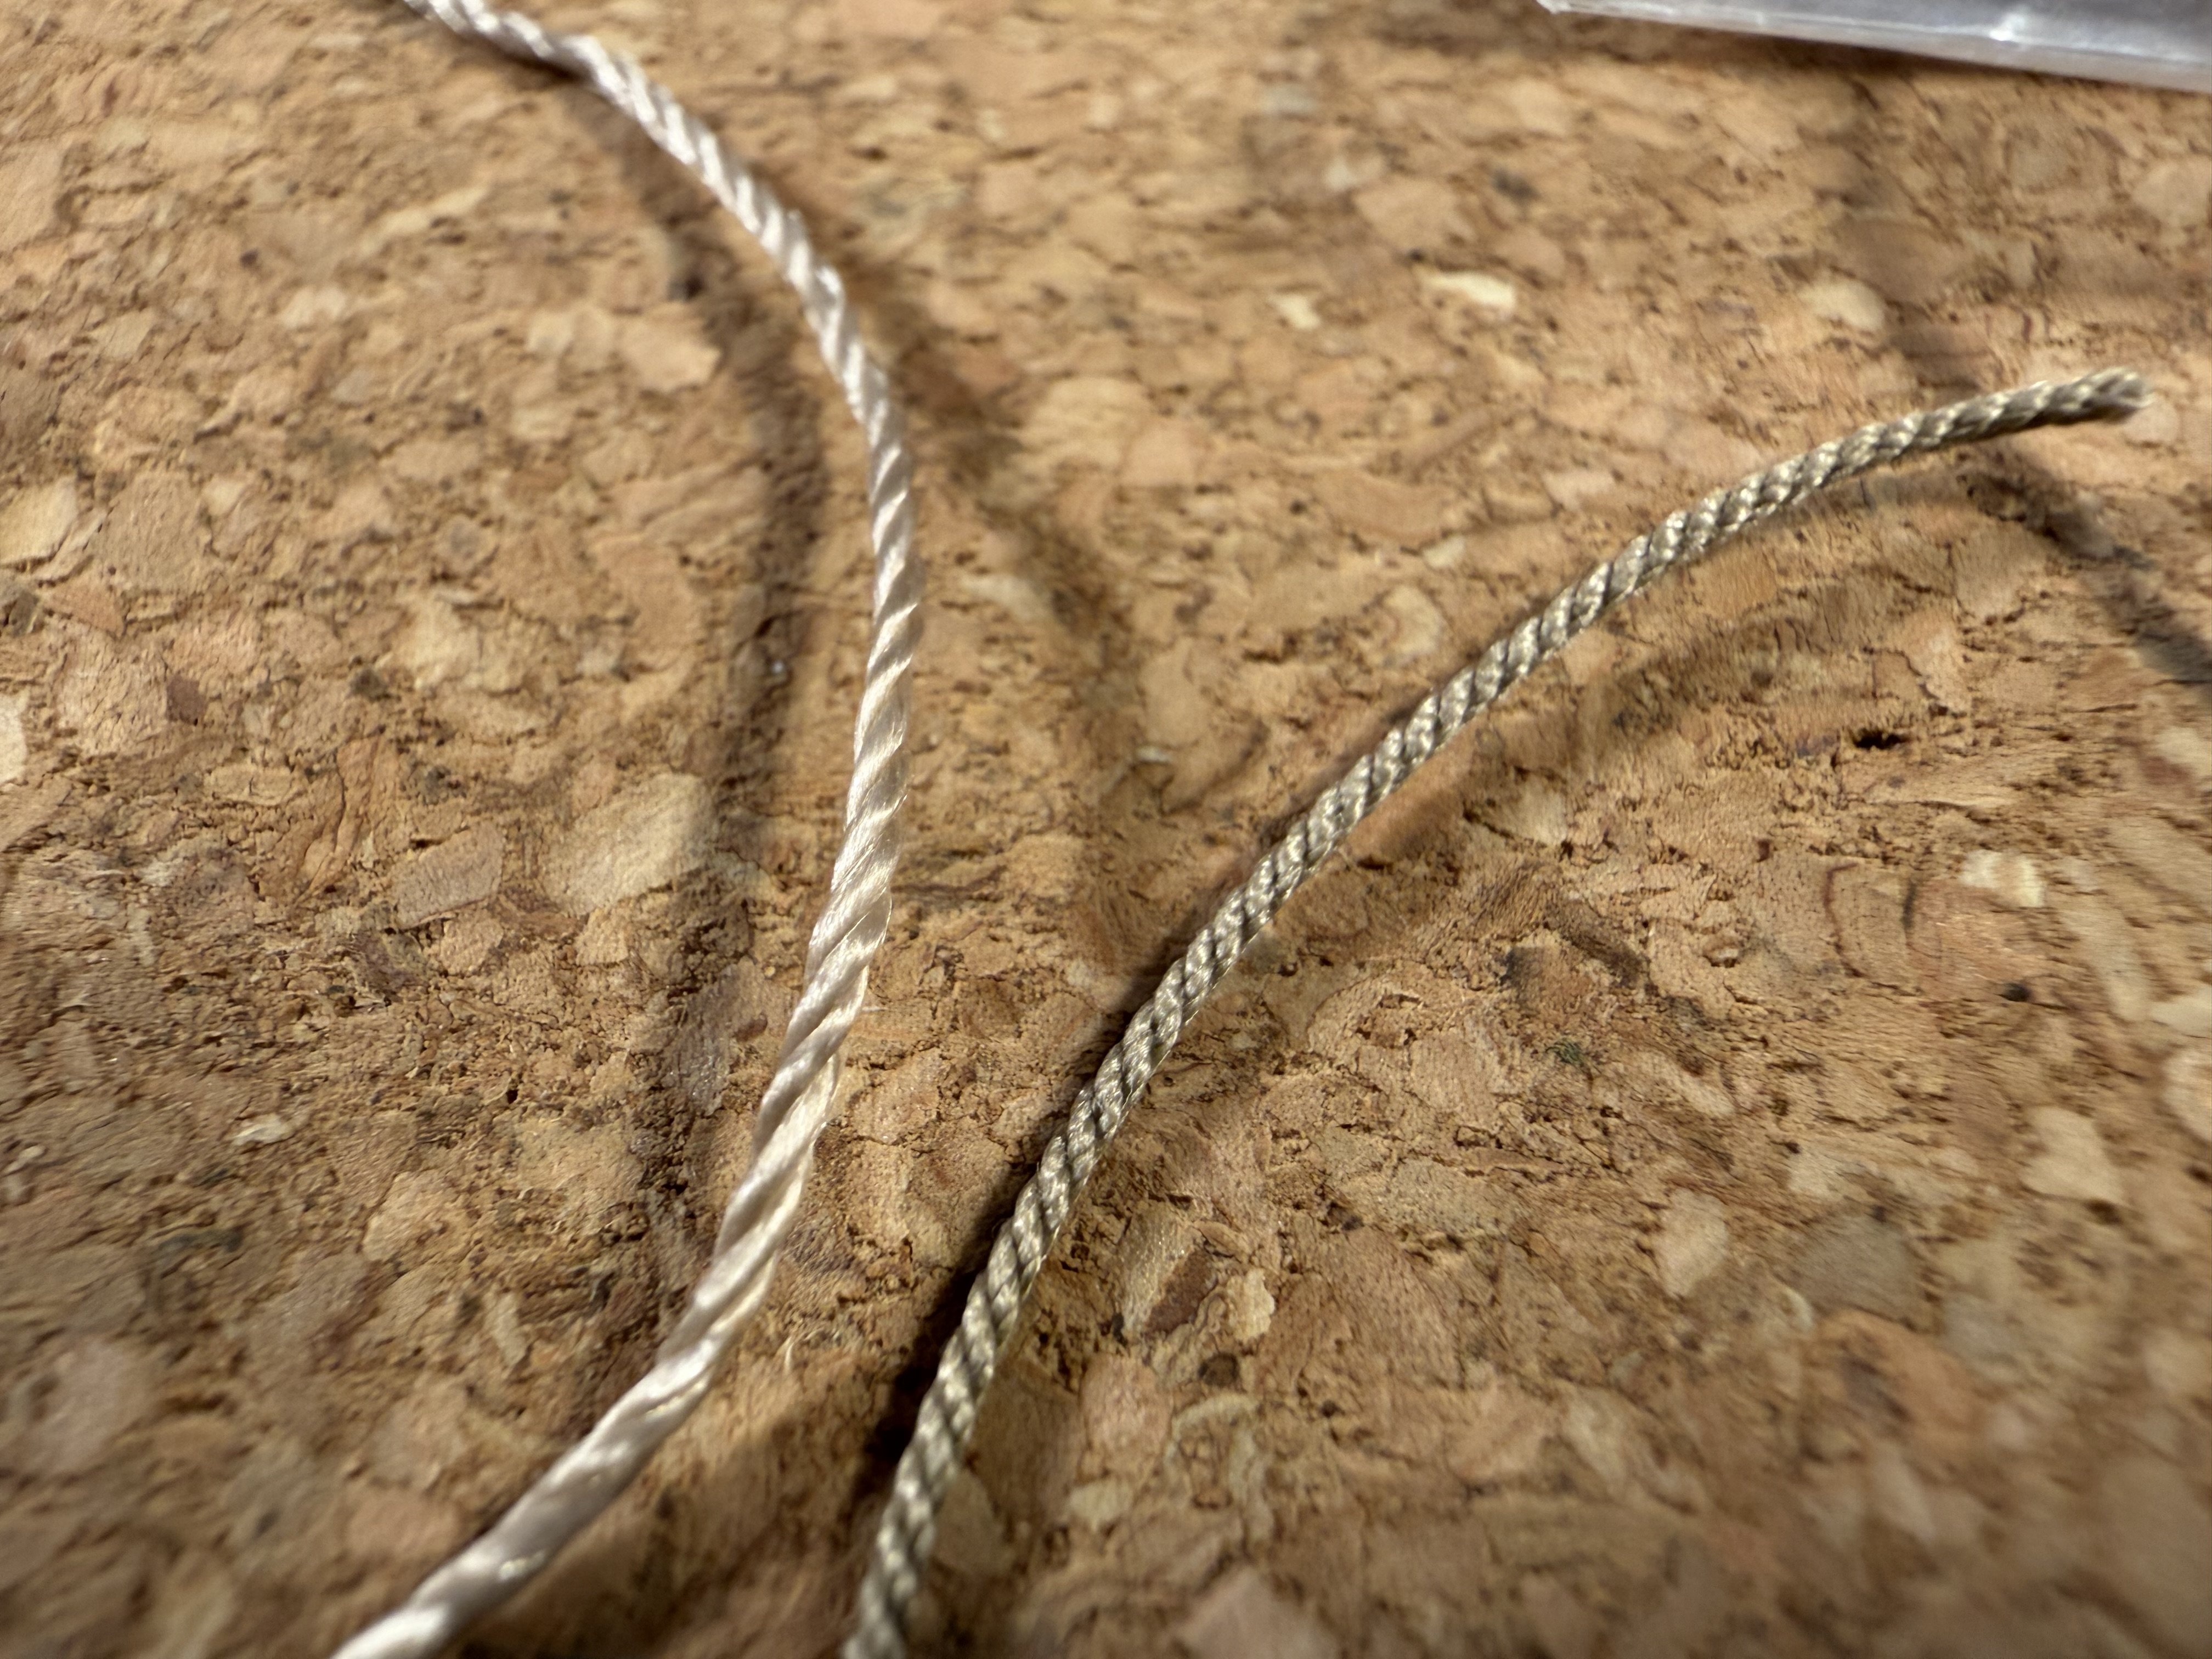
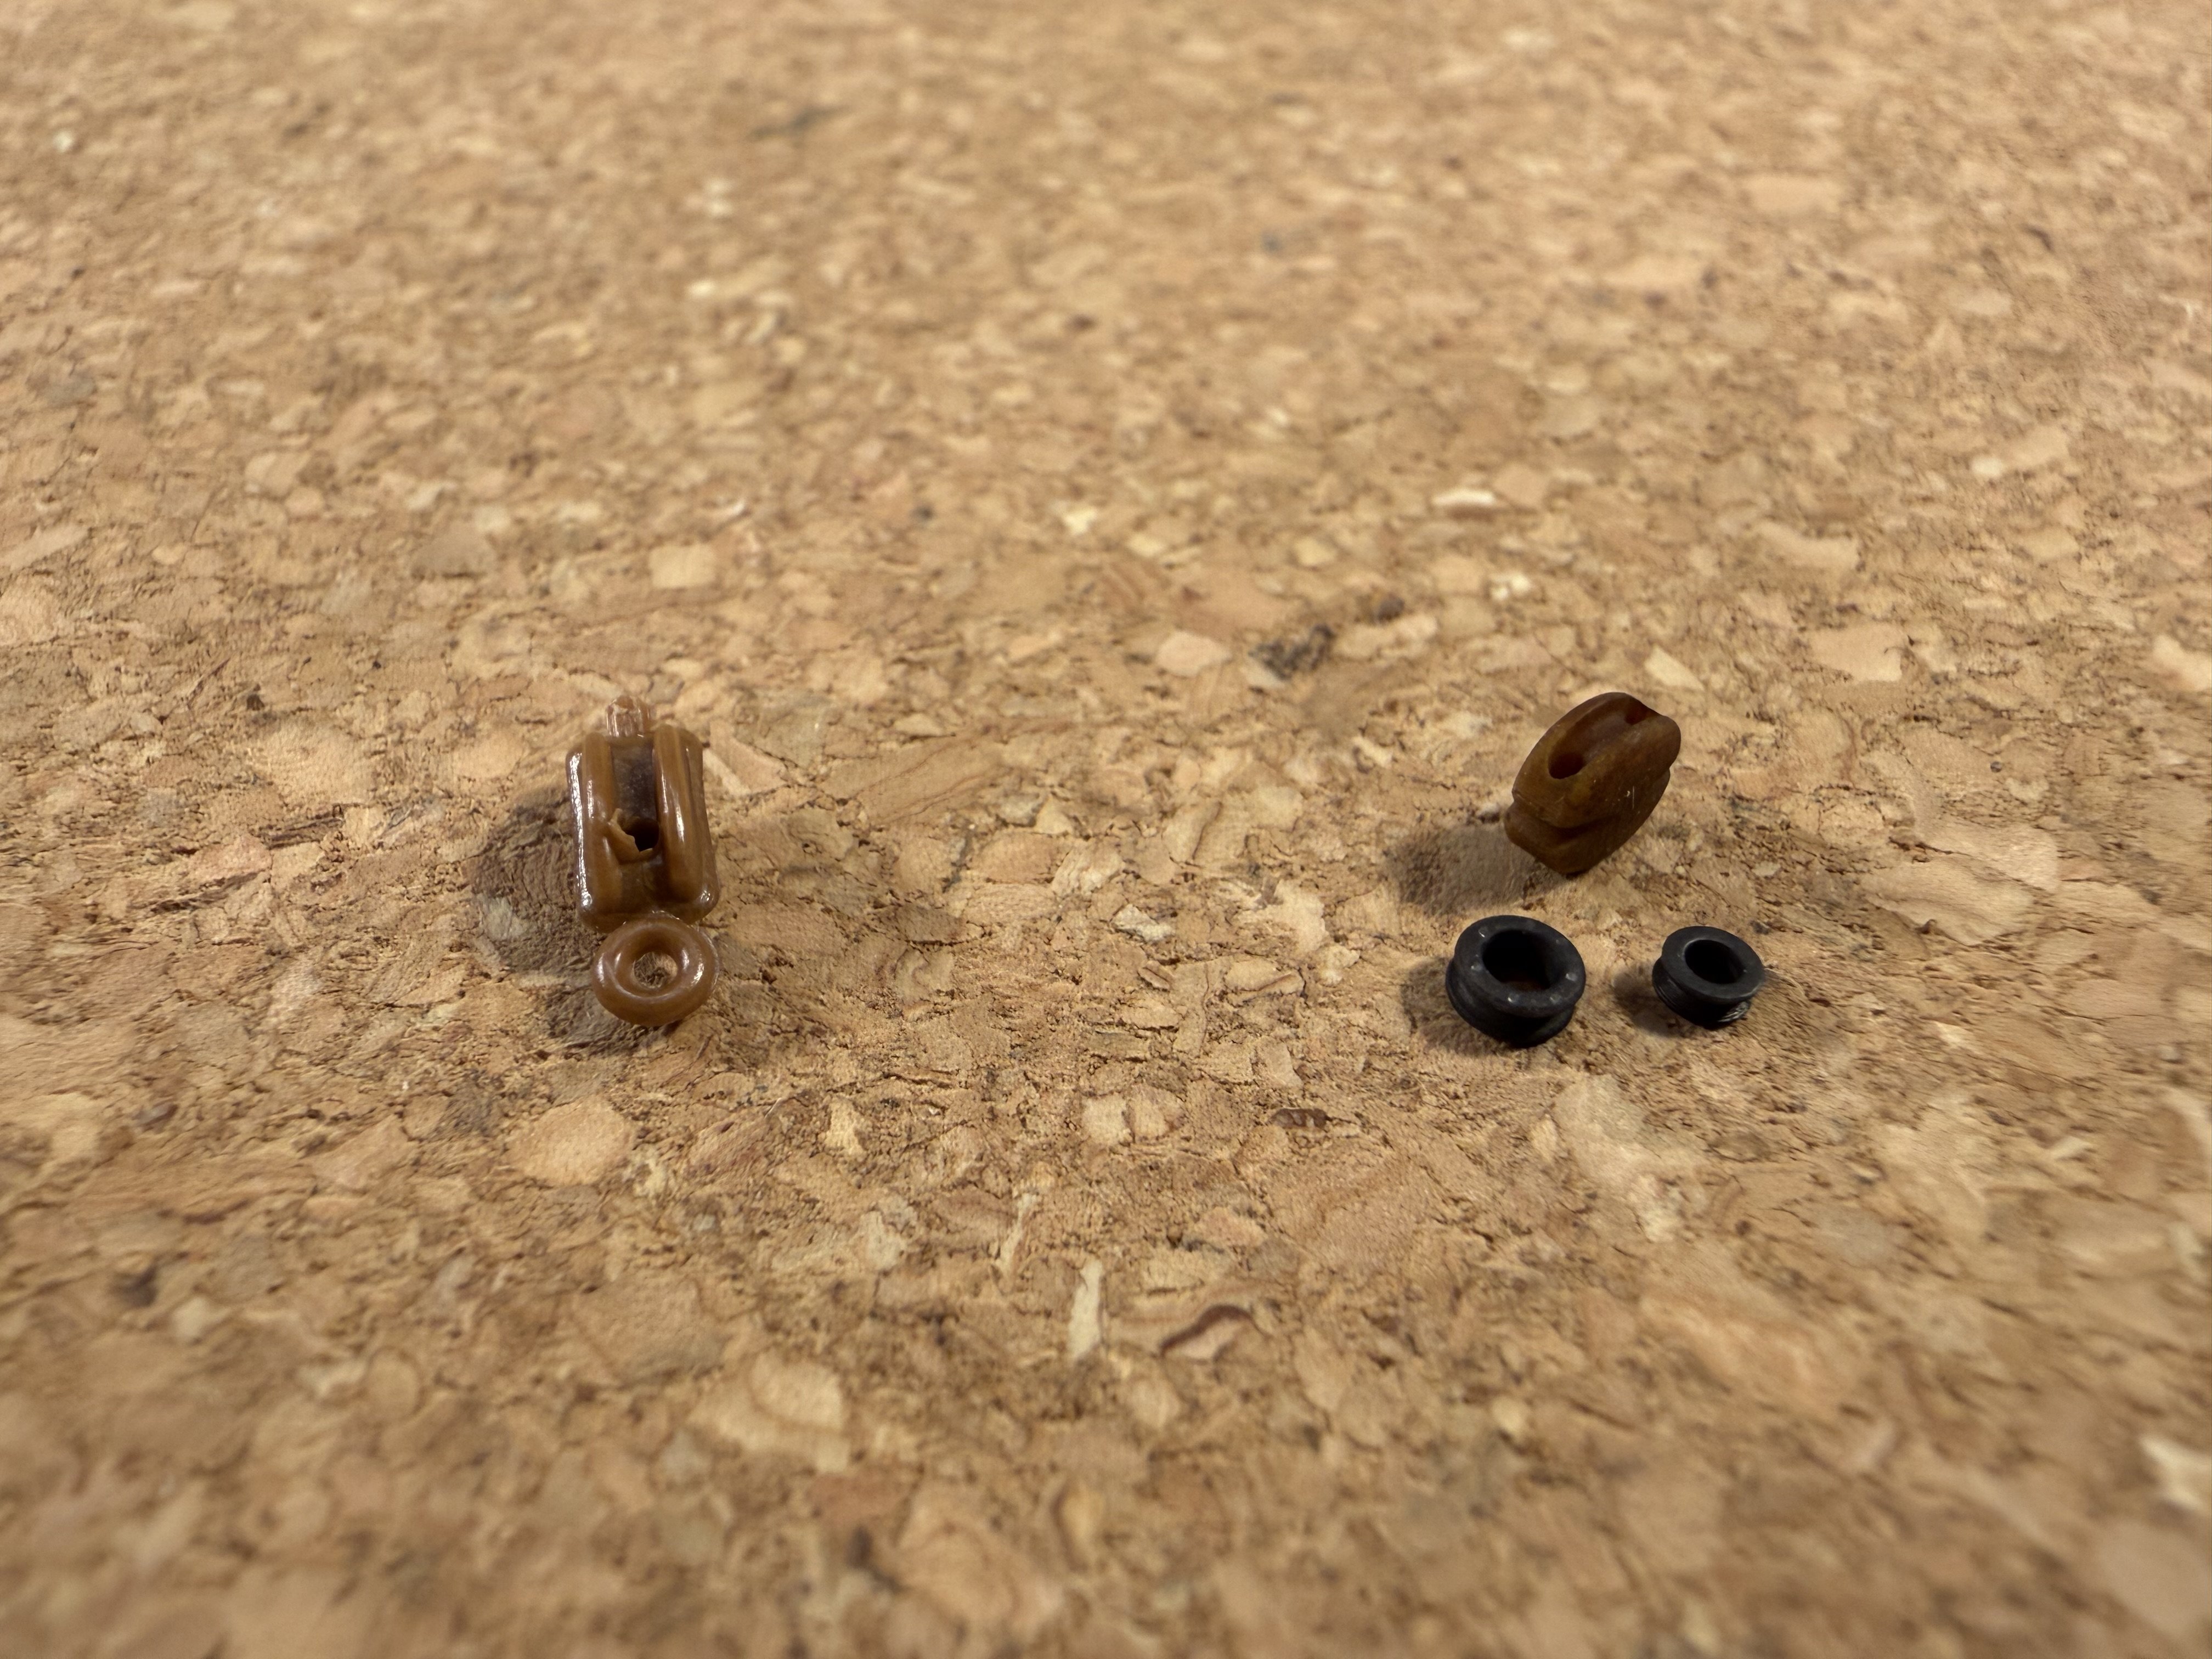
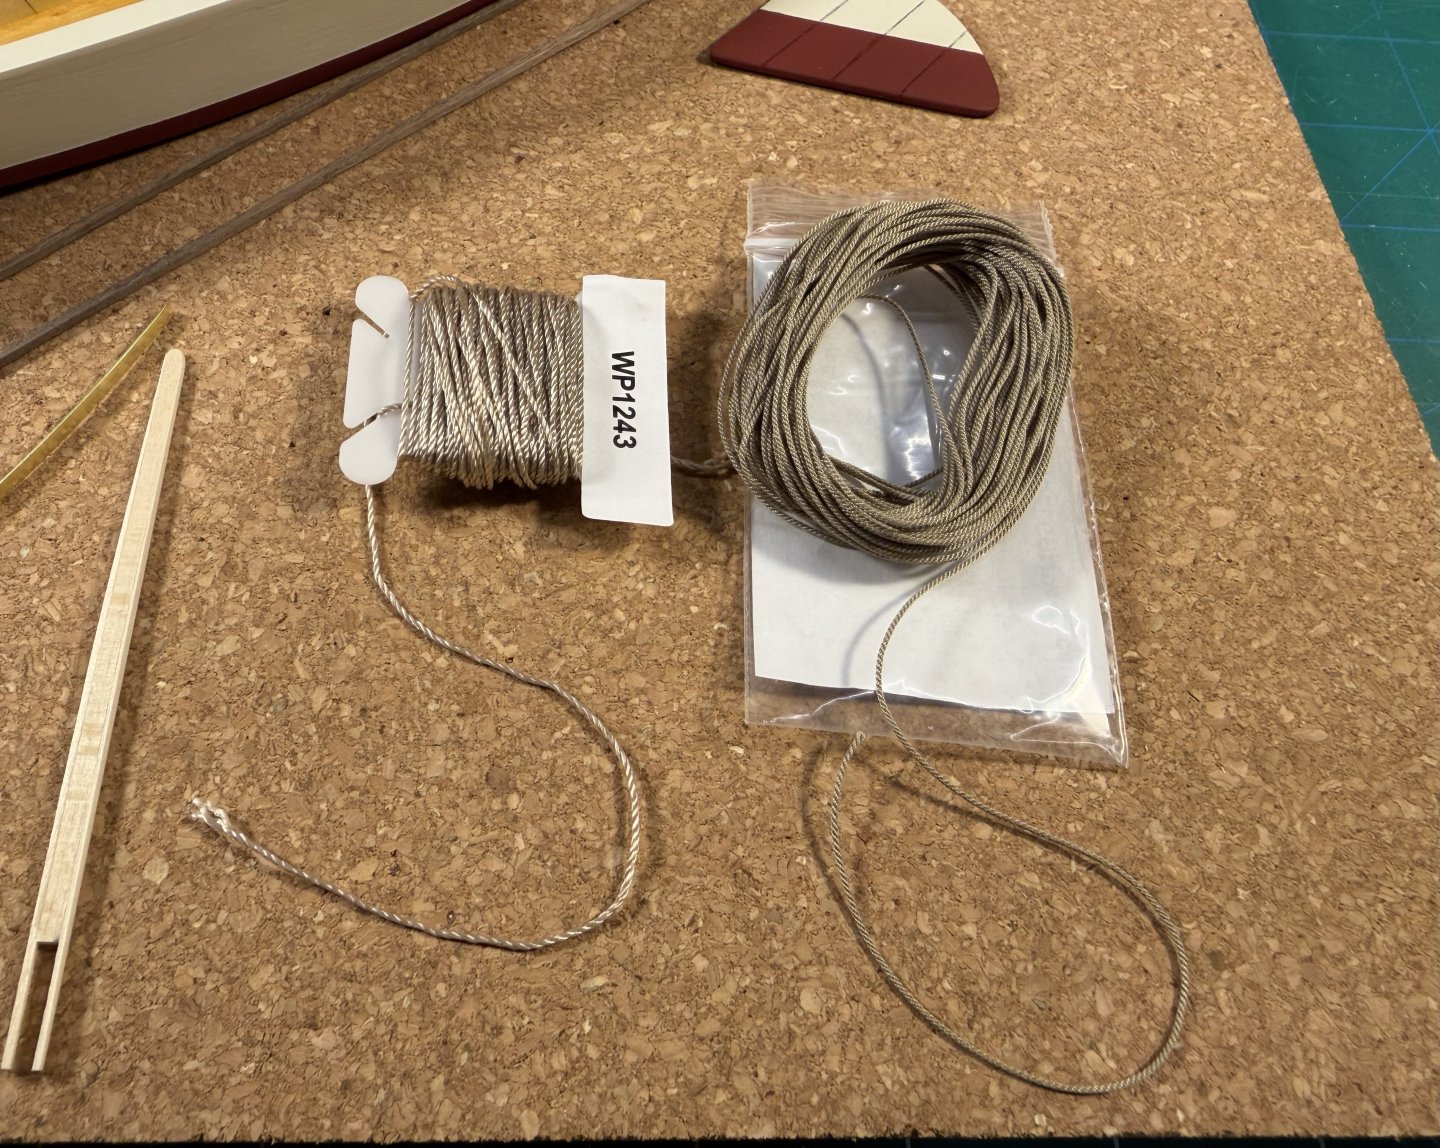
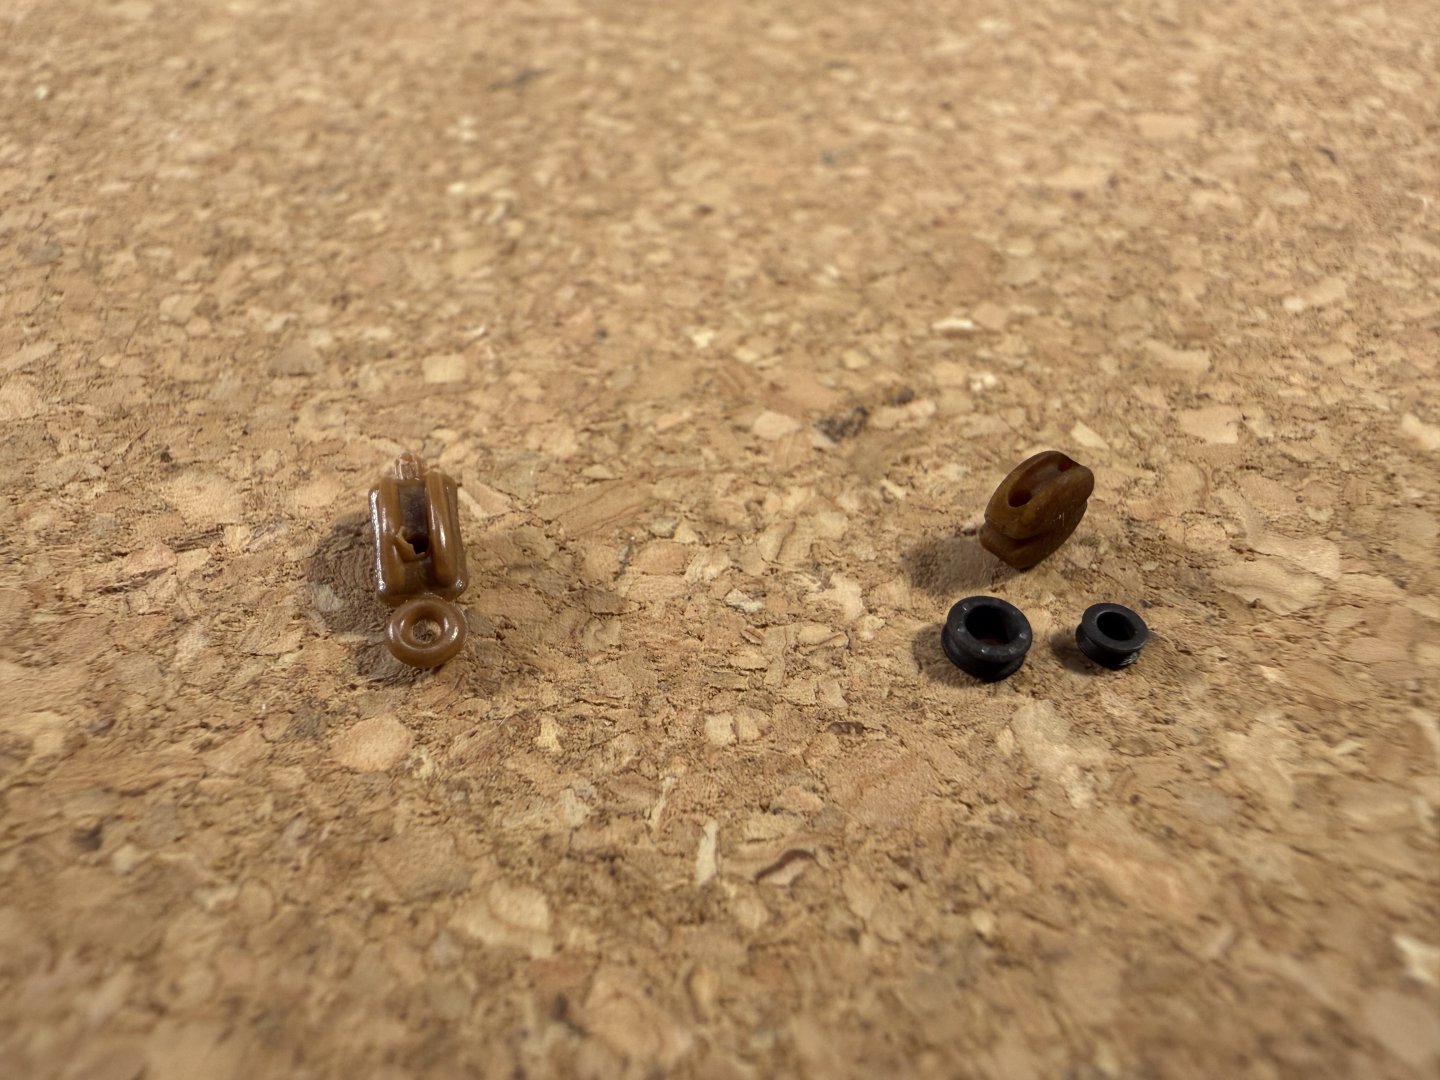
I’m replacing the Model Expo rope and blocks with ones I bought from Syren. In each photo, Model Expo is on the left and Syren is on the right. Obviously, no comparison.

- 38 replies
-
- 5
-

-
- crabbing skiff
- Chesapeake Bay crabbing skiff
- (and 2 more)
-
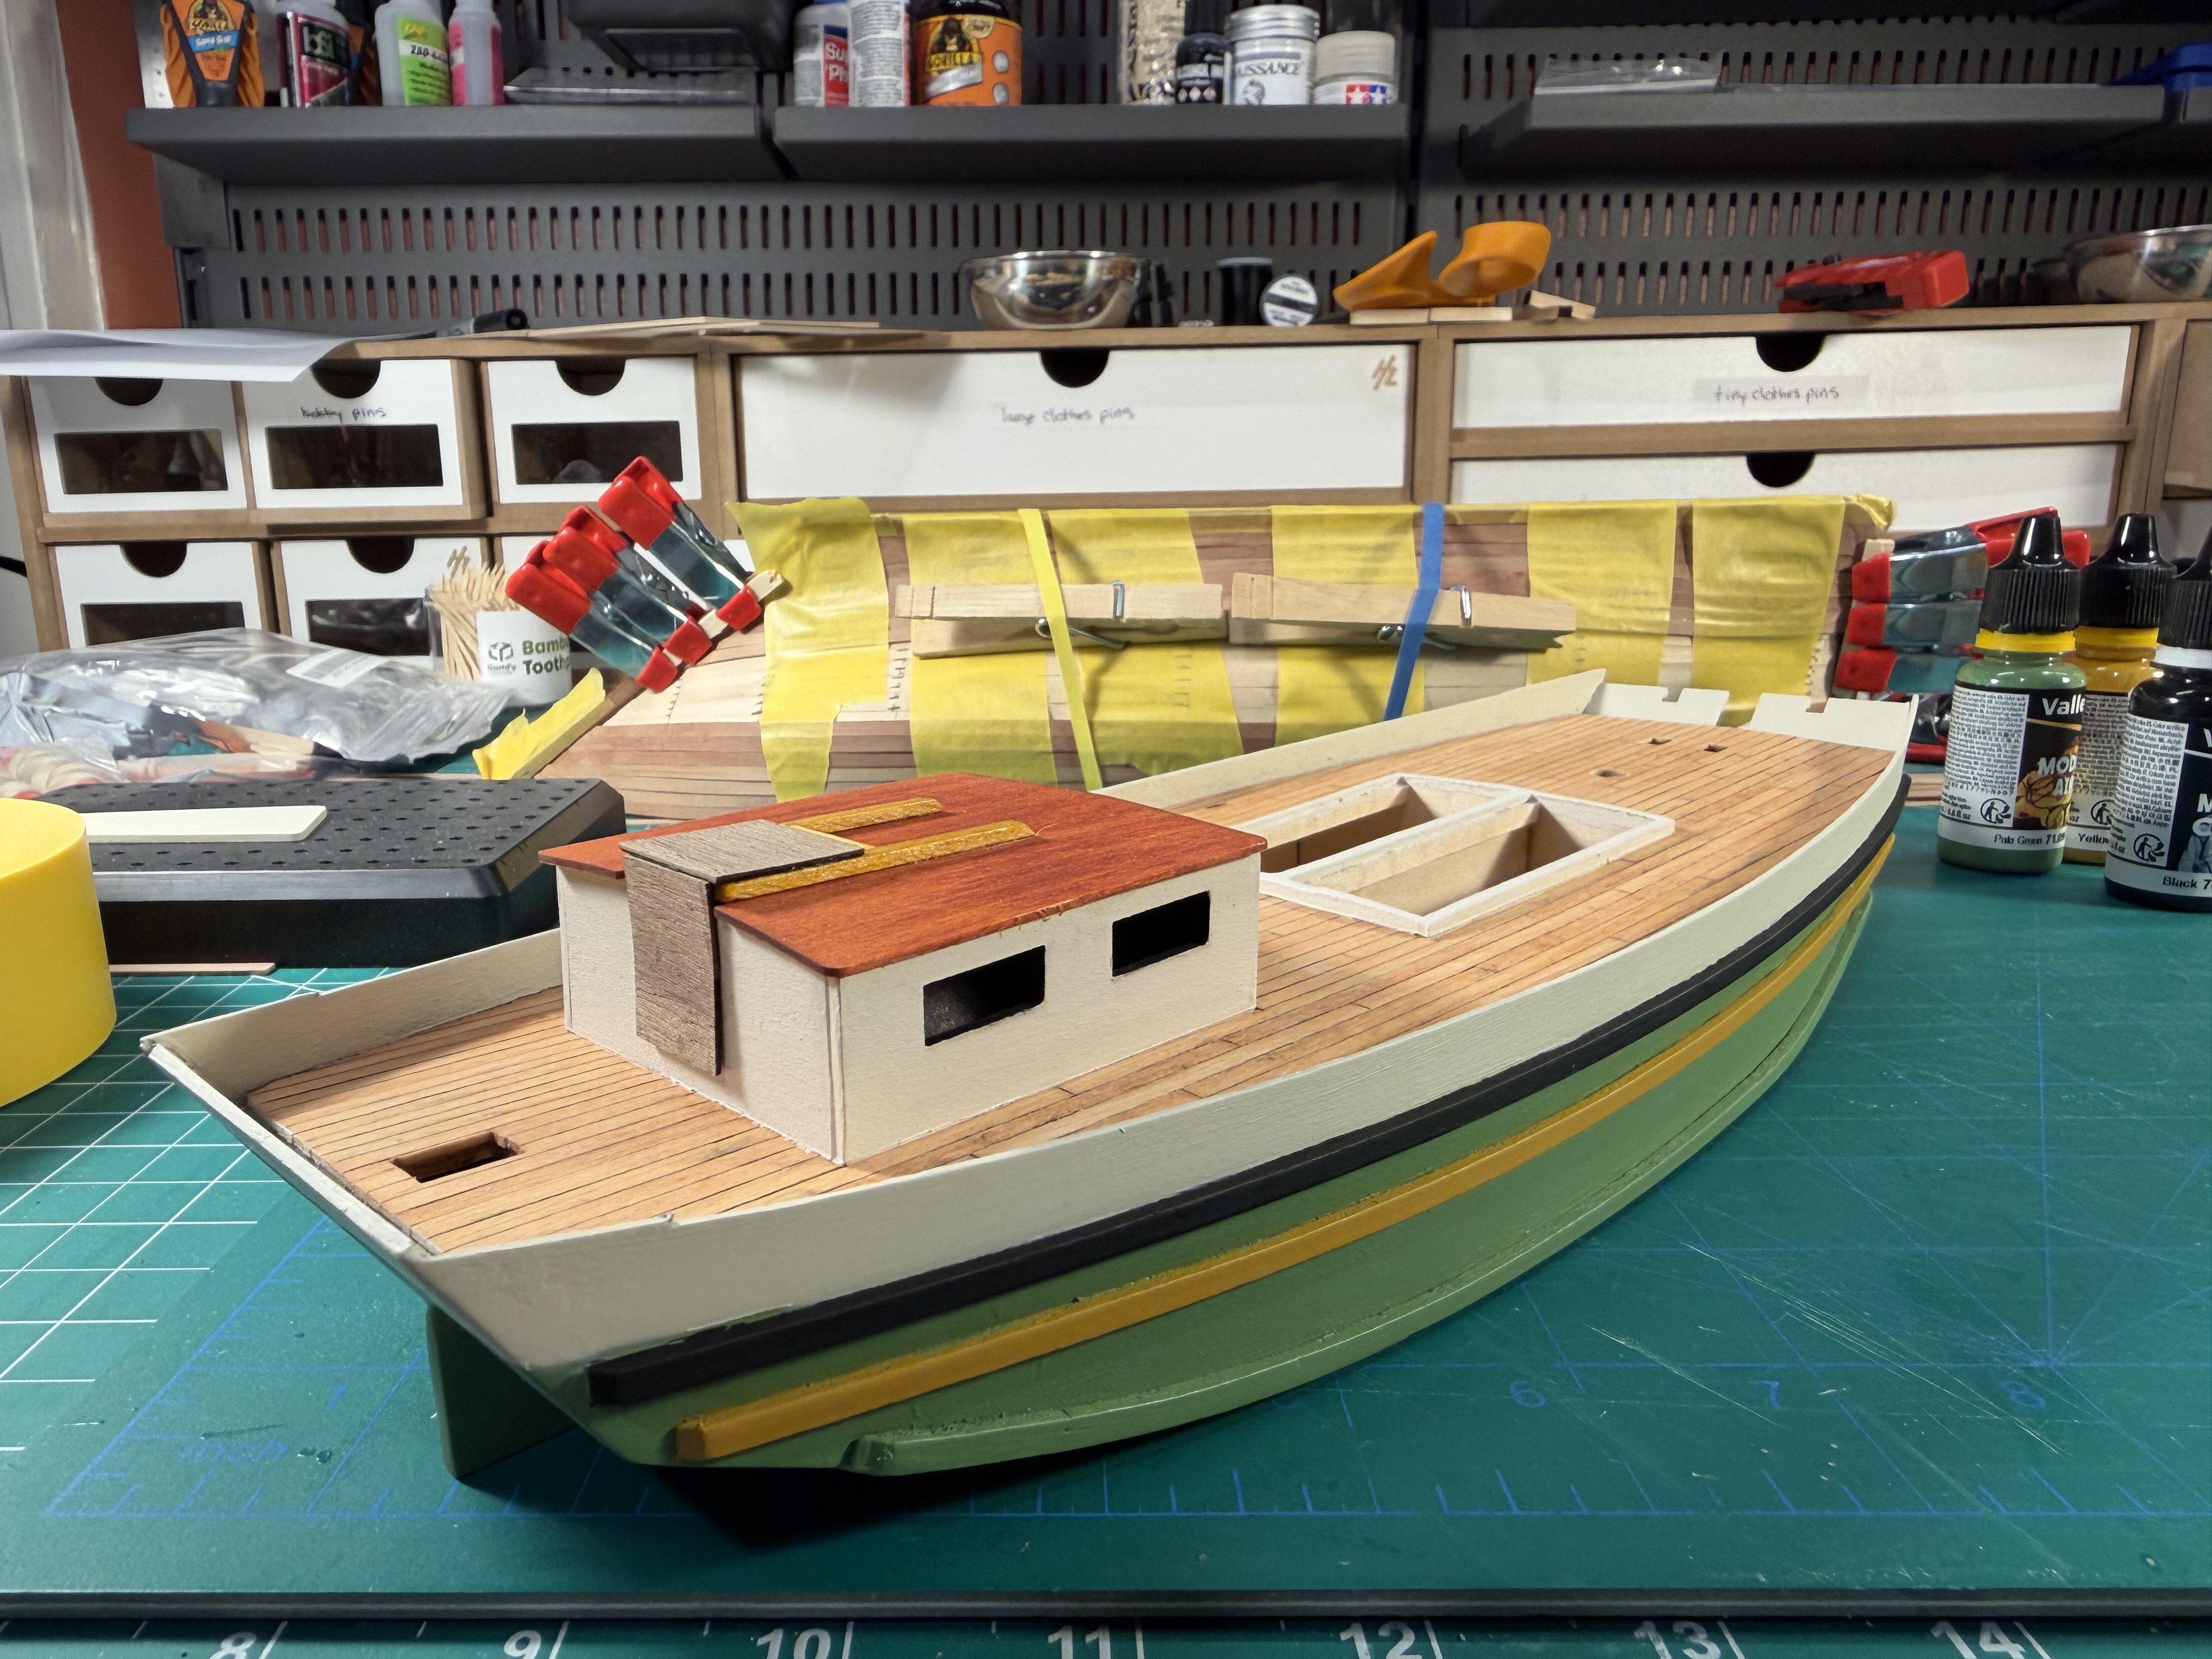
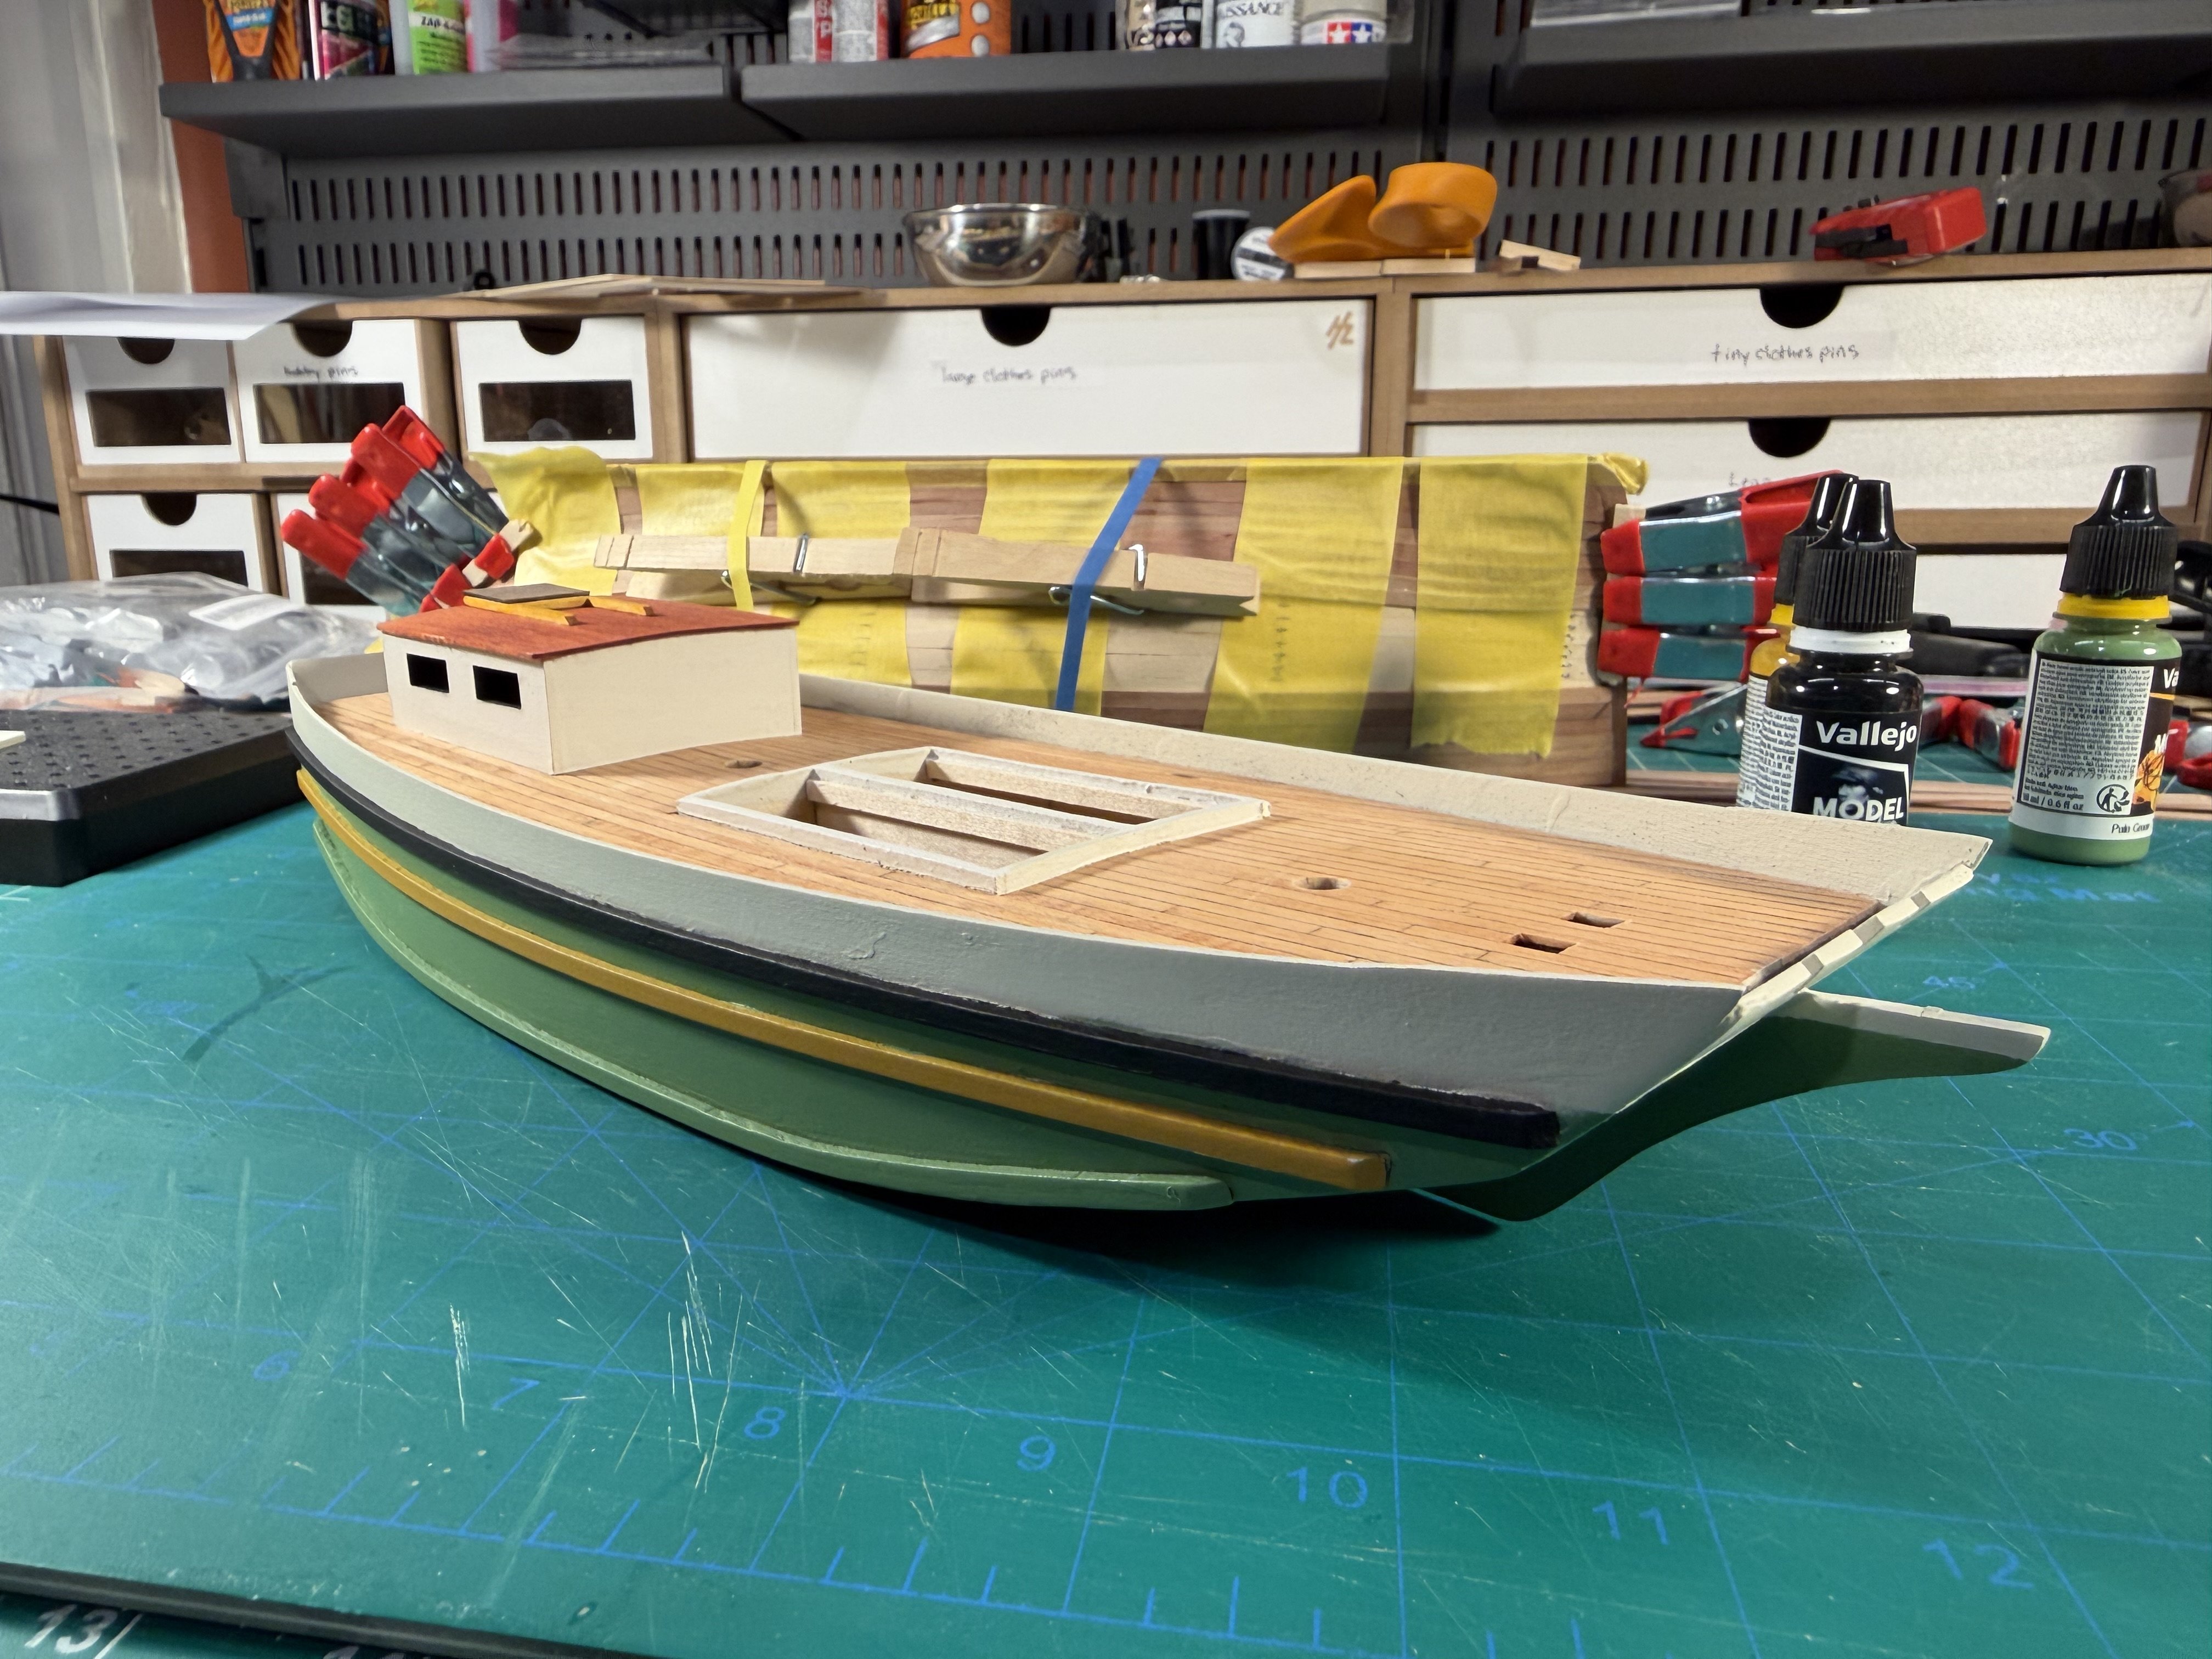
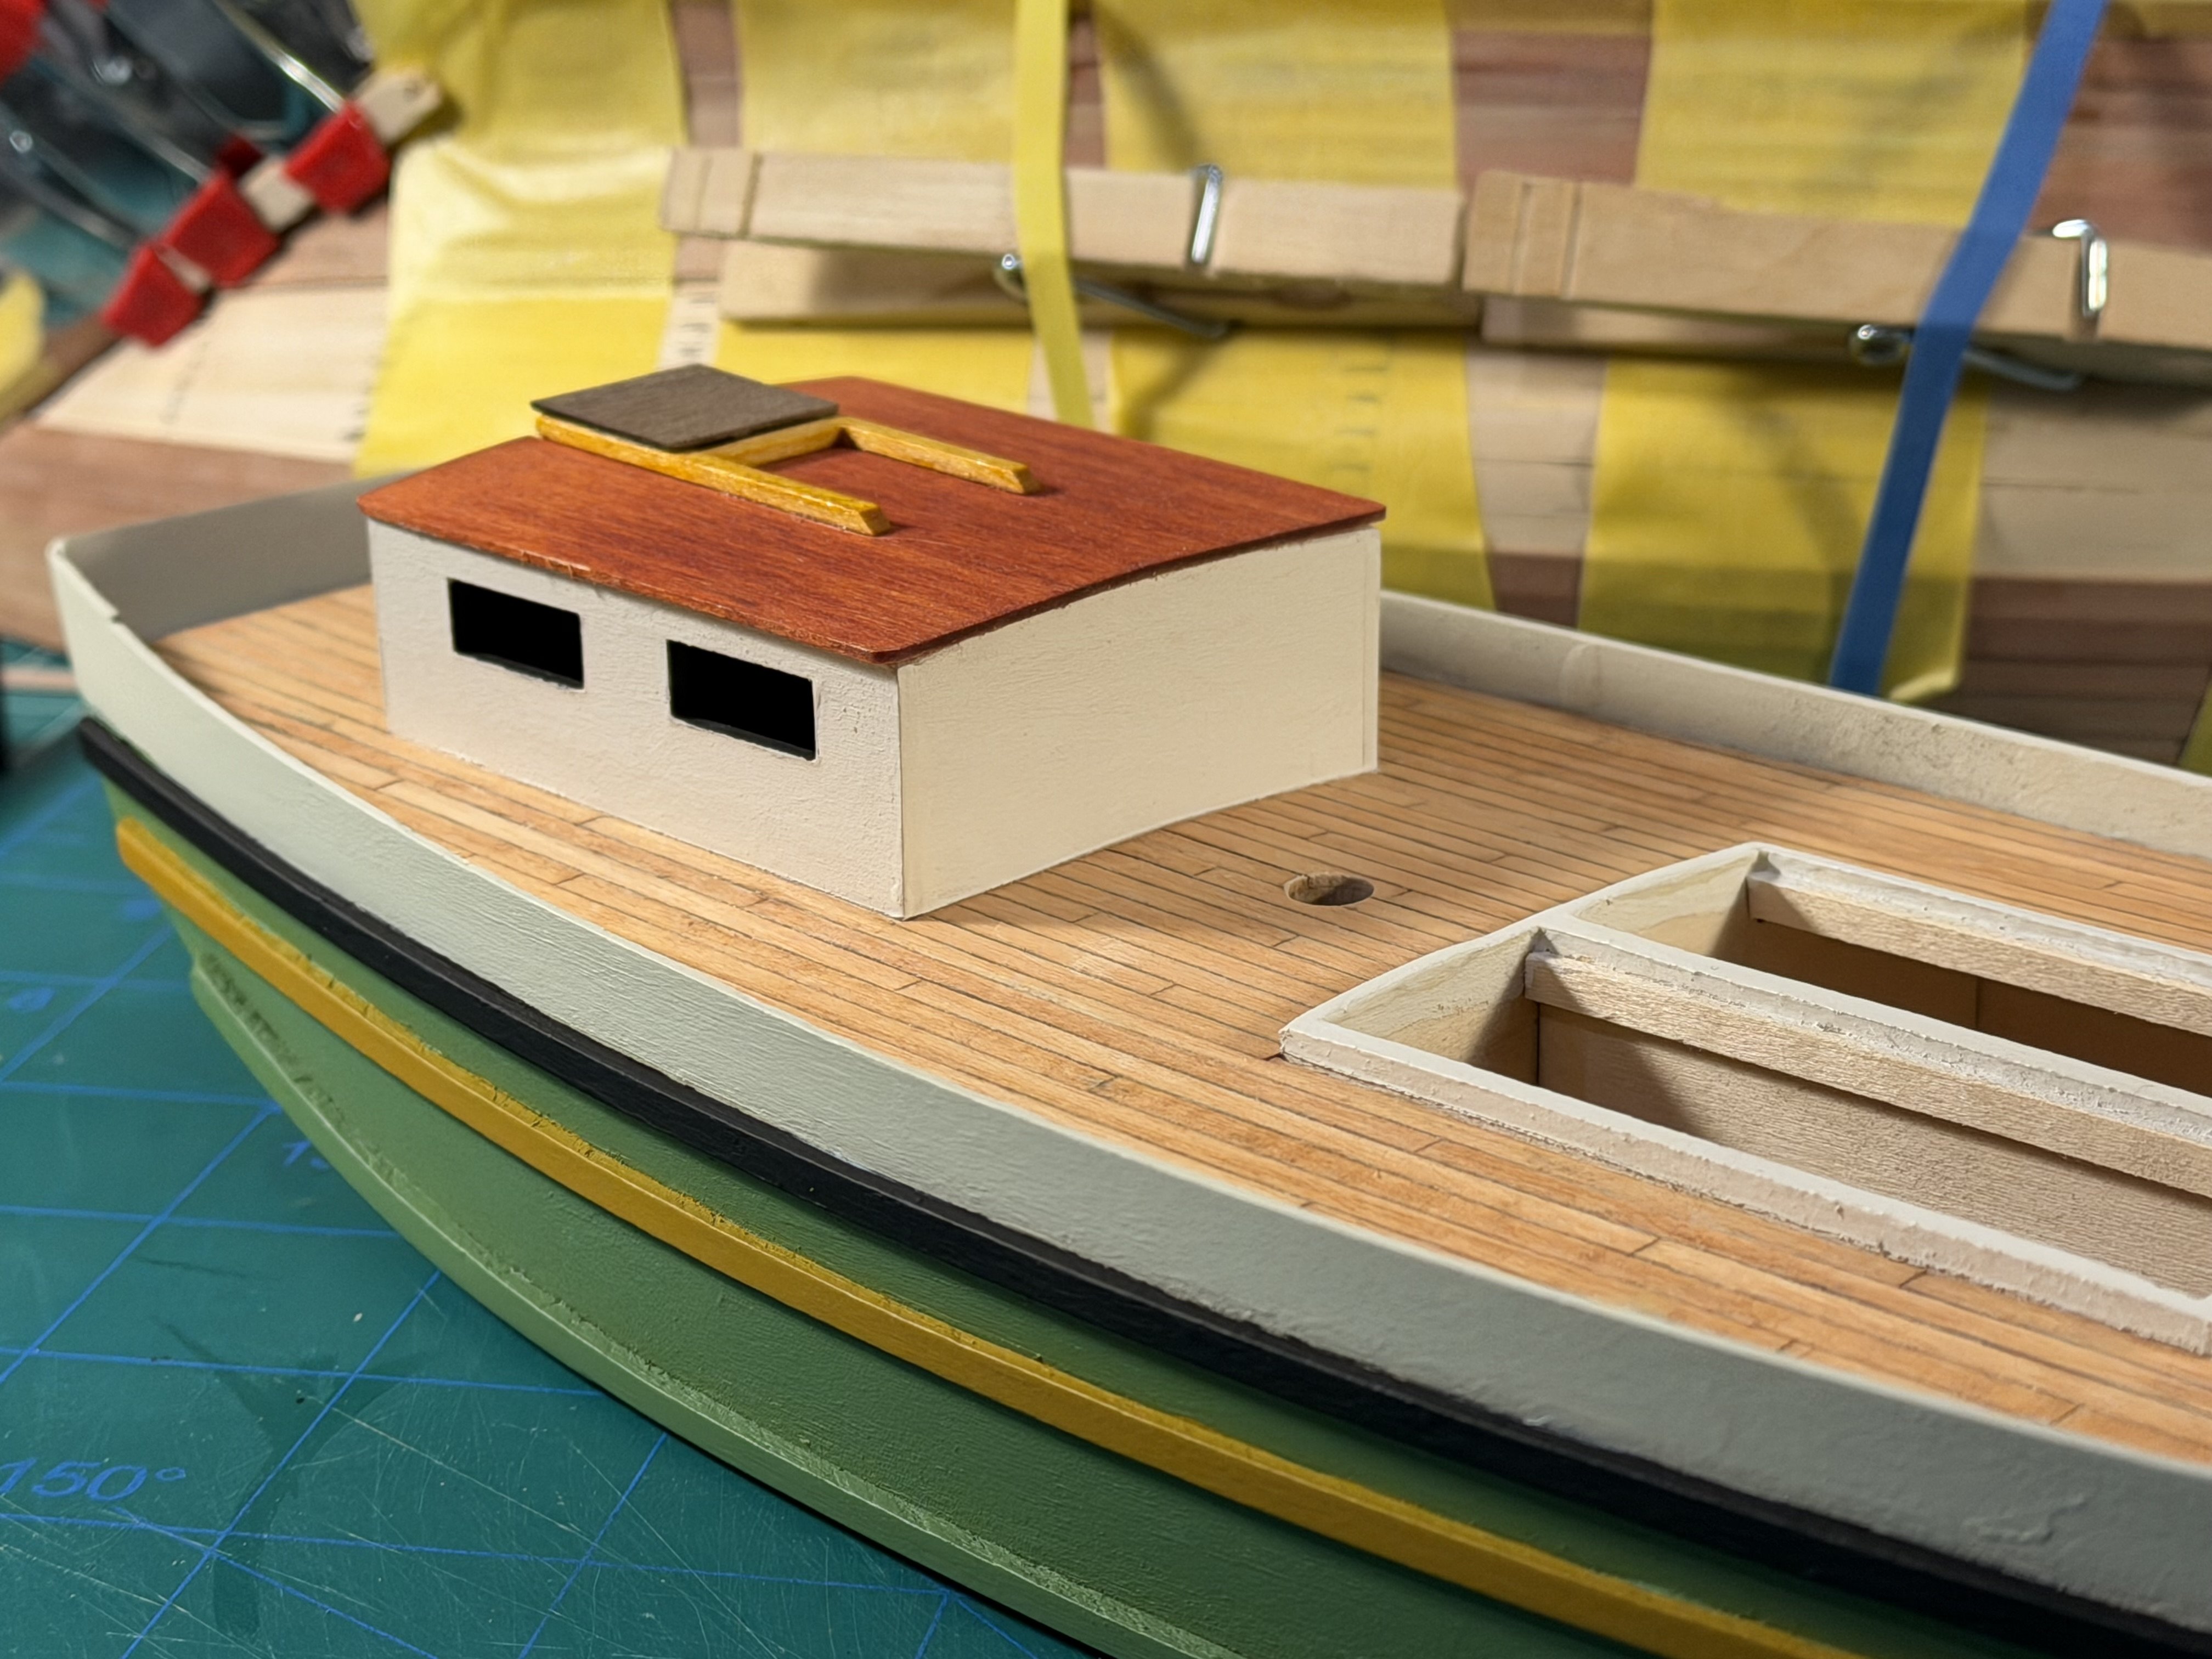
Completed the painting of the hull. It’s gone slow because I painted this when also painting some other models. Next steps are adding pieces to the deck. (Still have a bit of cleanup to do with a 000 brush. Nearly all the painting was with an airbrush and masking.)


- 48 replies
-
- 8
-
-
- San Francisco Bay Scow Schooner
- Scow Scooner
- (and 1 more)
-
As @Thukydides said, check a lot of build logs on how to do this. I didn't try rigging the guns with my Sherbourne and haven't built a ship yet that required rigging them. As @Thukydides also said, you definitely want to build these off ship with a job. In general, always think of ways you can rig something (a block, a line attached with a seizing, cannons) off ship. Sometimes you just to do it on ship, but it's way harder. Tight space plus lots of things in the way. Also decide what look you want. I personally am not a huge fan of seeing all the cannons each next to multiple rope coils when the cannons are fully rigged. I like a bit simpler look. My next ship, I'll definitely do breeching lines since the cannons on my Sherbourne seem a bit naked without them. Don't know if I'll add any more than that.
- 50 replies
-
- 1
-
-
- Sherbourne
- vanguard models
- (and 1 more)
-
I hoping to leave the upper portion natural wood. I'm leaning toward using WOP by itself. I've seen some recommend shellac instead. Despite reading a whole bunch of posts, I haven't been able to figure out the relative strengths and weaknesses of the two options. I know shellac is dissolvable with alcohol. And I believe you can use PVA glue with shellac, but likely not to WOP. The planking is pear, so I know I don't want to use a stain. I've seen some recommend a tung or danish oil, but some posts have recommended against using those.
- 51 replies
-
- 1
-
-
- Lady Isabella
- zulu
- (and 1 more)
-
Agreed. With my youngest in college, there was a lot more free time for me. And hitting 60, I was looking for a new hobby that I could carry into retirement. I had lurked on here a decade or more ago but didn’t have the time, the space, or the money to take on this hobby. (I also learned to scuba dive last year, which has young people and surprisingly a fair number of older folks too).
-
I agree that it's useful having lots of build logs of the same model. In fact, I recommend people starting out to pick models with lots of build logs. While some are really good about giving lots of detail, writing them almost as full tutorials, even the lesser detailed and less frequent logs are useful. Someone might hit a new problem and come up with a new solution. Someone might take a photo of a step that a more detailed log left out. Sometimes someone does a build log who has lots of experience and does not have the same issues that someone with less experience might have. And selfishly, I like just being able to document my builds. Sometimes I give details or talk about what I've done to solve a problem. Other times it's just an update with a few photos. It's nice to see the projection for each model I build, even if no one else ever builds that model and finds other build logs more useful.
-
Never heard of Fiebings dye before. Guessing this is a good black dye, is that right? Which one would someone use: https://fiebing.com/product-category/leathercraft/dyes-stains/
-
Model Expo is certainly not at the cutting edge of model ship kits. I don’t know the last time they came out with a new kit. They’re re-issuing Midwest kits with few updates. I’ve heard that they’re planning to reissue something own kits. It is a shame they don’t improve the quality a bit. They could channel some of their energy and money from ads and sales to kits.
-
The cleats and blocks are pretty low quality plastic. I’ll be replacing them.
-
Painted, with a few bleed throughs to patch up.


- 38 replies
-
- 3
-
-
- crabbing skiff
- Chesapeake Bay crabbing skiff
- (and 2 more)
-
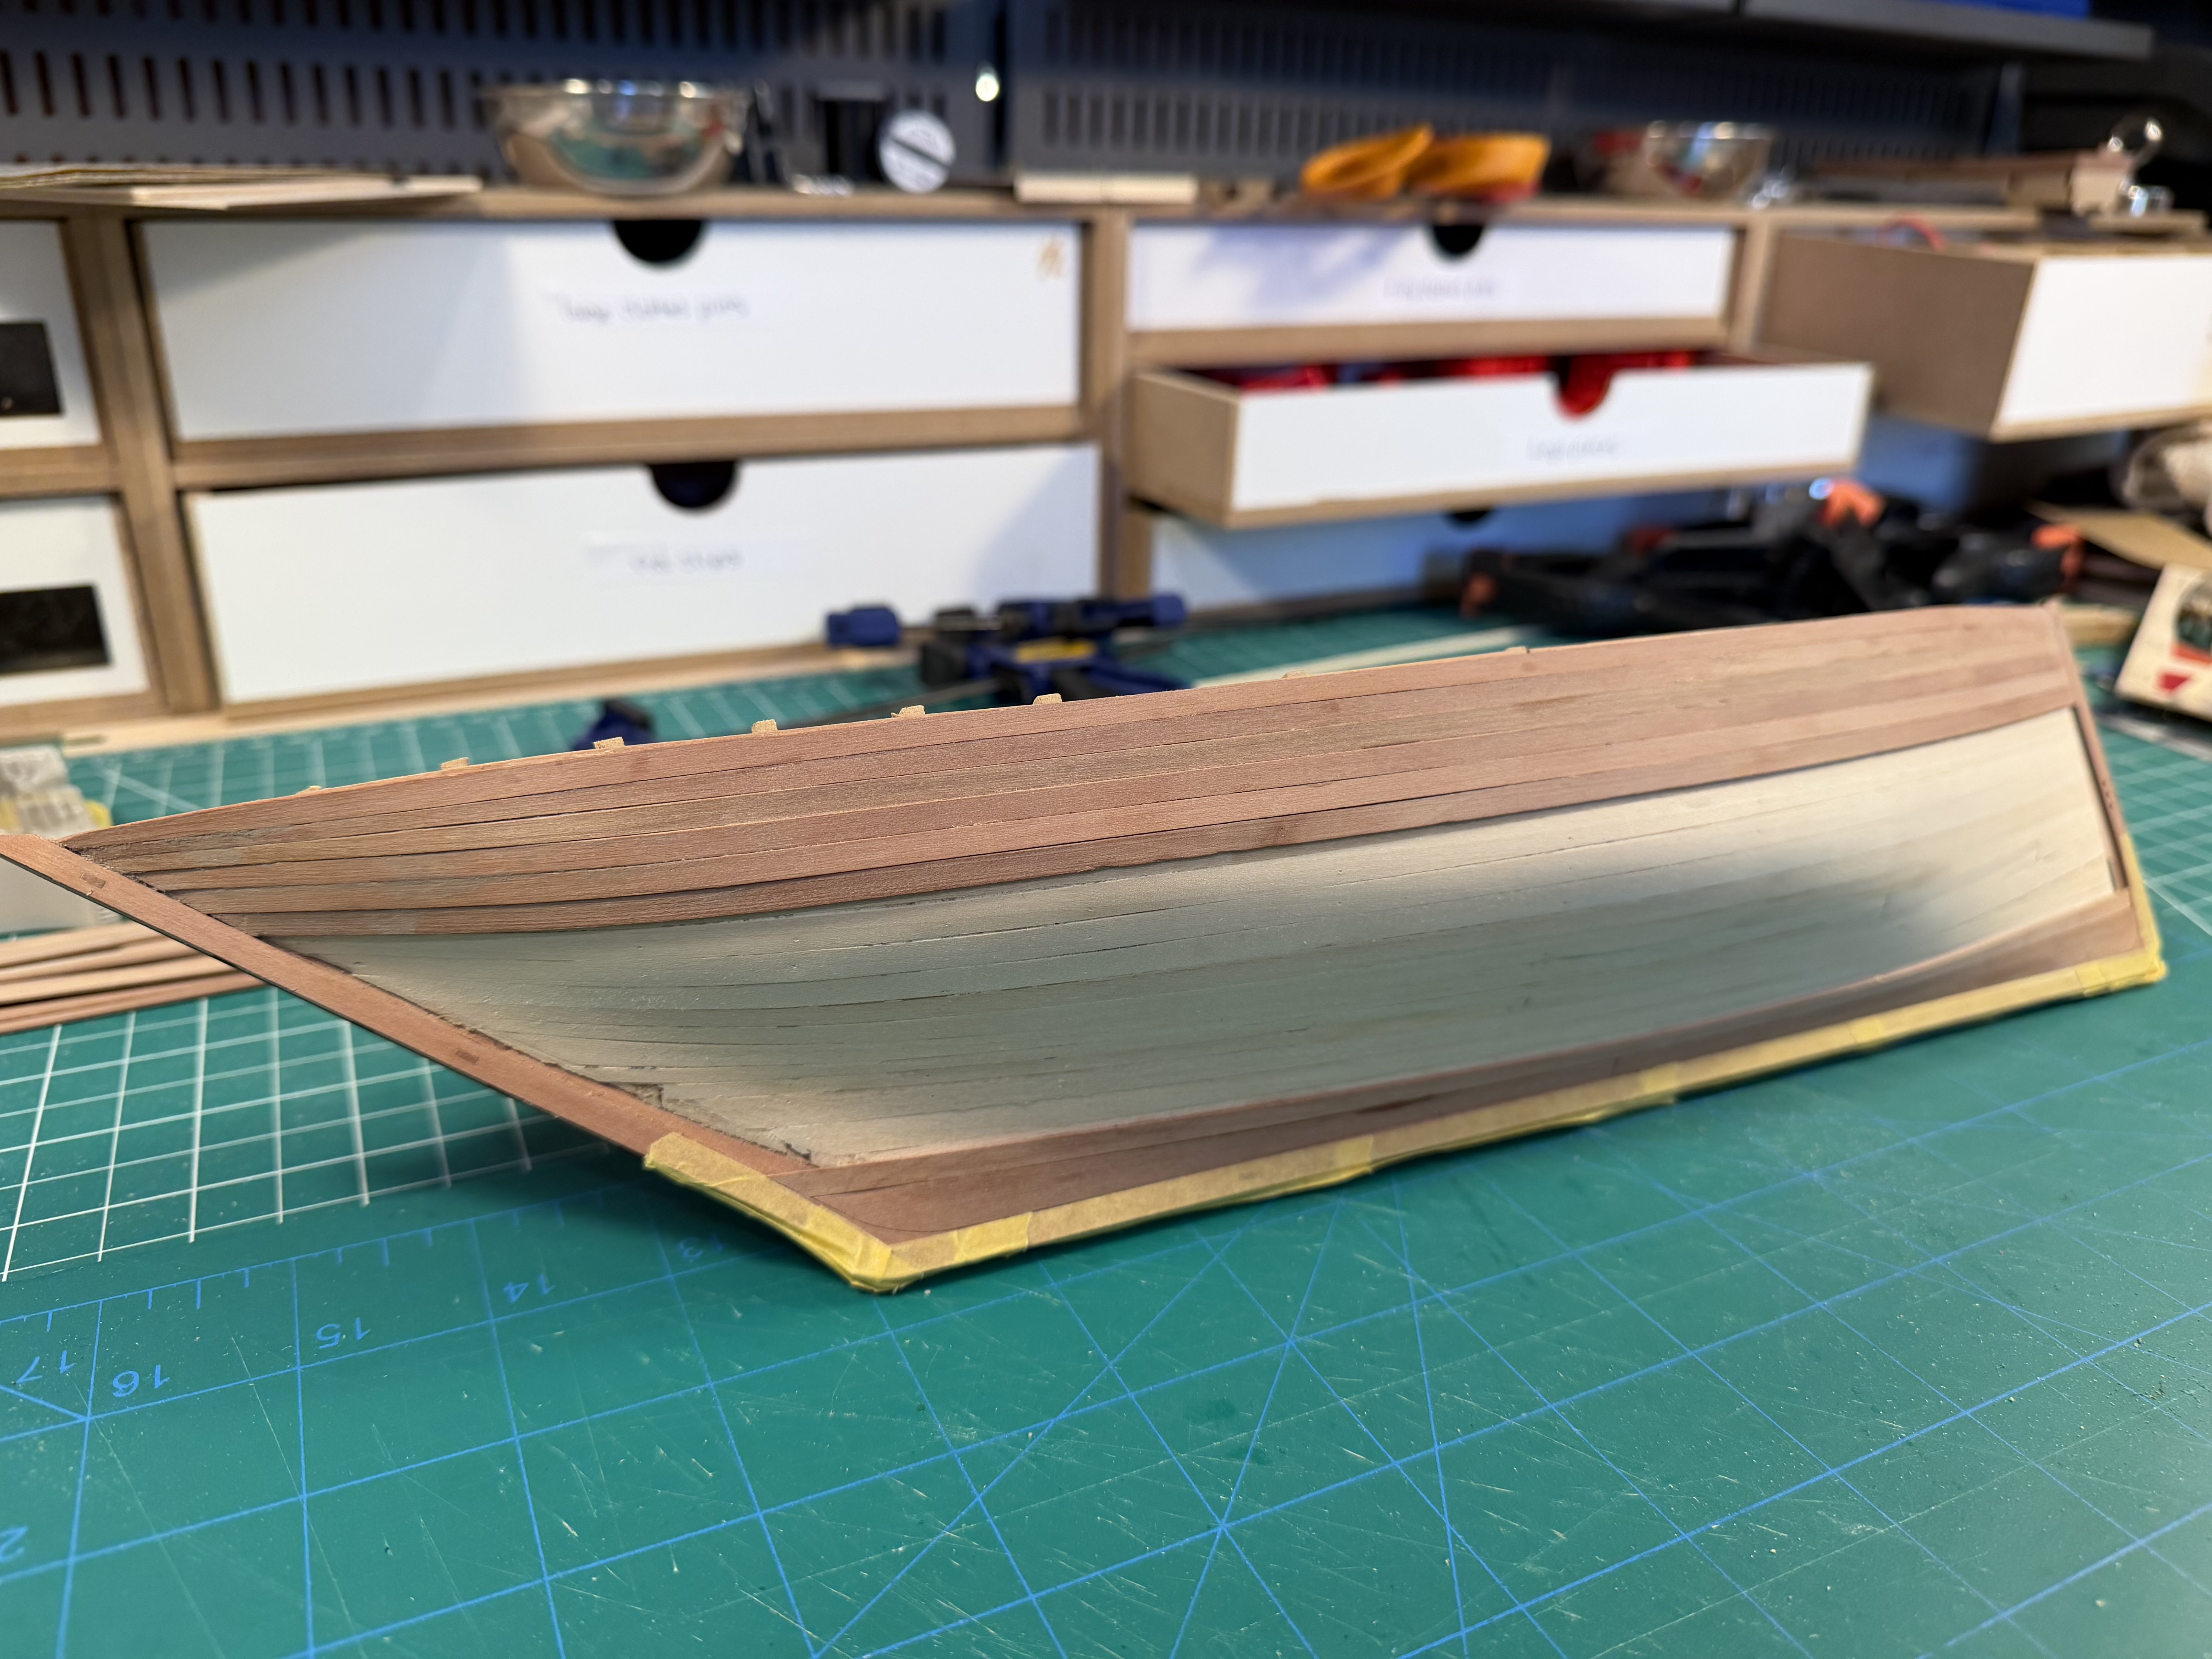
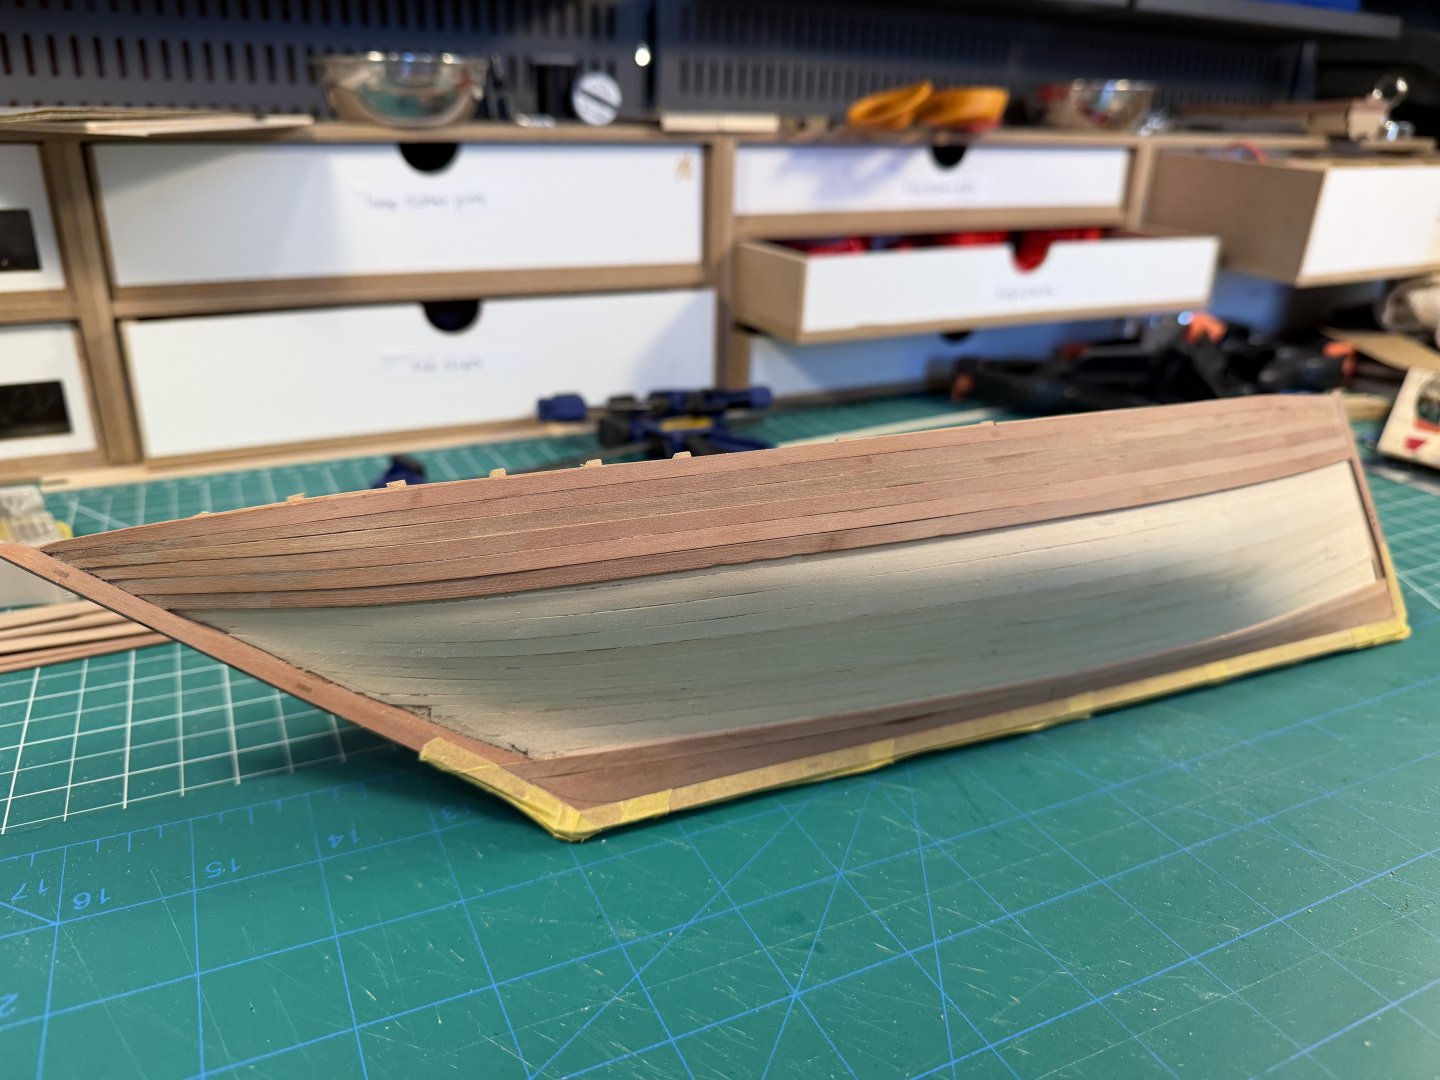
Slow but steady progress on the planking. A couple of planks per day. Each its own project.
- 51 replies
-
- 3
-
-
- Lady Isabella
- zulu
- (and 1 more)
-
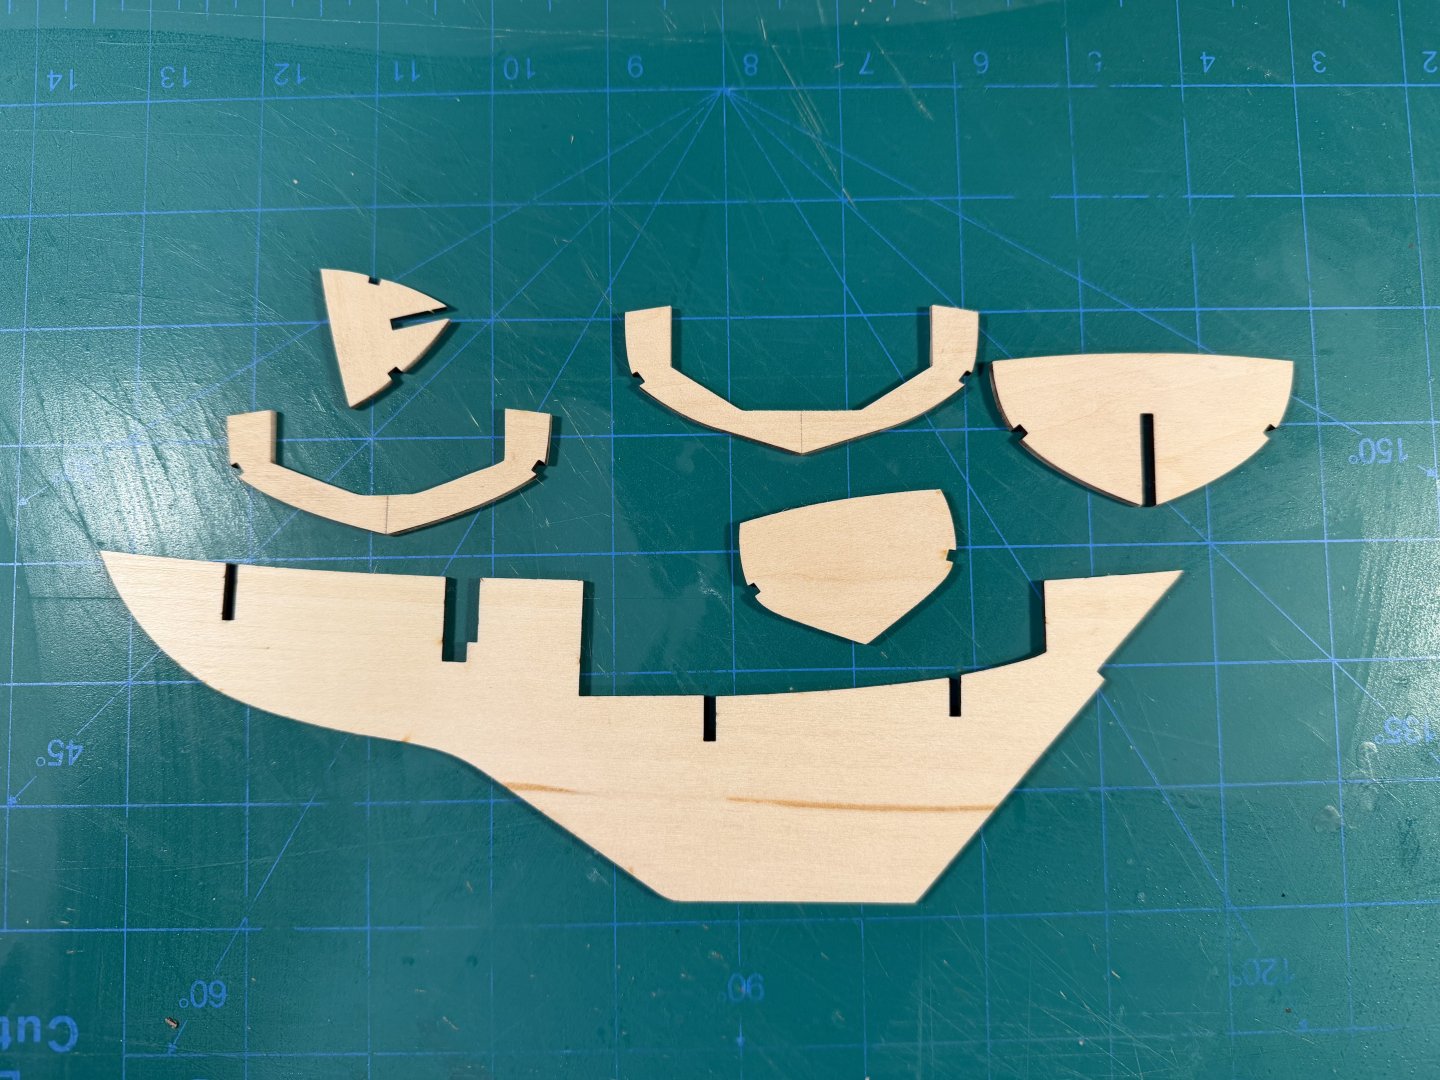
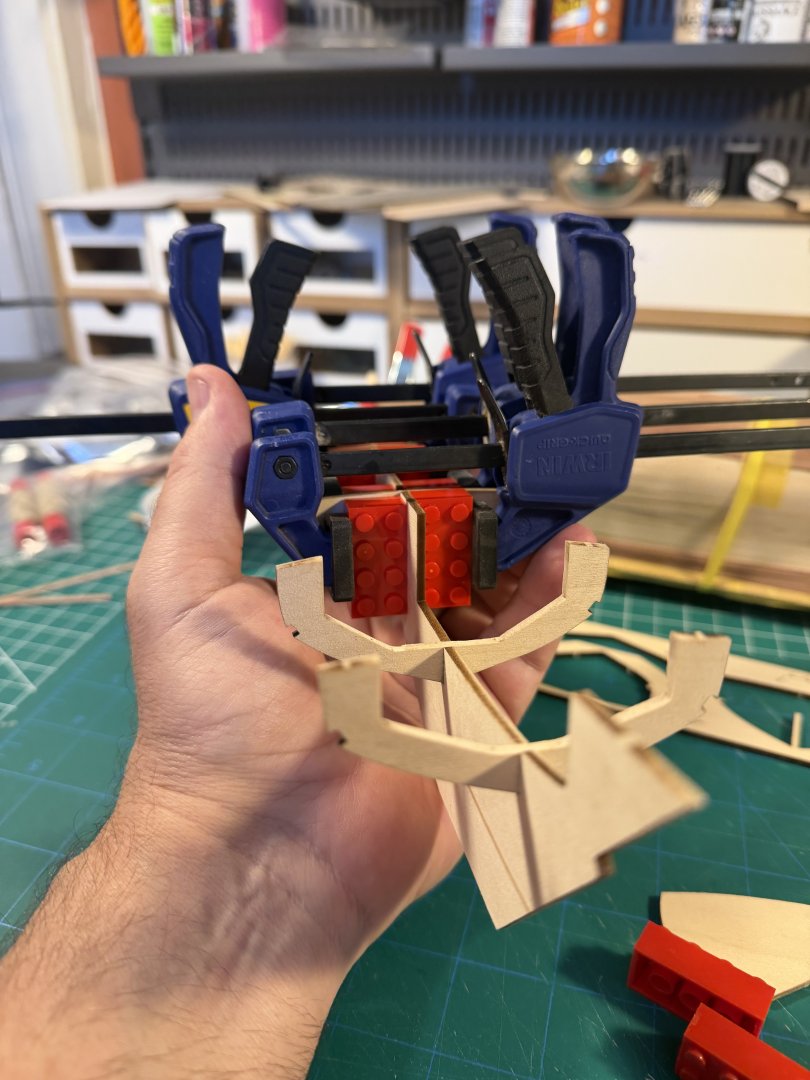
Spoiled by Vanguard’s engineering. A bit of a challenge to make sure these “old school” frames are aligned properly.
-
I can't imagine building five Sphinx-scale models at once 😉
-
I’ll need to check. They are plastic and oddly shaped on the Midwest Crabbing Skiff kit. I’m planning to replace those with Syren blocks for have. The Crabbing Skiff did come with descent wood cleats, not the garbage Britannia metal that often comes with Model Shipways kits. I’m definitely planning to replace the rope - with Syren, or left over Vanguard, or some I make myself if I get a rope walk. One reason for doing this kit is that Olha spends several episodes on the sails, doing them the right way. I’m planning to follow along. With other Midwest kits I’ve worked on, Model Shipways updated I think the laser cut planks, and had to re-source the material. The instructions are barely updated. In the kits I’ve built they reference a paint brand that hasn’t been around for years. They recommend using electrical tape to mask off while painting. And mostly use CA glue in the instructions - I generally use PVA.
-
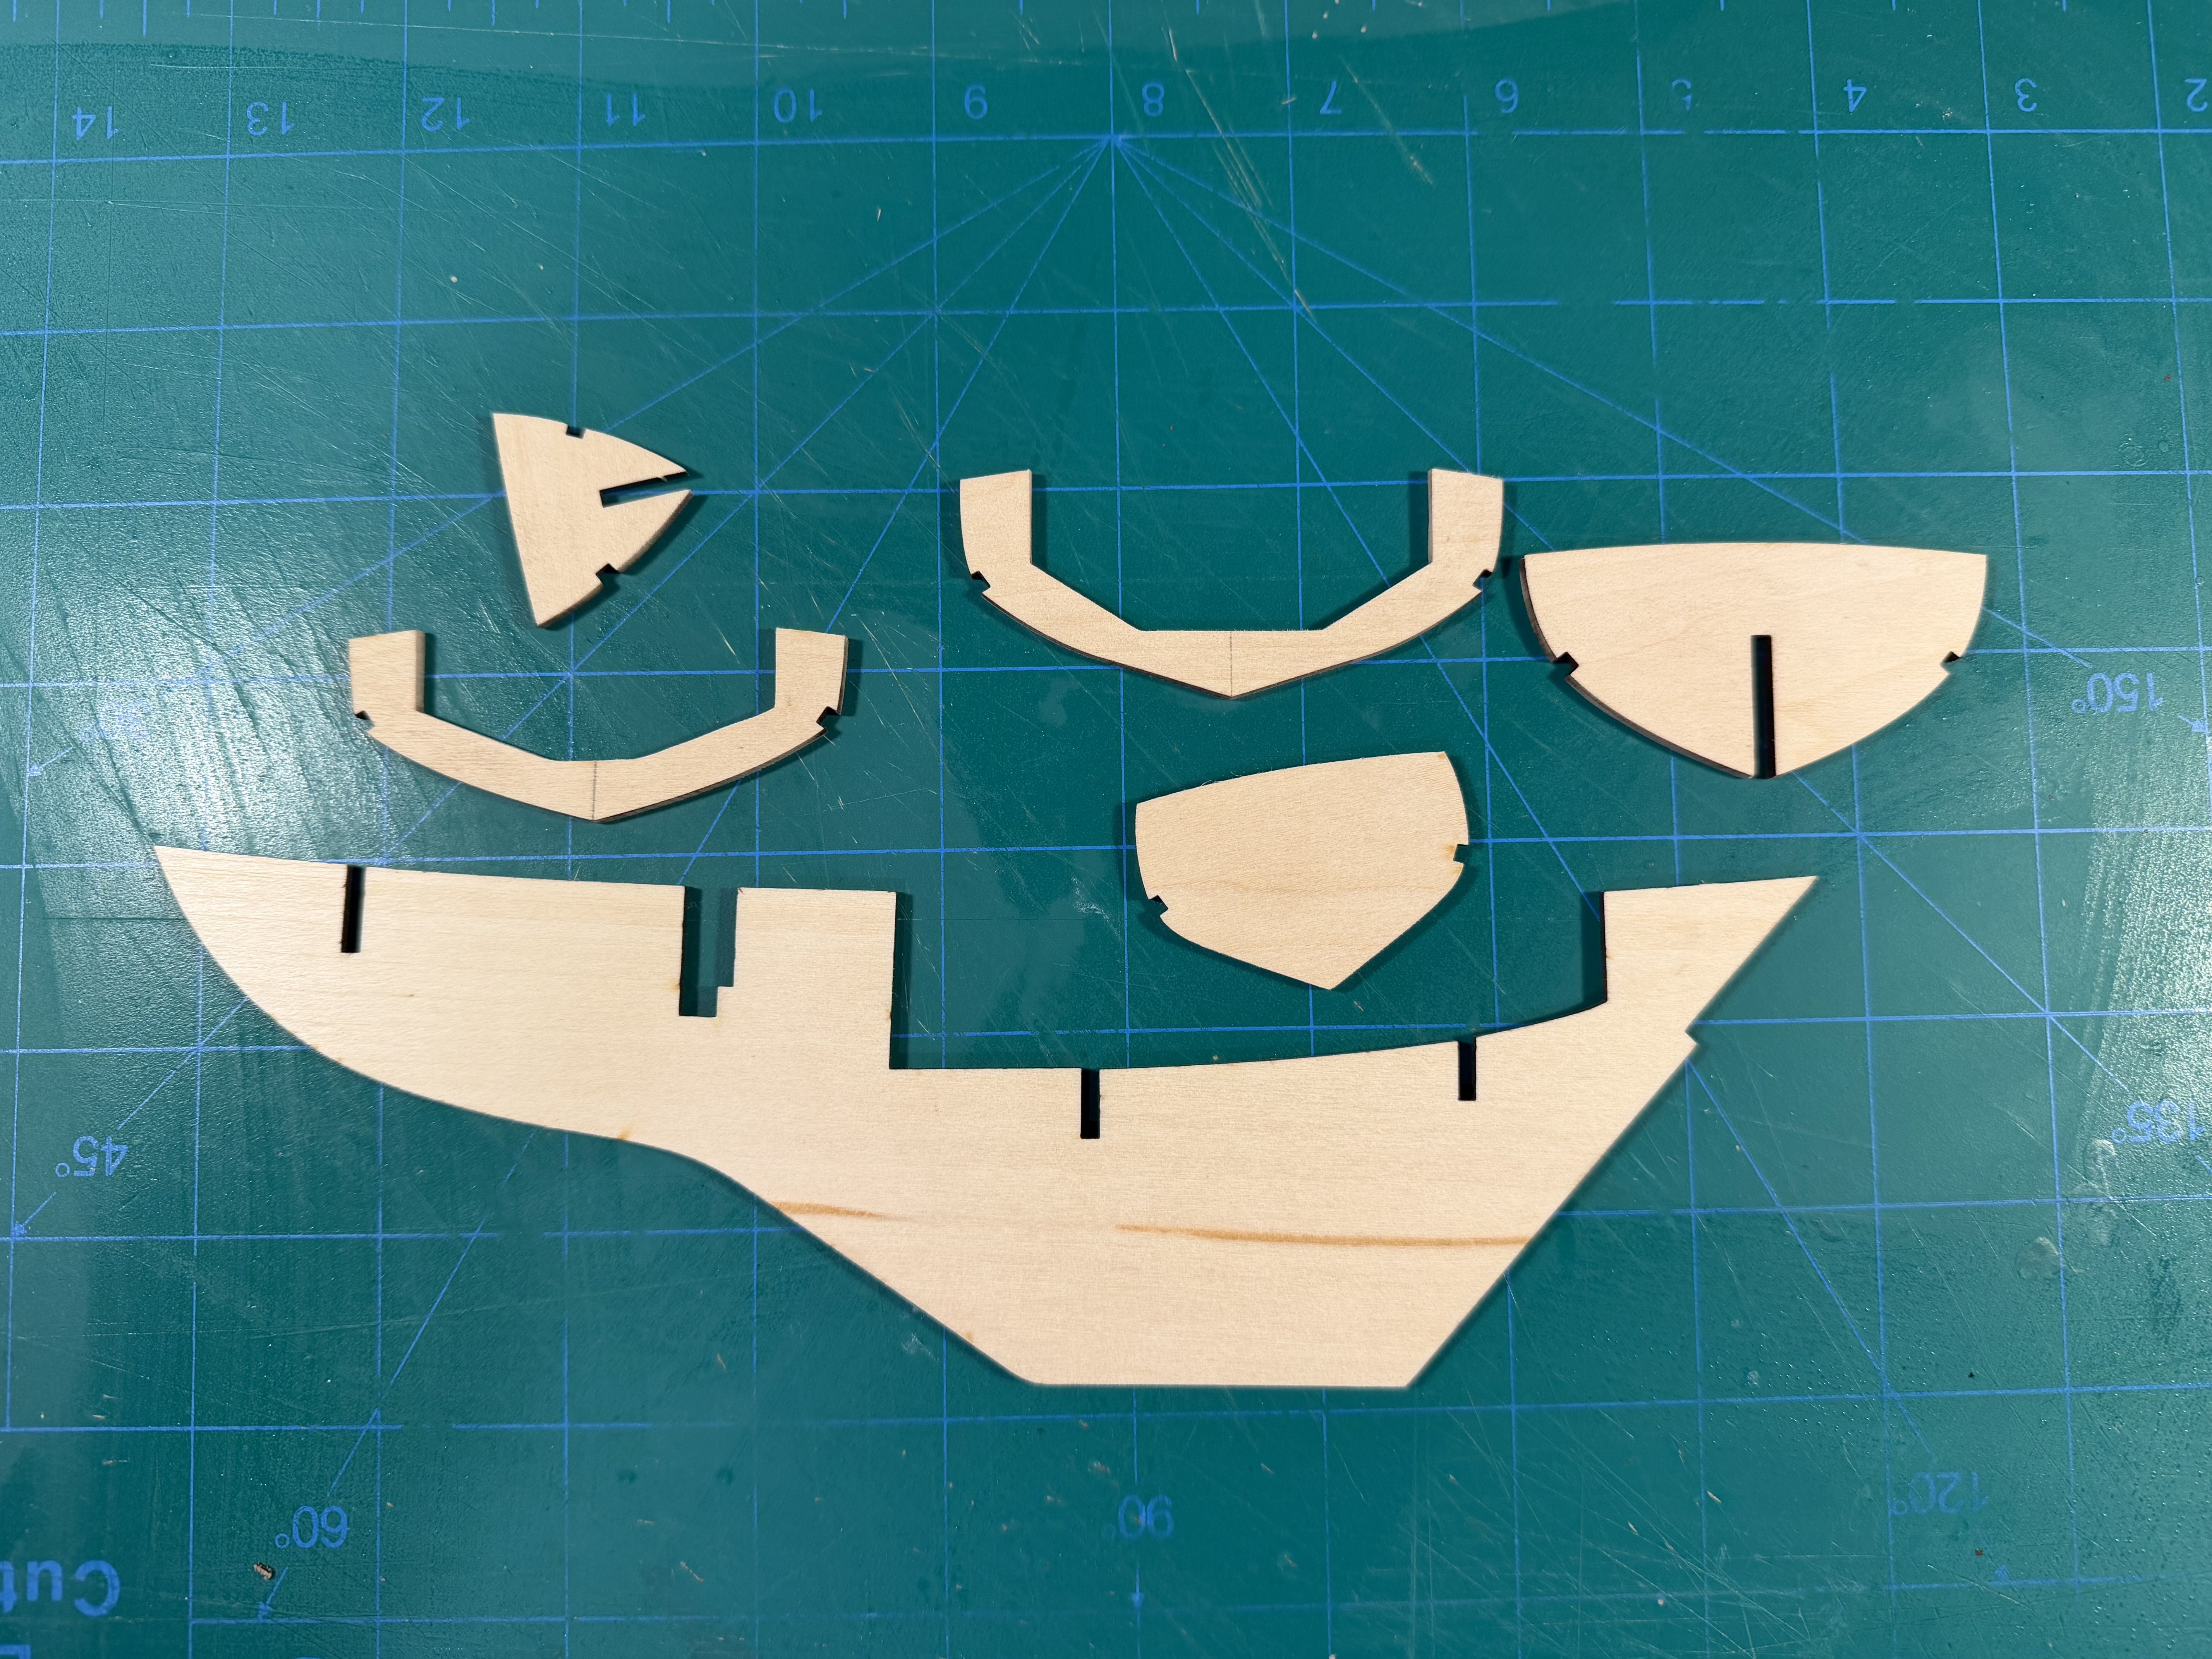
Here's Olha Batchvarov's playlist for building the Sakonnet Daysailer. This is her first live build.
-
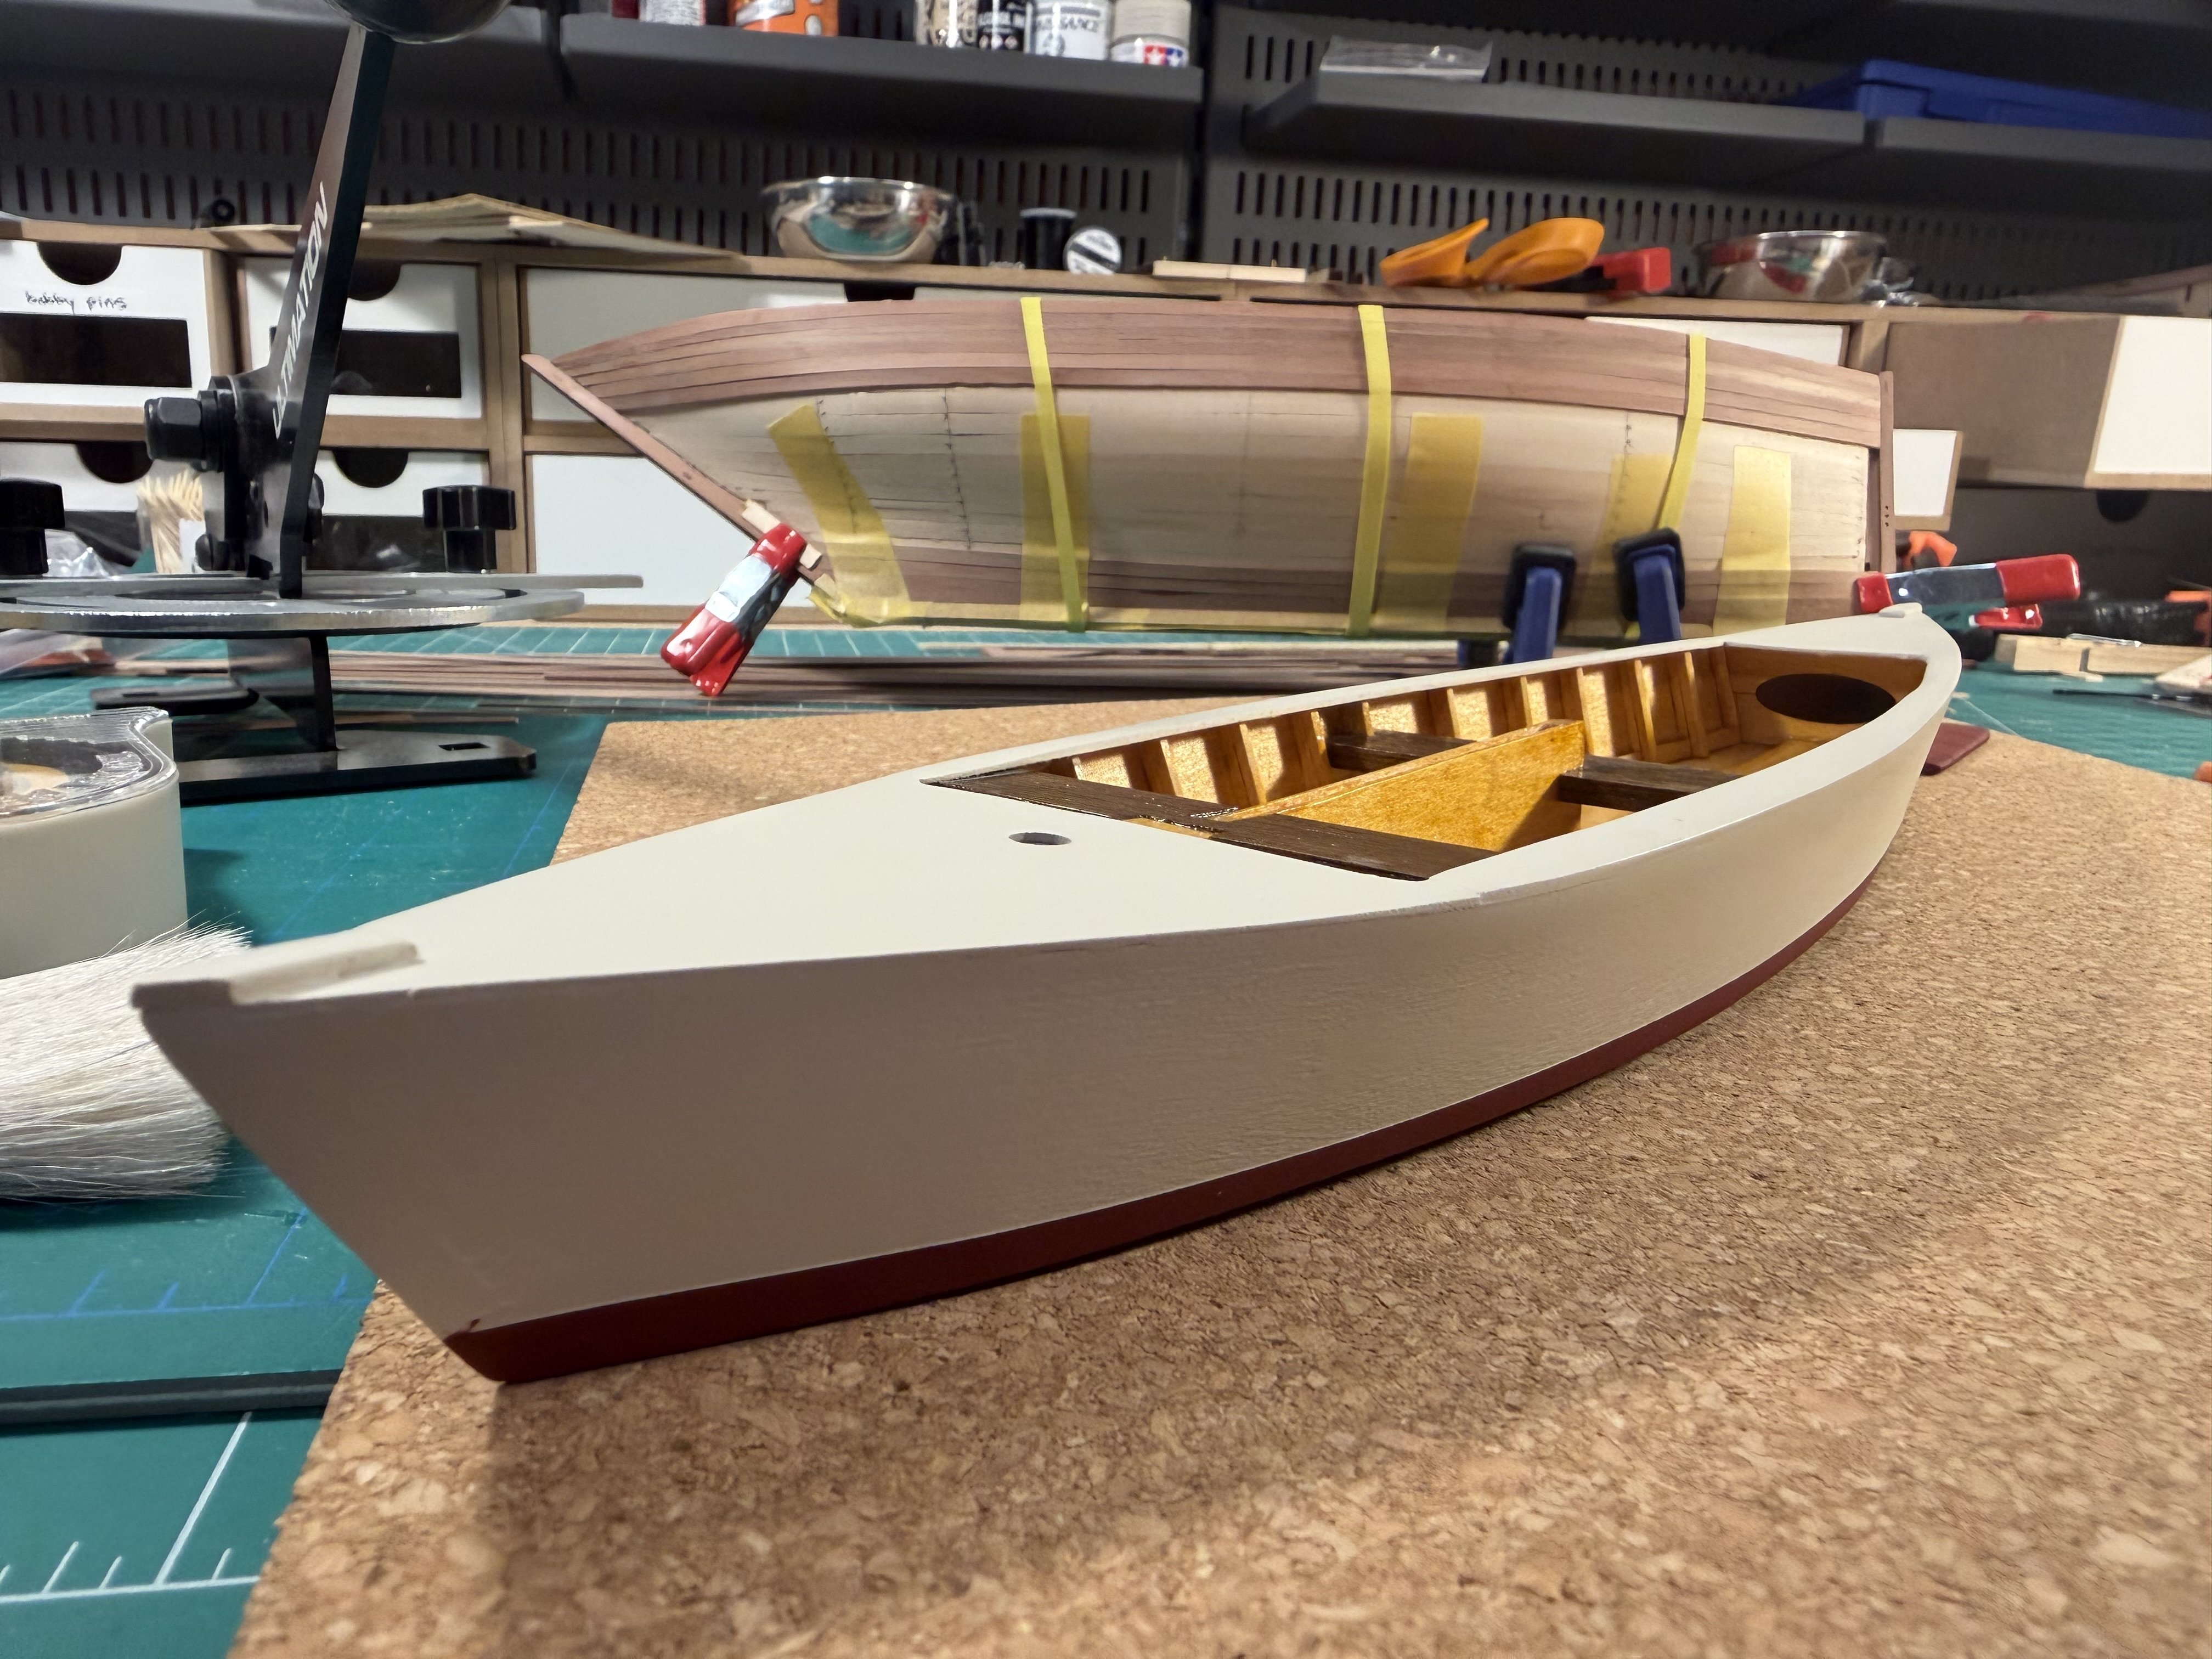
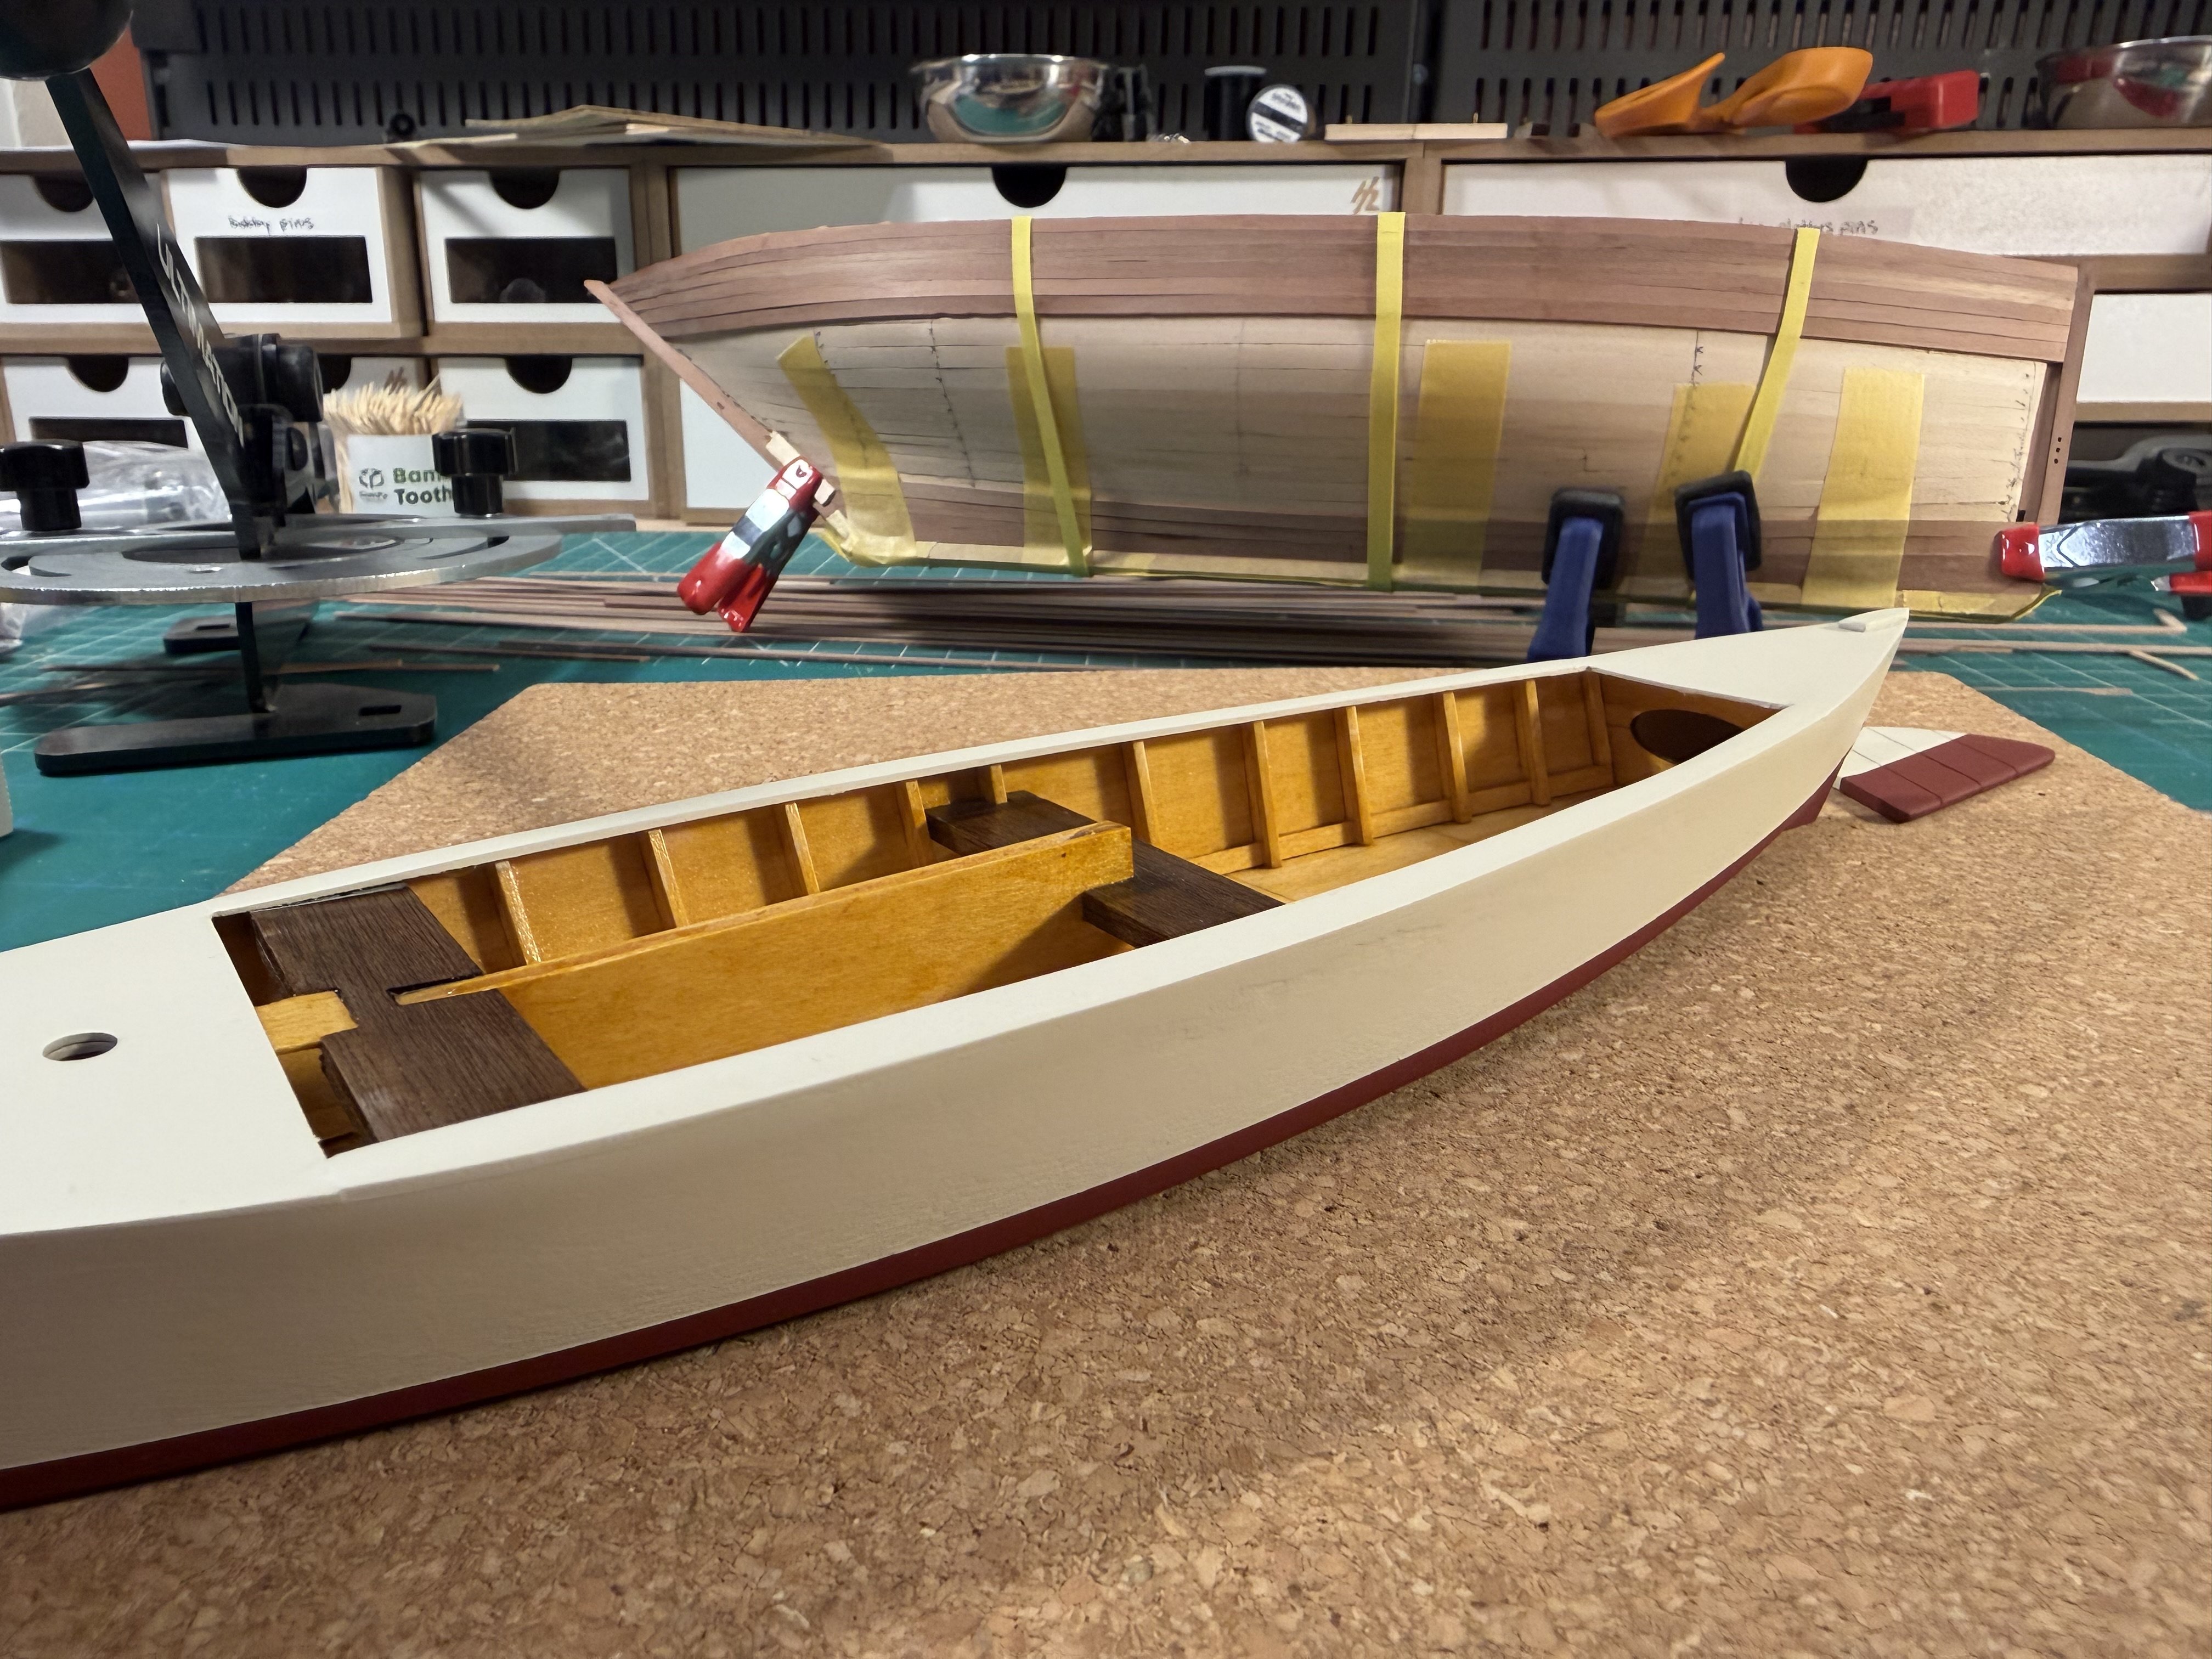
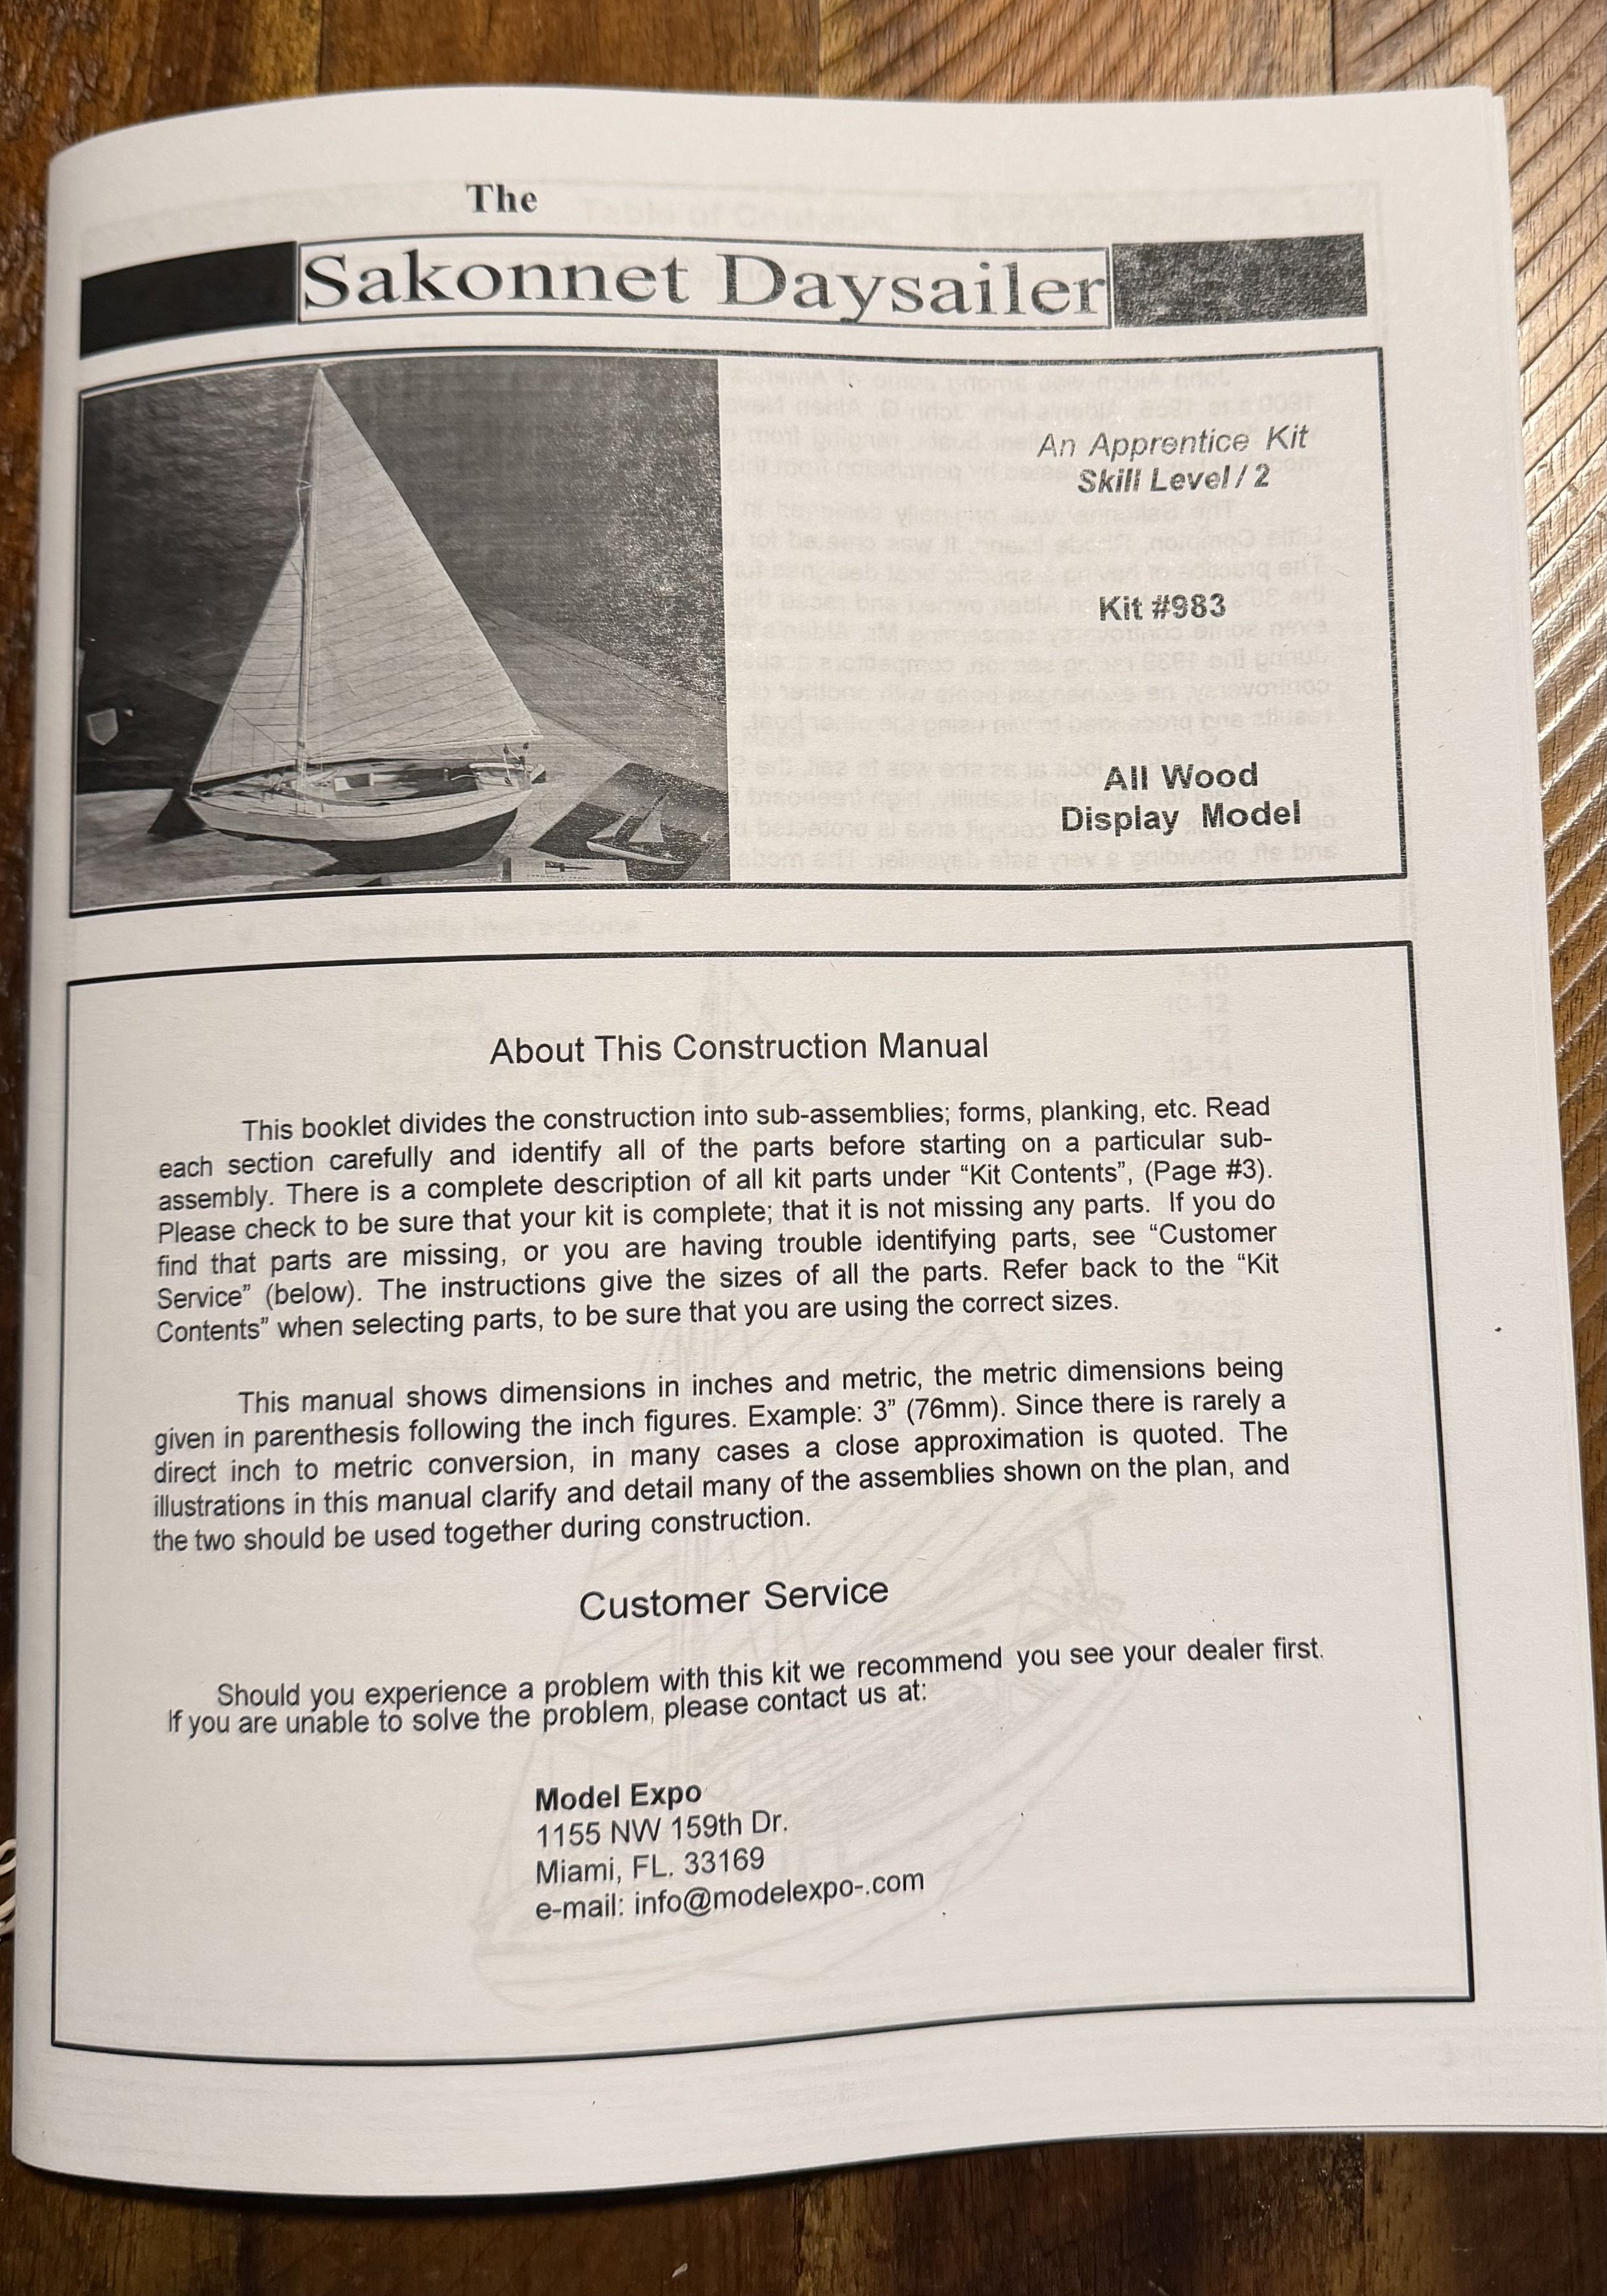
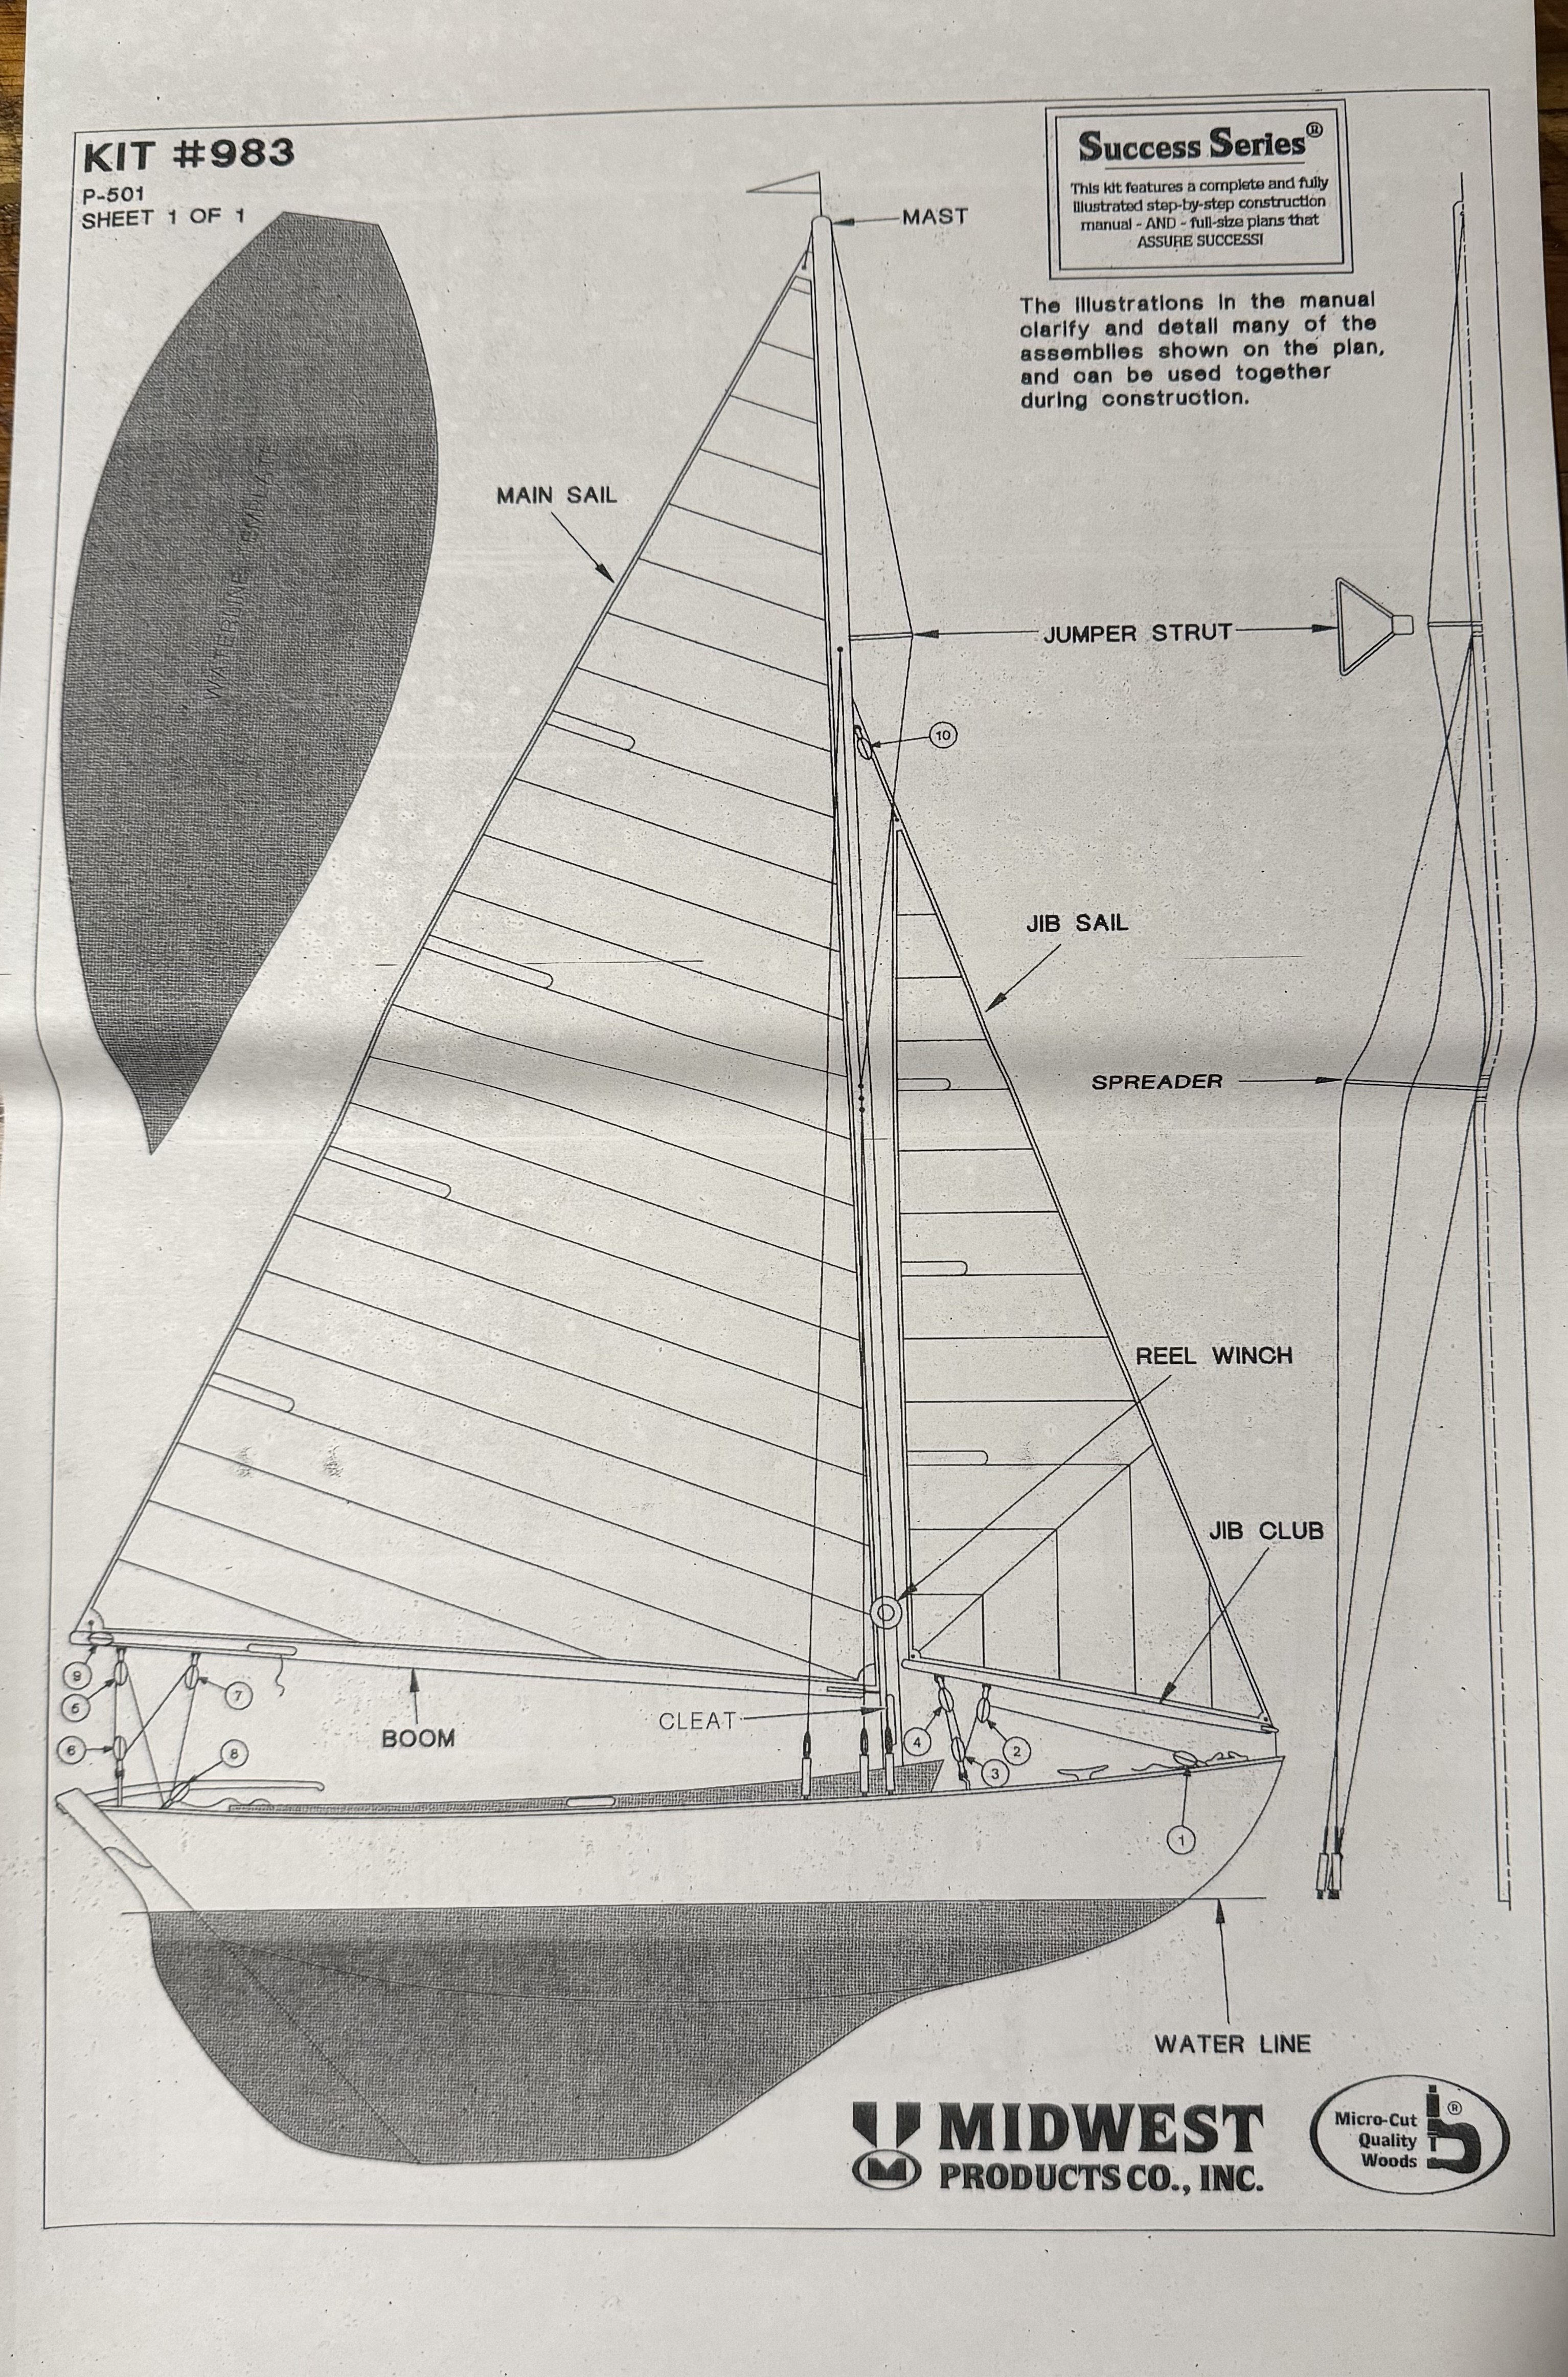
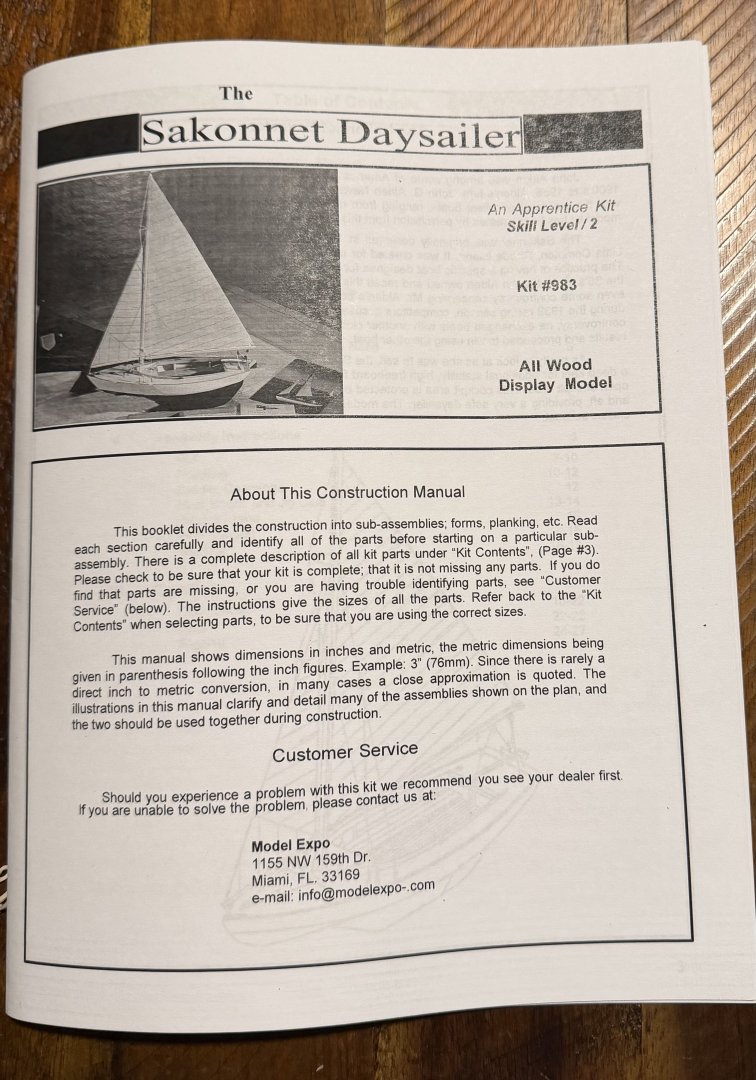
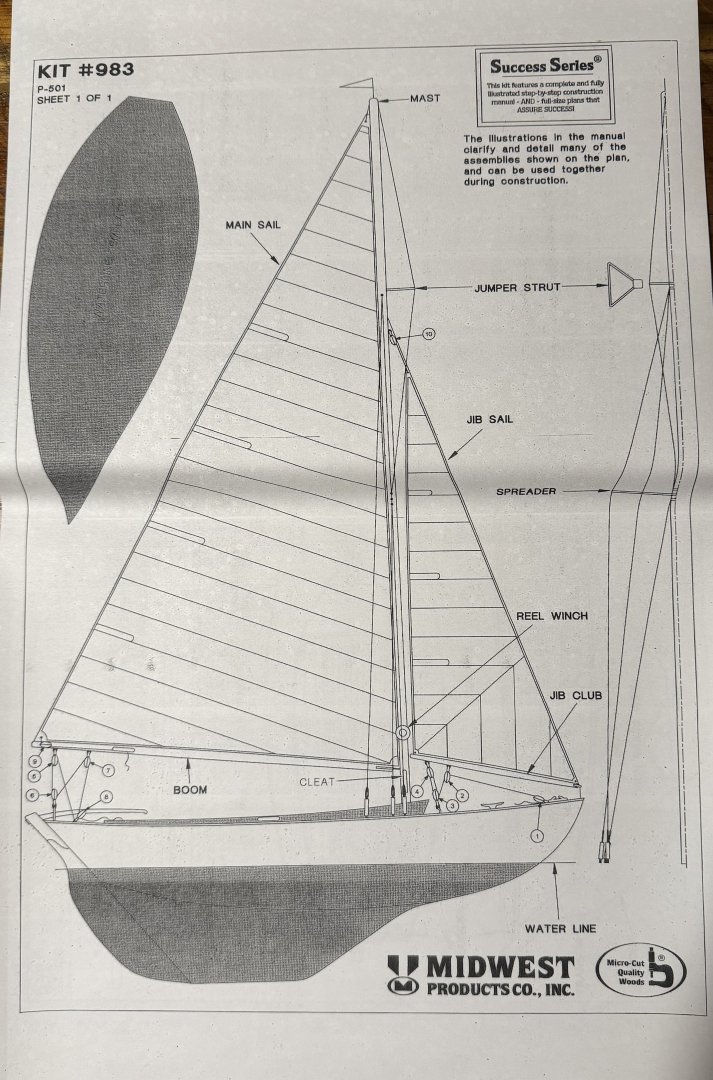
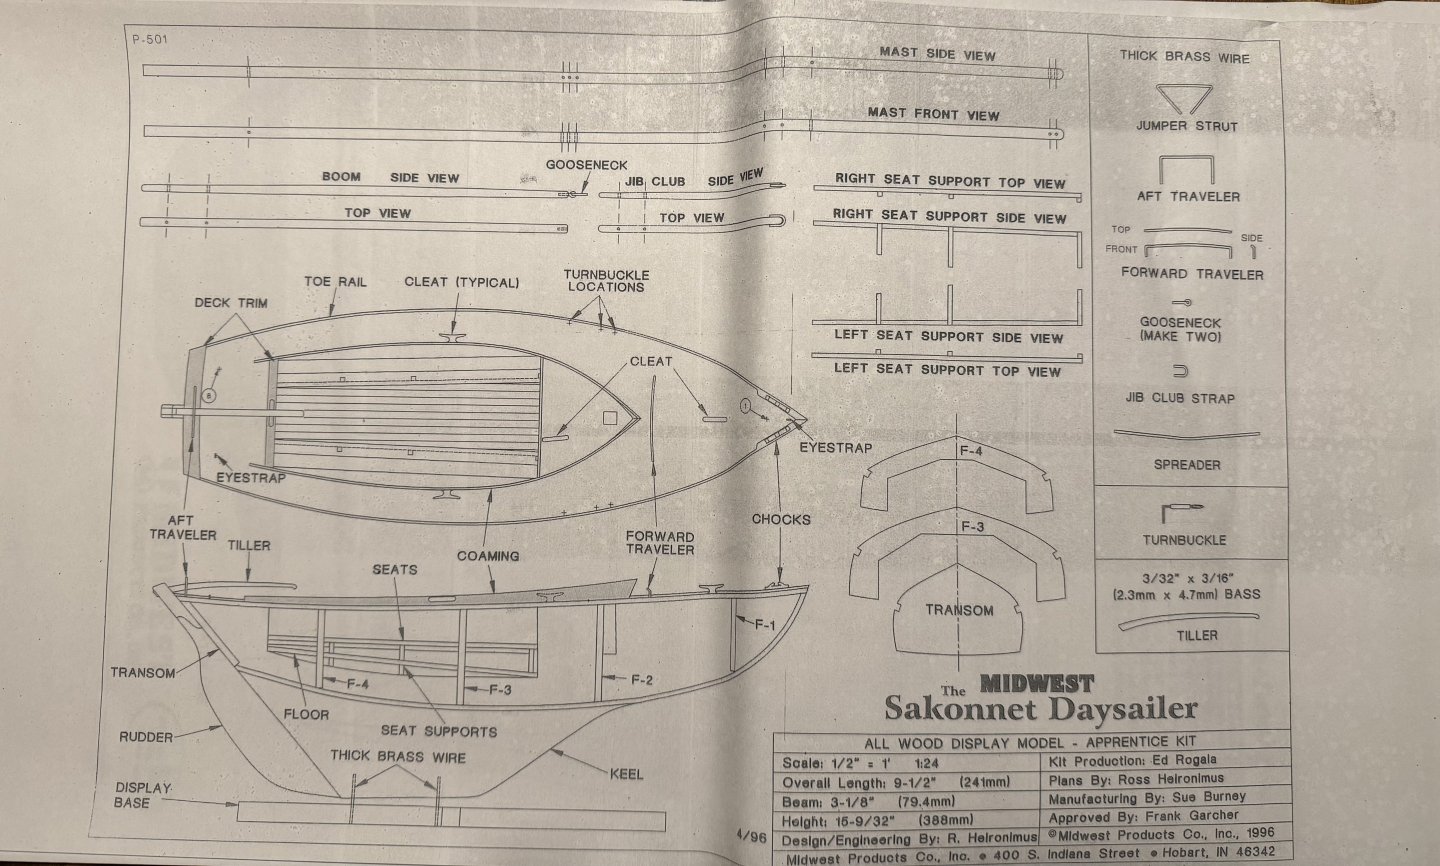
I bought this Sakonnet Daysailer model during a 1/2 off sale at Model Expo months ago - not that it was expensive to begin with. This is based on an old Midwest model. I believe Model Expo / Model Shipways bought out their kits several years back and they have been gradually reissuing them under the Model Shipways banner. Olha Batchvarov used it for her first YouTube live stream build. I bought it because it was small, inexpensive, and because of Olha's video build log. I figured I could follow along on her build - fast forwarding over many of the sections - to see if there is anything I can learn by following along. This one is considered a "Skill Level 2" for Midwest kits. I have four models underway now (the Phildelphia is packed away for a bit because it is a fairly large model). After planking the Lady Isabella and setting it aside to dry, shaping some planks on the Peabod and leaving it to dry, and doing a bit of painting on the Crabbing Skiff and Scow Scooner and leaving them to dry, I wanted something else to work on for a bit while waiting to pick up my younger son from the airport late tonight. I figured this Daysailer would be a relatively easy filler build from time to time, even if it takes a while before I finish it.


-
Perfect solution. I had a similar issue and ended up using some wood filler, which was okay I suppose since it was all painted. I "discovered" your solution when trying to fix a problem later (the trim pieces around the stern).
-
The pear wood strips for the second planking can sometimes be a bit uneven and splintery in places. Fine scotchbrite pads do a good job of prepping the planks.

- 51 replies
-
- 3
-
-
- Lady Isabella
- zulu
- (and 1 more)
-
Basswood Strips
palmerit replied to DGraley's topic in Building, Framing, Planking and plating a ships hull and deck
Find a local arts supply store, especially one that has a university in town. Basswood is often used by artists, art students, architects (and modelers). At least one arts supply store in my city has a descent supply of Midwest products wood in various sizes and thicknesses. I often have extra sheets in a few thicknesses and some dowels just in case I need them. You can also find on amazon, but they're often third party non-amazon vendors and I usually do not trust them unless I know the company. I tried Michaels and they had almost nothing. I haven't tried Hobby Lobby near me, but I think big box stores are often hit and miss. My wife is a quilter and has never bought fabric at one of these places. Small arts supply stores are usually better stocked and you can support a local business too. My local place is now where I go to get wood and paint brushes and the like. -
Slow progress on the planking. I’m taking each plank slow to try to do a better job than my last two models. We’ll see if the upper part of the hull can stay bare wood and not be painted.


- 51 replies
-
- 5
-
-
- Lady Isabella
- zulu
- (and 1 more)
-
Plank (singular) glued in and secured. It’ll dry overnight. I use rubber bands and hair clips to maintain the curve to the center board and use pieces of scrap plank and clips to try to minimize the clinkering a bit.


- 24 replies
-
- 4
-
-
- maine peapod
- midwest products
- (and 1 more)
-
I only use nails on the first layer of planking, never on the second layer. That's in part because the first layer of planking is often just glued to the bulkheads. The second layer of planking is glue along the entire length of the hull. There are lots of ways of holding a second layer plank in place without nails and you want to make sure the plank is shaped so that you don't need to keep a plank held in place that wants to bend away from the hull. Part of this hobby is learning to get creative securing parts and planks into place. I tend to do one (sometimes two) planks at a time and glue them into place and then let the glue dry for at least a few hours before adding the next plank. I know some people are able to work at a faster pace. That's in part why I have a few models going on at once - last night, I did a little work on four different models (adding planks to two of them, did a little painting on two of them).
-
I've tried a couple of "pin pushers" and they don't work for me. I bought this and it works way better: https://micromark.com/products/pin-insertion-plier

-
Right. I’m just trying to shape them a bit now. I fiddle with them a lot more when I’m gluing them in position. When gluing, I’ve only done one side at a time. I’m at a pace of about a few planks a week. This is definitely a filler model. Actually, this evening was a case where I was glad I had a bunch of models being built at once. I shaped two planks on the Peabody, I shaped and glued down two planks on the Lady Isabella, I painted the bottom and the rudder of the Crabbing Skiff, and I painted a rub rail on the Scow Scooner.
- 24 replies
-
- 3
-
-
- maine peapod
- midwest products
- (and 1 more)