Bobstrake
-
Posts
198 -
Joined
-
Last visited
Content Type
Profiles
Forums
Gallery
Events
Everything posted by Bobstrake
-
 Boyd, Jparsley and Prutzer, It's good to hear from all of you. I have tried using a steam irin before, but I like the plank bender better, so far. Thanks for your comments. I'm afraid I roasted a plank before seeing your messages. My boys said it smelled good. Since this is a single planking job, I am taking my time on each strake. Thanks for the complements. Only one more plank since the last post.
-
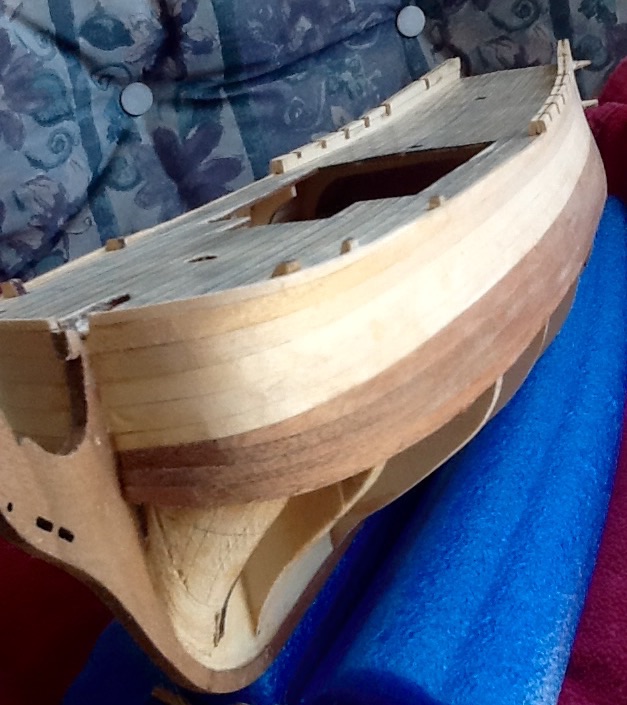
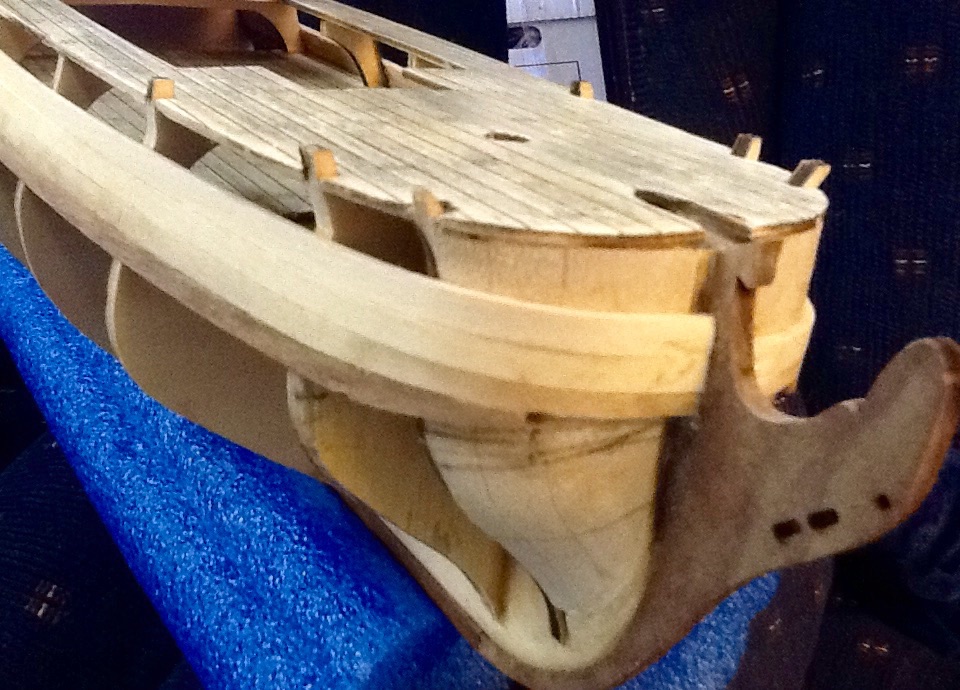
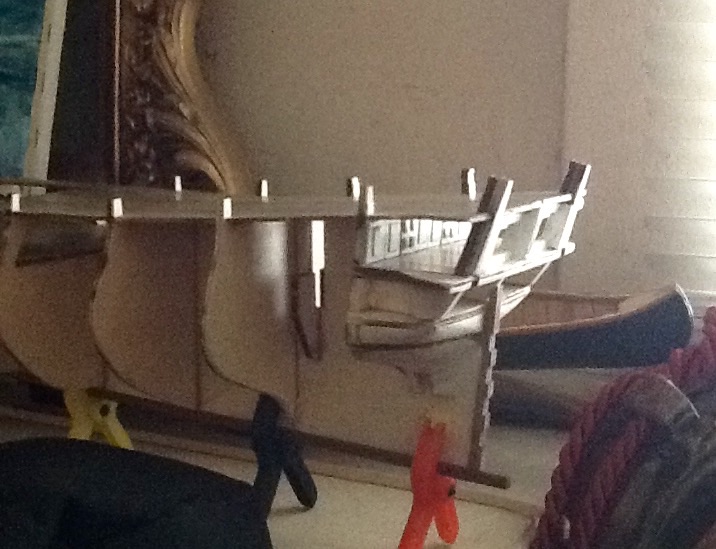
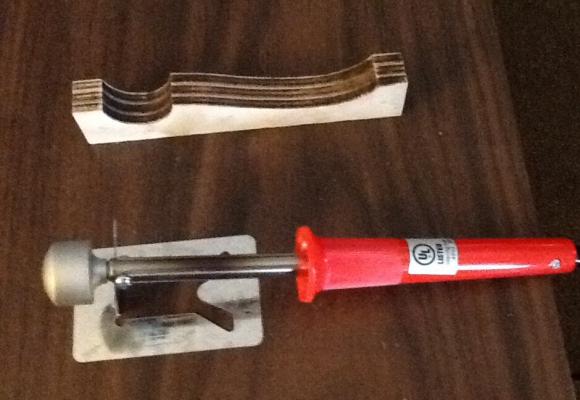
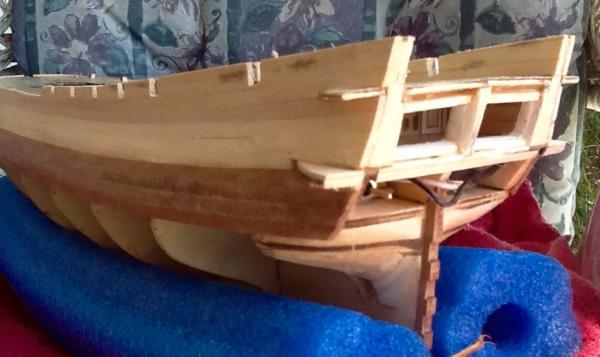
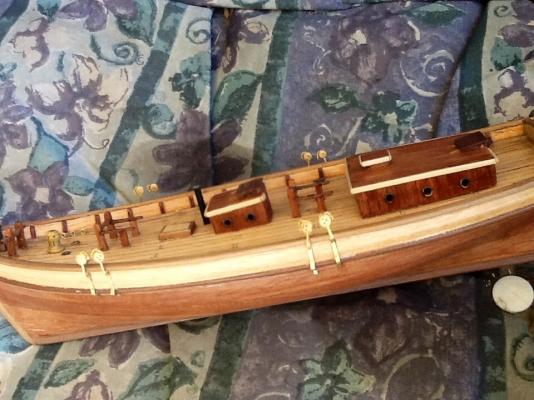
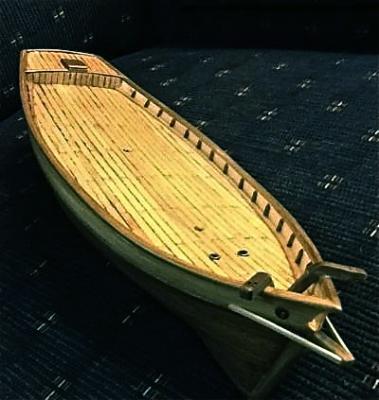
Planking is slowly progressing. I tried using a crimper, but munched up a bunch of planks. I switched to a heated plank bender from Model Shipways with much better luck. It only took two broken planks before I found that it works well if done slowly. I seem to take a full day per strake. I also added a thin piece to even up the bow. You can see the togle switch below the captain's cabin.
-
Wow, this build log is imaginatve and nutty! Good stuff. Maybe you can send the guys here for R&R.... https://video.search.yahoo.com/video/play;_ylt=A0LEVxORMIFV1WwAuCvBGOd_;_ylu=X3oDMTByMjB0aG5zBGNvbG8DYmYxBHBvcwMxBHZ0aWQDBHNlYwNzYw--?p=mission+impossible+squirrel&back=https%3A%2F%2Fsearch.yahoo.com%2Fsearch%3Fp%3Dmission%2Bimpossible%2Bsquirrel%26ei%3DUTF-8&fr=%26fr%3Dipad&turl=http%3A%2F%2Fts3.mm.bing.net%2Fth%3Fid%3DWN.SW4Suq07%252foCBk2MmnR4ezg%26pid%3D15.1&rurl=https%3A%2F%2Fwww.youtube.com%2Fwatch%3Fv%3DDsuVLsDyln4&tit=Mission+Impossible+Squirrel&l=0%3A50&vid=1265e39c700e55439ed31292b7aa5d6b&sigr=11bf8hhgd&sigb=1268d0hff&sigt=10rls1usd&sigi=121rl6f36
-
It's great to see your progress. Congratulations on your your first child. I imagine your wife is needing lots of tender loving care these days. You will get to see how well you can do on just a few hours sleep when your little miracle arrives. Take it from me, the baby years go by much too quickly. Savor them, and take way too many pictures.
-
Brian, You and Larry Van Es have been most generous with your help. I thank you again. I cut down the ratty rat lines and started again. This time the gluing method came out much better. Not perfect, but I'm thrilled with the improvement. I also started cutting and sewing the sails. The Commodora gave me a lesson. Here's my first two hours of labor. Ouch! It's going to be slow going from here.

- 47 replies
-
- 4
-

-
- carmen
- constructo
- (and 2 more)
-
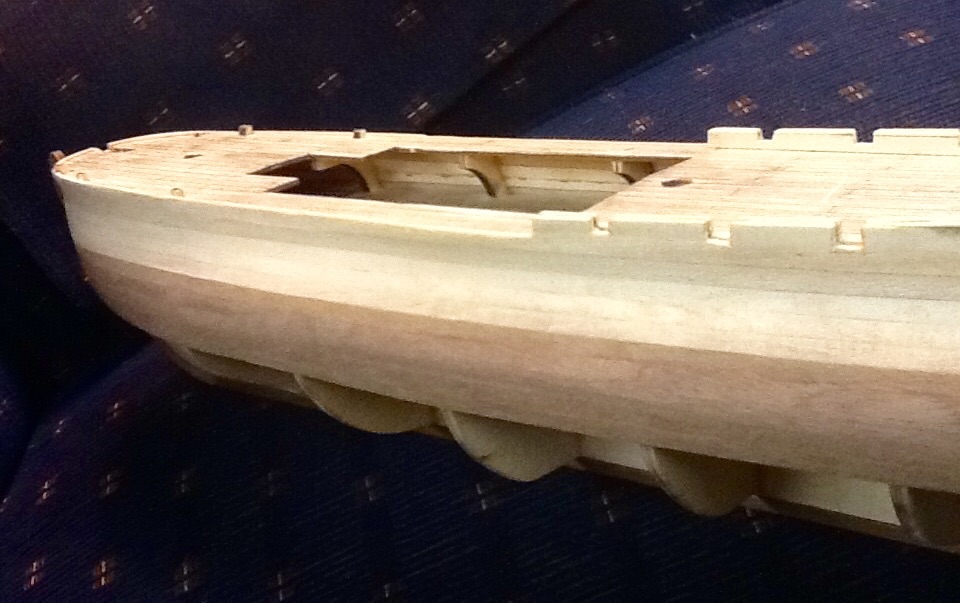
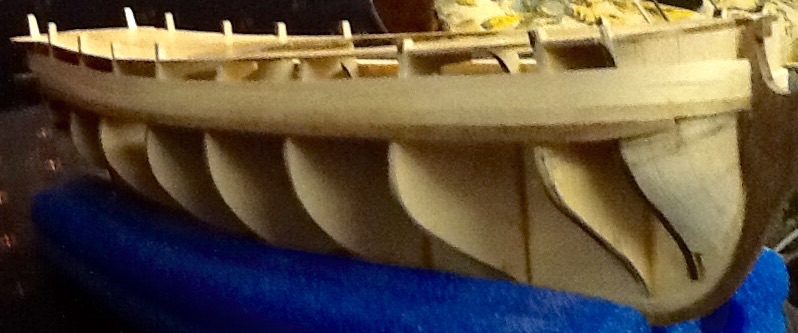
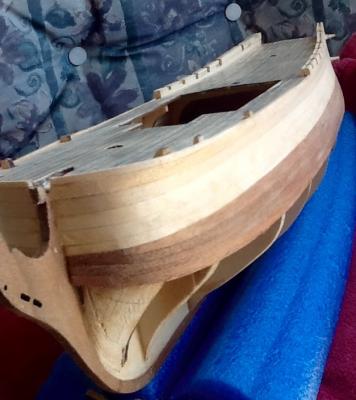
Thanks for the encouragement, Nick. I've done some more planking. L'Hermione looks like she gained some fins from a '57 Chevy. Unfortunately, the tip of the forward, starboard bulkhead got knocked off. I didn't notice when it happened. It motivated me to skip over to step 22 in the instuctions, and reinforce the rear bulkheads before moving on. I didn't want to break those fine fins.

-
Carmen is starting to look like a proper ship. Added some forstays and made first attempt at ratlines. Unfortunately, they turned out too ratty. This was more difficult than I imagined. As I tied the ratlines up the shrouds, they pulled slightly together, until half way up, the shrouds joined. I continued to tie knots to simulate the existance of actual ratlines, but will have to consider options for making corrections.
- 47 replies
-
- 4
-
-
- carmen
- constructo
- (and 2 more)
-
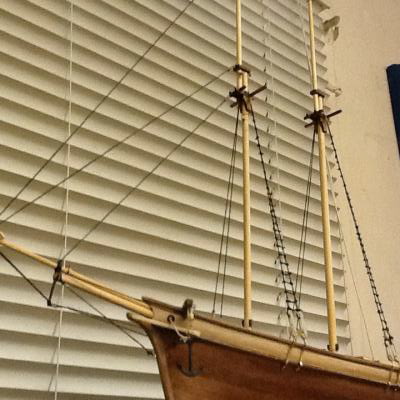
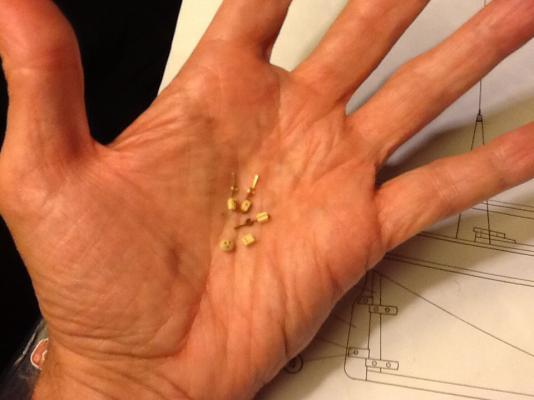
Brian, I will be using your drill idea on my Hermione masts. Great idea! Nick, don't let your Hermione get away. It's much too nice. I've been struggling with tiny blocks and deadeyes. They've been getting fired from my tweezers all around the room, and they defy being wrapped with copper wire. The shrouds have finally been attached. I have yet to learn how to make them look anywhere as perfect as all the other builders on MSW, but I'm happy with the new experience. So far, the attached blocks look like jewelry, so my lady now has ear rings.

- 47 replies
-
- 1
-
-
- carmen
- constructo
- (and 2 more)
-
Nick, The more I see of your model, the more I like your approach to it. I'm sweating out the gun door placements, but you have aready gotten them nicely framed. This even includes the captain's windows. Wow! Your cannons are going to look great on that deck.
-
Nice looking space, well lit and with a good surface area. I see some Skipjack action, as well. Looking forward to next post.
-
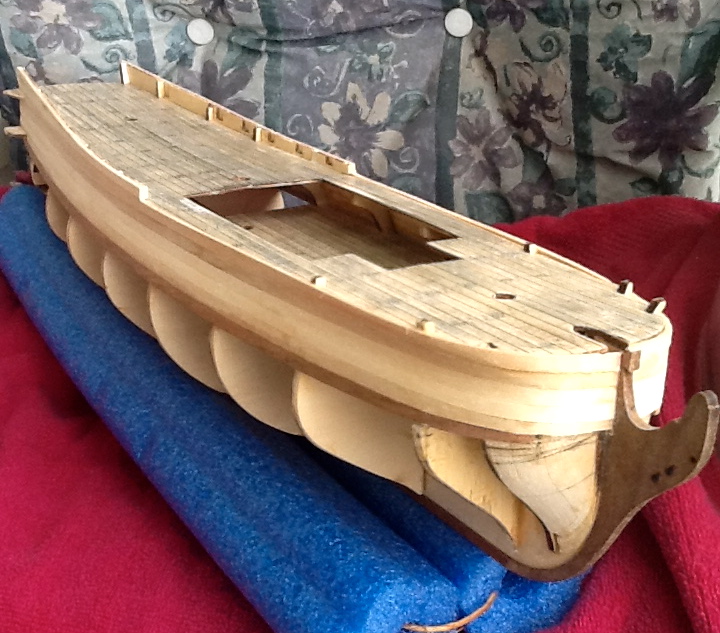
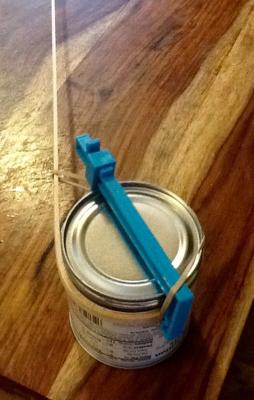
You've got a lot of options for lighting, Nick. Since I'm a novice, I chose a simple and inexpensive one. My planking is slowly progressing. Bending cold wet planks around a can has been hit and miss. I broke three planks, so far. The darker, sapelly, wood is more brittle and always needs heating. In the photo, the planks seem to be aiming downward, but I think this will be be alright. I tried drawing lines to anticipate how much to narrow the planks, but I won't be following the lines.


-
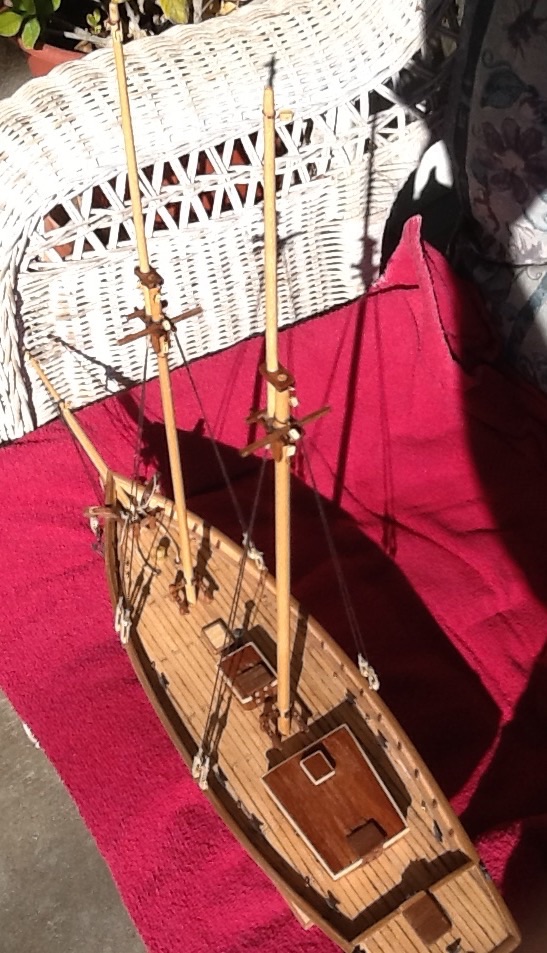
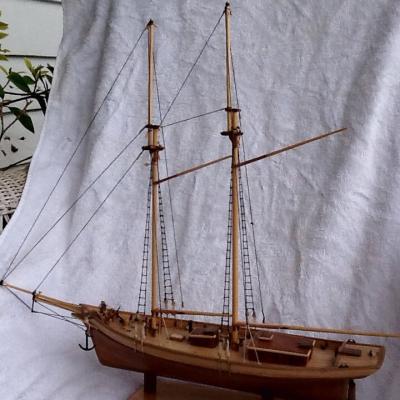
I assembled the masts, crosstrees and topmasts. I may not have tapered the masts enough for fear of making them too flimsy. This picture shows test fitting for the masts. I'm pleased with the look of the ship so far.

- 47 replies
-
- 2
-
-
- carmen
- constructo
- (and 2 more)
-
Jan, Make no mistake, your rigging is awsome! I've seen it progress and I'm impressed.
-
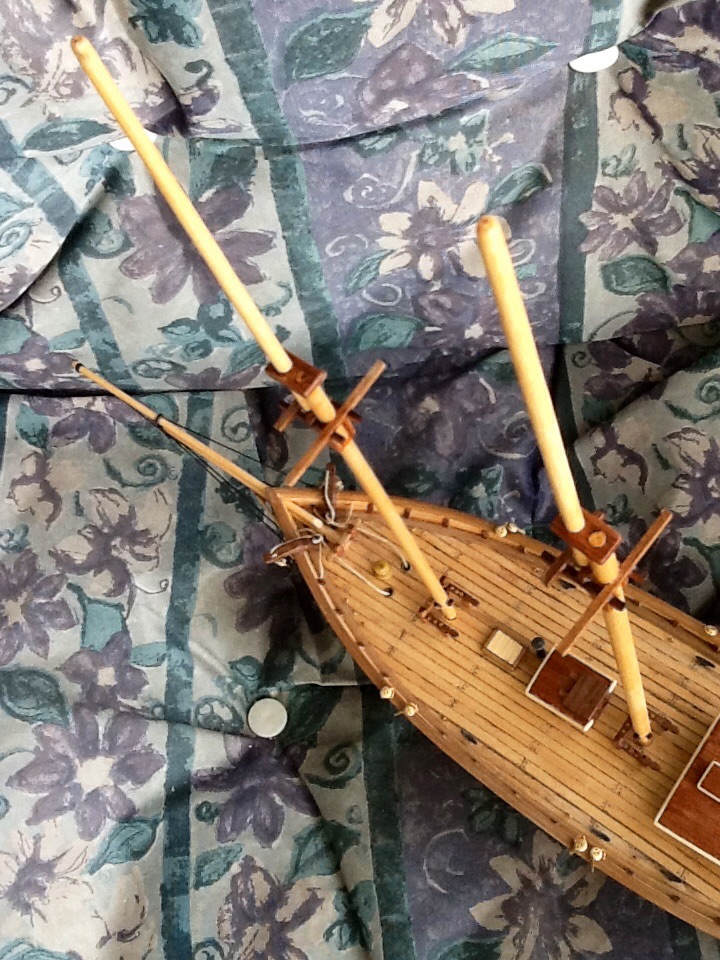
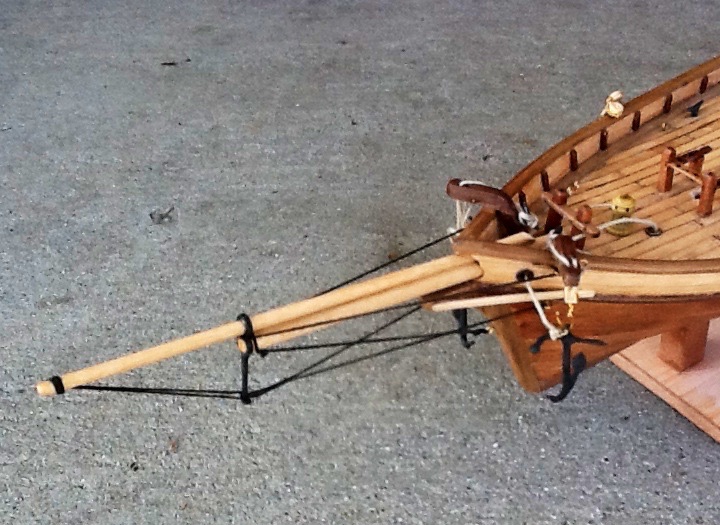
Brian, I really like your Carmen build log. It's quite helpful. Thanks for sharing. Nick, I hope your Albatros isn't gone. It seems that almost all wood mistakes are fixable, unless, of course, the dog ate it. I've decided to leave the chain plates, for now. I may learn to love them later. I've moved on to the sprit and jib boom, and added anchors. I used an oak stain to make them a little darker.

- 47 replies
-
- 4
-
-
- carmen
- constructo
- (and 2 more)
-
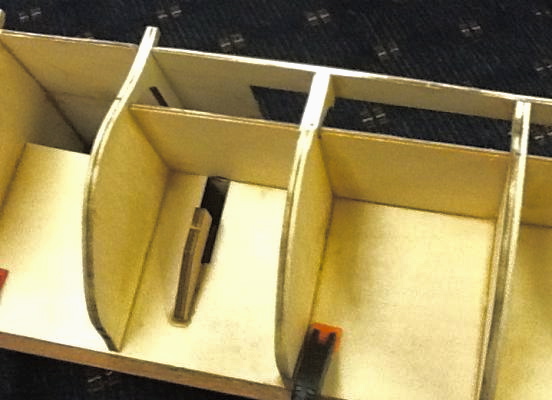
Nick and Vtwoods, It's so great to hear from you both! I checked out the new build site, and It's great to have another take on the model. Don't worry Nick, I'll never reach your skill and innovation. I look forward to anything you post. I tried the candle lighting idea, and it seems to be working. I tucked the switch and battery below the captain's cabin. I tested the light by rubber banding the window frame in place to see if the interior details could be seen trim.BE7A28F0-2A54-4381-B366-2BA0DDBCD3EA.MOV
-
I filed and fiddled with the pin rails for some improvement, but the holes are still uneven. Next I tackled the chain plates. As my first experience, I broke the first attempts at winding the wire around the deadeyes. Shaping and gluing the chainplates was more difficult than imagined. At this point, they look rather sad.
- 47 replies
-
- 3
-
-
- carmen
- constructo
- (and 2 more)
-
Boyd, It's good to hear from you. I agree that the kit is looking like the original ship. It has some thoughtful modifications to make building it less demanding for inexperienced builders such as myself. For example, the actual sternlights are curved and of different sizes, but the kit has them straight and equal. I didn't notice this when purchasing the kit, and it does not detract from the finished kit. I've just layed the first strake. I tested my special tomato sauce tool to curve it for the bluff bow. I didn't apply any heat, but soaked the tip in water and let it dry around the can. It seems to be working. I followed Nick's lead by following the deck line.

-
Getting to this point was pretty smooth, except for the drill holes. I would make nicely centered punch marks, but the holes never ended up in the same places after drilling. I made the pin racks twice, and they stii came out wonky. I will probably have to try again.
- 47 replies
-
- 4
-
-
- carmen
- constructo
- (and 2 more)
-
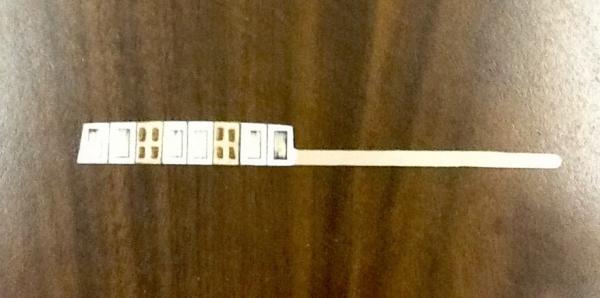
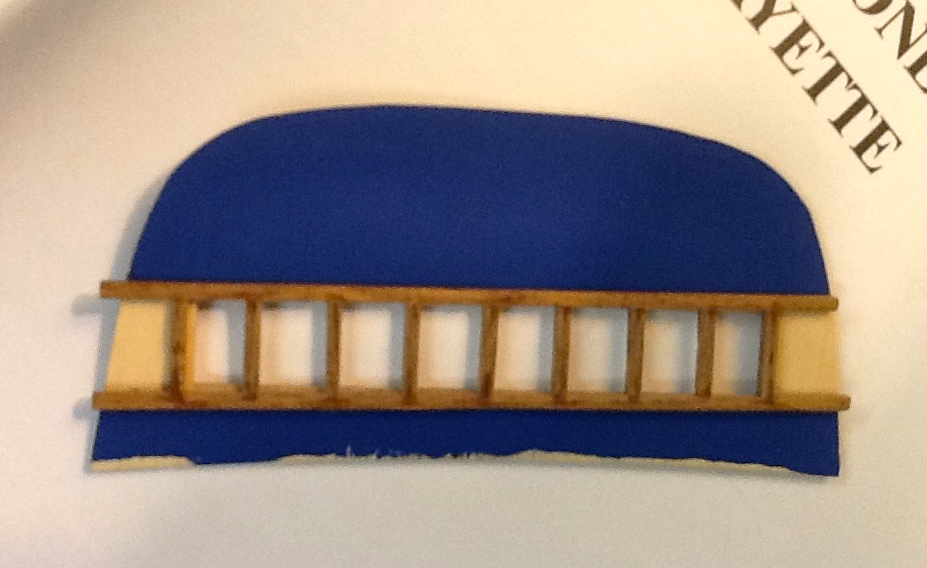
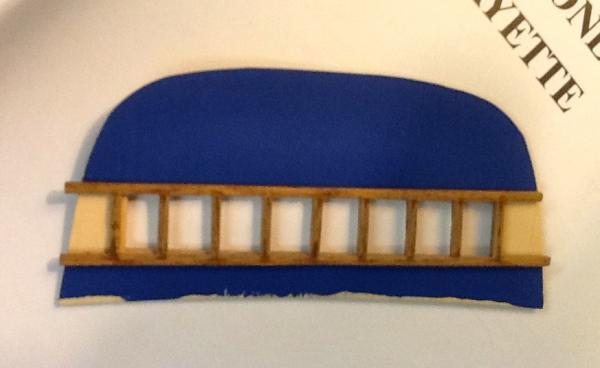
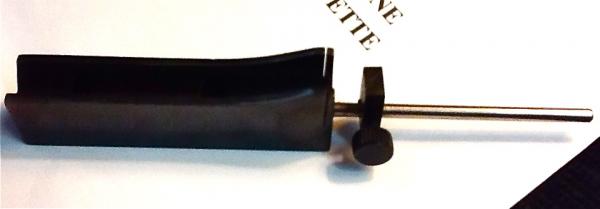
I am working on the frames for the captain's portlights. I just received a new tool, and I love it It's a duplicating jig, and I got it form Micro-Mark. I have never been able to cut even two strips of wood the same length, no matter how careful I am. This time I cut 9 the same length, and didn't have to file and fiddle to make them even. I was dreading this frame, but it was a joy. Yahoo!
-
Nick, I'm afraid this plane is way too small, but i'll bet you get a chance to see L'Hermione from the air when she returns to Europe. My Hermione needed some shims before planking could begin. The fifth bulkead was short of the deck on both sides. I used some deck planks to build up the bulkhead
-
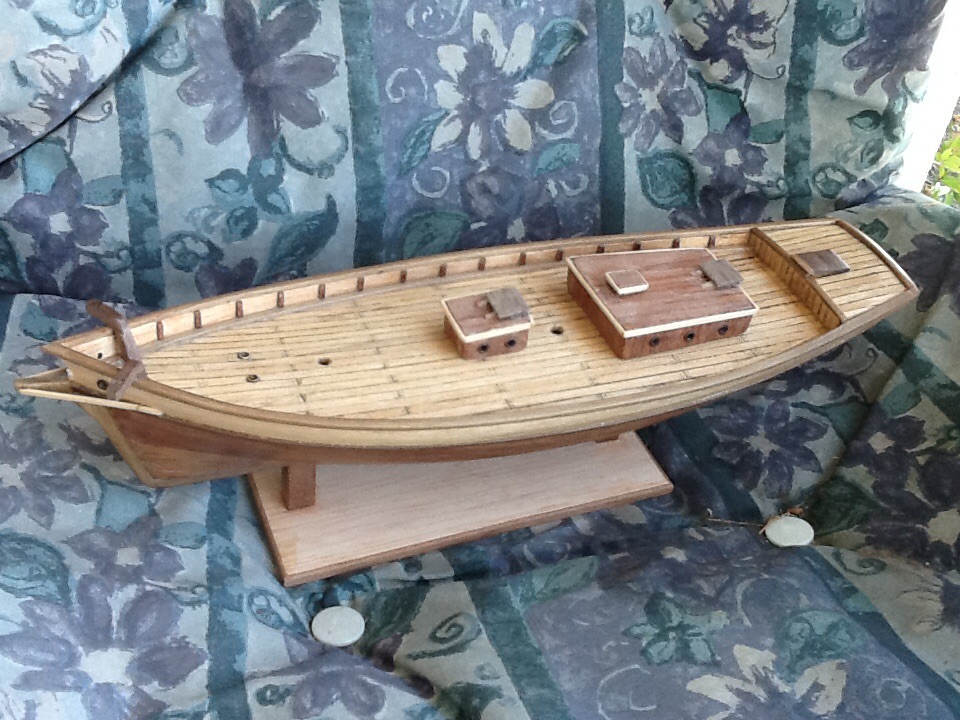
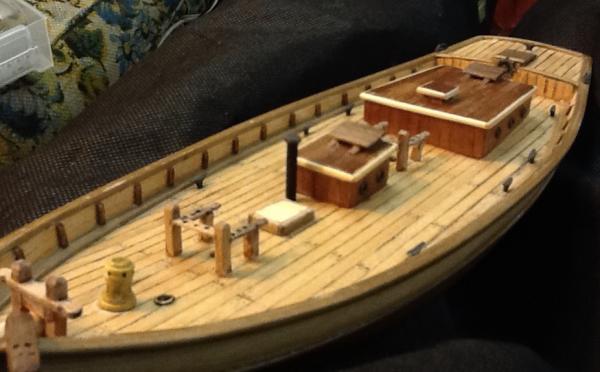
Thanks for the encouragement, Marty. I've test fitted the deck structures and wish I had taken some pictures of their assembly. The instructions are well illustrated for this. For an entry level kit, I have been amazed at the fine woods Constructo provided. In keeping with the age of the ship, I decided to use Blacken It on the brass to give it a darker patina. I like what it did to the portholes.

- 47 replies
-
- 2
-
-
- carmen
- constructo
- (and 2 more)
-
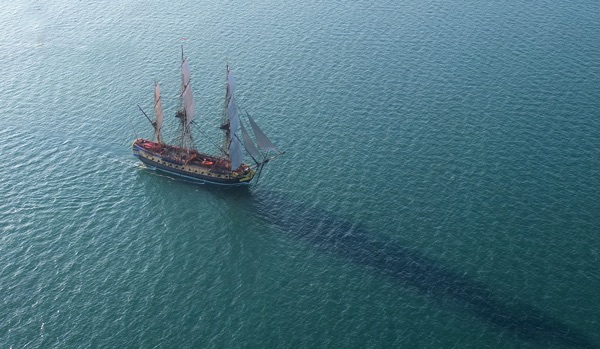
As an aside, I was fortunatate to get to go up in an open cockpit, wooden trainer plane, and it made me think of L'Hermione. Flying along the California coast, i could see a wide expanse of ocean, and was surprised to see no sailboats out on the water. Then I saw them, widely dispersed tiny white triangles! I wondered how L'Hermione would appear in the middle of the ocean, as she is now.

-
Being my first build, it was with great reluctance that I started drilling holes. I drill small holes for the bowsprit and jib boom, then enlrged the holes with a rat tail file.
- 47 replies
-
- 2
-
-
- carmen
- constructo
- (and 2 more)
-
It looks like substantial work since your last post.
-
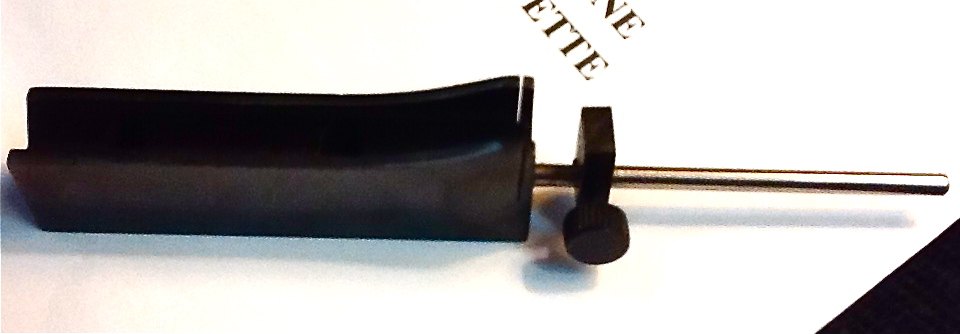
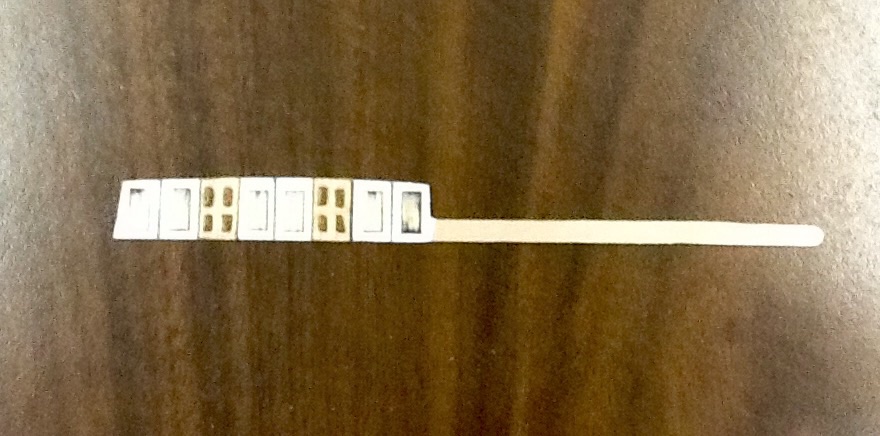
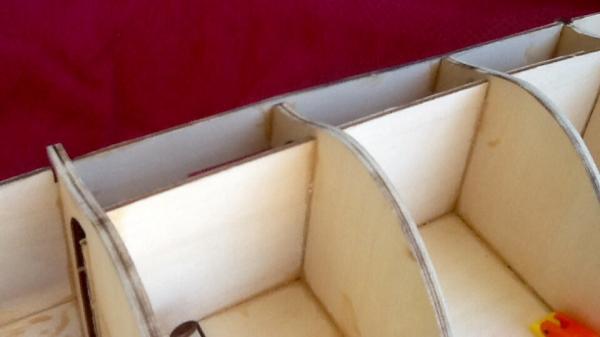
This excellent post has inspired me to add more detail. http://modelshipworld.com/index.php/topic/4679-the-kit-bashers-guide-to-the-galaxy/page-14#entry307670 I will try to add some lighting to the captain's cabin so more detail may be seen through the windows. I paneled the back wall and added two doors. I may try my hand at adding crude table and chairs before closing the space with hull planks. Fun! I built the back wall outside the ship, then fitted it using the extension handle. The back wall was made from recycled coffee stir sticks. I still need to add doorkobs and clean up the doors.