-
Posts
441 -
Joined
-
Last visited
About michael101
- Birthday 12/07/1983
Profile Information
-
Gender
Male
Recent Profile Visitors
-
 mikiek reacted to a post in a topic:
How to Caulk the planks of the hull
-
 sonicmcdude reacted to a post in a topic:
HMS Victory by michael101 - Caldercraft - Scale 1:72
-
 Paul Le Wol reacted to a post in a topic:
Riva Aquarama runabout by michael101 - Amati - 1/10
-
 JpR62 reacted to a post in a topic:
Riva Aquarama runabout by michael101 - Amati - 1/10
-
 yvesvidal reacted to a post in a topic:
Riva Aquarama runabout by michael101 - Amati - 1/10
-
 michael101 reacted to a post in a topic:
Riva Aquarama runabout by michael101 - Amati - 1/10
-
 michael101 reacted to a post in a topic:
Riva Aquarama runabout by michael101 - Amati - 1/10
-
Thank you Alan I think it will be much better with a nice keel to give a flat line for the connecting planks all over the boat
- 6 replies
-
- runabout
- riva aquarama
-
(and 1 more)
Tagged with:
-
 king derelict reacted to a post in a topic:
Riva Aquarama runabout by michael101 - Amati - 1/10
-
 gsdpic reacted to a post in a topic:
Riva Aquarama runabout by michael101 - Amati - 1/10
-
Hello Yves nice to see you in my build log you right , it will be much better with the keel ‘and about the step with the nails I’m not using this method but it ok to do it like that because it’s the first plank , there is second plank that will cover it
- 6 replies
-
- runabout
- riva aquarama
-
(and 1 more)
Tagged with:
-
 michael101 reacted to a post in a topic:
Riva Aquarama runabout by michael101 - Amati - 1/10
-
 yvesvidal reacted to a post in a topic:
Riva Aquarama runabout by michael101 - Amati - 1/10
-
michael101 started following Riva Aquarama runabout by michael101 - Amati - 1/10
-
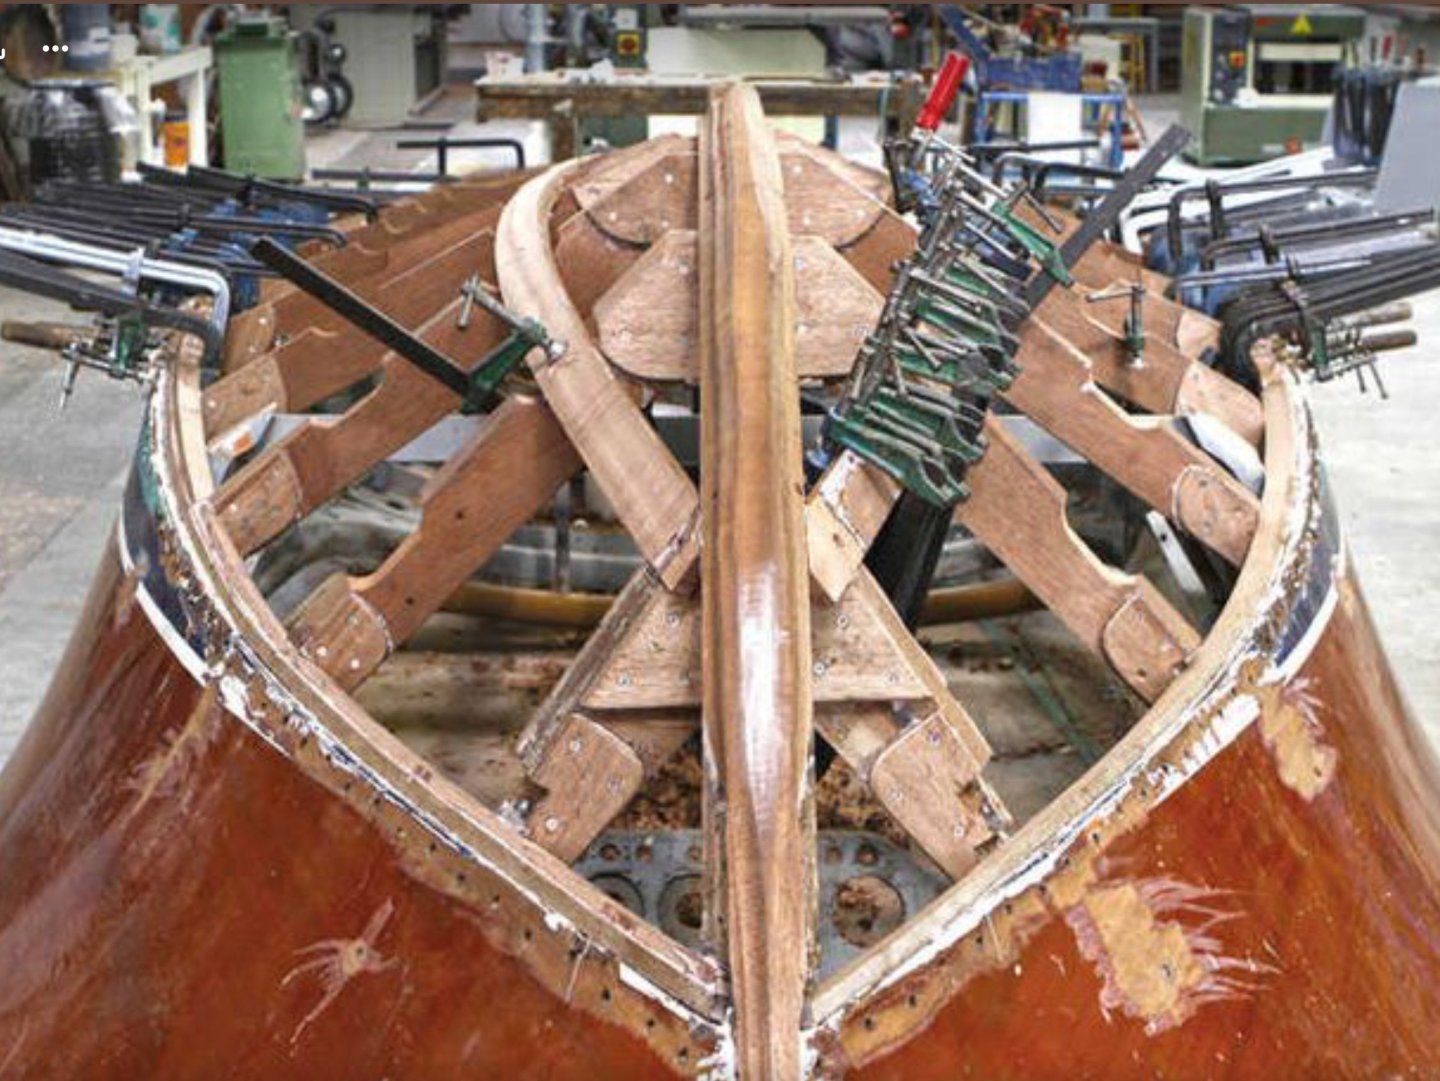
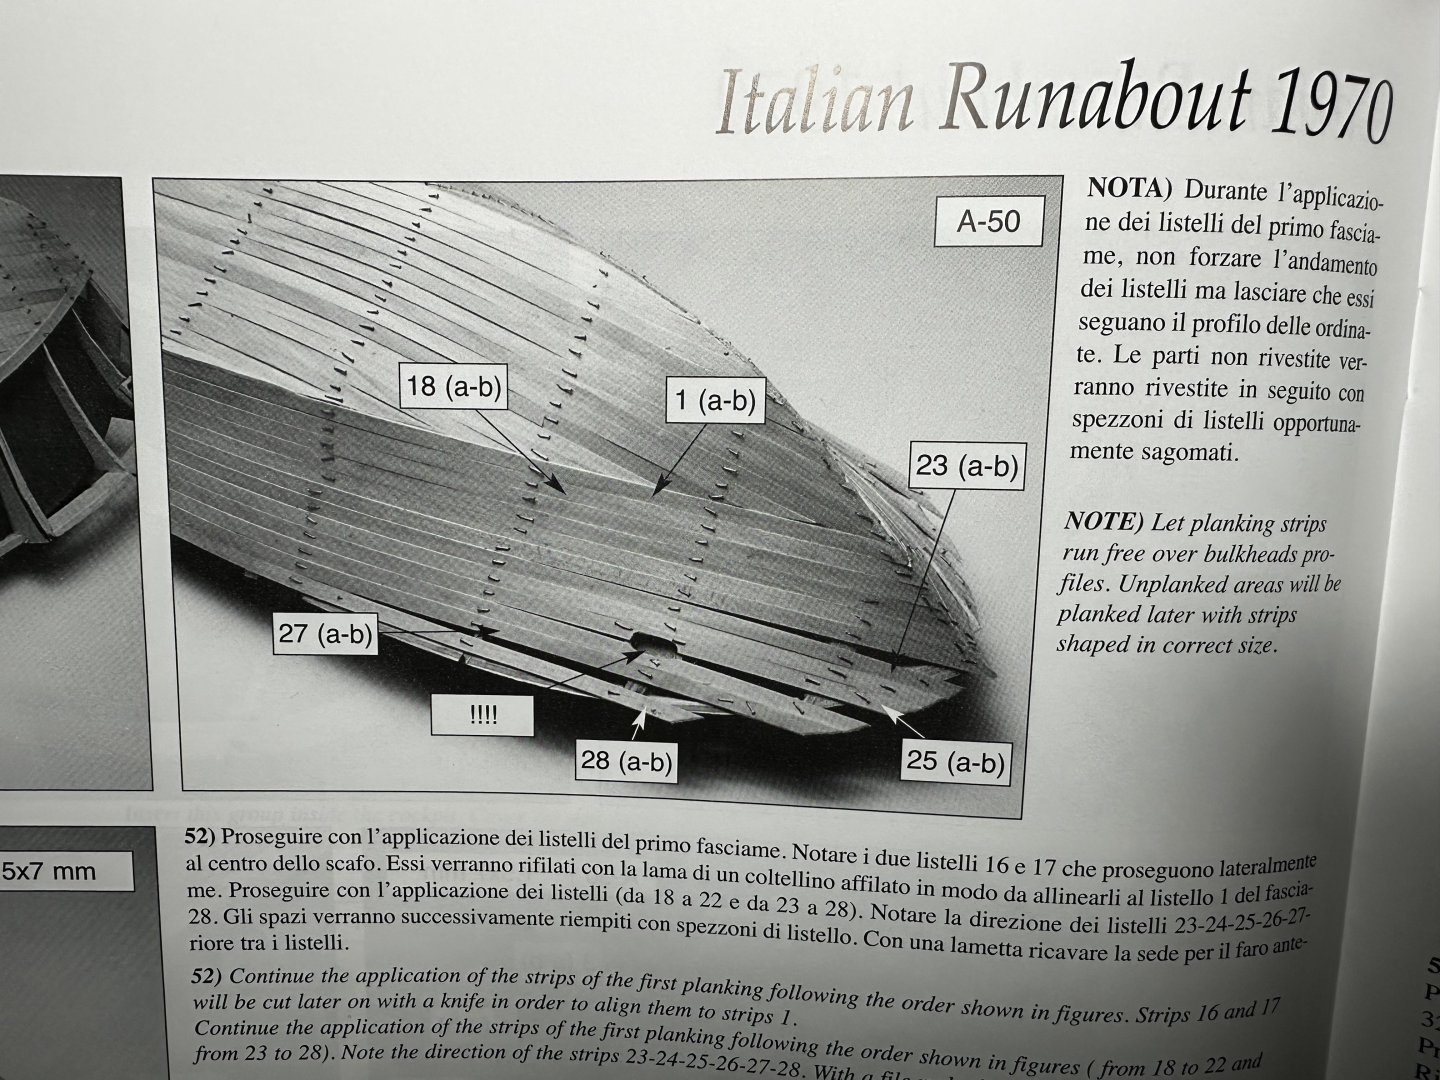
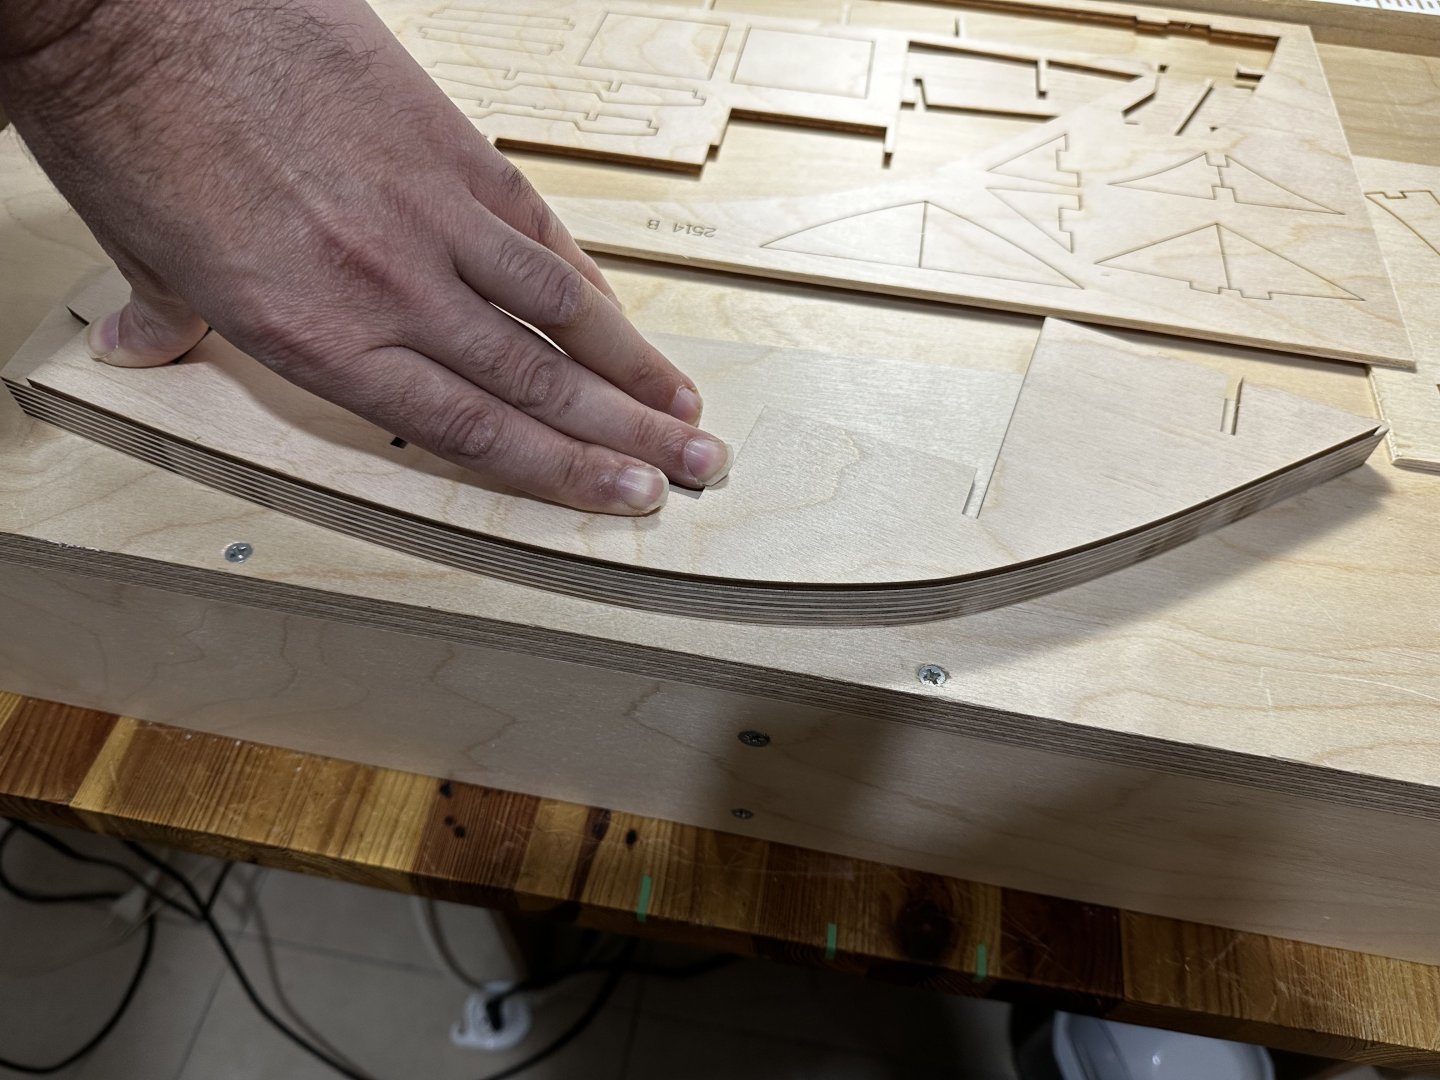
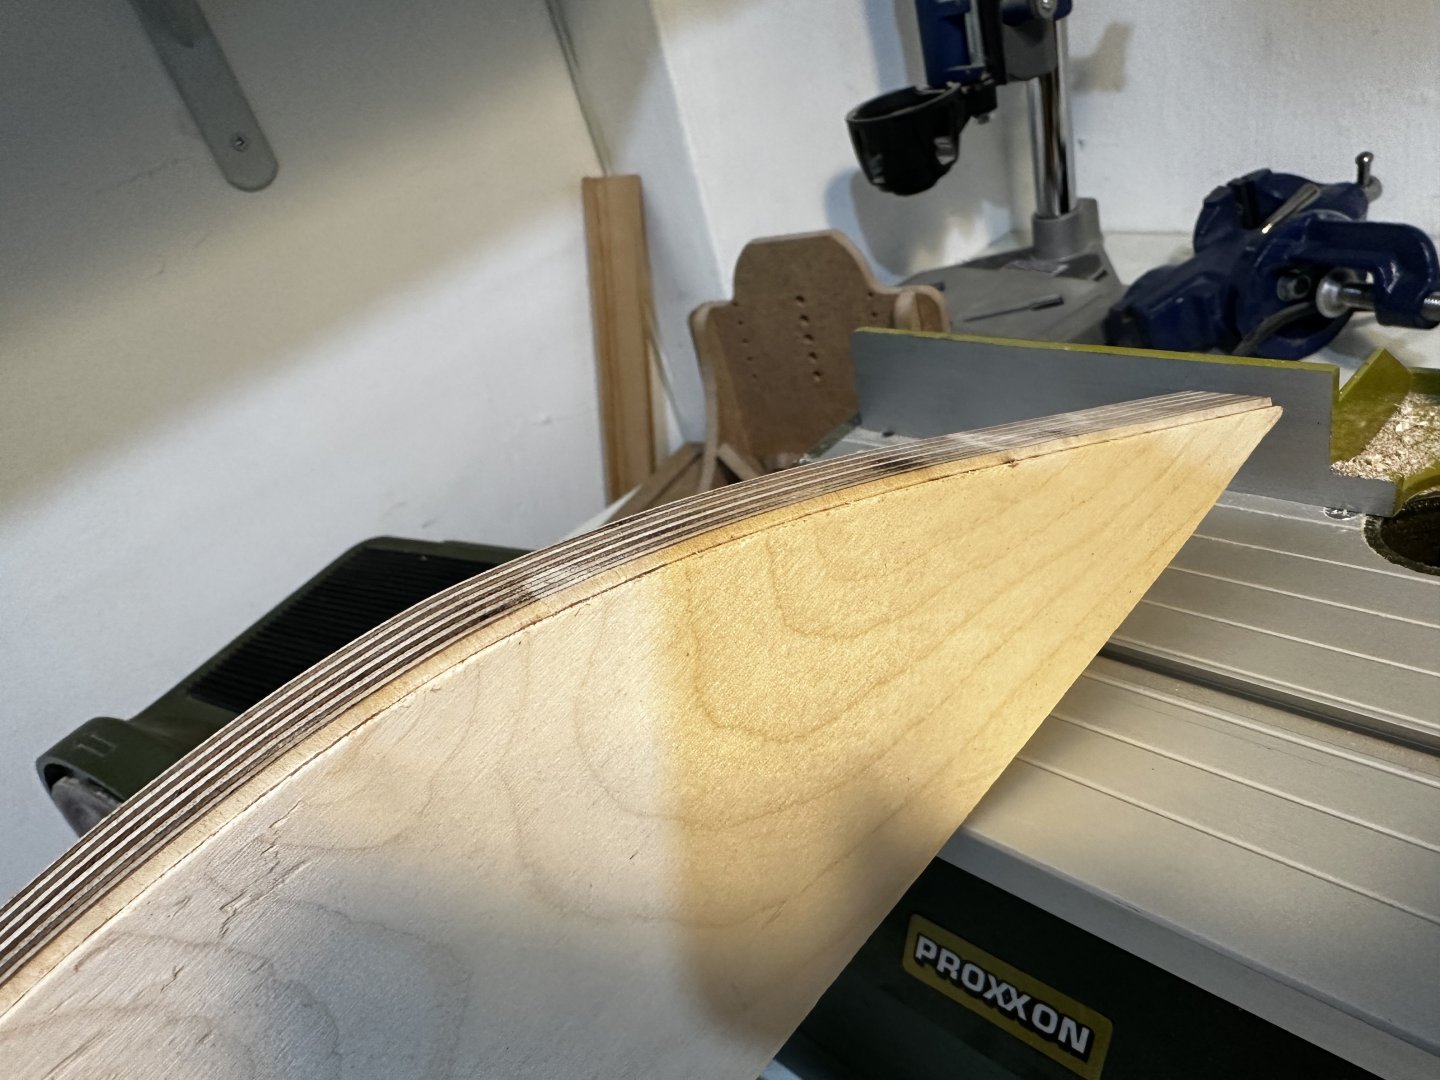
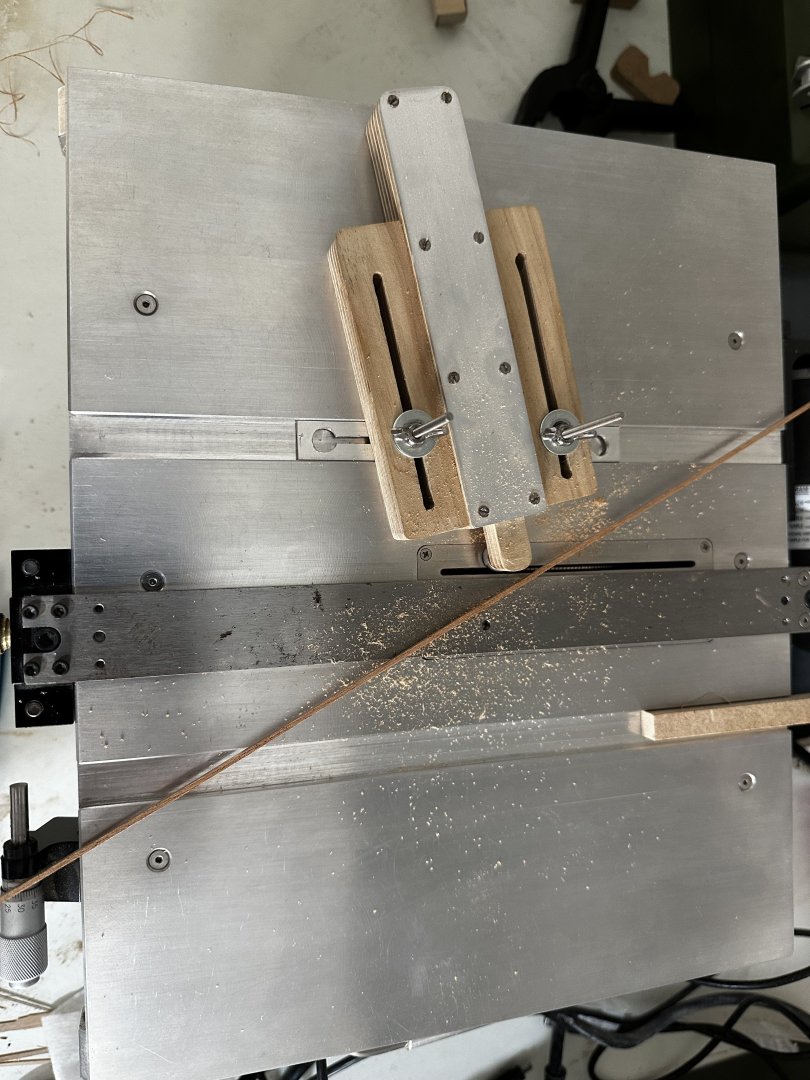
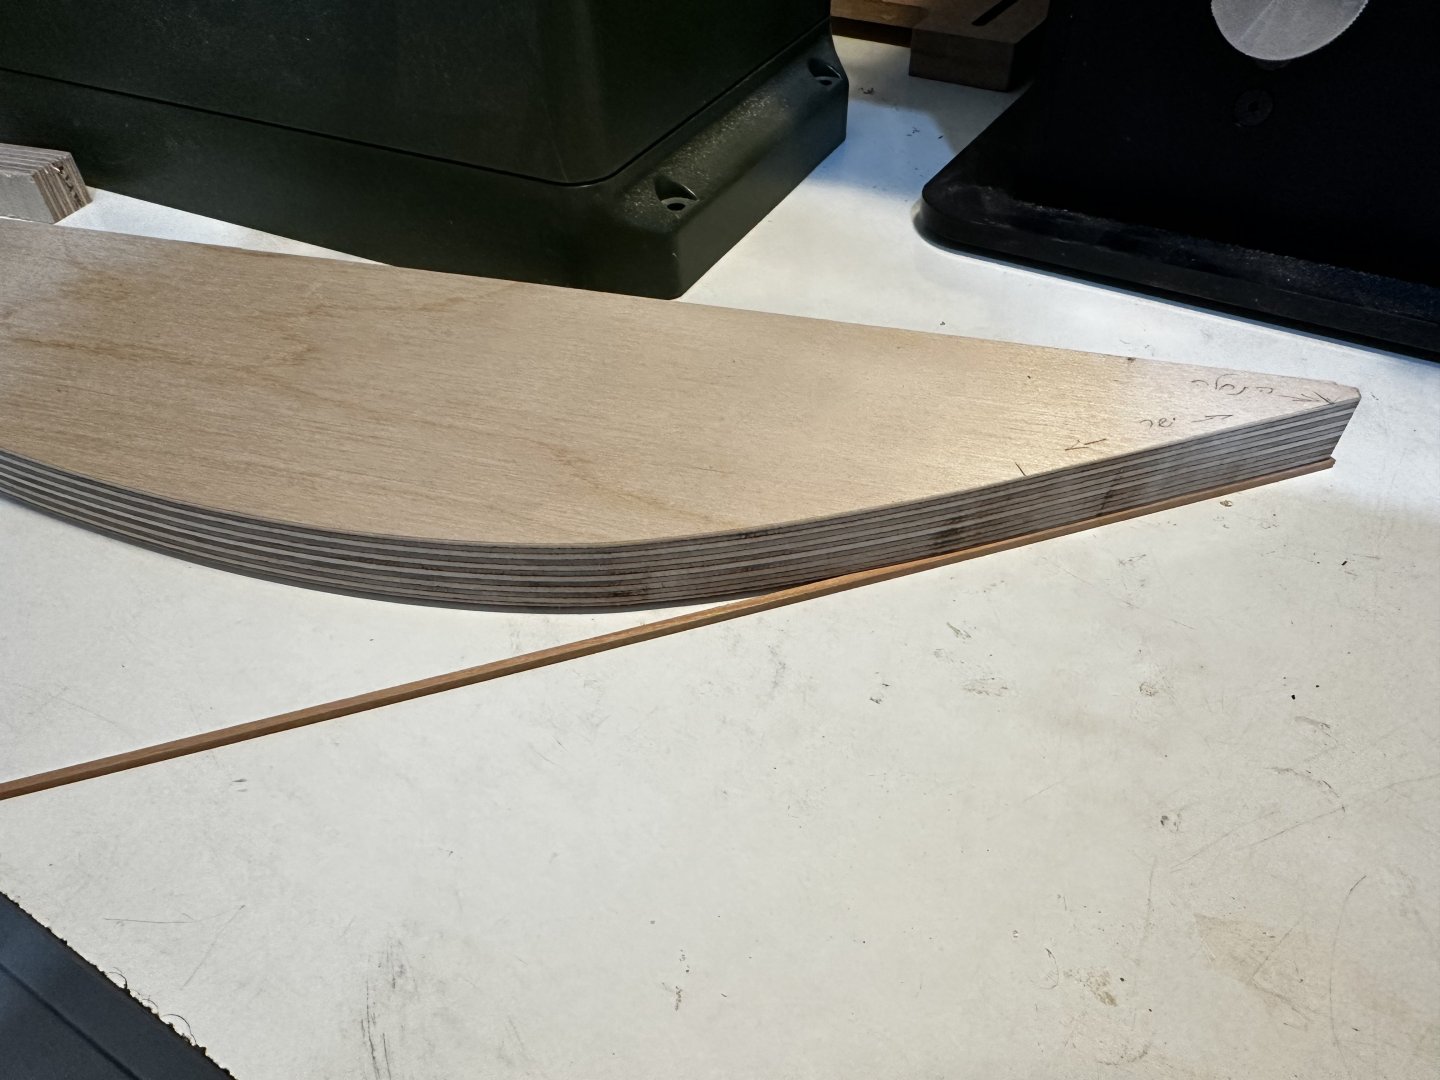
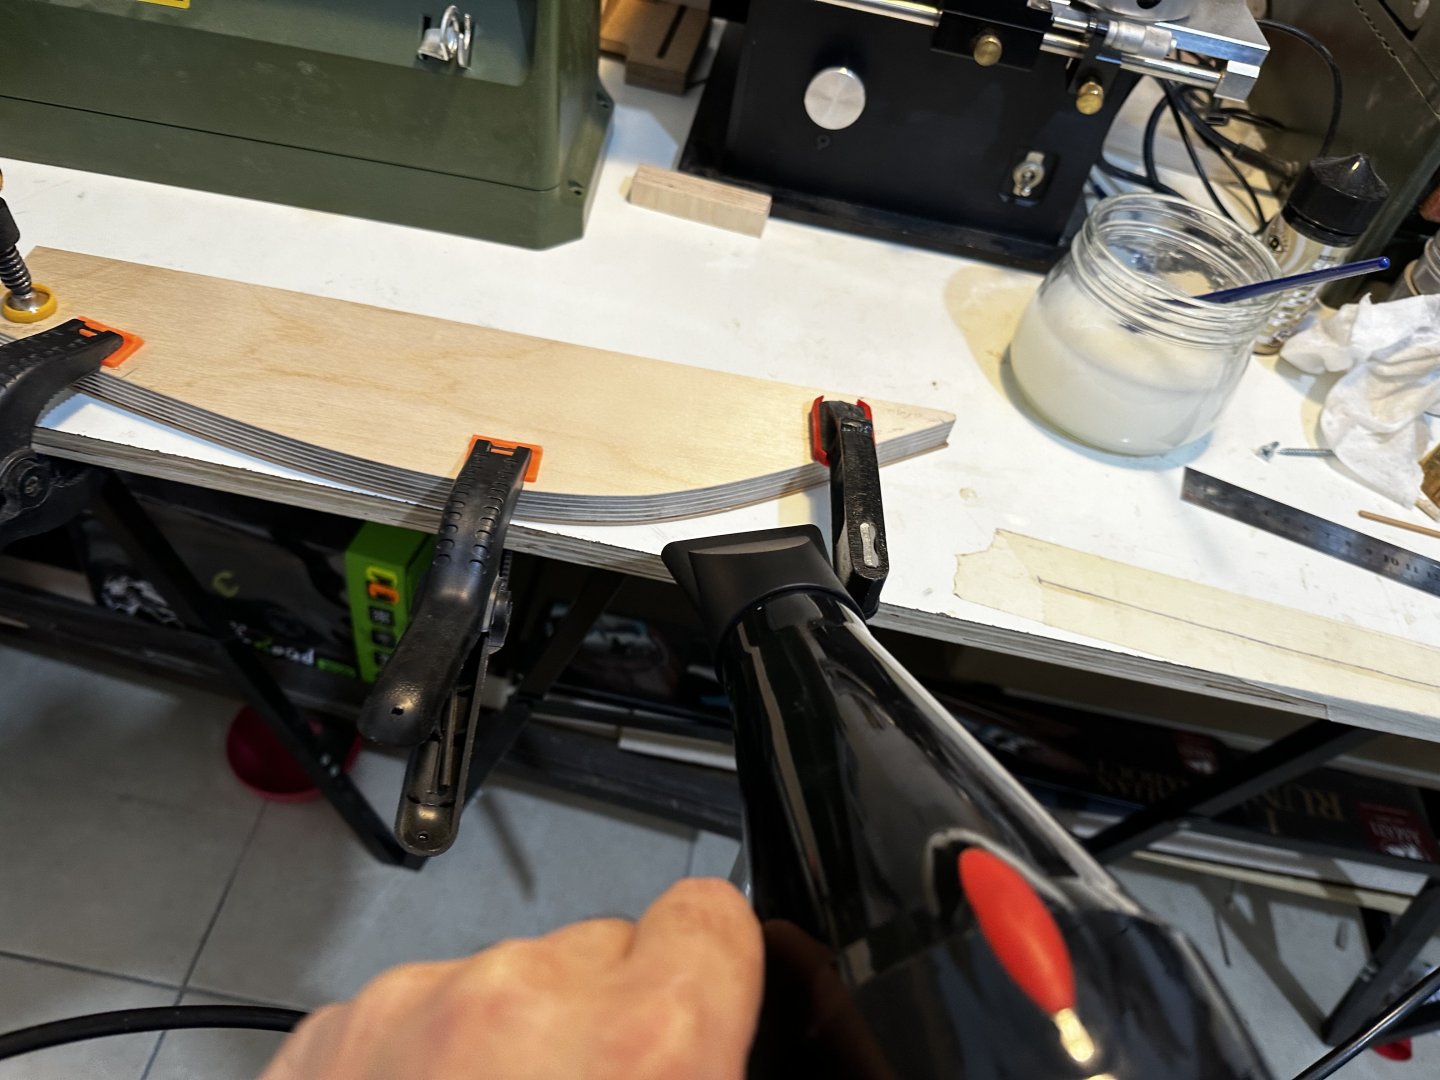
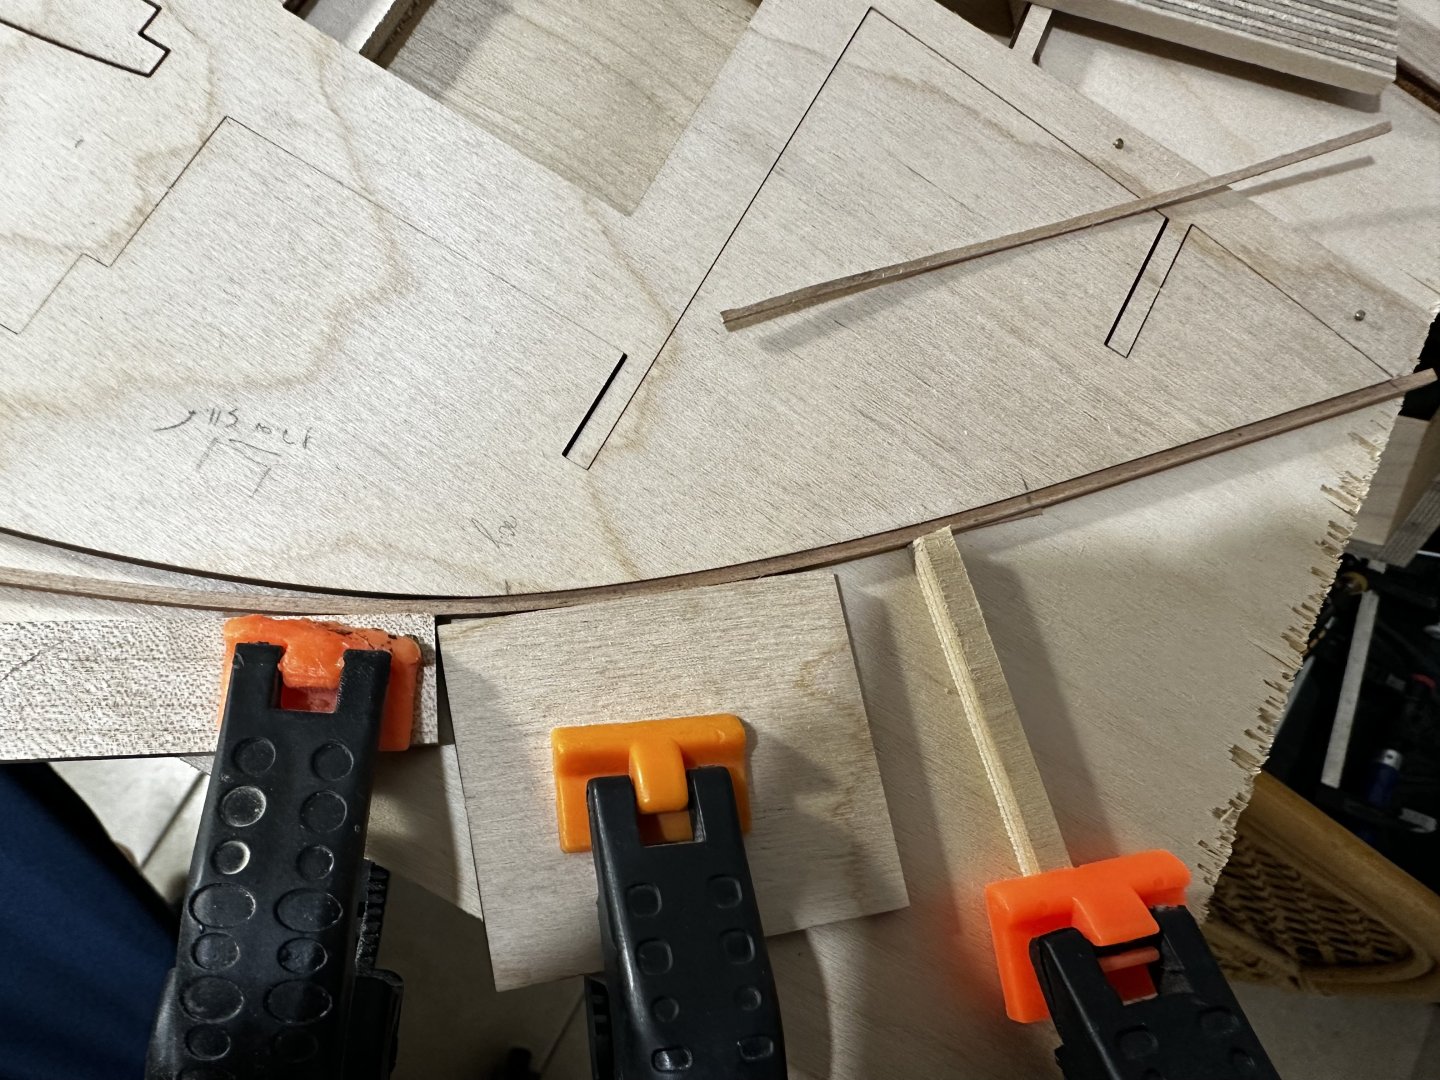
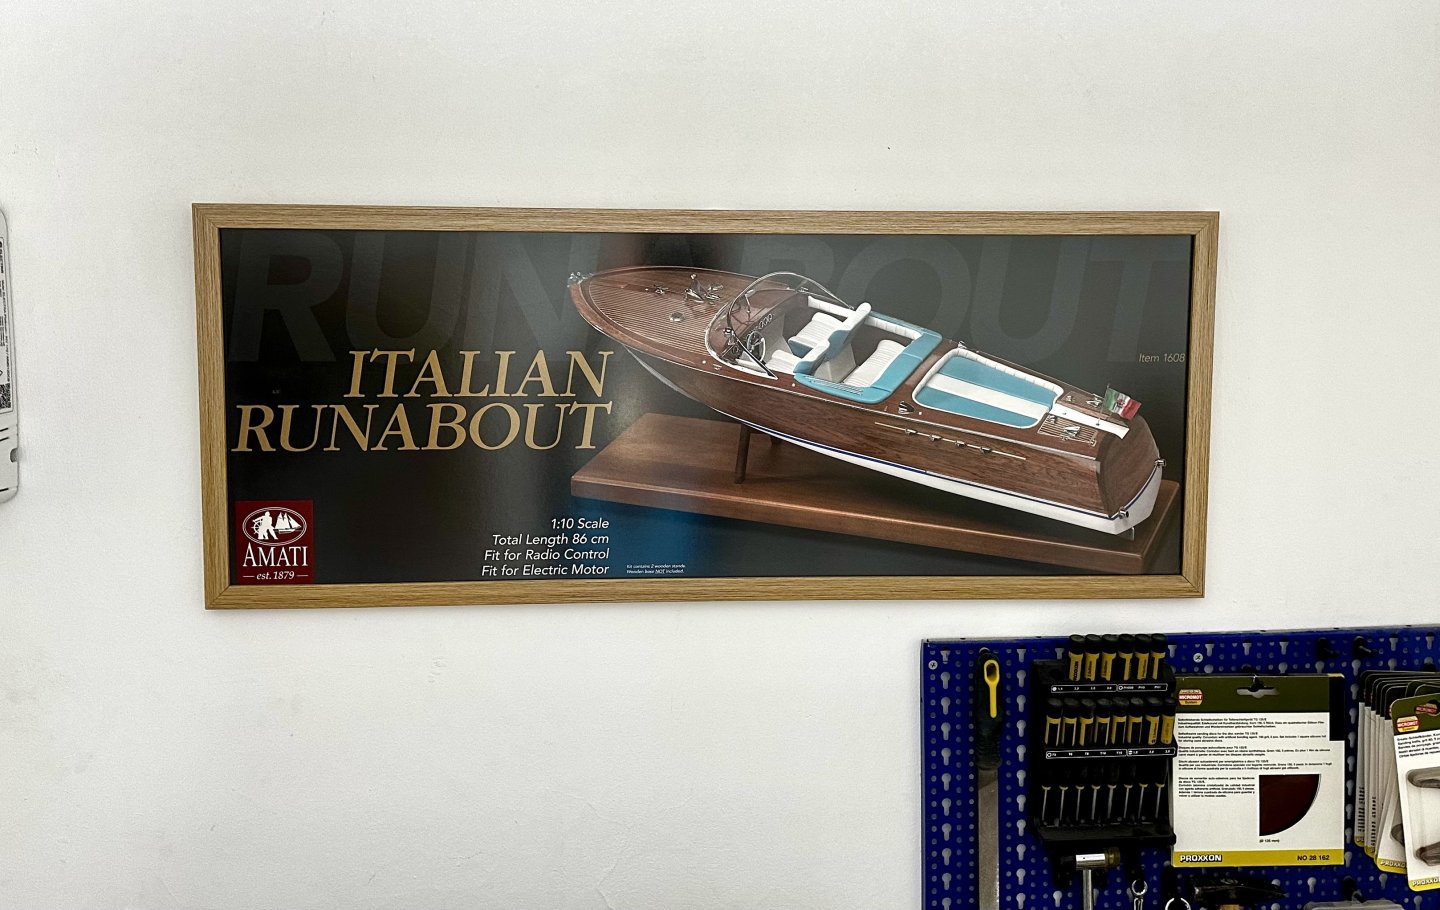
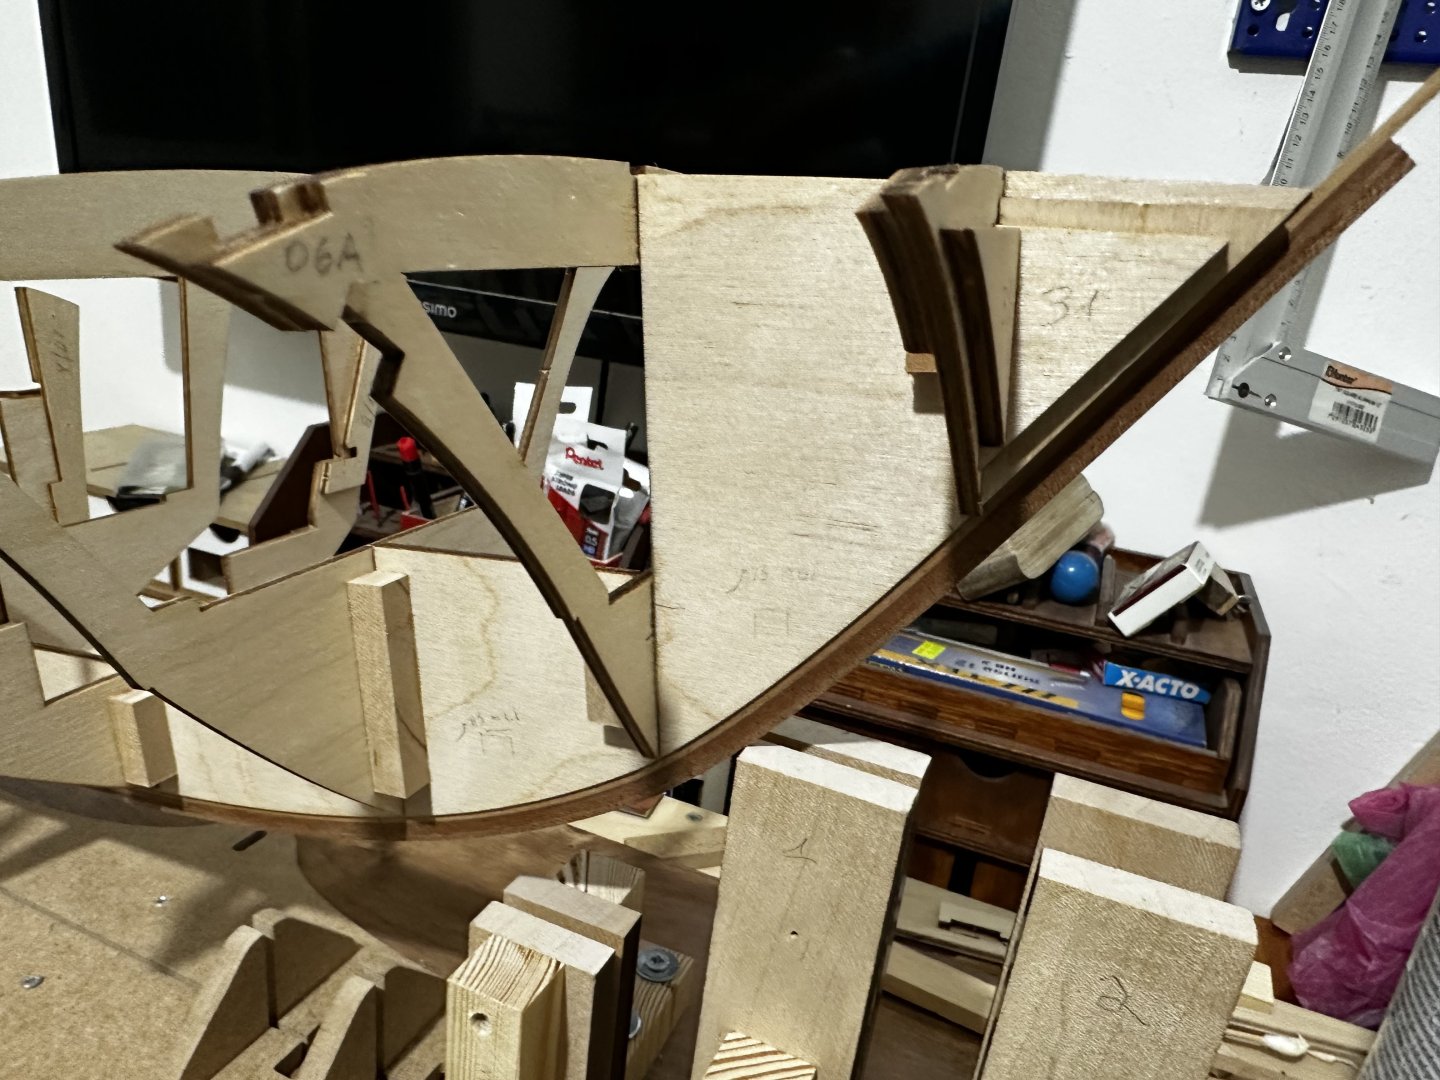
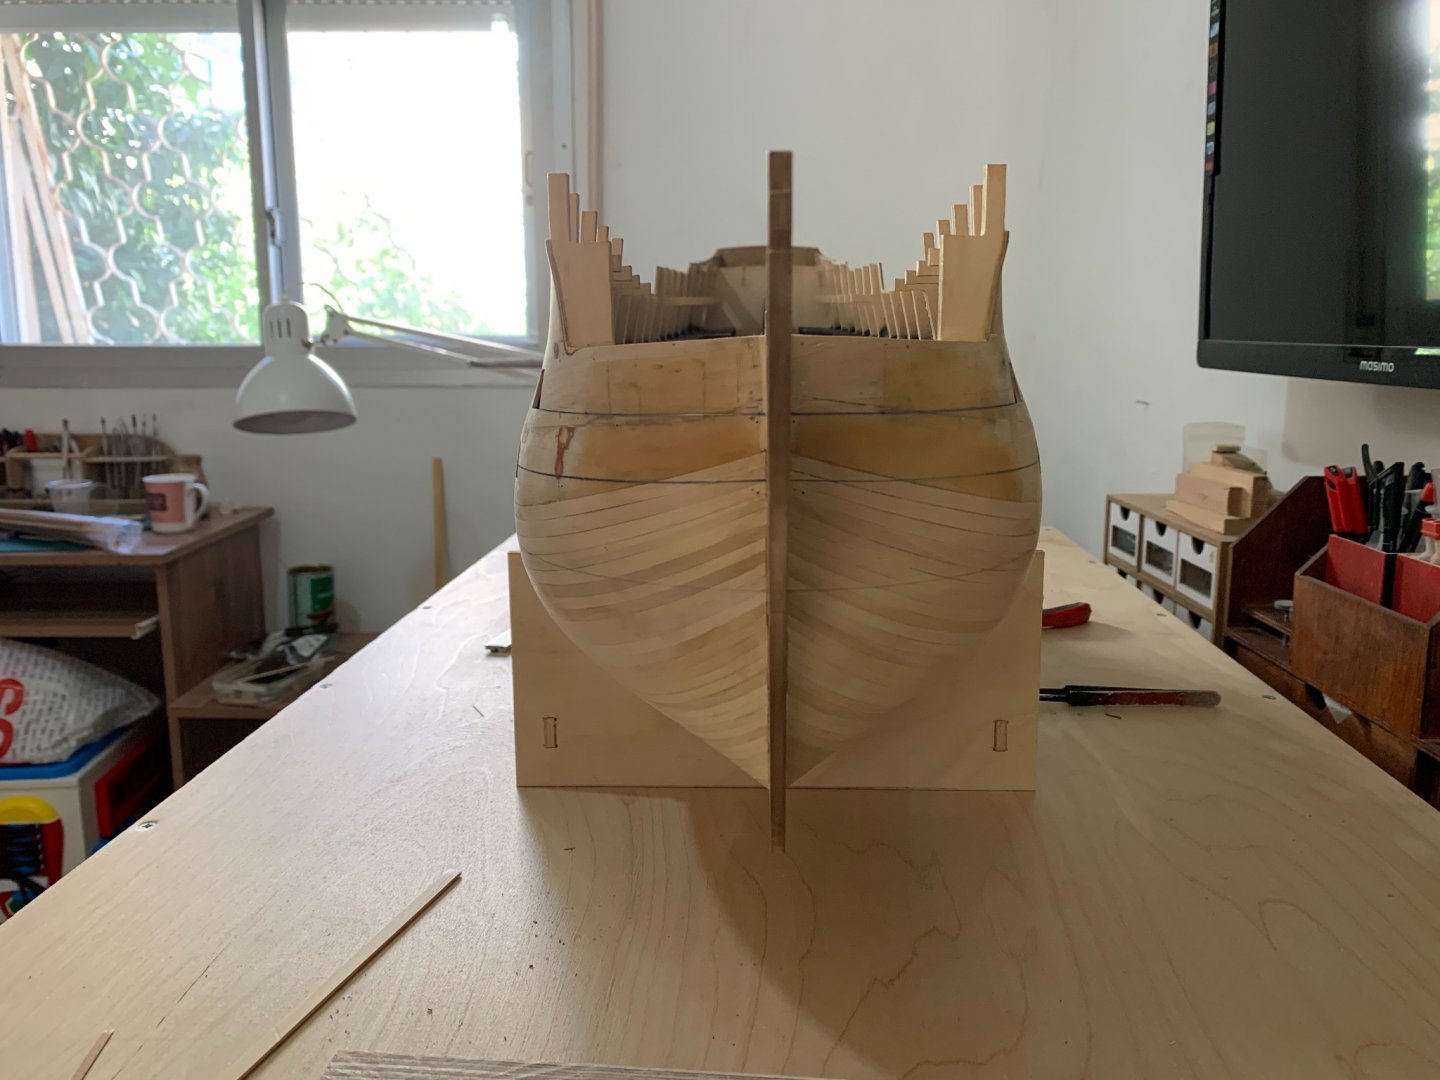
Hello friends I’m very exited to start sharing with you my build log of the Riva Aquarama 1/10 of Amati my review for the kit its outstanding beautiful kit everything it’s high class I hope you guys enjoy the work and the process of my build log and please feel free to add your comments First of all I had to send the box for framing 😎 (even the box made of high class material and beautiful printing ) For starting I saw the manual that told you to plank the boat over the keel and totally cover it at the bow on this why : But I didn’t found it aesthetic and after searching pictures of the original boat I did found that the original boat do have keel : so I decided to add a keel for the boat .. the thickness of the plywood it’s 4mm so I decided to add a keel of 2mm wide as following : first of all I made a template of the exact curve of the bow by marking the hull on 18mm plywood than I cut it by scroll saw and after all I made a notch with the router for putting the strips inside the template without having a problem of banding side way by mistake this banding must be flat for side way because we want to add it exactly at the middle all over the hull and making a beautiful keel I have cut the first strip from walnut because I didn’t want to spend a lot from the mahogany planks that came with the kit and anyway the first strip will be covered by the bout planks from the sides the first cut was 2*2 And all the rest was 1.5*2 from mahogany I made in total 1 strip of 2*2 and 3 strips of 1.5*2 so the new keel it’s 6.5mm (it’s a lot more than what I need but after the 2nd plank I will sand it down to be flat with the 2nd plank After banding the strips I add them to the hull by insert planks of 1mm underneath for gluing the new keel exactly at the middle of the hull Here you can see the new keel I (took the hull out of the stand for shooting a picture )
- 6 replies
-
- runabout
- riva aquarama
-
(and 1 more)
Tagged with:
-
 michael101 reacted to a post in a topic:
Mahogany vs walnut
-
 michael101 reacted to a post in a topic:
Mahogany vs walnut
-
 michael101 reacted to a post in a topic:
Mahogany vs walnut
-
 michael101 reacted to a post in a topic:
Mahogany vs walnut
-
 michael101 reacted to a post in a topic:
Mahogany vs walnut
-
 mtaylor reacted to a post in a topic:
Mahogany vs walnut
-
Hello friends , I’m about to start a new project , and I need to add 2*2mm strip to the keel (all over the the keel ..) the boat will be use mahogany so the natural choice it’s to use the same wood for the finished keel but to be honest I never used this kind of wood and for me the best wood it’s walnut for making the finish shape of the boat ! The only problem it will not be the same colore of the planks so what do you think is it Mahoney good wood for shaping 2*2 mm to be like a triangular or it’s not hard and compressed as walnut ? I will be more than happy to hear your advice before starting the project (tomorrow morning I have a free day to start working on my new Riva aquarama project )
-
The only thing I can say about this .. it’s a piece of carton ! (I don't want to use ugly words out of respect for the forum) today I worked all a day for square the main jig ! And nothing !!!!!! (I’m using the best square over the world the Kinex one !!!) So if you working with that piece of carton don’t blame yourself why your ship it’s twisted !!!! also it’s good for you to know about the “new model “ it’s made of 2 pieces and not from one solid piece ! so this post not relevant anymore I’m very disappointed ! ! ! ! do a favor for yourself don’t spend your money on it !
-
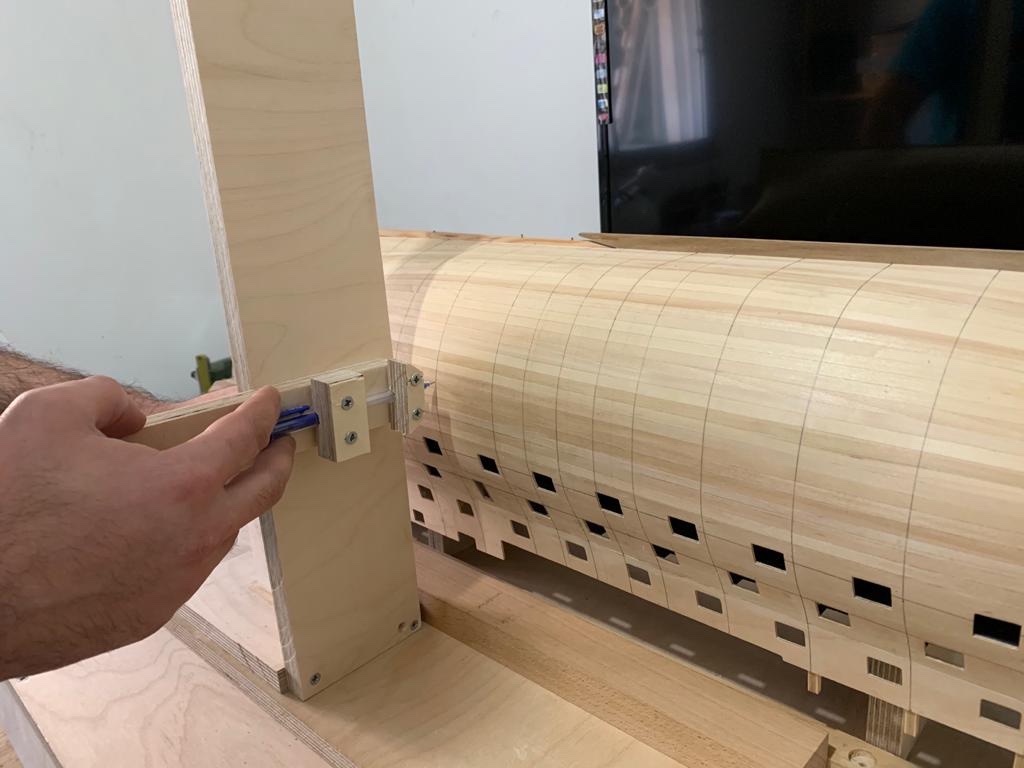
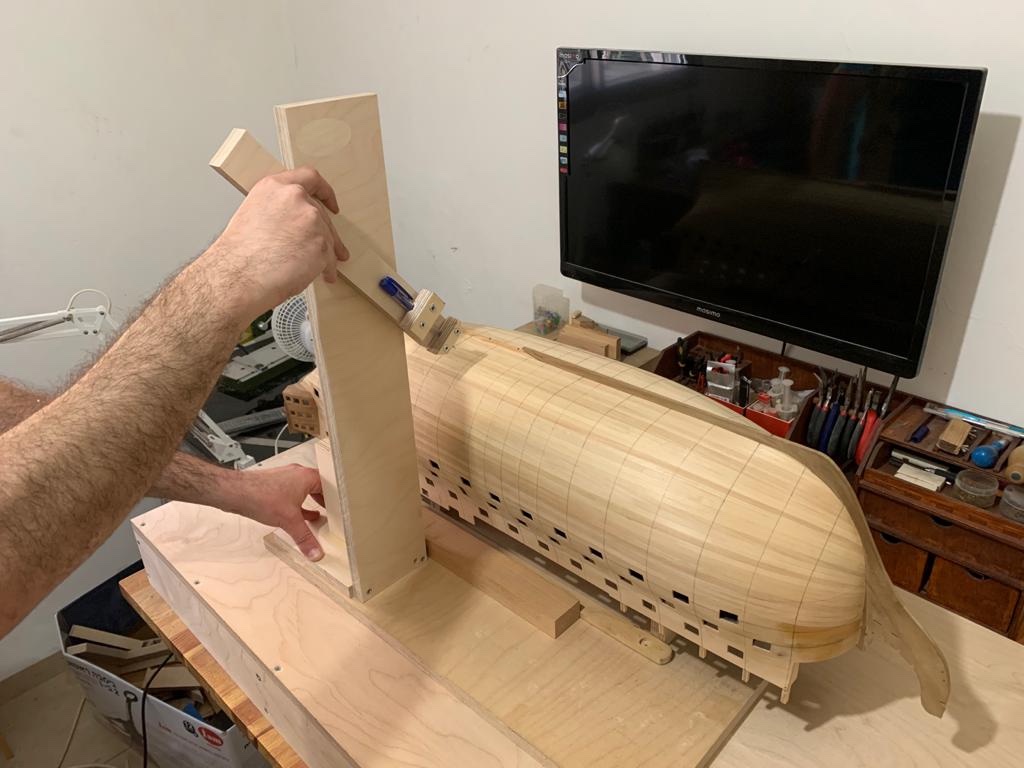
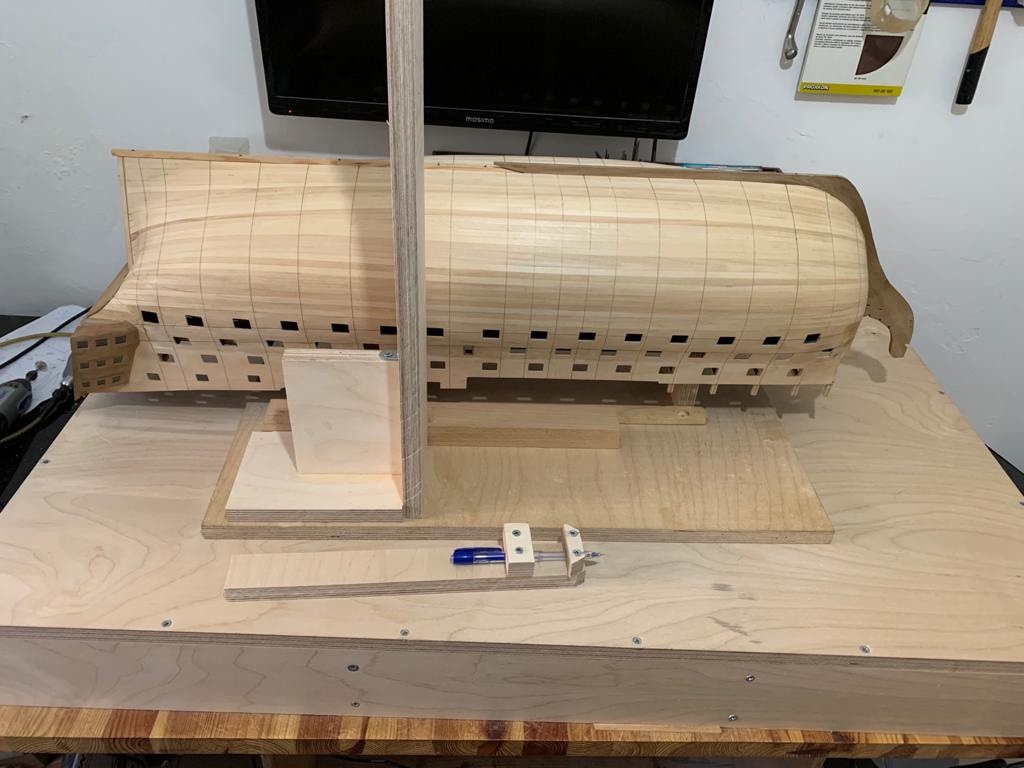
Here is a little update , very usefully jig for marking vertical lines on the ship i hope it will help other builders so, here i have marked the bulkheads lines on the first plank and also the pattern of the butt shift system on the middle of the ship .. but i will talk about this method later .. here is some pictures : Best regards, Michael.
-
What a beautiful process Robert ! you did a perfect job as always ! Best regards, Michael.
- 527 replies
-
- caldercraft
- victory
-
(and 1 more)
Tagged with:
-
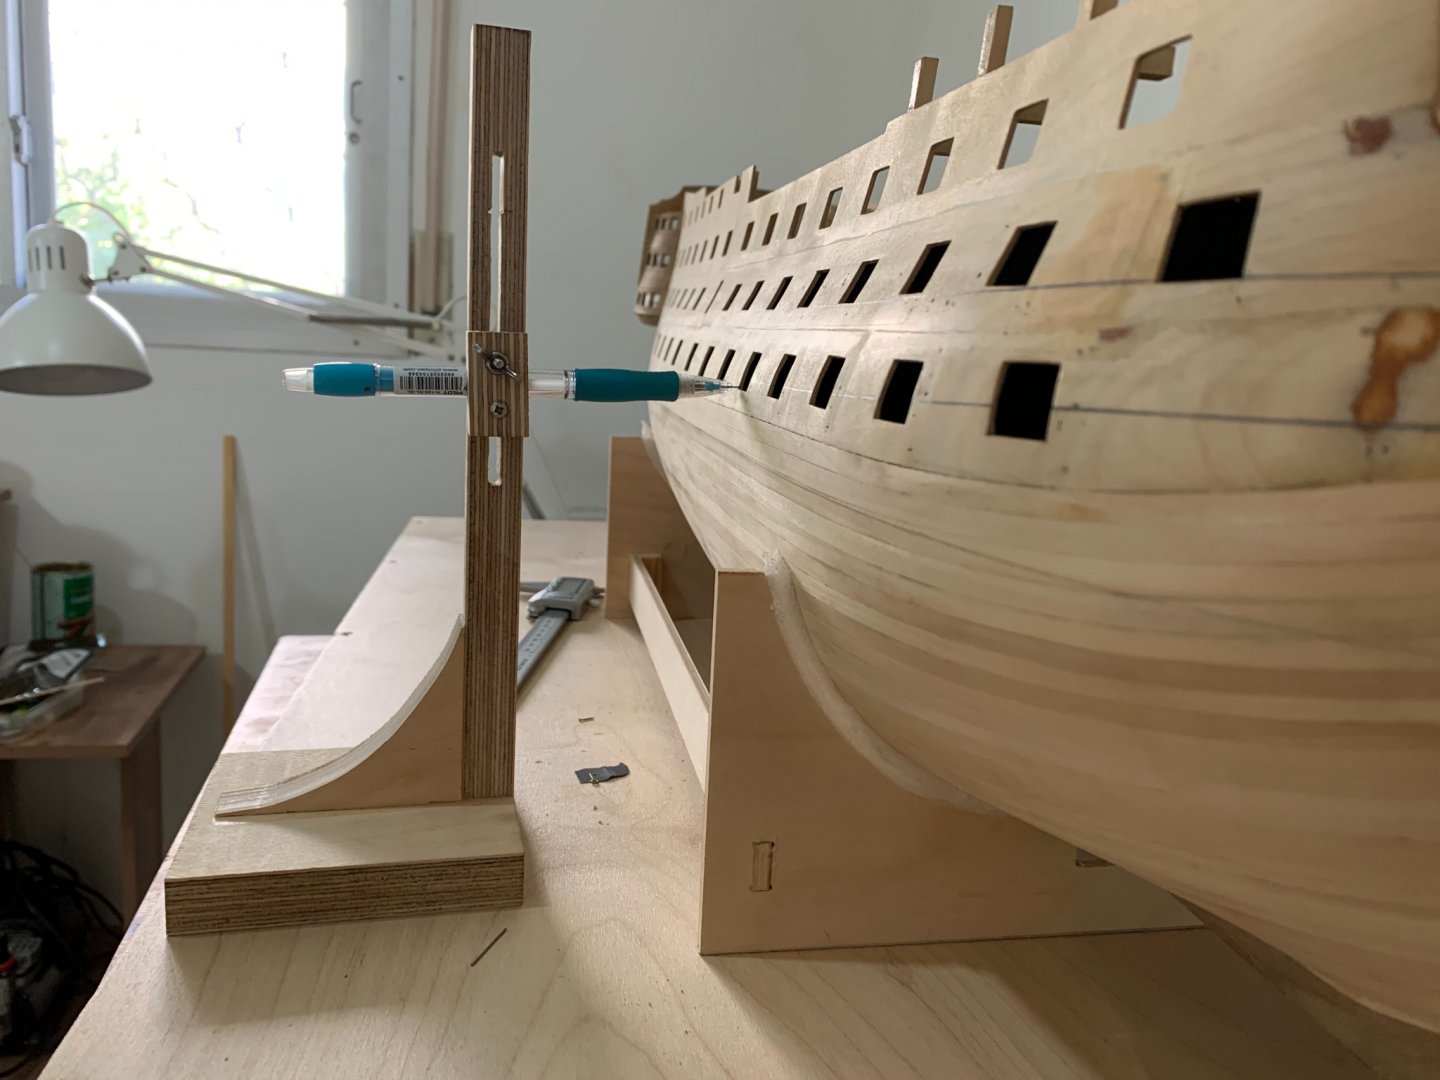
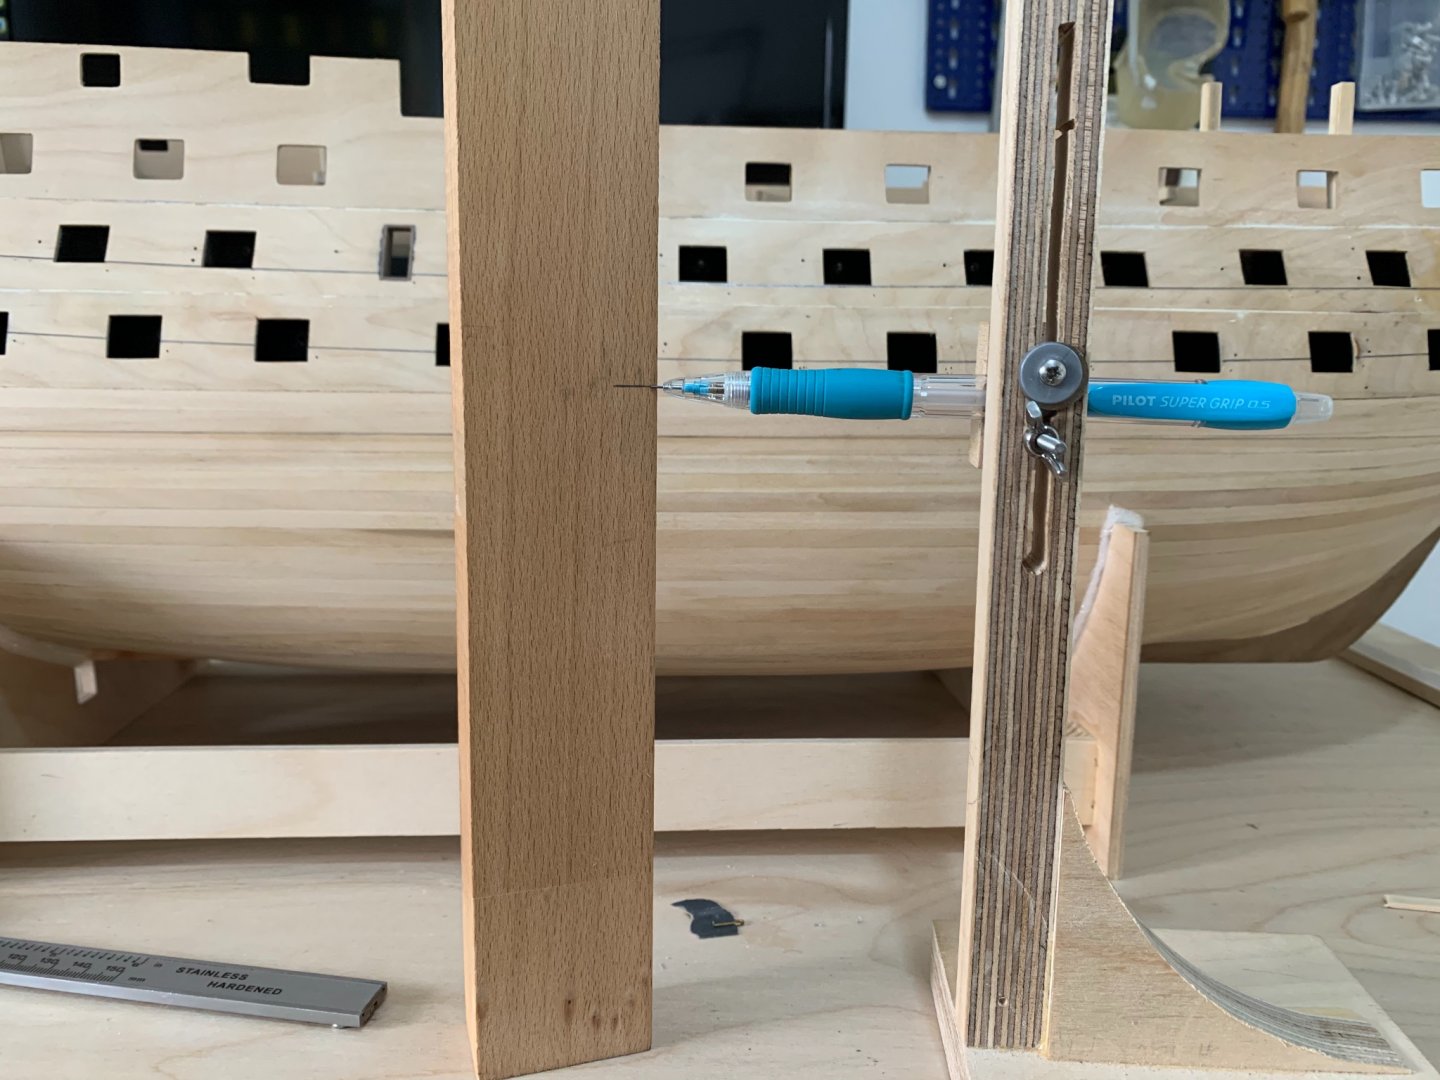
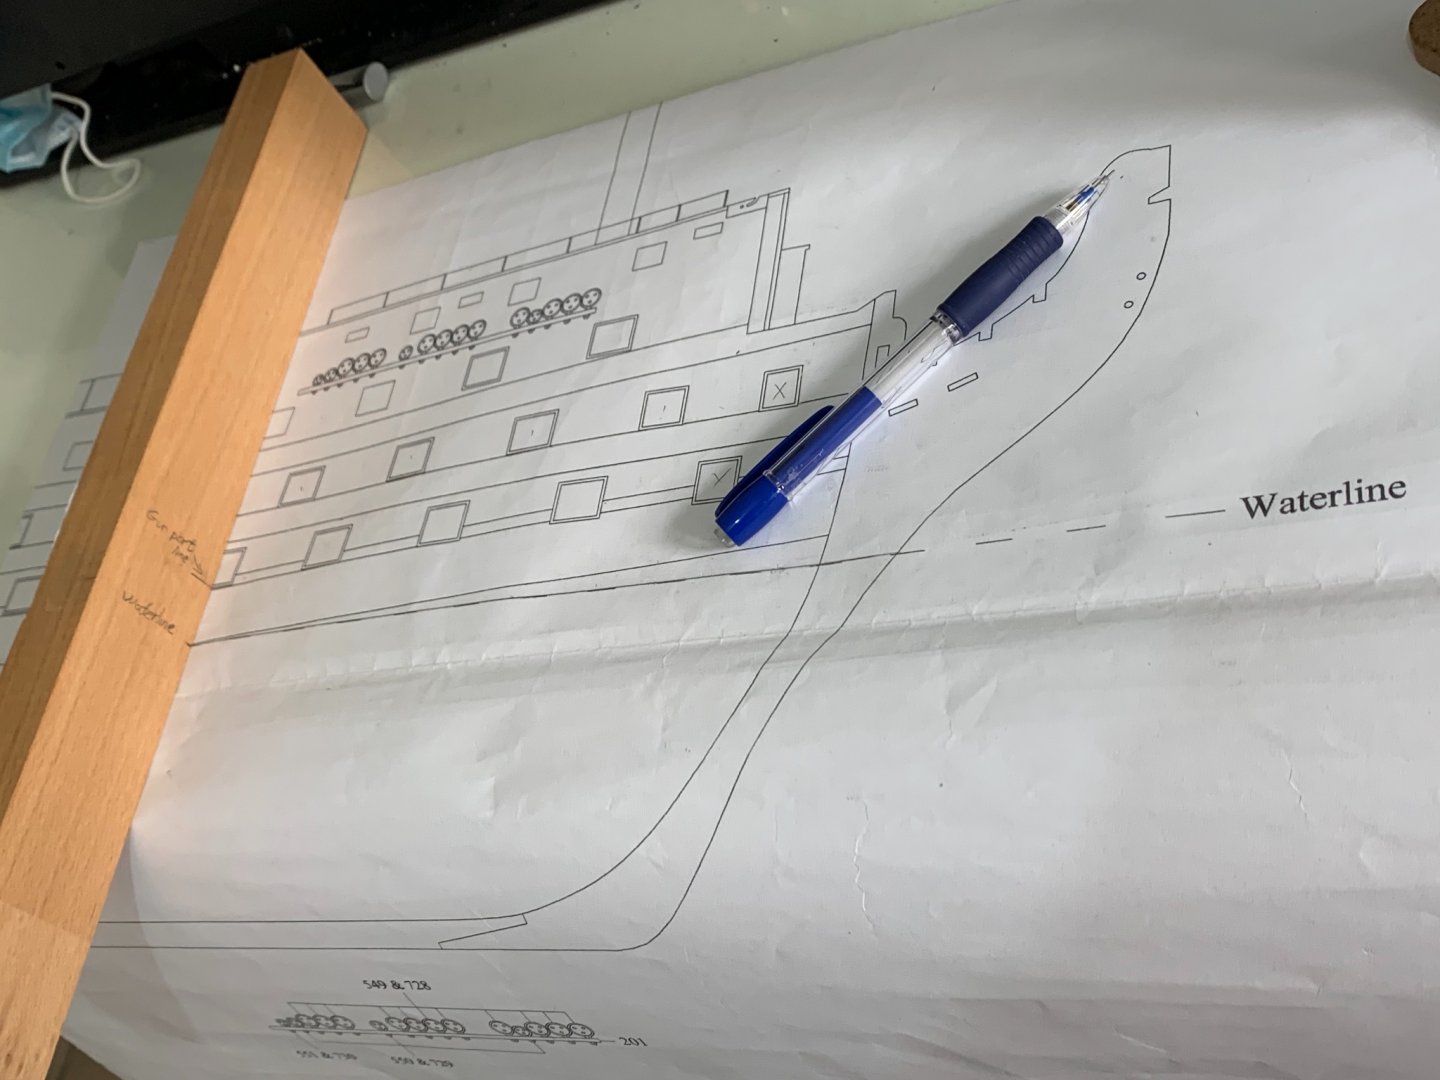
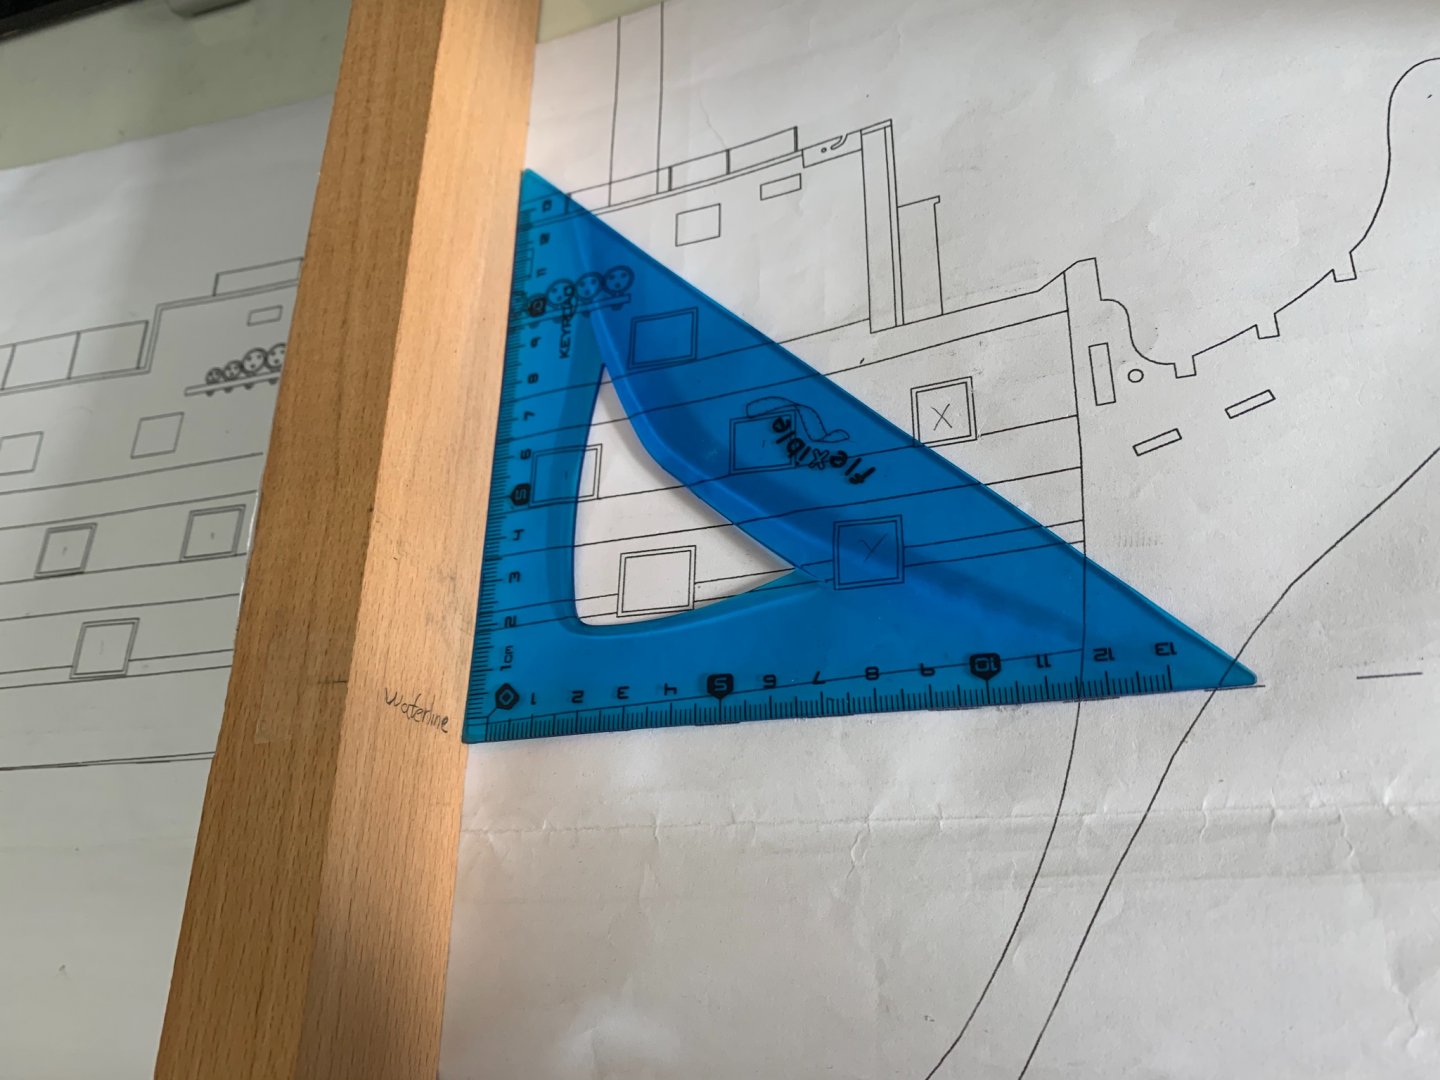
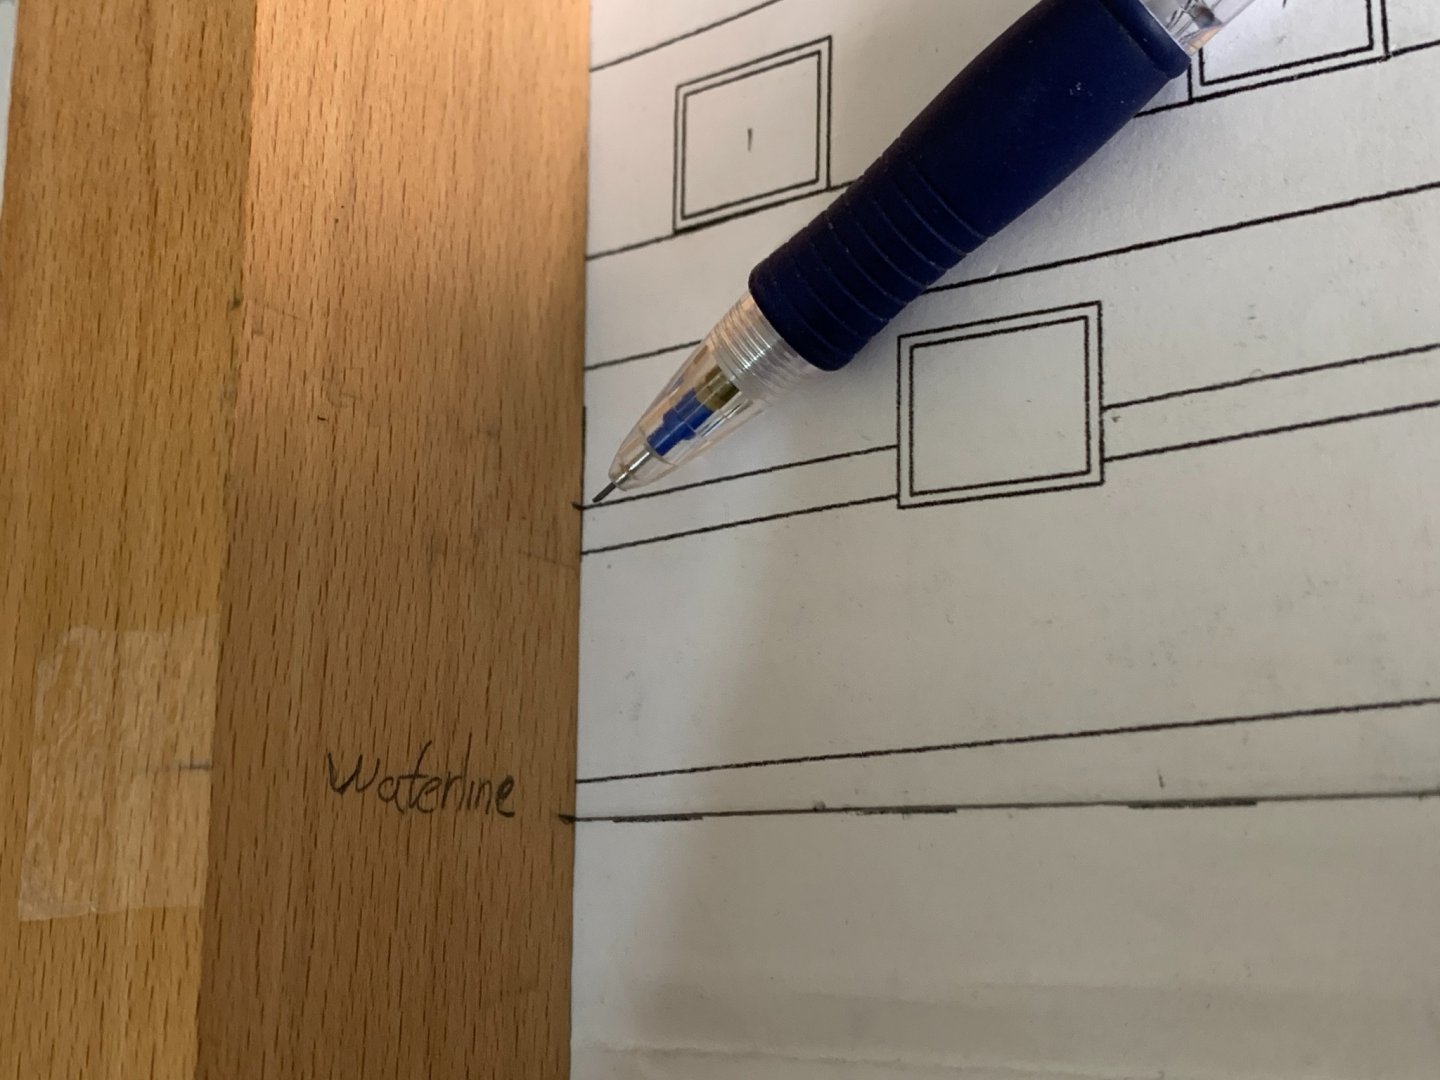
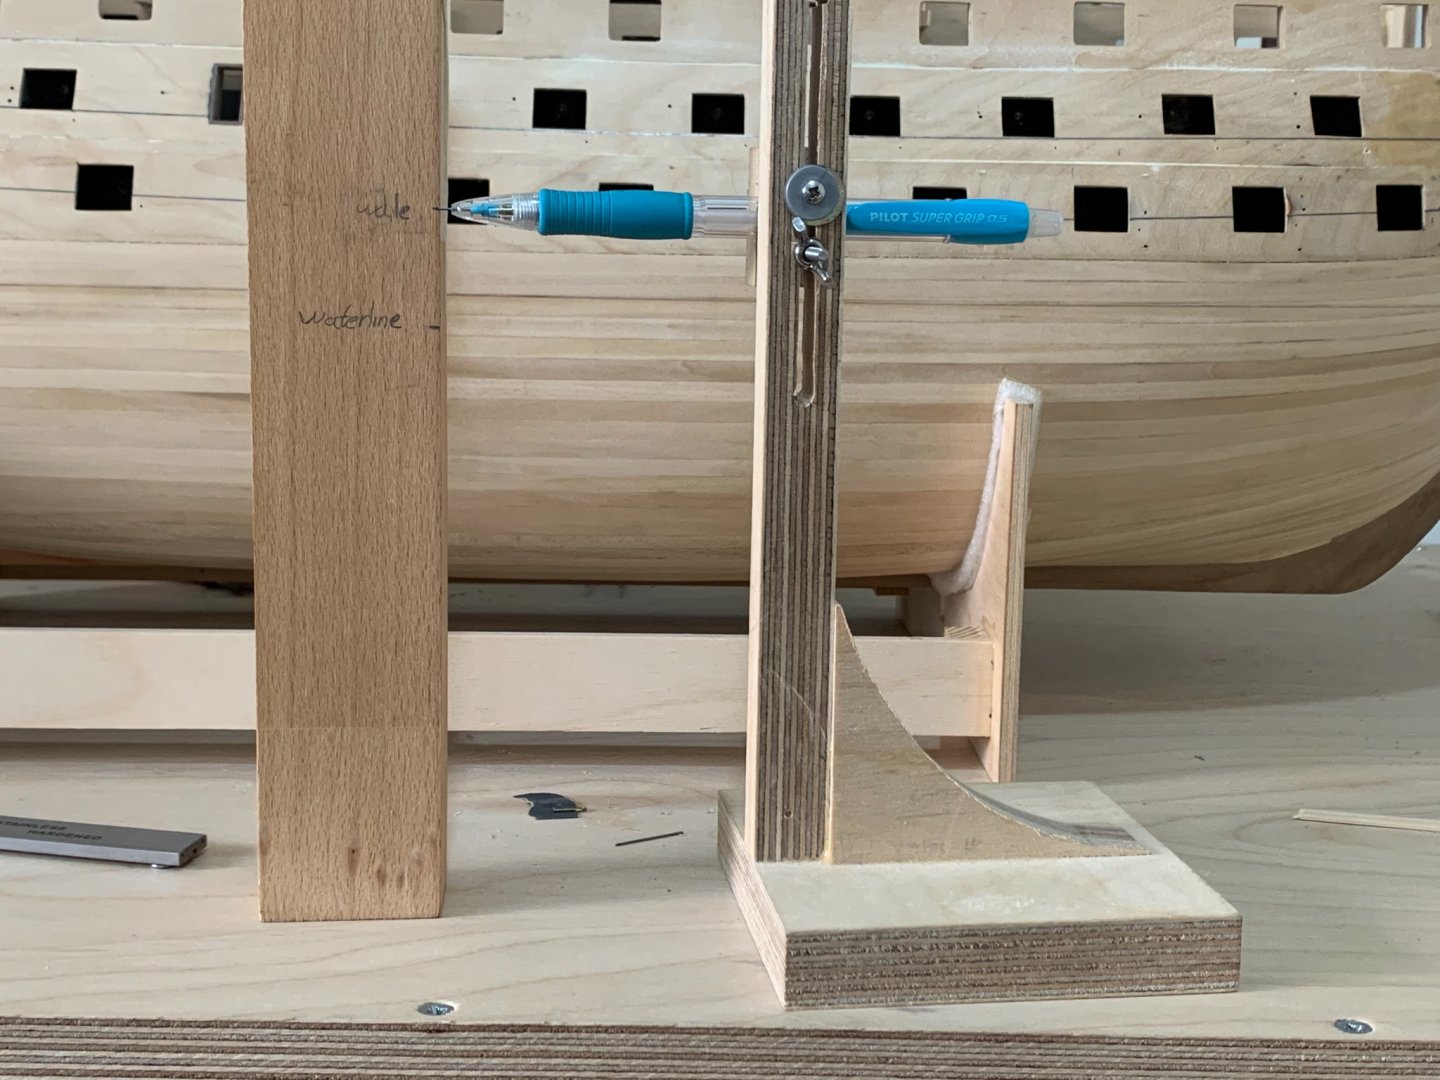
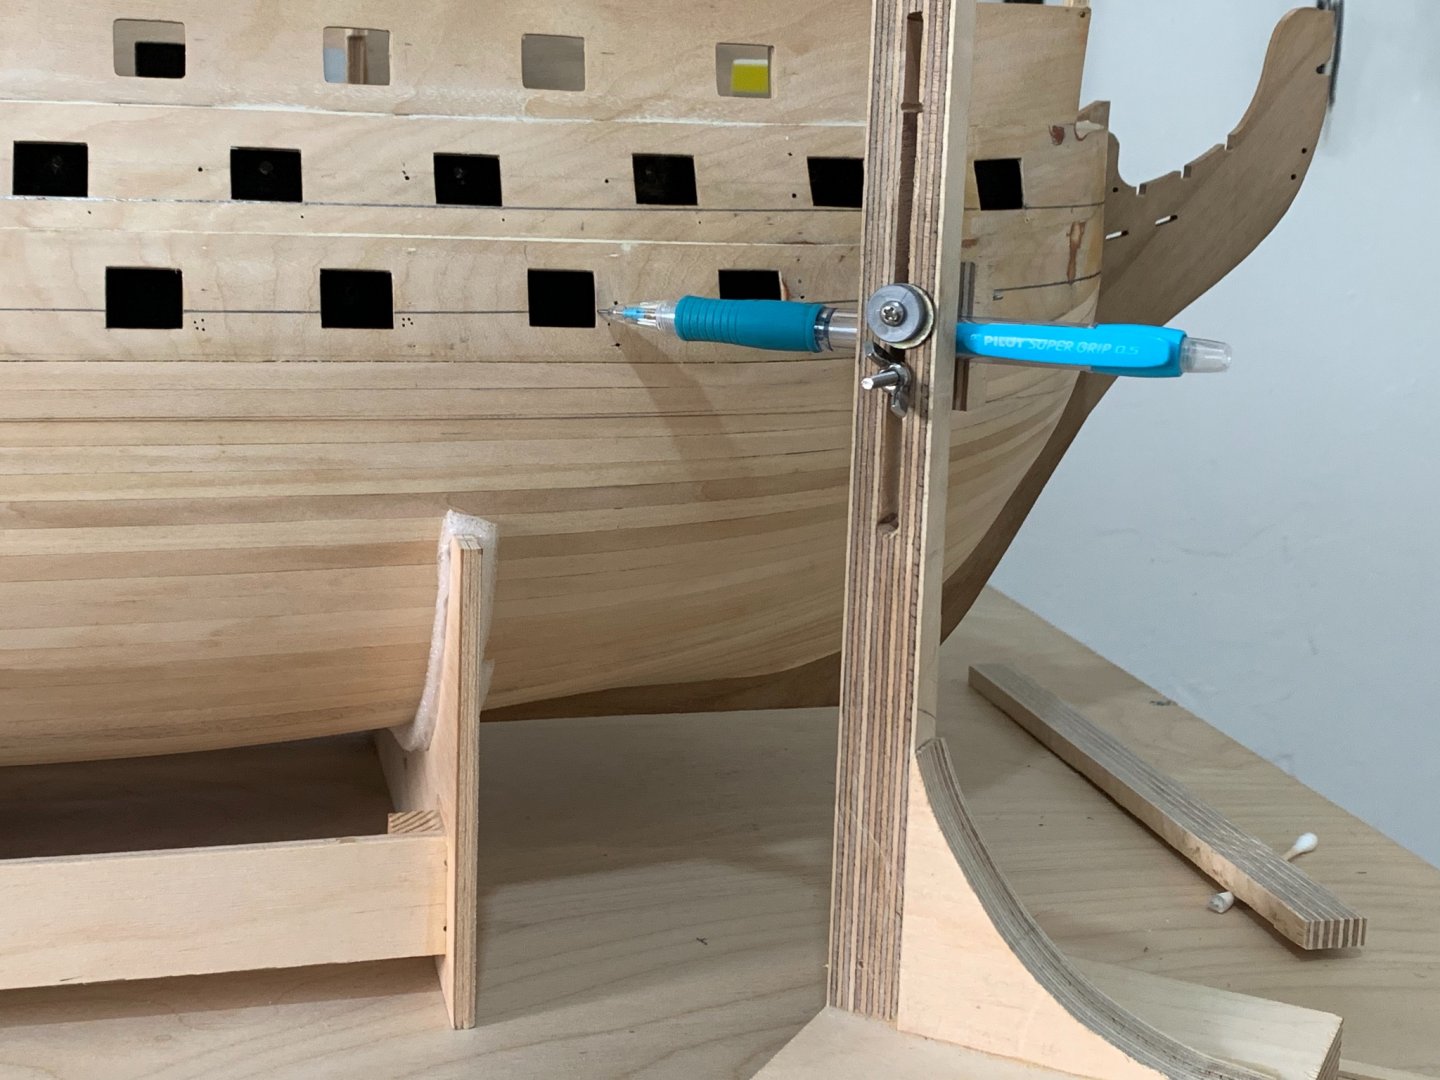
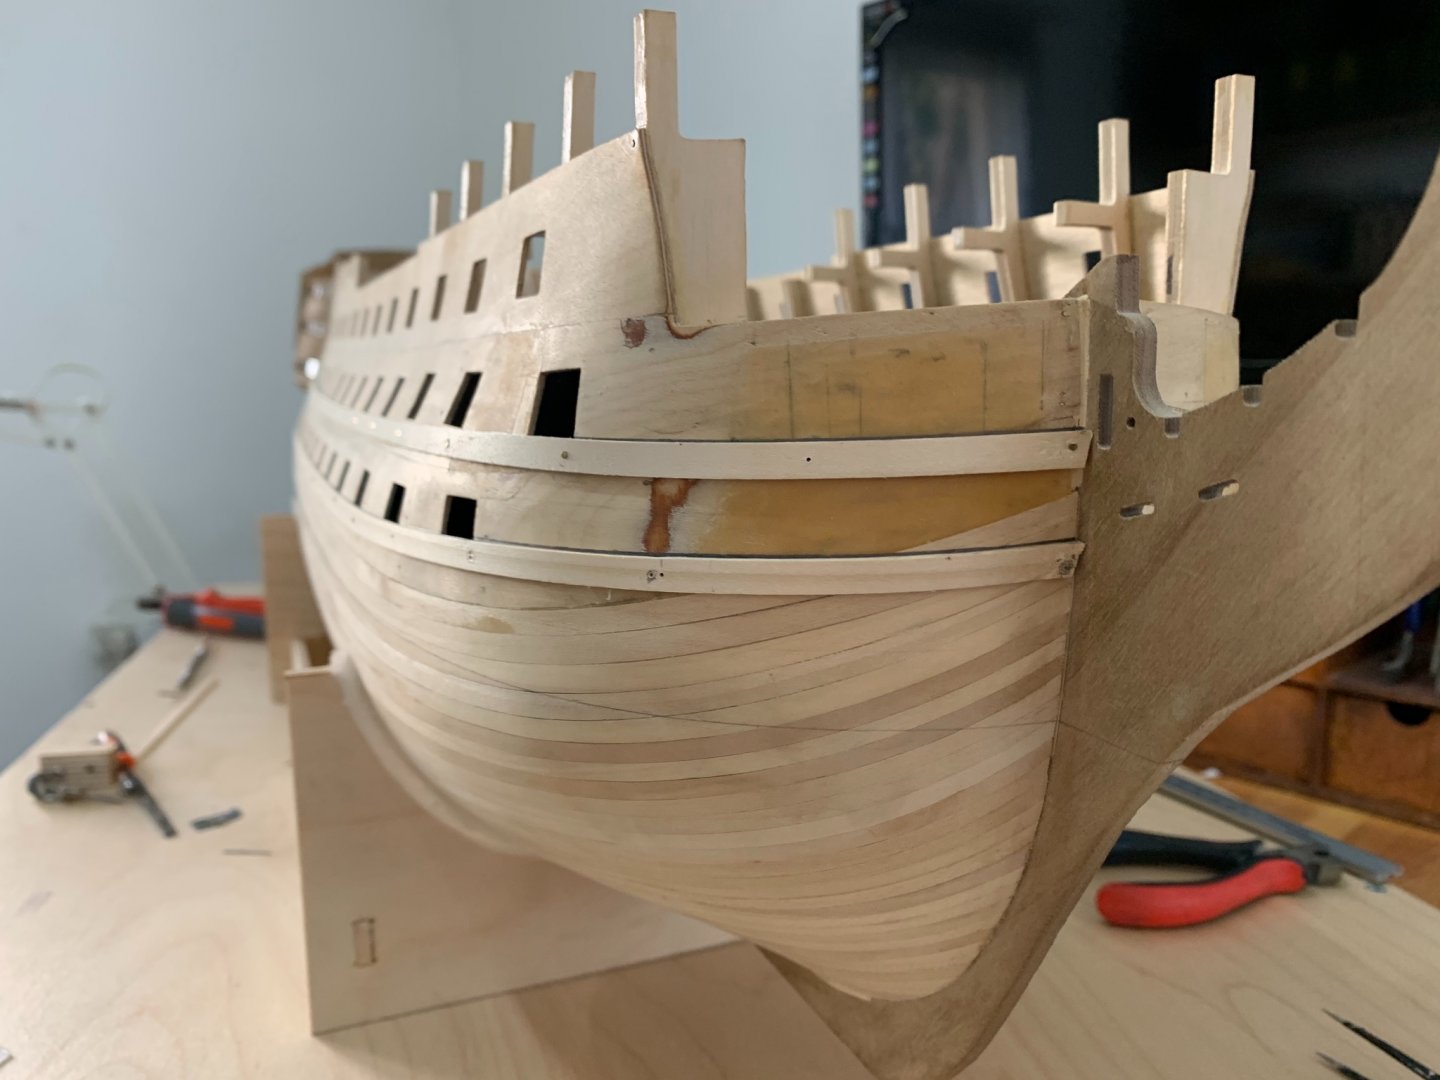
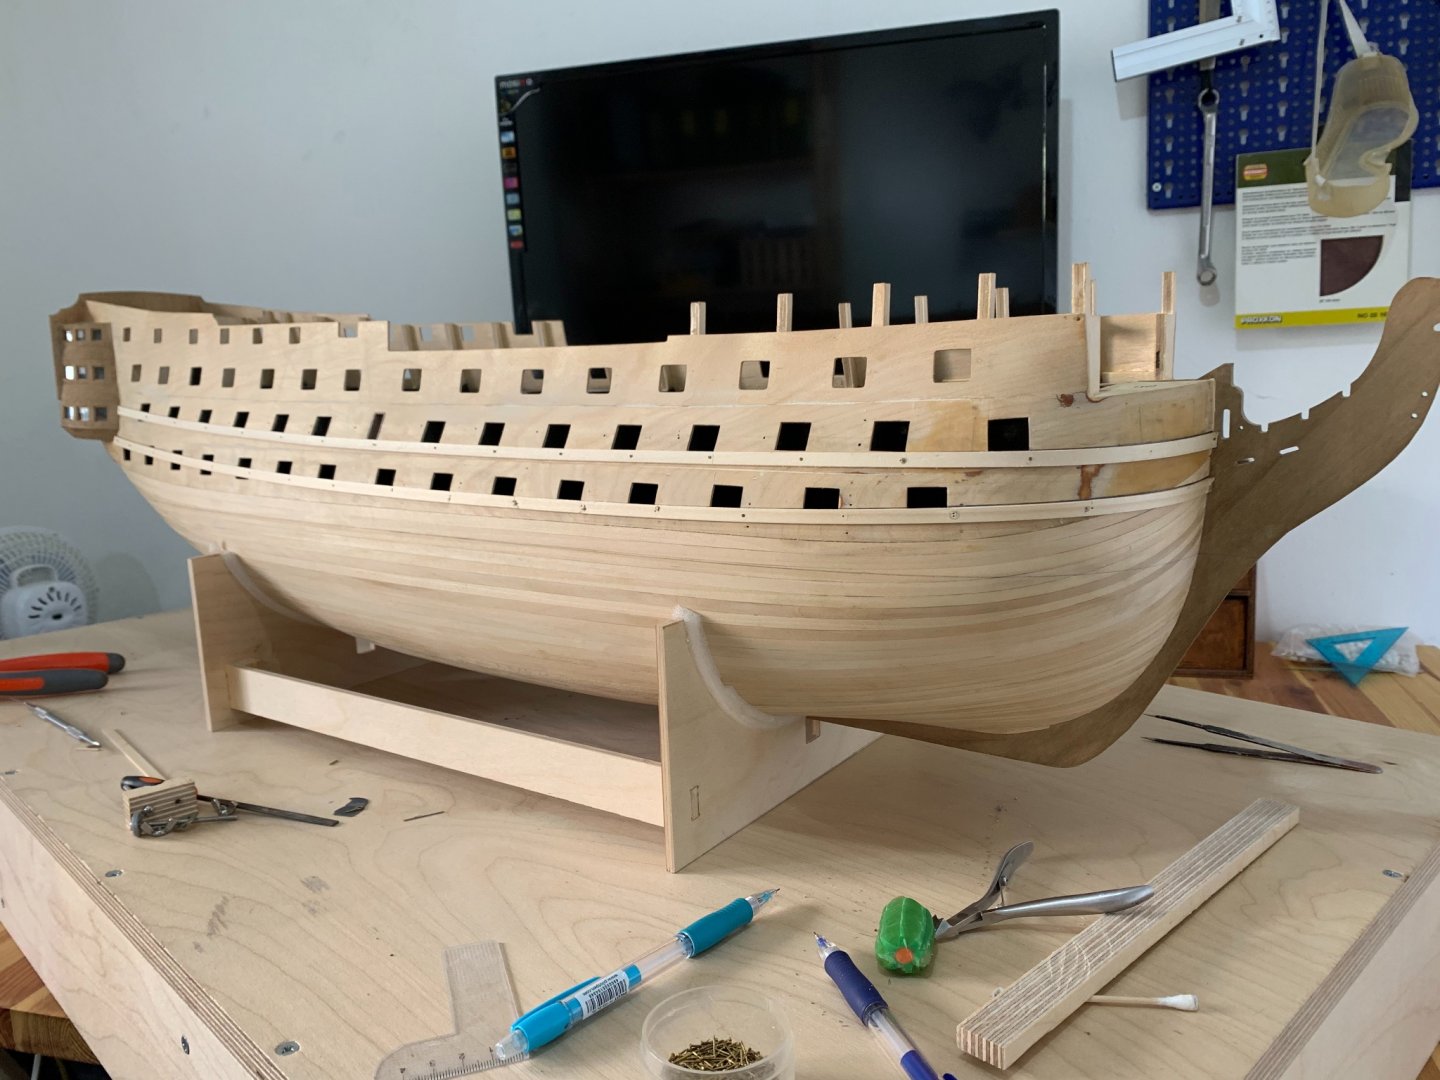
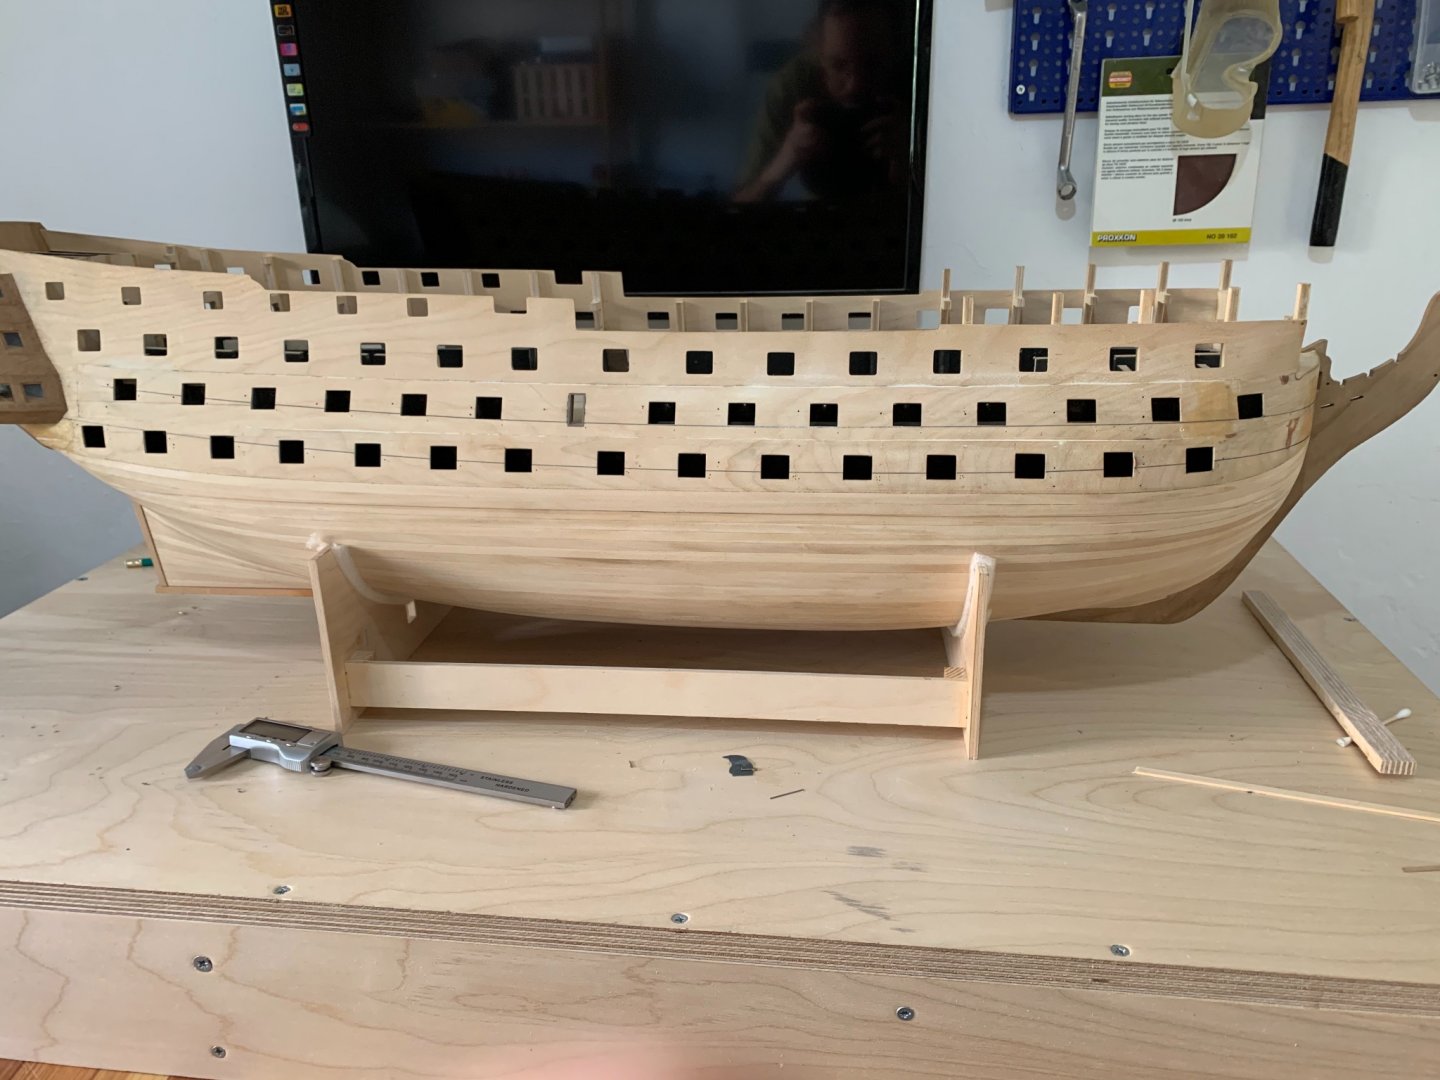
Guid for transferring lines from plans to the model After a lot of thinking I have found the way to transfer the Wales lines from the plans to the ship you can use the same method for other things you need to copy from the plans in a perfect and exact way So I’m happy to share my guid with you and hop it will help you ! 1. First you have to put the ship even on the desk or if it on a stand make sure the ship has the same distance from the table to the keelson at the bow and at the stern !!!! 2. Also make sure the ship is even left and right ! after the ship it’s even left and right also bow and stern are even you can start working (take the tame on this stage it’s very important to have the ship even !) 3. now you need to take a reference from the ship to a straight timber (in my case I mark the lower edge of one gunport but you can take reference from other things that you have already on the ship and also on the plan ) 4. Now you need to lay down this timber on the plans on the same gunport edge (on the pictures it’s not on the same gunport because I just took pictures to show you the example ... but it must be on the same gunport when you have it on the exact edge line , mark the water line on the timber : After you have the waterline marked on the timber just erase the gunport edge line from your timber now when you have the waterline marked on your timber you can start taking a perfect references from the plan! 5.now just put the waterline you have marked on your timbre on the waterline of the plan under the mark you want to transfer and use 90 degrees ruler between the timber and the waterline to be sure it’s straight 6. Simply mark the line you want to transfer on the timber in my case it’s the line of the wale: 7. When you have it marked on the timber you need to put the timber again on your table and adjust your pencil holder to be exact on the same line 8. Now after adjusting the pencil holder move it and carefully mark the dot on the model do the same for all the dots you need then put a temporary plank on the ship and connect all the dots by runing a pencil along the plank to get a beautiful line as the plans : here is pictures after taking the planks out :
About us
Modelshipworld - Advancing Ship Modeling through Research
SSL Secured
Your security is important for us so this Website is SSL-Secured
NRG Mailing Address
Nautical Research Guild
237 South Lincoln Street
Westmont IL, 60559-1917
Model Ship World ® and the MSW logo are Registered Trademarks, and belong to the Nautical Research Guild (United States Patent and Trademark Office: No. 6,929,264 & No. 6,929,274, registered Dec. 20, 2022)
Helpful Links
About the NRG
If you enjoy building ship models that are historically accurate as well as beautiful, then The Nautical Research Guild (NRG) is just right for you.
The Guild is a non-profit educational organization whose mission is to “Advance Ship Modeling Through Research”. We provide support to our members in their efforts to raise the quality of their model ships.
The Nautical Research Guild has published our world-renowned quarterly magazine, The Nautical Research Journal, since 1955. The pages of the Journal are full of articles by accomplished ship modelers who show you how they create those exquisite details on their models, and by maritime historians who show you the correct details to build. The Journal is available in both print and digital editions. Go to the NRG web site (www.thenrg.org) to download a complimentary digital copy of the Journal. The NRG also publishes plan sets, books and compilations of back issues of the Journal and the former Ships in Scale and Model Ship Builder magazines.

