-
Posts
7,985 -
Joined
-
Last visited
Content Type
Profiles
Forums
Gallery
Events
Everything posted by Louie da fly
-
That's covered in Woodrat's build - first page or two as I recall. Steven
- 72 replies
-
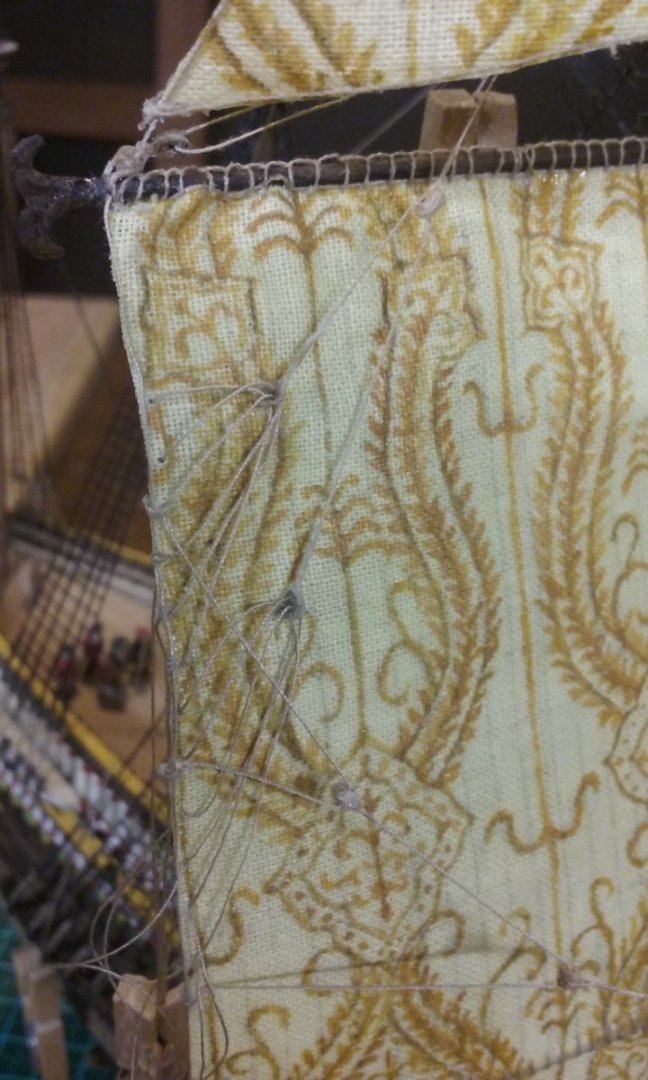
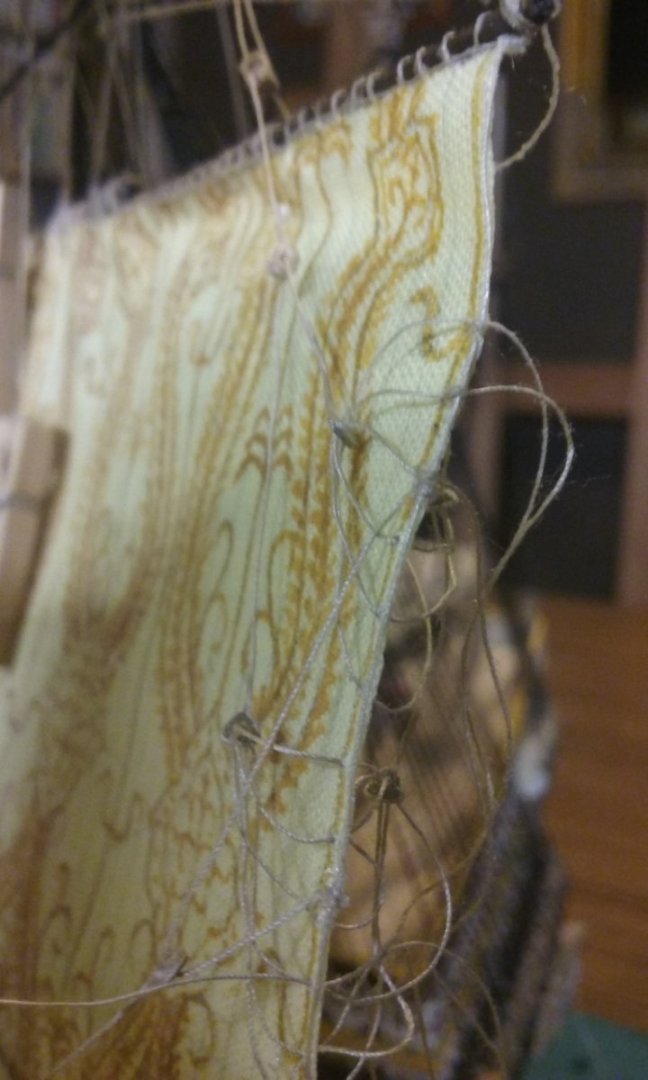
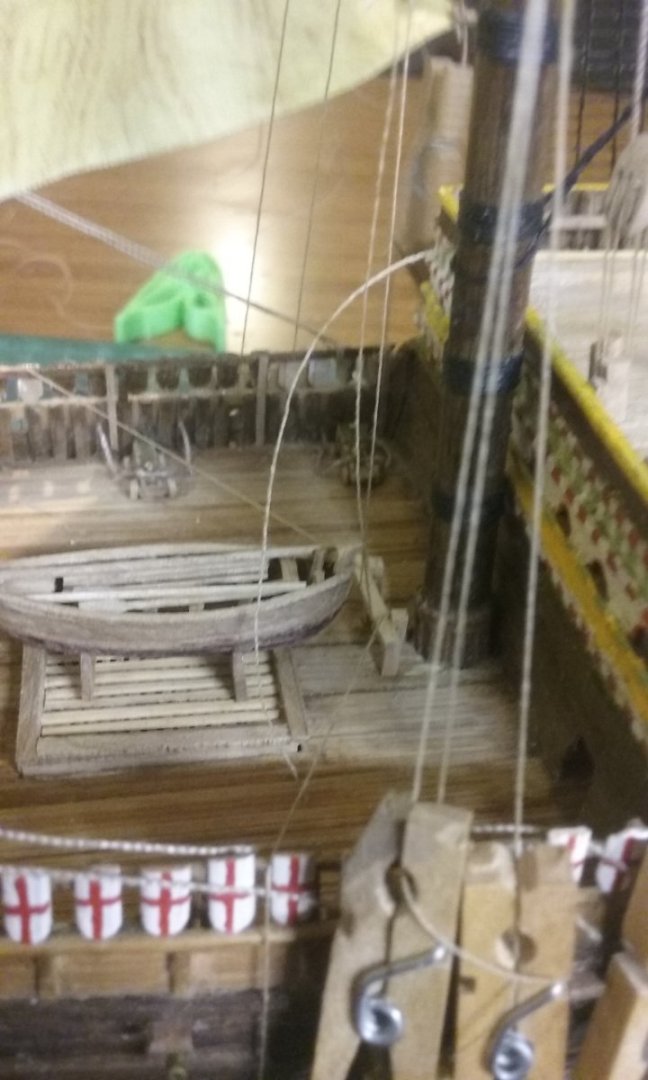
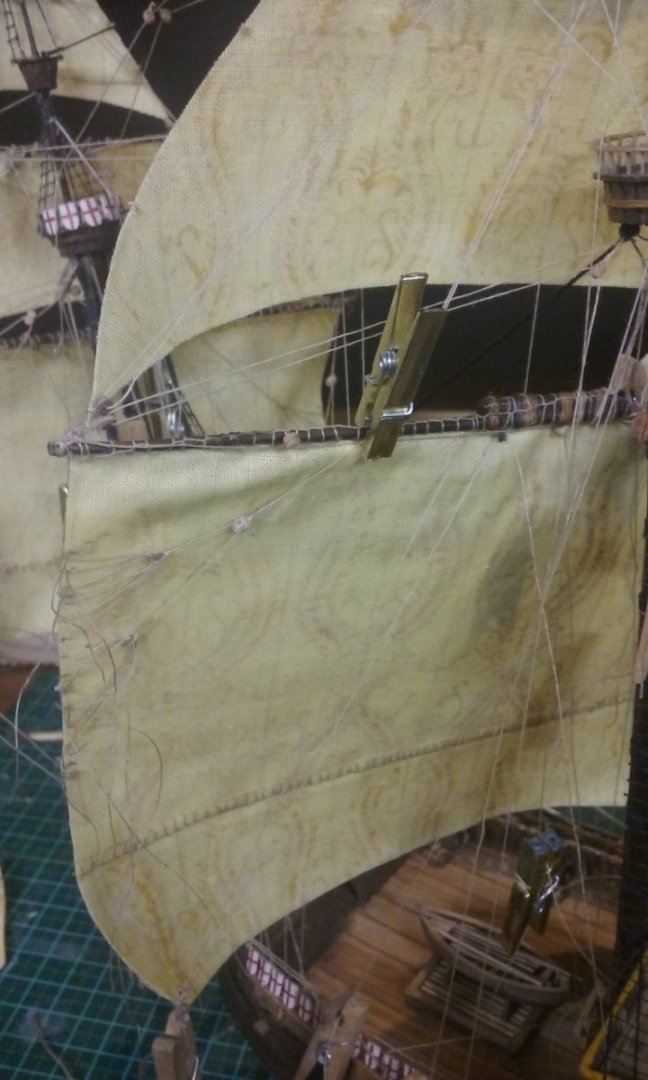
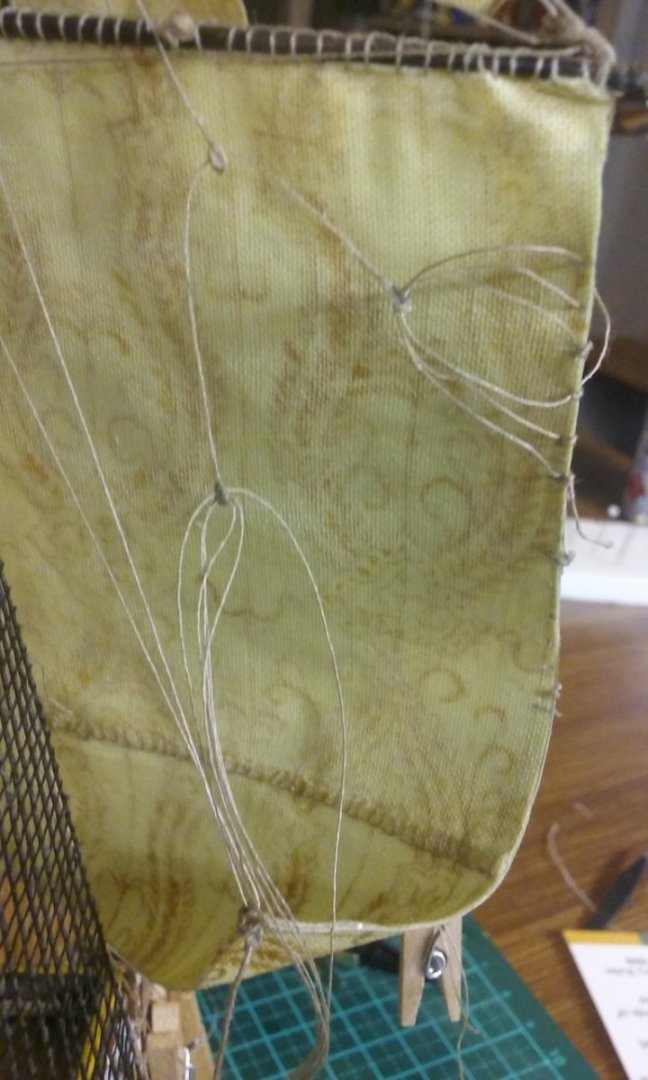
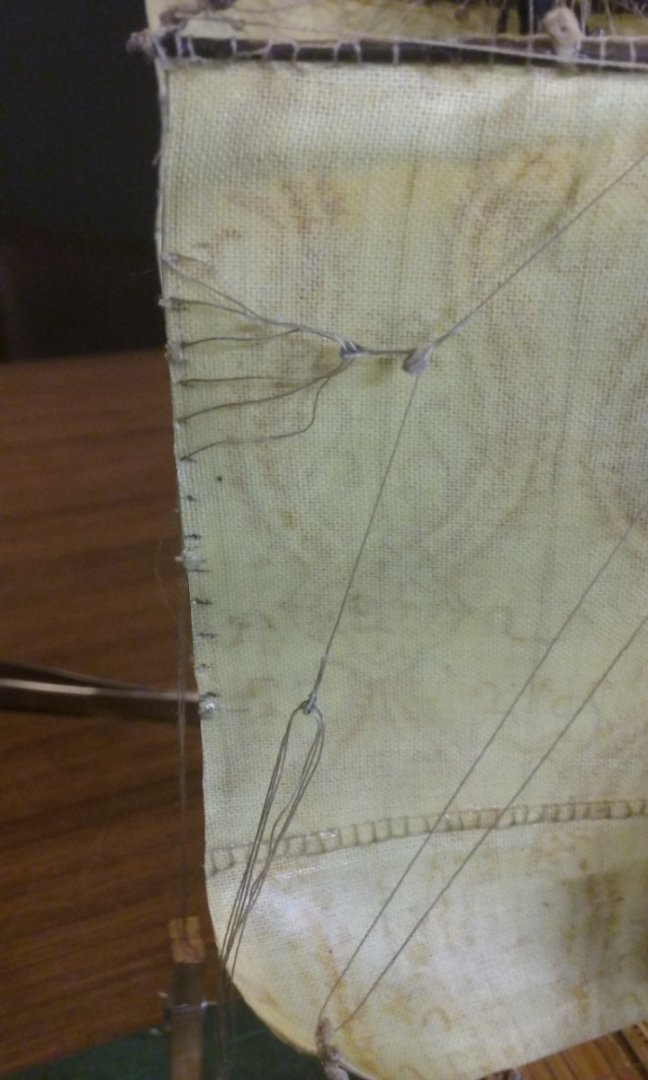
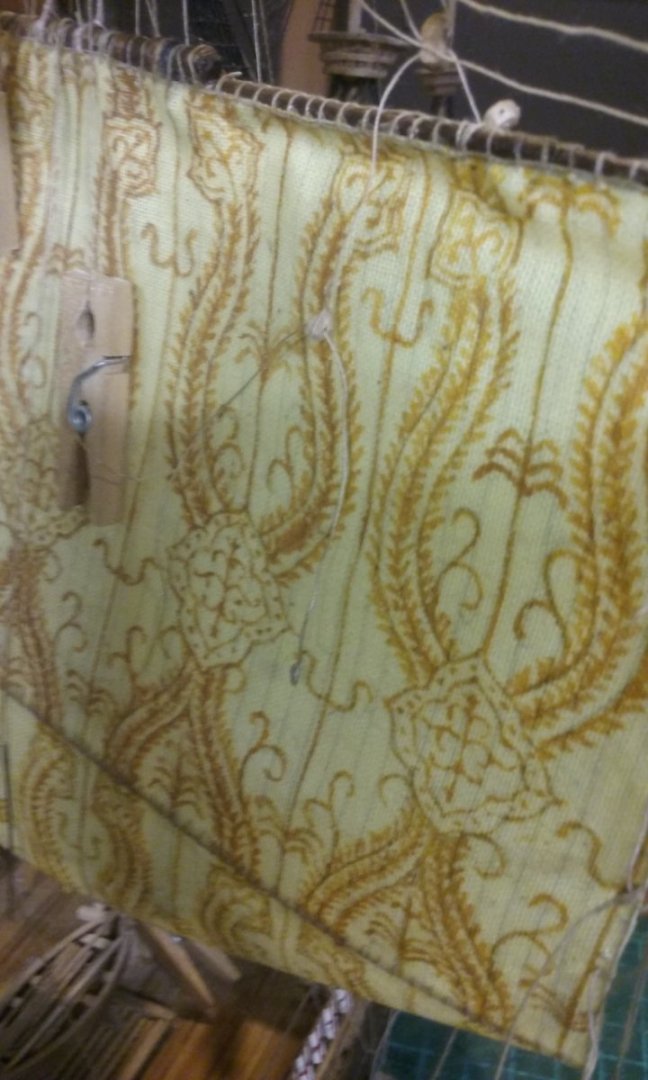
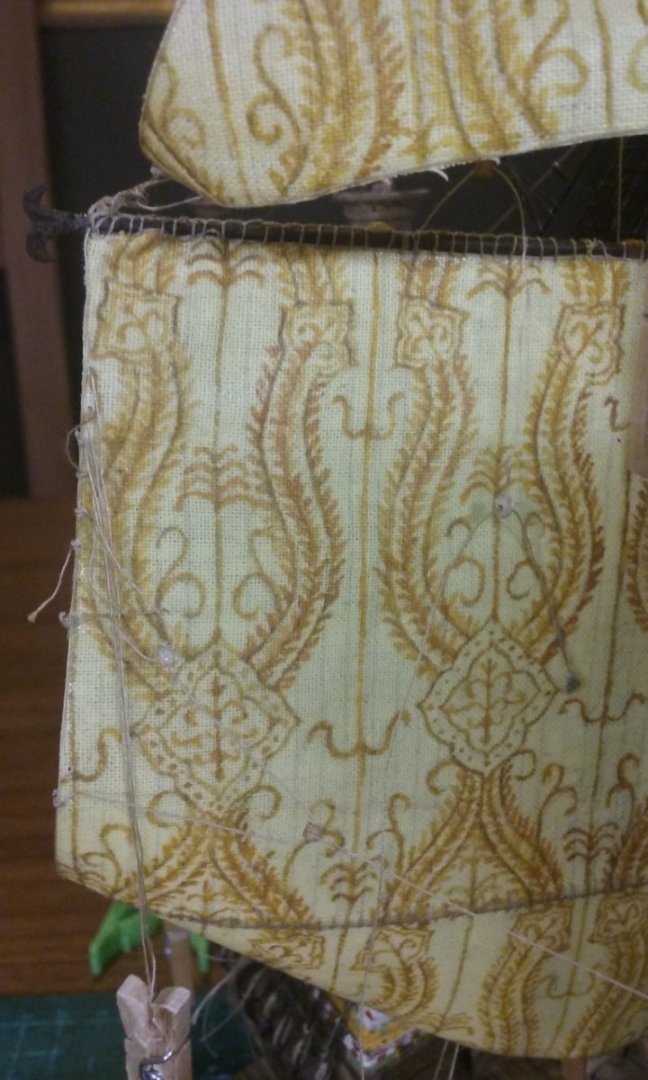
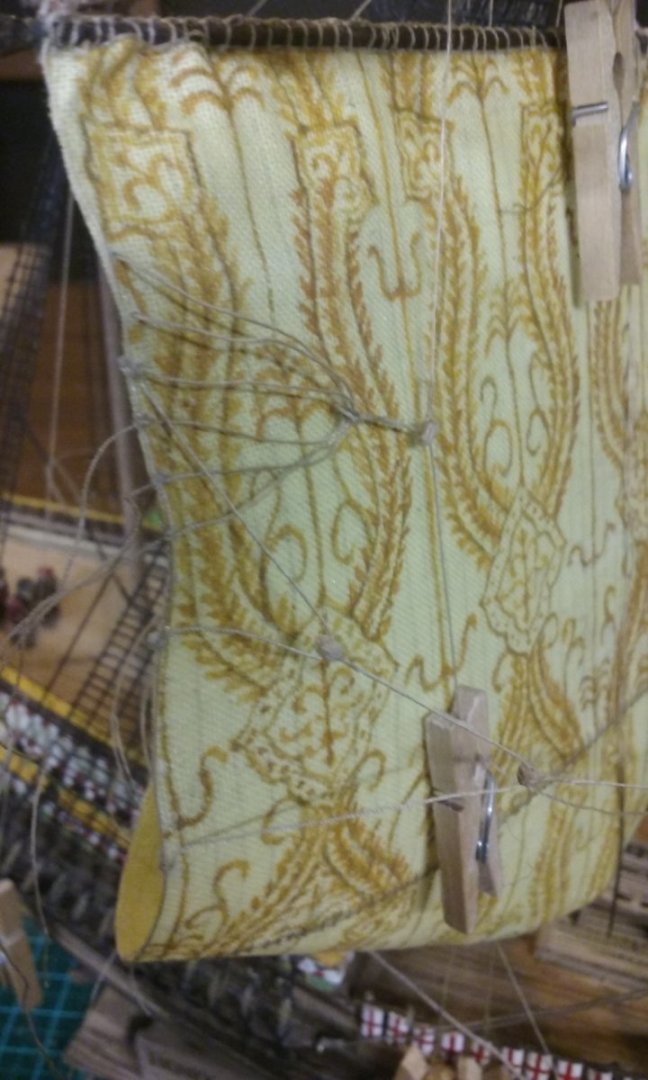
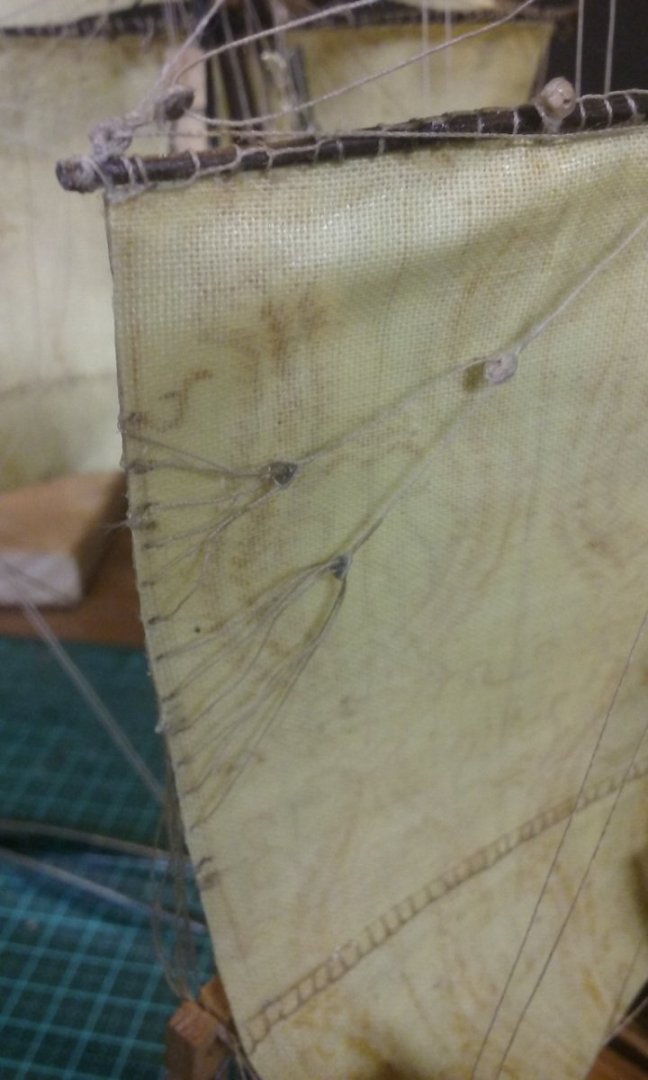
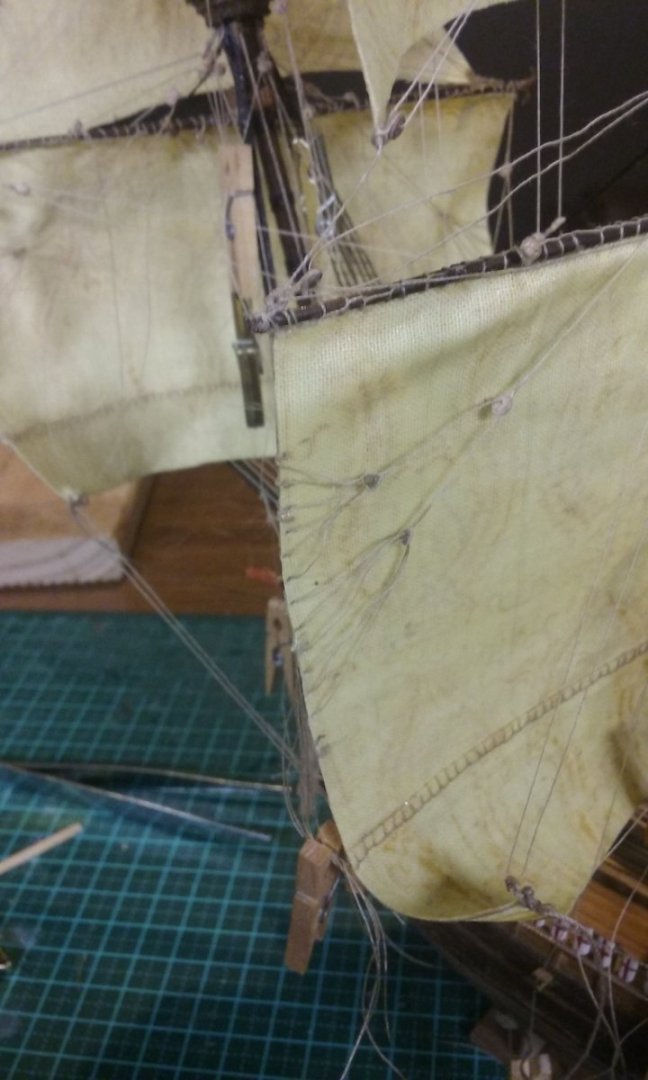
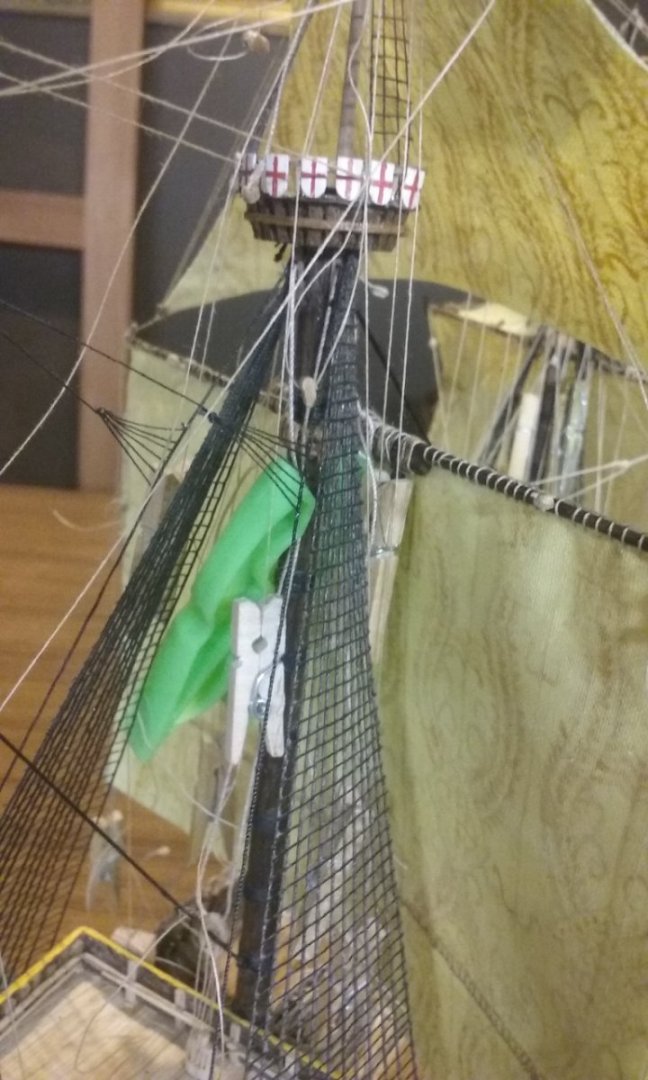
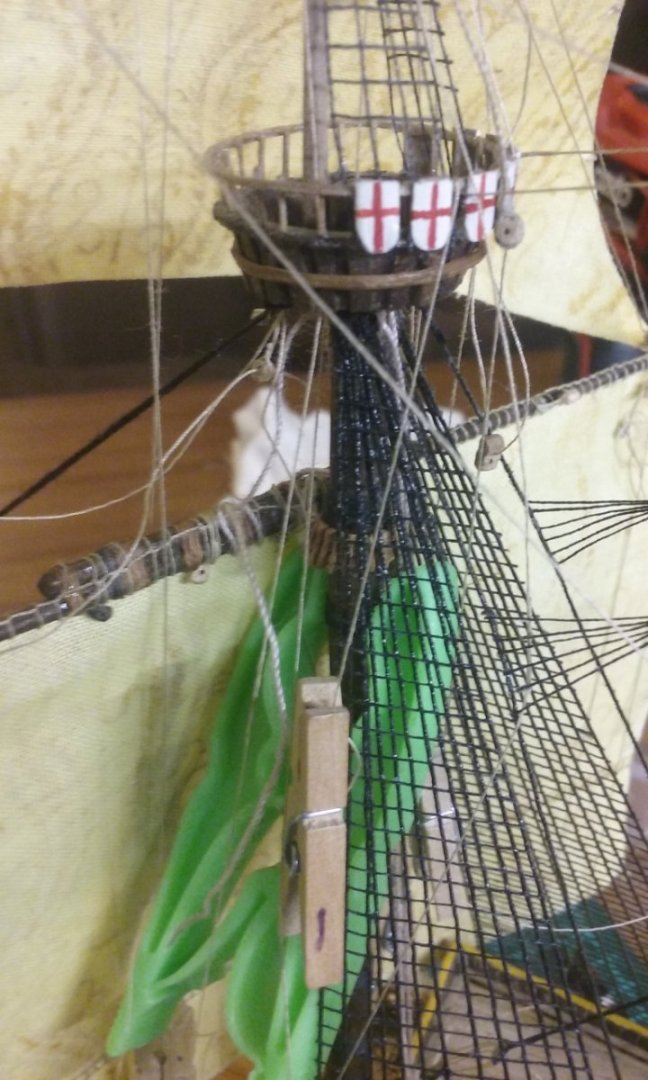
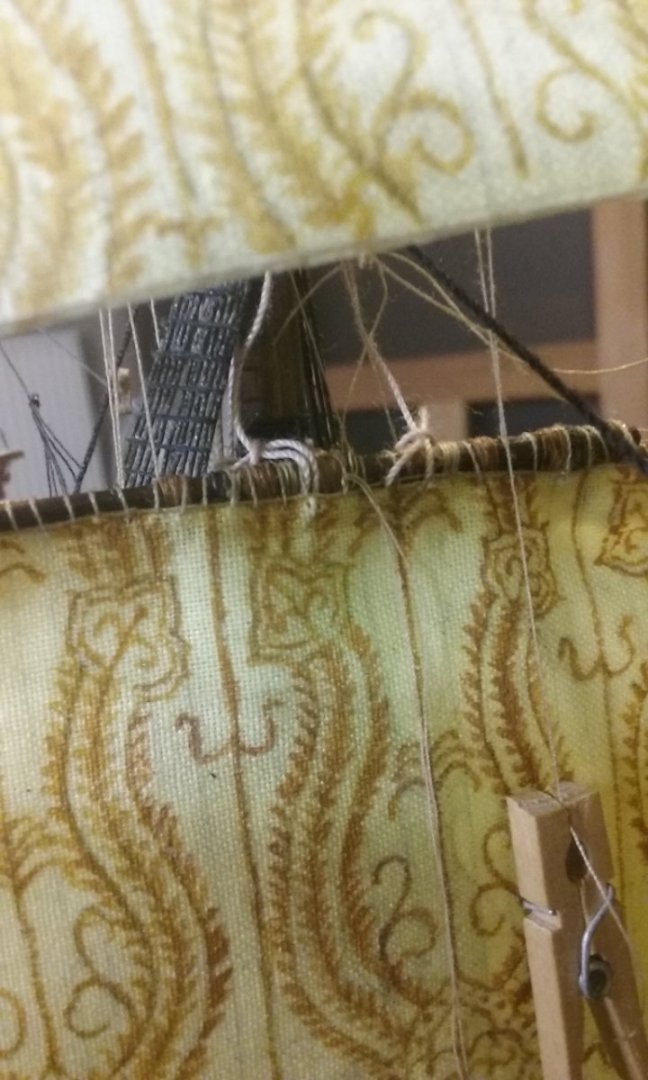
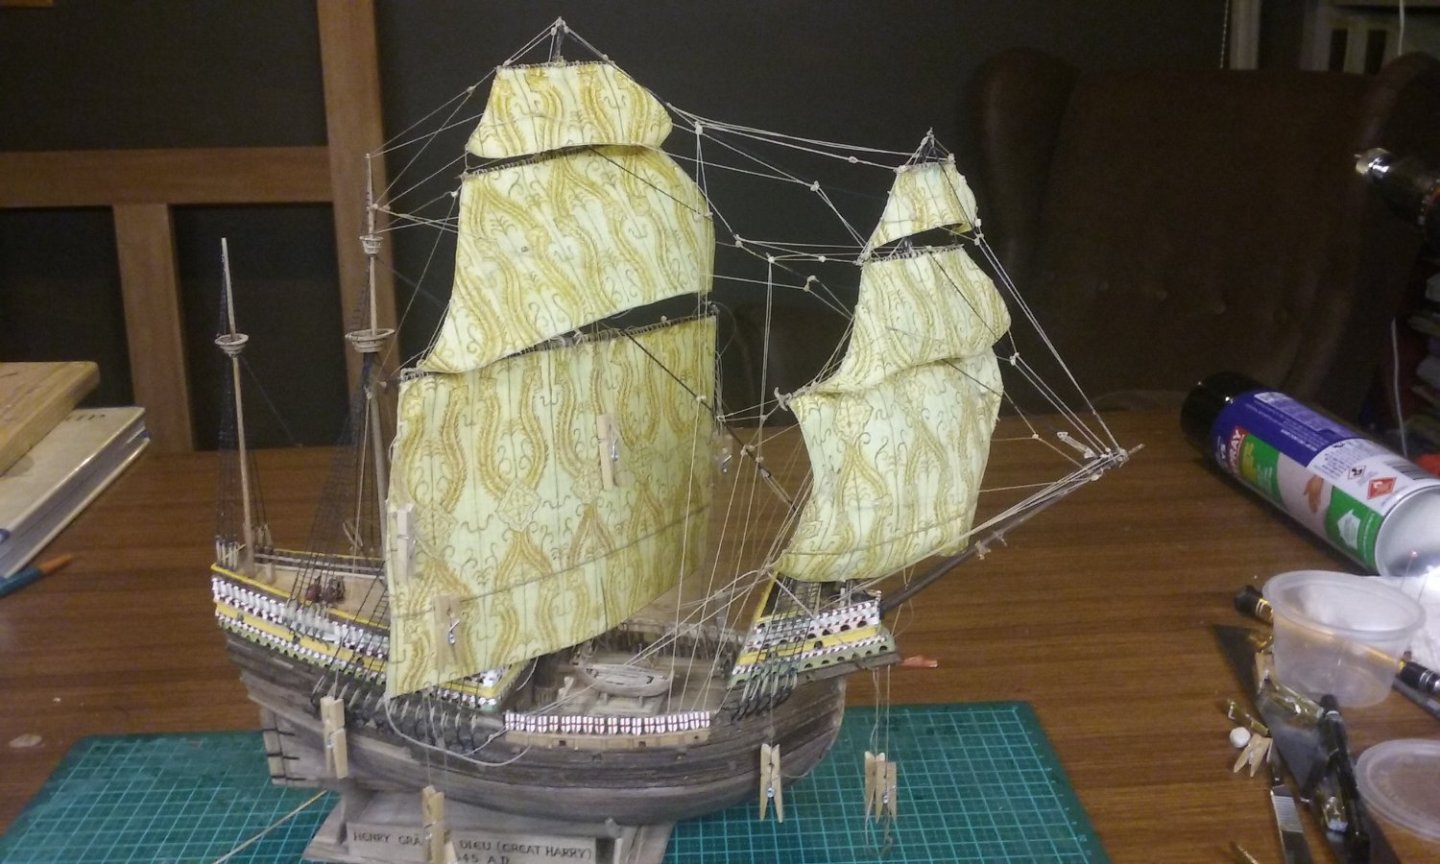
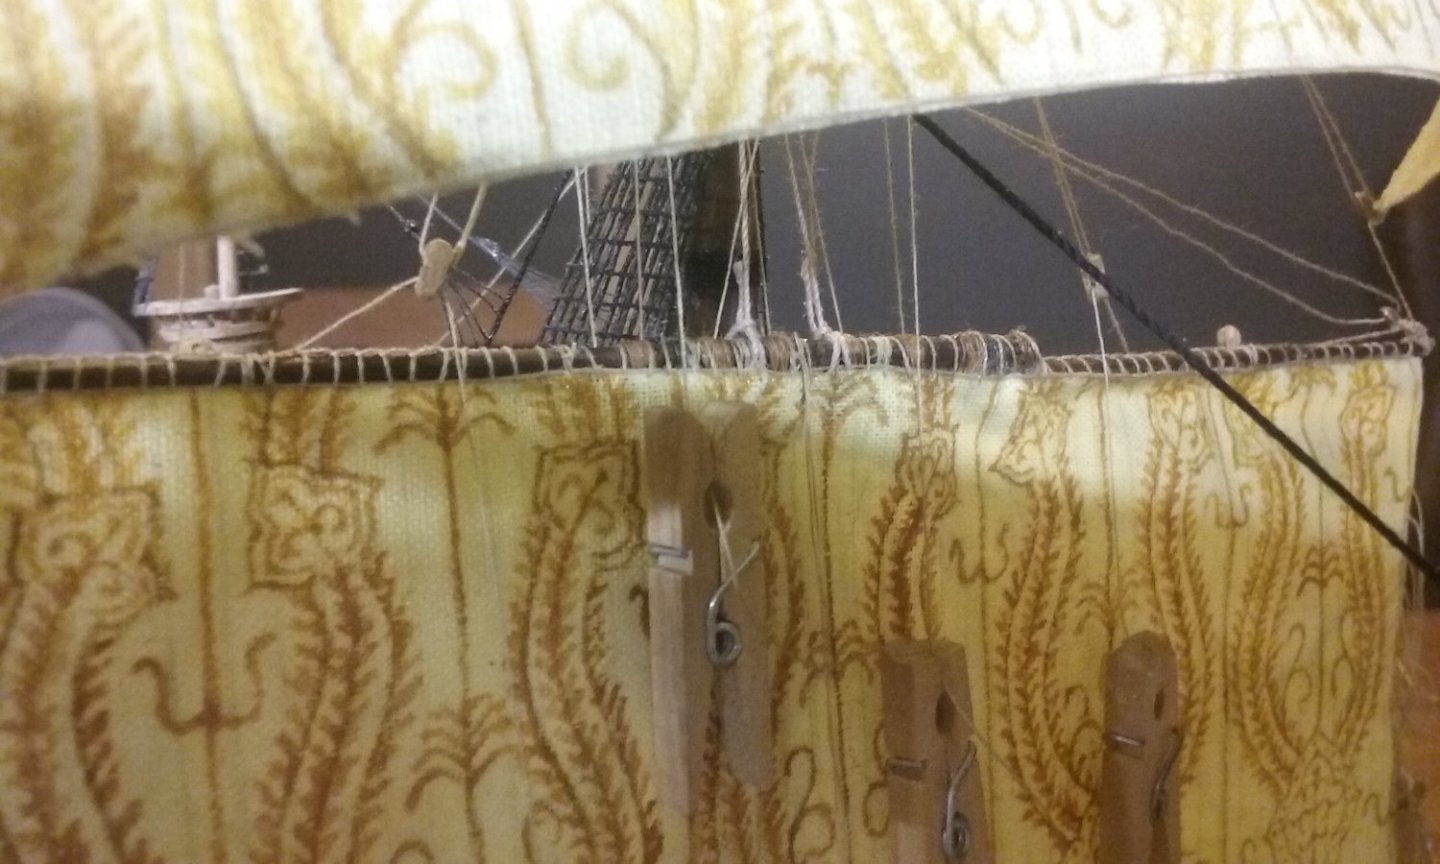
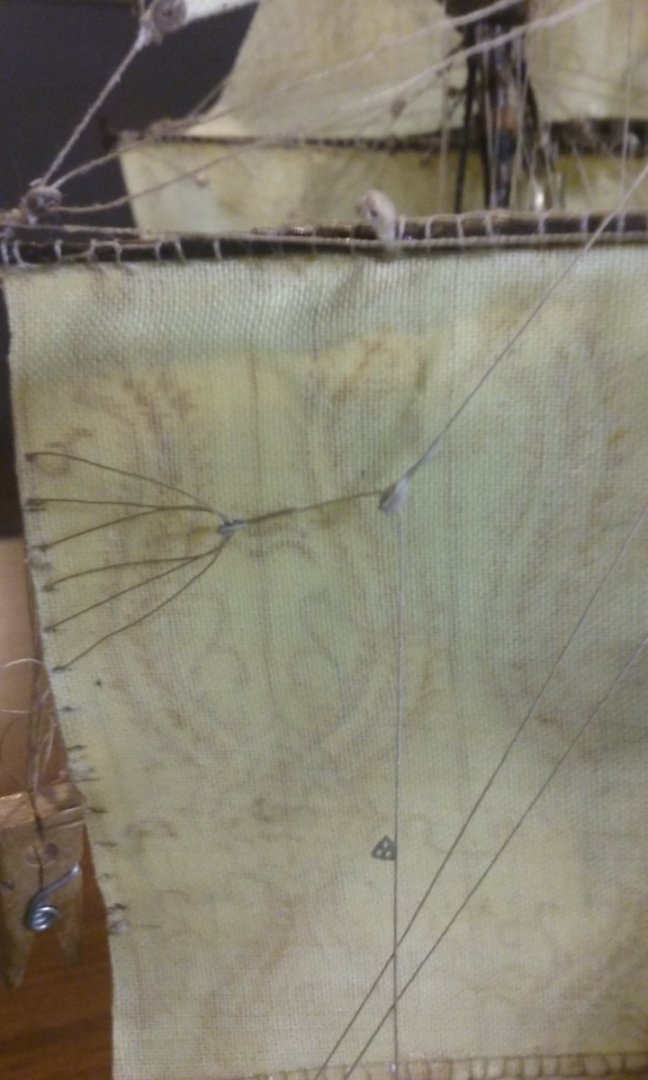
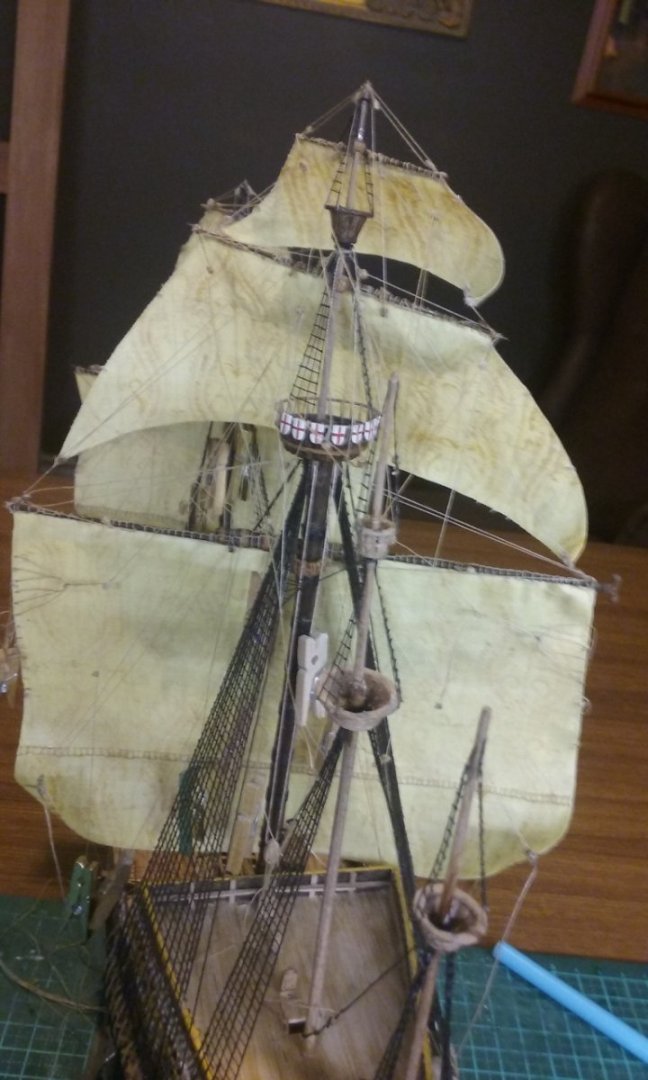
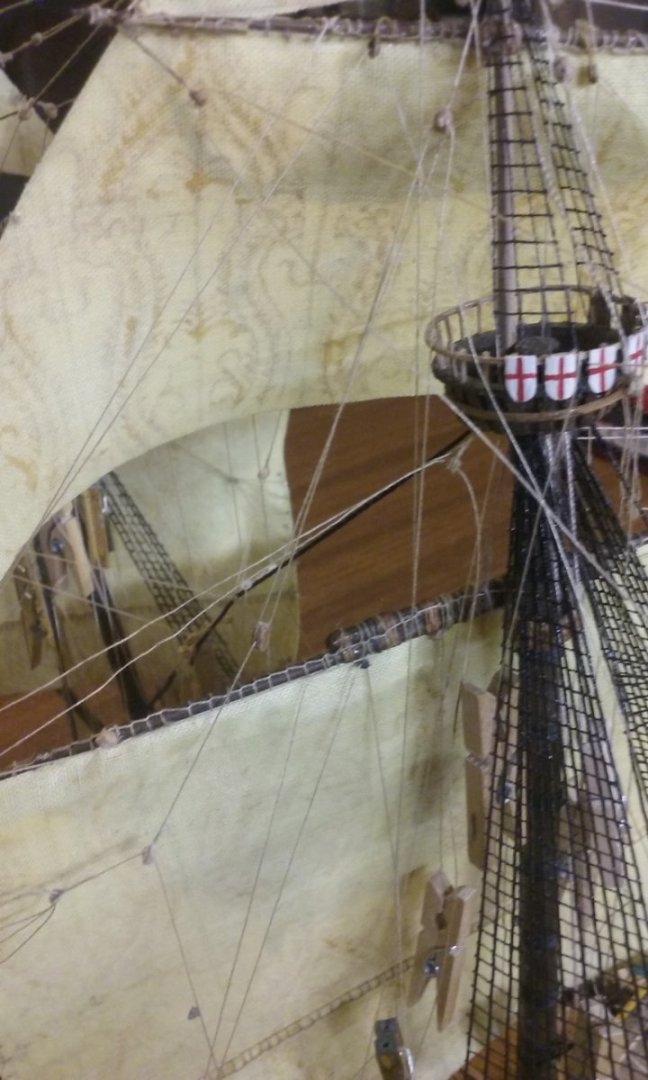
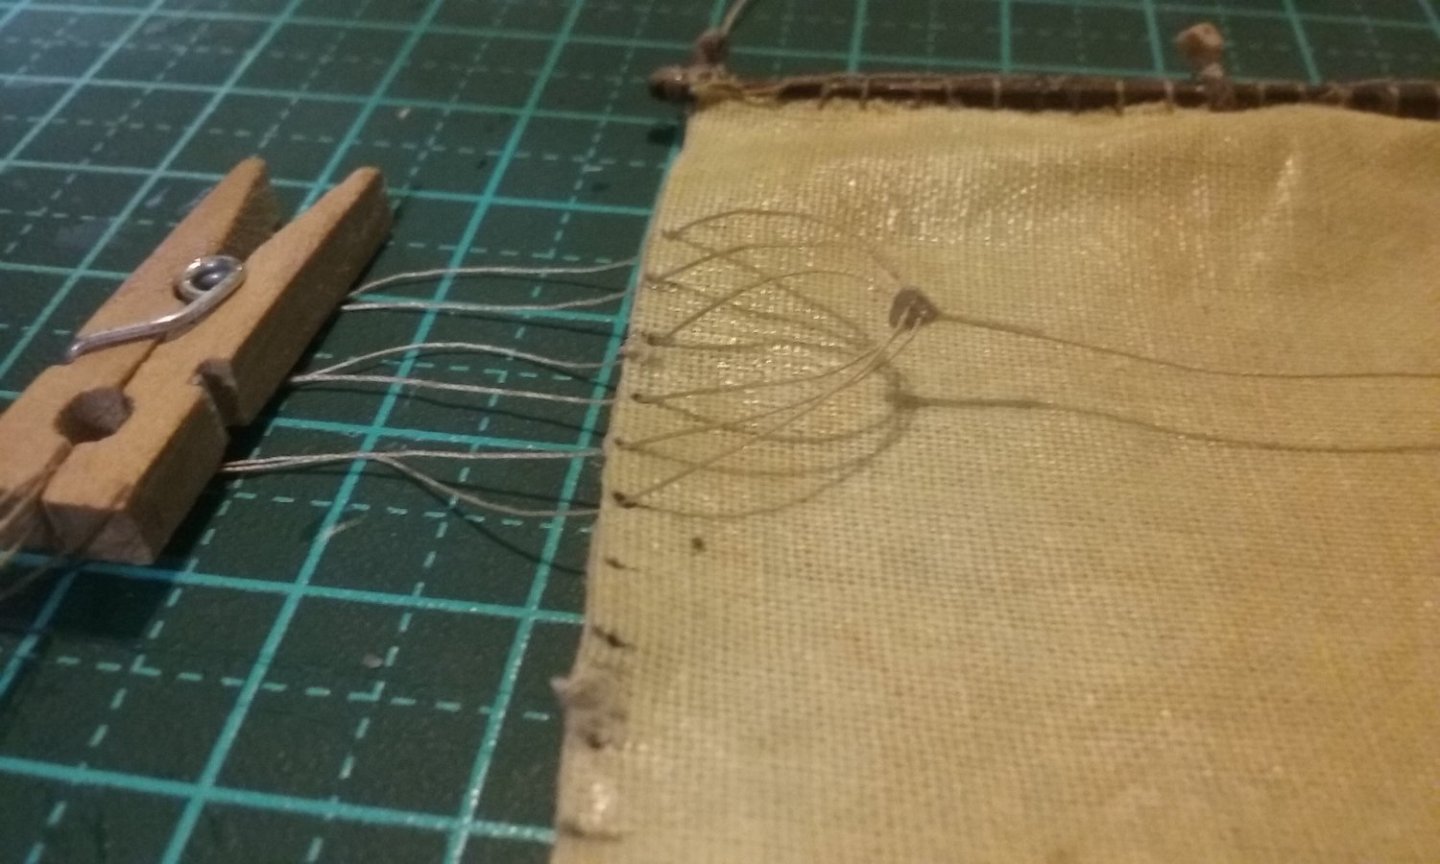
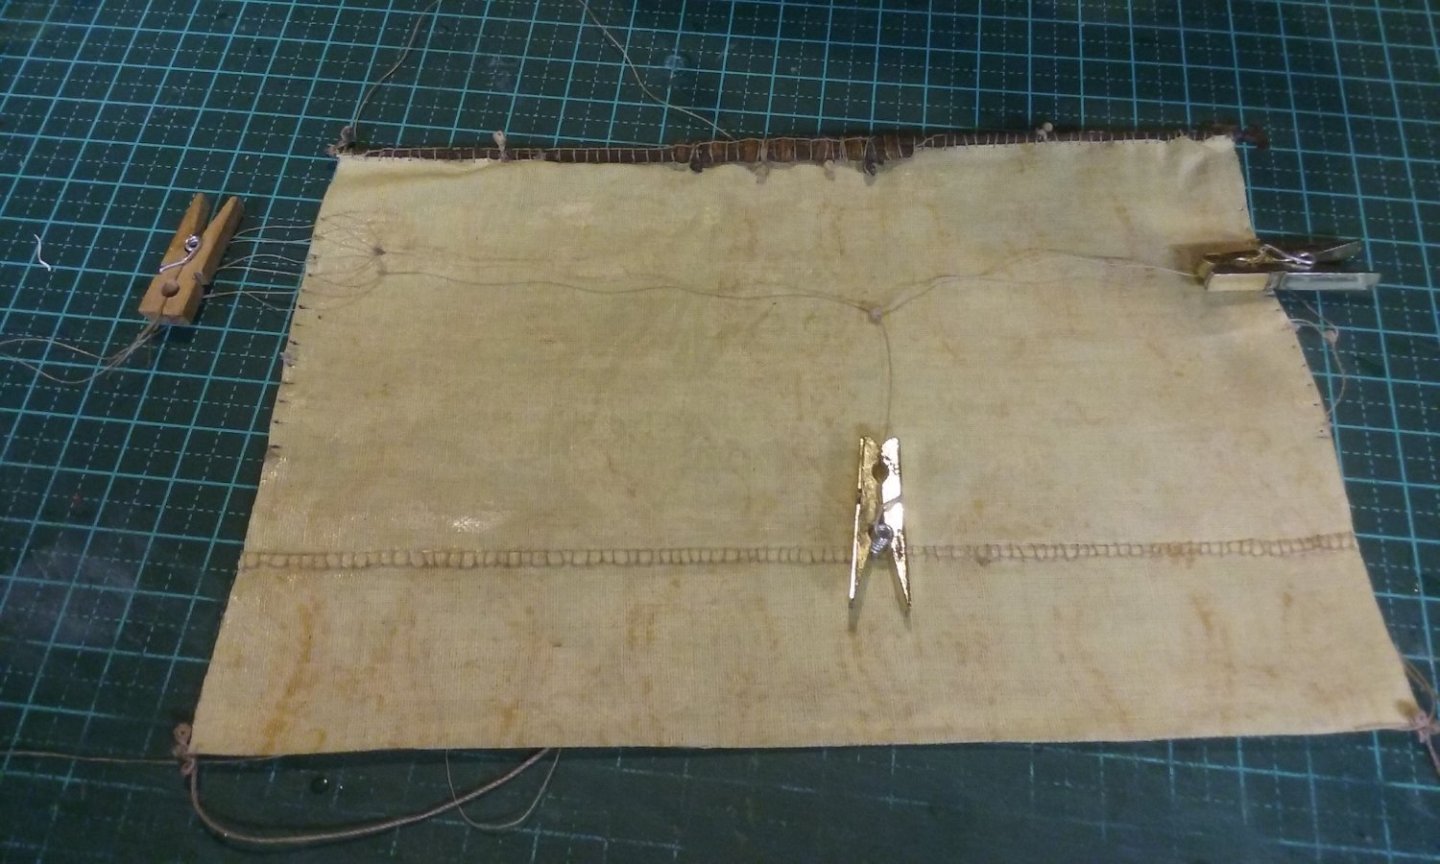
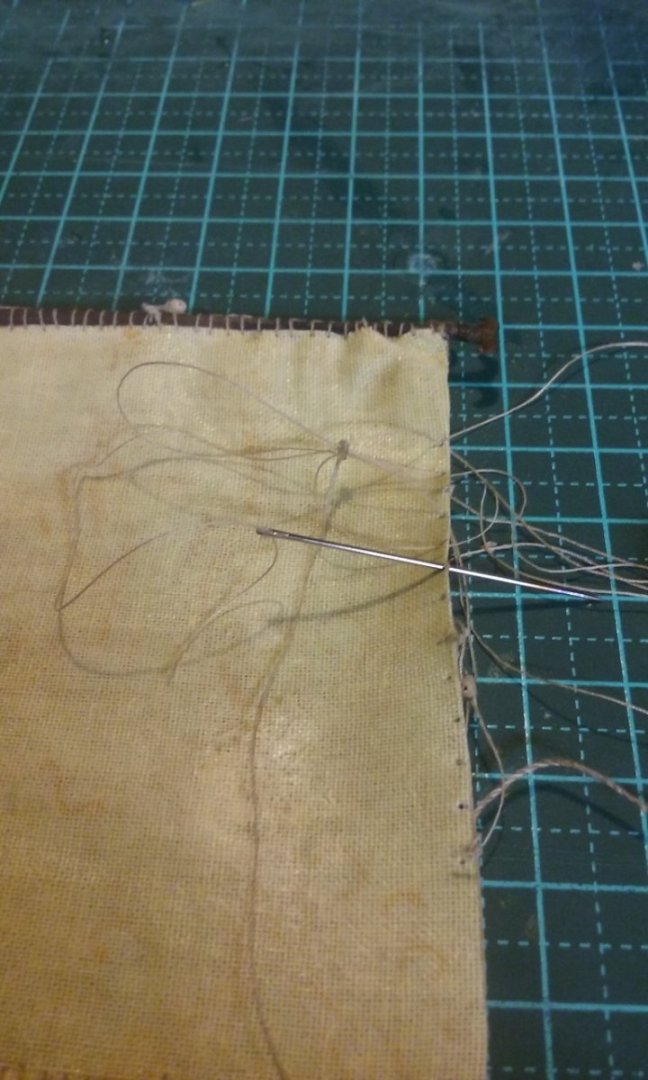
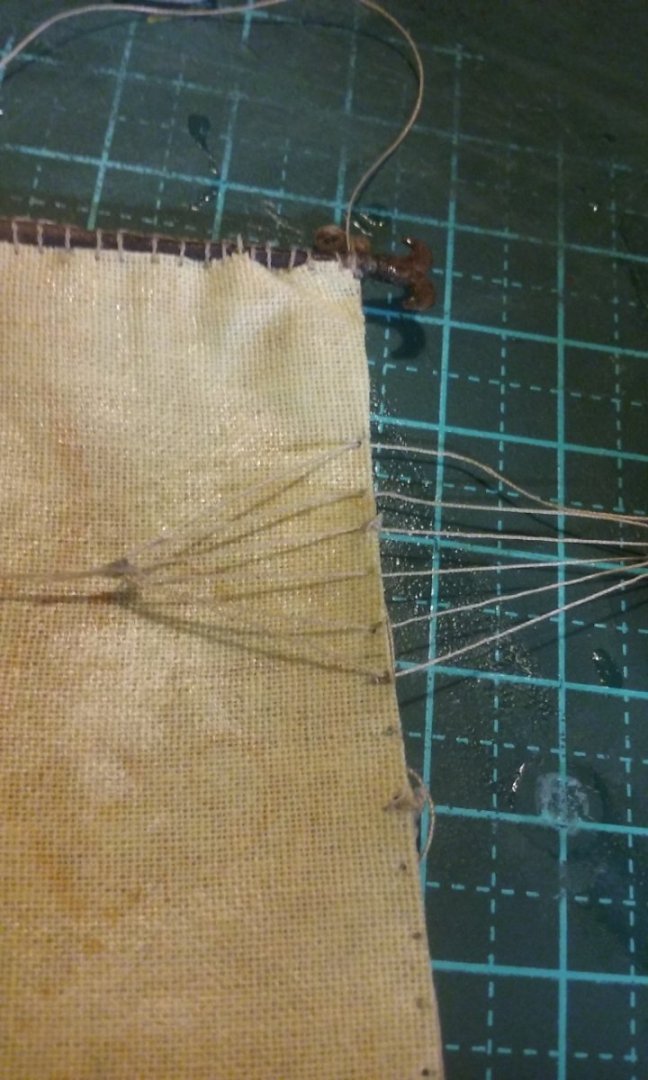
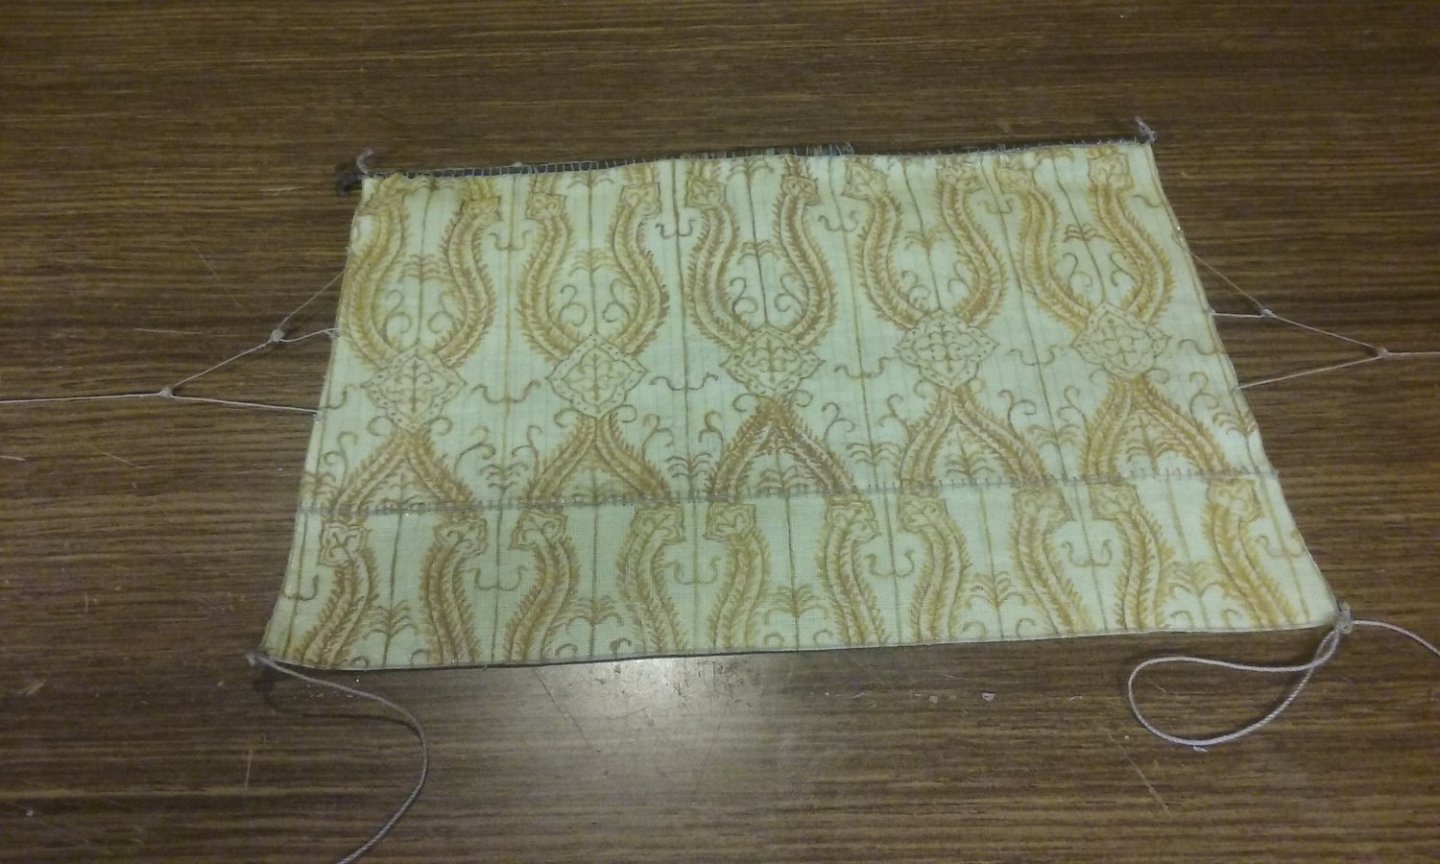
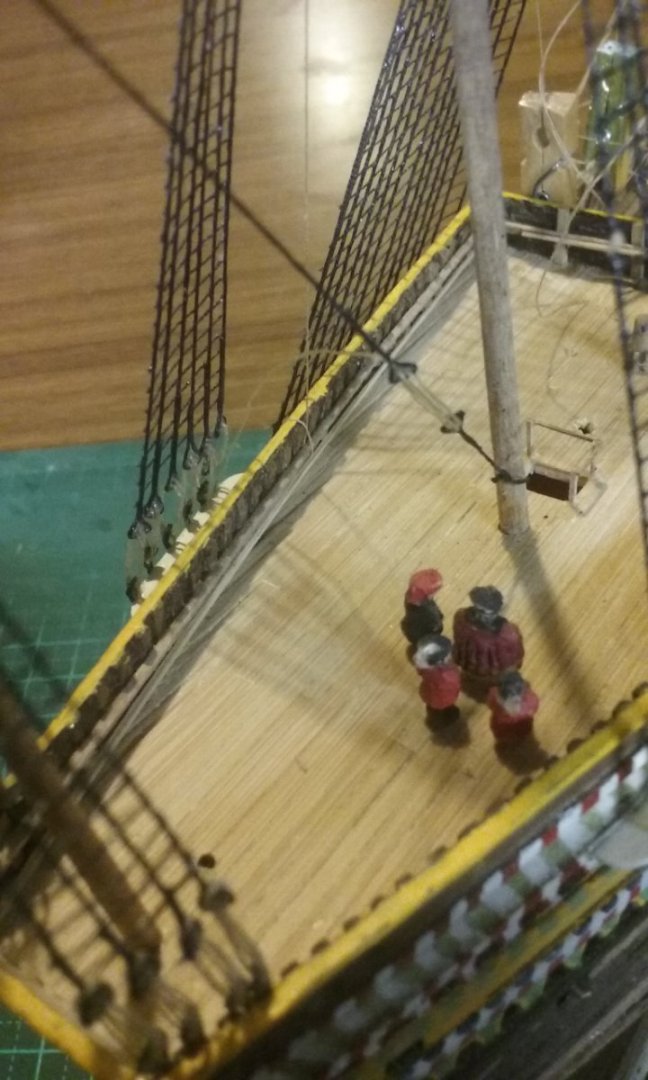
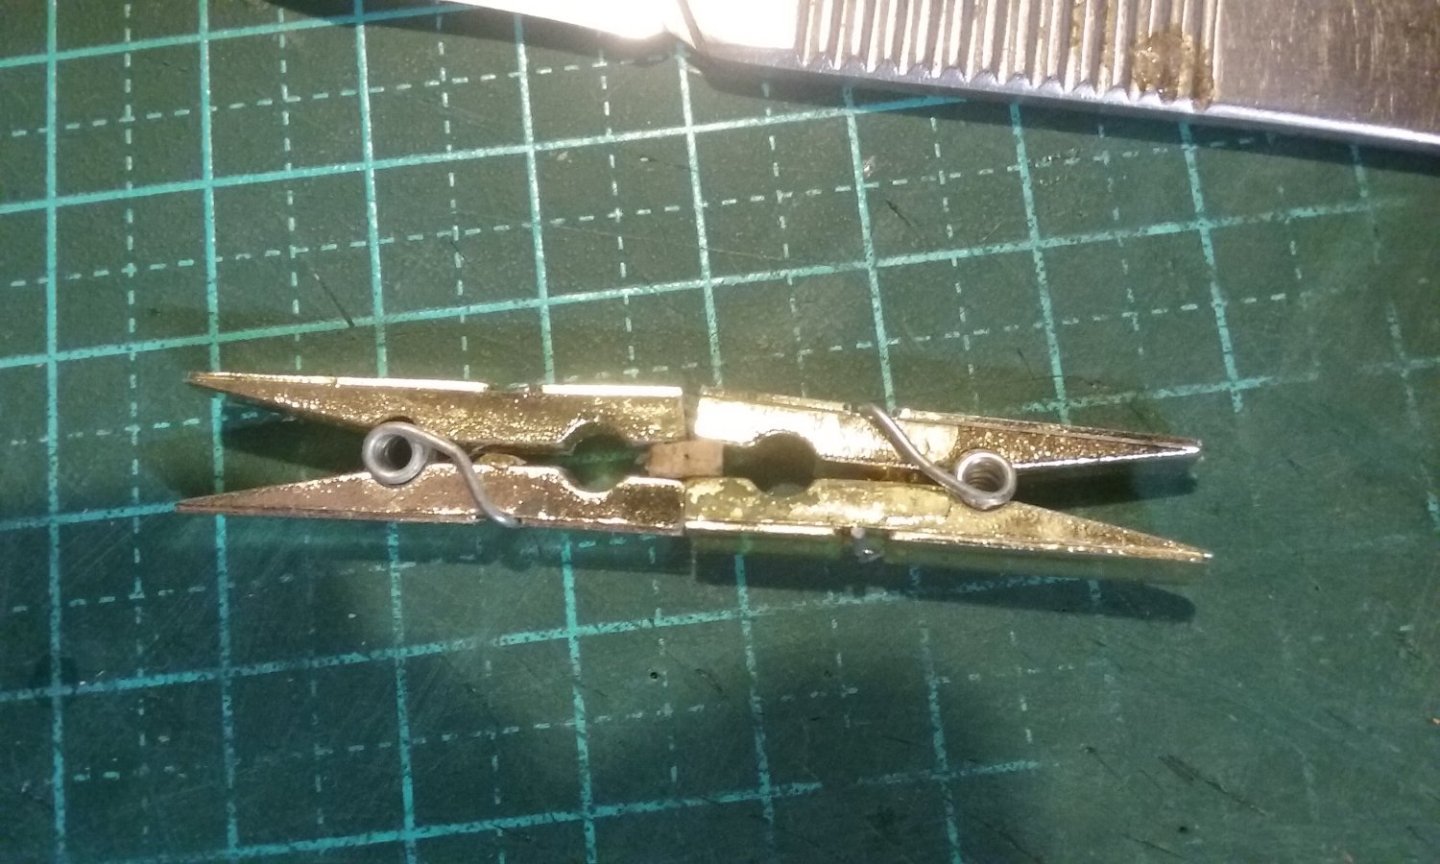
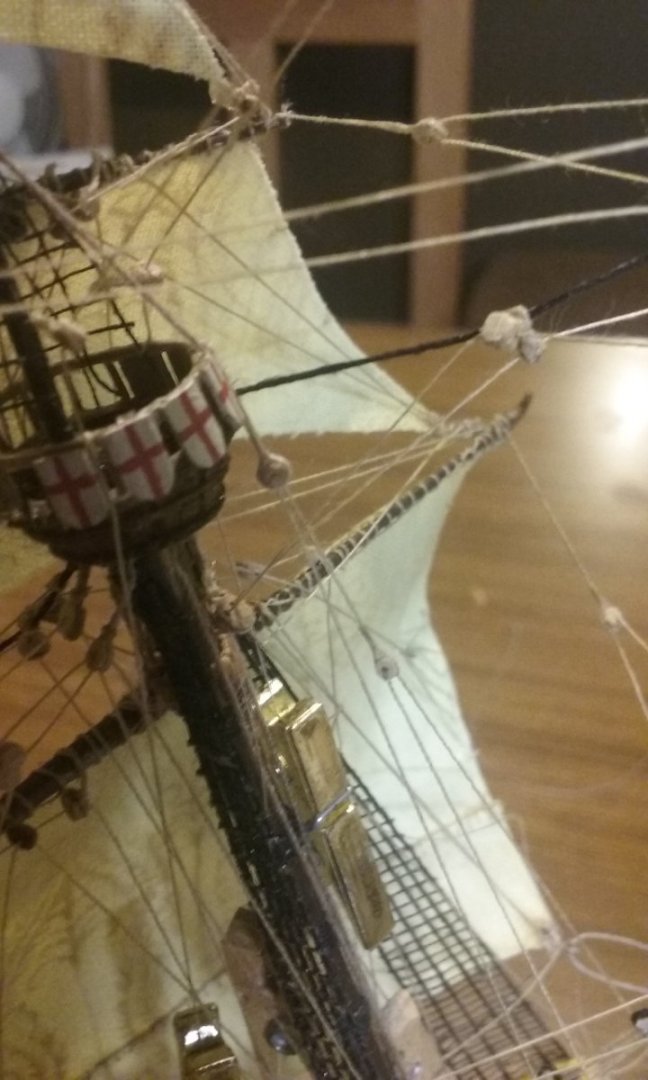
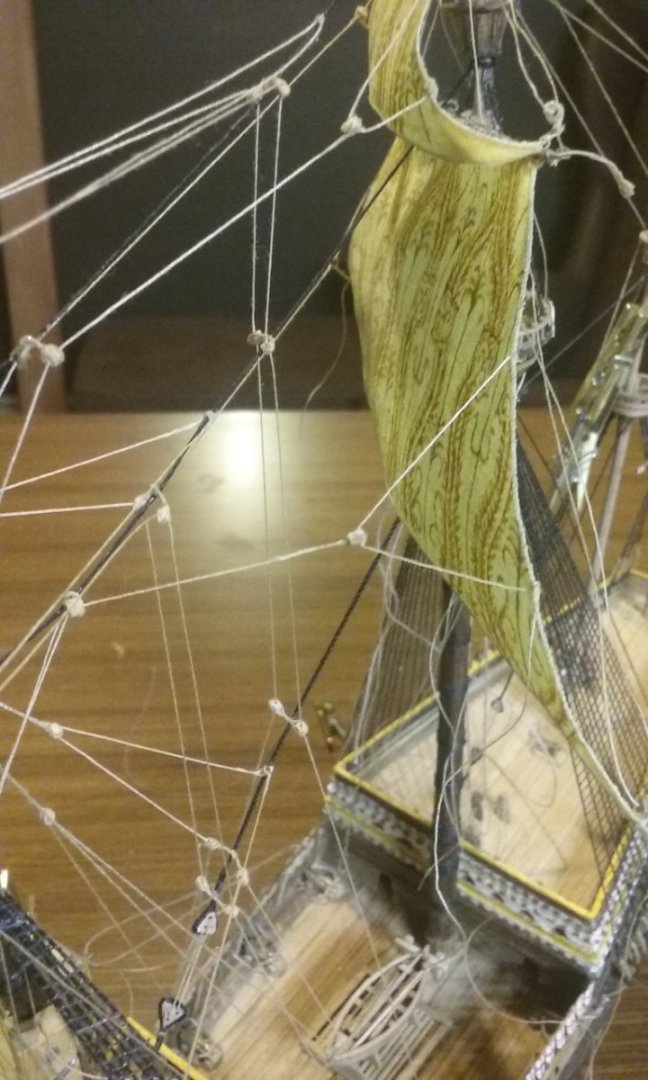
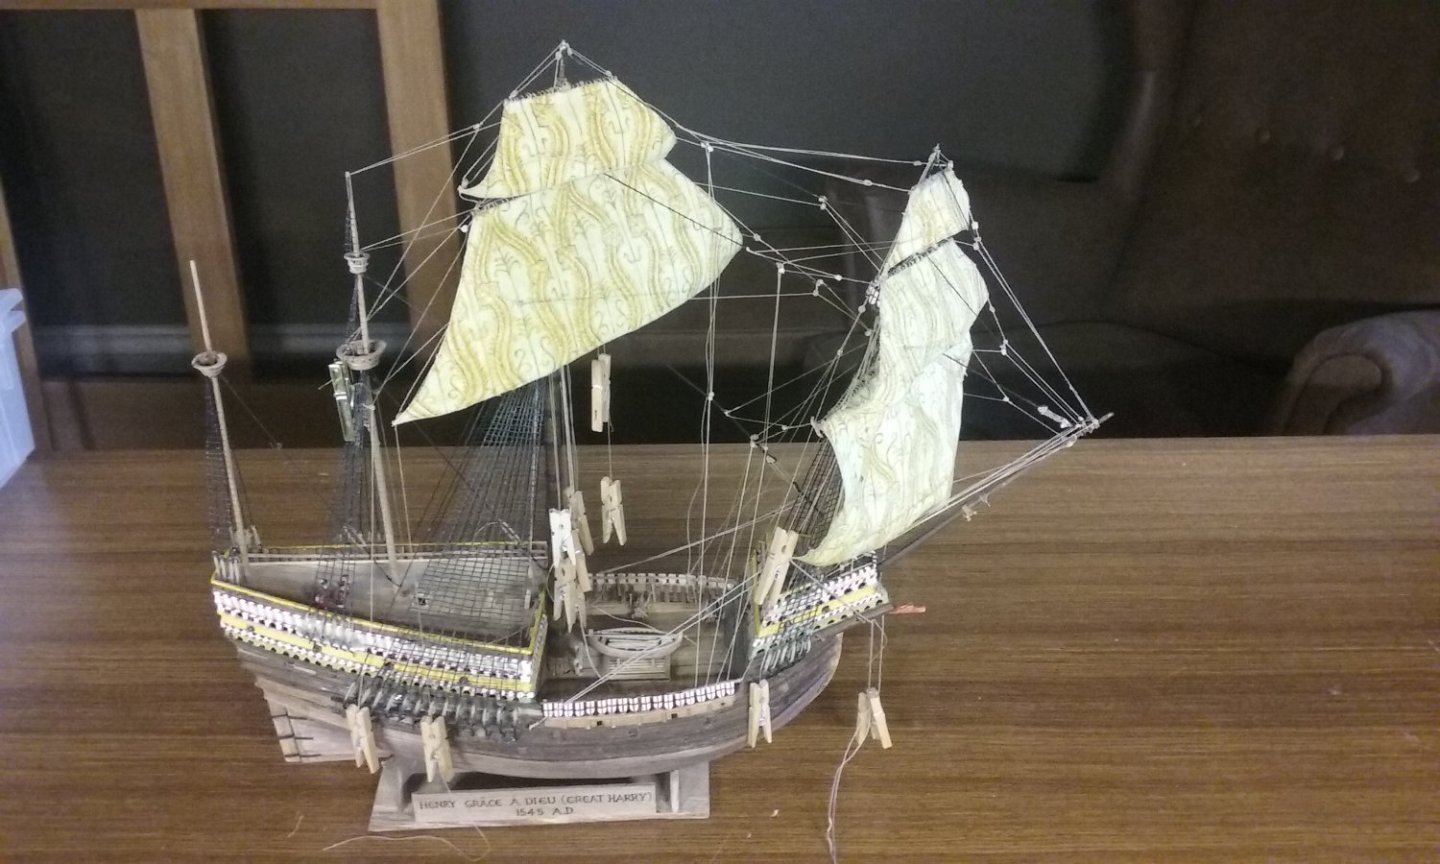
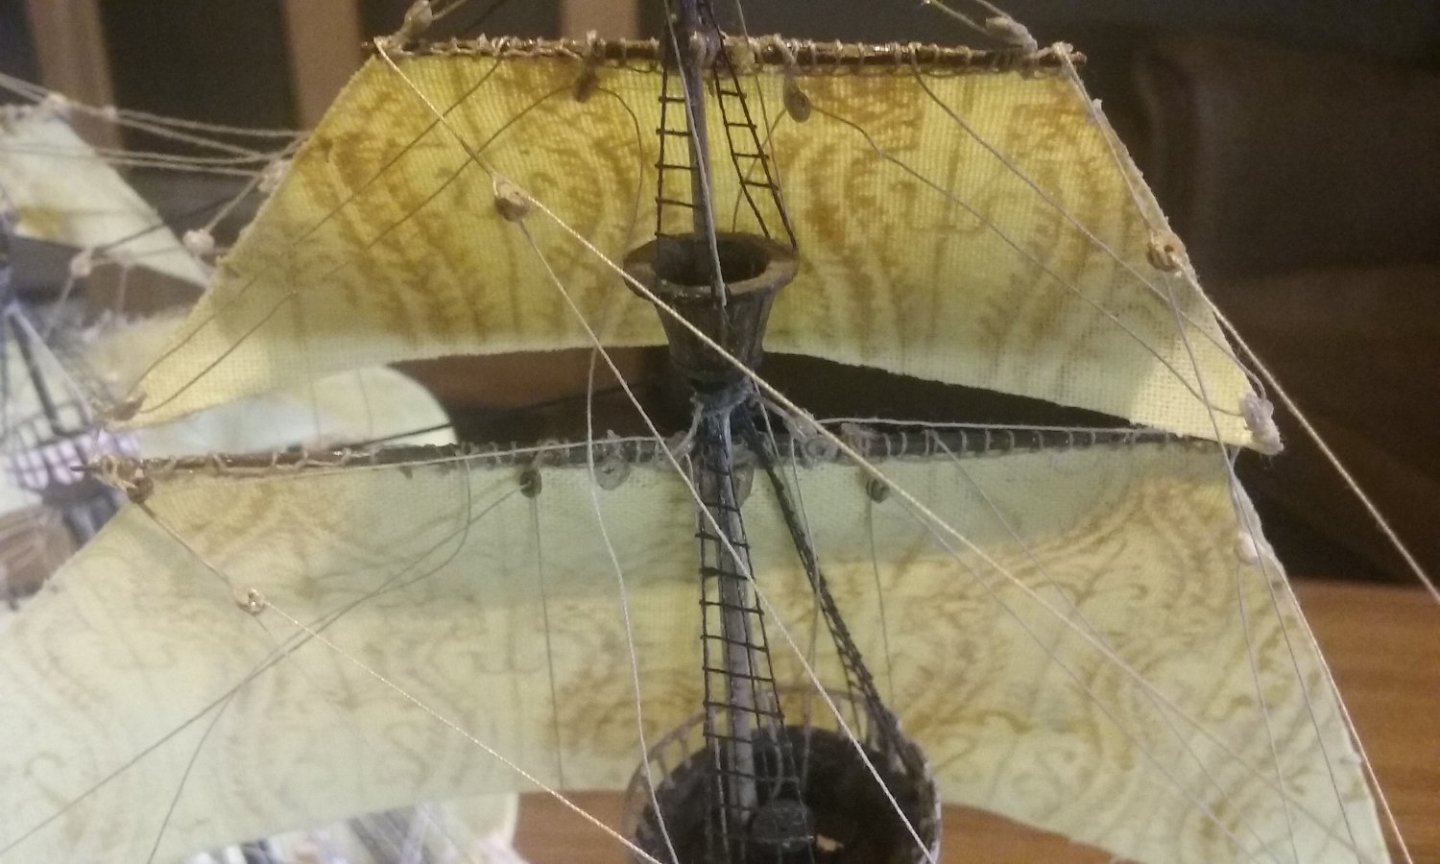
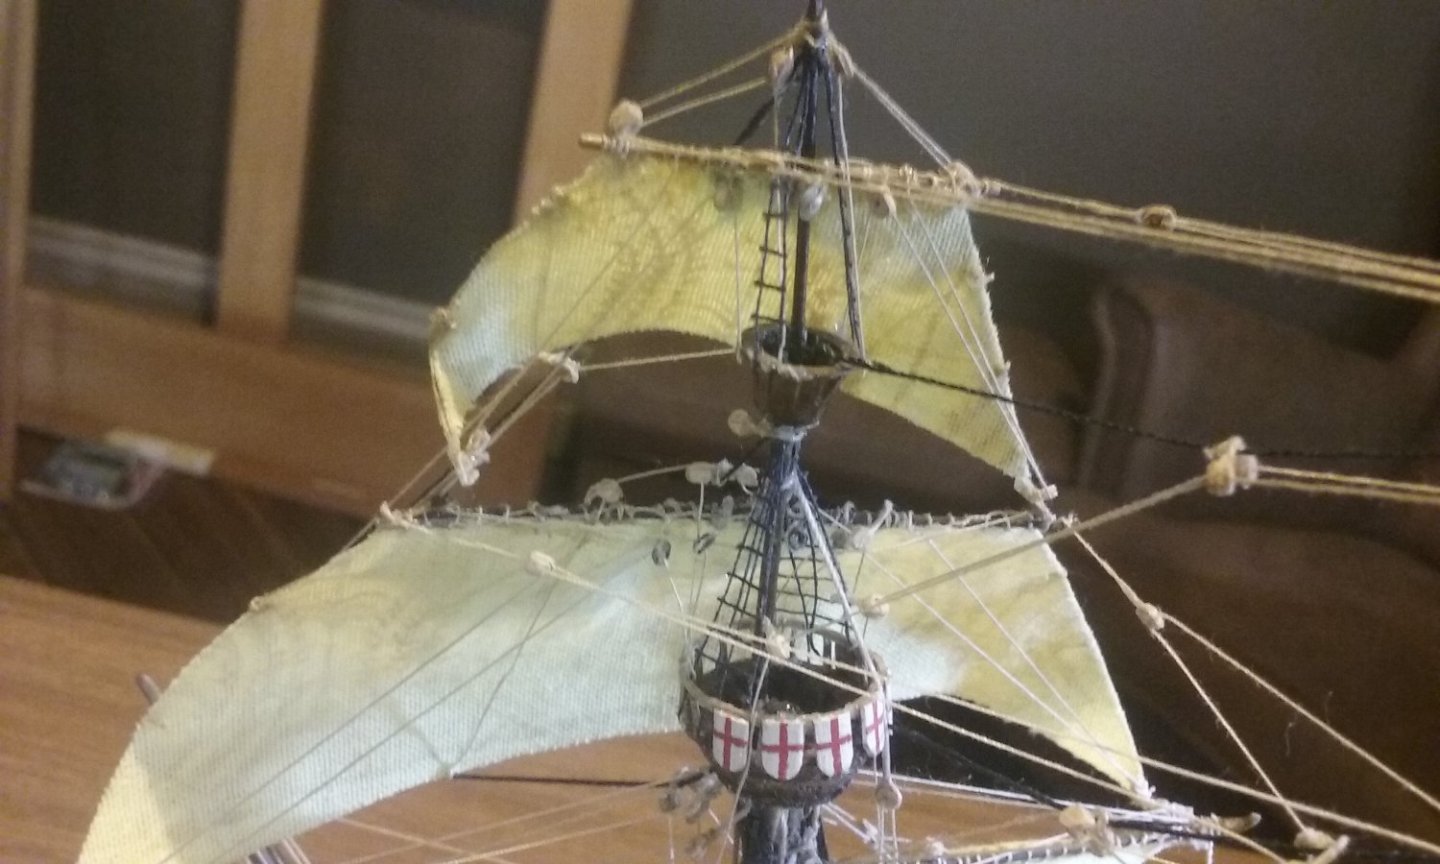
Unfortunately, you're right. Dunno what I was thinking. Anyhow, more on the main martnets. I'm getting up to the make-break point of getting these to look right. There are so many variables - three blocks interacting each side of the sail, all of which have to have their tackle exactly right, plus the martnets themselves have to be the right length - all of them - or some will be loose and some will be tight. Ideally, the martnets (and perhaps some of the other ropes in this assembly) should have a nice smooth catenary curve under the influence of gravity, but the cotton thread has too much "bounce" to be able to do that, so instead I have to make them all taut. So, here we go. All the martnets are now in place, and just (just???) need to be adjusted so they look right. Starboard martnets - front of sail Port martnets - front of sail Port martnets - rear of sail I've worked out that, against my inclinations, I'll have to glue the ropes coming down from the sister block (or fiddle block - same thing) to the yard, to hold everything in place so I can get it all looking right. It won't be obvious, and I've come to the conclusion that it's the only way to make it happen. The shiny gold peg in the picture above is holding the rope in place as the glue dries. And I've pulled the sheets of the topsail tight and led them down to the bitts before the mainmast. This photo shows it before gluing in place. The loose ends will be cut off when the glue's dry. And listening to Scott Joplin's only surviving opera - Treemonisha - Steven
- 740 replies
-
- Tudor
- restoration
-
(and 4 more)
Tagged with:
-
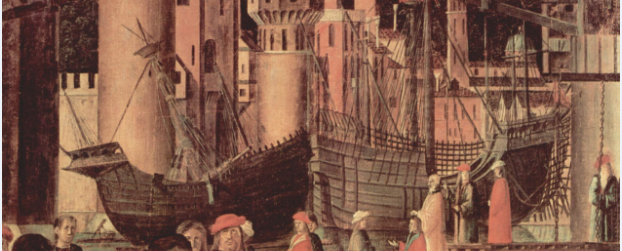
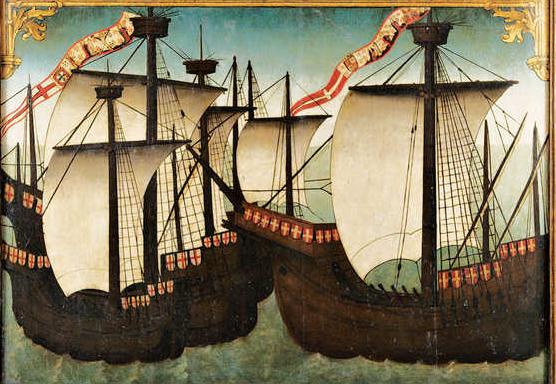
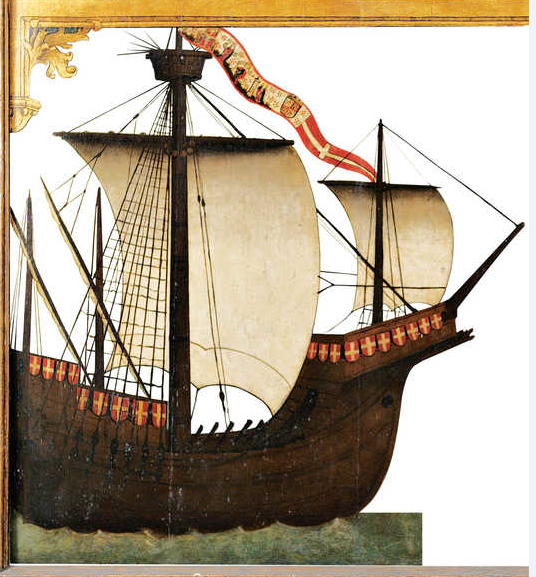
I personally feel the artist is still too much in the 18th-19th century mindset - somehow the proportions seem wrong. The same problem applies to the early (and to some degree the current) theoretical reconstructions of the Newport ship. Just somehow look wrong. For a better look, check out Carpaccio's carracks Or better yet, as your ship is Spanish, these ones from the votive table of the parish of San Pedro de Zumaia in Spain https://zumaia.eus/es/noticias/la-tabla-botiva-de-la-parroquia-de-san-pedro-se-muestra-en-la-exposicion-sobre-elcano probably celebrating the victory of ships led by Juan Martínez de Mendaro, in 1475 in the Strait of Gibraltar, against the Portuguese and Genoese armies."The ship on the left bears the arms of Portugal, and the one on the right those of Castile." and here's a somewhat better detailed version (for some reason it's been mirror imaged - it's actually the ship on the right in the picture above) There's also the retable of St Ursula by Joan Riexach of Catalonia (now part of Spain, but then a separate kingdom) of 1468 Regarding the forecastle sheer, I believe many painters exaggerated it - I wouldn't make it any more than on the Mataro model. 'Blush' Steven
- 72 replies
-
Yes, white glue. I haven't yet found out how well it works when cutting through it - does it hold the paper onto the wood securely as the saw goes through? I dunno. Steven
- 508 replies
-
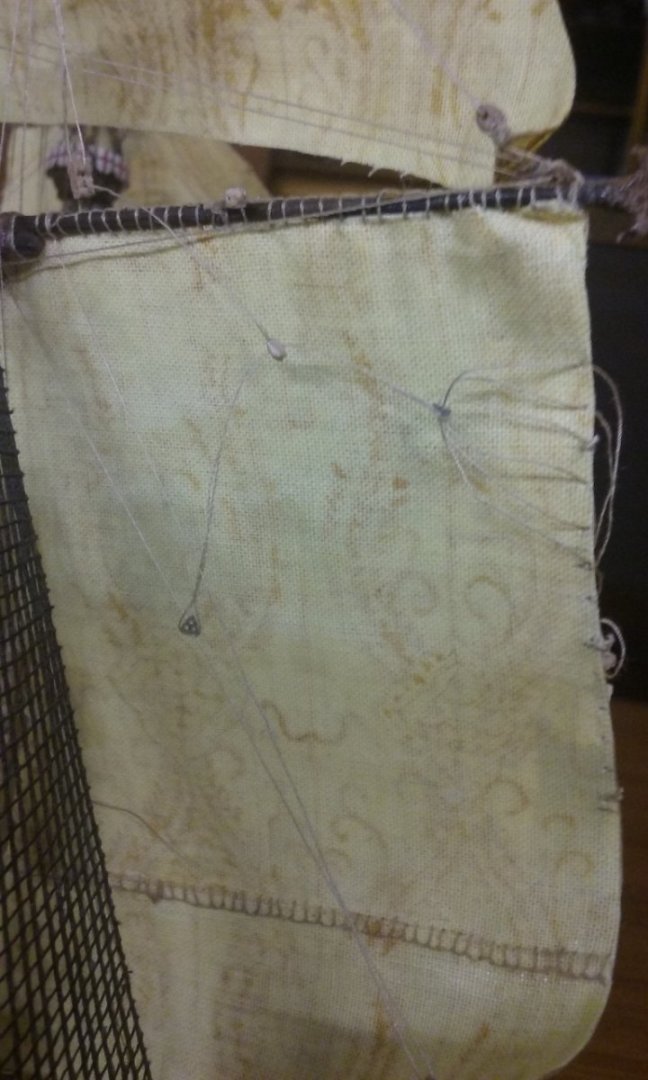
More work on the martnets. As there are two sets of them, I've now started on the lower set. Six ropes to a martnet - actually three both sides of a deadeye, and the two deadeyes joined by a rope that passes through a block. As you can see . . . The rope holding the block passes through the sister block, and down to do the same job on the front of the sail. Not a terribly good photo, but if you look hard you can see the block at the end of a rope passing over the yard - and another rope passing through the block, with a deadeye on each end. Getting the lengths of these ropes was a particular problem - too long or too short and the proportions would be all wrong. Starboard side. Again, difficult to see, but the rope with the block on the end passes over the yard and down at the right of the photo, with the rope with the deadeyes passing through it. On the left are the other ends of the martnet behind the sail with a small peg holding them together. The picture is further confused by the presence of the starboard bowline tackle, stating at the edge of the sail and passing to the right. Front side of the upper starboard martnet, with the bowline passing in front of it. Rear larboard martnets - both of them. Intentionally left loose until I have everything sorted out. And a closer view SO many ropes! Steven PS: And what I'm listening to? Bruch's violin concerto No. 1 And for a touch of the sublime, Kol Nidrei No, I can't work on the model while I listen to this. It would be wrong.
- 740 replies
-
- Tudor
- restoration
-
(and 4 more)
Tagged with:
-
G'day, Alex, from sunny Ballarat, and welcome to the wonderful world of ship modelling. Where in Sydney do you live? (I lived there for quite a few years). Steven
-
Thanks everybody for the likes. Druxey, of course these martnets are currently left loose until I get everything worked out. I discovered on the forecourse that they shouldn't be tightened until everything else is finalised, otherwise they go slack and look bad. In fact once everything else is done, I'm going to revisit the forecourse martnets and see if I can't improve them. Chief Mark, thanks for the comment. Alvb - it's 170mm wide x 115mm high (including the bonnet) - that's 6.7 x 4.5 inches for our American cousins. Steven
- 740 replies
-
- Tudor
- restoration
-
(and 4 more)
Tagged with:
-
Yes, very fond of Telemann. And of course Vivaldi . . . and then there's Bach . . . not quite so light . . . Thanks everybody for the likes and the comments. More progress today. After a lot of preparatory work, I've finally got the main course in place. As it's an early period ship, the mainyard is quite a distance below the top. I held the yard in place temporarily with a big green peg and sewed it loosely to the existing parrel truss (rescued from the original build). Tyes (the thicker thread) loosely tied (sorry!) until I got everything else lined up. Overall view. Tyes finalised and glued in position. The sister block on the left is for the mainsail martnet tackle (there's another one on the other side if you look carefully). Martnets, sheets and lifts (sorry about the bad definition - it was the best I could get). Lifts and clewlines, plus martnet tackles partly done Martnet tackles; larboard: The martnets go through a deadeye on a pendant that goes through a block, which in turn is itself on a pendant that goes through the aforementioned sister block. As there are going to be two sets of martnets for each side of the sail, another deadeye will be at the other end from the first - you can see it just glued to the pendant on one side. and starboard - you can see the second deadeye almost fully glued in place. More in due course (sorry!) It's been a long journey, and it's very good to see it all coming together at last. Steven
- 740 replies
-
- Tudor
- restoration
-
(and 4 more)
Tagged with:
-
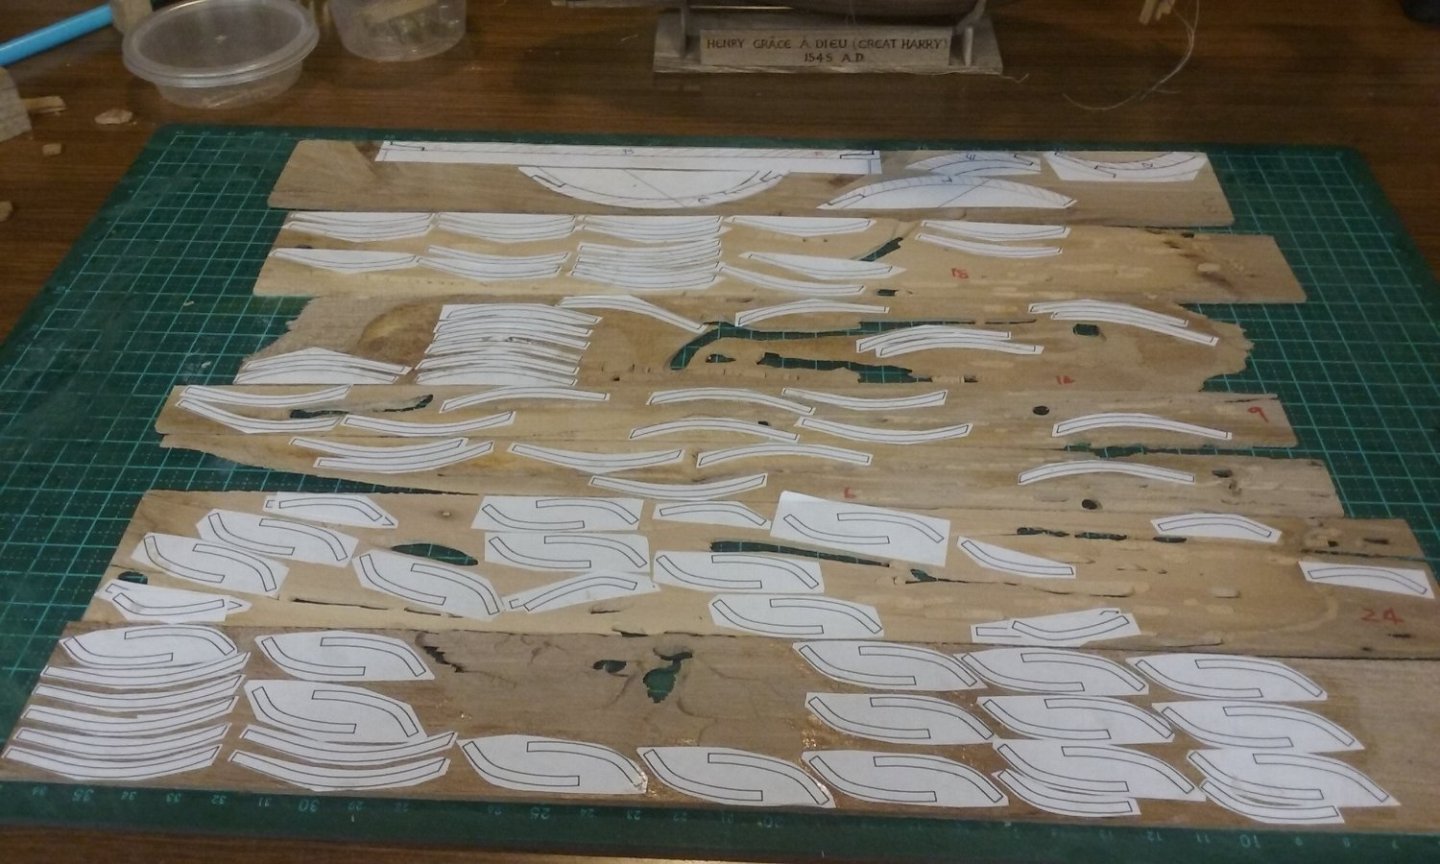
All the pieces for the keel and the curved parts of the framing are now laid out ready for cutting out with my new scroll saw. Wish me luck! Steven
- 508 replies
-
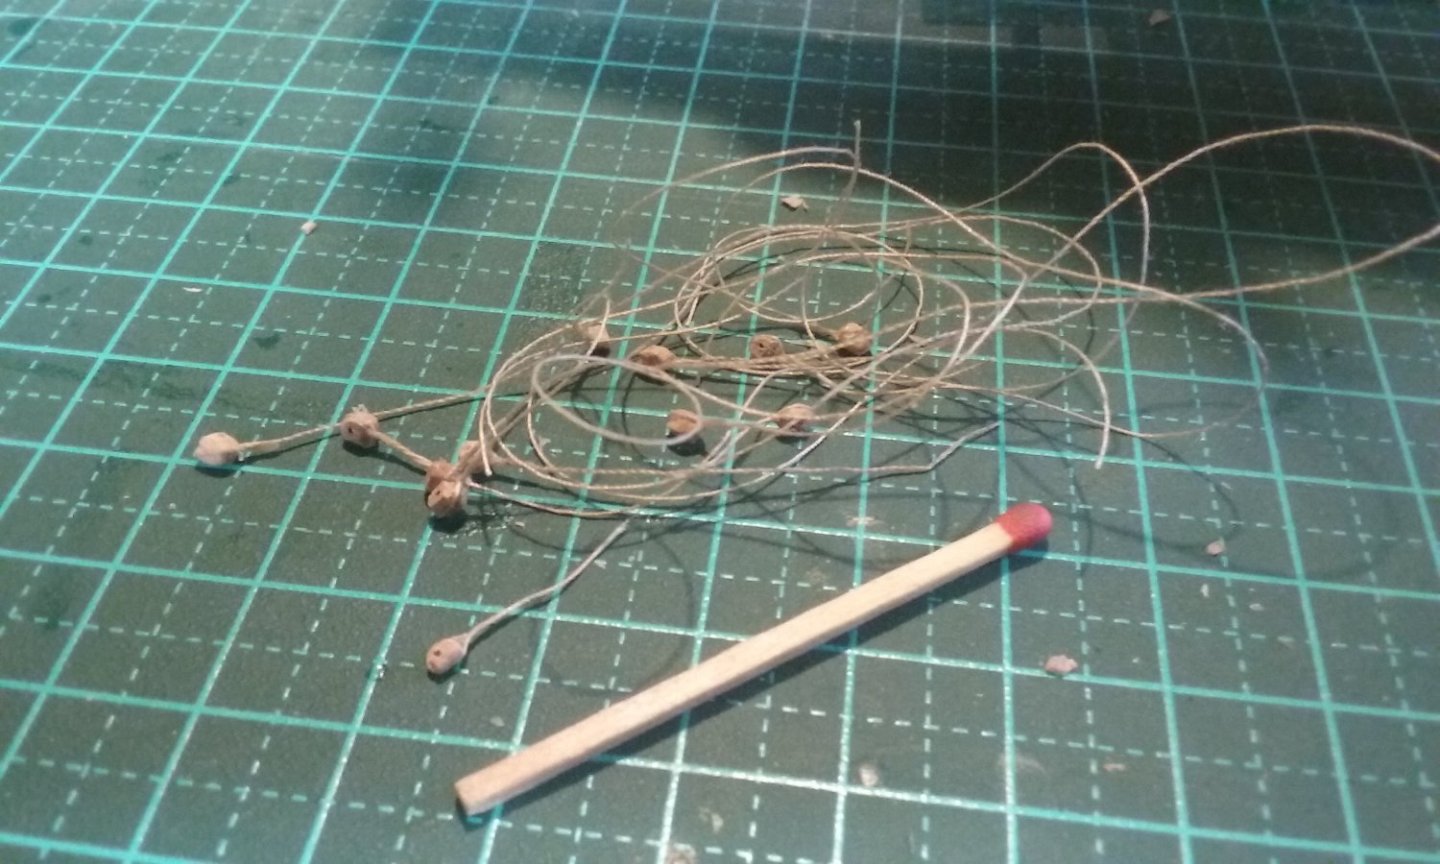
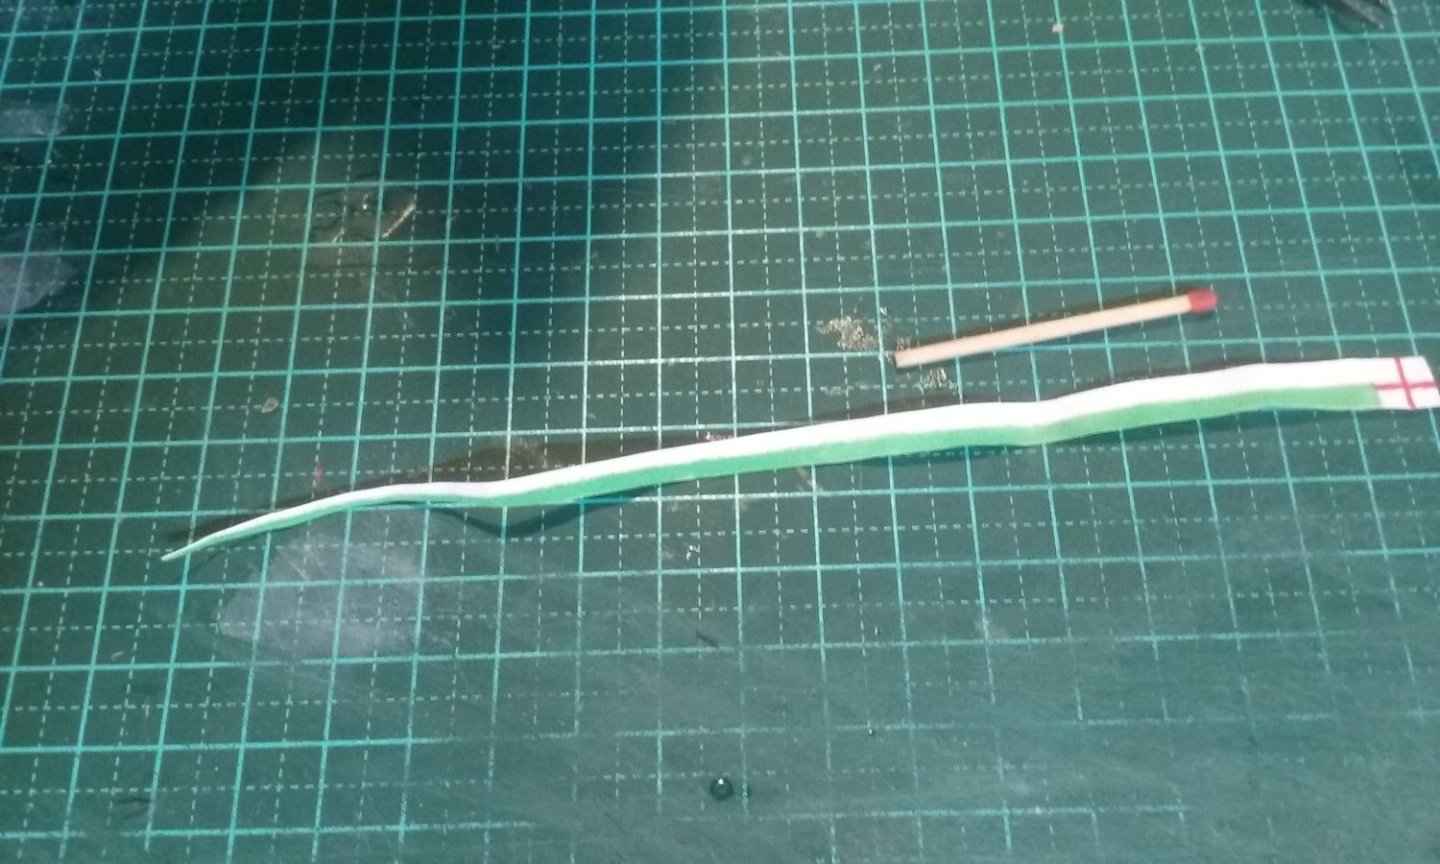
While I'm waiting for glue to dry, or planning my next step, I make blocks . . . I find it quite restful. And though all the flags are complete, I still have to make the pennants. Here's the first one. Main martnets. This time I'm doing double martnets, instead f the single ones I did on the foresail. It's going to be very difficult getting everything to line up. Steven
- 740 replies
-
- Tudor
- restoration
-
(and 4 more)
Tagged with:
-
These are the halyards for the lateen topsail and topgallant - Anderson couldn't find any information at all on how they were arranged, where they were belayed etc. If he couldn't find anything, I doubt I'd be able to. So I'll just have to make it up as I go along , (using educated guesswork, and based on what happens on the other halyards) Steven
- 740 replies
-
- Tudor
- restoration
-
(and 4 more)
Tagged with:
-
"Dog's breakfast" is a common expression here in Oz, as well. Steven
- 536 replies
-
- Quadrireme
- radio
-
(and 1 more)
Tagged with:
-
I love Scarlatti's harpsichord sonatas - I have a CD of Wanda Landowska playing a number of them, recorded in Paris during WWII. She was brilliant. (Oh, and you can occasionally hear the crump of artillery in the background.) Steven
- 740 replies
-
- Tudor
- restoration
-
(and 4 more)
Tagged with:
-
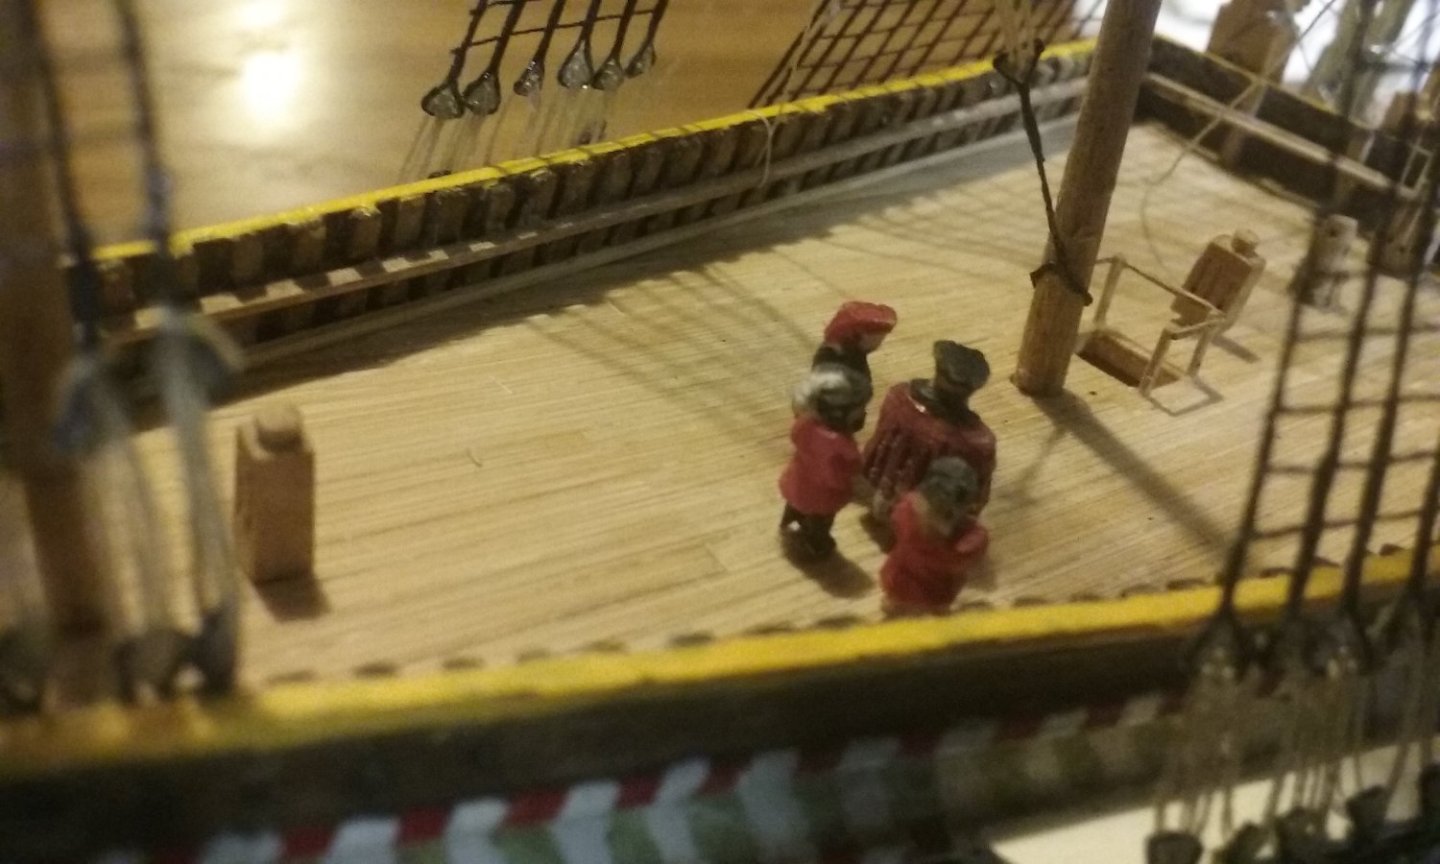
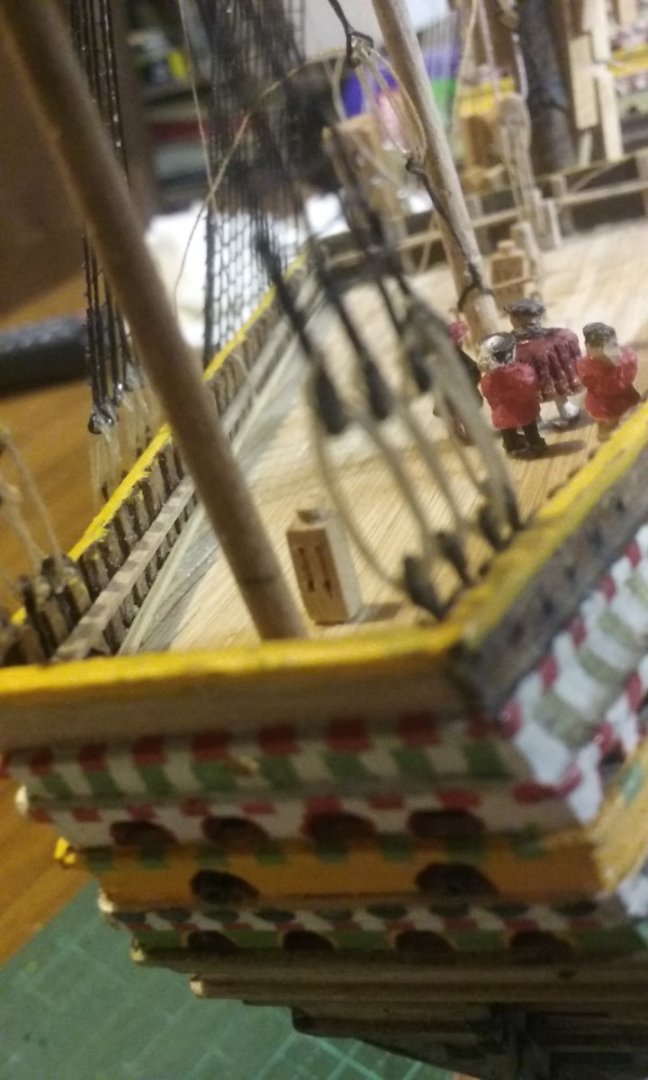
Here's the mainsail with the bowlines added (I had to pull them out sideways so they'd be visible). And far too late I realised I needed knights for the mizzen and bonaventure mizzen lateen halyards. I had to somehow drill holes in the deck past all the shrouds and other rigging. Here are the knights dry fitted. I'll need to run the lanyards through them before I glue them in place. It won't be feasible afterwards. But I have no idea how I'm going to do the halyards for the lateen topsails. And Anderson's The Rigging of Ships in the Days of the Spritsail Topmast, for a change, is no help at all. I'm sure I'll figure something out. Steven
- 740 replies
-
- Tudor
- restoration
-
(and 4 more)
Tagged with:
-
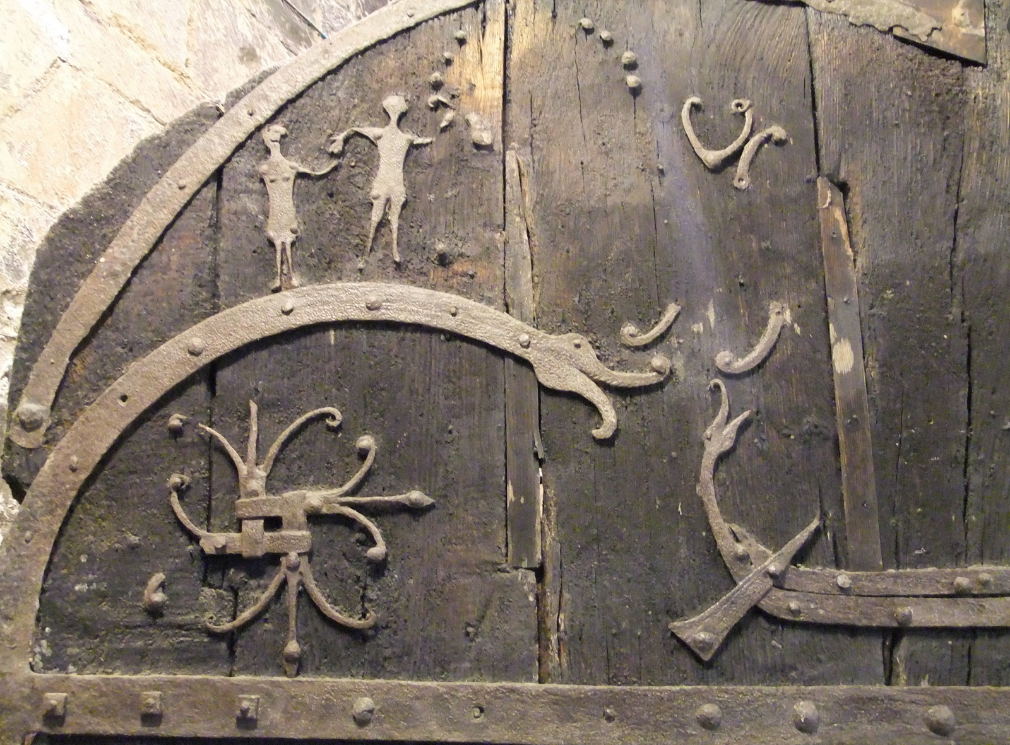
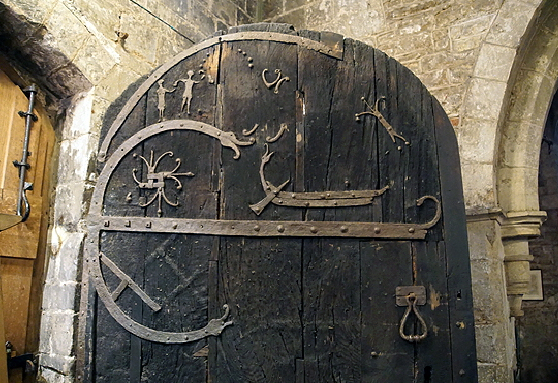
The site I got these pictures from interpreted the two figures as Adam and Eve, and I got the impression that this is the academically accepted interpretation (though that doesn't by any means prove it!) Steven
-
Hi Dick, I just came across these articles, which may have some bearing on your build - https://medium.com/the-bronze-age/the-ships-of-the-sea-peoples-part-1-994249af5304 , https://medium.com/the-bronze-age/the-ships-of-the-sea-peoples-part-2-2bed75f8e05c I realise these are just someone's interpretations of the original, but I hope they are of some use to you. Steven
- 142 replies
-
I'm sure you're right. Steven
-
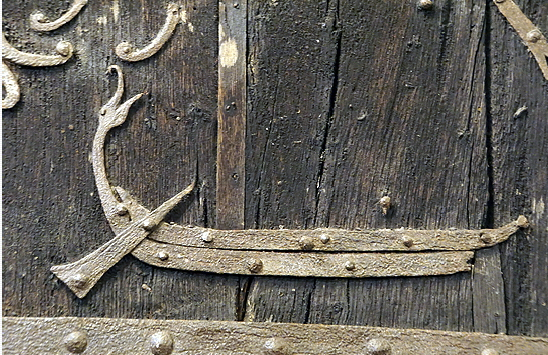
I found this on Facebook. "Stillingfleet. Yorkshire. The church is Norman. The ironwork hinges and decoration on the south door date to much earlier, probably to the middle of the 10th century when York formed part of a Viking kingdom. That would mean that either there was a church here several centuries earlier than was thought, or, more likely, that the door was brought here from elsewhere." The ship appears to be incomplete - by rights it should have an upcurving bow similar to the stern, but it's presumably been lost over the centuries. Steven
-
Hi Joe, and welcome to MSW. Have you chosen a particular ship for your first model? I'd recommend you read these pages before starting out: And when you do get under way, start a build log - it's a great way to get help and advice (and we get to see your progress as you build your model). If you are building a kit, use this: or if you're building from scratch, use this one. And above all, have fun with it. That's the whole point of this wonderful hobby. Steven
-
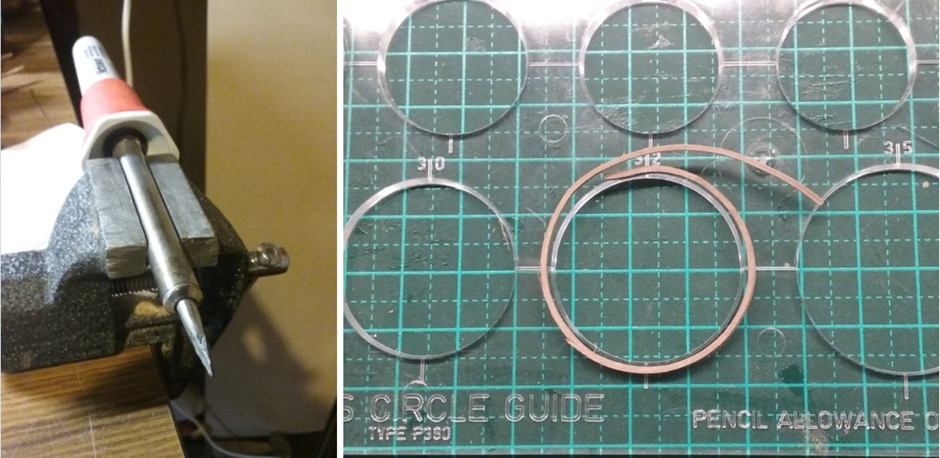
Hi LegoKing, Several others have already commented on the tools needed to start off with, and I'm probably duplicating what some of them have written, but I've found it's amazing how few tools are really necessary to get started on ship modelling. I wouldn't even think of getting machine tools to start with, except possibly a drill. Plenty of time for that when you find the need for them. In the meantime, I'd suggest a good coping saw, a craft knife or a scalpel with exchangeable blades (a No. 11 blade is the best for modelling, I find). LOTS of clamps - *LOTS* of clamps, of all possible sizes from tiny to fairly big. One of those green cutting boards, glue (I use PVA (white) glue, but others swear by CA (cyanoacetate = superglue - but watch out for the fumes) one of those headpieces with built-in magnifying lenses - you can get them at car supply places. Files and (SHARP!) chisels of various sizes. When it comes to bending your planks, in the real world they use steam. But although there's some disagreement about whether you should wet or heat planks to bend them, apparently the heat is the important factor - it loosens the fibres in the wood and allows it to bend without breaking. You can get specialised bending tools, but honestly I find a cheap soldering iron clamped in a vise (oh, yes, get a vise, too), and gently bending the wood around it works well - see picture below - (you can get really tight curves - those dimensions are in millimetres). If you're building a kit rather than a scratch build, much of the preliminary work (such as getting thin wood for planks) is done for you. The other advice I'd give is to start simple - don't buy a kit of HMS Victory - too many people start out with great enthusiasm but get discouraged by the complexity of their first build. There are really good kits of such things as longboats - see https://modelshipworld.com/.../18657-new-to-ship.../ . Oh, and a good workspace (doesn't have to be big) with good light and where you can safely keep the model "set up" in between modelling sessions. Good luck, and have fun with it! Steven
-
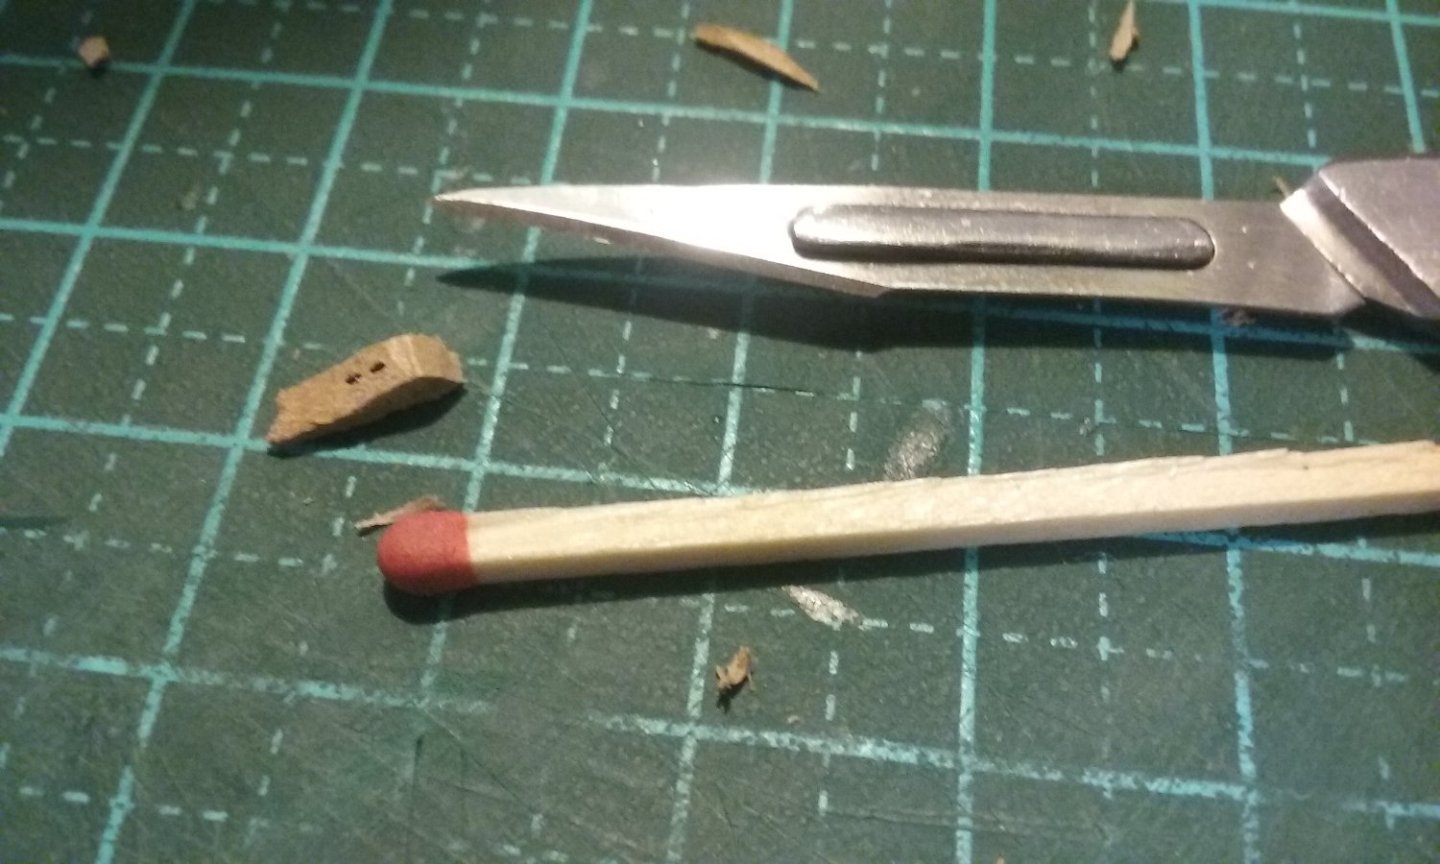
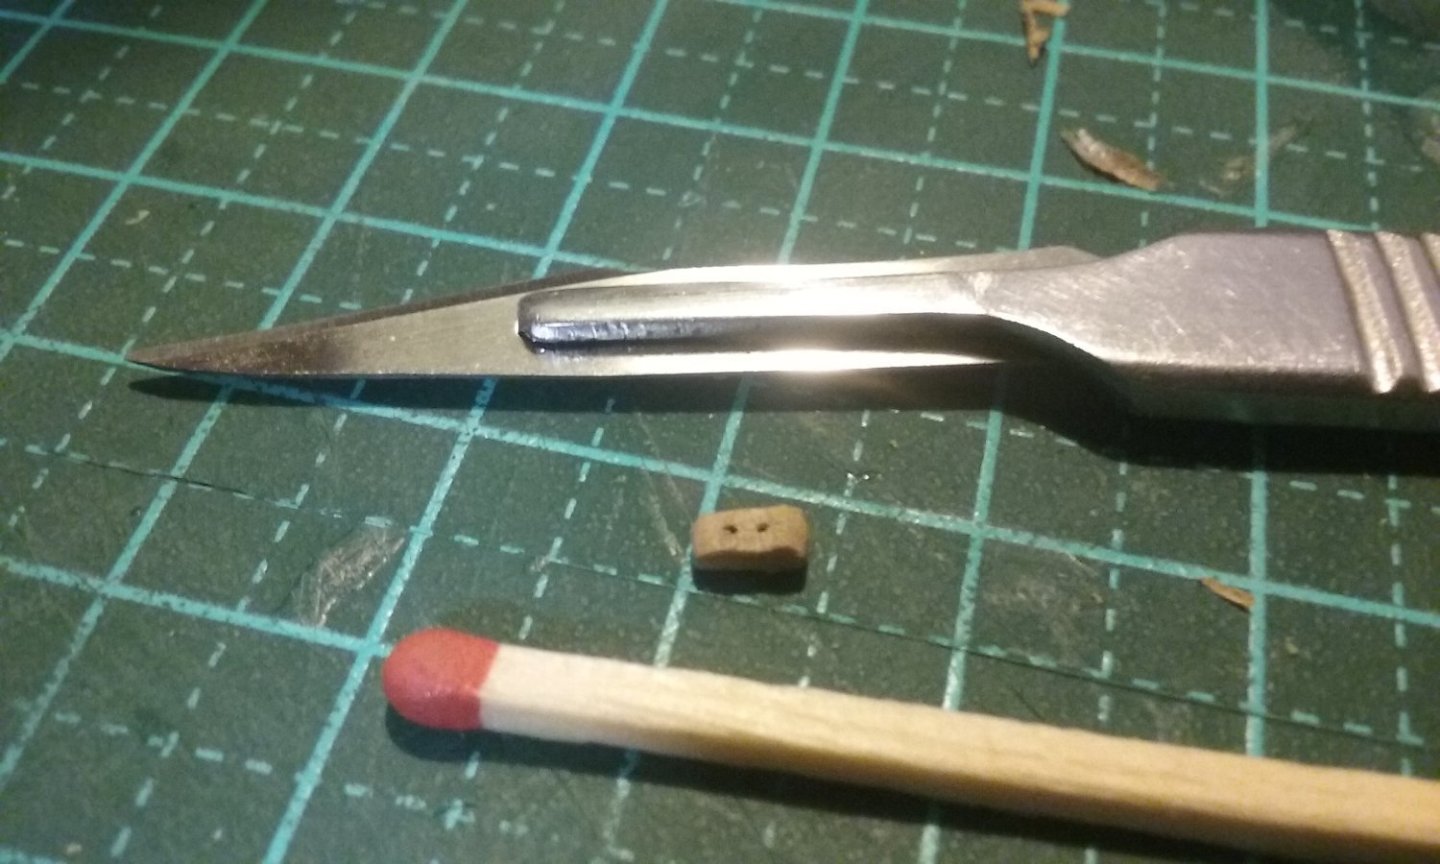
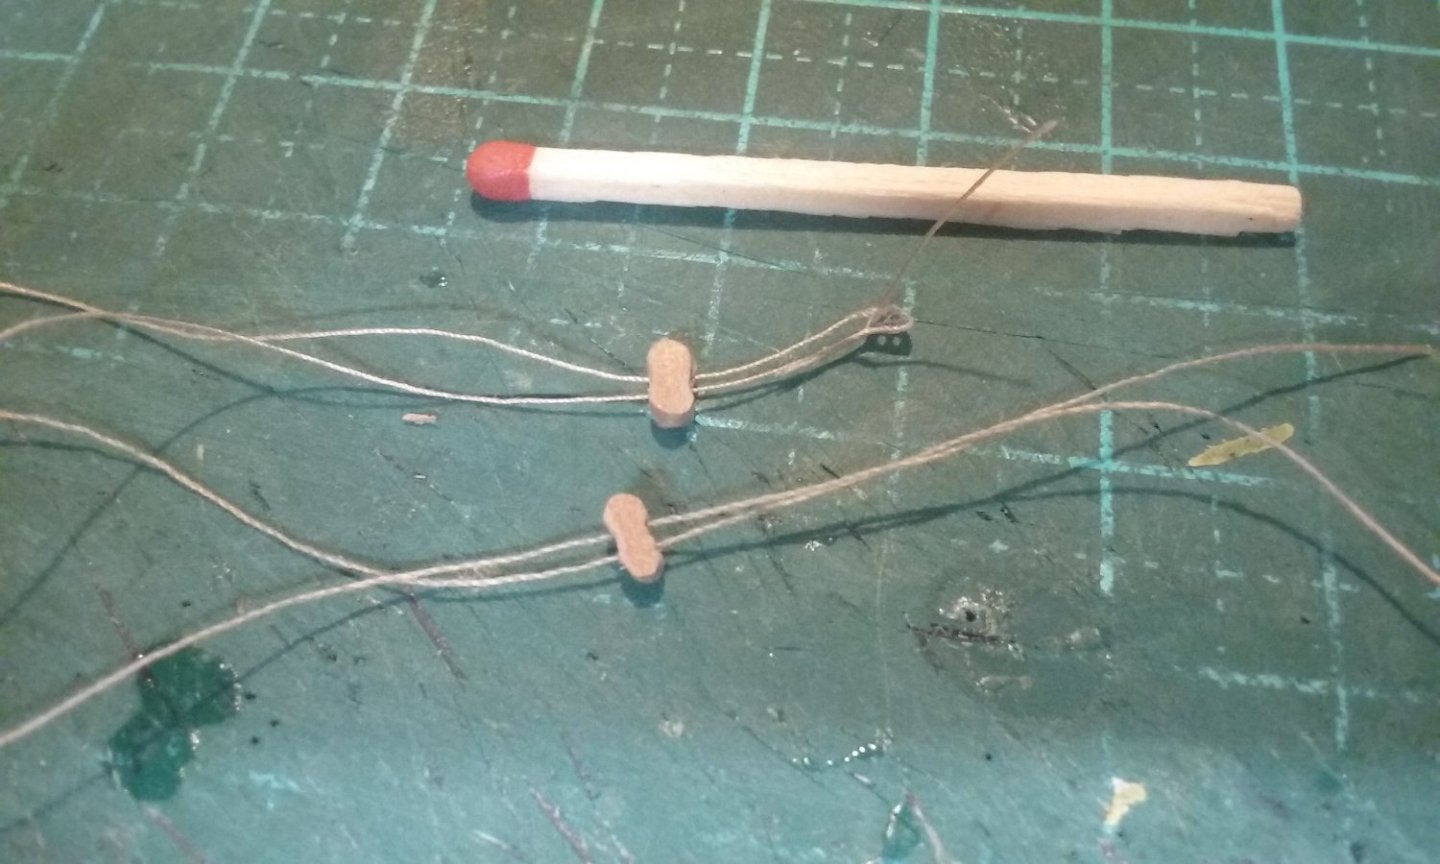
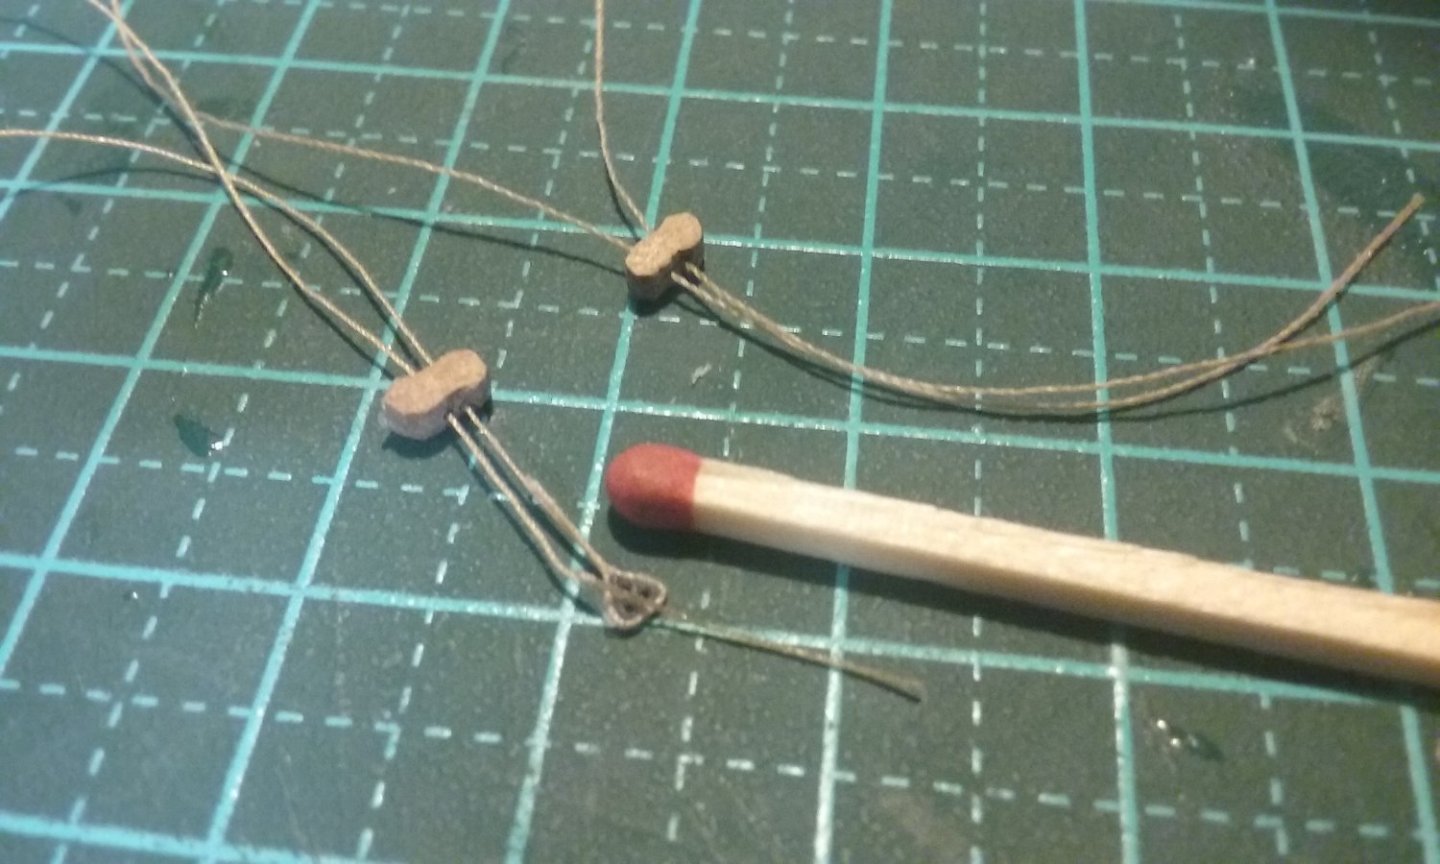
Making fiddle blocks for the mainsail martnet tackles. Holes drilled in blank Cut to shape Glued and clamped after it split Note the tiny plastic pegs (available from craft shops) And with tackle going through both holes (temporary - just to demonstrate). Steven
- 740 replies
-
- Tudor
- restoration
-
(and 4 more)
Tagged with:
-
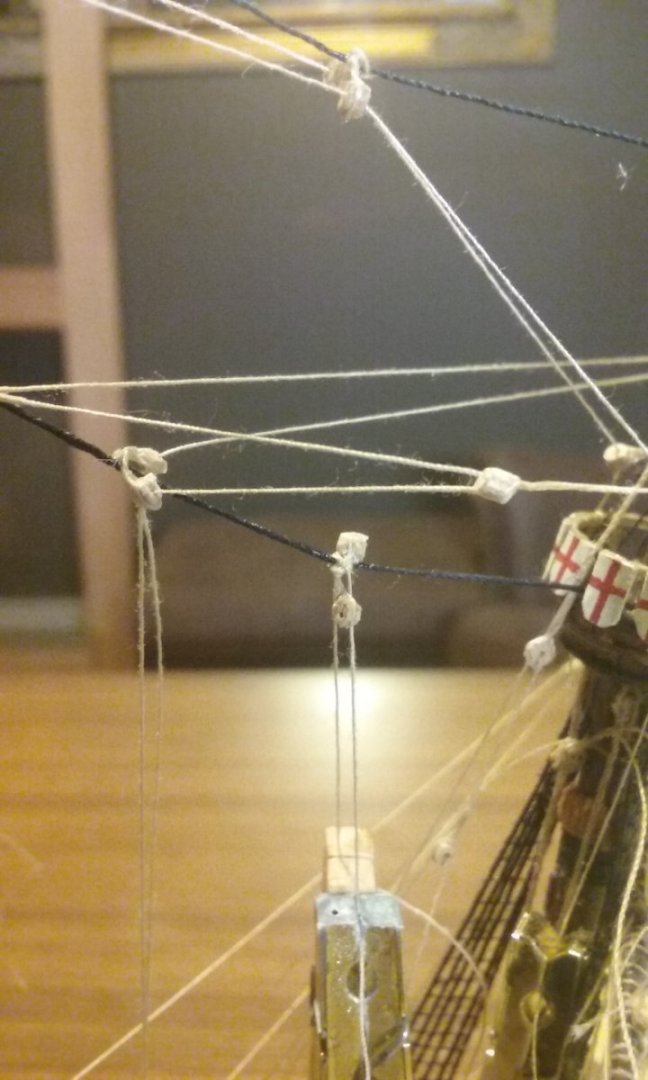
Current state of play: A new pair of blocks on the stay for the two maintopsail bowlines (the pegs are just weights, to tension it all till the glue dries) And with the bowlines in place: And just below the top you can see the two-sheaved block the bowlines run through to the deck. I realised I'd misinterpreted Anderson's book for the topgallant sheets. In fact, they double as topsail lifts; there are only separate lifts on the topgallant yard. So I had to undo the sheets and add a new pair of blocks just below the topmast top to take the sheets/lifts, and run them through those. Unfortunately, I'd made the same mistake on the foretopsail sheets (though I'd added the extra blocks, I hadn't run the sheets/lifts through them). But it would now be much too difficult to correct, so I'm going to leave it as-is, as a reminder to make sure I've really understood the instructions. Steven
- 740 replies
-
- Tudor
- restoration
-
(and 4 more)
Tagged with:
-

How an 18th Century Sailing Battleship Works
Louie da fly replied to Tossedman's topic in Nautical/Naval History
No, he shows them in the video. They are definitely ducts - square wooden tubes for and aft, angled up at the ends. -

How an 18th Century Sailing Battleship Works
Louie da fly replied to Tossedman's topic in Nautical/Naval History
A few minor points regarding terminology, but overall, an excellent video! Steven
About us
Modelshipworld - Advancing Ship Modeling through Research
SSL Secured
Your security is important for us so this Website is SSL-Secured
NRG Mailing Address
Nautical Research Guild
237 South Lincoln Street
Westmont IL, 60559-1917
Model Ship World ® and the MSW logo are Registered Trademarks, and belong to the Nautical Research Guild (United States Patent and Trademark Office: No. 6,929,264 & No. 6,929,274, registered Dec. 20, 2022)
Helpful Links
About the NRG
If you enjoy building ship models that are historically accurate as well as beautiful, then The Nautical Research Guild (NRG) is just right for you.
The Guild is a non-profit educational organization whose mission is to “Advance Ship Modeling Through Research”. We provide support to our members in their efforts to raise the quality of their model ships.
The Nautical Research Guild has published our world-renowned quarterly magazine, The Nautical Research Journal, since 1955. The pages of the Journal are full of articles by accomplished ship modelers who show you how they create those exquisite details on their models, and by maritime historians who show you the correct details to build. The Journal is available in both print and digital editions. Go to the NRG web site (www.thenrg.org) to download a complimentary digital copy of the Journal. The NRG also publishes plan sets, books and compilations of back issues of the Journal and the former Ships in Scale and Model Ship Builder magazines.


