Elijah
-
Posts
1,310 -
Joined
-
Last visited
Content Type
Profiles
Forums
Gallery
Events
Everything posted by Elijah
-
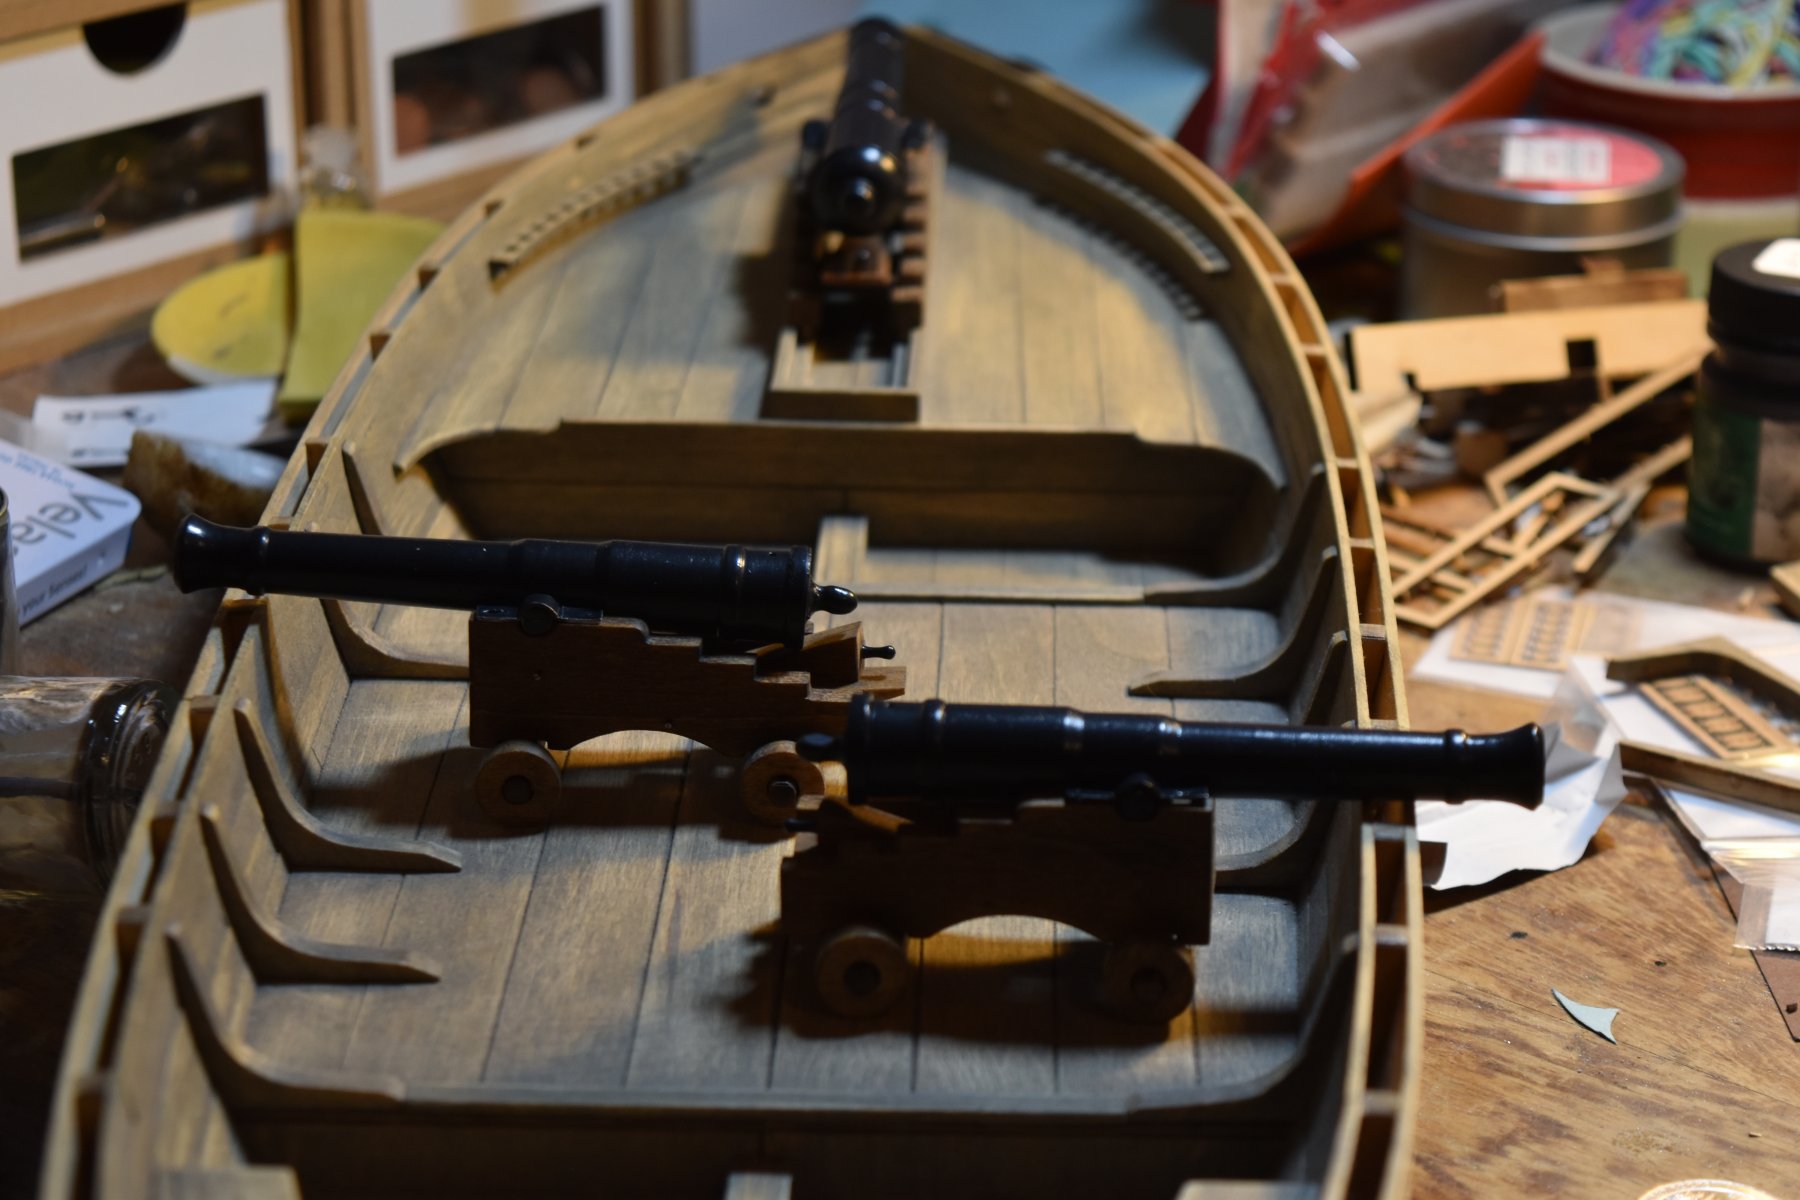
 Thanks Doc and Kurt! Actually, I didn't get it to work as well as I would have hoped. I cleaned it up and got it to spray liquid, but with the paint I could never get a consistent flow. So, I tried an alternative and brushed it by hand. I used a foam brush to prevent any brush strokes, and I think it worked out fairly well. I think the texture of the cannons works with the theme of the rest of the boat, so I'm pretty happy with it now.
- 228 replies
-
- 3
-

-
- gunboat
- model shipways
- (and 1 more)
-
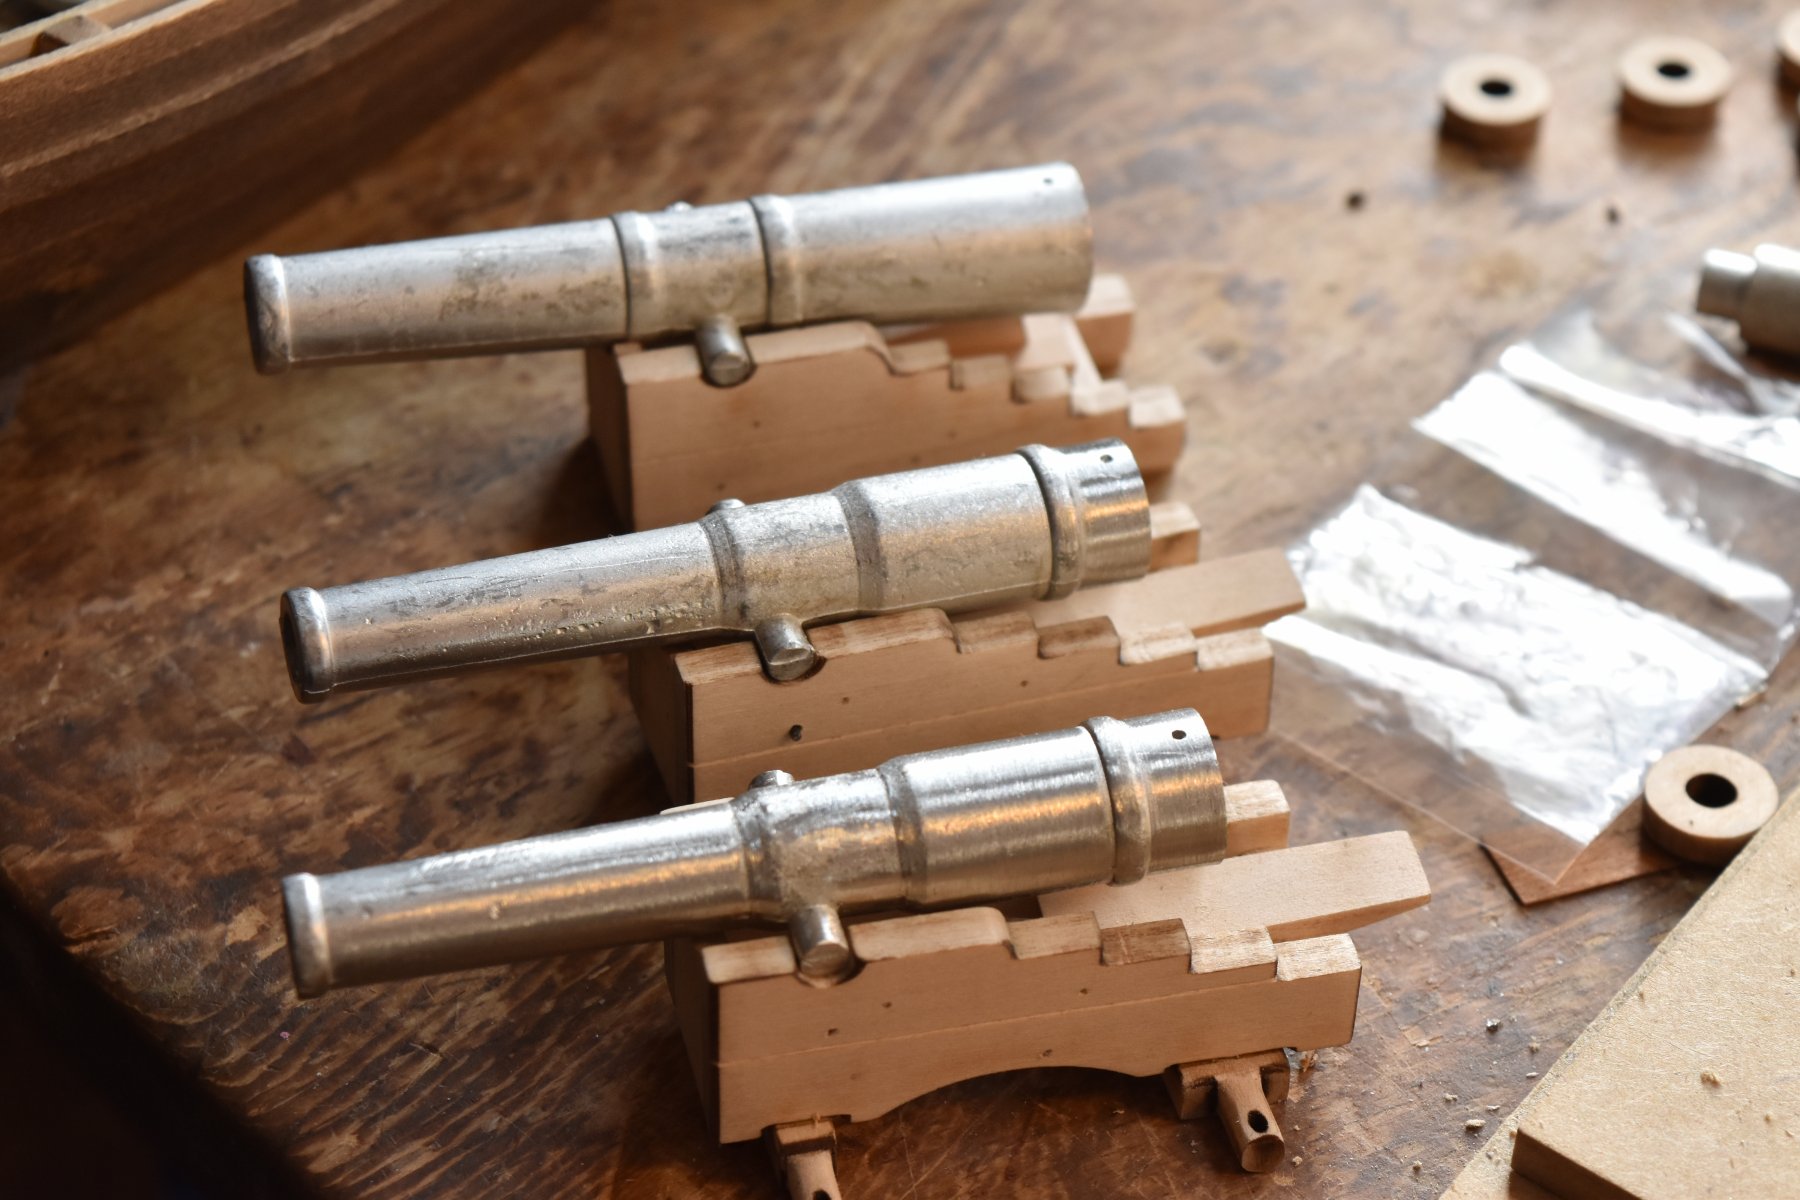
After a good deal of trial and error, multiple attempts, and maybe a bit of frustration, I have painted the cannon barrels and the trunnion bands!

- 228 replies
-
- 9
-
-
- gunboat
- model shipways
- (and 1 more)
-
Looking very nice Mike! Do you plan on painting the hull? If you didn't do the second layer, how much of a difference does it make to the hull's overall dimensions, taking into account the width of the wood used for the second planking?
- 136 replies
-
- 1
-
-
- enterprise
- constructo
- (and 1 more)
-
Looks good Mike! Double planking does sound like a pain. When planking a very rounded bow, you could try building up a plank of thin layers. If you bend each layer before gluing them together, bending becomes much easier.
- 136 replies
-
- 1
-
-
- enterprise
- constructo
- (and 1 more)
-
Spring break has come, so it seems I will be away from the shipyard for a while. In the meantime, I intend to get some reading done. Sorry for the wait!
- 228 replies
-
- 4
-
-
- gunboat
- model shipways
- (and 1 more)
-
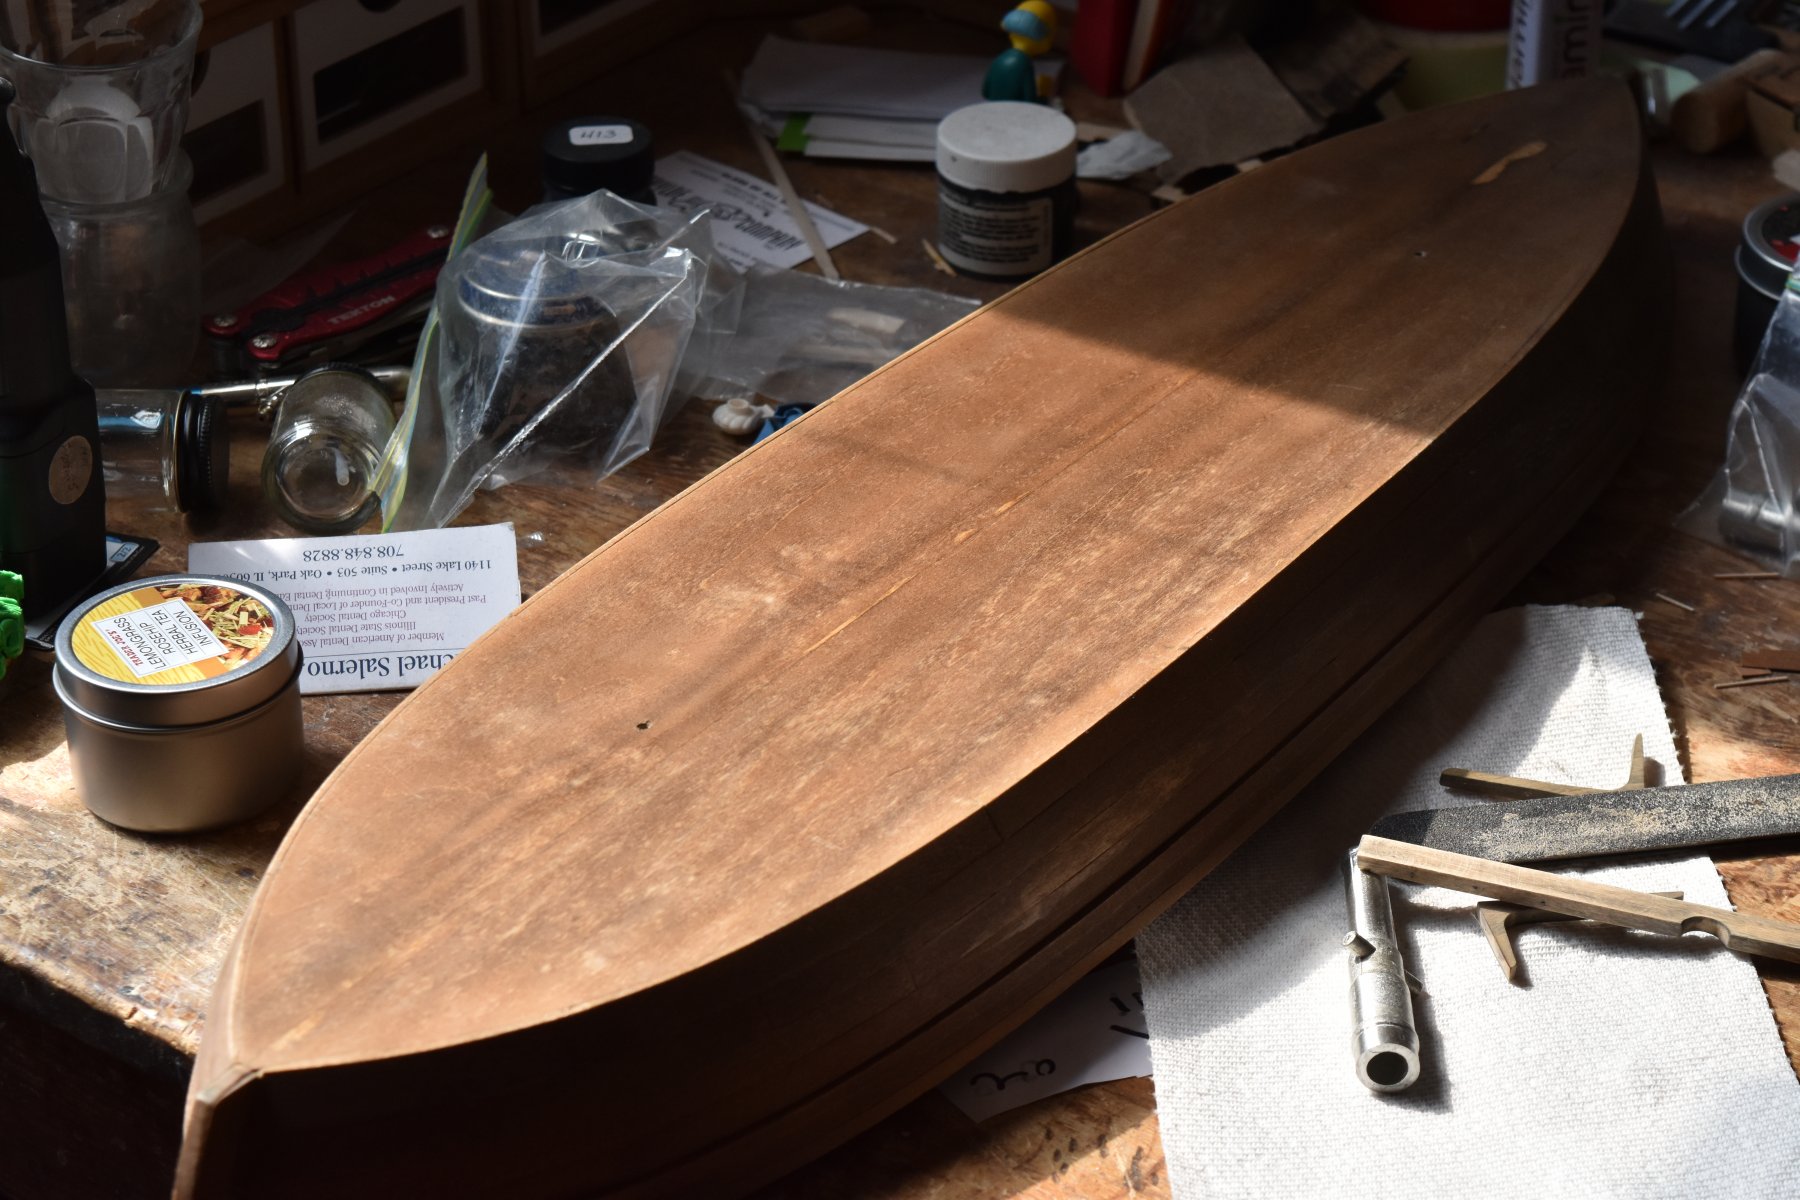
Thanks Art! Use whatever you find useful. Mike, the actual vessel had a flat bottom. This wasn't really a stability problem, as it was only meant for sailing on lakes. I can attach a photo later, but its not very interesting. As the bottom wouldn't really be viewed, the kit has no planking for it.
- 228 replies
-
- 4
-
-
- gunboat
- model shipways
- (and 1 more)
-
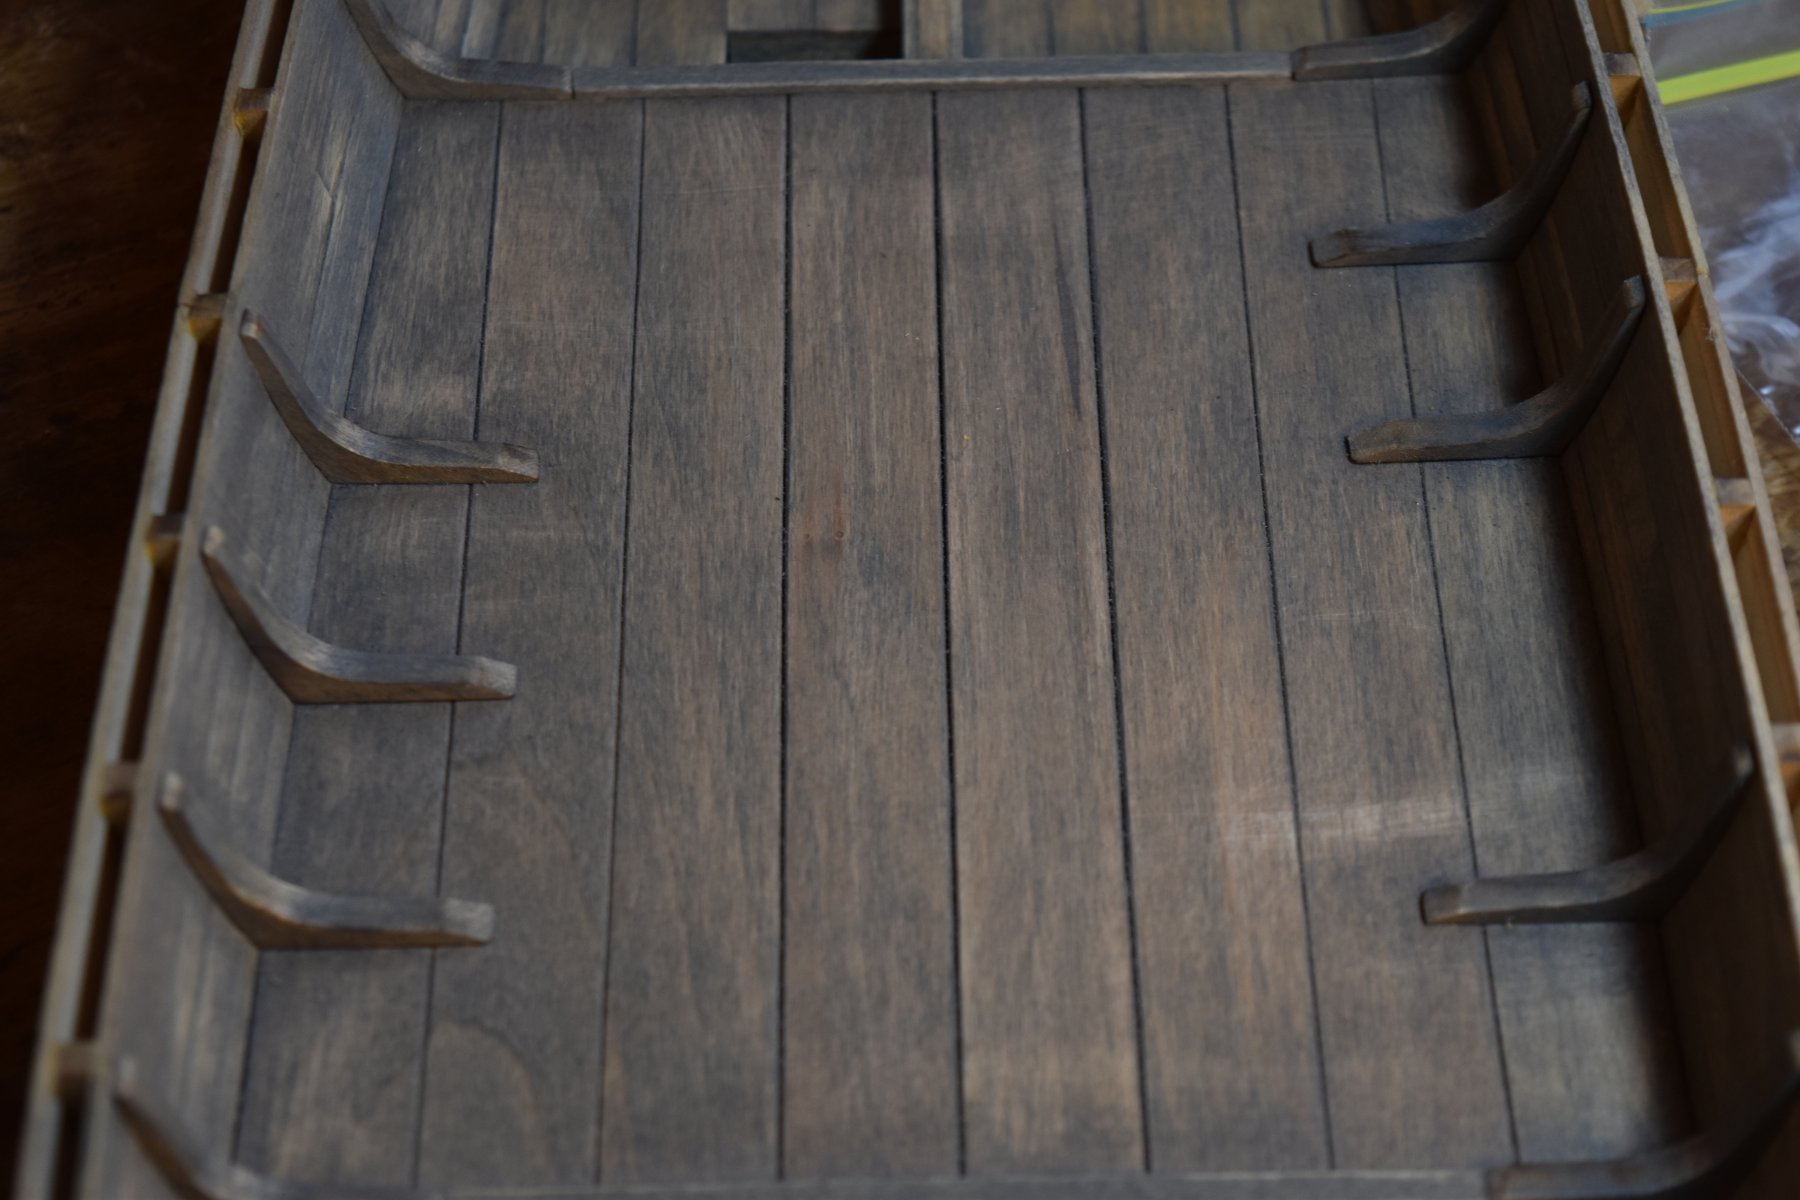
(Landlubber) Mike, thank you very much! The finish was mostly blind luck, really. I used the standard Minwax pre-stain conditioner, but didn't actually stain the interior until days later. The interior was stained with Minwax Classic Gray stain and when applied, had a bit of a sheen to it, which I took down with some sandpaper. (mikiek) Mike, tin cups is a cool idea, but it may require I get a soldering iron first. We'll see. It would certainly be fun to try! Ken, it seems I'm due for a trip to the auto parts store. Finding a good space to do that kind of thing is a pain though. I wonder if the garage has any outlets, but then it would all depend on the weather, as I would need to have the front gate open. Though, I have gloves and one of those 3M masks. Speaking of which, its a shame the filters only last 40 hours of use or 30 days, whichever comes first. They are not cheap. E.J, I'm hoping so!
- 228 replies
-
- 3
-
-
- gunboat
- model shipways
- (and 1 more)
-
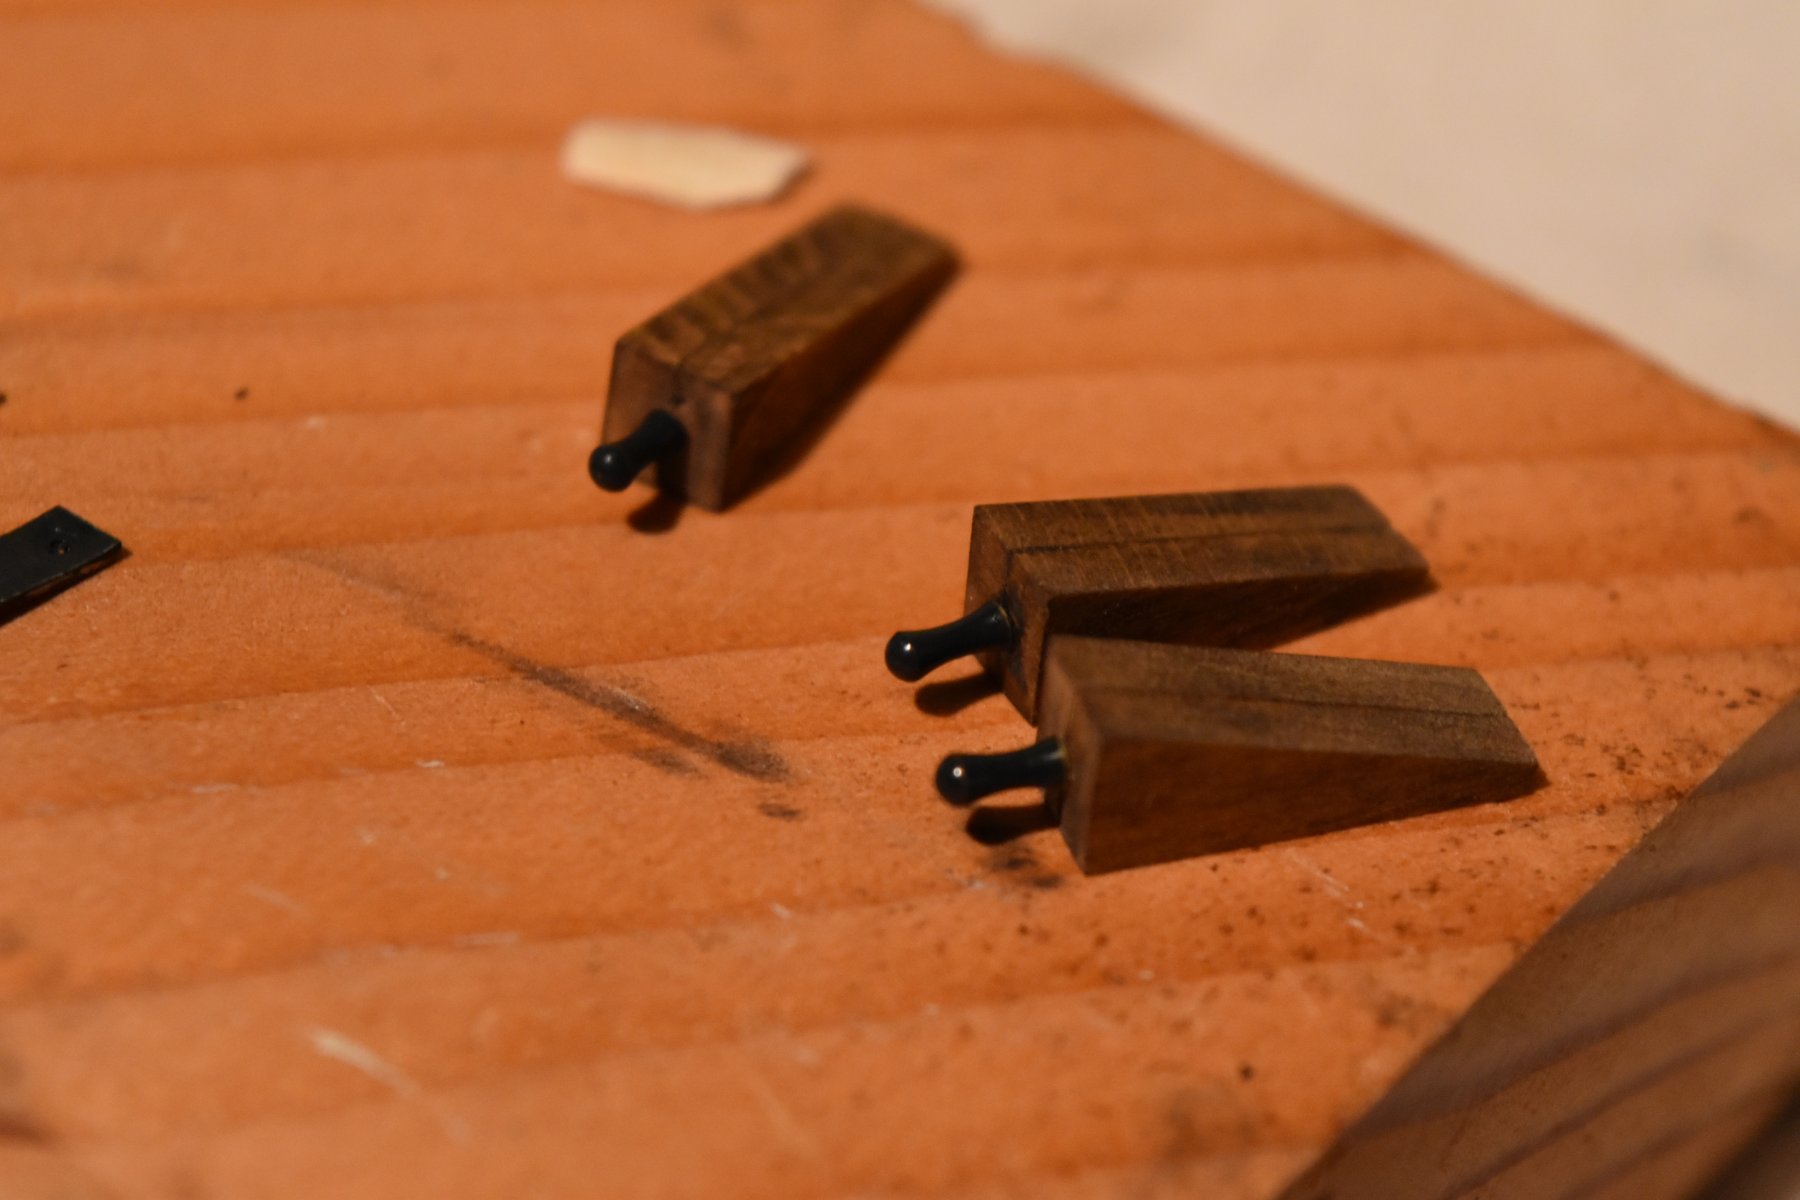
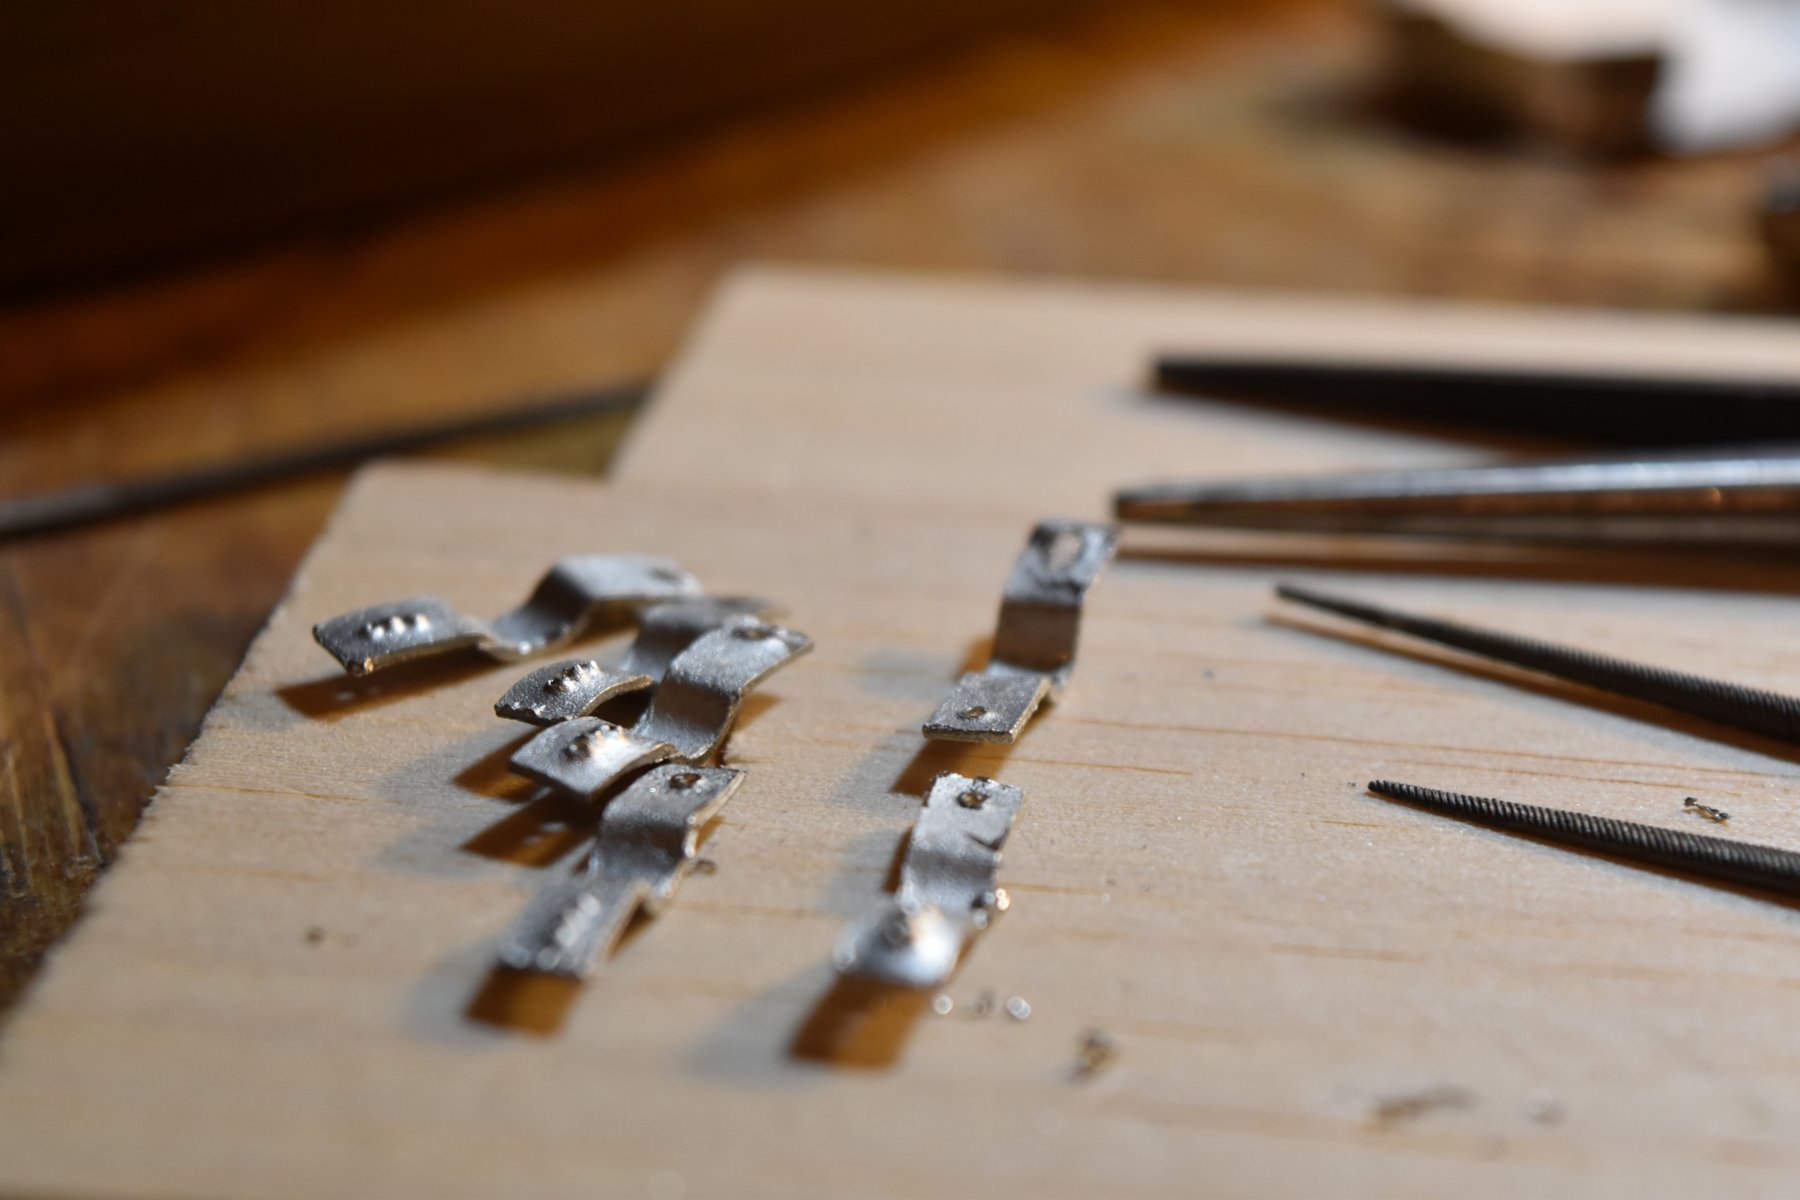
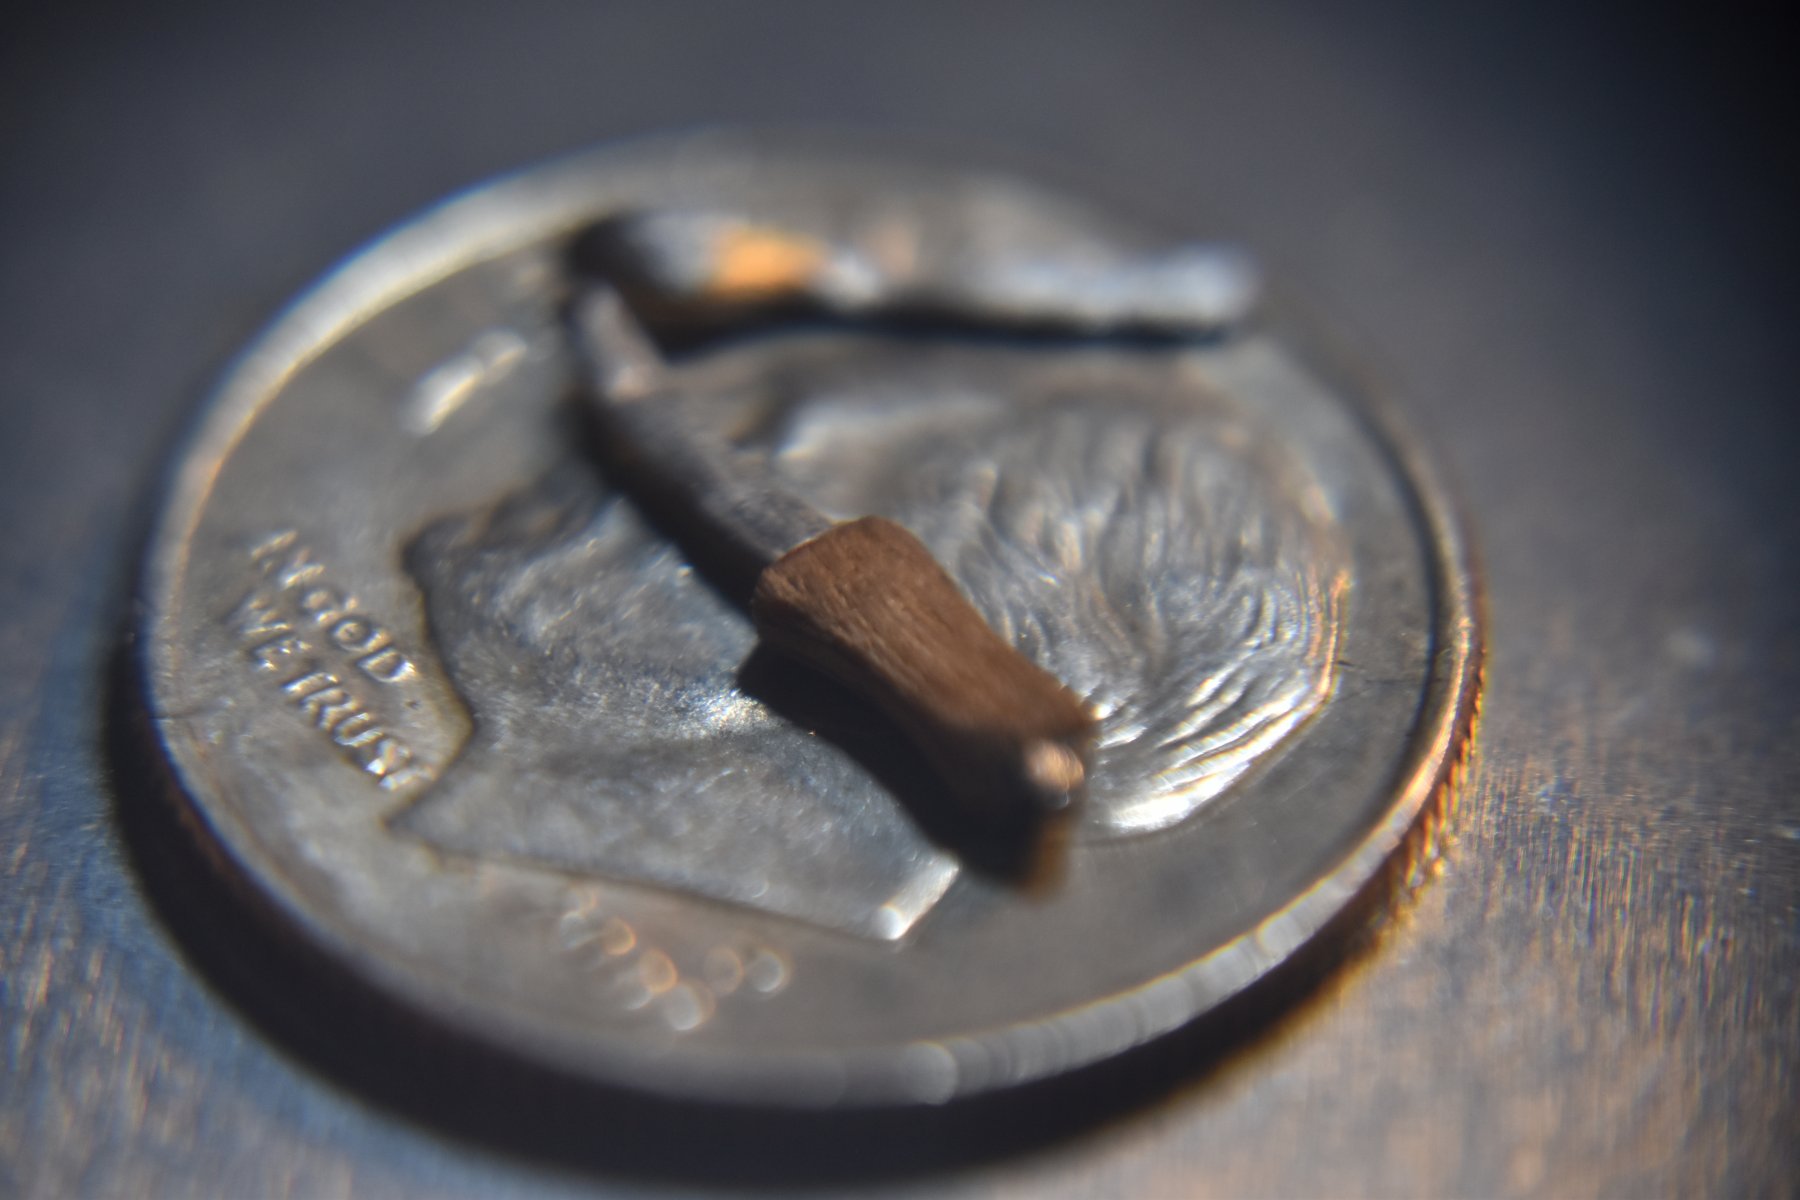
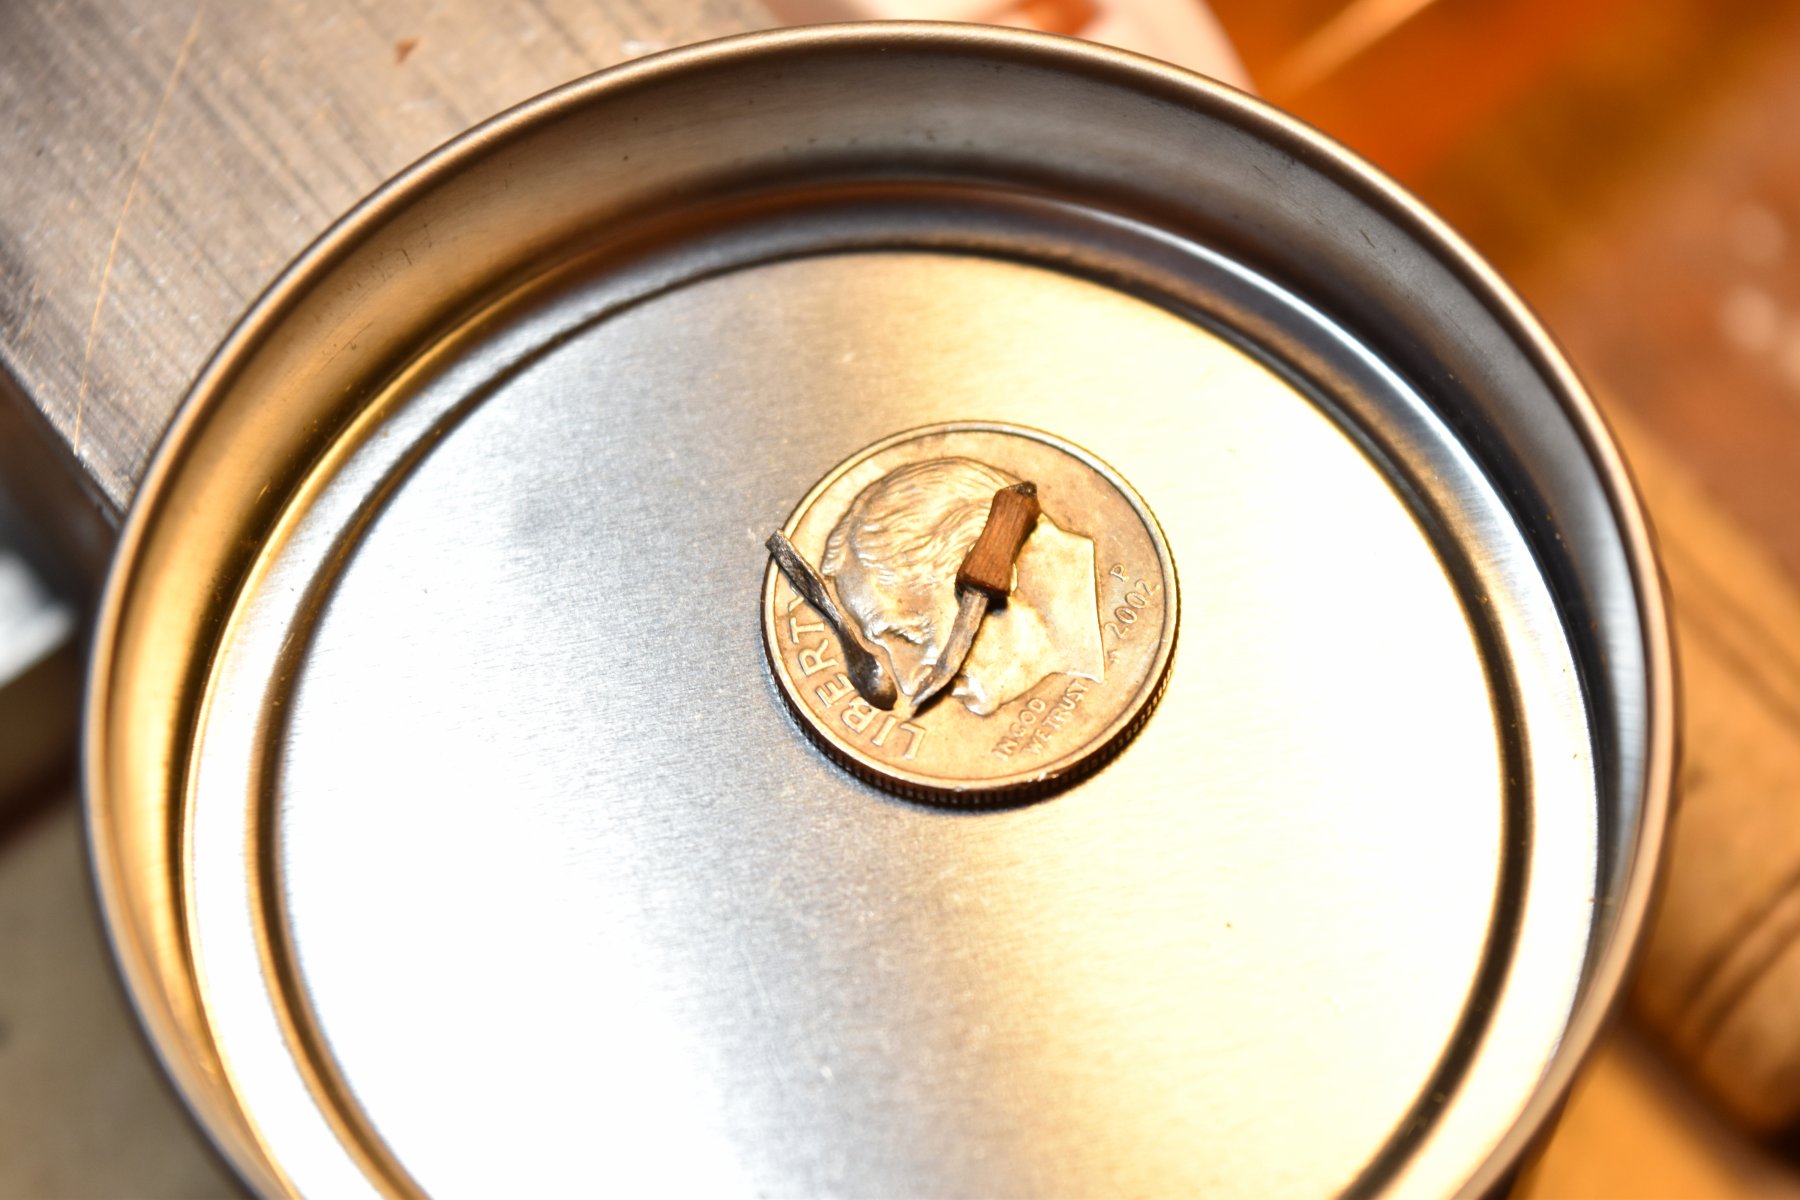
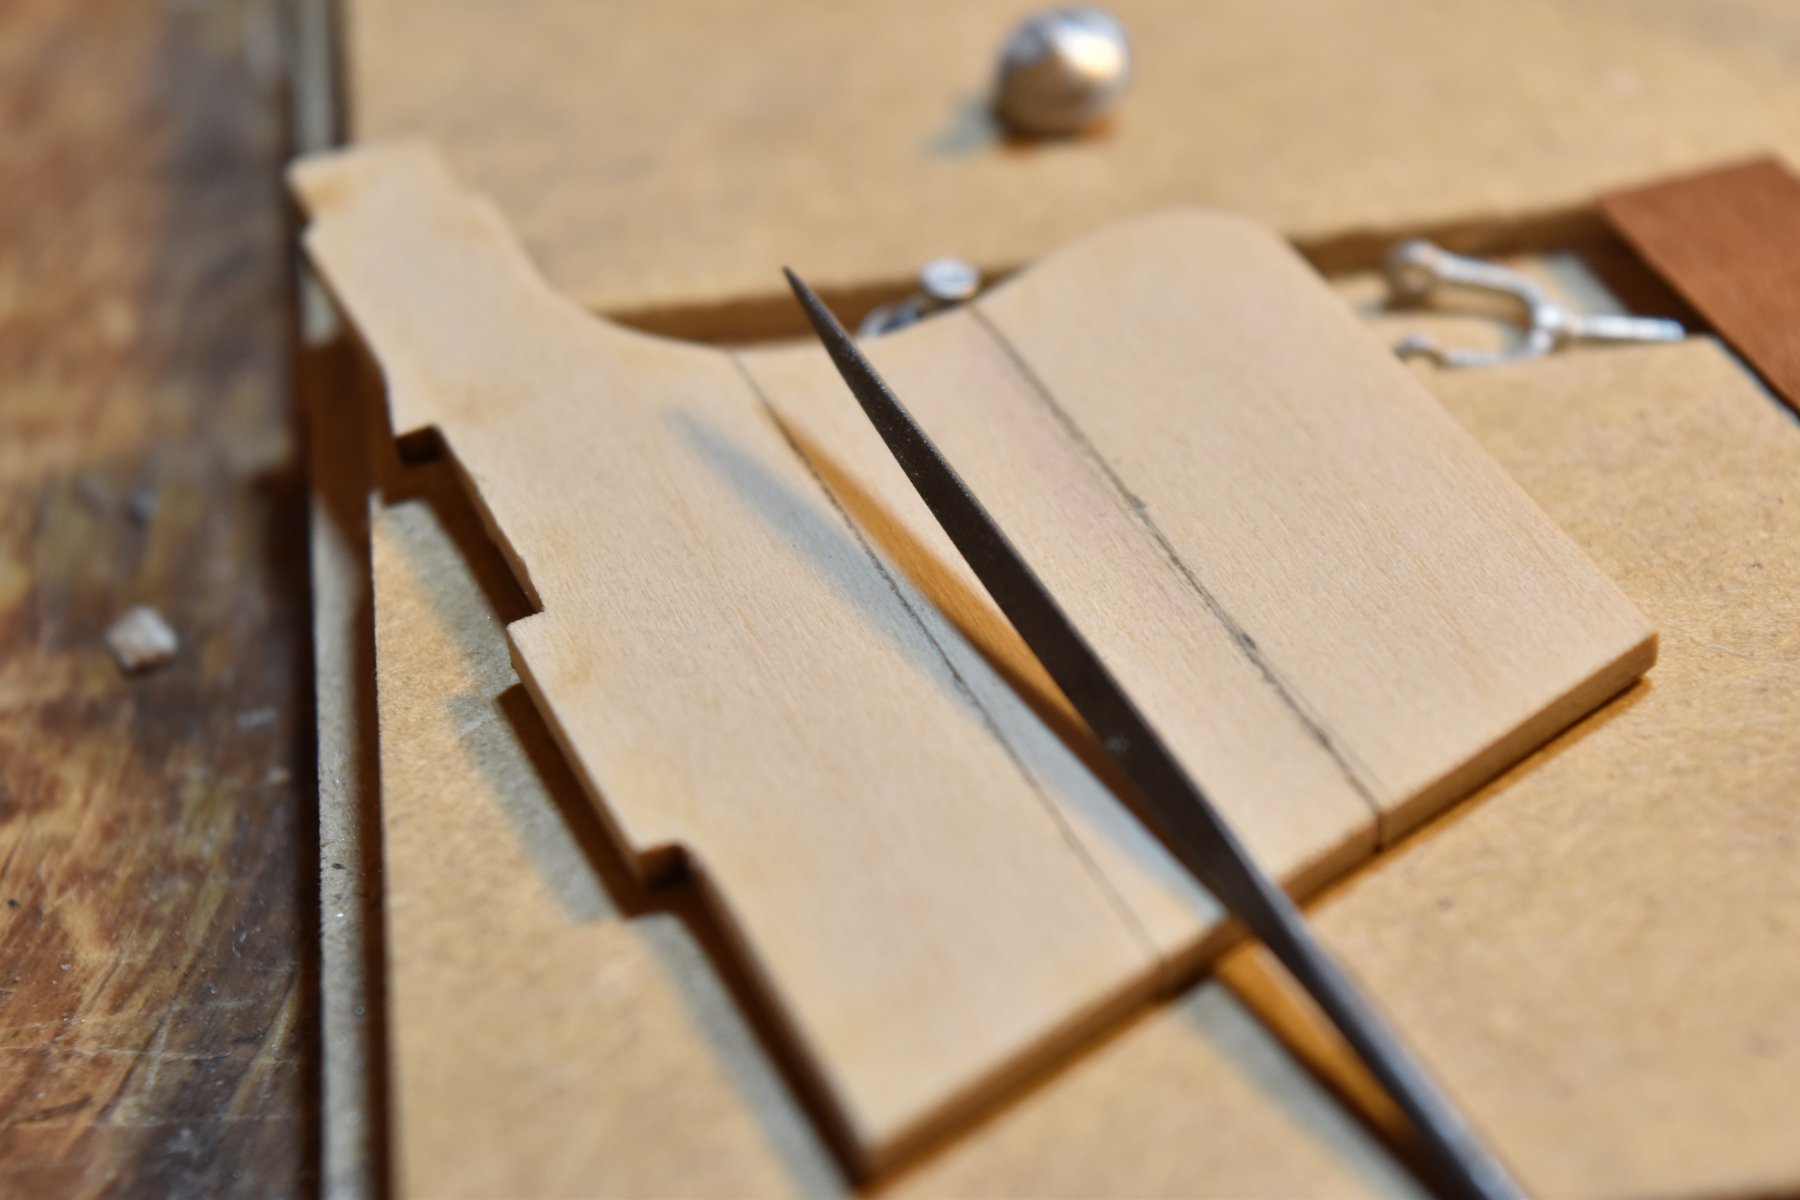
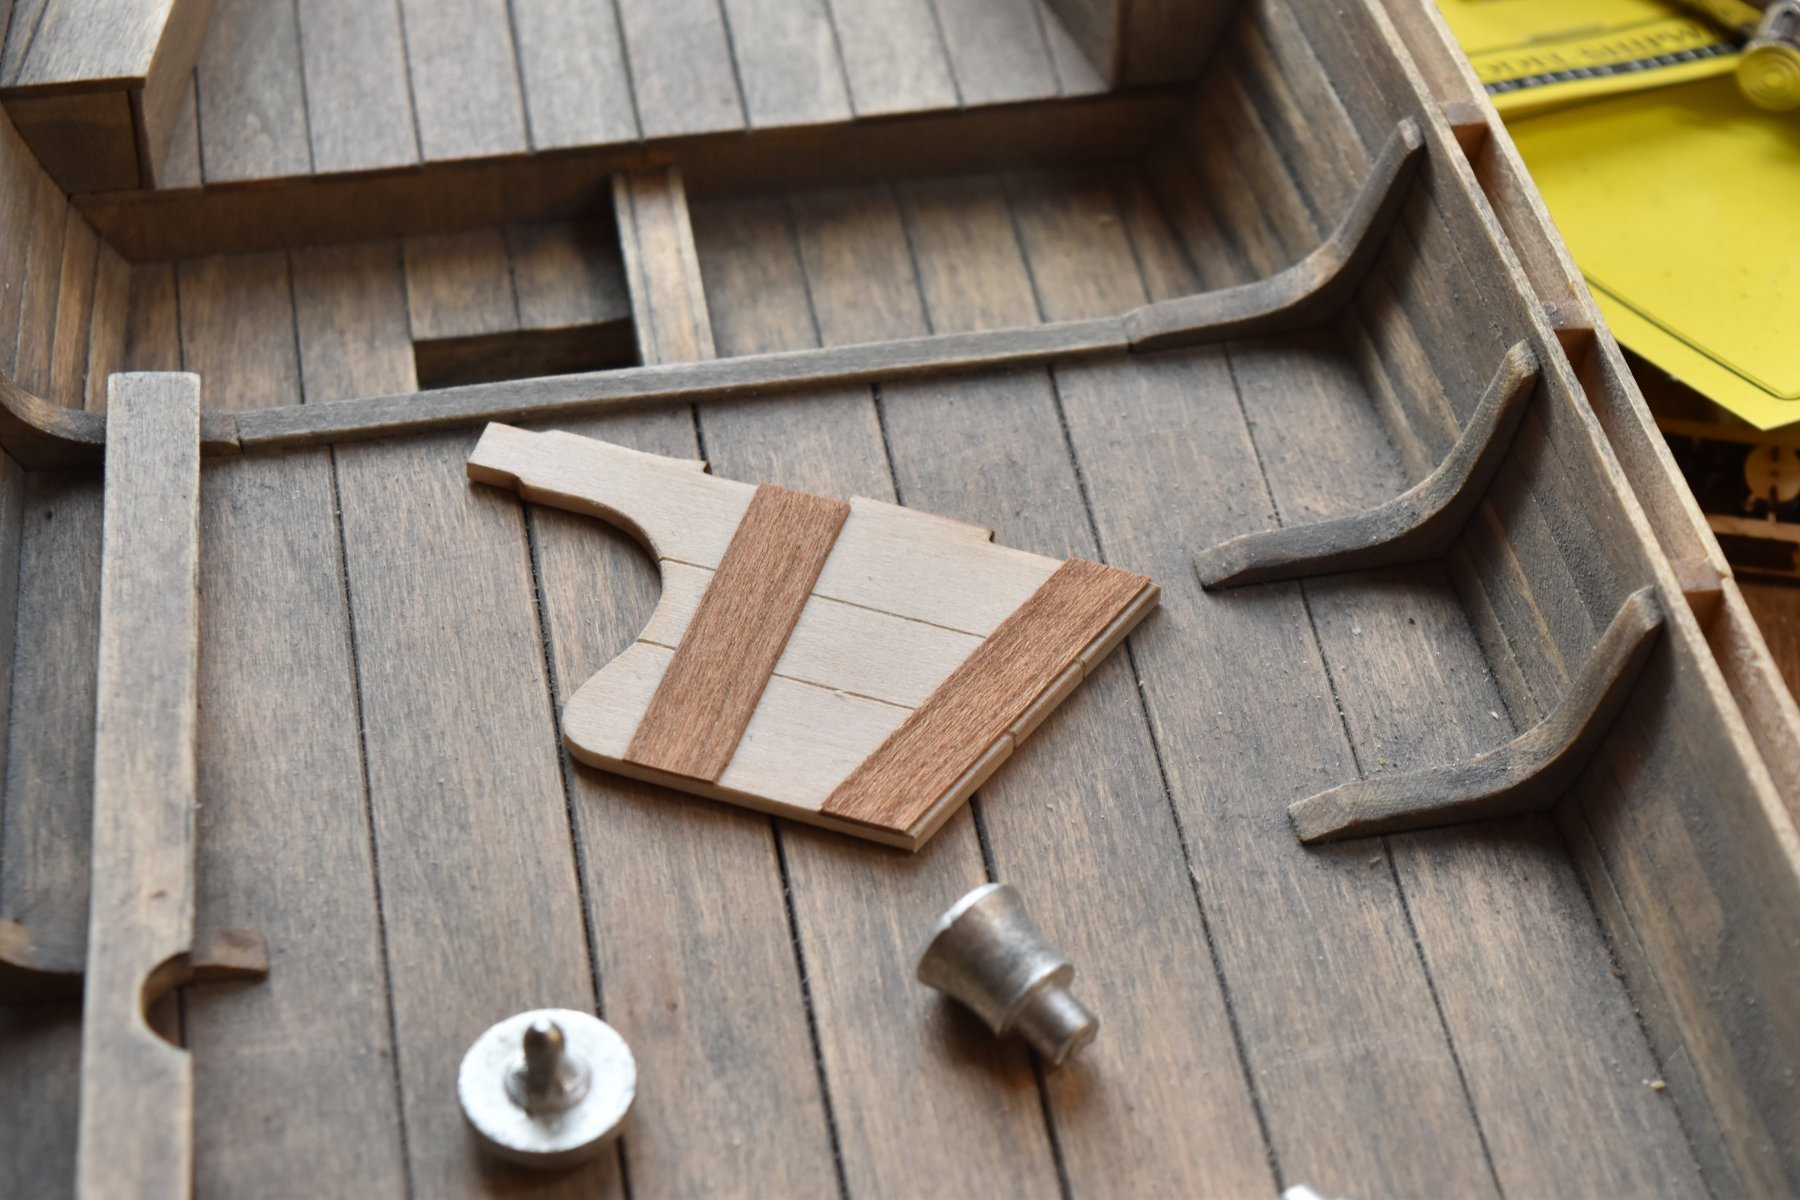
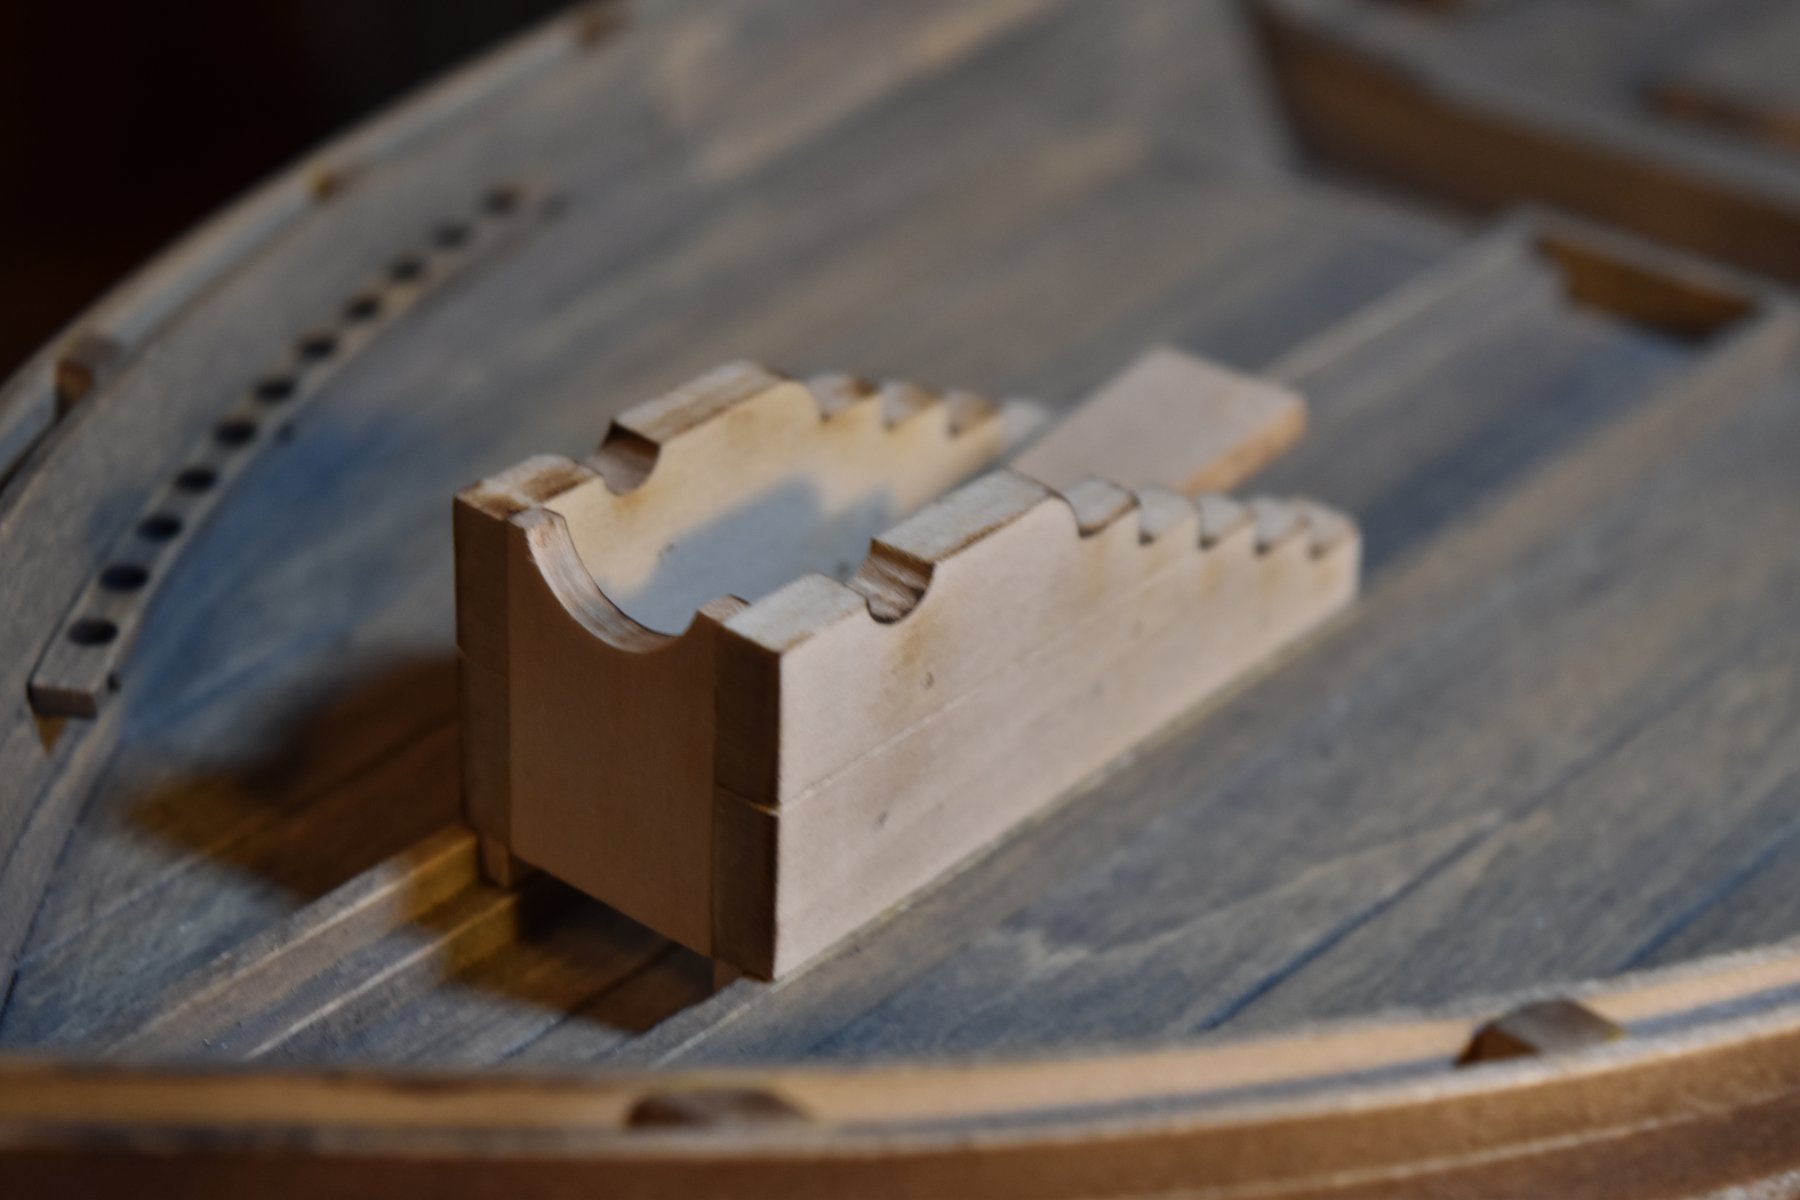
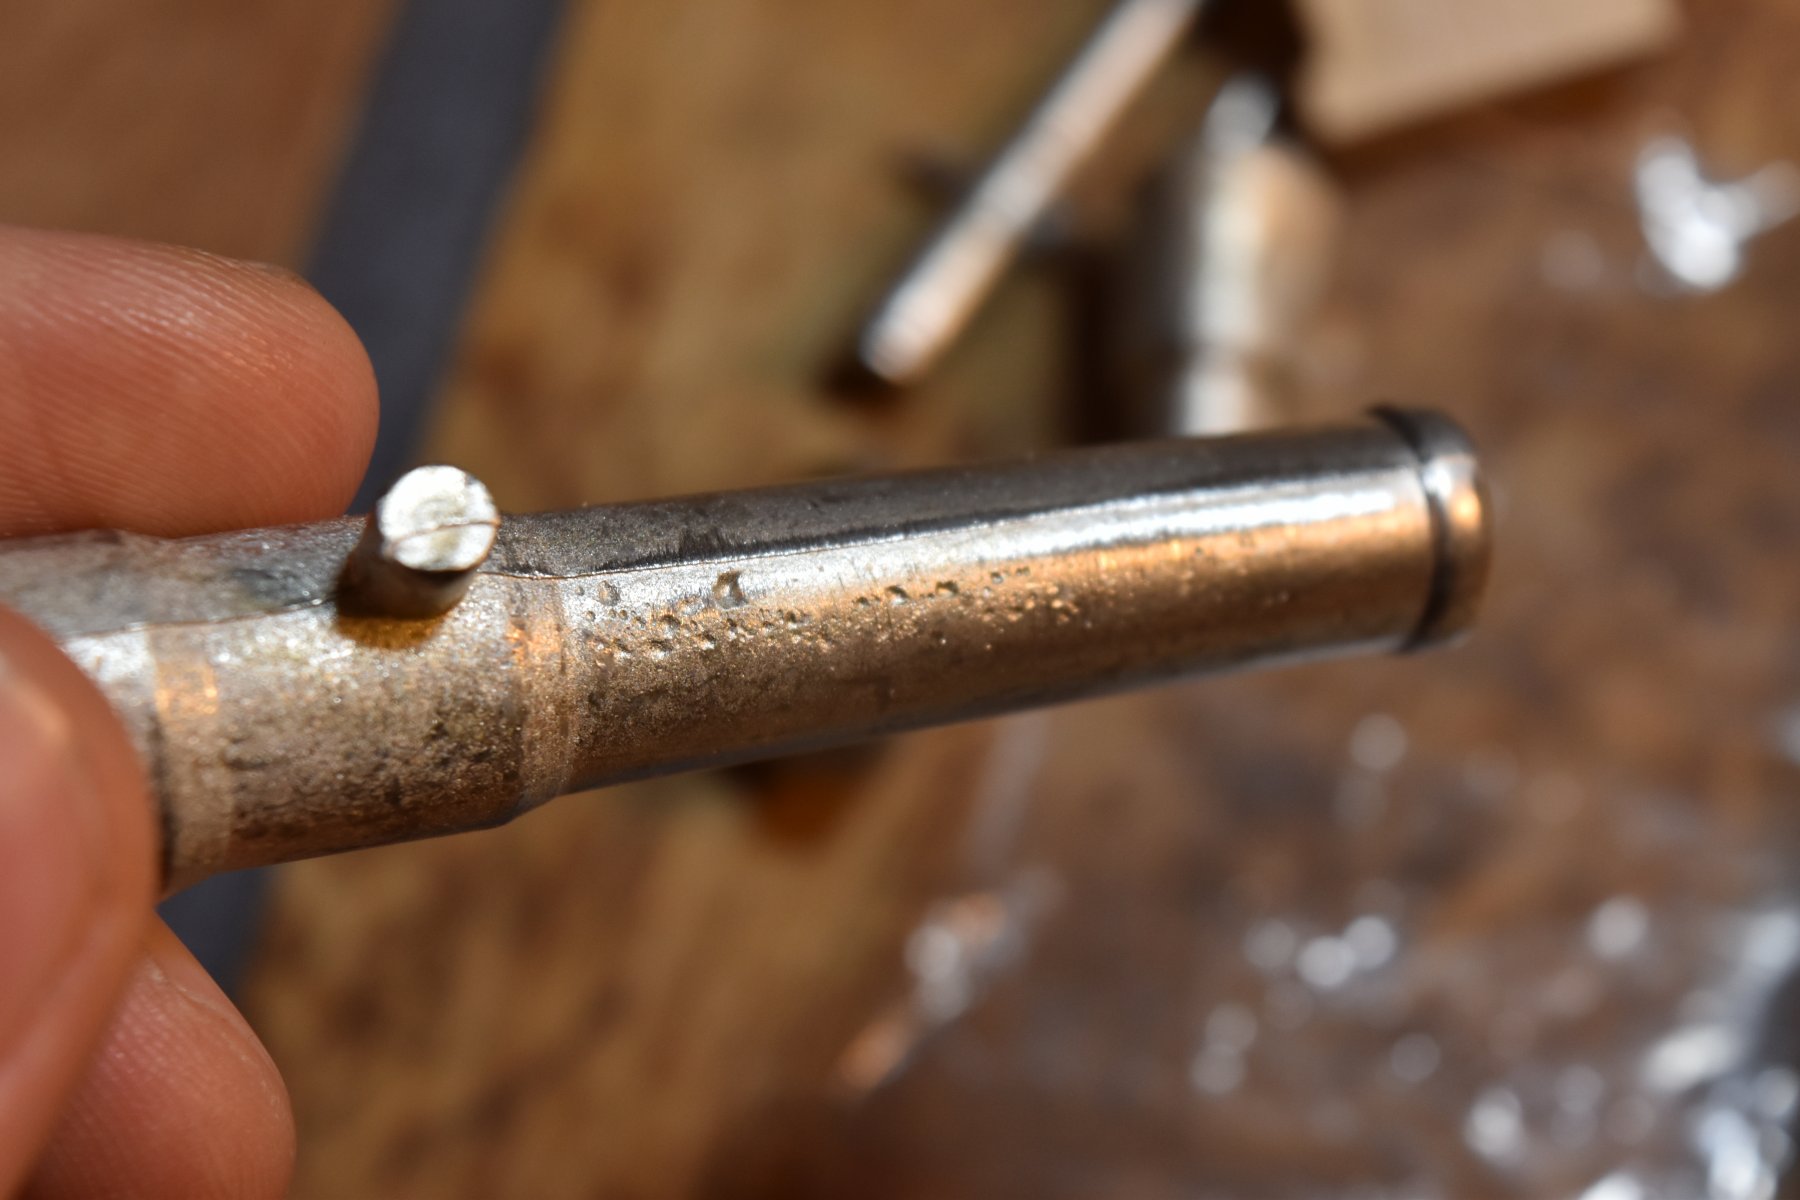
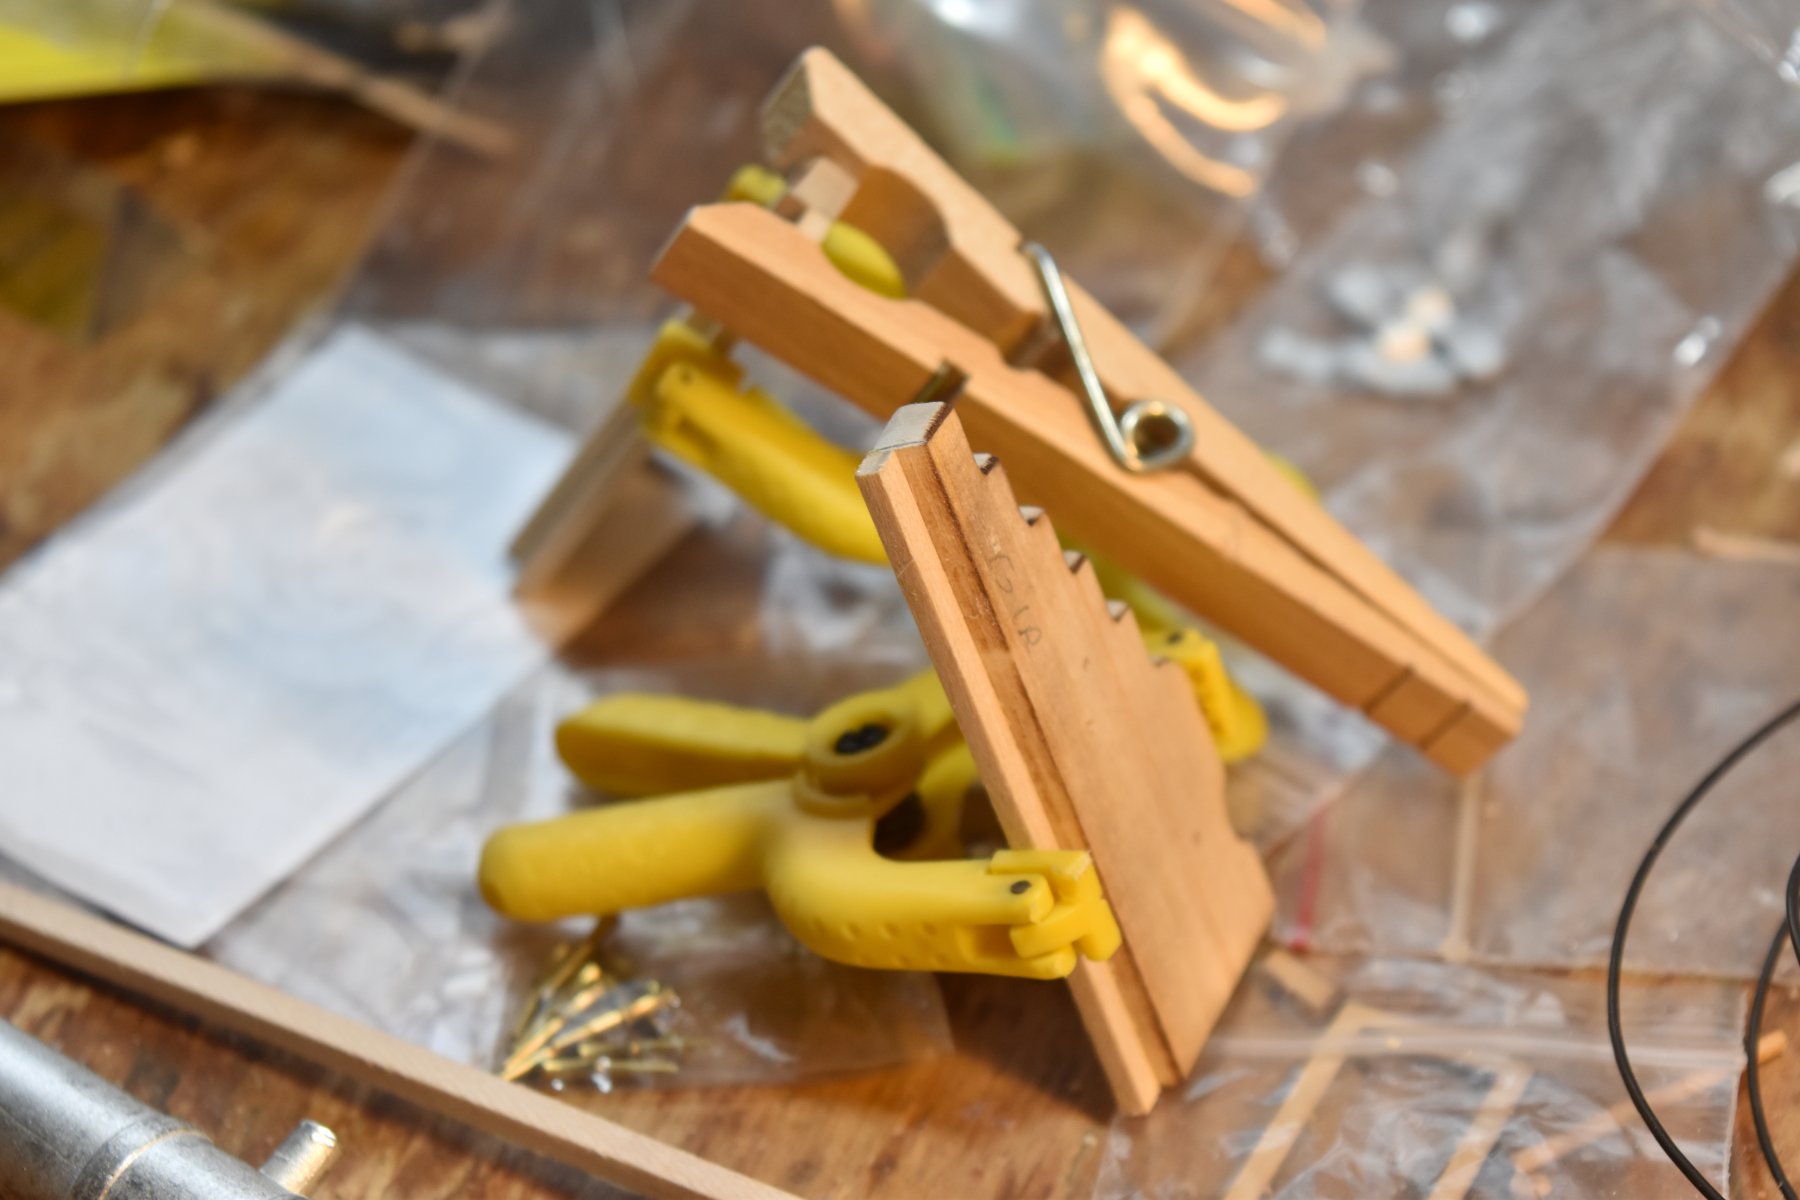
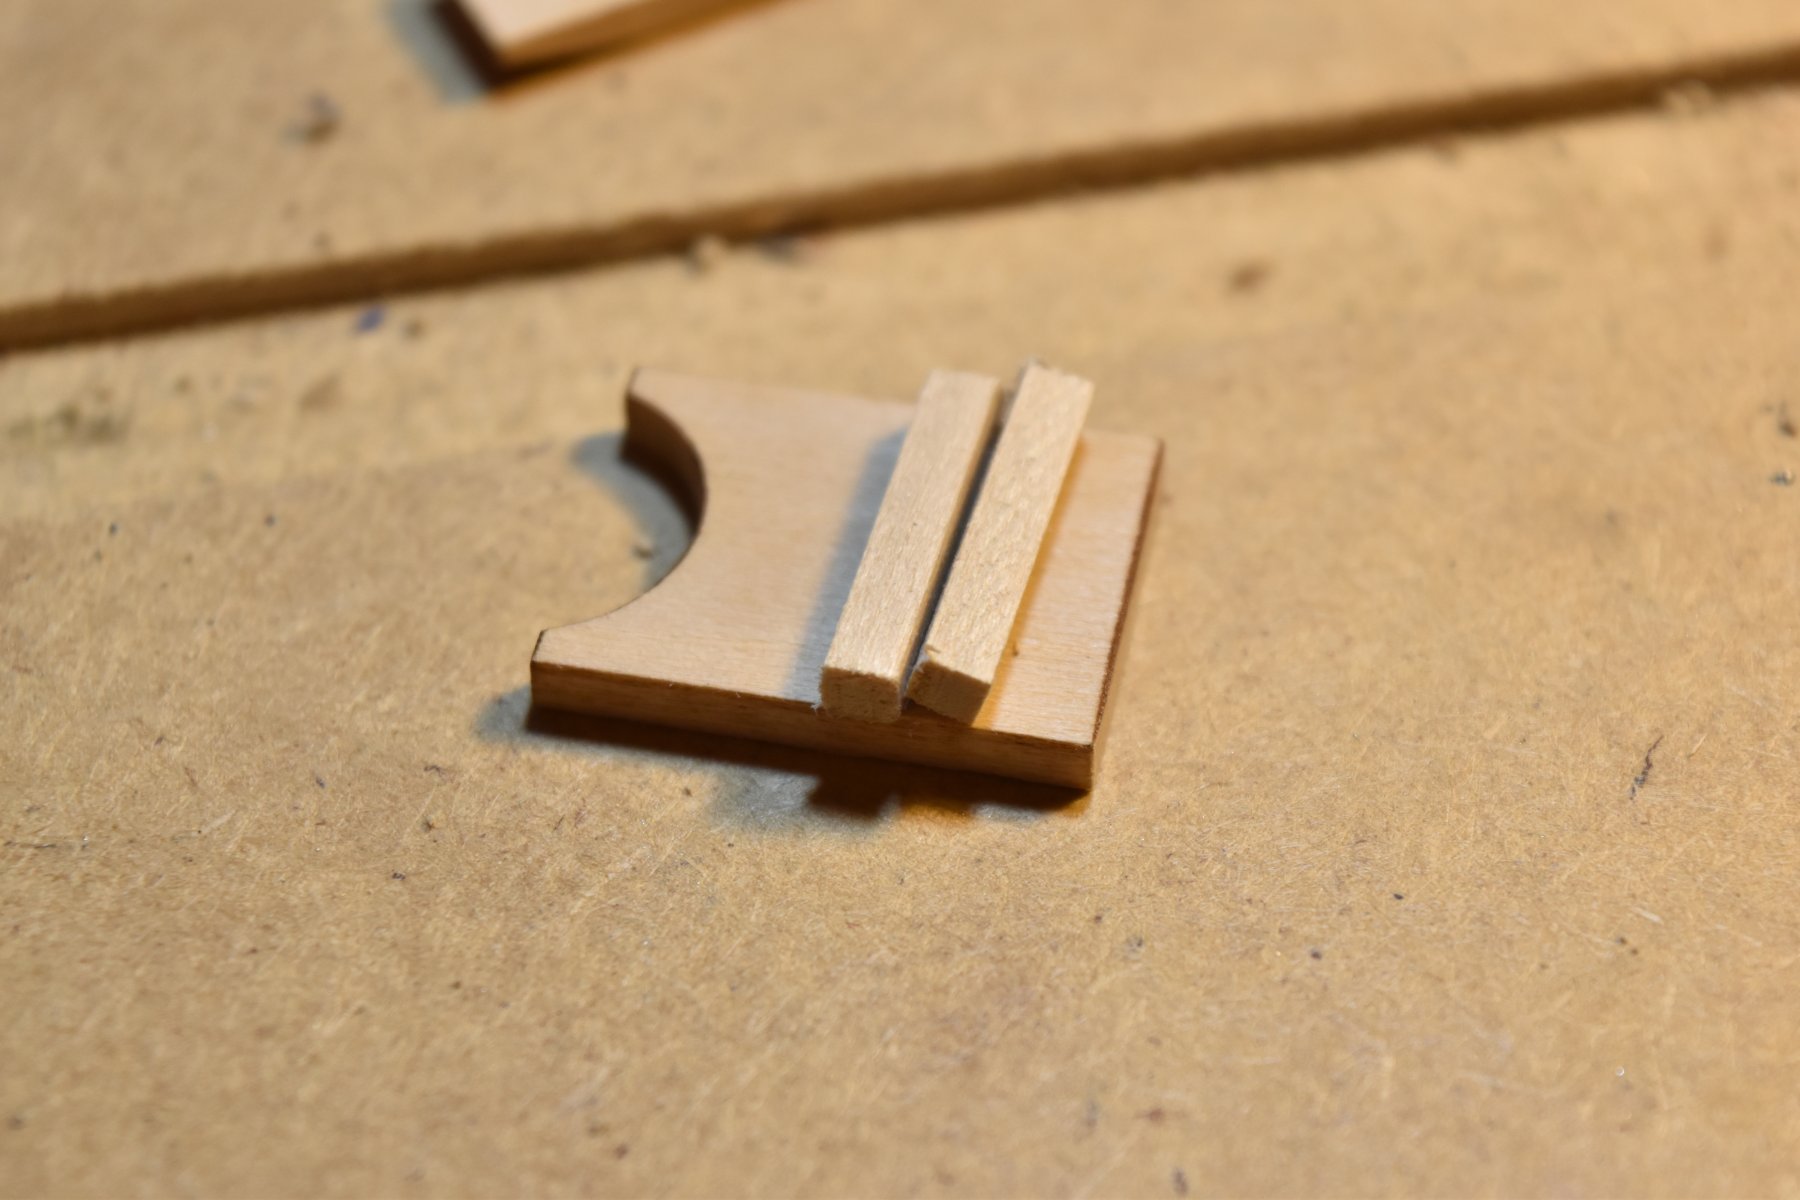
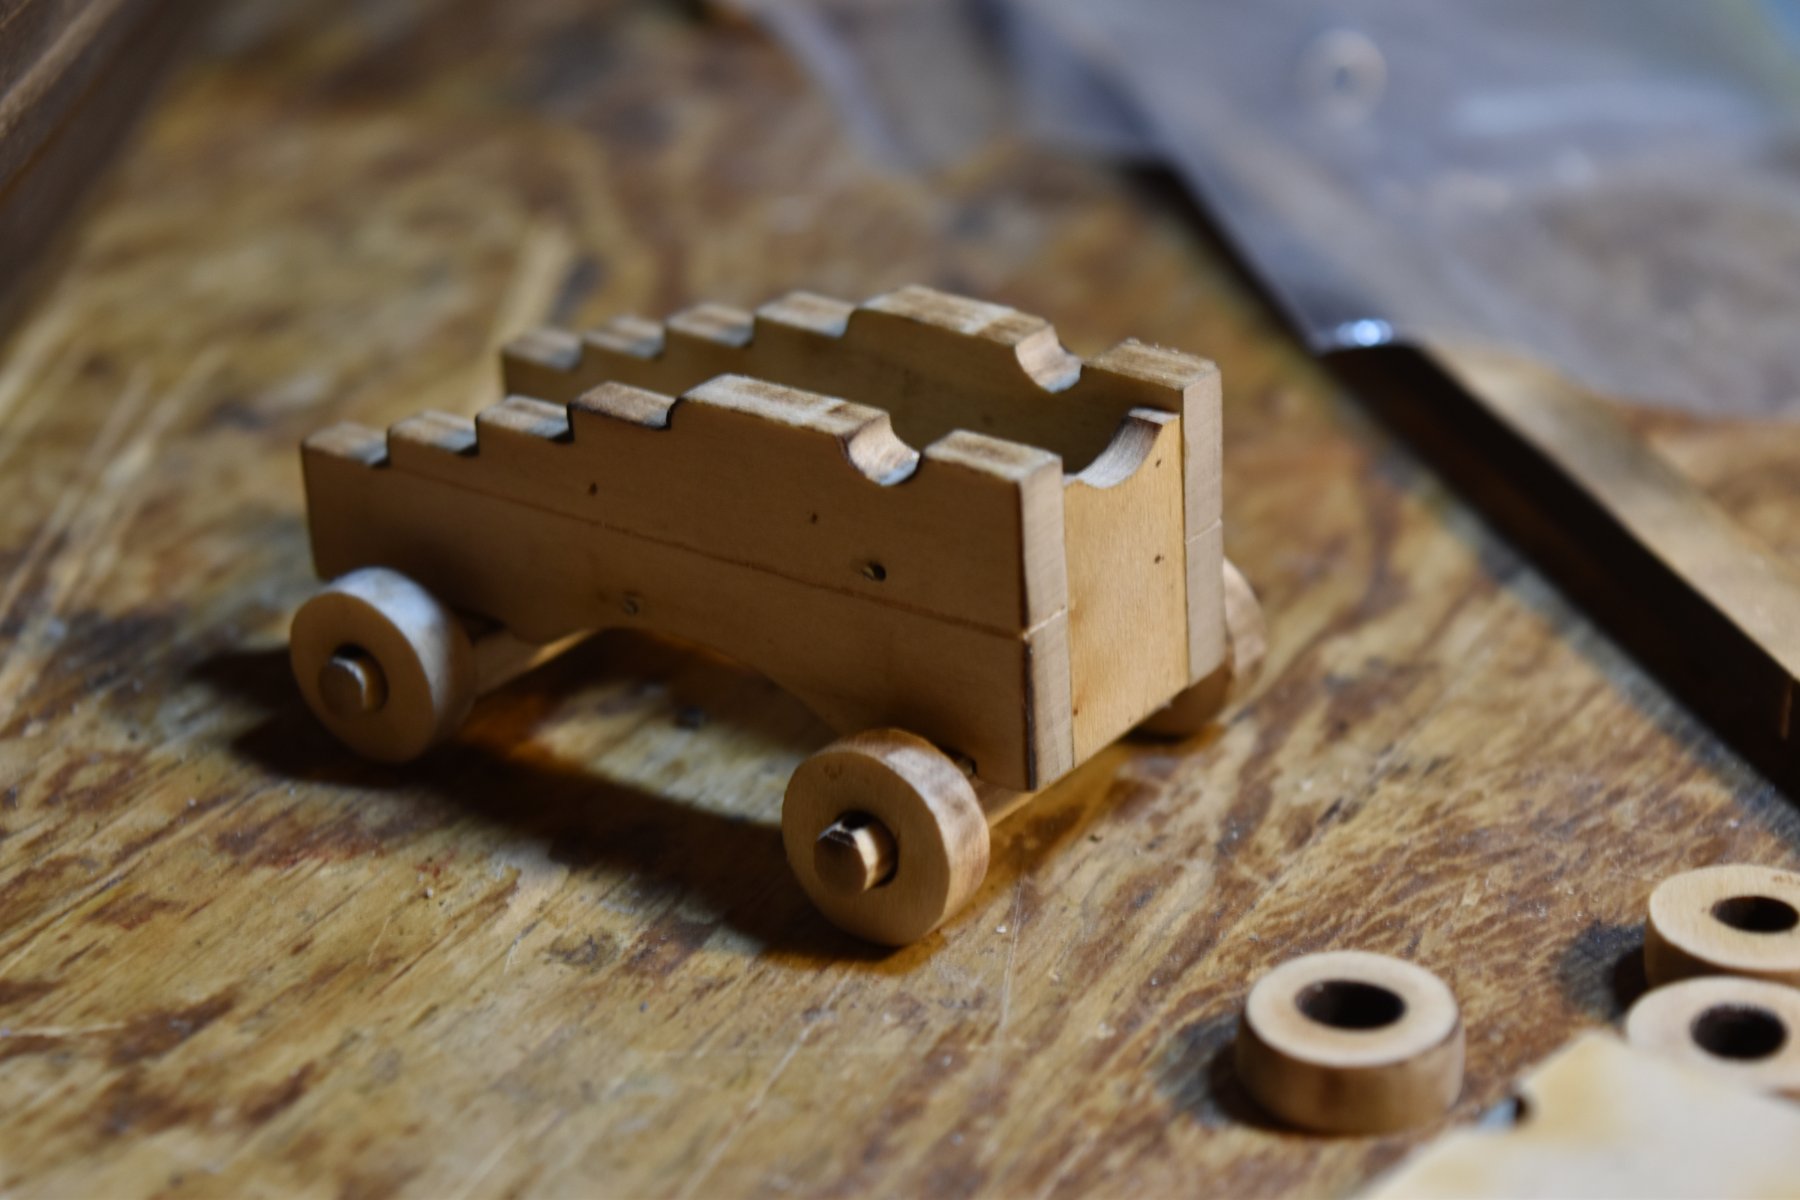
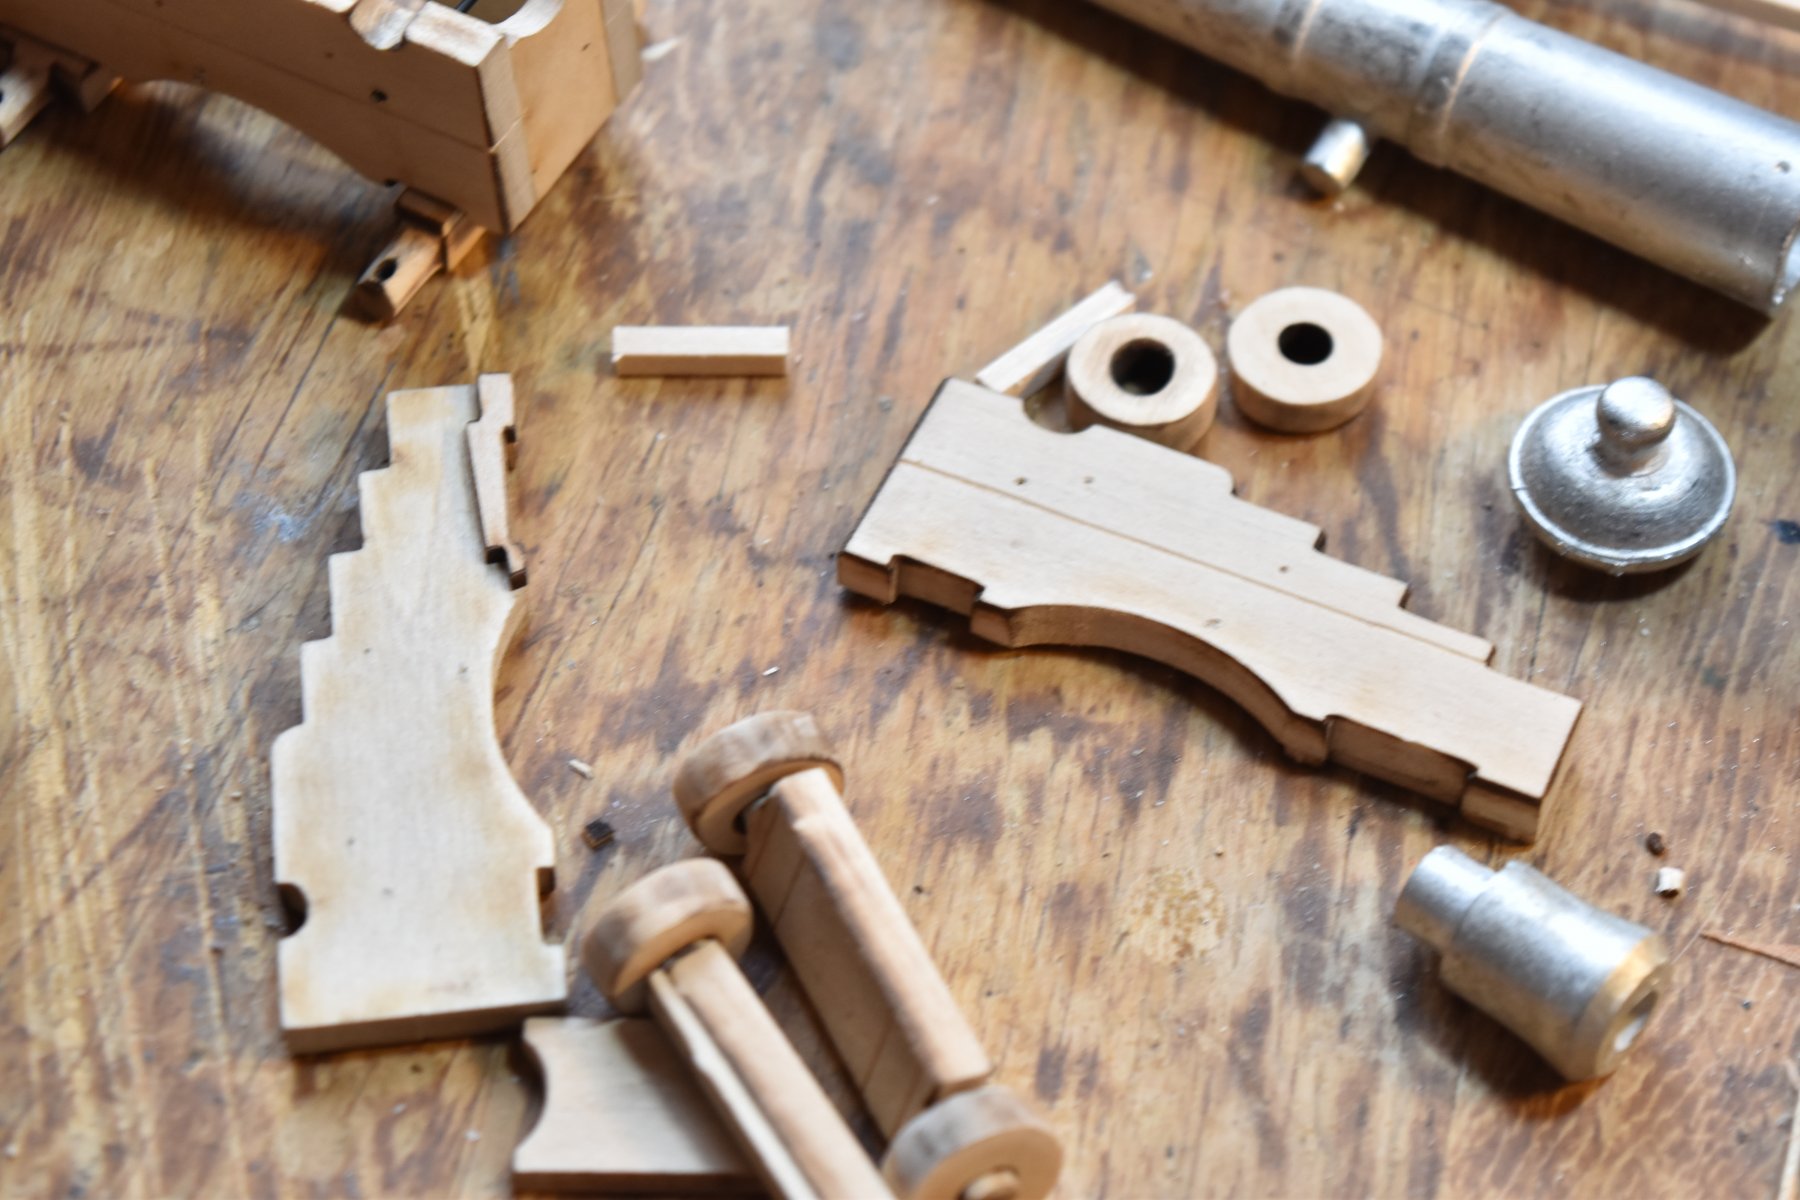
Hello again! Some moderate progress to report. The gun carriages have been partially assembled, so as to make staining them easier. All of the wooden parts have been created, except for the fasteners that keep the trucks from sliding off. The gun barrels are beginning to shape up, but I need to get some filler before I can put them together and paint them. Kurt recommended I use Bondo Glazing and Spot Filling Putty, #907. So far, I have been unable to locate it in any brick-and-mortar shop, so I will likely have to purchase it online. I will also eventually need to replace a swivel gun, as it has a major hole caused by a bubble that looks irreparable. The rudder has been built, as well as the tiller, but I don't think I have any photos of that yet. As I was making some metal parts, I decided to try my hand at making some miniature utensils to be placed on the model in the future. I made a butter knife, which, looking back, wasn't so great. It quickly disappeared to the next dimension, so I made a spoon. The spoon was successful, so I tried making a fork. That worked too, until I accidentally broke a prong off, so I trashed it. I then thought to make a new, better knife. I modelled it somewhat after the way I had seen swords made in a museum. They have a metal blade and interior handle, though the handle is not round, but has 90° edges. The base on the handle is wider, so as to prevent the exterior handle from slipping off. The knife was done much the same way. The handle was made of 1/32" cherry veneer, the same that was used on Phantom's planking. The squared off handle was 1/32" square, so the veneer stacked with it nicely. After the three layers we're stacked, the handle was sanded into shape. I think that these should go well with he fireplace that will go on the boat. All of the wooden parts for the rudder and tiller have been completed, and they are waiting to be stained. Essentially, I have a number of wooden parts waiting to be stained. Pictures to follow, some maybe later than others.
- 228 replies
-
- 6
-
-
- gunboat
- model shipways
- (and 1 more)
-
Thank you Mike and Steve! The way the stain turned out definitely reminded me of the Phantom. I have a quick question. Is wood that has already been stained harder to glue with wood glue than unstained wood? Thanks!
- 228 replies
-
- 1
-
-
- gunboat
- model shipways
- (and 1 more)
-
Thanks guys, I think it looks pretty good. Russ, I did intend on staining within the two hours of applying, but that first try didn't work out.
- 228 replies
-
- 2
-
-
- gunboat
- model shipways
- (and 1 more)