Elijah
-
Posts
1,310 -
Joined
-
Last visited
Content Type
Profiles
Forums
Gallery
Events
Everything posted by Elijah
-
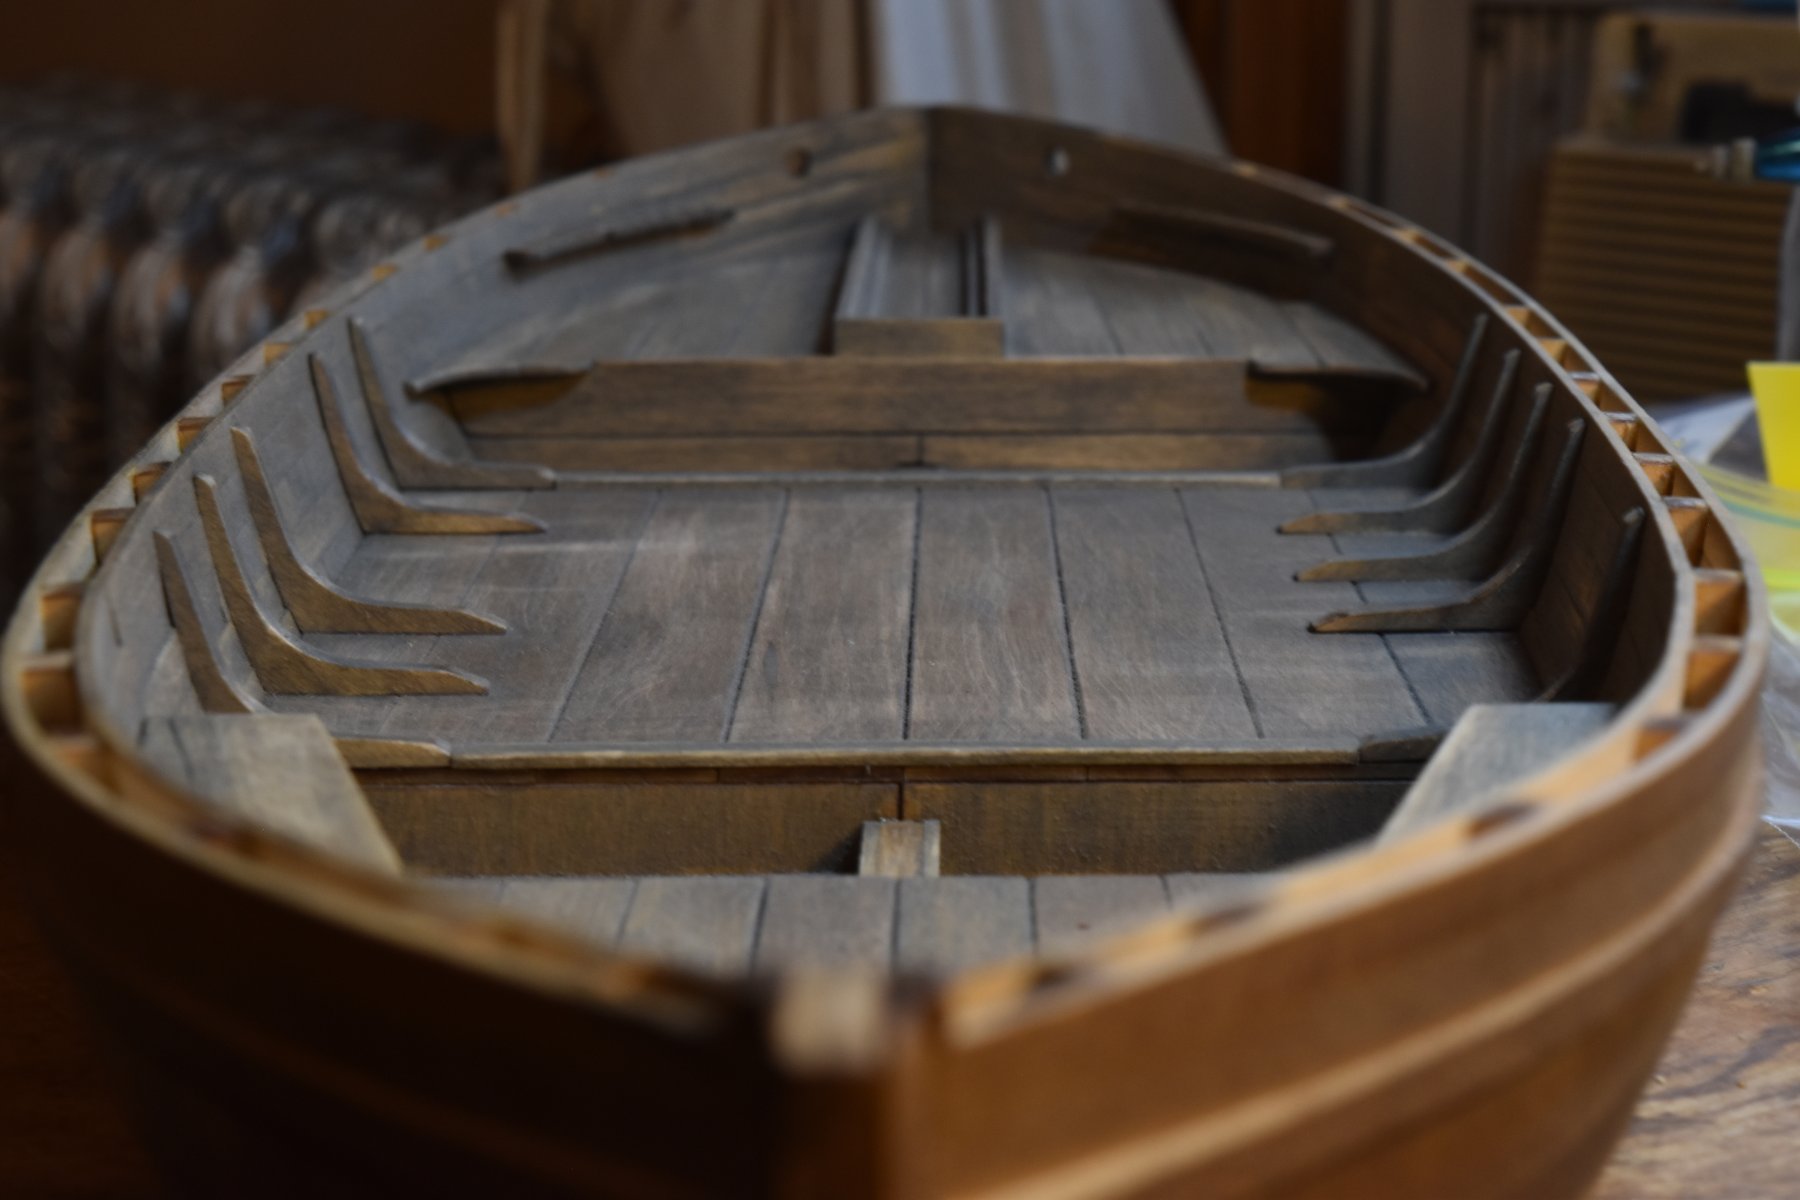
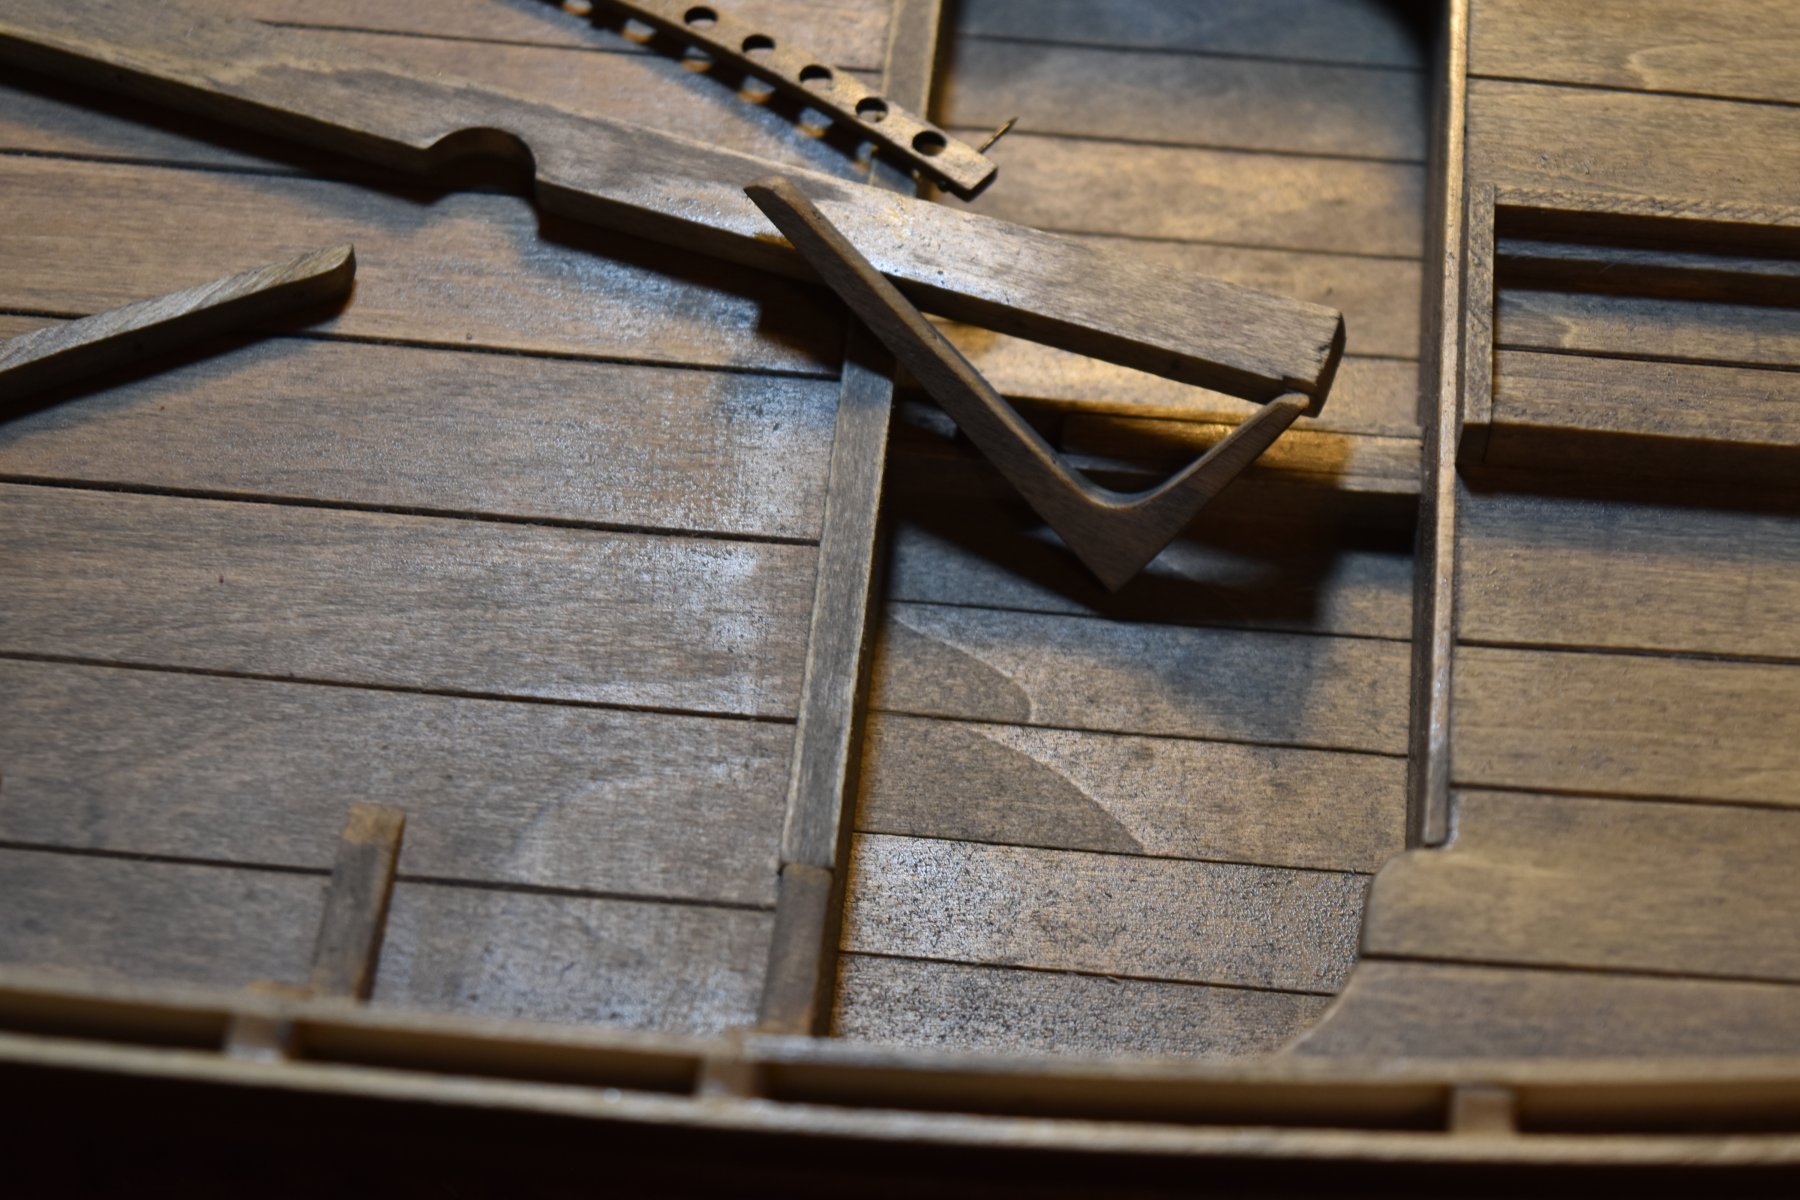
 So, I've stained the hull, inside and out! The outside was not very difficult. The inside was a little more tricky. I'm thinking, since the pre stain wood conditioner had been allowed to set in for more than a week, I don't think the stain was able to set in as well. That being said, I don't think the look is that bad, so I think I will keep it. I noticed, after letting it dry for two days, it had a bit of shine on the inside. I used some sandpaper to take that shine off. The outside and inside look to show significant wear. What do you think of the finish? The initial shine of the stain after drying.
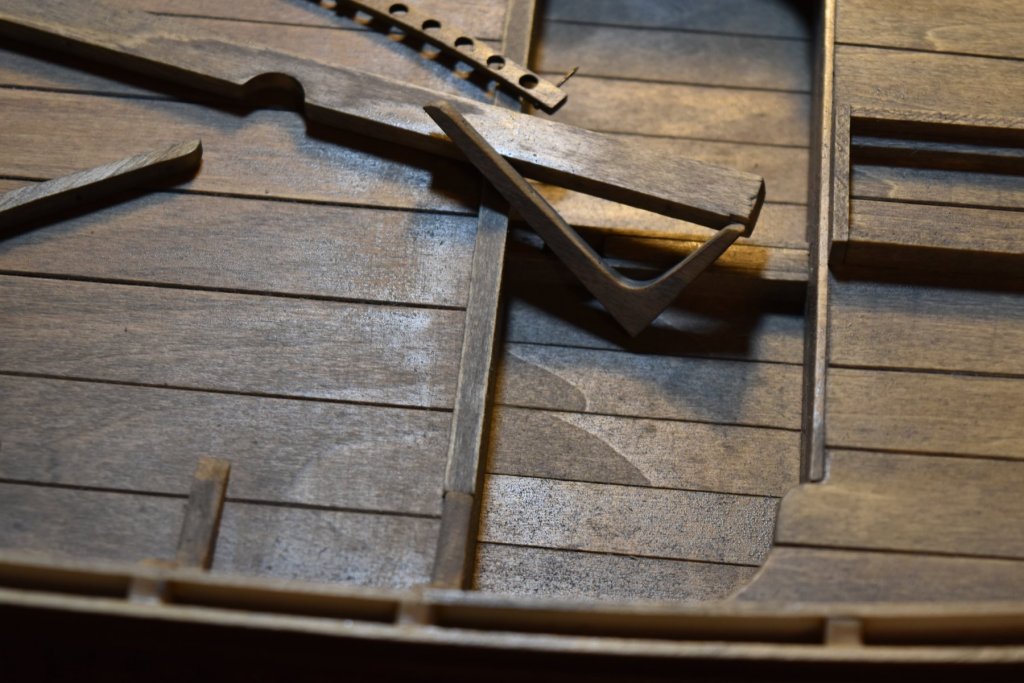
- 228 replies
-
- 12
-

-
- gunboat
- model shipways
- (and 1 more)
-
Nice work! It does look like you could tip it with a feather......
- 449 replies
-
- 2
-
-
- sultana
- model shipways
- (and 2 more)
-
Looking nice! Are there any rings for the hawse pipe ends?
- 449 replies
-
- 1
-
-
- sultana
- model shipways
- (and 2 more)
-
Wow! Dave, those sails really make her look great! Did you have any prior experience in sewing before making these sails? Not to rush you, but what ship is up next?
- 245 replies
-
- 2
-
-
- bluenose
- model shipways
- (and 1 more)
-
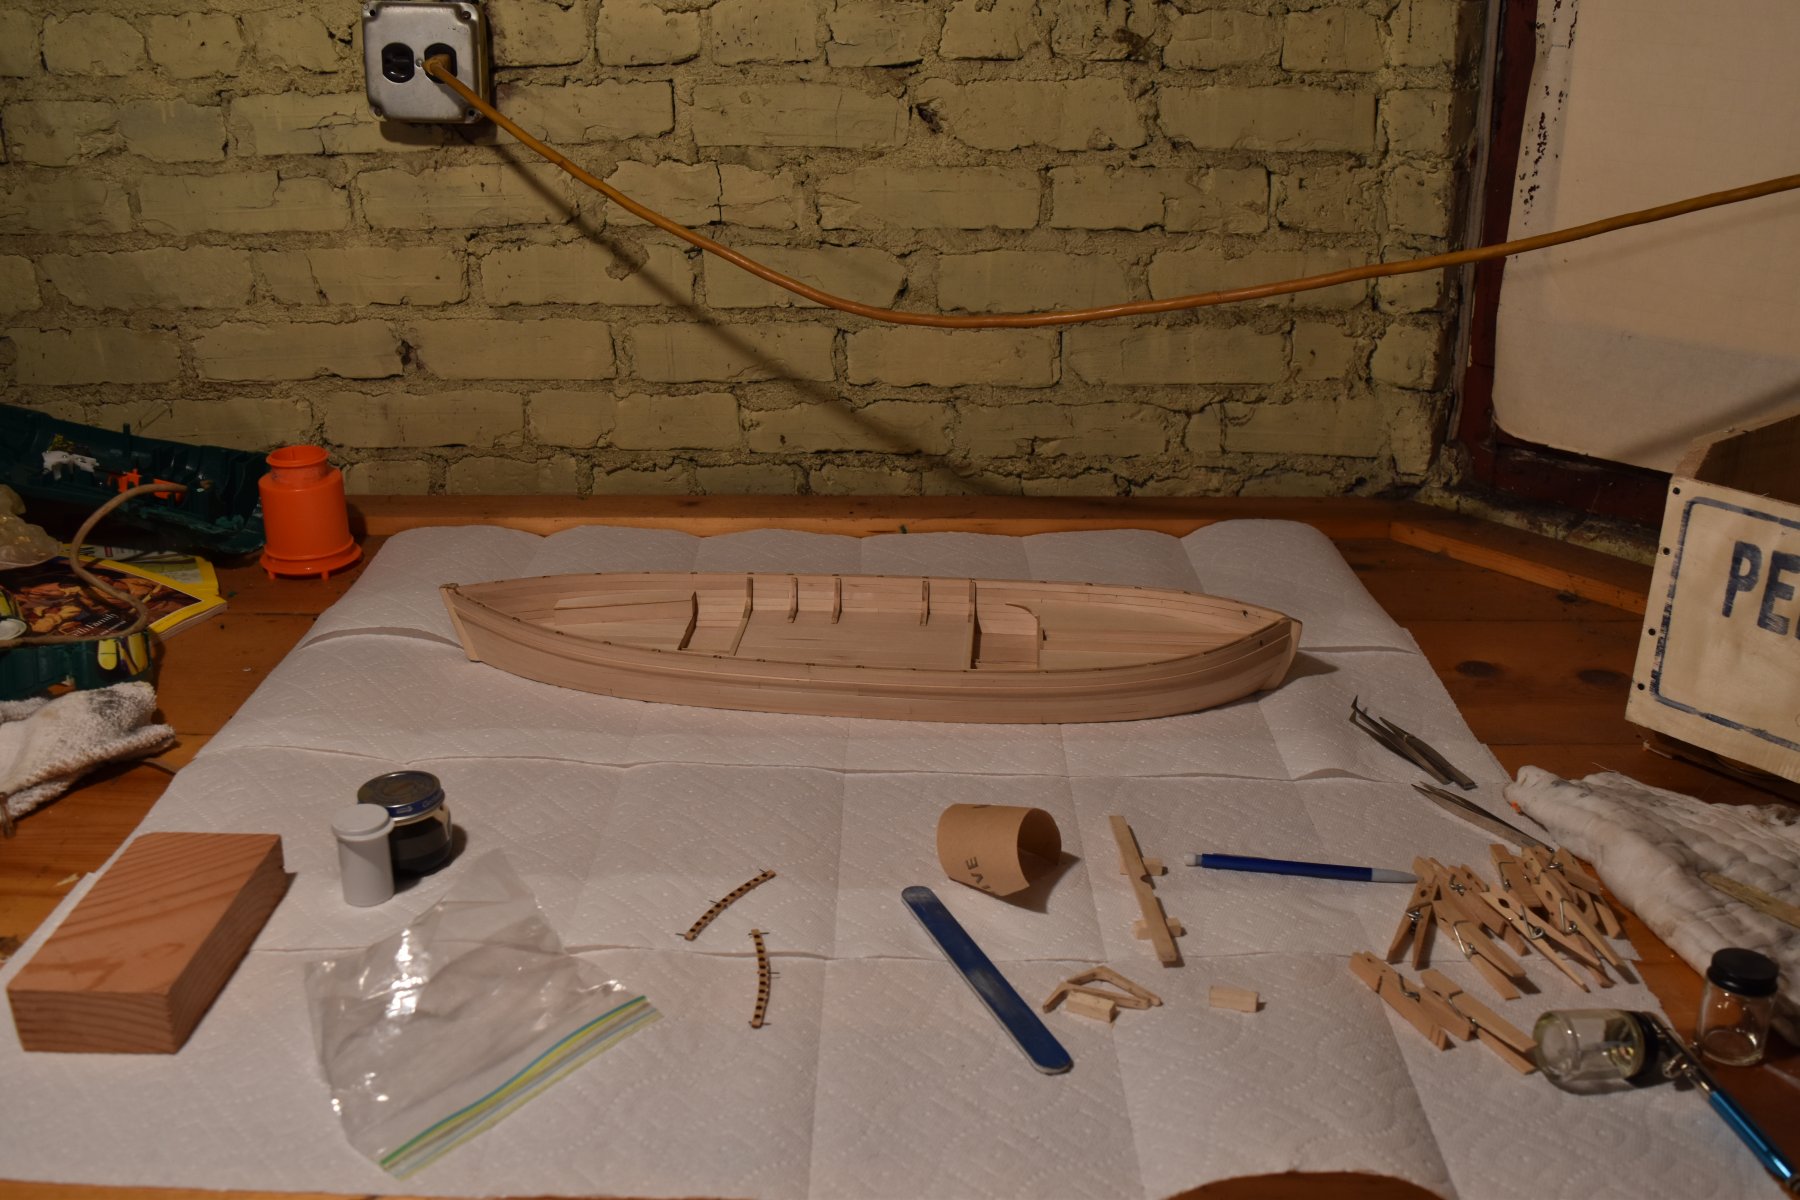
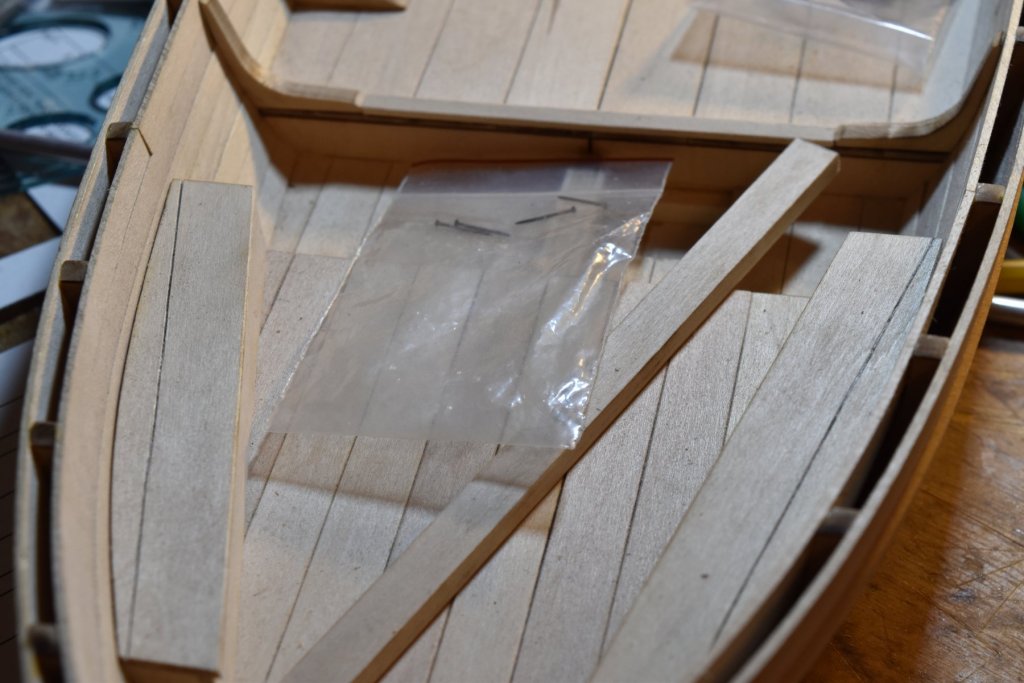
Happy new year! Recently I attempted to stain the interior of the hull. As we all know, hindsight is 20/20. Well, stupid me from a few days ago forgot to shake the container of the stain before using it! This meant that all the pigment was settled at the bottom. The stain I tried to apply had little to no effect. The interior is now a shade darker, mostly due to the pre-stain wood conditioner. Anyway, I now have some shopping to do! Attached is a photo of my staining setup.

- 228 replies
-
- 12
-
-
- gunboat
- model shipways
- (and 1 more)
-
Wonderful work Bob! Do you paint with an airbrush or a normal brush?
- 682 replies
-
- 5
-
-
- halifax
- lumberyard
- (and 1 more)
-
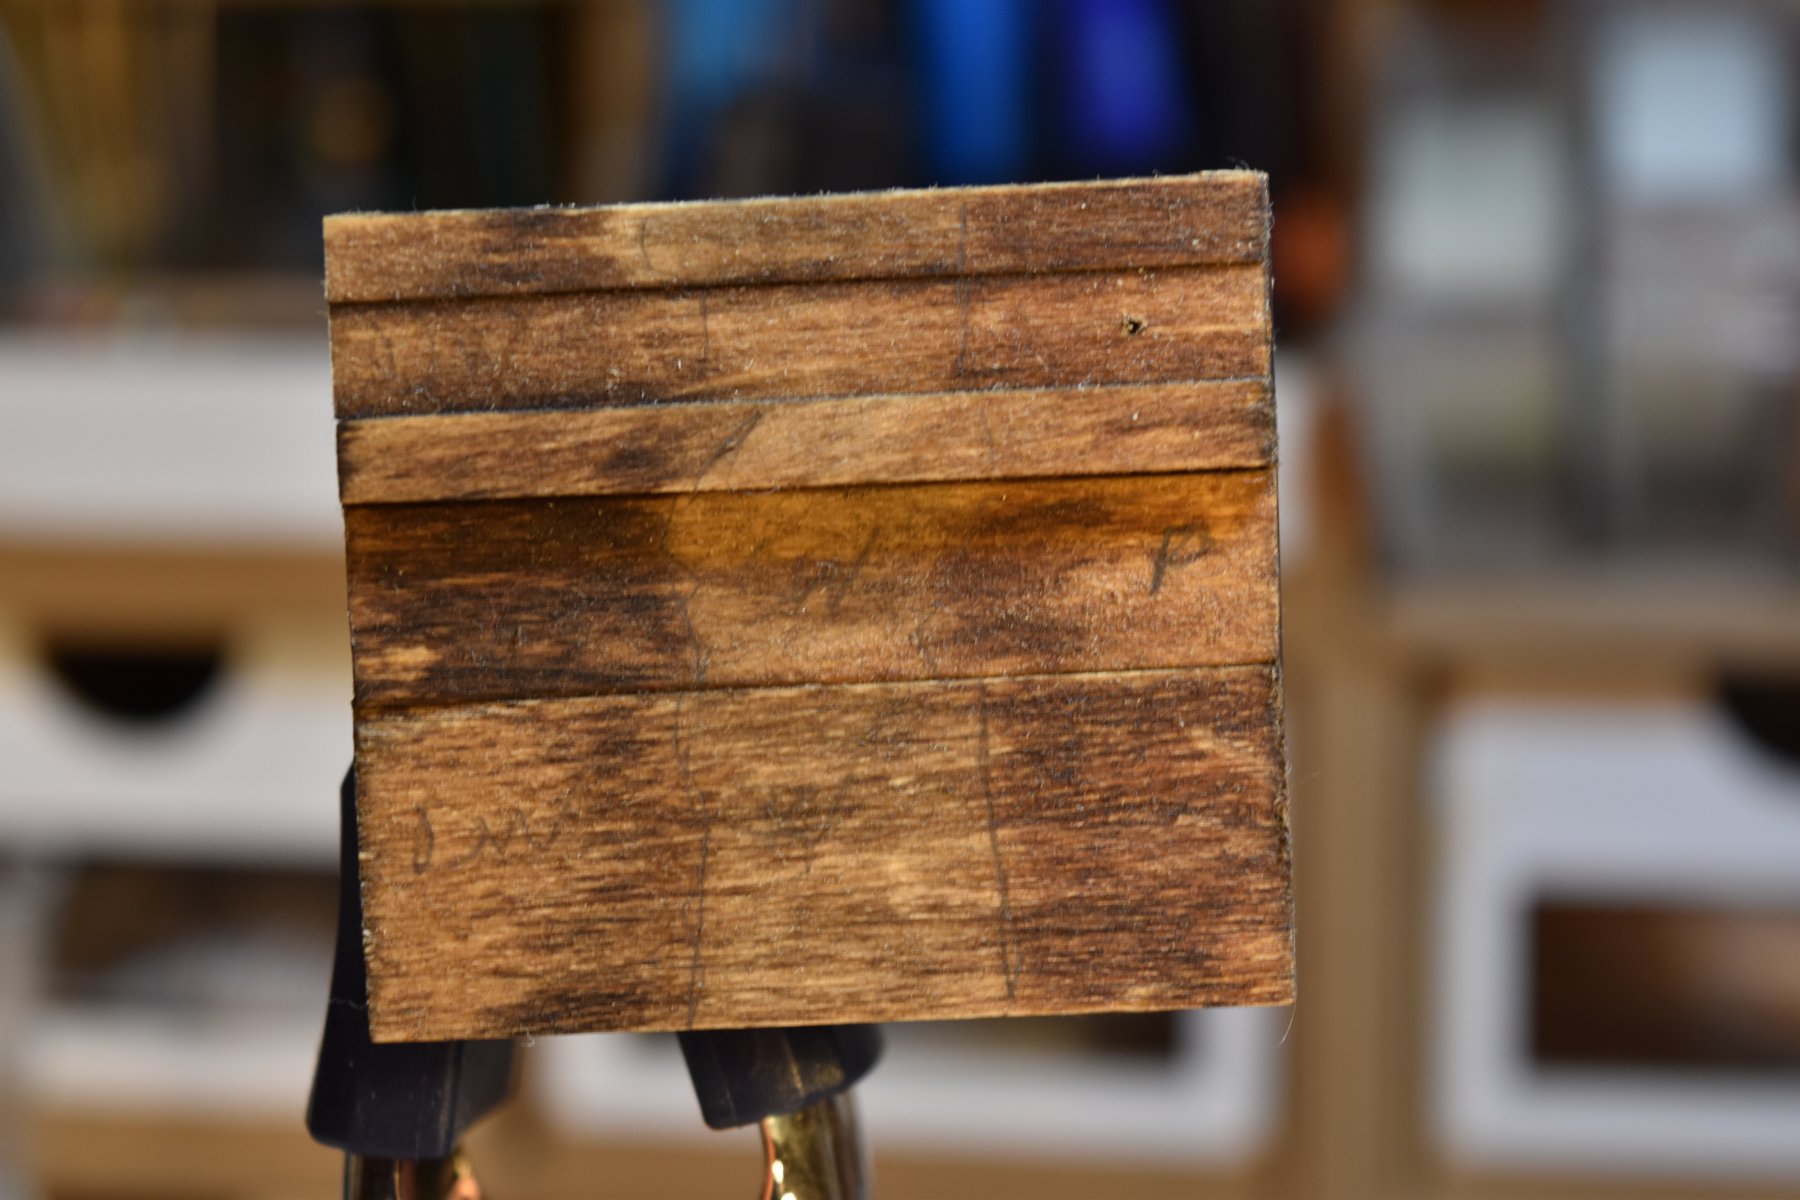
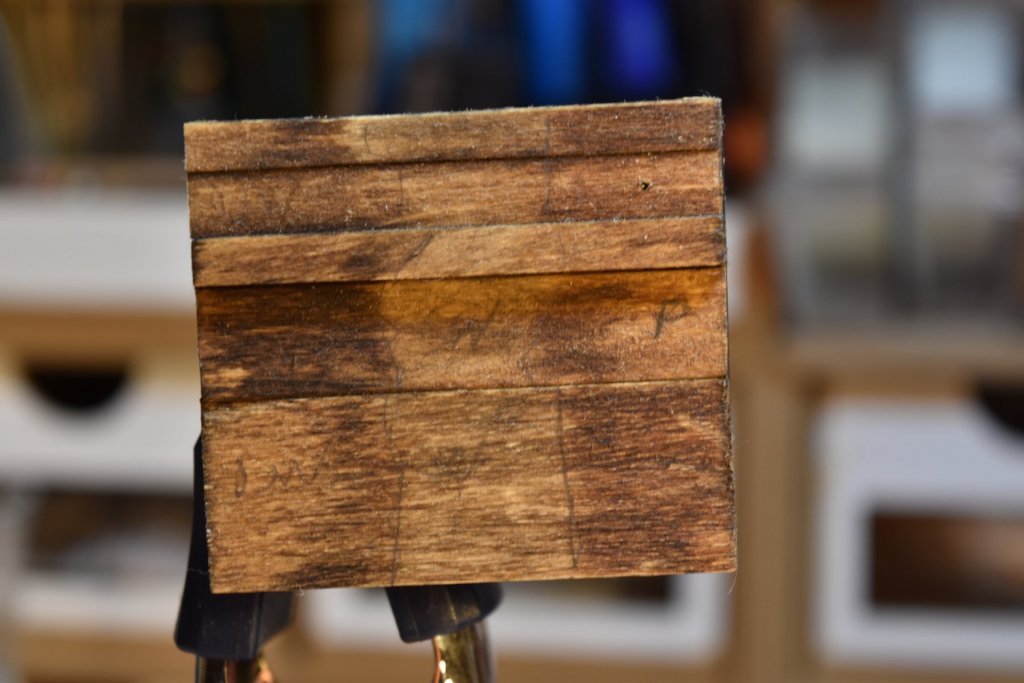
Yes. The demo pictured above was treated with Minwax pre-stain conditioner before it was stained.
- 228 replies
-
- 2
-
-
- gunboat
- model shipways
- (and 1 more)
-
This is the same wood used on the model. This test was constructed from scrap planks leftover from planking. All of the model is the same wood, I believe its basswood. Its the same stuff you get in most model shipways kits.
- 228 replies
-
- 2
-
-
- gunboat
- model shipways
- (and 1 more)
-
Looks amazing Bruce! One problem.... Do you know that the knees attached to the mast partner don't correlate to the plans? If you look in the plans, the long side attaches to the mast partner and the short side attaches to the hull. The added details look great though!
-
So, I'm trying to decide on which color to stain the exterior of the hull. I have it down to two couples in considering. The one on the right and the one on the left. I'm thinking I will do the center color for the interior. Left to right, the stains are Minwax Dark Walnut, Special Walnut, and Provincial. What's your take?
- 228 replies
-
- 5
-
-
- gunboat
- model shipways
- (and 1 more)
-
Thanks Mike! Though they are two different metals, I plan to paint it to make them work together. My only problem is that I'm not very experienced with gluing metal onto metal, so I don't really know what I'm doing!
- 228 replies
-
- 3
-
-
- gunboat
- model shipways
- (and 1 more)
-
Thanks J.P, Bruce, and E.J! Also, thanks for all the likes!
- 228 replies
-
- 2
-
-
- gunboat
- model shipways
- (and 1 more)
-
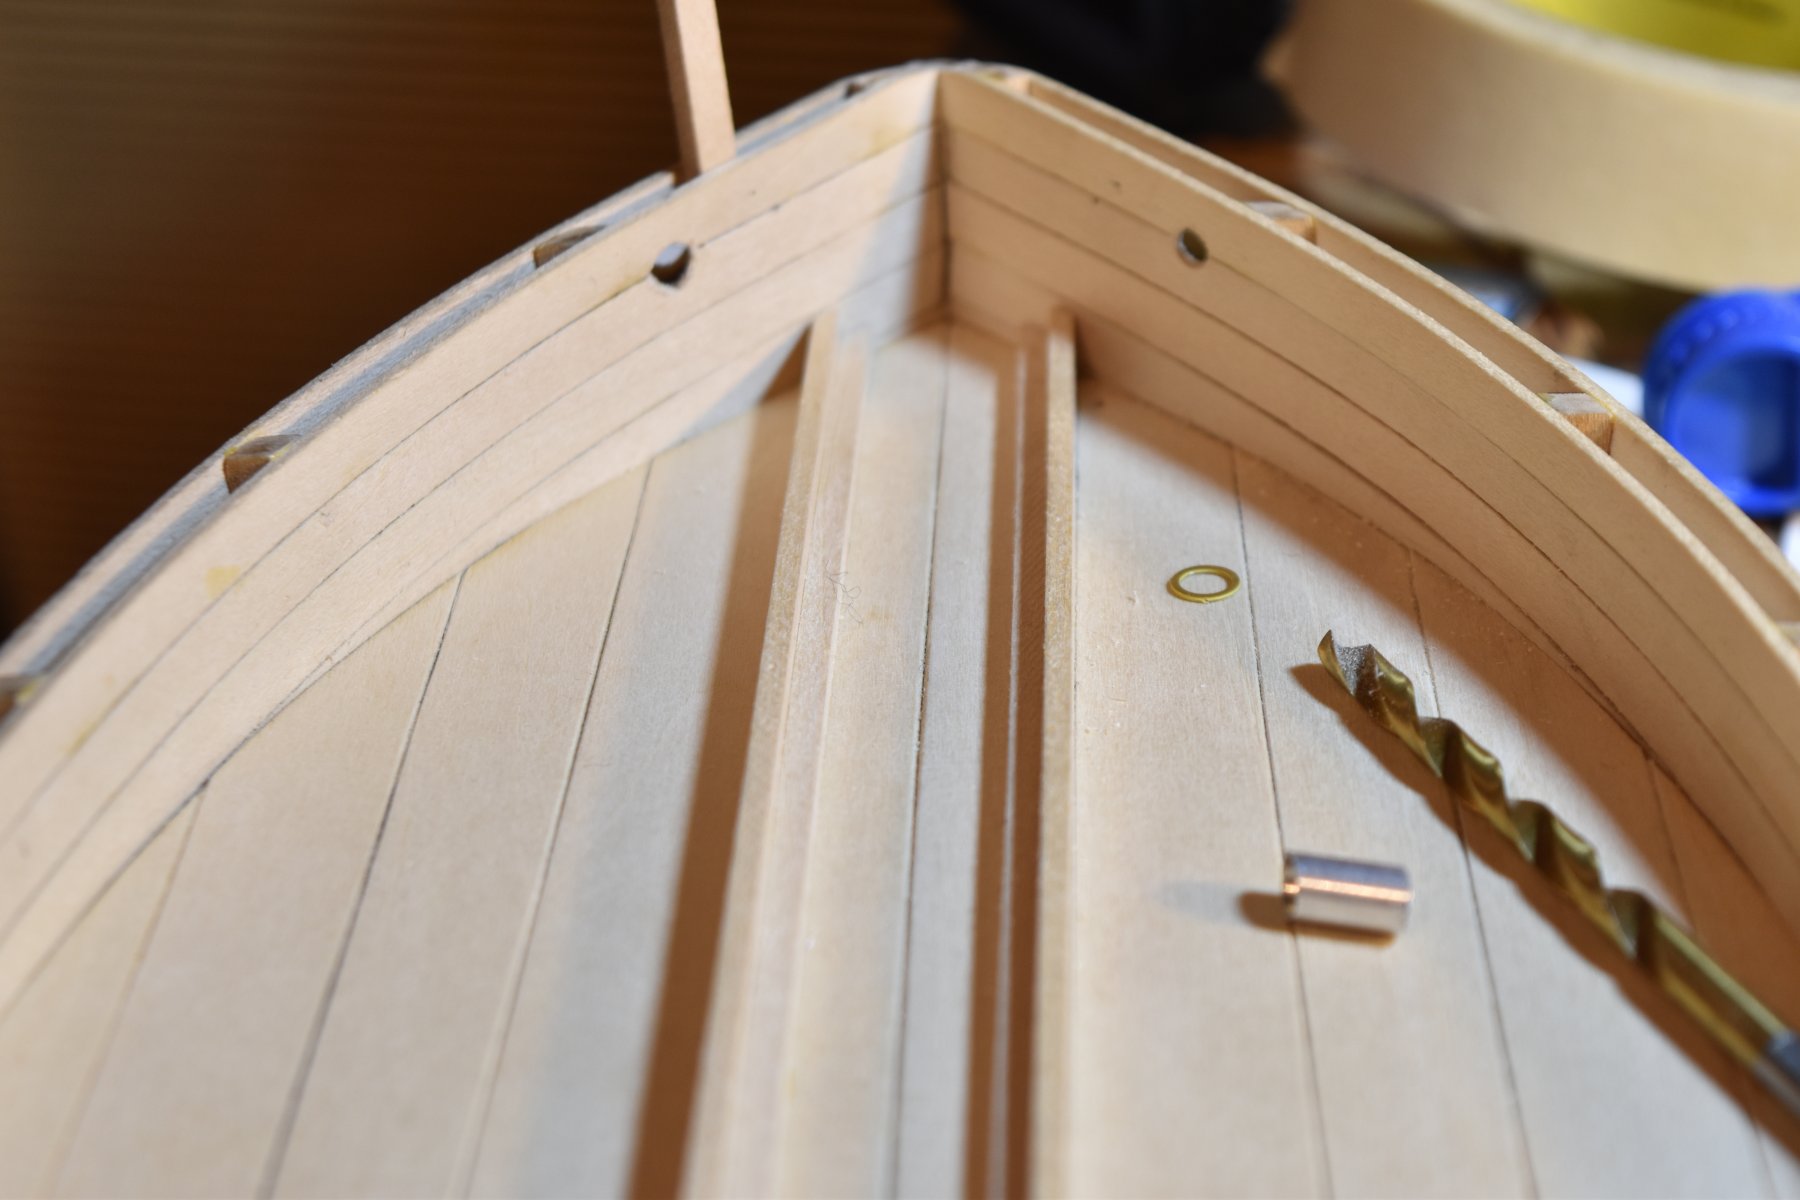
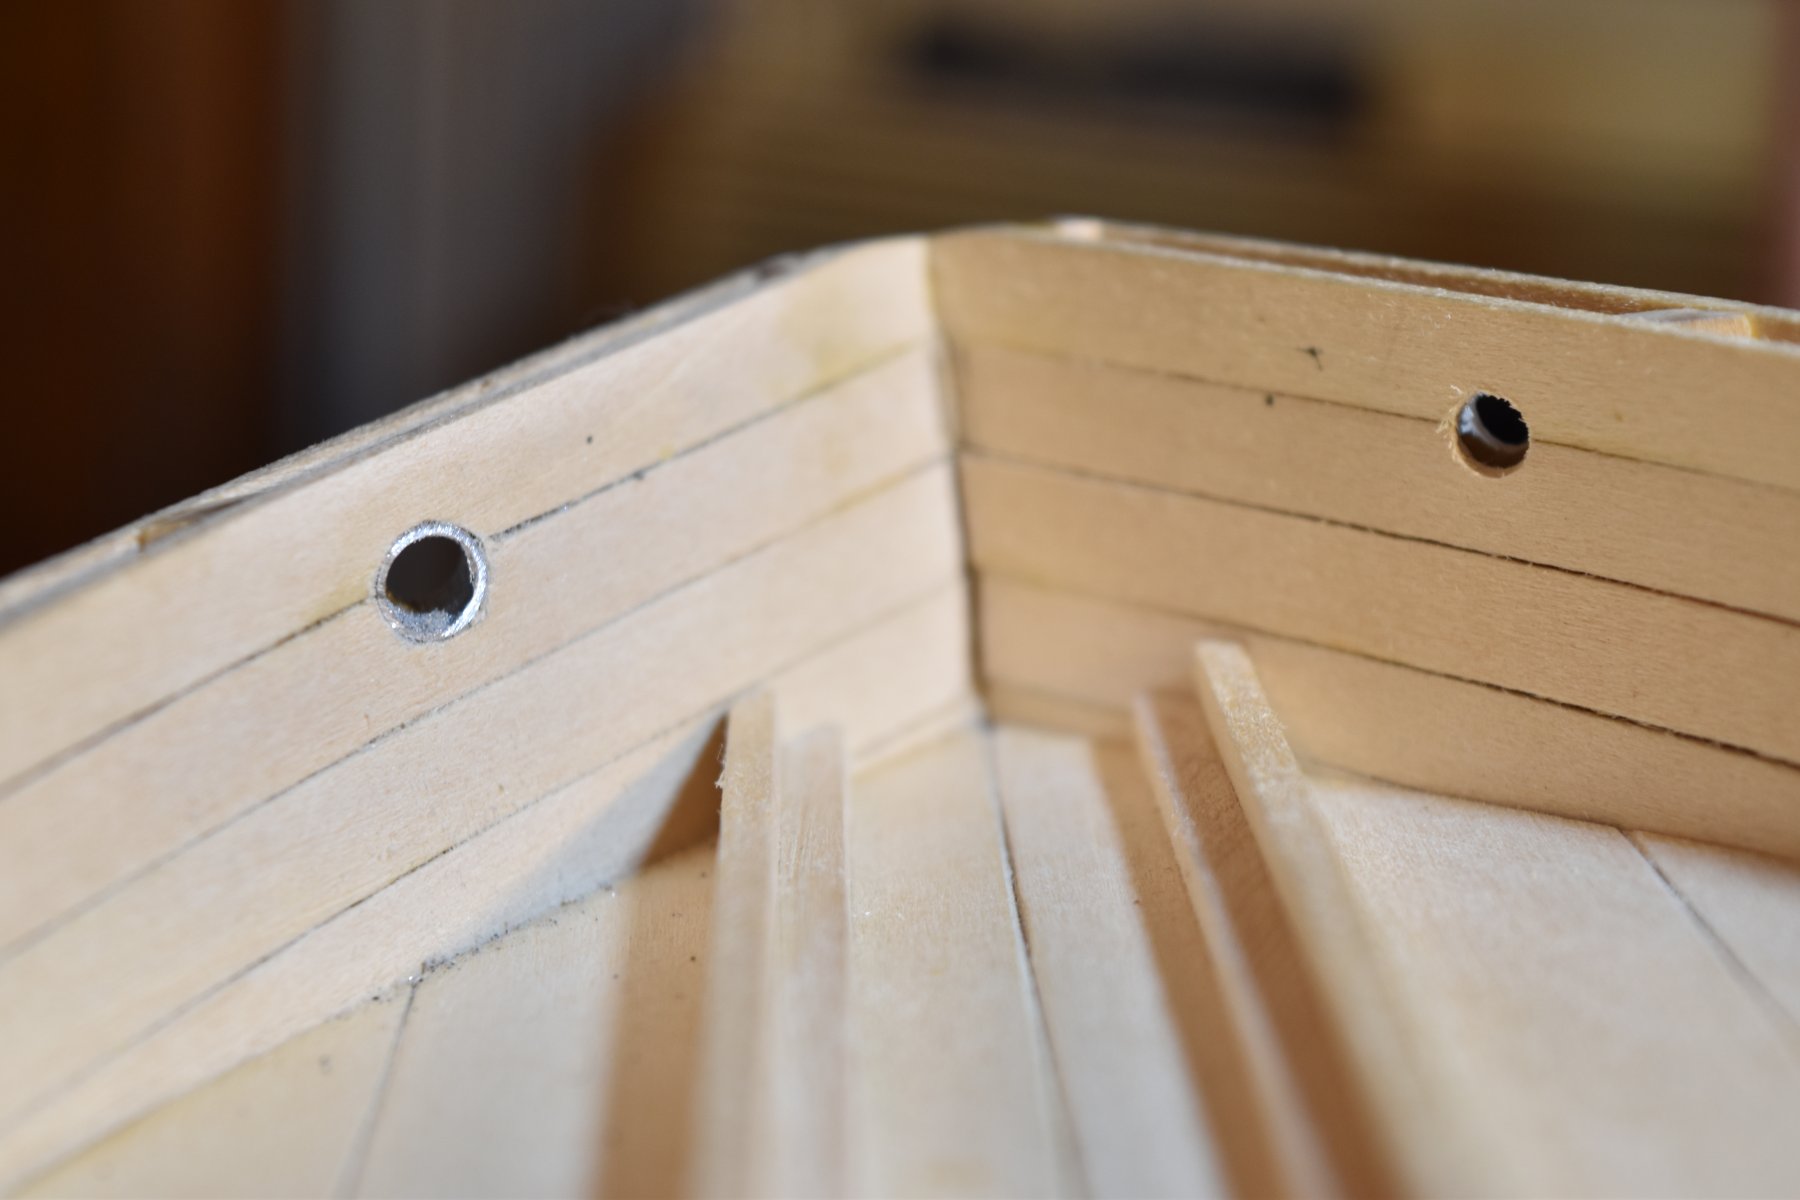
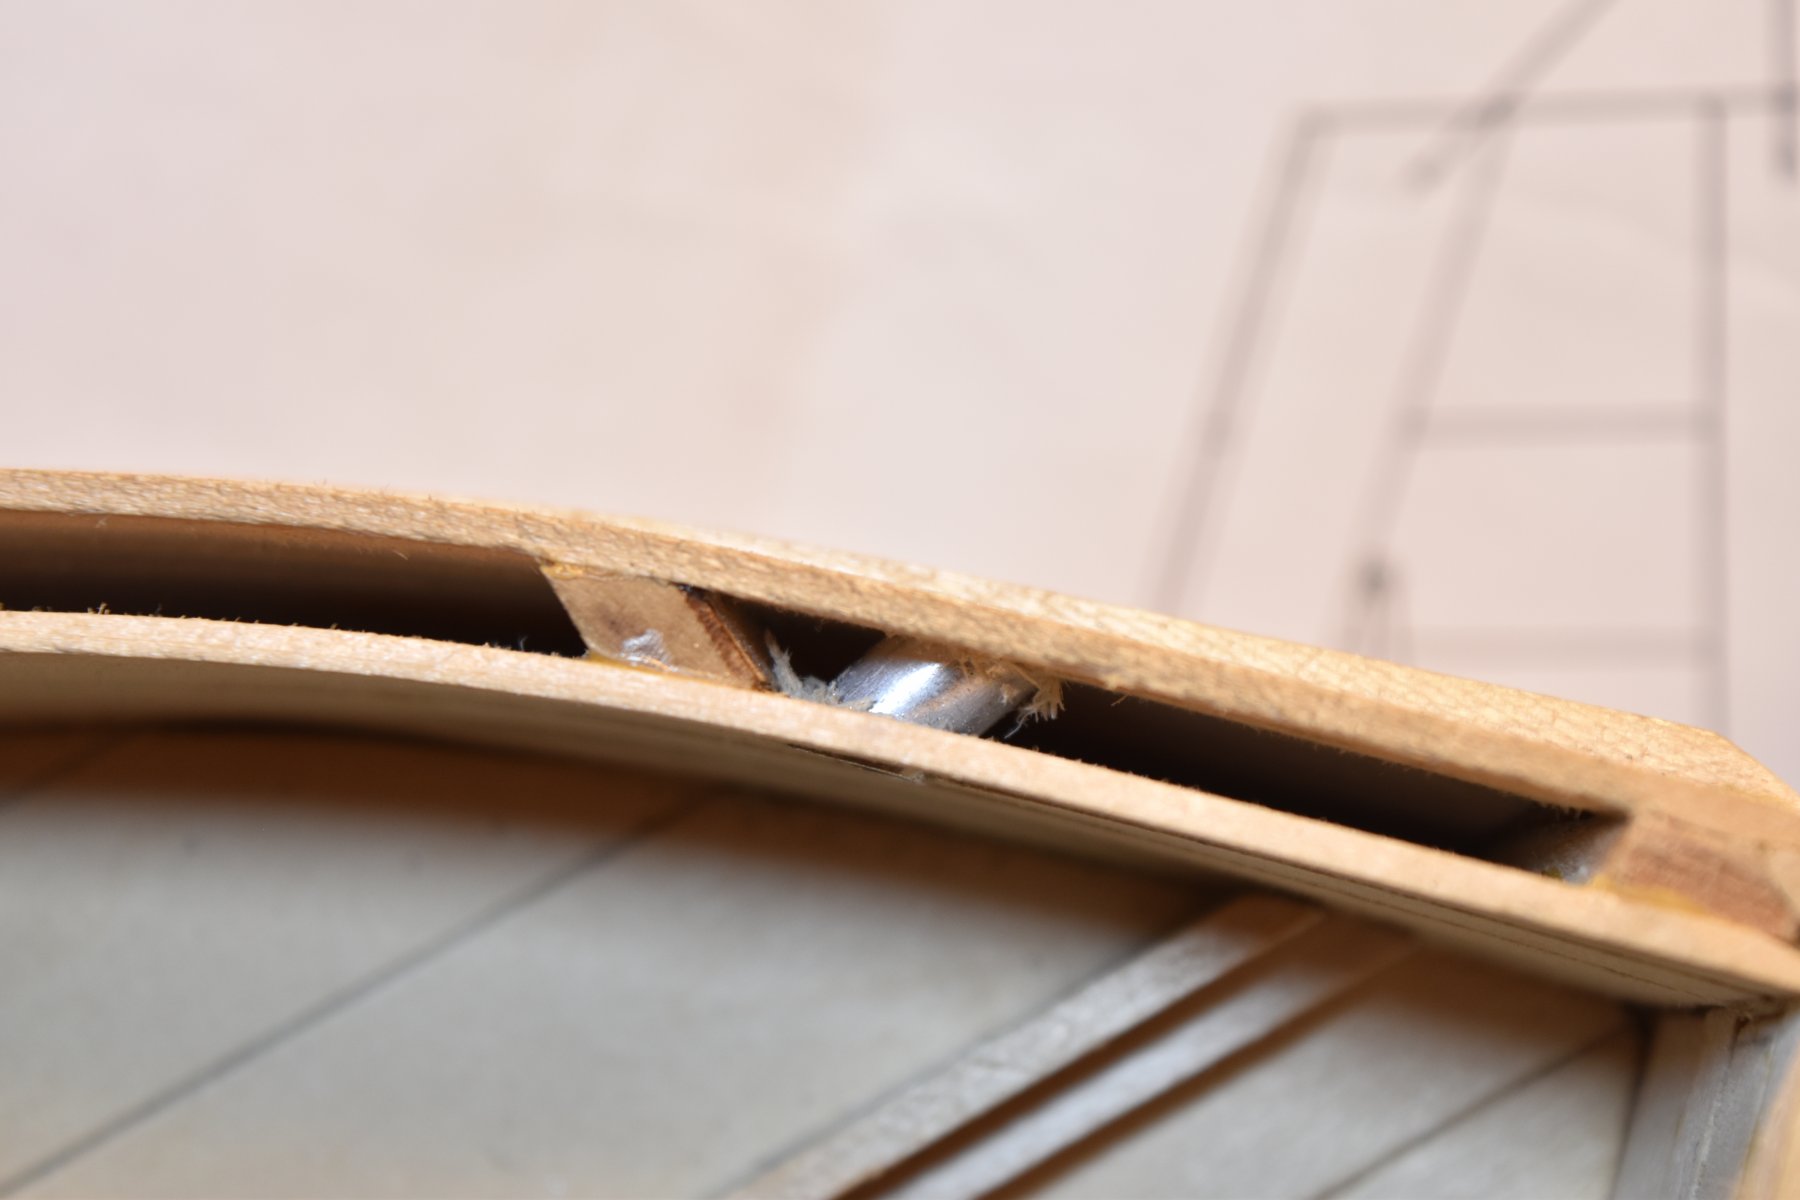
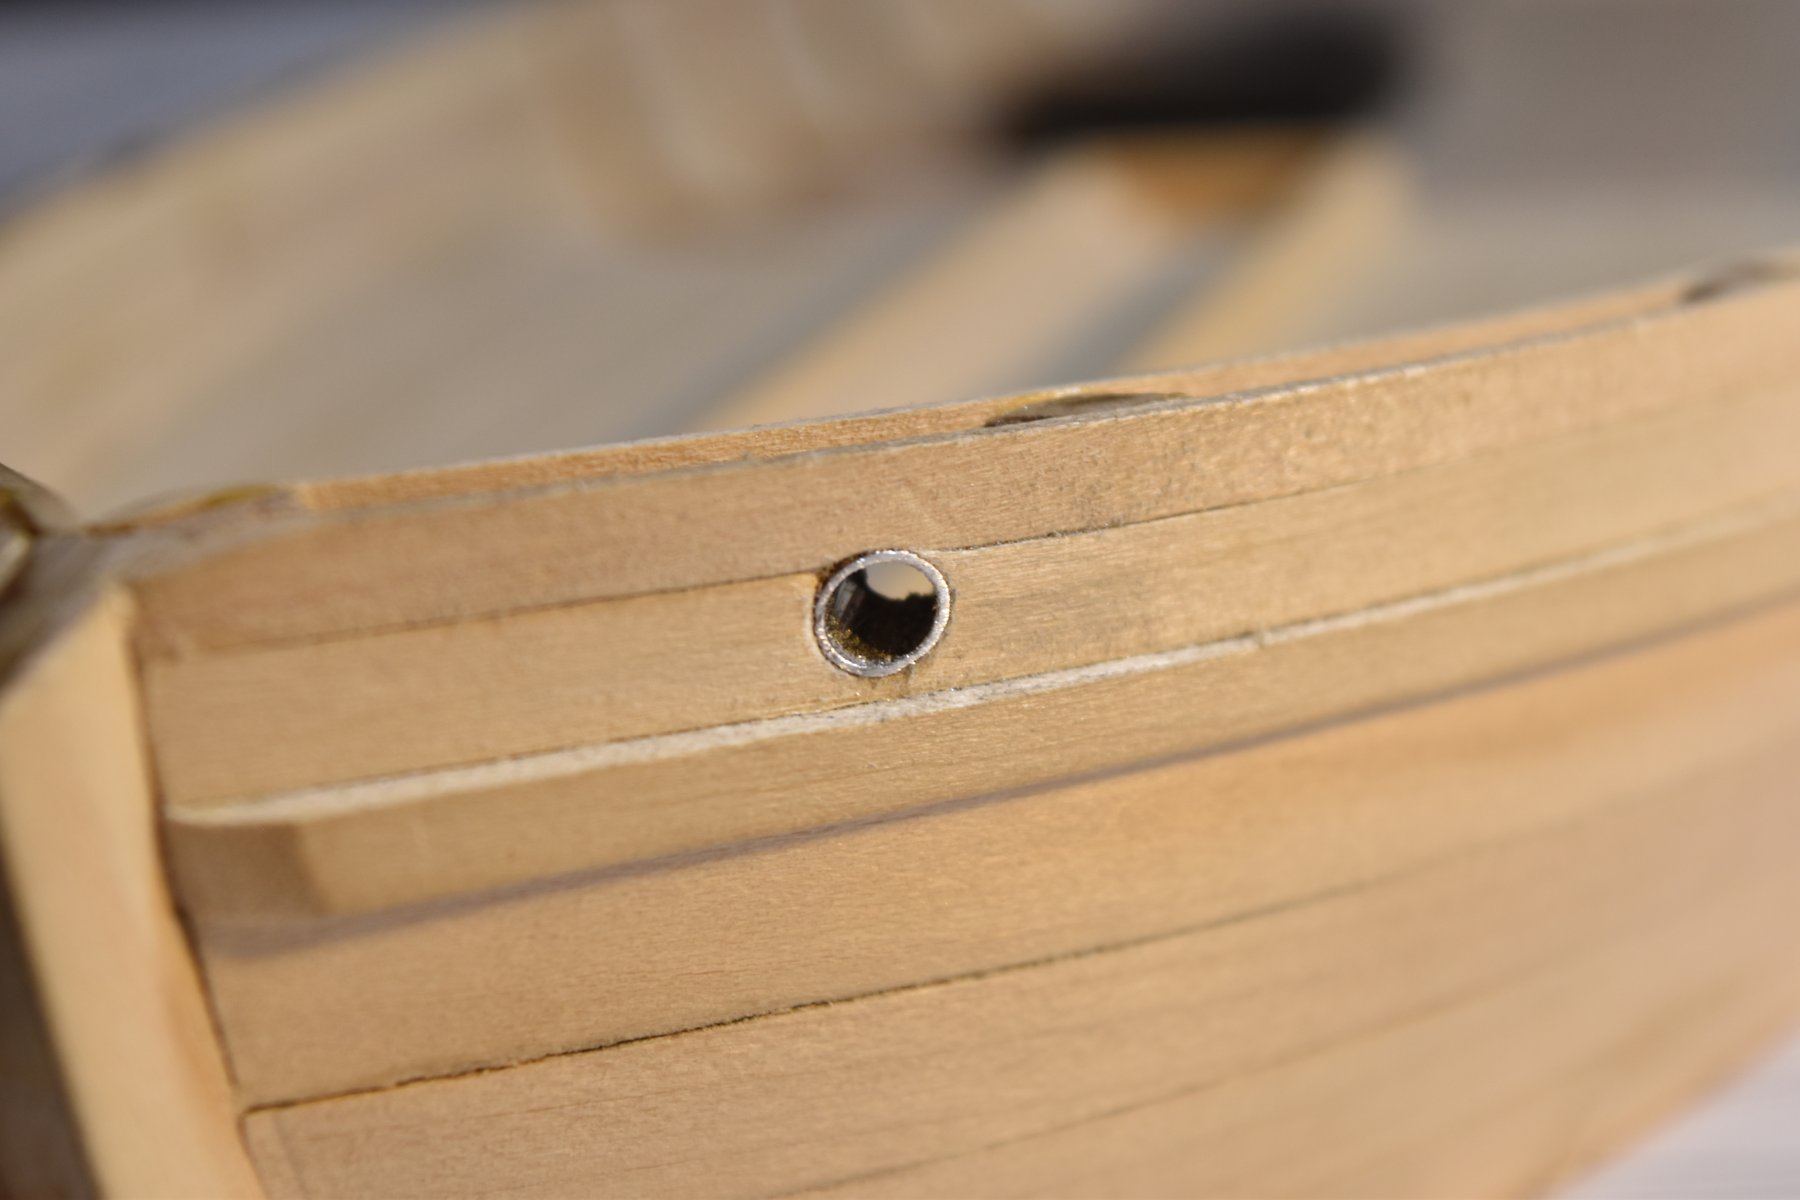
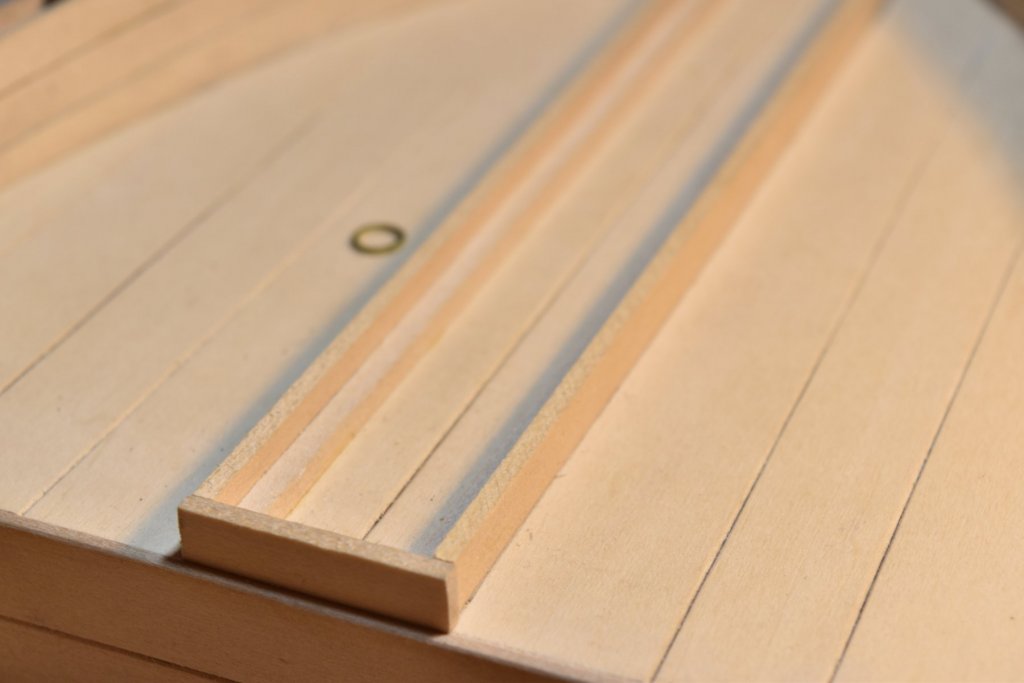
Progress moves on at a very slow pace. The aft storage chests were fairly simple to make and fit. The mast partner was fit per the Ships In Scale articles. Two nails were used to secure it on each side. It has not been permanently installed to make other tasks easier to accomplish. The 12 pounder sliding track was also a straightforward job. Lines were drawn on the deck to show proper positioning, then the parts were fitted and glued in place. Now for the more difficult and interesting part. The hawse holes! I searched the local hardware store for a brass tube of the correct size, but found only an aluminum one to be the correct size. I decided to go with that, as the hawse holes will be painted anyway. If you see a potential problem with this, please, say so. I first drilled the hole, then filed it to it's final shape. There is still one more to do. Now, here are the photos!
- 228 replies
-
- 11
-
-
- gunboat
- model shipways
- (and 1 more)
-
Looking very nice Sal! That last photo of the sanded planks looks very crisp!
-
That sounds like a good method, but I have one question. What is pledge? p.s. Dave, I couldn't agree more right now.
- 653 replies
-
- 2
-
-
- trabakul
- marisstella
- (and 1 more)
-
Don, what is your procedure for cleaning your models?
- 653 replies
-
- 2
-
-
- trabakul
- marisstella
- (and 1 more)
-
Those cannons are very nice Bob! What have you bee using to finish the carriages and other wooden items?
- 682 replies
-
- 3
-
-
- halifax
- lumberyard
- (and 1 more)
-
Wow, very nice! She looks fantastic! Are you going to make or buy a display case for her?
- 653 replies
-
- 3
-
-
- trabakul
- marisstella
- (and 1 more)