Elijah
-
Posts
1,310 -
Joined
-
Last visited
Content Type
Profiles
Forums
Gallery
Events
Everything posted by Elijah
-
 Very nice progress Sjors. Are you planking the wales before the lower hull?
 -
Nice work JP!
-
Wow! I just caught up and things are looking fantastic! She is such an interesting subject, and you really do her justice with all those added details. The firewood and axe by the stove are a really nice touch. Have you decided if you are going to add sails? I think they would look very good on her! Great work!
- 653 replies
-
- 5
-

-
- trabakul
- marisstella
- (and 1 more)
-
Looking great! I find it interesting that the bowsprit sits to the side rather than center. I wonder where that concept came from.
- 107 replies
-
- 2
-
-
- brazzera
- marisstella
- (and 1 more)
-
Looking great Toni! How do you cut those notches into the wood for the gratings to fit in?
-
I thought I should let you know why there have been no new updates. I've been gone for a week and yet, will be for another! I'm itching terribly to finish the ceiling planking and move on to the more fun deck details, such as the deck itself, the knees, storage chests, and all the other fun stuff! In the mean time I'll be sitting here thinking about planking rather than actually doing it. Oh, well! I guess we all have to wait sometimes...
- 228 replies
-
- 6
-
-
- gunboat
- model shipways
- (and 1 more)
-
She is looking great! Well done!
-
Thank you very much guys! The likes and comments are greatly appreciated!
- 228 replies
-
- 4
-
-
- gunboat
- model shipways
- (and 1 more)
-
That ebony looks perfect!
-
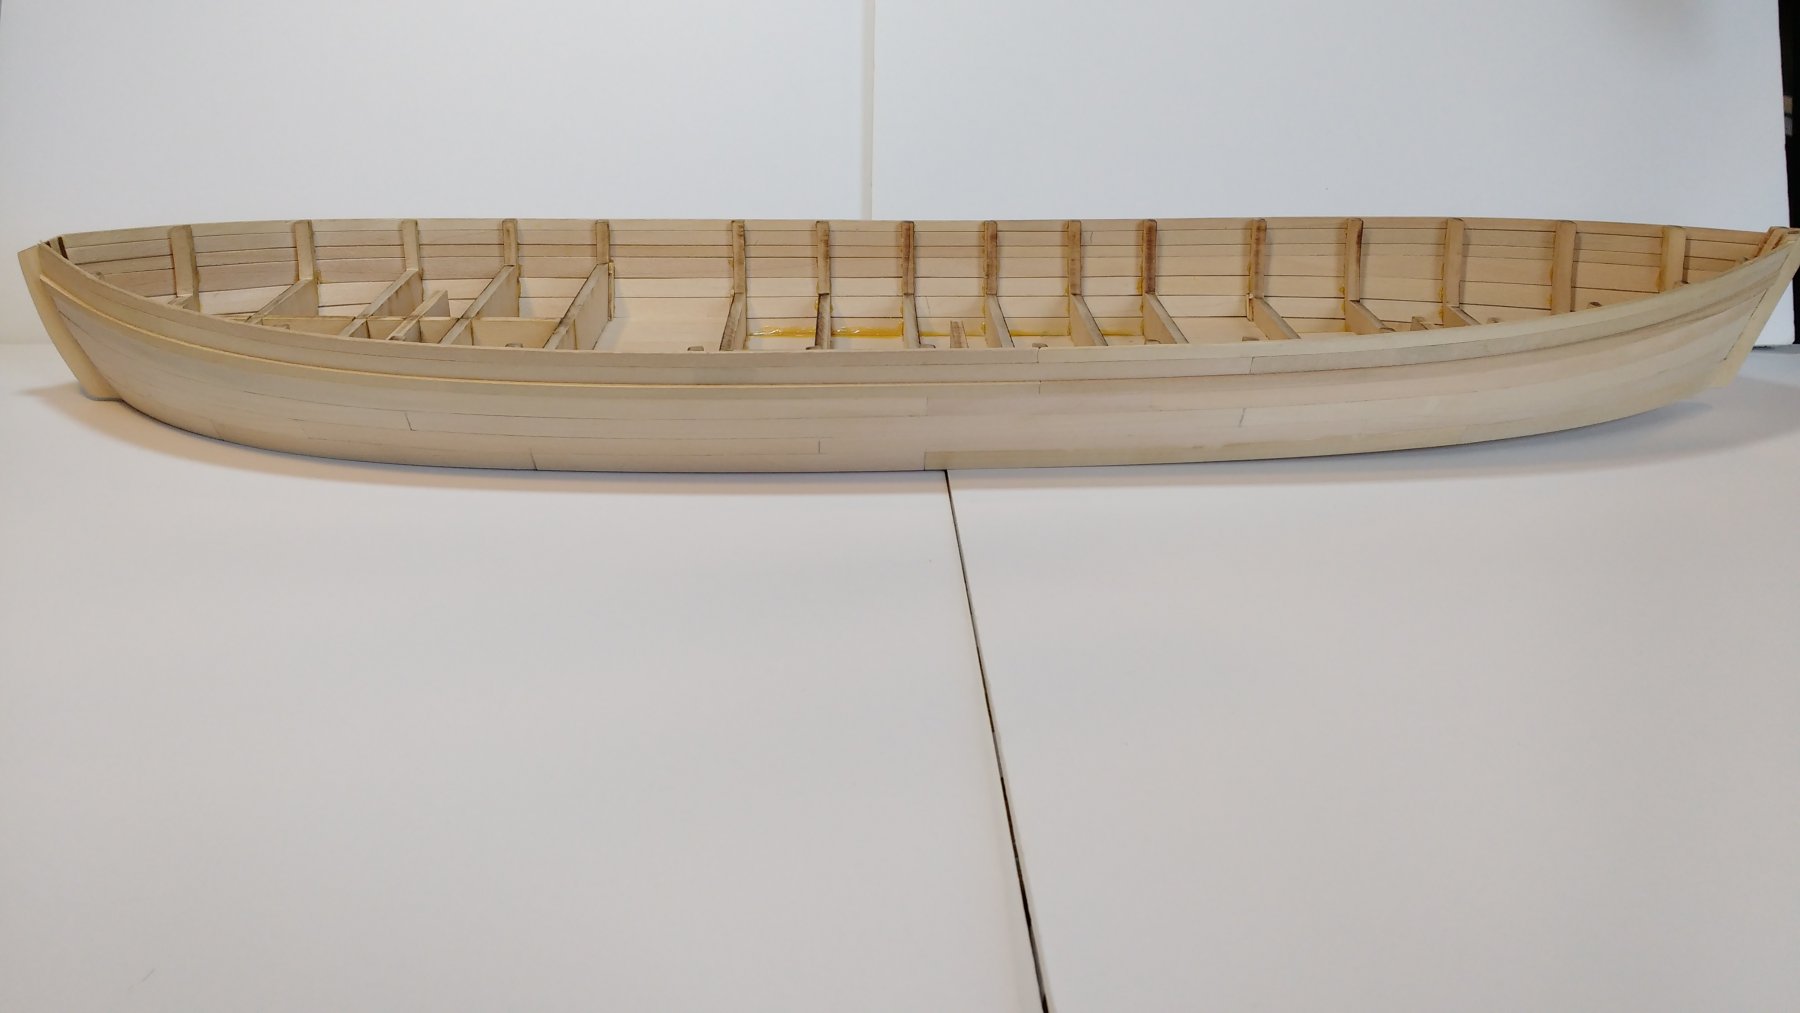
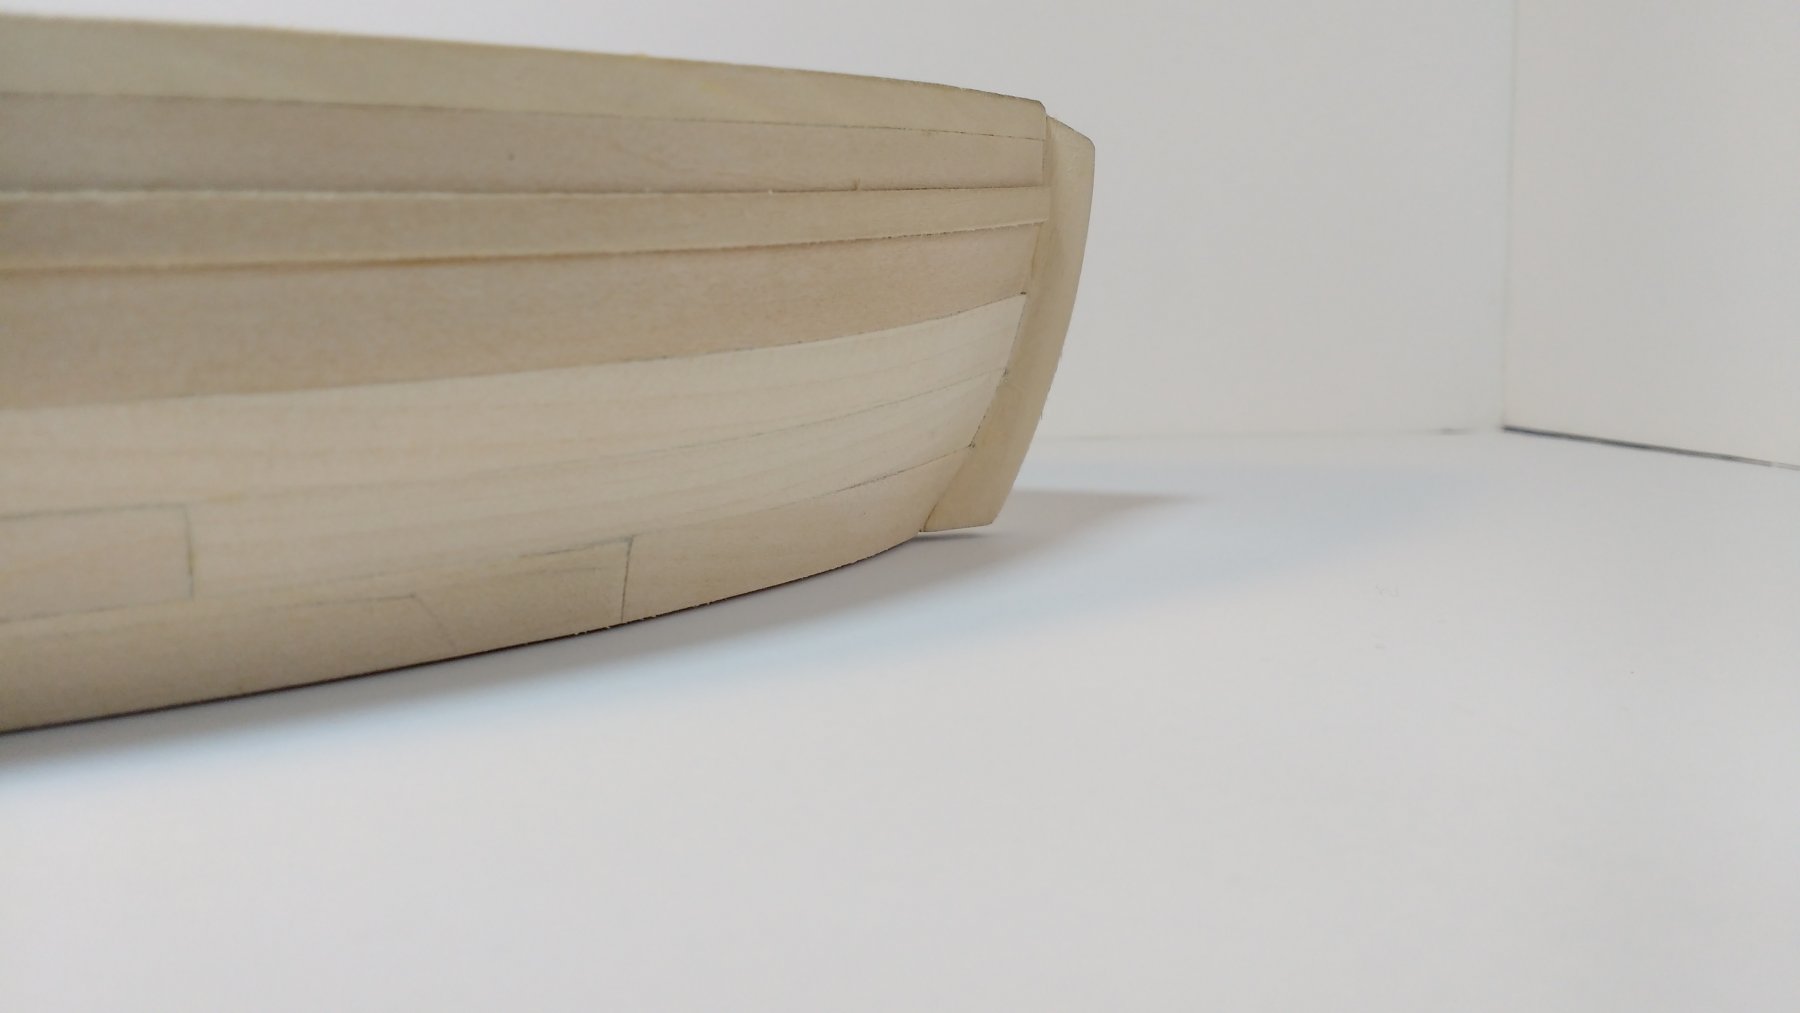
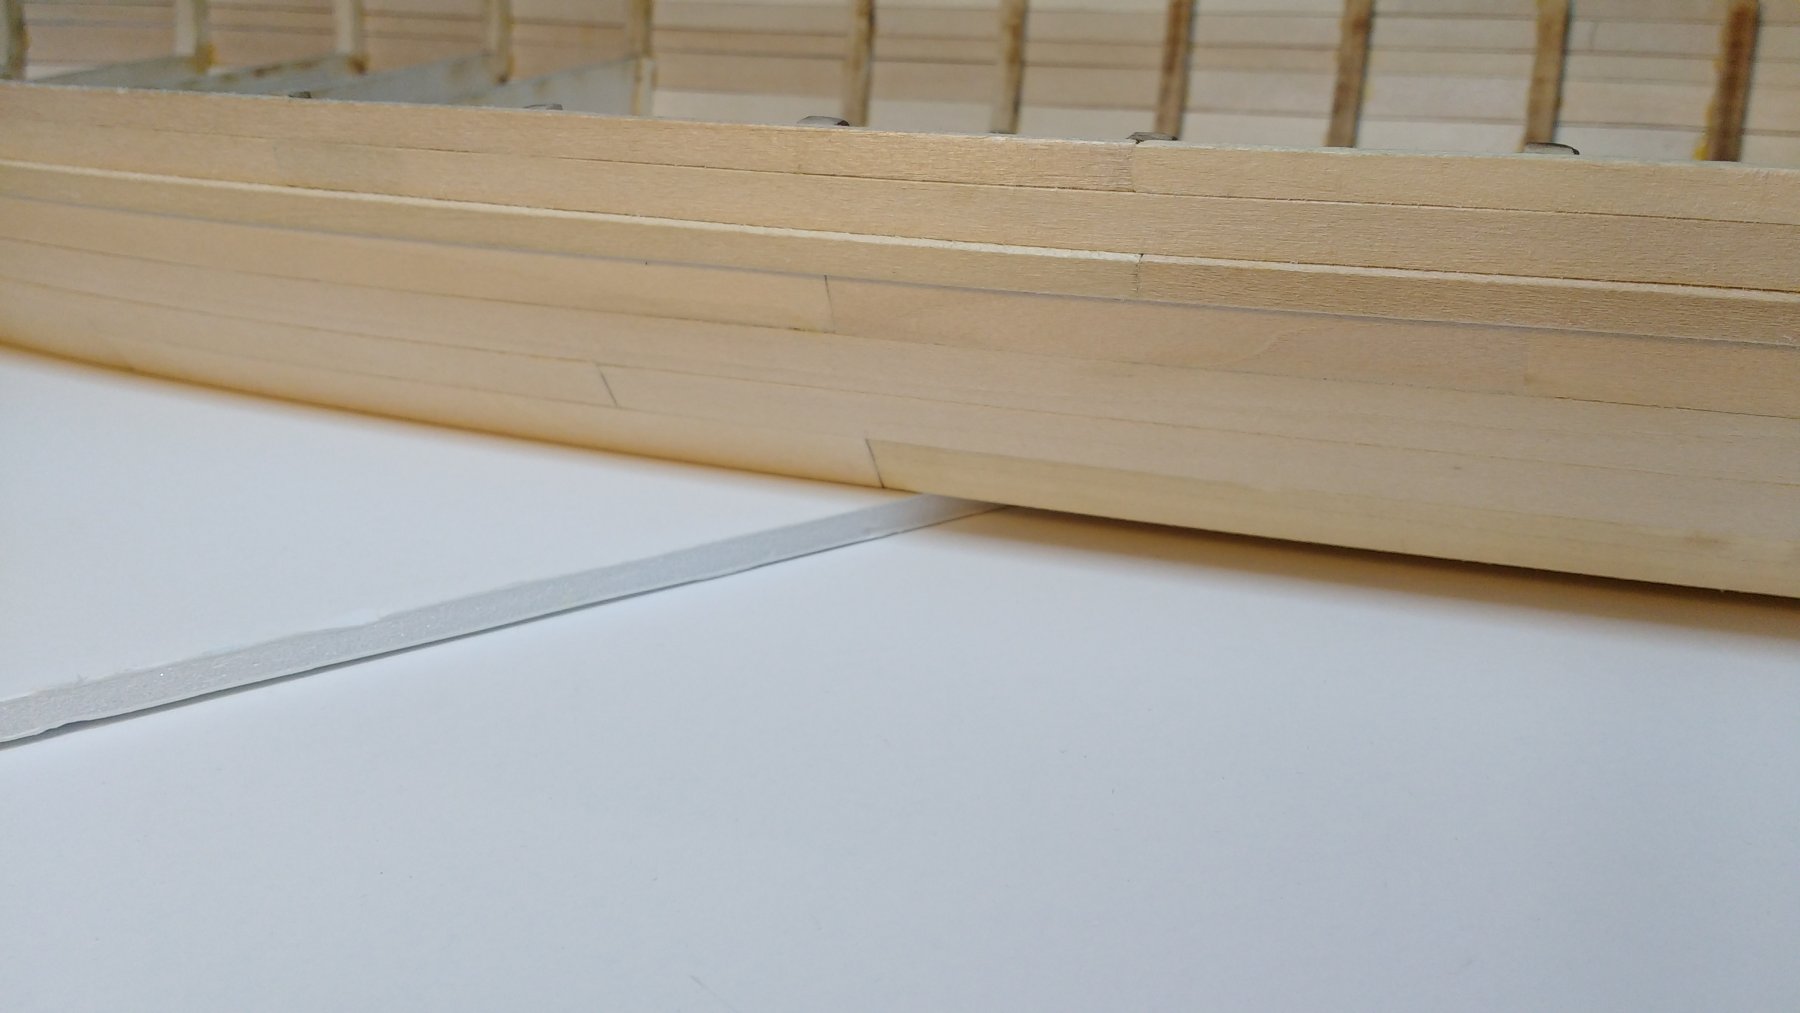
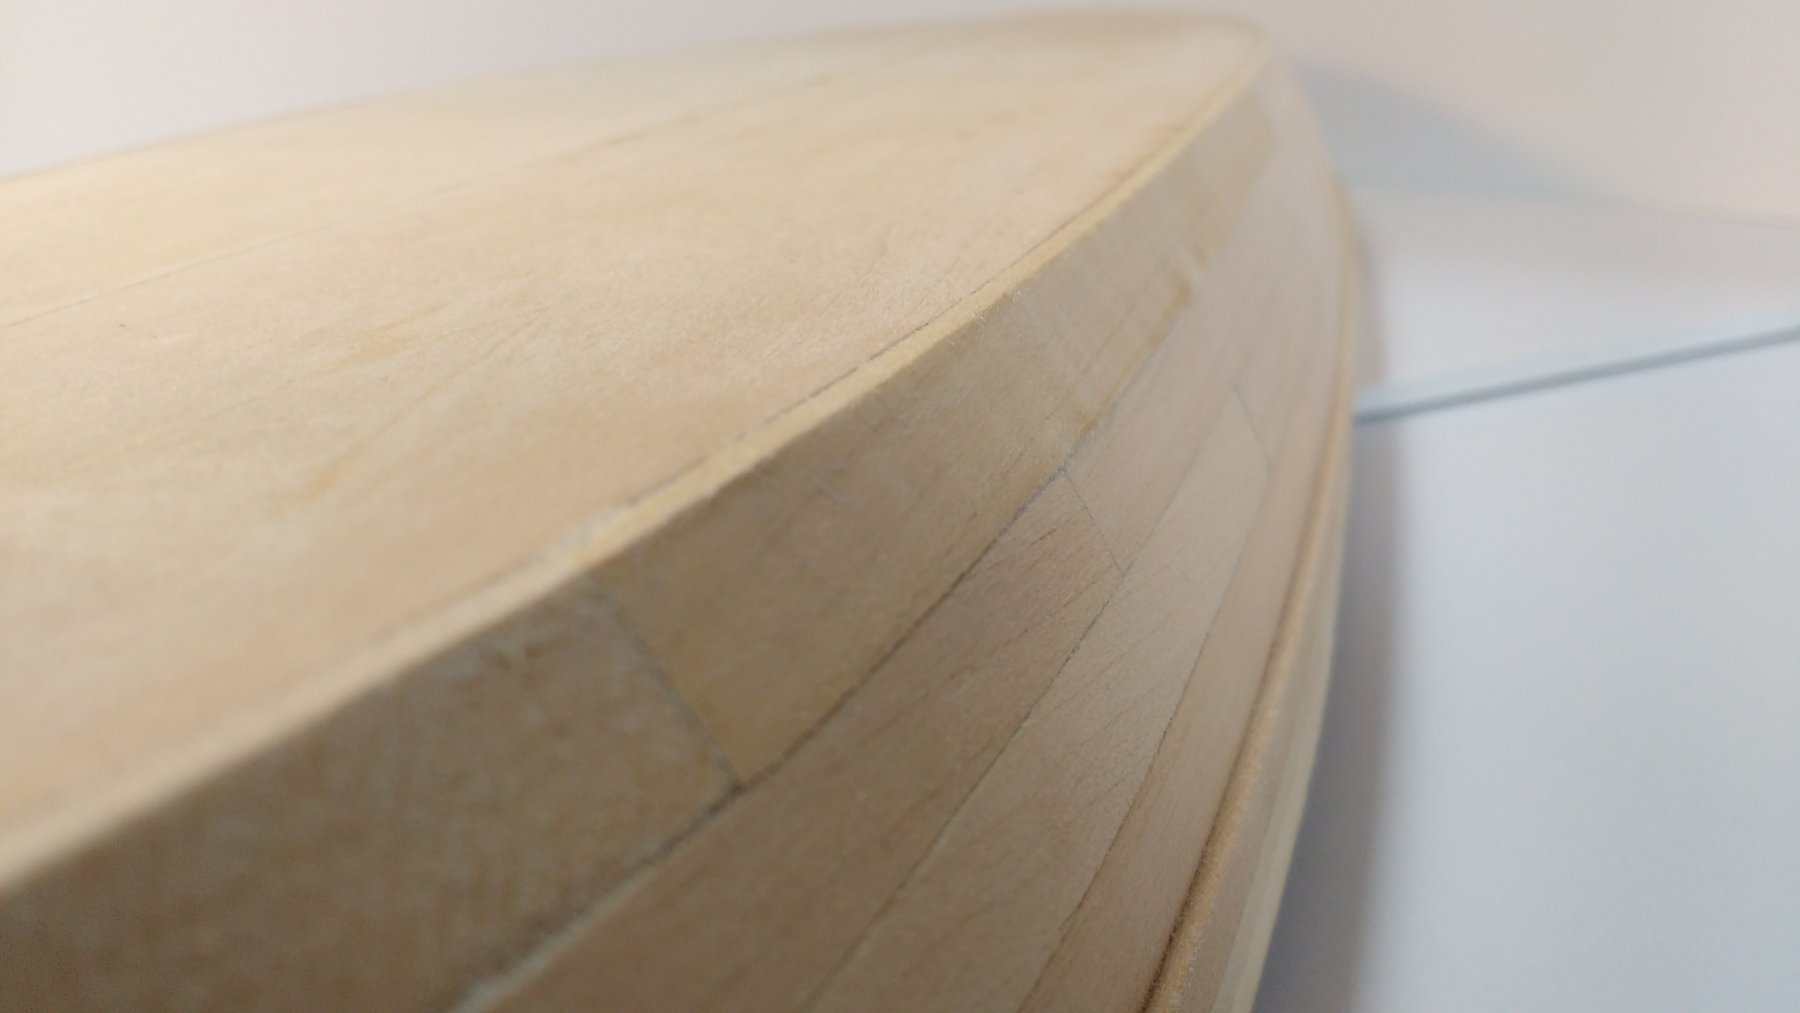
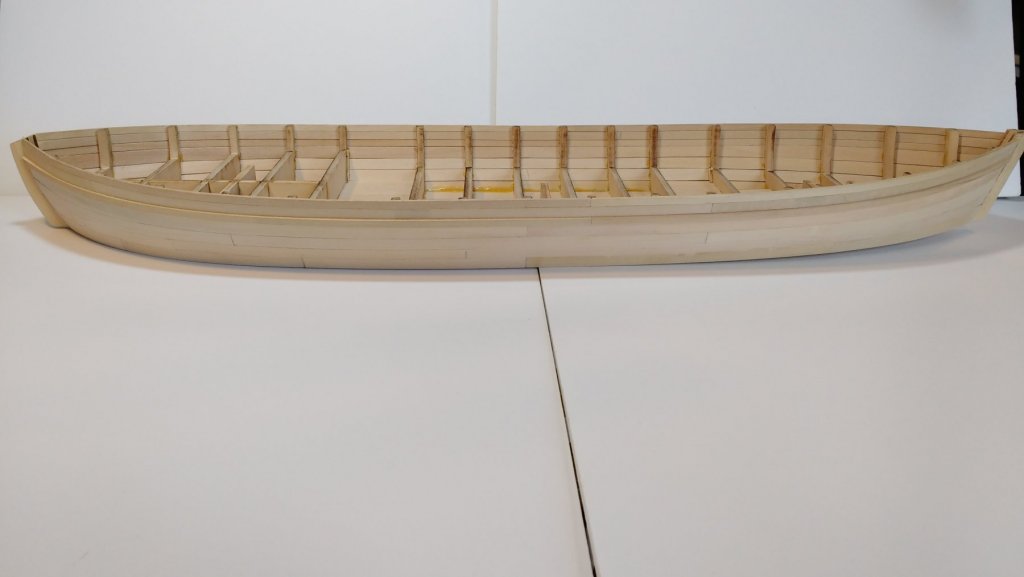
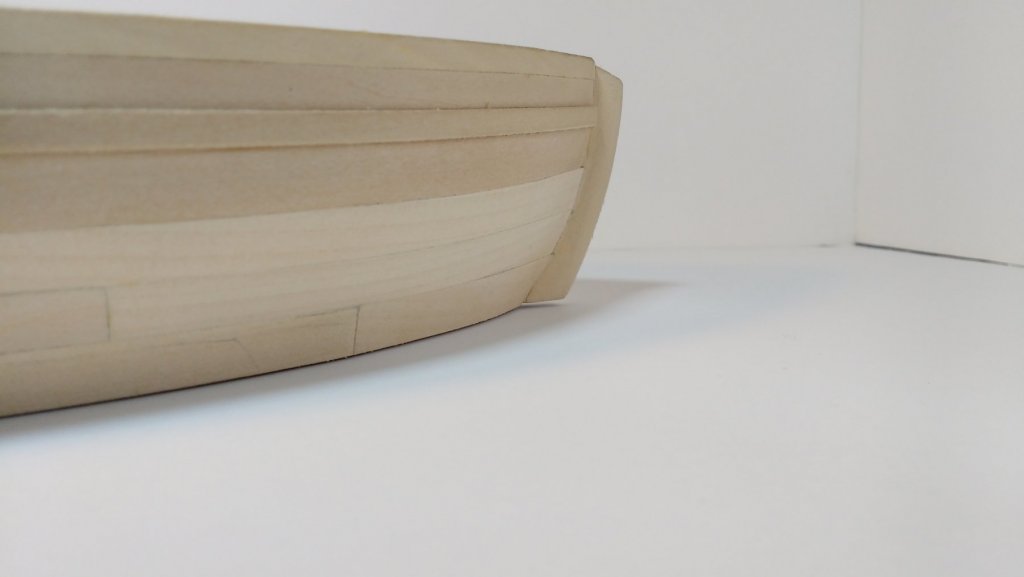
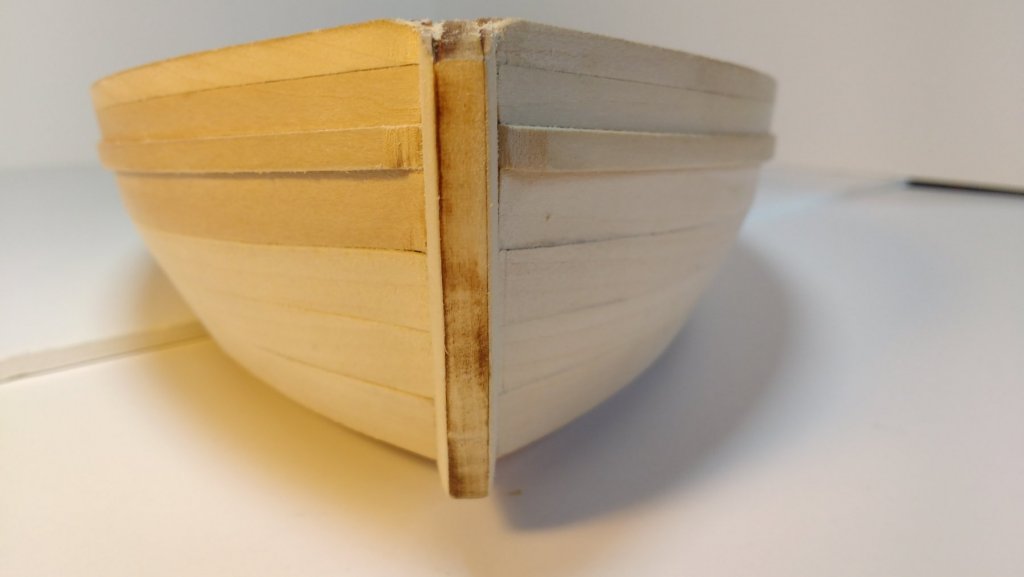
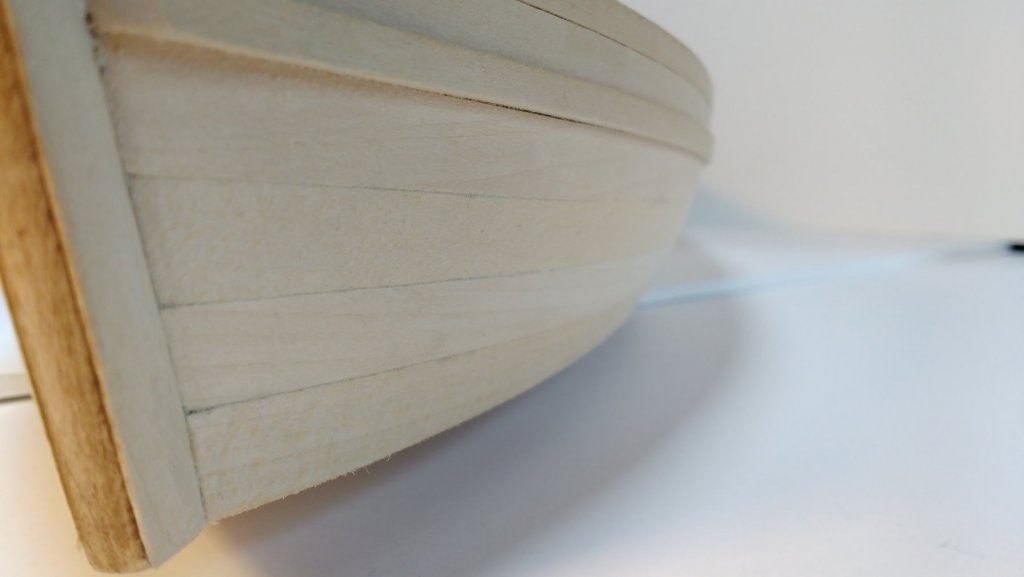
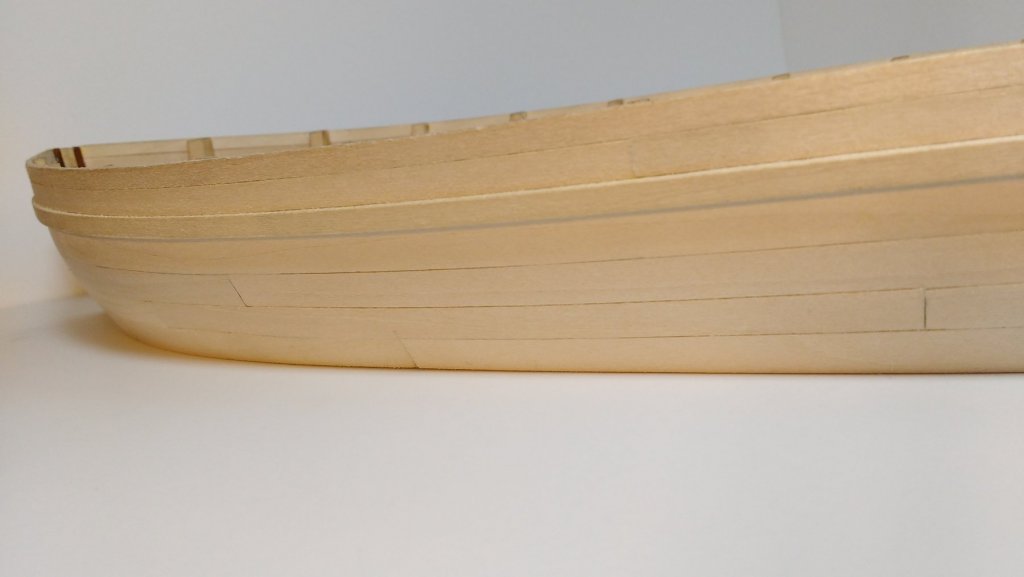
Hello again! It might have taken a while, but I had fun with it! I finished the outer hull planking. I think I enjoyed it more this time because I had a better idea of what I was doing. Anyway, here are the pictures.


- 228 replies
-
- 23
-
-
- gunboat
- model shipways
- (and 1 more)
-
The kitchen looks great Patrick! Now its time to stock it with food and a dirty load of dishes ready to go in the washer !
-
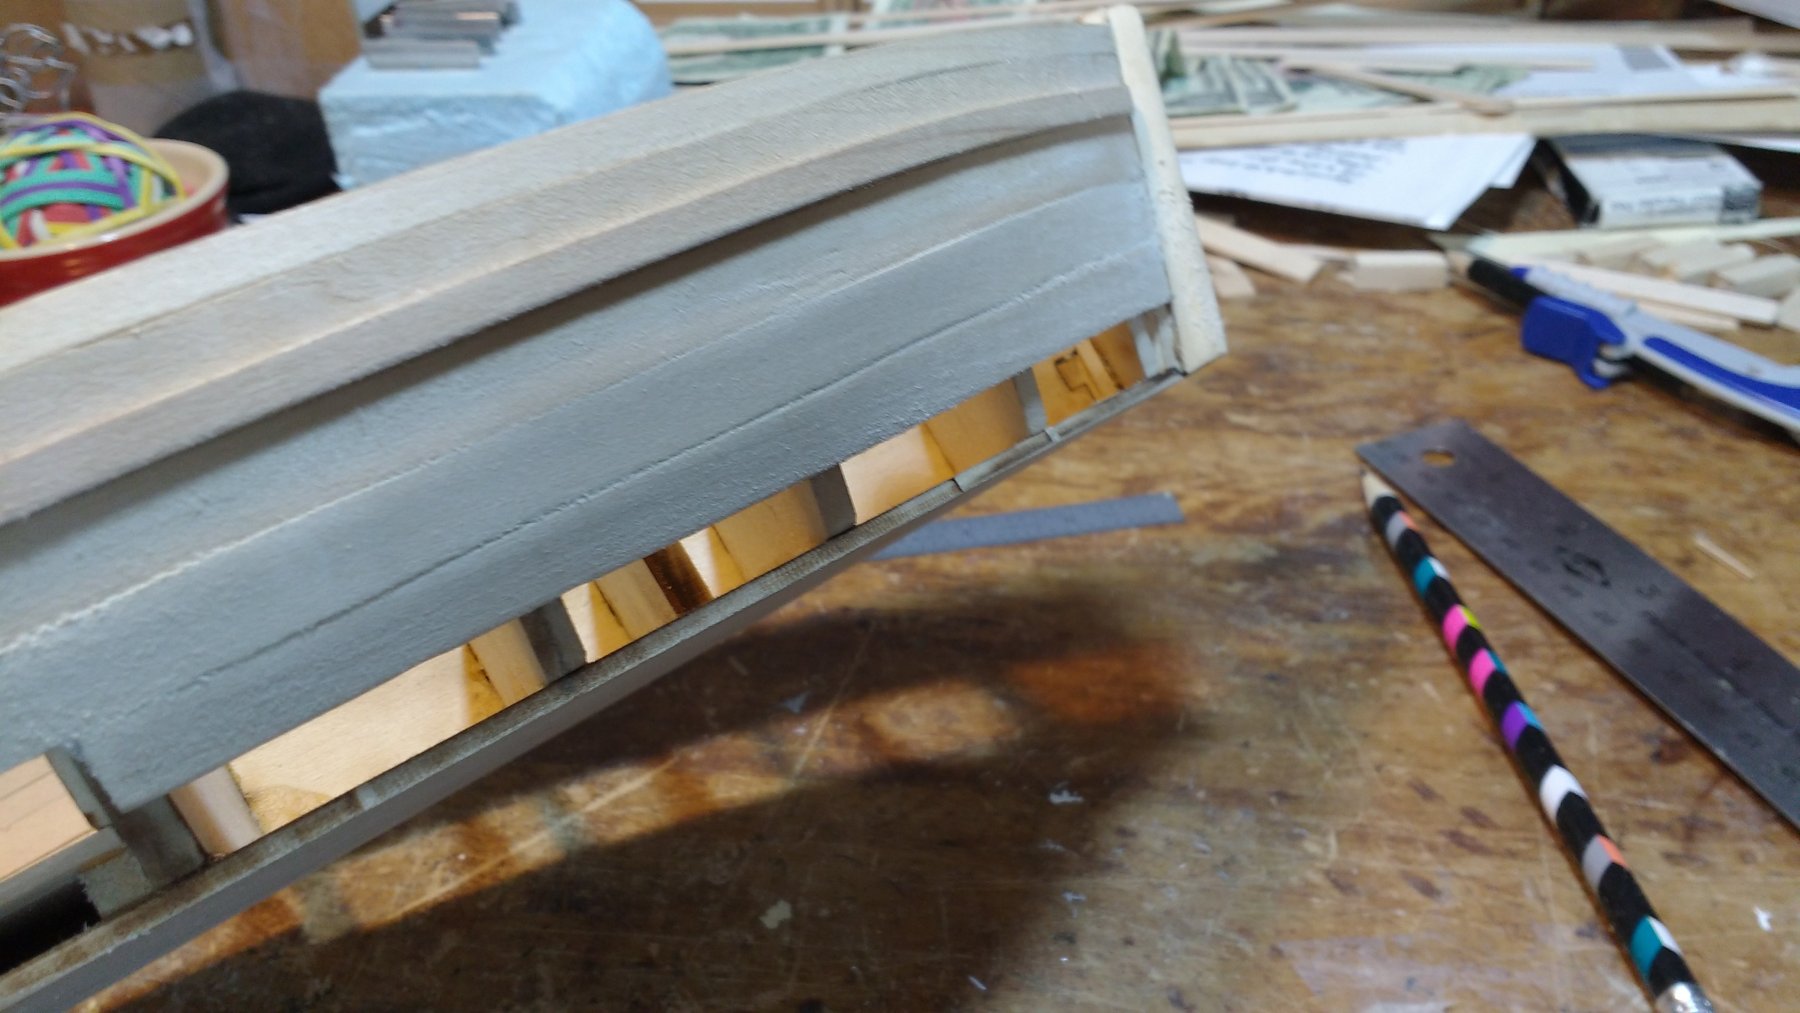
Hi Mike! I am also very interested in Marisstella kits. About your problem. It looks to me that there is an outer layer of planks that are 6mm wide and .5mm thick. It also looks to me that there is a .5mm thick strip of wood on the outer side of the bulkheads. In the circle, I think that the 4mm describes a large timber that is 4mm thick, possibly to strengthen the hull? Lastly, I do also think those three boards you show are in fact three boards, with the third having a cut away in it. I hope this helps! good luck !
-
That's a nice little boat! It looks like you can have a lot of fun with that kit.
- 24 replies
-
- 3
-
-
- finished
- Chesapeake Bay Flattie
- (and 2 more)
-
I'm building this one and I'll be interested to see what you do! Nice case for that Morgan!
-
Nice work! You'll be rigging in no time!
- 194 replies
-
- 1
-
-
- armed virginia sloop
- model shipways
- (and 1 more)
-
Looking good! Using string looks like it should work. Are you sure that the joints formed a straight line instead of the zig-zag pattern planks make when they meet? It would seem that a straight line might be prone to rot? Just my two cents, though I'm not sure if it's accurate.
-
Looking good! What would you say the overall quality of this kit is at this point?
-
That's a nice looking ship! Front row seat!
-
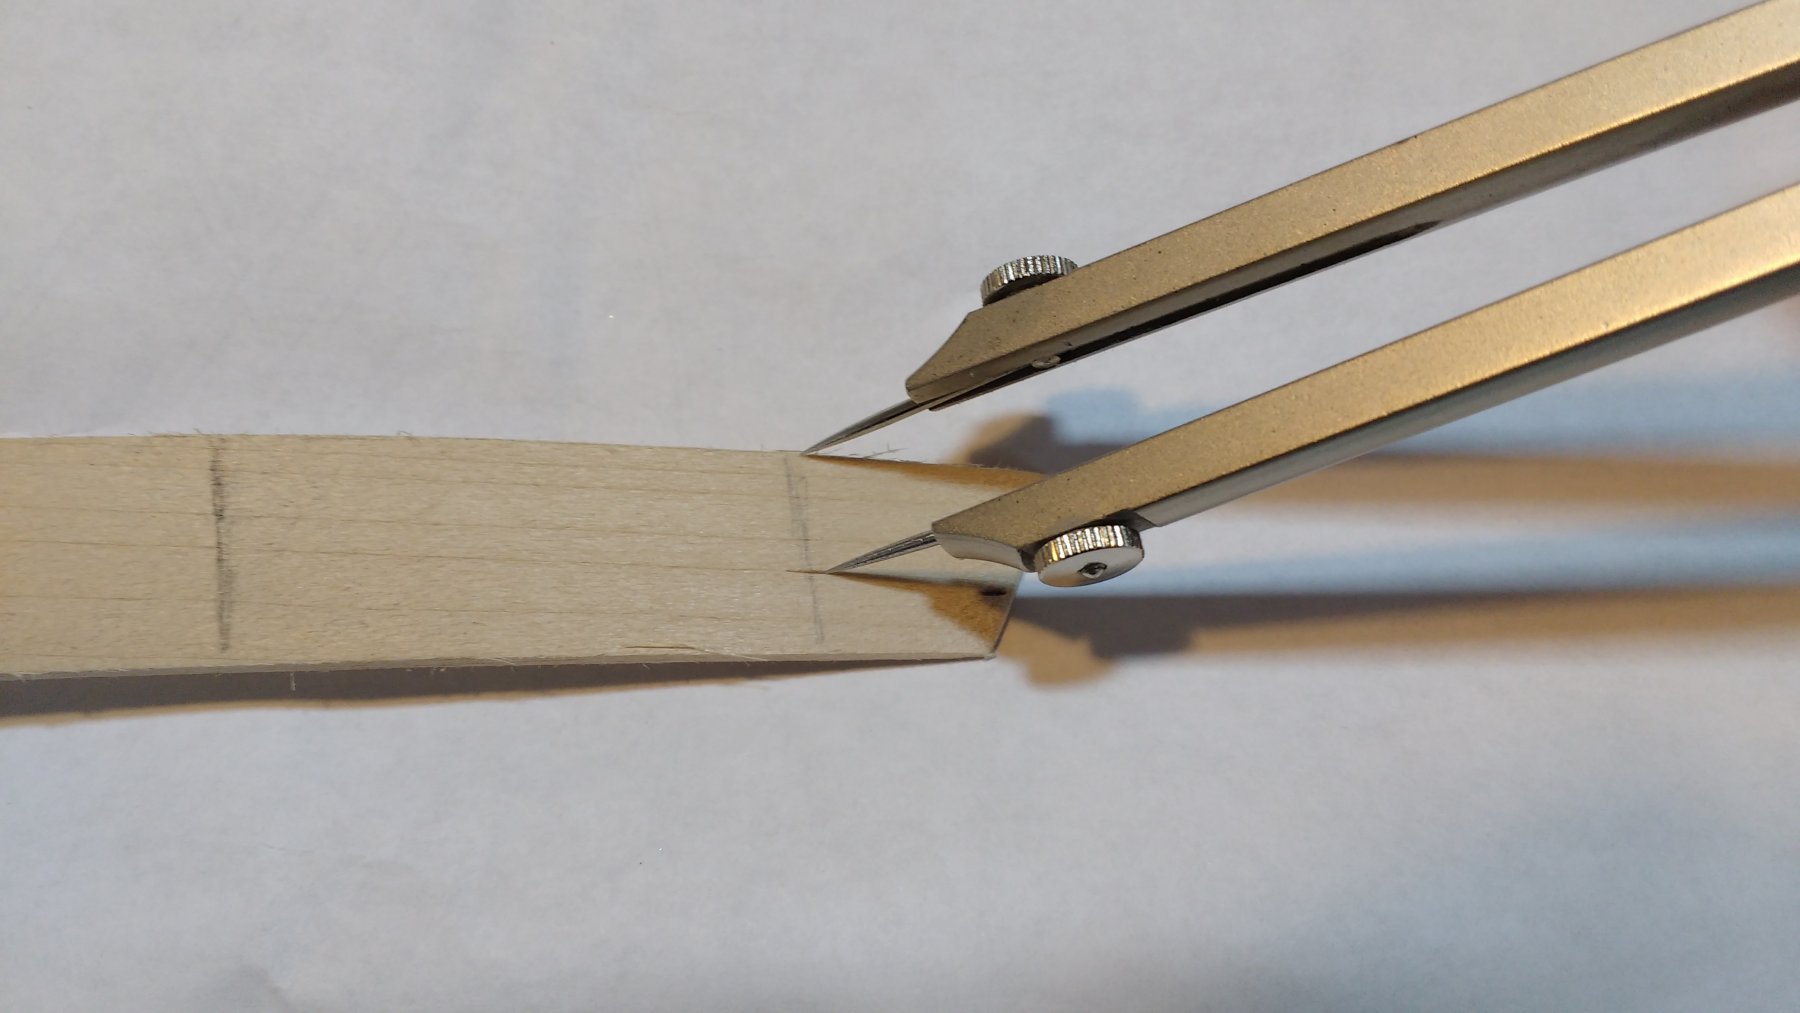
Thanks guys! Mike, those in the picture are dividers. They were used to transfer the plank widths at each bulkhead to the plank. The compass is not pictured, but was used to establish the curve of the plank. I'll show some pictures of that soon.
- 228 replies
-
- 7
-
-
- gunboat
- model shipways
- (and 1 more)
-
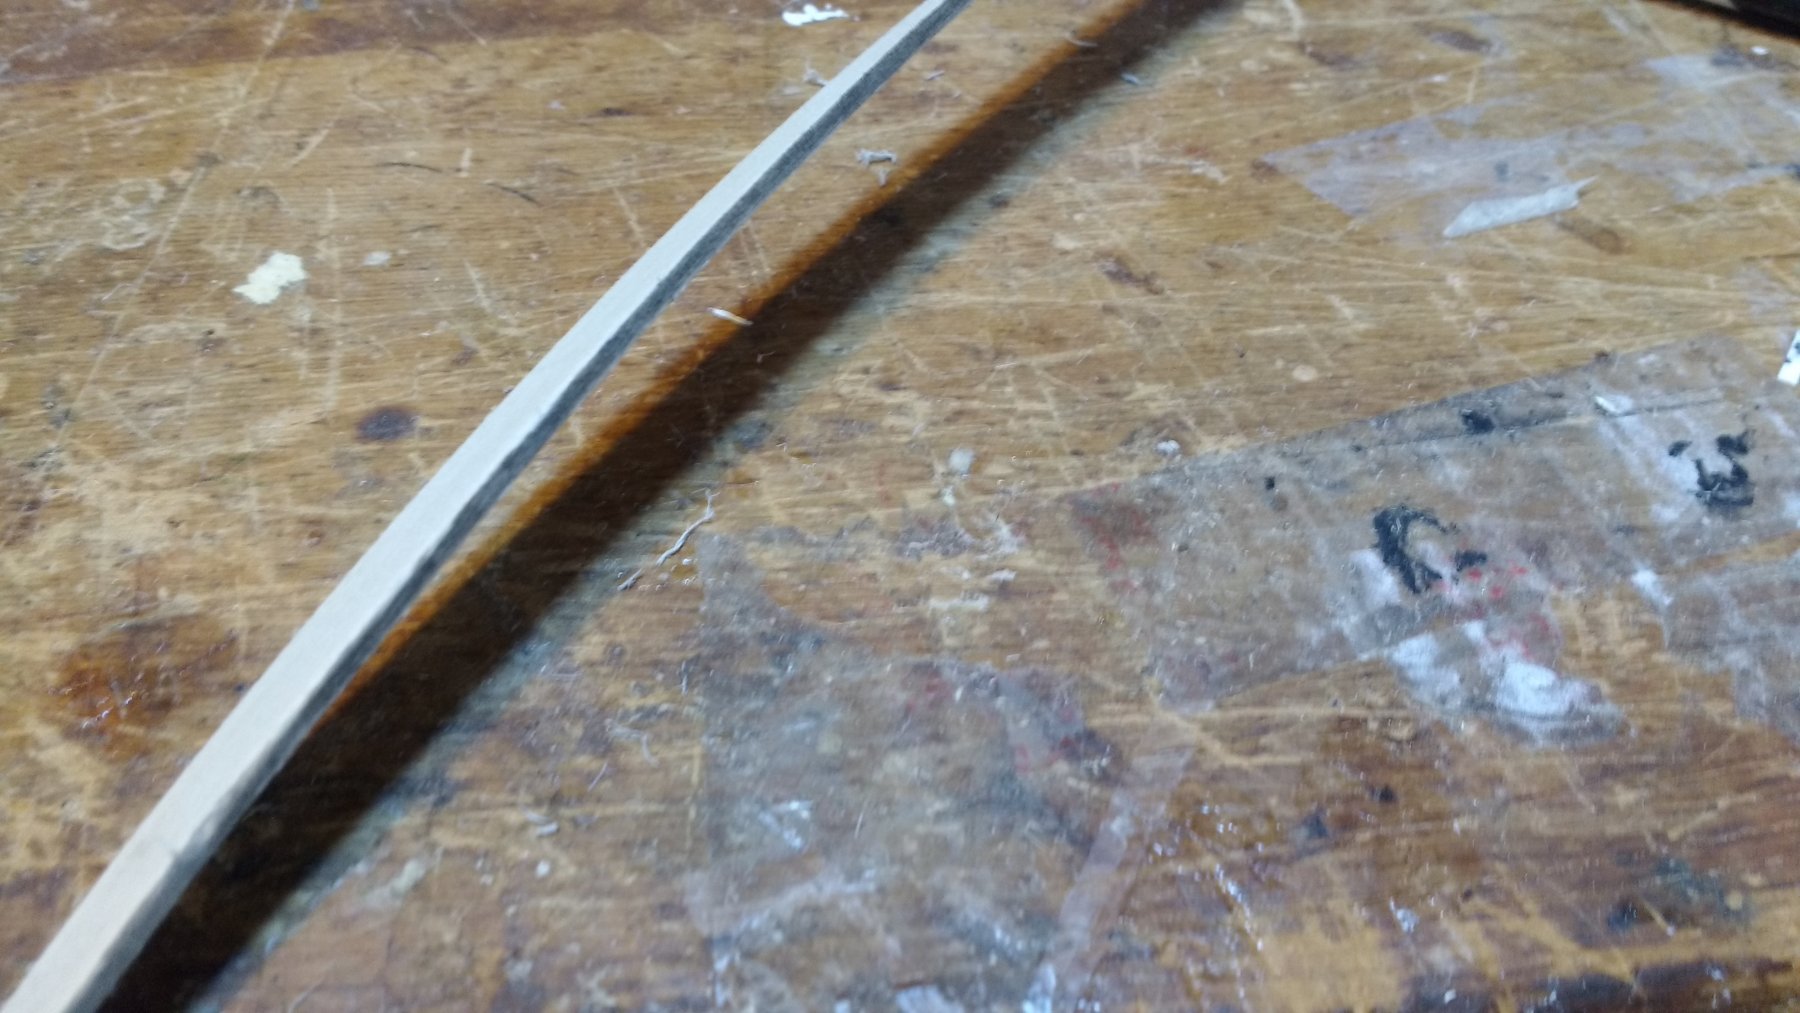
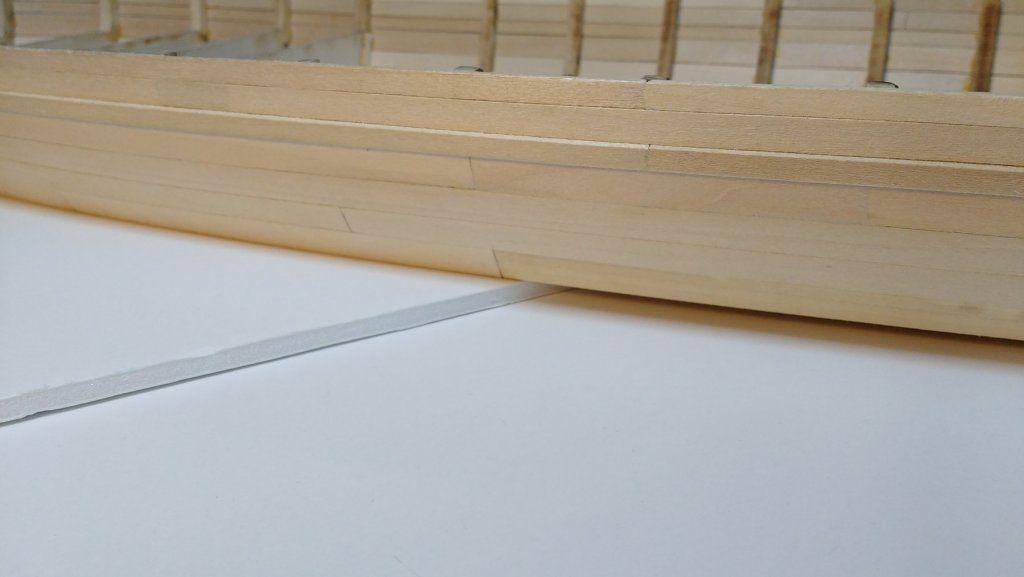
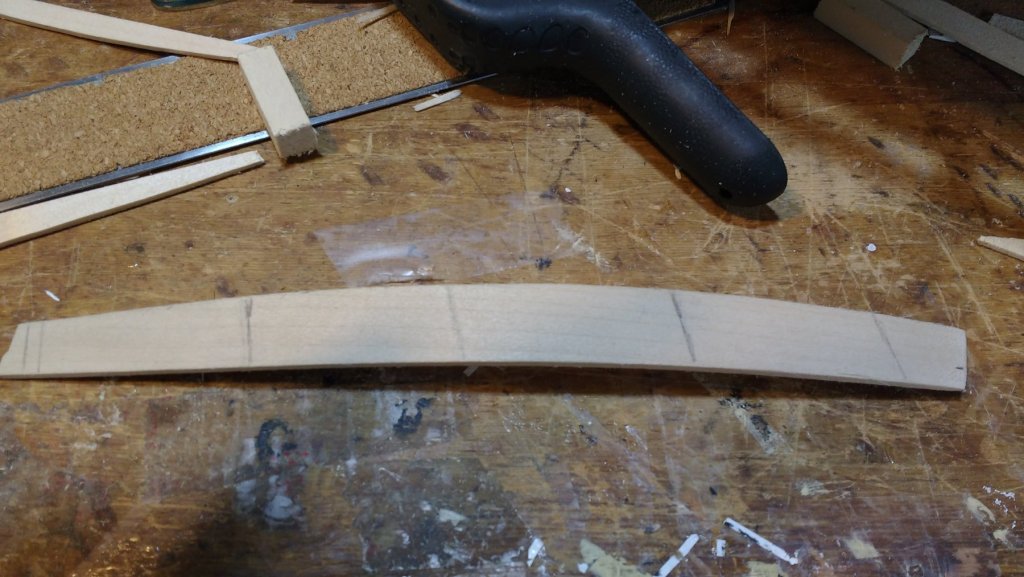
Well, I'm still planking the outside of the hull. I have two strakes left to do on either side. I've tried and tried again a few spiling techniques, most with unsatisfactory results. I think that at this scale some of them don't work as well, such as the tape method. I settled on my own way that has worked fairly well. It is similar to the tape method in only one way, which is instead of lying the tape on he hull with no side bending, you lie a wide strip of wood. Being wood, it would be very hard to edge bend. You clamp it in place on the hull, run a compass at the edge of the plank that fits into the bow or stern and cut along that line so that the plank fits in the rabbet when it is done. Make sure to thin the plank at this point. Now lie the plank back on the hull, WITHOUT the end in the rabbet but still making the plank end directly below the above strake, not necessarily following the curve of the bow or stern. Make sure that there is space between the top edge of the wood strip and the bottom edge of the above strake. Double check that the space continues the whole length of the plank you are attempting to create, from bow or stern, all the way to the last bulkhead that the plank rests on. At this point, you should have a strip of wood on the hull that from a side view looks curved, but in actuality it is running its natural course along the hull. It should form a light U shape. Then run a compass along the edge of the strake, drawing that line onto the wood strip. Cut the wood strip on that line and test the fit. You may soak it for a few minutes and clamp in place. Once dry, mark where each bulkhead is on the plank. Now, with a divider, measure the width of the plank at each bulkhead and transfer that to the plank. Connect each transferred point on the plank with a line. Cut near the line and test fit again. Fine tune, add pencil on he bottom edge to simulate caulk, and finally glue. I will show you what I mean by the whole "strip on the hull making a U shape" in photos once I finish with the outer planking. Nearly there! Until next time,


- 228 replies
-
- 20
-
-
- gunboat
- model shipways
- (and 1 more)
-
Nice work! I personally really enjoy how ships look with the rigging. Anyway, nice work with those masts and spars, they look very good.
- 843 replies
-
- 3
-
-
- niagara
- model shipways
- (and 2 more)