Elijah
-
Posts
1,310 -
Joined
-
Last visited
Content Type
Profiles
Forums
Gallery
Events
Everything posted by Elijah
-

De Eendracht by kay - 1:50 - a dutch flagship
Elijah replied to kay's topic in - Build logs for subjects built 1501 - 1750
That's some very neat work! I like how the stern is turning out. It looks like a tower! -
Hello. I know it's been a while since I last updated, but I promise to update again soon. Either I will update once I finish the outside planking or within a week, whichever comes first. Basically, I'm just letting you know I'm still here . Thanks for sticking around!
- 228 replies
-
- 4
-

-
- gunboat
- model shipways
- (and 1 more)
-
Nice build! Its too bad about the bad wood. About the planking, I think the only issue with glueing three together is that it doesn't allow you to easily make the but shift pattern. I guess you could score a line on the plank and draw in that line with a very sharp pencil.
-
Looks like a fun build, Hennie! If all of those green boards are decorations, you must have a lot of painting ahead of you !
- 192 replies
-
- 3
-
-
- sovereign of the seas
- sergal
- (and 1 more)
-
Nice progress Patrick! Did you get any pictures at the exhibit in Japan? What have you been using to finish your decks? They look very nice.
- 449 replies
-
- 3
-
-
- sultana
- model shipways
- (and 2 more)
-
Looking very nice, Sjors! What paints are you using?
-
Nice work Jesse! Those carronades look ready for action!
- 1,306 replies
-
- 6
-
-
- syren
- model shipways
- (and 1 more)
-
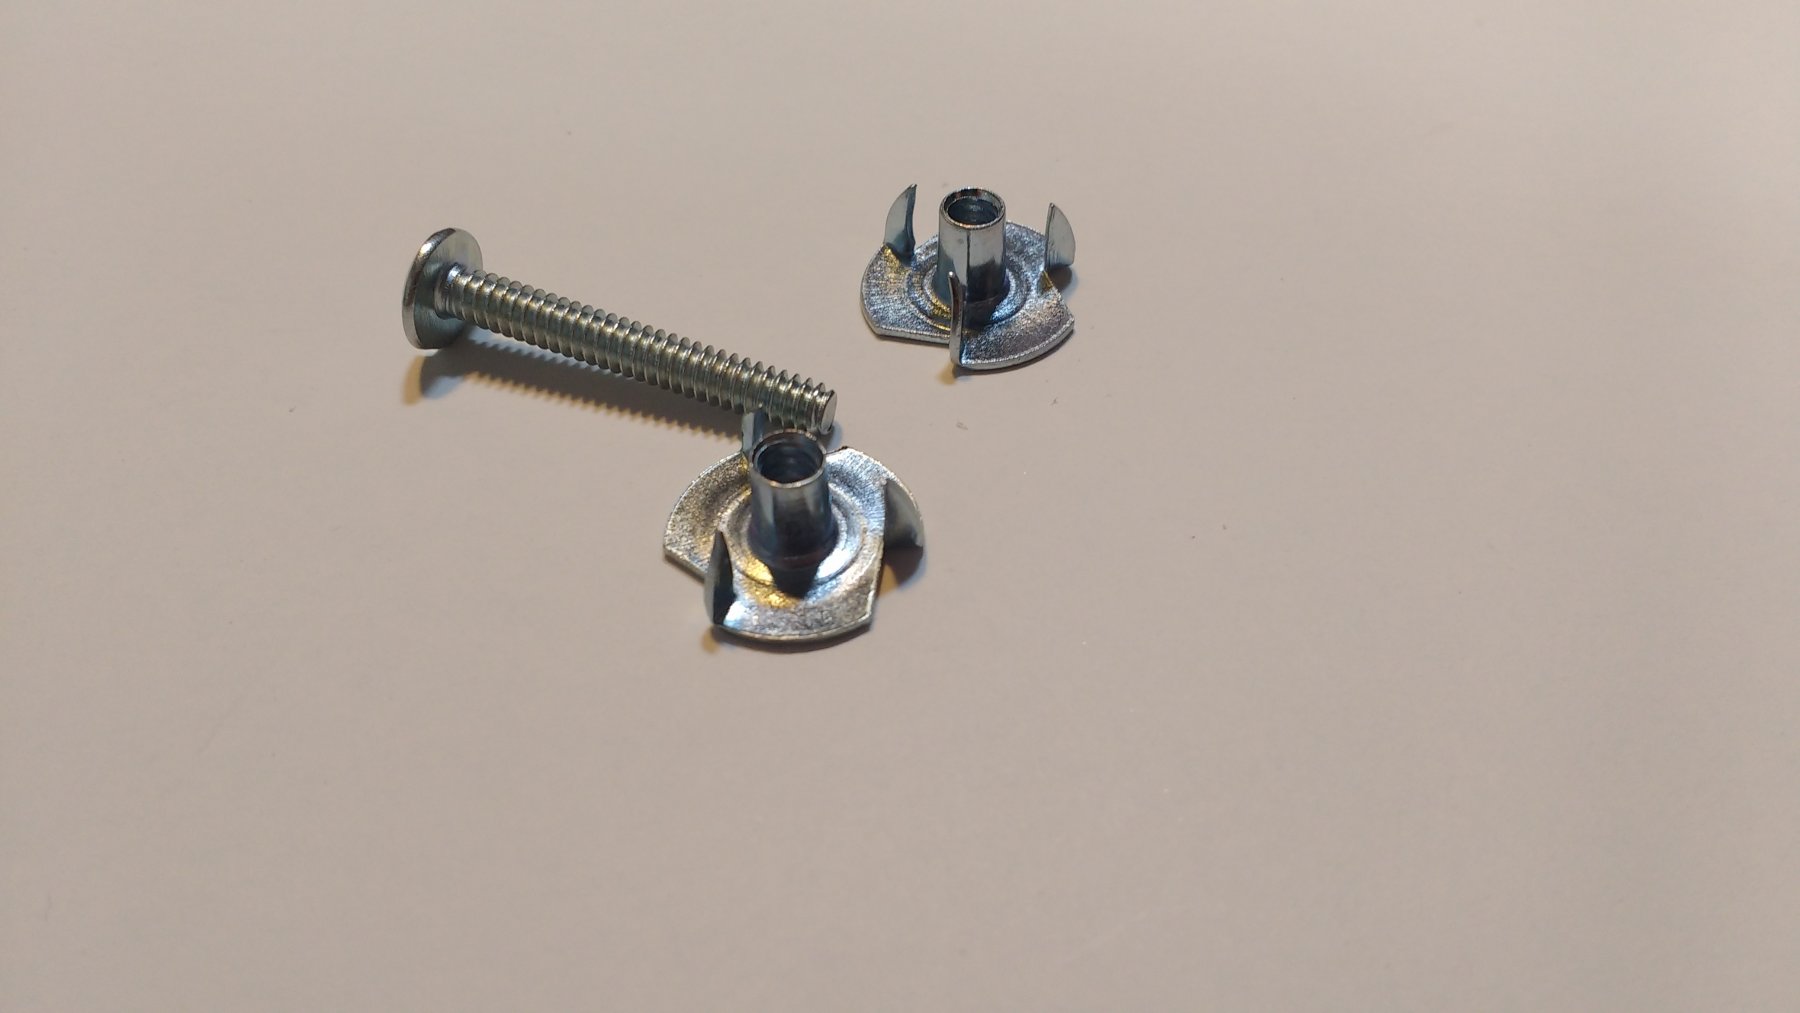
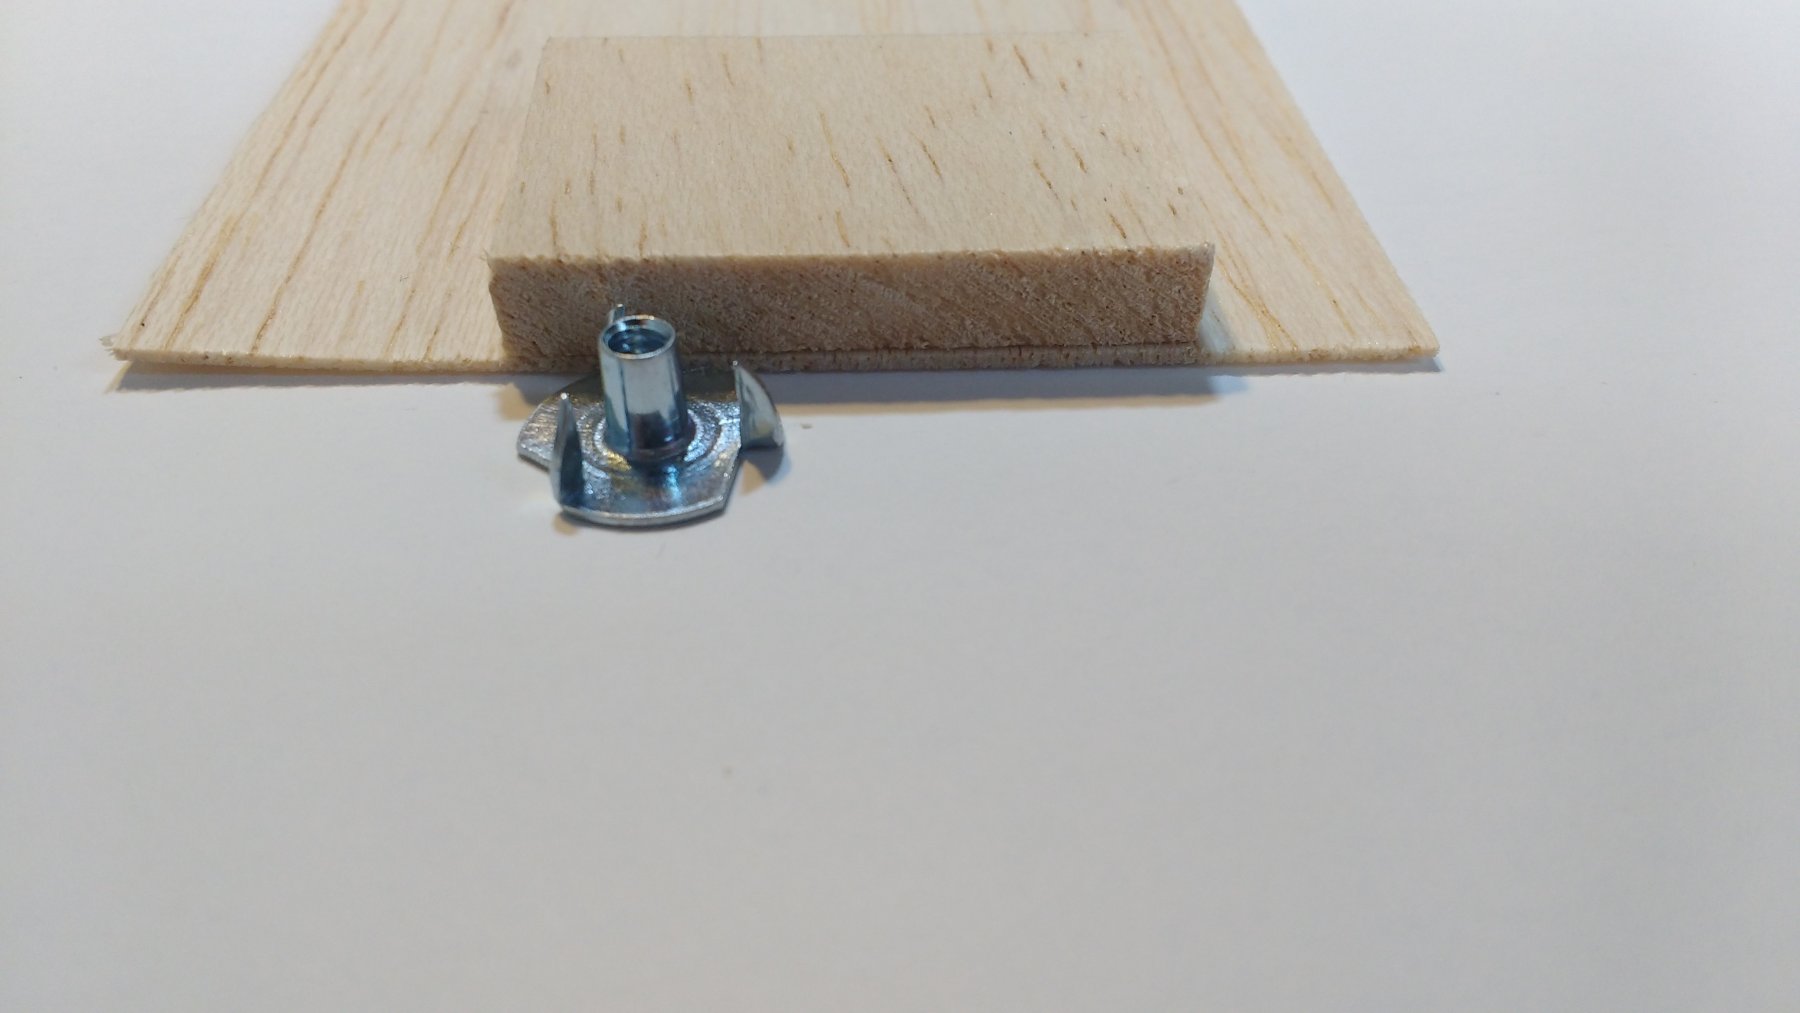
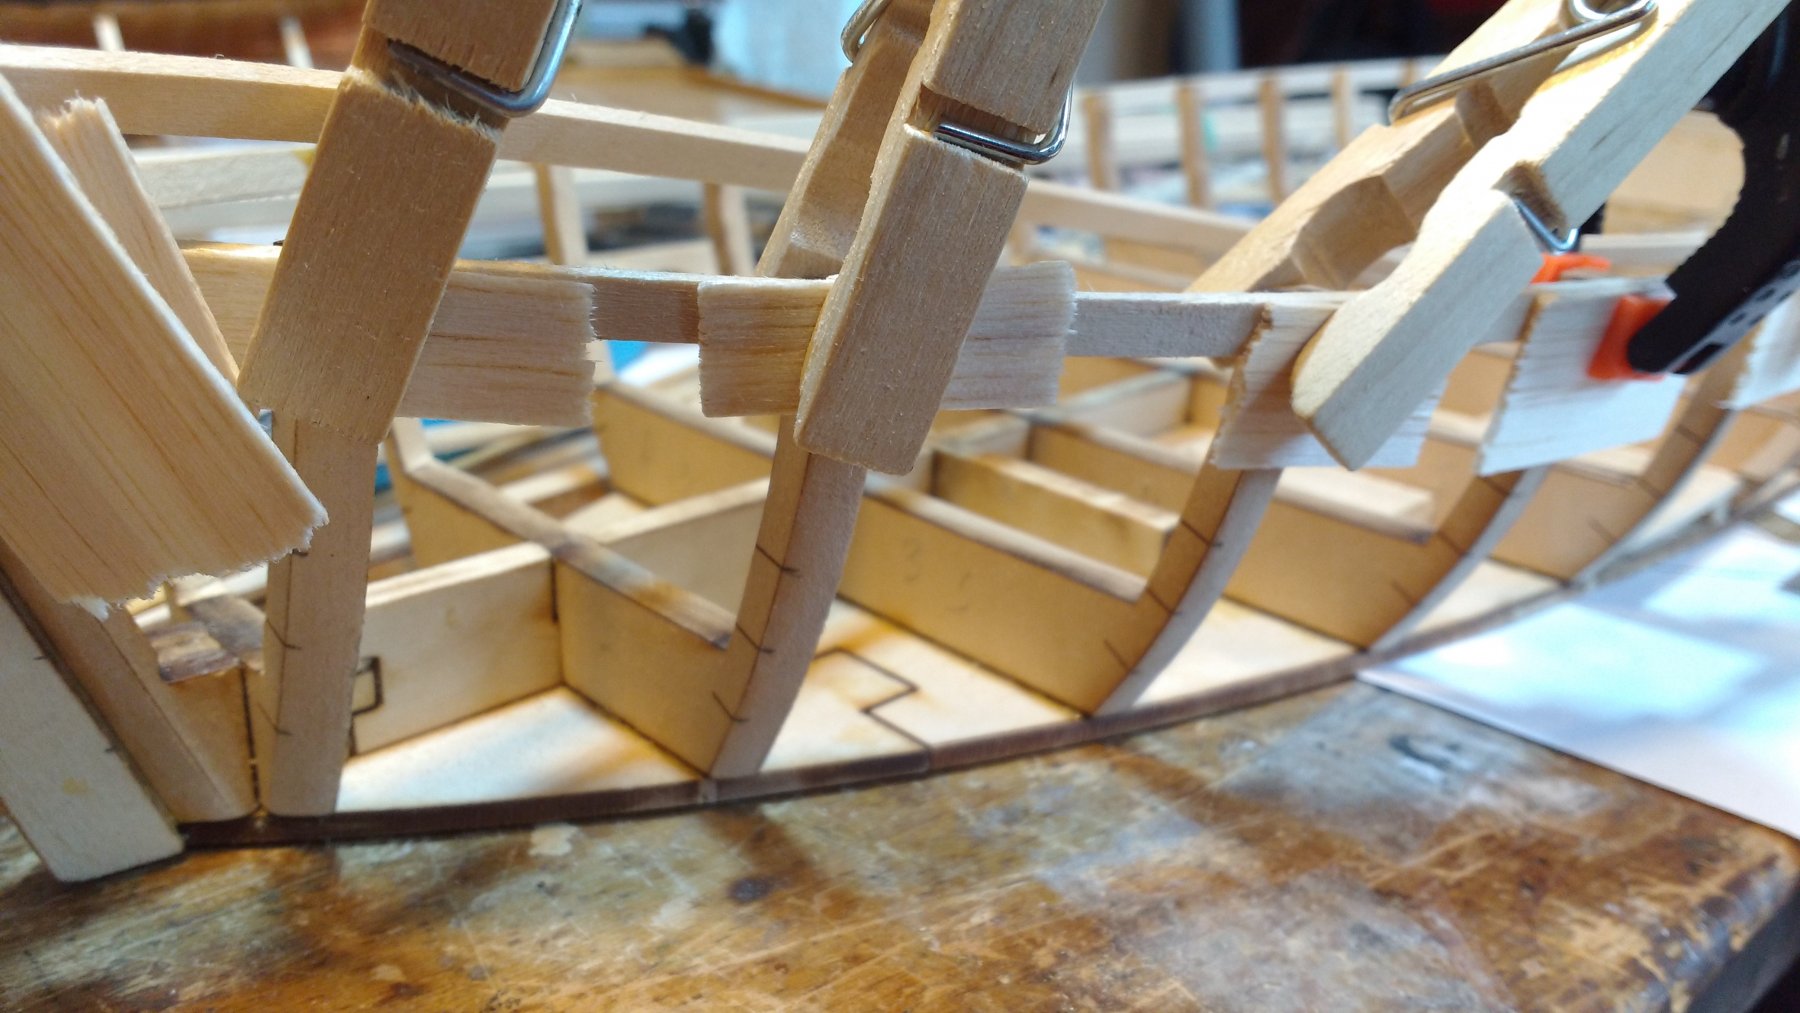
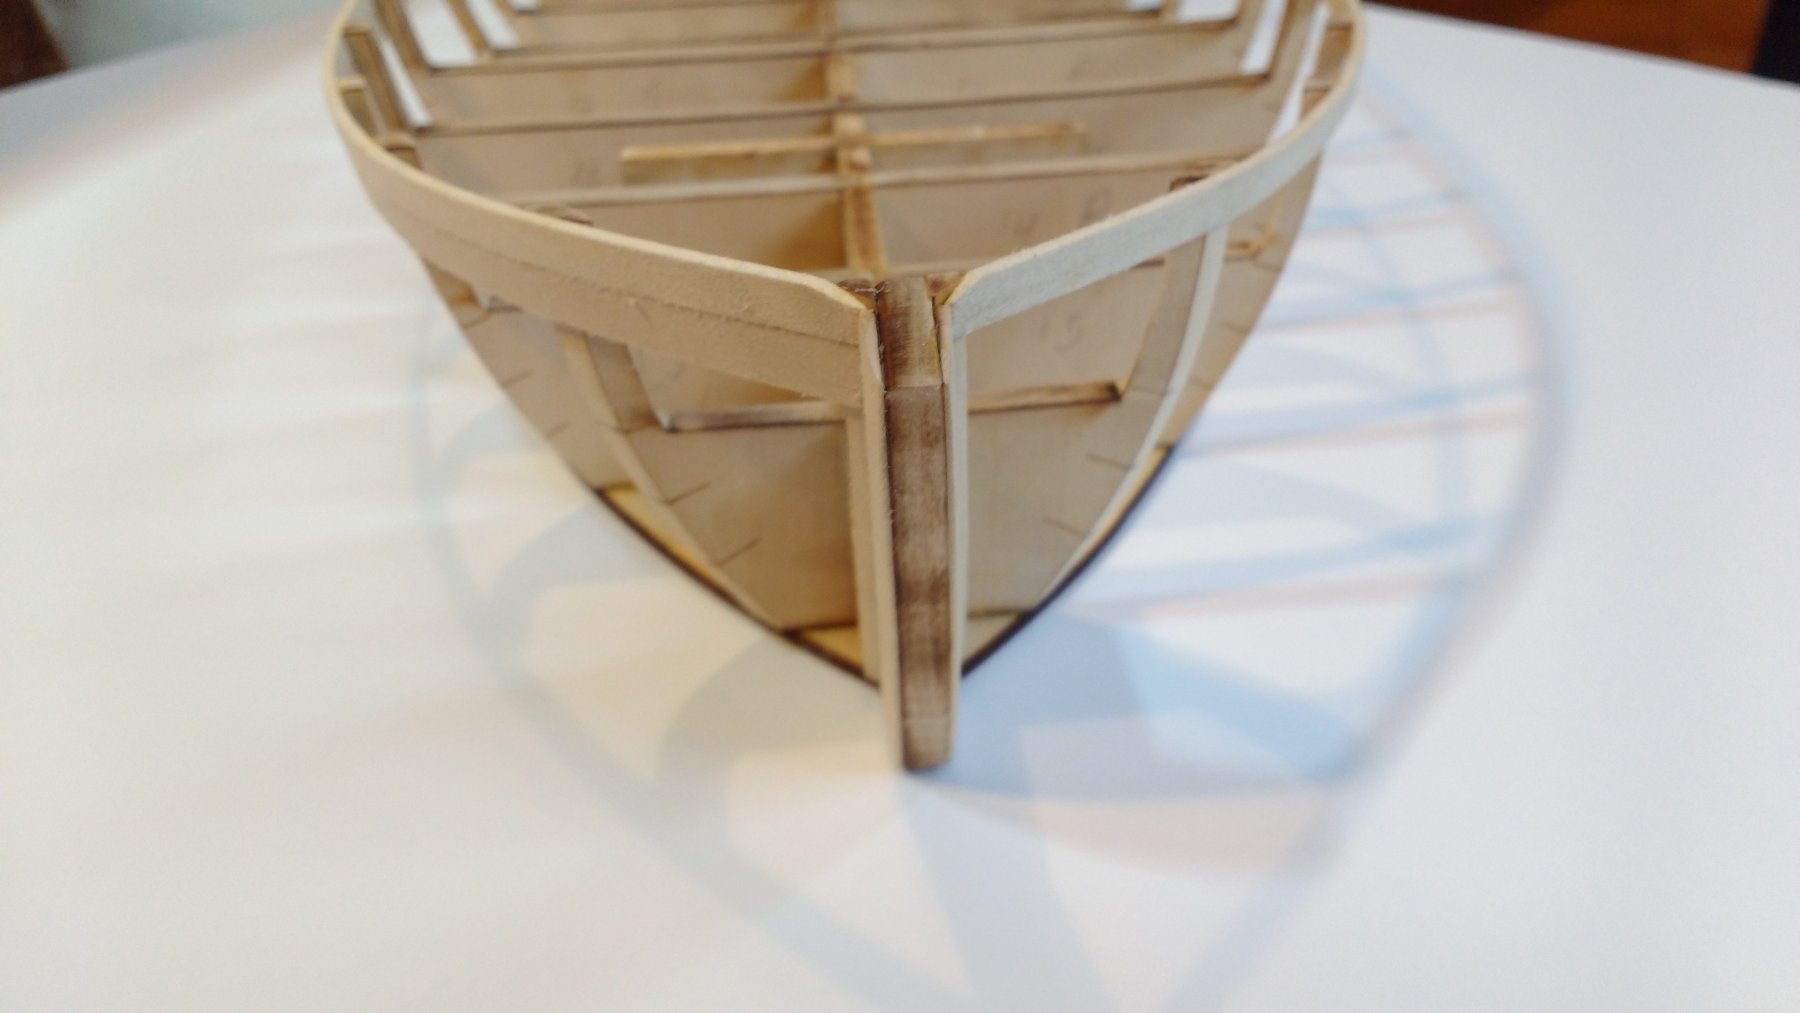
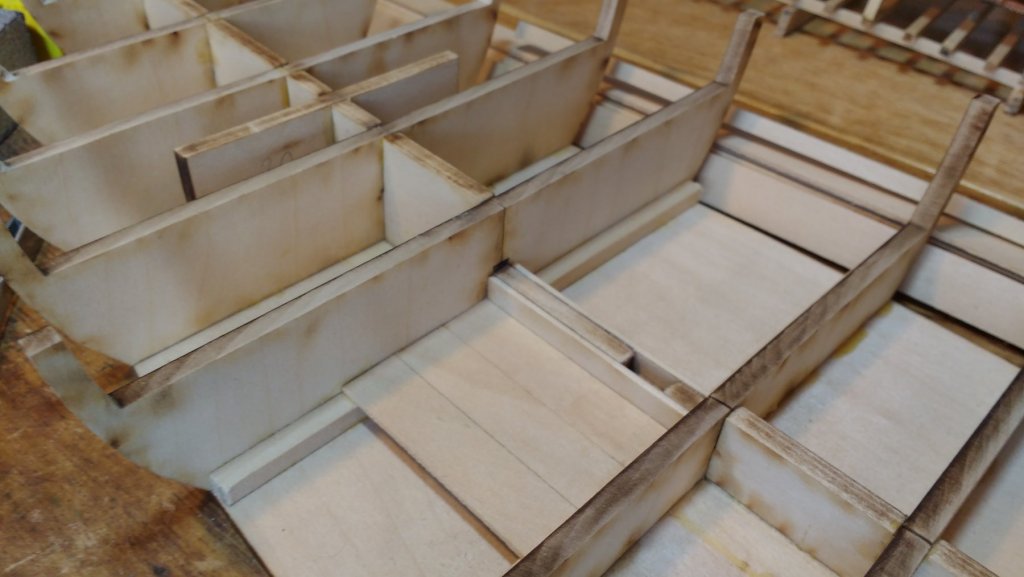
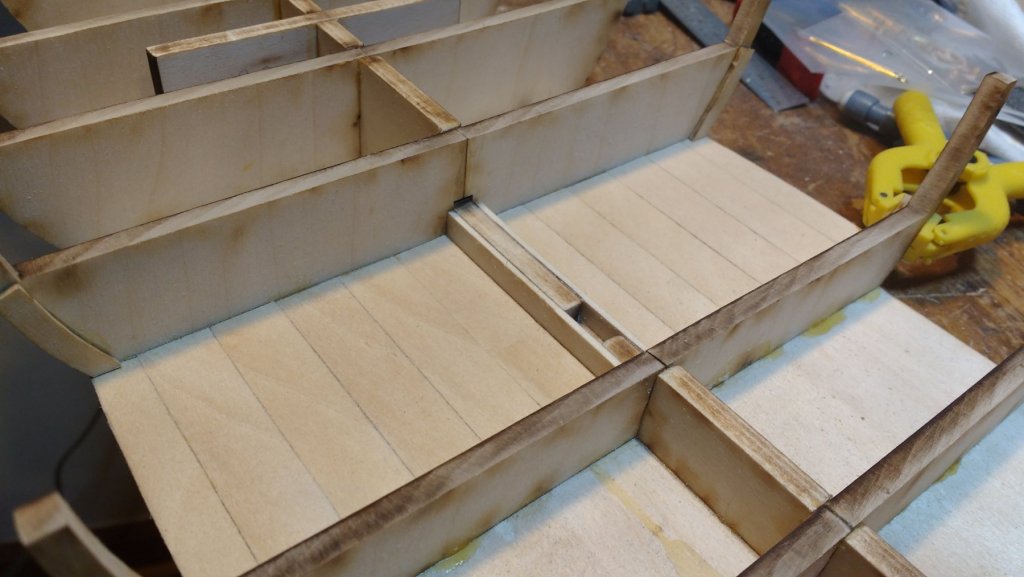
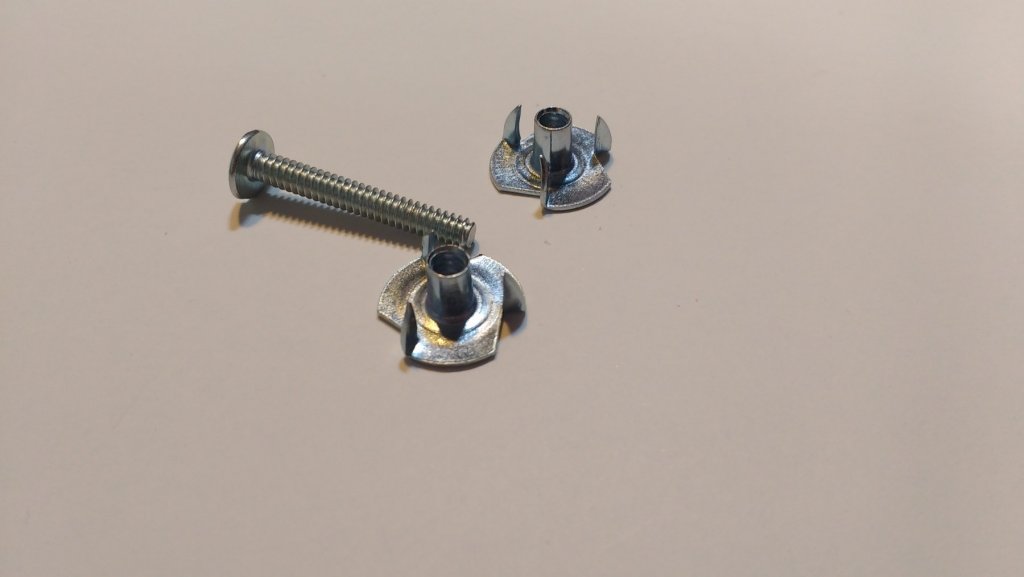
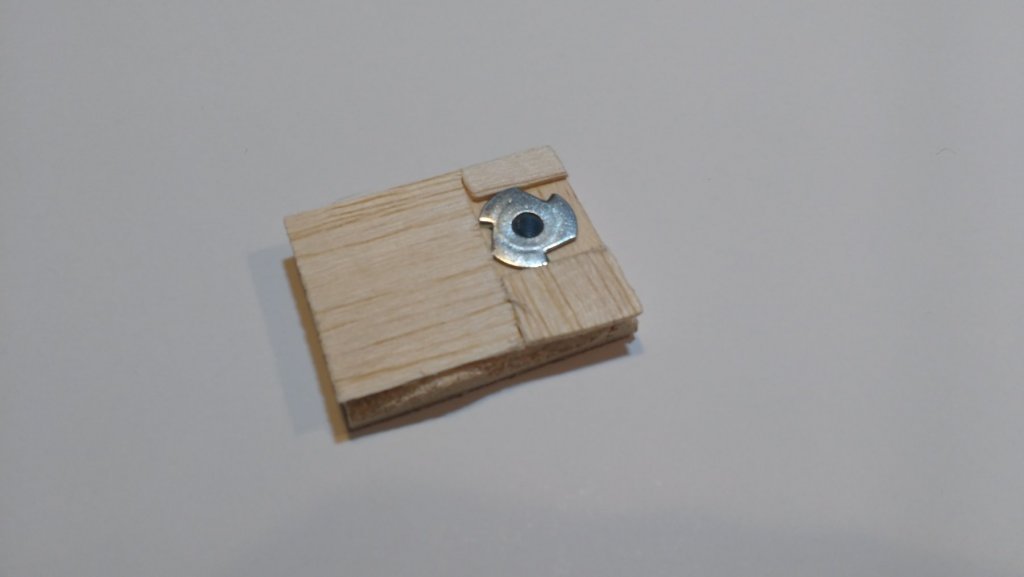
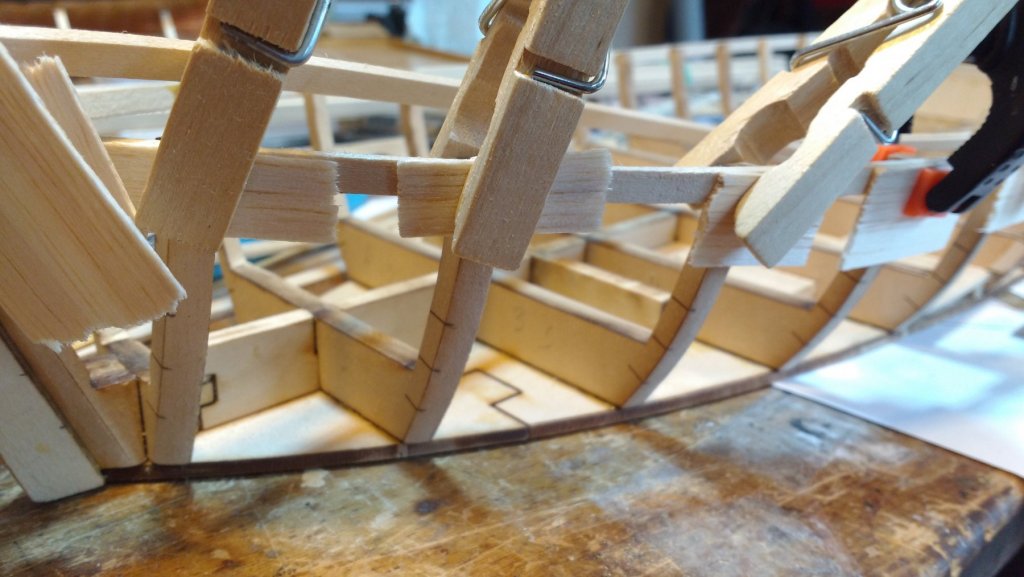
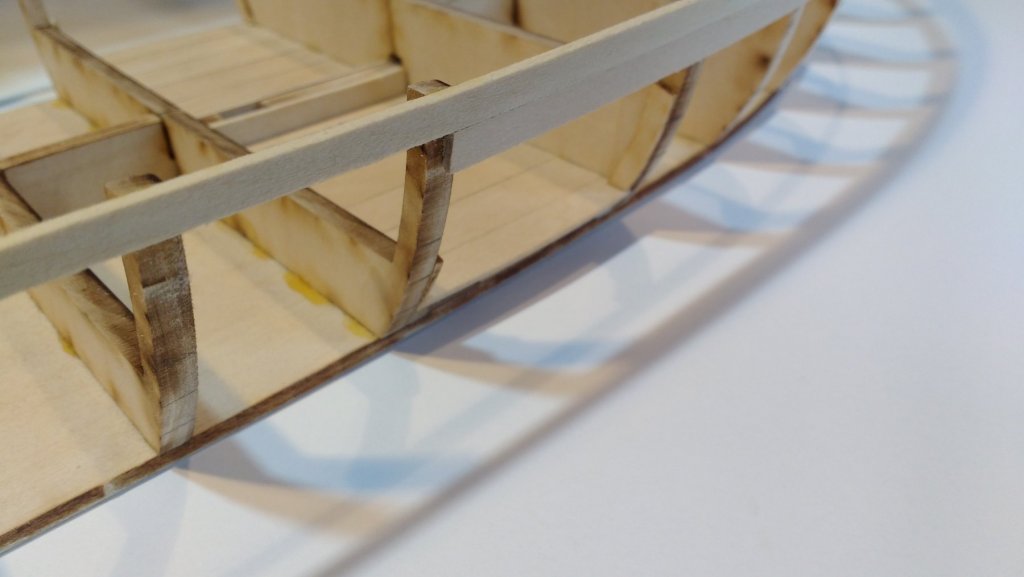
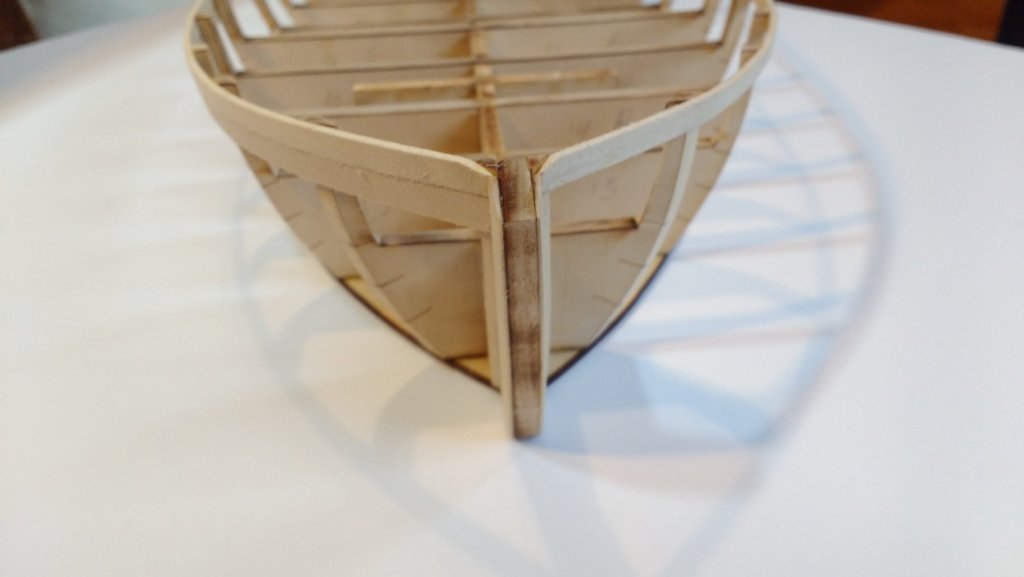
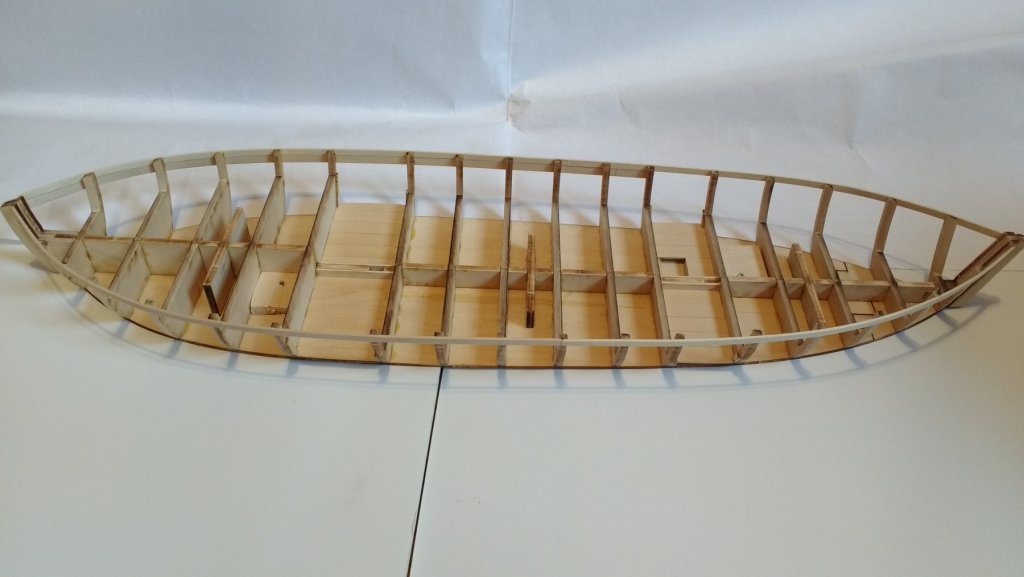
Hello again! It's been a few weeks since I've updated my log and thought it time to do so again. First, I added the cockpit flooring. That was just glueing the supports and short planks in place. Then was figuring out and adding the mounting system. Kurt recommended using t-nuts for that. I then located and drilled a hole on either side of the keel, one below the fore deck and one below the aft. I then aligned that hole and drilled it in to the filler block. Taking into account the thickness of the base of the t-nuts, I layered the wood so that when the t-nuts were installed they would sit flush with the base. I then glued them on to their respective places and used a screw to keep them aligned. After that, I lined off the hull and started planking. I have thinned the ends of the planks that for into the rabbet and beveled the underside of the planks for a tight fit. I also used a number 2 pencil to add 'caulk' to the underside of each plank. I first soaked the planks and clamped them to the hull to dry. I noticed that the field made small debts in the planks that way. A lake water and a bit of sanding makes it not noticeable, but since then I've used little balsa tabs as spacers to take the dent. So far I have finished the sheerstrake on both sides. I have noticed that although the planks above the Wales aren't spiled, they do vary in width. Thanks for looking in!

- 228 replies
-
- 20
-
-
- gunboat
- model shipways
- (and 1 more)
-
The masts look very nice! All of your work is very tidy!
- 653 replies
-
- 5
-
-
- trabakul
- marisstella
- (and 1 more)
-
Good job with the planking! The edges look nice and tight!
-
Wow, it's been a while since I've stopped by. She is looking fantastic! Your machinery is superb! You are doing some great work!
- 245 replies
-
- 2
-
-
- bluenose
- model shipways
- (and 1 more)
-
That's a nice ship! You've really left the degree of warp in the keel to the imagination !
-
Hello Danny! This is a really nice looking build! Did you sand the laser char off and stain the laser cut parts before using then? Also, do you chemically blacken all the metal parts?
-
The framing is looking great, Bob! It doesn't even show signs of being laser cut!
- 682 replies
-
- 3
-
-
- halifax
- lumberyard
- (and 1 more)
-
Those plants are a great addition! Are they made with tapered wooden dowels with a little moss on top?
-
Brig Eagle by robnbill - 1:48
Elijah replied to robnbill's topic in - Build logs for subjects built 1801 - 1850
Those masts look wonderful! My guess is that those sheaves will make the rigging process more easy, especially when positioning spars?