HOLIDAY DONATION DRIVE - SUPPORT MSW - DO YOUR PART TO KEEP THIS GREAT FORUM GOING! (Only 13 donations so far - C'mon guys!)
×


russ
-
Posts
3,086 -
Joined
-
Last visited
Content Type
Profiles
Forums
Gallery
Events
Everything posted by russ
-
Thanks. I am working on the masthead now and getting ready to attach the topmast. I just have to go slow and remember that everything has to go on in a certain order. Russ
-
Thanks for the tip. Russ
-
John: Thanks. I know it is far from perfect, but it will be okay. I might try to iron some of the quilting out of it. Might not be possible, but it is worth a try. Russ
-
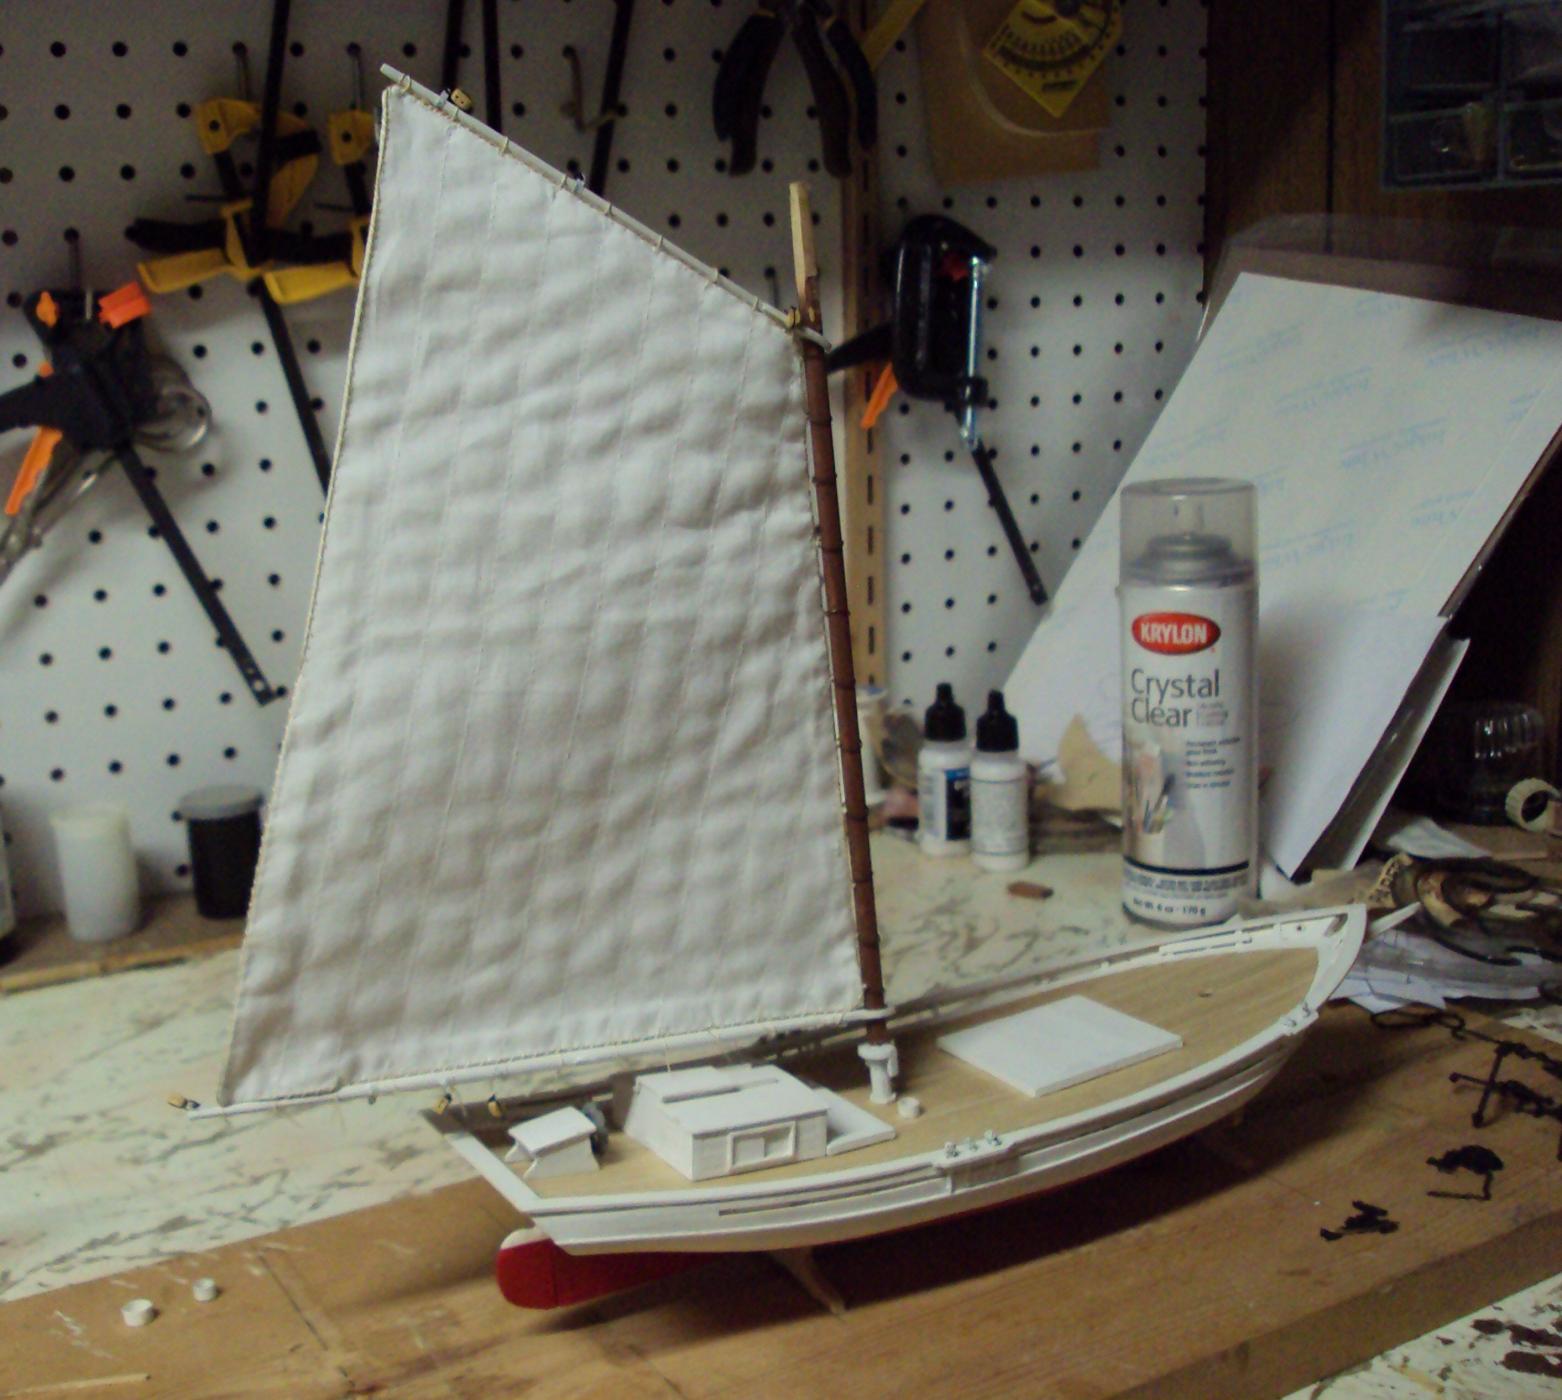
Here is a little progress. The mainsail is laced to the gaff and boom and the sail hoops are fed into the lower mast. I wanted to see if everything fit well enough. So far it is not too bad. Russ

-
John: At such a small scale, these boats came out beautifully. Well done. Russ
-
Beautiful work so far. The hull has a very nice atmosphere about it. Well done. I would recommend a spacing jig for the deadeyes. That will help with alignment. Russ
- 481 replies
-
- 2
-

-
- rattlesnake
- model shipways
- (and 1 more)
-
She looks very good. Excellent work and congratulations. Russ
- 34 replies
-
- 1
-
-
- chesapeake bay flattie
- Midwest Products
- (and 1 more)
-
Thanks for the kind words and advice. Russ
-
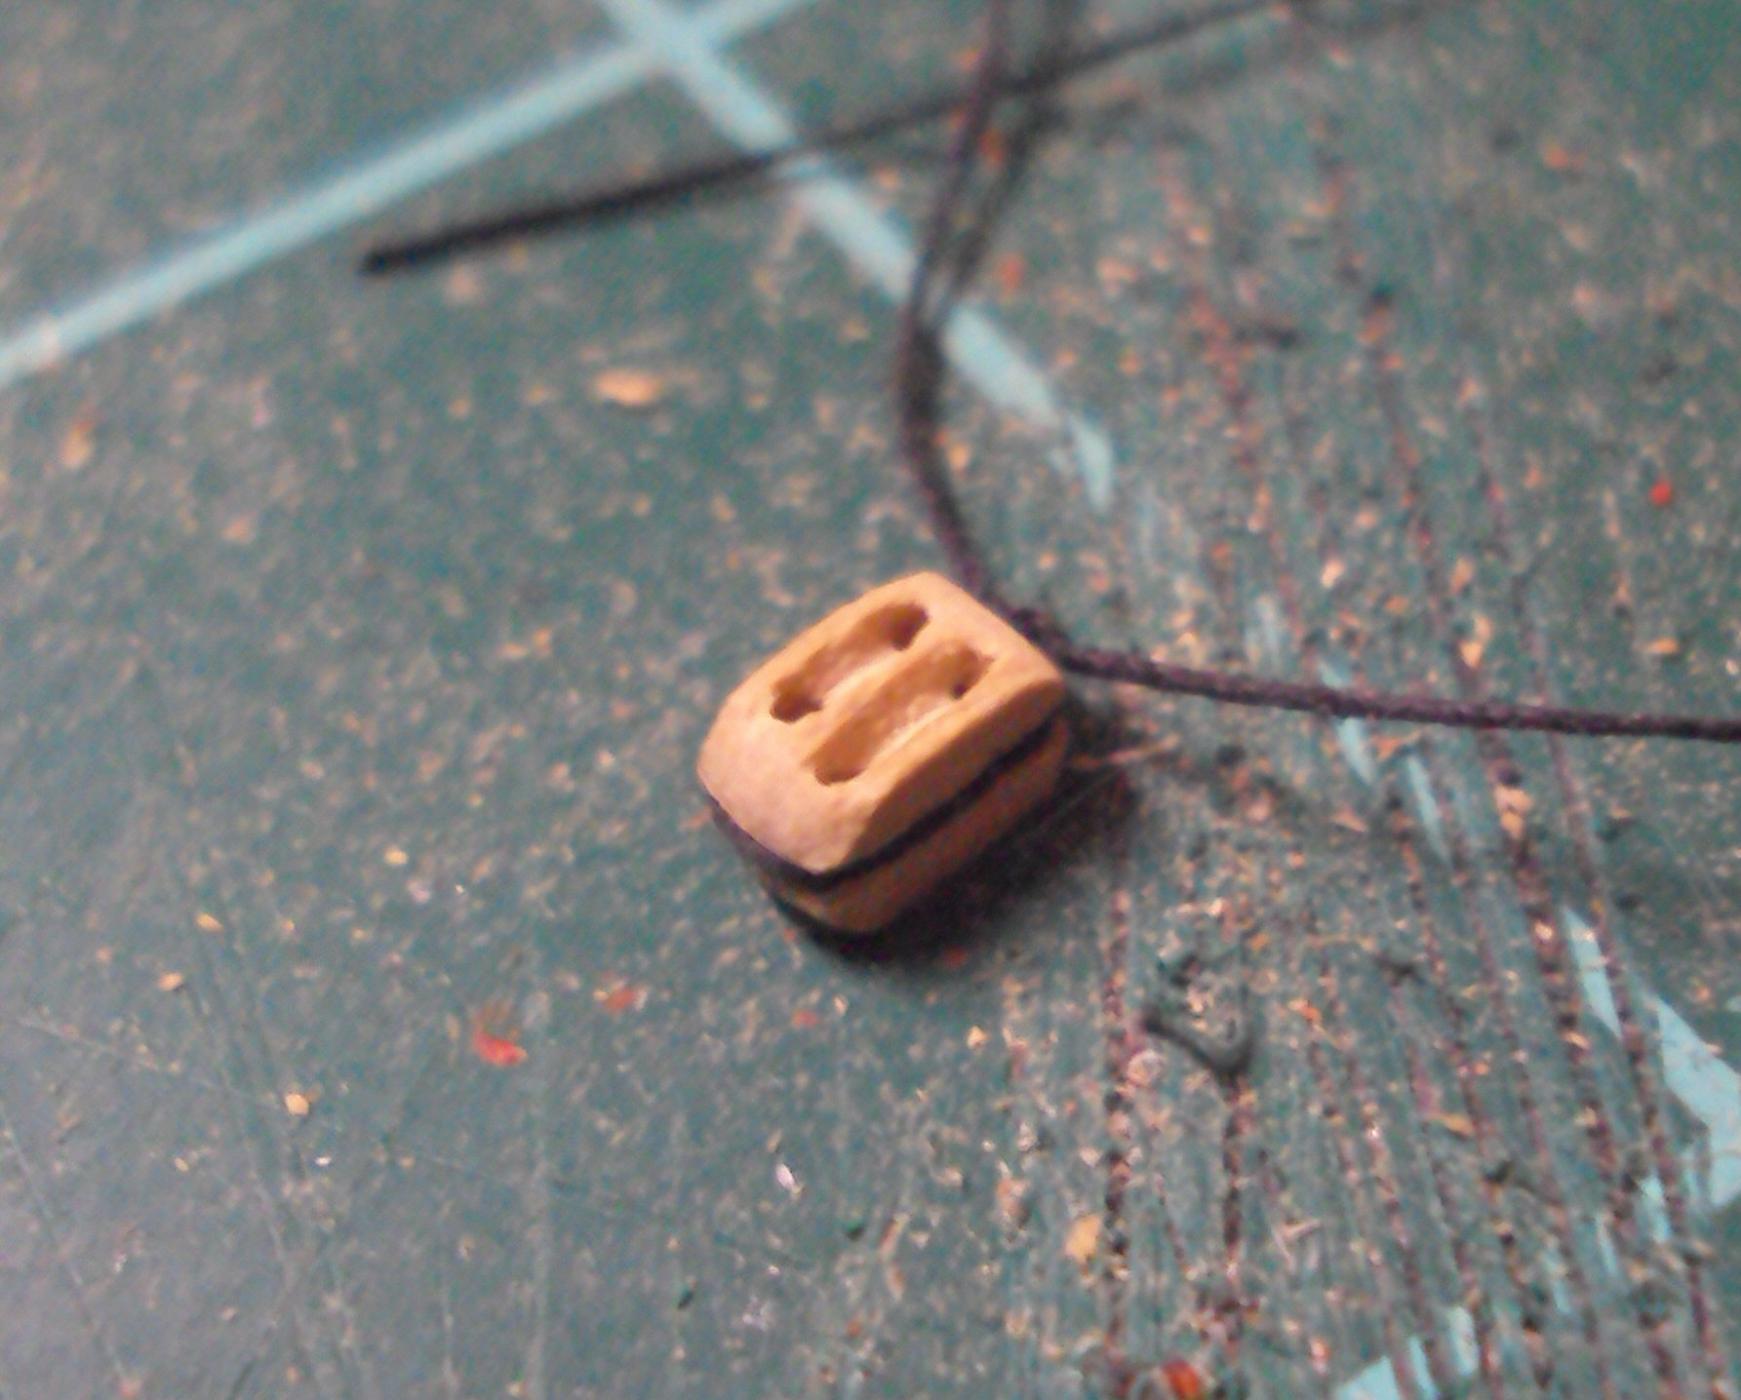
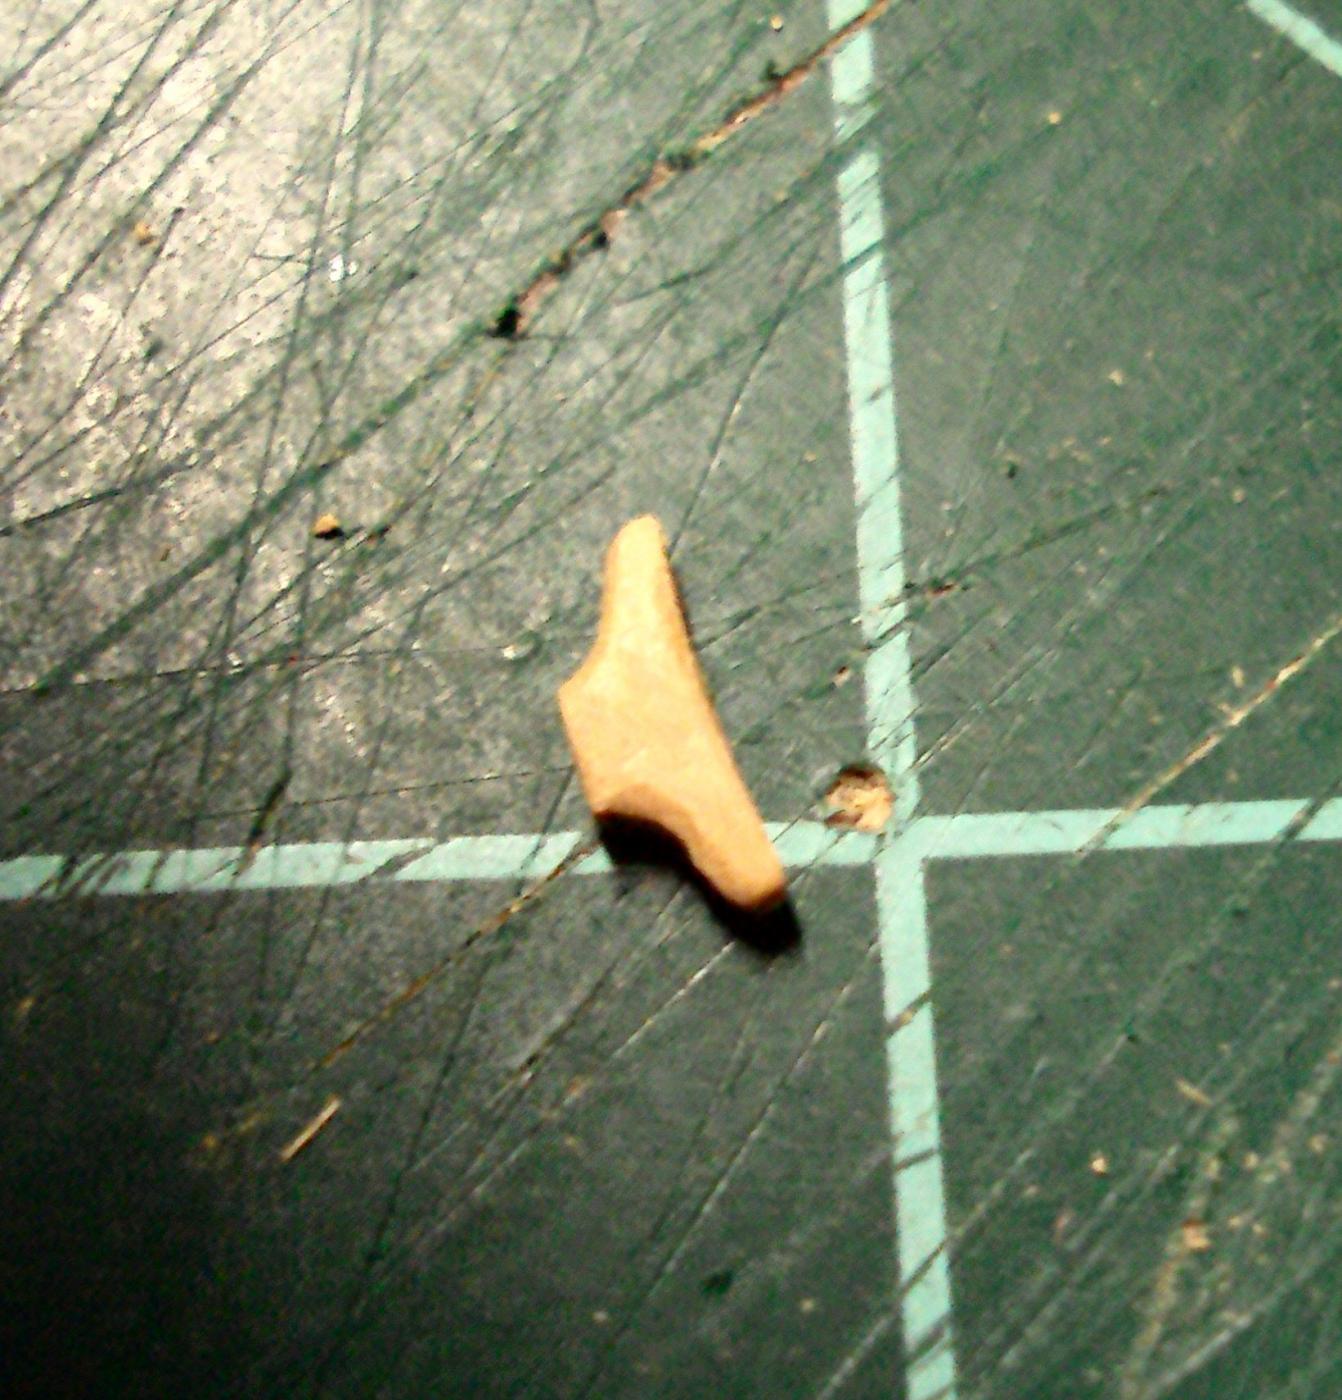
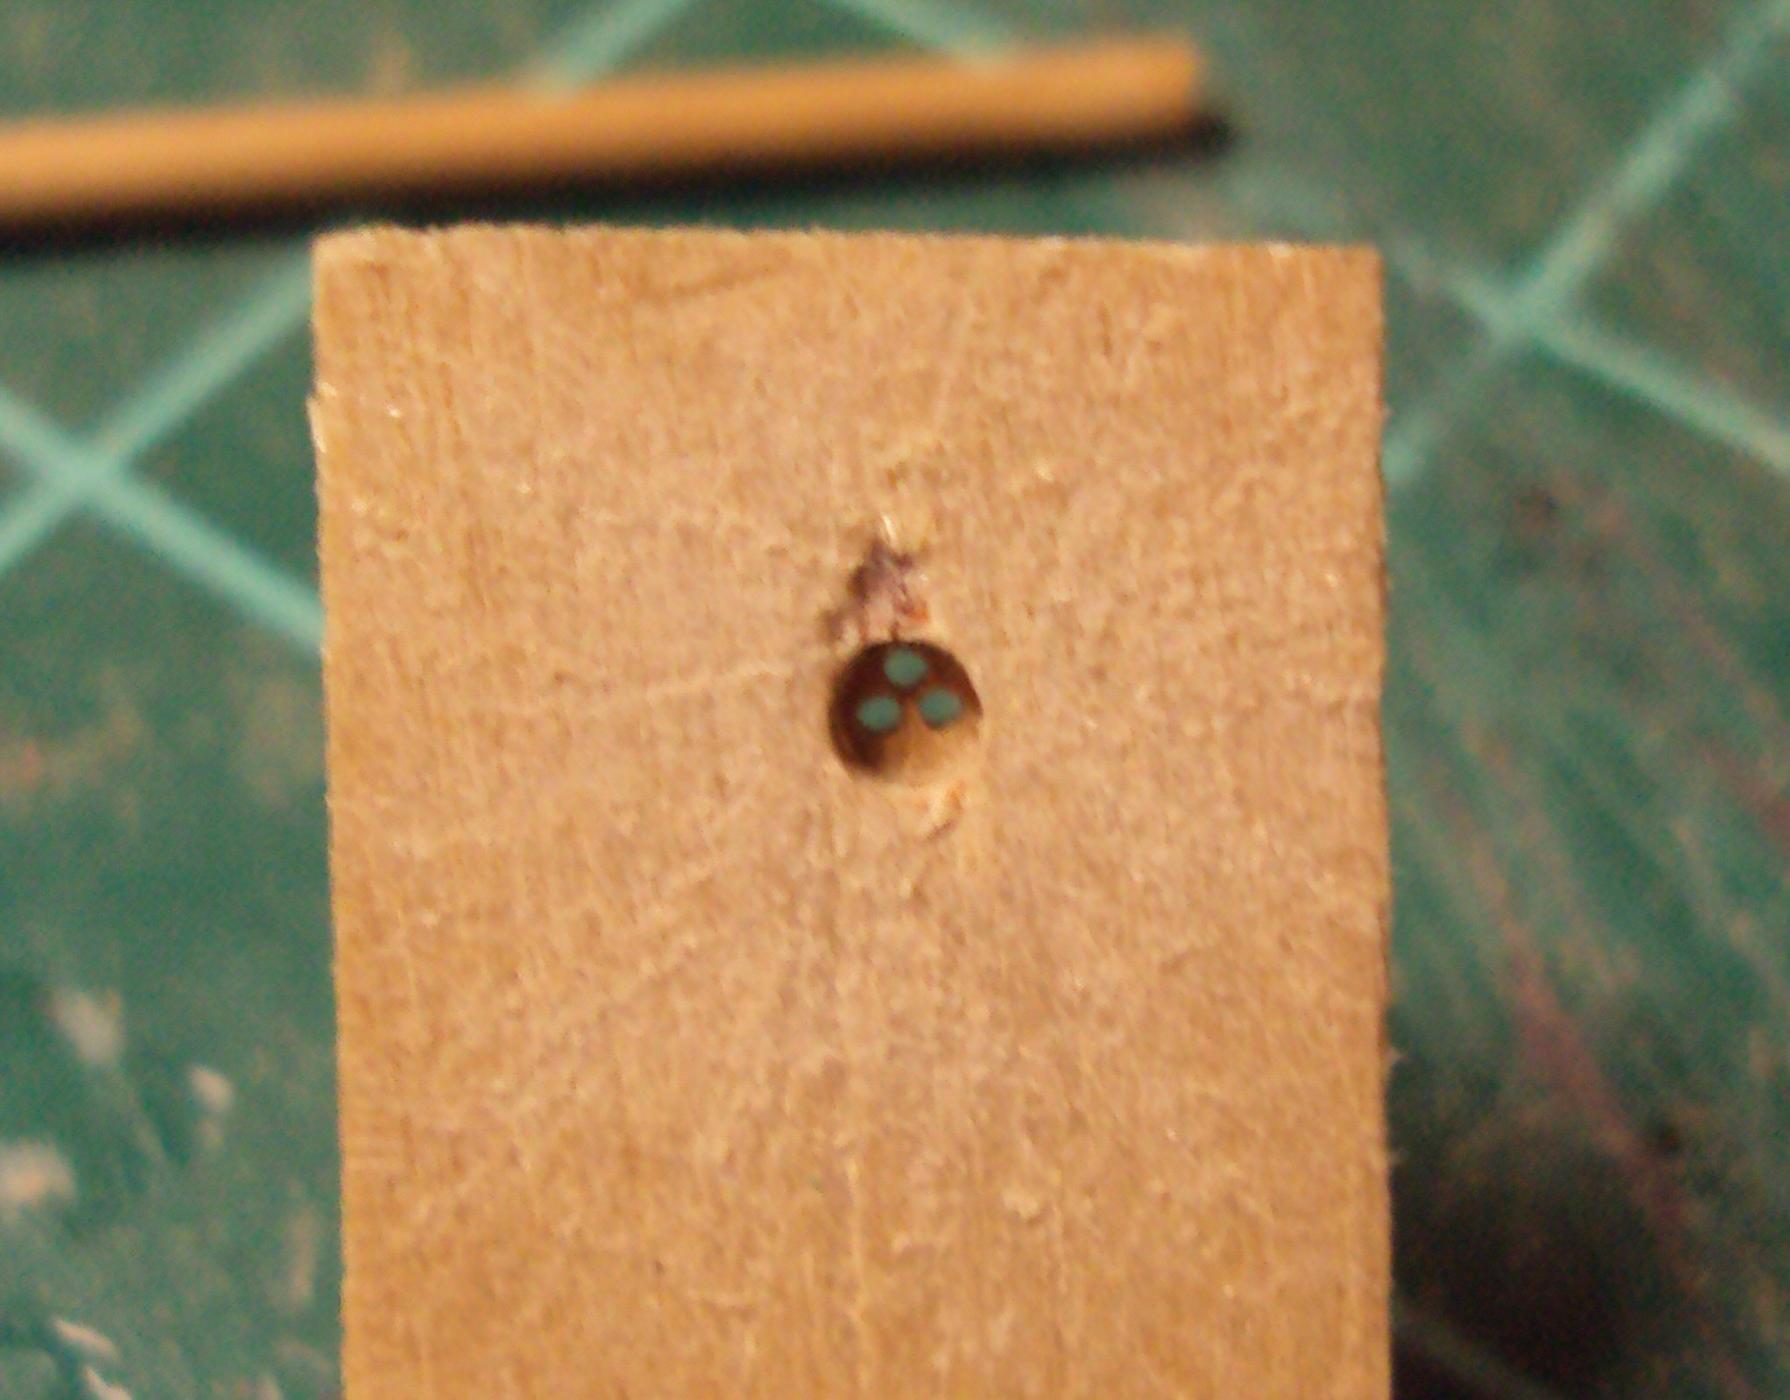
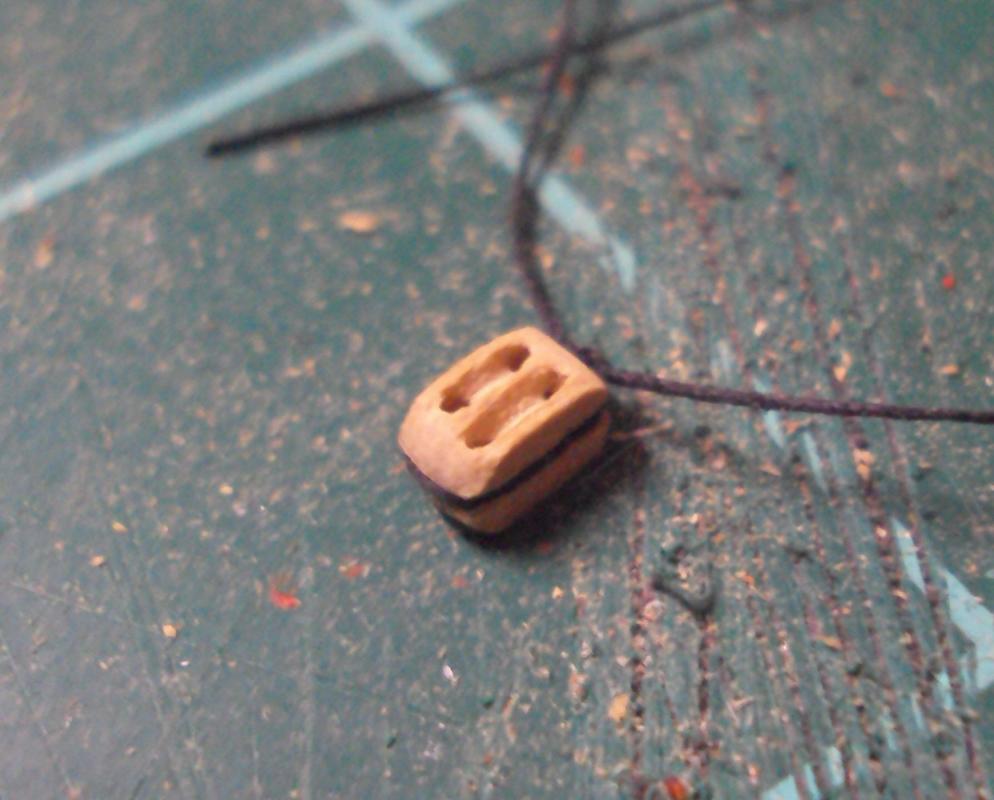
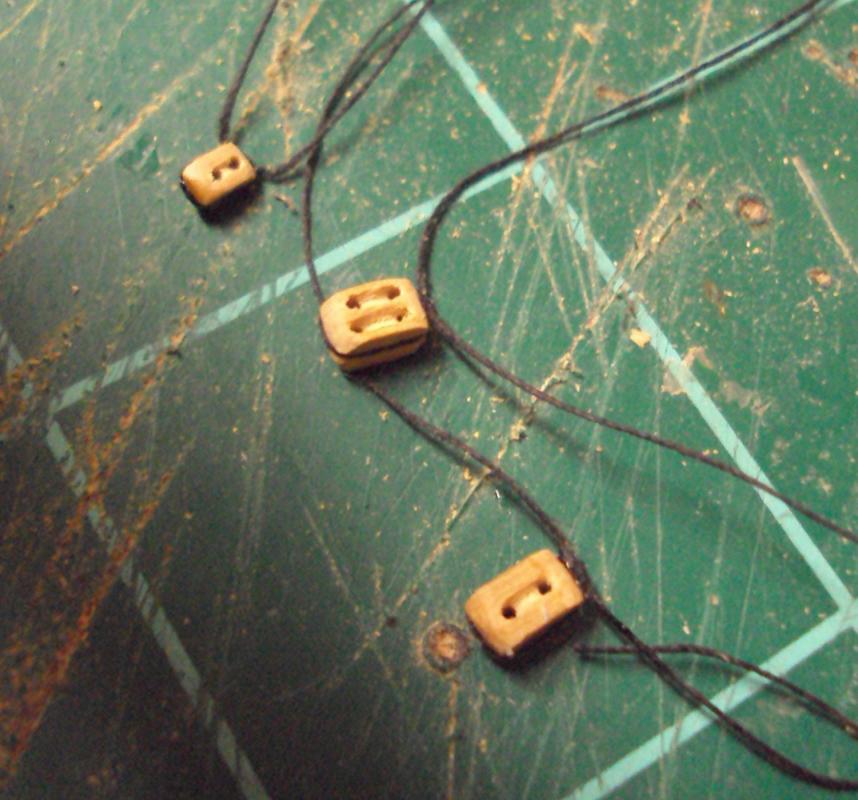
Here are a few blocks and a cleat. The blocks are rope stropped, although on the real boats, they were mostly internally metal stropped. At this scale, rope stropped will have to do. The double sheaved block is 5/32" long as is the larger single sheaved block. The smallest block is 1/8" long. The cleat is for the forward side of the foremast. Russ

-
Carl: Thanks. I agree about perfection. Perfection is that for which we strive, but can never obtain. However, in the attempt, we reach further and accomplish more than we would otherwise. All of that said, there are a couple of areas along the bulwarks that are just downright embarrassing. Russ
-
Sam and Carl: My client is a very good friend and has told me not to rush anything. She understands without a doubt. If it were actually a brilliantly built model, I would be happy. Instead, it is what it is. There are aspects of the model I like, but there are also plenty of imperfections, things I wish I had done differently, etc. It is far from perfect and no where near brilliant. Fortunately for me, she is one who thinks it is great and does not dwell on the imperfections. Like any model, this has been a learning experience and I will take what I have learned and apply it to the models that will follow. Hopefully, they will be better because of this experience. Russ
-
Sam: Thanks. I agree with that. I just dislike the idea of a very gracious and understanding client having had to wait so long. If I were building just for me, I would not be so time conscious. Russ
-
Popeye: Thanks for the encouragement. John: I am almost ready to get the sails, gaffs, and booms onto the masts and then I can complete the mastheads and permanently mount the masts on the deck. It all has to happen in a certain order so it is slow going to stop, think, and check to make sure I do not get ahead of myself. Russ
-
Carl: Thanks. Slow is one thing, but this is in its 4th year. It will be completed before Christmas. Russ
-
Bob: Thanks. I am slowly getting her to the point of rigging. If all goes to plan, she will come out looking really nice. We will see. Russ
-
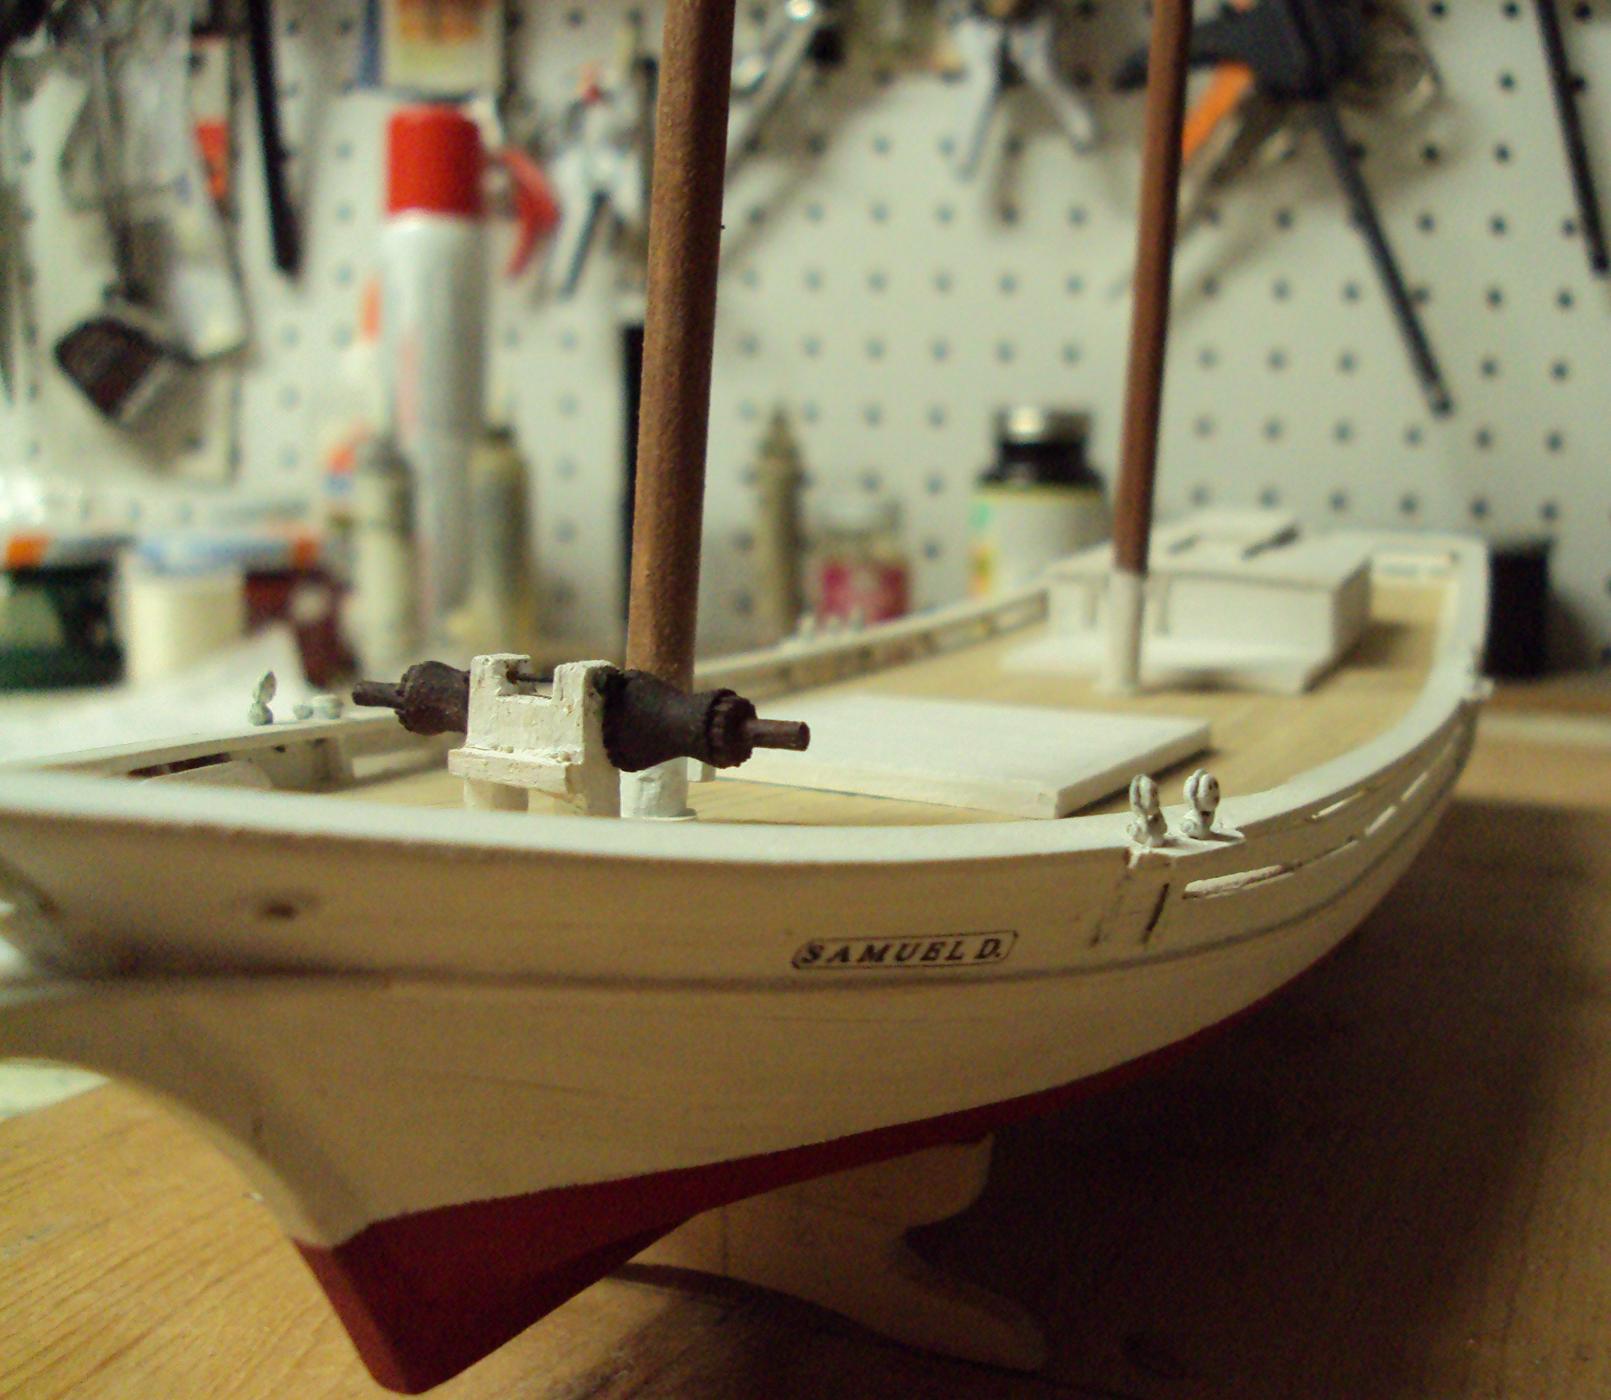
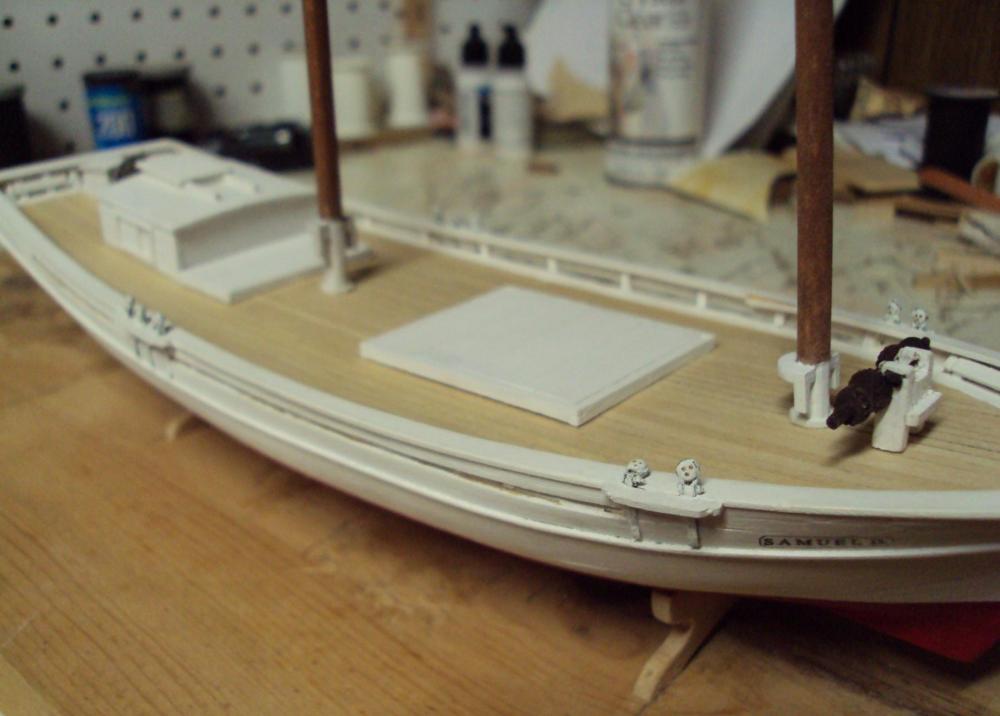
While I am making blocks, here is a look at the masts temporarily in place. Russ

-
Kenneth: I got the idea from Harold Underhill's book, Plank on Frame Modeling. He used a metal jig which certainly lasts longer than wood, but wood was easier for me. Thanks to Harold Underhill for suggesting many good ideas. Russ
-
Pat: Thanks. They are not that difficult to make once you get the hang of it. I turned out a dozen in about an hour or so the other night. Russ
-
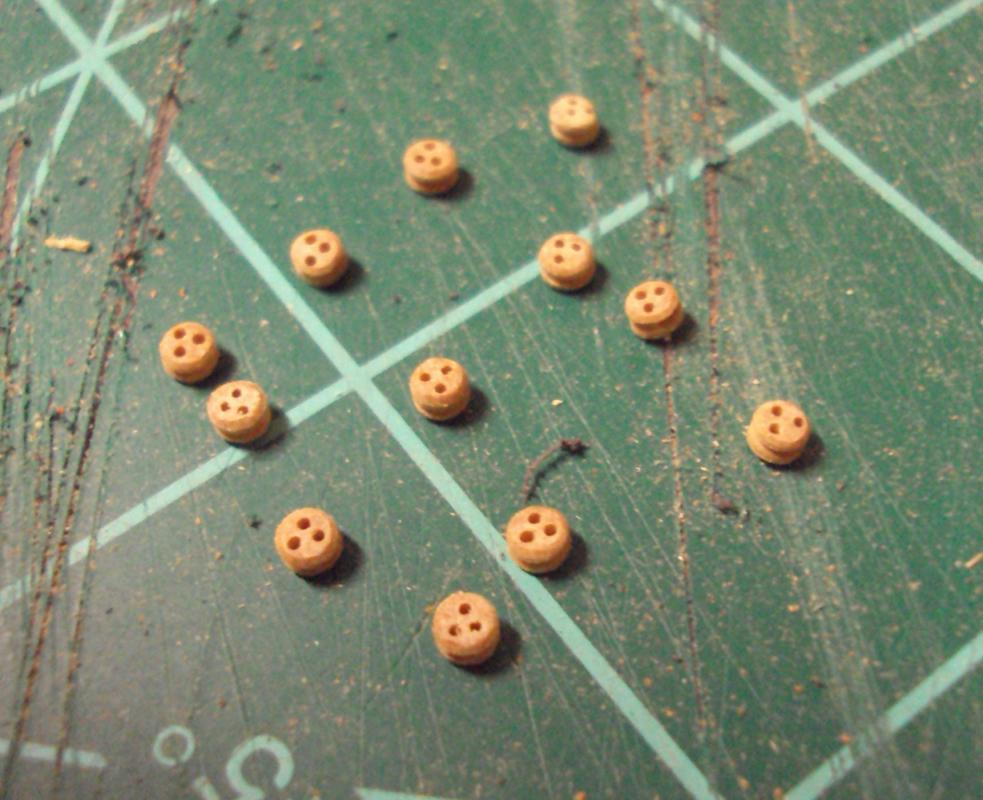
I am still here and still at it. Summer finals are graded, grades are posted and so I have some time to do some more work. Here are the rest of the deadeyes for the shrouds. I needed 10 and made 12. Not a bad idea since they may be needed. I also include another photo of my deadeye jig. It is quite handy and easy to make. Russ

-
The rigging lines for a boat like this would have been small. Maybe a 1/2" diameter, but probably 3/8" diameter or so. Take .375 and divide by the scale denominator and see what size that is. That would probably be about right. Russ
- 34 replies
-
- 2
-
-
- chesapeake bay flattie
- Midwest Products
- (and 1 more)
-
Determining thread size by model scale
russ replied to David Goulden's topic in Masting, rigging and sails
David: Make sure the plan uses diameter and not circumference. Often times plans will give circumference while the rigging thread dealer will sell in diameter. Other than that consideration, your calculation is correct. Divide the full size diameter by 80 to get the scale diameter. I am not sure how many different thicknesses are called out on the plan, but you could easily use 4 or more different thicknesses covering the range and it would be fine. A lot depends on how much detail you are going to include in the restored model and how much money you are willing to spend to get that detail. If you have a choice between a larger diameter and a smaller diameter in a given instance, choose the slightly smaller thread. The overall scale effect will be better that way. Russ -
Excellent work. Everything looks very clean. The sprung decking is well executed. Congrats on a great model. Russ
-
The 24 inch Cutty Sark by Revell was one of their "build a legend in a weekend" kits. Looking in my old Revell catalogue, they had a Constitution kit, Civil War Blockade Runner kit, and Mayflower kit in that line. The Cutty Sark was H-368 and listed at 24 inches long. They also had a 1/96 scale kit that was 36 inches long, H-399. This was a completely different kit than the smaller 24" version. . The length of the full sized ship is 288 ft so the 24 inch kit's scale is 1/144 scale. Russ
-
Sam: No big deal. We have all been there at one time or another. Russ