


SgtSki in MI
-
Posts
59 -
Joined
-
Last visited
Content Type
Profiles
Forums
Gallery
Events
Posts posted by SgtSki in MI
-
-
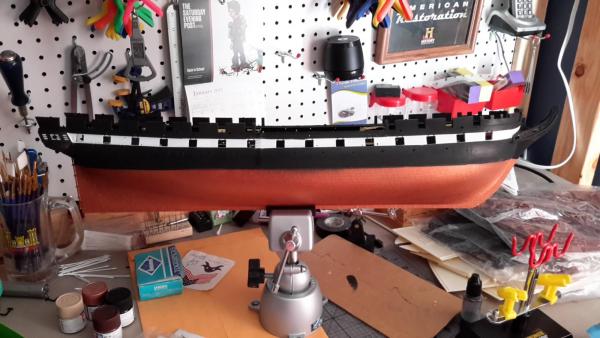
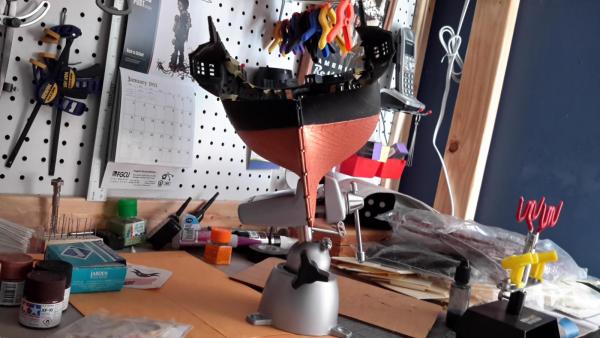
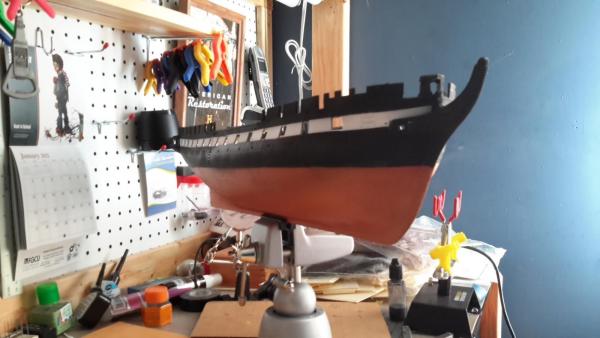
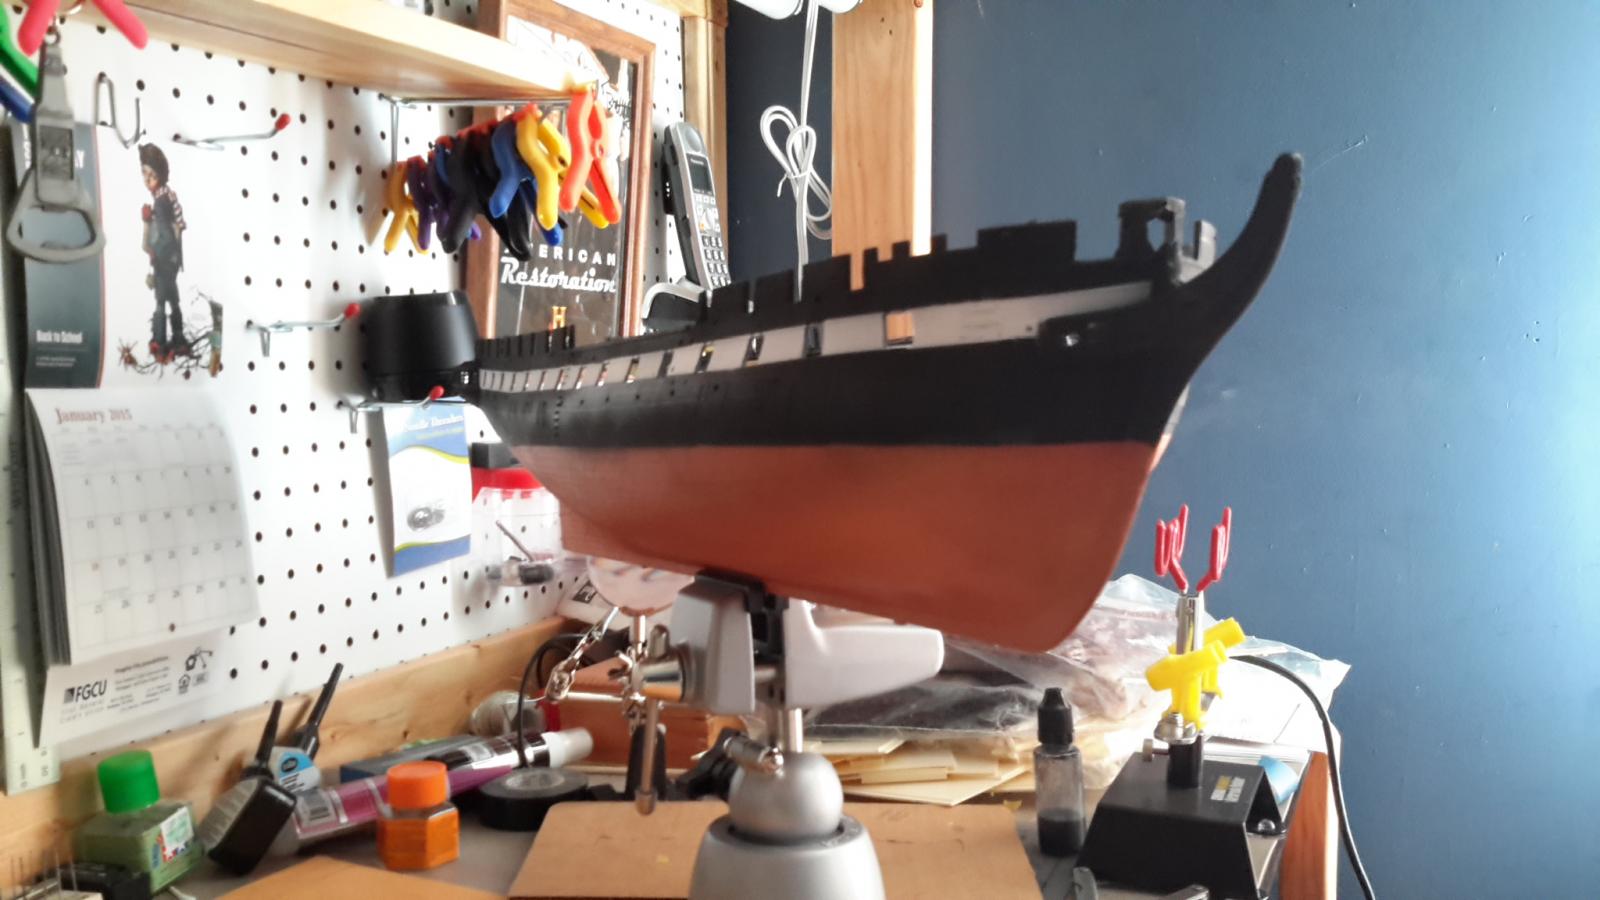
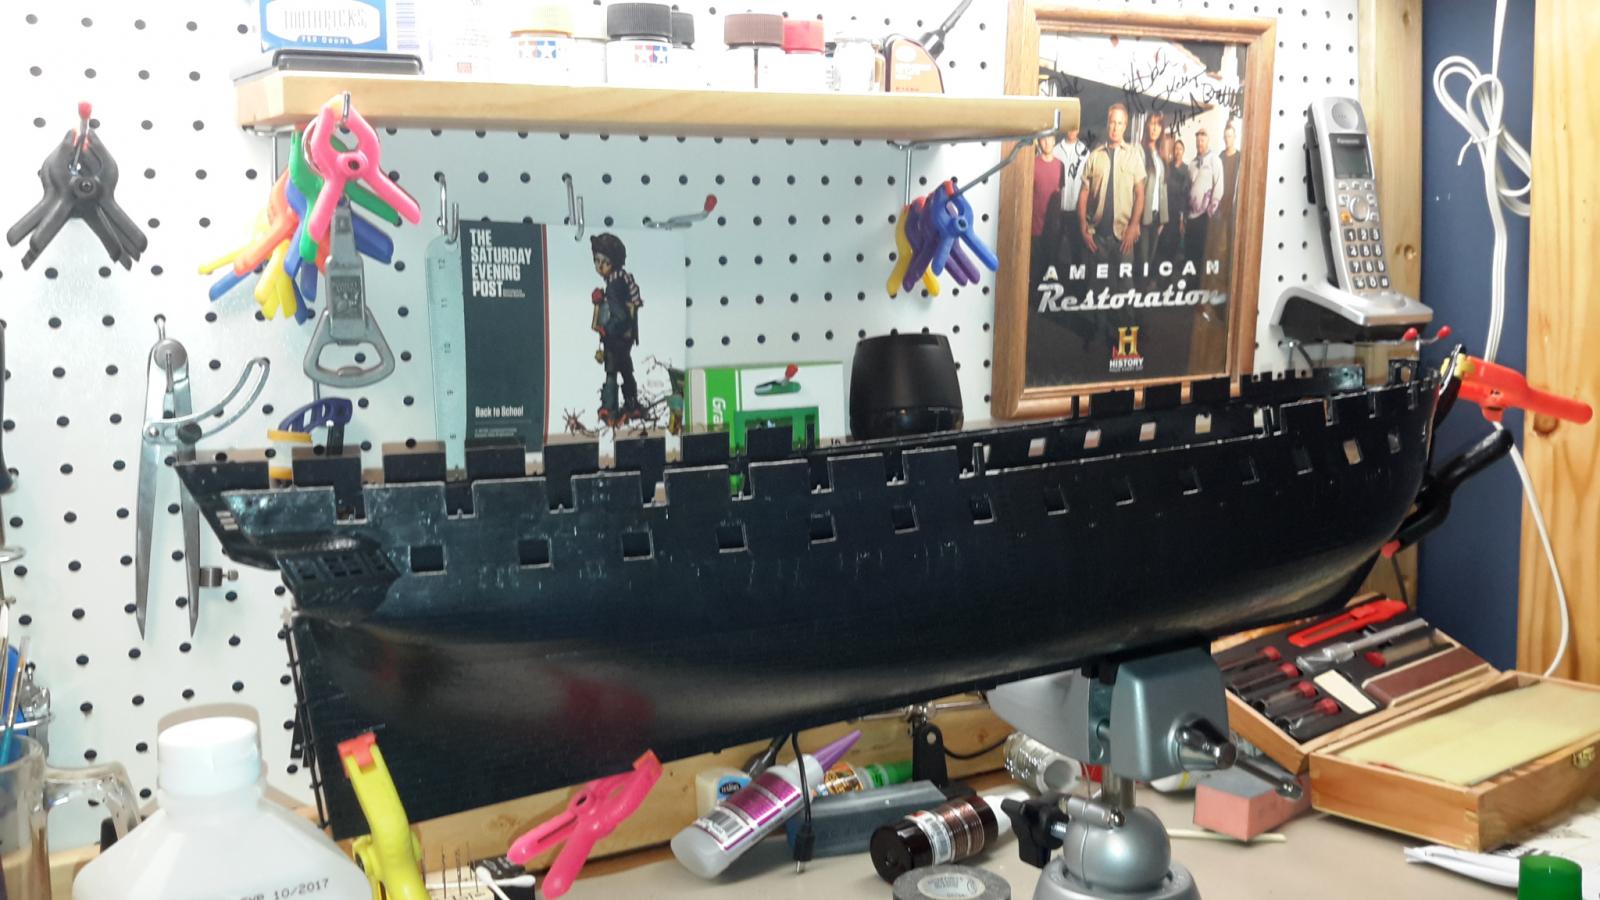
28 February 2015: I finished the gun stripe and the copper plating. Next comes the main deck bulwarks (green) and the gun deck bulwarks (white). As soon as I get a magnifying lamp I'll do the trim. For the decks I'll do wooden deck tan over flat black, the lightly sand until the black grain shows through. I know that there's a laser cut wooden main deck available, but I can't justify dropping $100 on it while the kit only cost me $60!
-
10 February, 2015: The flat black is done on the hull and transom. I'm going to give it 24 hours before I mask and paint the gun stripe and plating. I think I'll use my low-tack 3M blue masking tape because I noticed that my Tamiya masking tape is pretty sticky. Don't want to lift any paint!
-
10 February, 2015: The glue points for the gun deck and main deck have been masked and I'm ready to start on paint. I'll be using Tamiya acrylics. Flat black with a flat white gun stripe and copper below the waterline. Inside the hull will be flat green bulwarks for the main deck and flat white for the gun deck. Then comes the trimwork which I'm dreading. I think I'll go borrow my dad's magnifying lamp from his garage bench for that!

-
I'm looking at the Syren for my second wooden ship build because she is linked with a line in the Marine's Hymn ("To the Shores of Tripoli"). Of course, I'm sort of talking pretty big right now as I am yet to begin my FIRST build! (Niagara)
-
-
If it helps I found the third kit I have (which includes sails). Next time in the area i will give it to you whole.
Thanks! I'll keep that in mind if needed. So far so good on my end though. The only problem I've encountered so far is some minor warping issues but they're manageable. The kit IS 40 years old, after all.
-
7 February, 2015: Work on the Connie has been at a bit of a standstill due to other priorities. I just made a paint run to the not-so-local hobby shop. Soon I plan on painting the main deck and gun deck bulwarks and getting the hull exterior painted. What's a good mix ratio for red ochre paint? (for when I begin on the gun carriages)
-
I'm getting ready to start assembling and painting the gun carriages for my Revell Connie and would like to know what a good mix ratio would be for an accurate color of red ochre. Also, is it a mix of red/brown or red/black? The same goes for yellow ochre for when I am ready to paint my Niagara once I begin construction. Thanks, mateys!
-
-
-
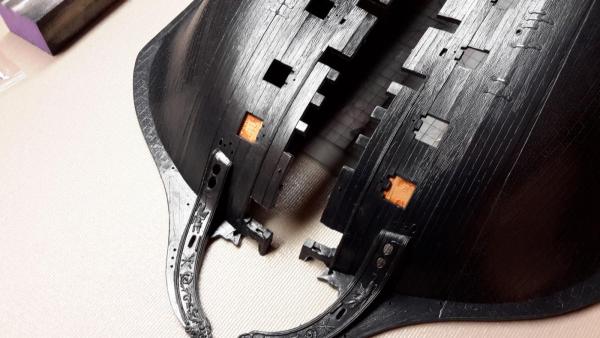
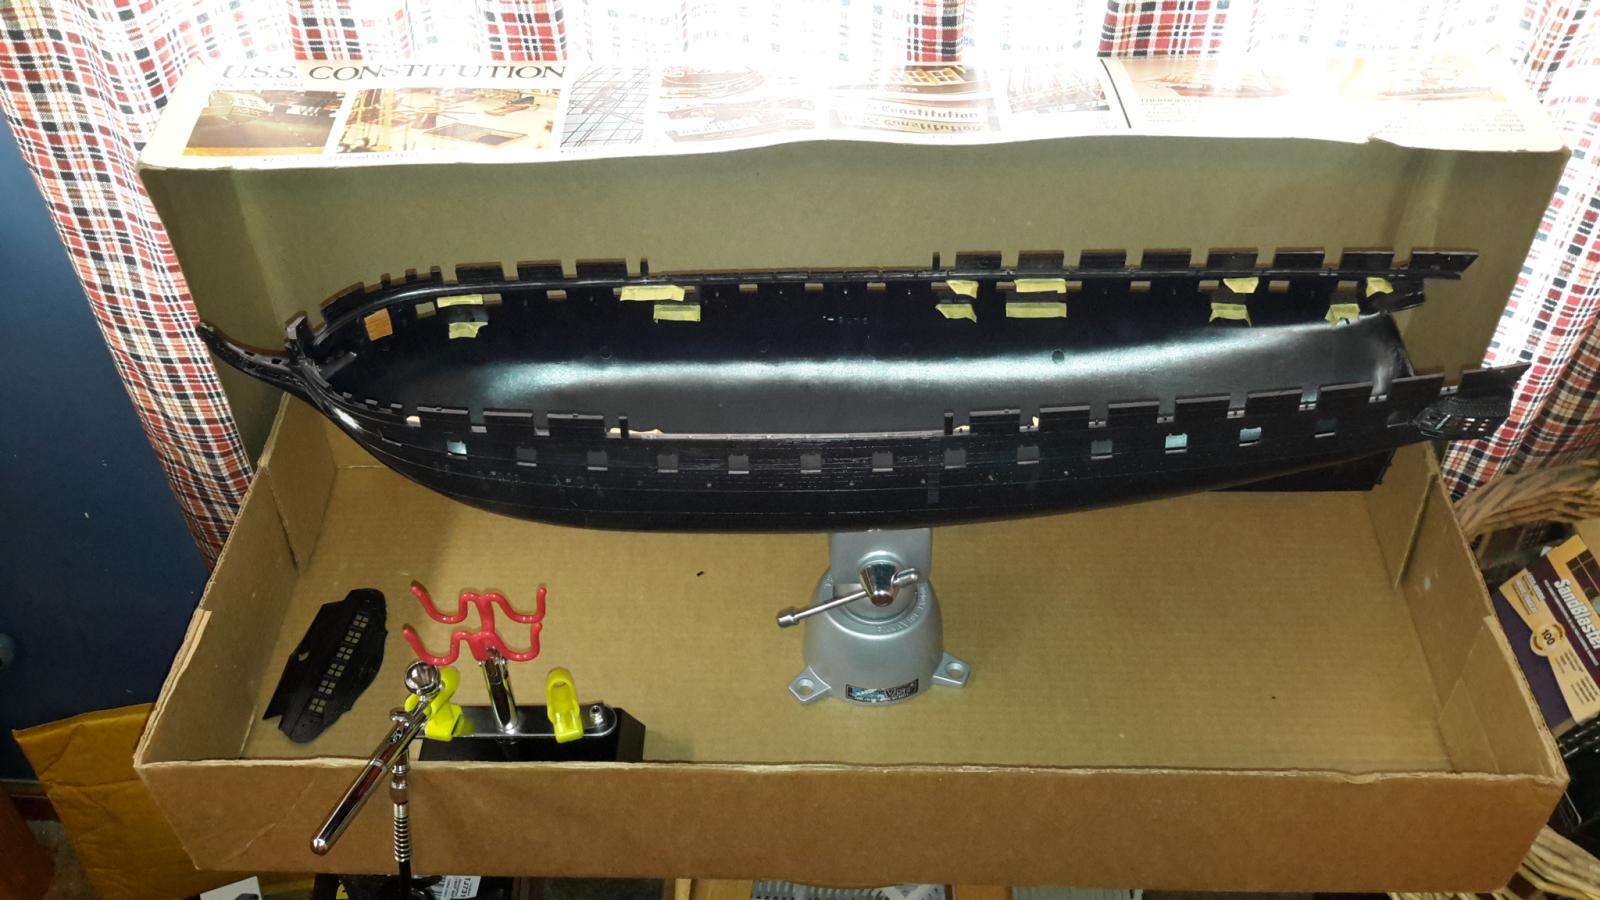
9 January 2015: The hull halves have been cemented together. I had to fight a little warpage but not bad for a 40 - year-old kit. After it sets up for 24 hours I'll have some filling to do along the keel, then it's on to exterior paint and interior "whitewashing" of the gun deck bulkheads. The main deck bulwarks will be green and the trimwork will be as per instructions.

-
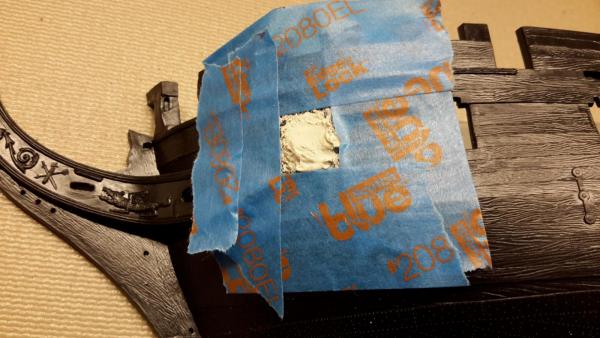
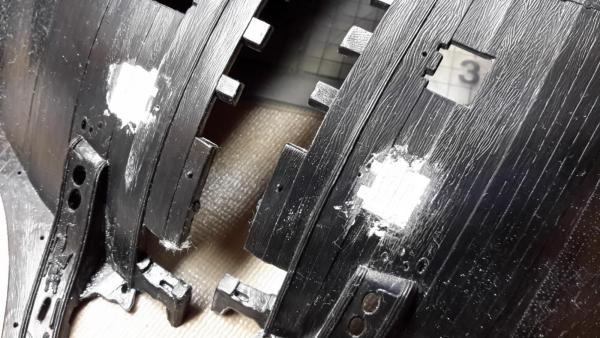
4 January, 2015: Finished filling in the bridle ports. The first pic is before sanding with masking tape around the ports to save the surrounding detail in the plastic. Second pic is after finishing sanding and scribing in the plank lines and grain. Not perfect but I think it'll work. I didn't want to get overzealous and wreck existing details. Tomorrow I plan on cementing the hull halves together with masking and painting throughout the week.
- GLakie, JesseLee and popeye the sailor
-
 3
3
-
Good start Sarge!
You might try first filling in the port with some styrene before covering it with putty - sometimes the putty will flex/shrink over time if that is the only filler.
Looking forward to following your Connie!
Evan
Hi Evan,
That IS styrene you see in the gunports. I put it on the inside. Tomorrow I'll putty them in.
-
-
3 January, 2015: And we're off! The first step is getting rid of those pesky bridle ports that weren't there under Hull's command. I cut some scrap styrene to block of the ports from the inside and will fill them with putty tomorrow. Once it done and smooth I'll scribe in the woodgrain and planking divisions. The big challenge is going to be smoothing out the fill area without ruining the woodgrain detail surrounding it, because the detail is molded raised instead of recessed. Meanwhile, I'll clean up the mold flashing on the hull halves, of which there is very little.
- popeye the sailor, GLakie, JesseLee and 2 others
-
5
-
OK here we go...
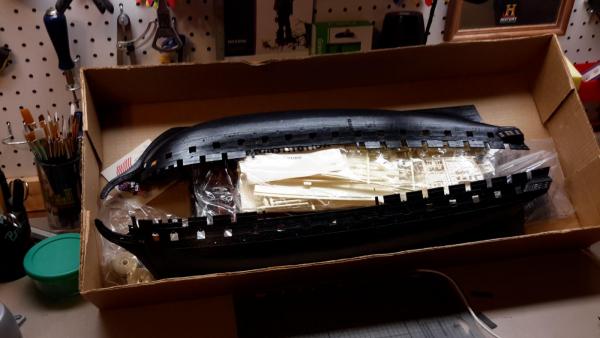
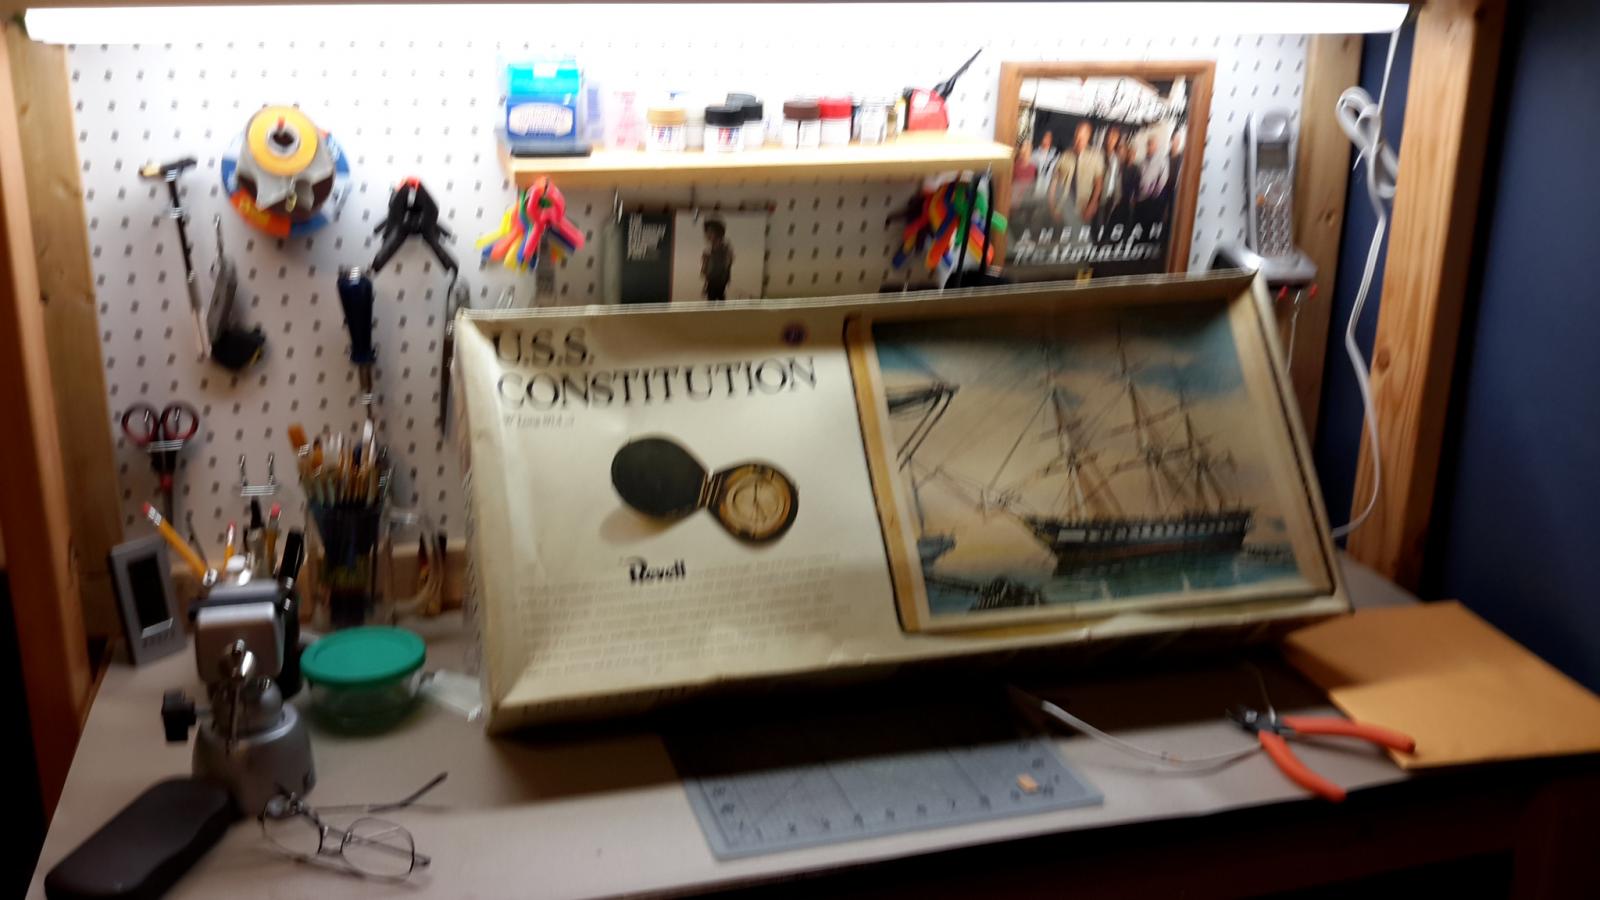
3 January, 2015. Thus begins my build log of Revell's 1:96 scale USS Constitution. I selected an older kit release because a lot of things I've read indicate that they have much higher molding quality over the newer kits. Mine has a box date of 1974 and it has a US Bicentennial logo, so I believe that it was produced between 1974 and 1976. I plan on "kinda" building her as she appeared under Isaac Hull's command. I say "kinda" because I'm not going into every particle of minutiae involved with how she really was configured. I'm just taking care of the obvious such as eliminating the forward gunport (bridle port) and the skylight above the Captain's cabin. Other than that this will pretty much be an out-of-box build. Feel free to follow along!
- GLakie, JesseLee, JerseyCity Frankie and 1 other
-
4
-
I recently bought an Iwata neo and love it! It ran me $69 at Hobby Lobby. It's a nice, heavy brush for the price. It's a gravity-feed double-action brush and come with two sizes of paint cups as well as a nozzle wrench. I also picked up a nice compressor for $89 at Harbor Freight that has a regulator and moisture trap. This combo replaced my 20-yr-old Tamiya Spray Work setup and I'm more than pleased with my results so far. Now I just need to build a booth that can accomodate a hull!!!
-
-
A very nice build log! I am fascinated by ships that have been recovered and are being preserved. I have a few other projects to complete before I begin my first wooden ship model (Model Shipways US Brig Niagara). When I complete it and improve my skills, I plan on building an example of a recovered ship such as the Vasa or the Mary Rose.
-
-
-
I guess my treenails are going to be a little bit bigger than scale. The smallest treenail diameter that you can make with a Byrnes Drawplate (which the Admiral has graciously allowed me to order when I'm ready for it) is 3/4" in 1/8" (1:48) scale, but the Niagara is 3/16" (1:64) scale. I don't think the difference is too much to be a problem though. I think the fact that I made 4 itty-bitty treenails and drilled 4 itty-bitty holes for each plank would be far more interesting than the fact that they are a few hundredths too big. Or am I getting far too ambitious for my first wooden ship build?
-
According to the instruction booklet for the Niagara, a full-sized ship's planks were 20 to 30 feet in length. The 3/16 scale says that would be roughly 4 to 5 3/4 inches on the my model. There's other things to consider as well. The butt points need to be seperated from any butt in the rows above or below it by 5 or more scale feet. There also need to be 3 unbroken strakes between one butt and the next vertically. At least for the Niagara kit but the instructions indicate that it is a universal shipbuilding rule in the full-sized world.
-


USS Constitution by SgtSki in MI - Revell - 1:96 - PLASTIC
in - Kit build logs for subjects built from 1751 - 1800
Posted
The decks are molded in ivory white. I'm still deciding on flat brown or black for the undercoat because I'm thinking that black may be too stark as well. I don't think a wash would do too well because the deck detail is molded raised instead of recessed.