HOLIDAY DONATION DRIVE - SUPPORT MSW - DO YOUR PART TO KEEP THIS GREAT FORUM GOING! (Only 66 donations so far out of 49,000 members - Can we at least get100? C'mon guys!)
×


Philg88
-
Posts
166 -
Joined
-
Last visited
Content Type
Profiles
Forums
Gallery
Events
Everything posted by Philg88
-
 Hey Boyd, Beautiful work! Fight the urge to start another build in the same way that I'm trying hard to. The Billing's HMS Warrior (1860) should not be attempted, even if it was the first real iron clad and has a lot less rigging and will look dead cool when complete and will give you hours of pleasure and we can compare notes ... The timing of your latest pics couldn't have been better considering where I am now with the Vic, so thanks for that. Cheers, Philip
 -
Thanks for the useful tip Keith, To paraphrase: "I see a wood ship and I want to paint it black" Cheers, Philip
-
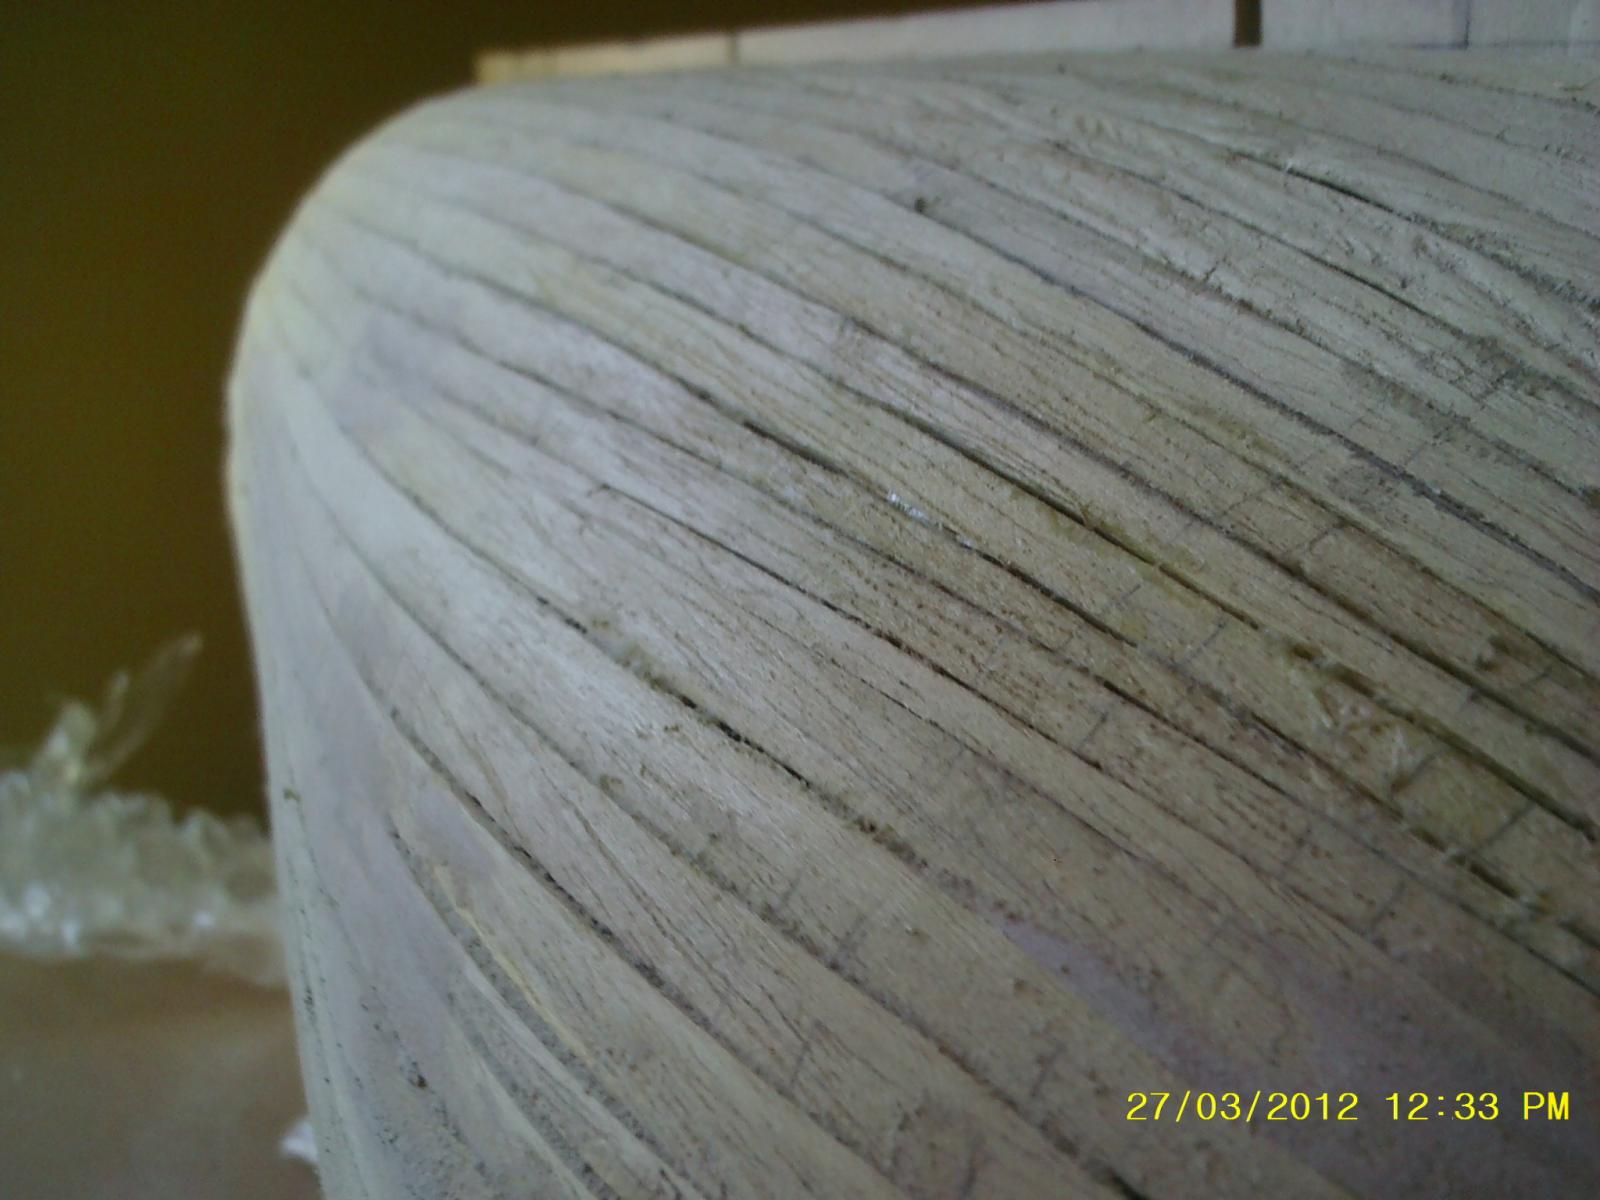
Thanks for the likes guys! Nice to get the dust mask off for a while. She's looking smoother and smoother but there's no point in posting any more pics until I've started the tiling, probably mid next week. Update: I forgot, I need to fit the wales too before the copper goes on. Cheers, Philip
-
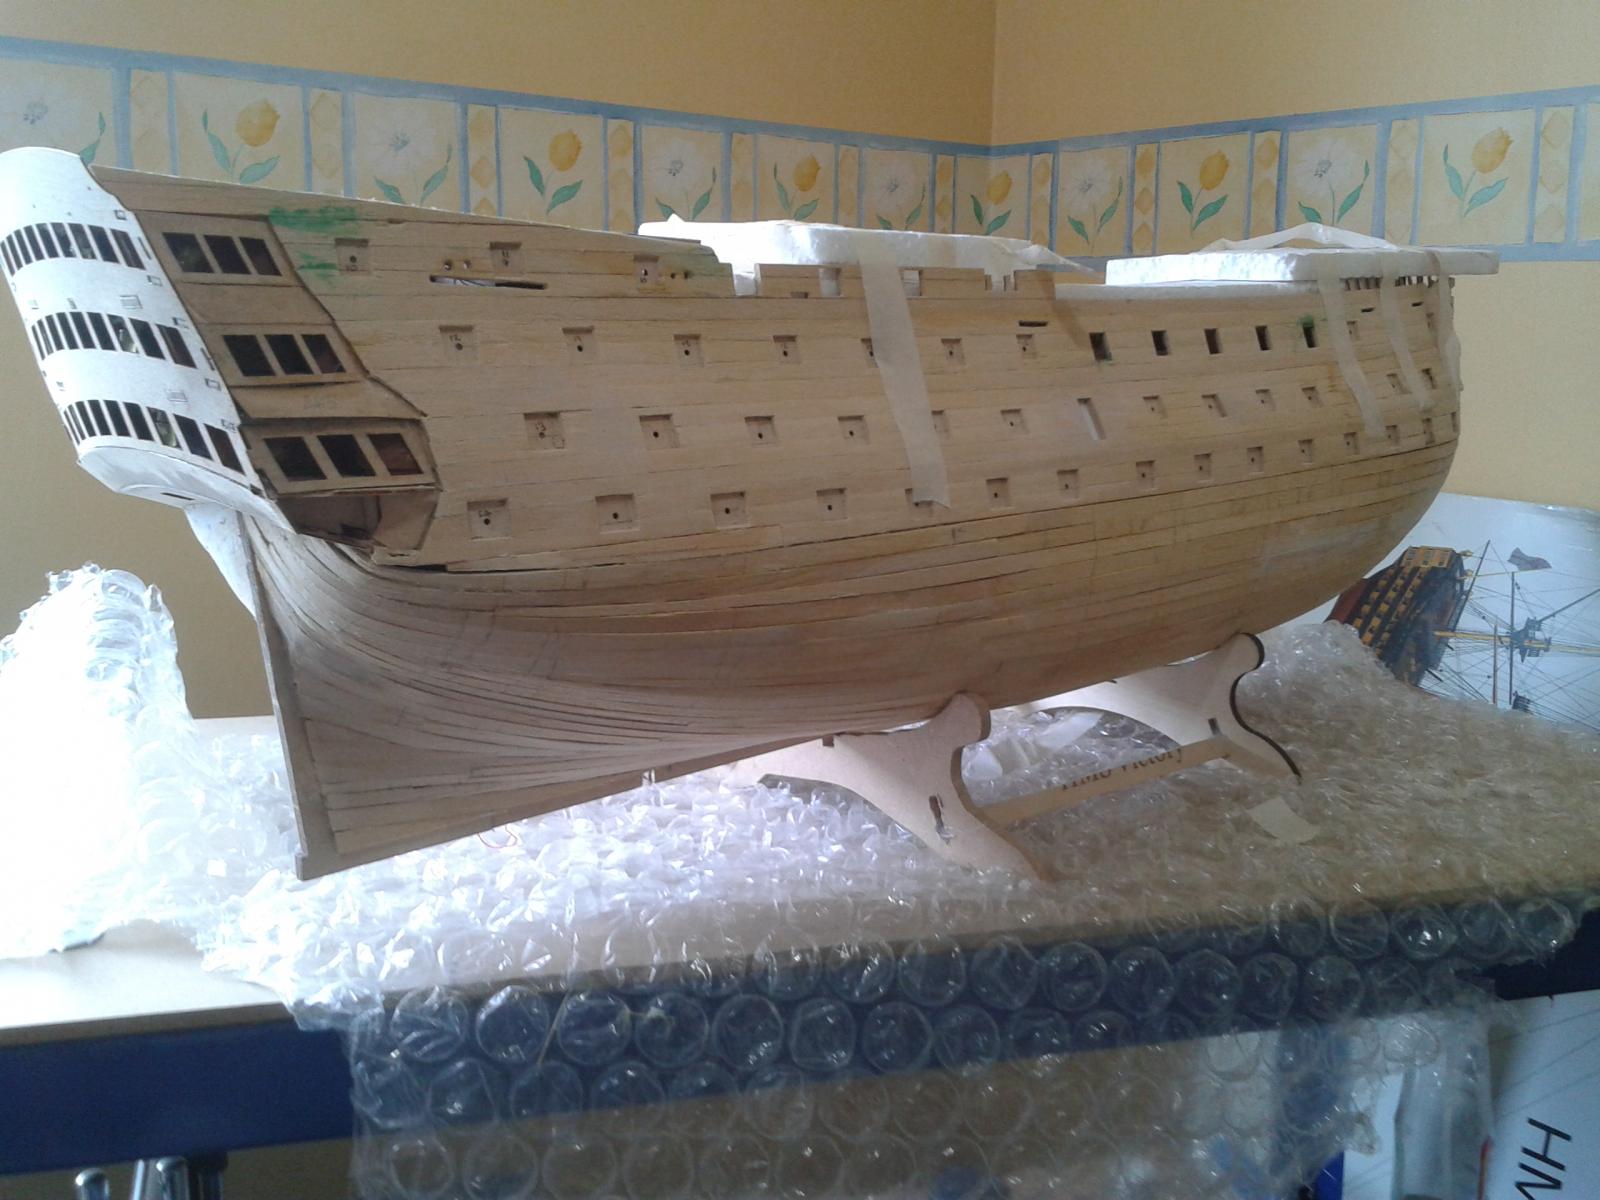
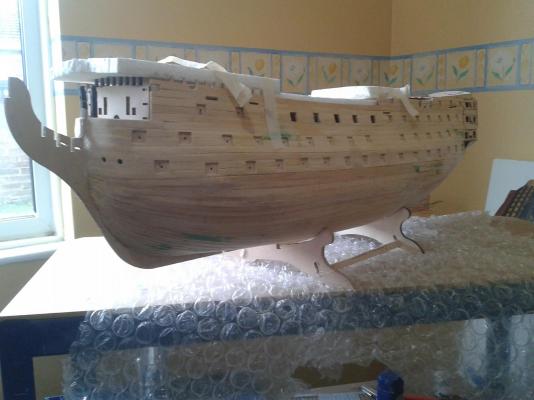
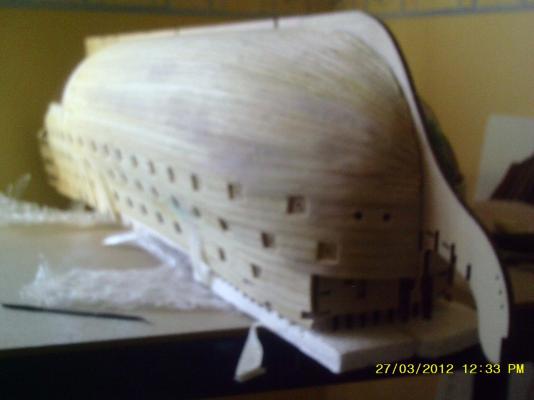
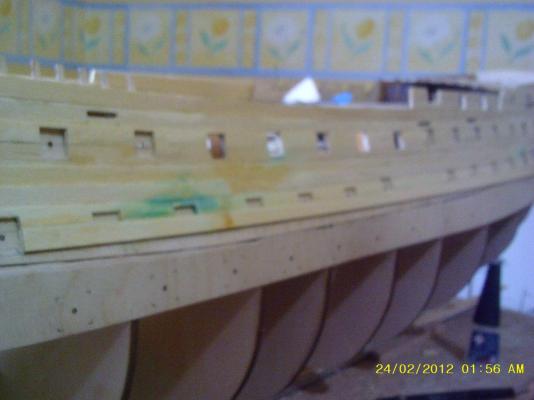
Hull planking now complete. Quite a bit of filling and sanding to do ready for the copper tiles on order from CMB. I wish I could do it all over again, 'twould be much better the second time!

-
Thanks Boyd. Fingers crossed should be OK on the wood but thanks for the info. I used to prefer doing deck to hull planking but now I'm not so sure ... Cheers, Philip
-
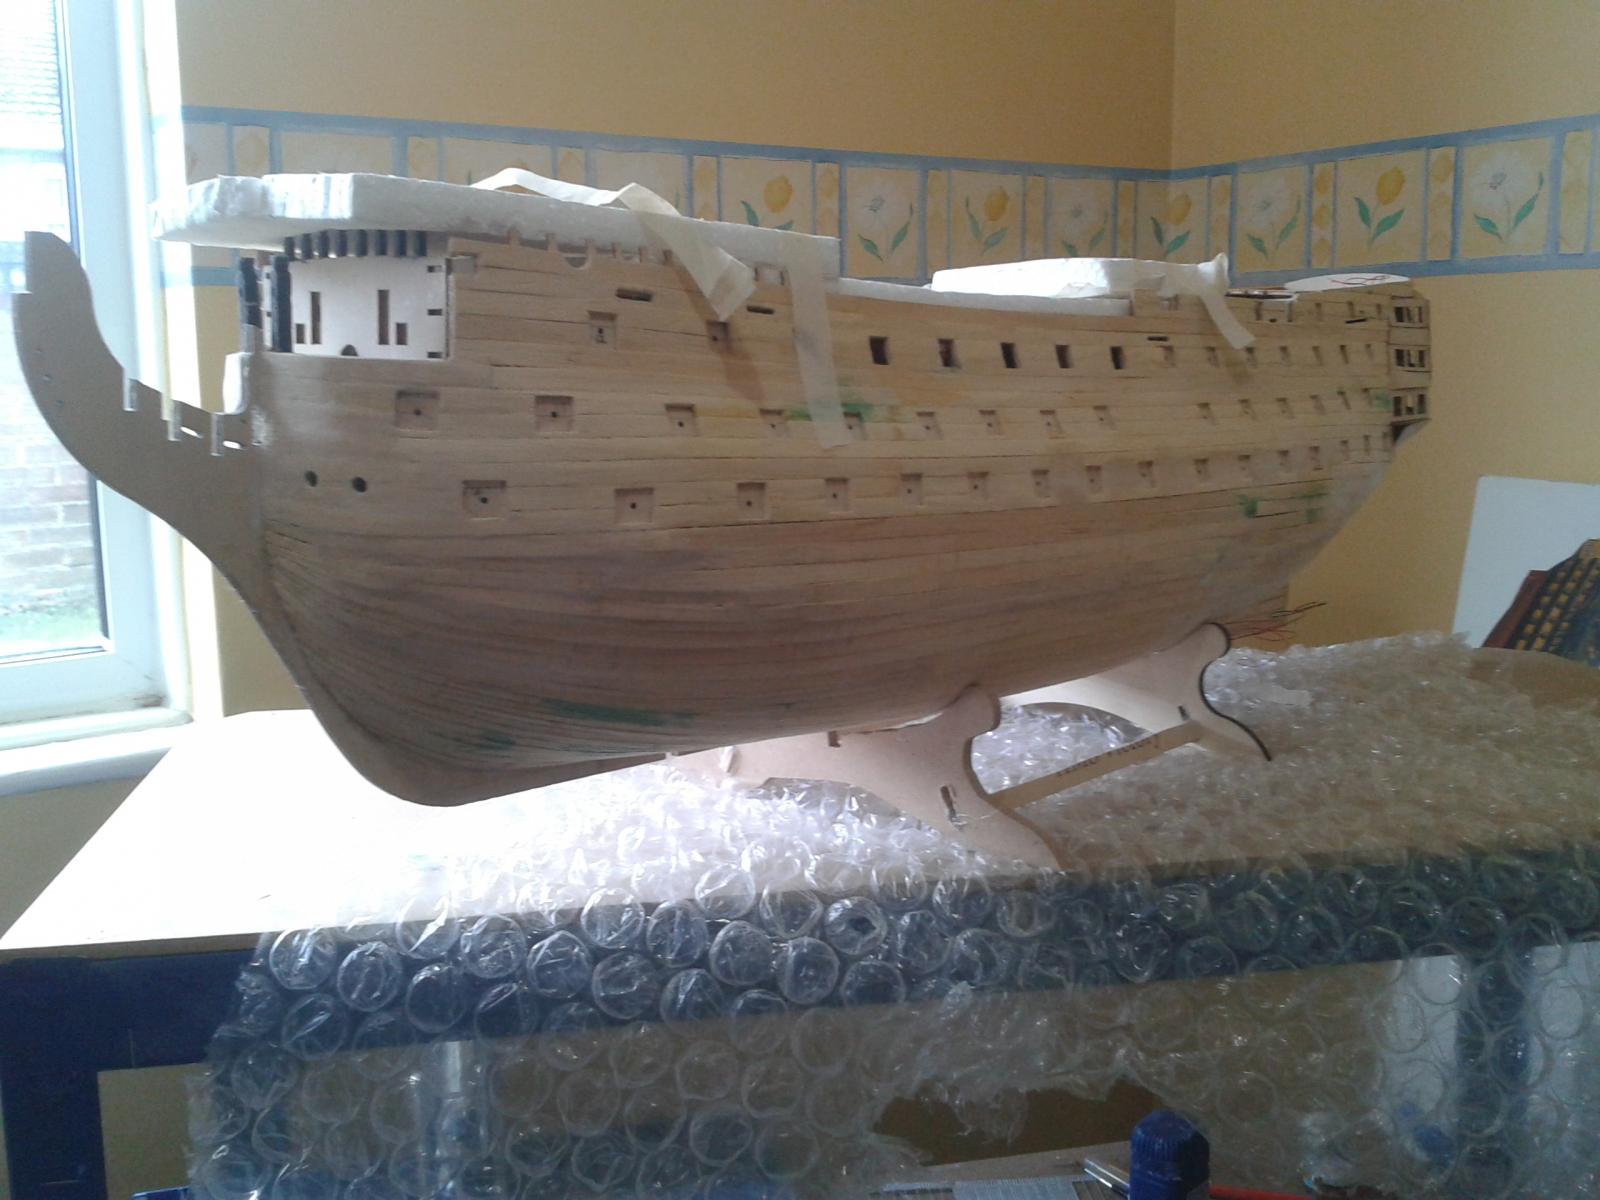
No it isn't, I still have the other side to do! It's taken six weeks to get that far on one side so I can see it taking until September. Still, no complaints though, it's a nice challenge. Cheers, Philip
-
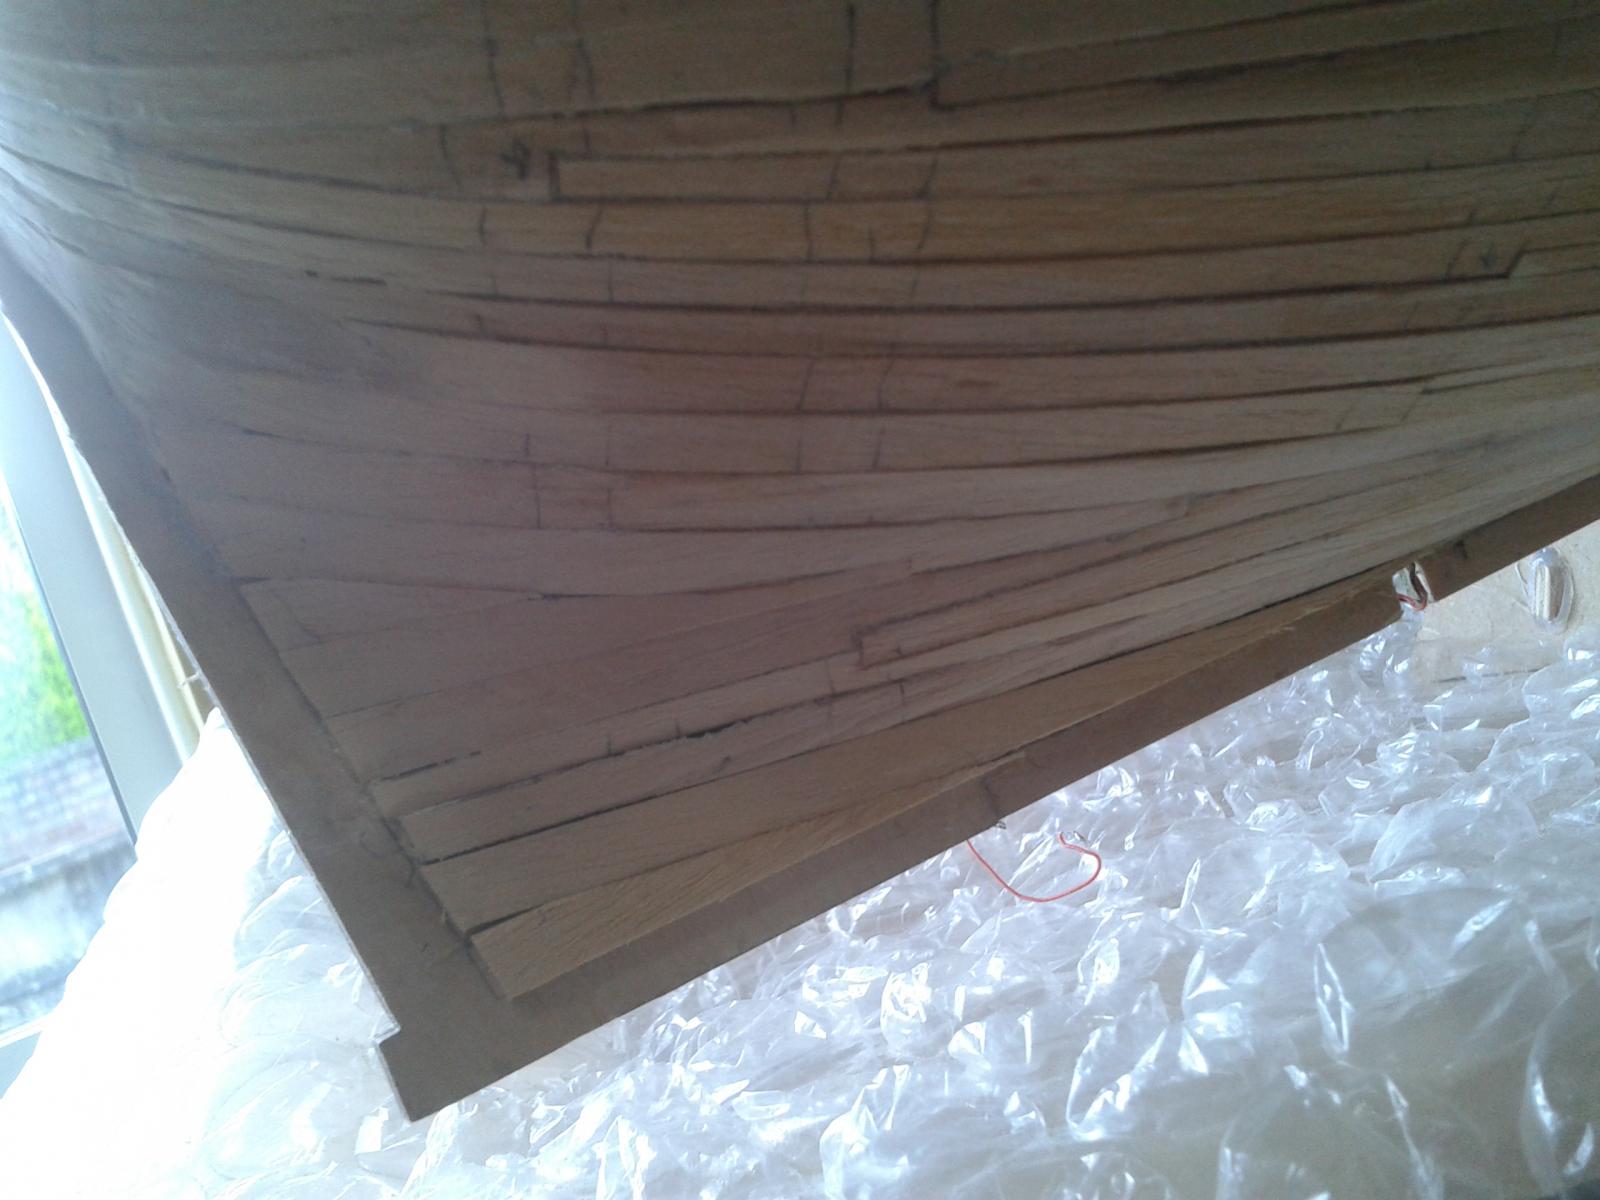
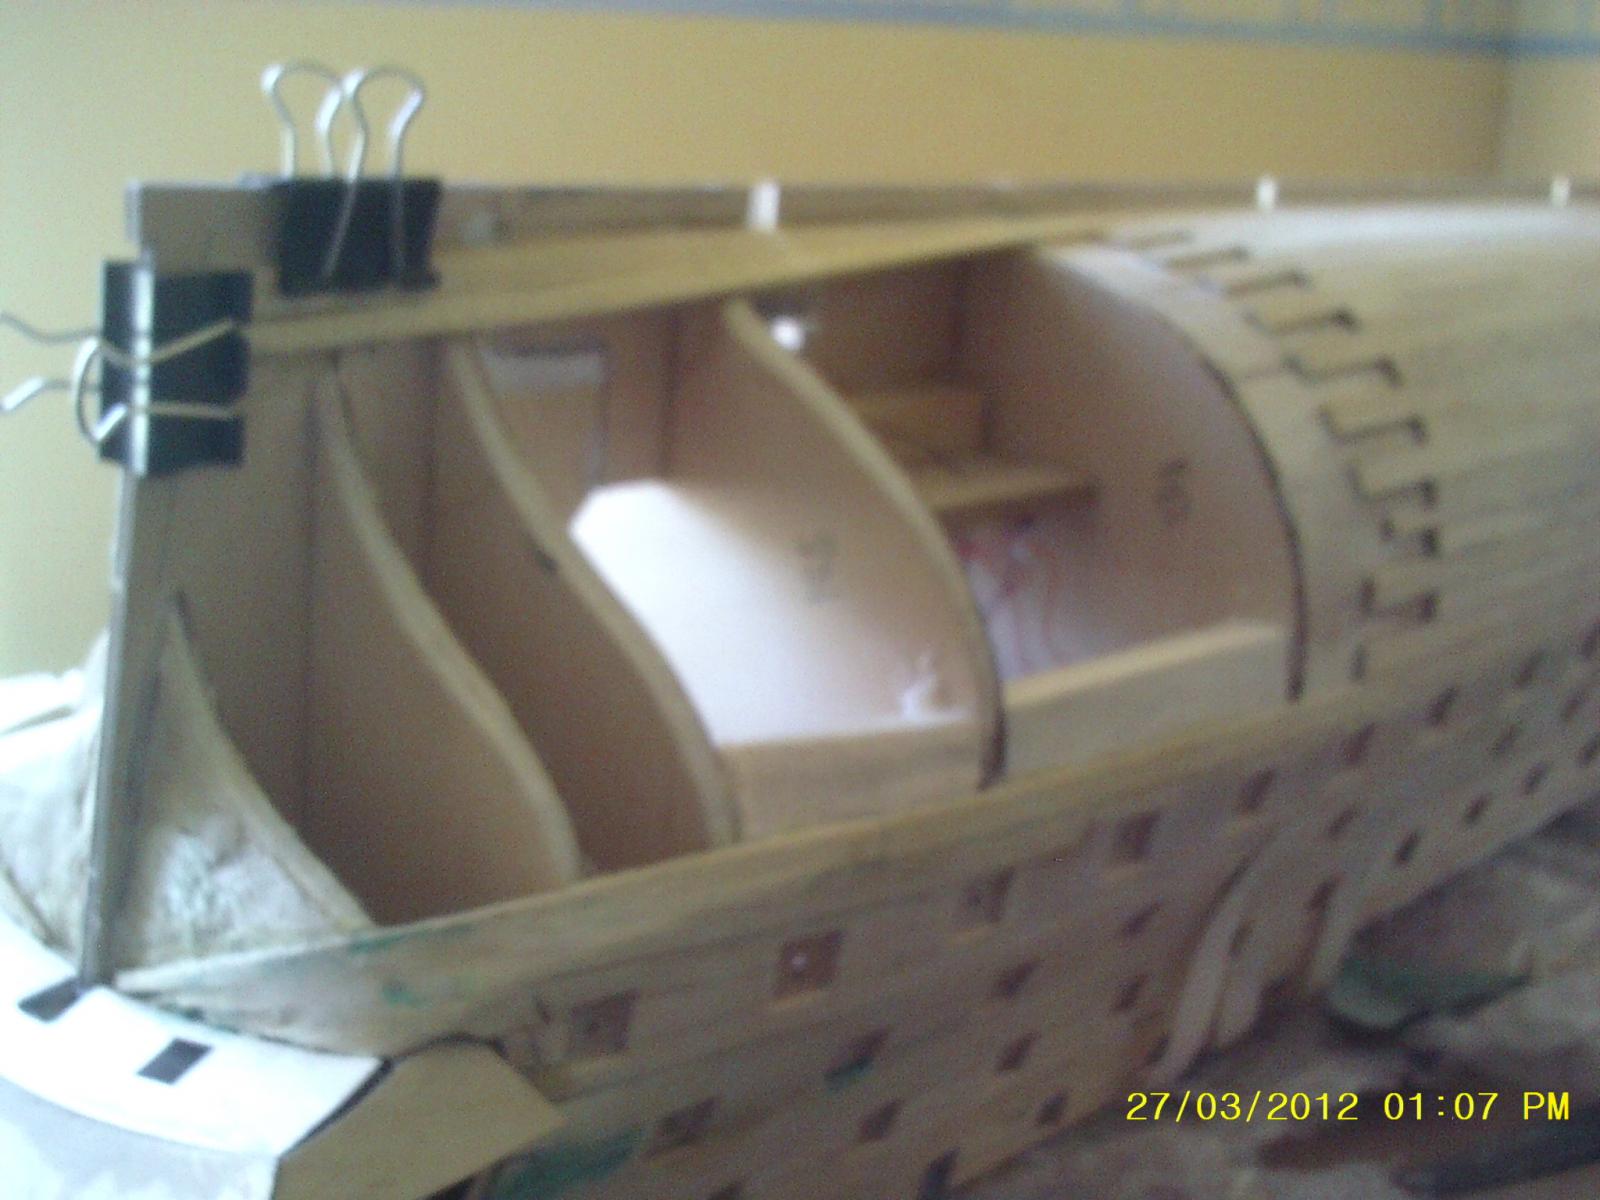
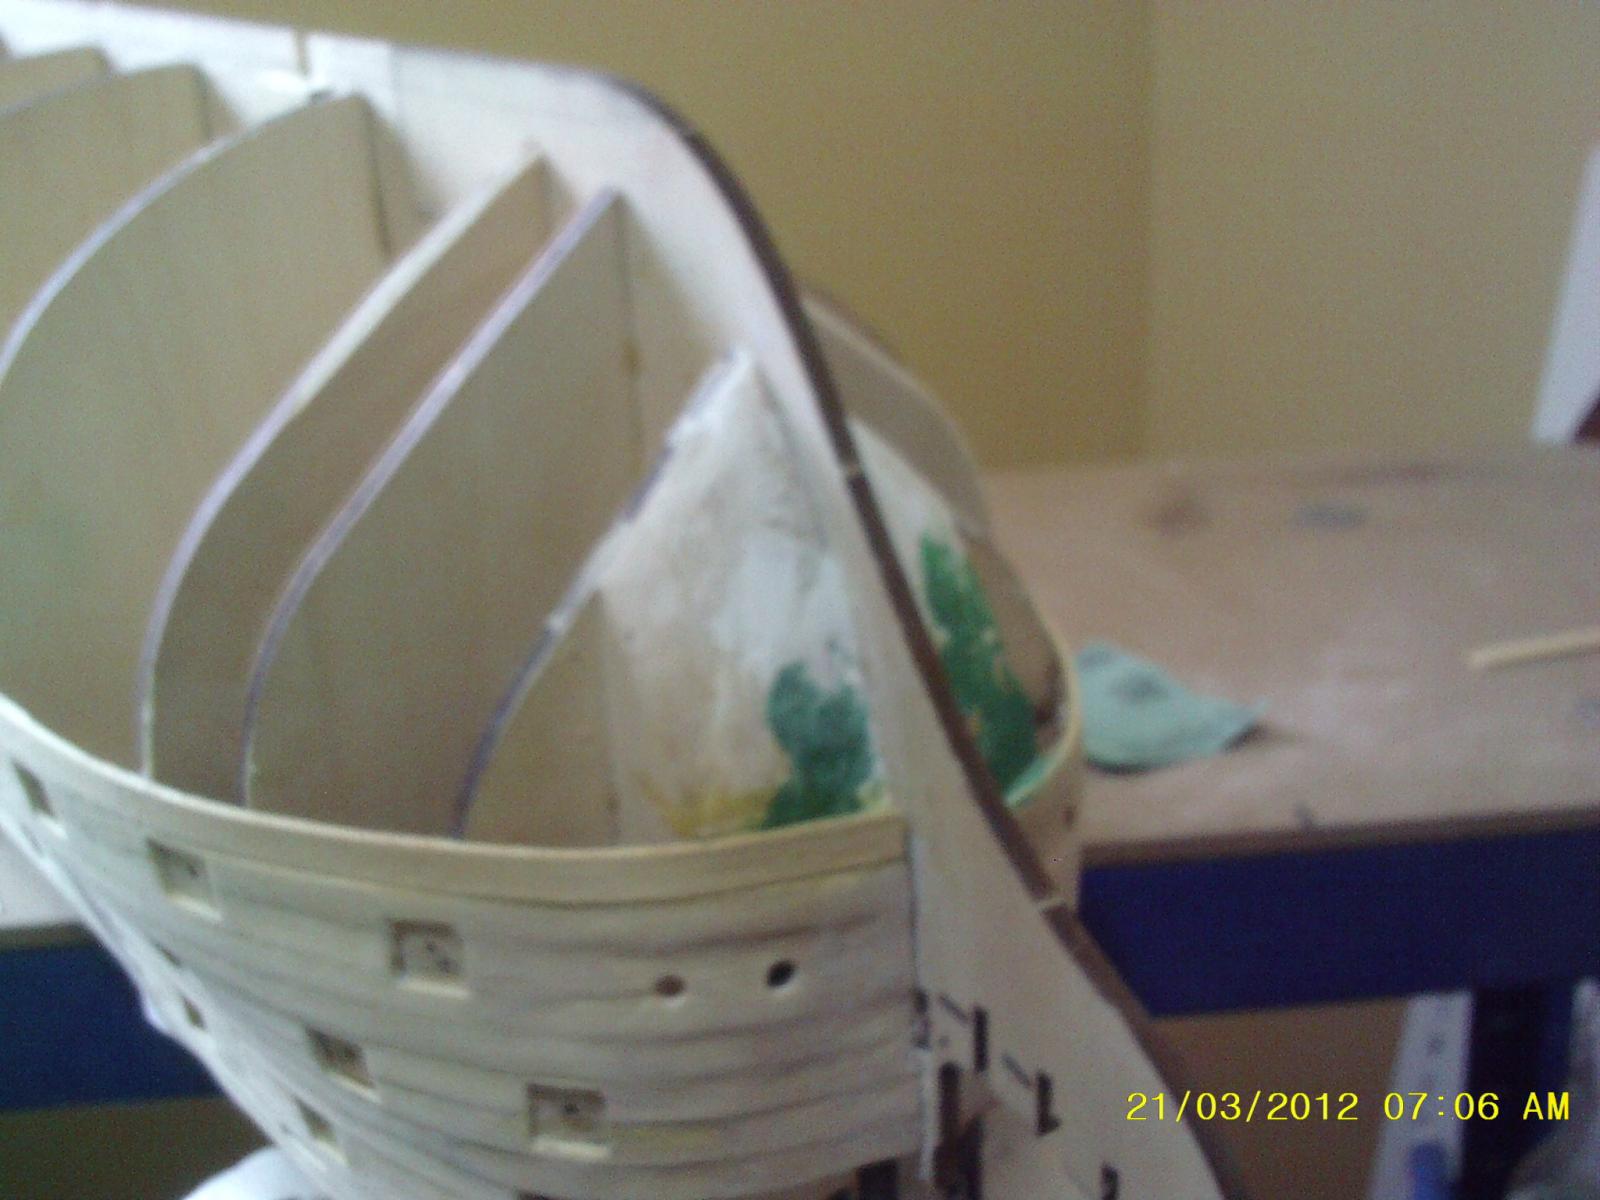
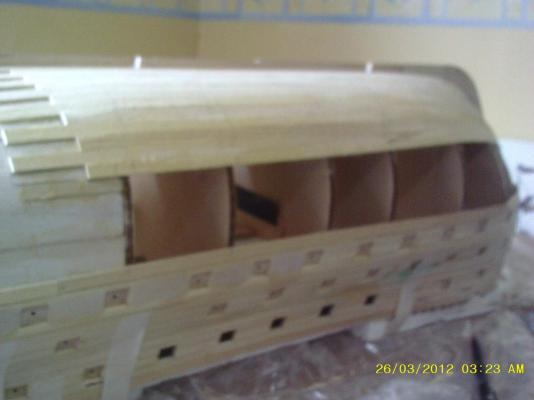
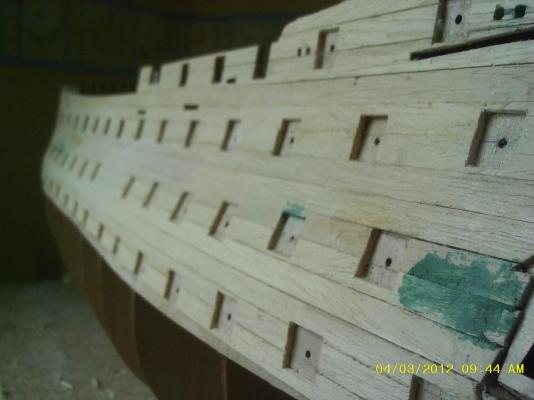
Progress on hull planking. I decided that it would be easier to deal with the bow and stern separately, so I filled in one section between the bulkheads with balsa to give a good gluing/joining place. There is still not a single pin in the whole hull, which I'm perversly proud of.


-
Thanks Keith, trying to cope with the stern angles is certainly a challenge. Cheers, Philip
-
Sounds cool, I shall be watching with interest! Cheers, Philip
-
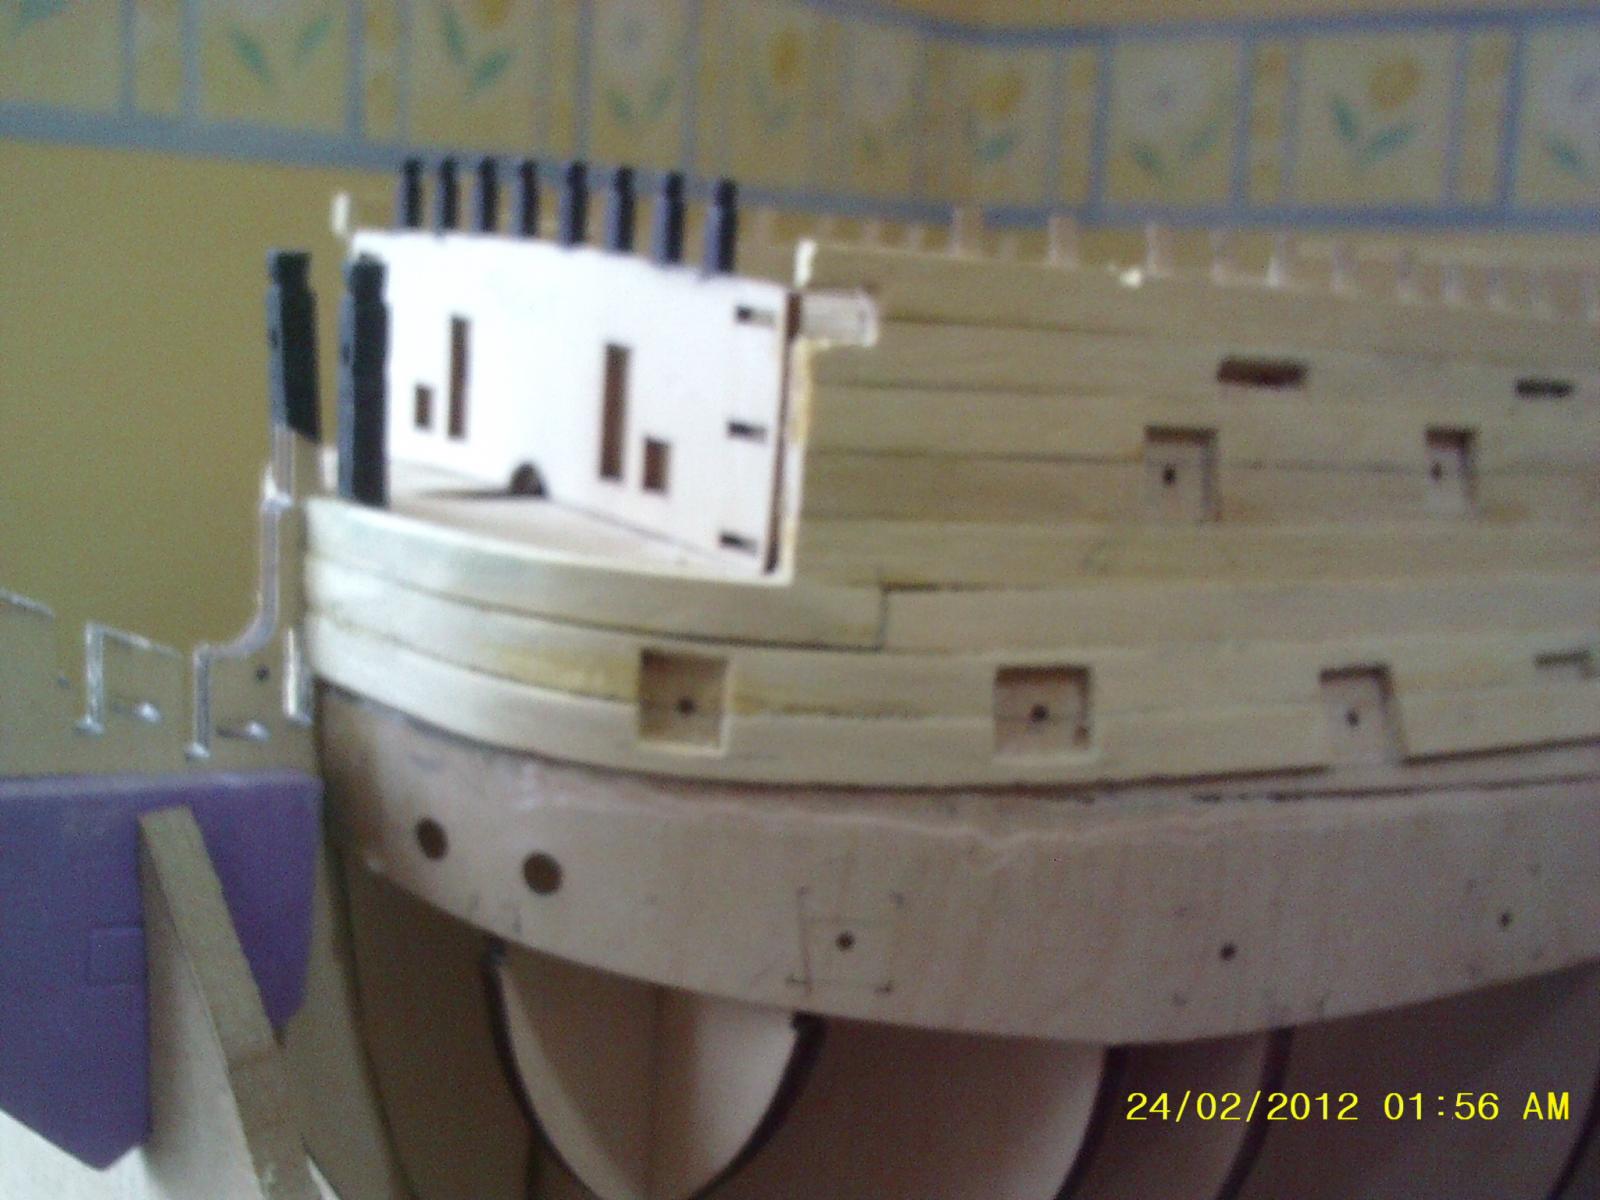
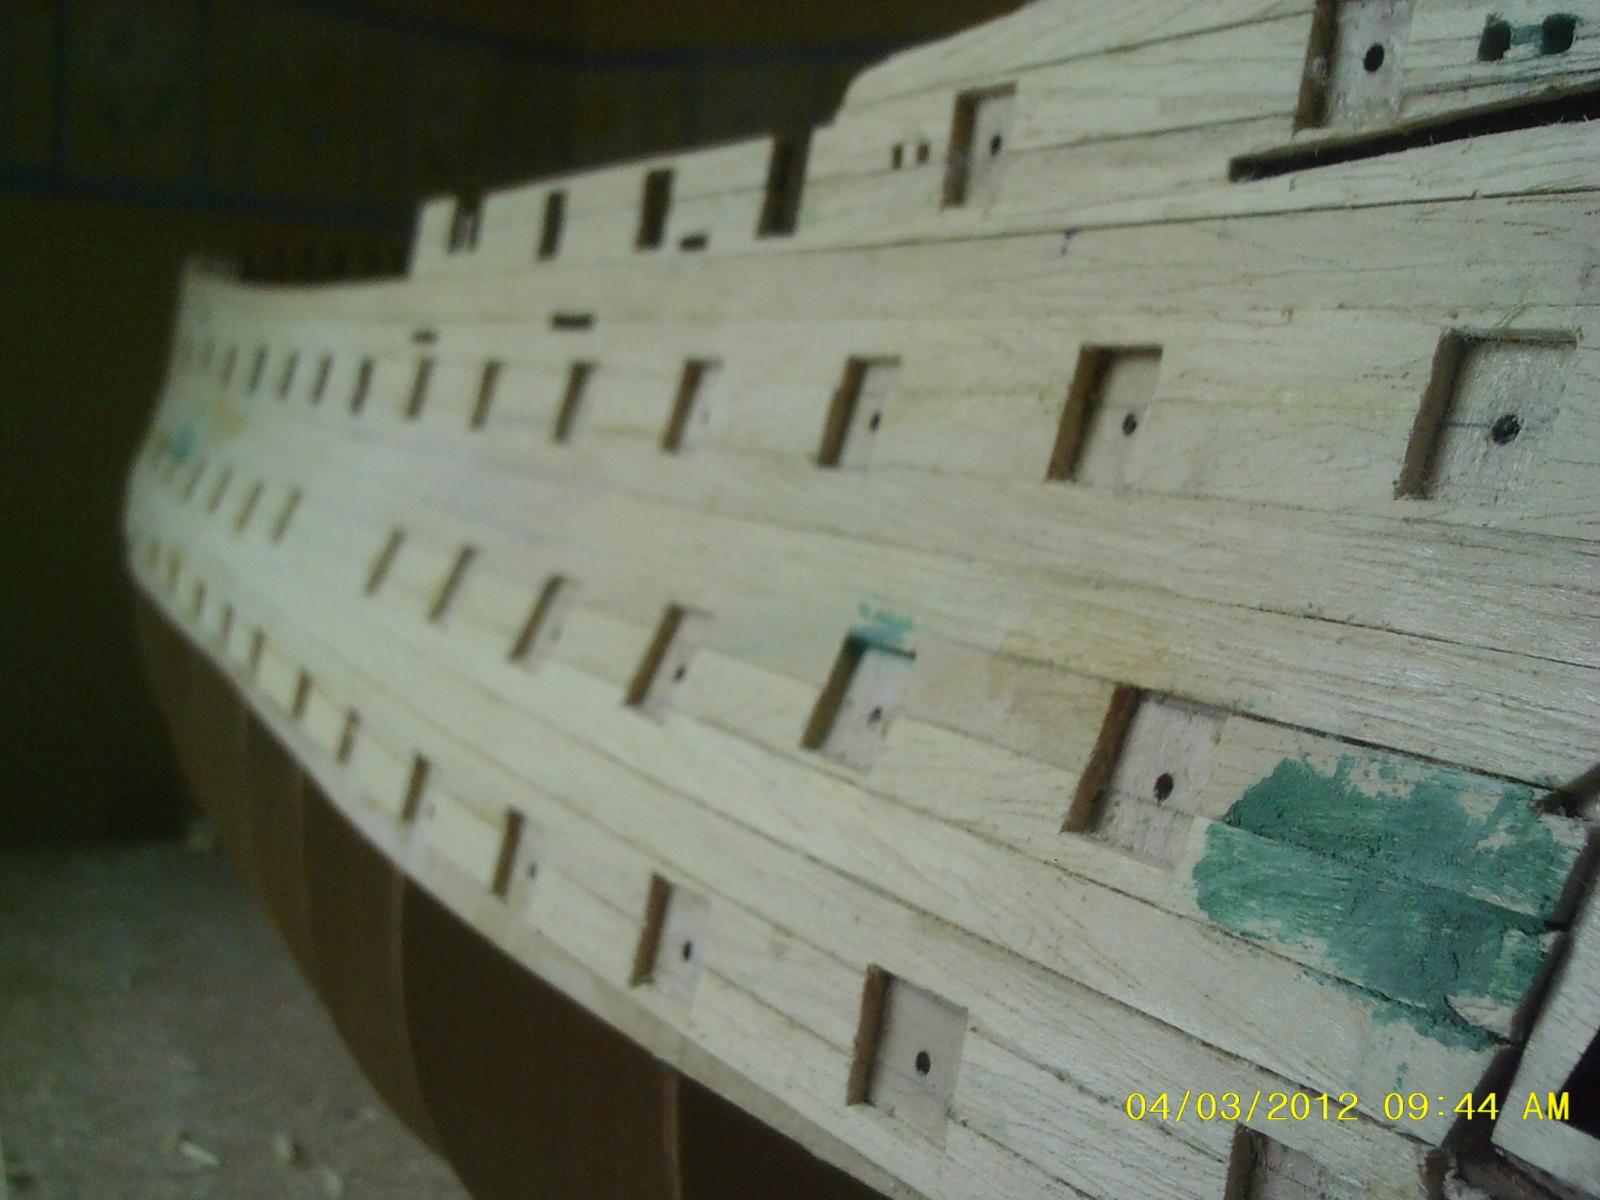
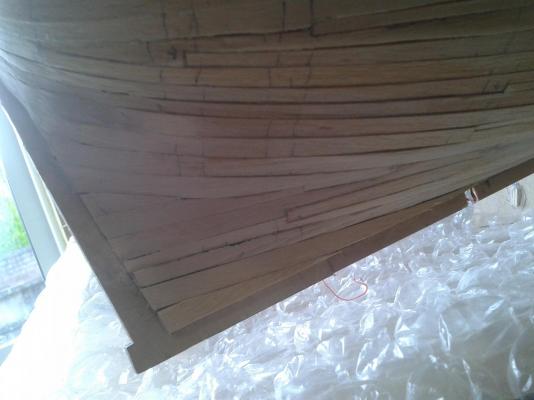
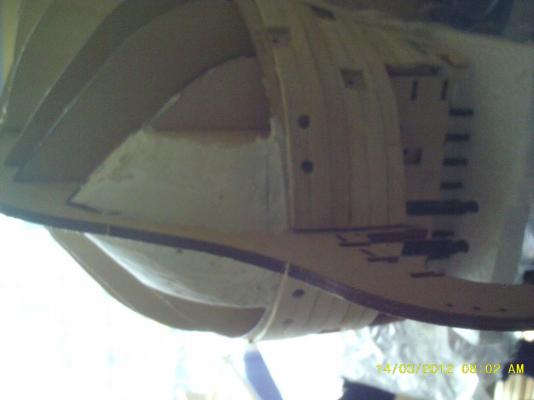
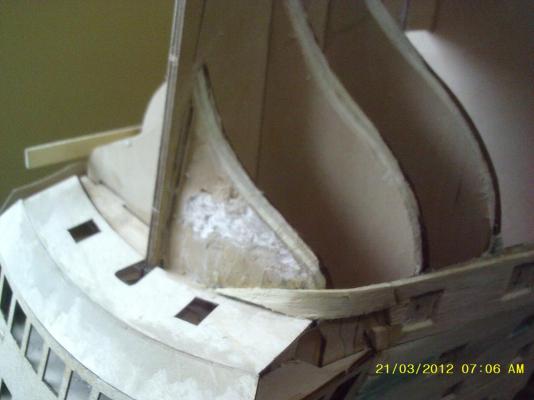
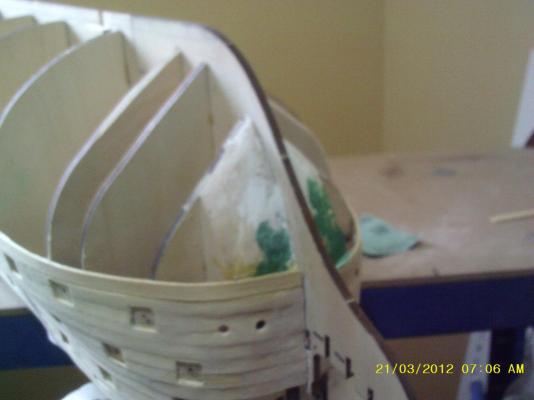
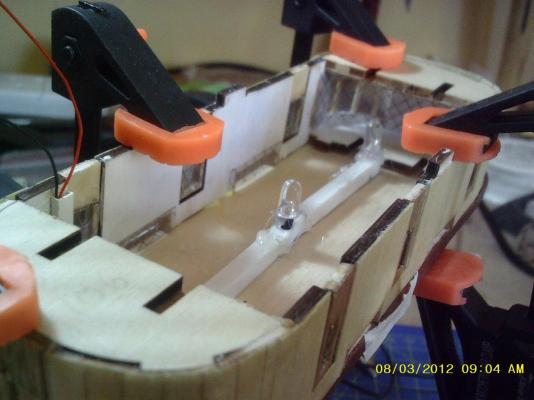
Three pics showing the balsa wood/filler inserts I've added at the bow and stern to make planking easier. So far, the whole of the planking has been done with contact adhesive rather than with white glue and pins. Seems to work for me.
-
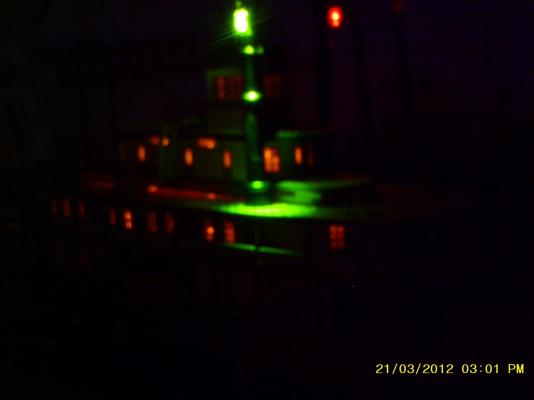
Thanks Clarence, Night shot as requested ... Shame I don't have a better camera but this is what she would look like from the riverbank on a dark night
- 65 replies
-
- 2
-

-
- artesania latina
- king of the mississippi
- (and 1 more)
-
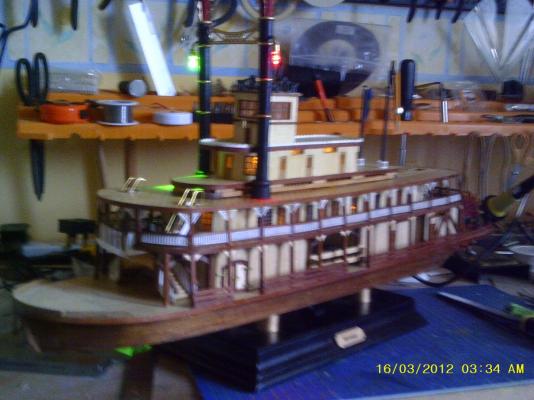
The smokestacks and navigation lights fitted, which completes all the LEDs. Still a fair few bits to do and there's a raft of work painting the passengers.

- 65 replies
-
- 2
-
-
- artesania latina
- king of the mississippi
- (and 1 more)
-
IMHO it's a good kit but you'll need to put up with the paucity of instructions (they assume you know what you're doing) and buy a few extra bits to do it justice (ornaments, lettering etc). With the additional purchases it will still come out cheaper than the CC model. Philip
-
All things are possible Don't give me ideas! Cheers, Philip
- 65 replies
-
- 1
-
-
- artesania latina
- king of the mississippi
- (and 1 more)
-
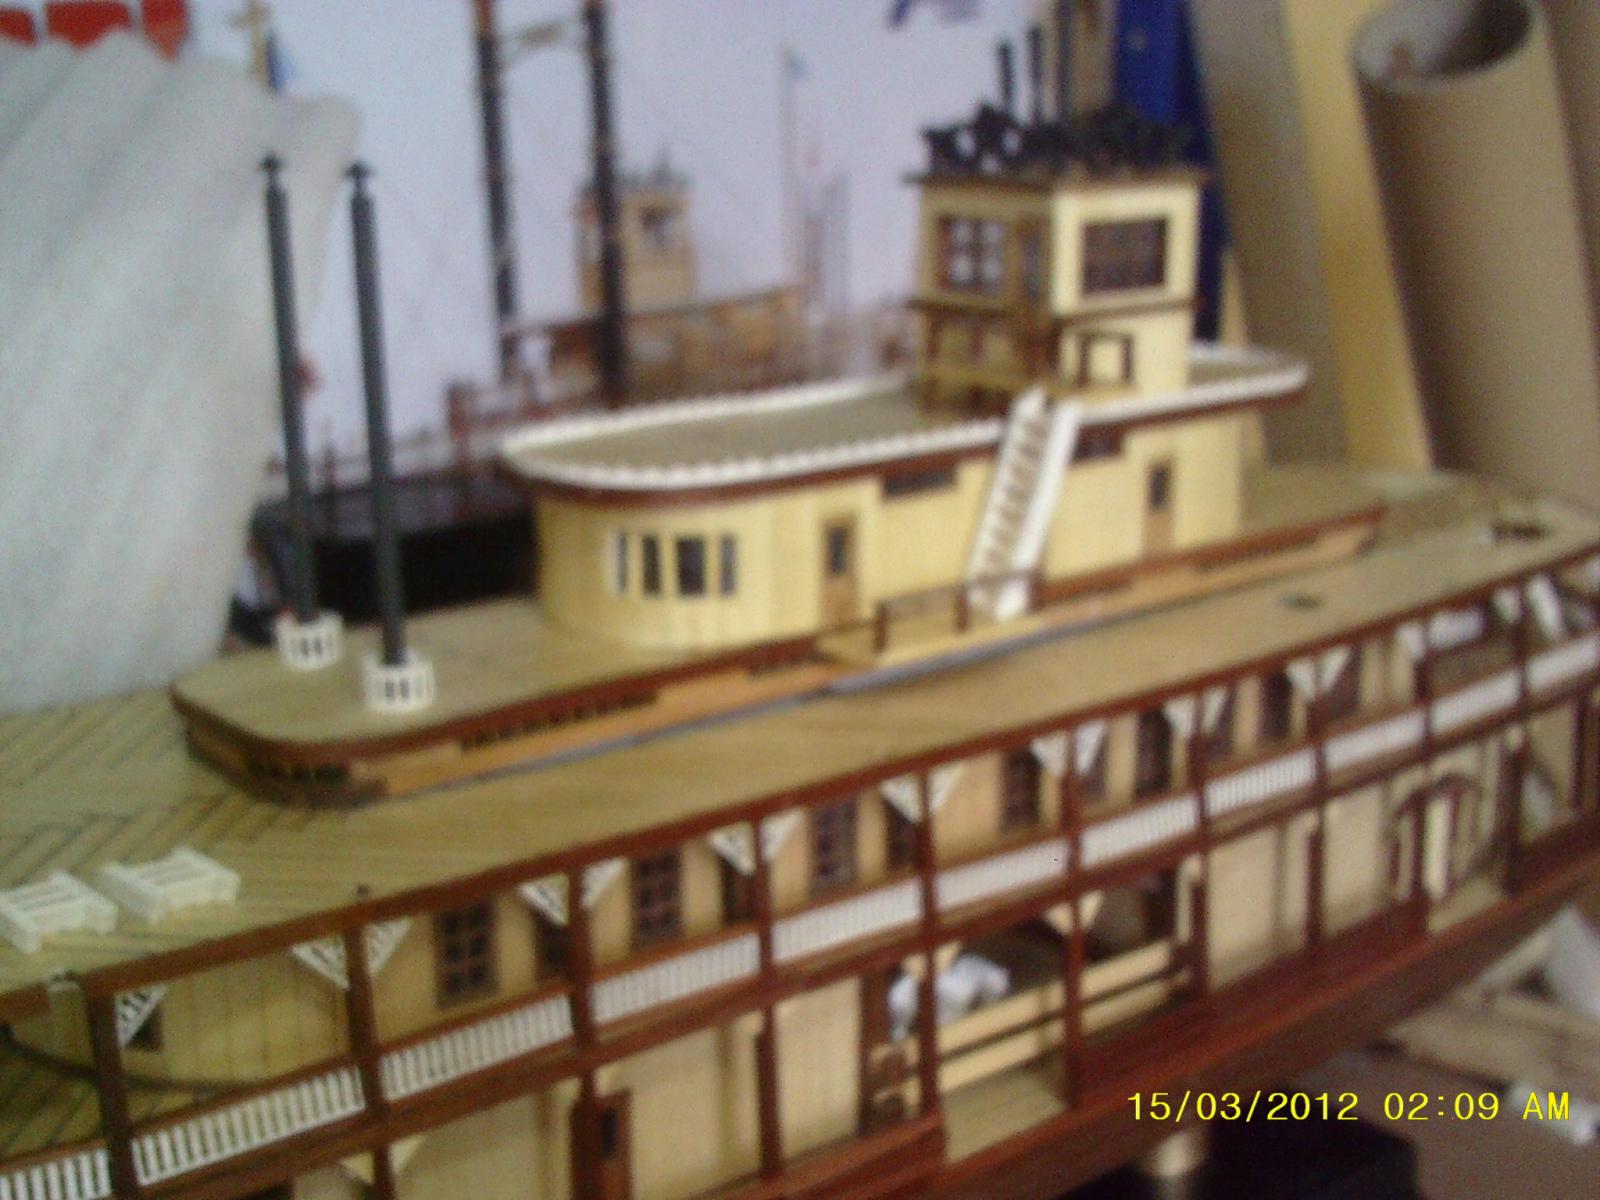
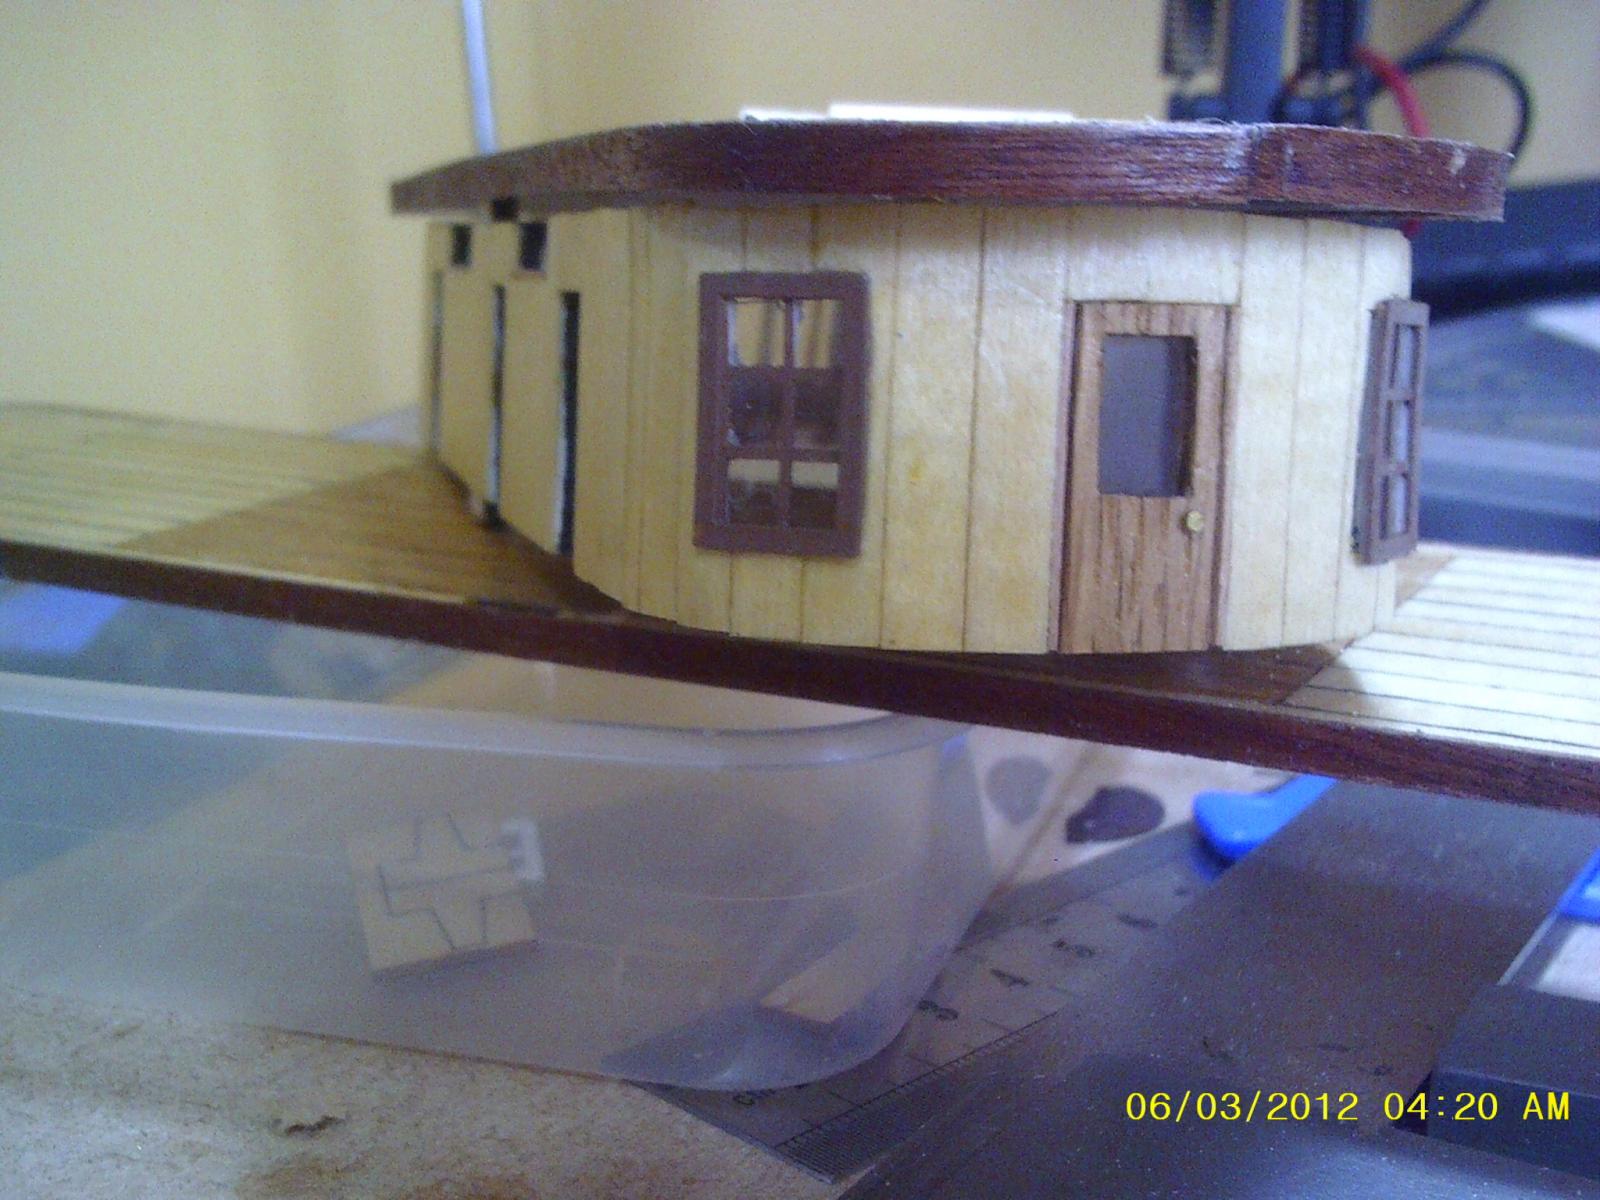
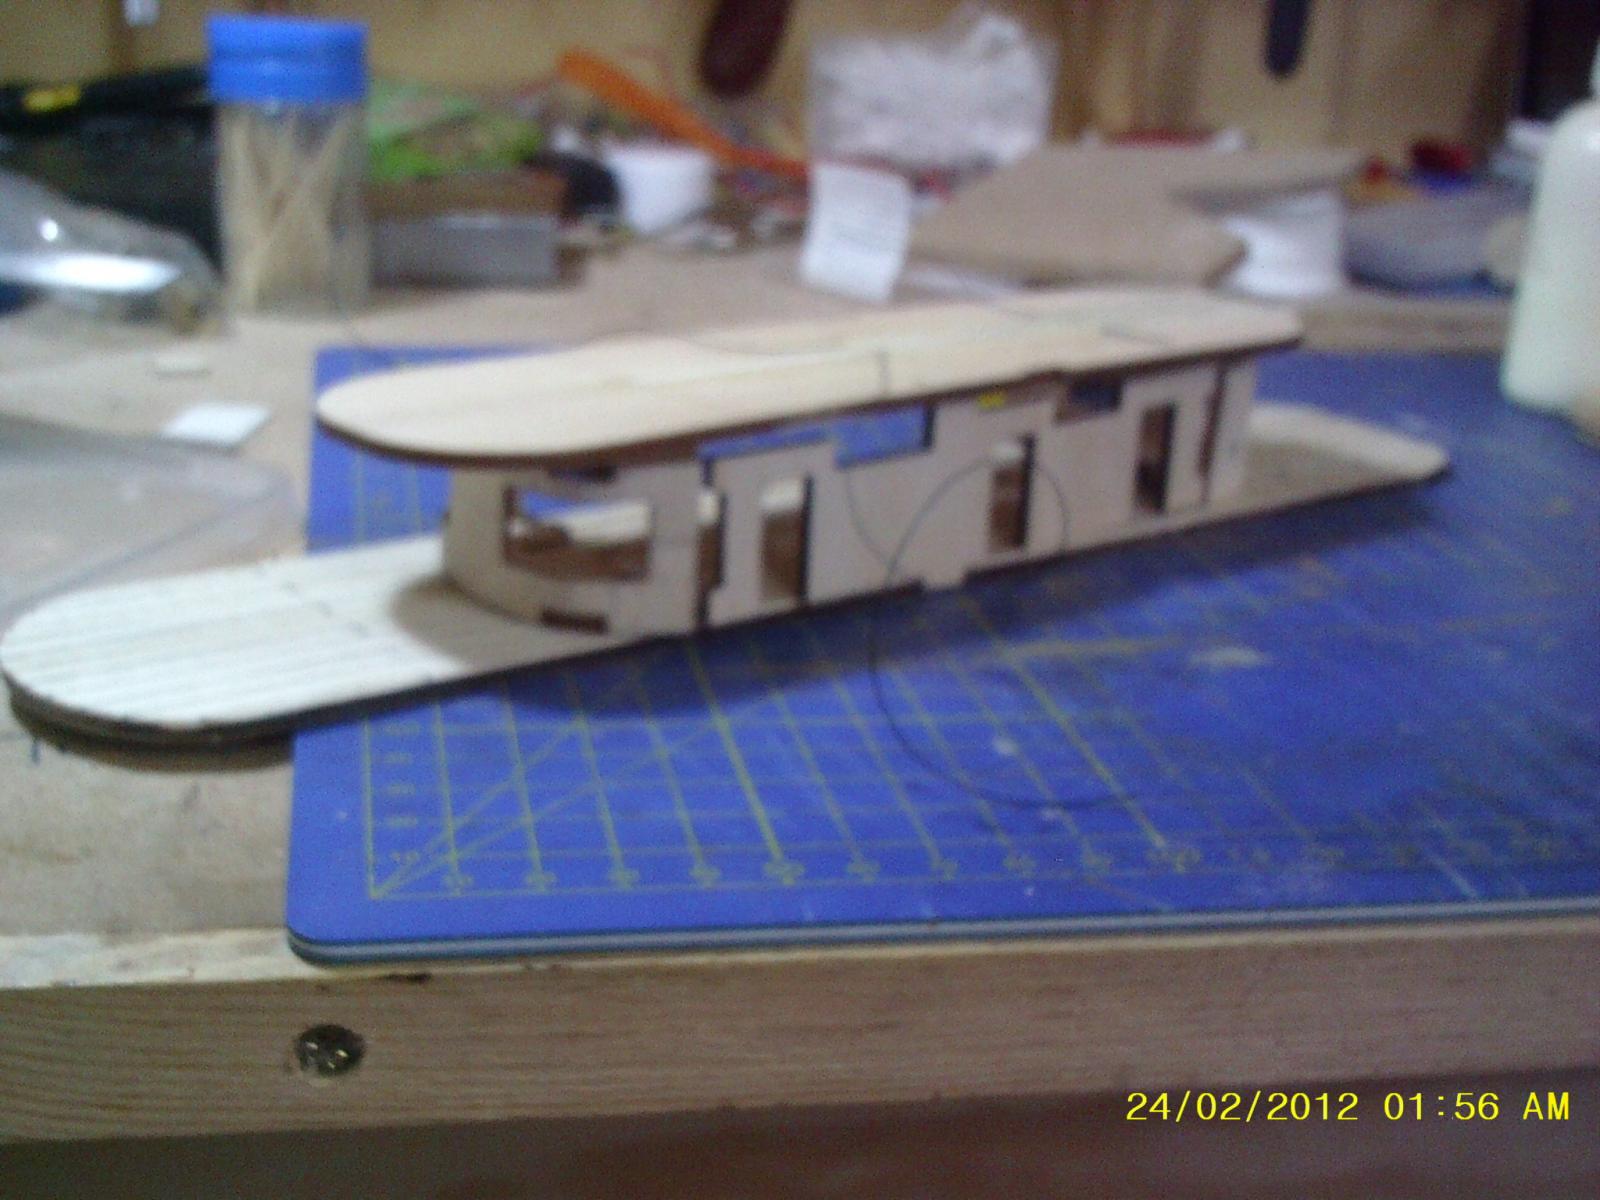
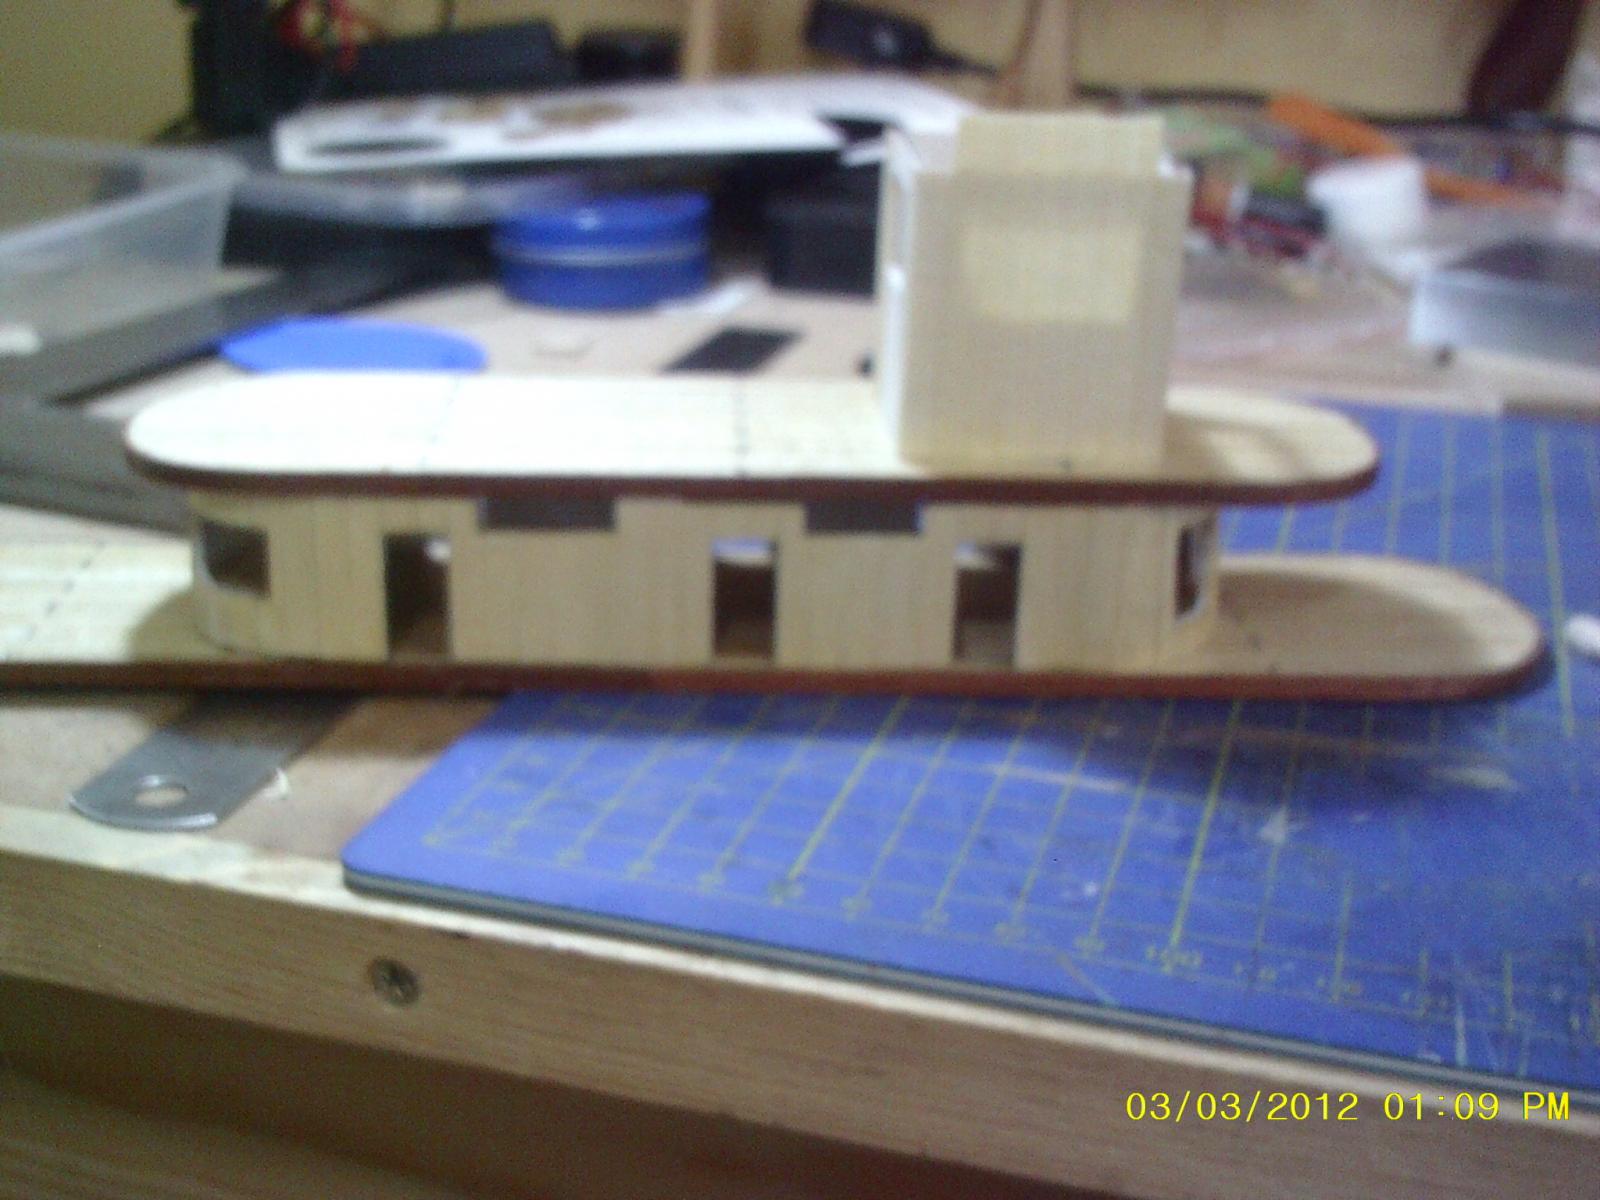
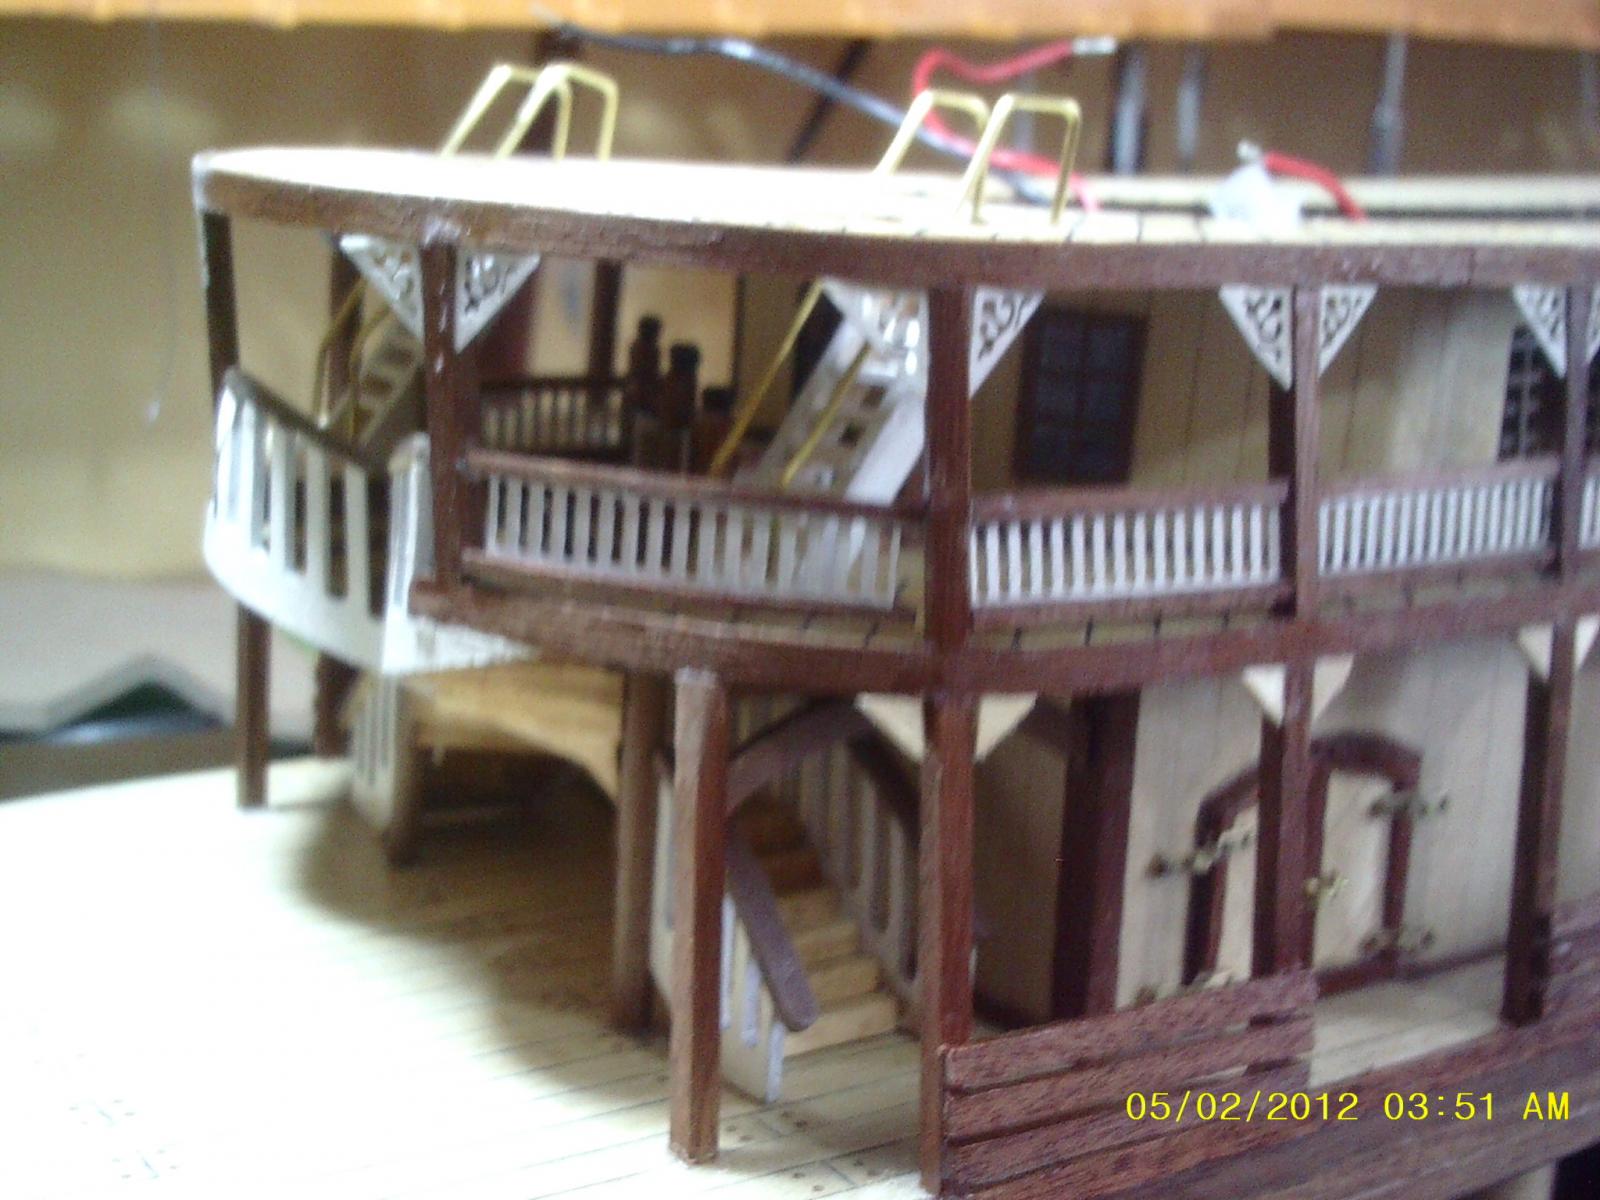
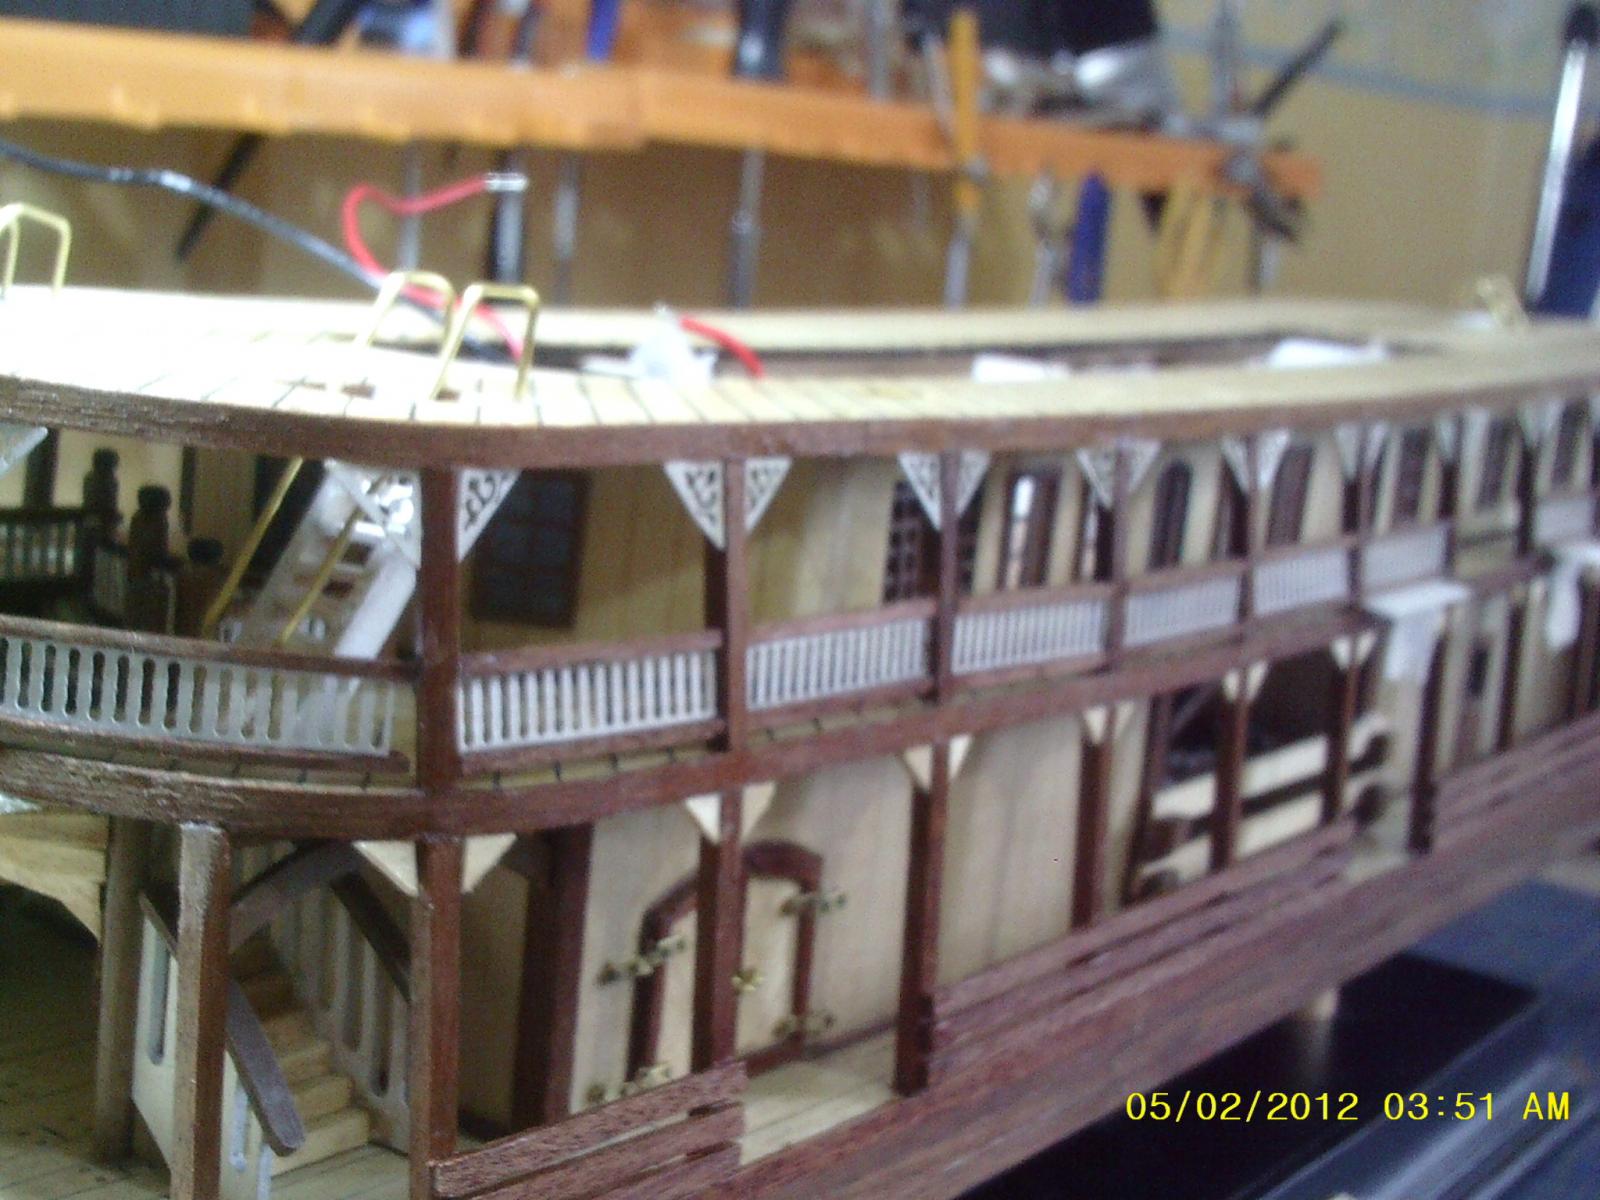
The third deck stateroom under construction and at its latest stage. I didn't use a number of the internal bulkheads as they would interfere with the lighting. That many parts aren't really needed but I guess it makes the construction easier if you do use them. I should mention that the curve in the roof was done by soaking the parts in boiling water for 5 minutes (no more or the plywood will delaminate) then squeezing them to the required shape in a bench vice - make sure that the grain runs parallel to the vice jaws.


- 65 replies
-
- 2
-
-
- artesania latina
- king of the mississippi
- (and 1 more)
-
Well, I think I have something figured out that should make it not to onerous and the result satisfactory. We shall see!
-
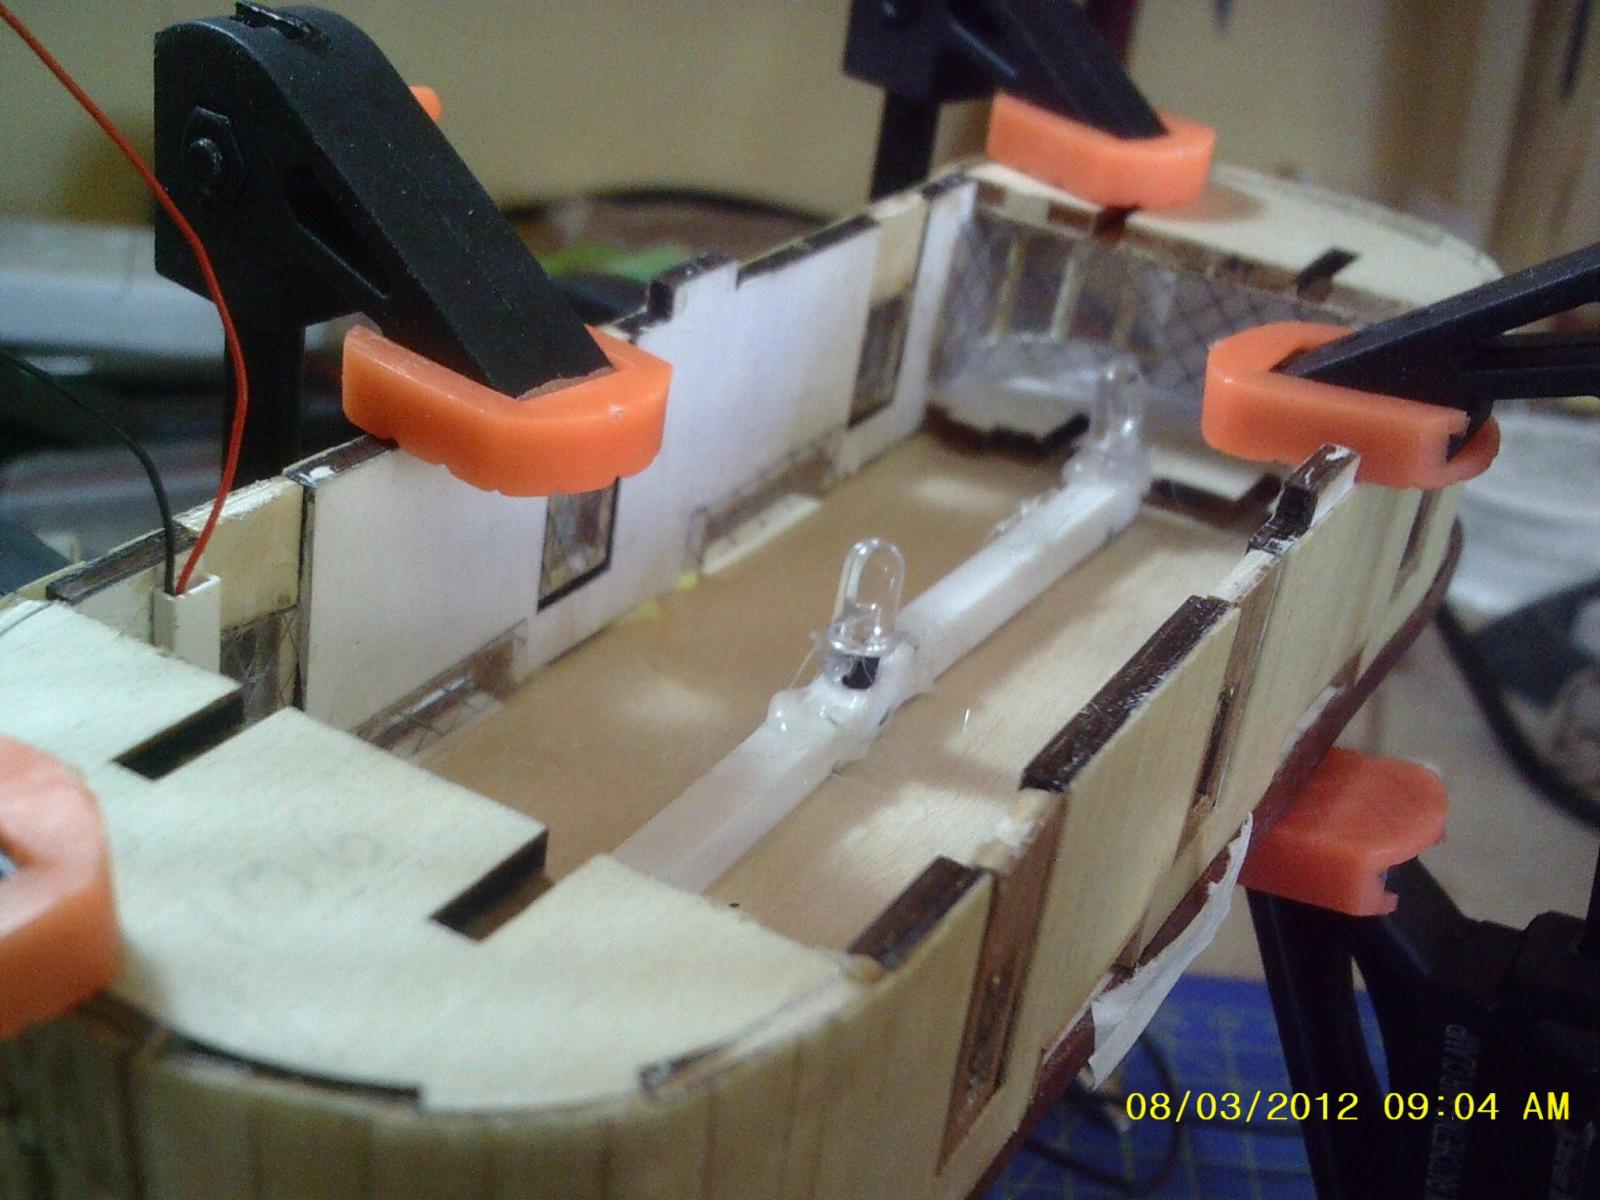
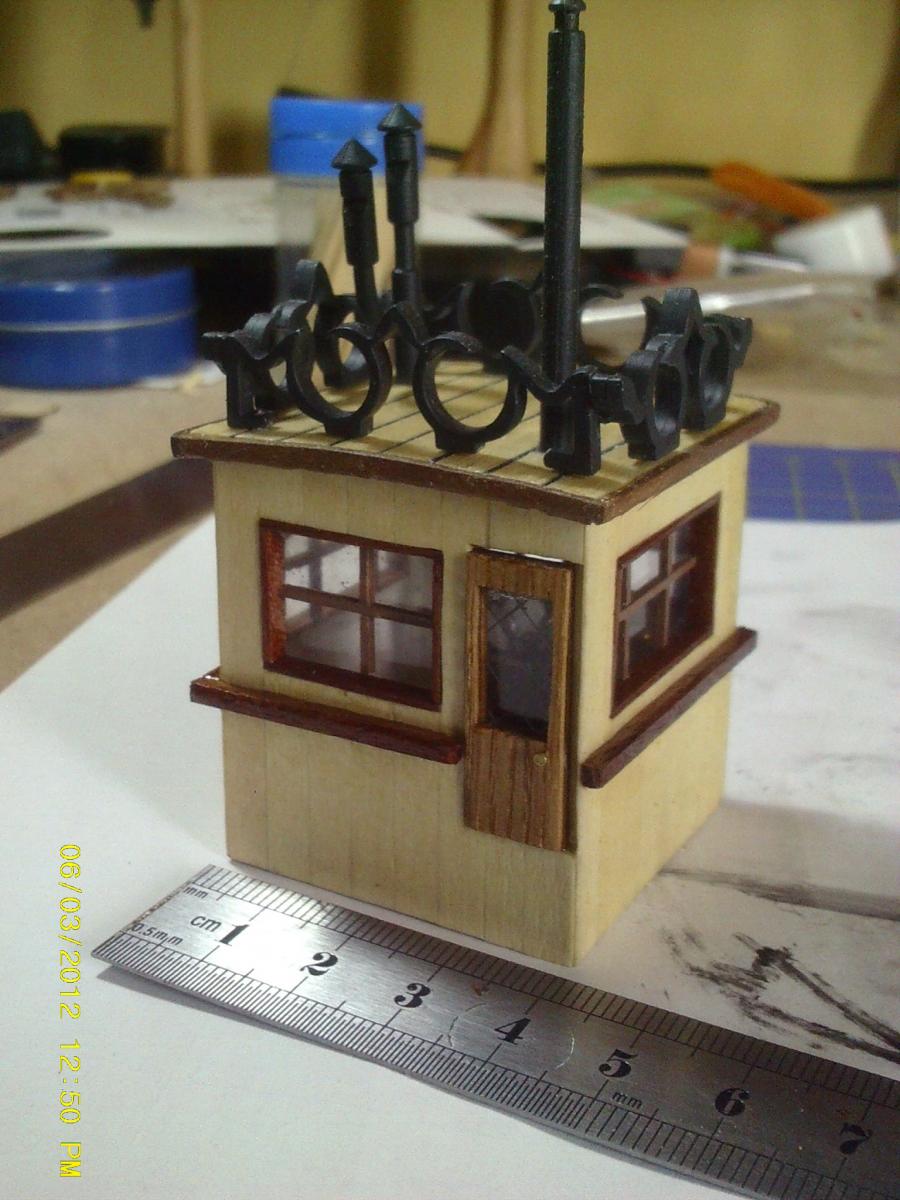
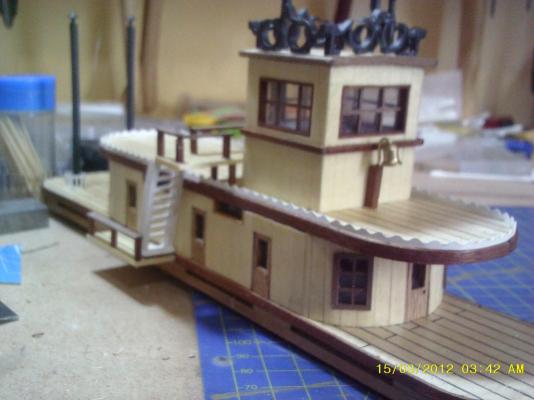
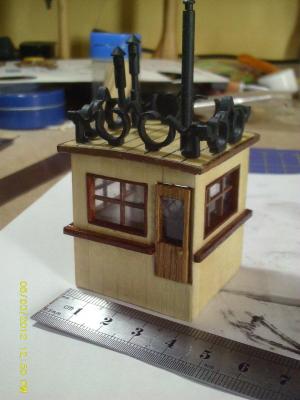
Yes, there is an LED mounted in the floor (which is raised slightly to accommodate the wheel and makes life easier). All the lights are wired to a single switch so the navigation lights will be on at the same time as the pilot house light. Not strictly correct but far more photogenic . Cheers, Philip
-
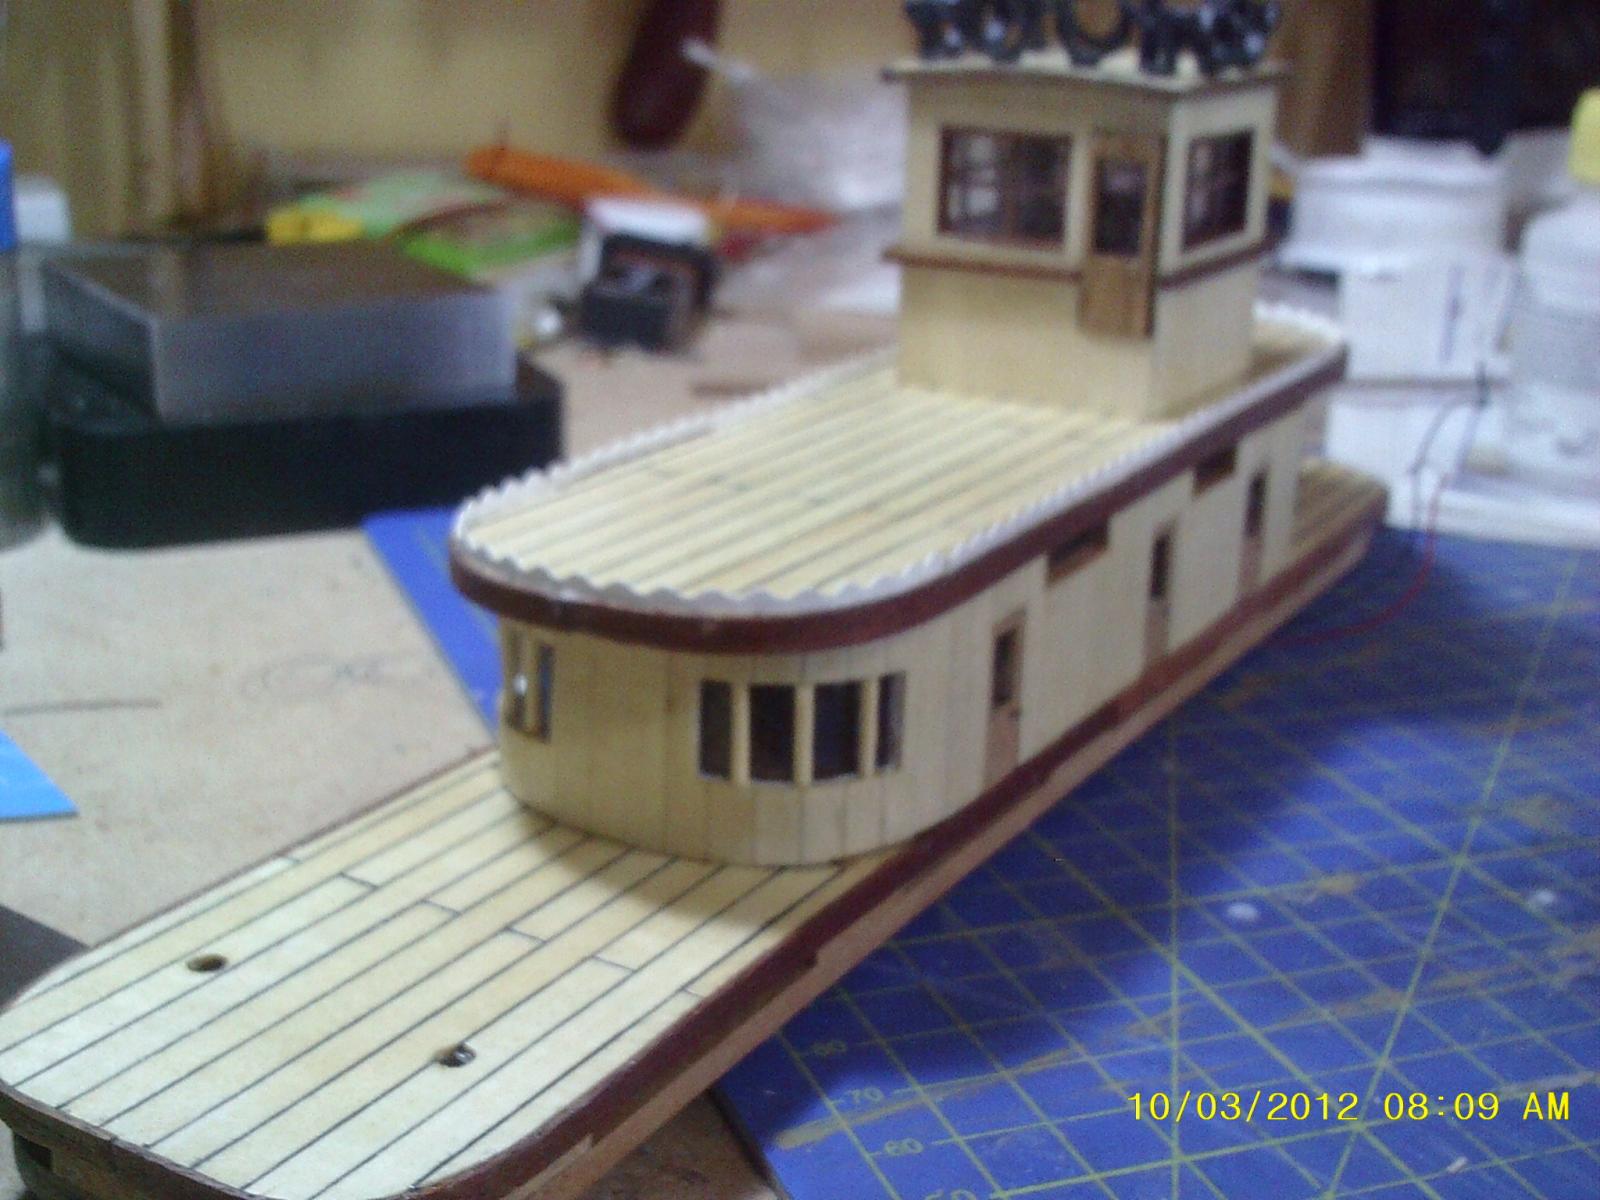
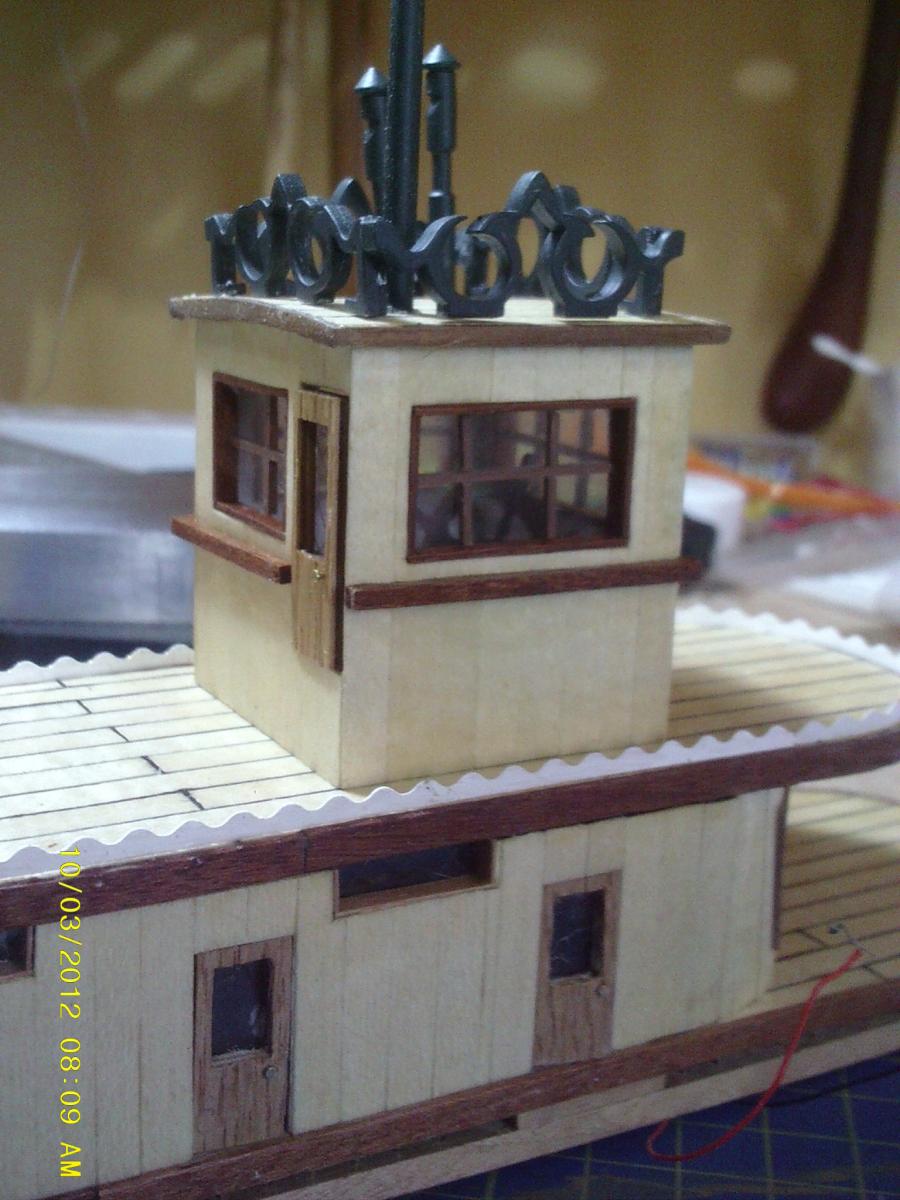
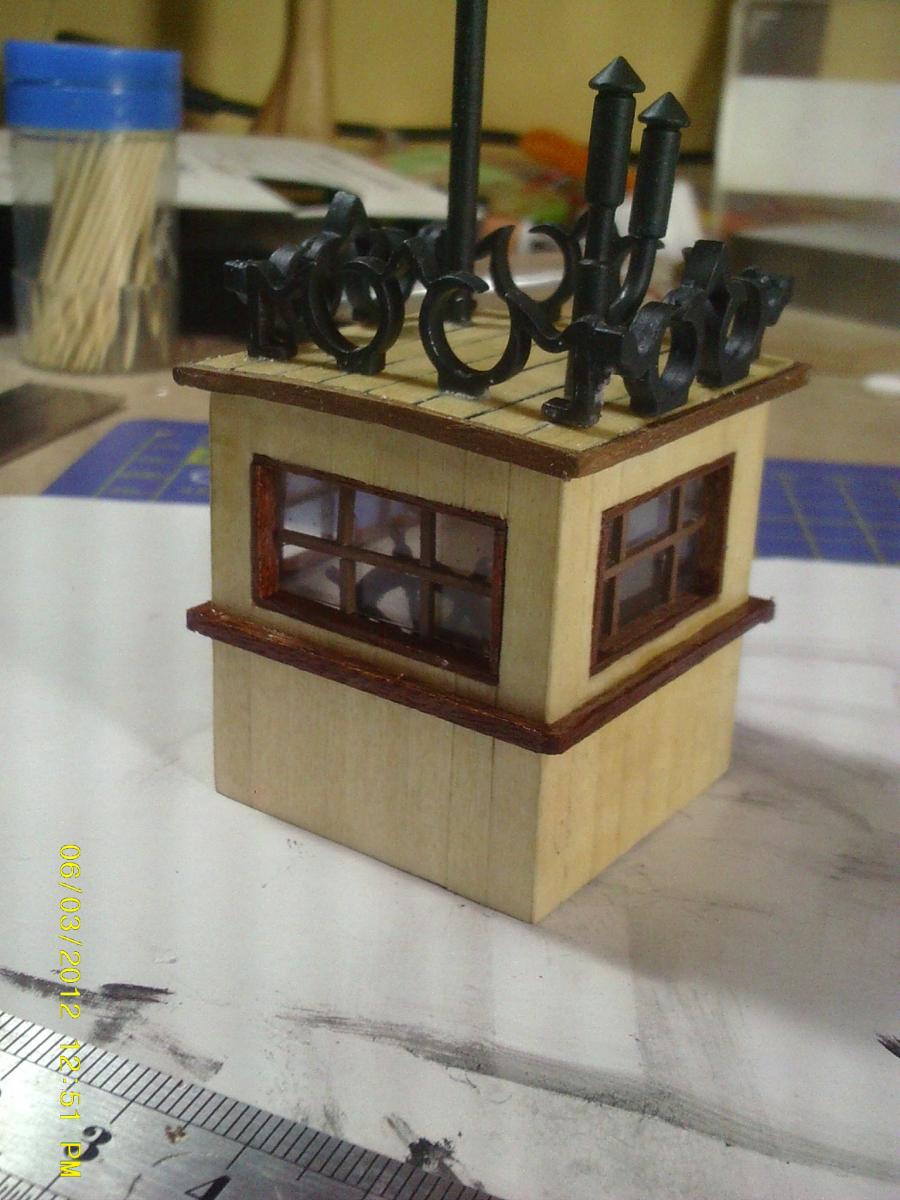
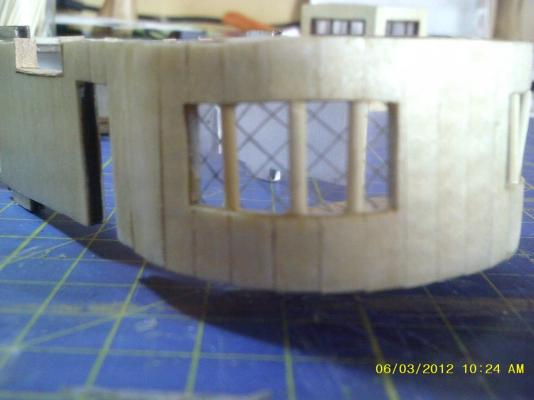
Progress on the third deck buildings and the pilot house. The latter required an inordinate amount of work for very little building but I think the effort was well worthwhile.


- 65 replies
-
- 4
-
-
- artesania latina
- king of the mississippi
- (and 1 more)
-
Looking forward to your build, Clarence. I wouldn't mind adding the kit to my future build list but at first glance it seems Bluejacket don't ship outside the US. I guess I'll have to make do with watching yours! Cheers, Philip
-
Hi Clarence, Yes, 5mm can be a bit bright. For the Victory, I bought and stripped down some tea light LEDs that have a cool flickering effect, like candle or gas light. They seem to work like a standard 2.2V 20Ma LED - I used a 9V AC transformer supply with appropriate resistors. Another thing I do now is to incorporate a 150Ma fuse - although the currents involved are low, apparently they're enough to ignite a wood, glue and paint model. I'll be watching your build. Cheers, Philip
-
Thanks Boyd! I'm not looking forward to the glazing bar work on the stern galleries but there's a way to go before I get there. At least the lights work Cheers, Philip
-
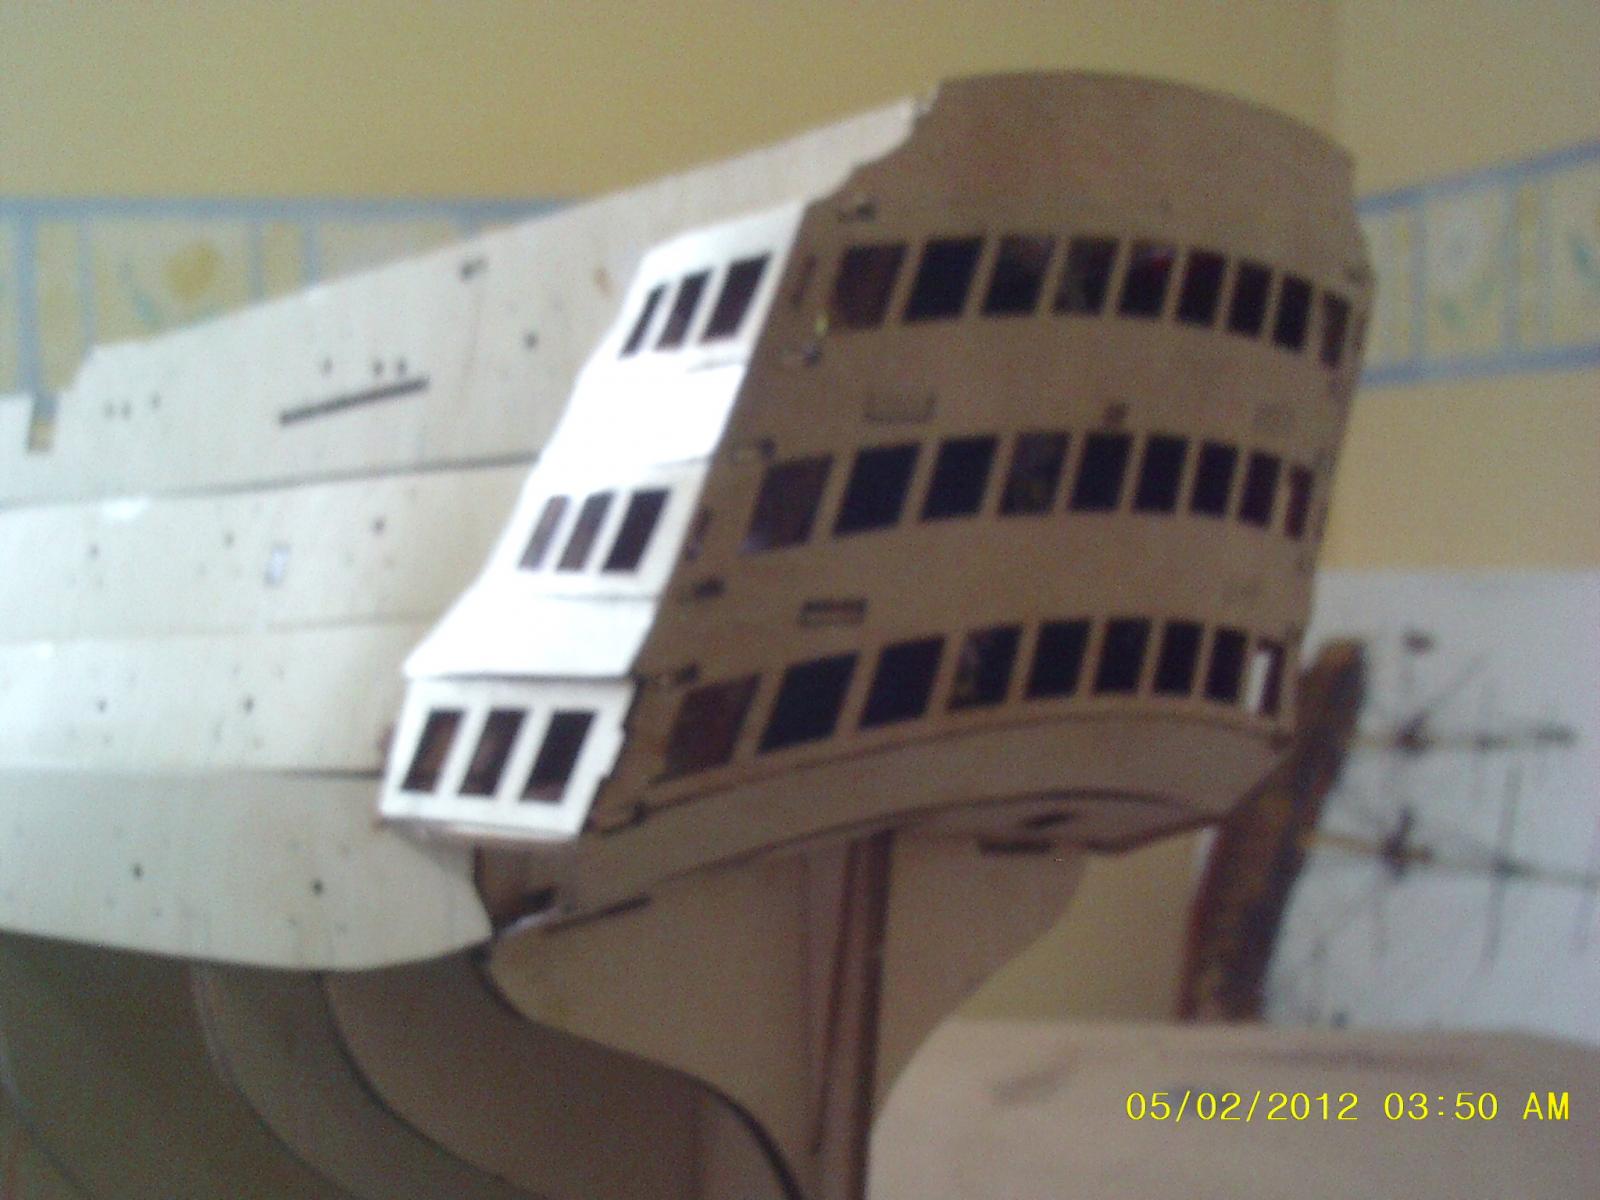
An update on progress is long overdue .... First "layer" of the stern gallery is complete and planking underway ... <Pic removed - poor focus - new pic added below>


-
It's a tough call, Boyd, but I think the brass gives the best contrast with the wood. Cheers, Philip
-
... fair point Keith