HOLIDAY DONATION DRIVE - SUPPORT MSW - DO YOUR PART TO KEEP THIS GREAT FORUM GOING! (Only 66 donations so far out of 49,000 members - Can we at least get100? C'mon guys!)
×


Philg88
-
Posts
166 -
Joined
-
Last visited
Content Type
Profiles
Forums
Gallery
Events
Everything posted by Philg88
-
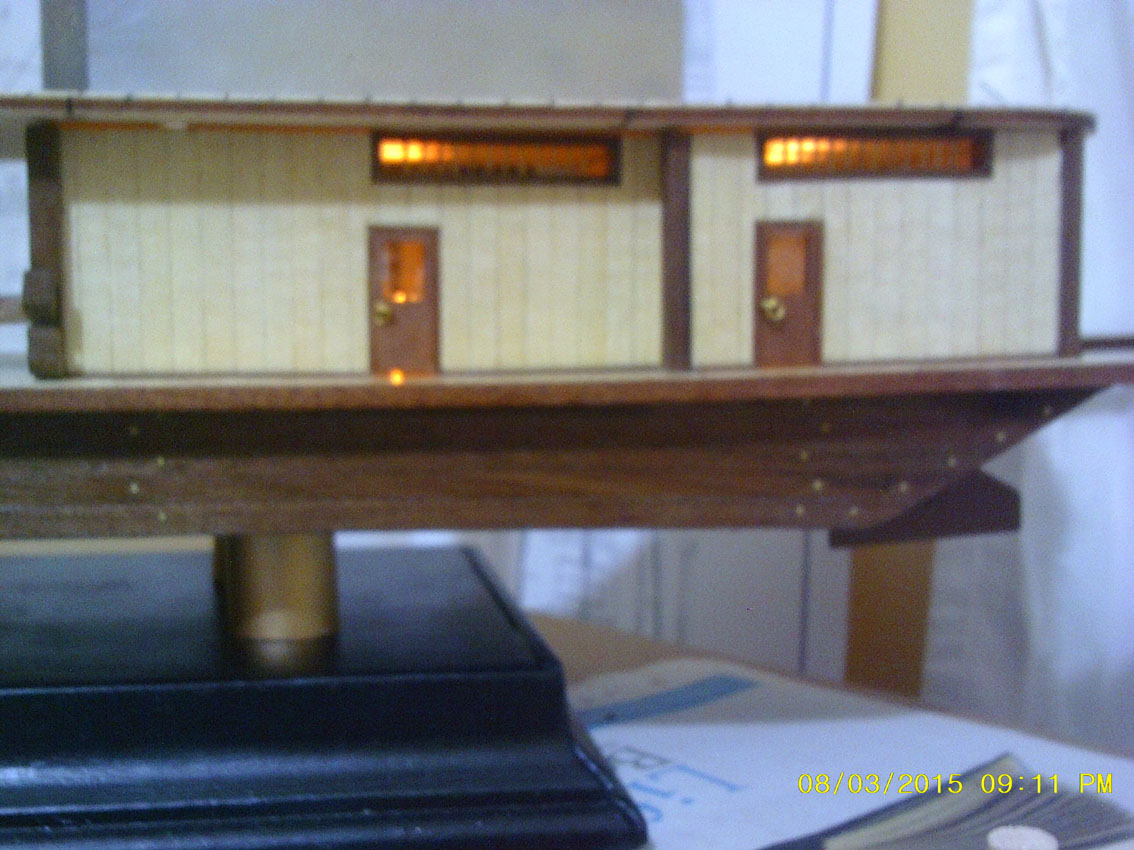
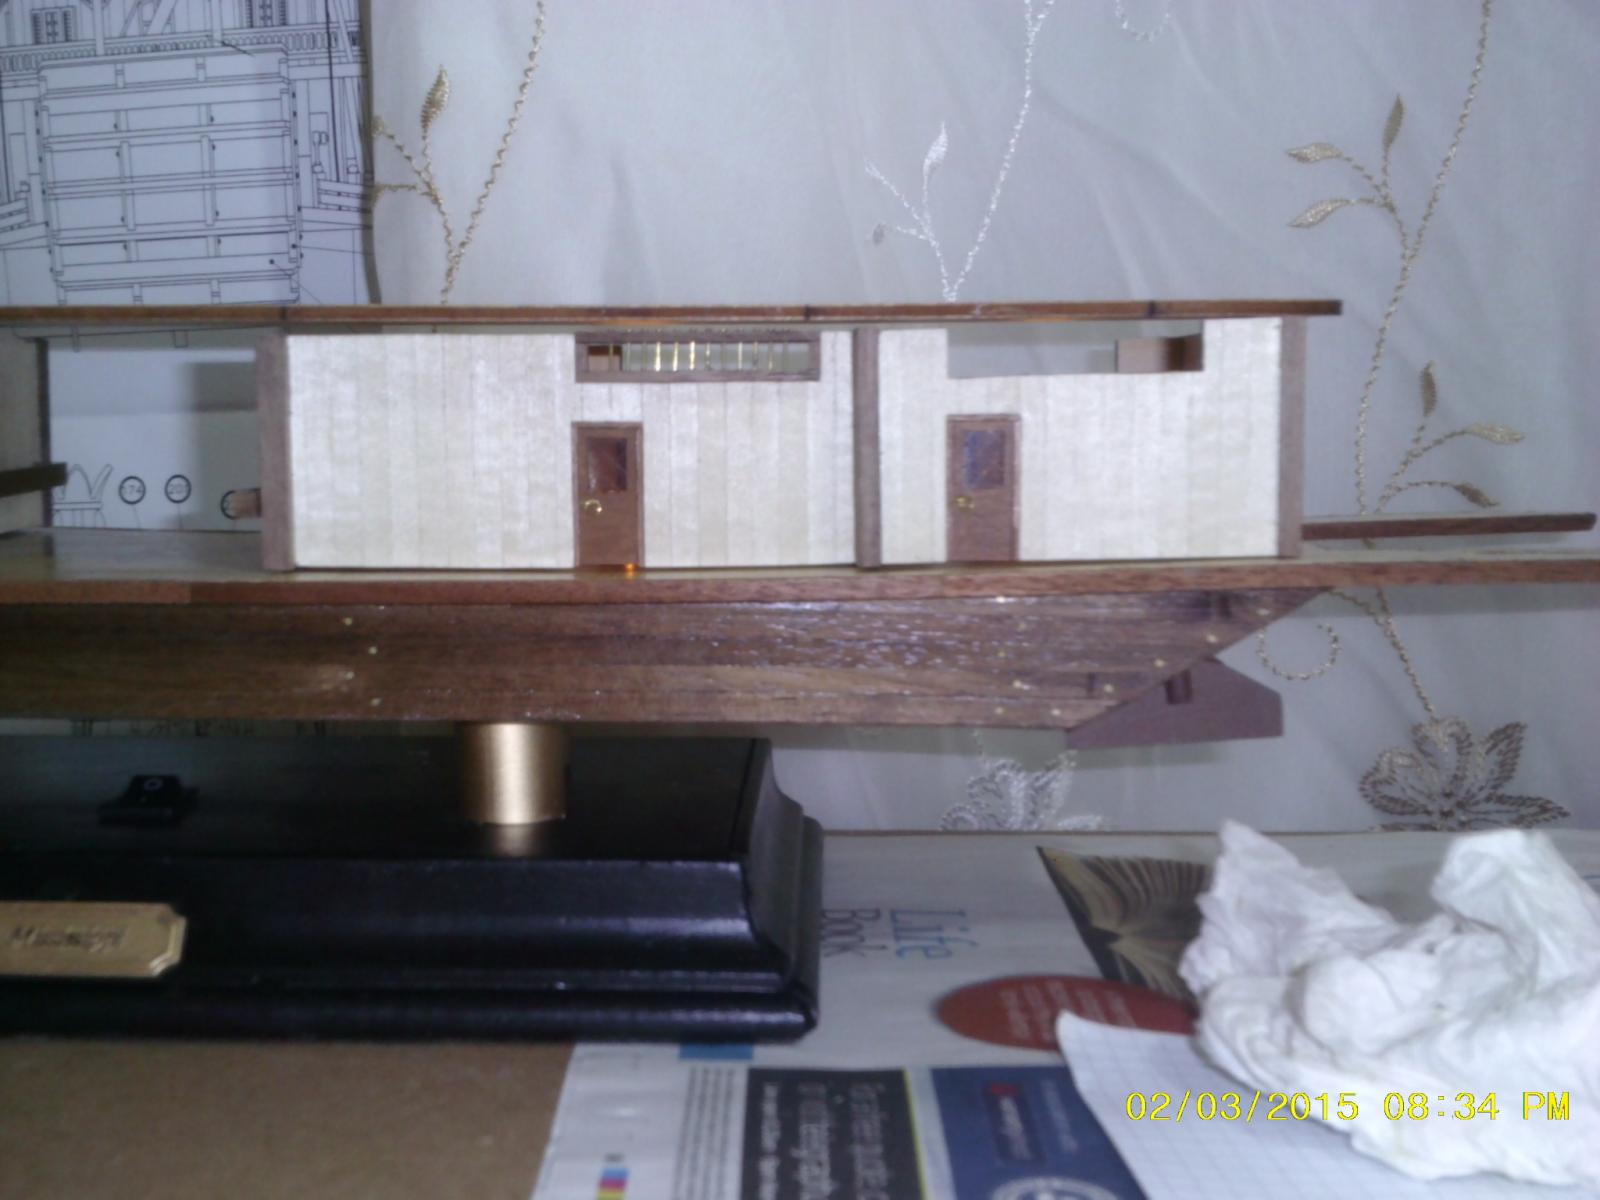
 Slowly progressing with the new windows for the second deck staterooms. Meanwhile, I hope I can remember where all these wires go once the deck is glued on ... Paddle wheel painting also in progress ...
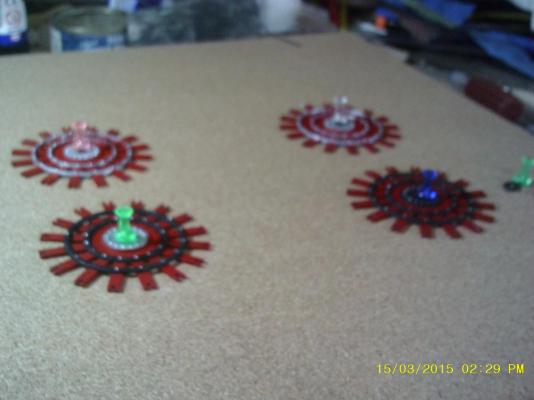
- 65 replies
-
- 2
-

-
- artesania latina
- king of the mississippi
- (and 1 more)
-
Yes, I just moved the 3rd deck openings back a bit.
-
You're welcome. You might want to check the smoke stack holes - the precut holes in my kit pieces were out of alignment between the second and third decks. Philip
-
Looking good Keith . I never realised how much I disliked pre-cut plywood parts until I bought this kit. Even though my Victory will end up painted, I shall be replacing everything I can with "proper" wood. Cheers, Philip
-
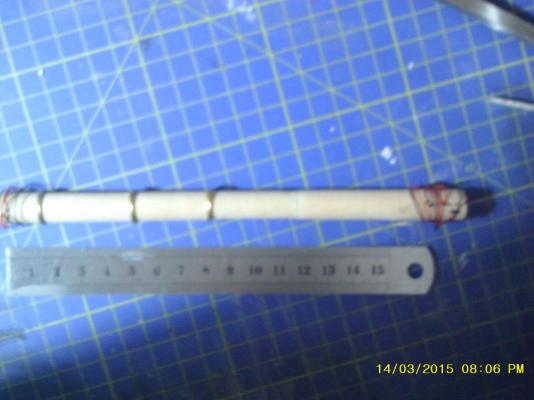
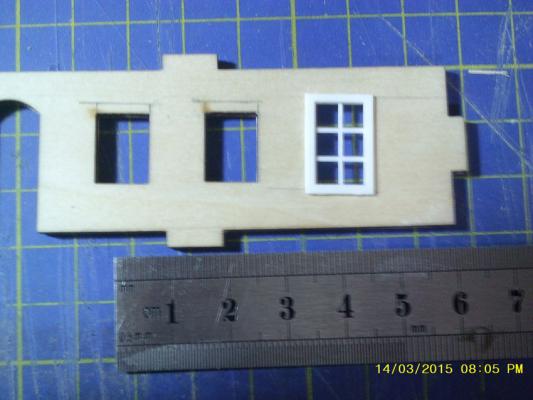
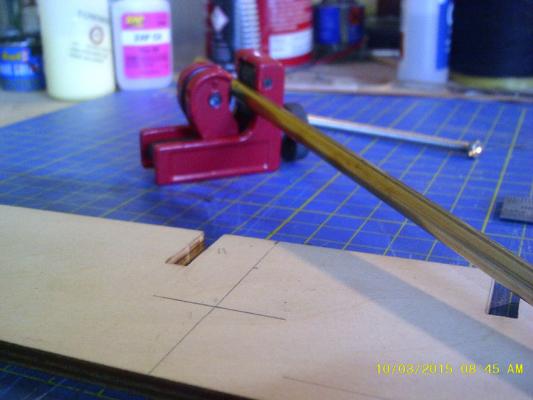
While waiting for the windows I jumped forward a bit to get the wire for the navigation lamps up through the smoke stacks. As I couldn't find an 187mm long drill anywhere I cut each one into three sections and then drilled from each end on the drill press. Once the wires were through, I glued the stacks back together with contact adhesive. Oh, and to get the rings on a fair bit of sanding is required-either the dowel is too big or the rings are too small. Poor design in my view. The windows arrived and they are still too big so the state room pre-cut holes need some enlargement - 2mm off the top and bottom and about half a mm off each side. It will take a while to do but on the bright side, the supplied shutters will now be too small, which is great news because they're horribly ugly and I never wanted to use them in the first place. Pictures on the Internet show that there were plenty of real steamboats without shutters, so there's my justification for dumping them.

- 65 replies
-
- 1
-
-
- artesania latina
- king of the mississippi
- (and 1 more)
-
They use poplar for ice-lolly sticks for the very reason that it doesn't splinter and damage the consumer's mouth (which makes it great for detailed modelling work). No doubt there will soon be a Health & Safety warning on lolly sticks warning people not to eat them.
-
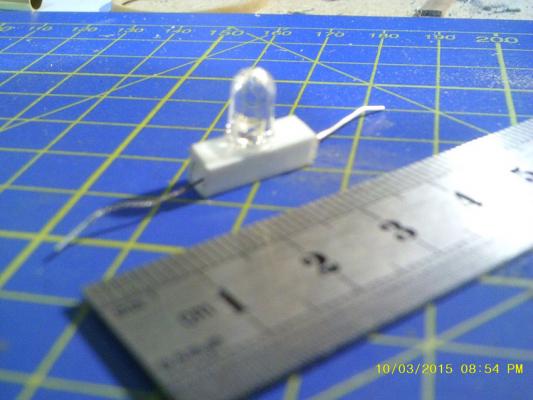
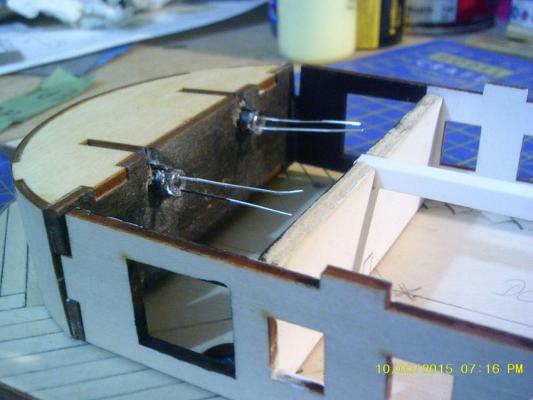
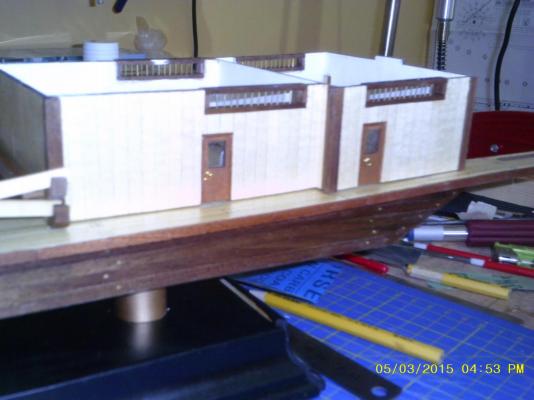
Stable light now complete and inserted in the false roof support running between the engine and boiler rooms. Now have to wait for the replacement windows for the 2nd deck staterooms to arrive - the first lot were 10mm too high! A mistake on the web site listing apparently.
- 65 replies
-
- 2
-
-
- artesania latina
- king of the mississippi
- (and 1 more)
-
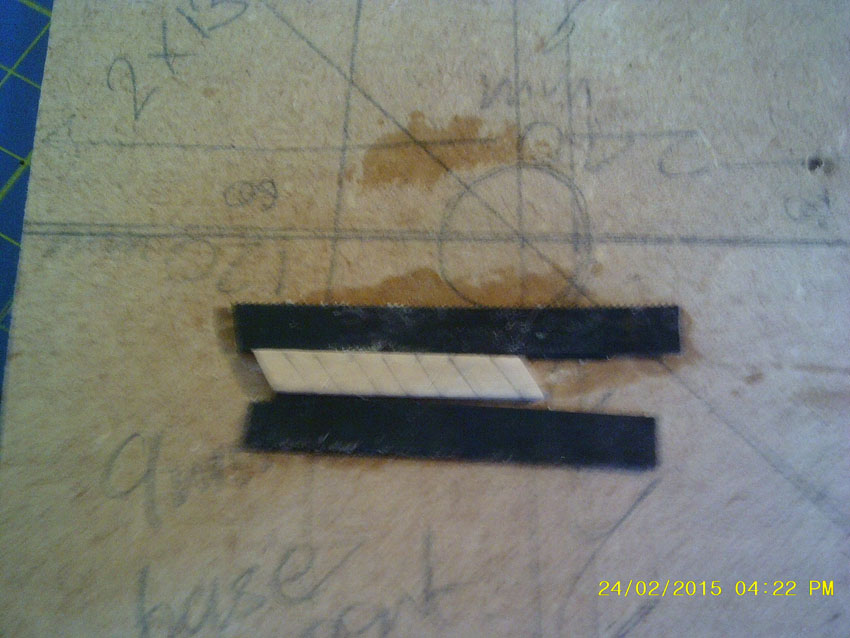
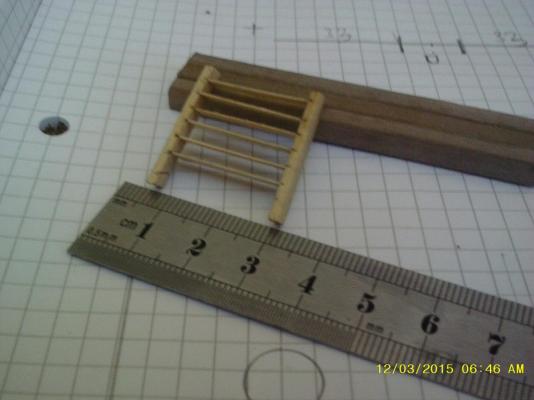
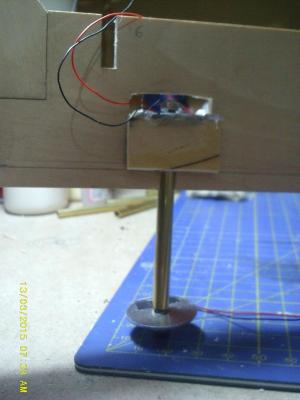
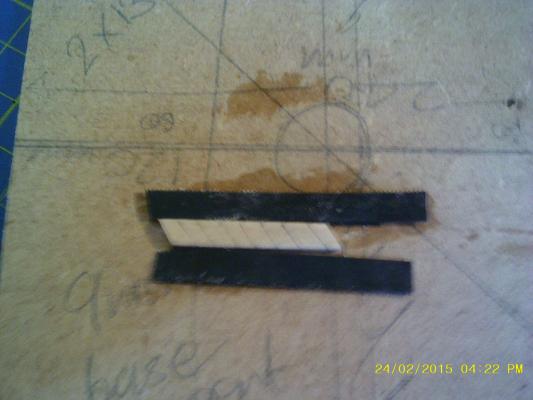
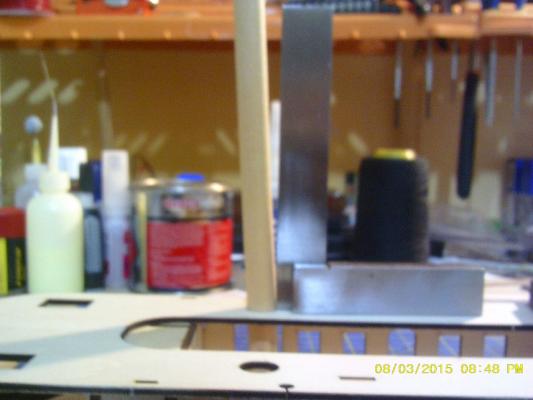
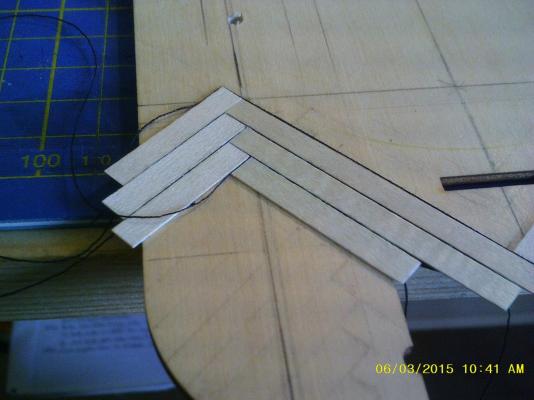
Managed to get two wires through a single support pillar into the keel rather than splitting them between two pillars as originally planned. . The bolts will be trapped using hot glue and will hopefully remain in place until the hull is planked and the pillars are reinserted. Also made the first set of stairs for the middle deck. The jig to cut the stringers is made from two bits of a snapped junior hacksaw blade, which then limits the cut in the 2 mm stringer to 1 mm. The stringer itself is made out of a lolly stick (which is poplar and cuts well) obtained on ebay at 99p for 50- a cheap source of nice wood. Now that I have a mini mill set up it will be a lot easier to make the second flight of stairs.
-
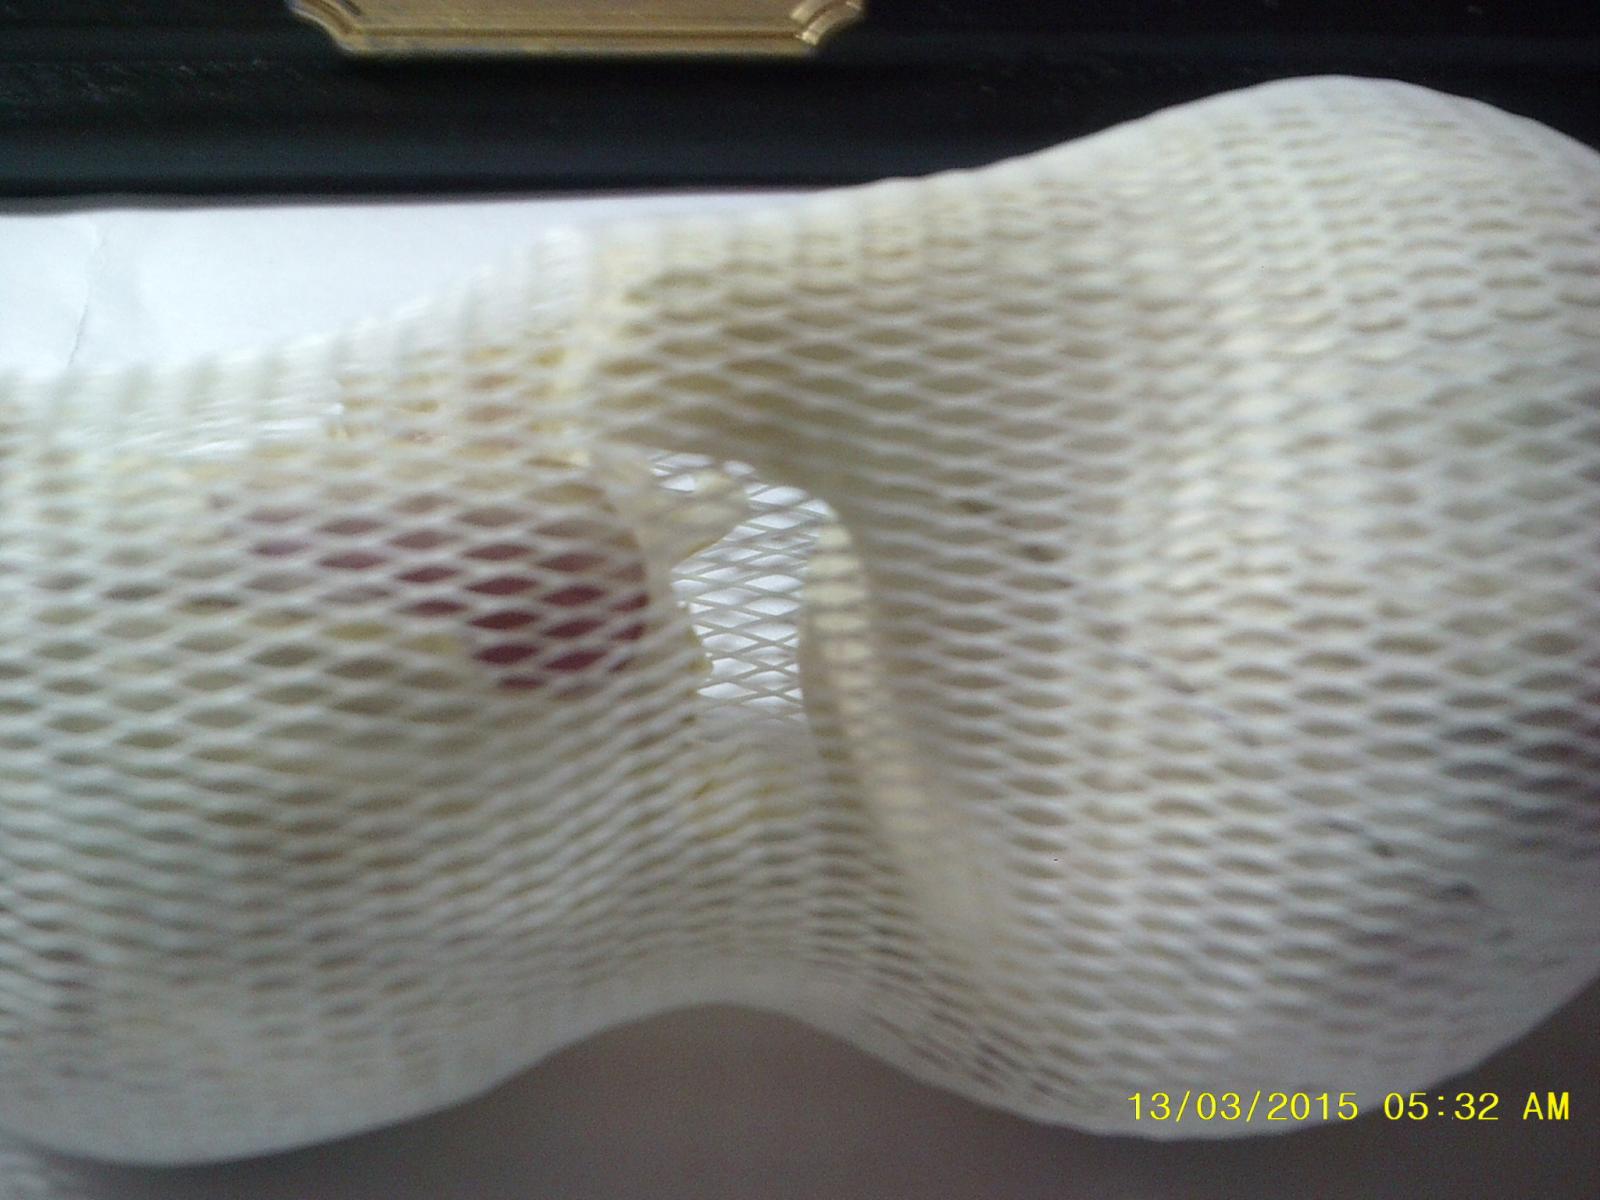
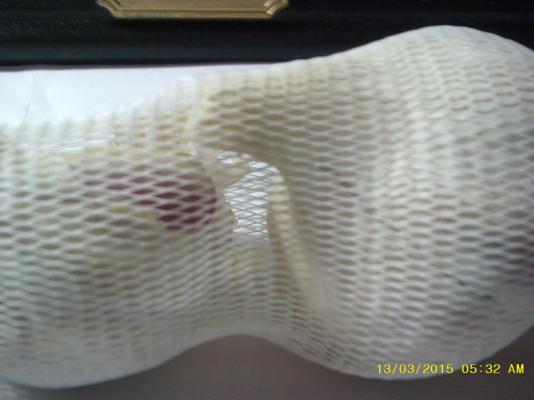
Vegetable netting The stuff used to wrap garlic in supermarkets is a stretchy plastic net with 3mm hexagonal holes. Useful for hammock crane netting on period ships or can be painted black and glued to acetate sheet to form window panes. Cheaper than buying tulle as long as you like the taste of garlic (or are paranoid about vampires).
- 396 replies
-
- 9
-
-
- Idea
- Bright Idea
- (and 1 more)
-
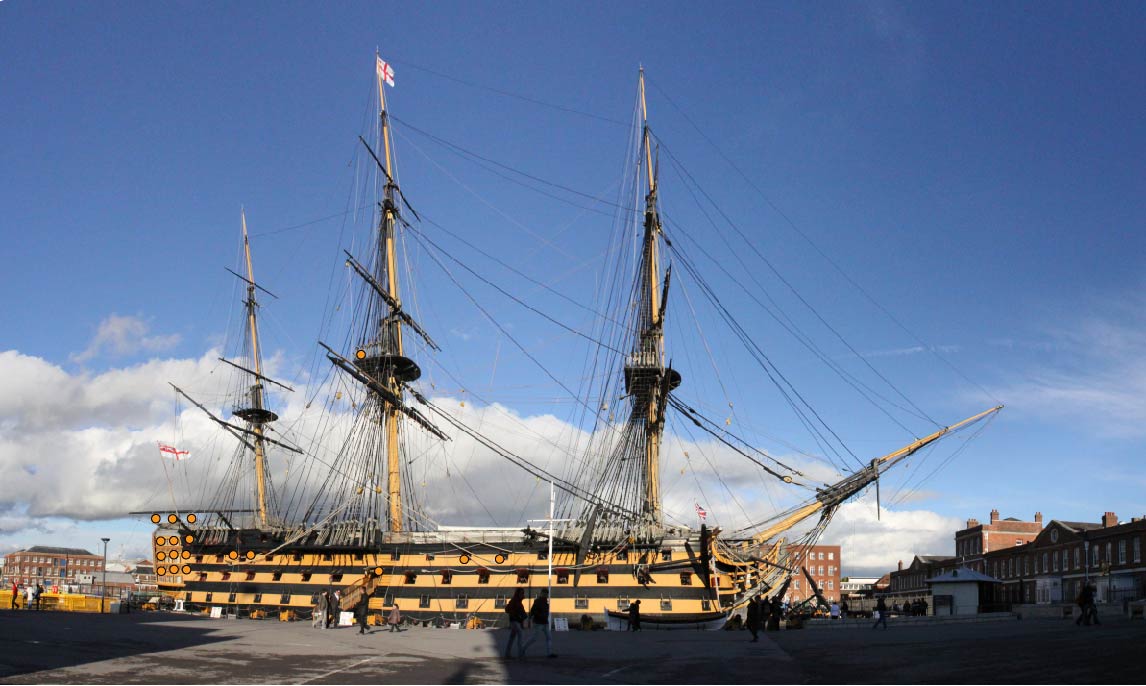
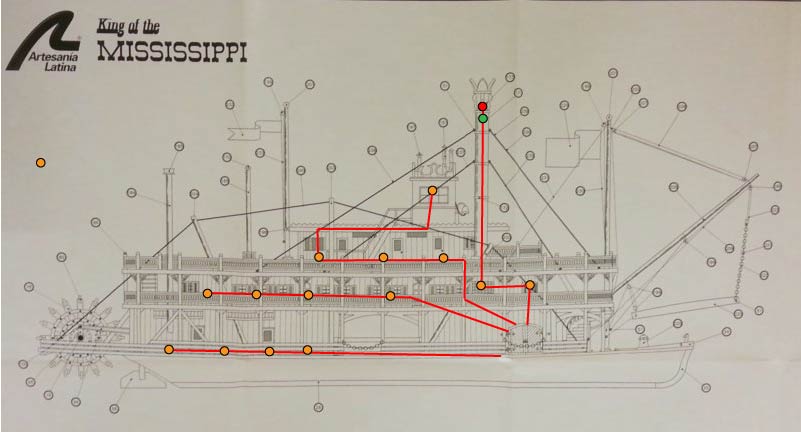
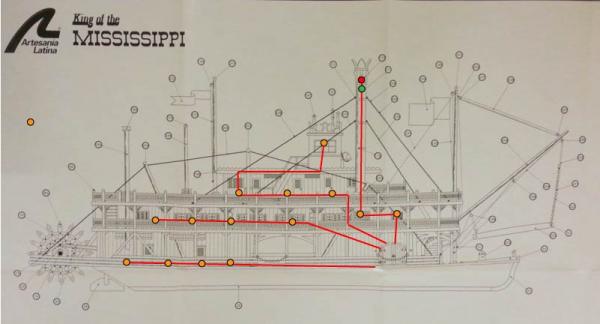
I meant to include this in my last post. It is a schematic showing where I intend to put the Victory's LEDs. In summary: Stern lanterns: 3 Rear galleries: 3 per deck Mast lantern: 1 Entry port: 1 Upper deck: 2 Binnacle and environs: 2 TOTAL: 18 If anyone can spot any glaring omissions then please shout!

-
Thanks Keith. Much as I'd like to fire up the lighting, alas only the first deck boiler room is fully commissioned on the LED front (there is a pic further up the page). The way the circuit is designed means that each subset of four LEDs has to be complete to operate and they're scattered around the place (e.g. the front 2nd deck bulkheads are on the same circuit as the navigation lights). That means that until I get a fair bit further this will have to remain a "dark" build.
- 65 replies
-
- 1
-
-
- artesania latina
- king of the mississippi
- (and 1 more)
-
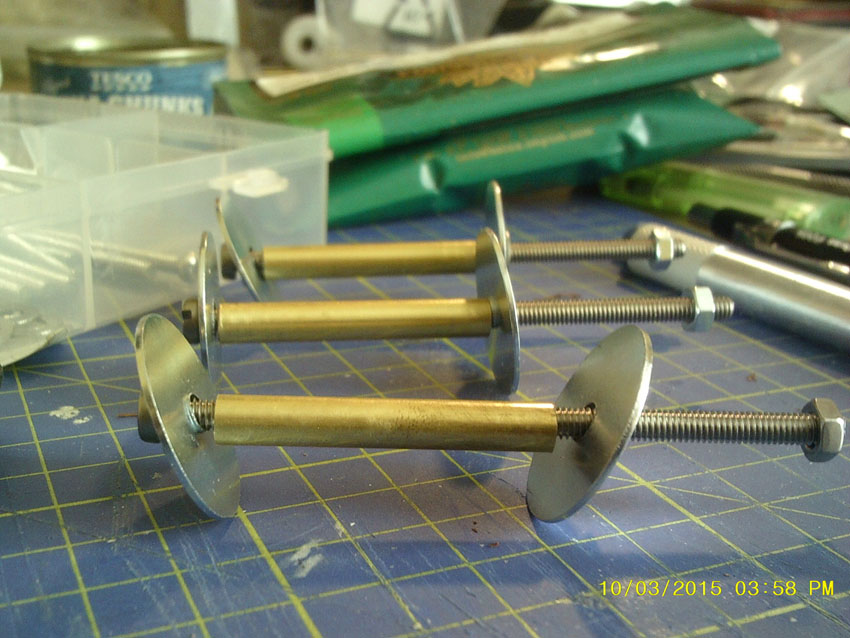
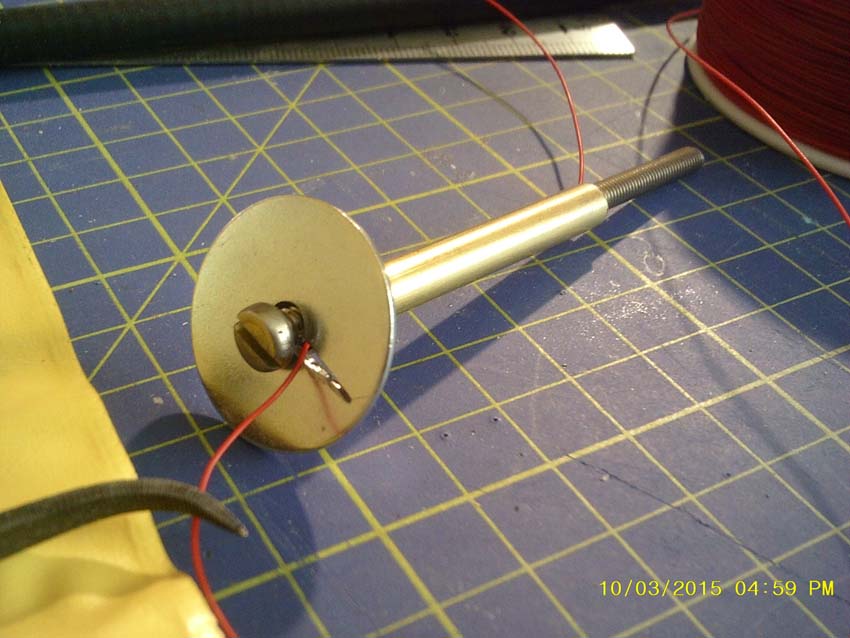
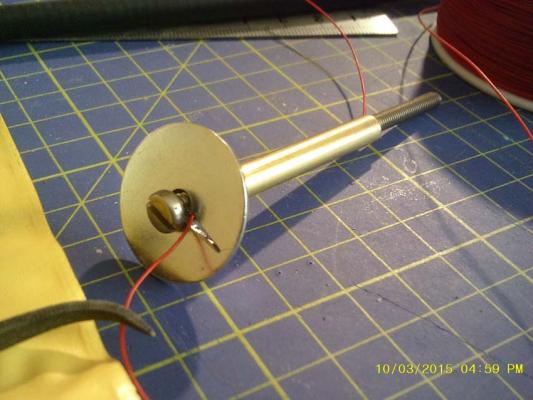
Finally got the 80 mm bolts I need to build the keel supports. 6mm brass tubing cut to size ... ... before adding the bolts and washers Two of the supports carry positive and negative power leads. These pass up the 6mm tube, which by using AWG 30 hook up wire gives sufficient clearance for the 80 mm M4 bolt. The washers have a groove cut in them to keep the wire clear of the bolt head and nut. Tomorrow (hopefully) I will install these throughthe keel.

-
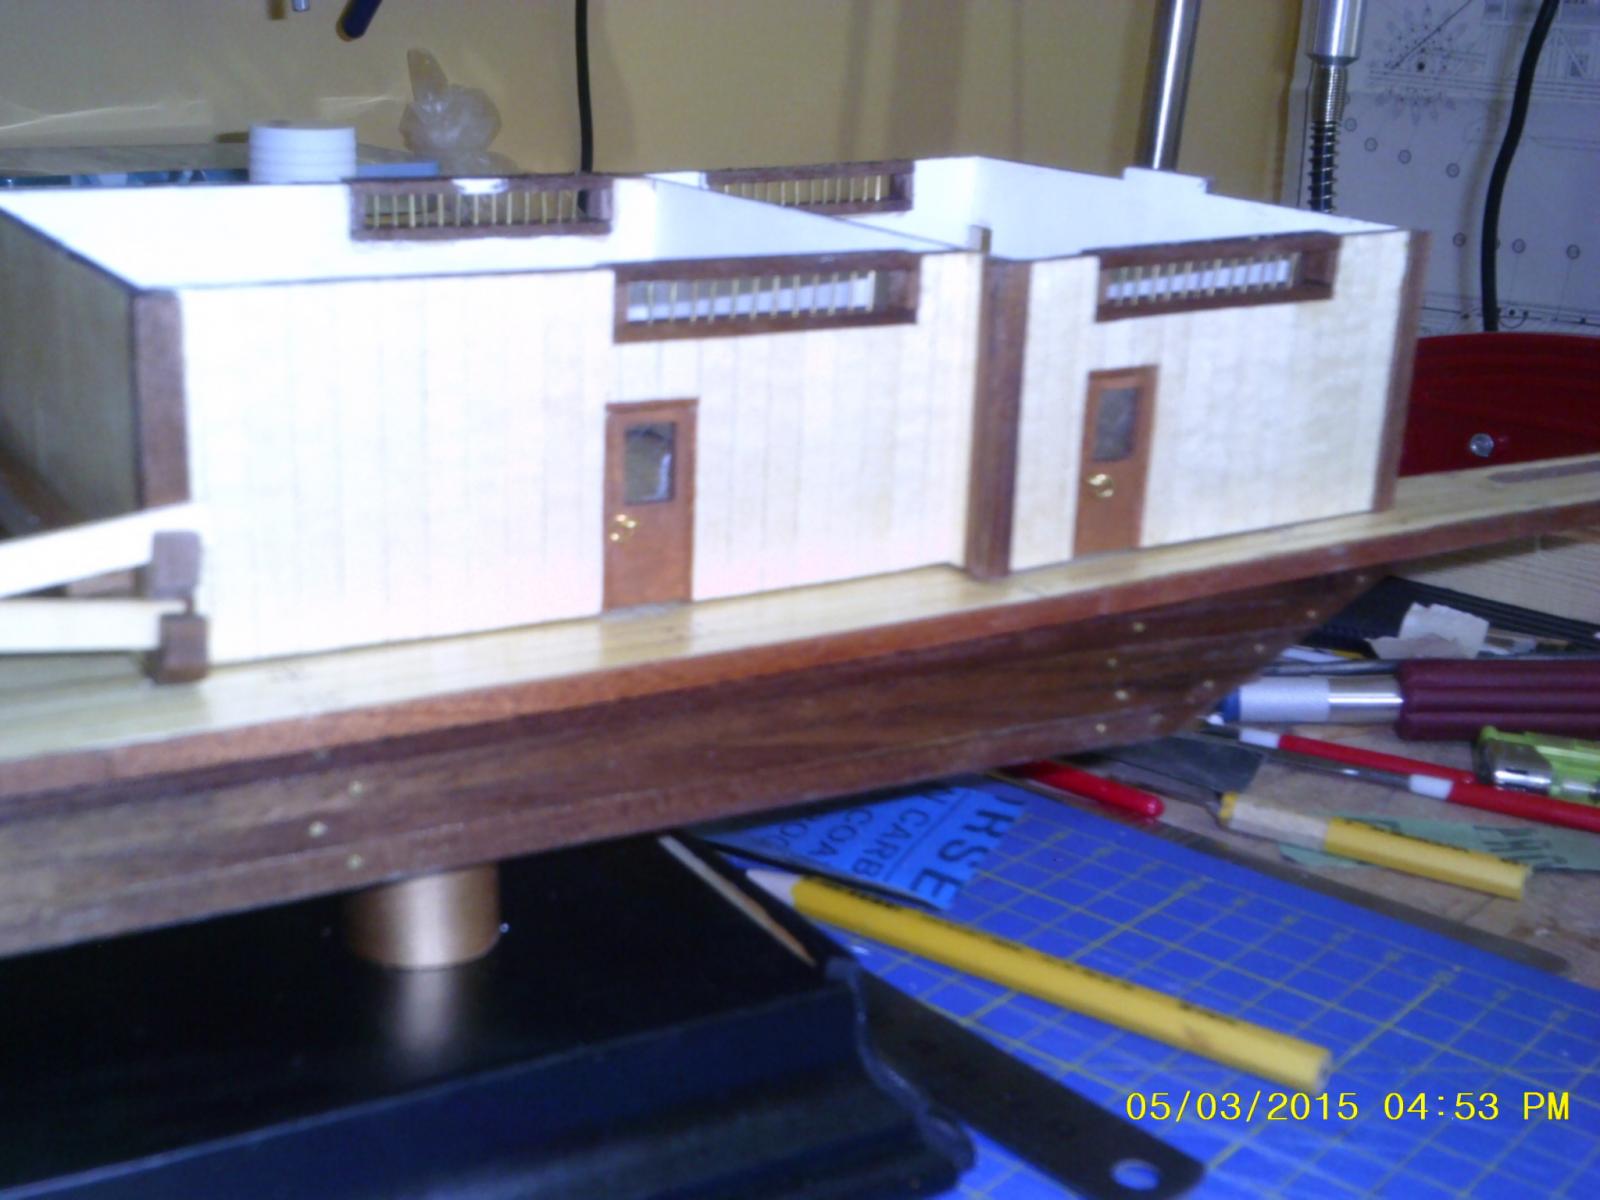
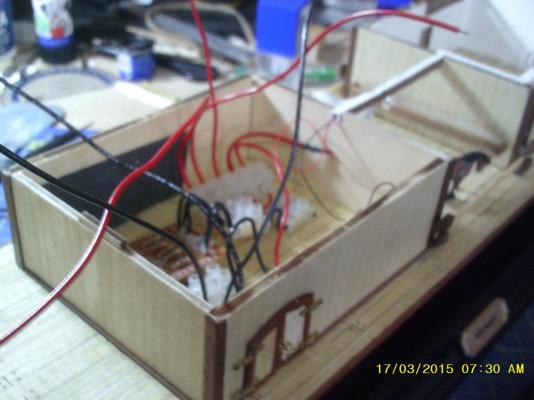
State room bulkhead LEDs installed. I added an extra wall to mask the main wiring junction on this deck. The trunking down the centre will carry the LEDs for this deck. This is my creation for use in ceiling lights with LEDs mounted on 5 x 5 mm styrene trunking. Sections can then be "welded" together after soldering using polystyrene cement to hide the wires. Paddlewheel supports also cut and installed.
- 65 replies
-
- 4
-
-
- artesania latina
- king of the mississippi
- (and 1 more)
-
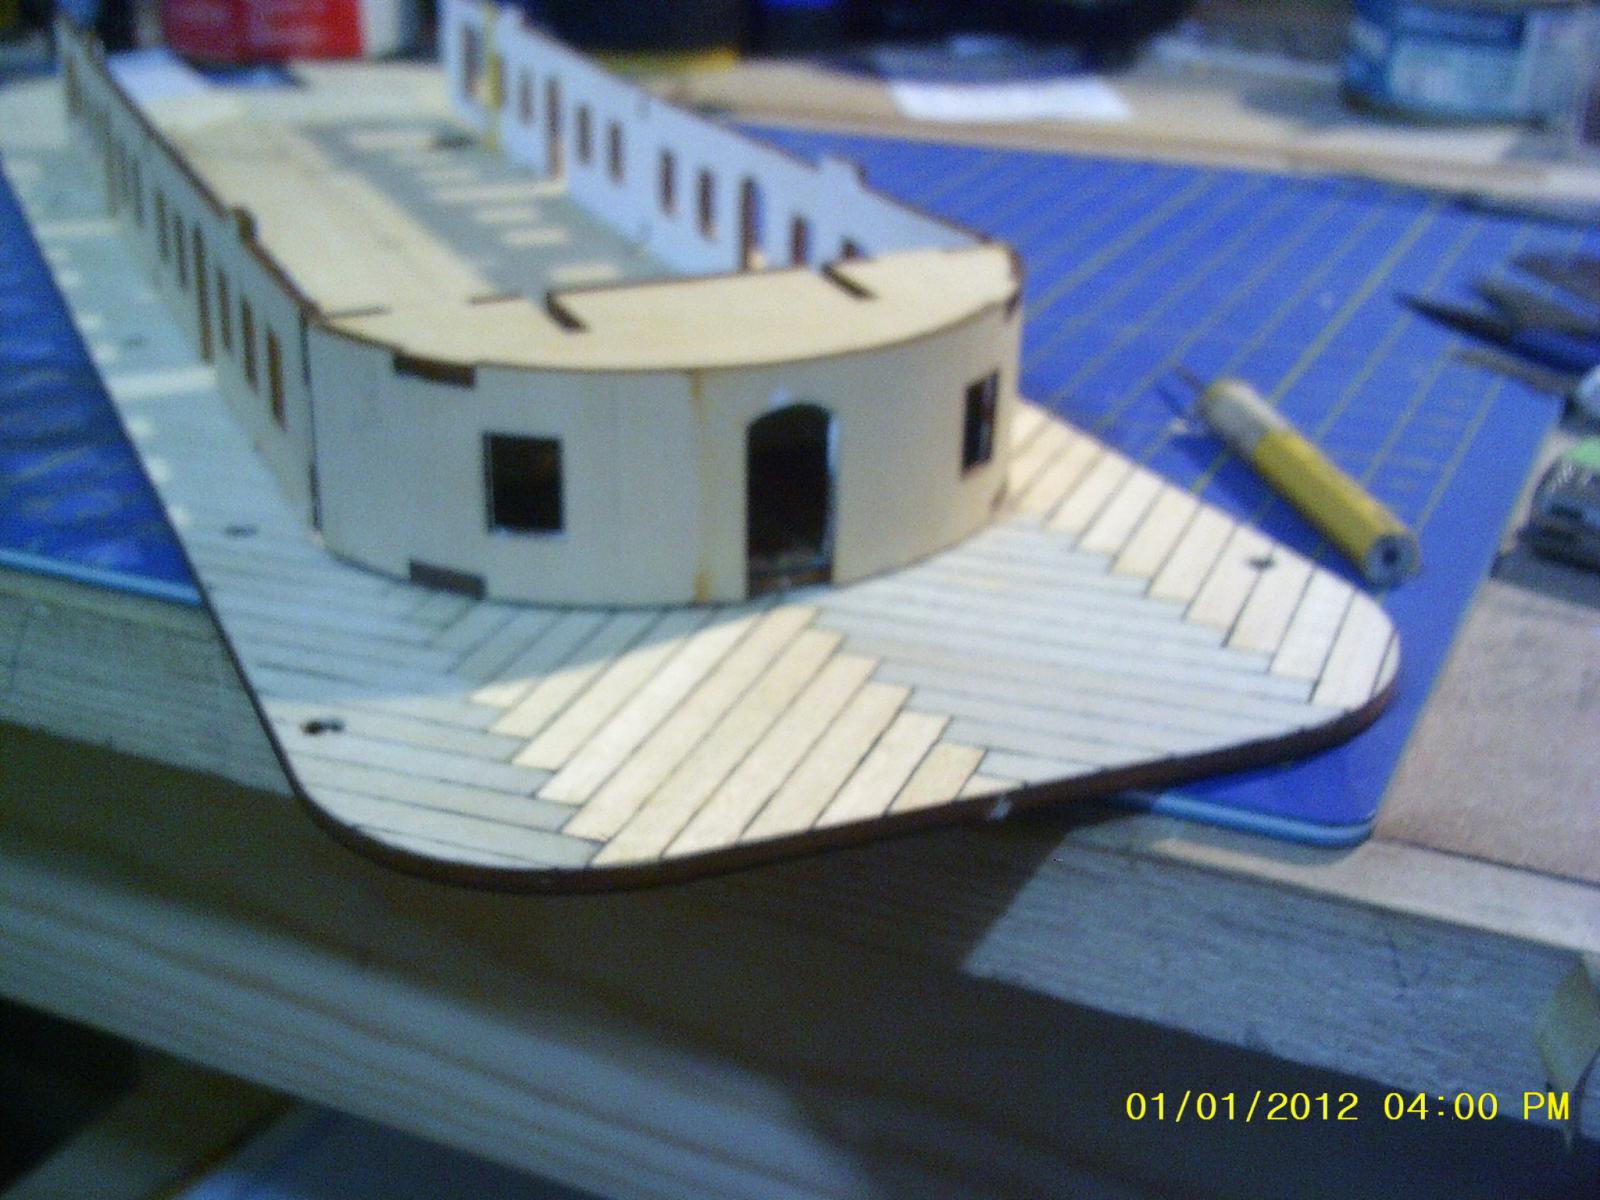
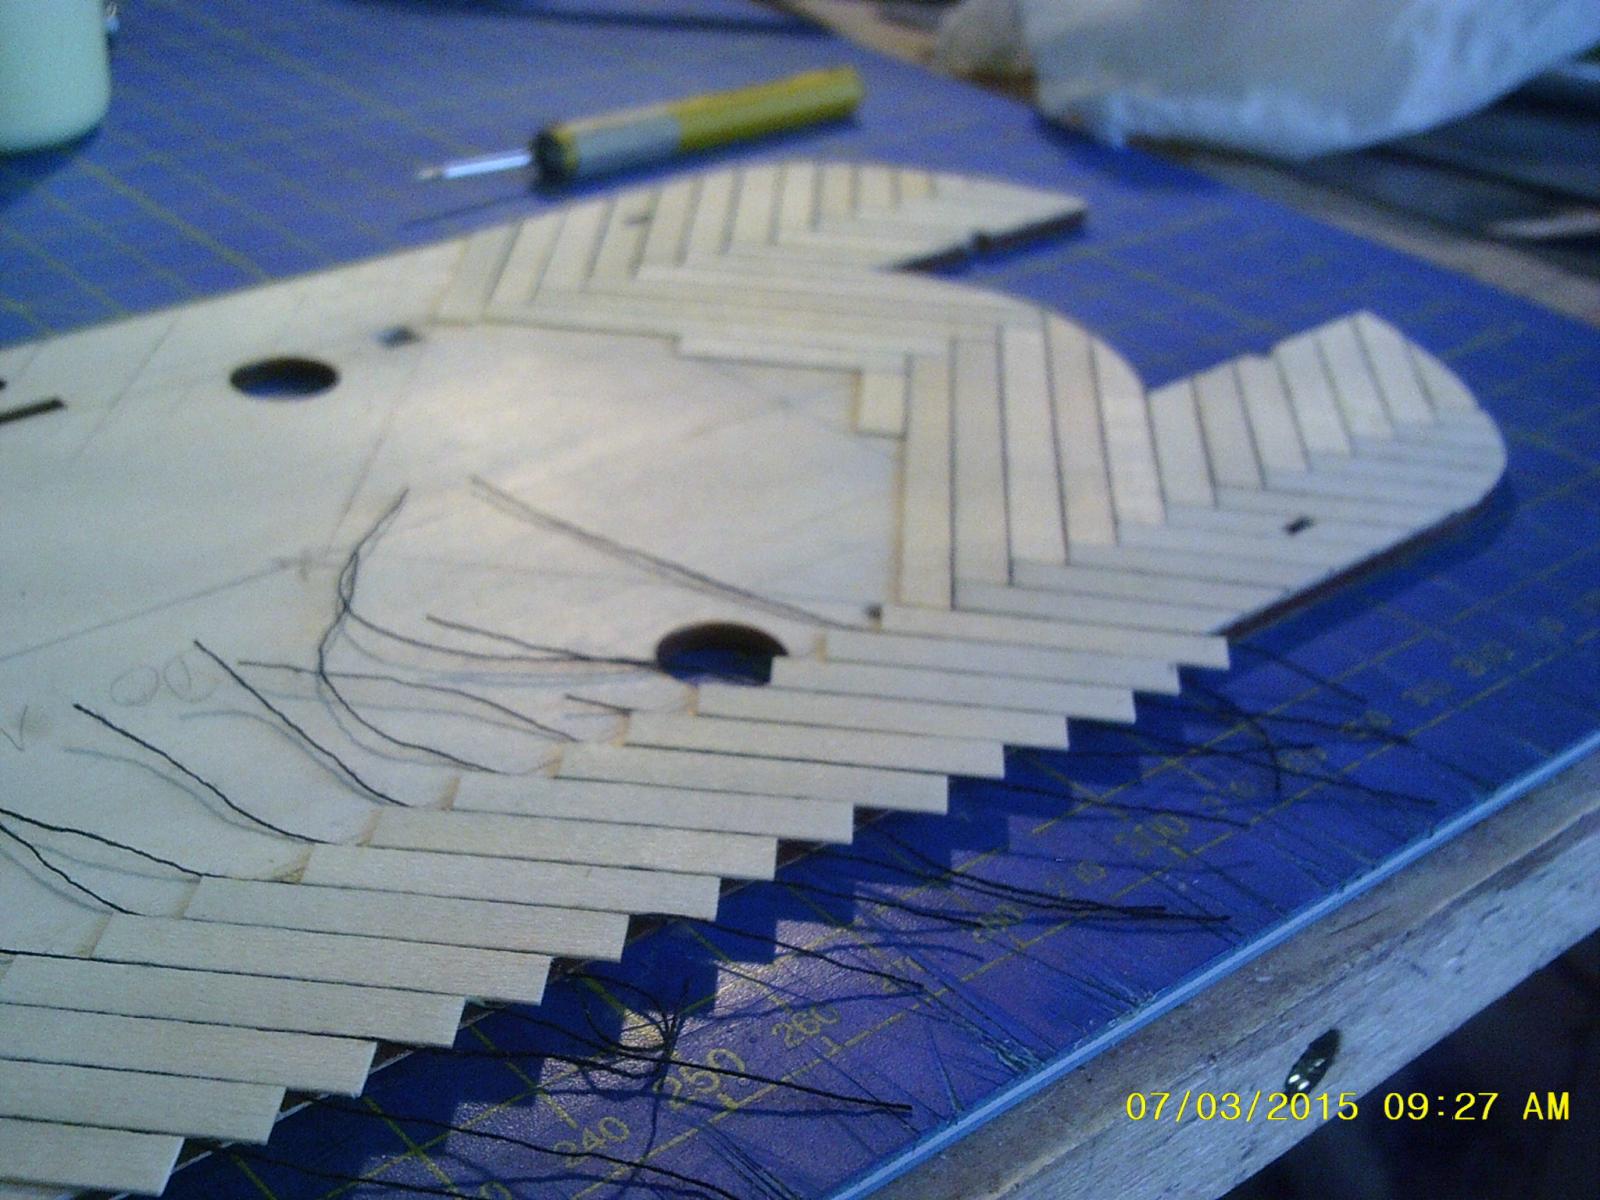
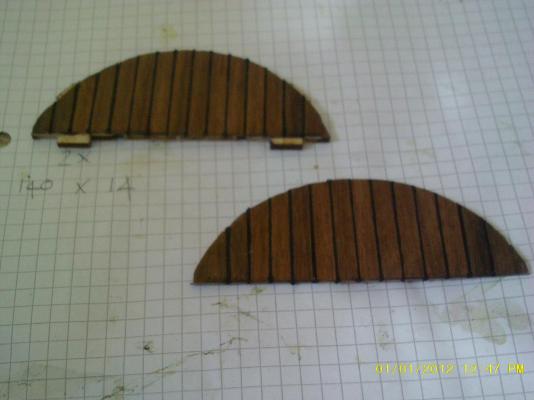
I planked the semicircular ends of the staterooms in 1 mm walnut, partly because I had some nylon shoe mending thread, which has a rectangular profile and is 1mm "deep" the same as the planks. Looks OK I think and will be hard to see. The .25 mm thread used on the second deck also works well - no trenails for this one as I am adhering rigidly to the instructions. I think there is an optical illusion created by the high contrast black lines as it makes the planks look different colours according to their orientation ... weird!
- 65 replies
-
- 2
-
-
- artesania latina
- king of the mississippi
- (and 1 more)
-
Hi Boyd, Welcome! The lighting is based on a really simple circuit which needs only a 9v battery, LEDs in your choice of colours and one 100 ohm resistor per four LEDs wired in parallel. As far as the Victory is concened, the challenge there is going to be how to hide the wiring (particularly to the lantern on the main mast) but I have a few ideas up my sleeve.
-
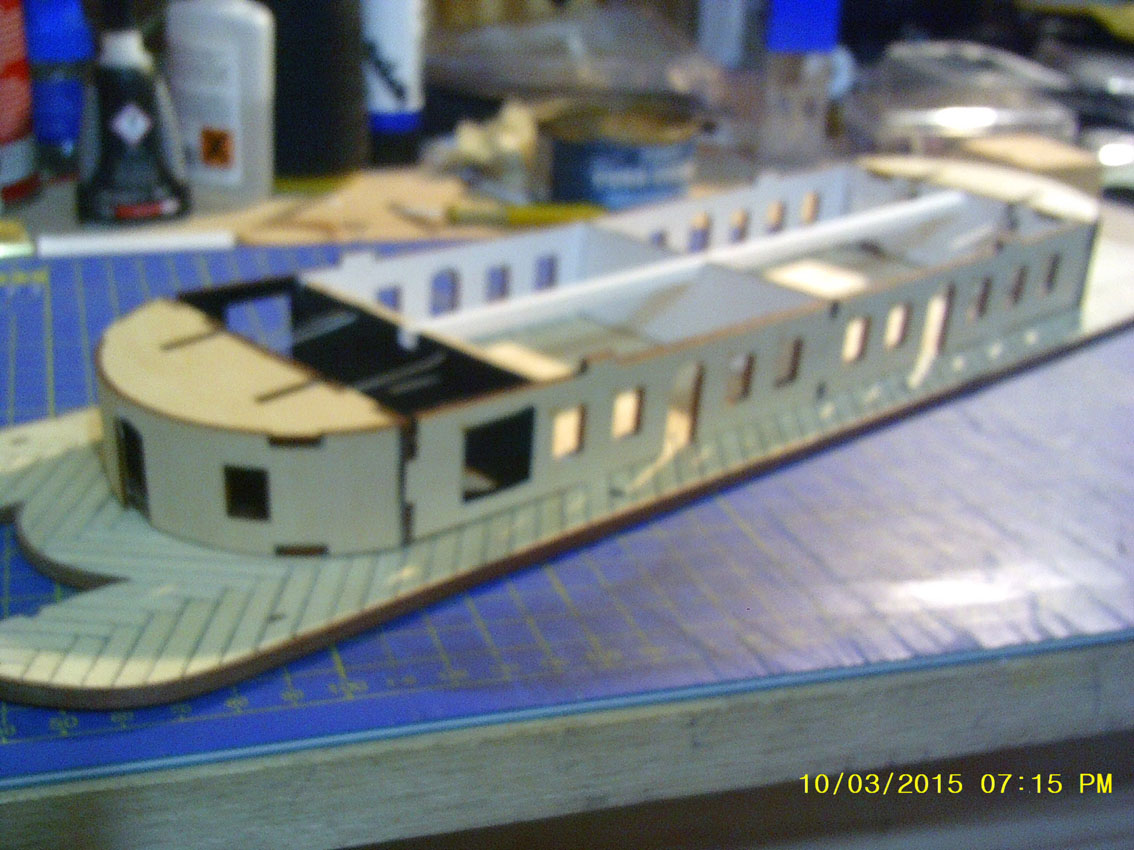
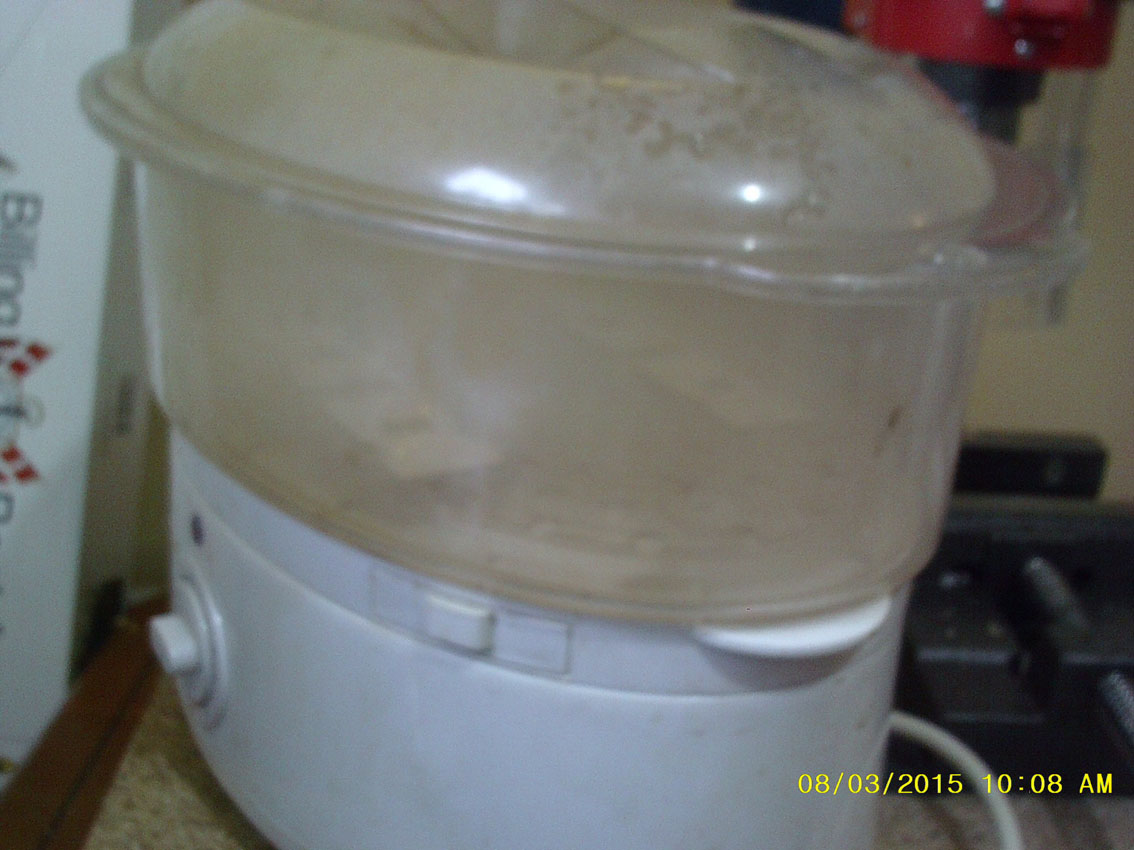
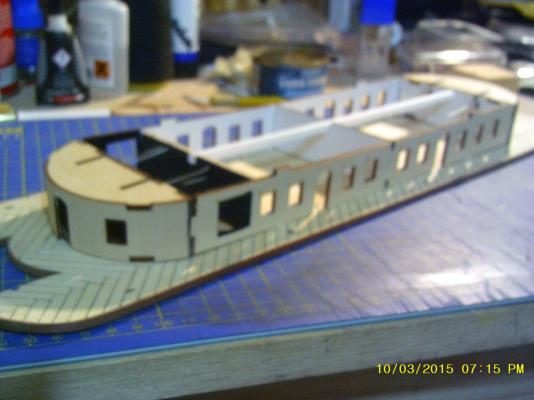
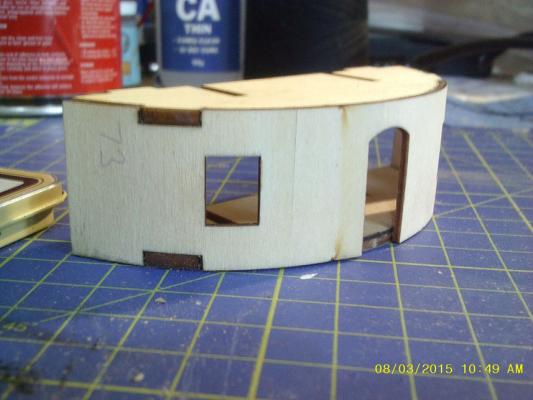
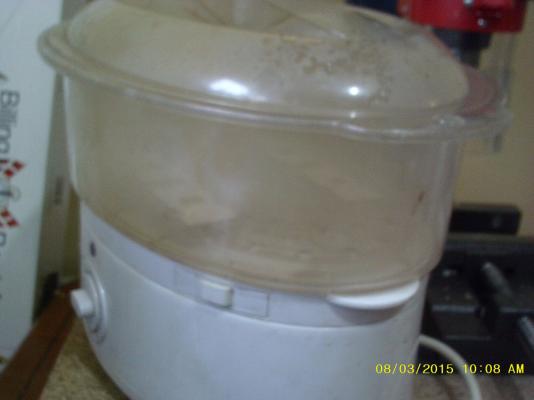
While waiting for the glue to dry on the second deck planking I moved on to making the curved front and back sections of the second deck. To bend the plywood I used a vegetable steamer (replaced with a new one in the kitchen so that my carrots don't taste of plywood). Works well but 3-4 minutes is enough to avoid delaminating the plywood - which is incredibly flimsy anyway being only 2 mm thick. I didn't use the internal bulkeads (part no 71) as they would interfere with the lighting. They're not really necessary anyway but make the gluing easier I suppose. Also found out that there is a problem with the alignment of the smoke stacks - either poor design or bad laser cutting on Al's part. 'Twill have to be fixed ... And finally the 1st deck LEDs in action ...


- 65 replies
-
- 3
-
-
- artesania latina
- king of the mississippi
- (and 1 more)
-
Hi resolution is always nice - then we can see your handiwork at close quarters. I drop my pics down to 40 cm wide at 72 dpi using Photoshop, which makes them about 150 - 250 k. Cheers, Philip
-
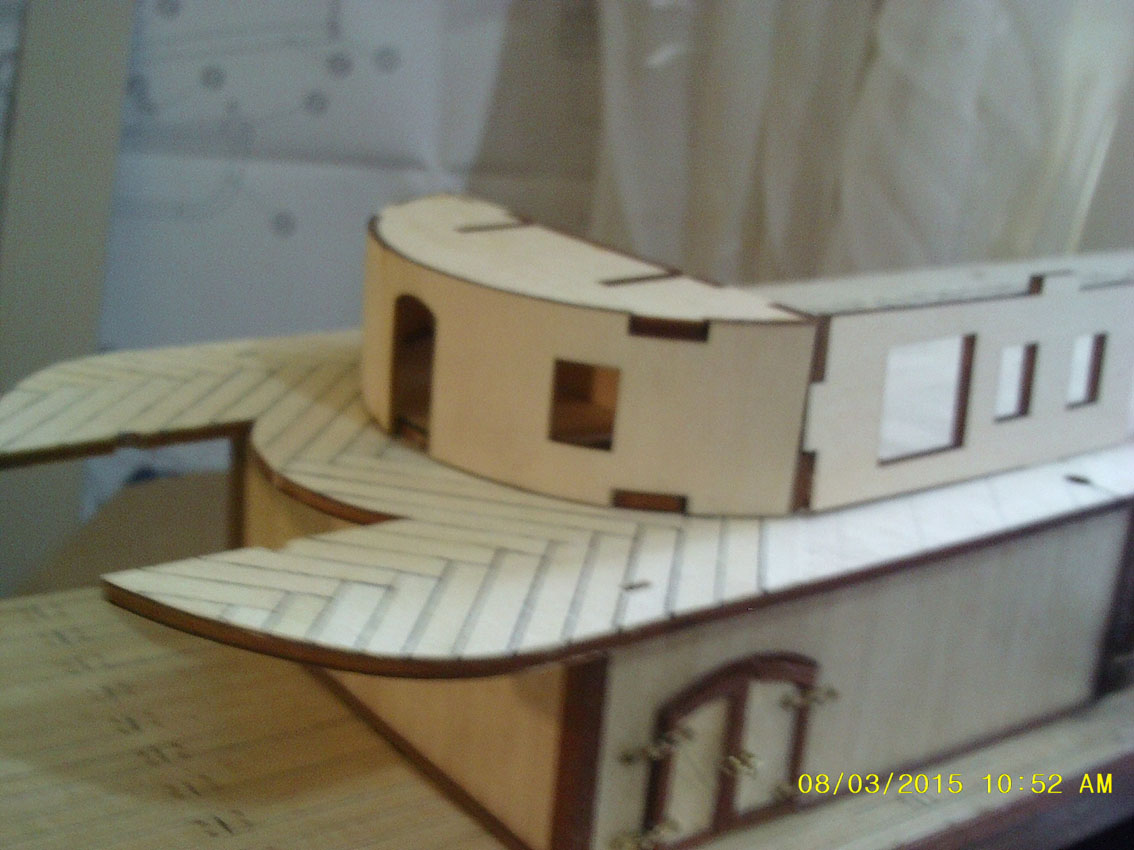
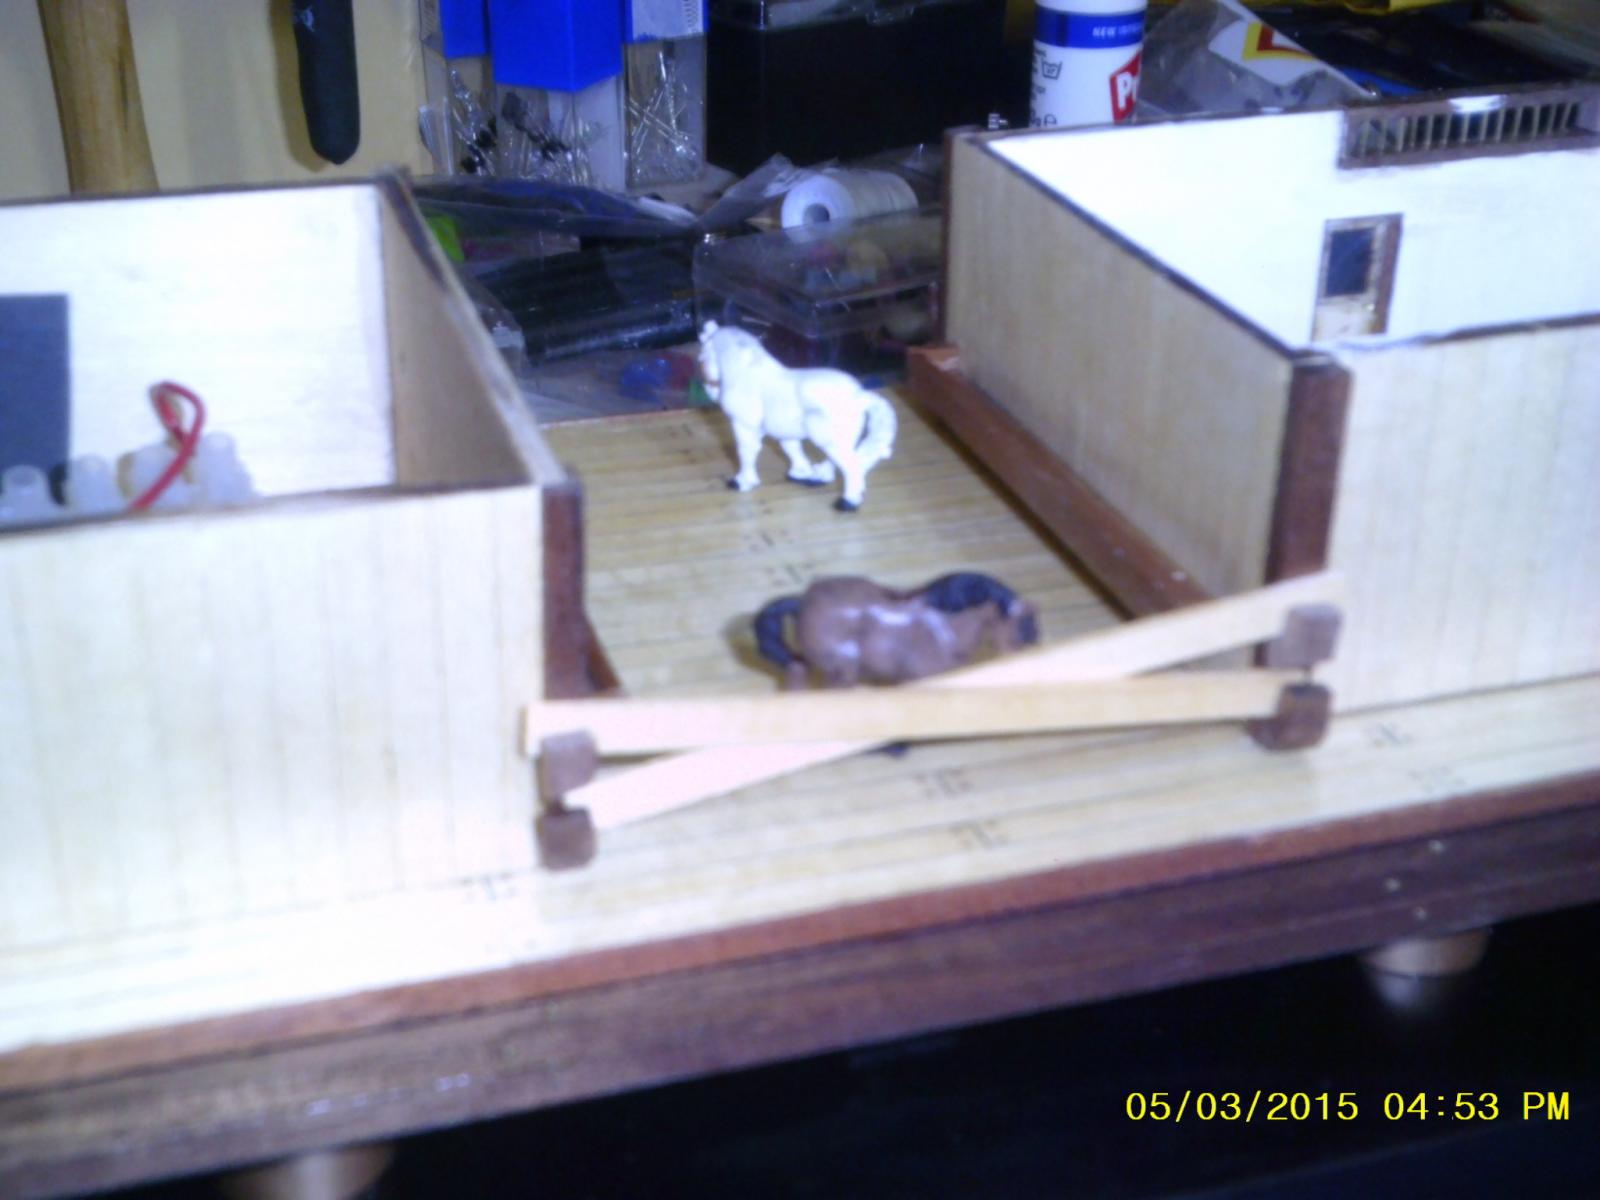
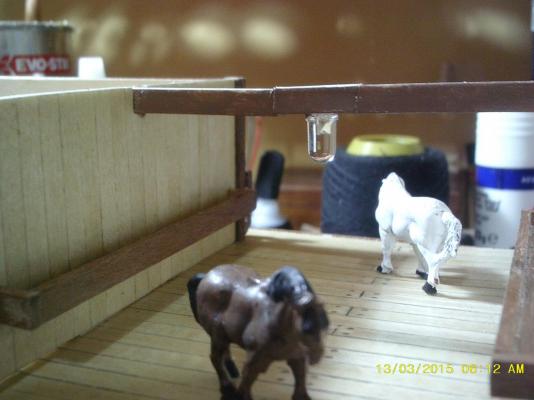
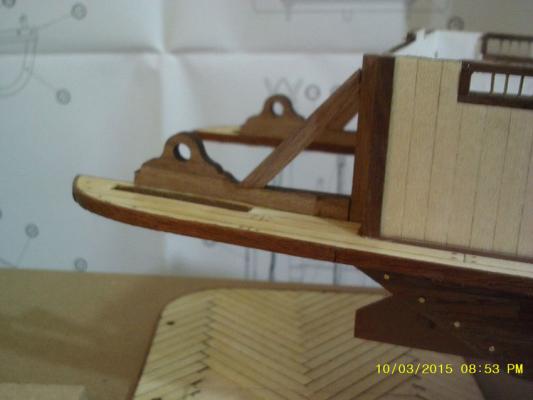
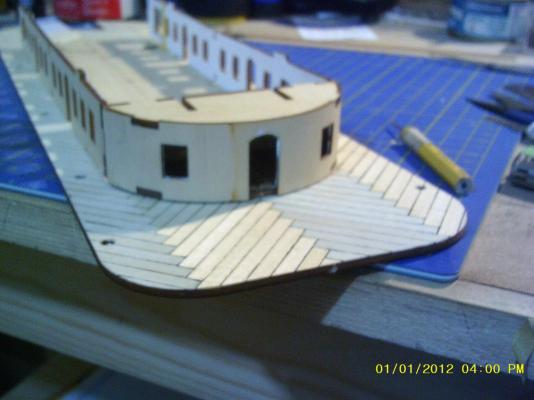
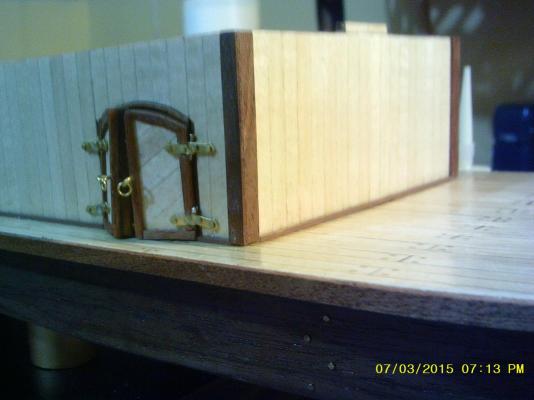
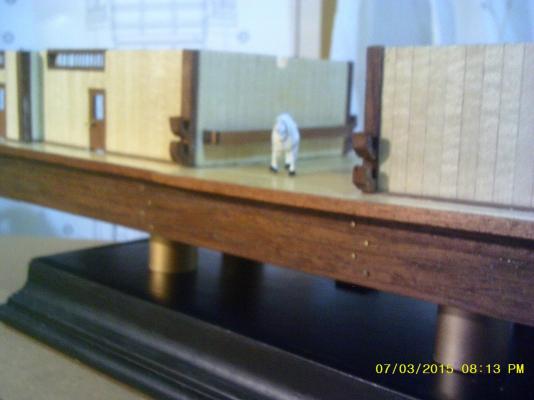
I added some strips of 1x1 mm painted styrene round the bottom of the first deck buildings. I think it looks neater and defines the deck connection better. I suspect that in real life, steam boat builders would have used such a trim - with the deck probably wet most of the time the ends of bare planks would soon succumb to rot. The horse also seems to approve, although it's hard to tell from his expression .
- 65 replies
-
- 2
-
-
- artesania latina
- king of the mississippi
- (and 1 more)
-
Using black nylon darning thread as caulking on the second deck is time consuming to say the least but I'm pleased with the results so far. I never liked the "pencil on one edge" method-it lacks definition and consistency as well as being a pain to shift the graphite if it gets into the grain on a plank face. Before sanding the deck I intend to paint over the thread with clear matt varnish to fix it firmly in position and to prevent it fraying on contact with emery paper. Based on current results, this will be my default method of caulking in future. I also tried using black cartridge paper glued to one edge of each plank but the results weren't as good as with the thread.

- 65 replies
-
- 6
-
-
- artesania latina
- king of the mississippi
- (and 1 more)
-
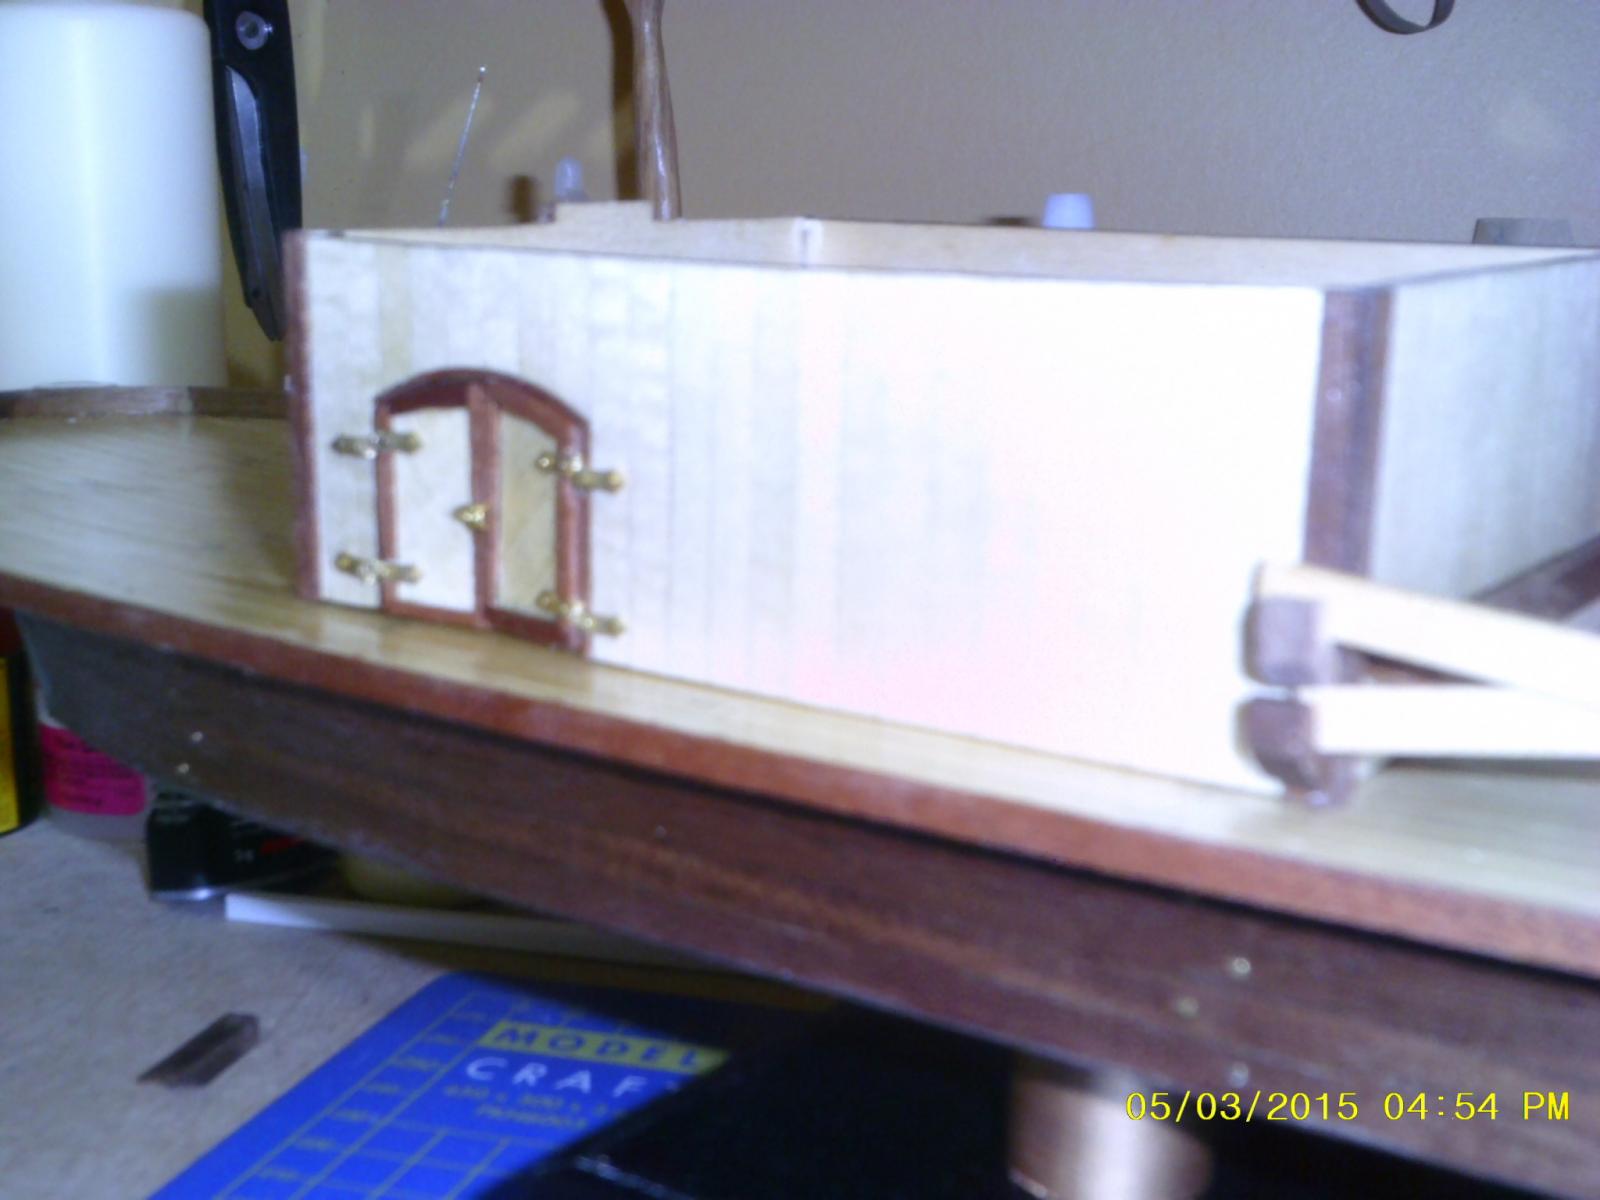
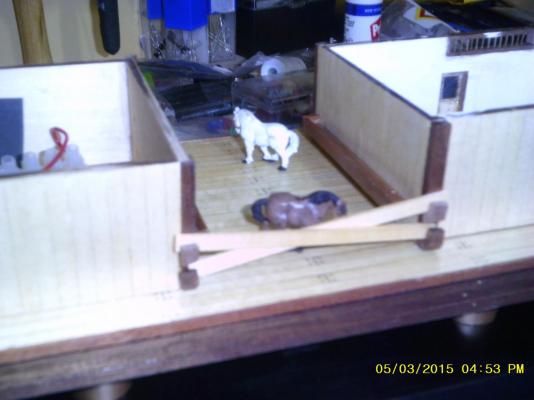
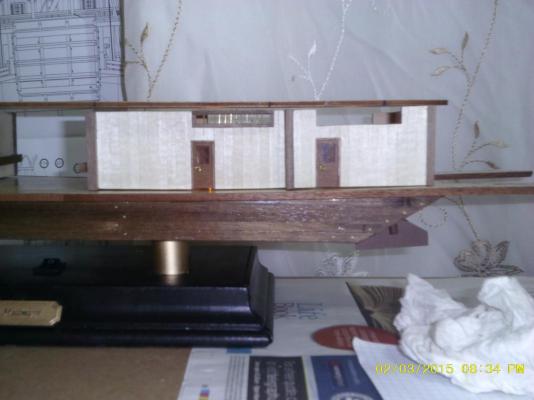
With the equine passengers on board (their feet are drilled and pinned to the deck to hold them in position) the first deck is finished apart from gluing it in position. Before I do that I need to install some trunking for the wiring, which will be easier to do before gluing and will keep things neat and out of sight. With the boiler room (double doors), I found it was easier to preassemble the hinges before attaching them to the doors/frames. A tiny drop of silver solder on the end of the hinge pins will stop them falling out when the model is turned upside down as it inevitably will be at some point. I've also uploaded a schematic that shows where the LEDs are/will be positioned.

- 65 replies
-
- 3
-
-
- artesania latina
- king of the mississippi
- (and 1 more)
-
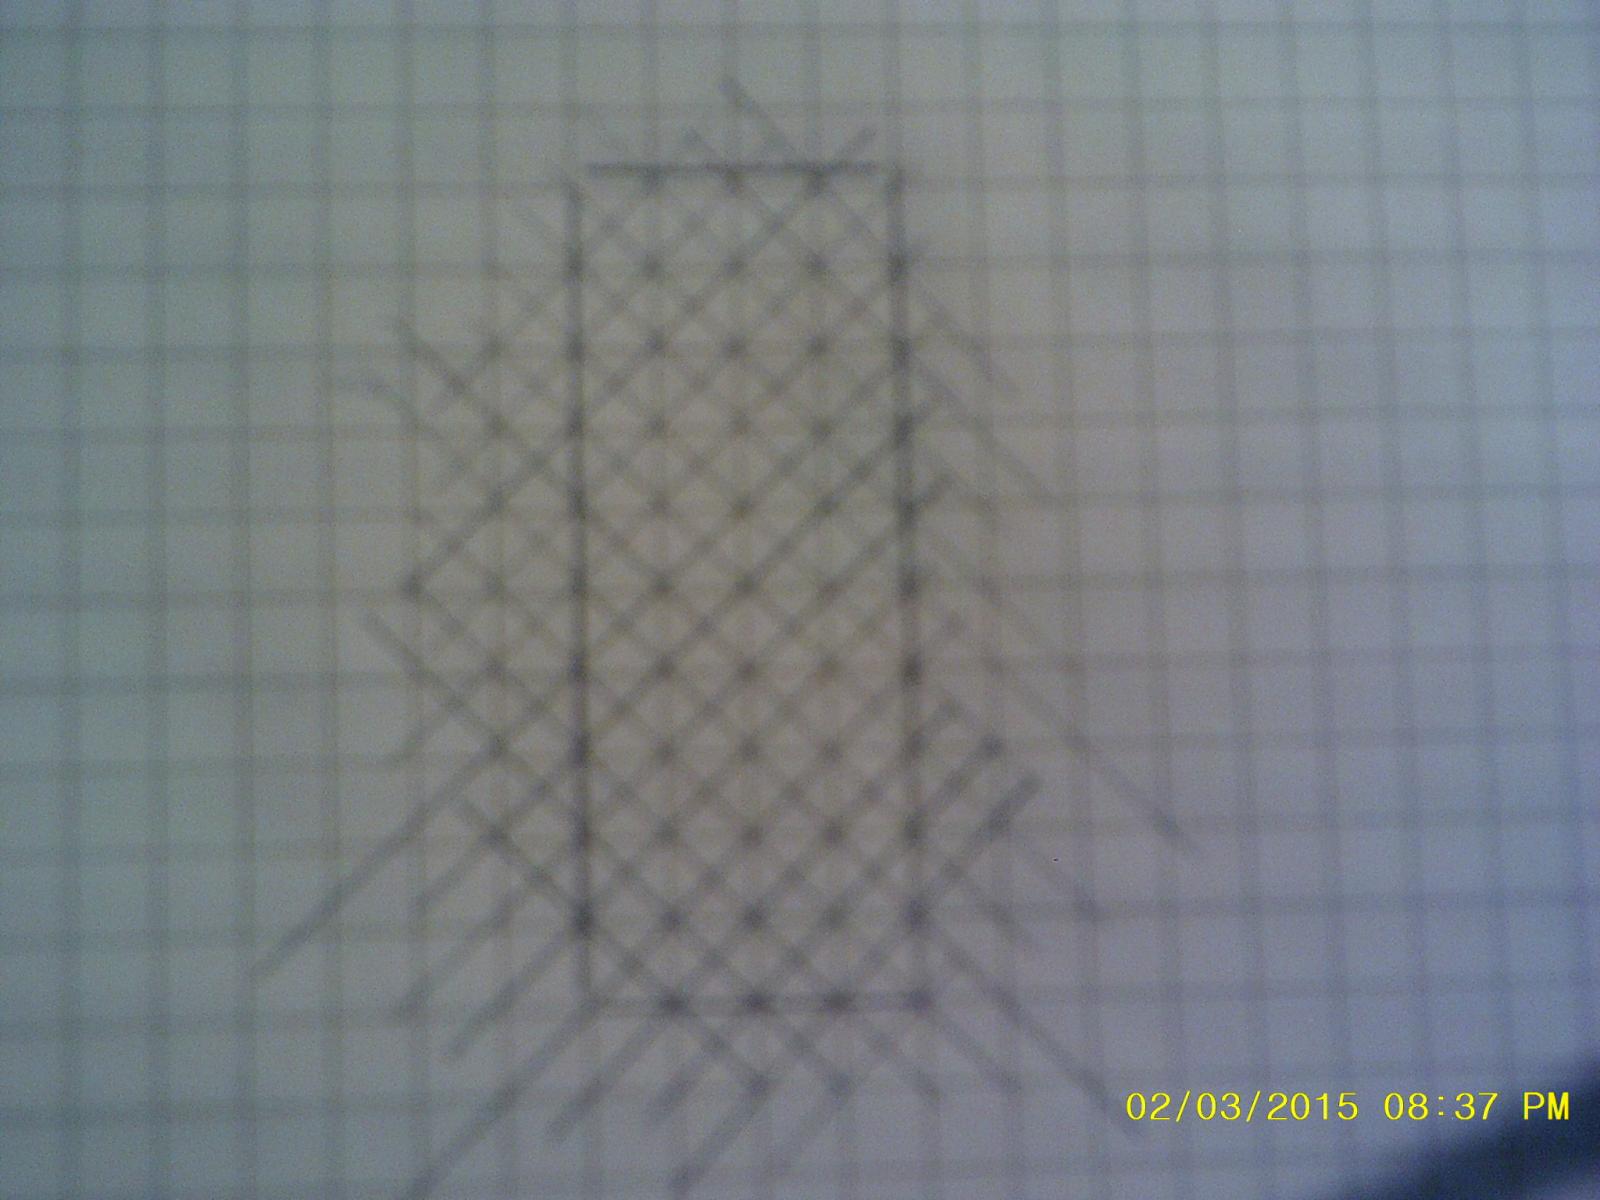
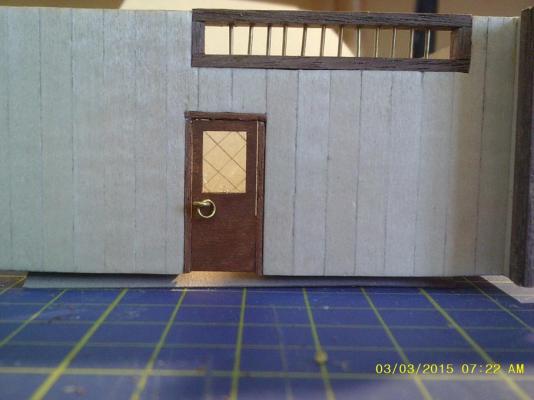
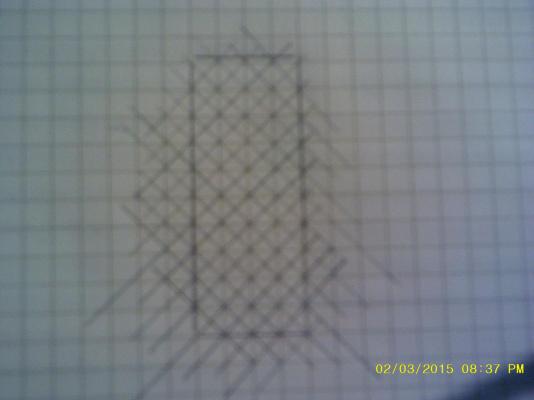
All the doors and their frames/furniture on the first deck are now fitted. To get the diamond panes on the glass I first drew a stencil on 5mm squared paper: then traced over the diagonal lines with a craft knife freehand. I then dabbed some black acrylic into the score marks and wiped off quickly (with a dry rag to avoid diluting the paint). Finally, the panes were glued to the doors using Revell Contacto Clear, which doesn't attack the acetate and dries clear.
- 65 replies
-
- 3
-
-
- artesania latina
- king of the mississippi
- (and 1 more)
-
Thanks Chris! I'm still waiting for some bits before I start chopping up the false keel, then it will be full steam ahead (or should that be sail? :-) ) Cheers, Philip
-
Hmm .. From what I can see in other forum posts people seem to generally opt for 3 mm holes to pin the hull to plinths etc. Mine will be double that as I need space for wires but I don't see it as a big issue as long as I reinforce the false keel where it's pierced. Of course, the phrase "famous last words" springs to mind. We shall see!
-
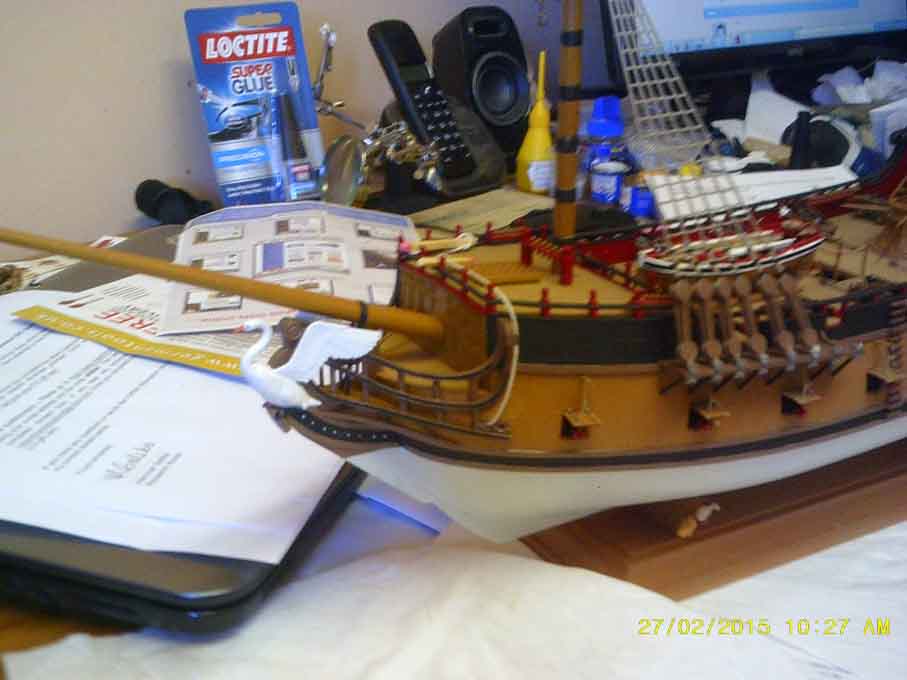
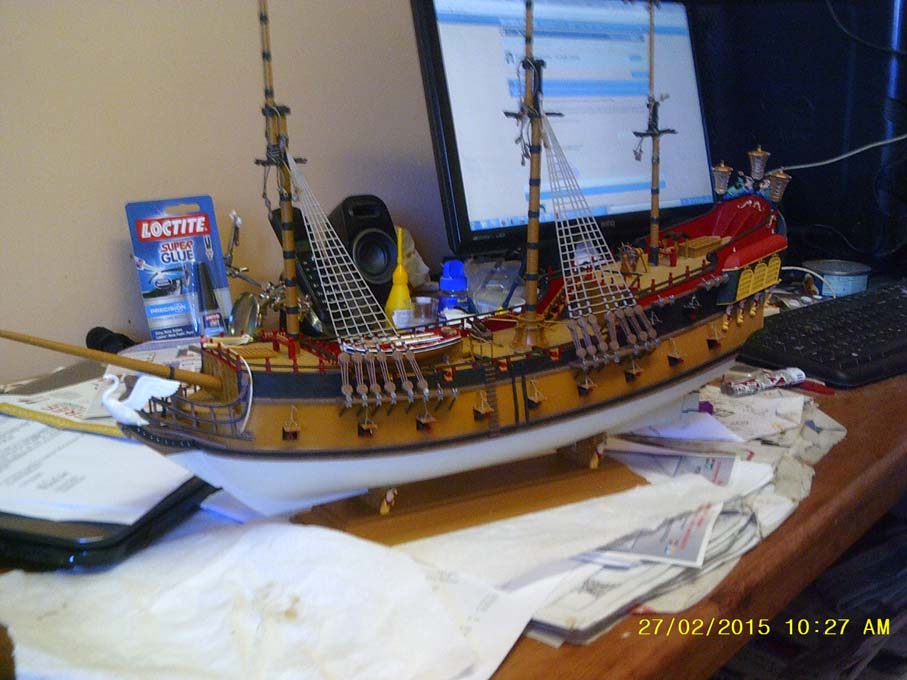
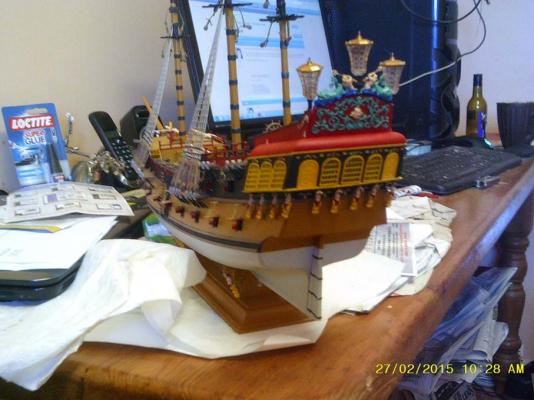
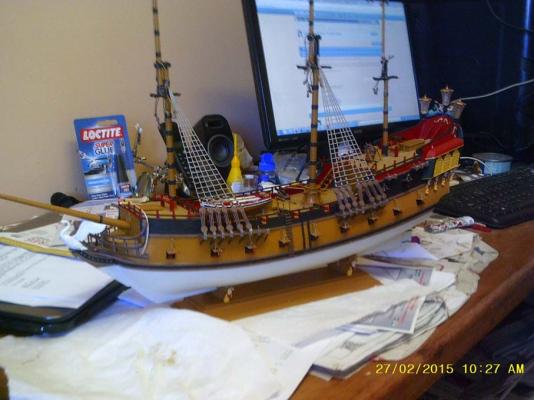
It's a small world as they say and we appear to have the same taste in ships. Here are some pics of a 1:72 Revell kit called "Pirate Ship" that I'm trying to finish. In reality, it is the Black Pearl with a white swan if that makes any sense. I think there was some copyright/licensing issue with Disney such that Revell had to call it something else.

-
Thanks Boyd. Just waiting for some bits then I will go 'a drillin' :-)