HOLIDAY DONATION DRIVE - SUPPORT MSW - DO YOUR PART TO KEEP THIS GREAT FORUM GOING! (Only 72 donations so far out of 49,000 members - Can we at least get 100? C'mon guys!)
×


kostas_gr
-
Posts
239 -
Joined
-
Last visited
Content Type
Profiles
Forums
Gallery
Events
Everything posted by kostas_gr
-
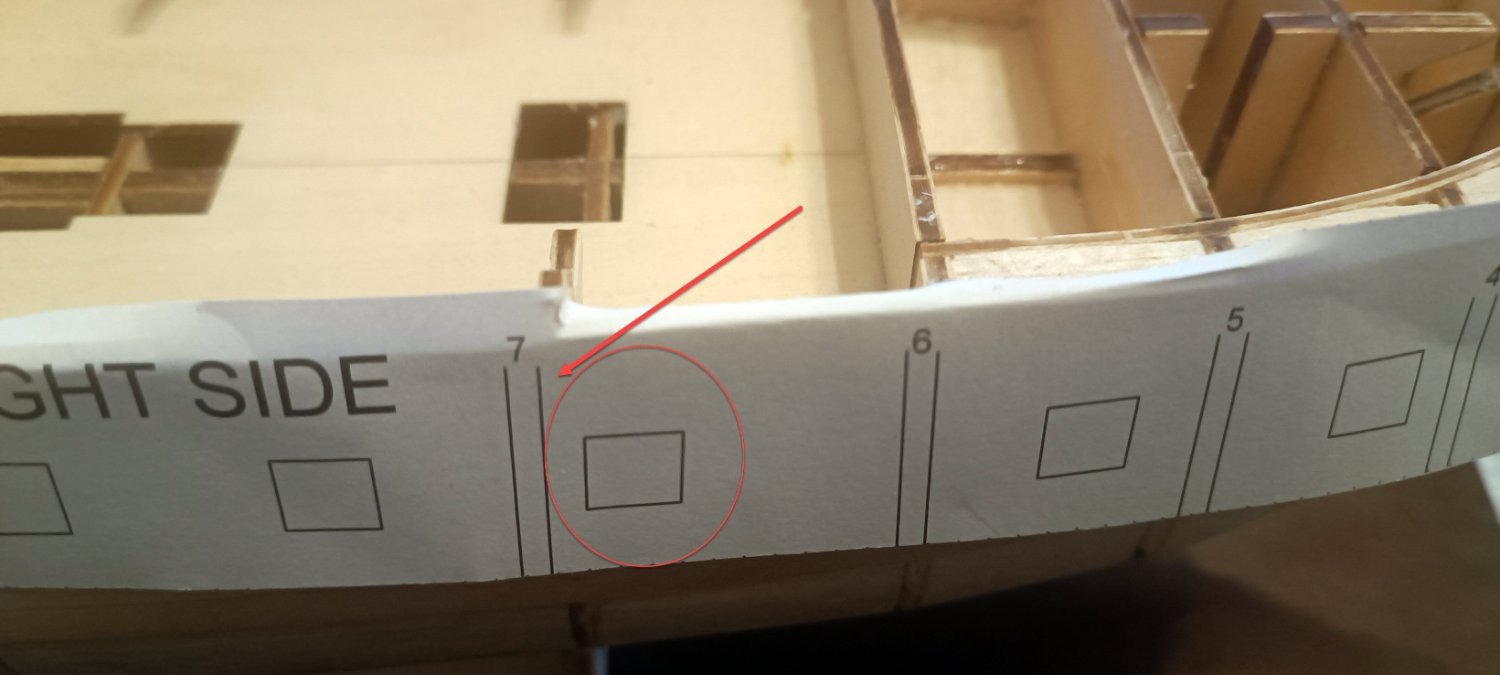
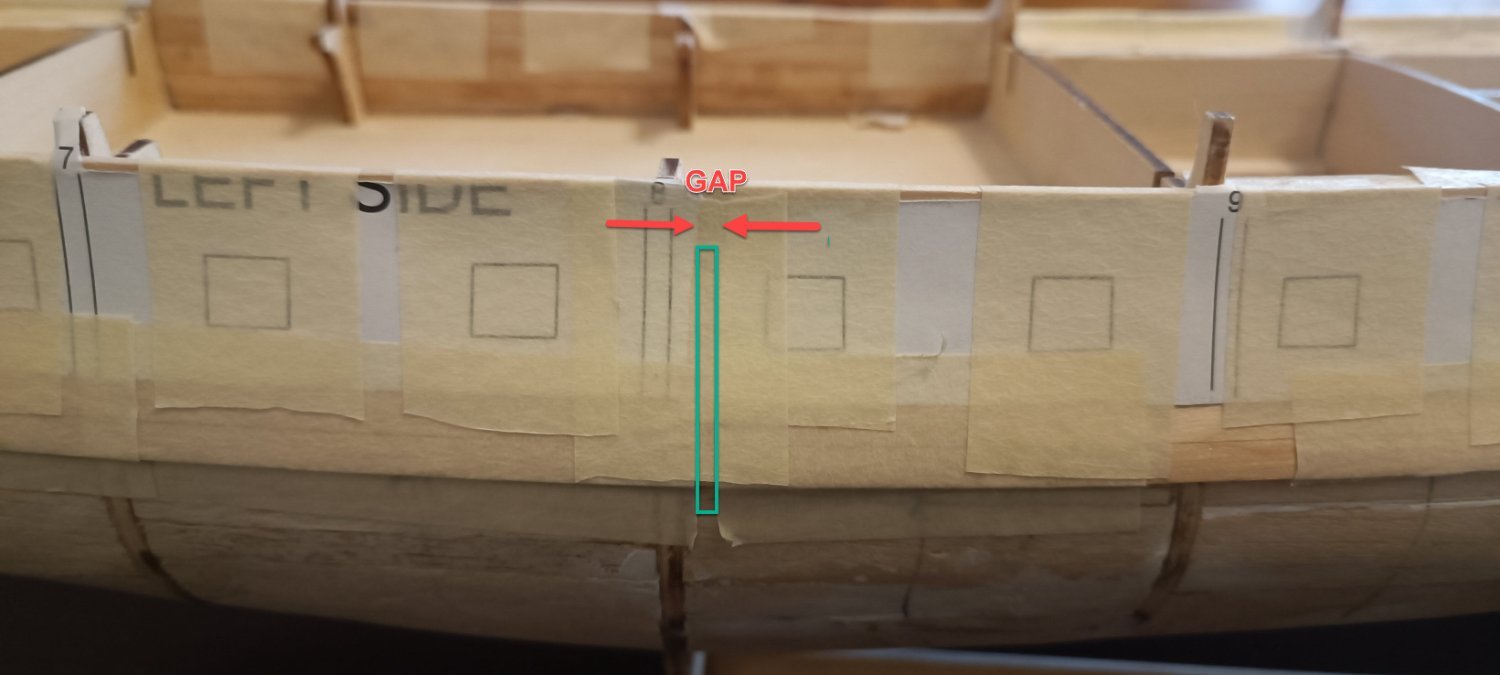
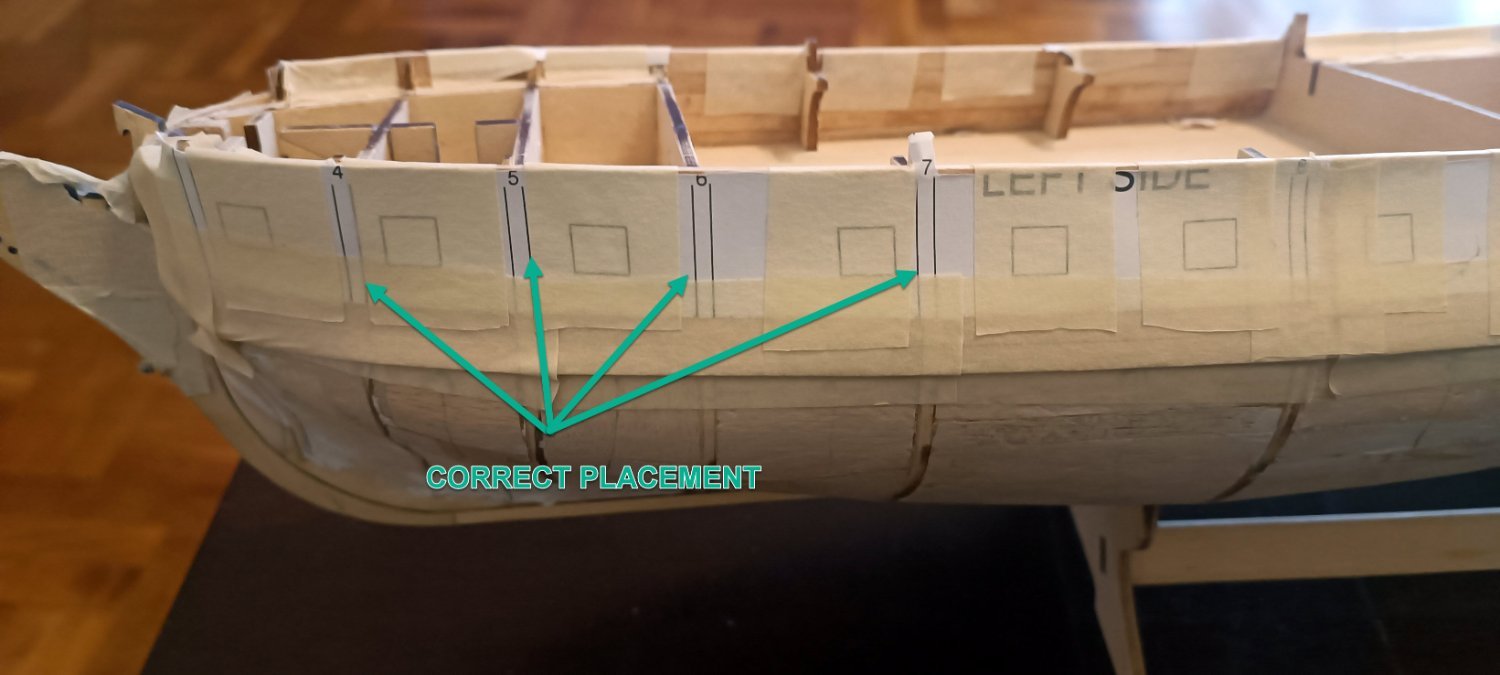
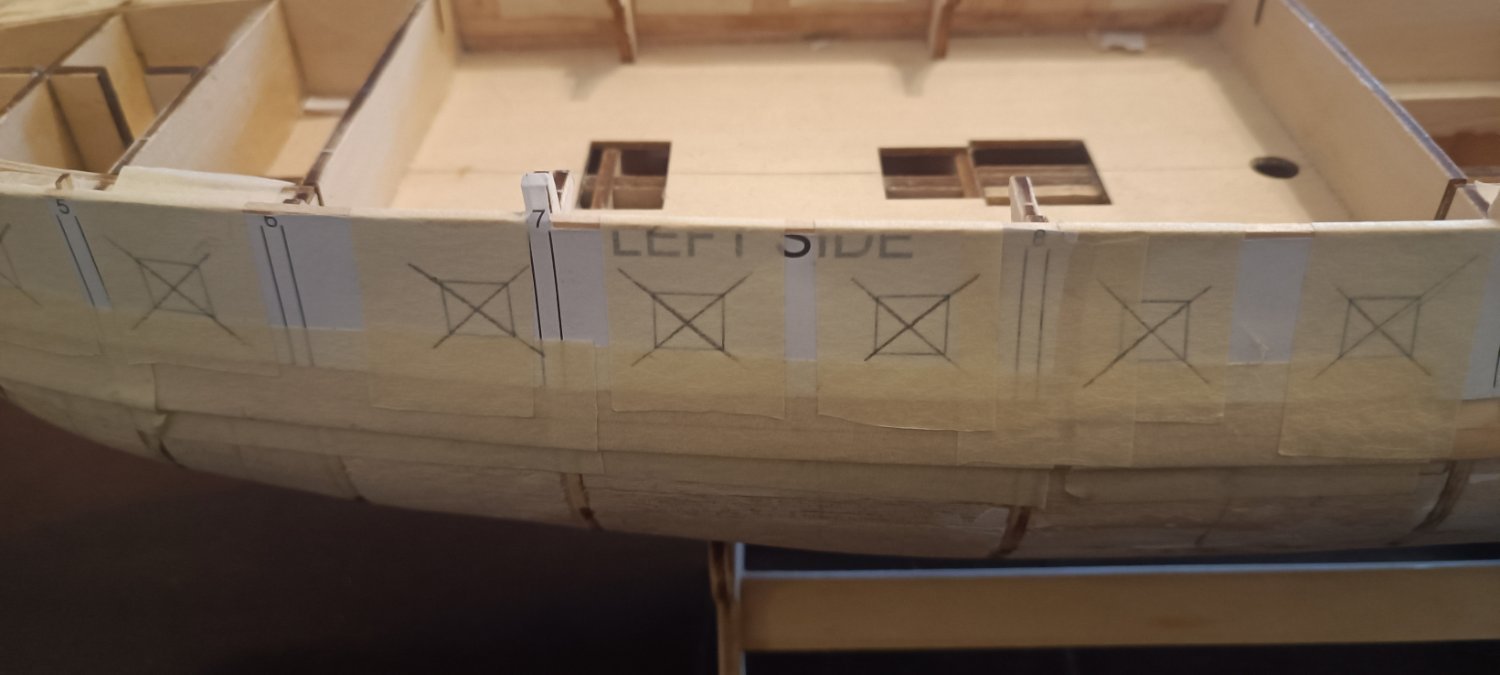
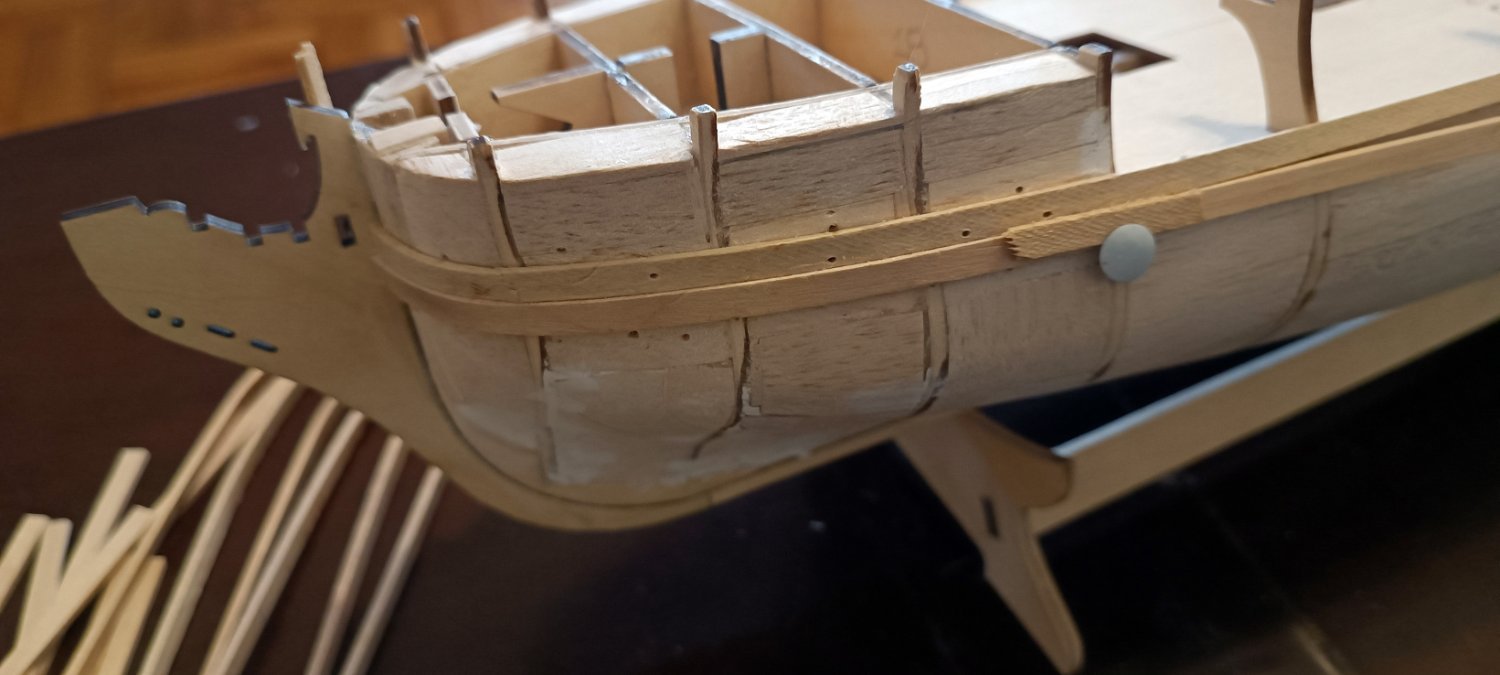
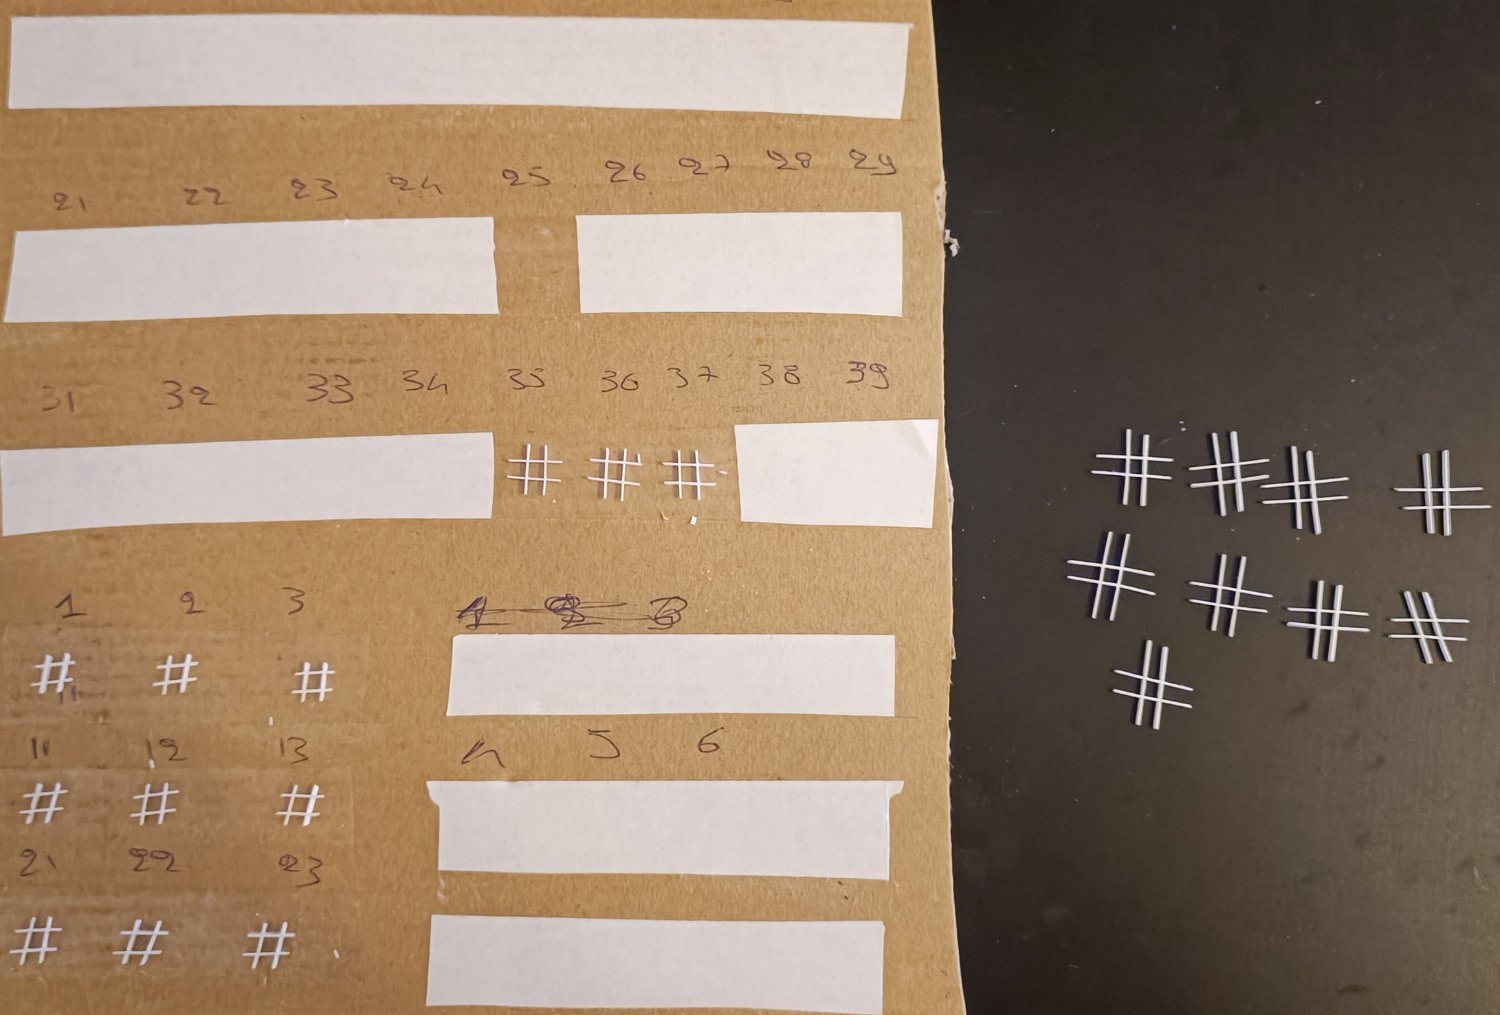
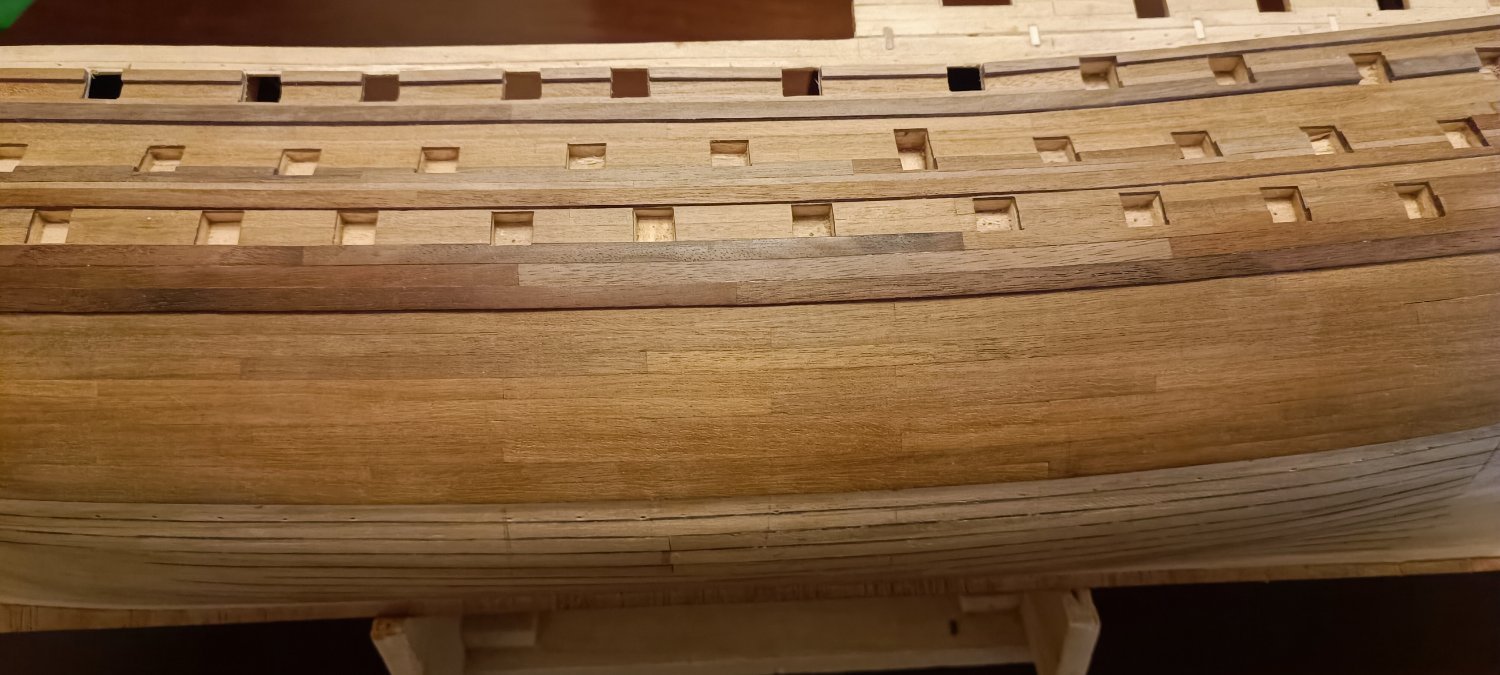
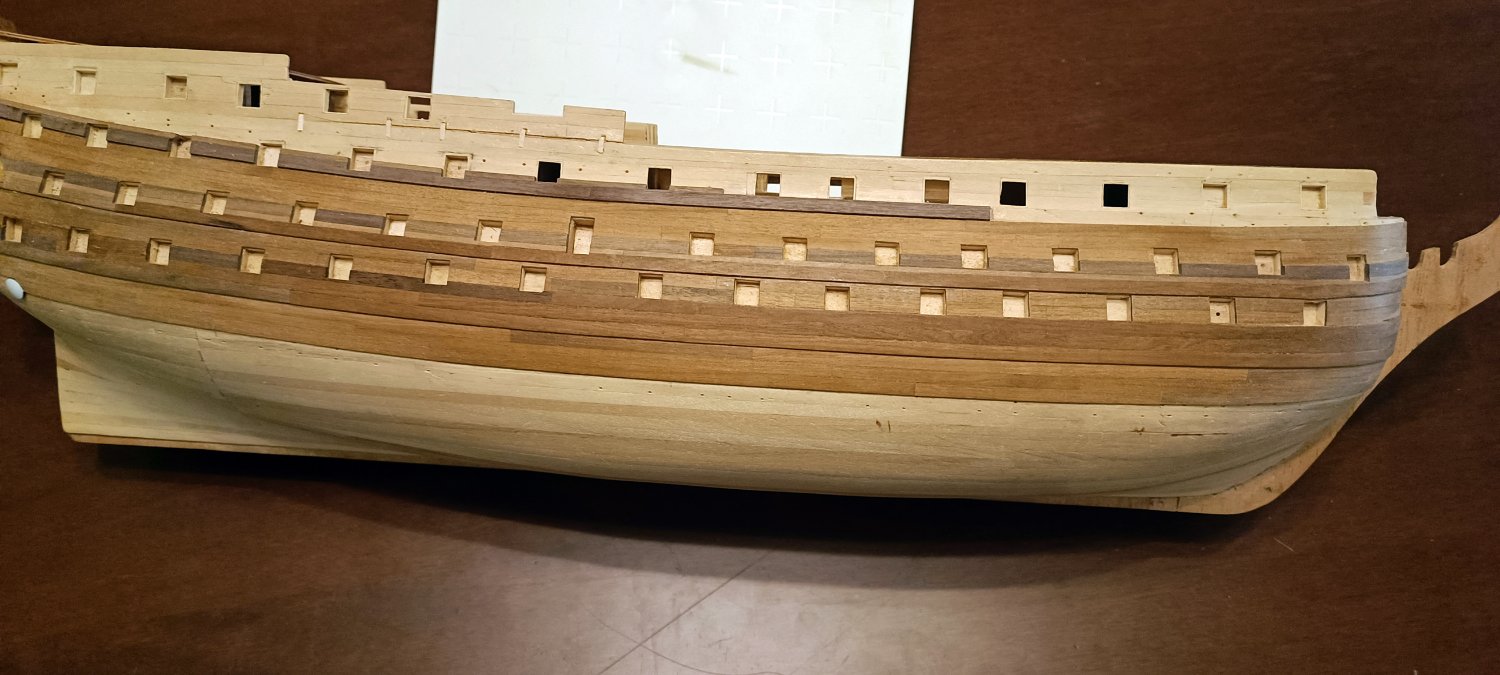
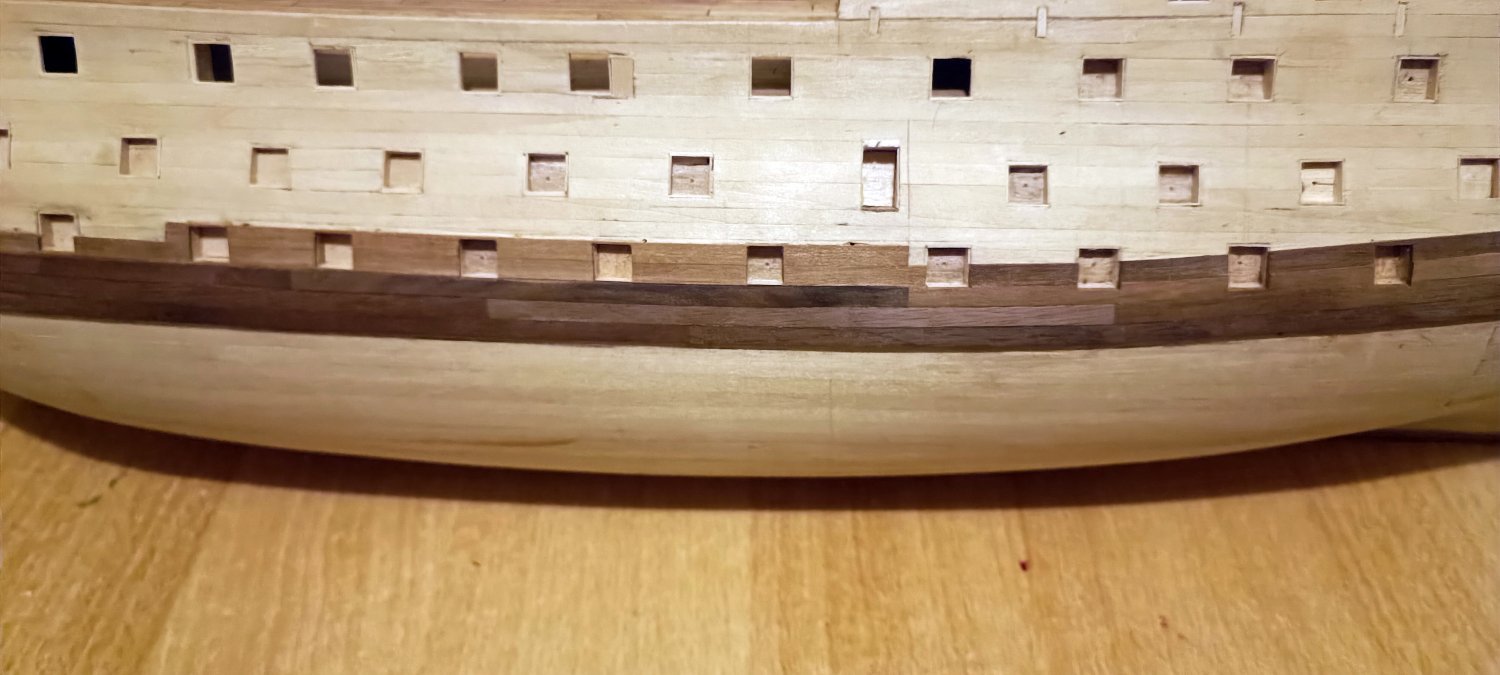
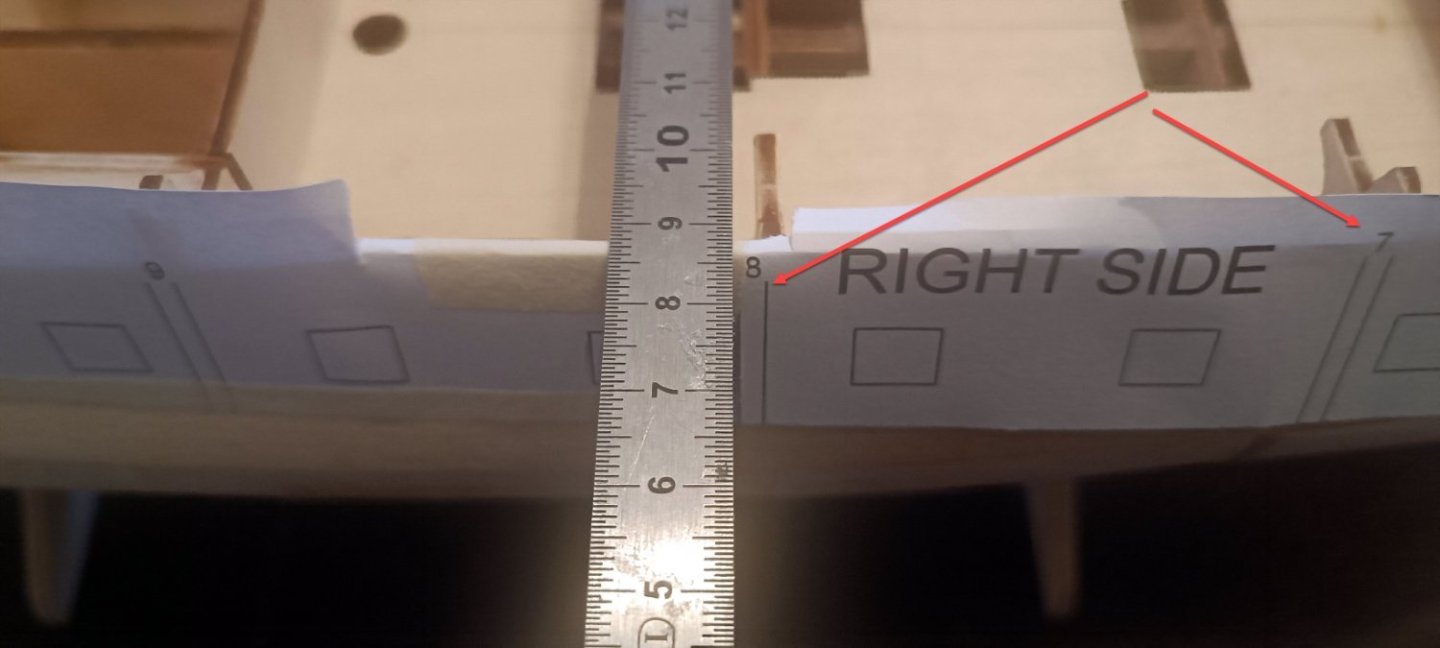
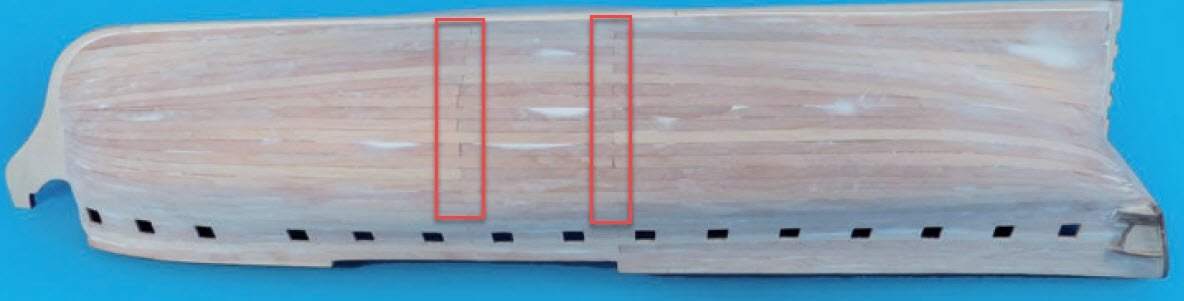
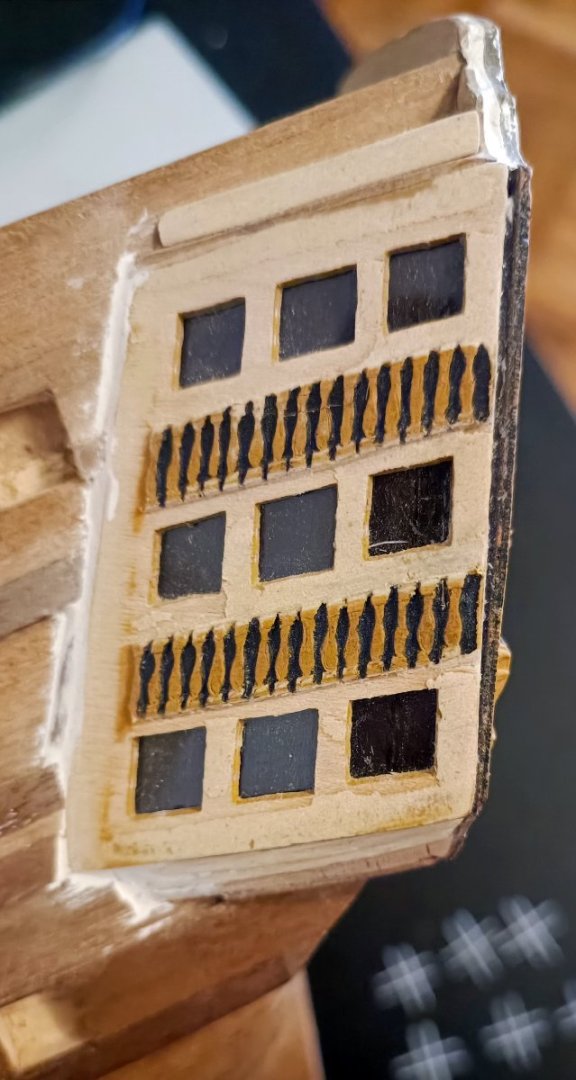
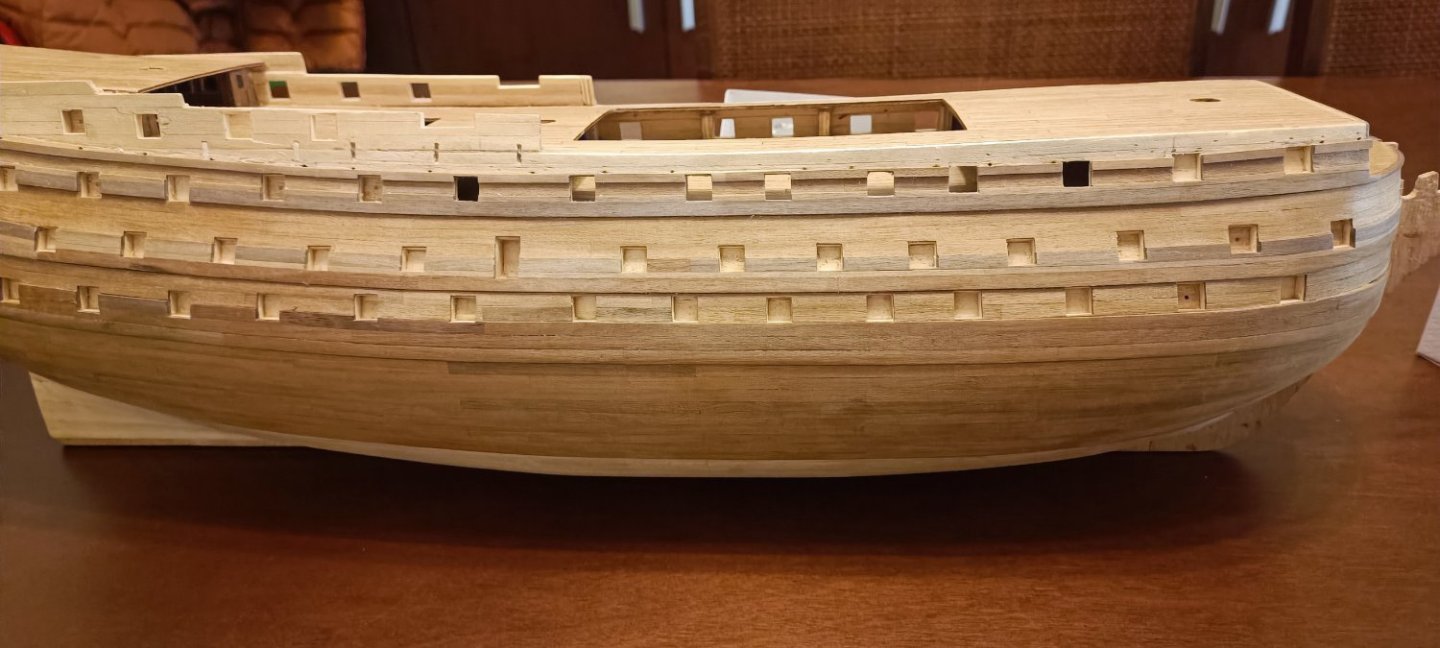
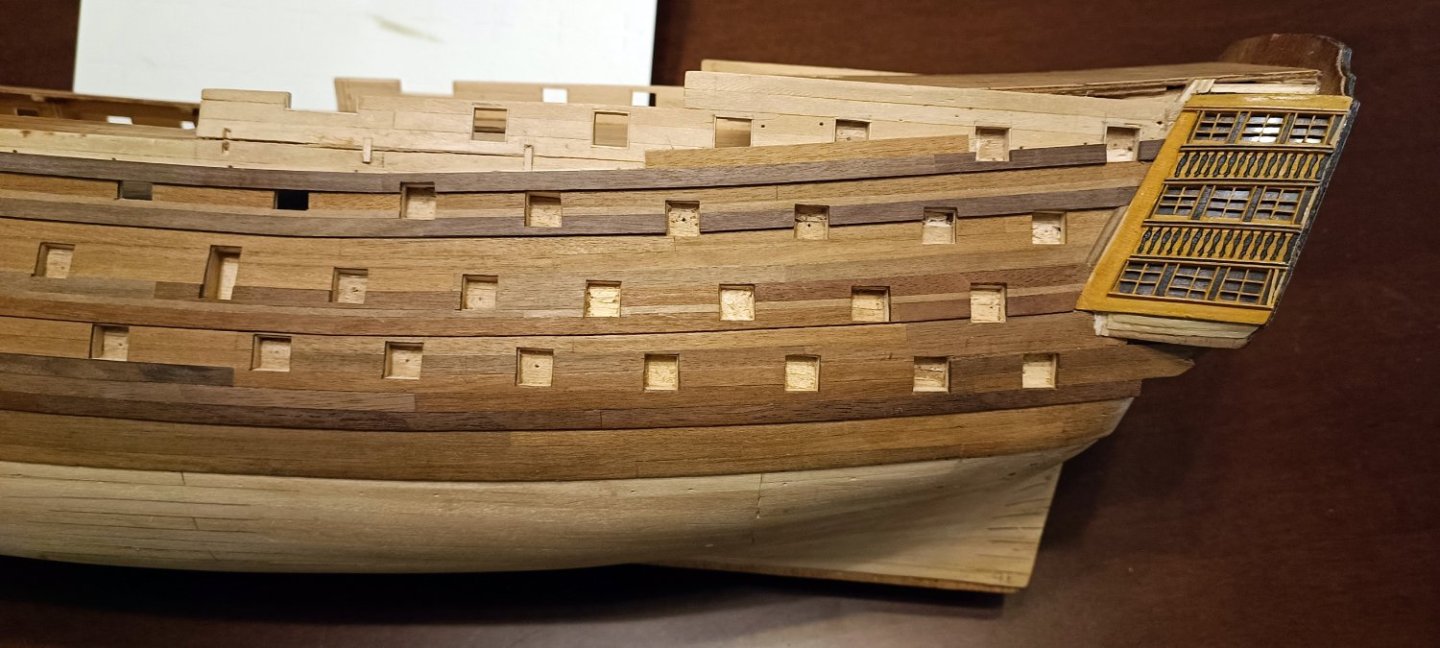
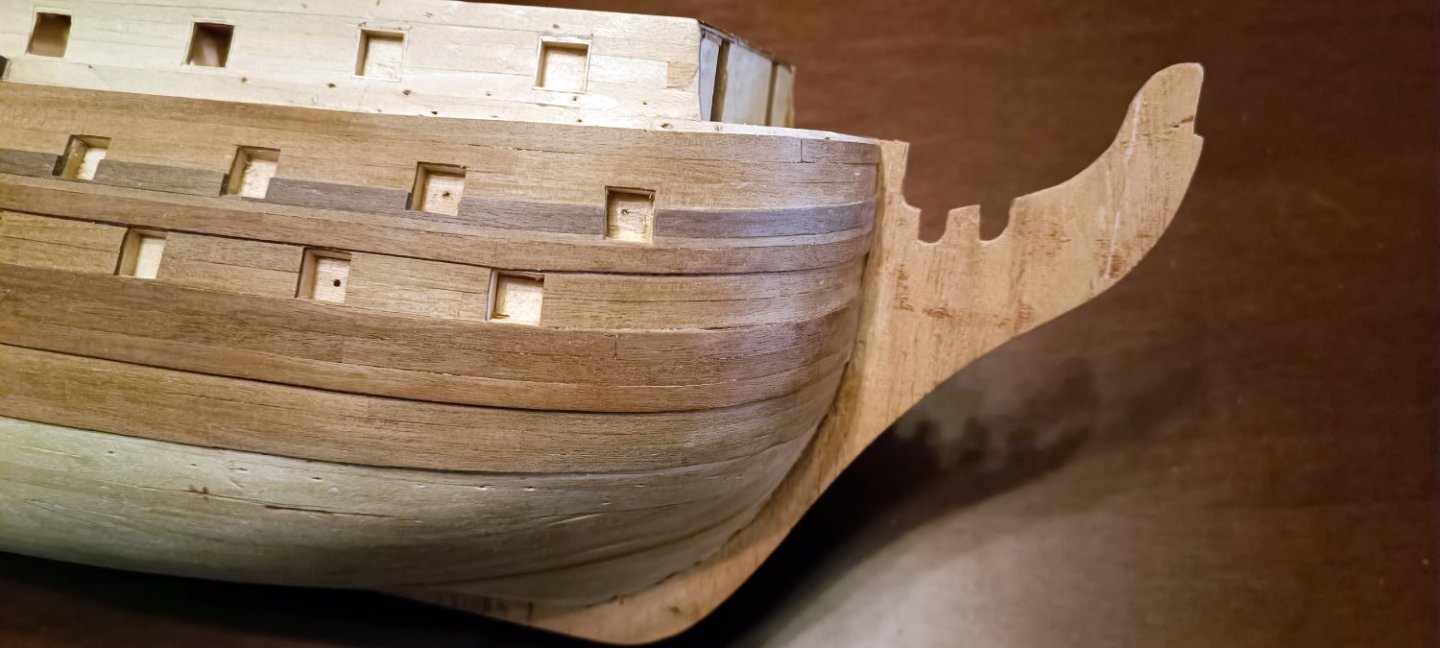
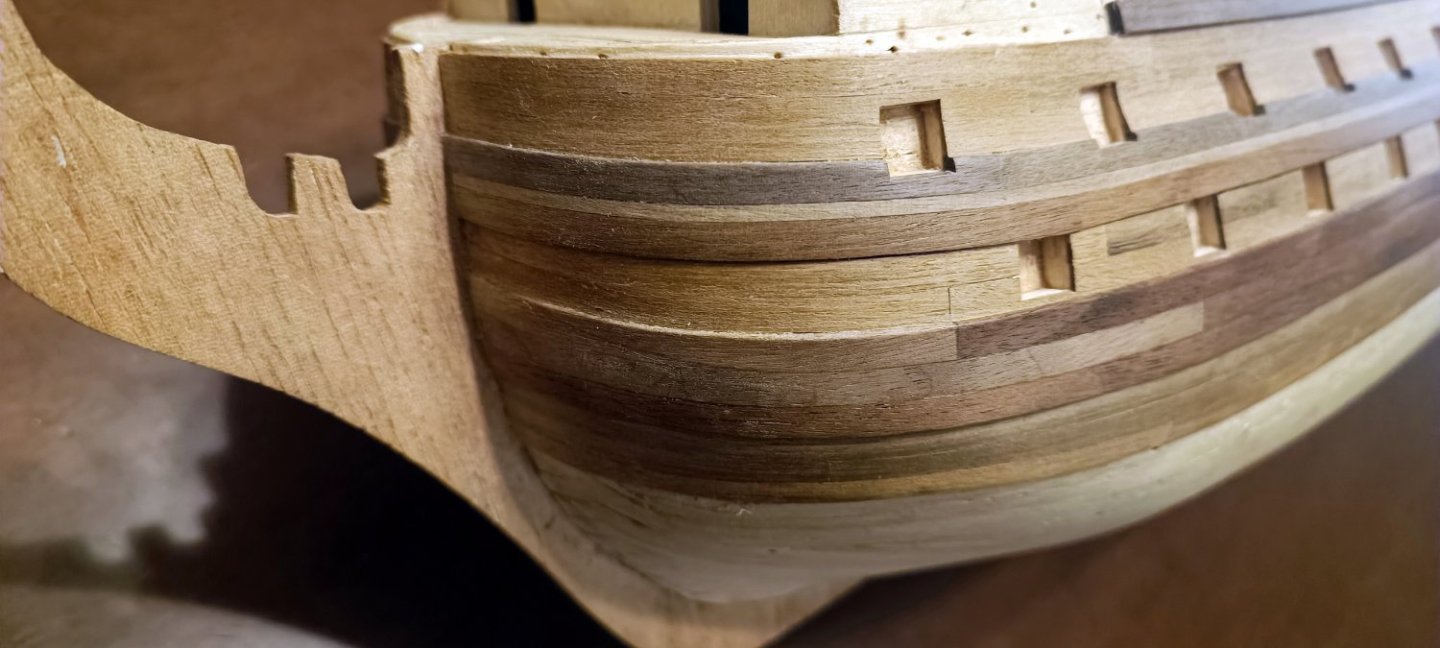
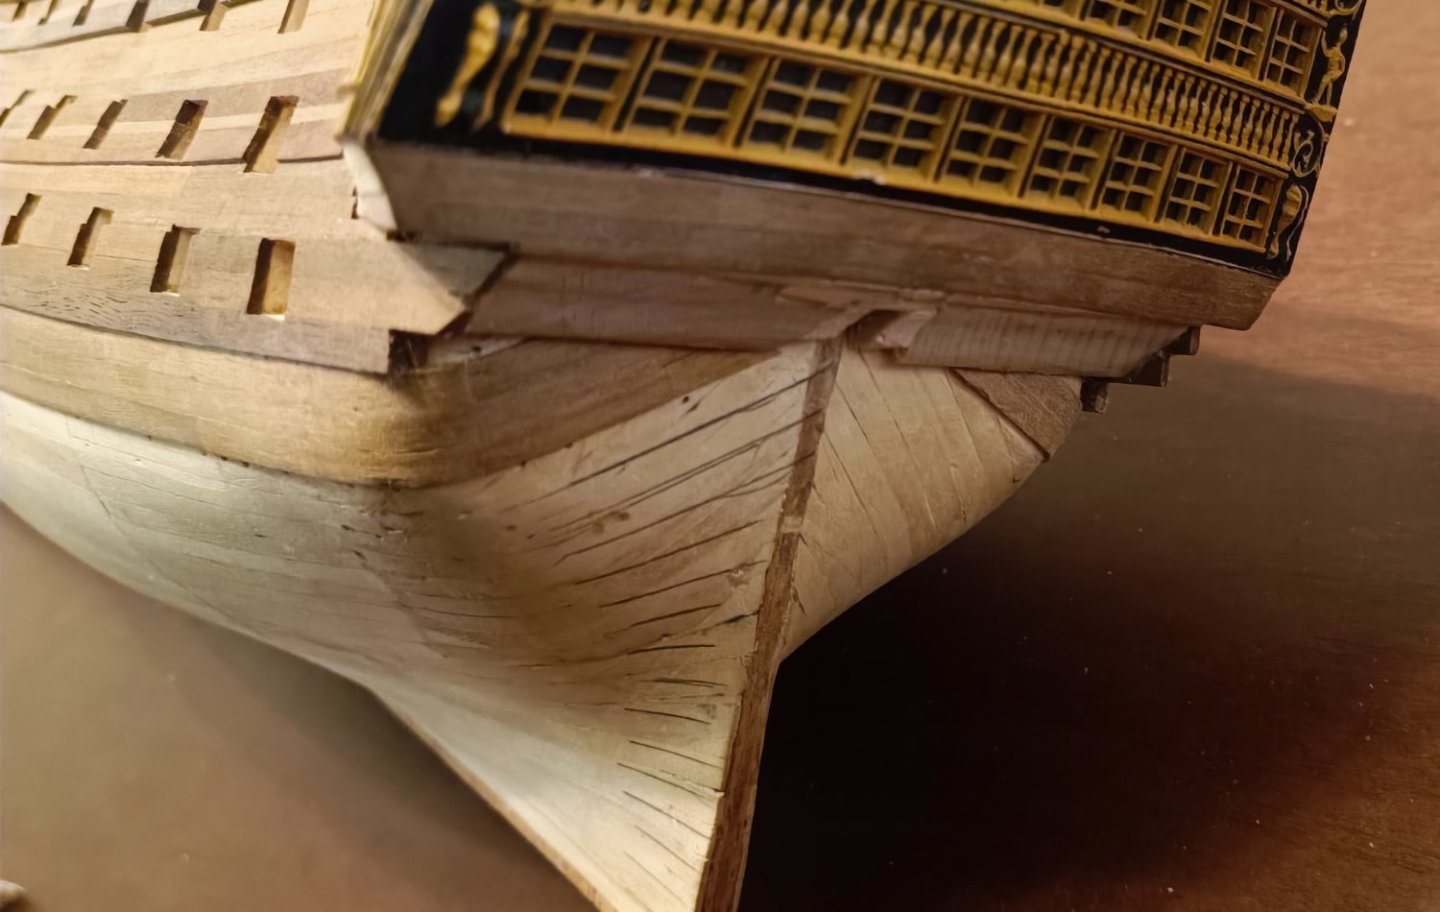
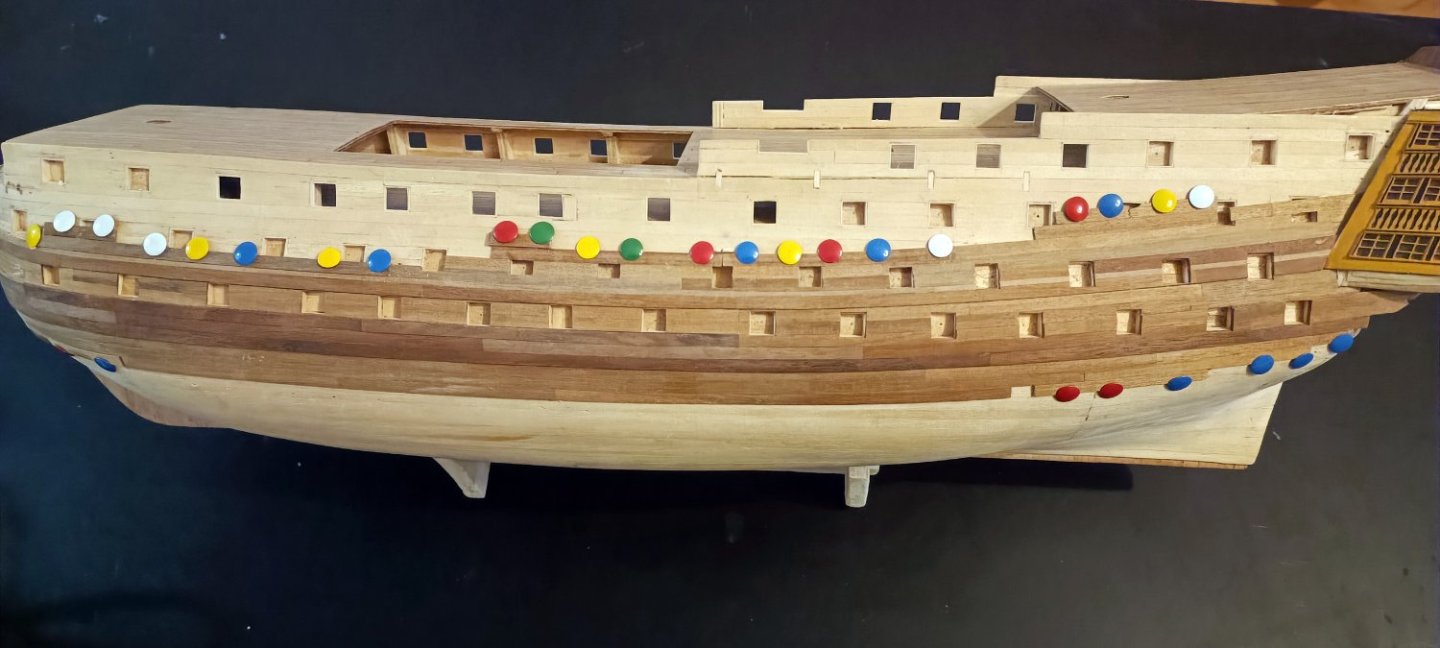
 the upper hull planking is done, next step at this point is creating the portholes, Artesania provides a nice paper layout in order to set them up correctly After placing the layout on the hull, I have noticed that the vertical lines are not fully aligned with hull beams some portholes are very close to hull beams and will be very difficult to install the cannons later , so I have decided to cut the paper layout and slide it a bit (creating a gap) and finally the aligment looks much better now finally before opening the portholes I have marked the centers to drill them first, will be helpfull in a later stage when I have to setup the false cannons.
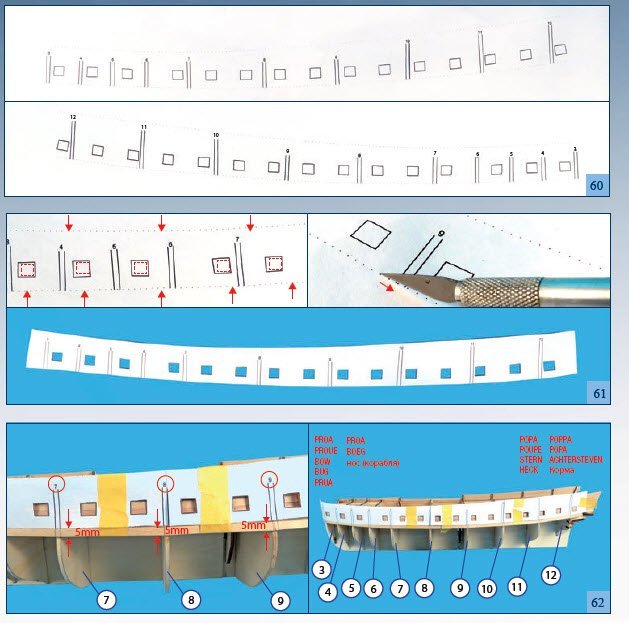


-
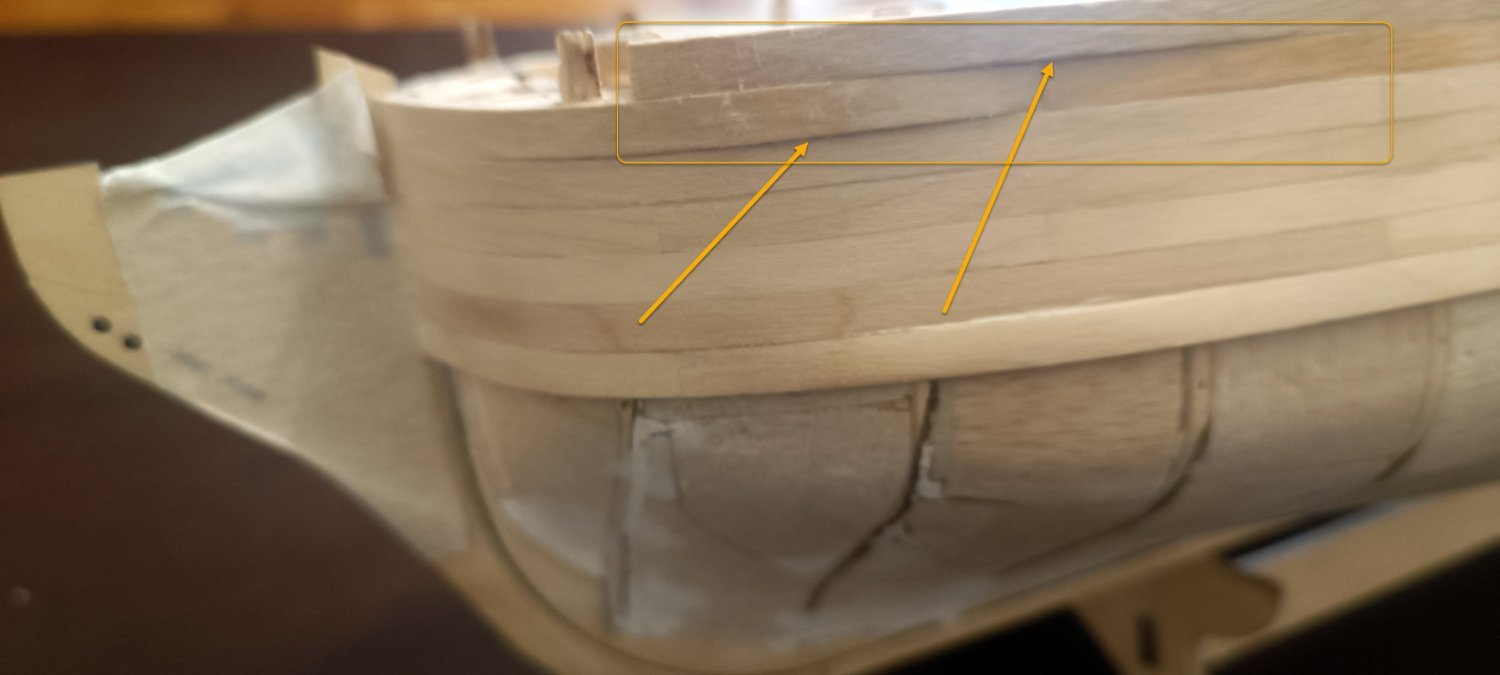
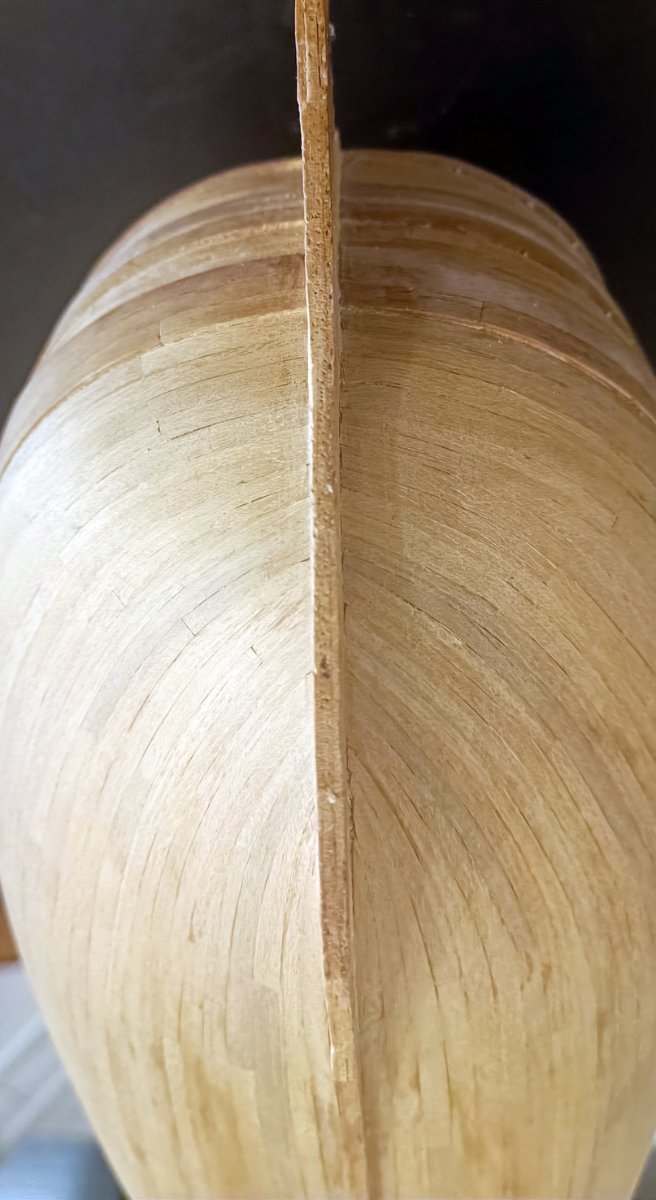
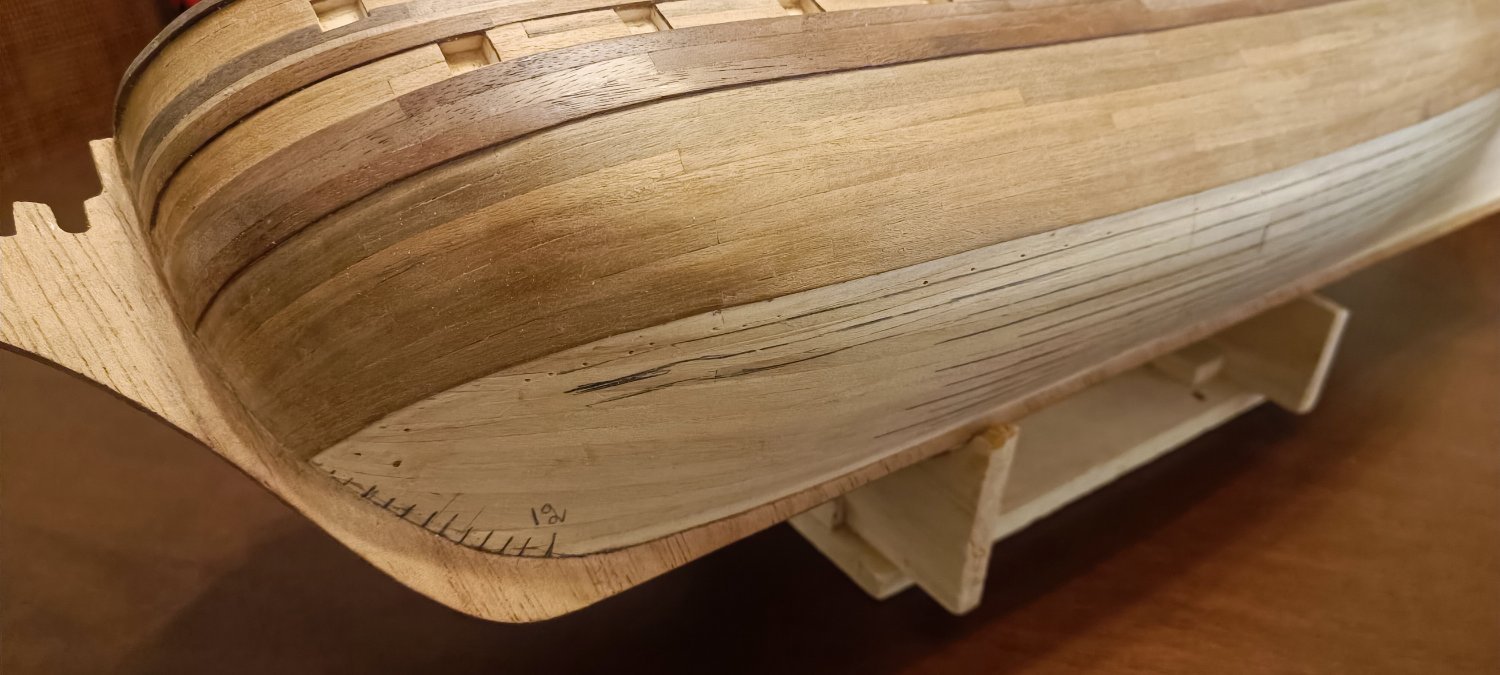
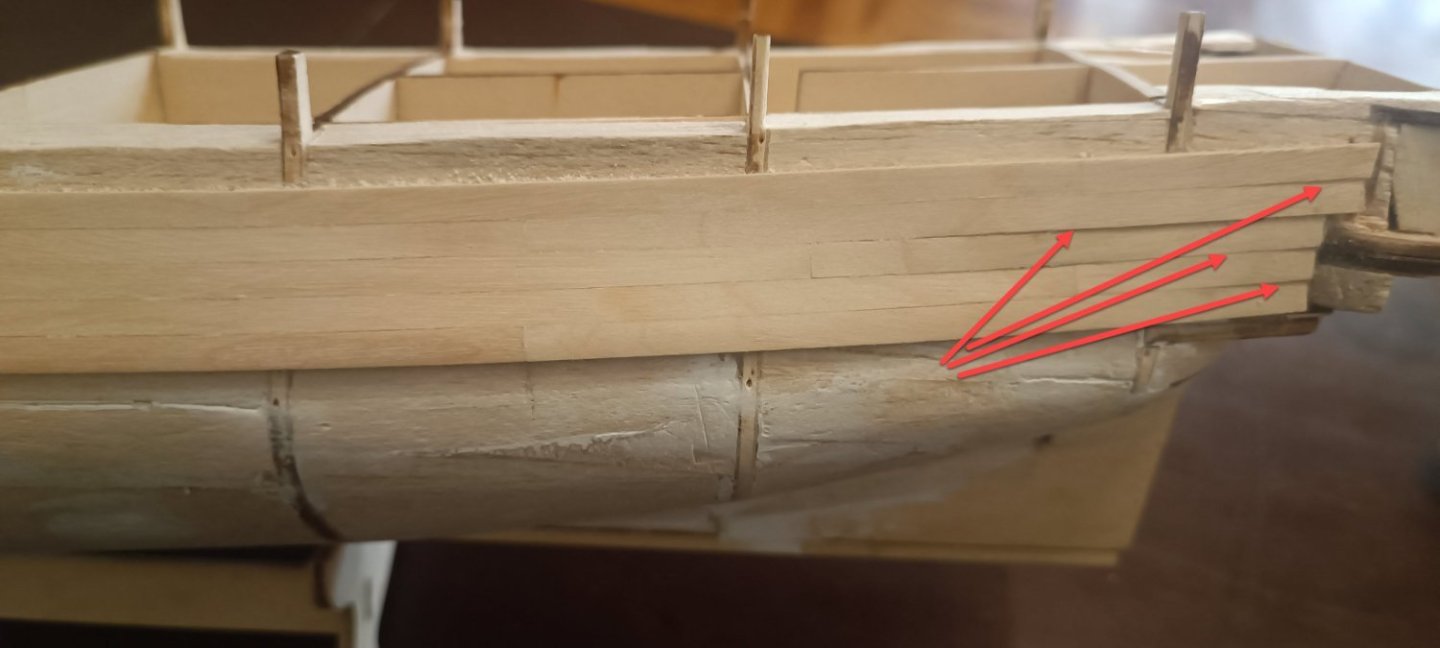
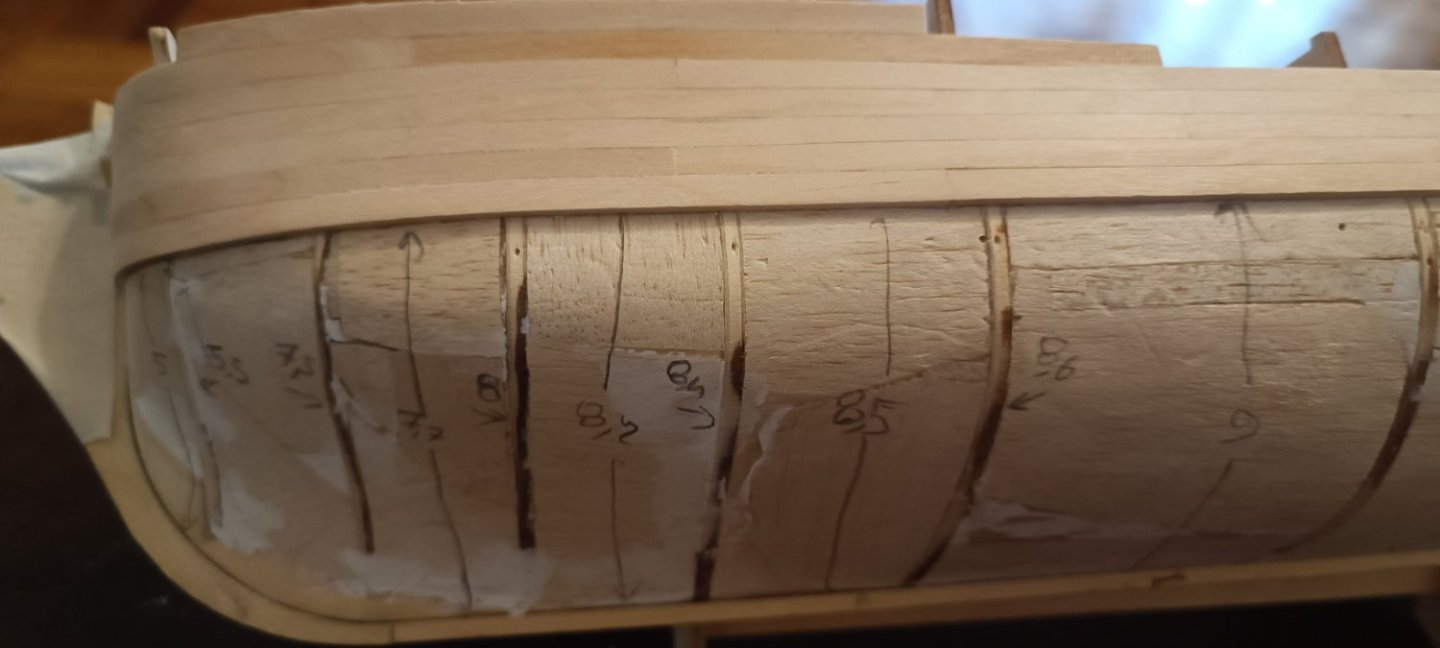
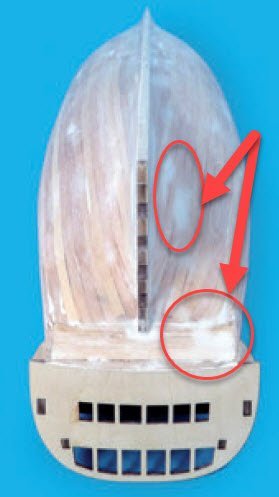
I have just finished 7 rows from the left side. I will sand the the 2 planks that somehow I didnt fit them well... These planks are quite thick so I need to bend them very carefully, let them dry well, and adjust them without haste in order to fit correctly. I will sand those planks in order to follow ship's curves I have done some calulations, to check out how much I need to reduce the width of the planks for the bow section.


-
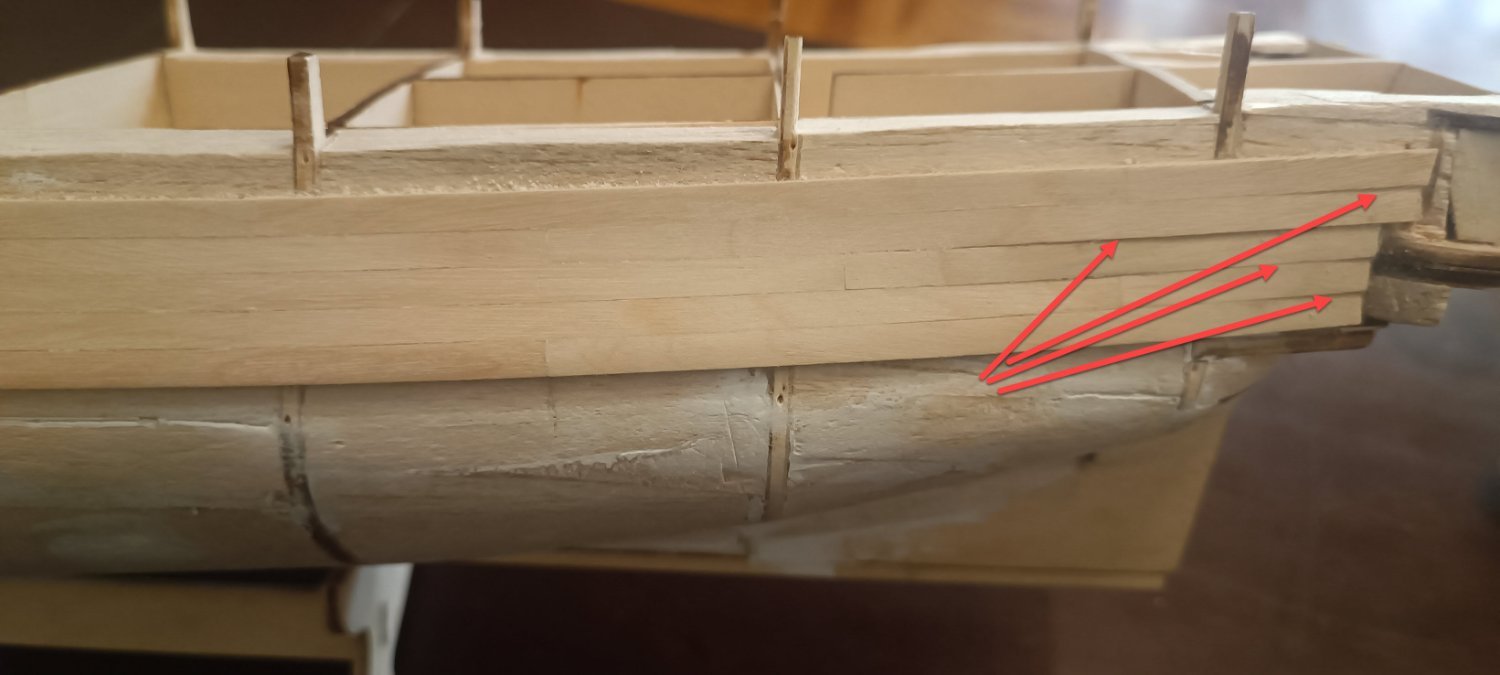
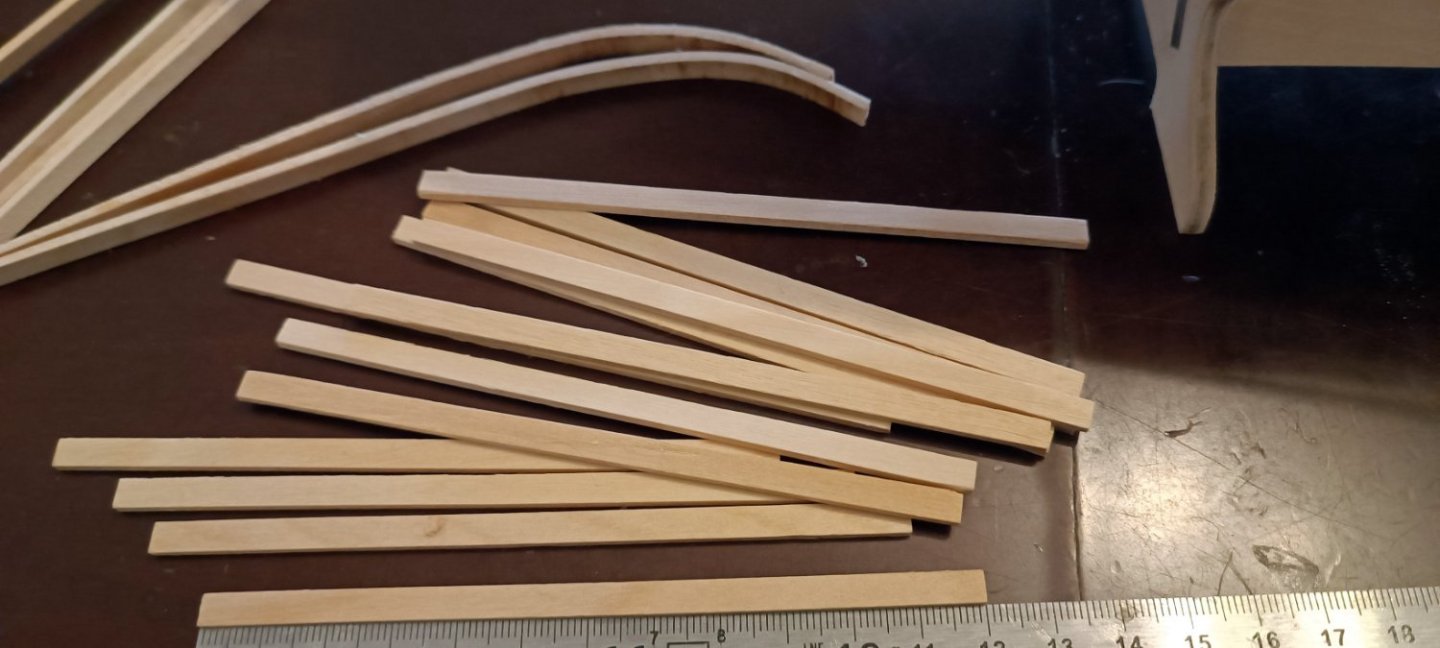
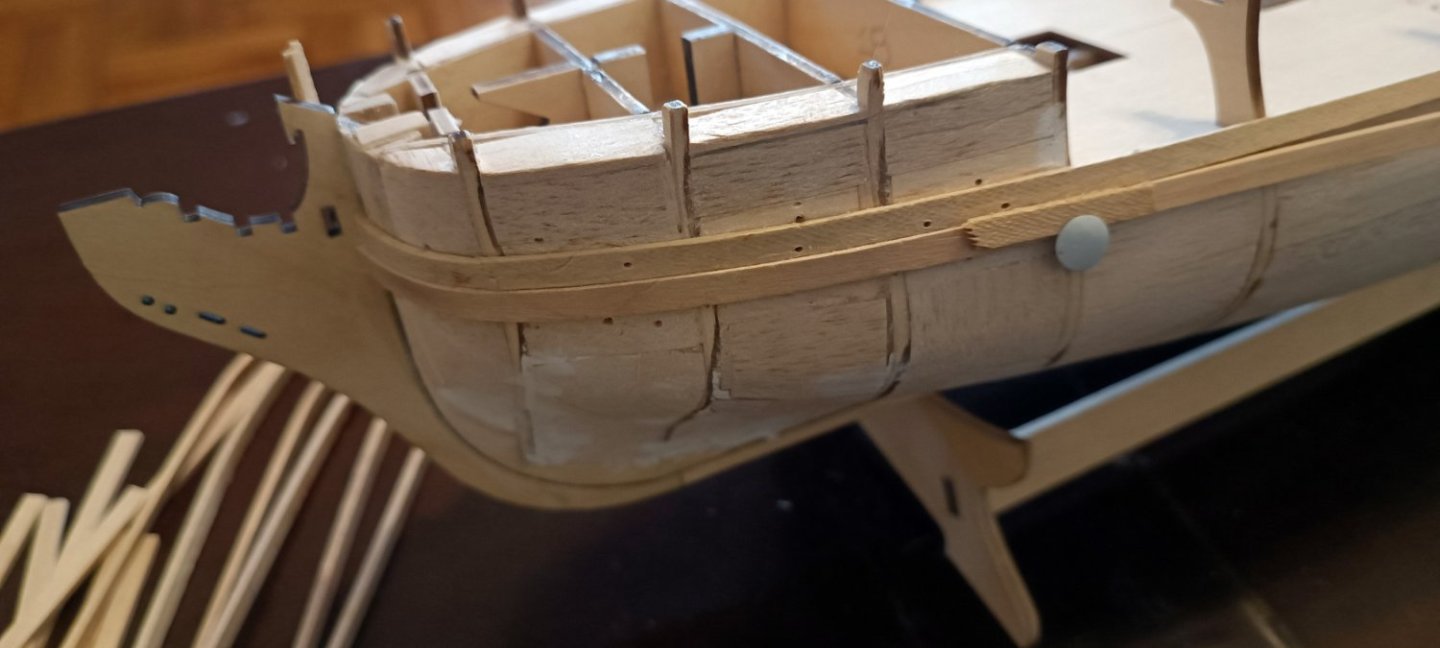
12 cm planks ready to be installed few bended planks ready to be used at bow first bow plaks are in place

-
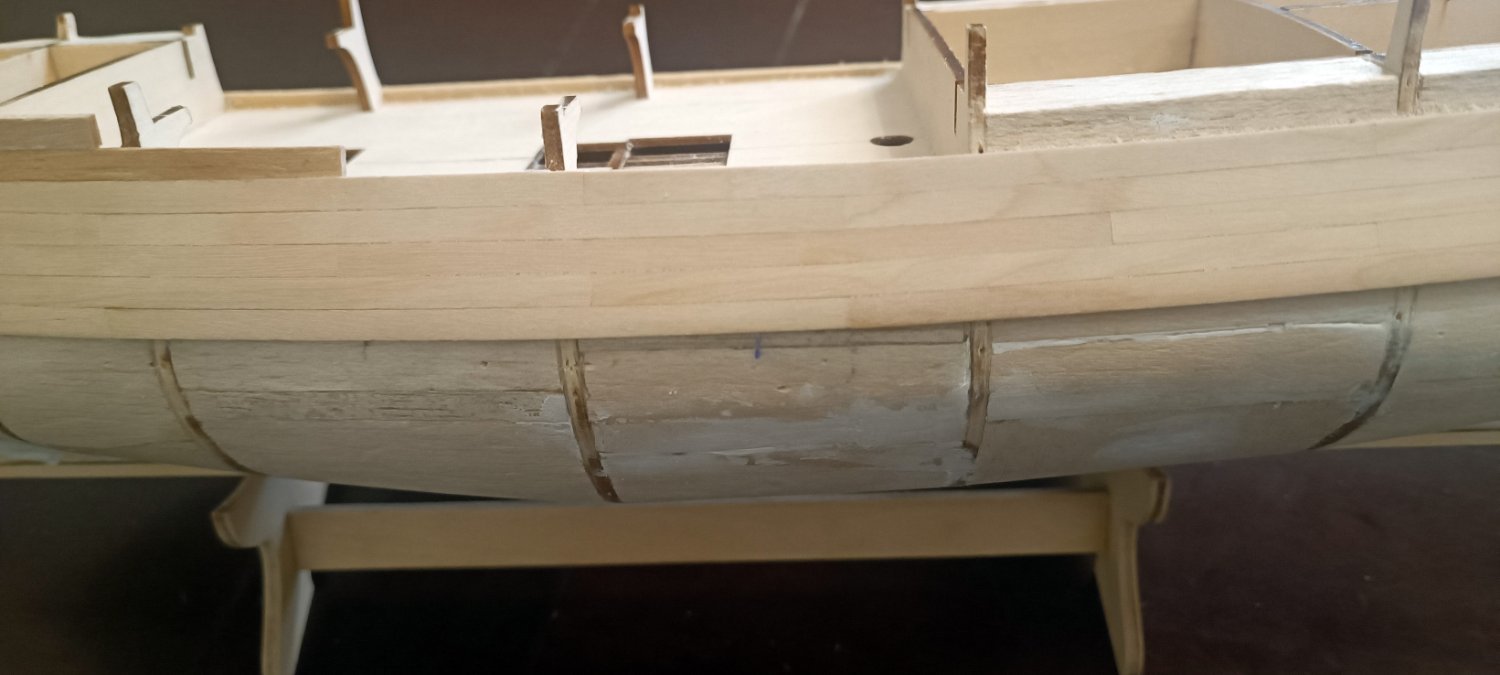
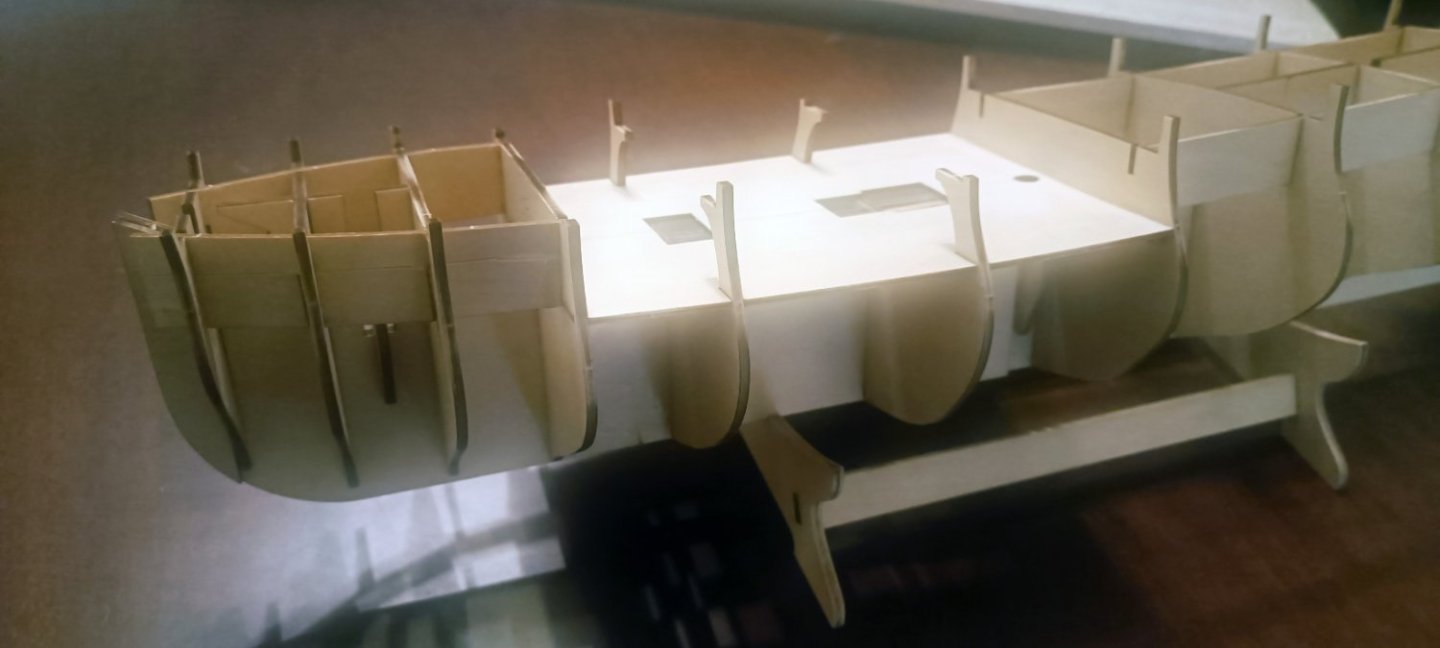
I have installed the first temporary plank from stern to bow to use it as guide, in order to start the final planking using 12cm length for each


-
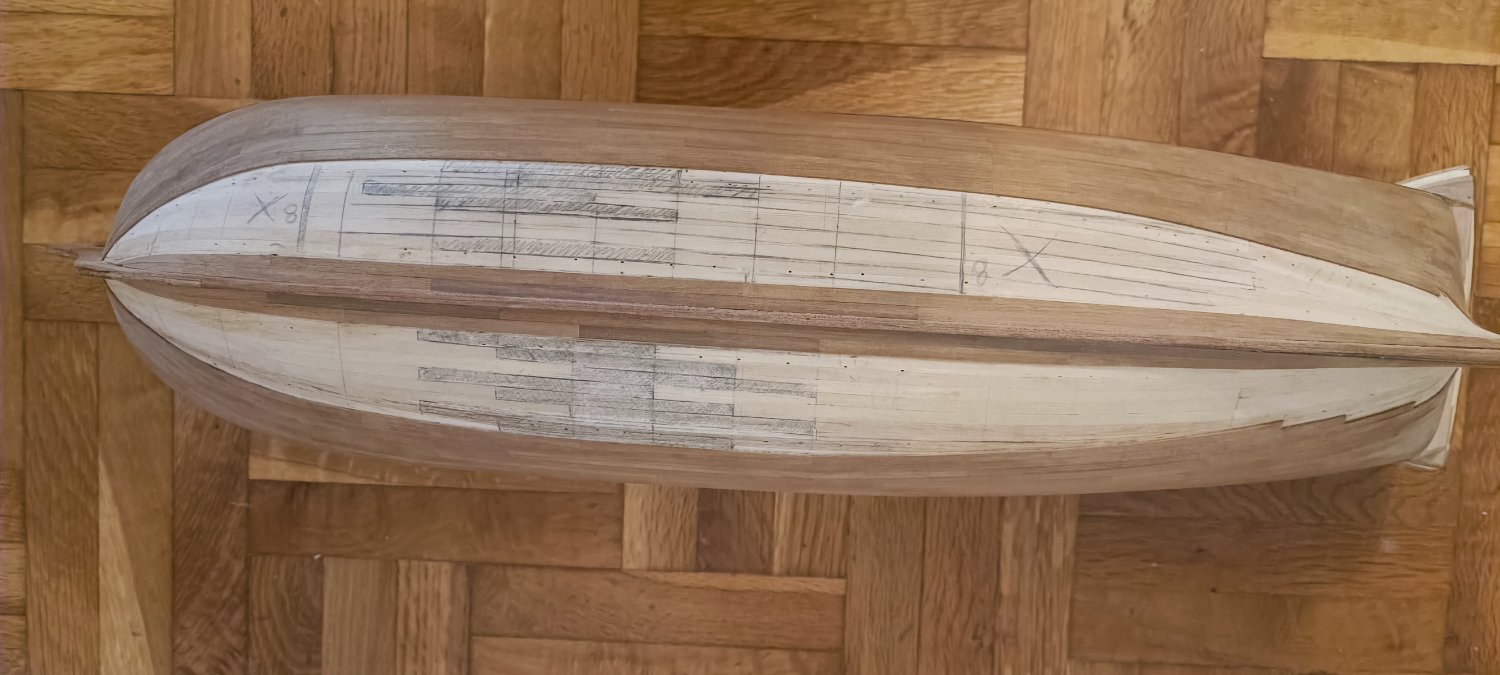
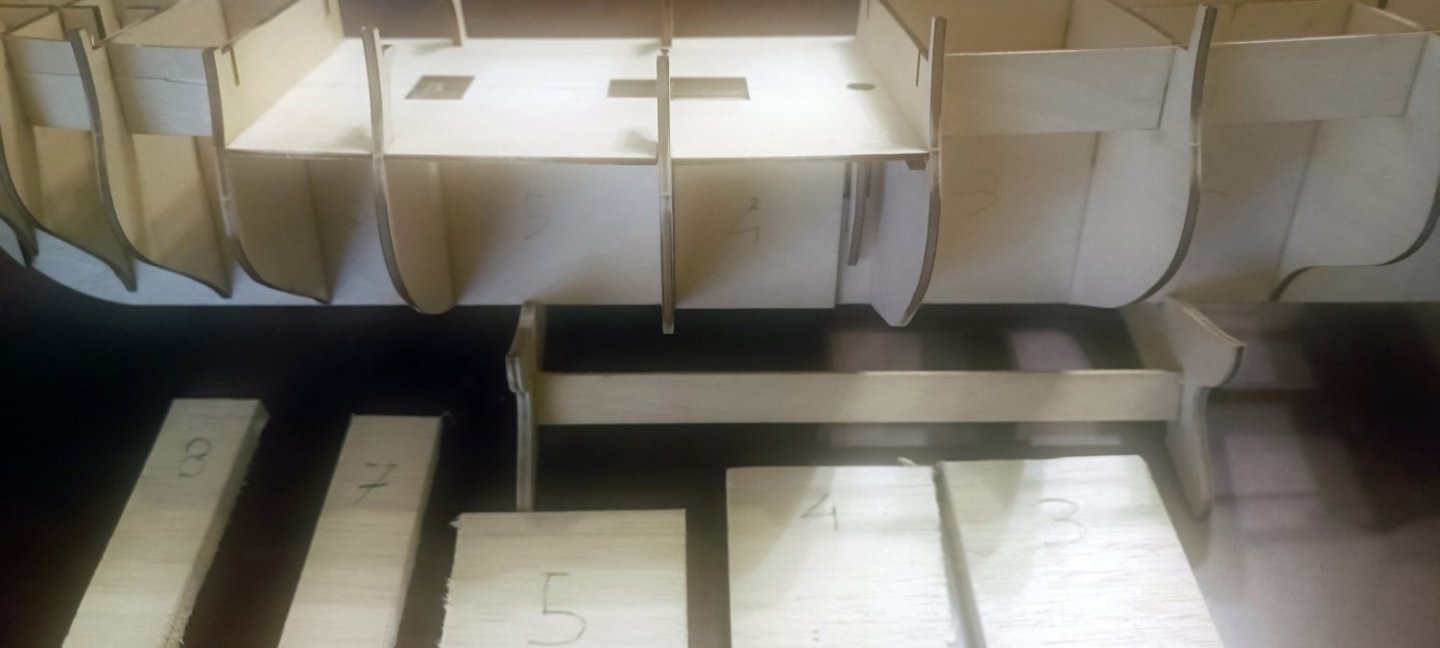
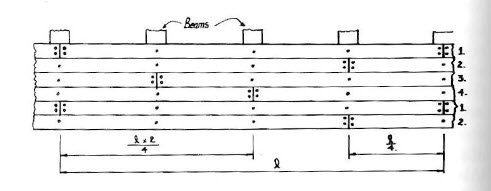
Hull is ready, I will start planking with 12cm planks ( 4cm step using the rule of 3)

-
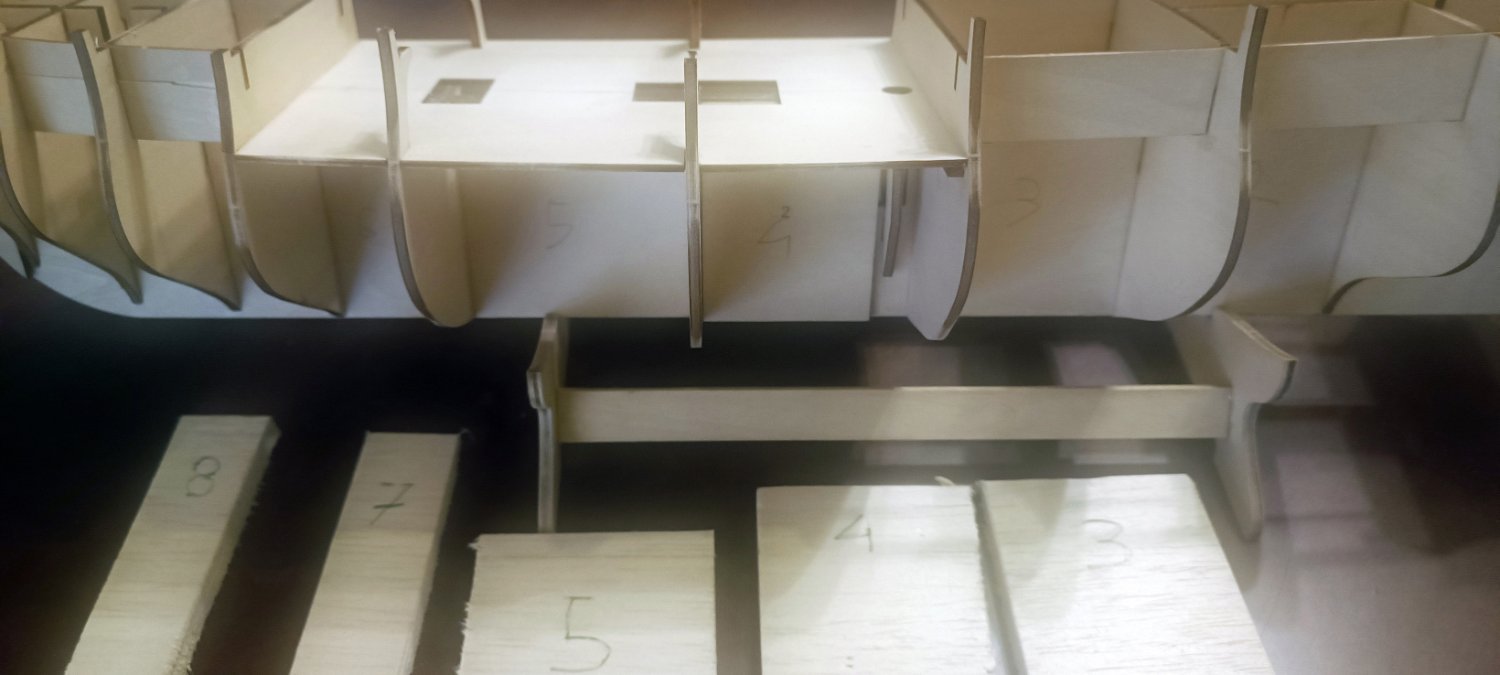
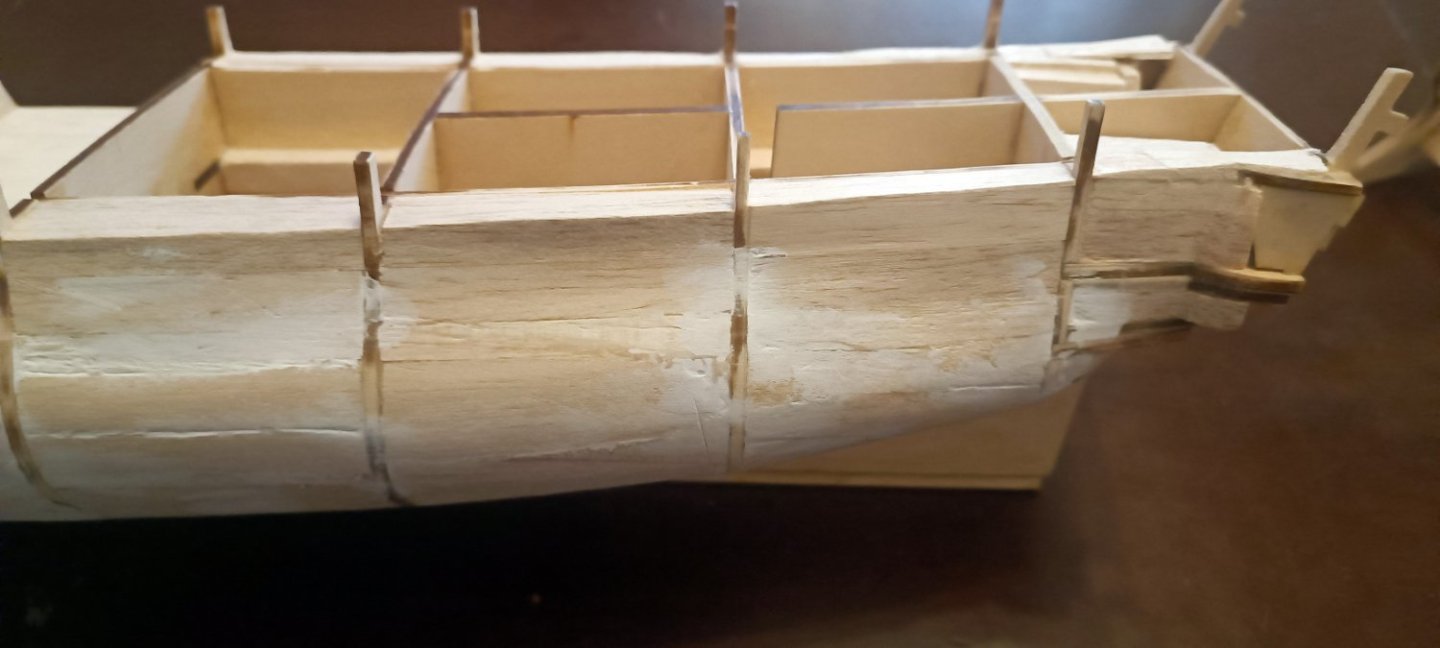
dec beams are installed I will be filling up that space beween beams with balsa wood, so I can start planking with 9 cm planks
-
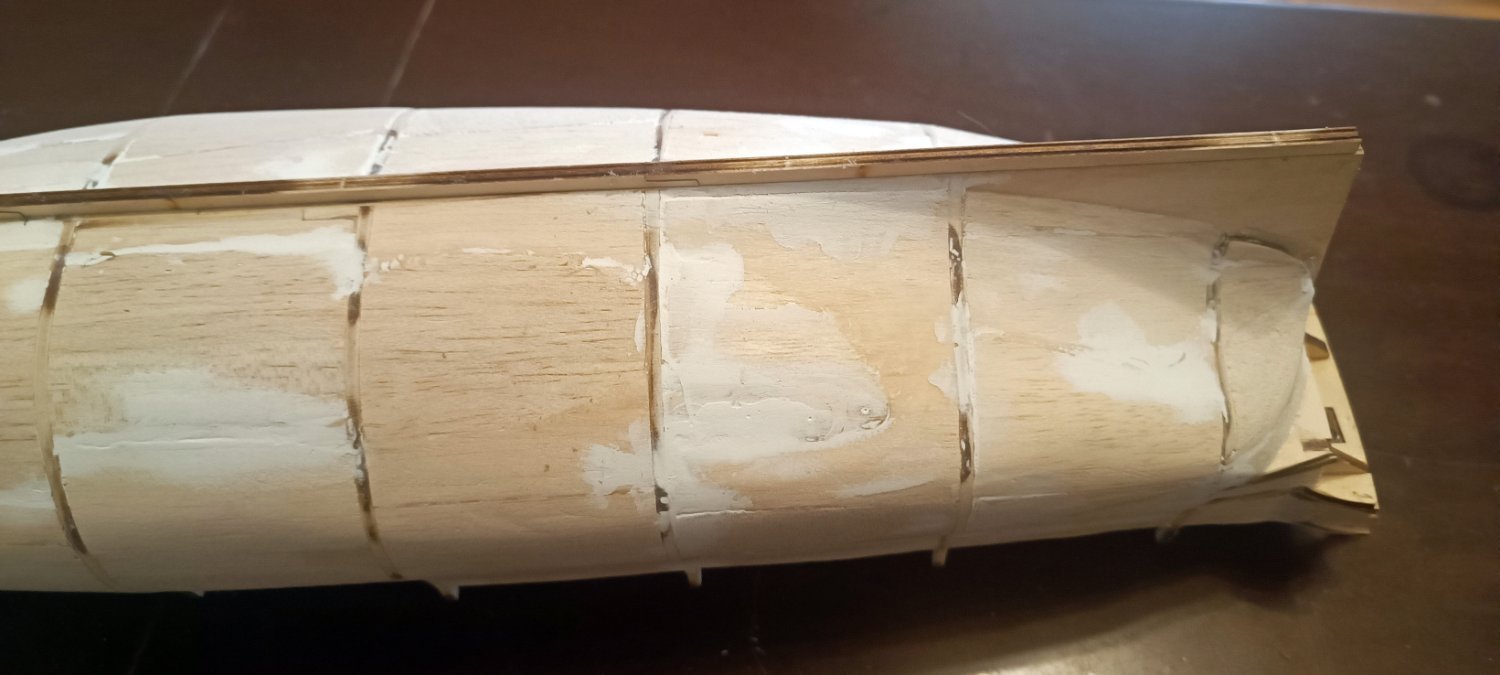
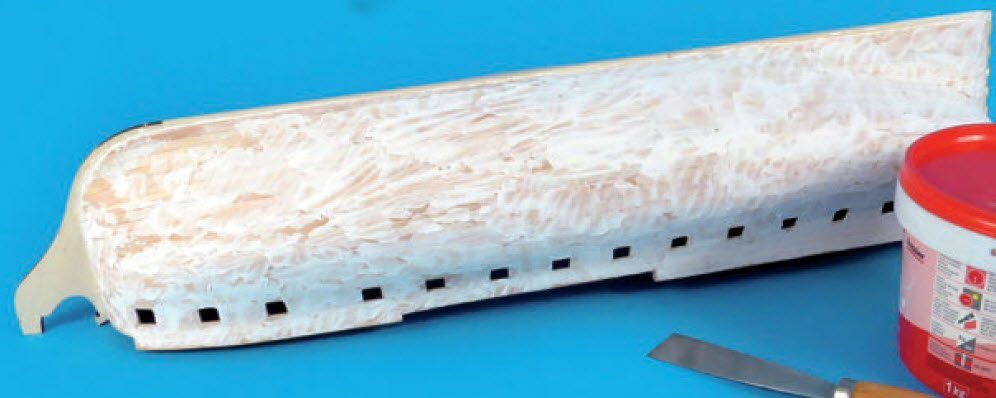
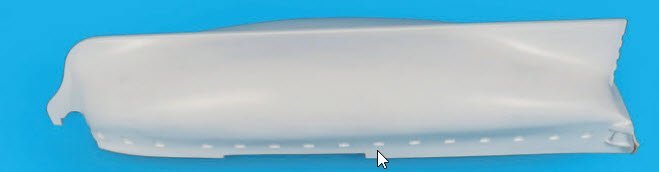
The entire hull will receive a complete paint job, eliminating any wood detailing. Following Artesania's guidelines, the next step involves applying putty to the hull. I've decided to plank the hull using the "rule of 3," using 9cm planks (with 3cm repeat mark for each row)
-
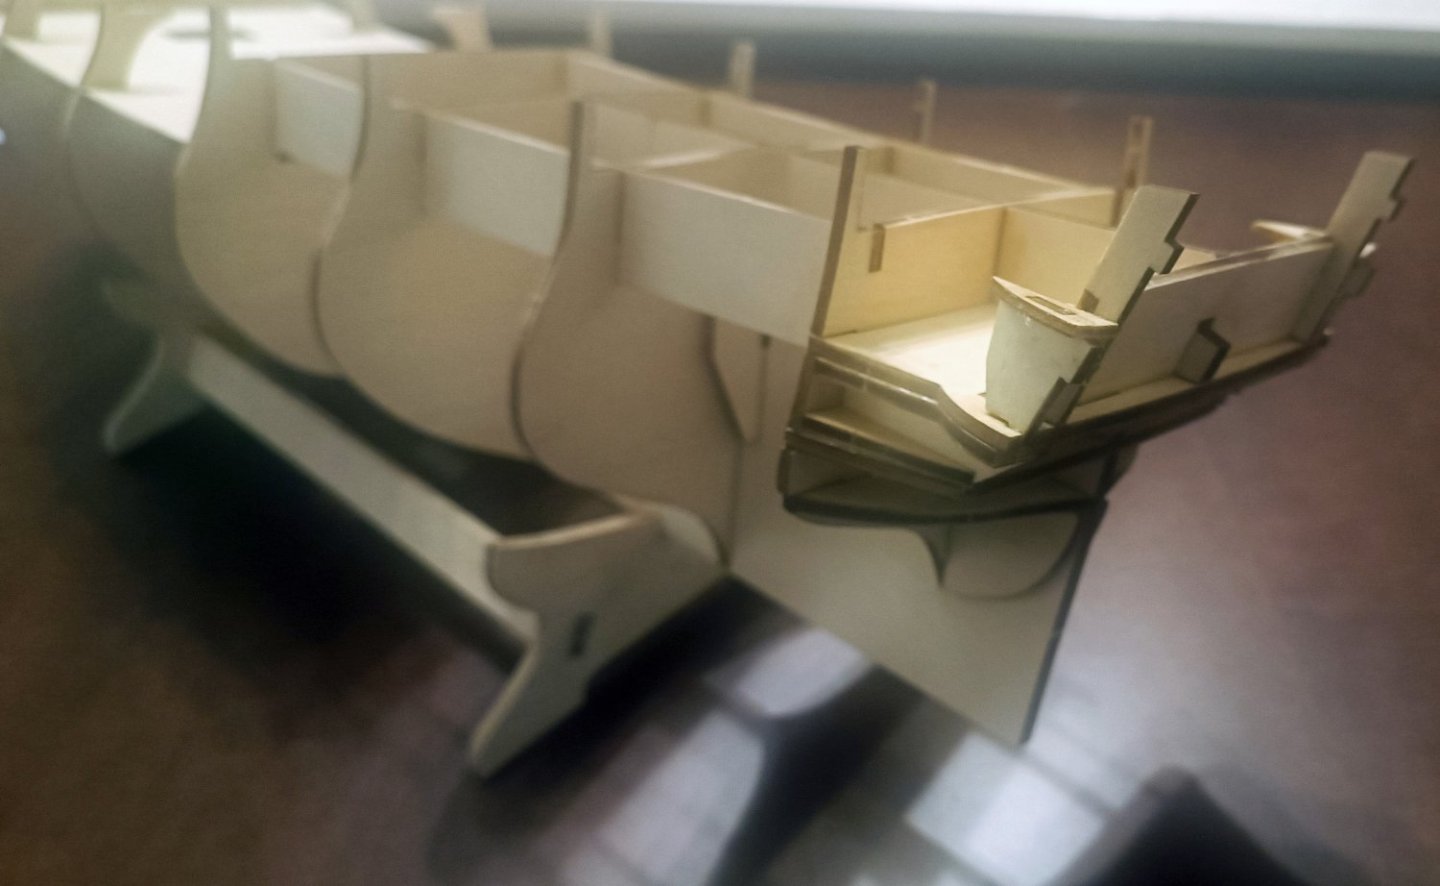
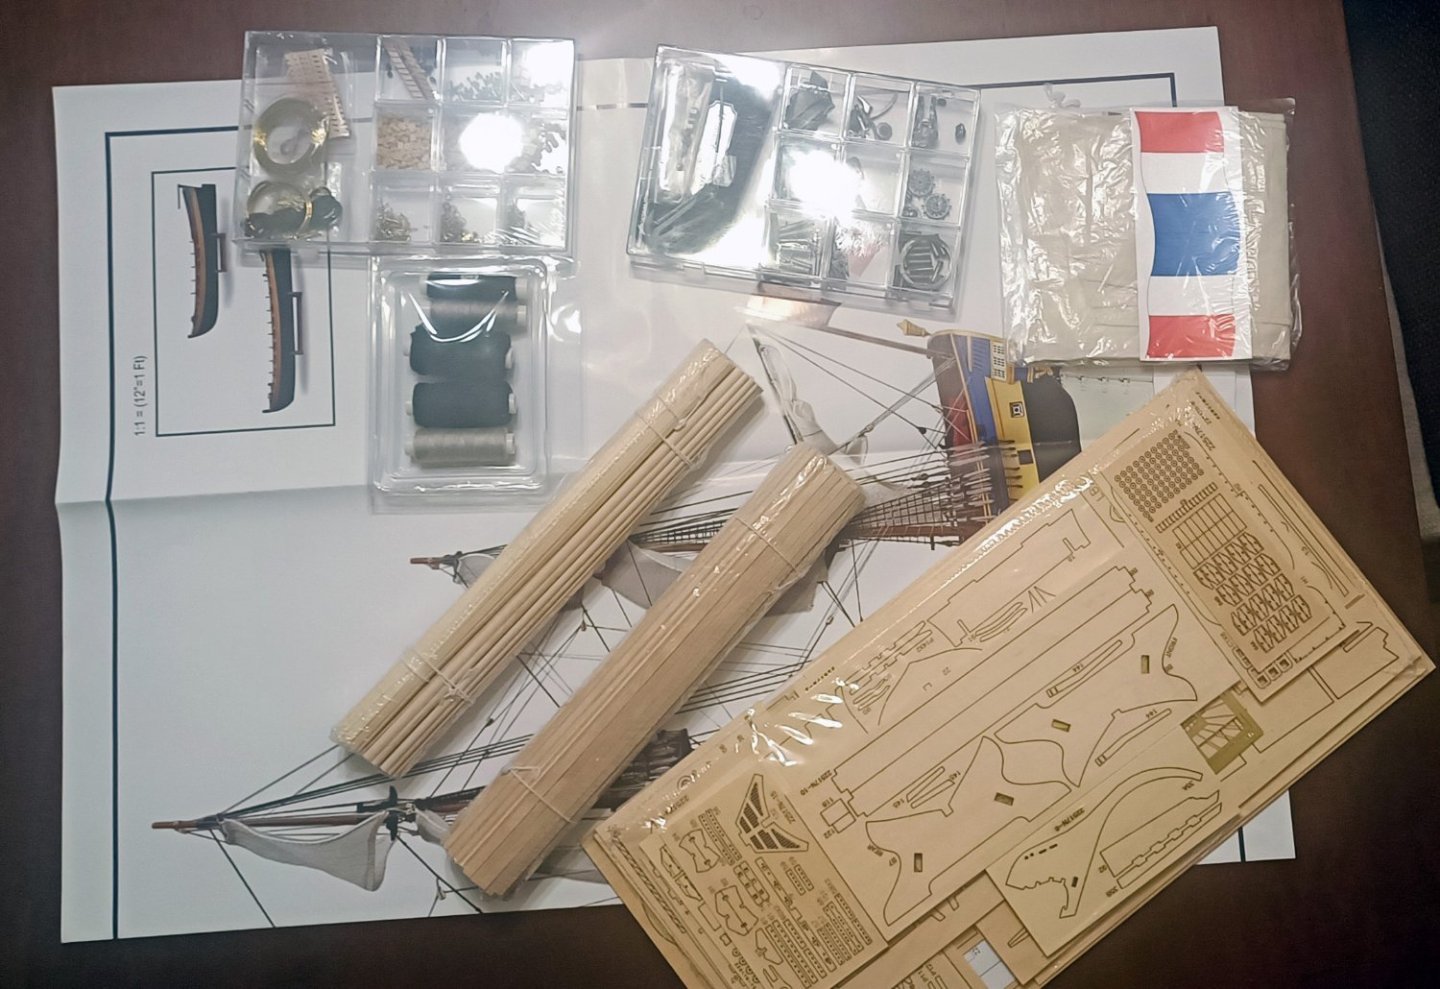
I haven't finished my latest project, Victory-Corel, and as I wanted to embark on something new this year, I decided to pull Artesania's Hermione from the shelf....a very promising kit. Upon opening the box and unpacking its parts, the high quality is evident from the first glance
-
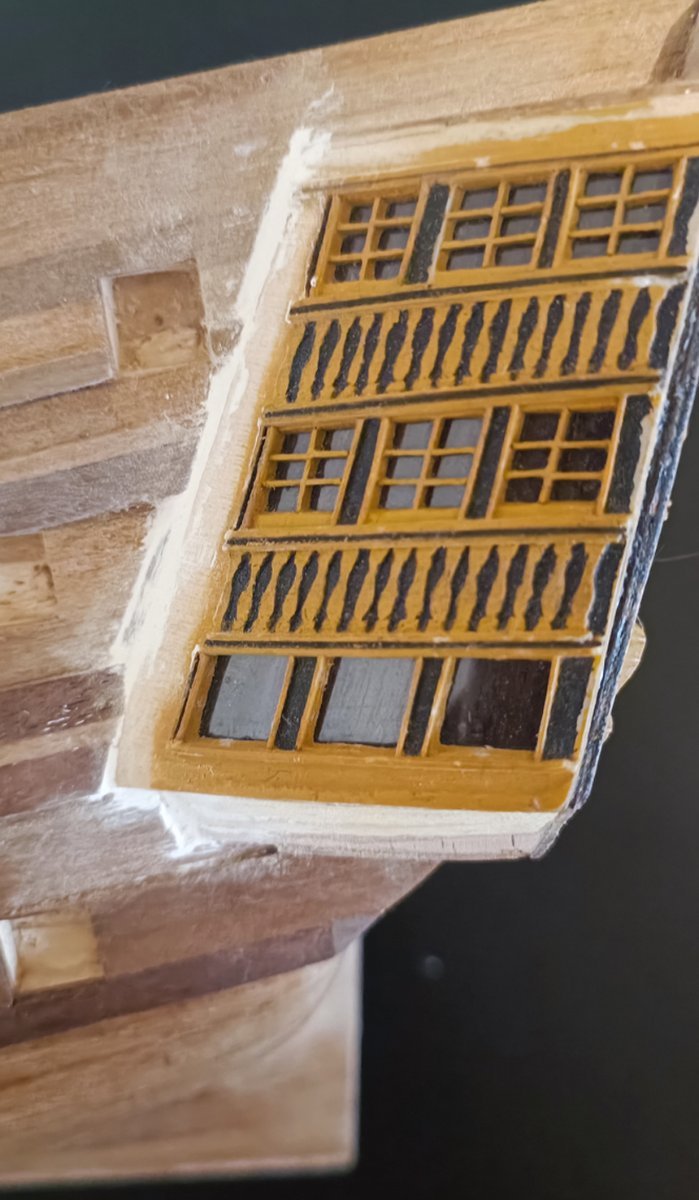
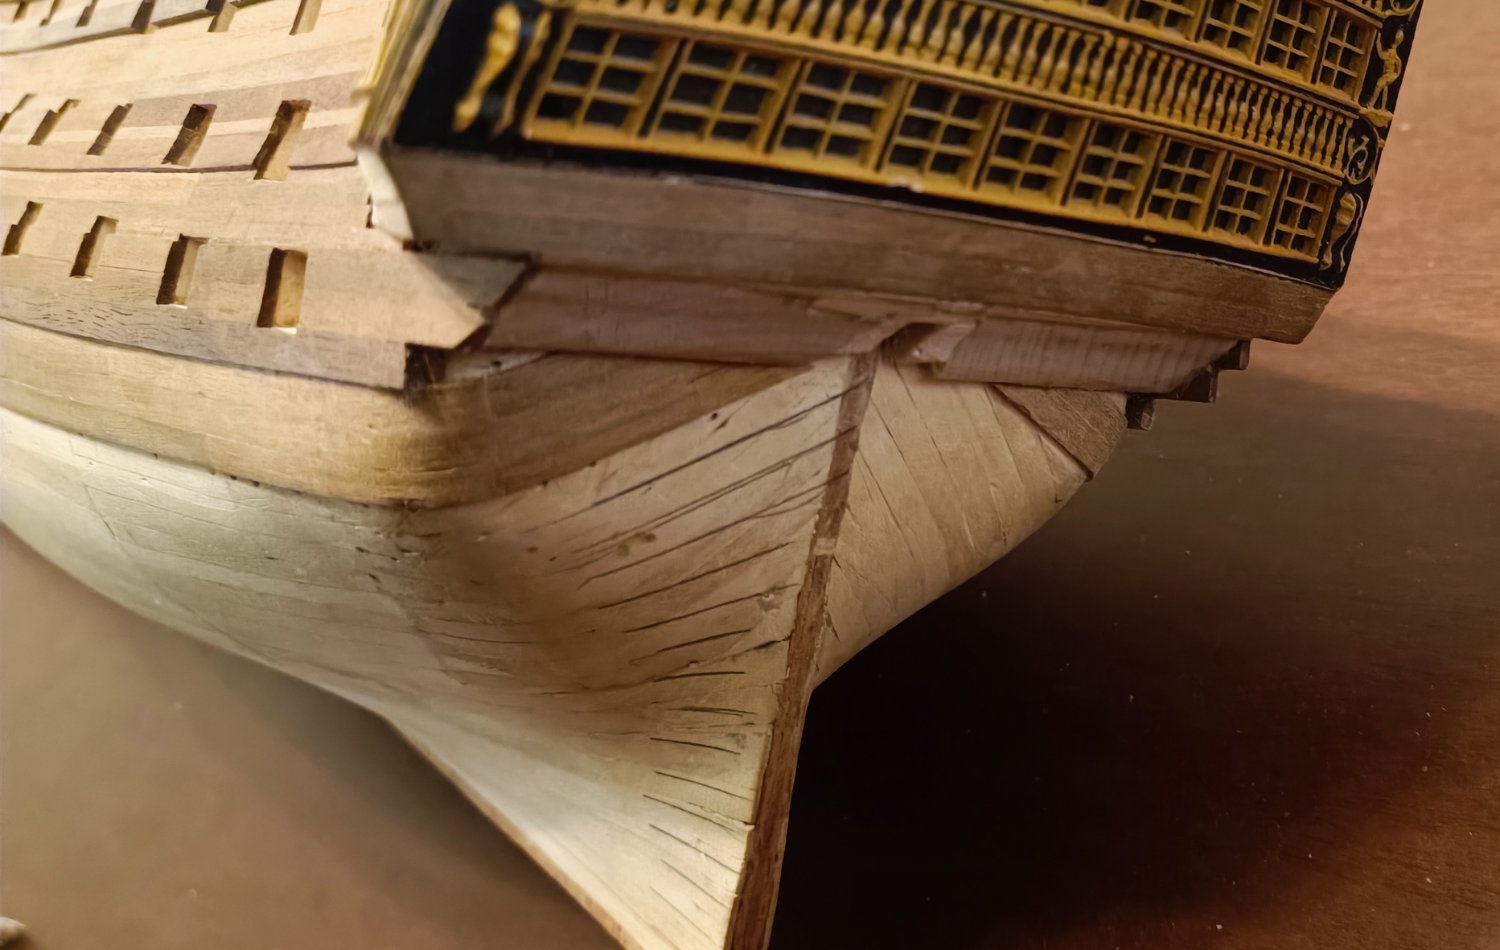
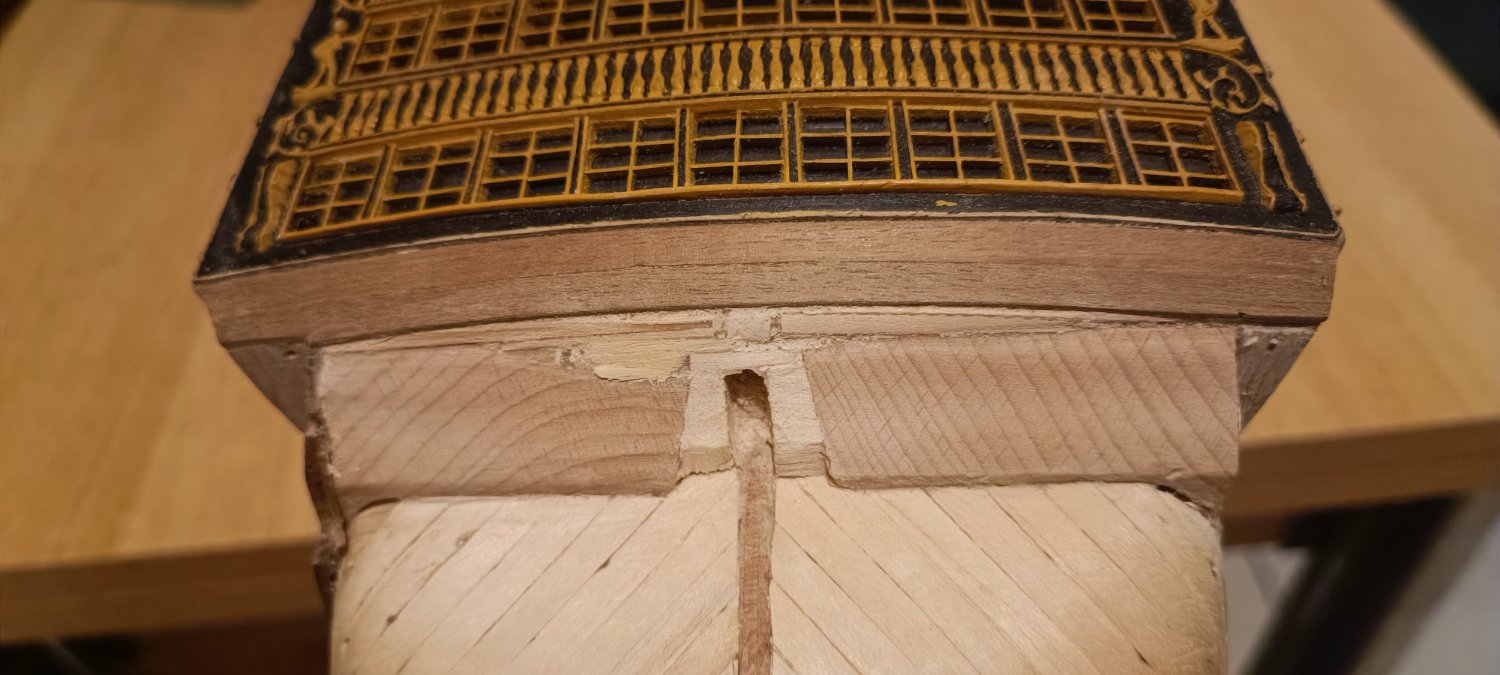
old panels are completely removed, side stern galleries are trimmed ready to get the new panels I have adjust each panel to fit on its own window, so I marked each window and used double side tape to keep panels in position before painting.

-
Corel's HMS Victory cross section is a very nice kit, I believe there is room for improvement. Consider conducting a brief survey through the posts of other members to gather ideas; I'm confident you'll discover them to be intriguing and quite demanding
-
I have to remove old frames, and replace them with new styrene frames

-
I have followed your advice, right now I am working with styrene strips, takes time but the outcome is great

-
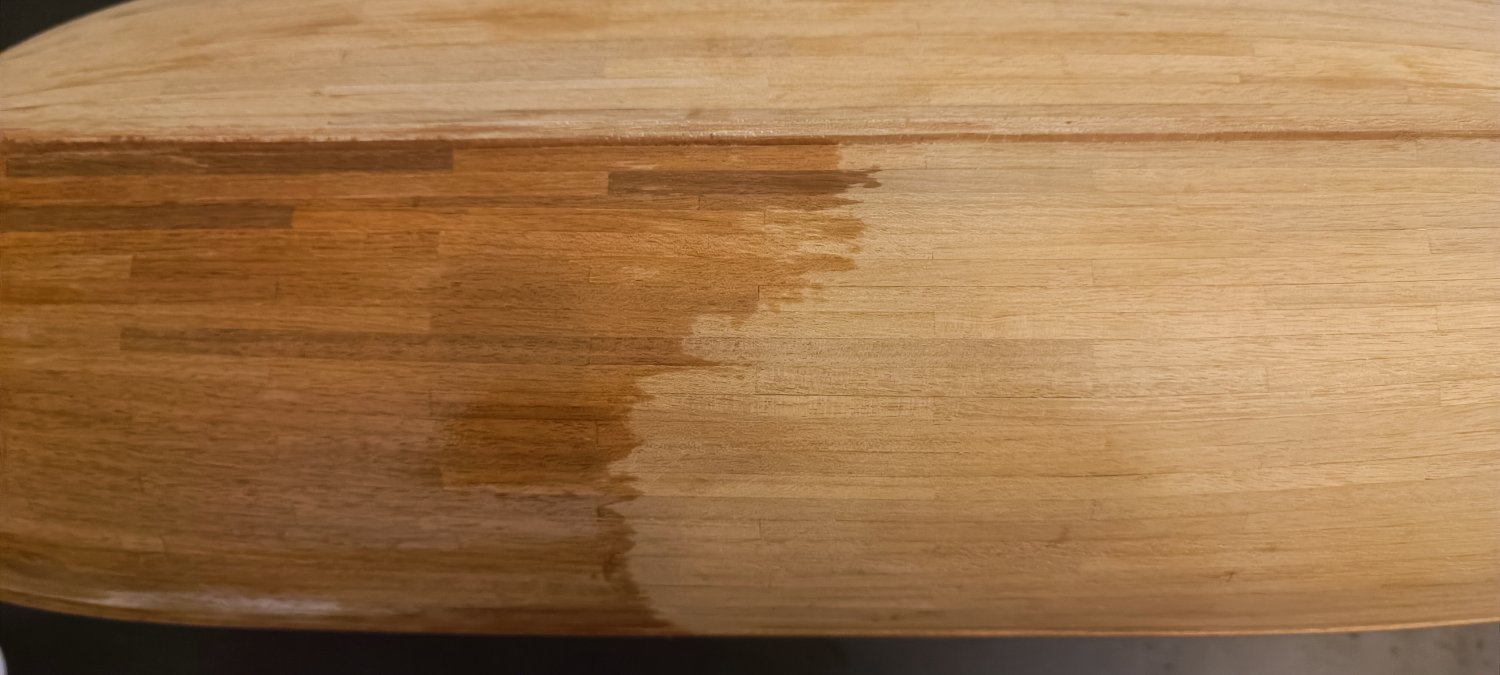
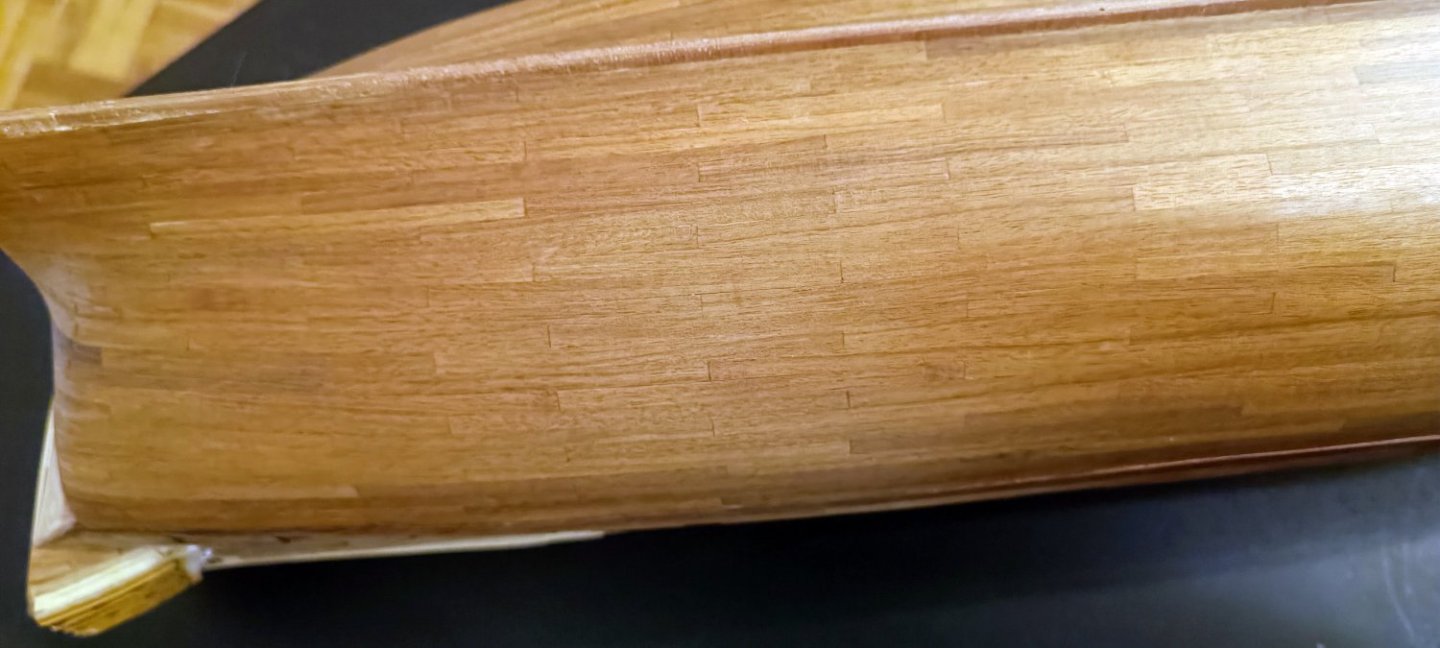
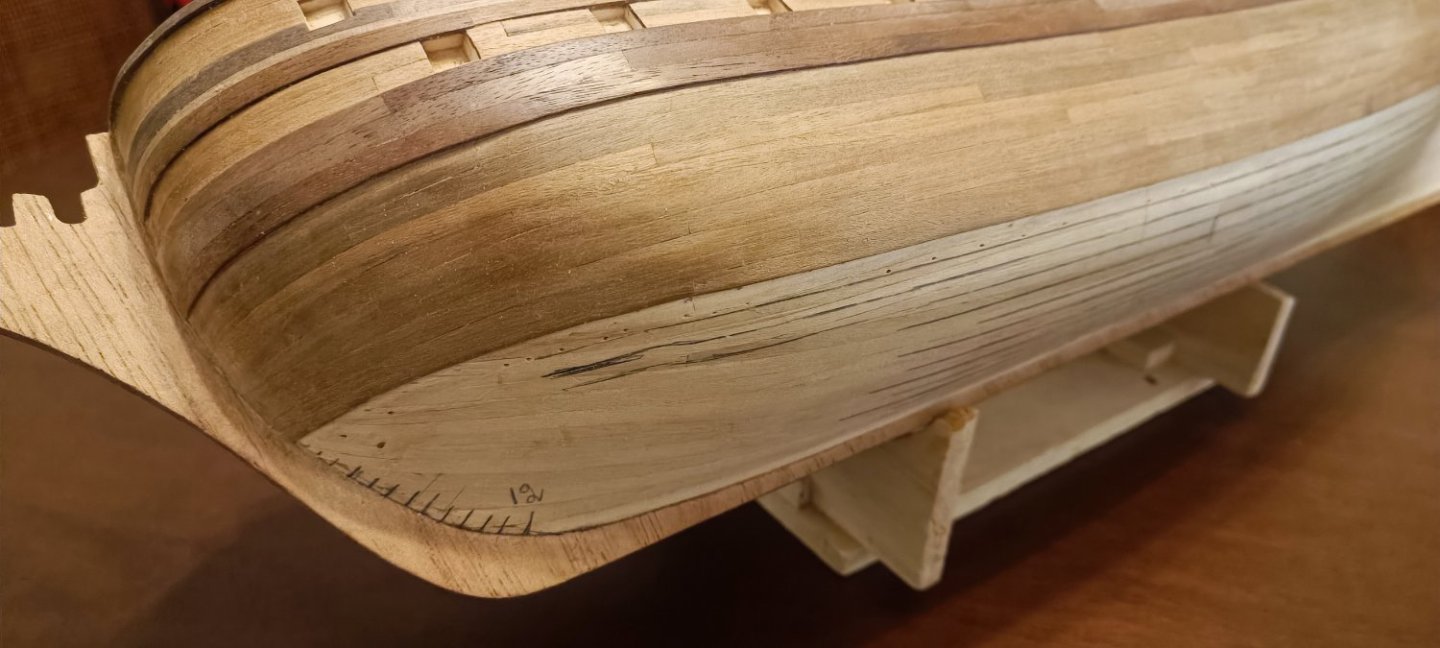
most of the hull is finished I will get the hull oiled below wales, just to see how it will look like, once is finished


-
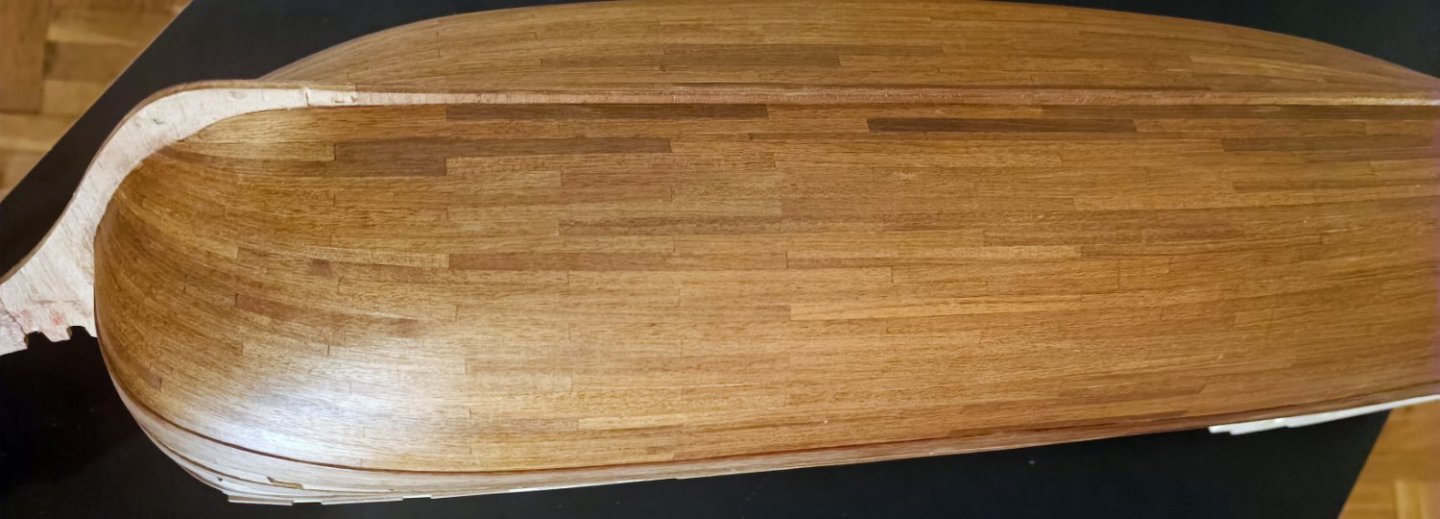
Although the hull planking process is advancing slowly, it is nearing completion
-
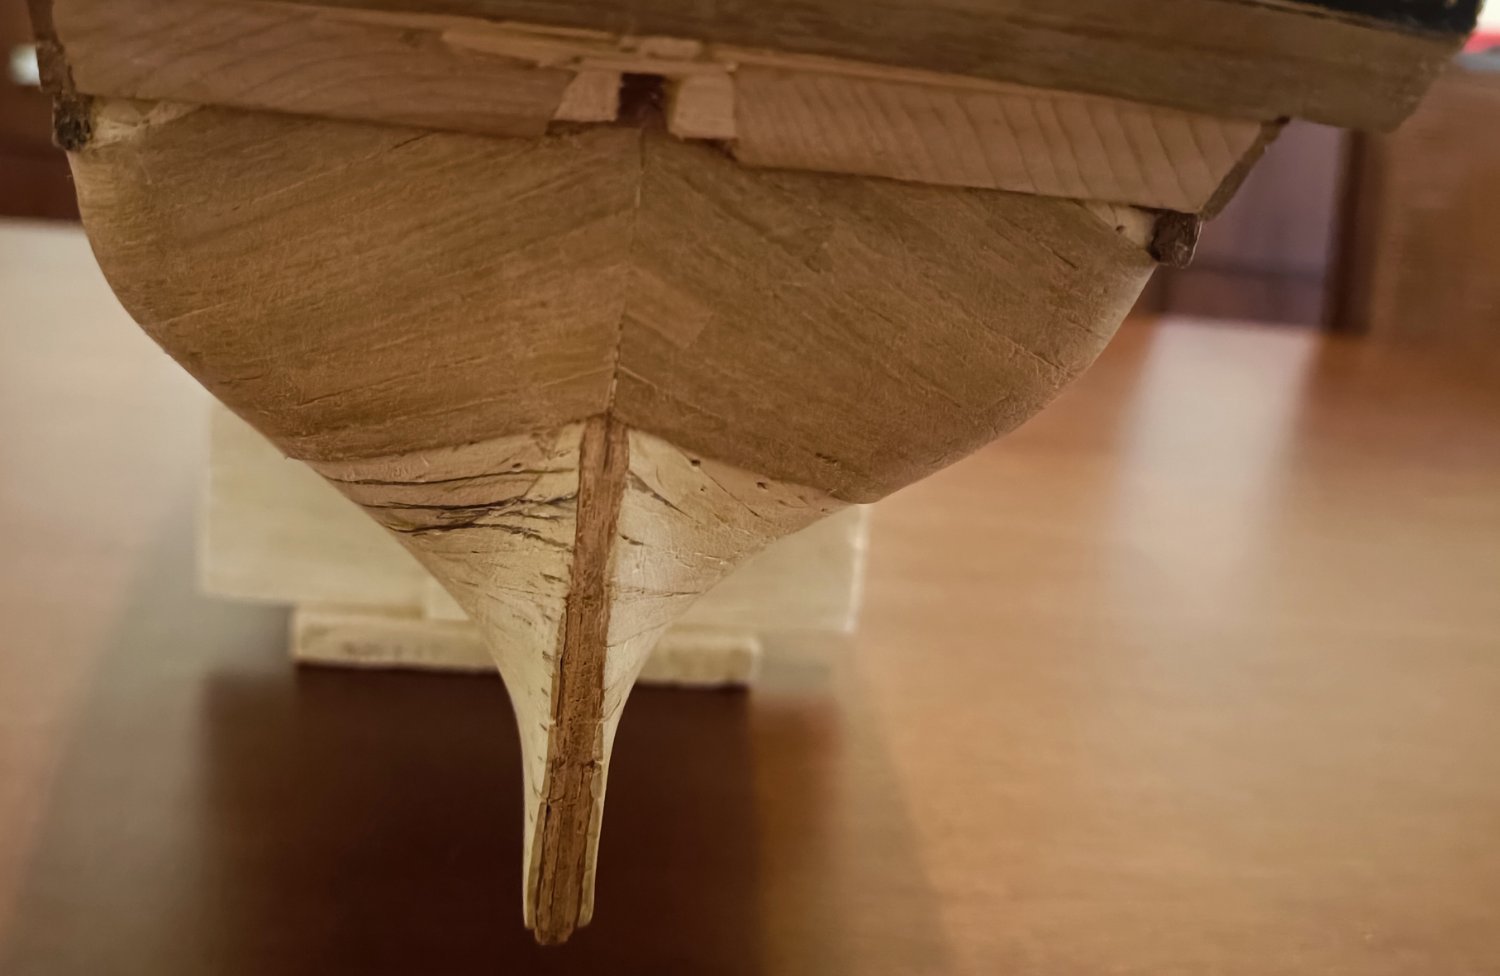
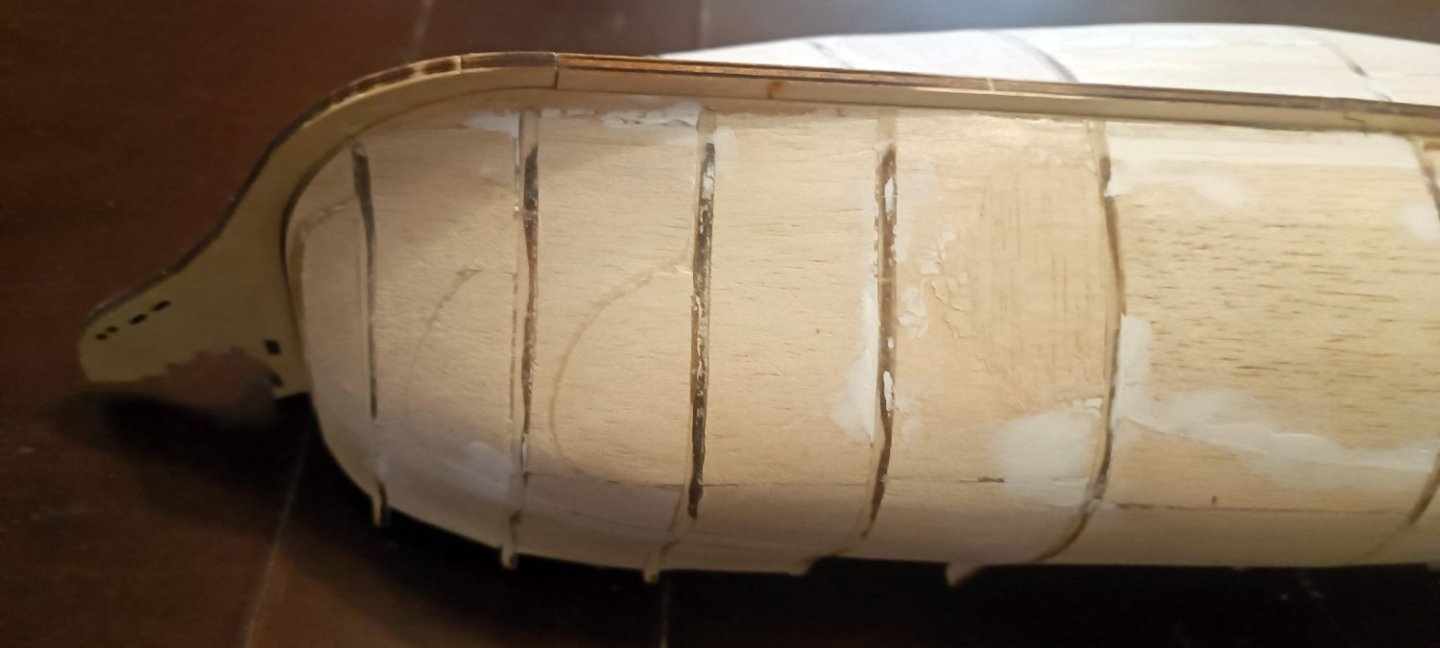
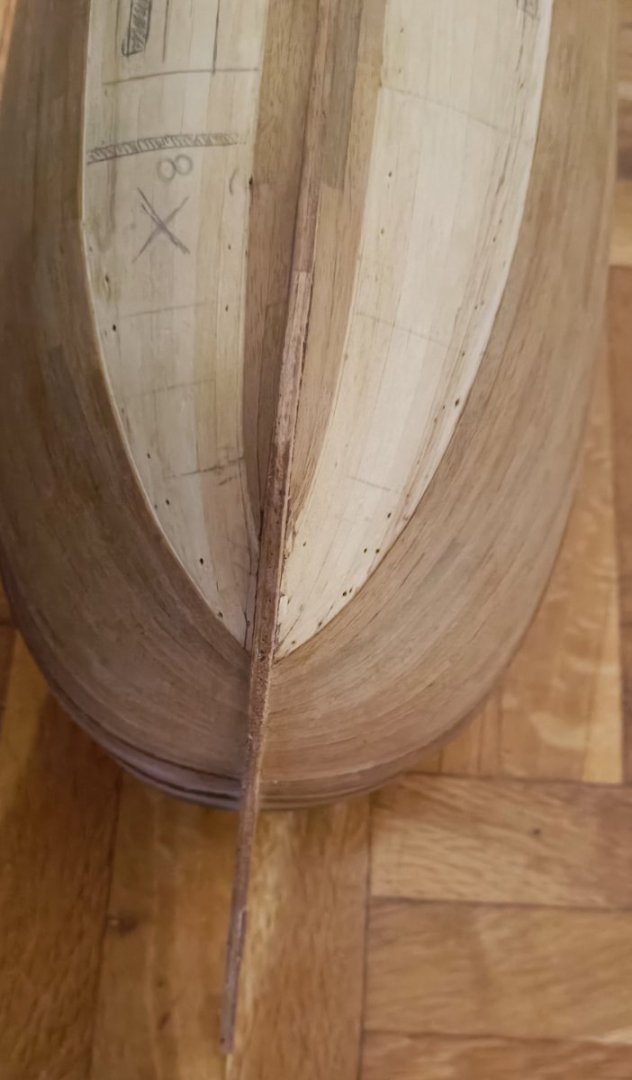
planinking of garboard is finished

-
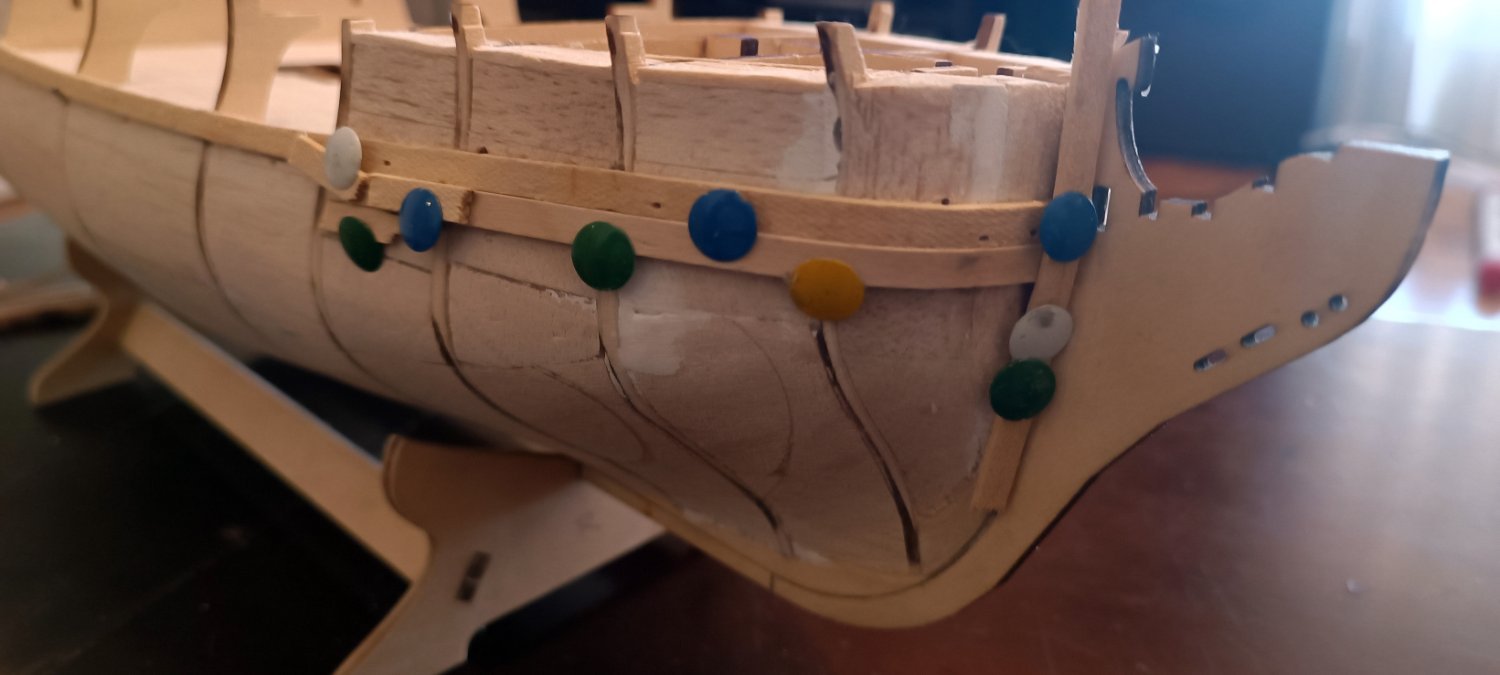
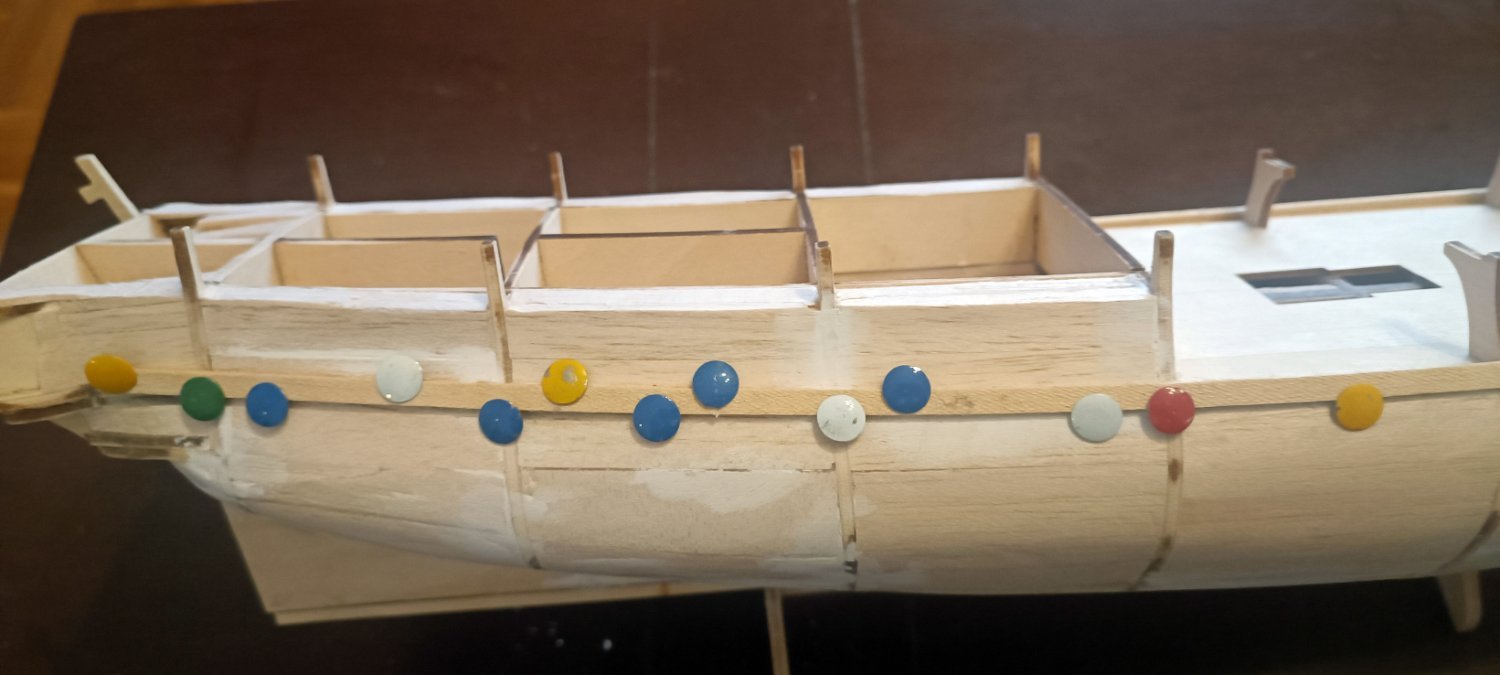
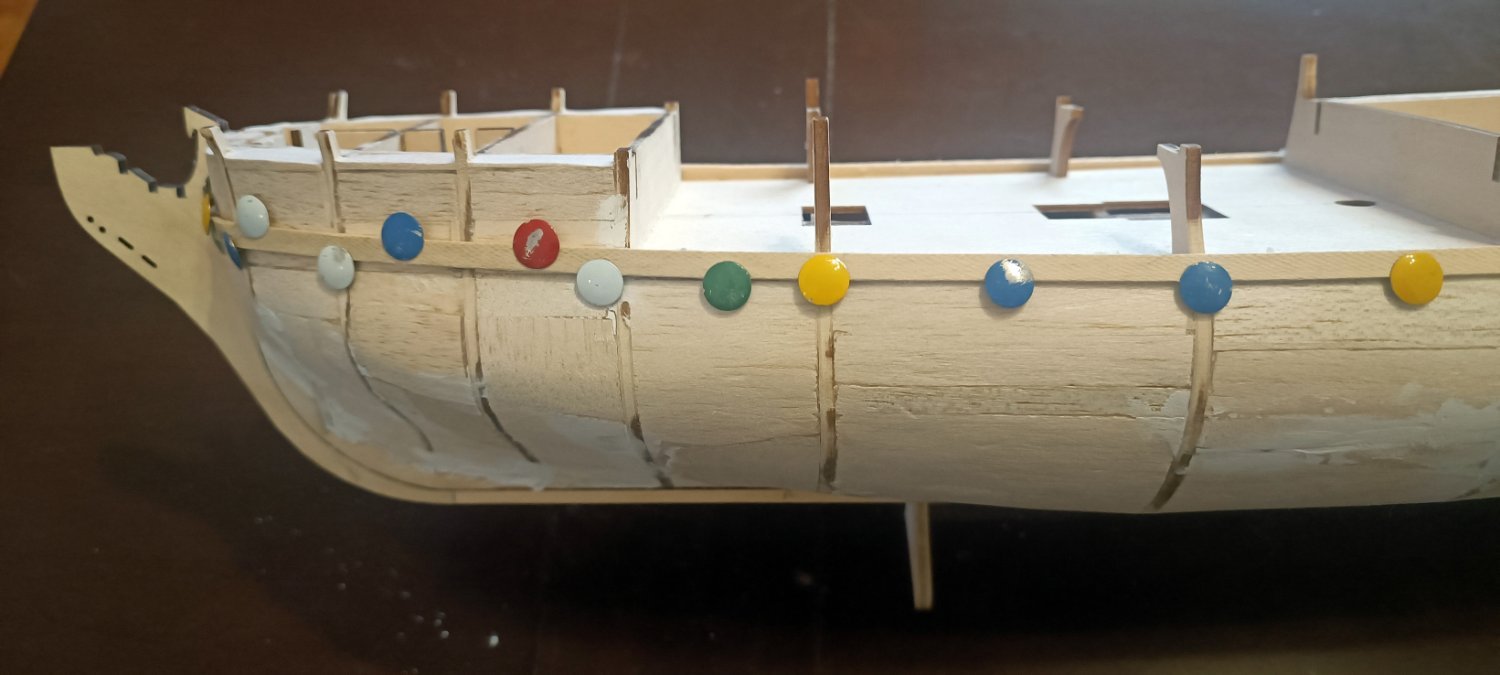
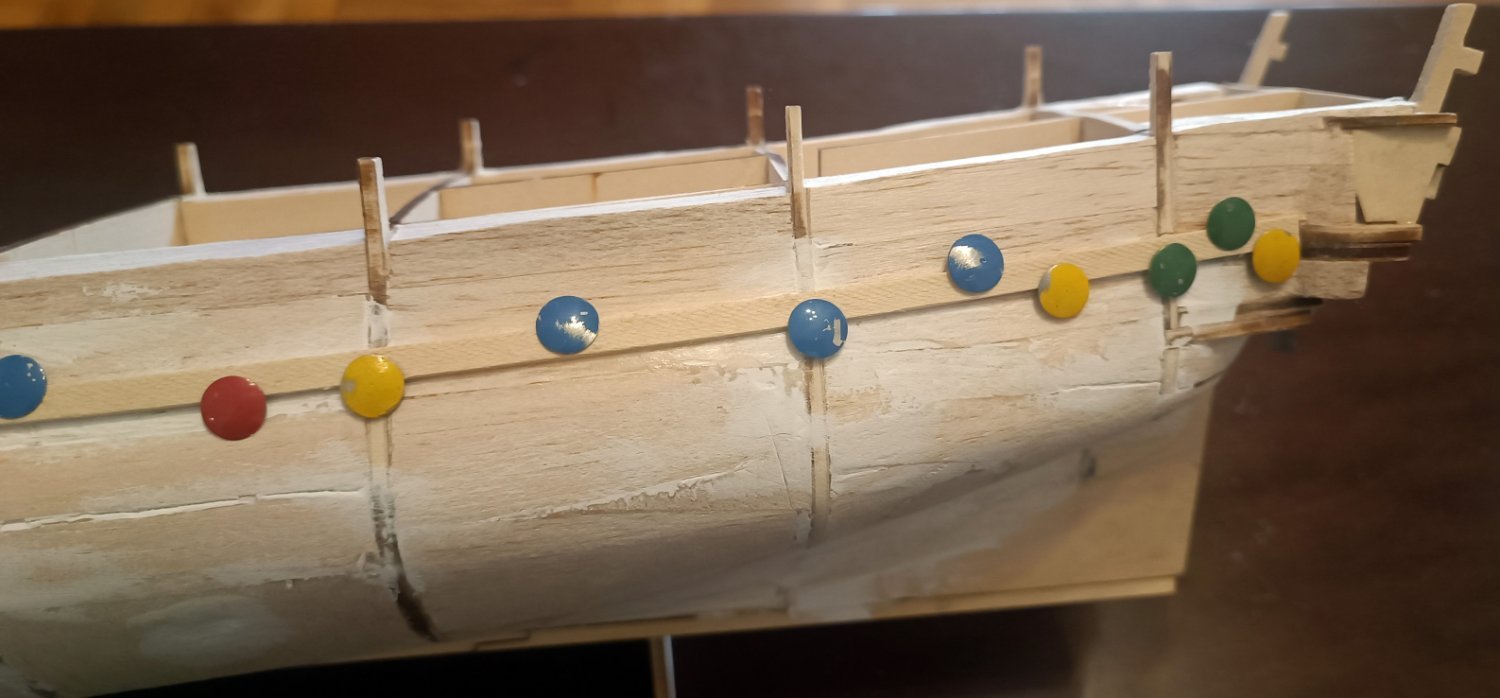
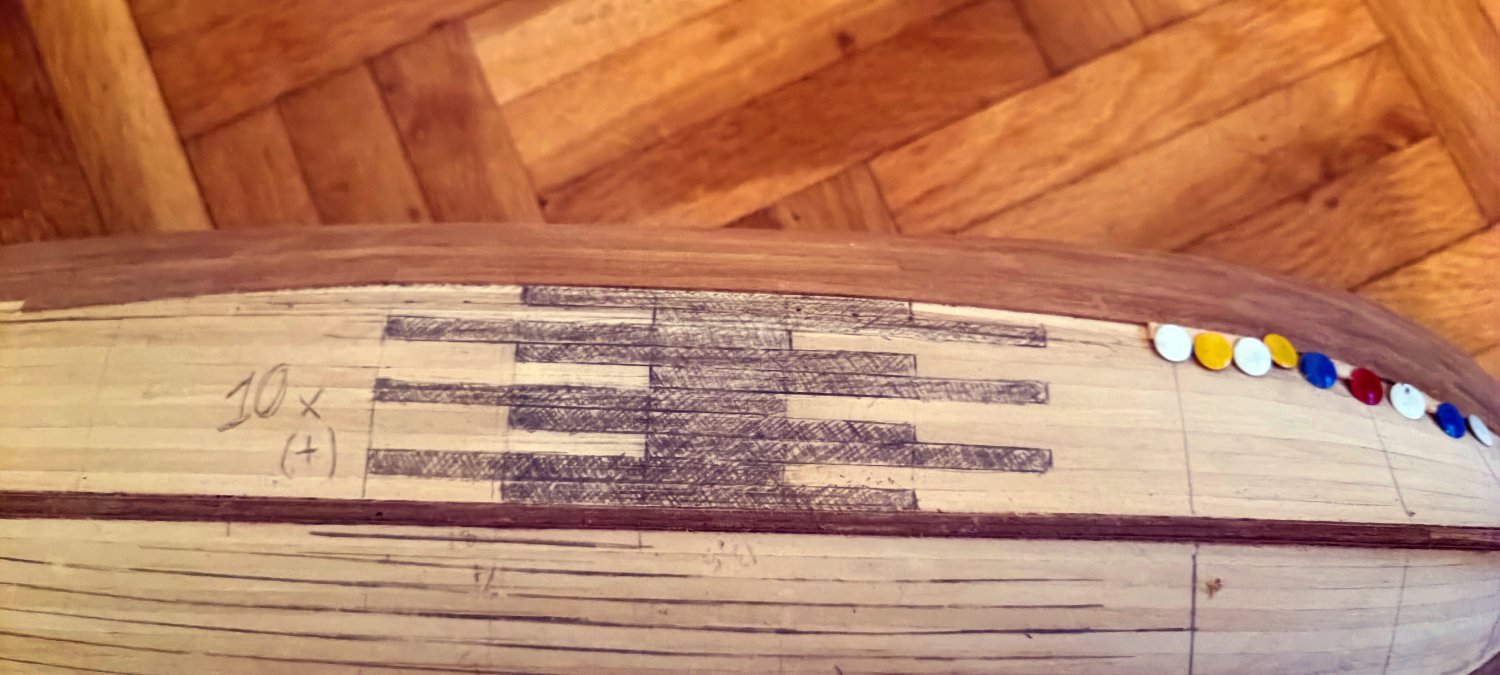
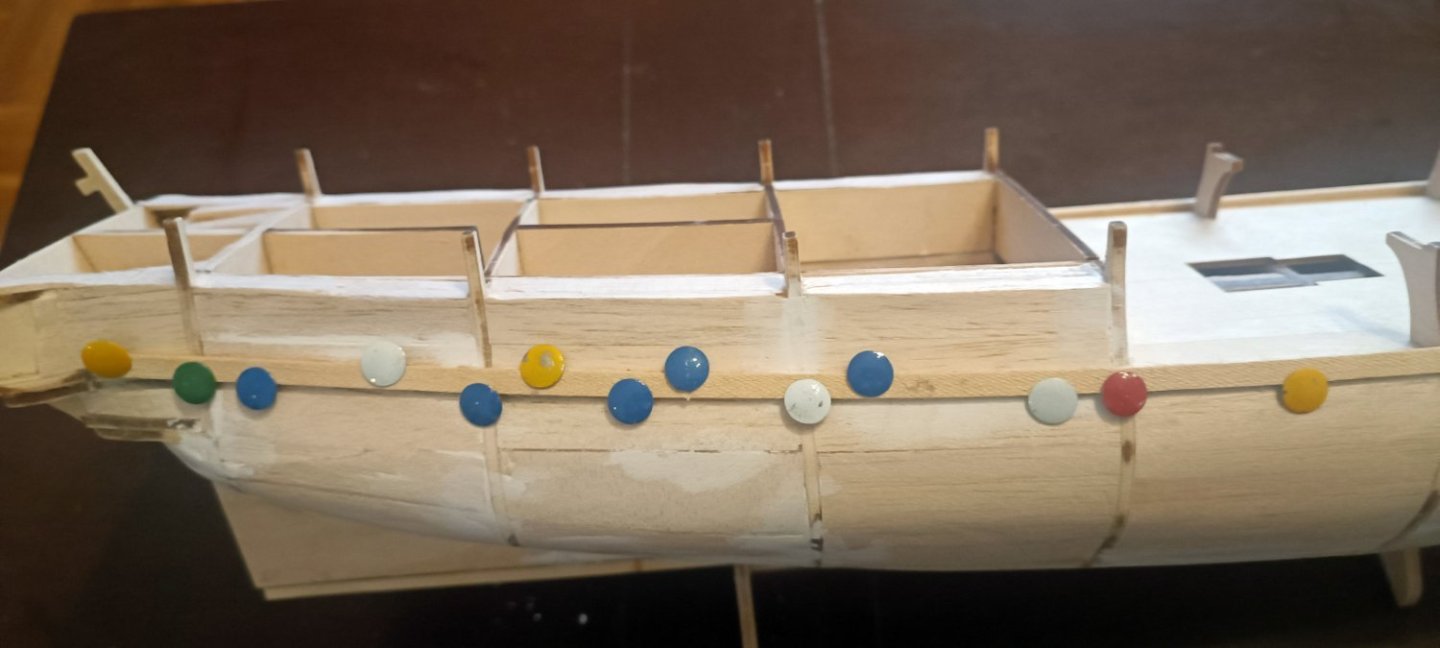
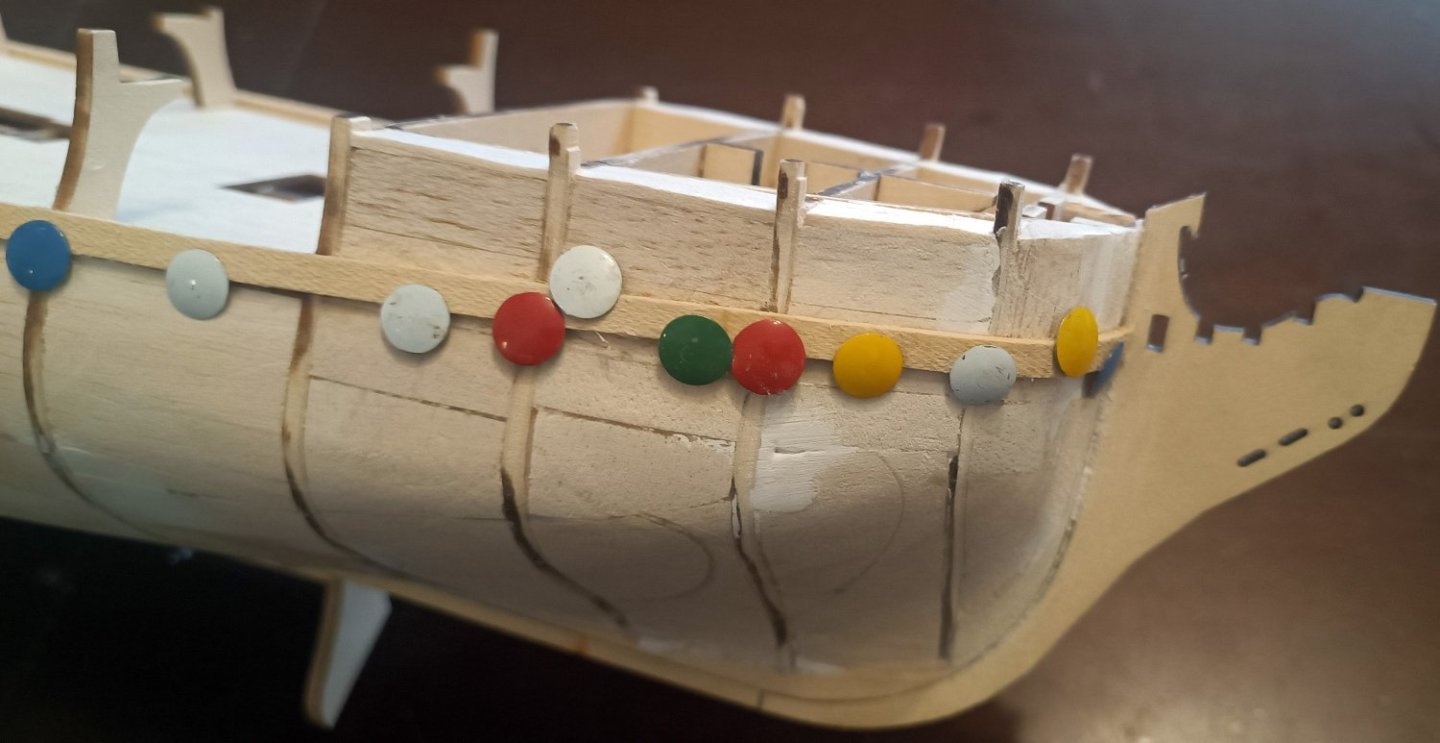
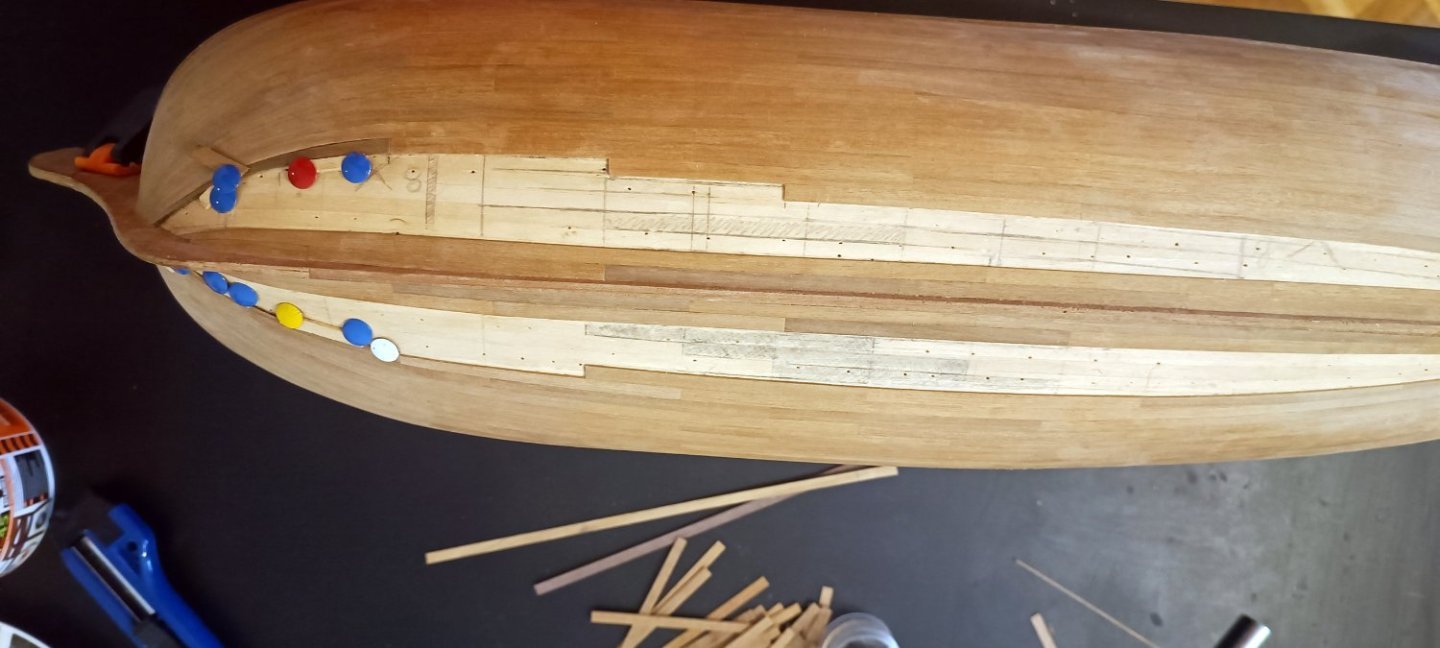
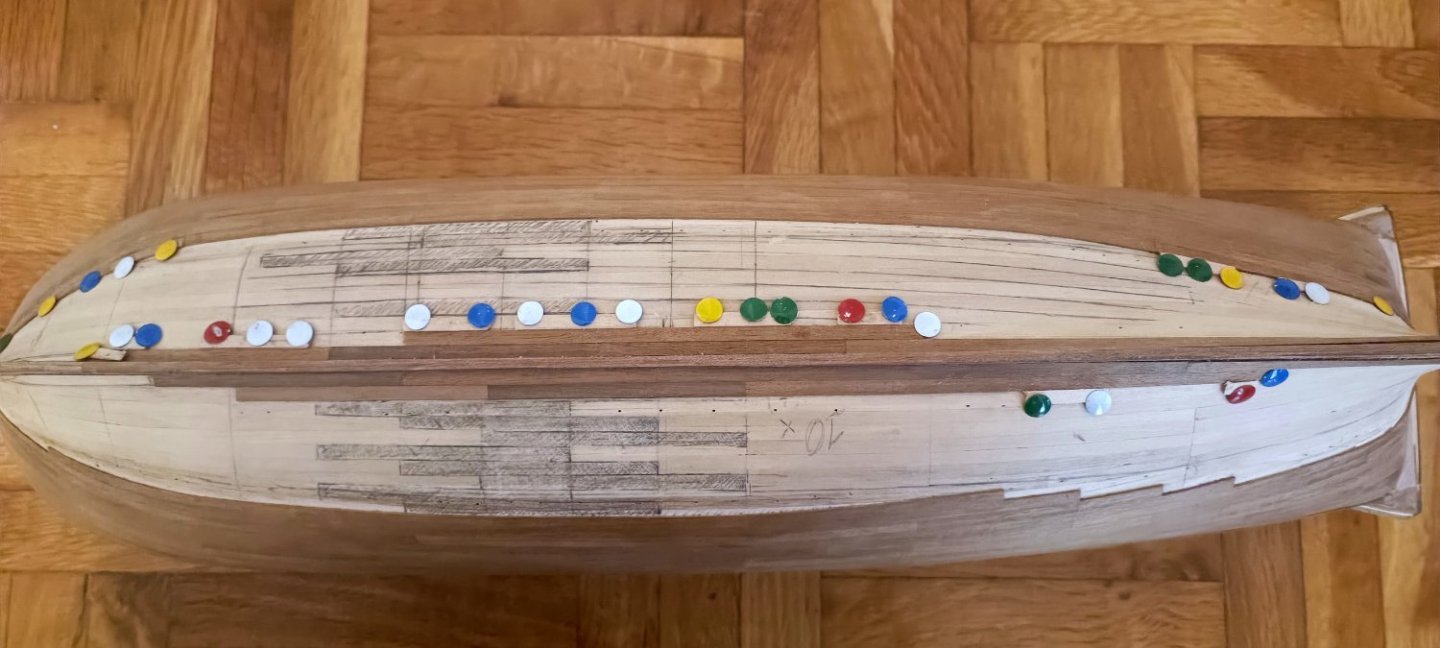
Hull plunking almost done, got to keep measuring at all times ...... pin frenzy!!!!
-
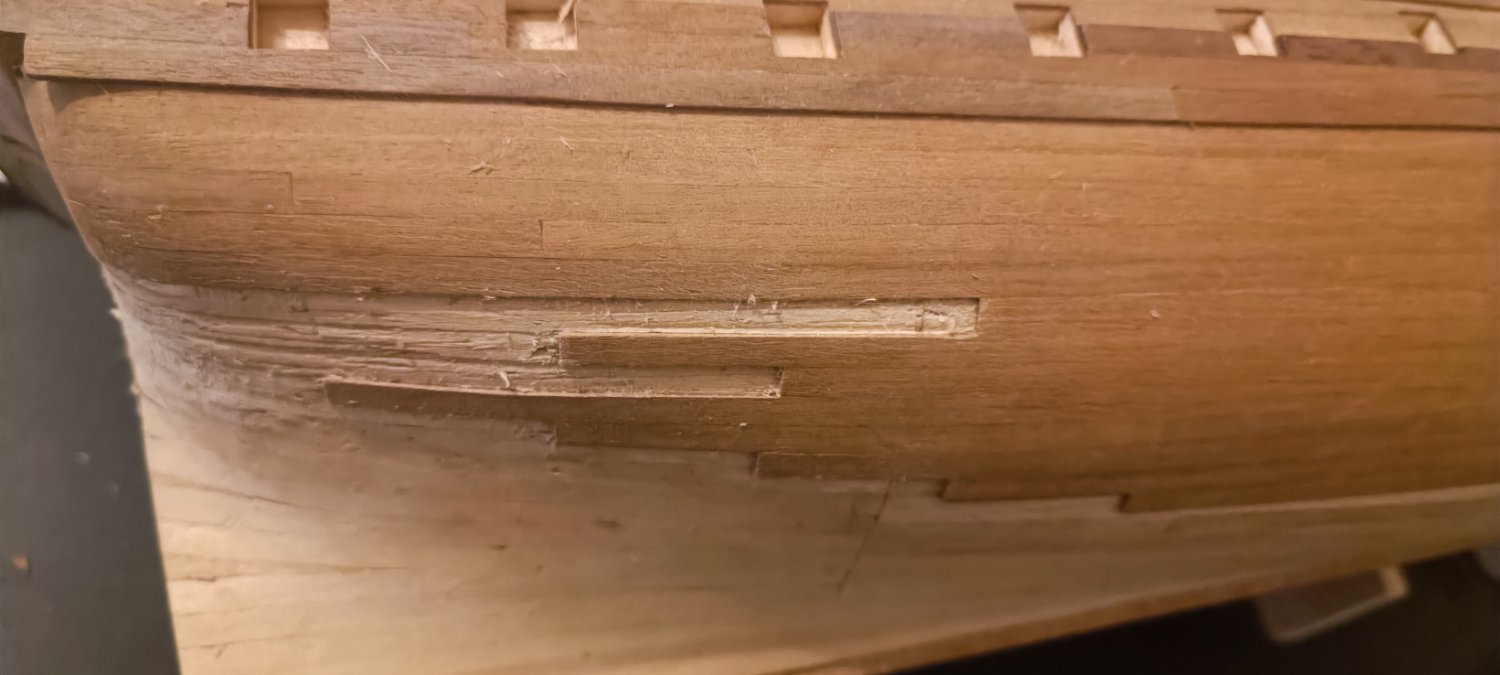
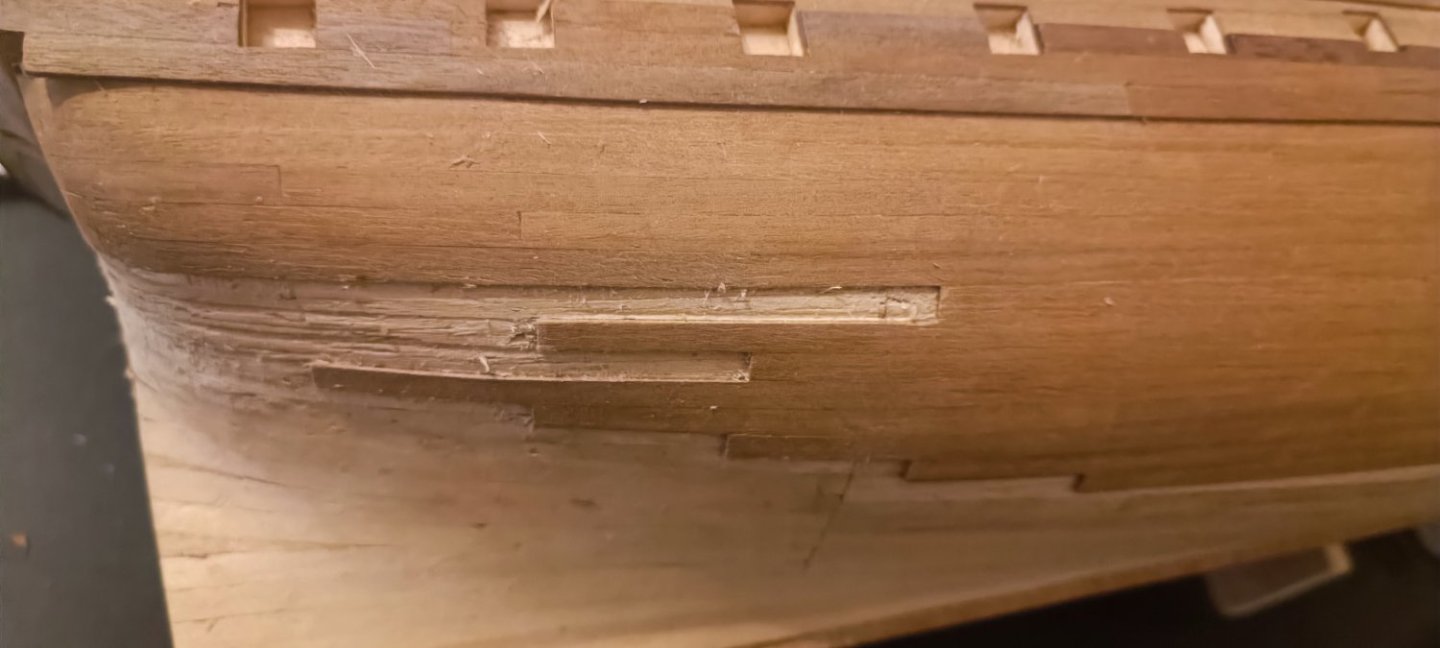
I have noticed that in some areas, the planks were too thin and the first layer was visible. I have sanded the second layer of planks more than necessary. As a result, I had no choice but to remove several planks and fix them all over again, which was not an easy task. Now wider planks are to be selected so as to ensure they fit correctly
-
Thank you very much for your kind remarks. You can notice that the fisrt layer was made with the "easy way" becouse I wanted to find out how it looks I will paint the hull above the waterline with HMS Victory's actuall colors, so I dont mind the color differences. I am looking forward to finsh the hull, becouse I am thinking of making over stern galleries .... I will definitely try with styrene strips as you suggested
-
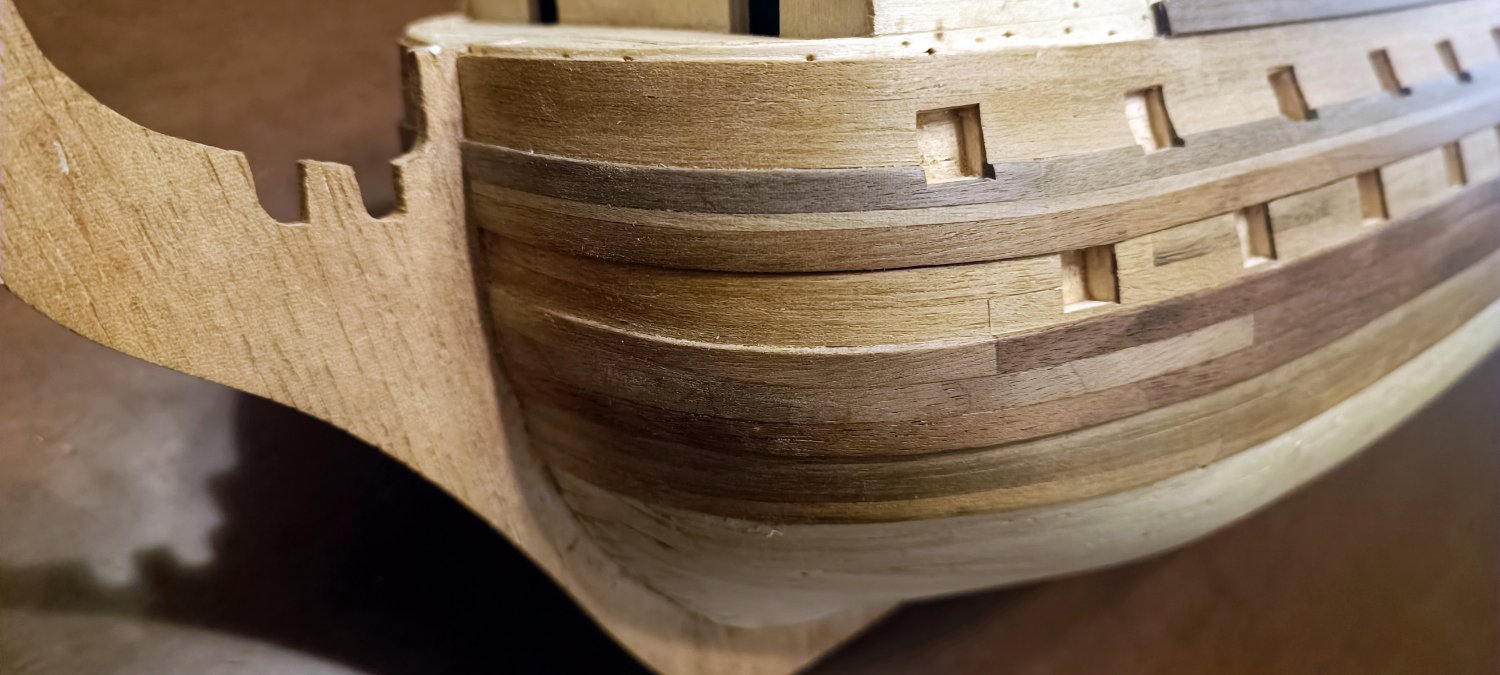
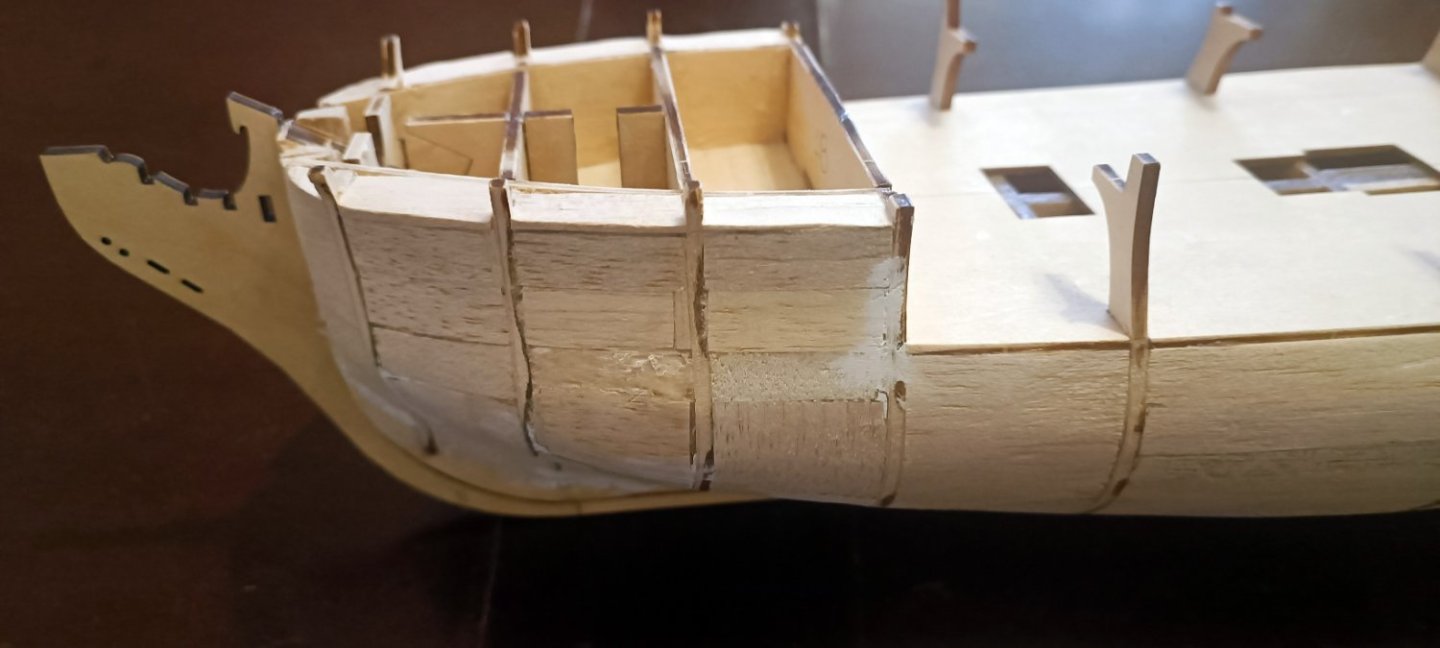
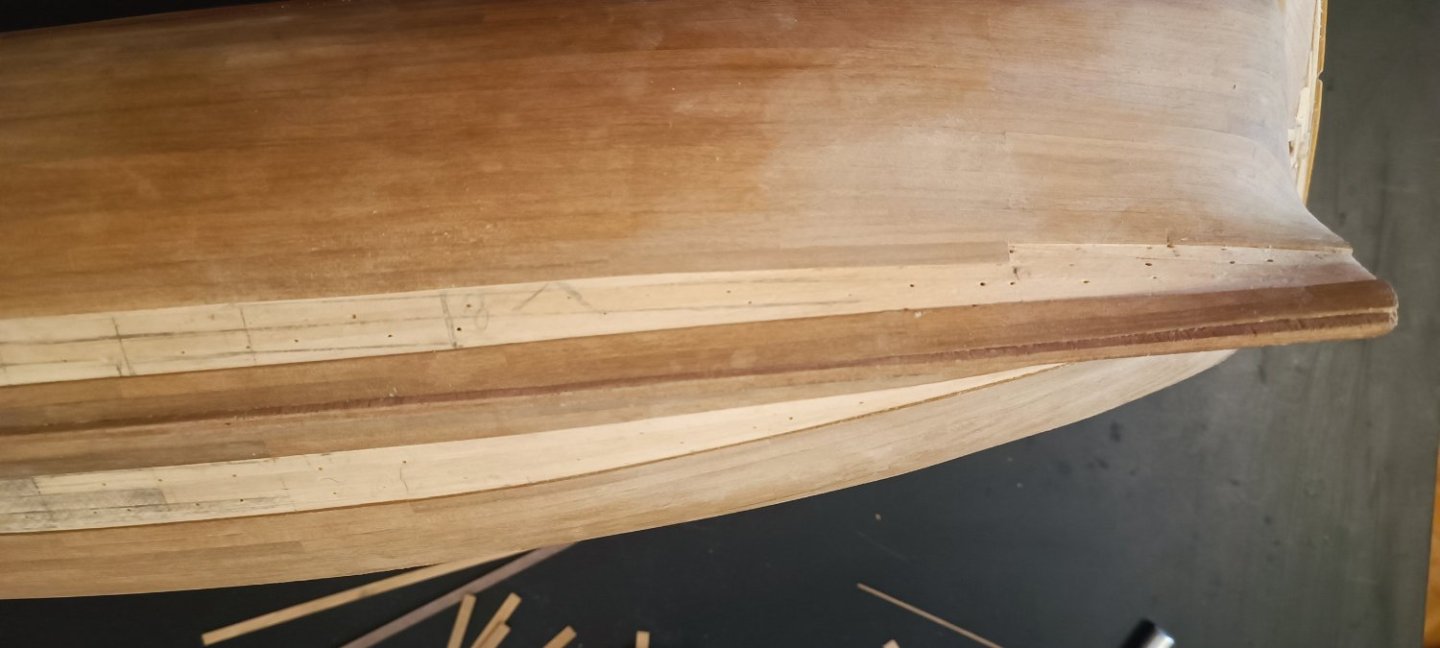
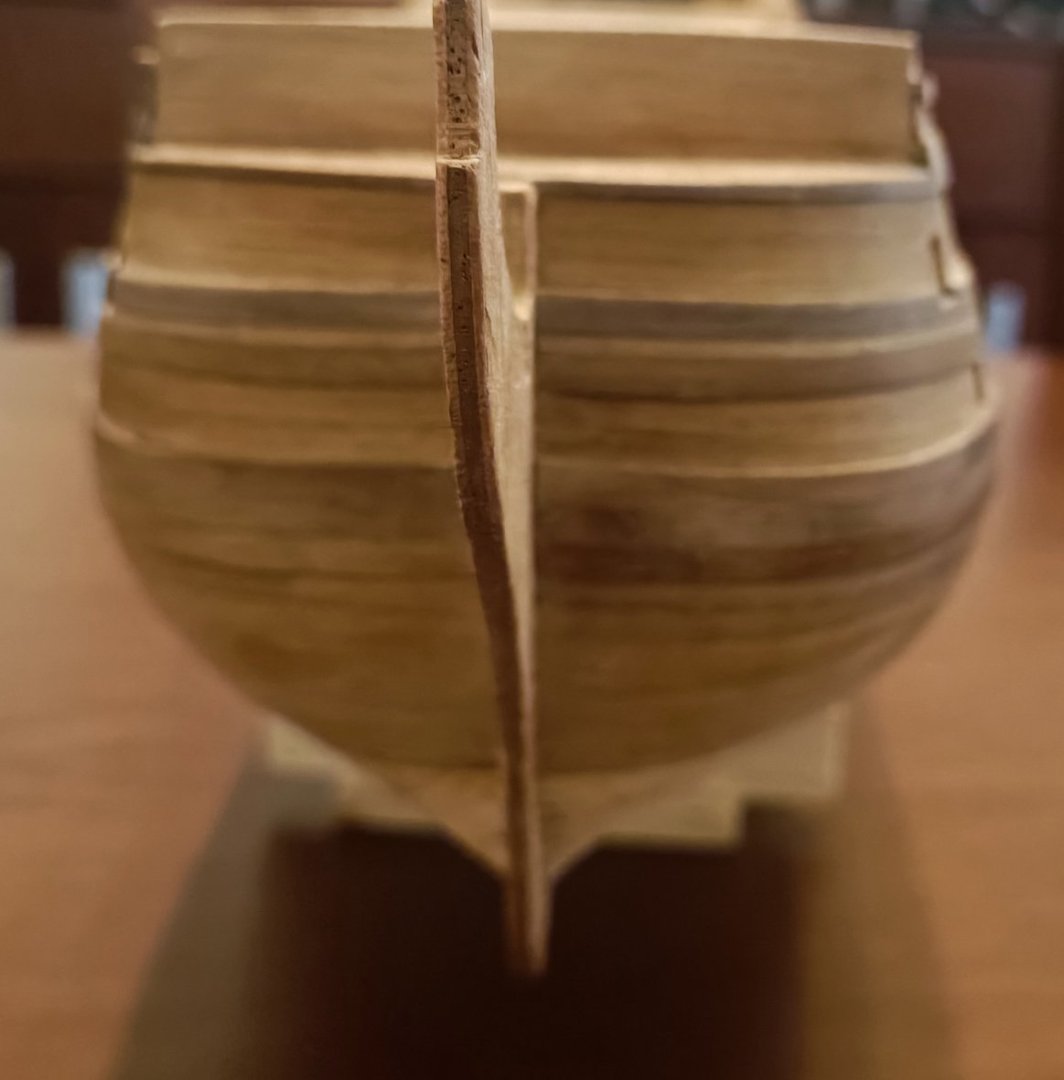
close pictures for the bow & stern


-
hull planking in progress... almost half way done
-
I have used some extra walnut strips for wales and the color is a bit darker, so I hope UV light will do the work. The hull section above waterline will be painted, so I dont really mind.
-
Congratulations, a definitely nice build, excellent work. Santa Maria is now added to my bulid list
- 236 replies
-
- 1
-

-
- artesania latina
- kitbashing
- (and 2 more)
-
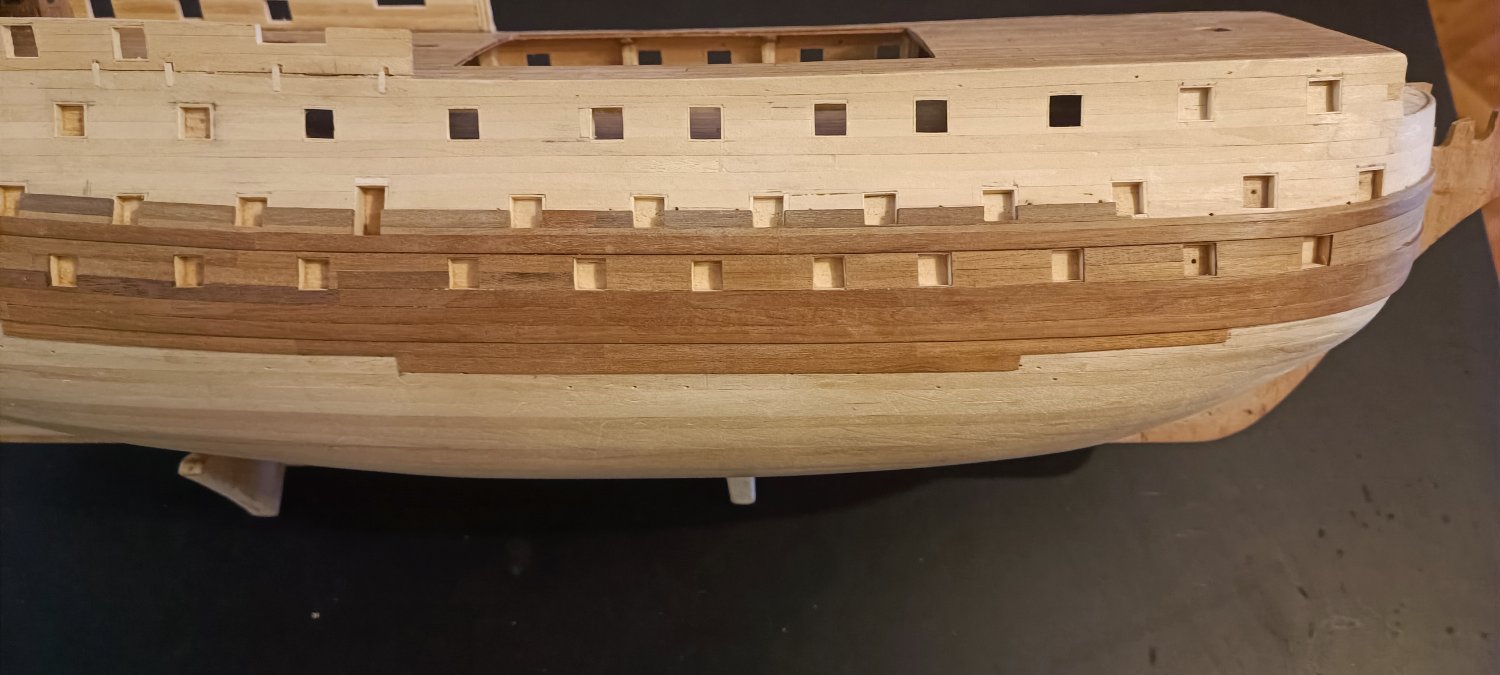
working on second layer of hull planking some gunports arent finished, so may look smaller. Stern galleries will need some repairs and definately a repaint (scheduled with hull painting)

-
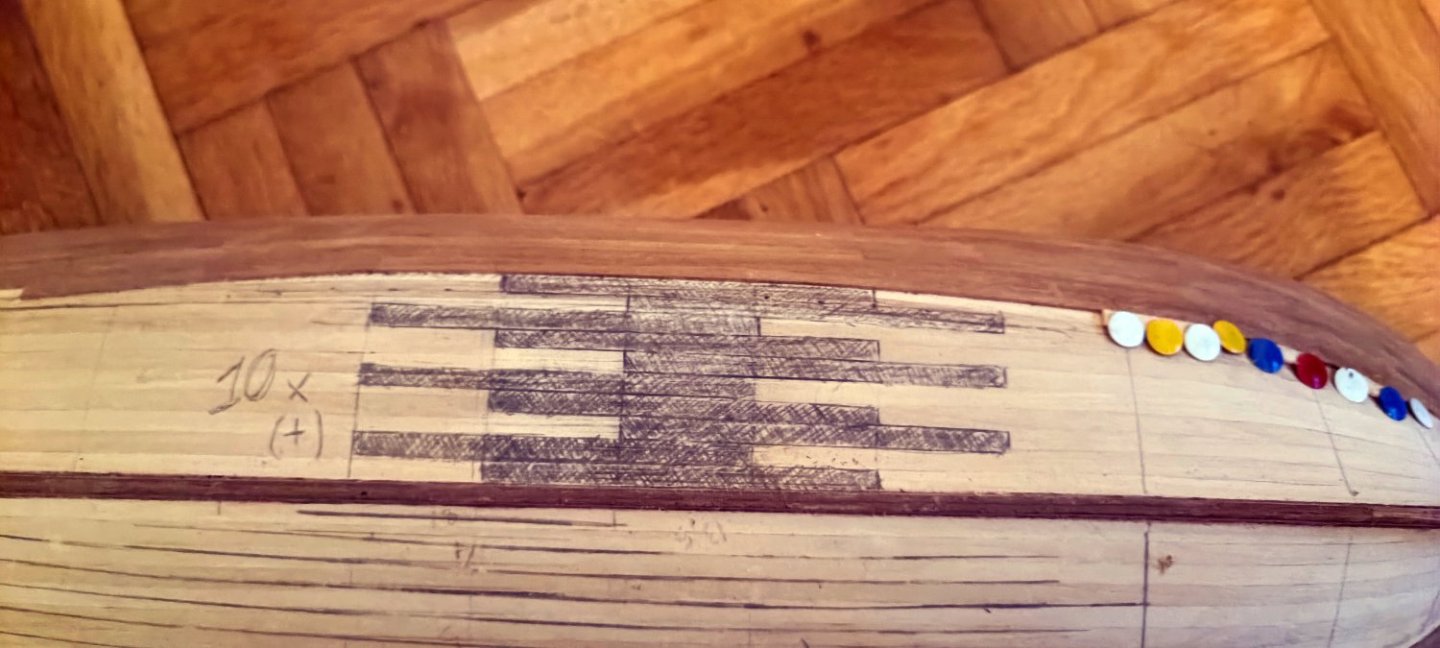
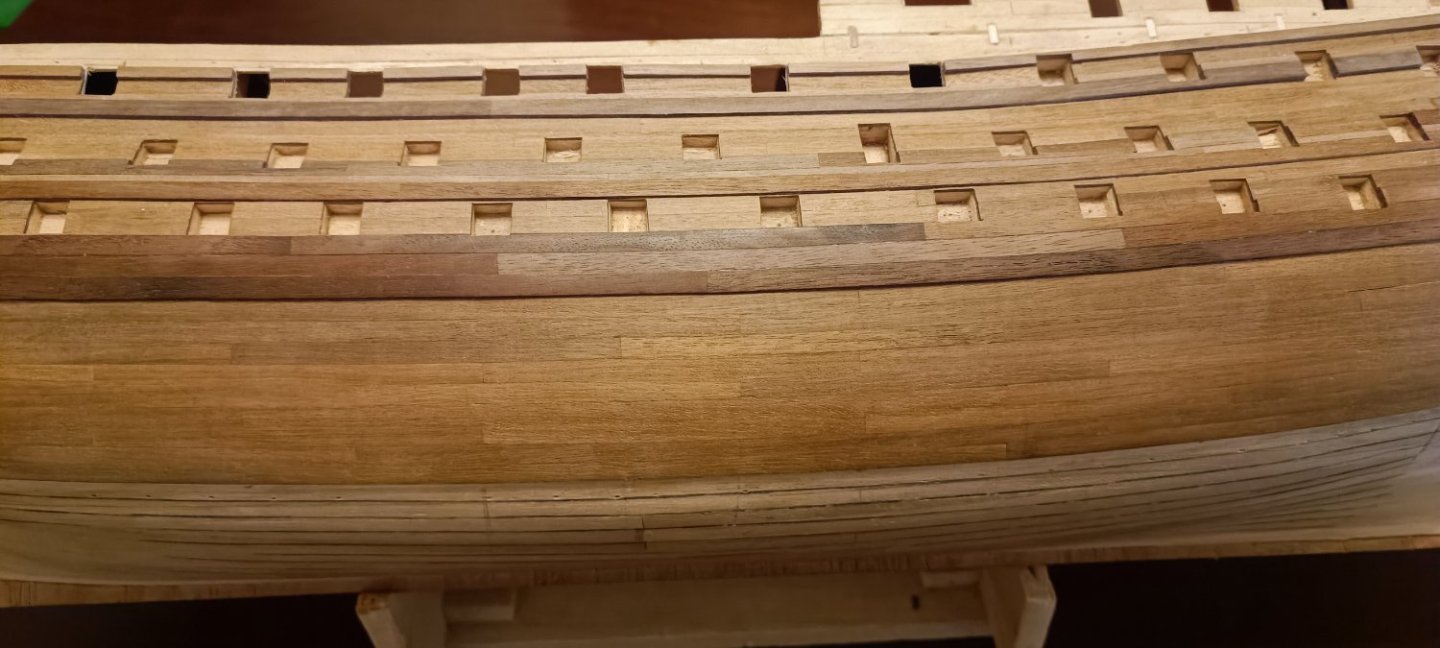
Planking the hull using 9cm walnut planks, using the "rule of three" ( 9cm : 3 =3cm space from row to row). for the wales I have used 15cm planks (with rule of three) there is color differences among the planks, especialy from the wales and above, sometimes becouse of the wood itself, sometimes becouse I have used more heat (using iron heater) than needed in order to bend them. I will paint them black-yellow later, so it doesnt matter, but from the wales and below I will keep the nature wooden color so I choose walnut stripes that are similar (colorwise)

-
Thank you for your valid points, to be honest I should have tried styrene strips or even better to ask from a friend for a 3d printing.... I have started the second layer of planking, so new challenges ahead