Moxis
-
Posts
314 -
Joined
-
Last visited
Content Type
Profiles
Forums
Gallery
Events
Everything posted by Moxis
-
A question for al you users of scroll saws
Moxis replied to michael mott's topic in Modeling tools and Workshop Equipment
So I have to follow your way and make the same modification as you did. ....Or just invest to a proper working saw with the correct arm geometry. But which one???? -
A question for al you users of scroll saws
Moxis replied to michael mott's topic in Modeling tools and Workshop Equipment
Thanks Michael for a very good thread! I have exactly same old Delta scroll saw, and have never been happy with it. I have tried to use it during the years for only 2-3 times, but have never succeeded very good. I have thought that the problem is with me, not to be able to use it correctly, and have always liked more of the manual jeweler's saw. But now that I read your thread I noticed that it is the saw, not the man, where the fault is. So I have to follow your way and make the same modification as you did. But I still try to have it motorized, and use a proper dc motor with a good and cheap Chinese motor controller, with which you can adjust the speed almost to zero and still keep the motor torque reasonable. -
Thanks Patrick, aviaamator, Pete, Mark and JerseyCity Frankie for your kind words. And all likes as well! I have studied hard different catalogues of the companies selling ship plans, and today it seems that I will place my order for French cutter Le Cerf: http://ancre.fr/en/monographies-en/34-monographie-du-cerf-cotre-1778.html With the 11 different sheets included in the package I believe that the plans are accurate enough to see where all the ropes are connected etc. Also the hull is clincker built, which gives me new challenge how to build it as cleanly as possible. We will see....
-
Hello Igor, Very nice figurehead. With which 3D program have you drawn it? And is it 3D printed or milled? If milled, what kind of milling machine & program?
-
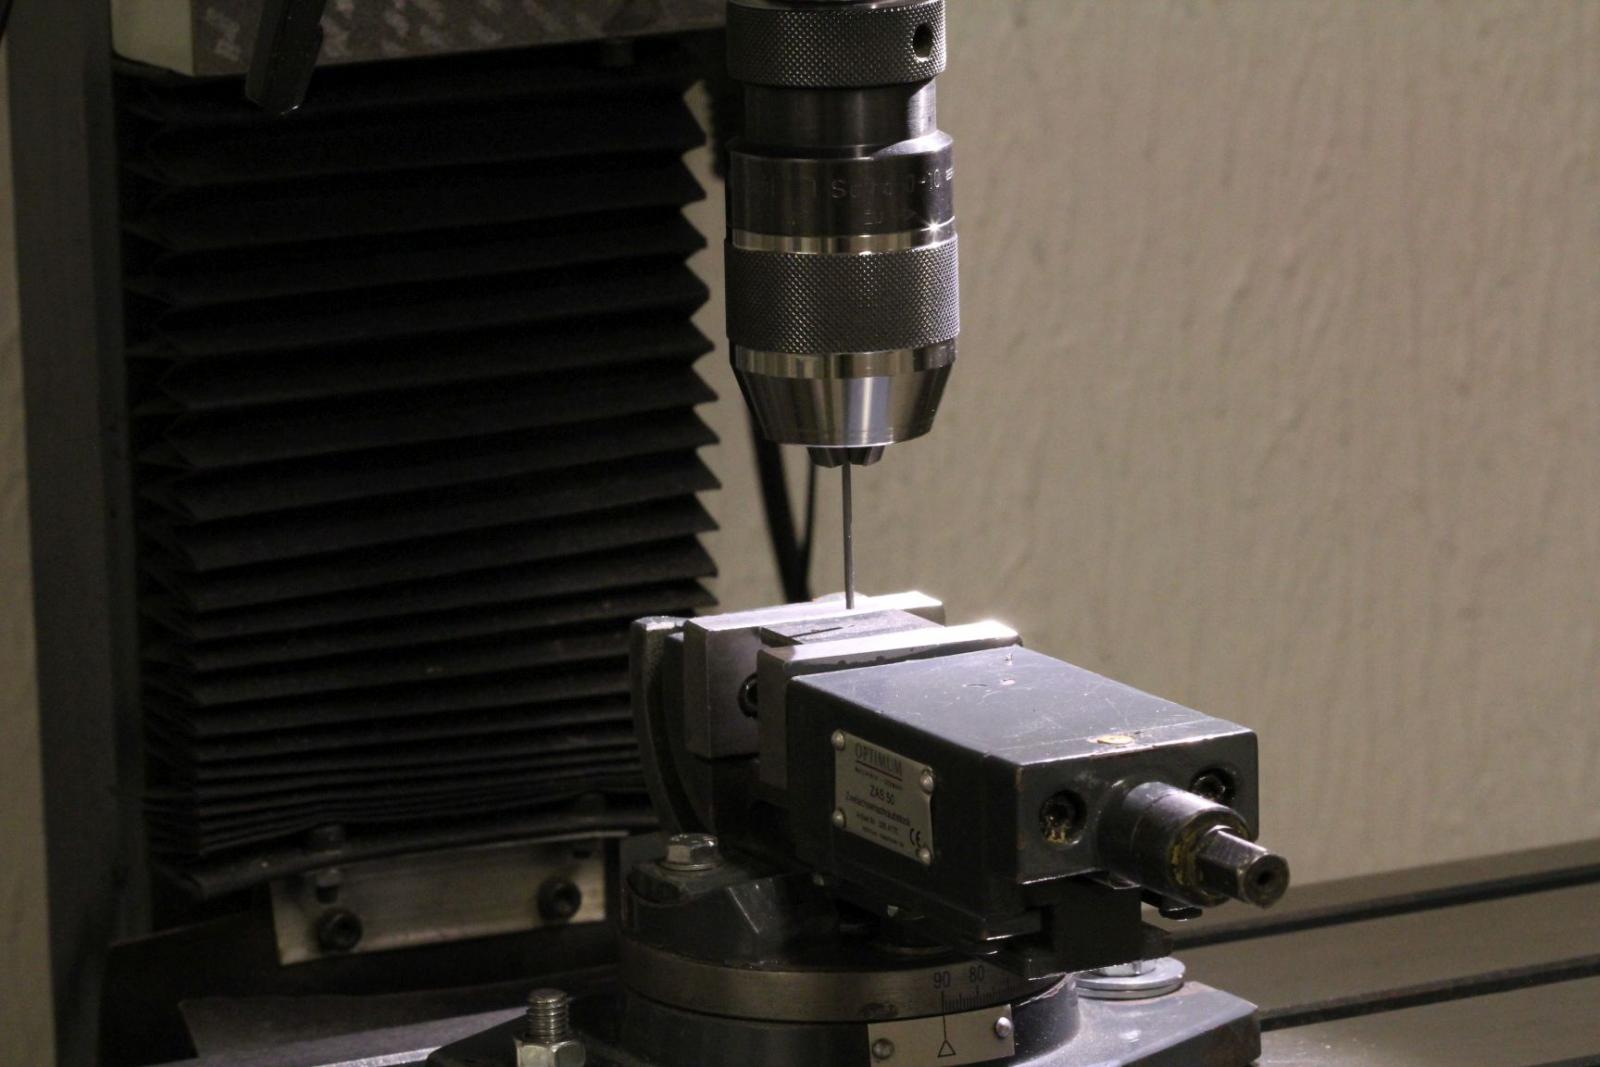
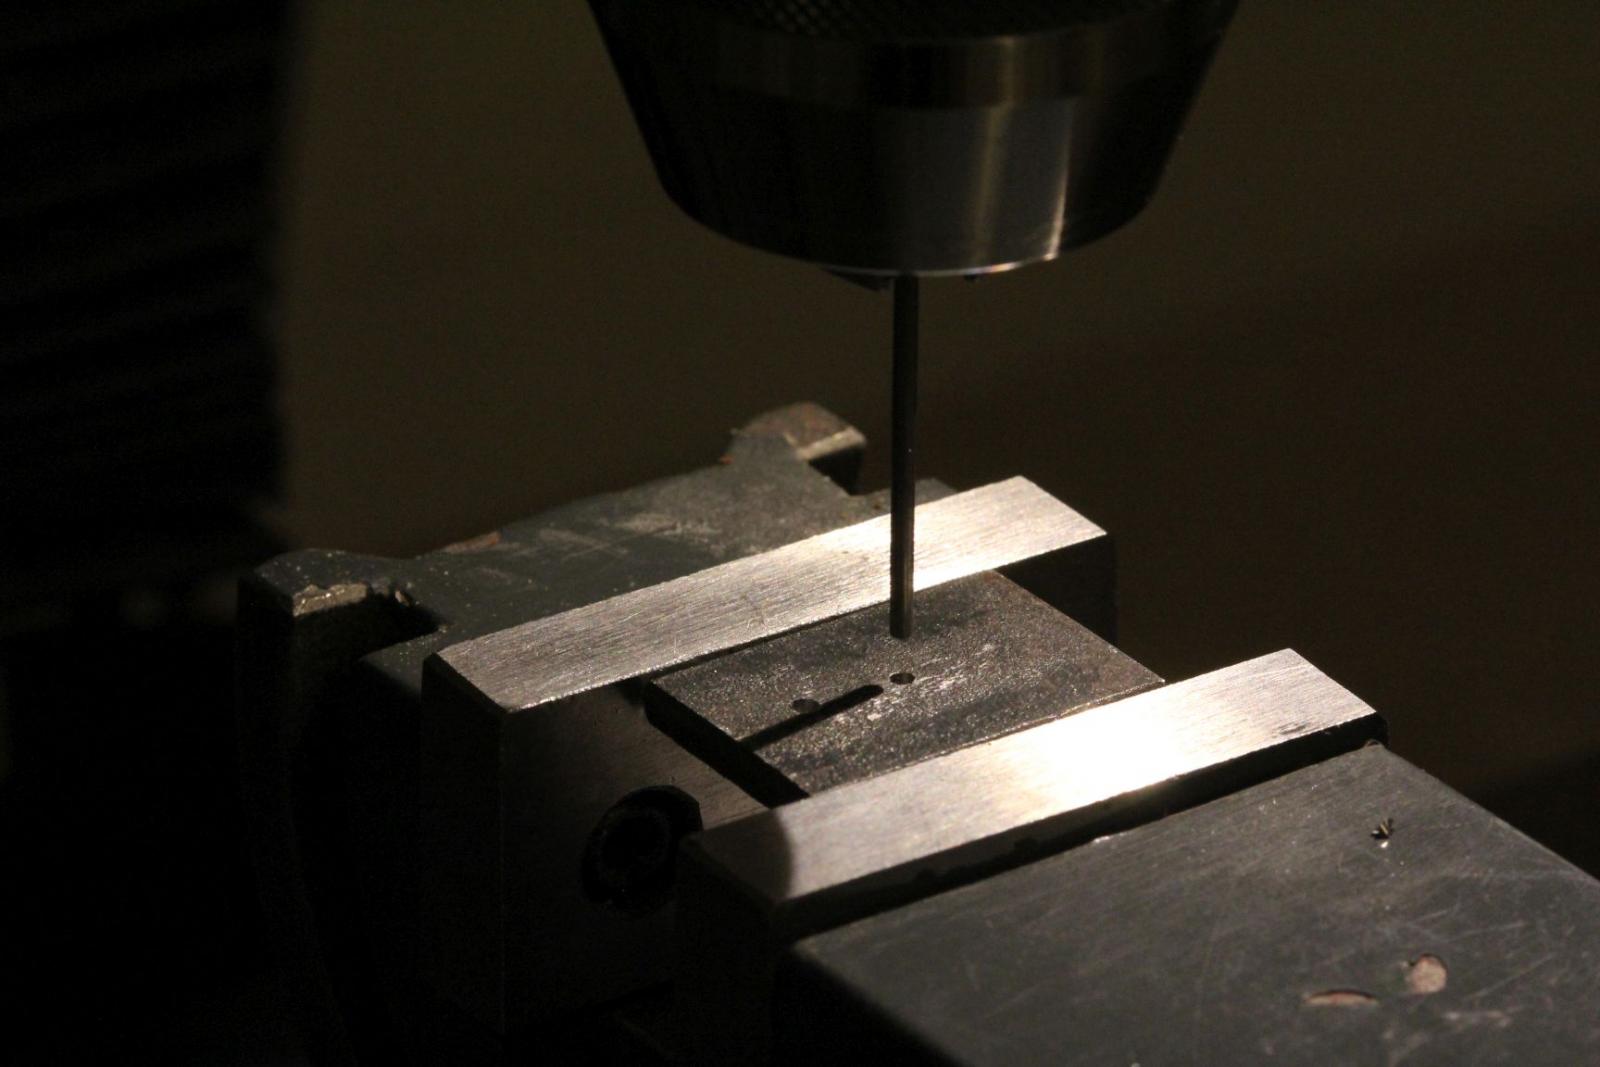
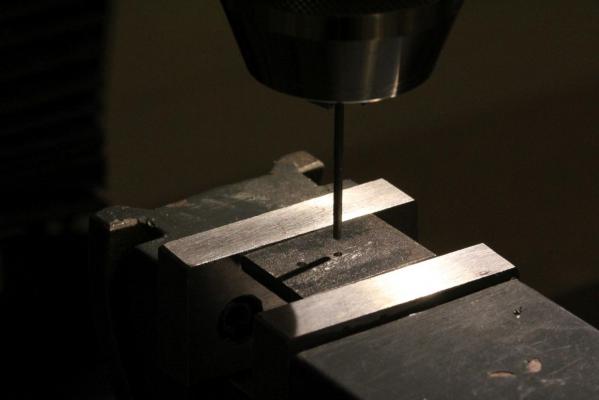
When I was making the blocks for my Clara May project I needed also small 1,4 mm diameter discs. I couldn`t find anywhere suitable ones, so I decided to make my own punch. And this is how I made it: I took suitable drill bit, in this case a 1,4 mm diameter. Drilled with it a hole into 6 mm thick iron stock. Then reversed the drill bit in the chuck of my milling machine so that the shank of the drill bit points down. The iron stock with 1,4 mm hole is tightened into the vice attached on the milling machine table, which is adjusted so that the drill bit can be lowered into the hole in stock. And voila, you have a 1,4 mm diameter punch and die set. And of course, when punching the discs/holes the milling machine chuck is NOT rotating, you just push the punch through the material you work with using the hand lever of the machine. With this kind of punch it is possible to make holes/discs in thin sheets of soft metals like aluminum or brass, plastics, plywood, etc, and it has completely solved my problem. I hope you find it useful too if decide to follow this method. 1,4 diameter drill bit in the milling machine chuck with shank downwards. A piece of 6 mm iron stock with 1,4 mm hole drilled in it, attached into the vice and adjusted precisely below the drill bit: Closeup of the punch:

-
Thank you a lot John and Patrick for your kind words. And all the "likes" as well! You don't know how much this means to me! Patrick, I don't know yet if I am building a protective case for the model, it depends where I am going to place her, into the bookshelf or at the warehouse corner to gather dust. But so much have I enjoyed the building of her, that there must be a follower. Otherwise life proves to be too boring with nothing else to do at evenings than watching TV.
-
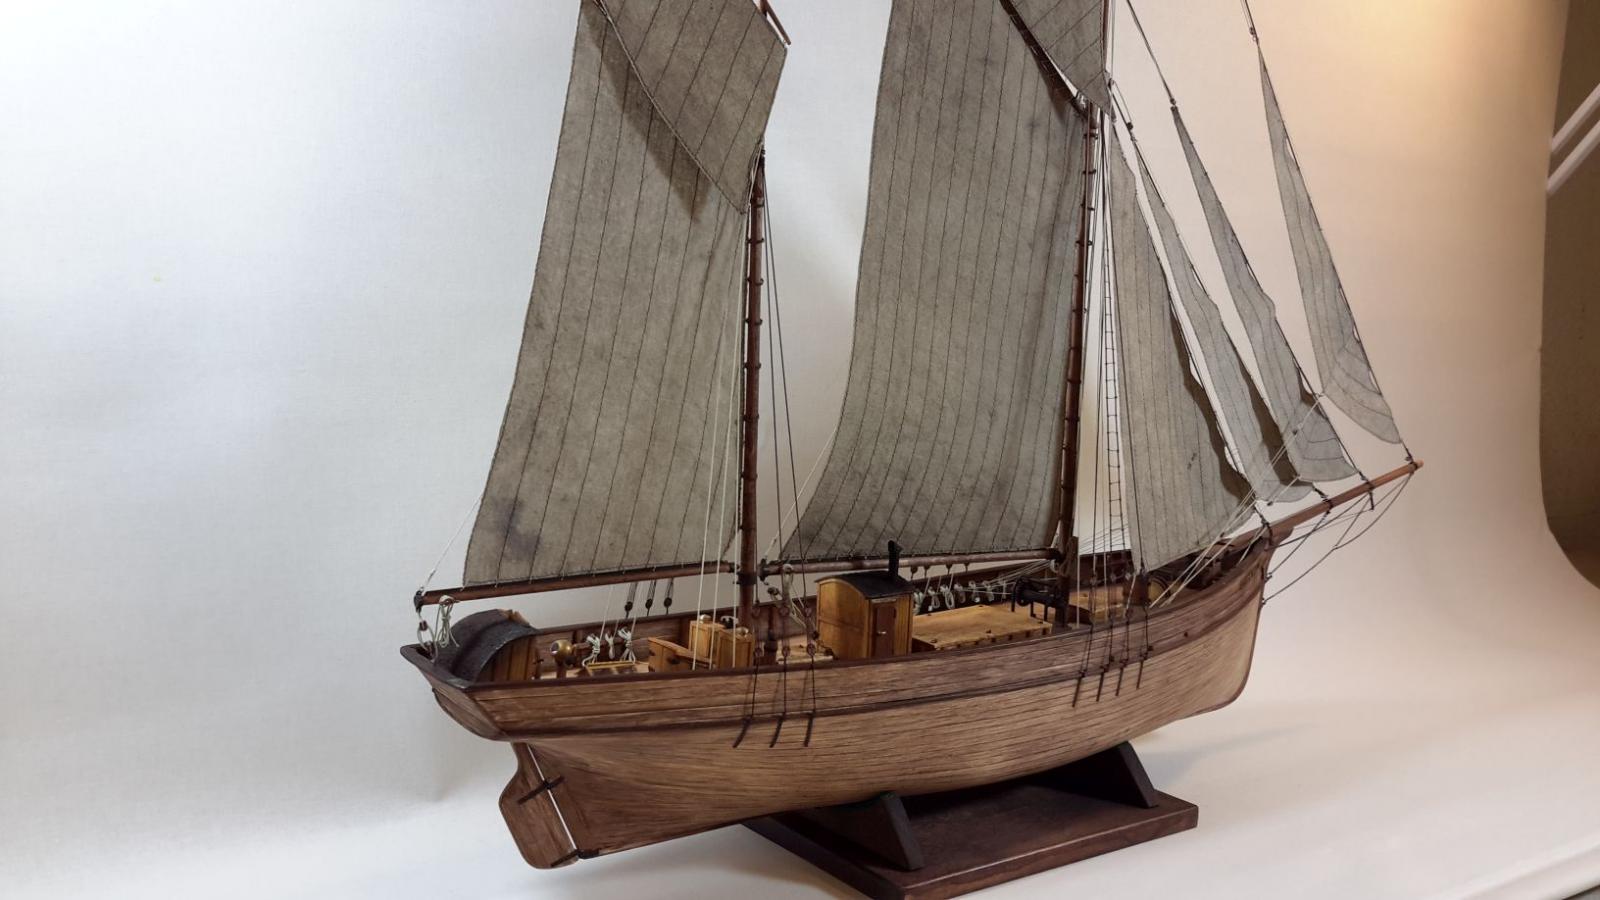
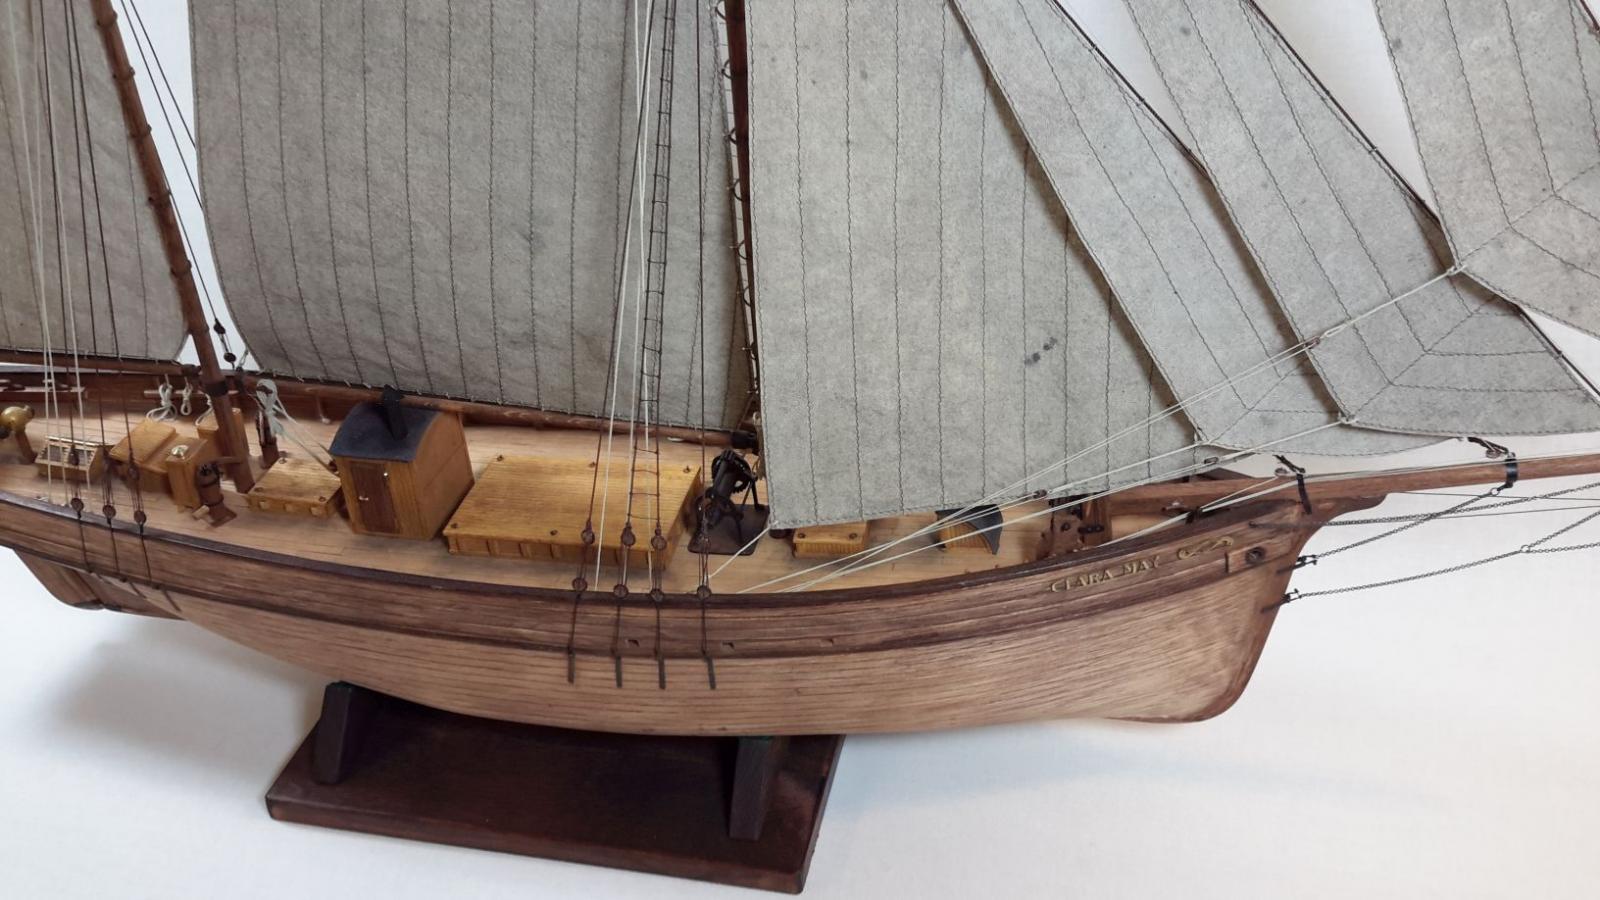
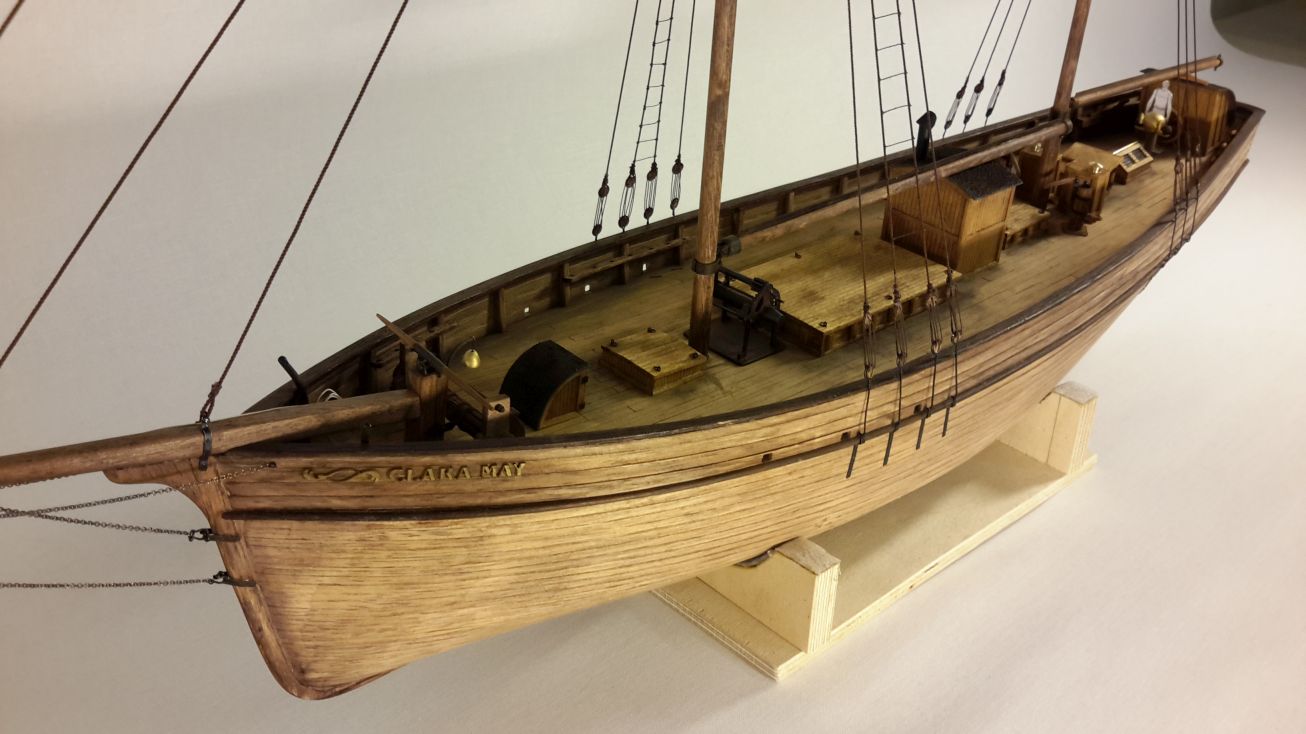
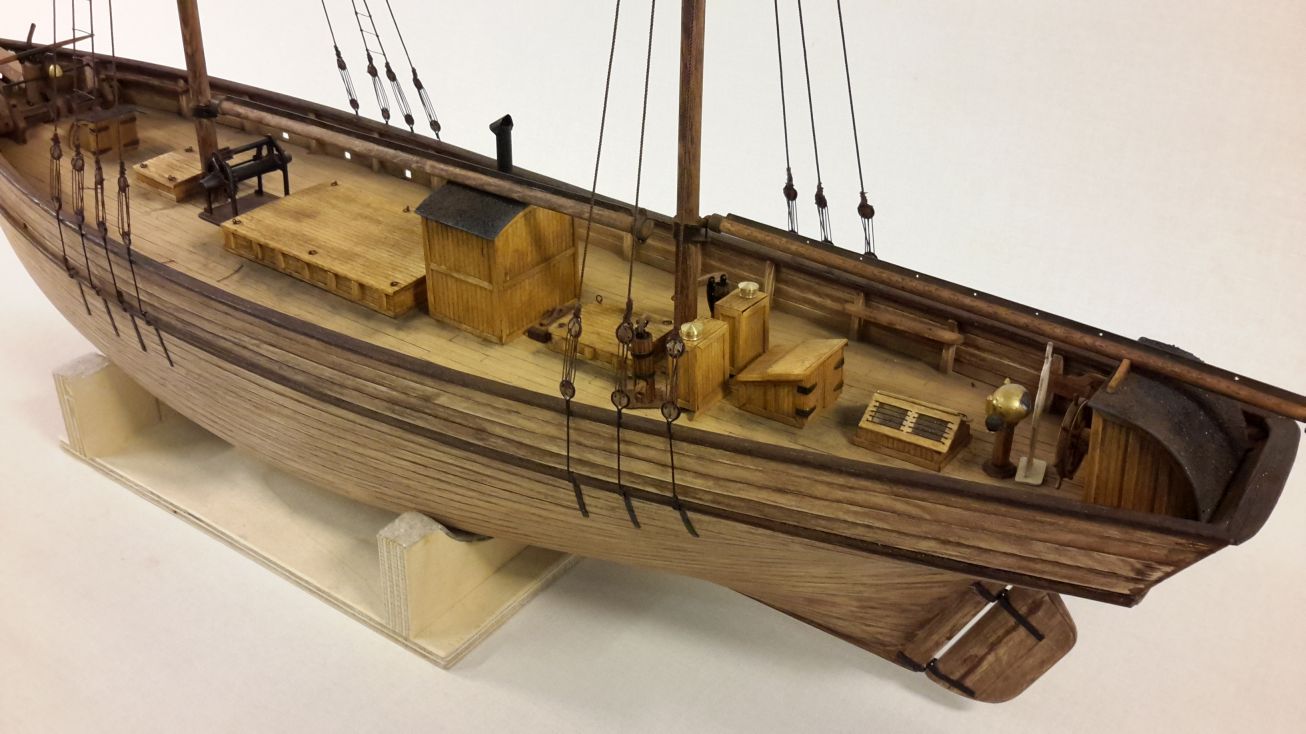
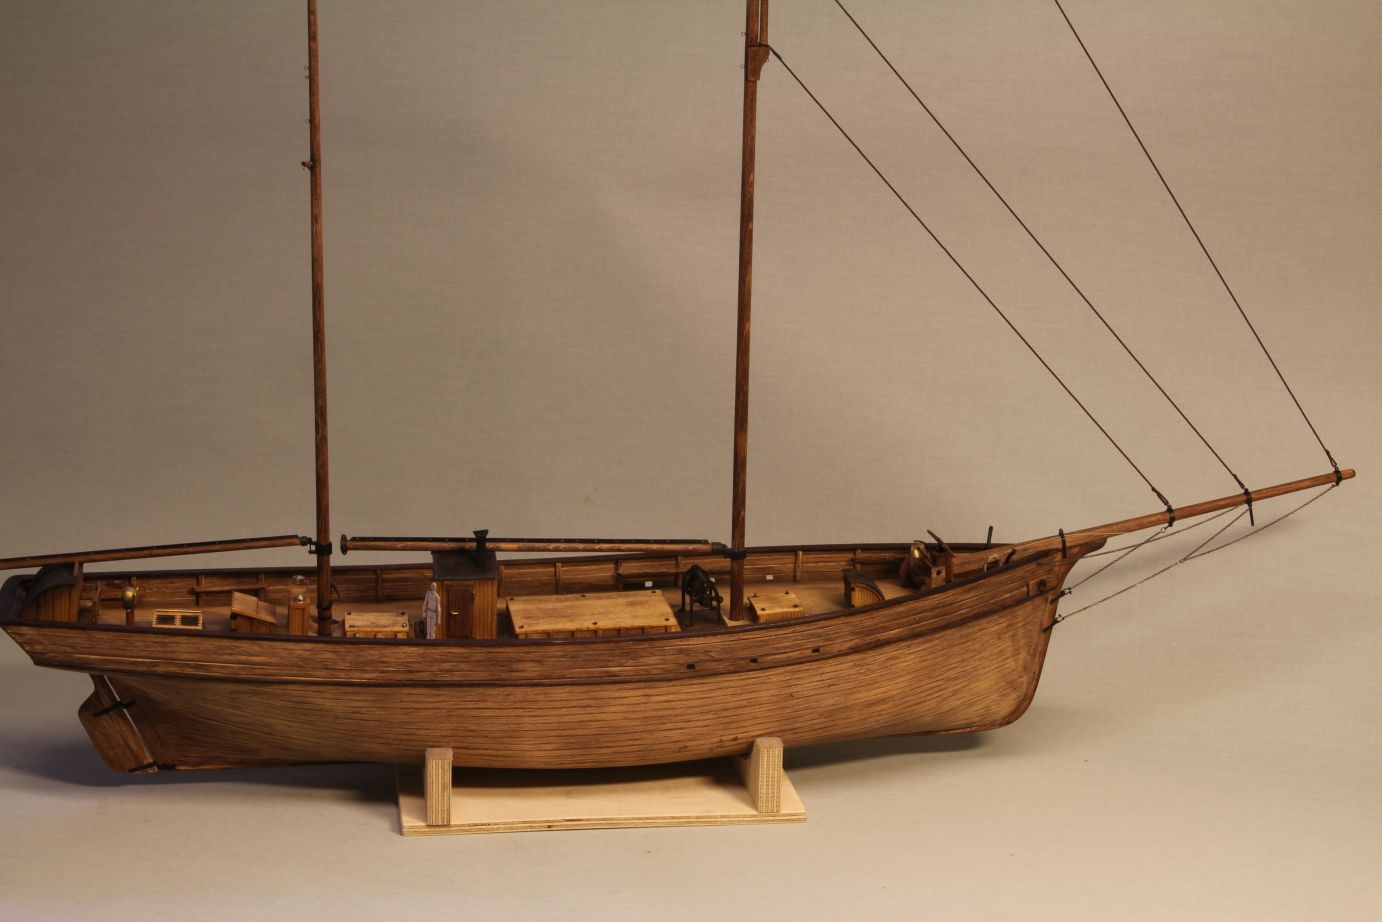
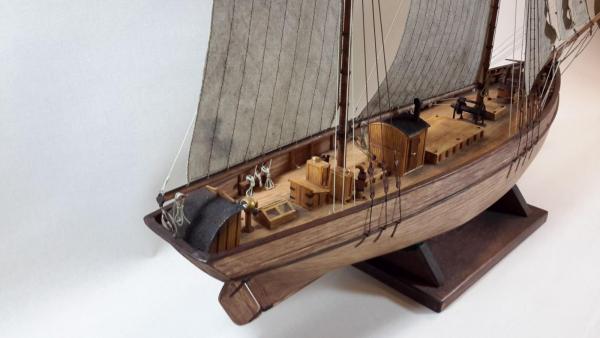
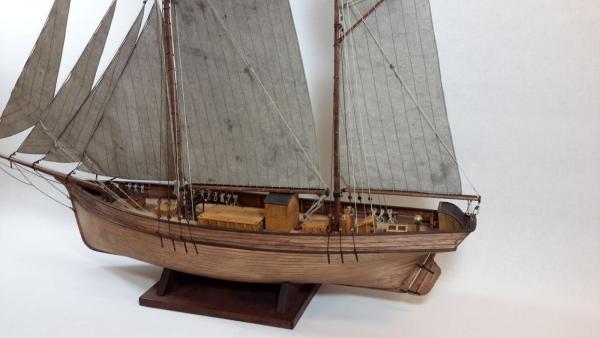
Finally I have made also the running rigging, so we could consider Clara May as ready. The running rigging was made using Morope`s beige coloured 0,6 and 0,25 mm ropes. The task was not so difficult as I first thought, the only problem was to quess, where all the ropes shall be belayed because that was not shown on the plan. It may be that the pins I chose were not the right ones, but at least I am happy with them. The sail were made of our old bed sheets. First the Admiral used her sewing skills and made all the seams and edges of sails. After that they were submerged into colouring bath made of different acrylic colour and little PVA glue. And after drying sails were cut into correct shape. Last but not least I made a cradle for the model of 10 mm birch panel. Parts for it were sawn with bandsaw, sanded and stained with dark oak colour, then glued together and voila, there we were. And now hard thinking what to build next, because I found that building wooden ship models is really a nice hobby for me.


- 95 replies
-
- 10
-

-
Years ago I owned the Unimat SL, a very good and sturdy little metal lathe with cast iron bed, good headstock bearings, etc. This little machine could also be converted into table saw, scroll saw, drill press, milling machine etc, but was very time consuming to convert, and didn't prove very useful in other tasks than metal lathe. Therefore I didn't use the other possibilities very often. So my advice is: Buy separate machines, and the ones made of sturdier materials than aluminium and plastics. There are a myriad of small machines available, try googling "mini lathe" and you find endless possibilities. Also good used machines can be found from ebay occasionally like Sherline, Myford, Hobbymat, Proxxon, etc.
-
Fairing bulkheads
Moxis replied to alde's topic in Building, Framing, Planking and plating a ships hull and deck
First with band file (Metabo BFE 9-90) then a 20" wooden block covered with emery paper.- 1 reply
-
- 3
-
-
Thanks for your fast answers druxey and Tom! A lot of questions which I am not yet ready to answer completely, but I try to do it as much as I can. Most of all I like to build scratch, because I want to purchase my own materials, and the ones which are normally available in this part of the world. And I like the wooden ships, dating perhaps at the beginning of 1800 century. I like to build plank on bulkhead, maybe also plank on frame models, but not too complicated. A 74 gun ship is for sure too much for me, but something like 10 guns might be ok. The scale could be something like 1/20 ...1/30 so that the model length would be appr. 70 cm. And the plans should be as accurate as possible showing all the ropes where they are attached etc. And thanks for the link Tom, I have to study their catalog very carefully.
-
Thanks again for your kind words Pete and Patrick, and to everybody who have liked my build! Building this model has been faster and easier than I thought in the beginning, and soon we are already in the final part of building, the running rigging. I have really enjoyed every moment of building, which makes me thinking, what next? Perhaps a little more demanding and complex project, and definitely scratch build. I wonder if anybody could suggest a good source of accurate plans, and a nice ship for my next challenge?
-
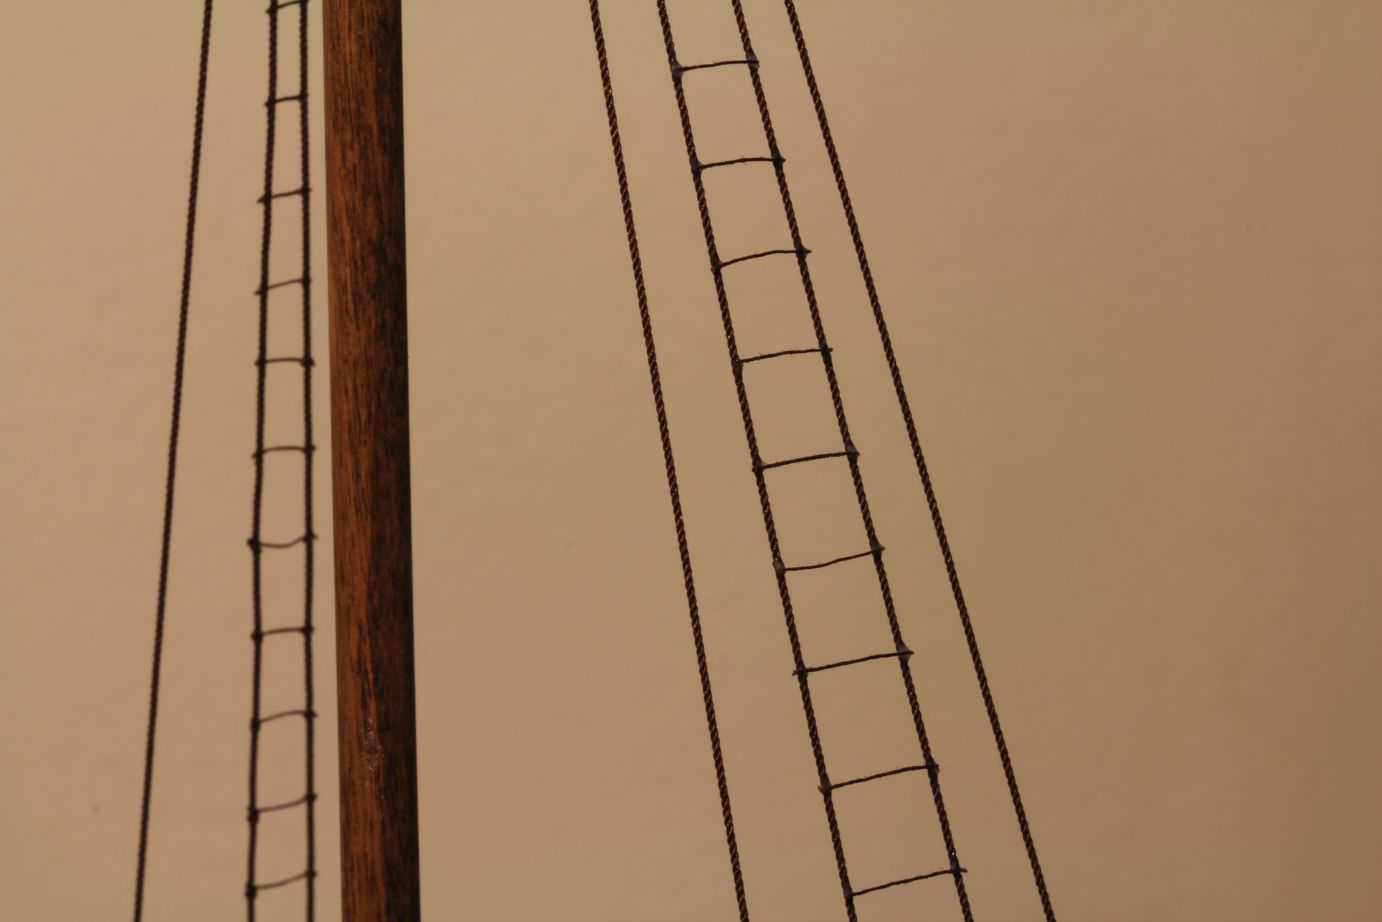
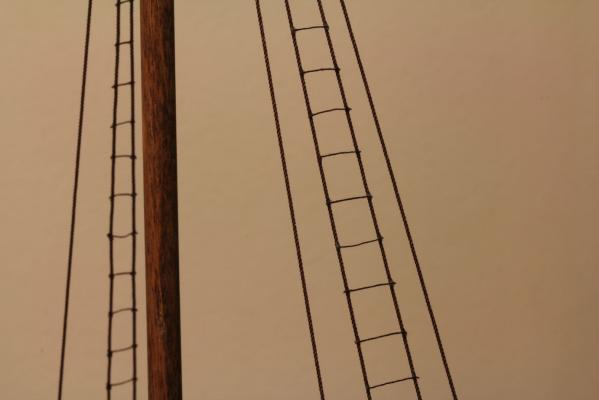
Finally I have finished the standing rigging. It was not so complicated than I first thought. I used Morope`s dark brown threads all around. 1 mm for headstays, 0,6 mm for shrouds, 0,25 mm for lanyards and finally 0,1 mm for ratlines. All others went well, but I almost lost my nerves again when trying to tye the knots for ratlines. Finally I found solution which was described elsewhere at MSW (Ratlines). And now to running rigging & sails....


-
I have. They do not work, are too coarse. TPI for those jeweller`s blades I use is 67 or more, spiral blades are something like 20. They will rip the underside of plywood no matter how careful you are.
-
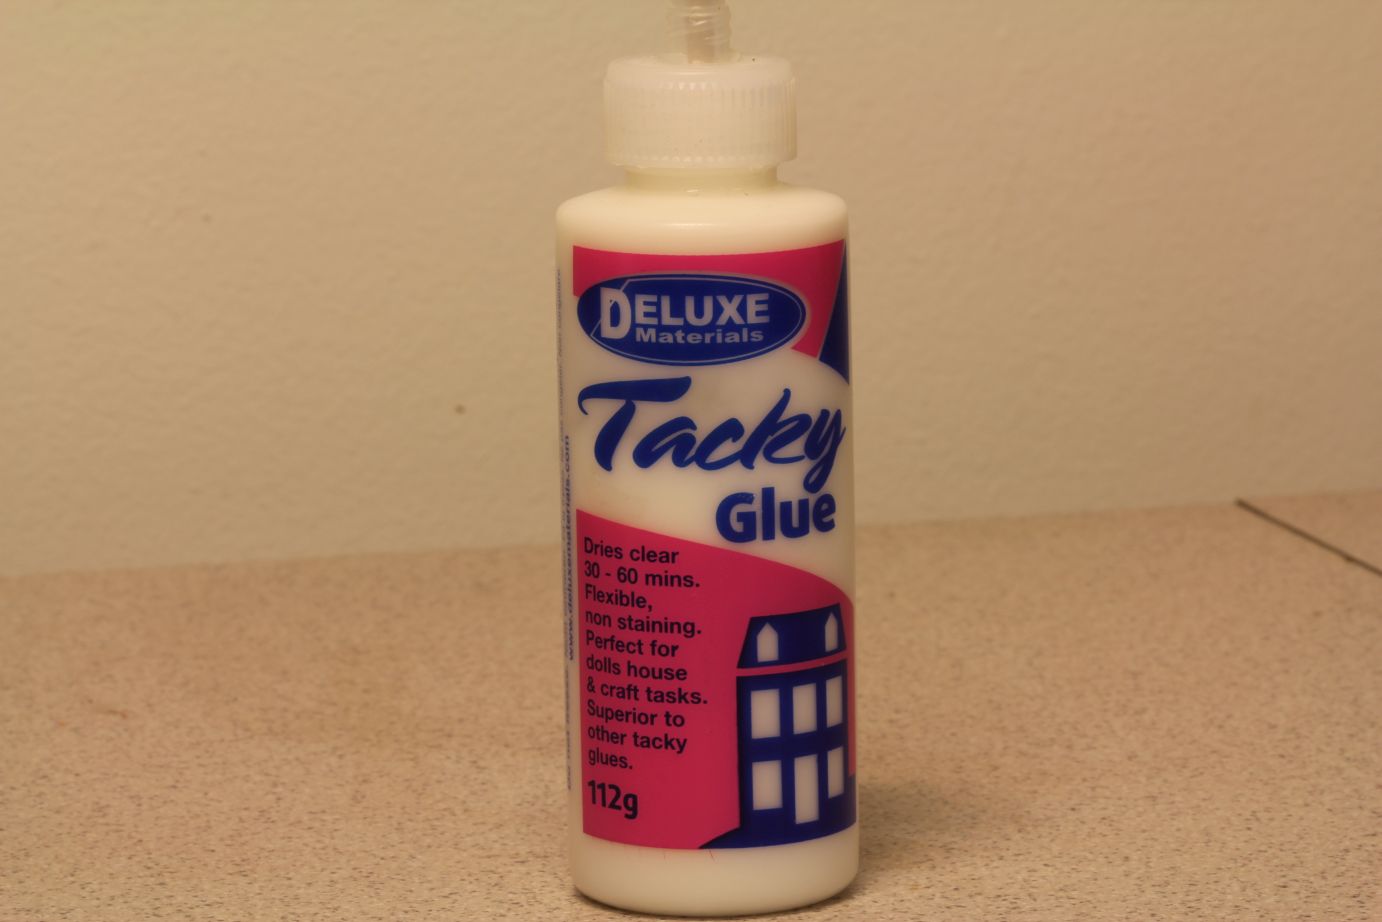
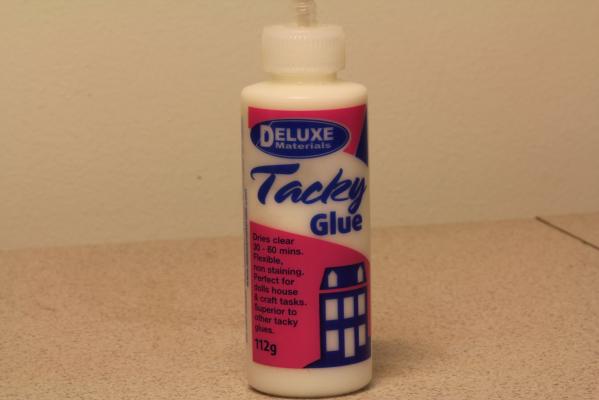
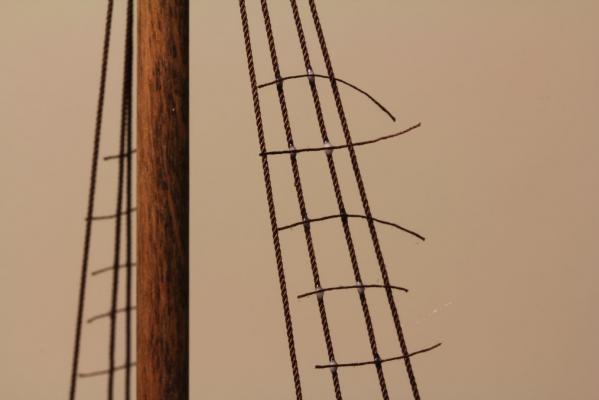
I almost lost my nerves again when trying to tie the knots for ratlines into the shrouds of my latest build. No matter what kind of knot I tried to use, the ratline was either too loose or too tight pulling the shrouds badly. Until I found from my wife`s dollshouse equipment storage a treasure: A bottle of Tacky Glue from Deluxe materials. This stuff saved my day: How easy it was to put a tiny drop of this stuff to both shrouds where the ratline was supposed to go using a tip of a toothpick, and then attach the ratline there. After drying the joint was strengthened using diluted carpenter`s glue and there it was. No more nerve breaking knot tying, no more loose ratlines. Of course I hear some purists among you saying that this is not the correct method of fastening the ratlines, they must be tied using correct knots. Ok if you build a museum quality model in a big scale I agree with that, but for my humble first wooden ship project this is more than adequate. The magical Tacky Glue: Ratlines glued with Tacky Glue: Loose ends cut away:

-
As Mike suggests, use coping saw. And thin saw blades, the ones which are intended for jewelers. For example these I have also tried to use the scroll saw for this work, but it doesn`t work. Then I changed for coping saw and have used Vallorbe Glardon blades for years without any problems. The thinnest and smallest items can be sawn without any problem anytime. Although I use their thinner grade 6/0 blades, the 4/0 grade are quite usable too and do not break so easily. And be sure that the blade tension is tight enough, if loose the blade will break easily.
-
molding casting metal
Moxis replied to michael101's topic in Metal Work, Soldering and Metal Fittings
There are also silicone rubbers that resist high temperatures, up to say 450 deg. Celsius. It is possible to cast tin/lead alloy to the forms made of this material. Just google high temperature silicone rubber. You may consider also using polyuretane resin for your castings. Does not shrink and can be used in normal temperatures. One good supplier is SmoothOn. -
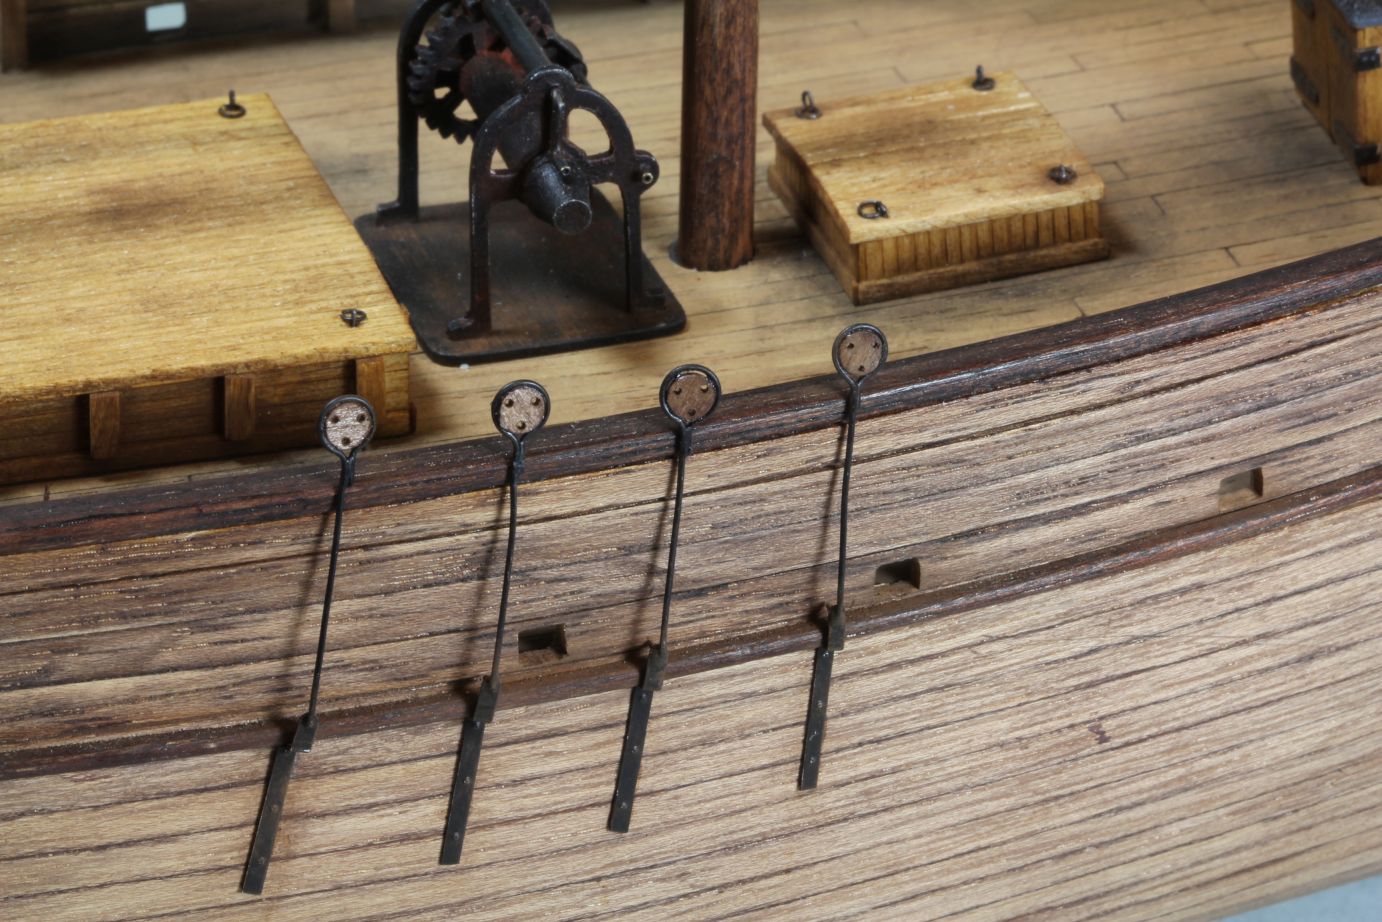
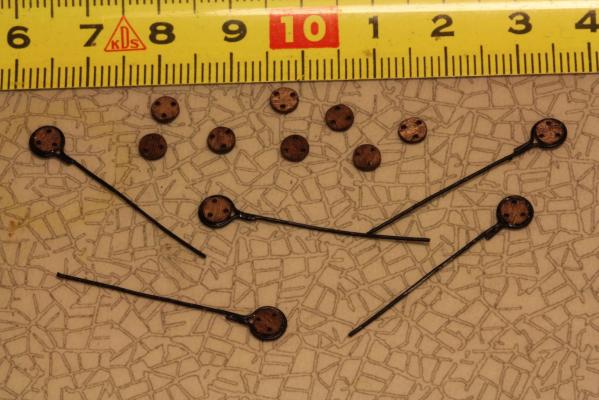
Hello David B and thanks for your nice words! I am still considering whether to install those turnbuckles, it is very near that they were not yet used when the ship was built. And thanks for the details of the supplier where they can be purchased! Again small update. I have been playing with the deadeyes. I was wondering, how to produce a great number of them with the necessary accuracy, and decided finally to use my dear old CNC router for this task. The diameter of the deadeyes is 4 mm and they were cut using 0,6 mm cutter to be able to drill the three holes as accurately as possible. The material used was again 1 mm birch plywood. After cutting the deadeyes were stained with oak colour, and shrouds were made around them using 0,5 mm tinned copper wire, which was soldered solid and painted black. And finally the shrouds were attached to the hull of model using strips cut of 0,3 mm aluminium sheet. Stained deadeyes, and ones with shrouds made of electrical connection wire: Attached into the ship`s hull:

-
Thanks again for your comments Patrick and Frank! Those shackles are my production. They are made of 0,56 mm soldering tin. A small piece was cut, both ends flattened and 0.6 mm hole drilled through the flattened ends. Then the piece was bent into shackle and a 0,25 mm insect needle pushed through the holes and cut into suitable length & glued with epoxy.
-
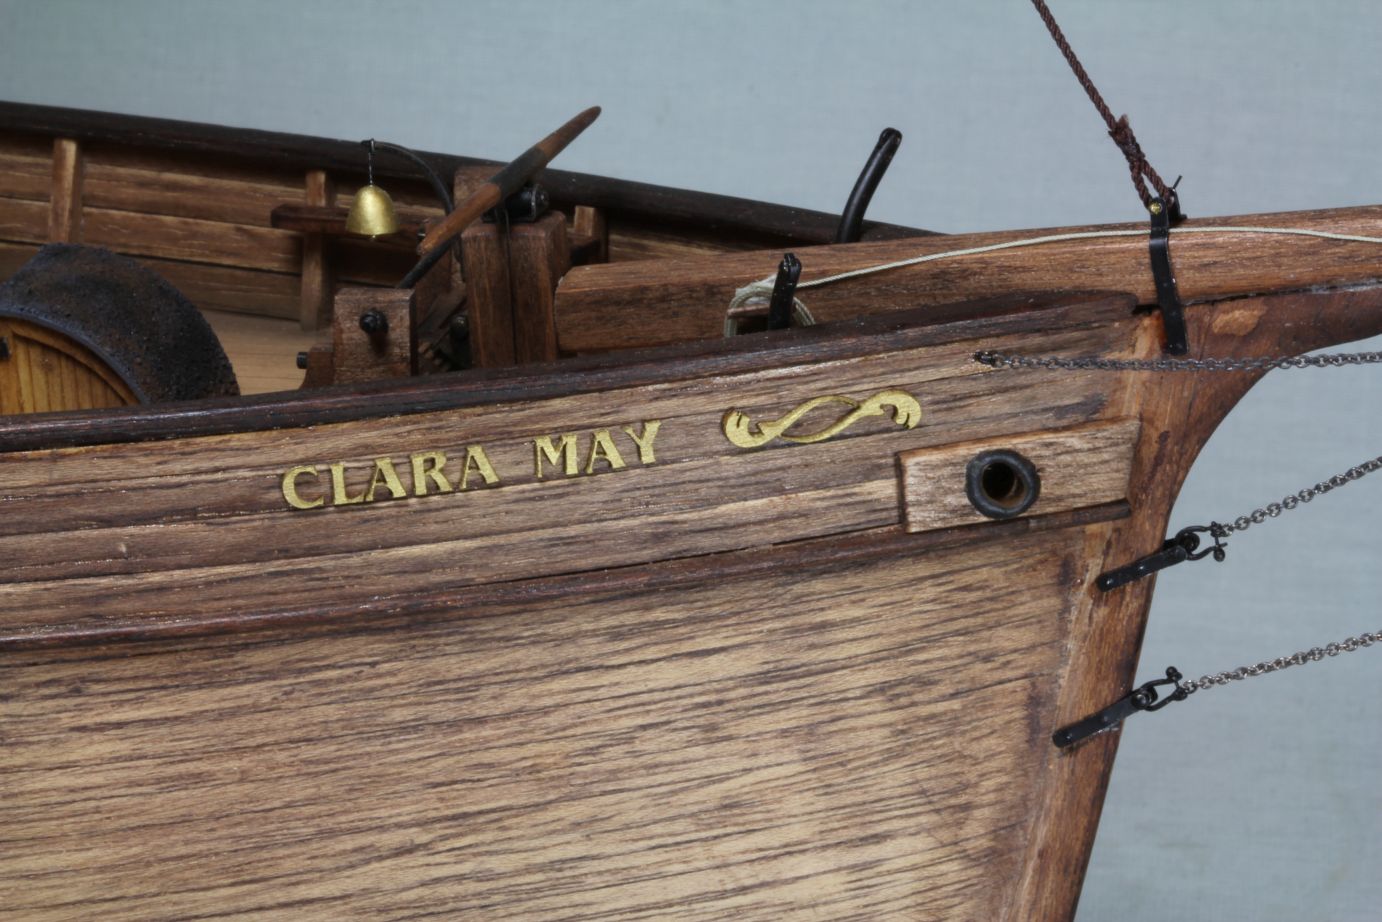
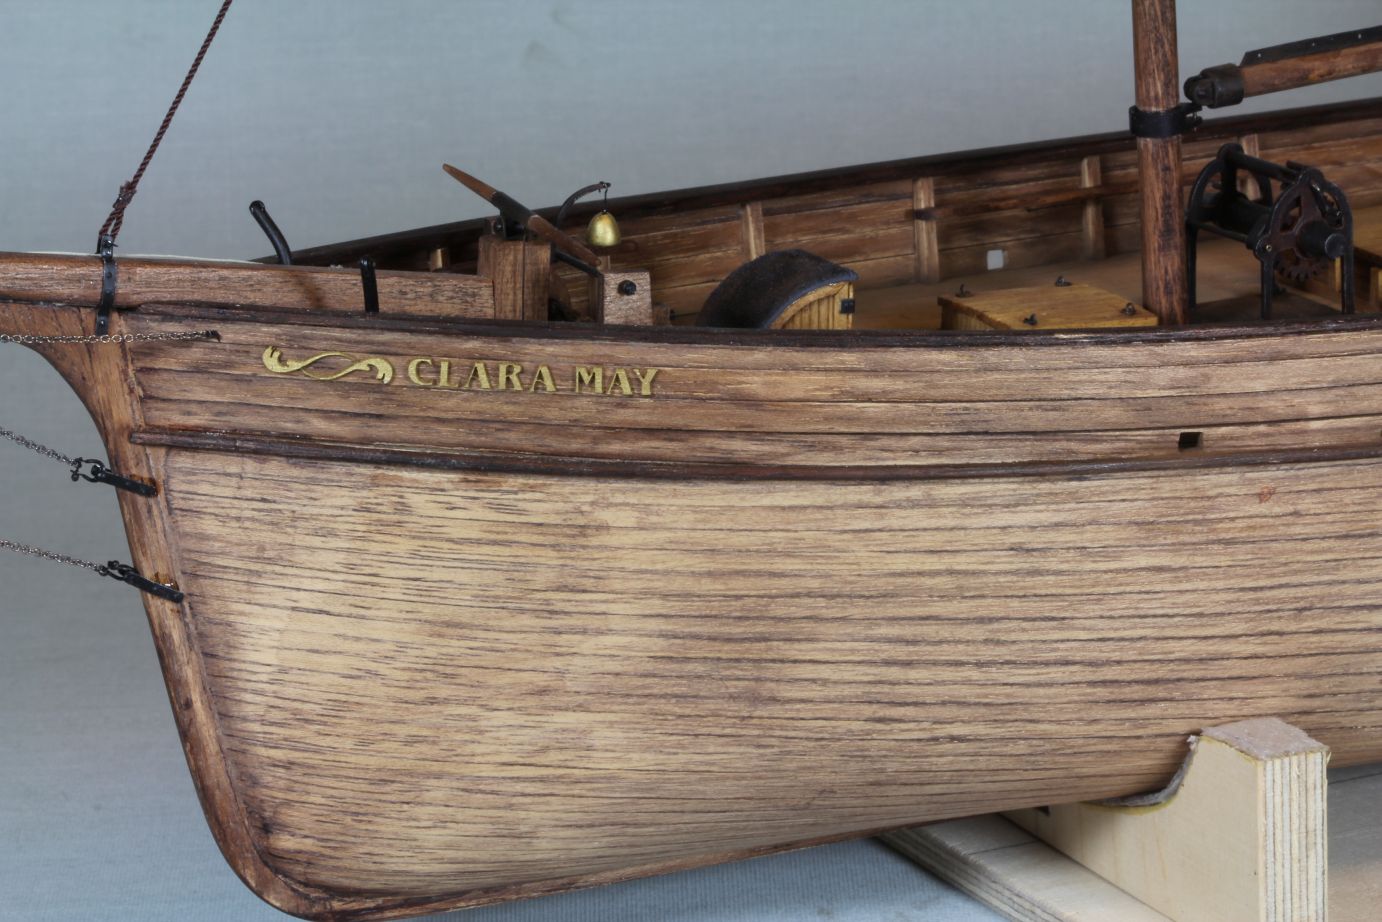
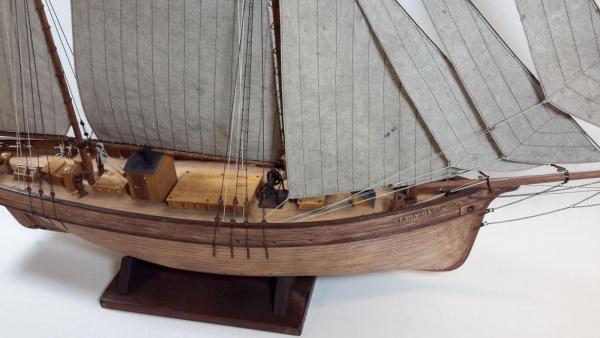
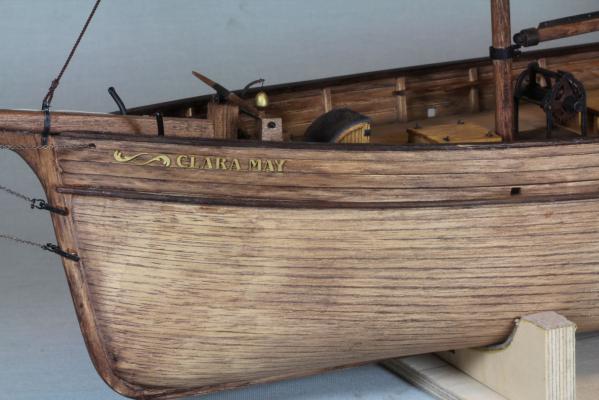
Good comment Tom! The original vessel had painted wooden letters. When thinking, how to reproduce these I came into conclusion that the easiest way is to laser cut them instead of carving from wood, which wouldn't have succeeded very good by me. When painting them with brass colour I thought to emulate gold, which might have been the original colour. And after having taken the photos I was weathering the letters with Mig's dark brown and black pigments, so today they look more like having wear and tear.
-
Pete: Thanks for your comments. I am glad you like my humble build! JerseyCity Frankie: Thank you very much for your comments! This is the first and very sensible explanation for the rope at the bugsprit, and I think I agree with you. Otherwise I do not understand what would be the purpose of just one simple rope here. And I think you are right also in the matter that there must have been actually two footropes, one at each side. I think I will change my build according to this idea. You must be right also with the turnbucles. There must have been some means to adjust the tension of the stays too. In fact I have seen pictures of those turnbucles in some litterature but didn`t remember that when installing the stays. We will see if I have energy enough to make this change, we will see. I have also followed with great interest your blog of Dulcibella, I am sure that it will be a marvellous model when finished. matti
-
Thank you for your kind words aviaamator, Patrick, Mark and John, and all "likes". Words like this give me necessary motivation to struggle forward to have the model finished. Today we had a Christening party, because the laser cut letters arrived from the cutting company. Letters and ornament were first drawn with Corel Draw using fonts found at Corel`s own library. Ornament was also found from Corel library. After drawing they were sent to laser cutting. Material used is 0,6 mm aircraft quality birch plywood. Height of letters is 4 mm. Letters were then painted with brass colour and glued into the model. Another side:

- 95 replies
-
- 13
-
-
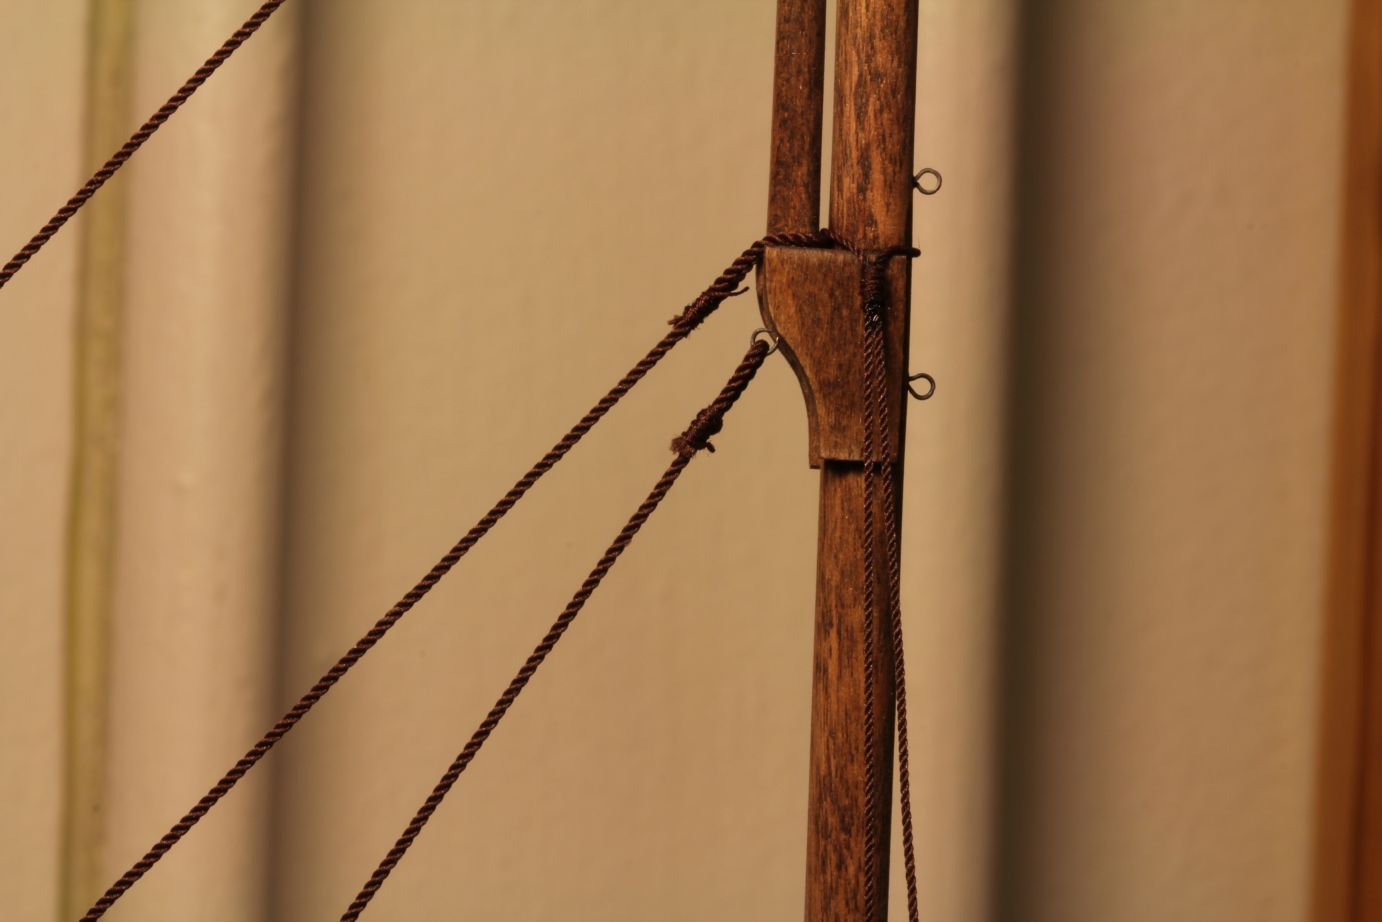
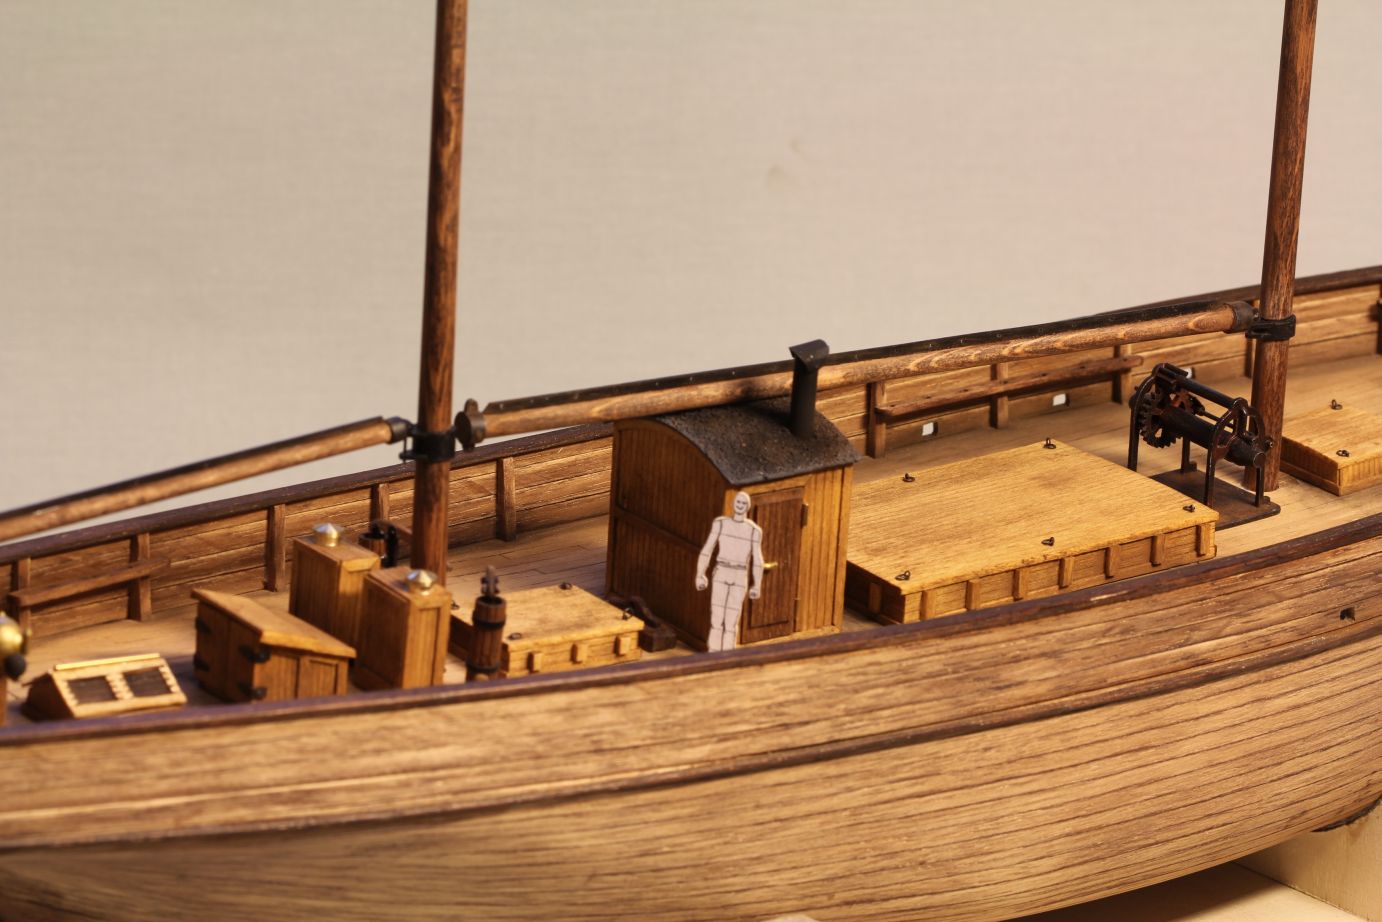
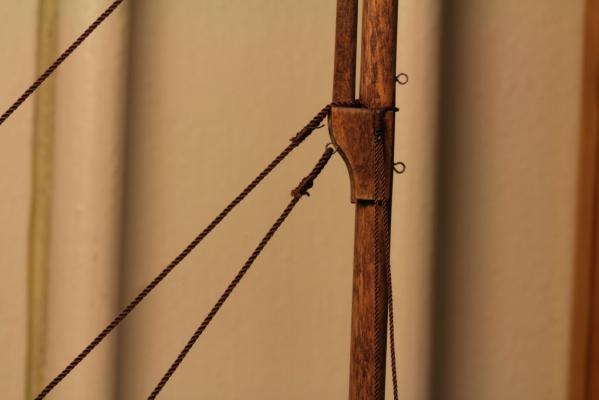
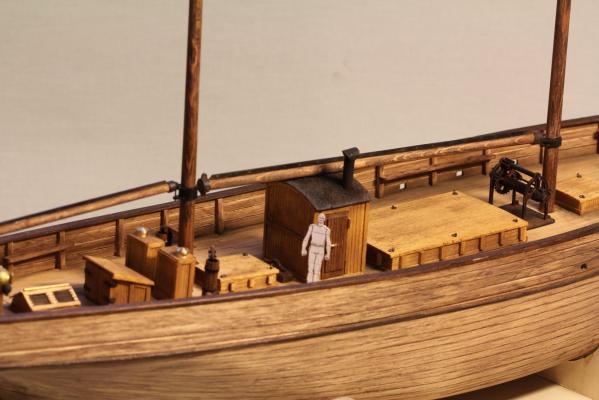
Masts and booms were made using birch dowel. They were first tapered using small Veritas plane, and finally sanded in the lathe. Boom hinges were made of styrene and brass parts. Forestays were made of Morope`s dark brown 1 mm rope. I almost lost my nerves trying to make the lashings at the ends of stays. Hopefully my methods improve when work continues, otherwise this will be my first and last wooden ship model. Masts, booms and boom hinges. "Scaleguy" is watching the progress. This picture doesn`t show much. Only that the project is going on.

- 95 replies
-
- 12
-
-
Thanks a lot for your comments Mark and Patric! And also for all "likes" & friend markings. Hopefully I can show soon some progress with the masts and rigging.