


robert22564
-
Posts
158 -
Joined
-
Last visited
Content Type
Profiles
Forums
Gallery
Events
Posts posted by robert22564
-
-
 Robert.
Then I have another tip for you that you have not done ......
Use filler on the first planking and sanding it smooth!
Now I see a few gaps and you will see that on the second planking.
It will save you a lot of work.
Take a look at my Agamemnon ( when you can find when I was planking over there )
Sjors
Thanks for the tip Sjors, yes I've had a look at your log and see what you mean, you caught me just in time........working on that now as we speek

-
Hi Robert,
I'm just reading your log and I have to say I'm impressed by the speed......
And it looks great !
Maybe a tip, hint or whatever you want to call it...
I see that you are using full length of planks.
Maybe it is better to use scale planks ?
For me it was easier to work with that then full planks.
If this is better for you, don't change !
Sjors
Hi Sjors, thanks for the tip......I agree scaled planks are much easier to work with for the top planking and as you can see that's exactly what i'm doing
-
-
-
A quick progress update :

- mort stoll and Jan R
-
 2
2
-
-
-
Hello Robert
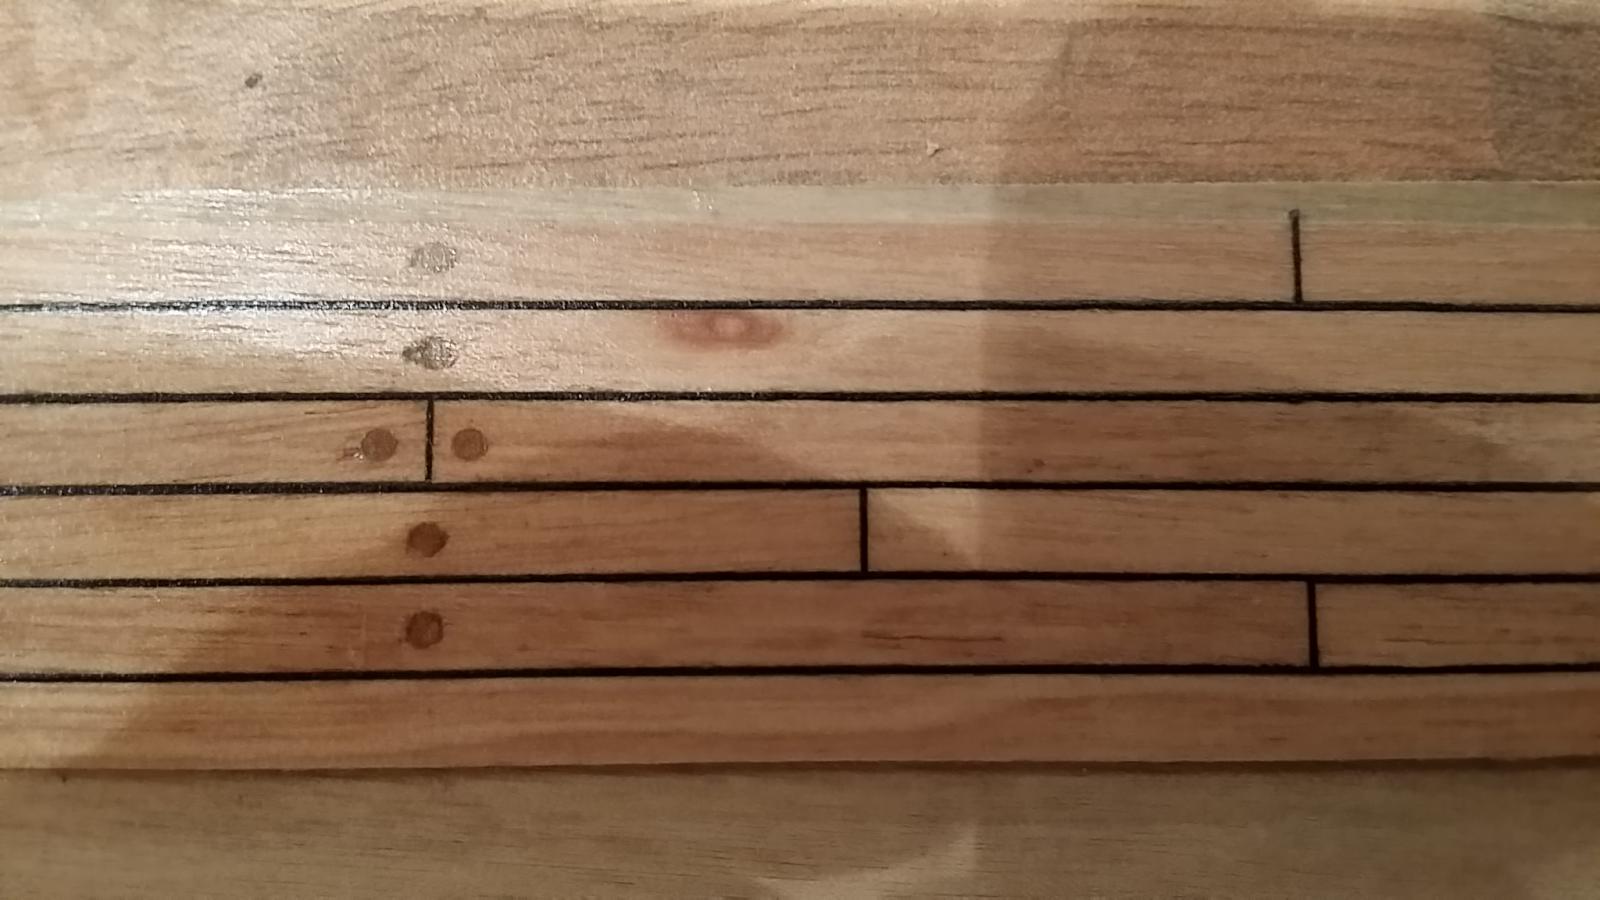
Well that caulking looks excellent. Really outstanding. What have you used for the tree nails, and what size drill have you used. Looks like we are going to follow something special here. Well done Robert. DAVID
Hello David, thanks for such wonderful comments. It's a 1.5 mm drill bit and simply poking in some cocktail sticks, clean up after with a small chisel.

-
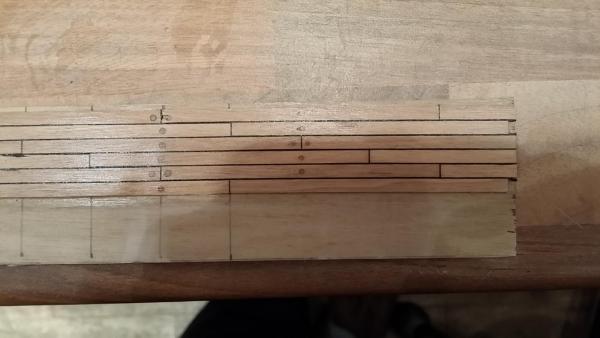
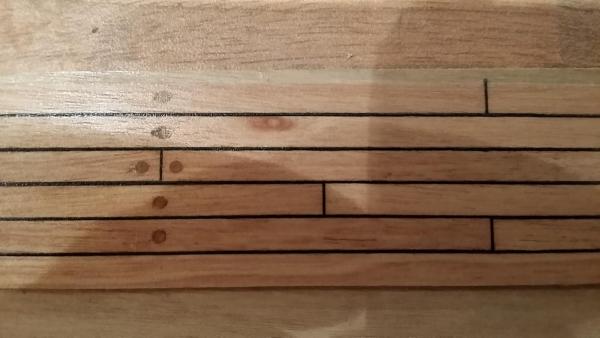
I've had a little practice run on decking, Black marker pen was a bit hit and miss with me.
Black thread was a little better but still not as clean as I would like it to be.
Using a HB pencil was not for me.
In the end of my little experiment I've elected to go with using black card as this method is something I'm comfortable with & most importantly within my skill limits.
Tree nails?.........the jury's still out on that one.........right, back to "first planking.
- Philg88, maddog33 and Shipyard sid
-
3
-
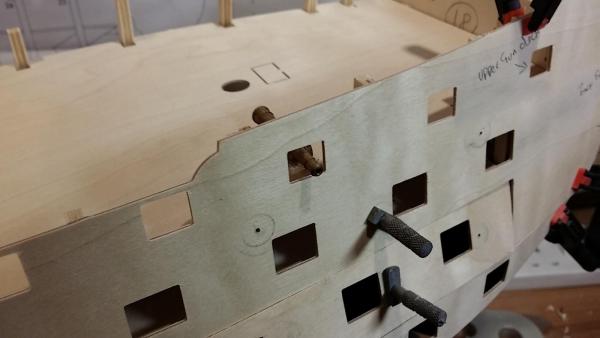
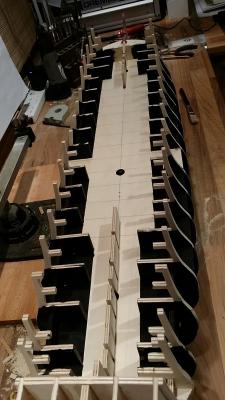
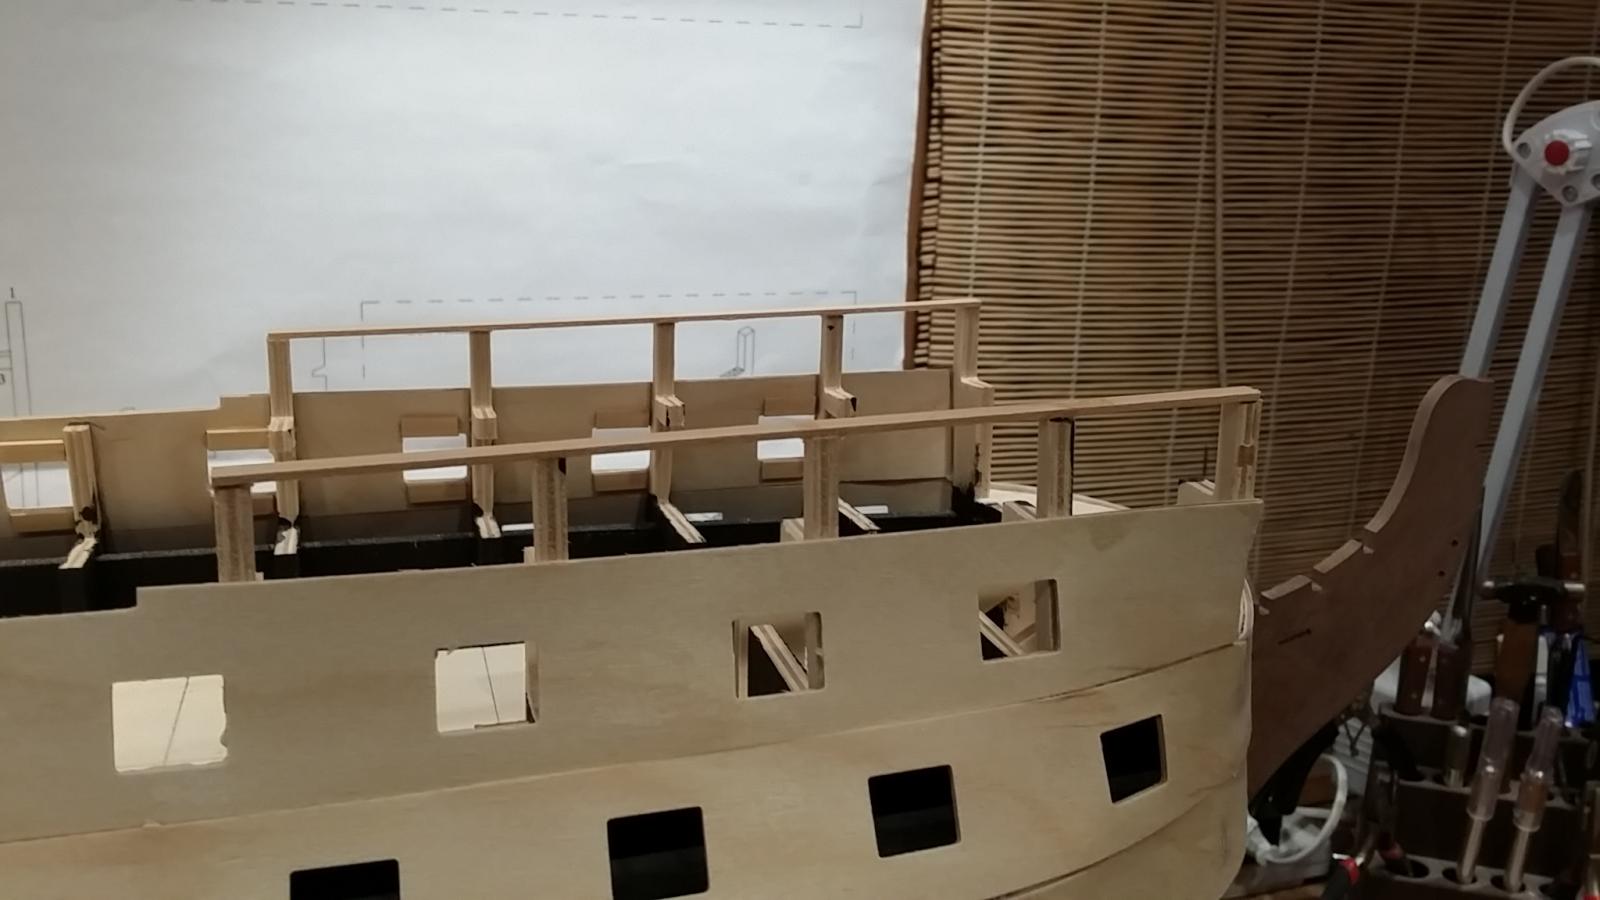
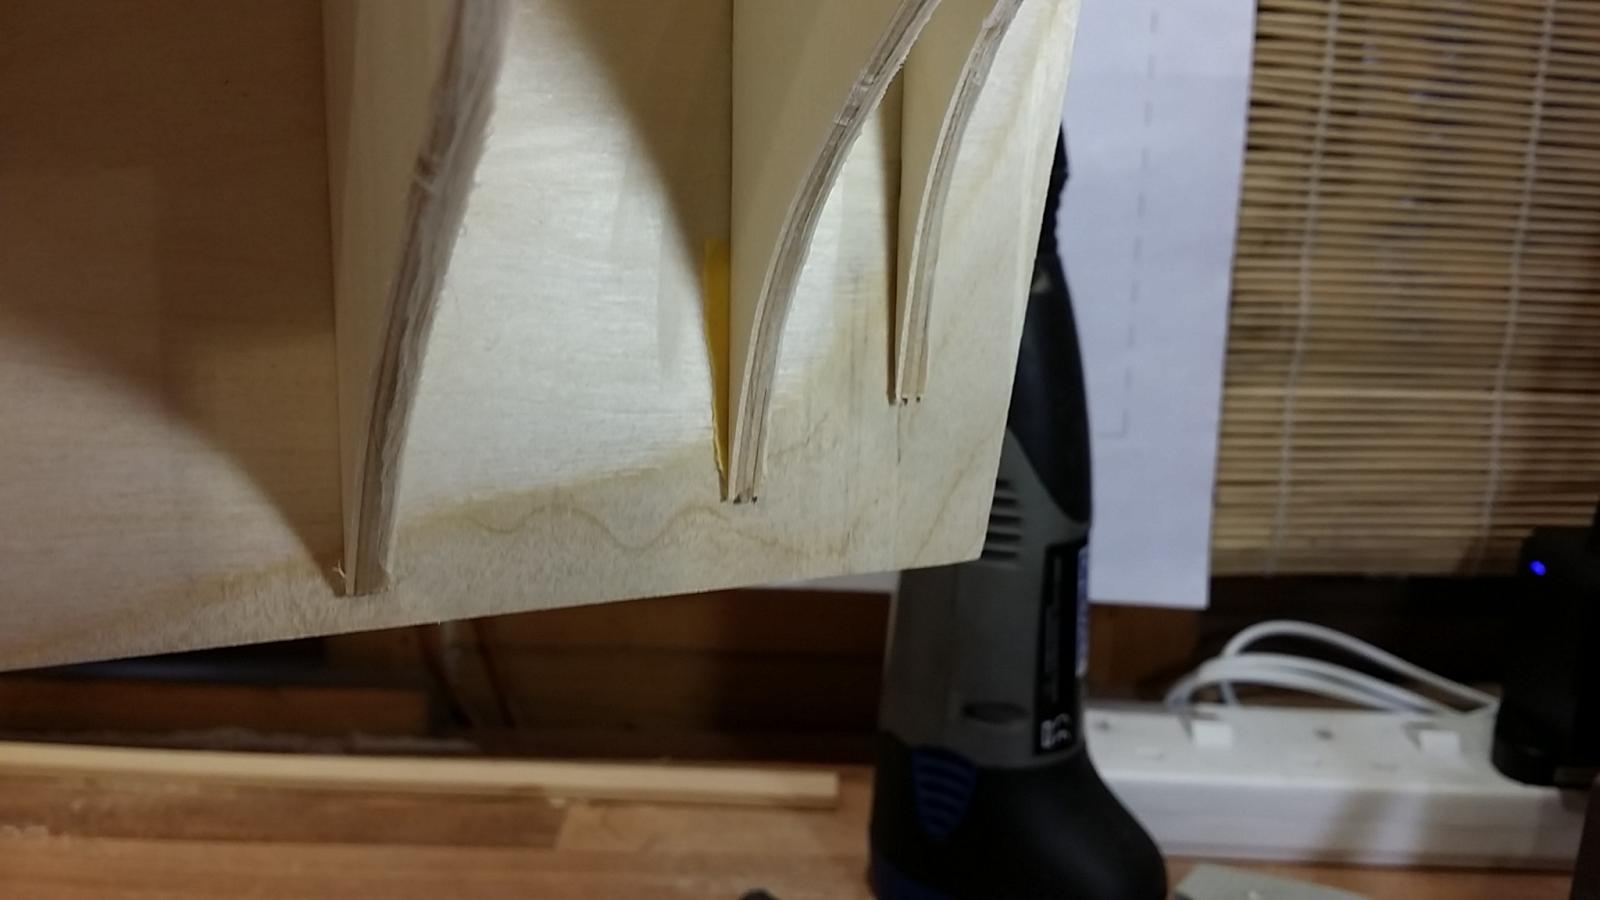
Not sure if it will be a problem for you but when I added the balsa sills to the gun ports at this early stage it did make the installation of the gun deck and quarterdeck more interesting. I seem to recall I ended up cutting the gun deck in two to aid installation because of the sills I had fitted.
Very good point Glenn, just looked at that and your right it's going to hamper the fitting of the gun deck, it's seems i'll be following you and cutting it cleanly down the middle.
-
-
Hello Robert..
I had no idea that you have started to build Victory and happily i came across your log this morning. I see that my friends Glenn and David have been paying regular visits to your site and have been watching your progress. You have two excellent tutors communicating with you but I thought you'd like to also hear from someone on the other side of the pond. From what I see you are doing a very good job so far and I know you will end up with a beautiful model aas David did and Glenn will. I'm happy to see that David advised you to drill the two pedestal holes for that is something I didn't do so as you may see from my build log, I ended up standing my Victory on a small cradle. There are other aspects to your build that I really like including painting the framework black. This was an afterthought for me and of course was more difficult when I did it later in the build. Please include me on your list of followers and feel free to contact me any time I may be of help. Good luck and best to you,
Jerry
Hello Jerry, yes it's refreshing to know that David & Glenn are watching over me, I've had a quick look at your build log "I've followed it and will have a more in depth look over the next couple of weeks" you have created a work of art, that's for sure. My goal is to complete this kit, if I can do that I'll be a very happy bunny.
-
Glennard, David......thanks for your kind words of encouragement
I've been doing a little experiment or you could call it practice runs on decking, a lot of advice on here.......HB Pencil, Black Marker Pen, Cocktail sticks for tree nails etc etc etc.
I'll post a pick when i find something I'm happy with.
-
Thanks David, I finding it better to mix and match at the moment, some work on the lids, some work on the channel assemblies etc. I expect it will be a few weeks before I start thinking about masts and yards.
Hmmm, I might have to sling some sort of break up plan into my build. I've been painstakingly reading through other Victory build logs and the word "repetition" seems to come up a lot.
Looking good Glennard
-
Good job so far.
Thanks Glennard, a bit slow at the moment as i'm still waiting for some odds and sods to arrive.
-
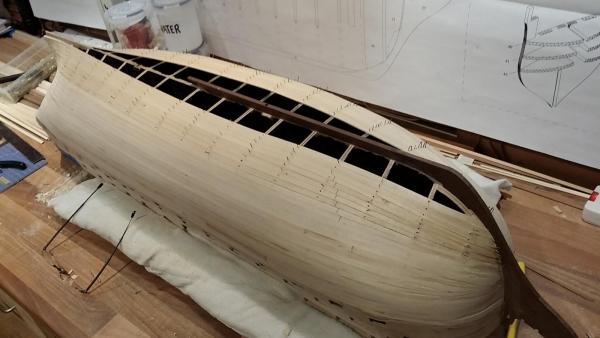
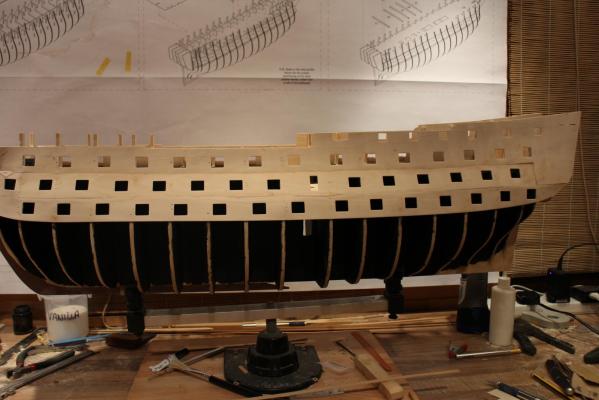
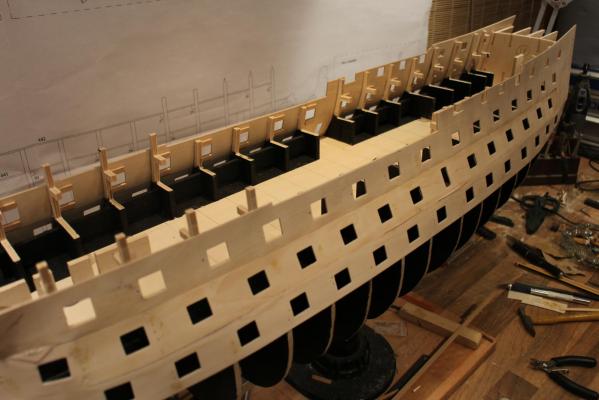
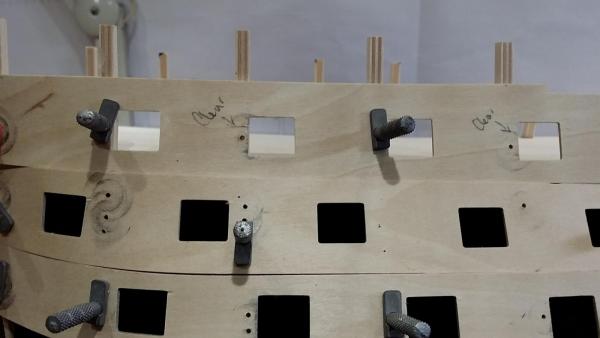
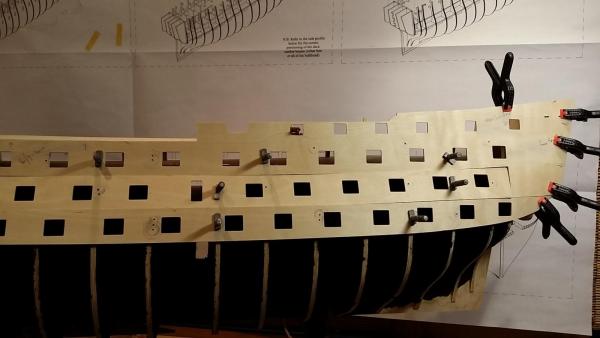
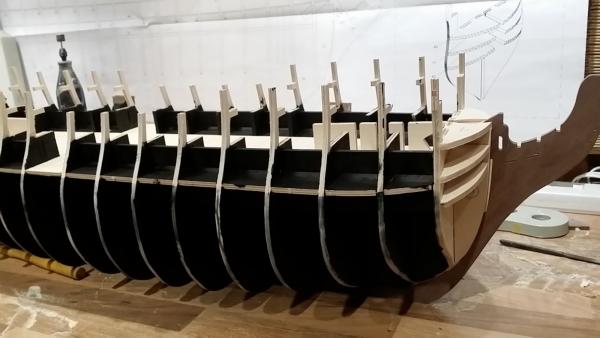
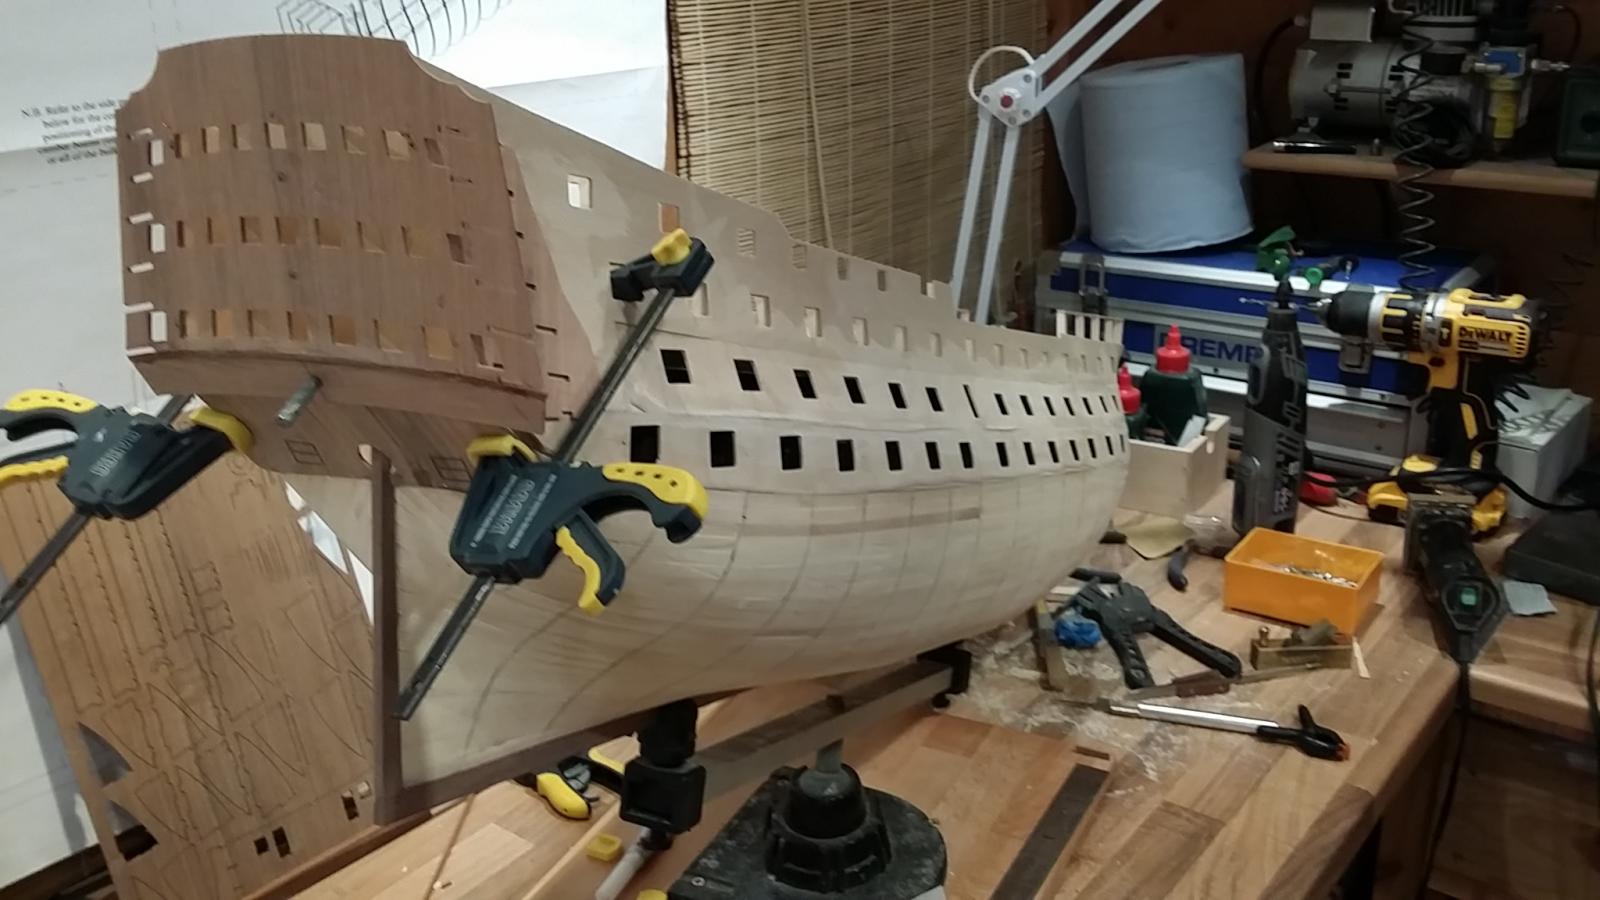
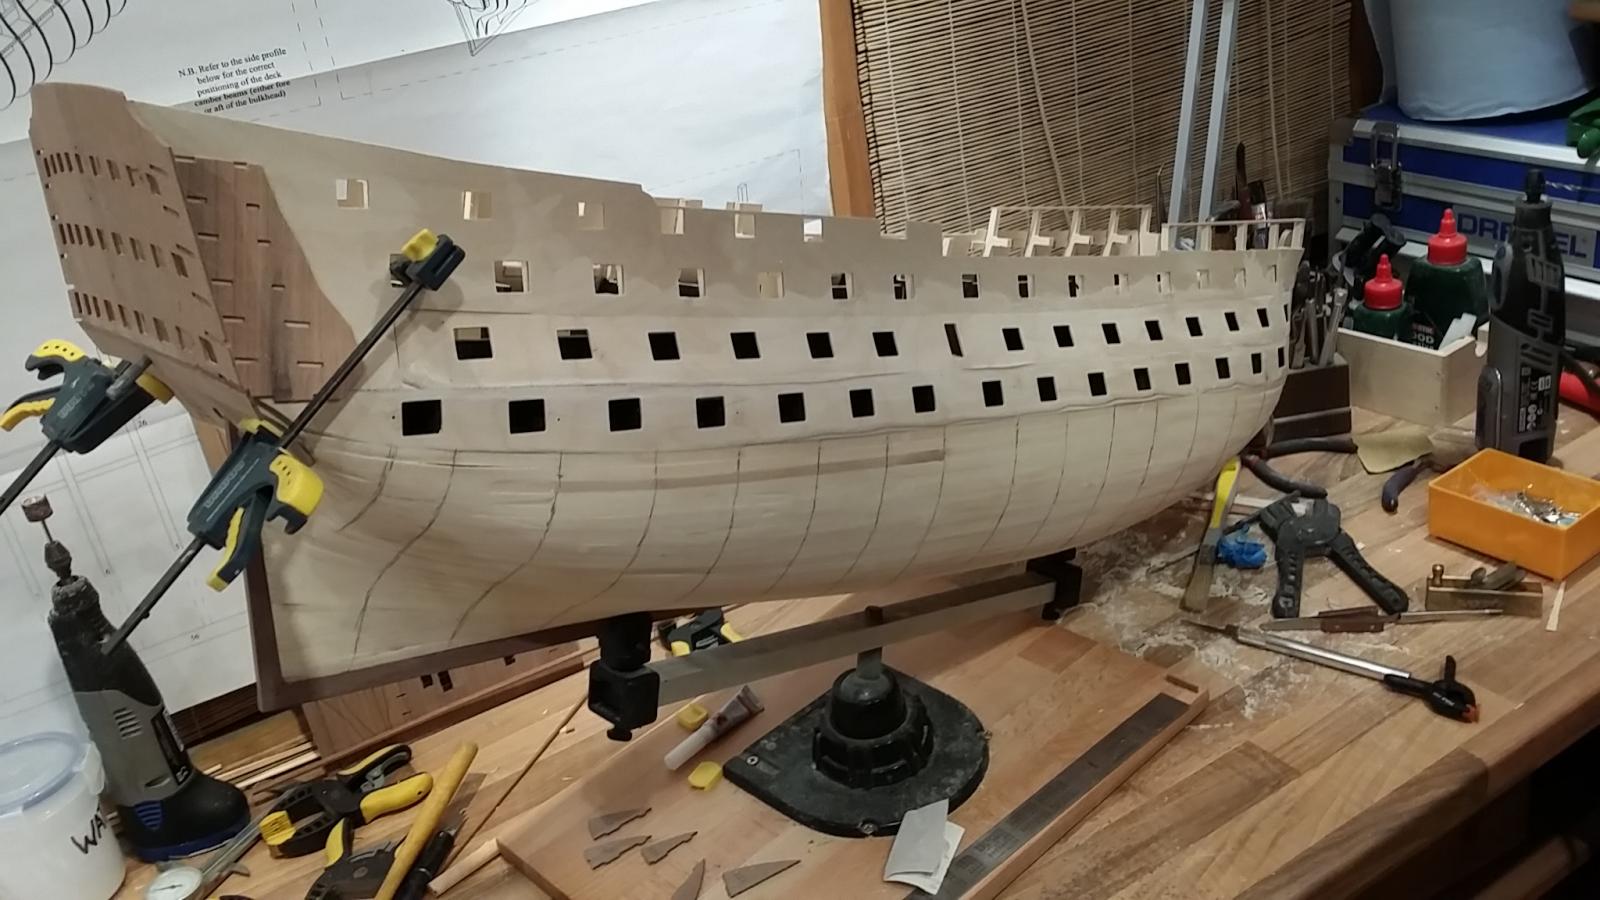
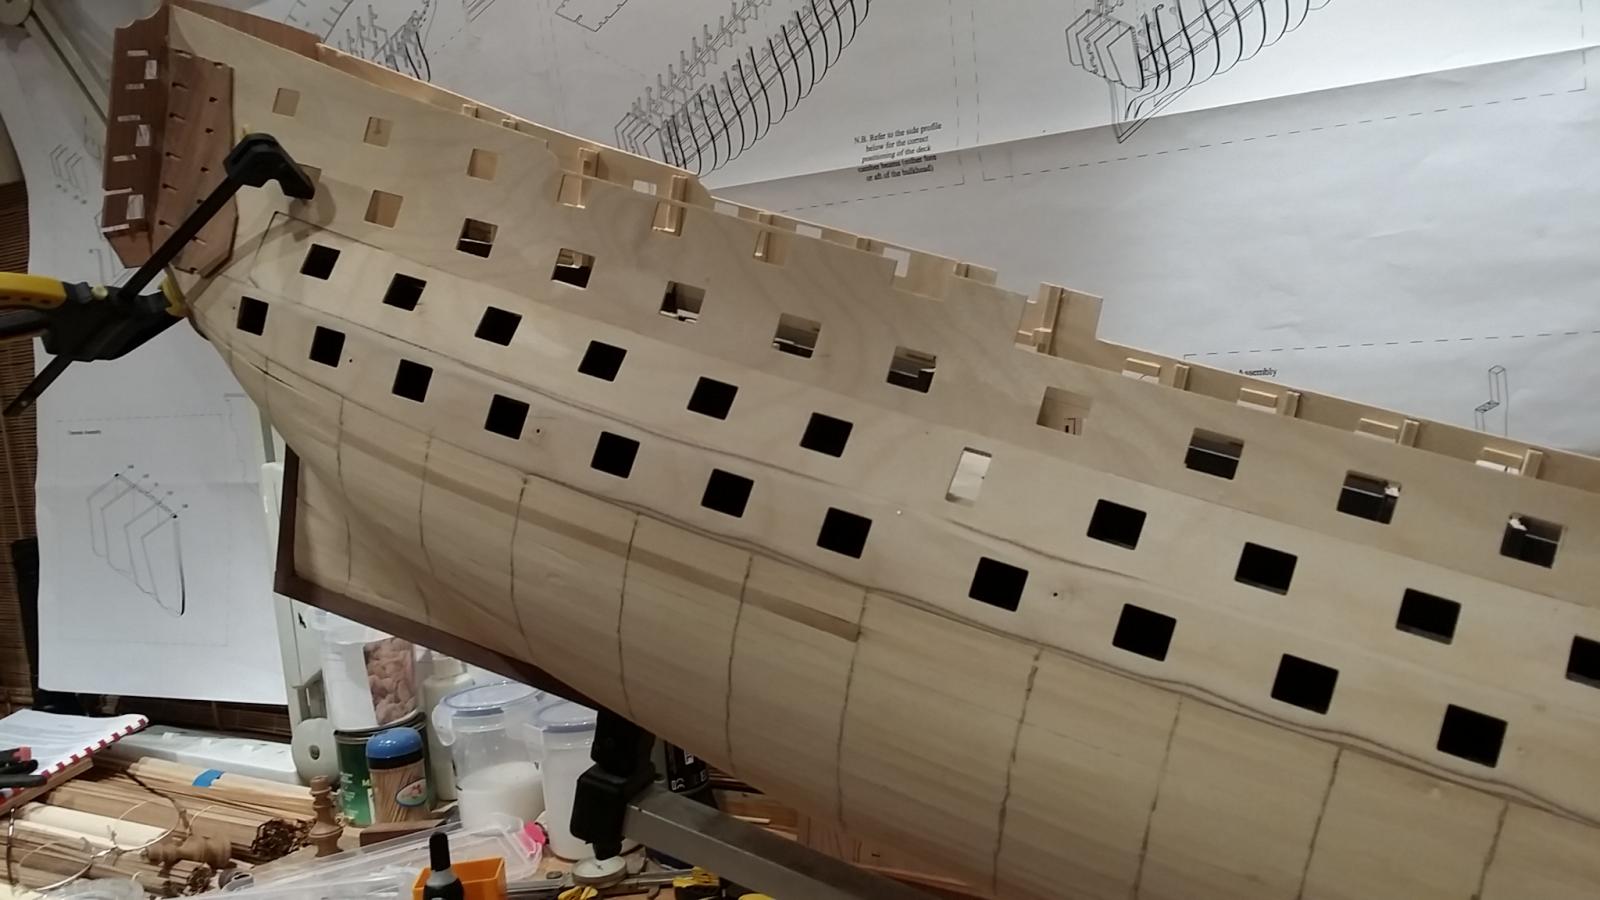
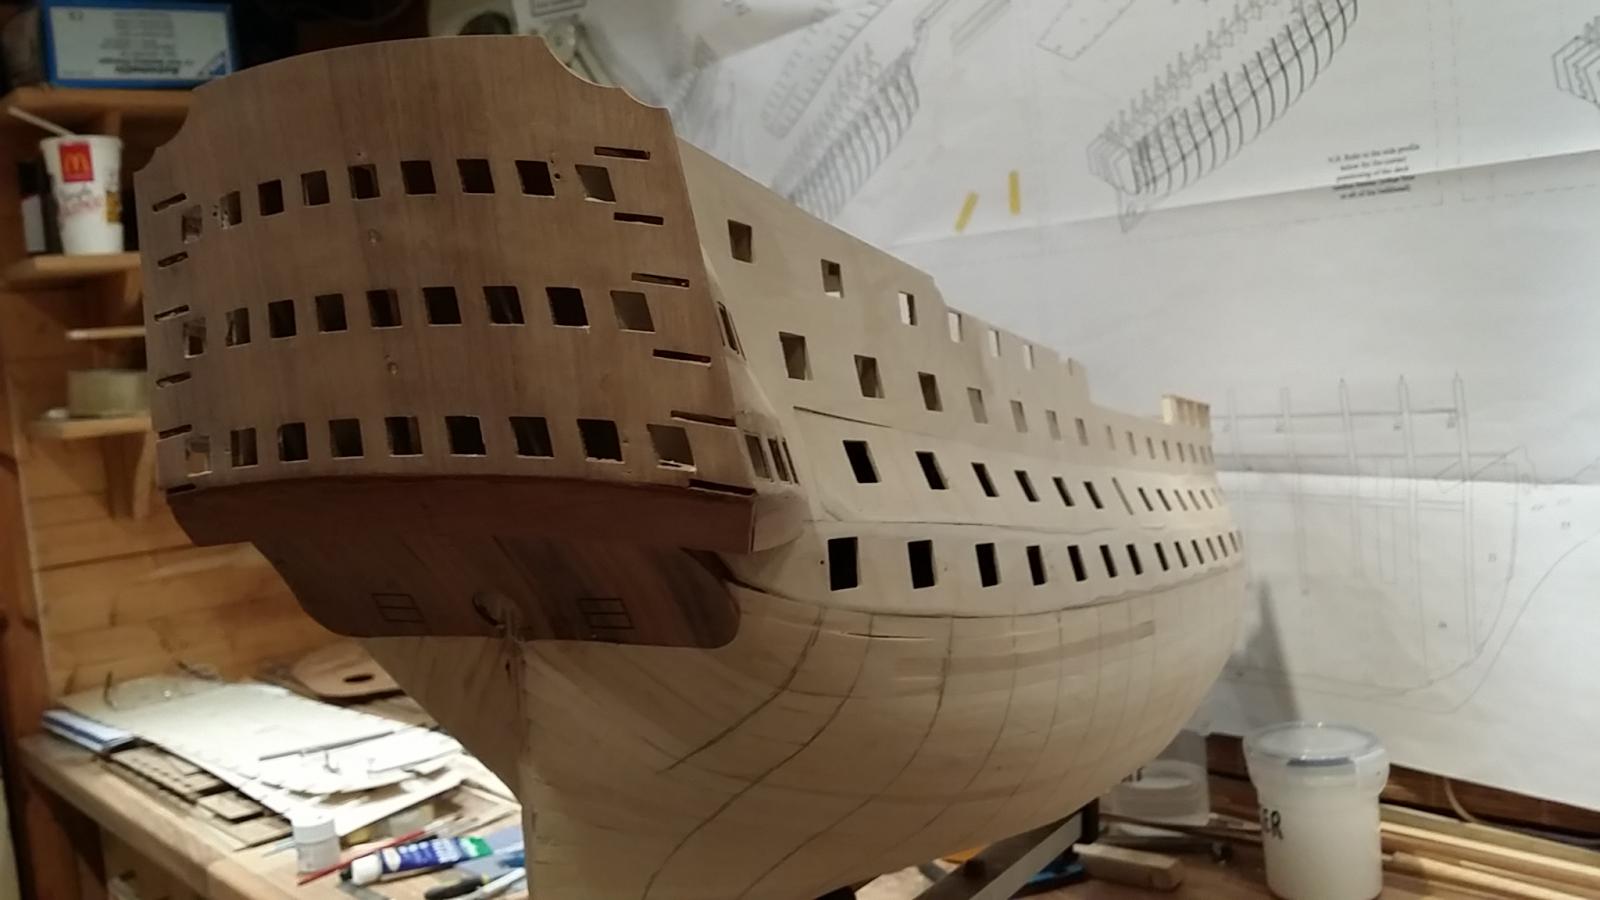
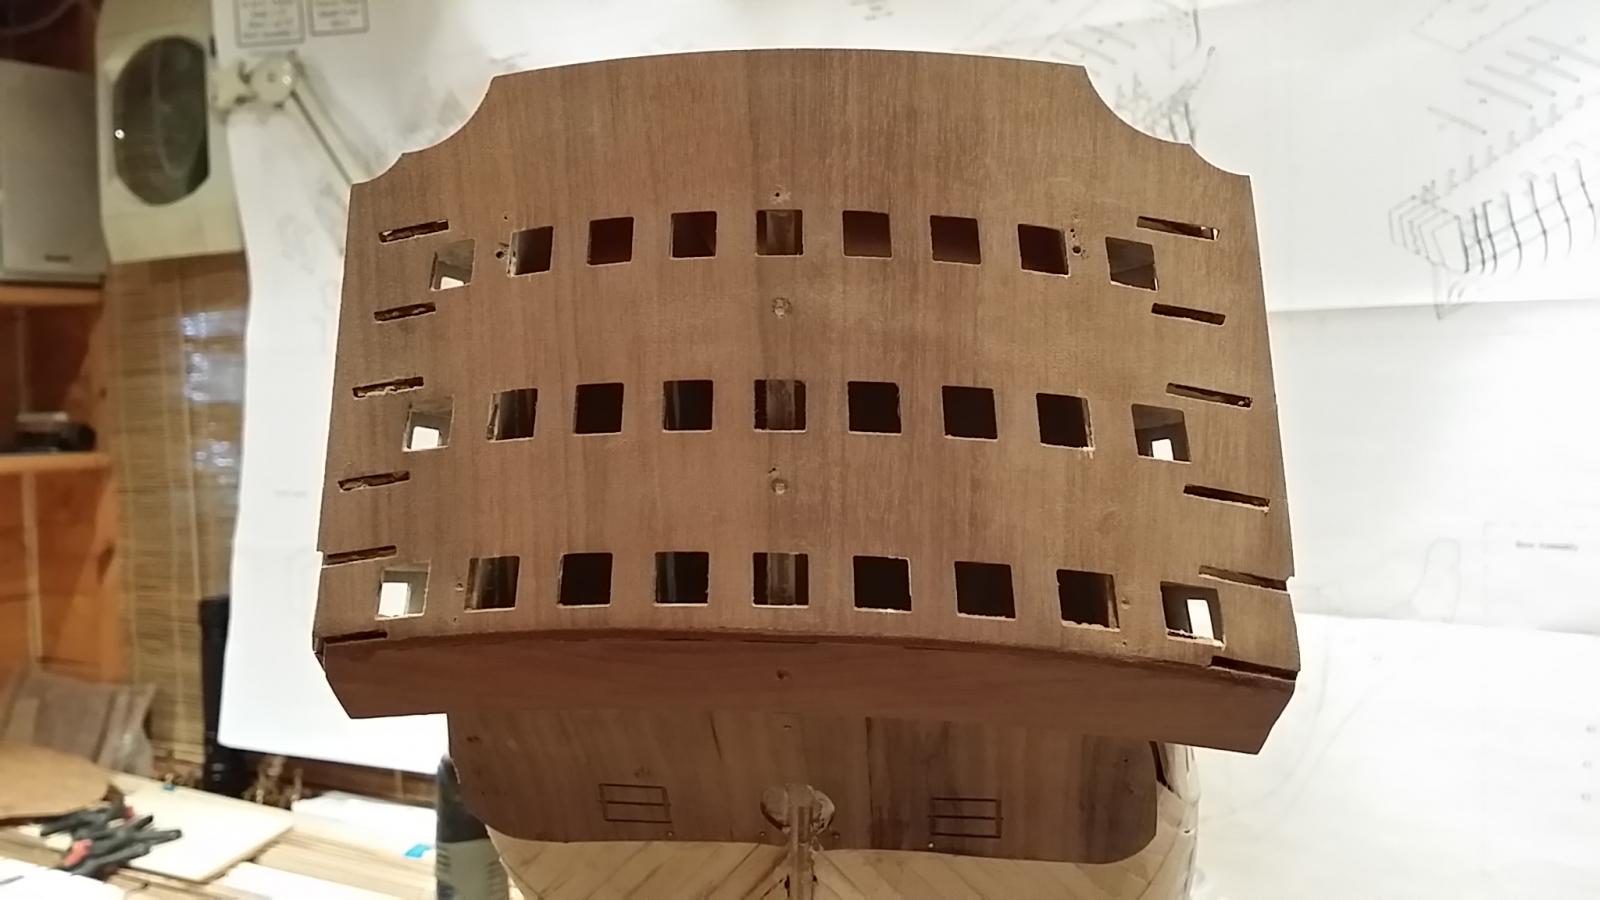
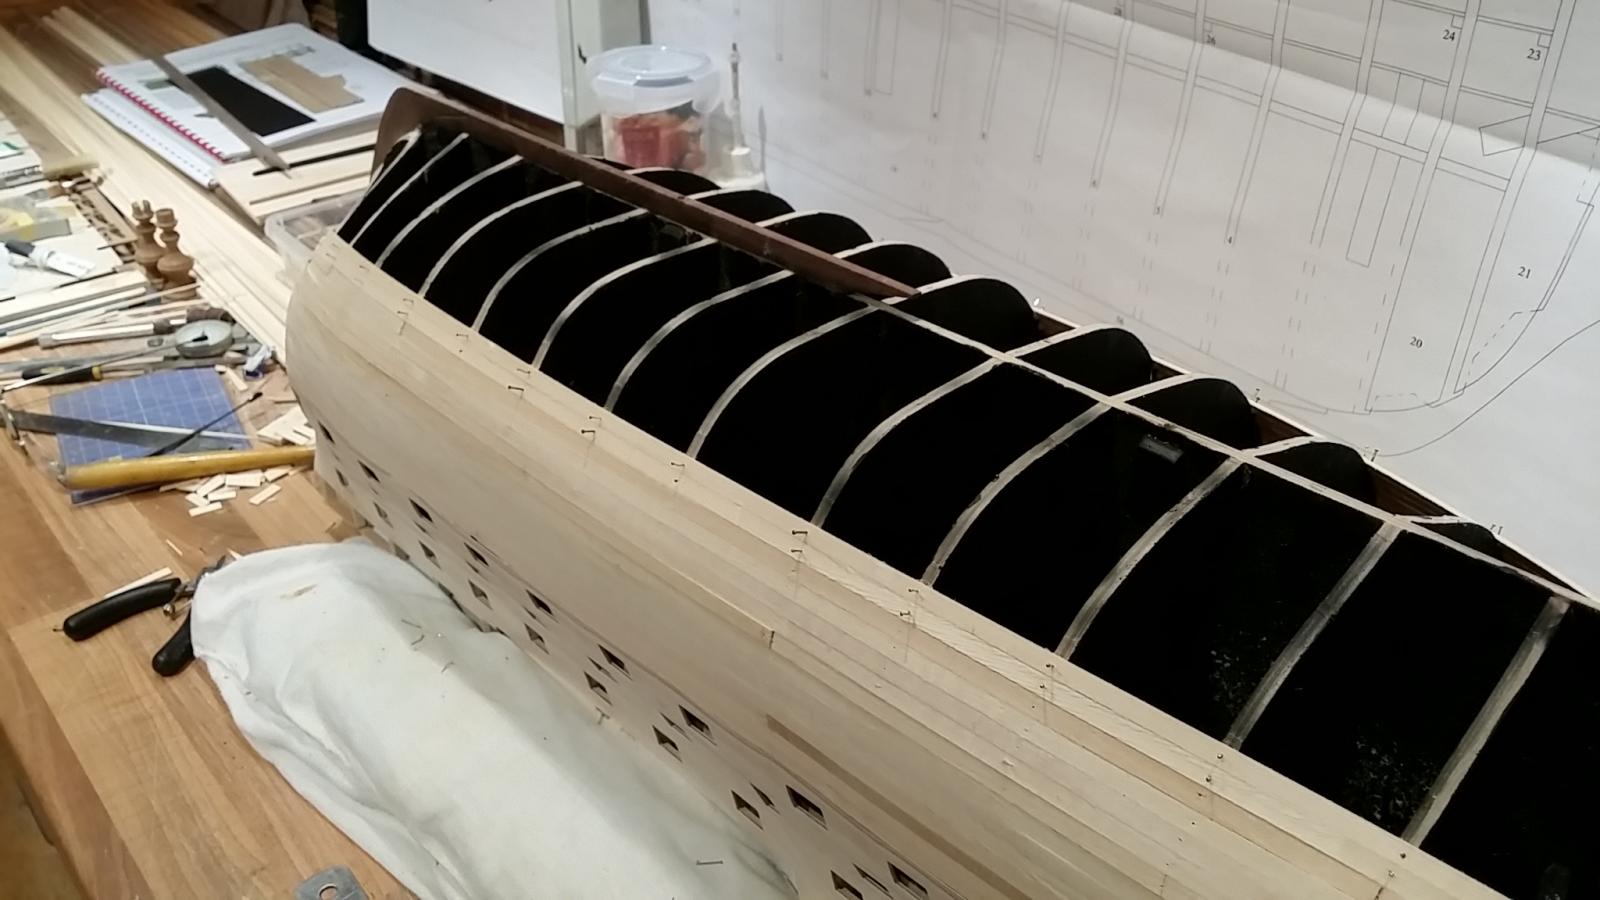
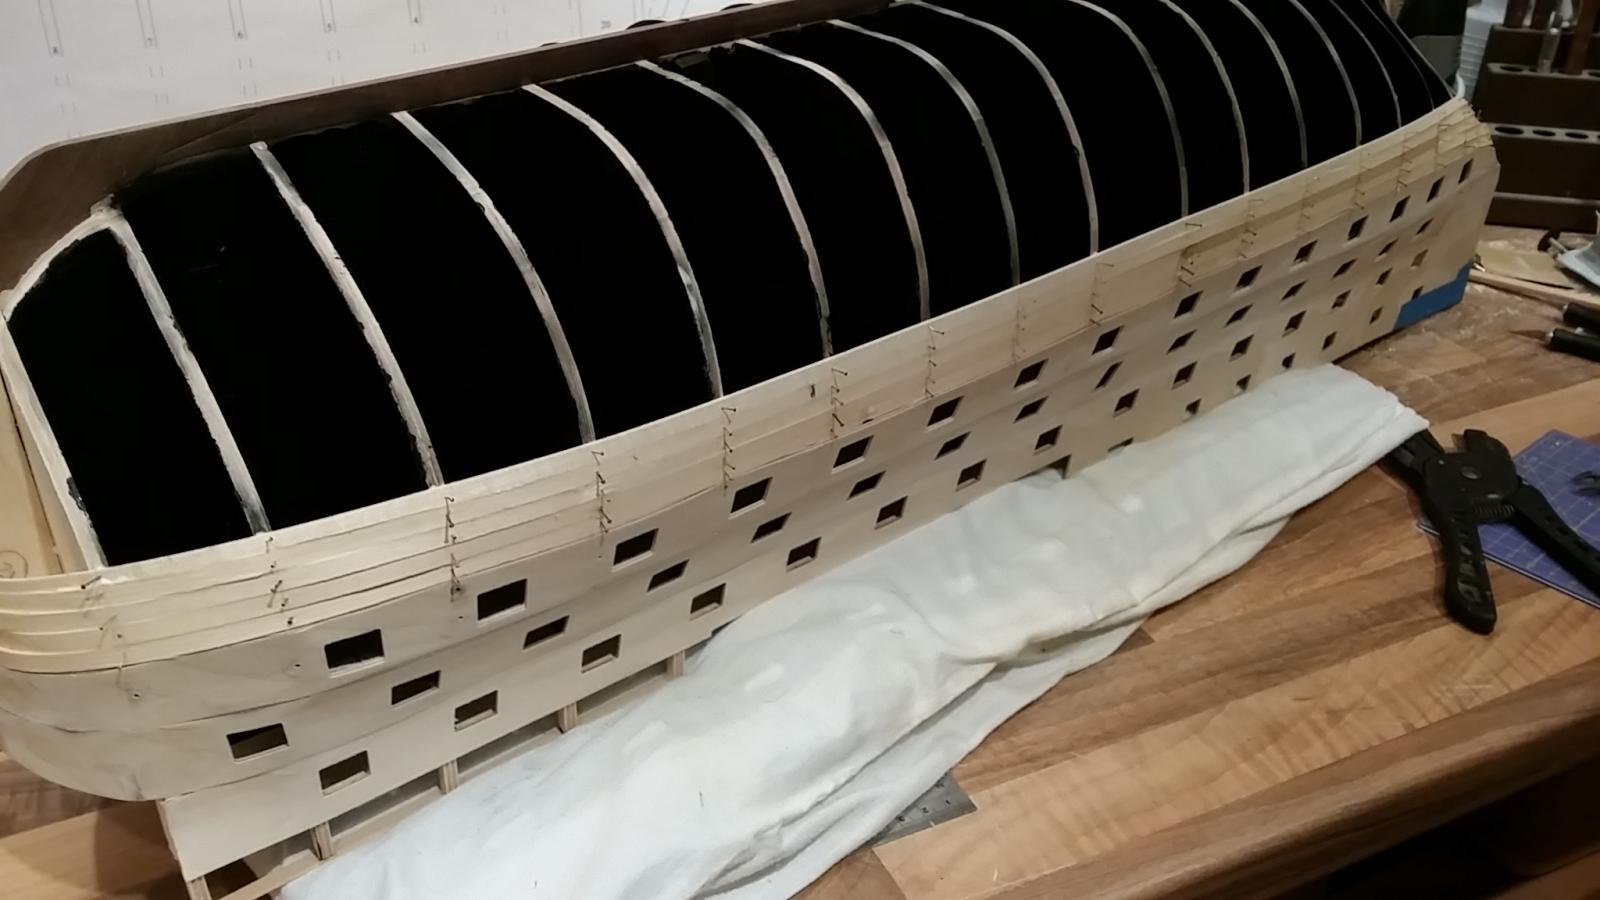
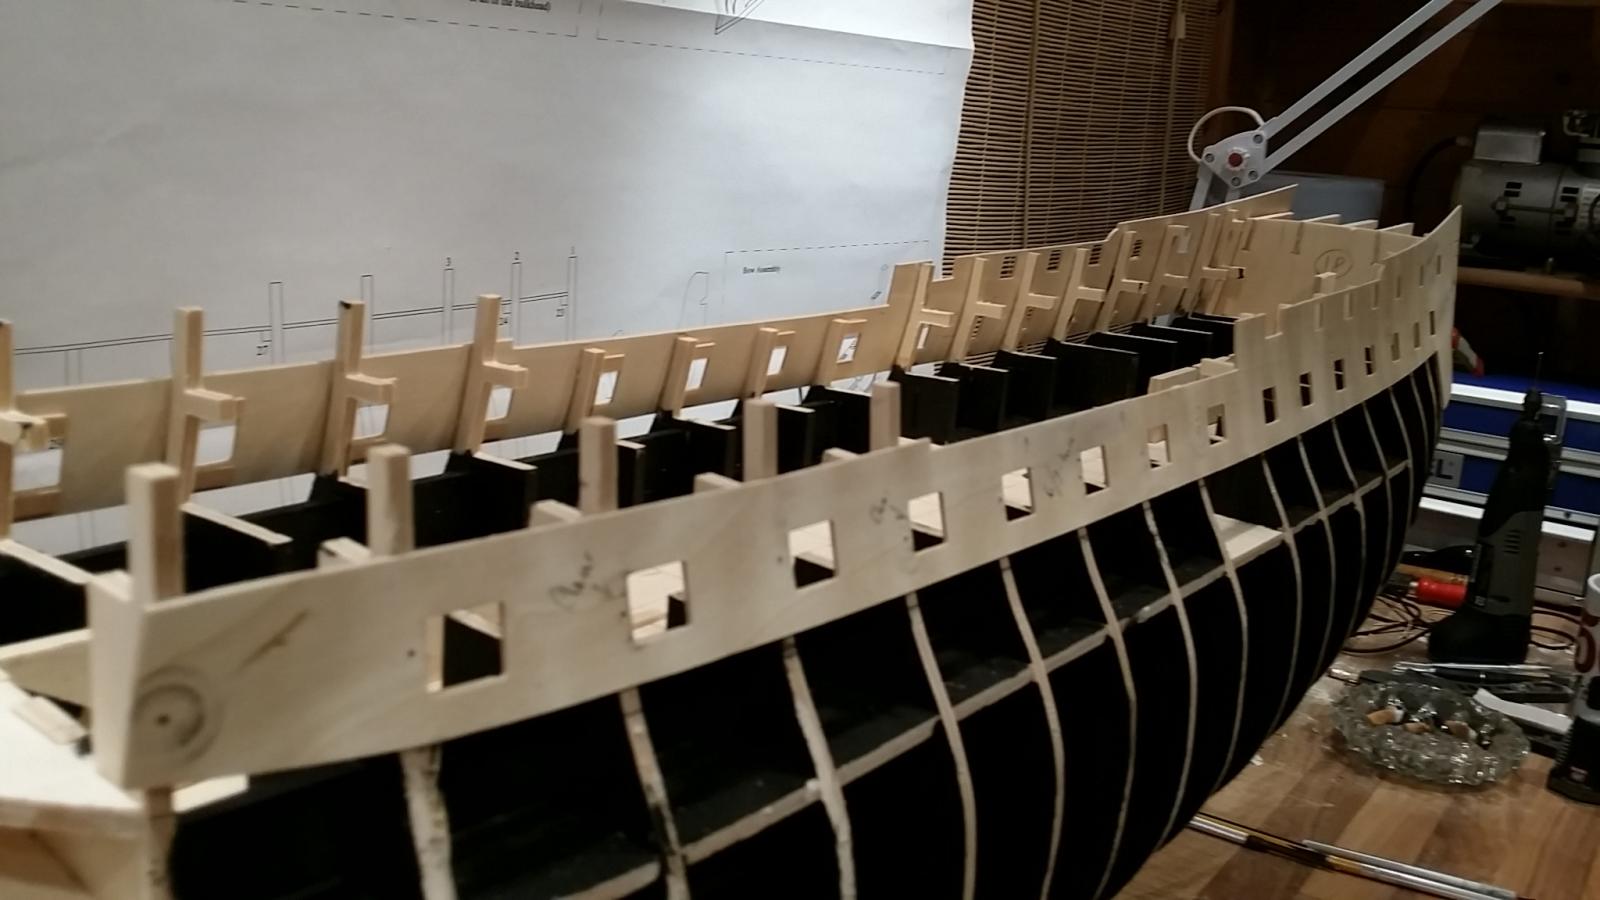
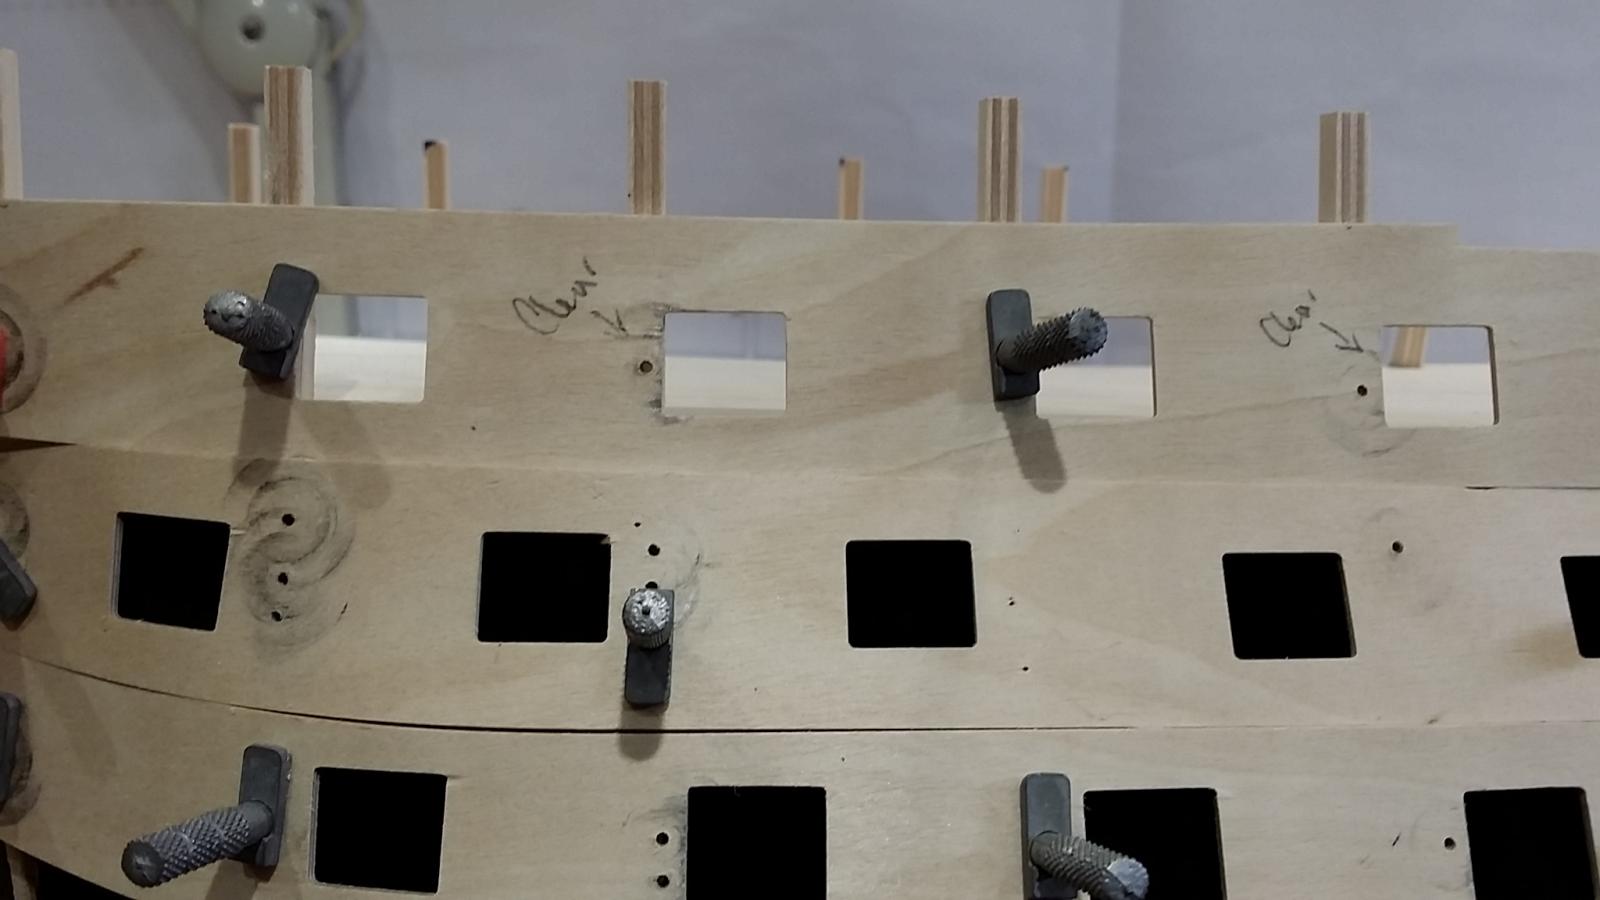
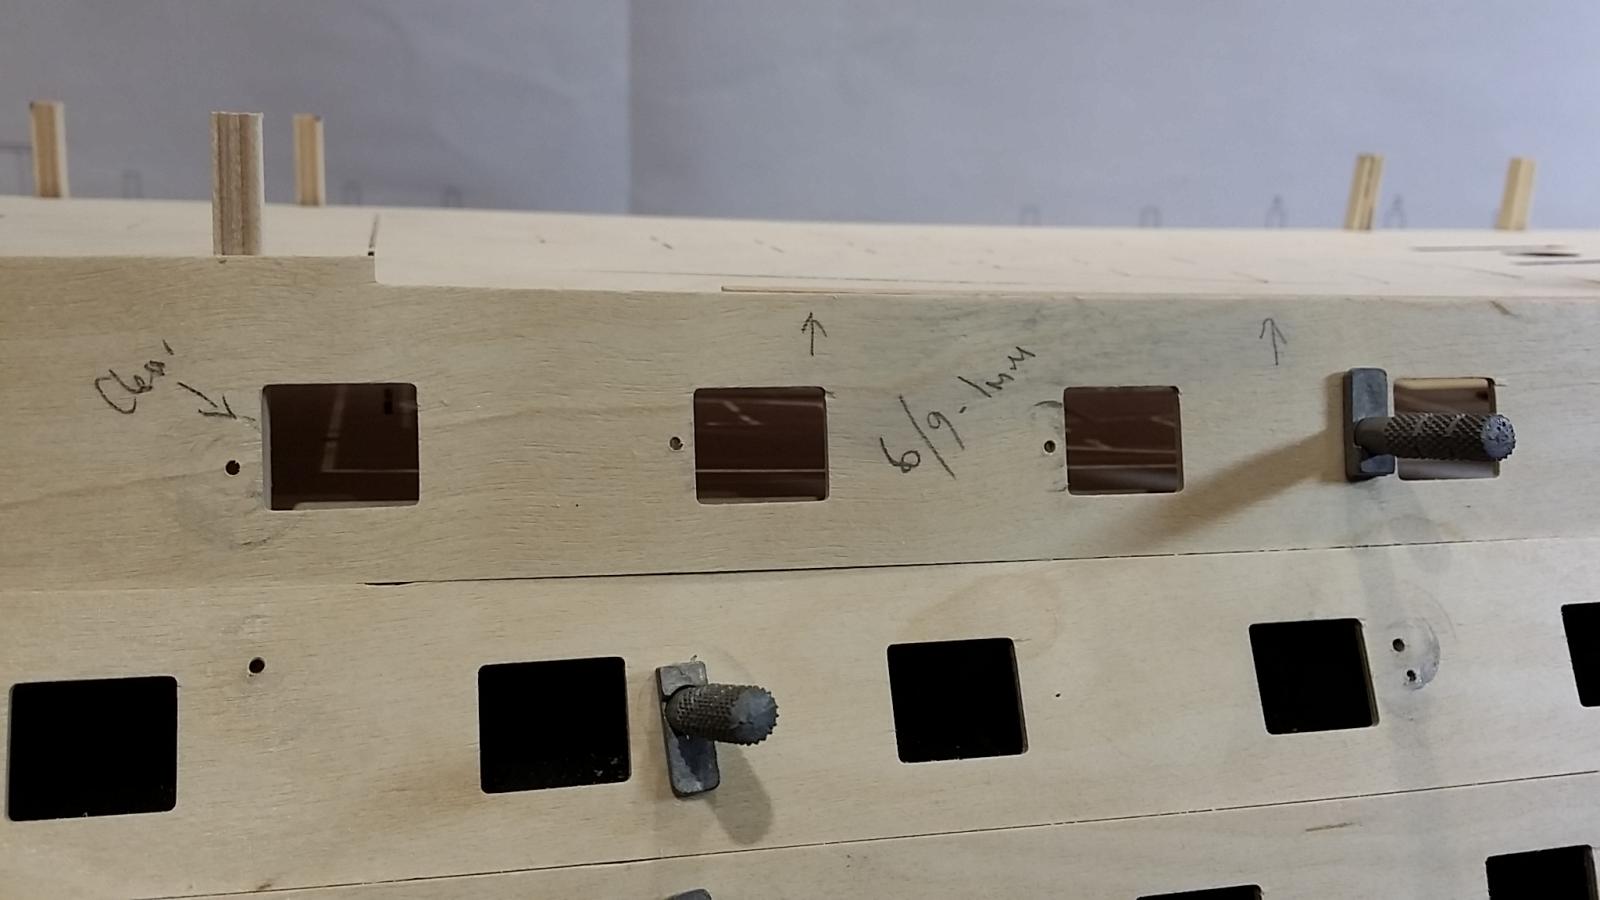
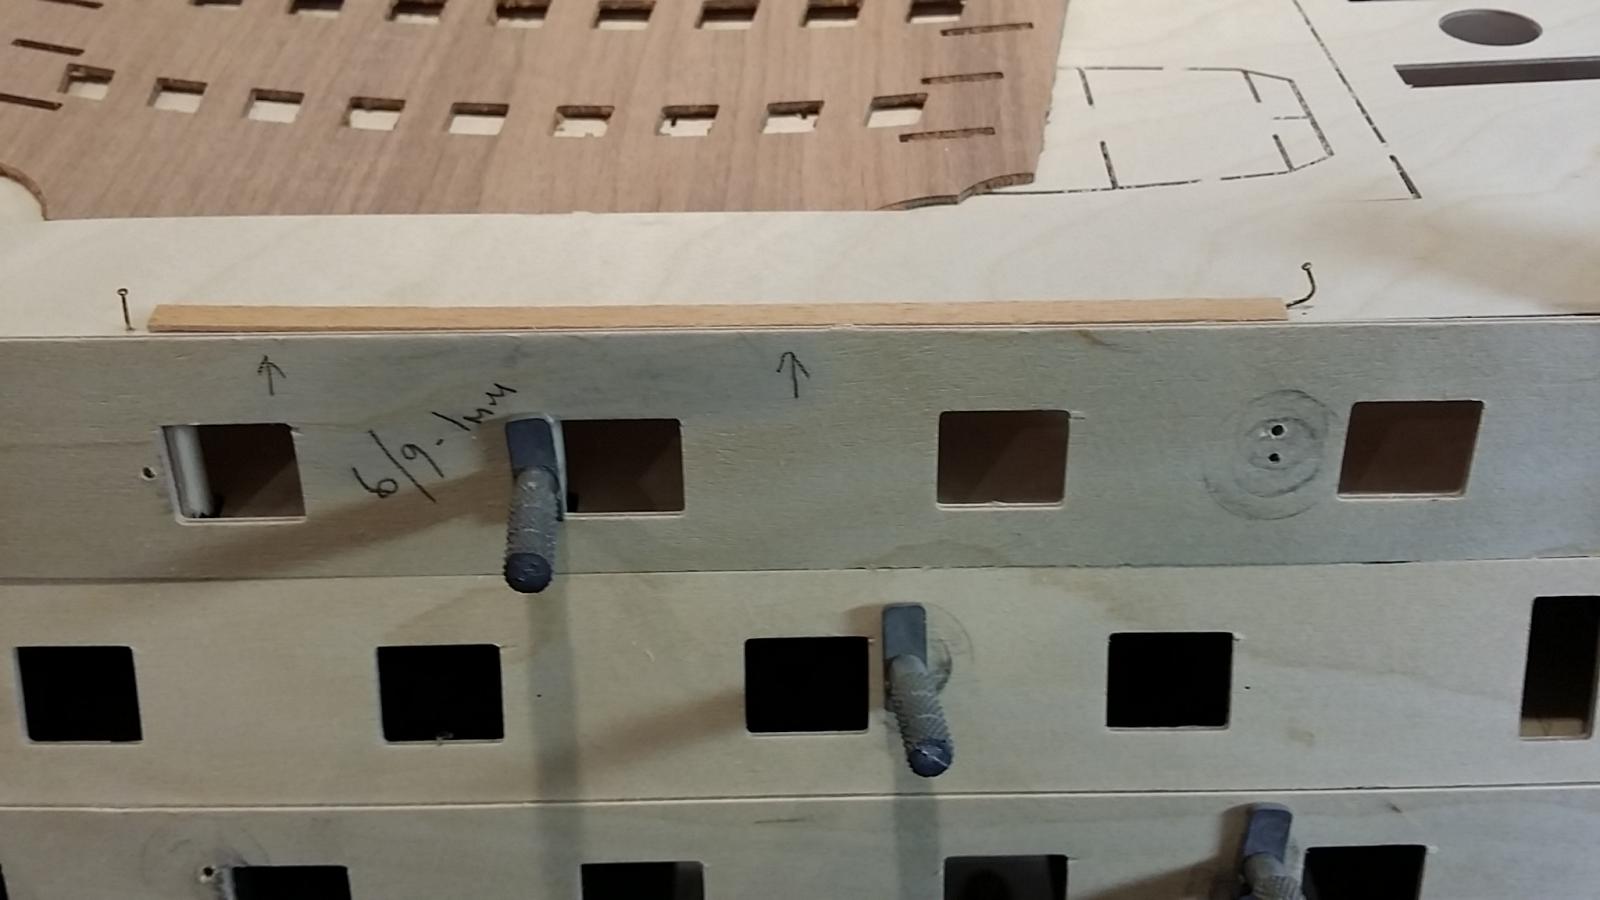
All gunport patterns now fitted and cleaned up, a little cleaning and beveling to do and then i'll be ready to start the first planking.
- Jan R, mort stoll and maddog33
-
3
-
-
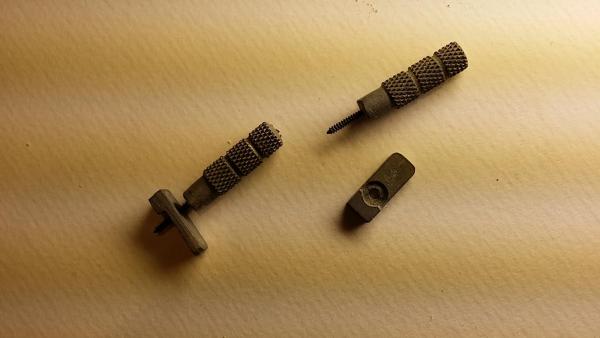
Looking great. What is the name of the items you are using to connect the side of the ship with while glues dry and where did you get them. Struggles to find any online in uk shops
Sorry Marvi, it's been over 20 years since I set eyes on all this stuff, have no idea where i got them from, I do know they're final planking screws so no holes are shown after planking.
-
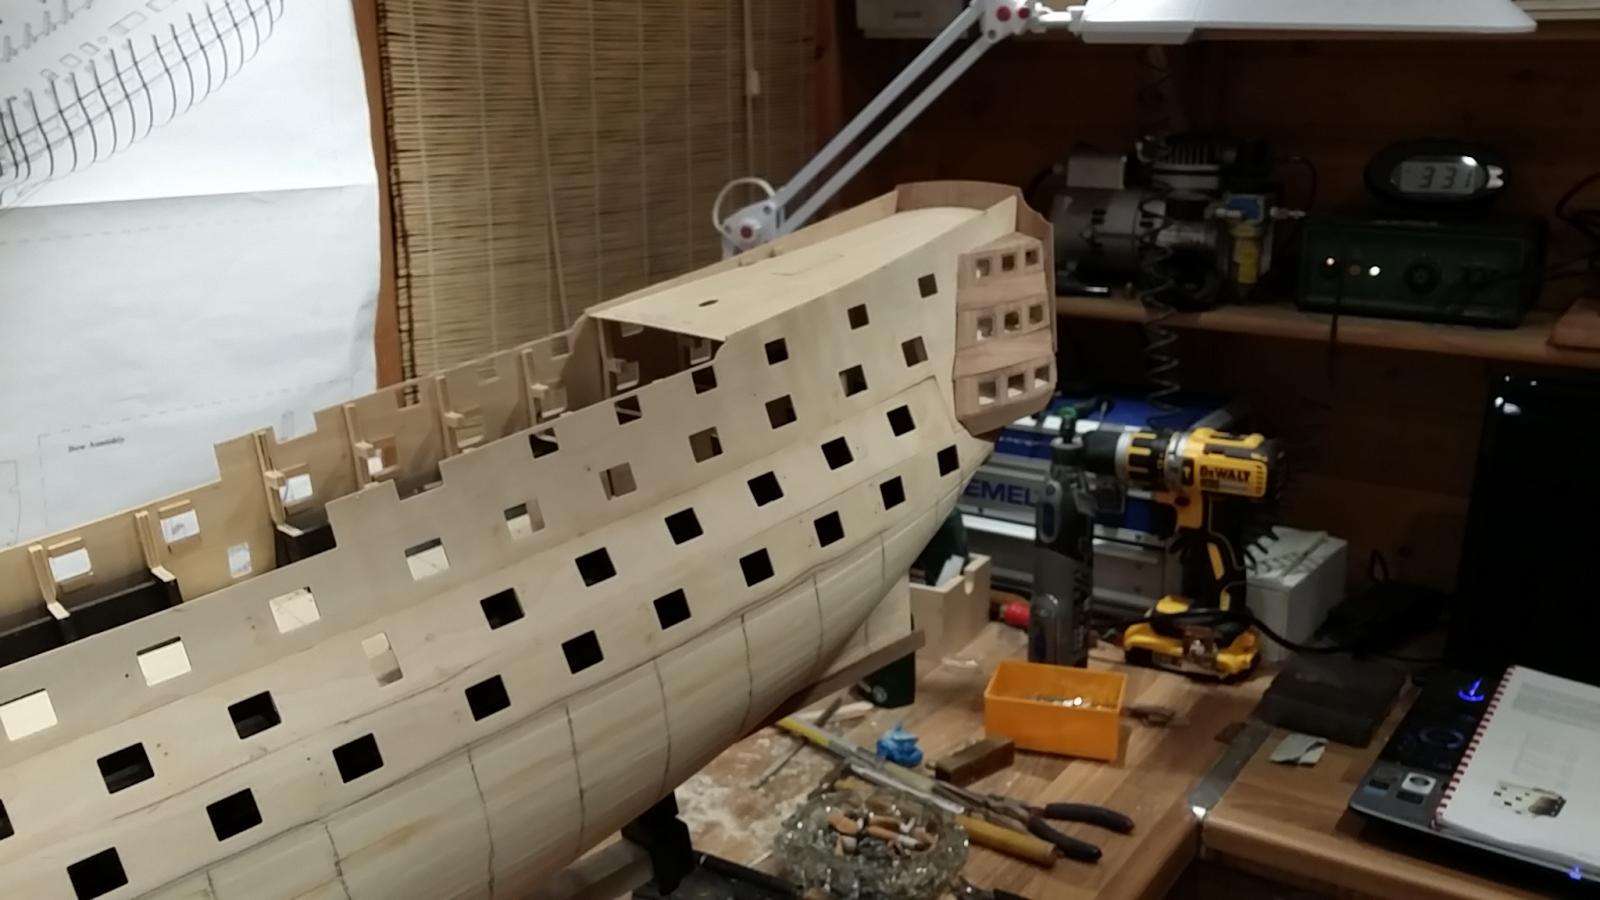
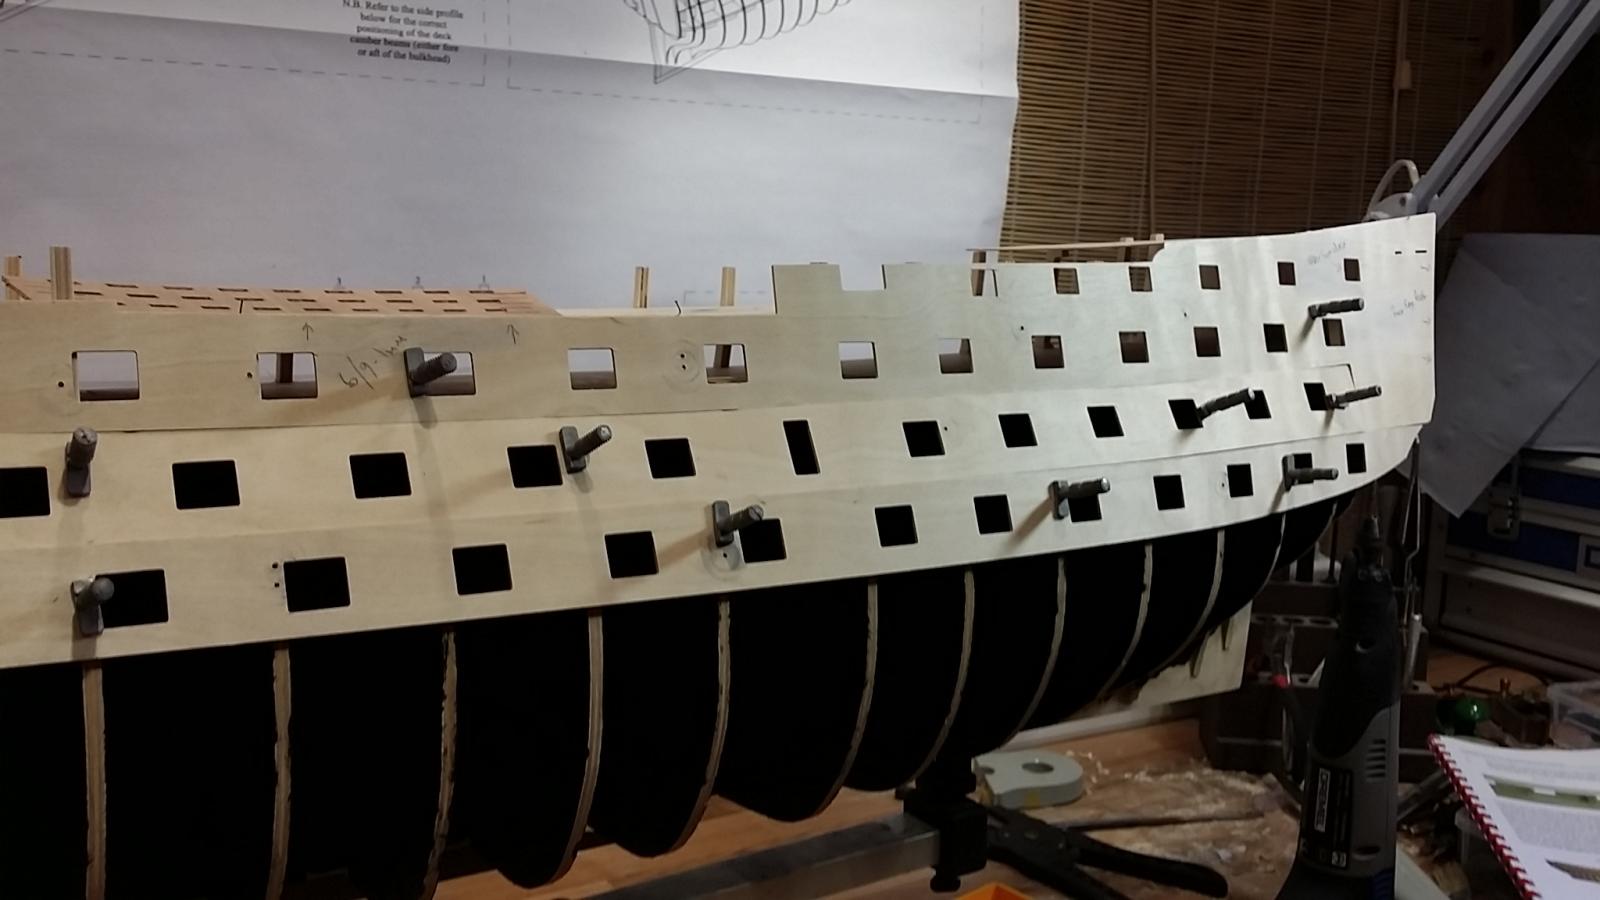
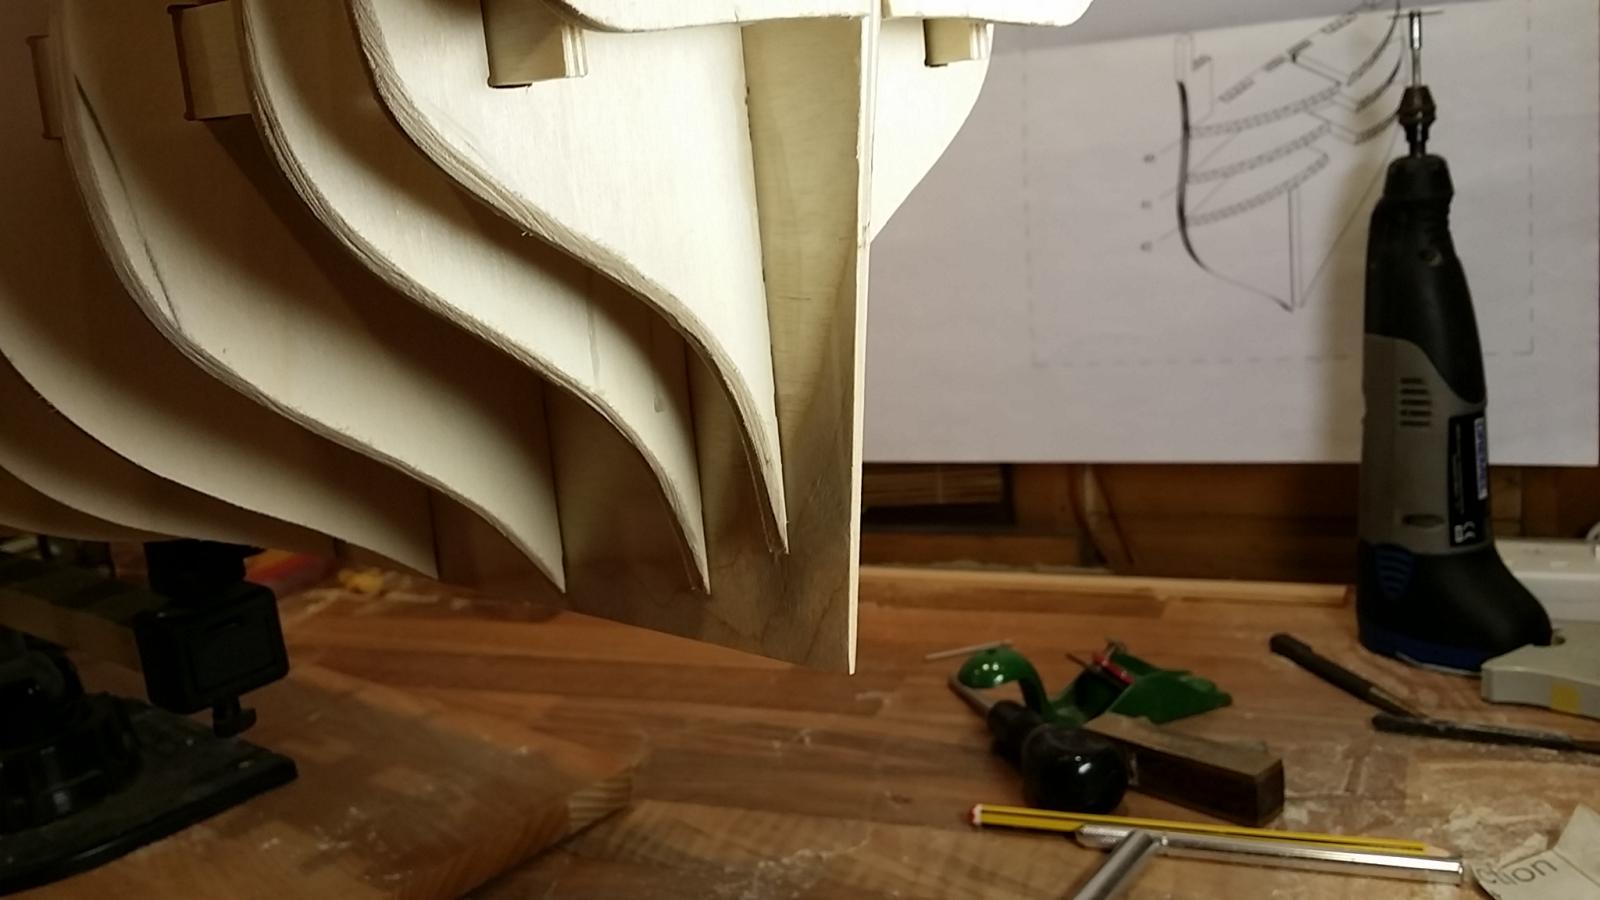
Got it right this time (fourth attempt) the gunport holes are no longer over the bulk heads.


- Jan R, maddog33 and mort stoll
-
3
-
And I still think i,m not right.

-
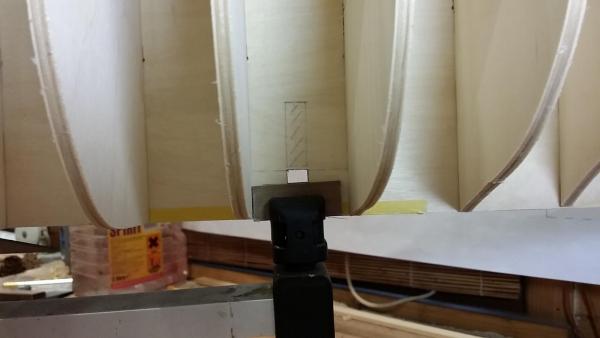
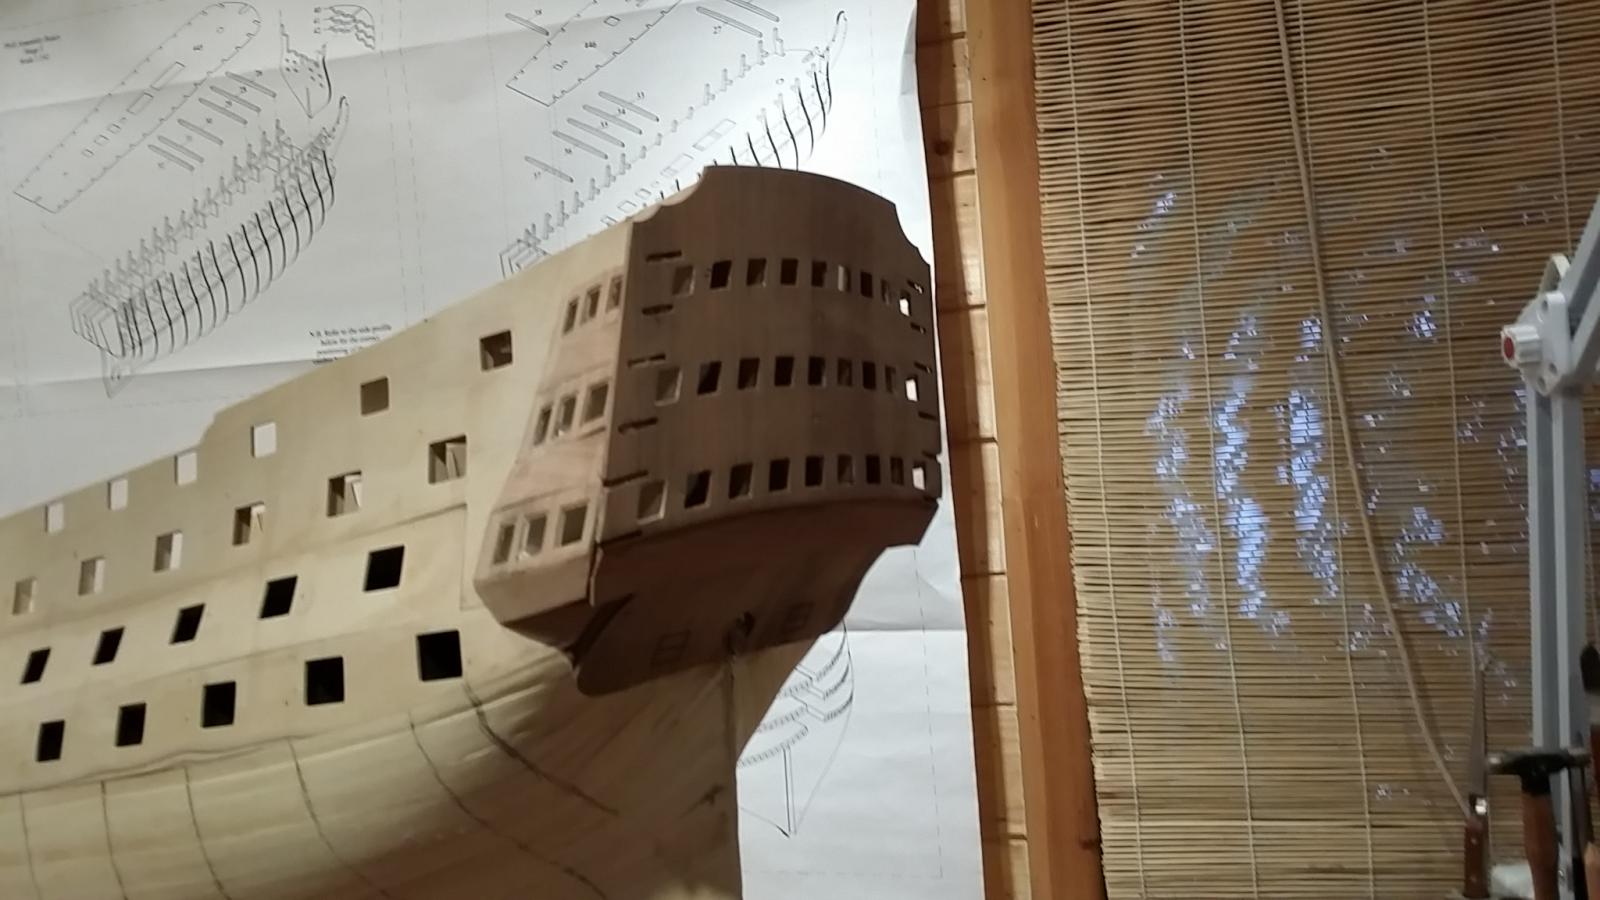
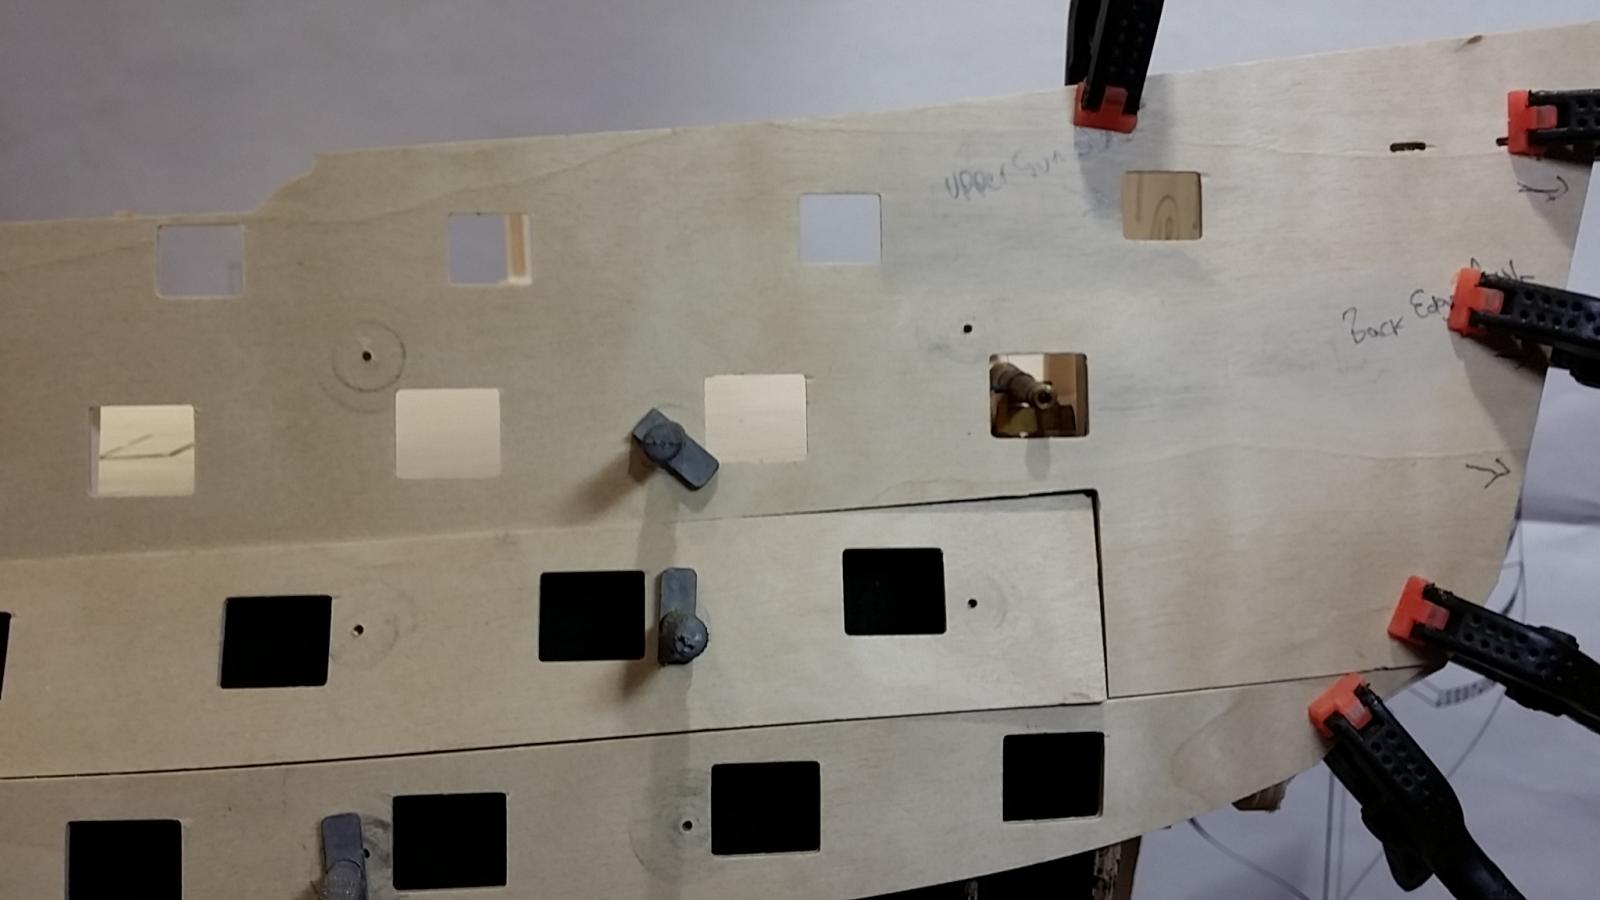
This is just a dry run only.
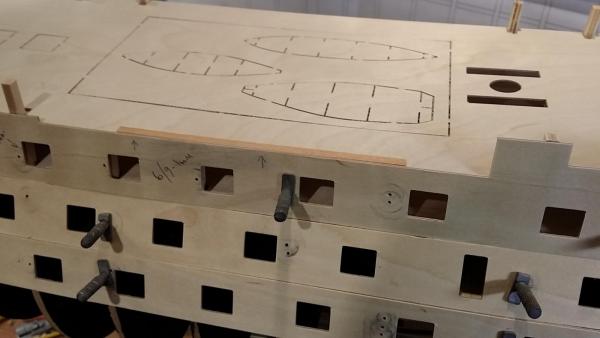
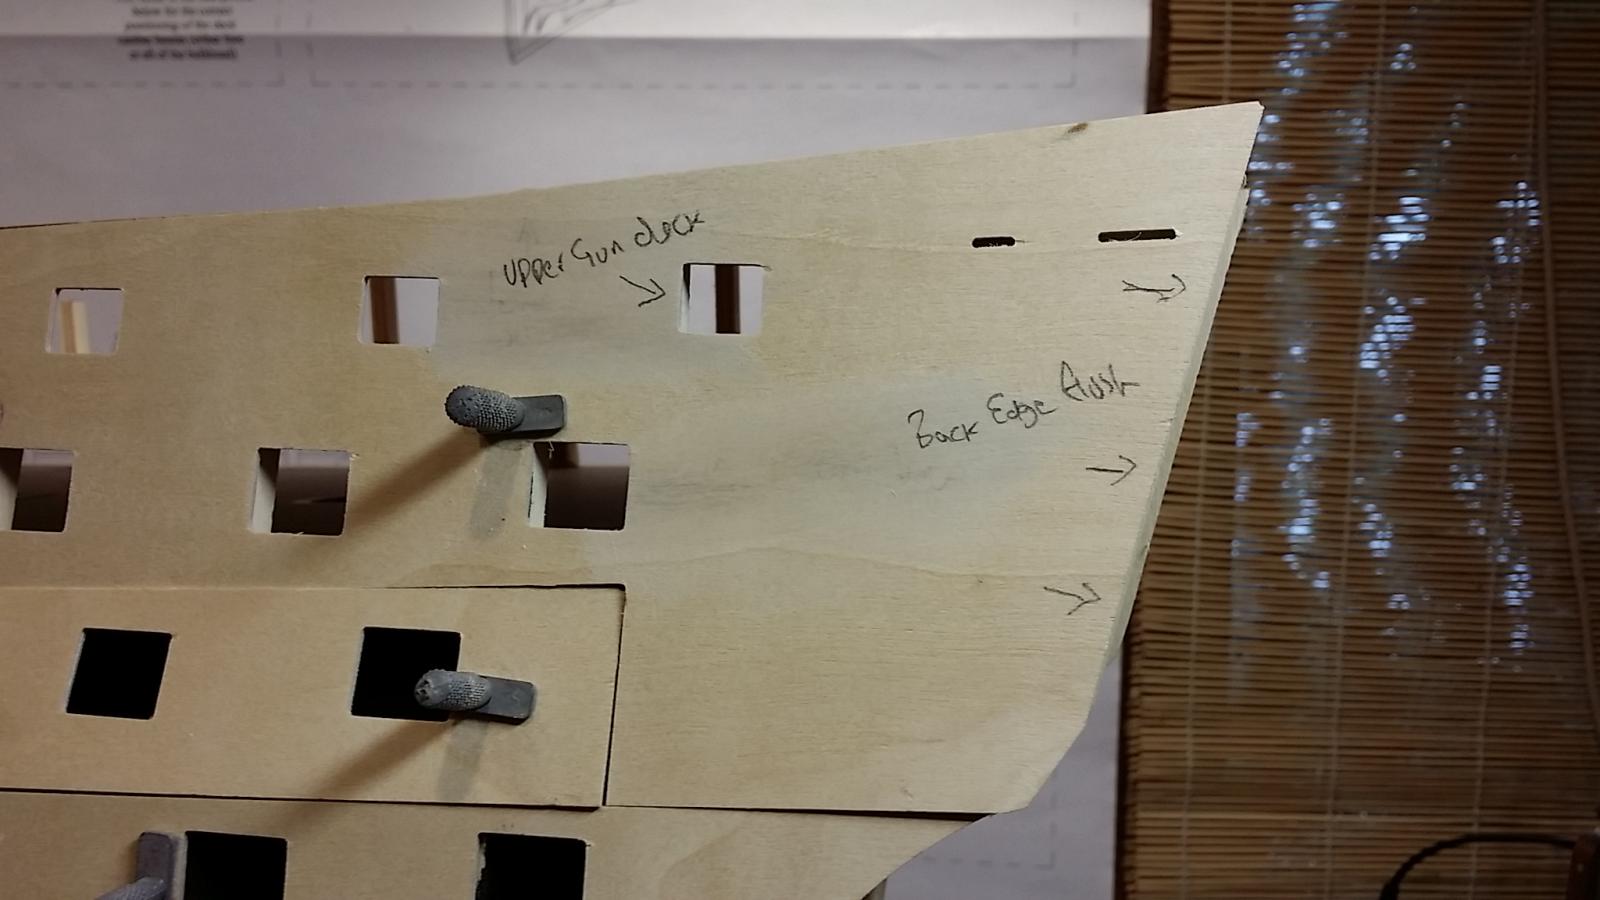
1. The back edge is flush with the outer stern extension pattern (106)
2. The rear most upper gun deck gunport back edge is flush with the front of the bulkhead.

3. Make sure that the top edge of the gunport pattern lies 1mm above the ply quarterdeck.


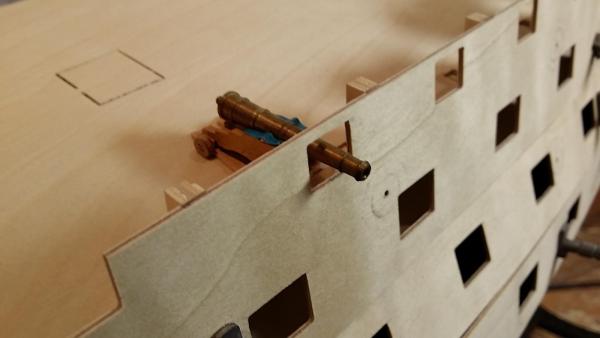
Three attempts to get that right, I,ve built up a temporary cannon and checked it against many ports and all looks good, I can't get a picture up at the moment as I seem to have lost it

-
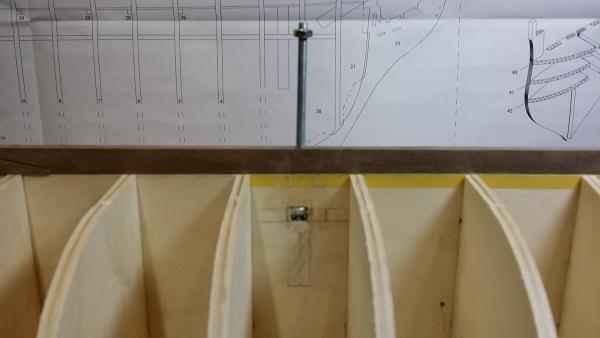
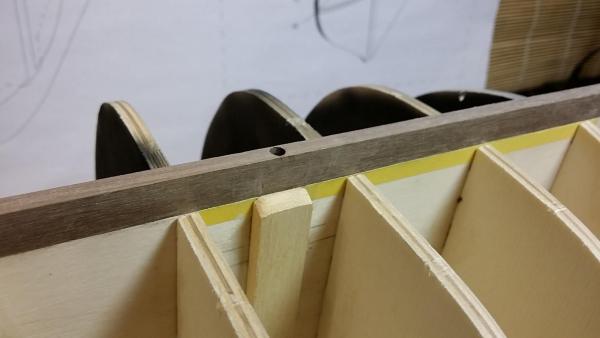
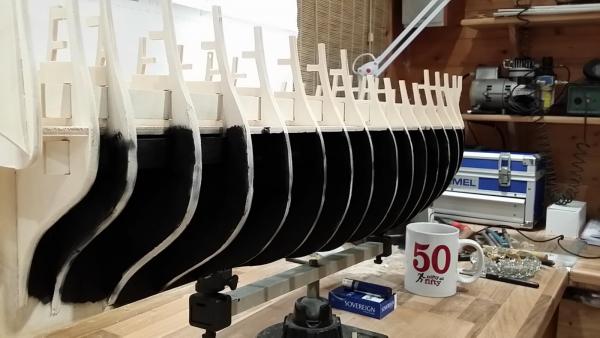
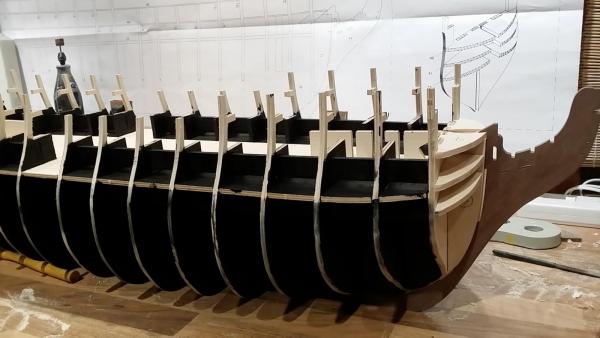
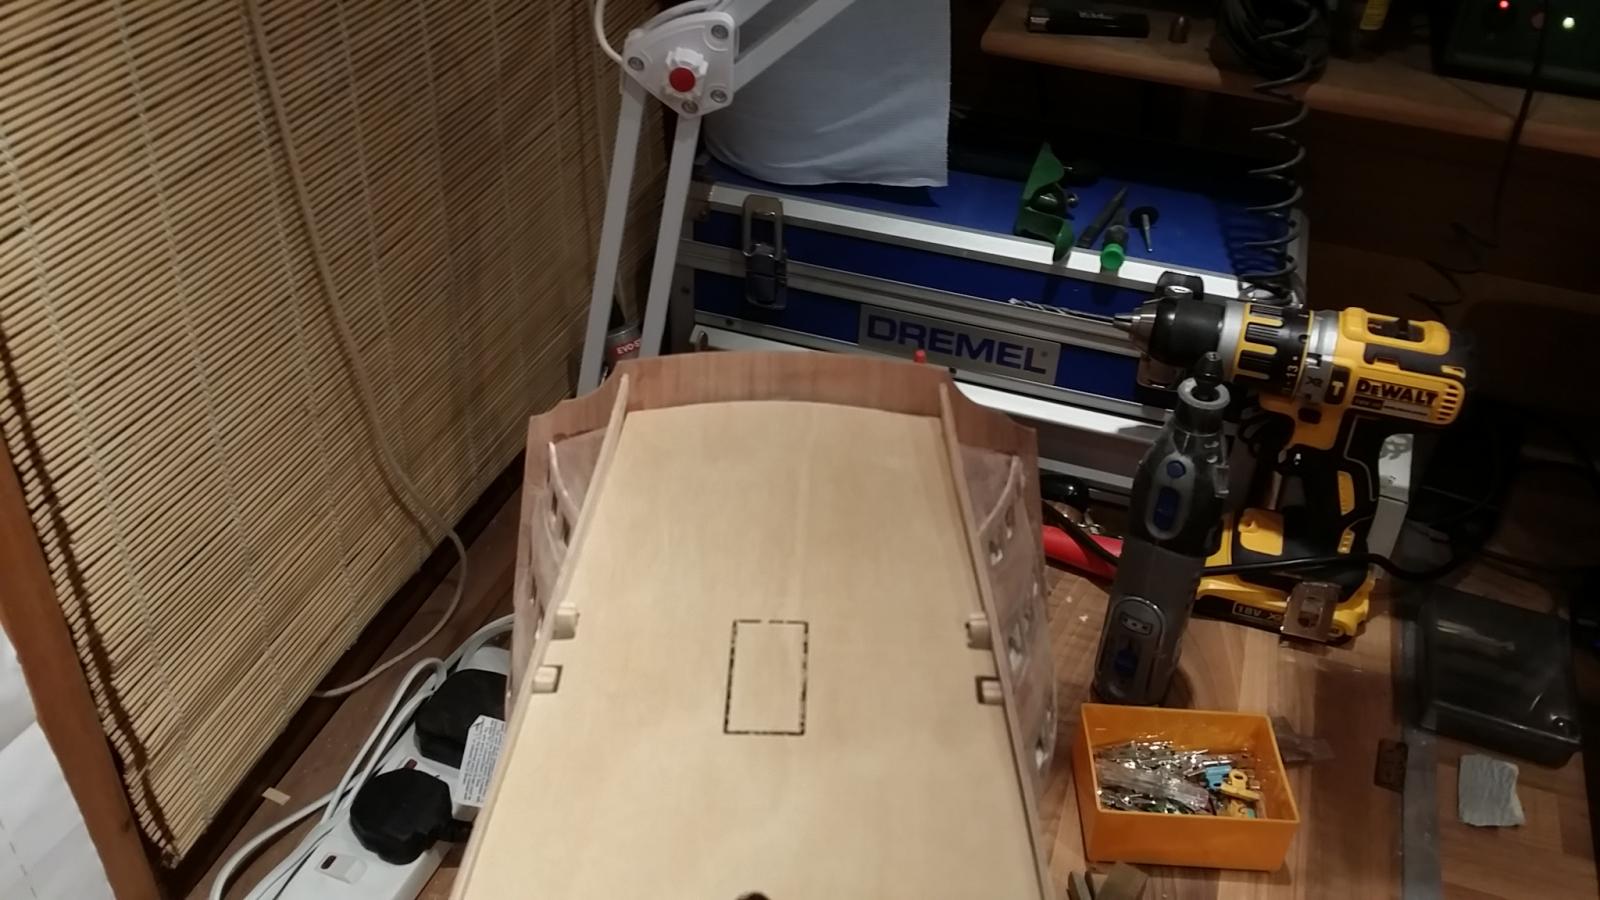
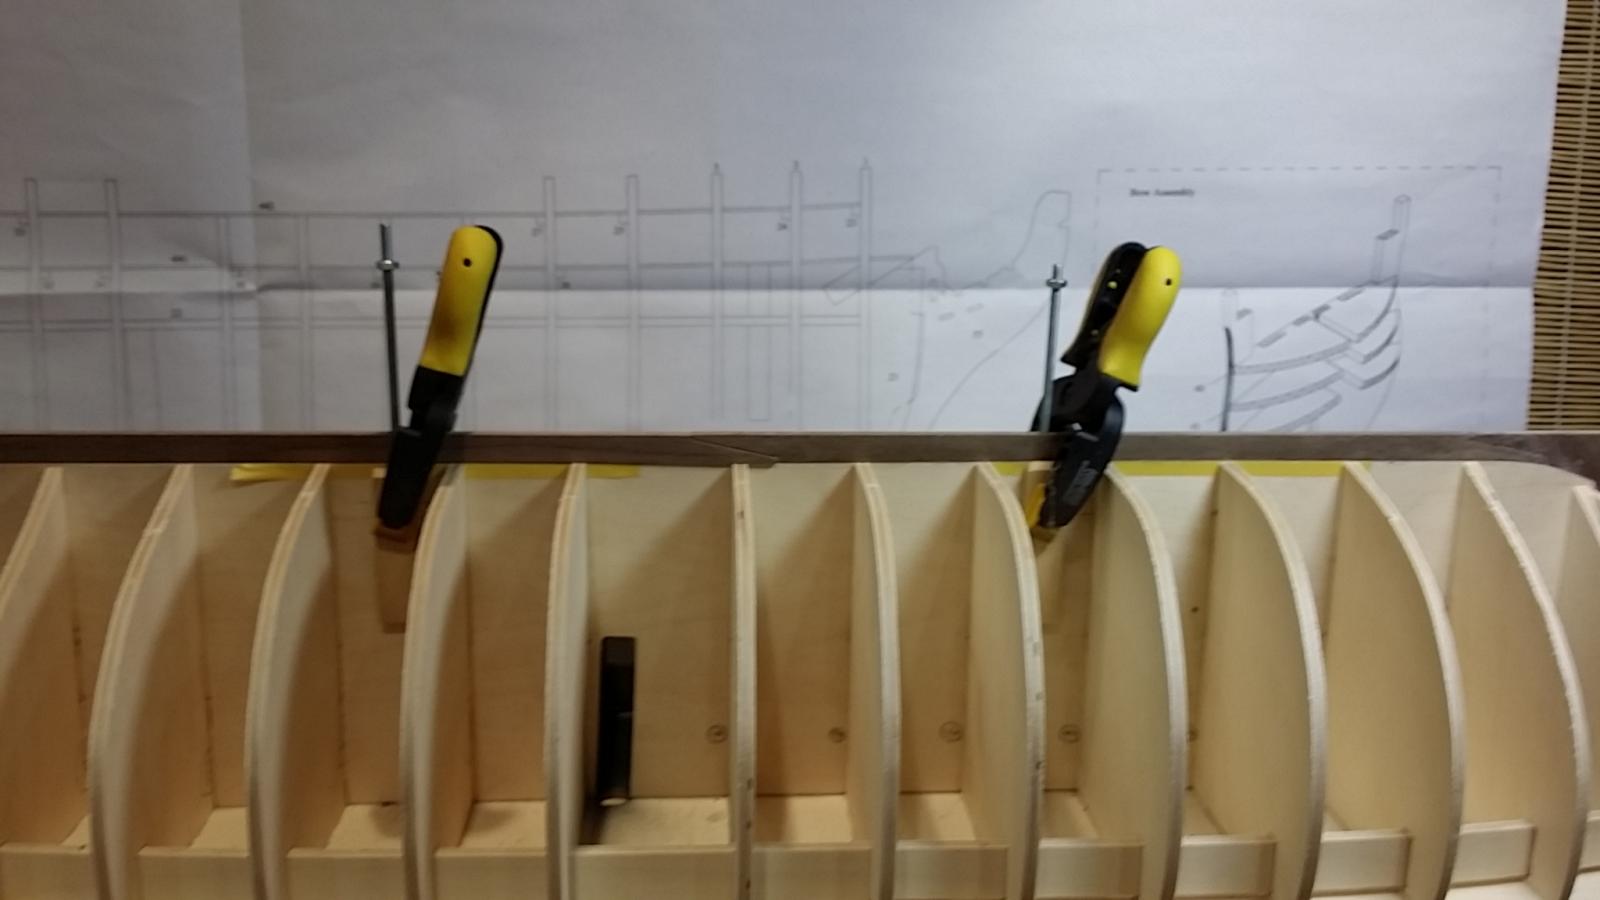
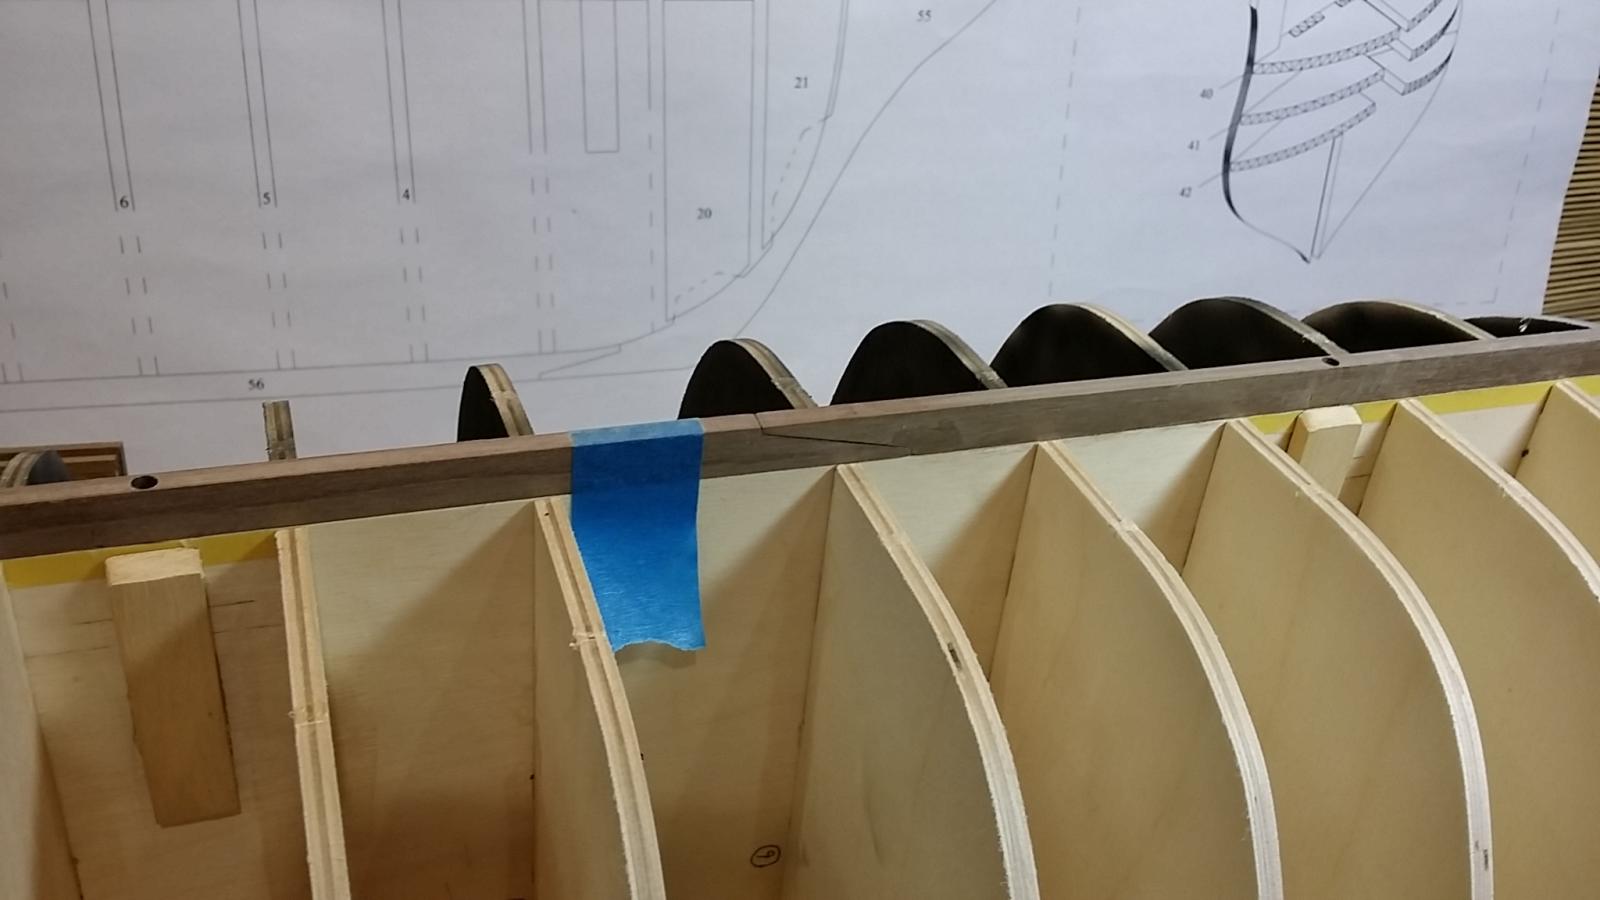
4 mm holes drilled and nut for studding wedged and glued in place for future pedestal.
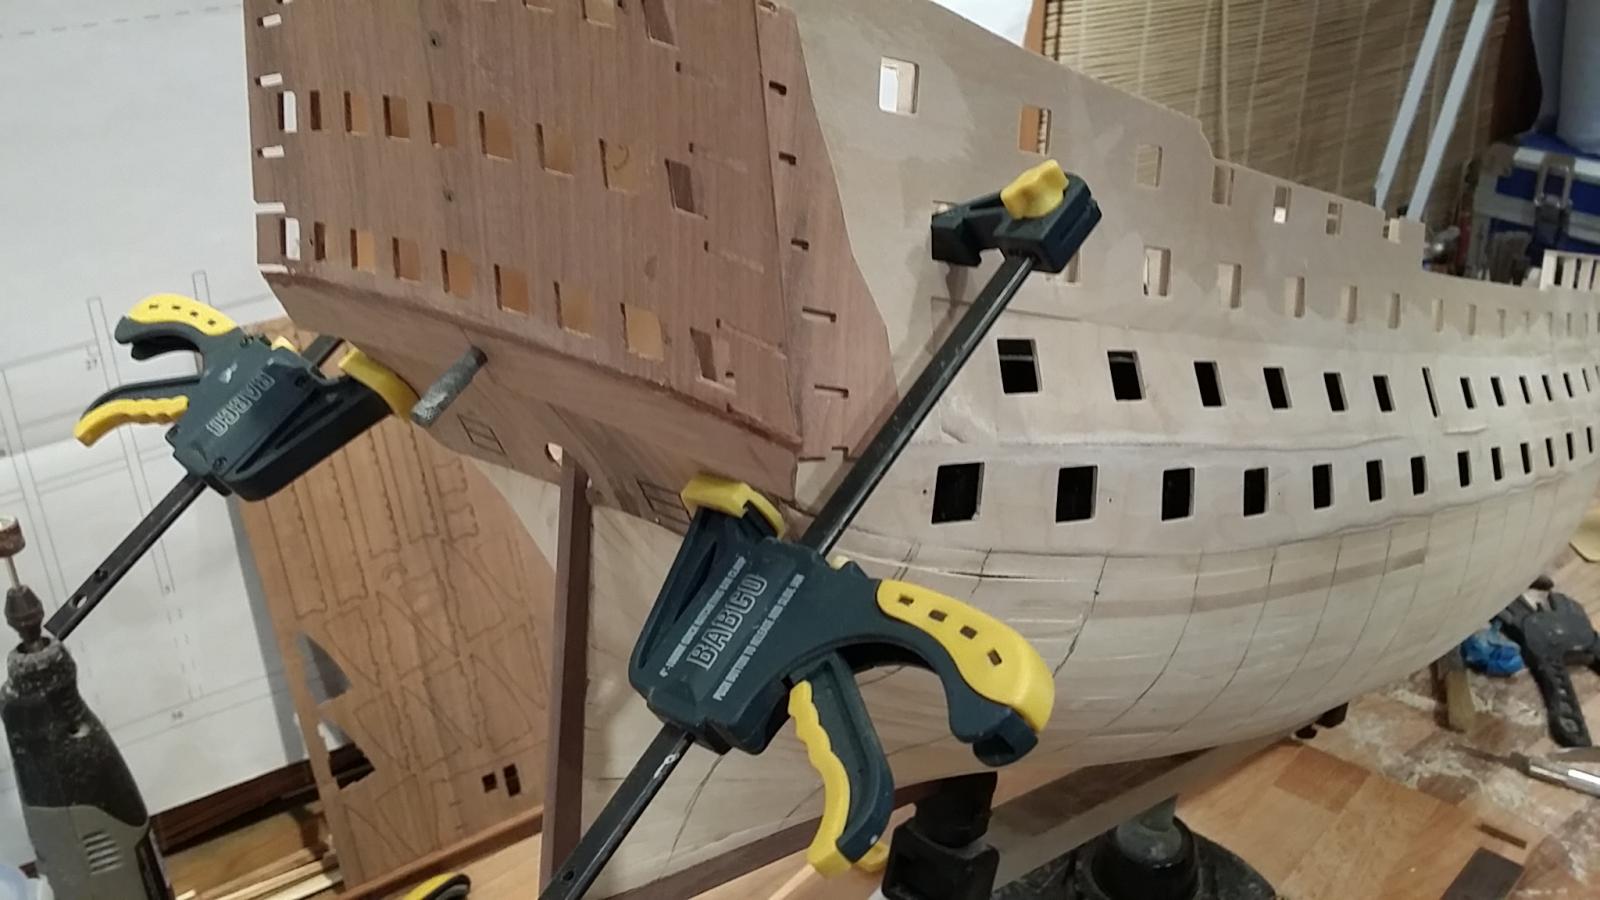
Extra side supports glued and clamped into place


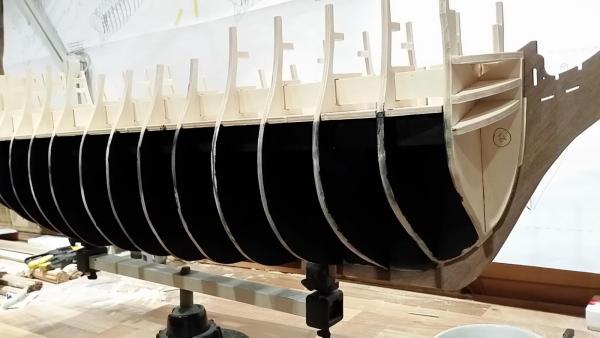
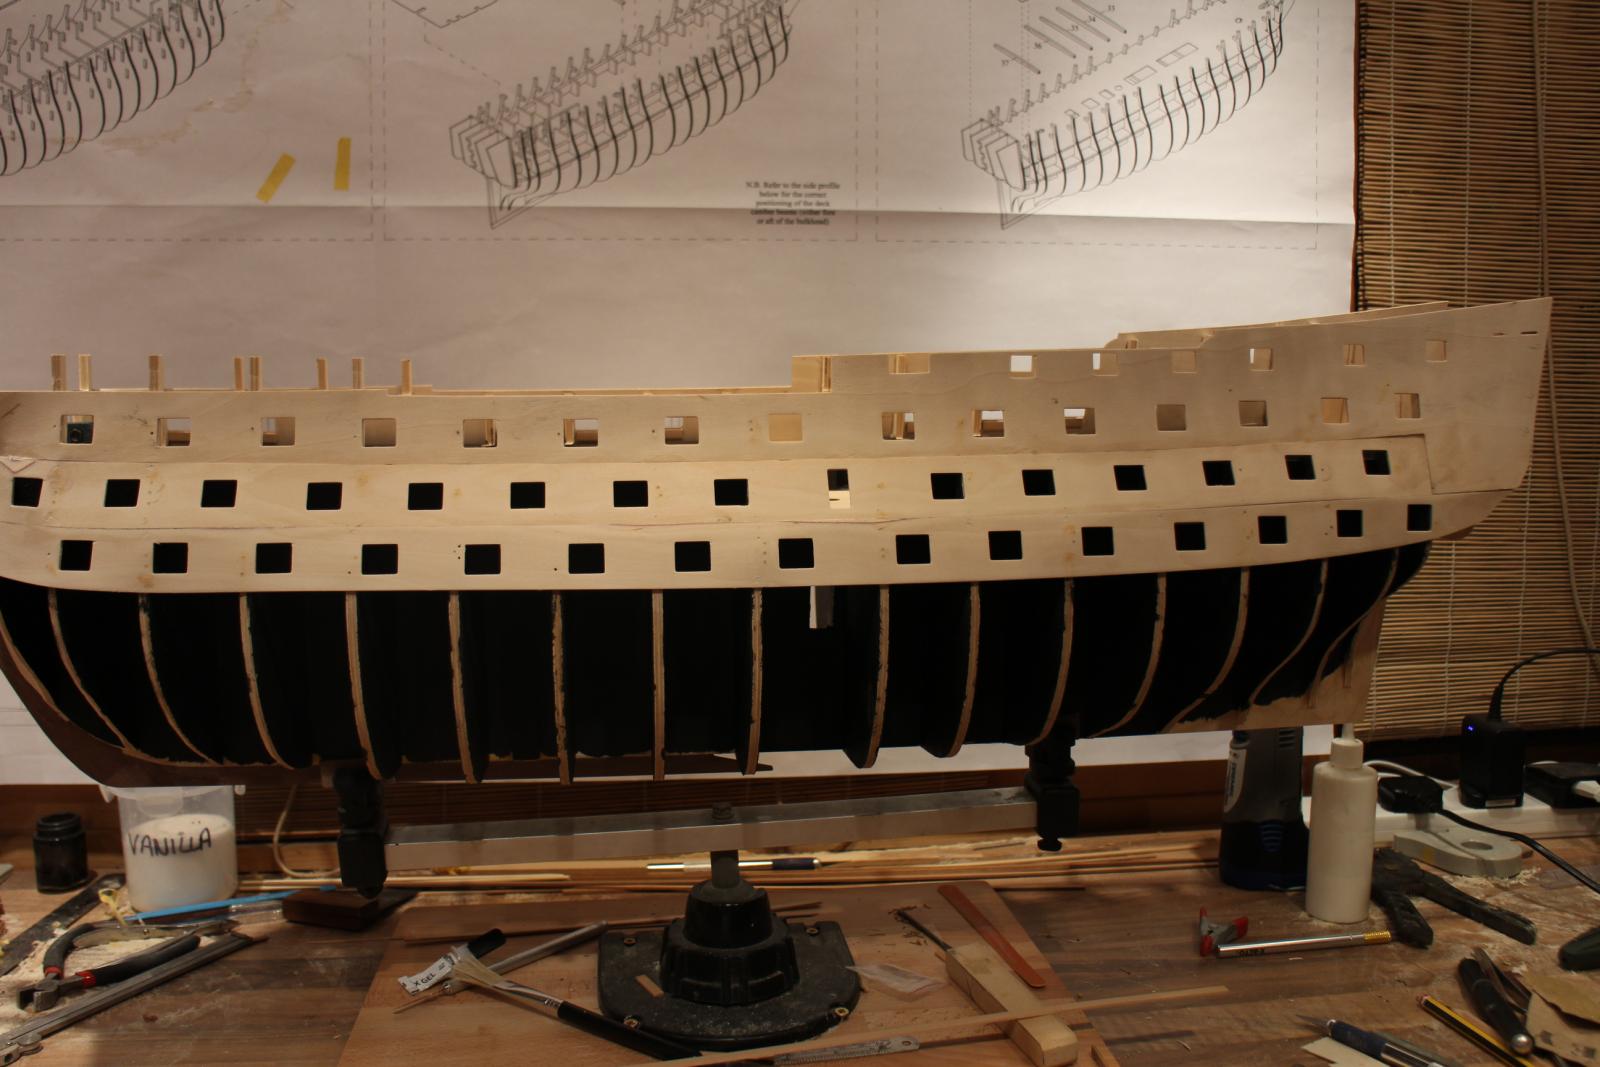
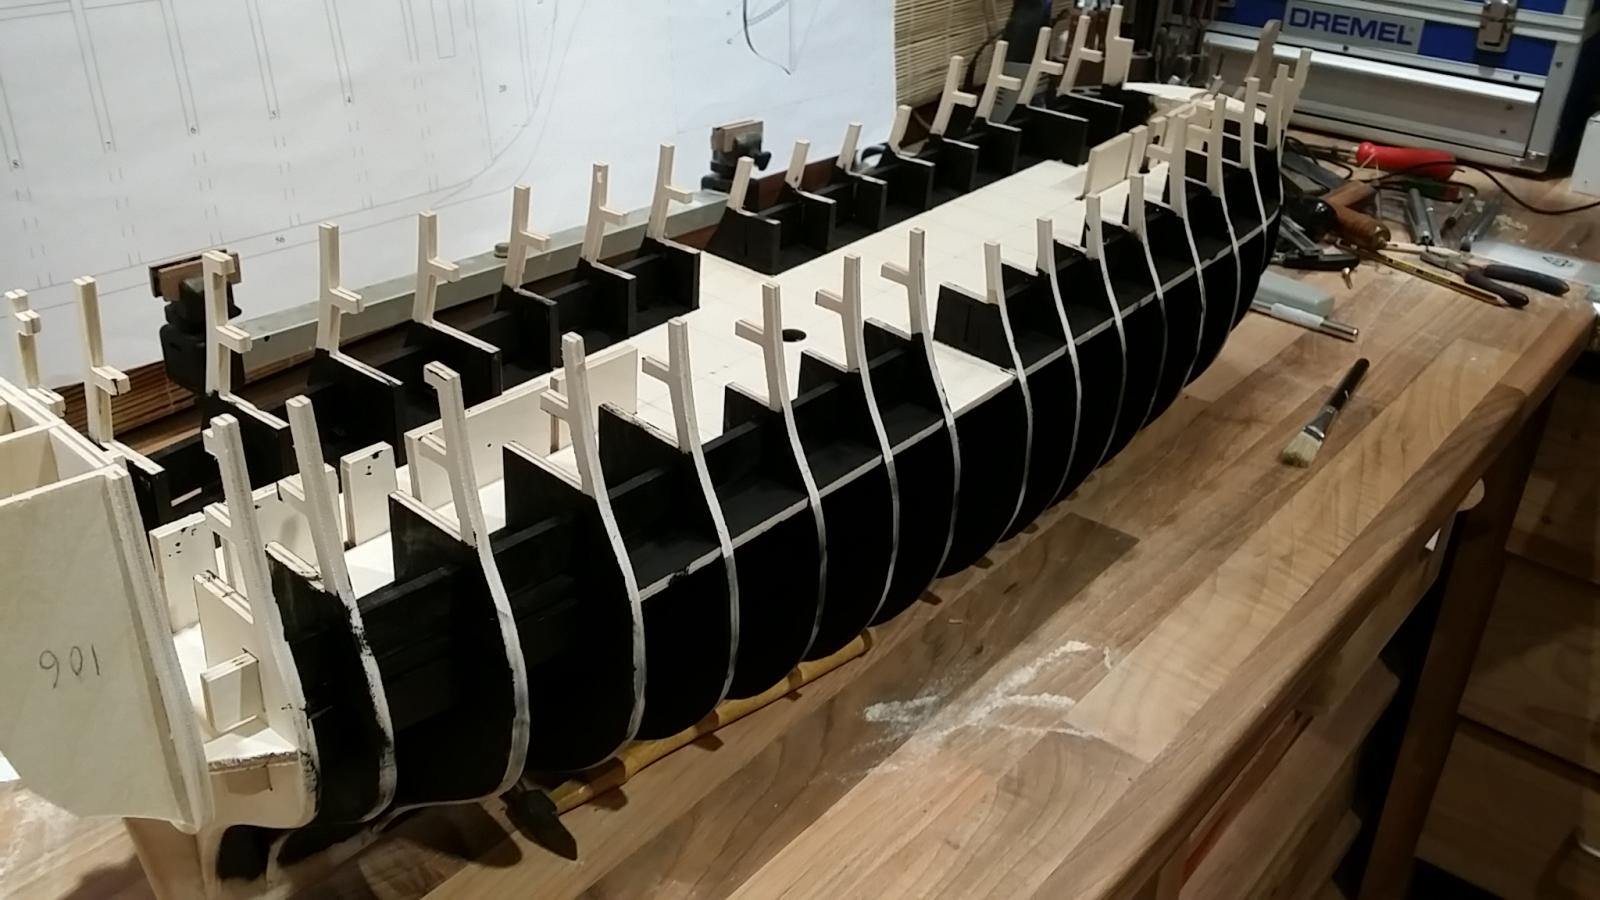
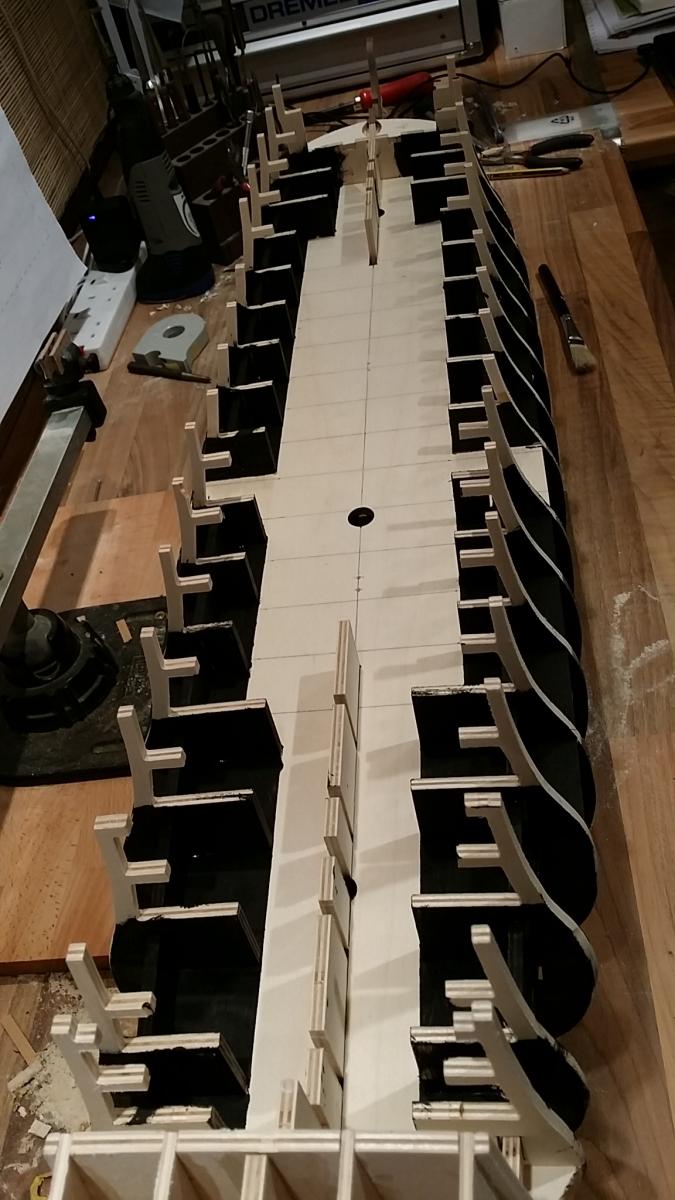
Hull painting now complete.

- Mirabell61, maddog33 and edmay
-
3
-
Greetings Robert
I was wondering if you were going to add supports in the keel for mounting pins, as it will be easier to cut out the slots before assembling the bulkheads.. It will also be a good idea to reduce (taper) the bearding line down to 3mm at the stern before any assembly at all ( page 3 before planking the hull) as this makes life a lot easier. Sorry if I am telling you the road you know. Enjoy your build. DAVID
Thanks David, I appreciate your comments immensely " this comment is exactly what I'm hoping for during the build" on this occasion all taken care off.
I'll post more pics before I commence with the first planking, please keep the assistance coming


-
This build is an absolute masterpiece, love it


HMS Victory by robert22564 - Caldercraft - scale 1:72
in - Kit build logs for subjects built from 1751 - 1800
Posted
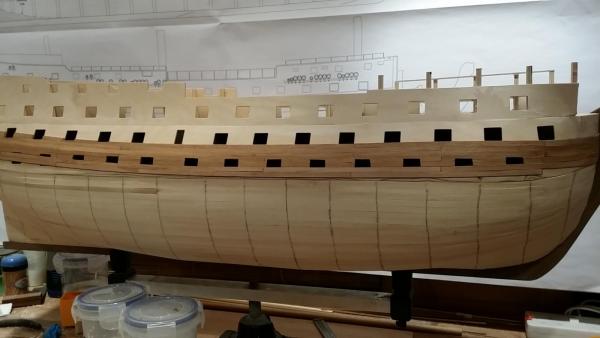
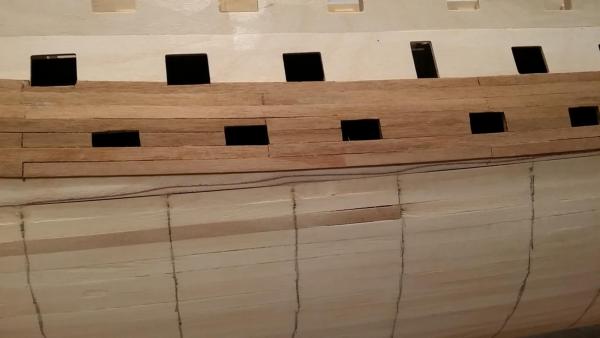
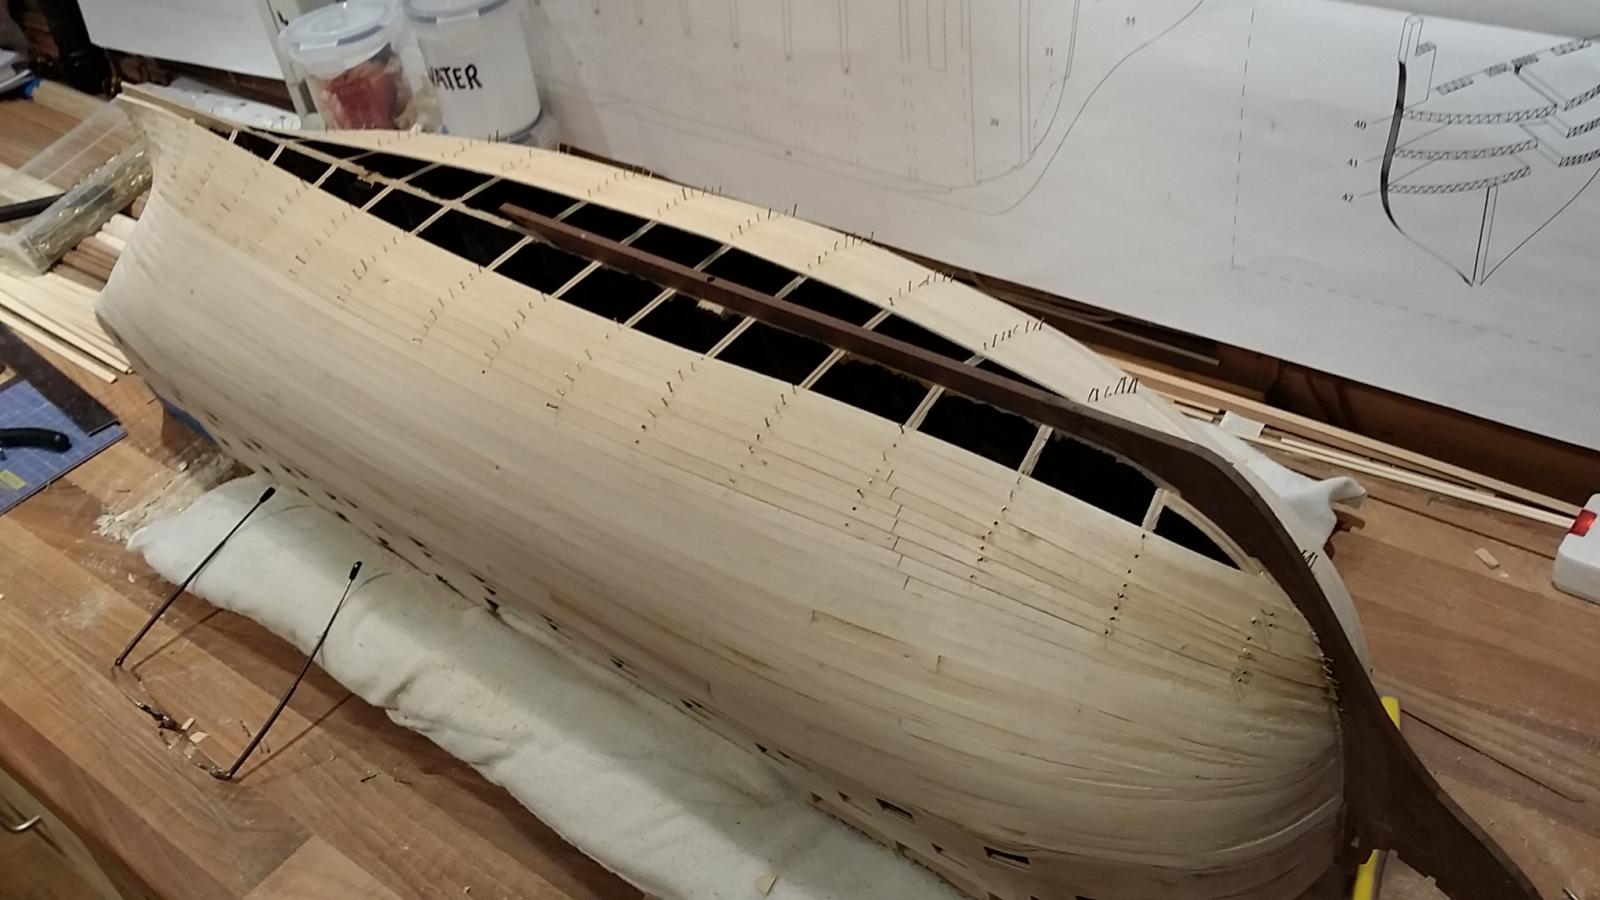
So as suggested I used a filler that was laying around to fill the cracks and gaps in the first planking, little did I know that it was going to be a nightmare to sand down, I used a flexible filler.......eeek
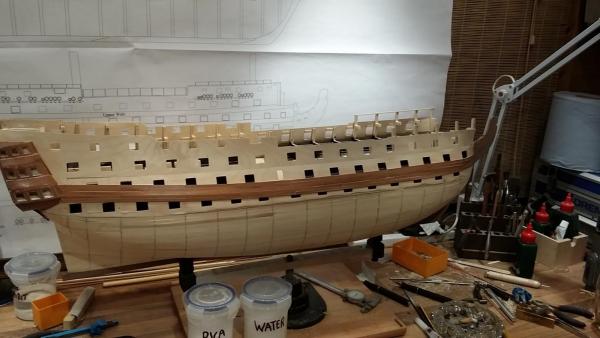
So after that little nightmare i managed to get it into a condition for the second planking.
Finished on side, just a little to go on the other side but waiting for some more Ca to arrive, in the meantime i'm in the process of filling and rubbing down of the completed side.