HOLIDAY DONATION DRIVE - SUPPORT MSW - DO YOUR PART TO KEEP THIS GREAT FORUM GOING! (Only 20 donations so far - C'mon guys!)
×


EKE
-
Posts
231 -
Joined
-
Last visited
Content Type
Profiles
Forums
Gallery
Events
Everything posted by EKE
-
 Thanks, Jim! I do too. At first I was hesitant to cover up all the pearwood that I worked so hard on, but in the end she does look right this way, true to the type. And a bit different than the other Zulus on MSW, so there’s value in the variety.
- 222 replies
-
- 3
-

-
- First Build
- Lady Isabella
- (and 2 more)
-
Thanks Nils!
-
Timberheads complete on the port side. You want to bevel the bottom of the last 4-5 timberheads at the stern, front to back, as the bulwark flares out considerably there. Otherwise this isn’t tricky at all. Just repetitive.

- 222 replies
-
- 8
-
-
- First Build
- Lady Isabella
- (and 2 more)
-
Don’t get me wrong. I’m certainly not saying that fishing boats were commonly used as “smugglers”. I’m just saying that black boats existed, and that they could be appealing to look at.
-
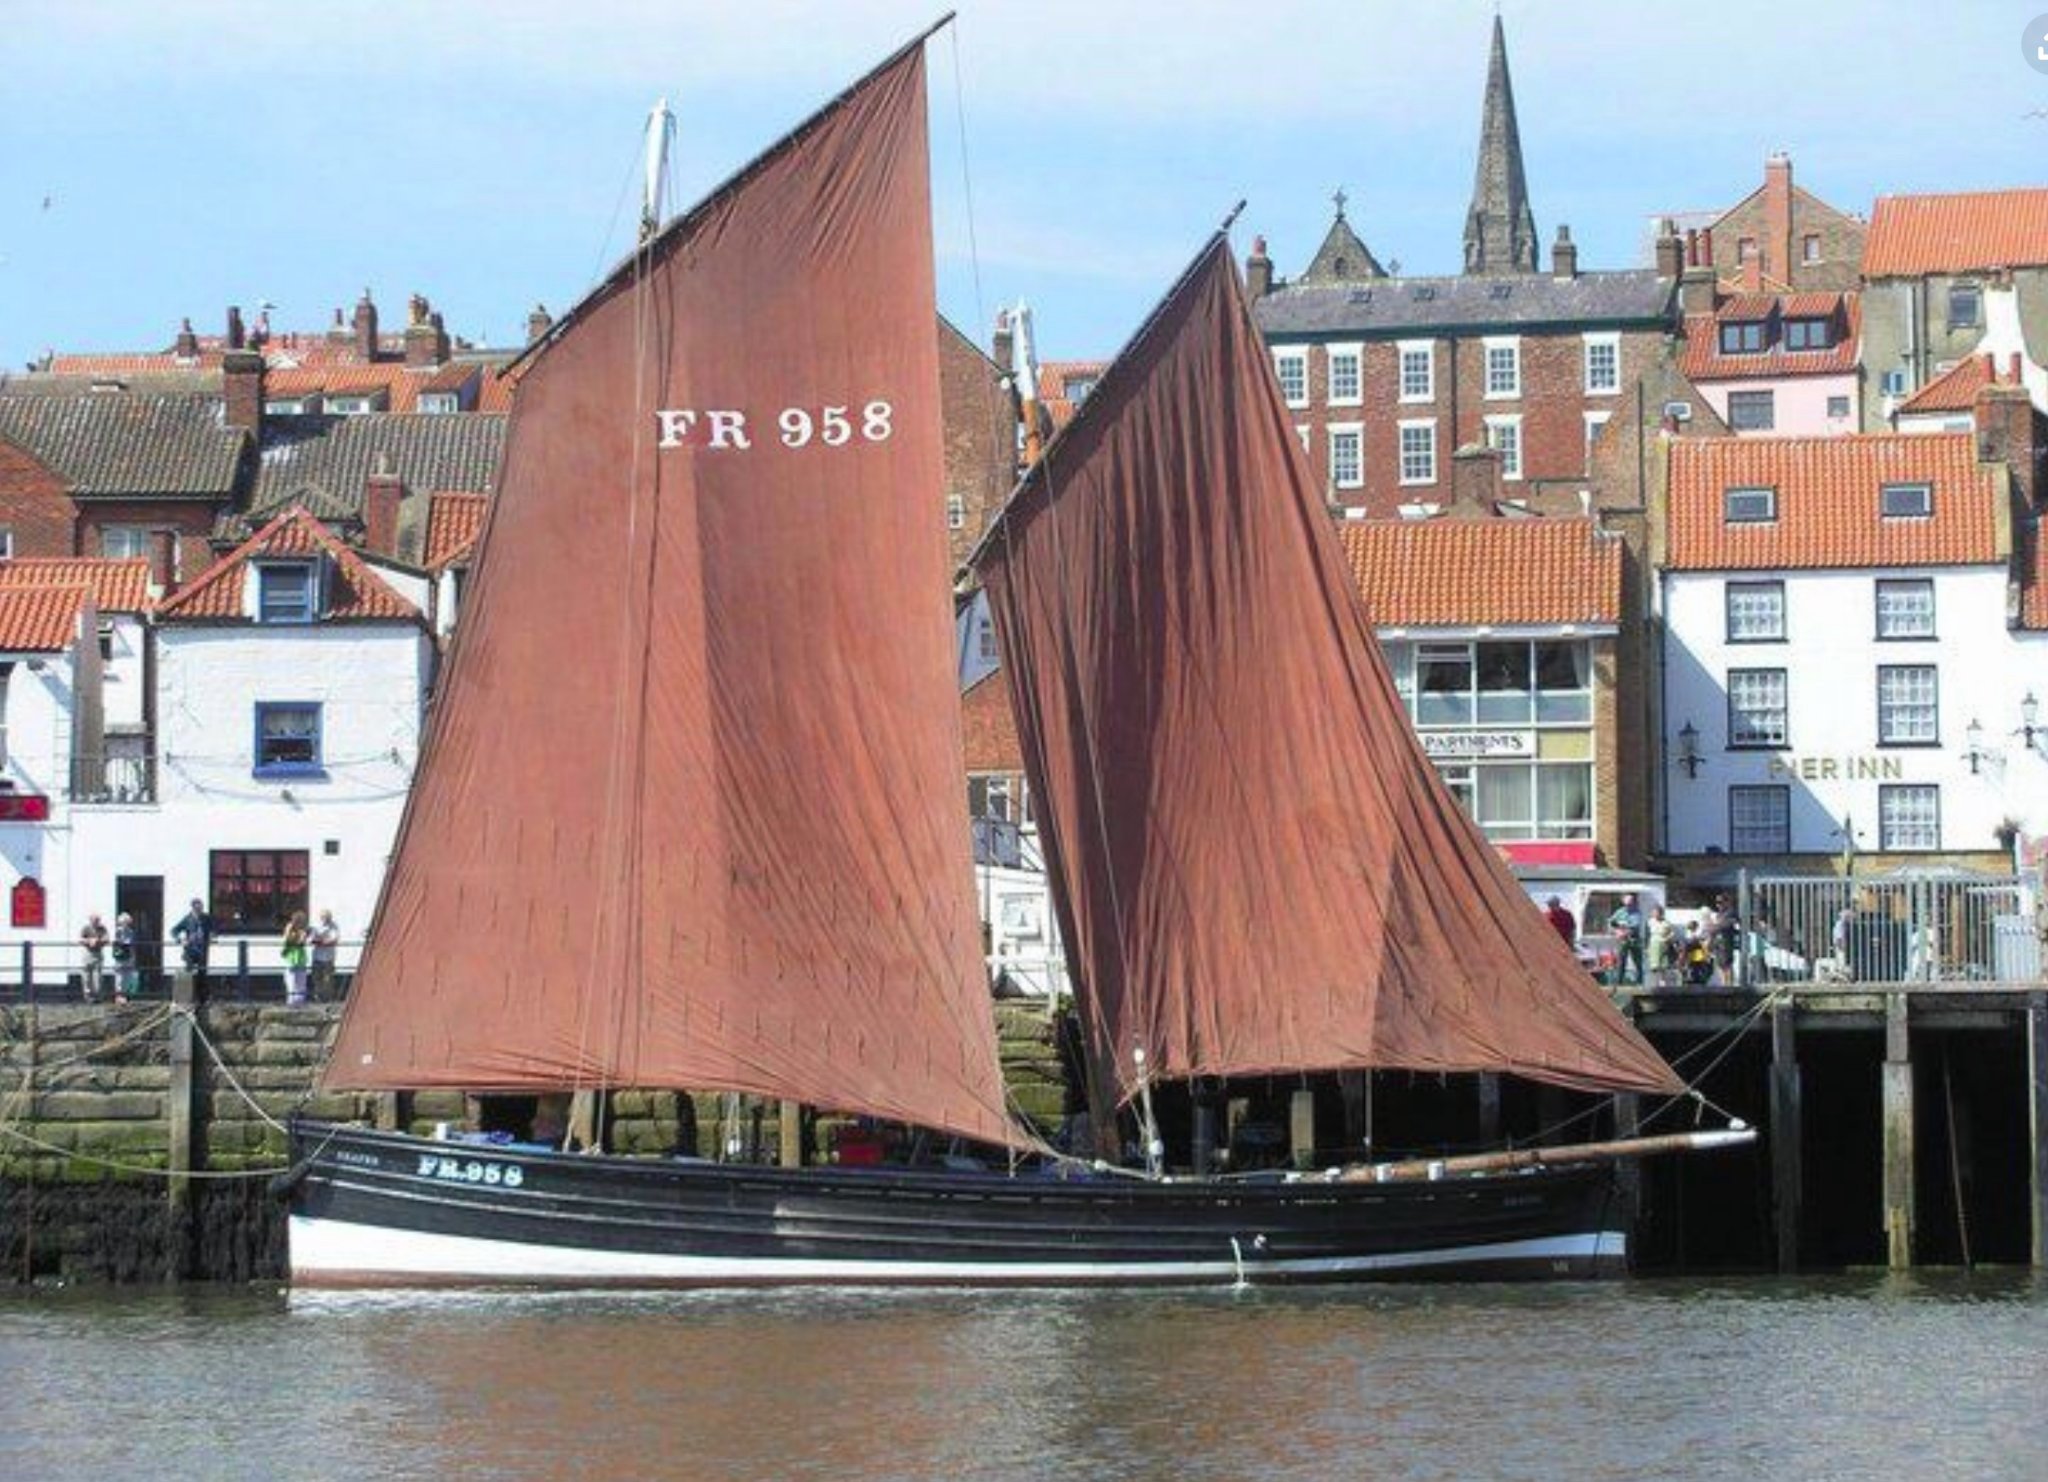
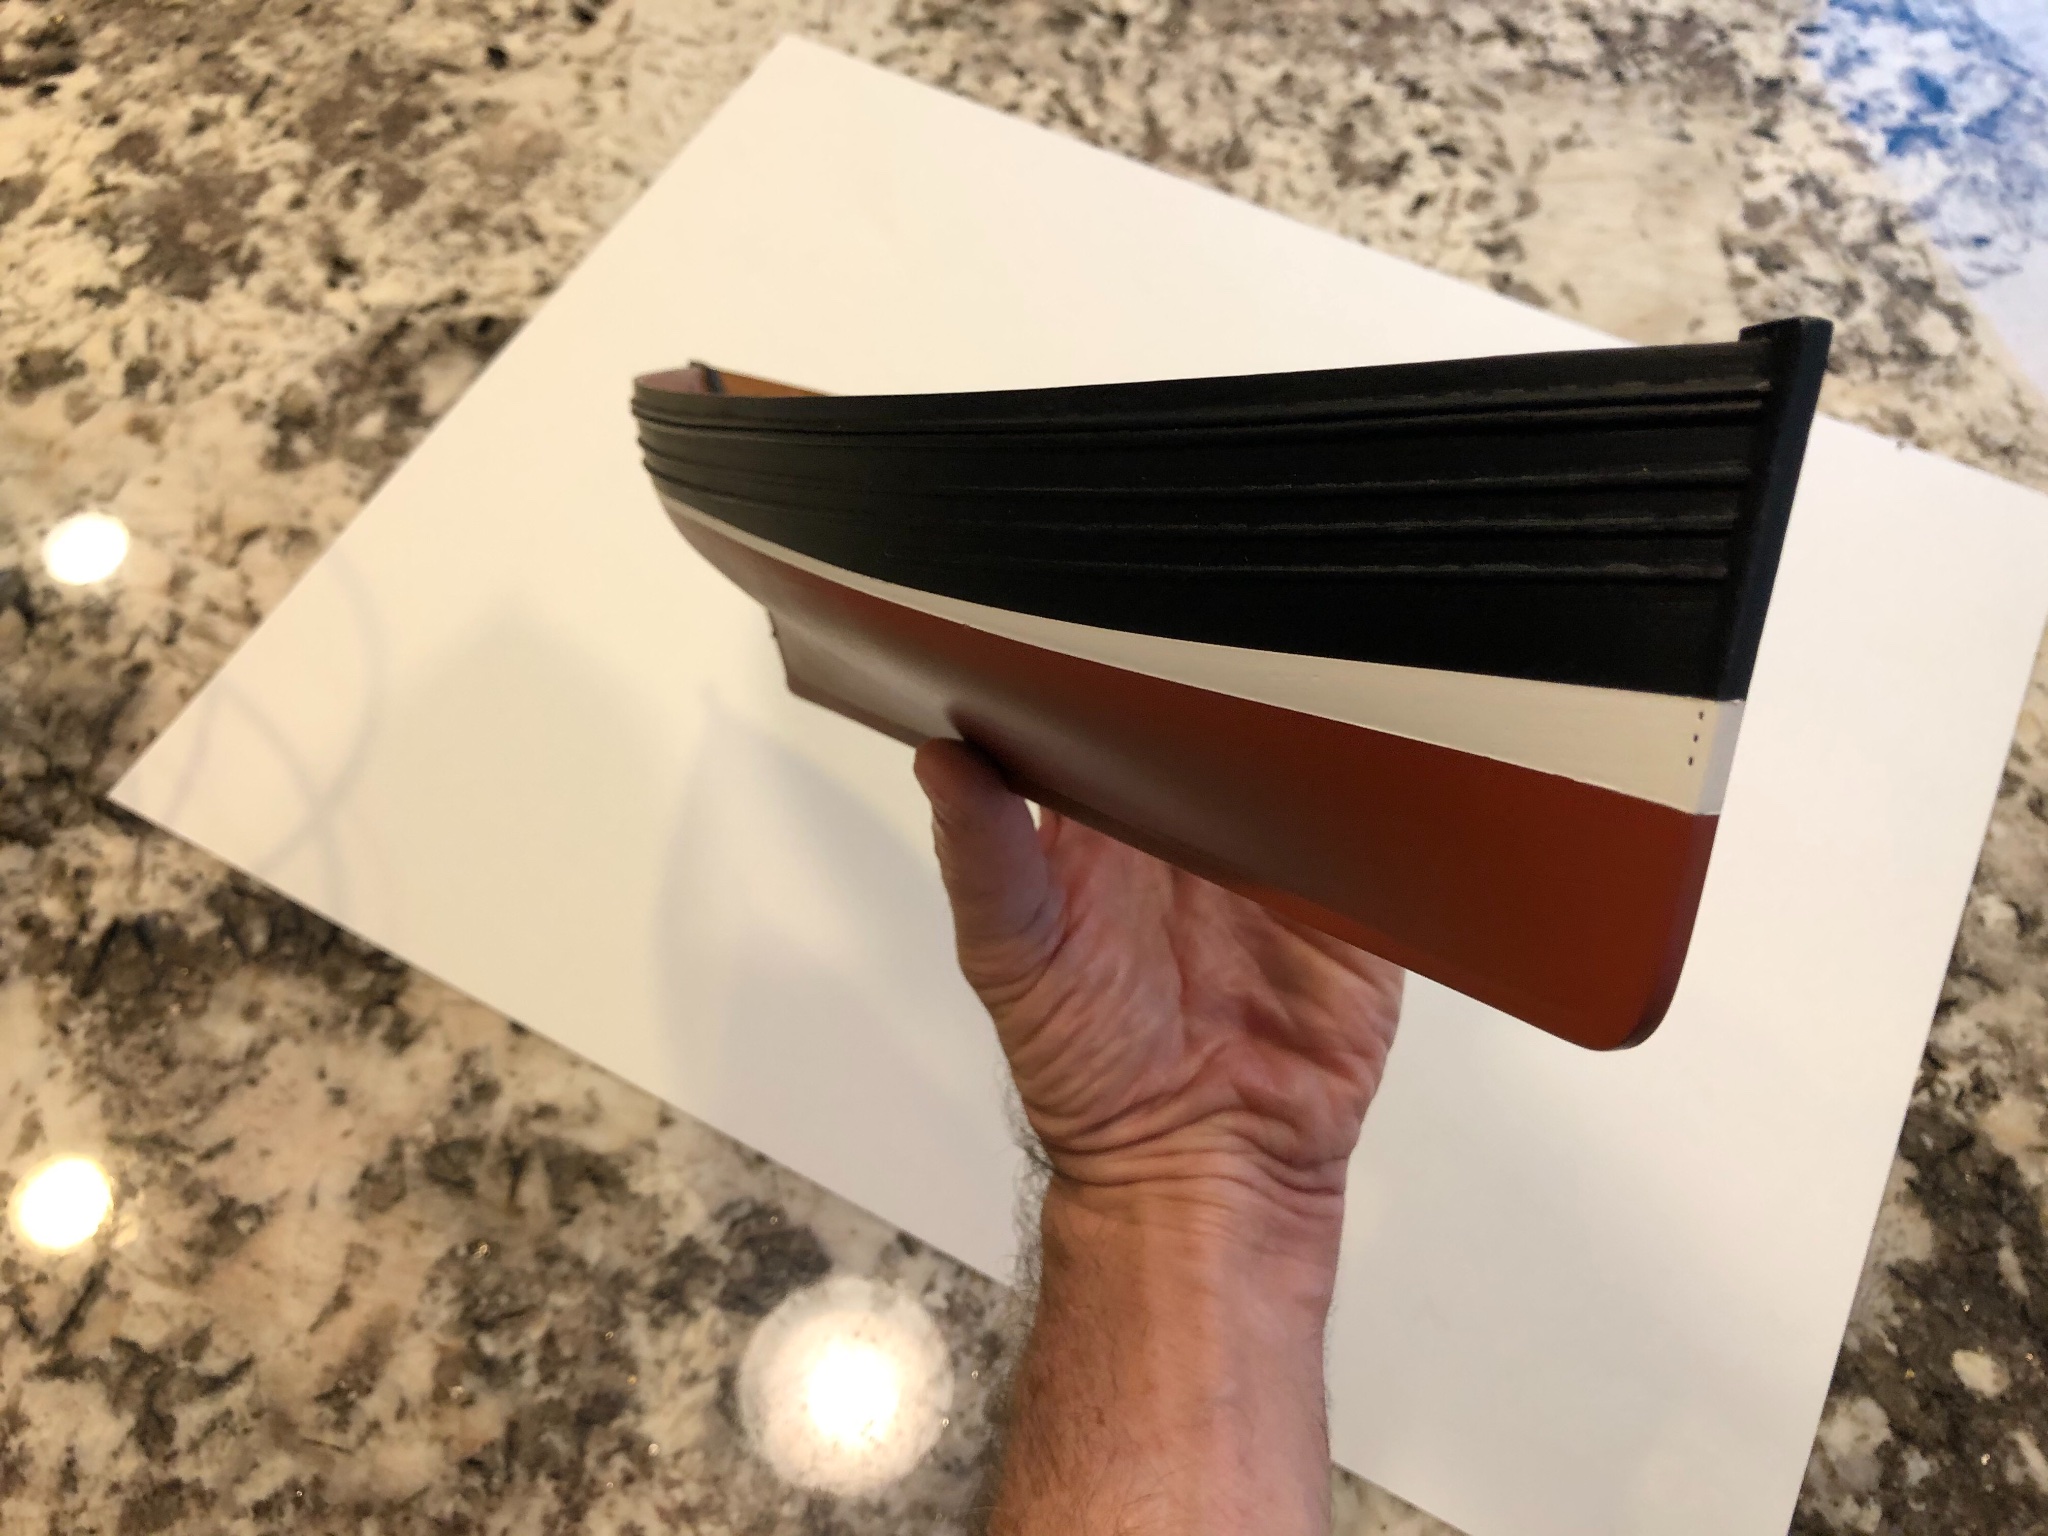
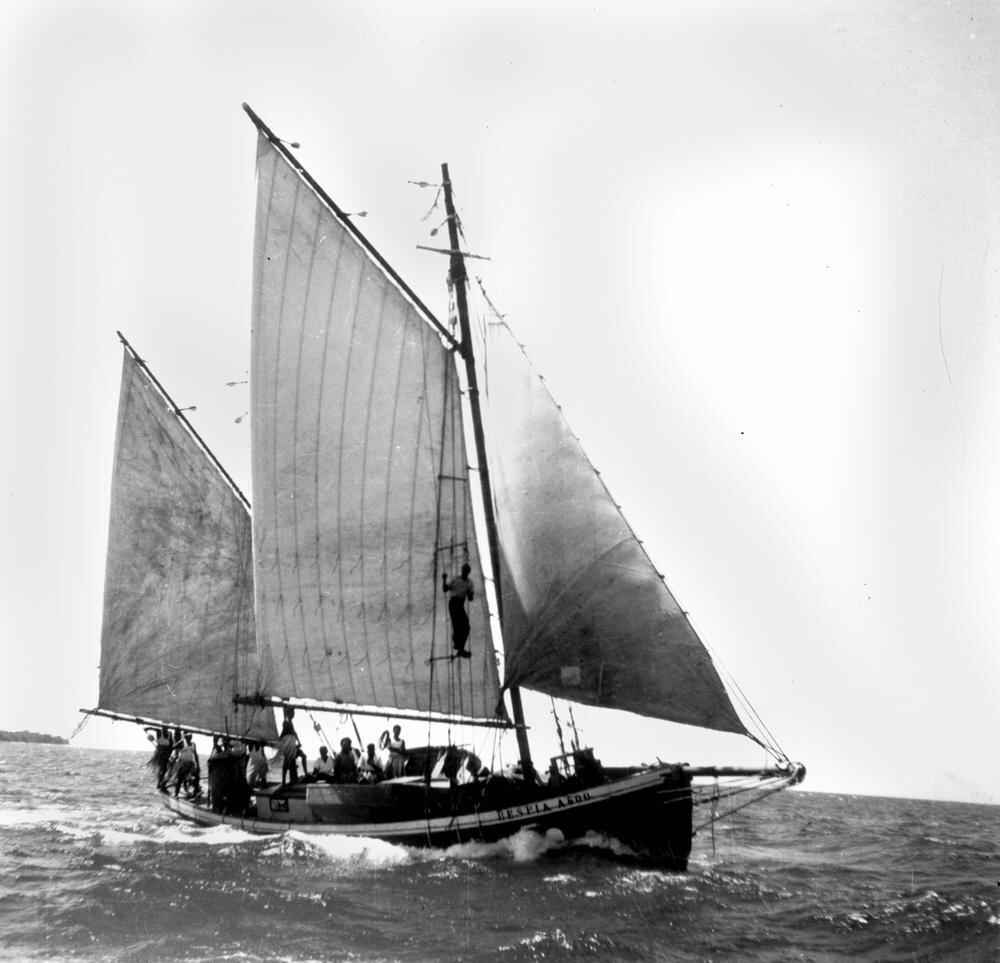
I love black boats. Over in the working boat forums we’ve been looking at black boats for a while. Here’s a Scottish Zulu herring drifter, in progress.

-
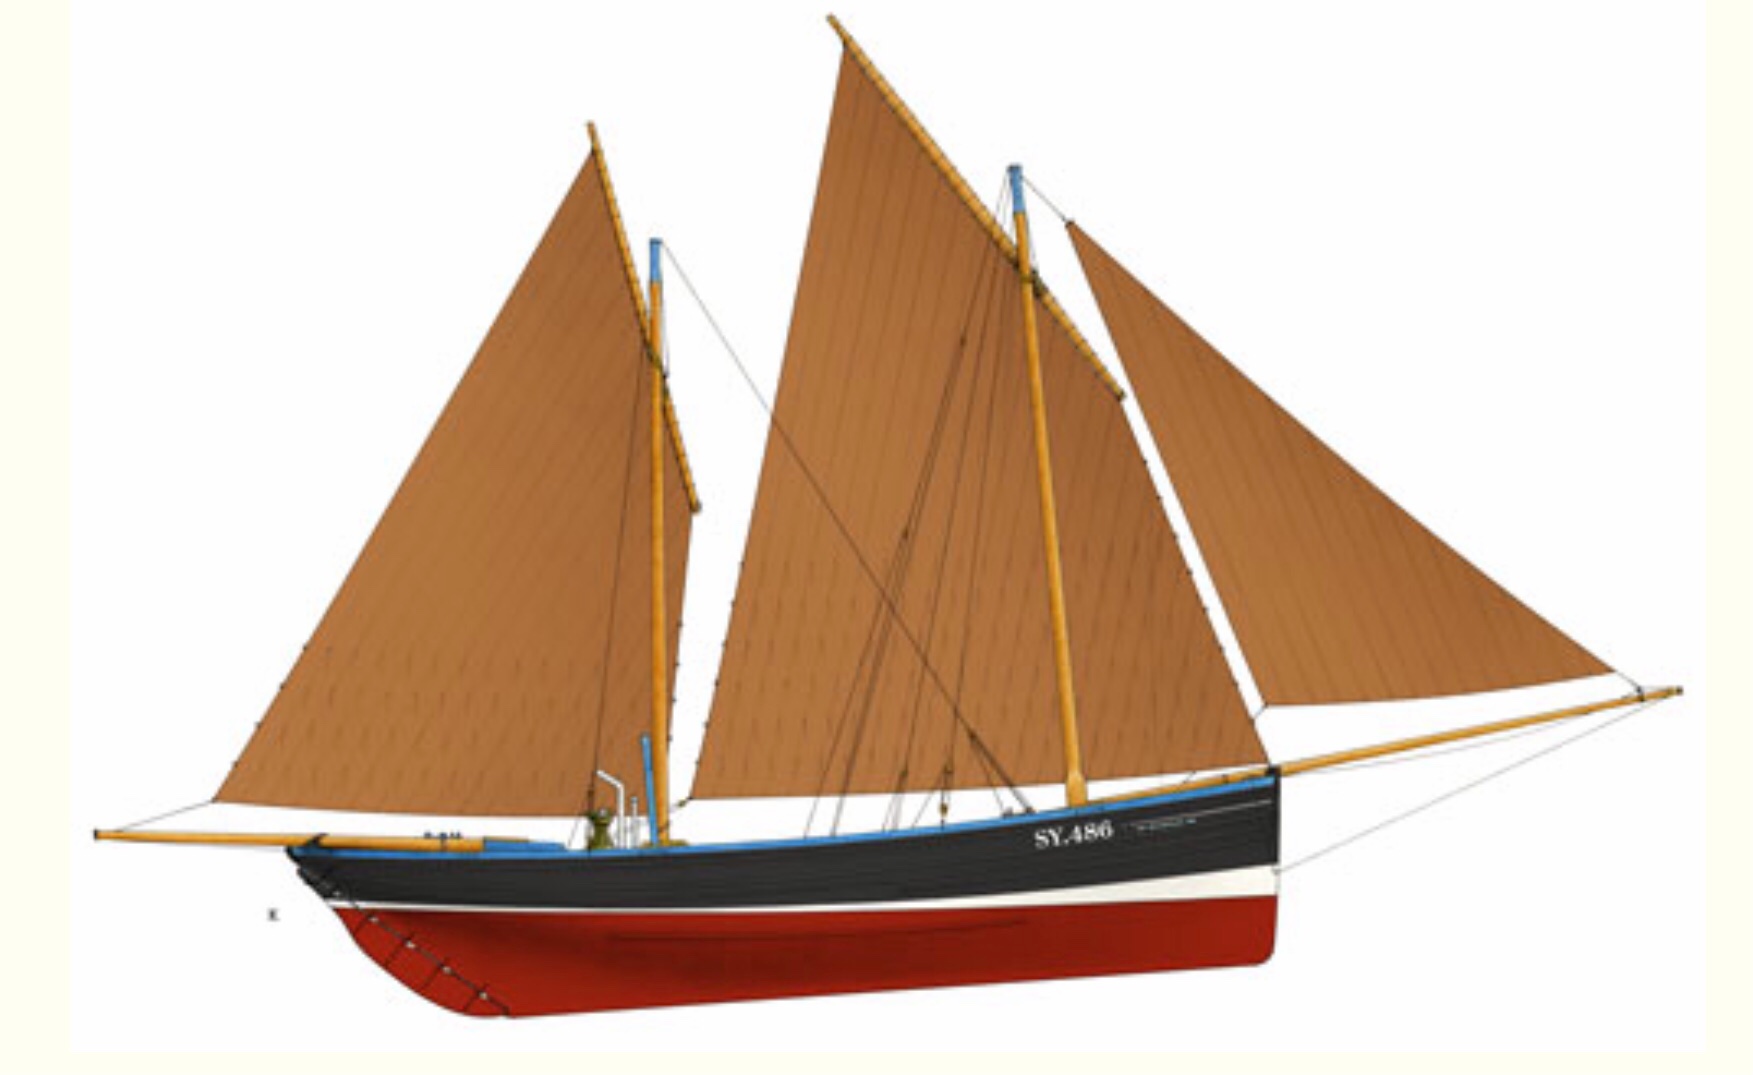
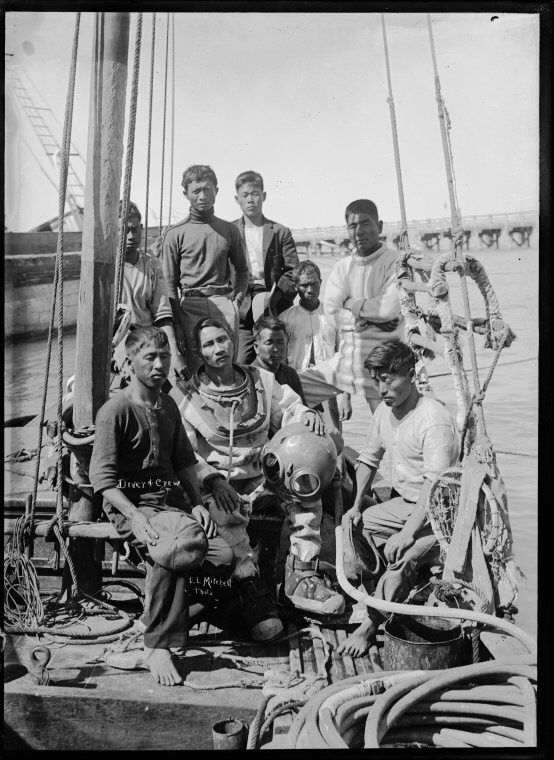
A “lugger” is generally a small sailboat which carries a lug sail on one of its masts. So yes, Fifies and Zulus were luggers. The Australian Pearling Lugger was called a ‘Lugger’ but apparently stopped using lug sails for gaff rigs sometime in the late 19th century. The pearling Lugger would be a great boat to kit, as it’s non-European, so a bit different. Apparently, the boats would sail to spots along the reef, and would drift while divers in helmet rigs would harvest oysters for pearls. This would give our friend Blue Ensign a field day kit-bashing. He’d be soldering up little diving helmets, air hoses and weight belts.
- 222 replies
-
- 2
-
-
- First Build
- Lady Isabella
- (and 2 more)
-
Hey Chris.... how about an Australian Pearling Lugger? 👍
- 222 replies
-
- 5
-
-
- First Build
- Lady Isabella
- (and 2 more)
-
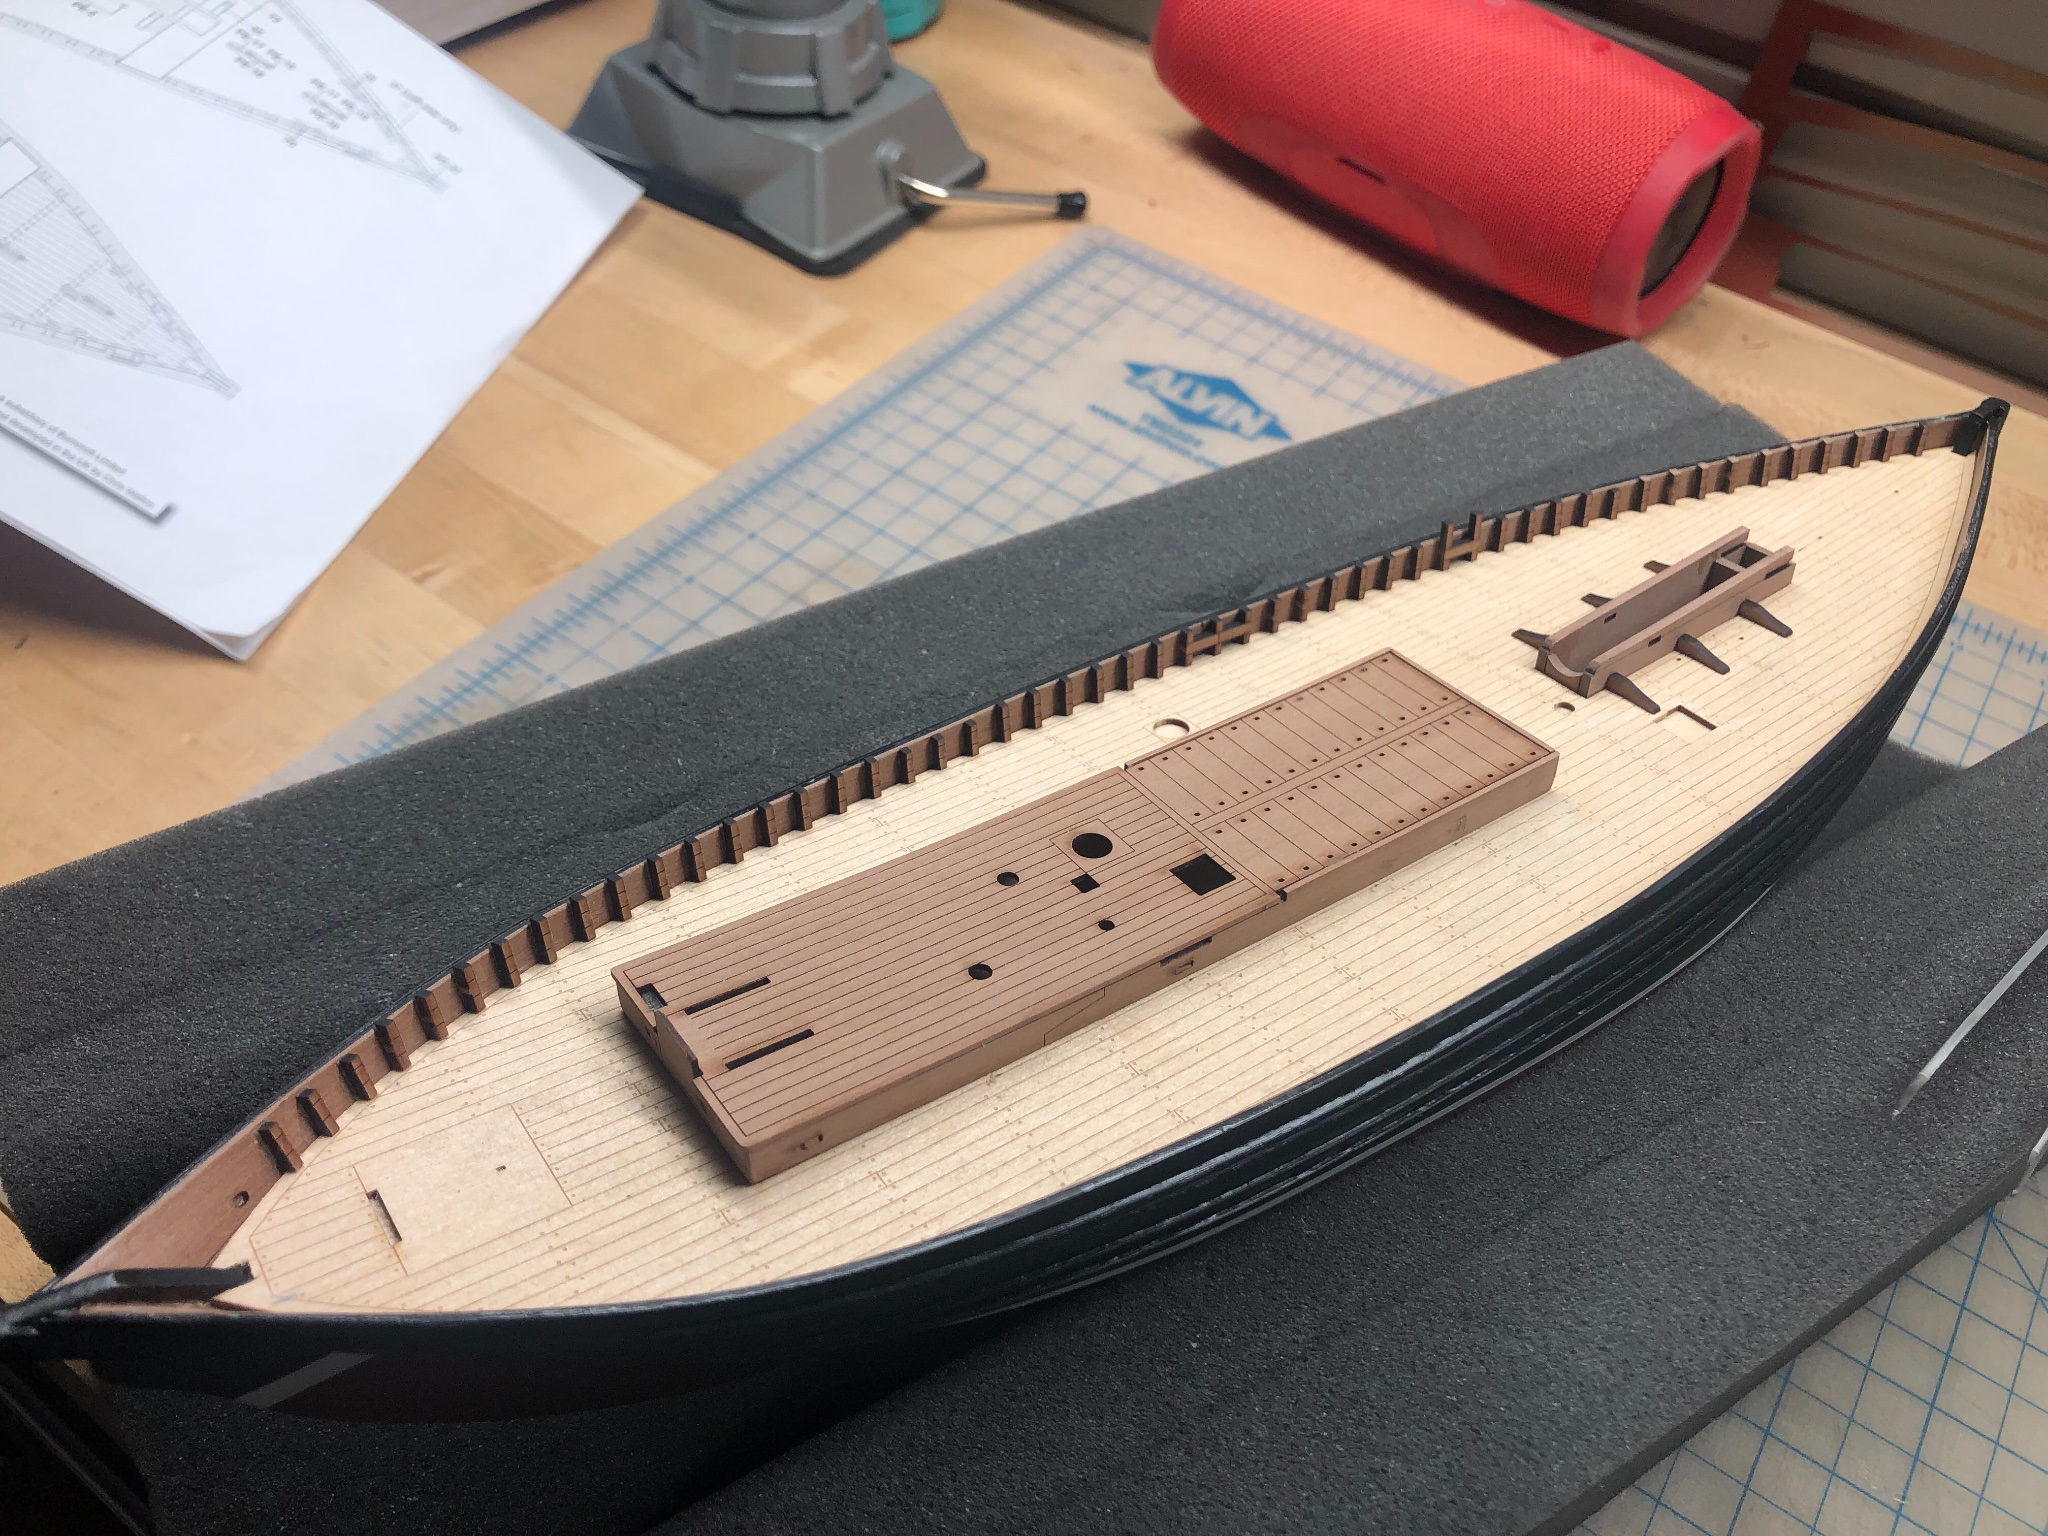
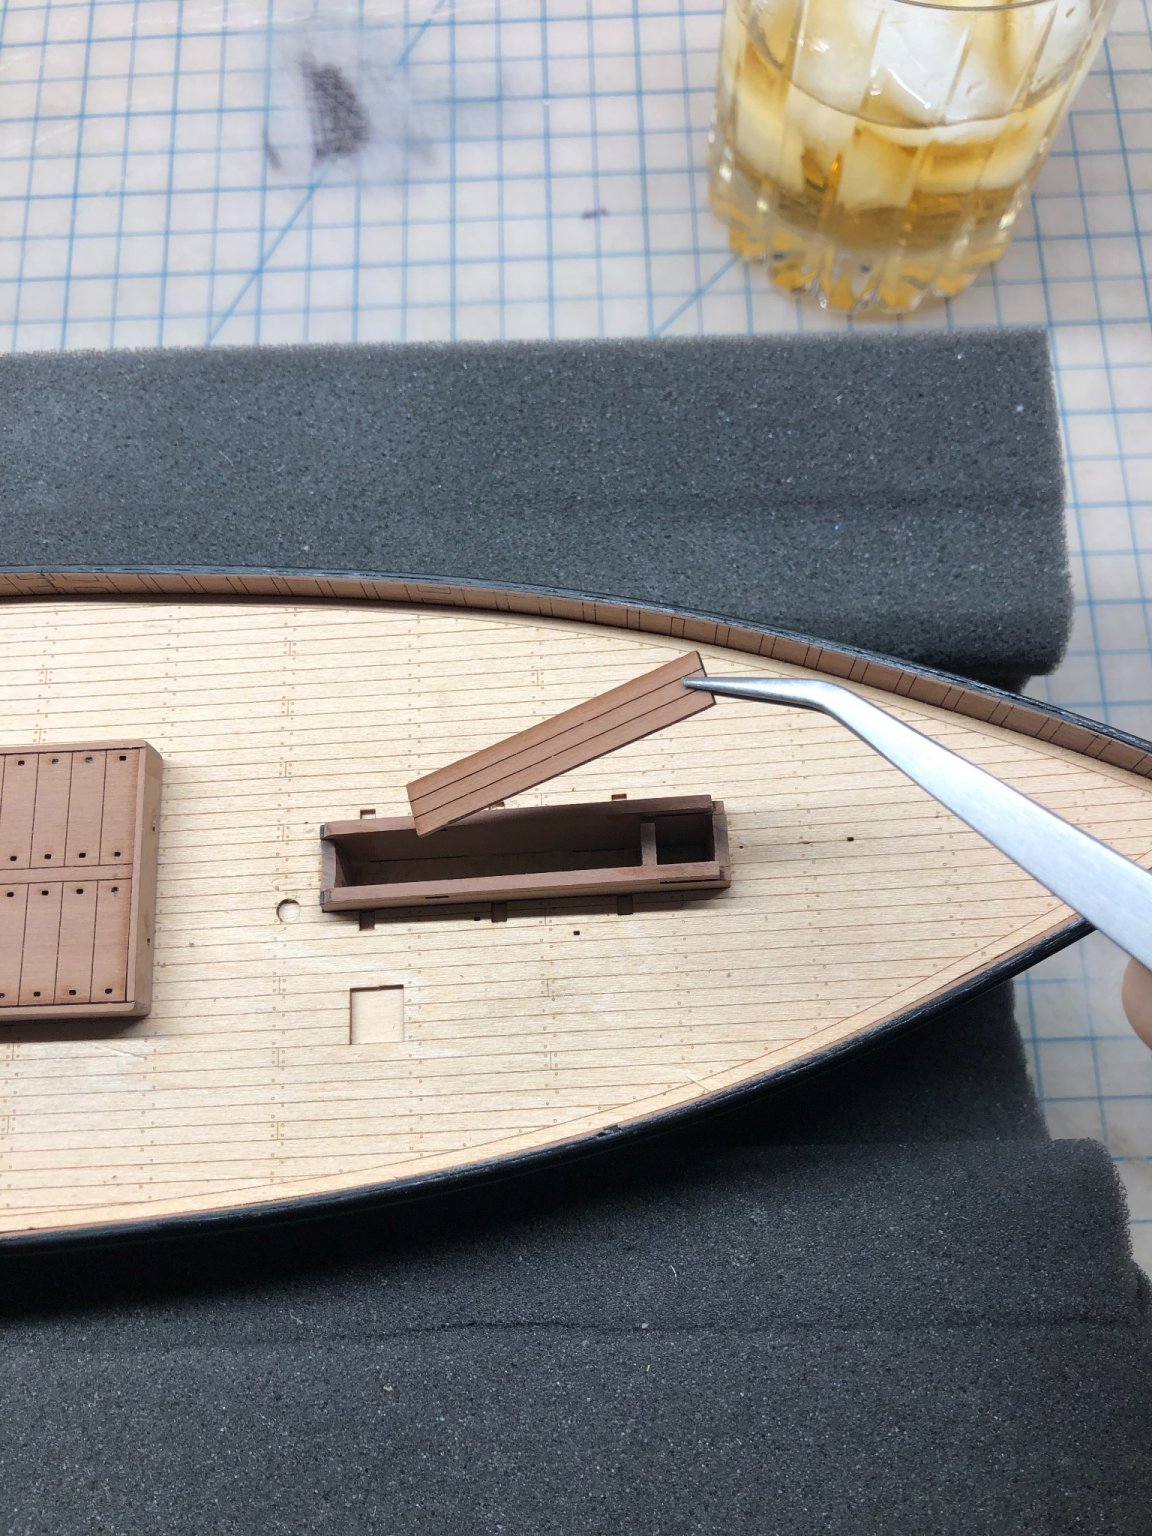
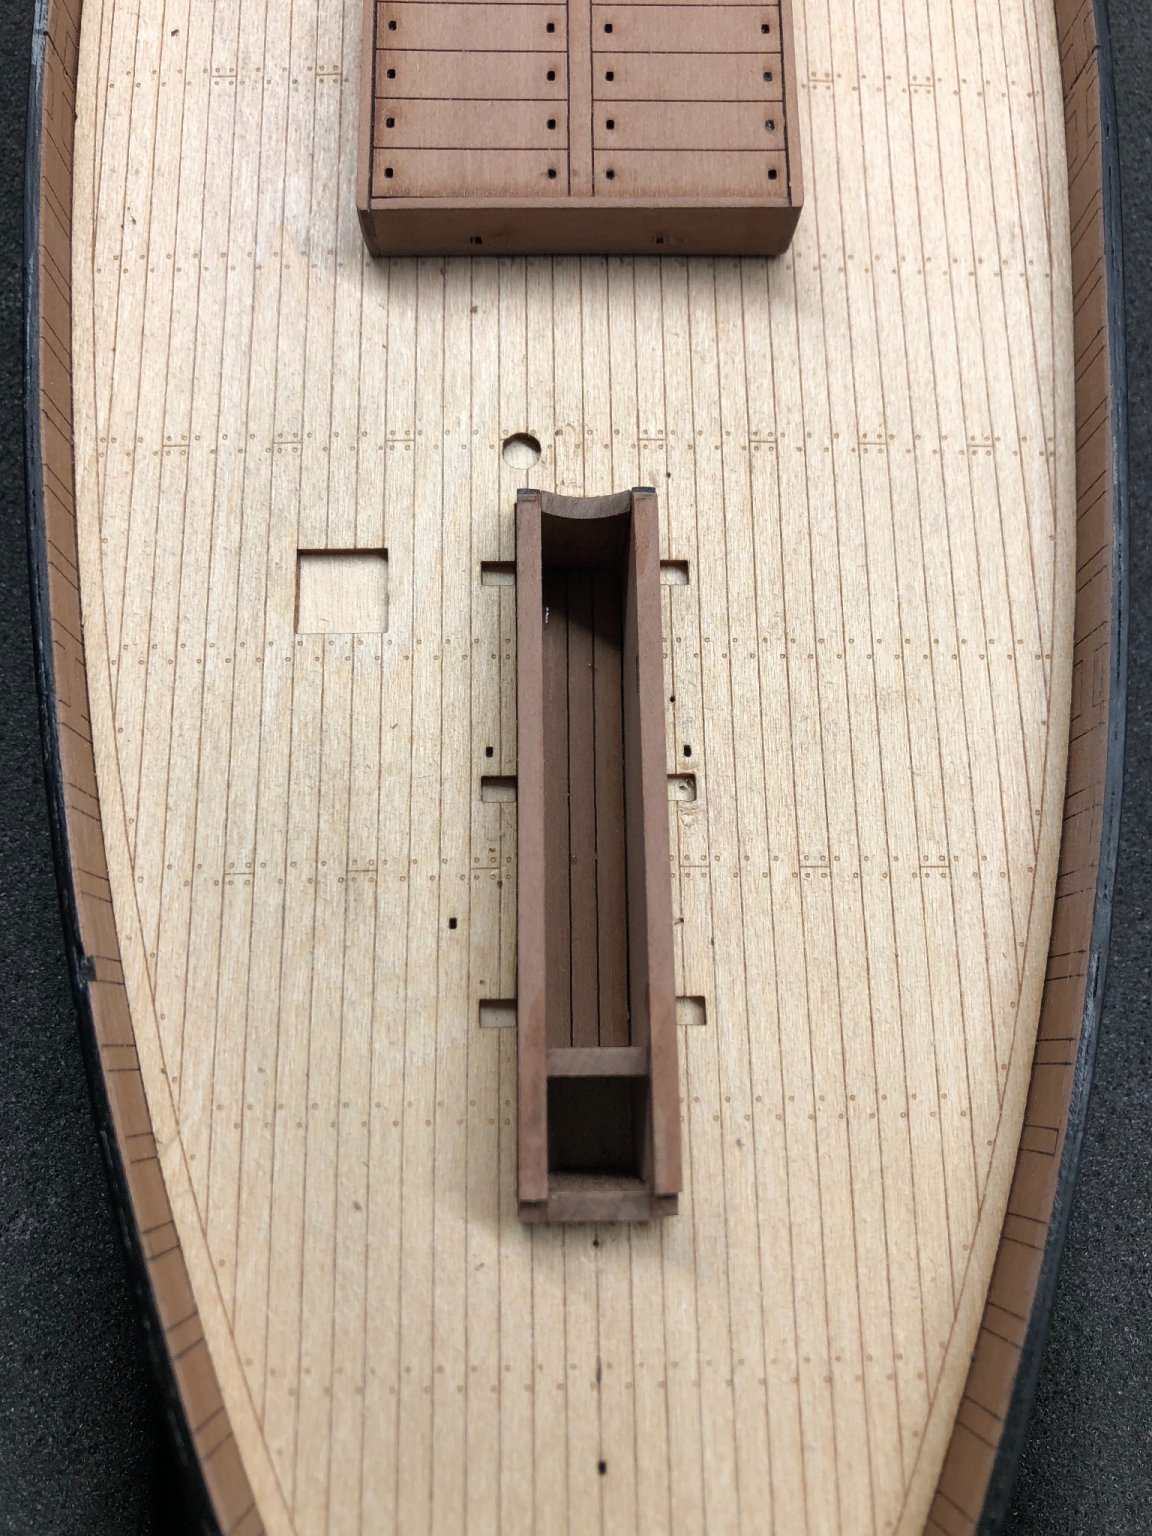
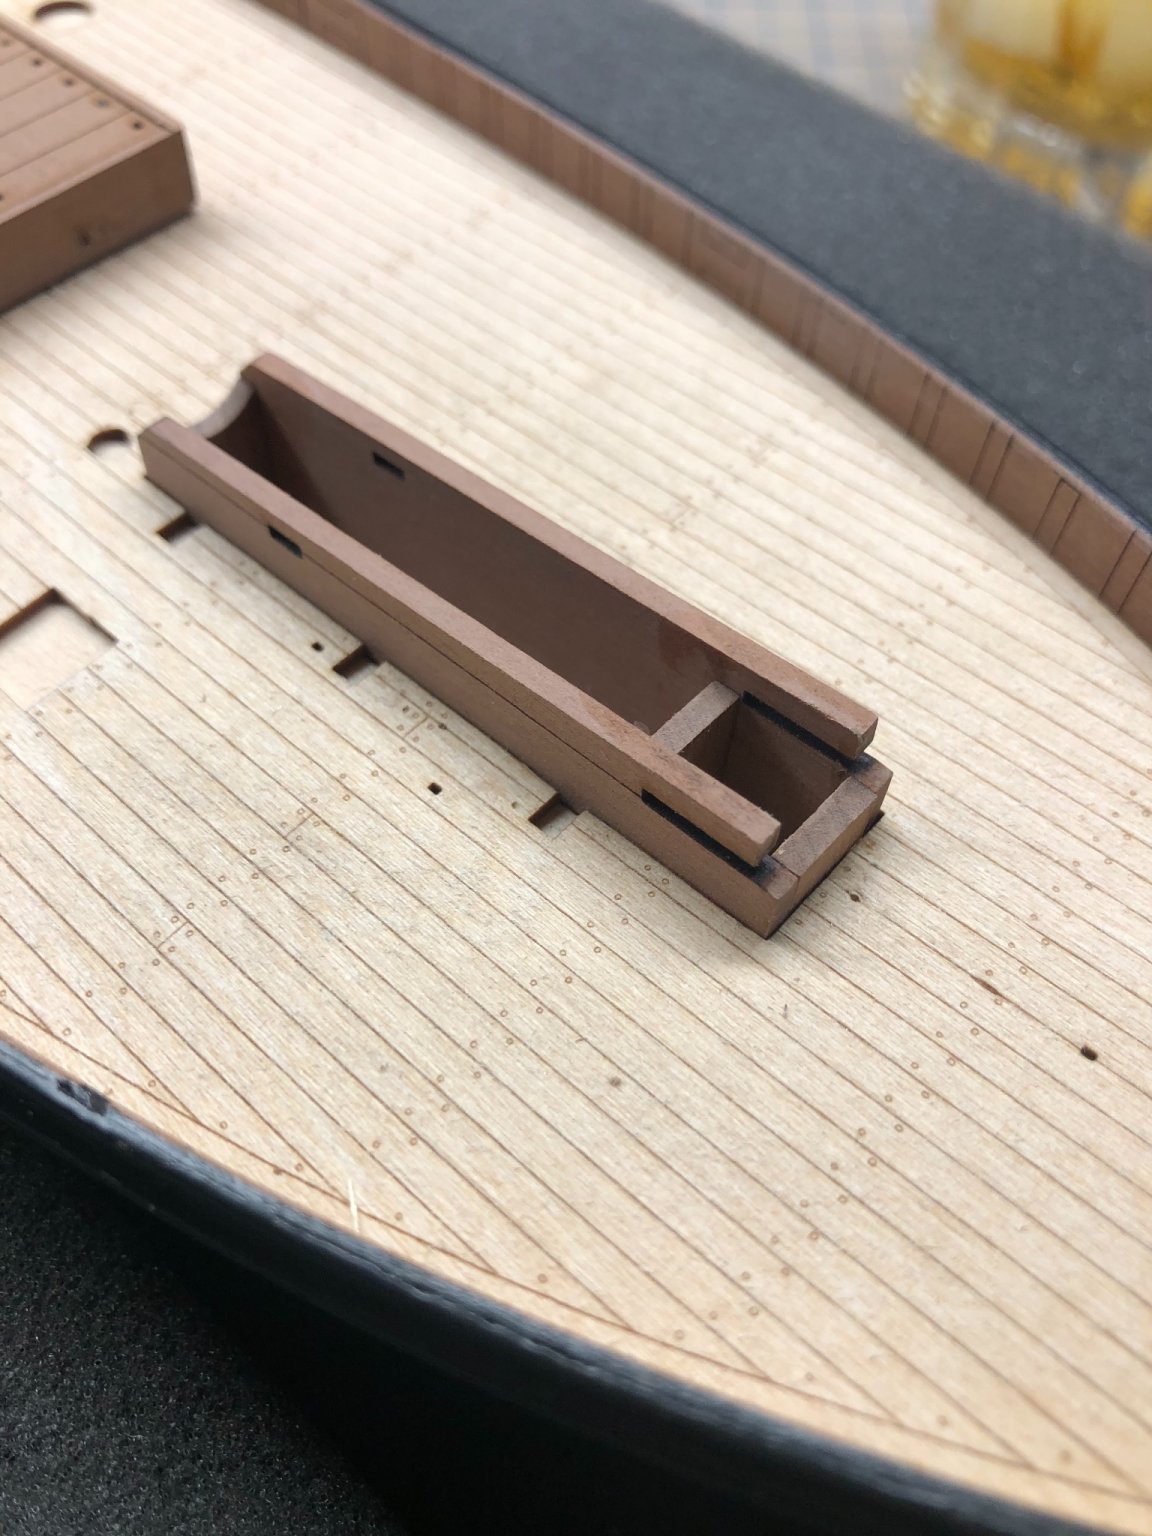
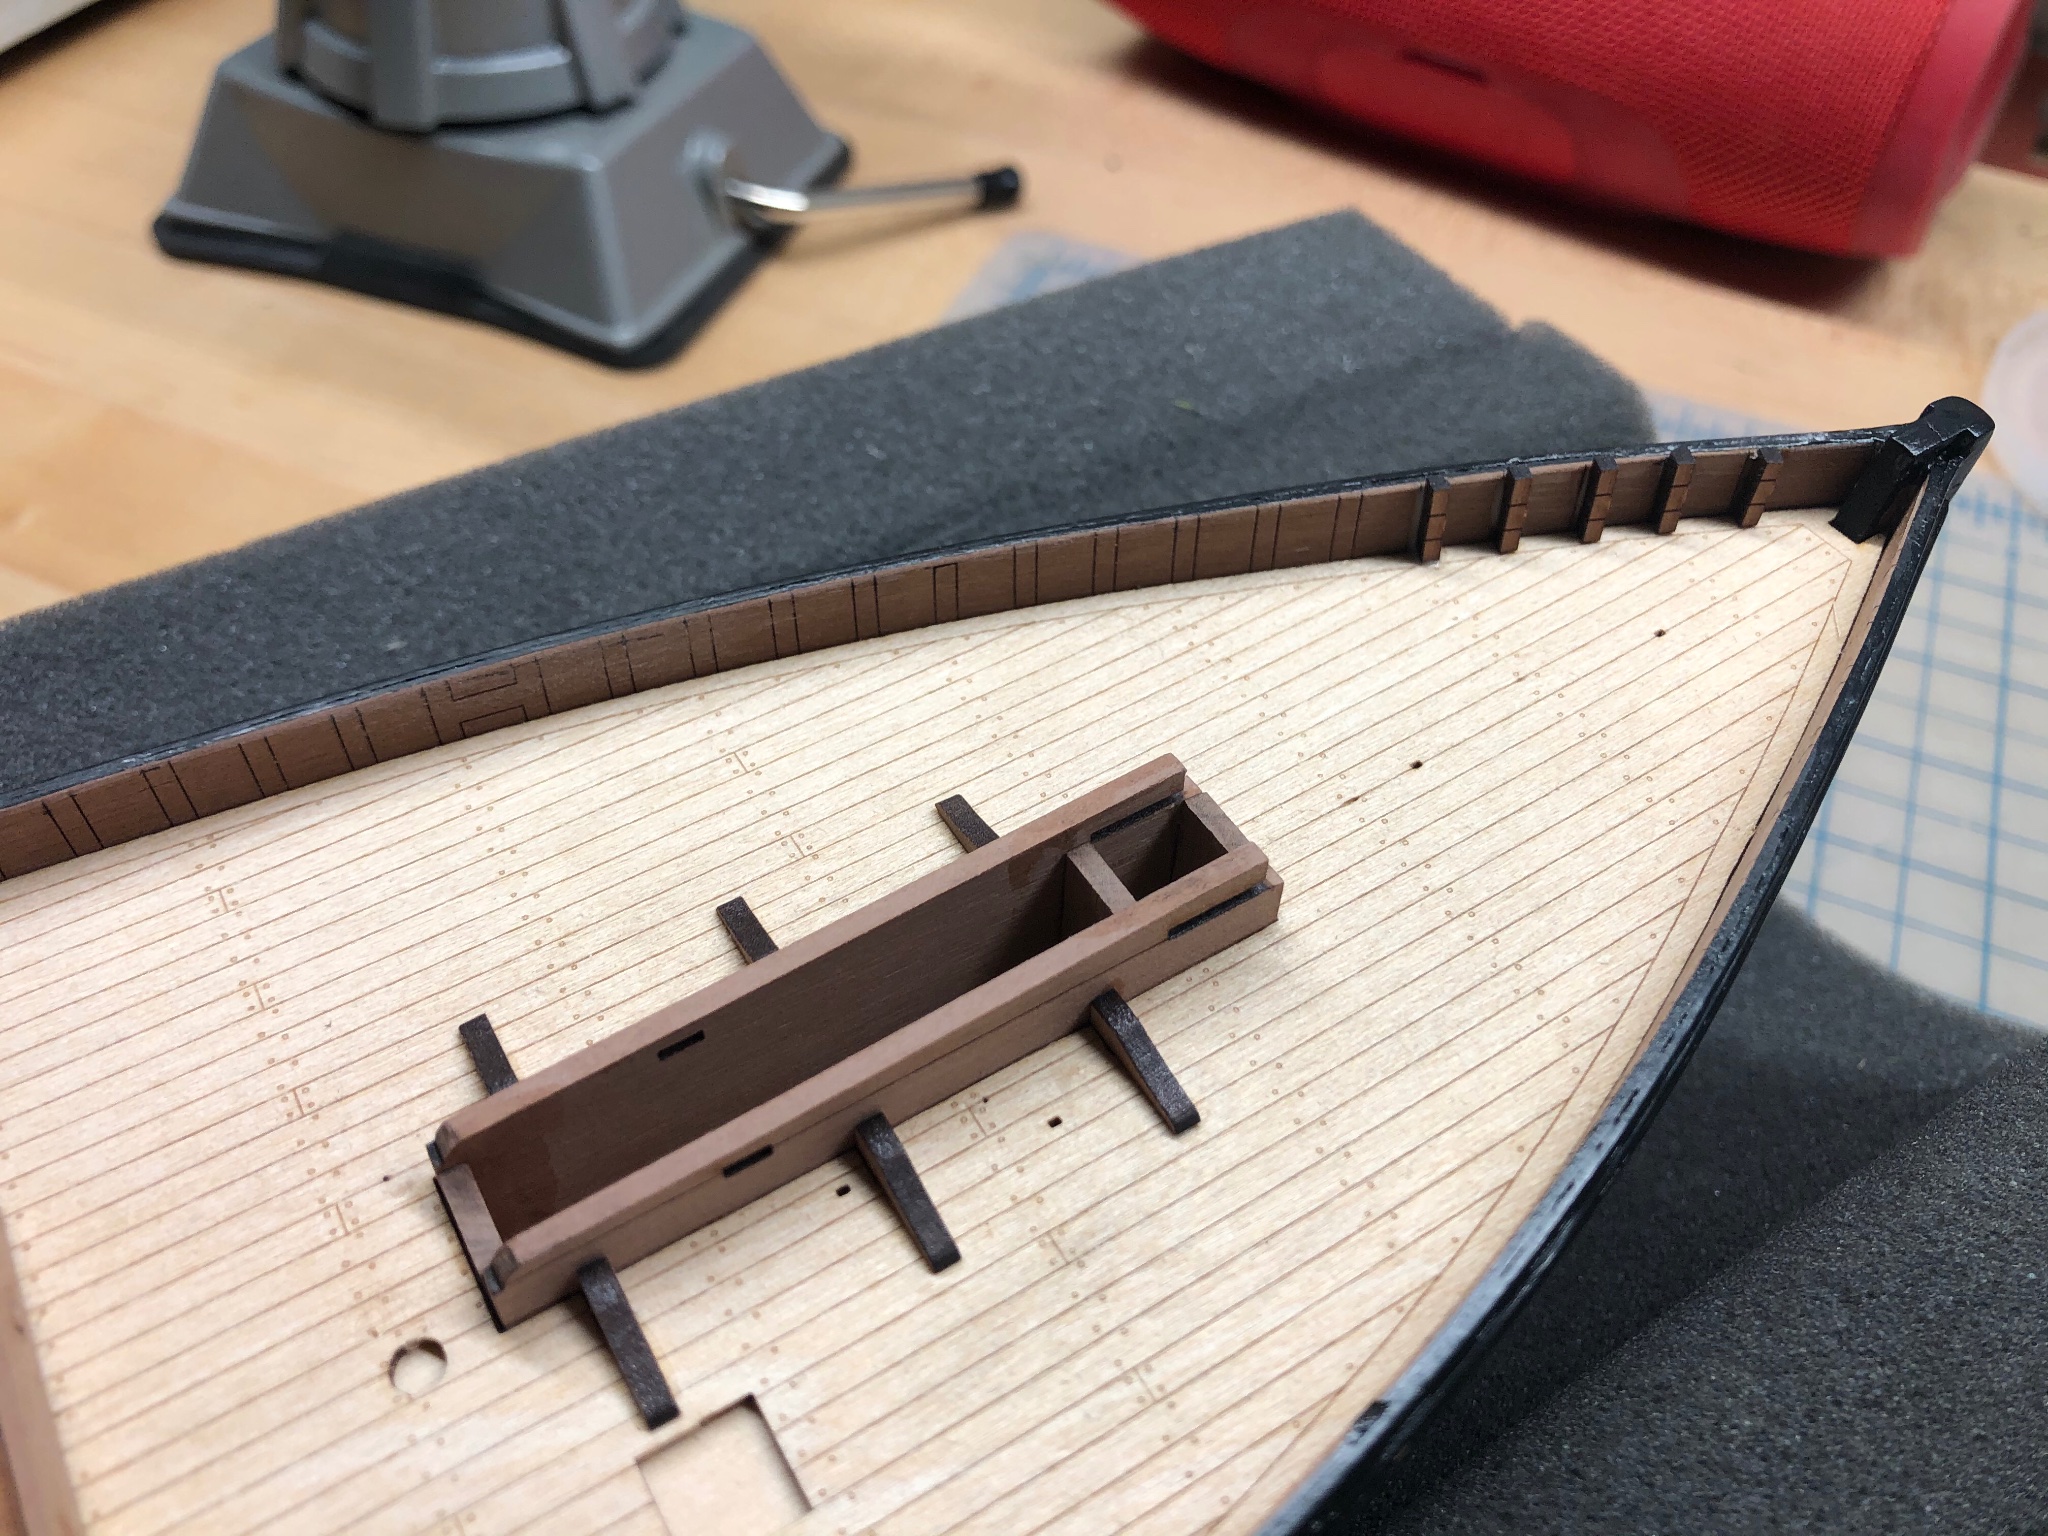
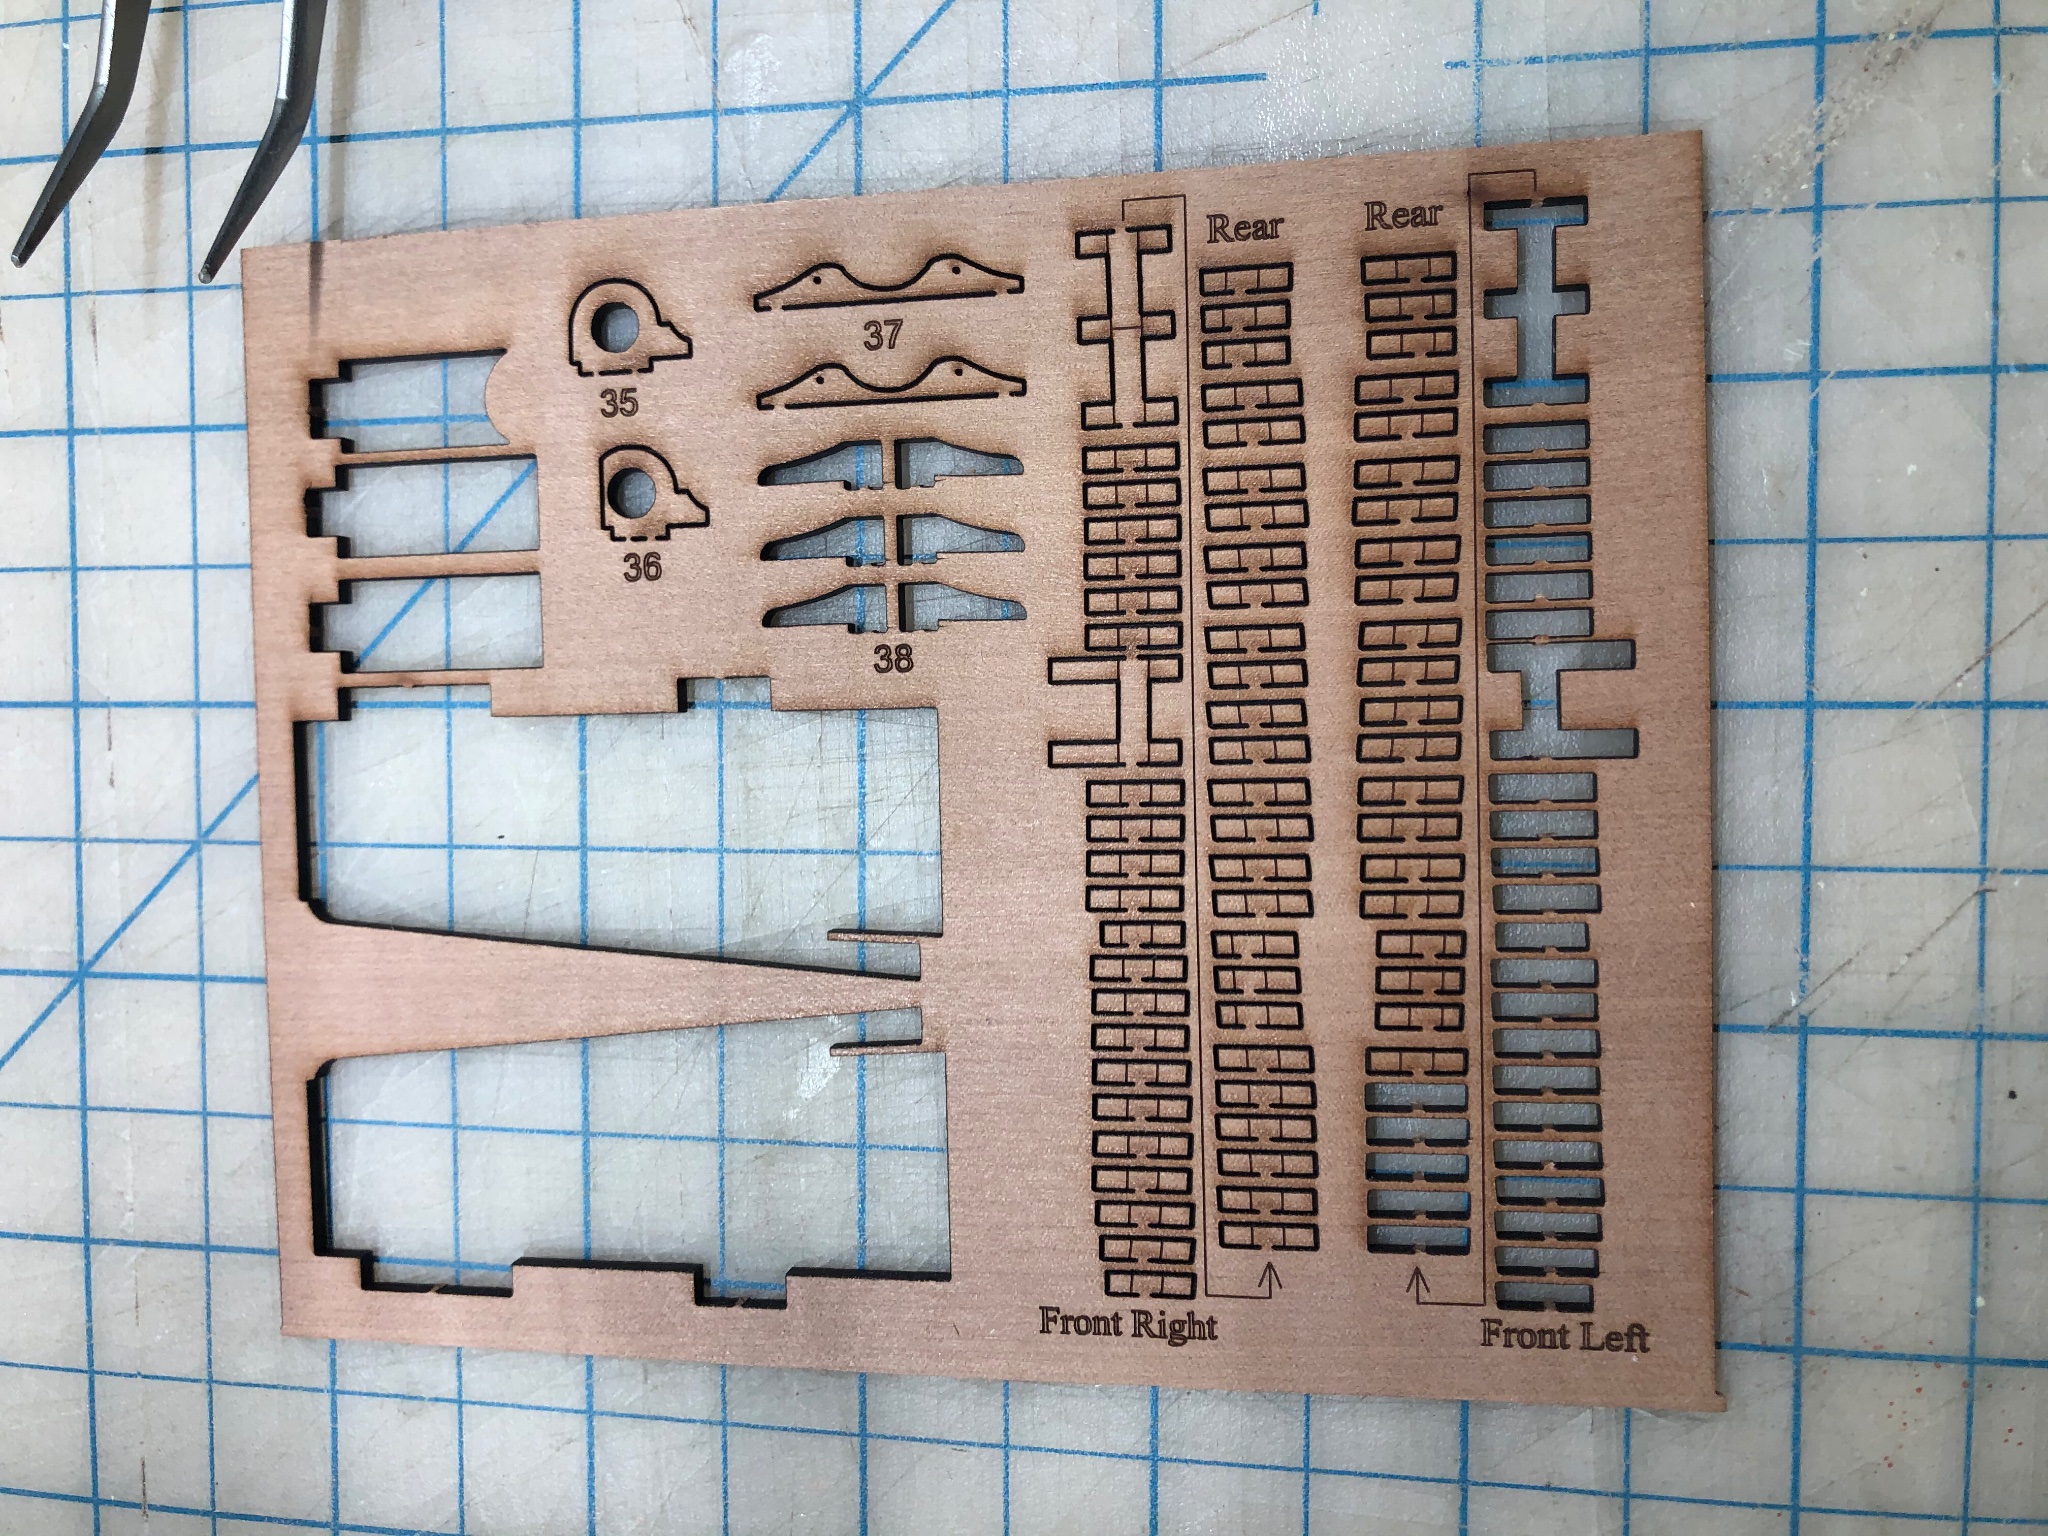
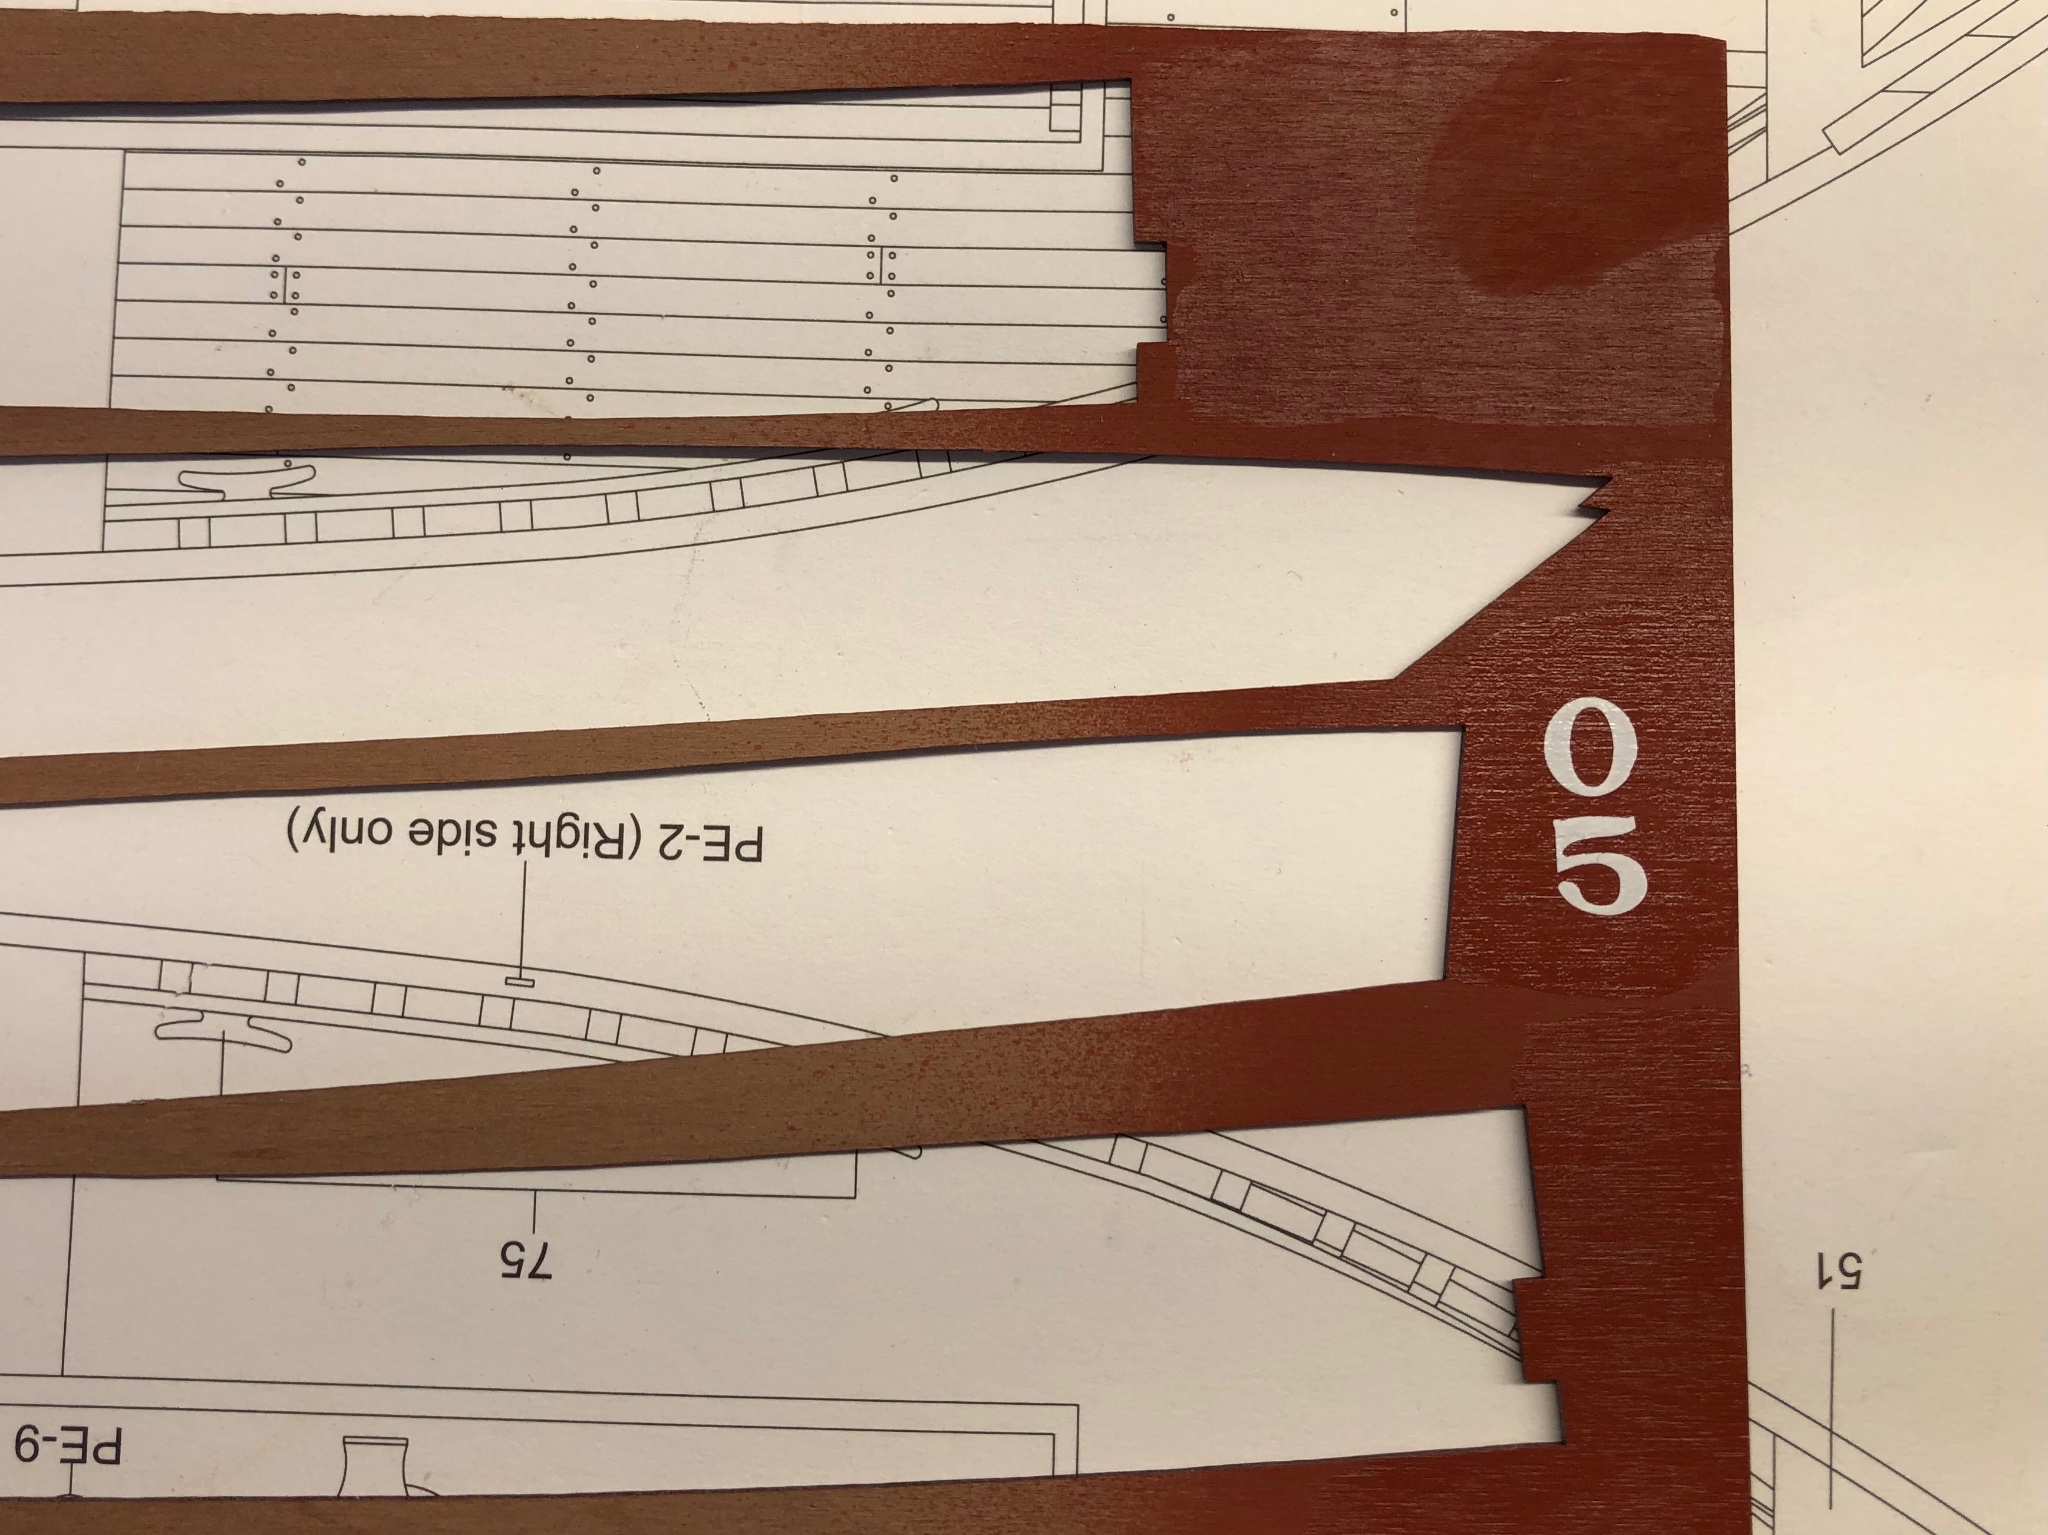
Small update: Started some of the deck details. I built the mast step well, which consists of four perimeter frame parts, an interior bulkhead which completes the aft side of the well for the butt of the mast, a floorboard for the sole of the well, and six deck cleat brackets. Everything fit very well. I recommend dry fitting the square mast stock into the mast step before the glue sets, to make sure the aft bulkhead is in the correct vertical position to allow the mast to be inserted later. Once this is checked, you can remove the mast stock. I left the char on the edges of the deck cleats, as I thought they looked nice that way, adding a crisp look and a bit of contrast. I also started placing the timberheads on the port side. This is quite a task, as I think there must be 10,000 of them. just kidding, but my recommendation is make yourself a cocktail, as I did, put on some music, and settle in for a long session or two. Chris has made this as easy as possible, as the timberhead parts are laid out on the pearwood sheet in order, with annotations very clearly explaining how to proceed. I started using CA gel, but I soon found that a bit stressful, as I wanted to make very sure the part was in the proper position, plumb and true, before the CA kicked off. I ended up using Titebond instead, as it gave me a bit more piece of mind that I had the working time to position the pieces accurately. This is really fun! I’m having a great time with this build. As some of the deck structures start to go on, the Zulu is starting to gain character. She coming alive!


- 222 replies
-
- 6
-
-
- First Build
- Lady Isabella
- (and 2 more)
-
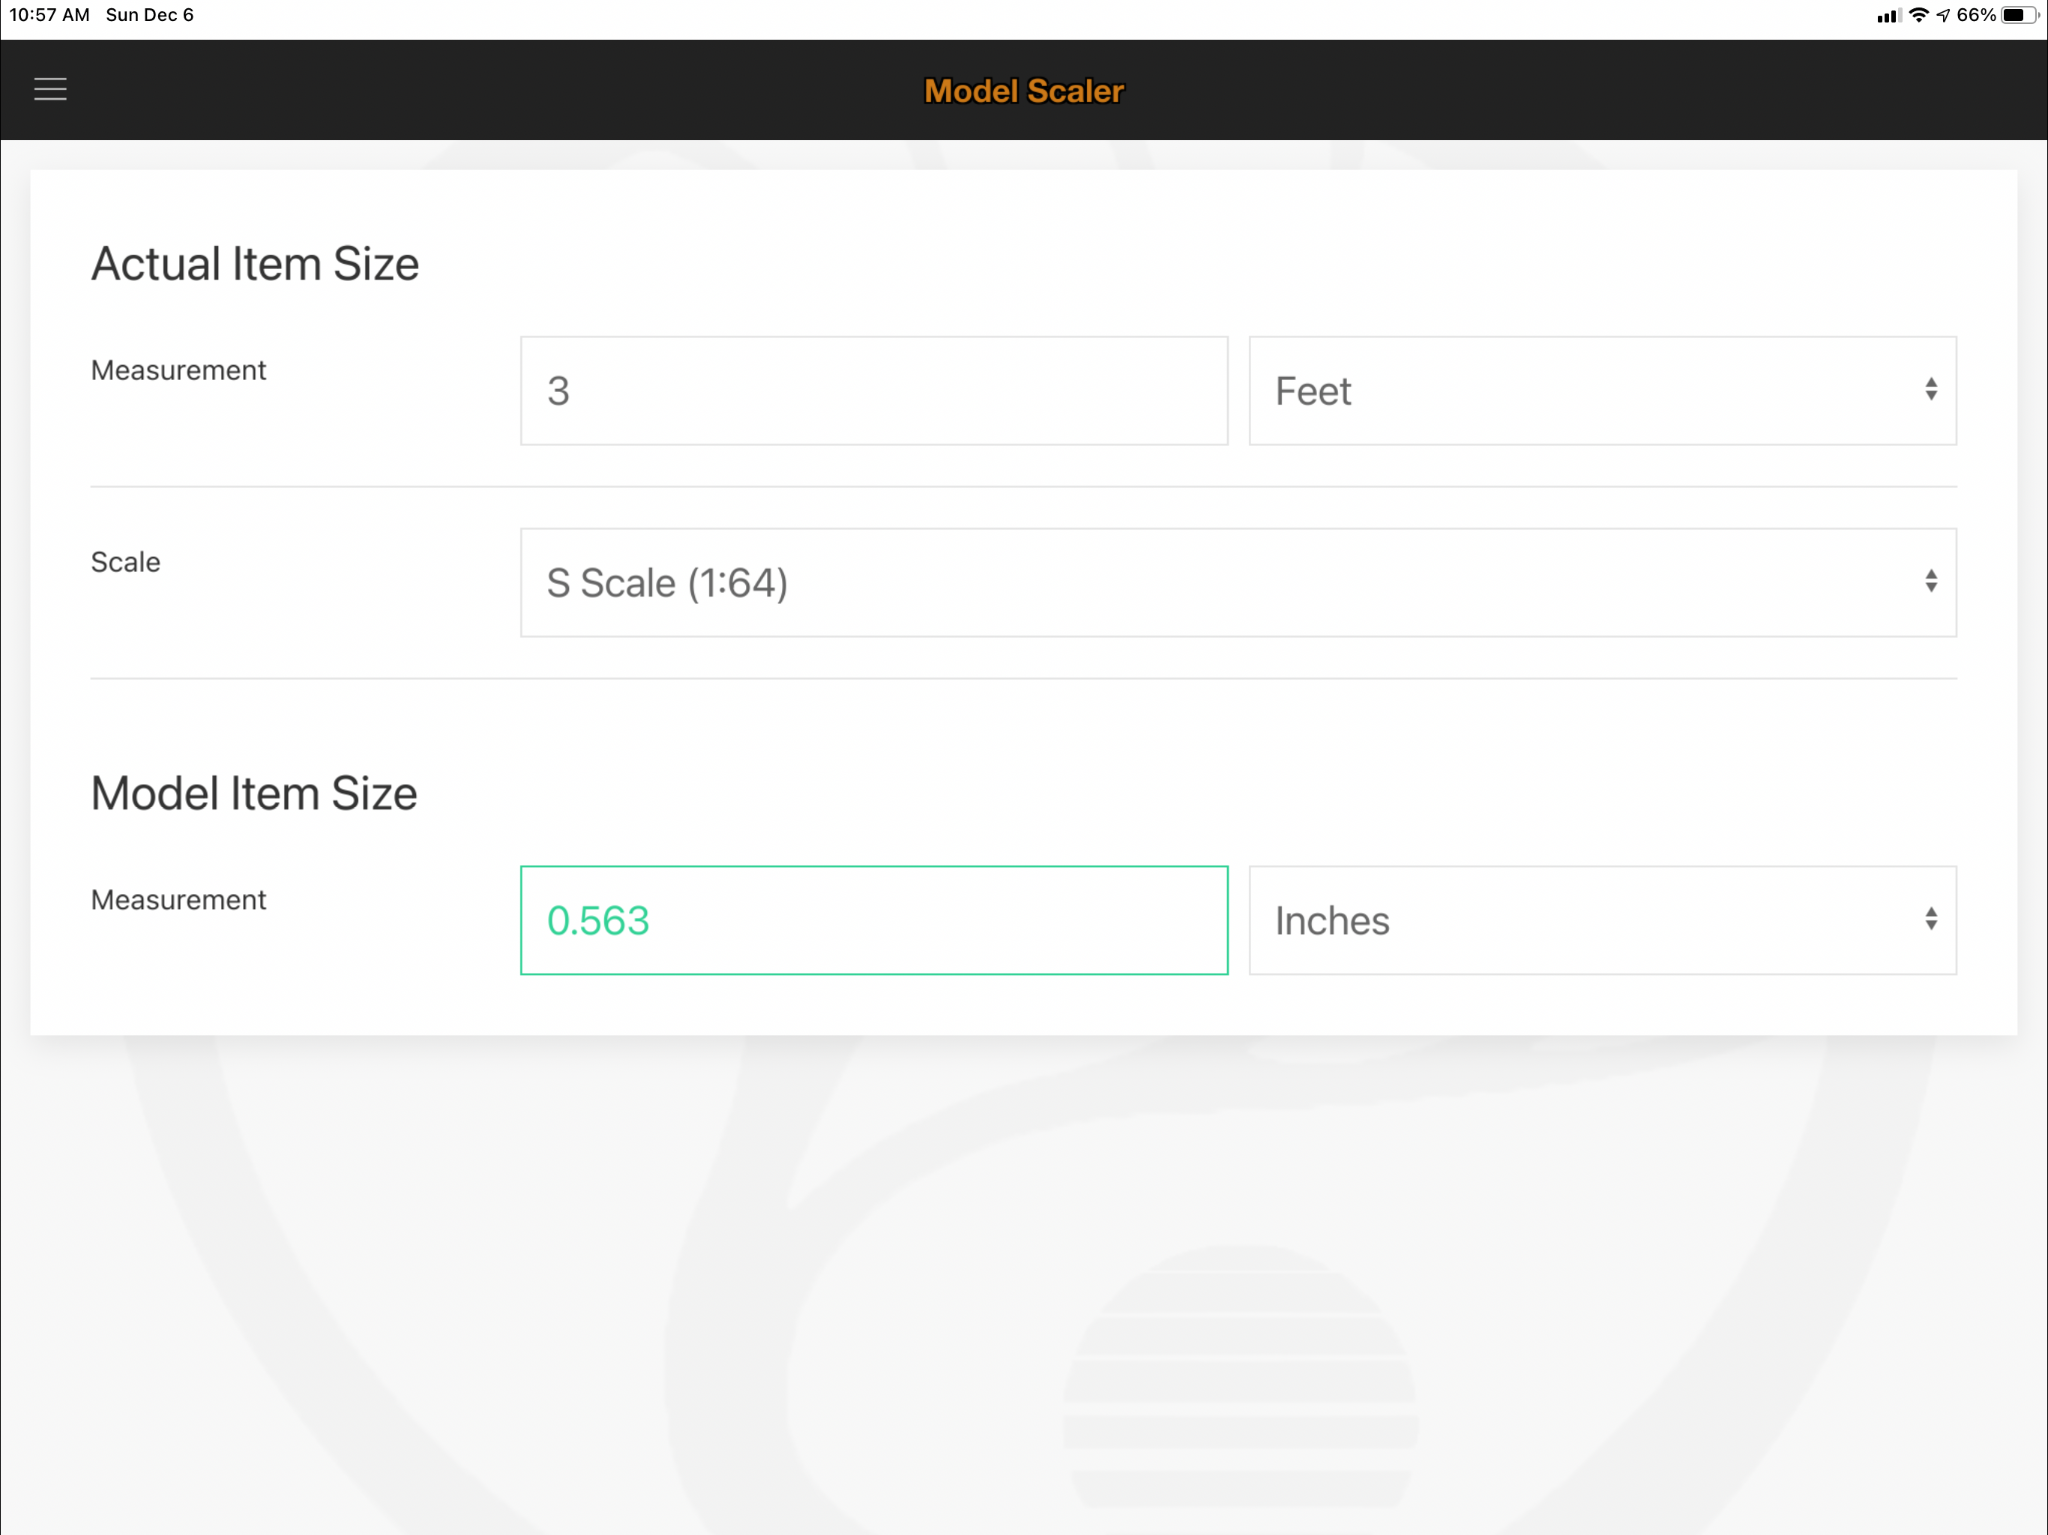
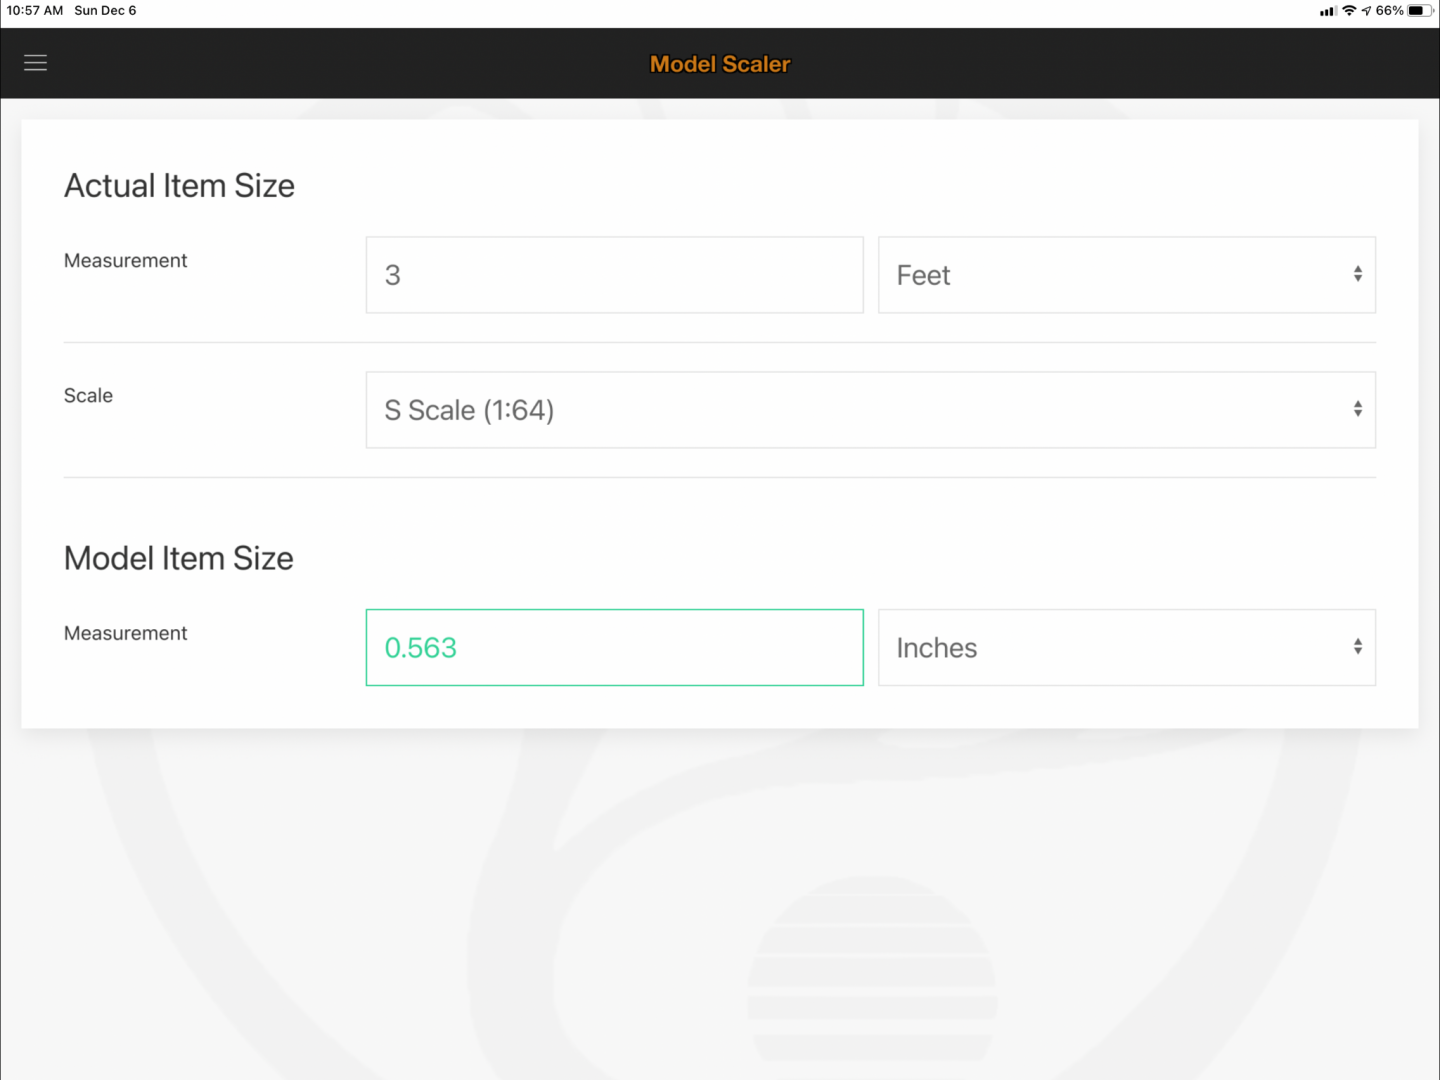
Useful for those of us who may be math-challenged: Woodland Scenics, the model train folks, have created a scale calculator for the iPhone and iPad. It’s called ModelScaler. You can use any of the pre-installed scales, or you can do a custom scale. It allows you to go back and forth between model size and actual size. Screen shot:
- 261 replies
-
- 6
-
-
- muirneag
- vanguard models
- (and 2 more)
-
This really looks excellent! The fishing nets are very convincing indeed. Where did you find the net material?
- 261 replies
-
- 1
-
-
- muirneag
- vanguard models
- (and 2 more)
-
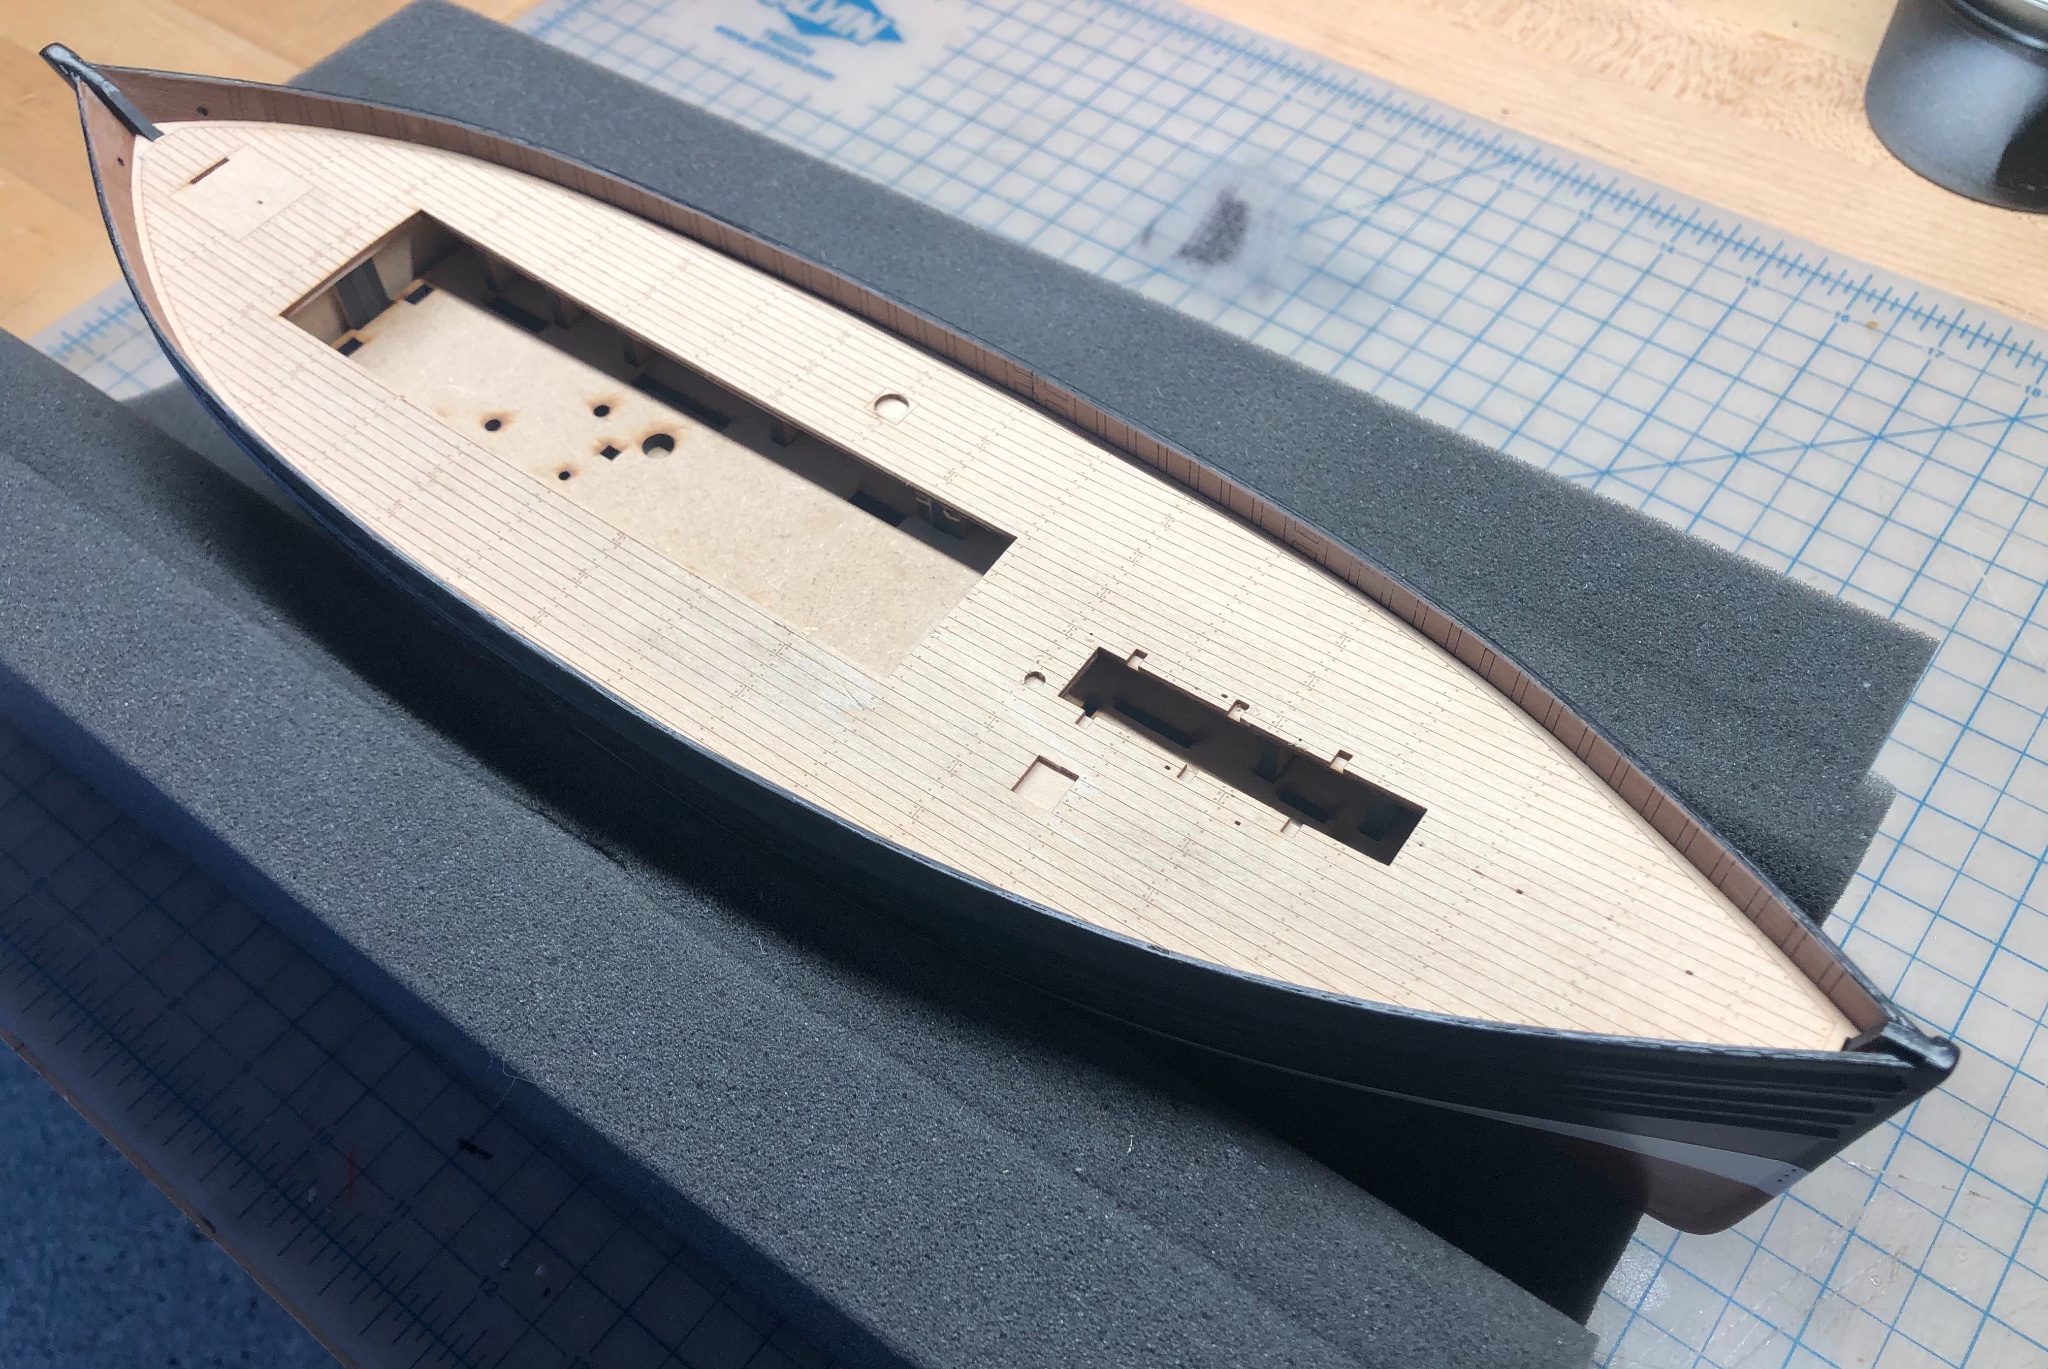
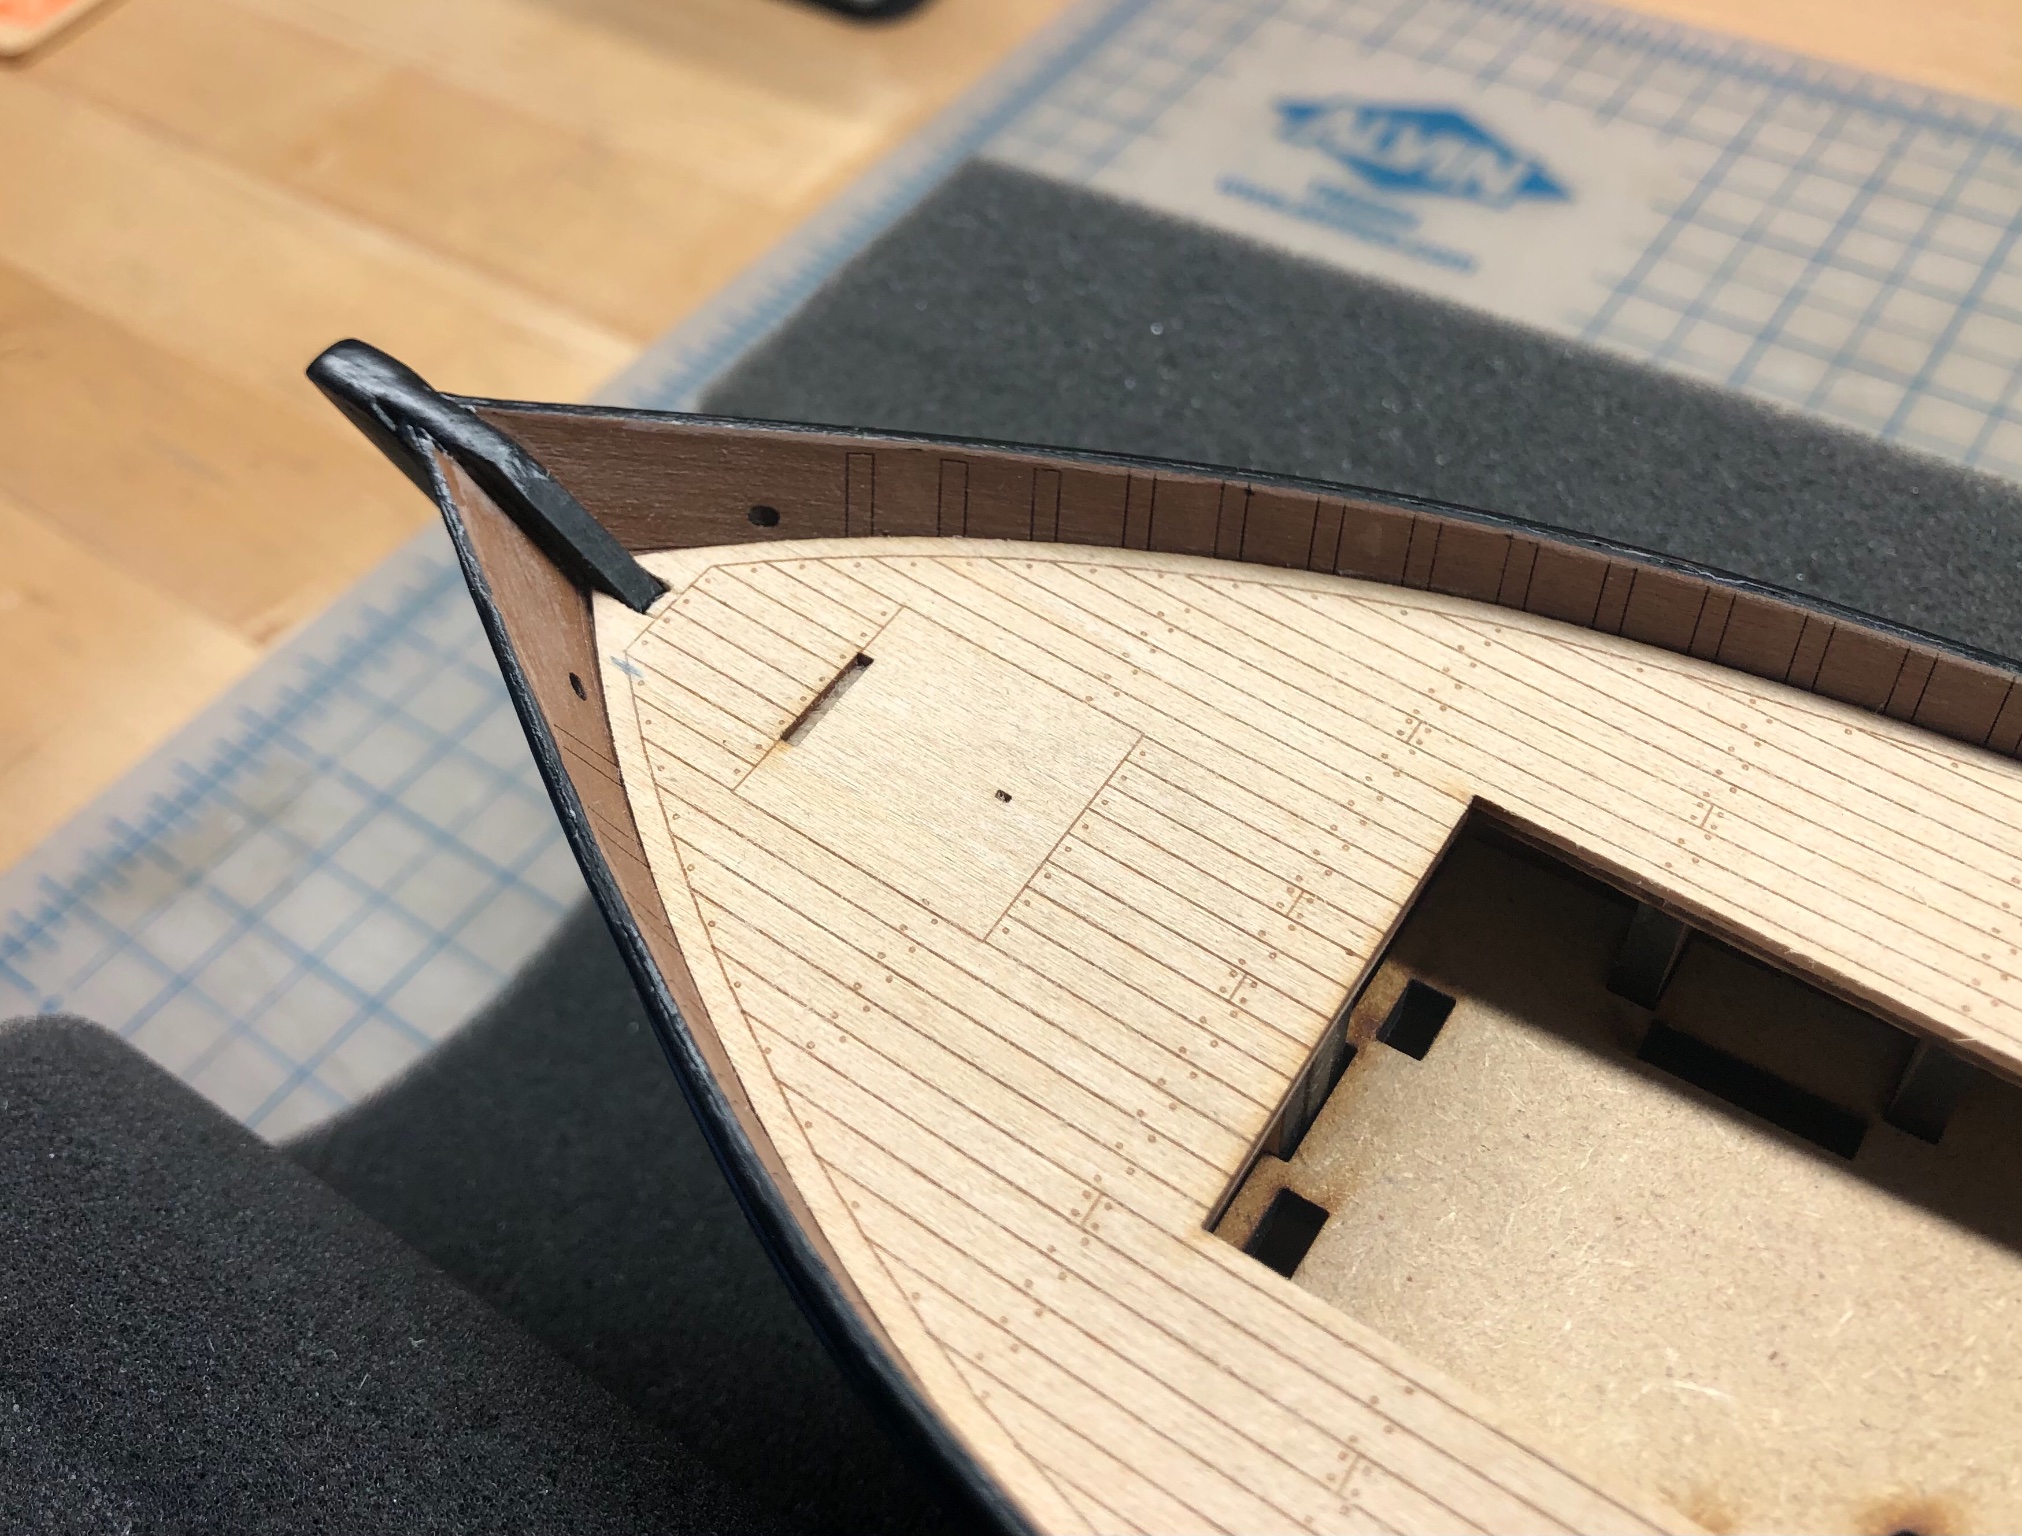
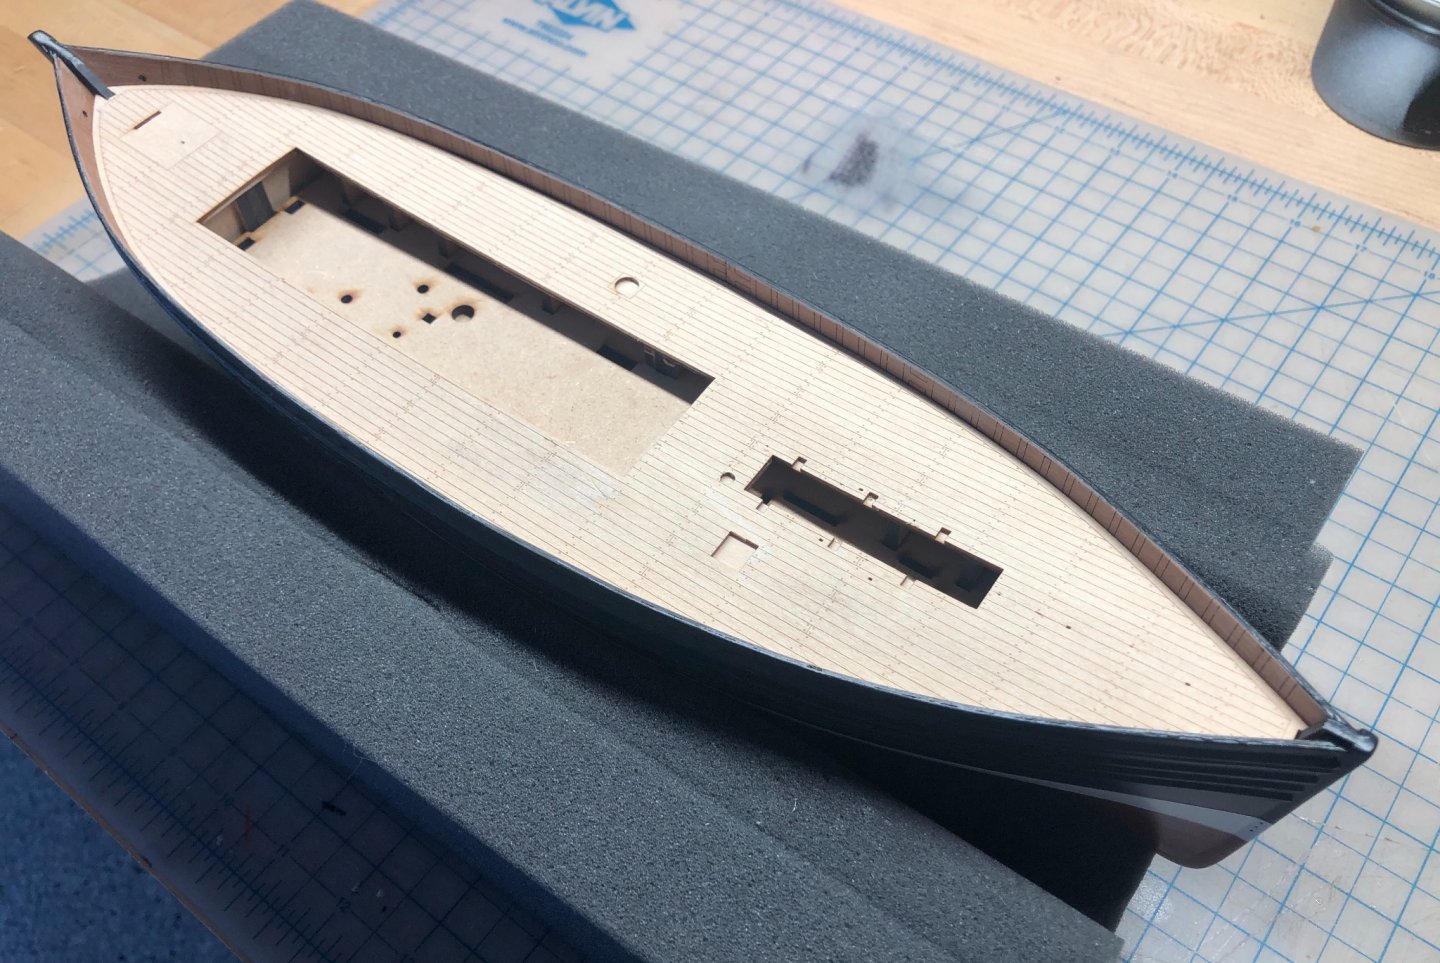
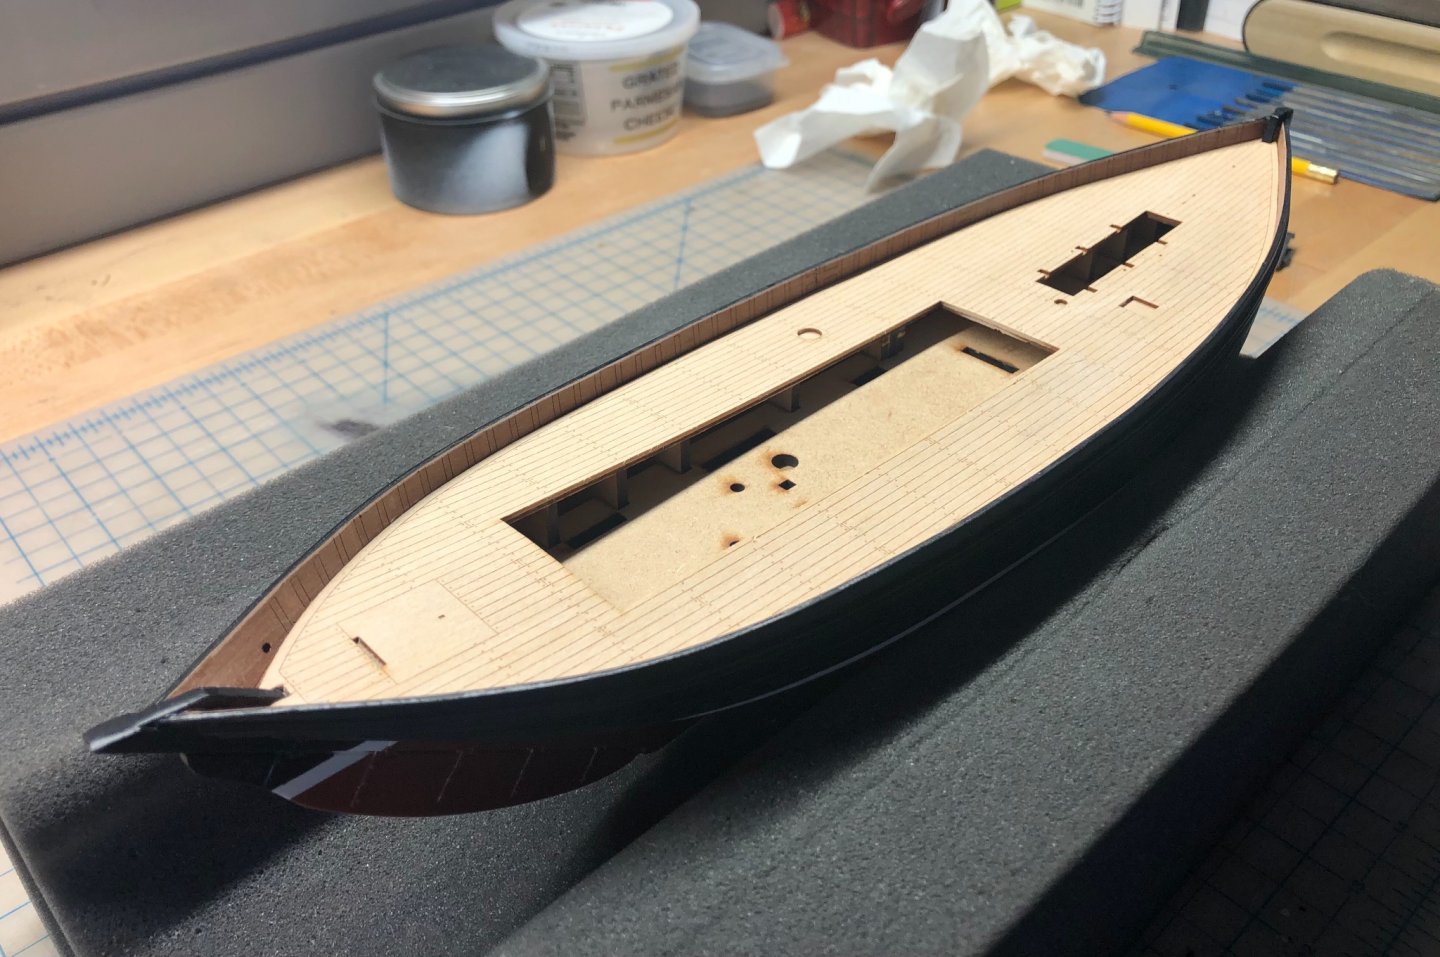
Last night, I fitted and glued in the finished deck, which is a light plywood piece with beautiful laser etching simulating the deck planking. It fit with very little modification. I sanded the edges in a few spots, and beveled the edges at the bow and stern. I also put a bevel in the notches at the bow and stern, to allow it to fit nicely up to the sloping stem and stern post. The ply deck is very flexible, so it’s important to make sure it fits properly. If it’s too snug against the bulwarks, it will induce a crowning bulge in the deck that’s difficult to settle down when gluing. This is exacerbated by the tendency of the ply to soften up when wetted with PVA glue. So for those building this assembly in the future I recommend making sure the fit of the deck side-to-side is not so tight as to overly compress the plywood. In the end I used some small clamps, and five or six strategically placed brass pins to hold it down while the glue set. Came out nicely. I think the deck will be very pretty, especially when I give it a coat or two of poly. I glued in the rudder, and then gave the whole hull a coat of the poly varnish to protect the paint. I’m really liking the satin finish of the varnish over the painted surfaces. I’m moving on to the timberheads and deck structures, while I wait for some dry-transfer letters to arrive in the post. That’s an update on progress.... as always, I’m grateful for the advice and dialog! -EKE


- 222 replies
-
- 9
-
-
- First Build
- Lady Isabella
- (and 2 more)
-
Thanks Richard! That’s a treasure trove of information. Fantastic, thanks. -EKE
-
Thanks so much for the link, BE. Bookmarked for future reference! I have to say that one of the things I'm really enjoying about ship modelling is the knowledge I'm gaining while researching these things! I never thought I'd learn so much about the Scottish herring fishing universe, but, here we are. I would think that transferring the outline of the sail numbers to the sail cloth using graphite, and then painting them onto the cloth with some flat white paint or ink would probably be the way to go.
- 261 replies
-
- 5
-
-
- muirneag
- vanguard models
- (and 2 more)
-
She's looking really great, BE! Wonderful job on the sails and yards. Have you thought about adding a sail number? I've been thinking about that for my Zulu.

- 261 replies
-
- 4
-
-
- muirneag
- vanguard models
- (and 2 more)
-
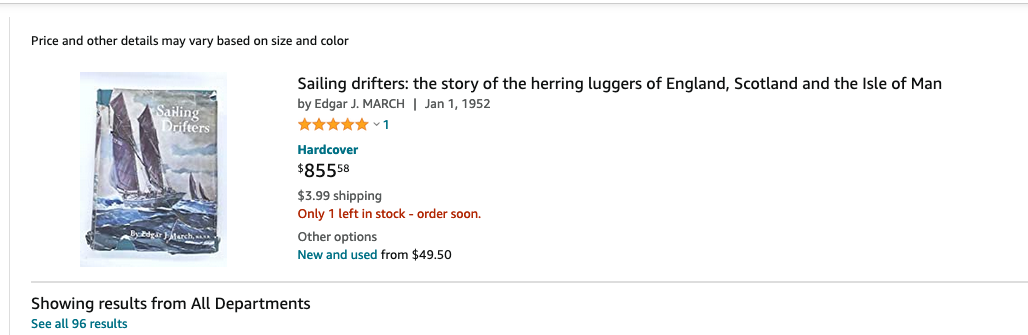
Ha! Richard, I found that book on Amazon! See below. A bit pricey, if you ask me.
-
That's the plan, BE. I won't be doing a lot of kit bashing, as I'll be pleased to get to the finish line for my first ship build without screwing anything up. But I'll be giving her the general appearance of Fidelity. And it's a fine name for a ship, in my opinion.
- 222 replies
-
- 2
-
-
- First Build
- Lady Isabella
- (and 2 more)
-
Thanks, friends. Appreciate the input. And Richard, thanks for the link to the list of fishing boat abbreviations. A great reference, quickly bookmarked. I’m going to use the registration number of BF 1479 ‘Fidelity’. She’s the Zulu depicted in the great drawings on the Greenwich Maritime Museum site, and she’s very close in specs to Chris’ ‘Lady Isabella’. ‘Fidelity’ was registered in Banff (BF) but I can find no information on her home port. I may have to craft a fictional narrative. EDIT: I found information on ‘Fidelity’. Home port was Portessie. That’s a small town east of Buckie, west of Banff: http://glennmci.brinkster.net/mcibb/listcomp.html http://glennmci.brinkster.net/mcibb/bf1479.html
- 222 replies
-
- 1
-
-
- First Build
- Lady Isabella
- (and 2 more)
-
Guitar is good. You’ll get back to Pen Duick when the spirit moves you. 👍
- 222 replies
-
- 1
-
-
- First Build
- Lady Isabella
- (and 2 more)
-
Thanks so much Bob! I'm trying to keep up with you, but you set a very high standard with that beautiful job you did on Pen Duick.
- 222 replies
-
- 1
-
-
- First Build
- Lady Isabella
- (and 2 more)
-
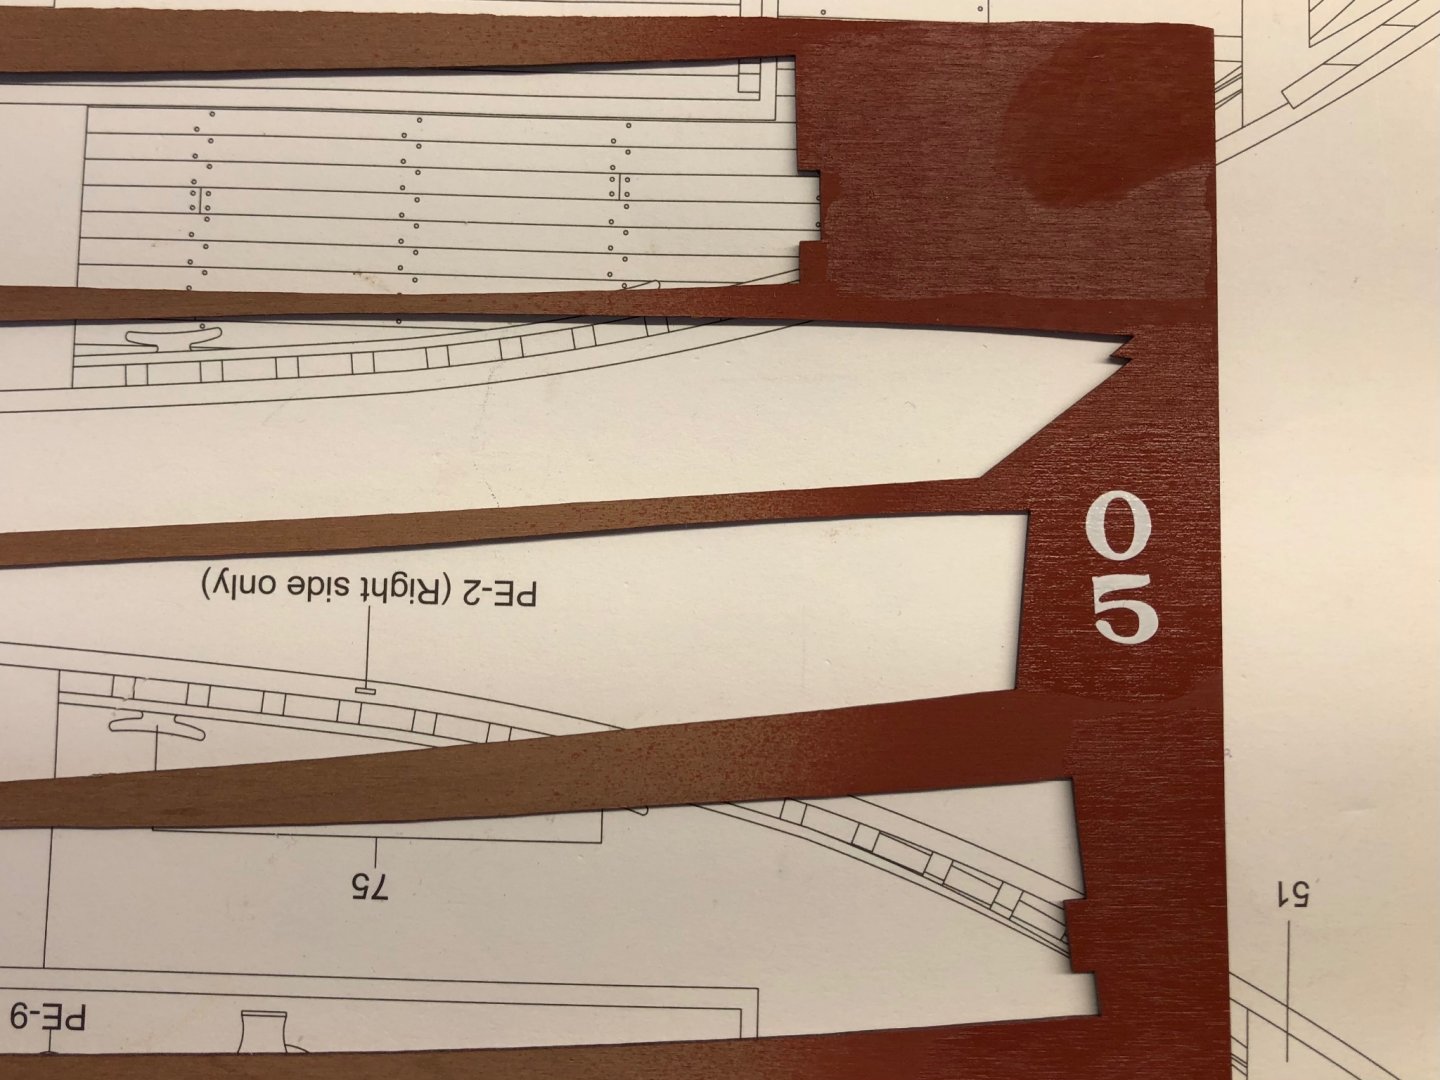
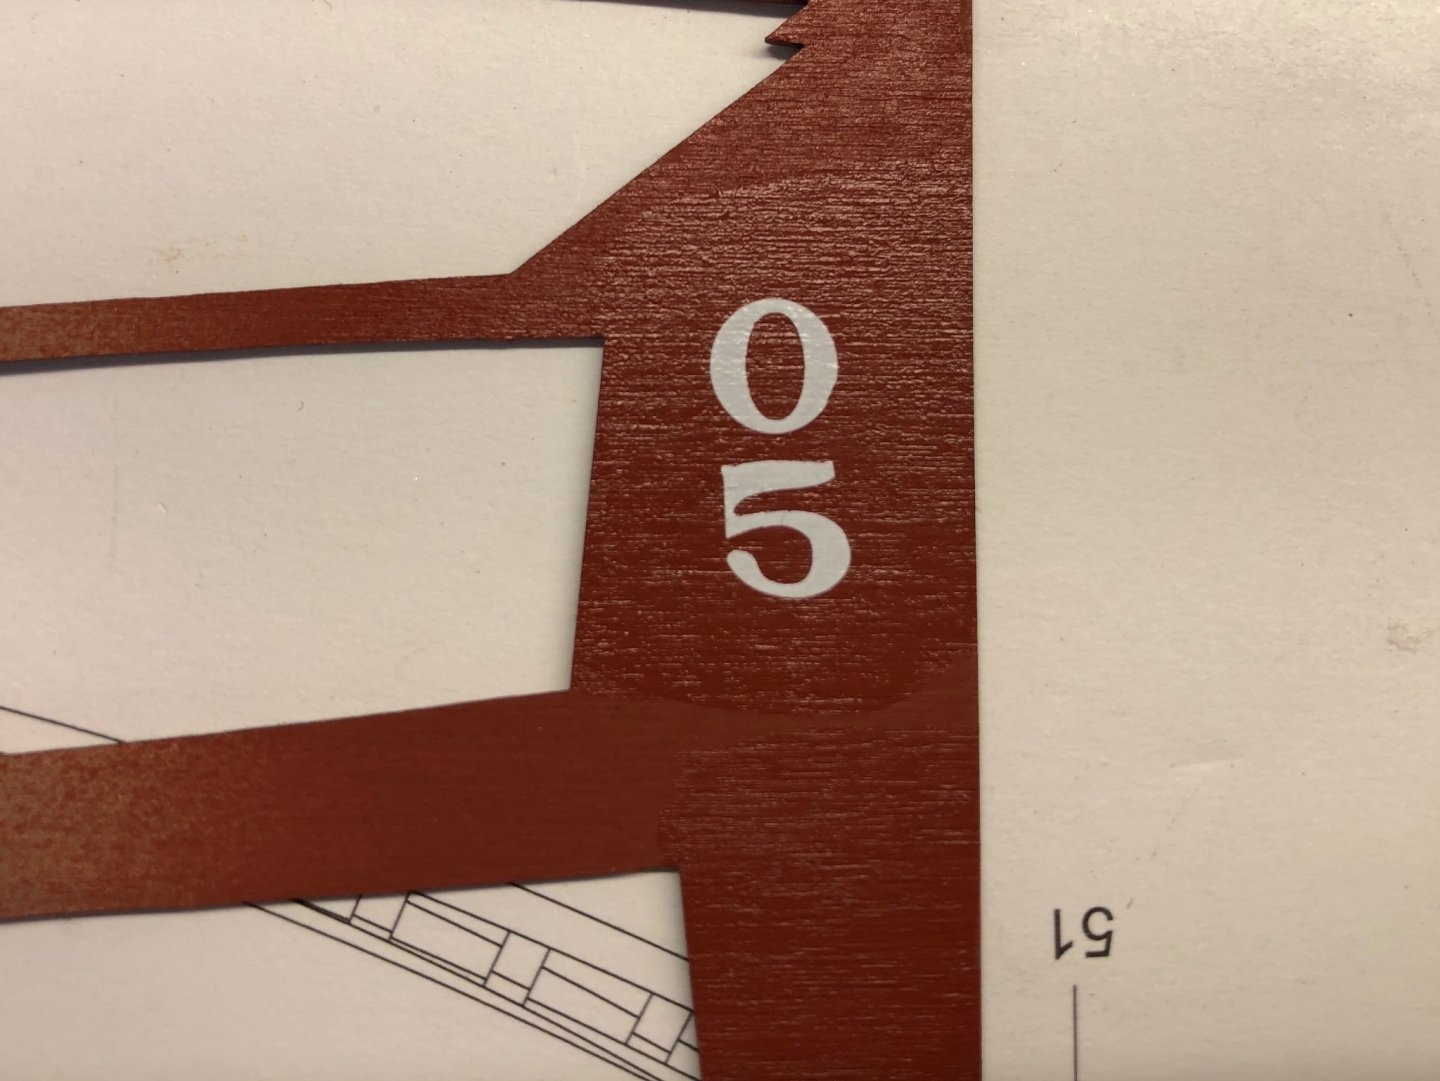
Next task before I varnish, I want to put registration numbers on the side of the hull. That way I can varnish over them and protect and unify the finish. I have done some testing with both waterslide decals from Microscale, and dry transfer numbers from Woodland Scenics. First, I tried the waterslide decals. I placed a decal onto some spare wood with a painted finish, and let it dry for an hour or so. Then I tried the Minwax water-based poly varnish over it. Disastrous. The Minwax completely dissolved the decal . Important safety tip! So on to the dry transfer letters. Those worked fine, a coat of Minwax applied with no problem at all, results below. So I’m going to do the registration numbers with white dry transfer, and then varnish everything. It pays to test before leaping ahead, huh? That’s it for now! Thanks everyone for your attention and help. -EKE
- 222 replies
-
- 3
-
-
- First Build
- Lady Isabella
- (and 2 more)
-
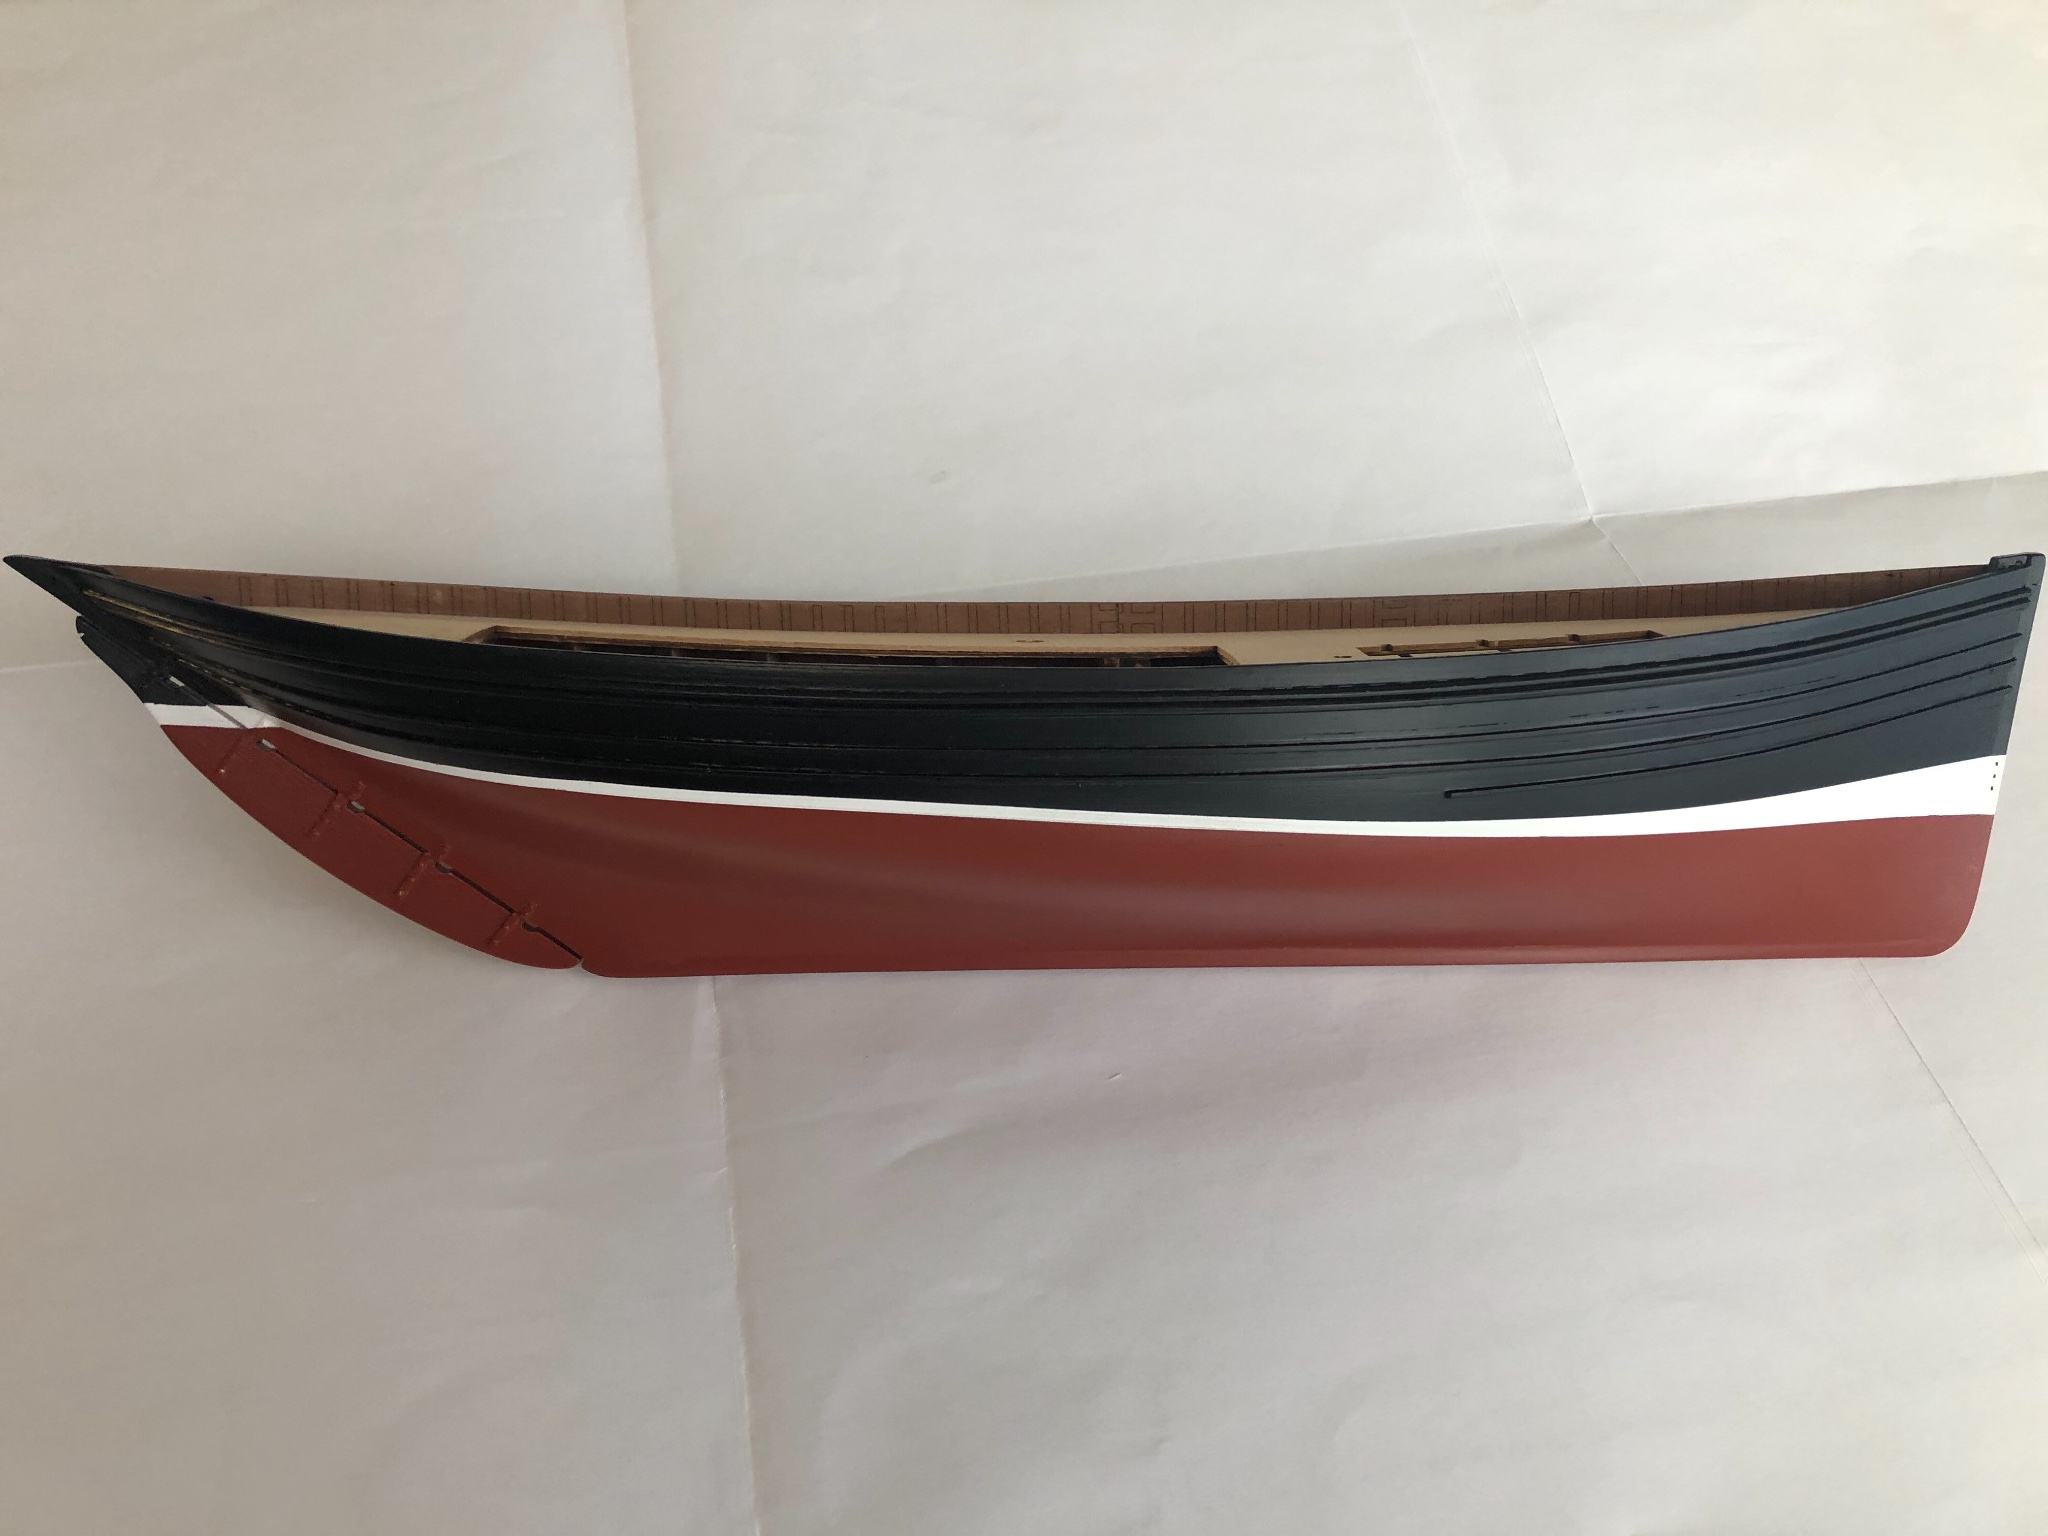
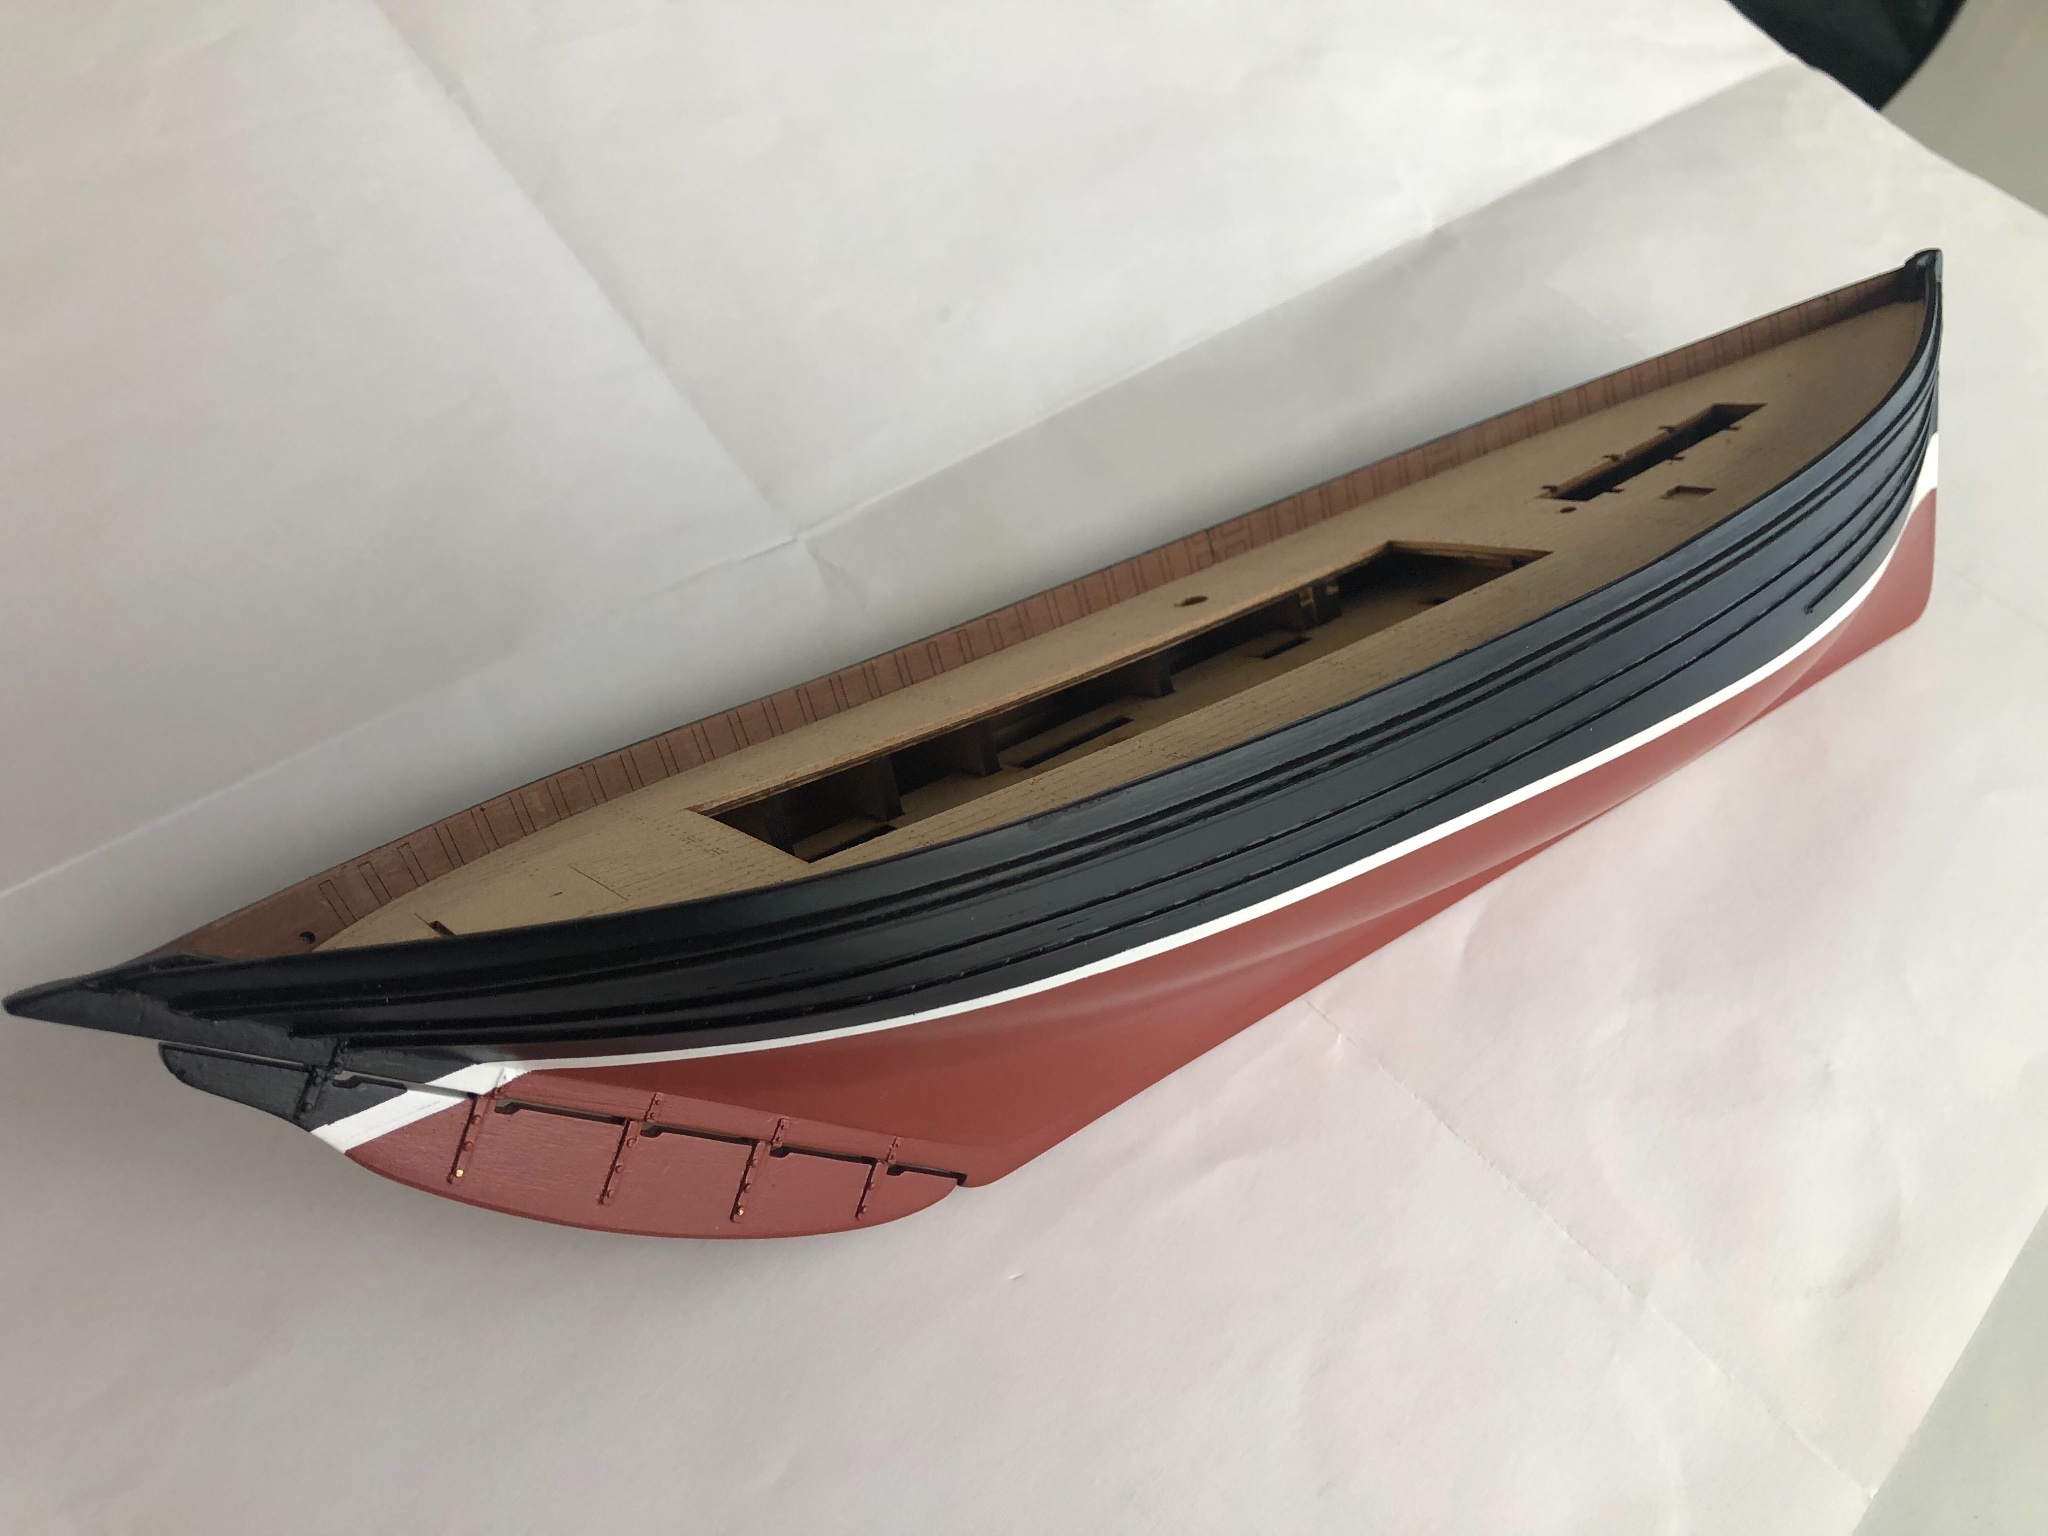
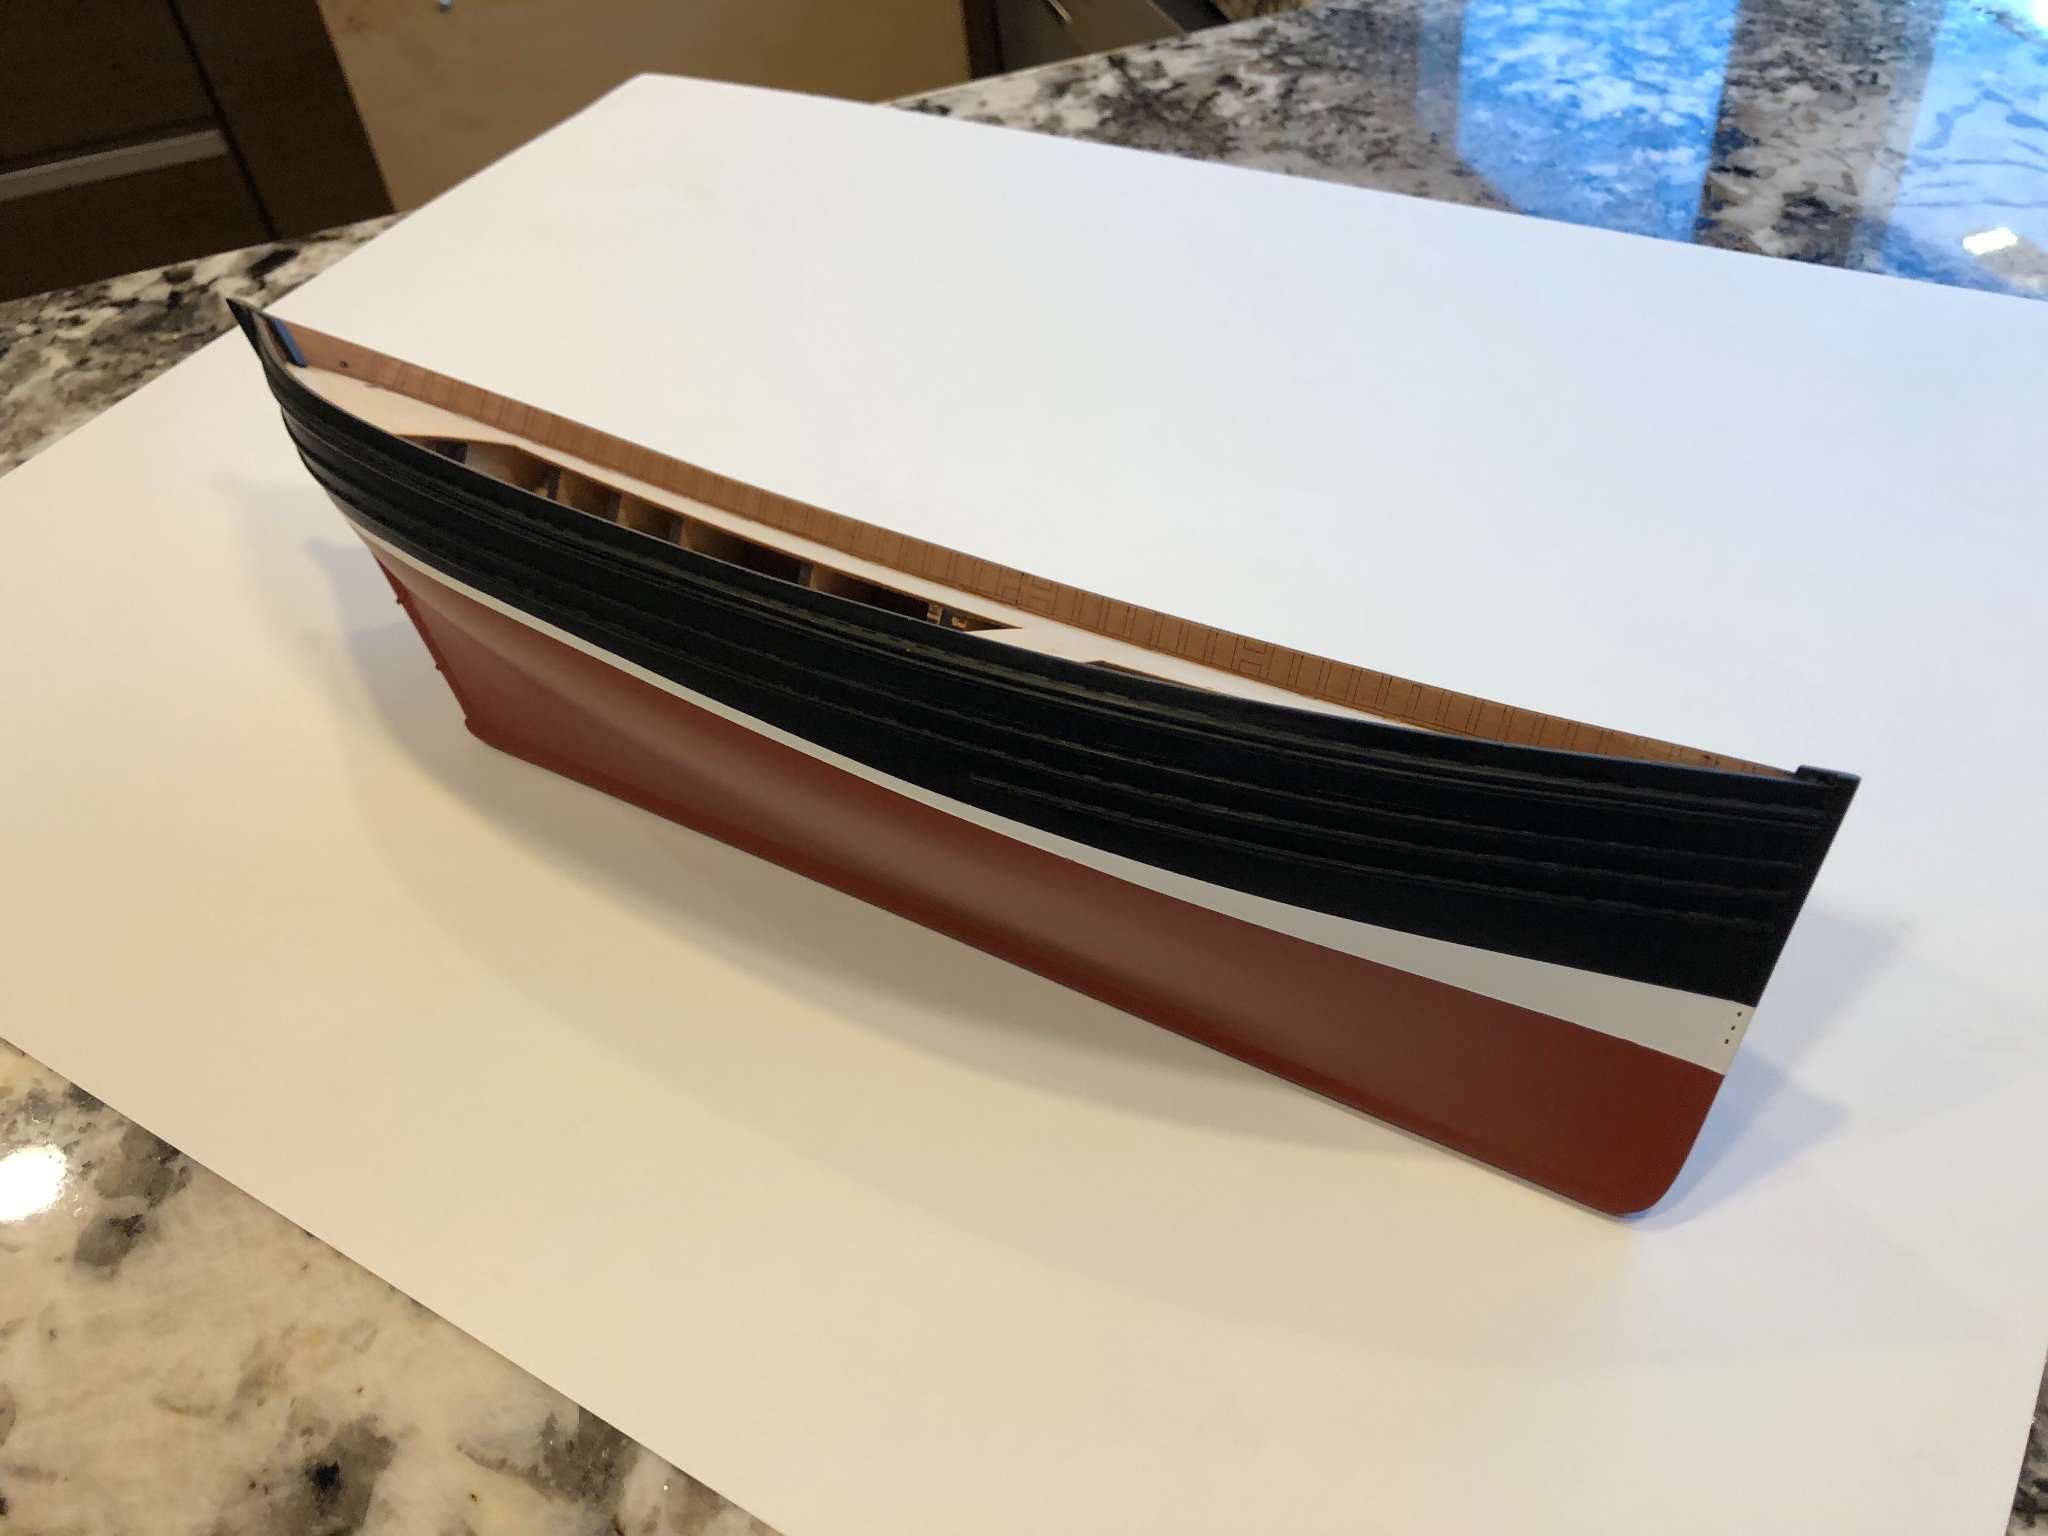
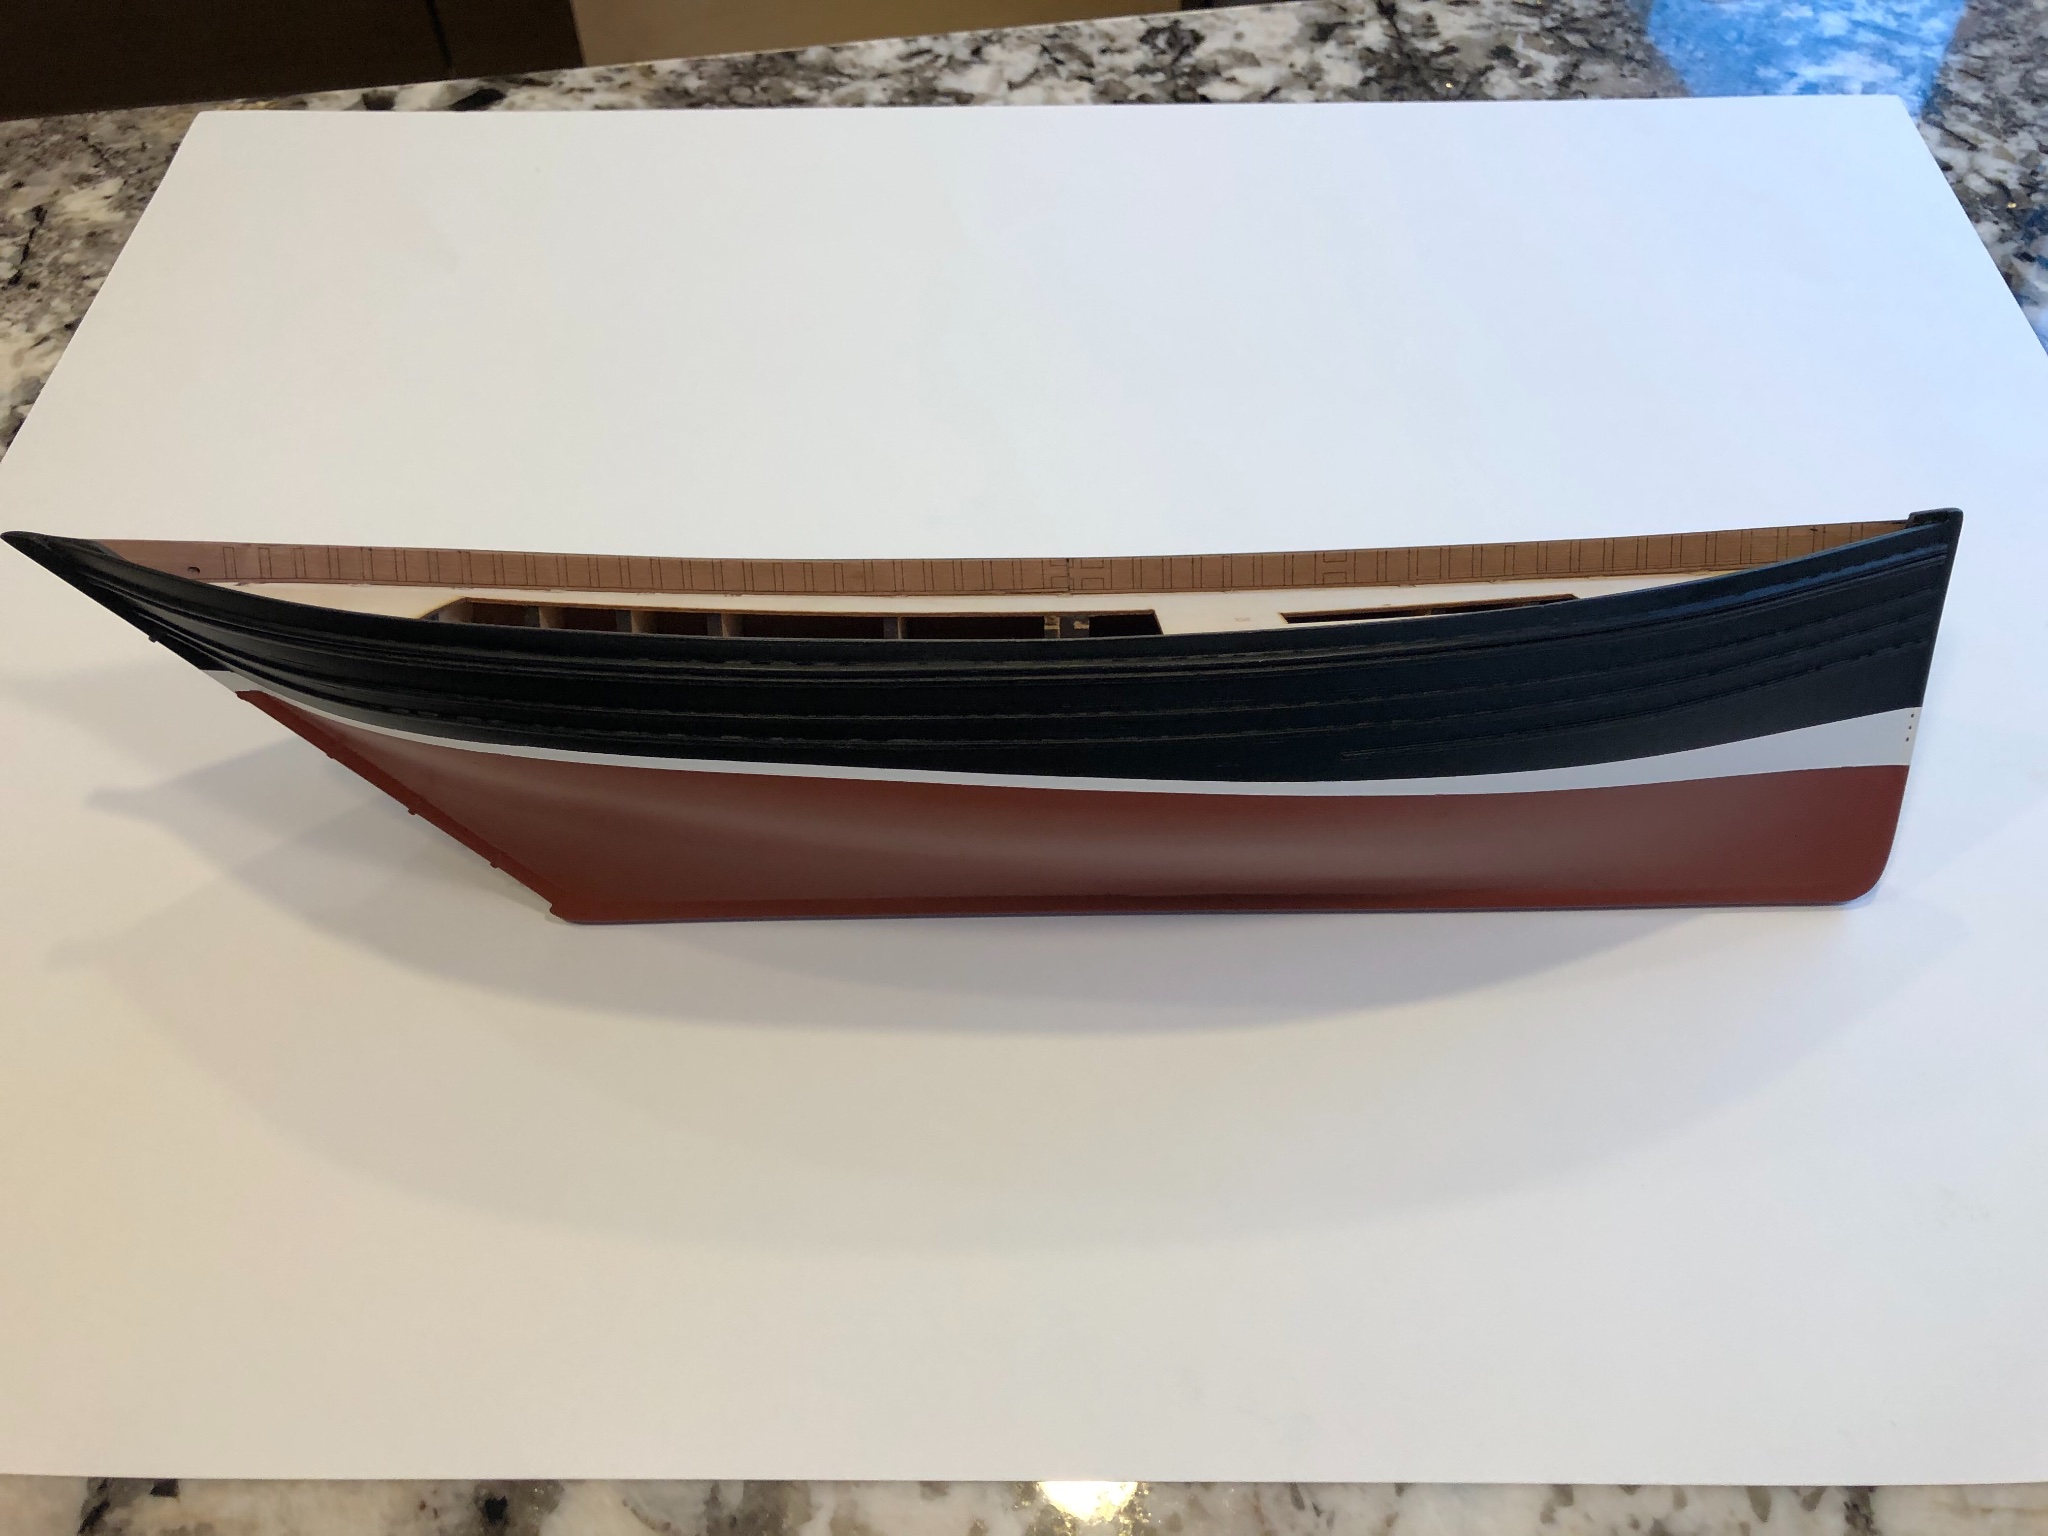
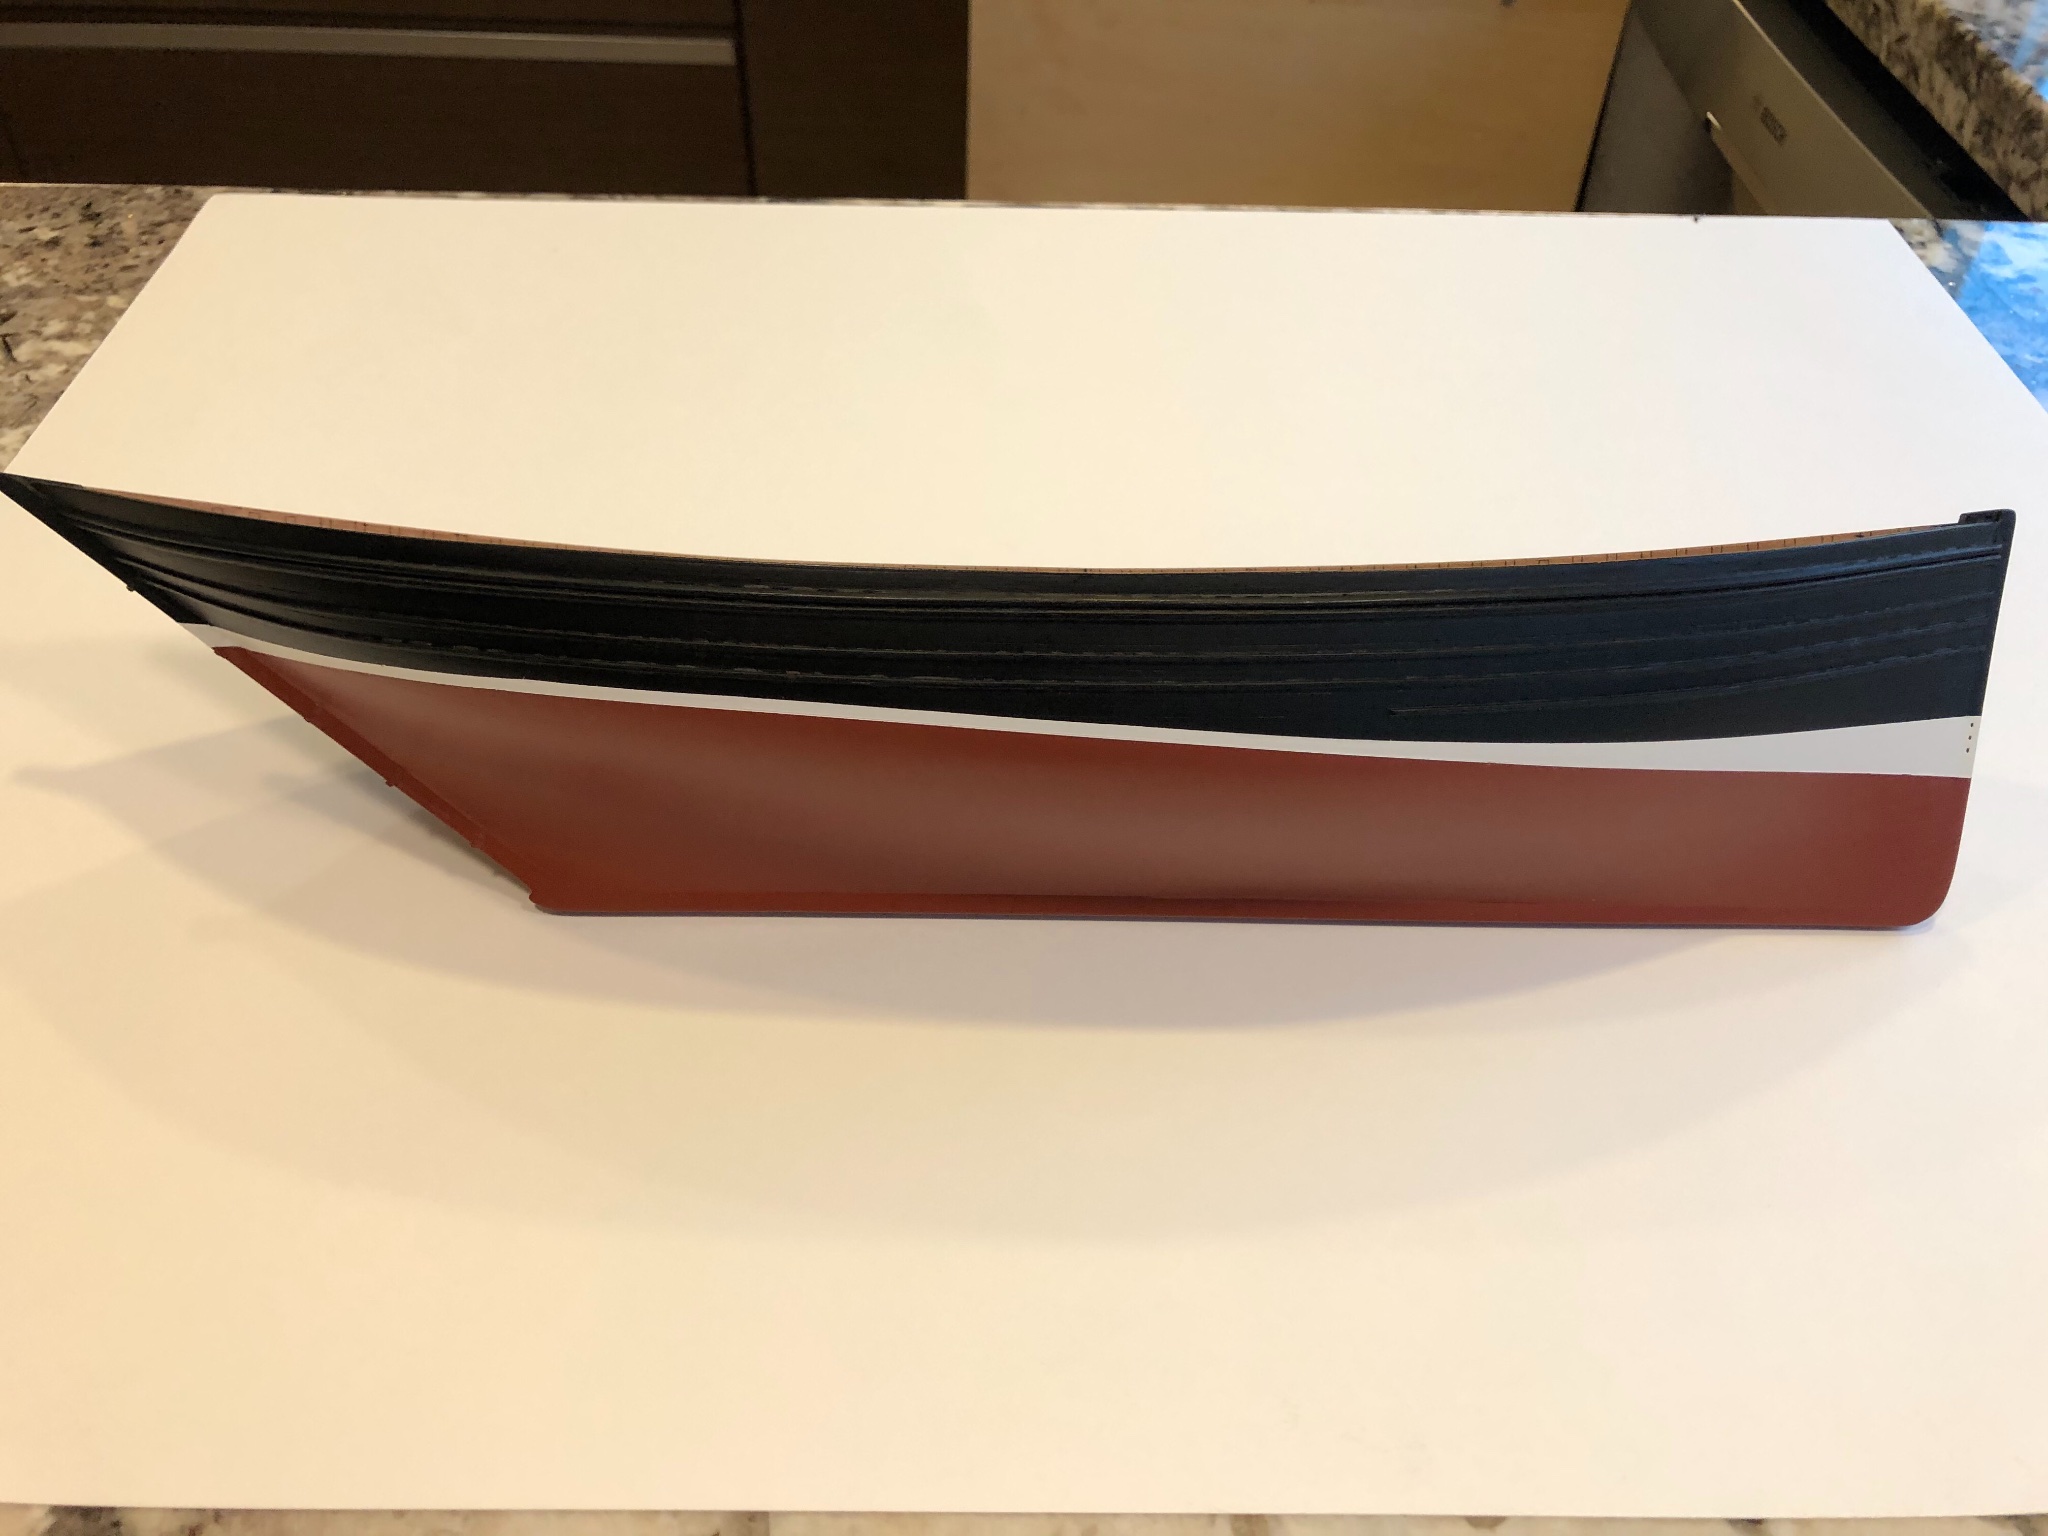
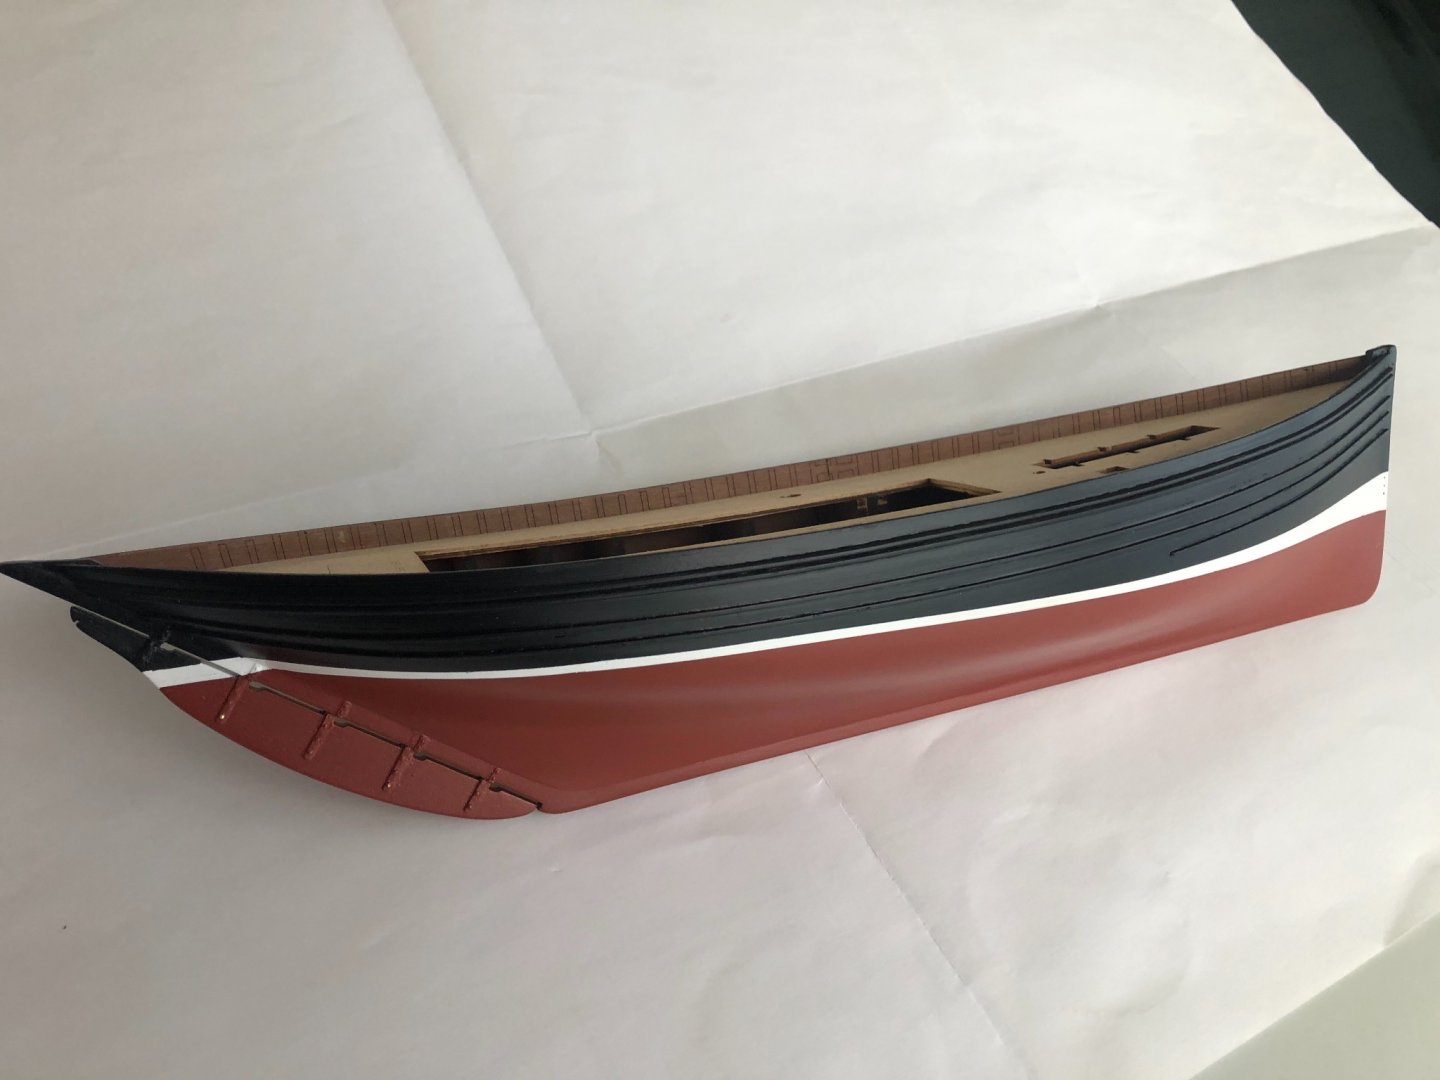
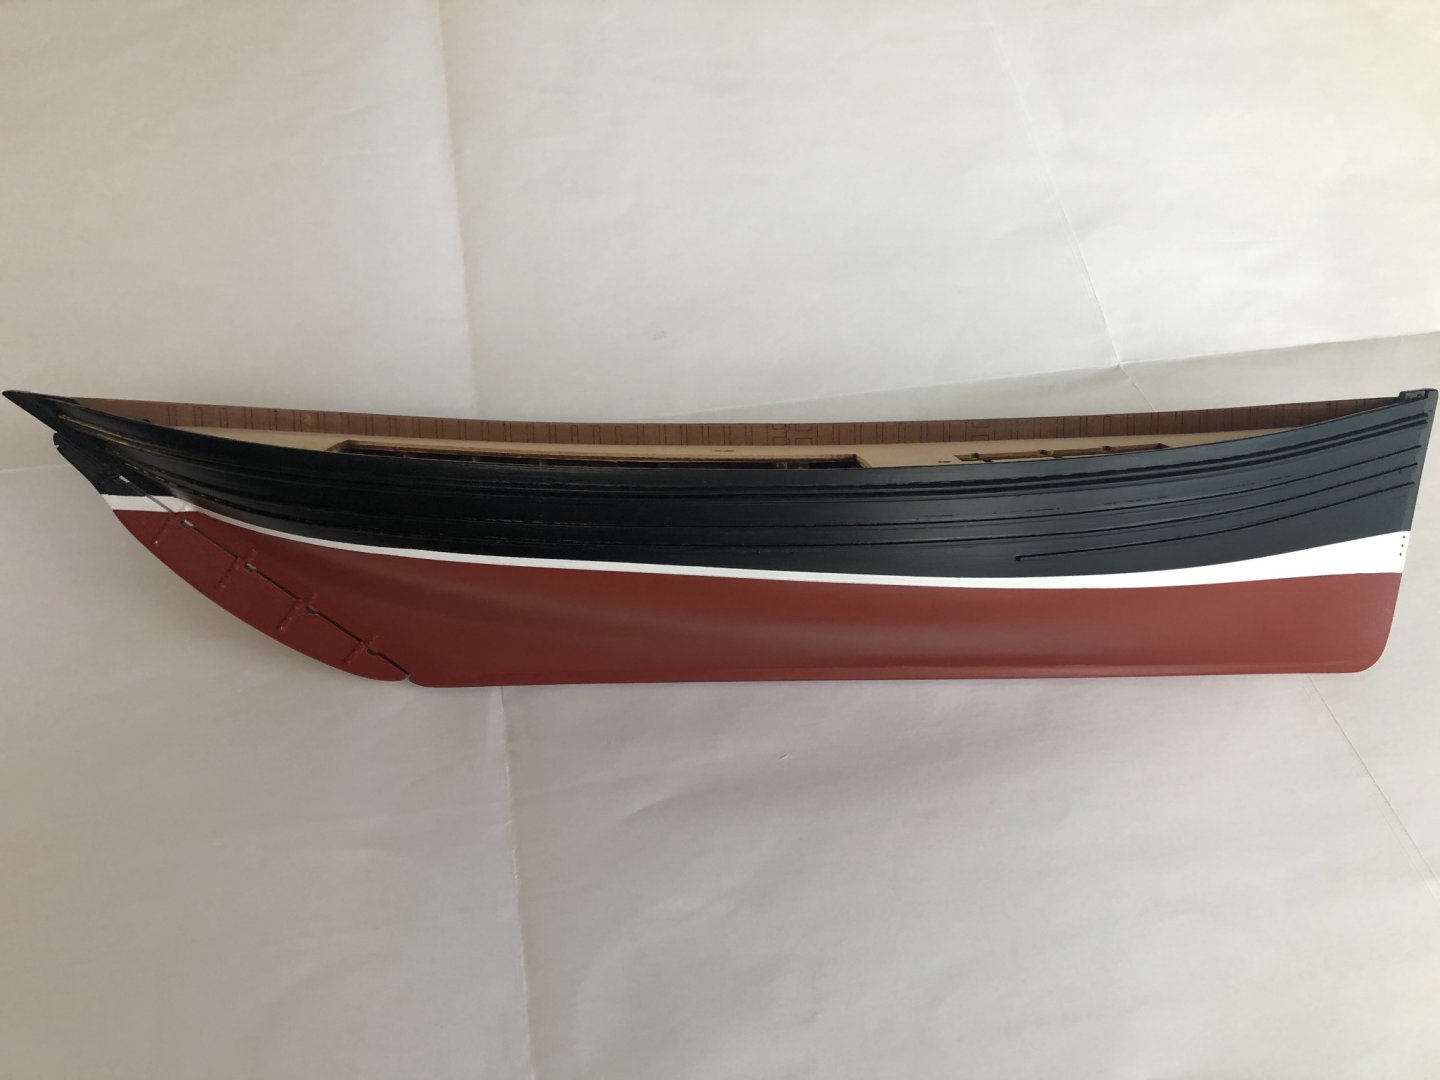
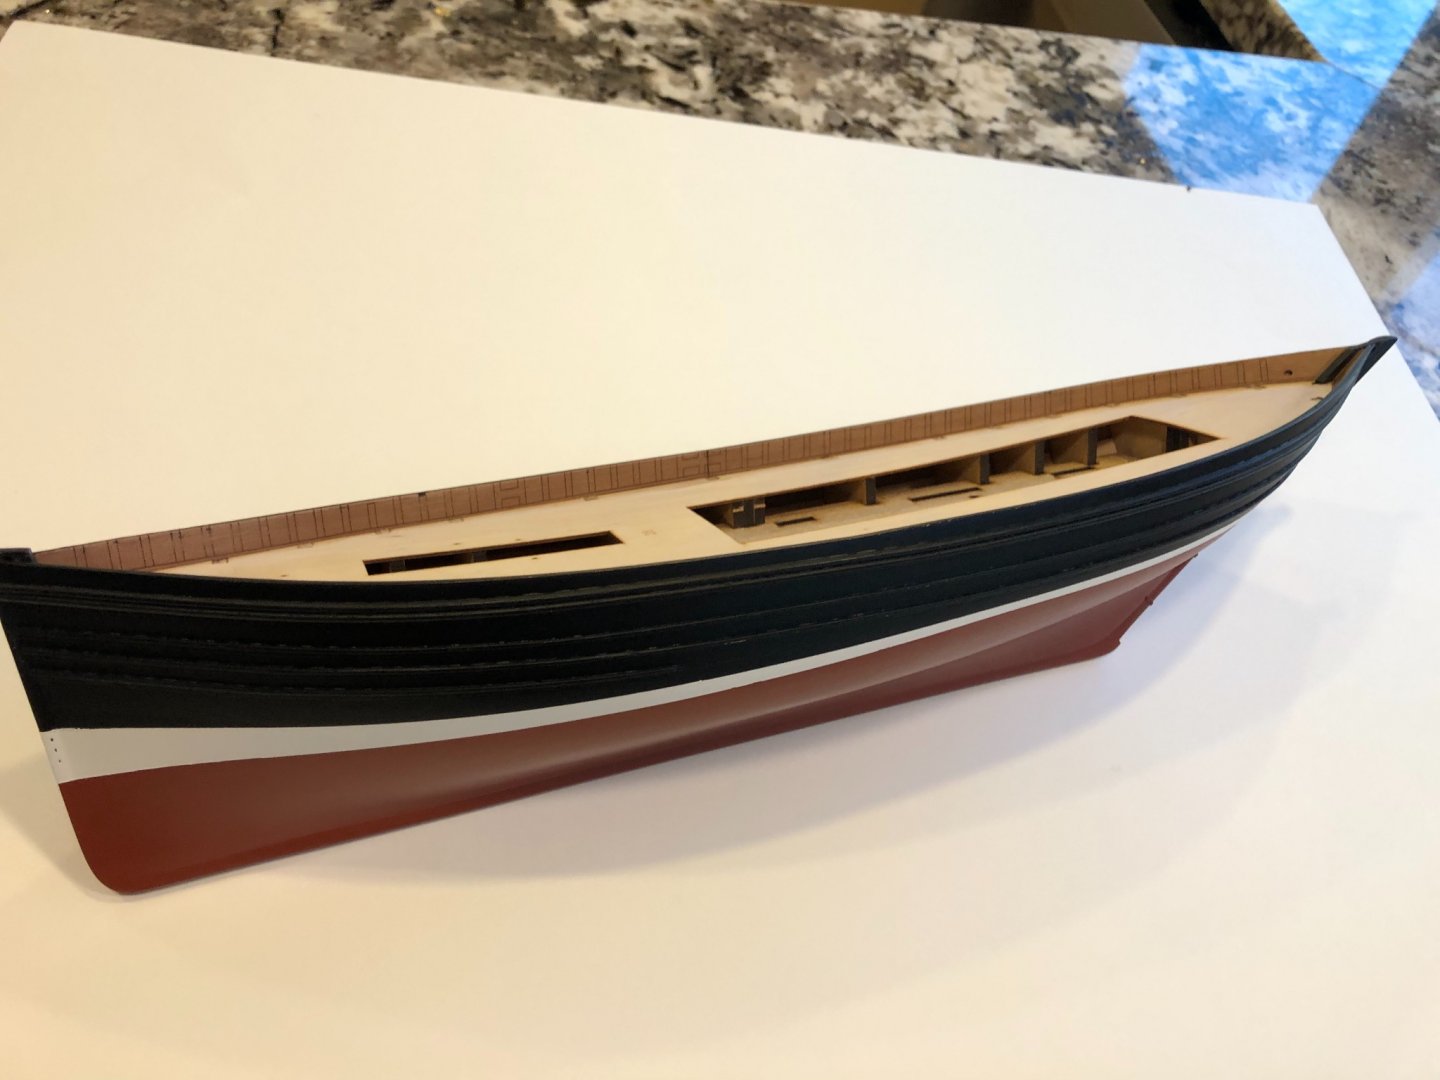
And here is the paint, finished. The stripe came out very nicely, I think. She sure looks like a Zulu now. I’ll be giving her a couple coats of varnish over the whole hull to unify the finish.


- 222 replies
-
- 11
-
-
- First Build
- Lady Isabella
- (and 2 more)
-
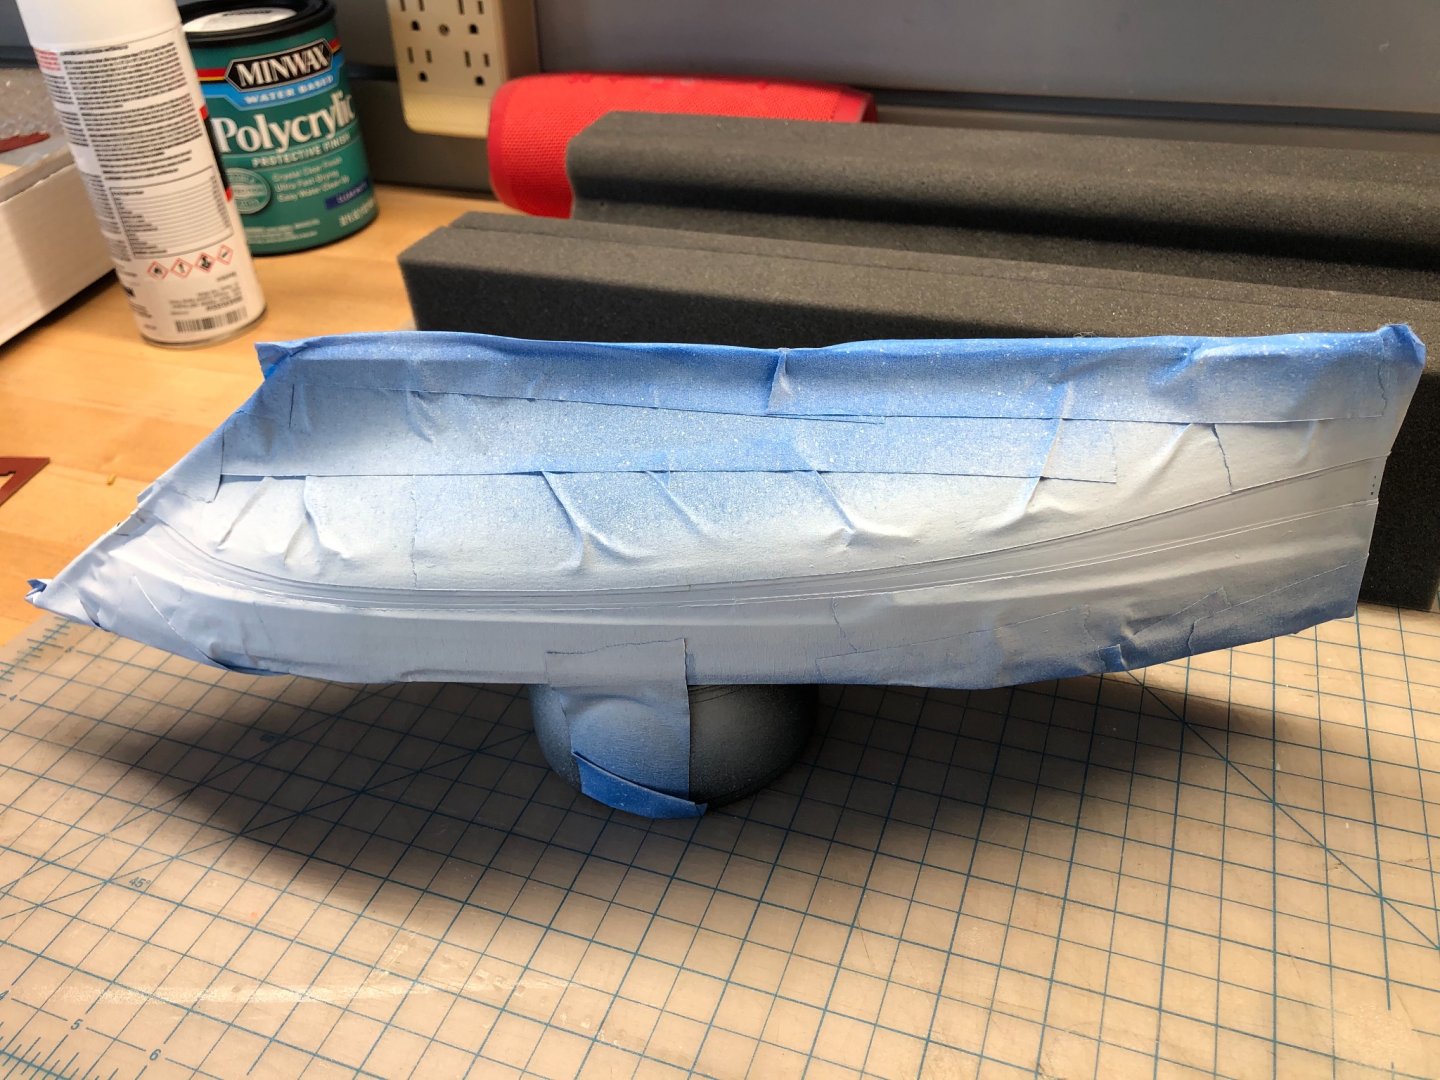
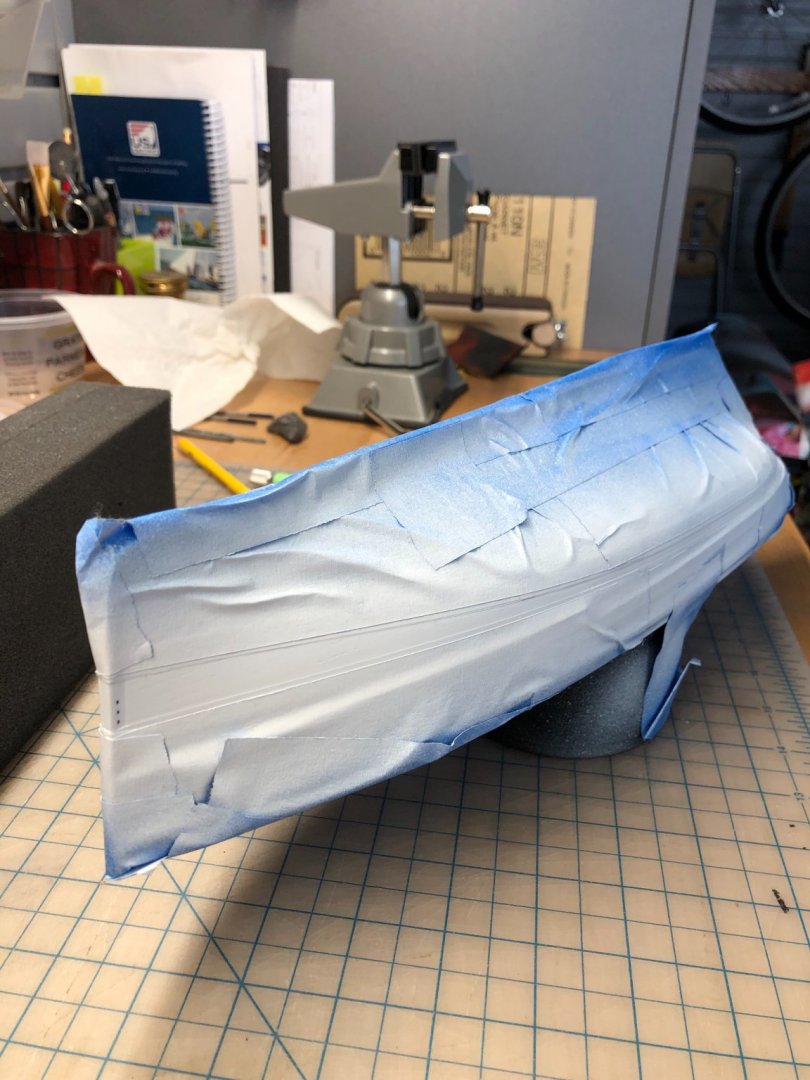
On to the boot stripe. I masked off for the stripe using the 6mm Tamiya tape. Getting the curve right is a bit tricky, since the traditional stripe for the Zulus is historically deeper at the bow and stern, and narrower amidships. So the stripe is tapering, and it’s a bit fiddly getting it the right thickness and even on both sides. I used a divider to measure off key points from the side view on the plan drawing, but really, it’s one of those tasks you just have to go by eye. Lay down a curve with tape, and then sight down it for fairness. Trial and error. Sprayed three coats satin white with a light sanding between.
- 222 replies
-
- 2
-
-
- First Build
- Lady Isabella
- (and 2 more)
-
Thanks Jim! I’m grateful for all the advice. Yes the Chaos Black is good stuff. It dries super fast as well. I let it dry for a couple of hours, but probably didn’t need to. I think it was ready to handle in about 15 minutes.
- 222 replies
-
- 2
-
-
- First Build
- Lady Isabella
- (and 2 more)