MORE HANDBOOKS ARE ON THEIR WAY! We will let you know when they get here.
×


DonInAZ
-
Posts
138 -
Joined
-
Last visited
Content Type
Profiles
Forums
Gallery
Events
Everything posted by DonInAZ
-
 Perfect! Thank you Kevin.
 -
Question on line size for lacing for small craft
DonInAZ replied to DonInAZ's topic in Masting, rigging and sails
I'm sorry guys... I thought my sig would be a giveaway... I'm currently working on the Midwest Chesapeake Bay Crabbing Skiff. Midwest provided some pretty low quality line that I replaced with some nylon rope from Model Shipways. I've been using the bow tie off line and the line that secures the centerboard trunk and was planning on using that for the sheet and halyard. When looking around at other models of various types, I noticed that the luff lacing on those other models looks to be a lighter weight than the other rigging. I'm basically to the point on my build where the mast and rigging is all that's left to do and I'm trying to determine if I need to order a lighter weight line. -
For small craft such as a skiff, is the line used to model the lacing (of the main sail to the mast) supposed to be visibly lighter than other lines like the downhaul and sheet lines? I'm a little new to this so forgive me if my terminology is off. Thanks, Don
-
Seriously? That's all you get? I would have no clue what to do with that! I sure hope there are more and better resources online for this... Or at least a detailed rigging plan... I hope to do a Victory someday, but this alone would put me off of this particular kit. Best of luck to you LS.
-
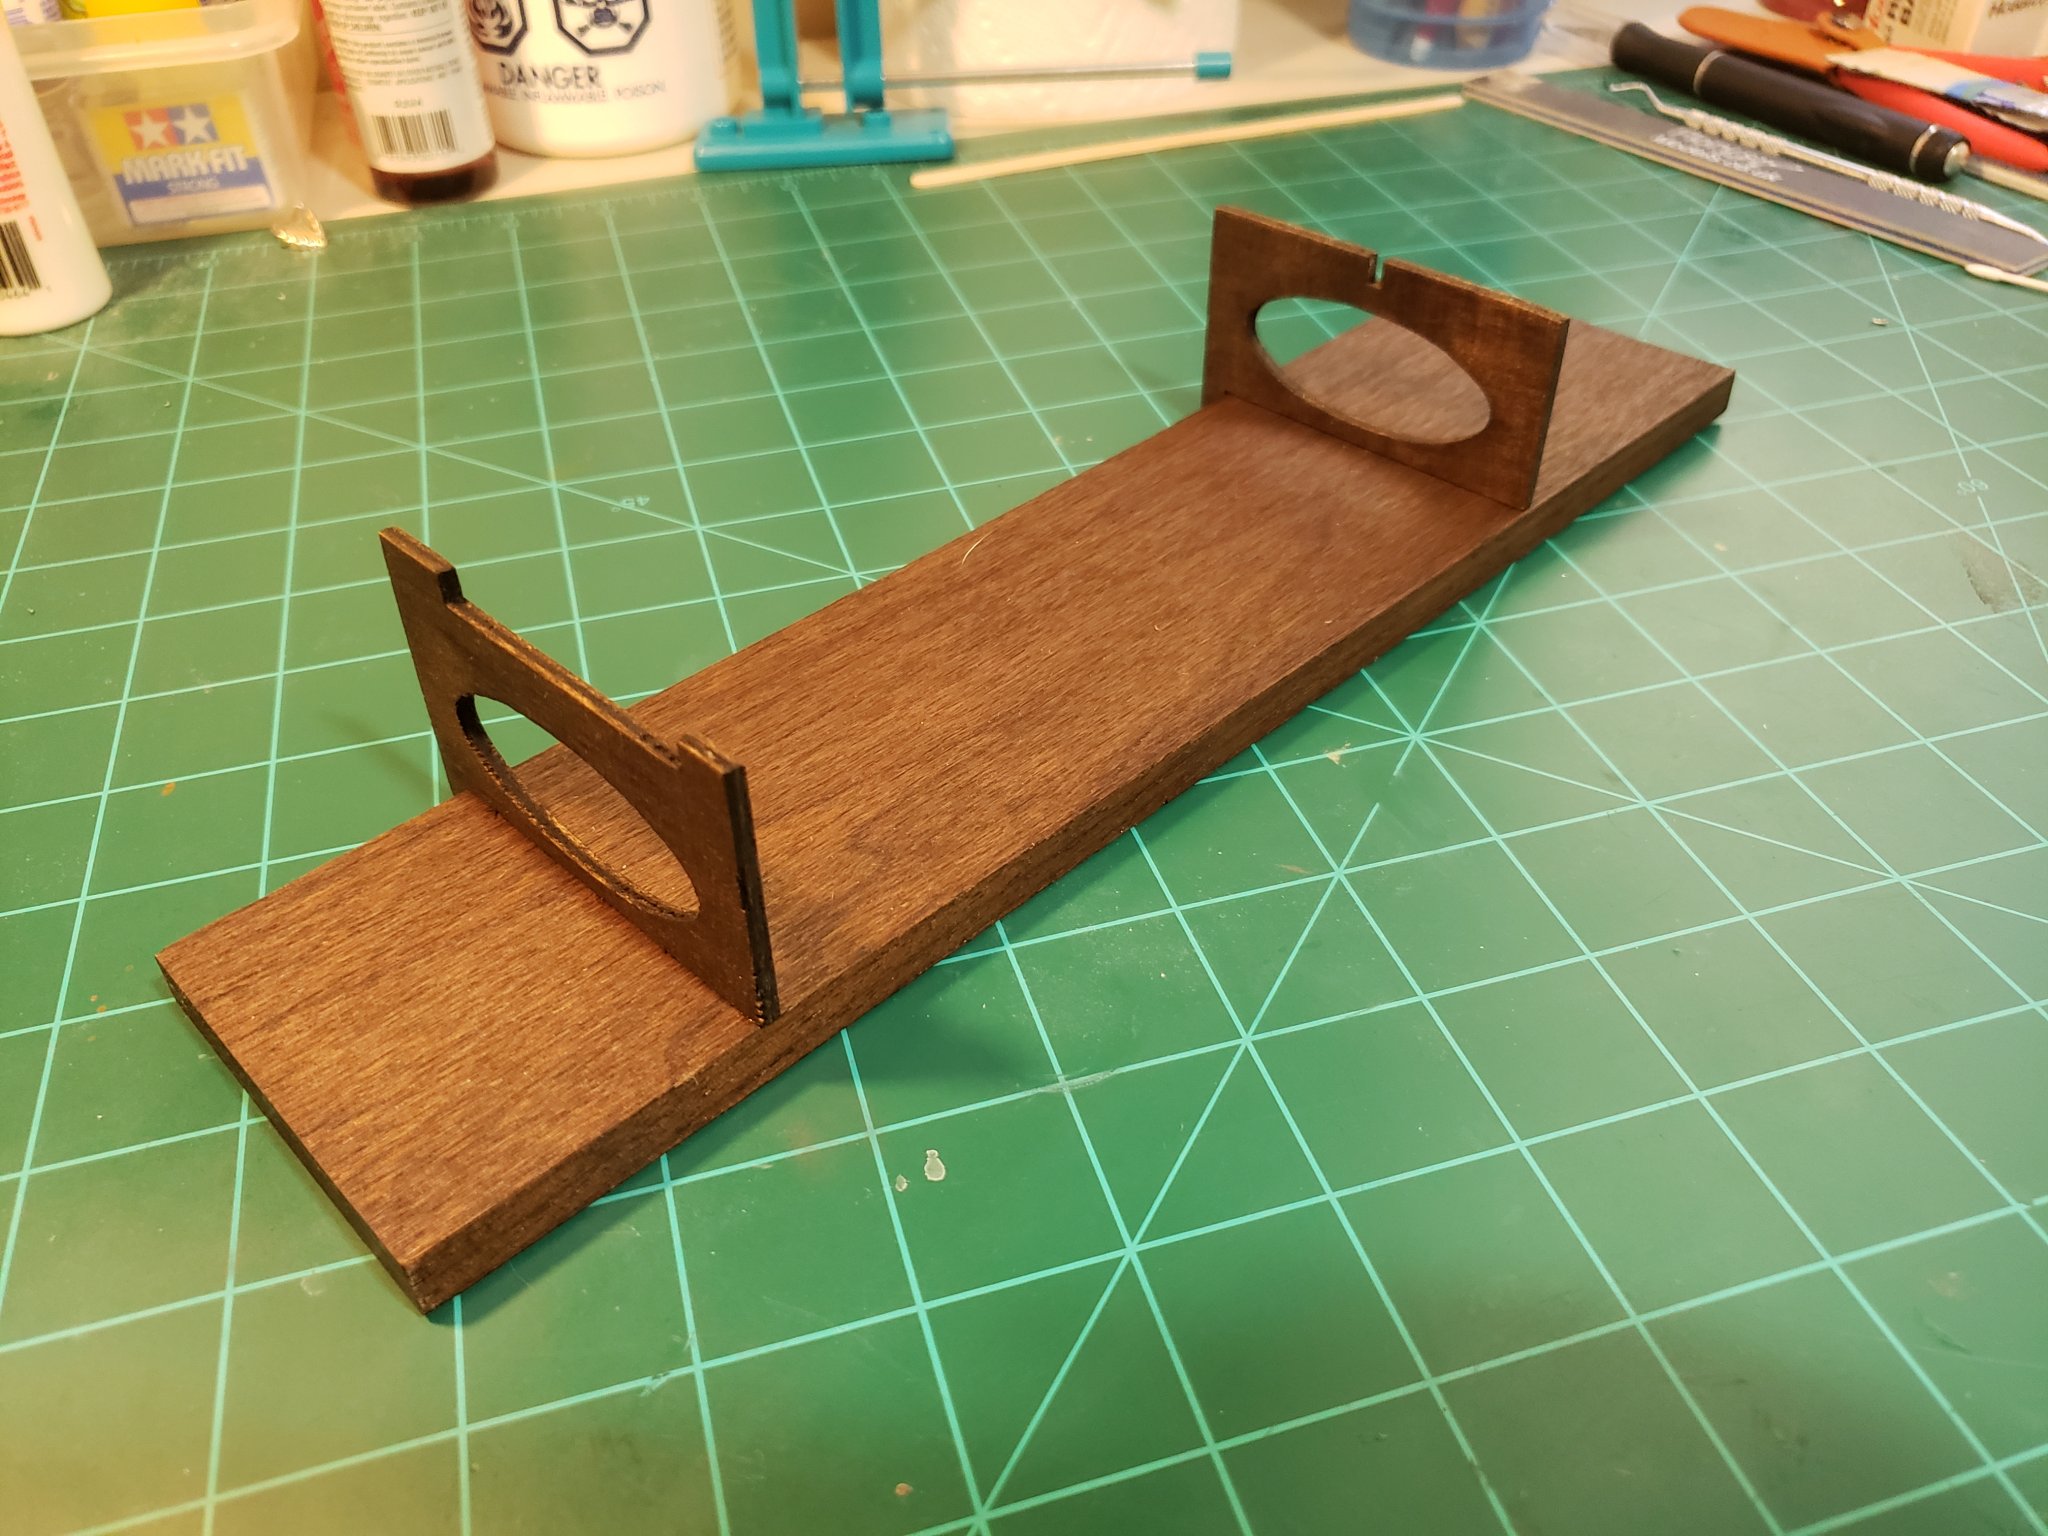
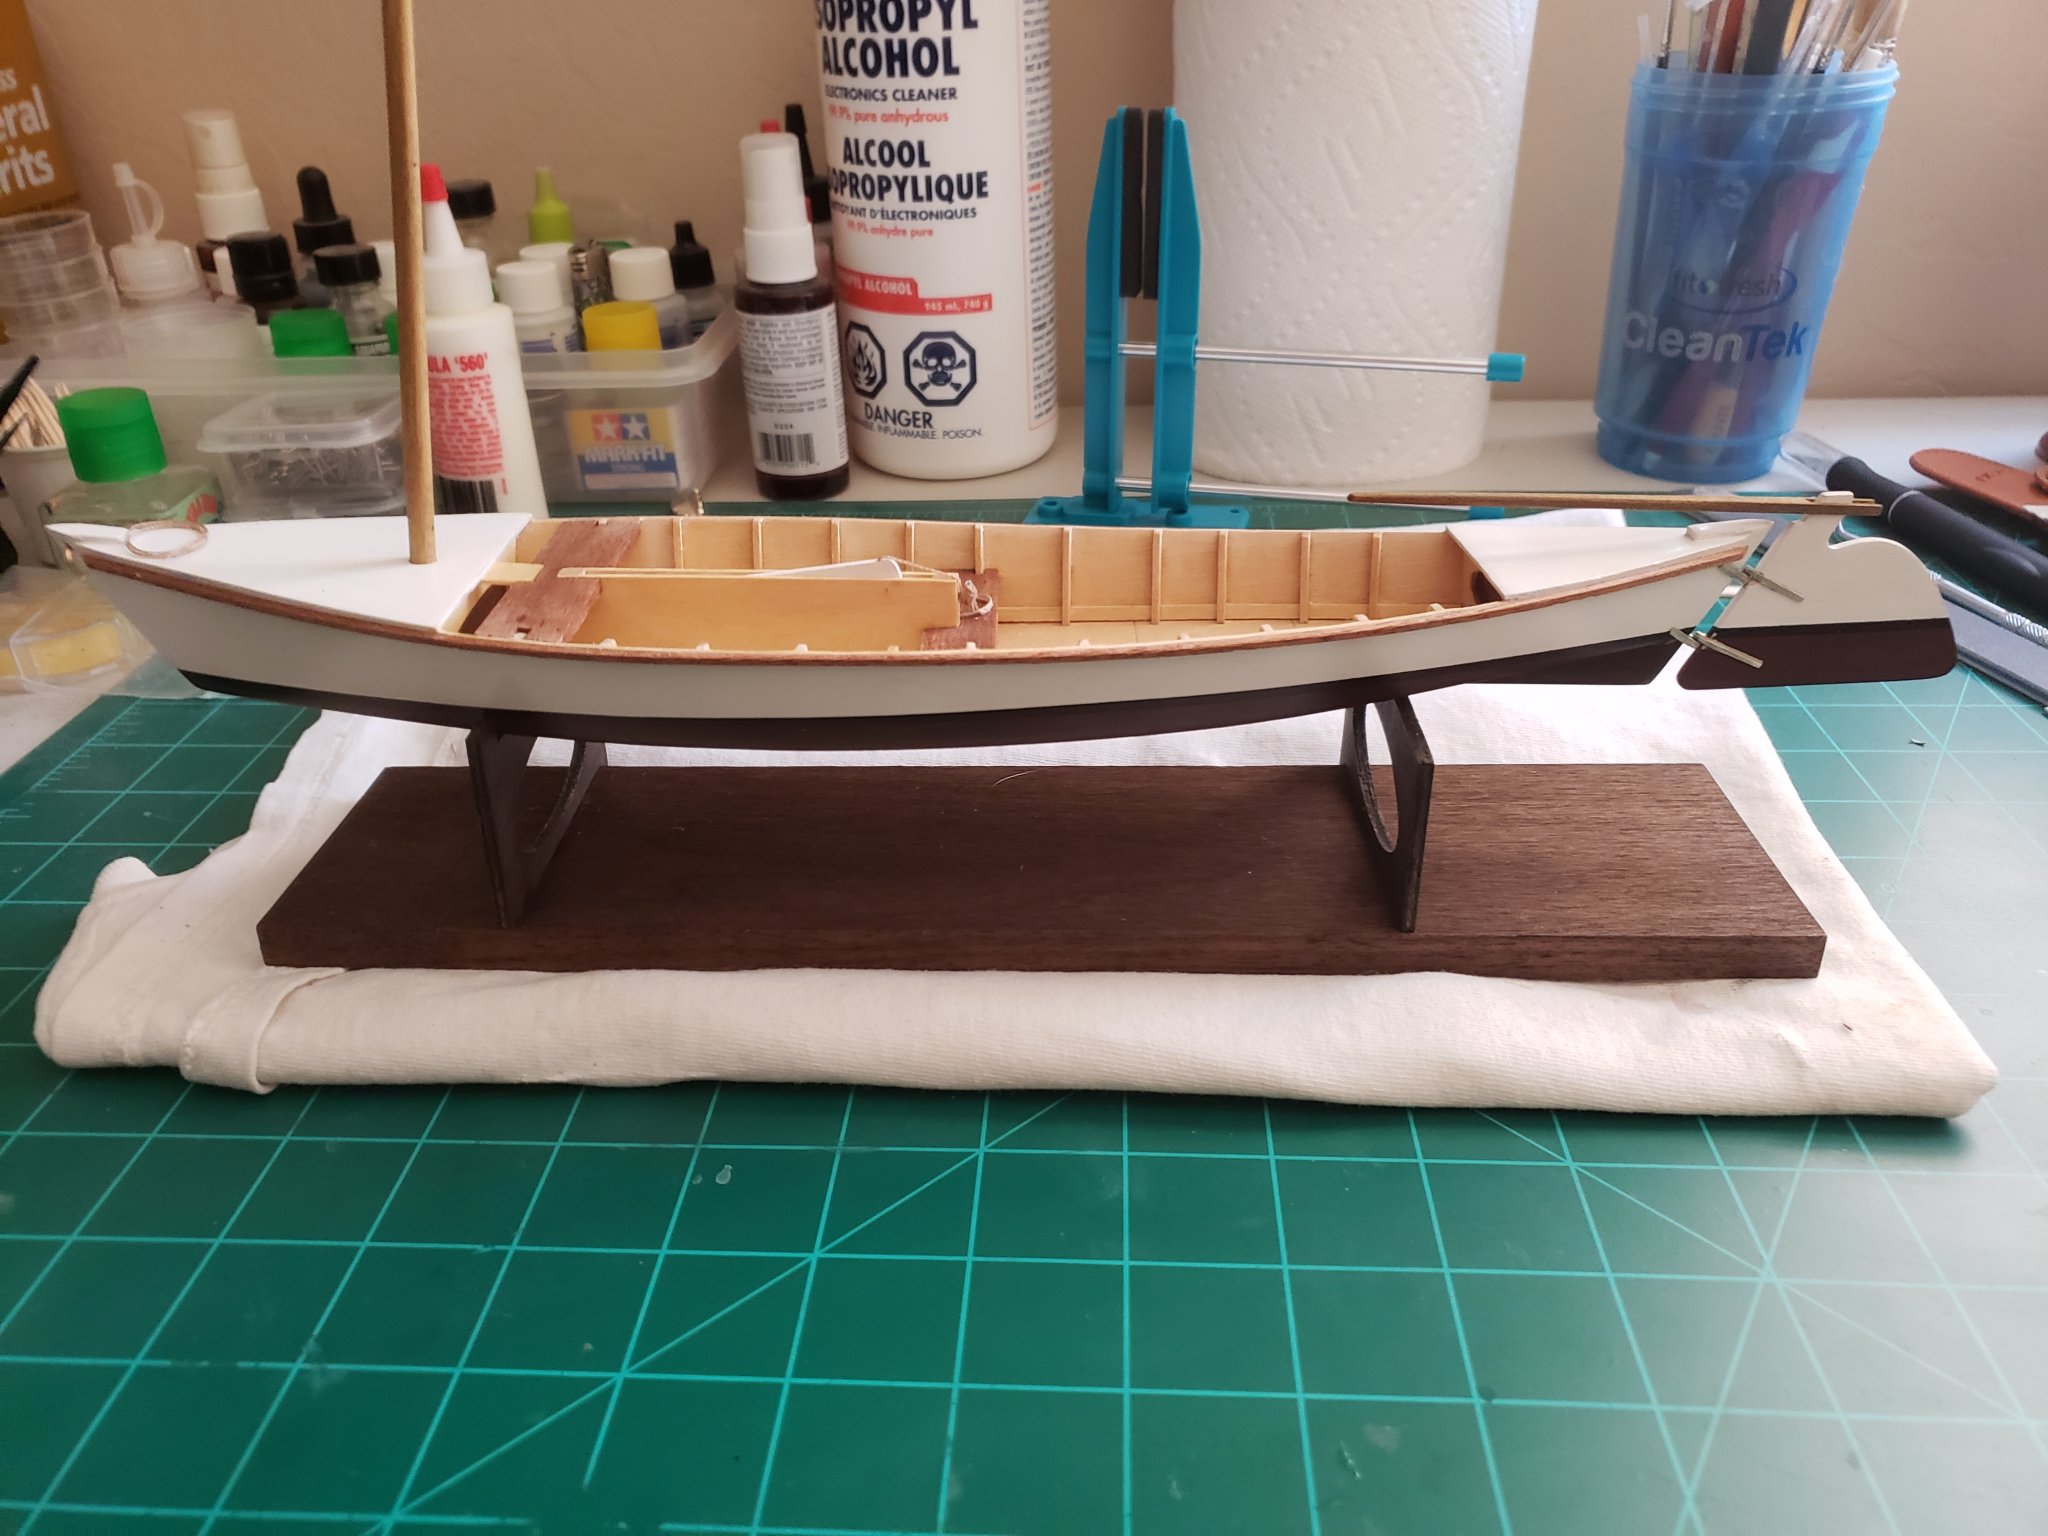
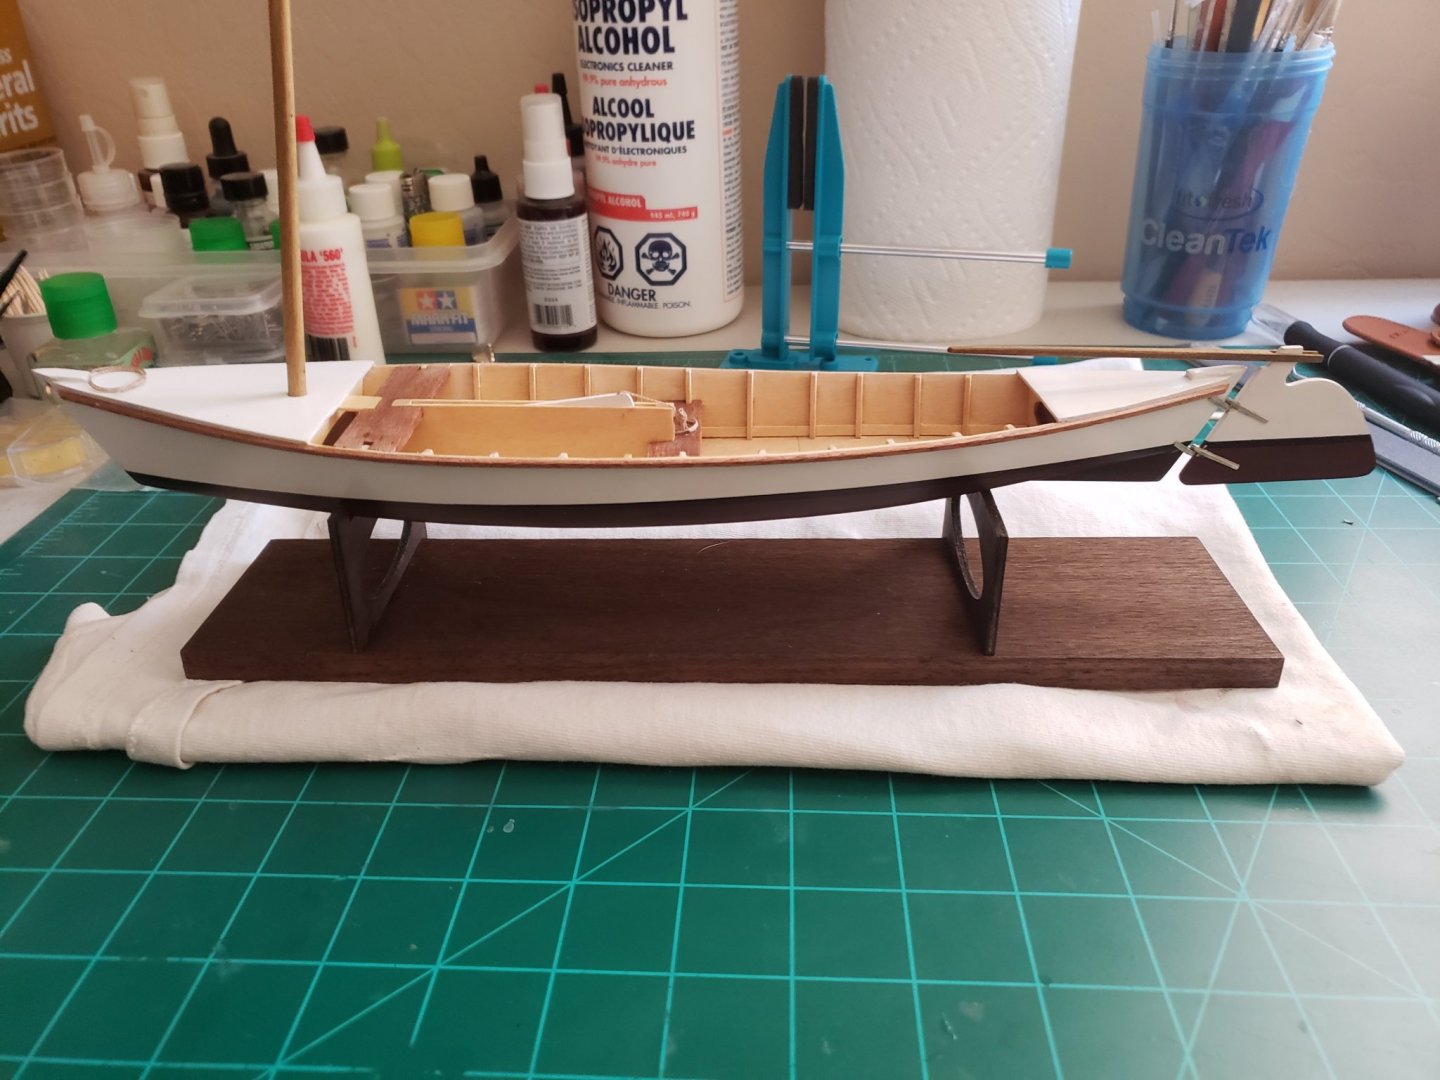
Display base complete: ...on to the mast, sail and rigging!

- 120 replies
-
- 13
-

-
- crabbing skiff
- Chesapeake Bay crabbing skiff
- (and 3 more)
-
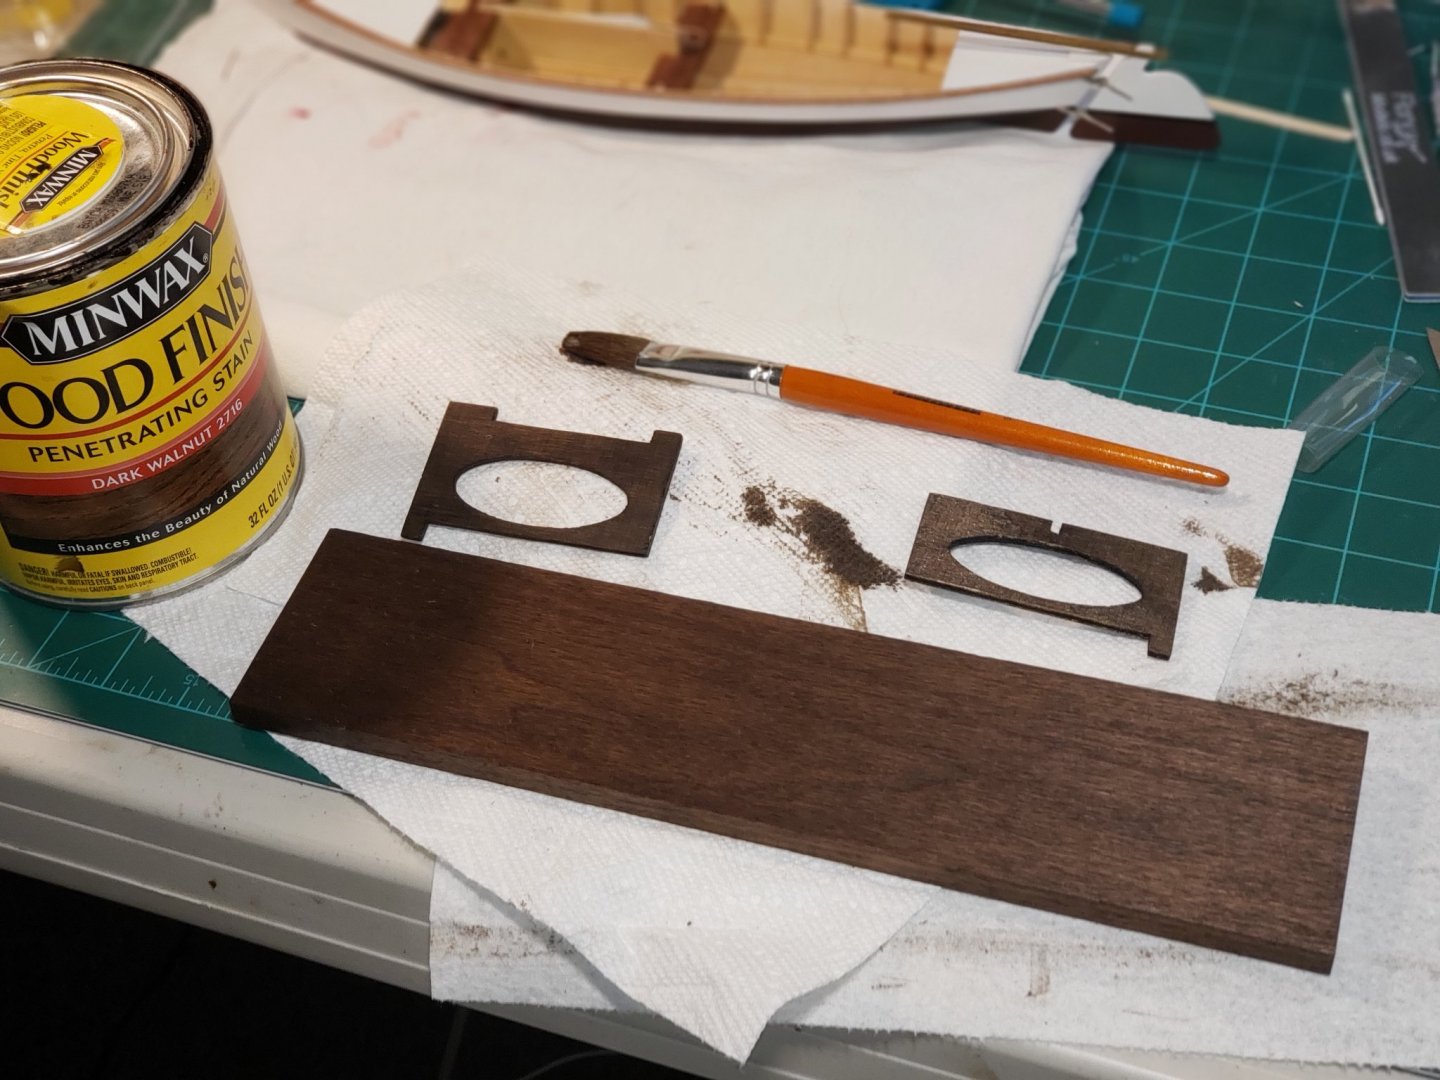
Staining the base pieces in "dark walnut"
- 120 replies
-
- 7
-
-
- crabbing skiff
- Chesapeake Bay crabbing skiff
- (and 3 more)
-
Tiller is just a friction fit at the moment as there is another blue paint spec to deal with (visible in the below pic). But after that, the rudder assembly is basically complete and it will be onto the display base.
- 120 replies
-
- 9
-
-
- crabbing skiff
- Chesapeake Bay crabbing skiff
- (and 3 more)
-
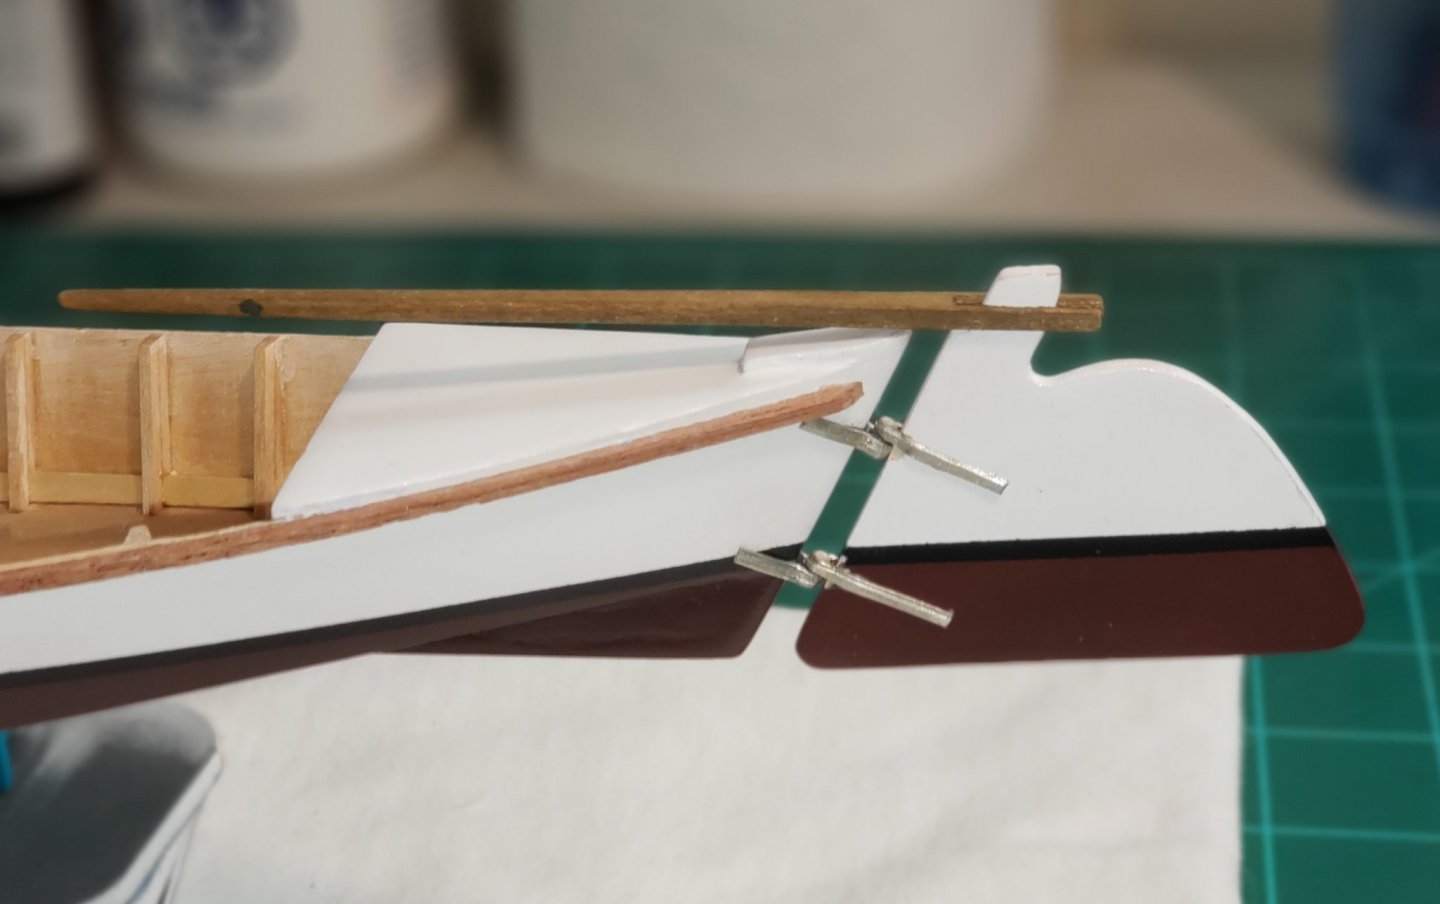
The lower grudgeon is a fraction too low but there's nothing I can do about it now. Still have to do a little paint touch up at the pintle attachment points. At first I thought I had put the pintle and grudgeon assemblies on upside down but after checking online I see it done both ways so I'm calling it good.

- 120 replies
-
- 5
-
-
- crabbing skiff
- Chesapeake Bay crabbing skiff
- (and 3 more)
-
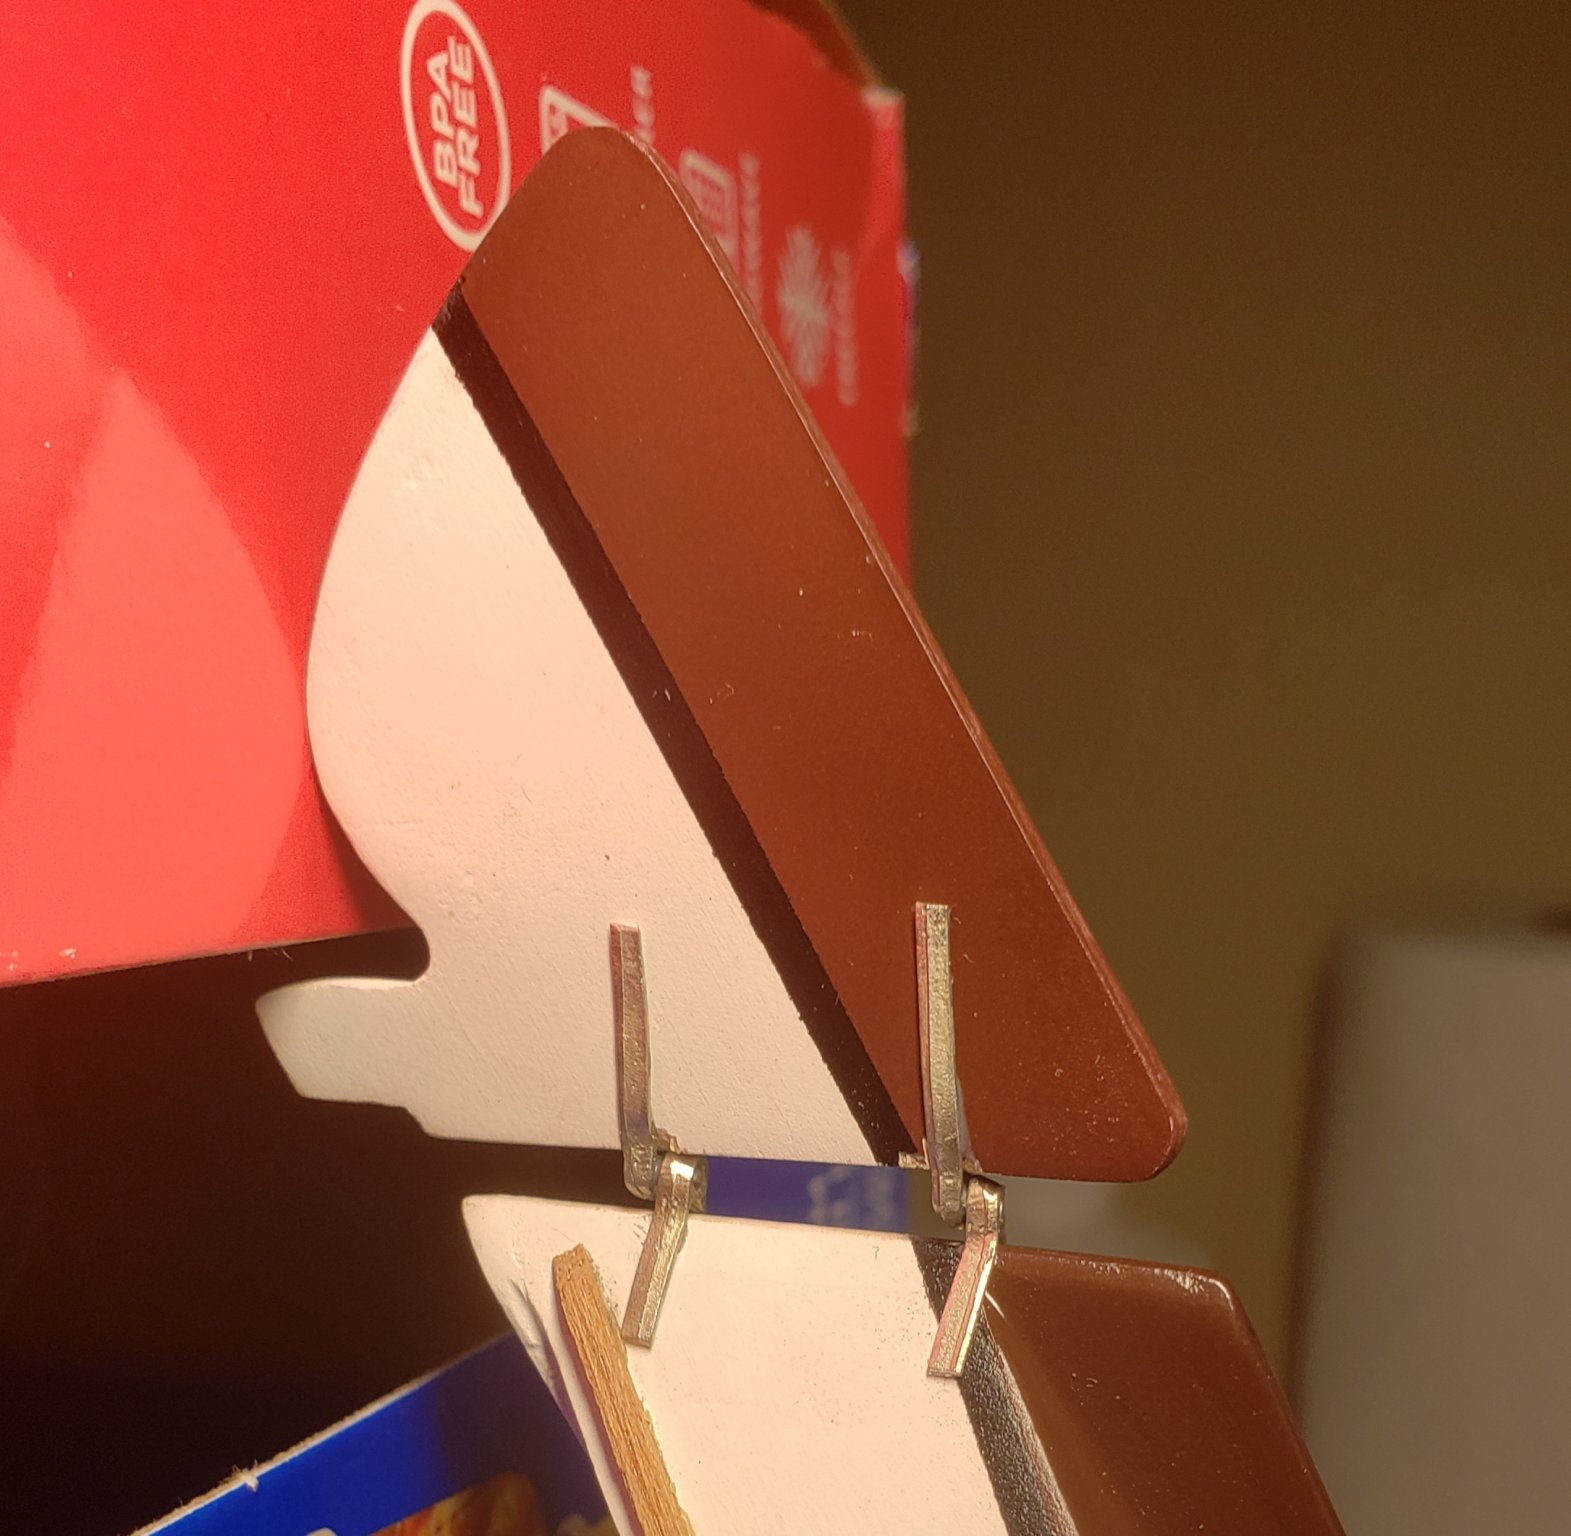
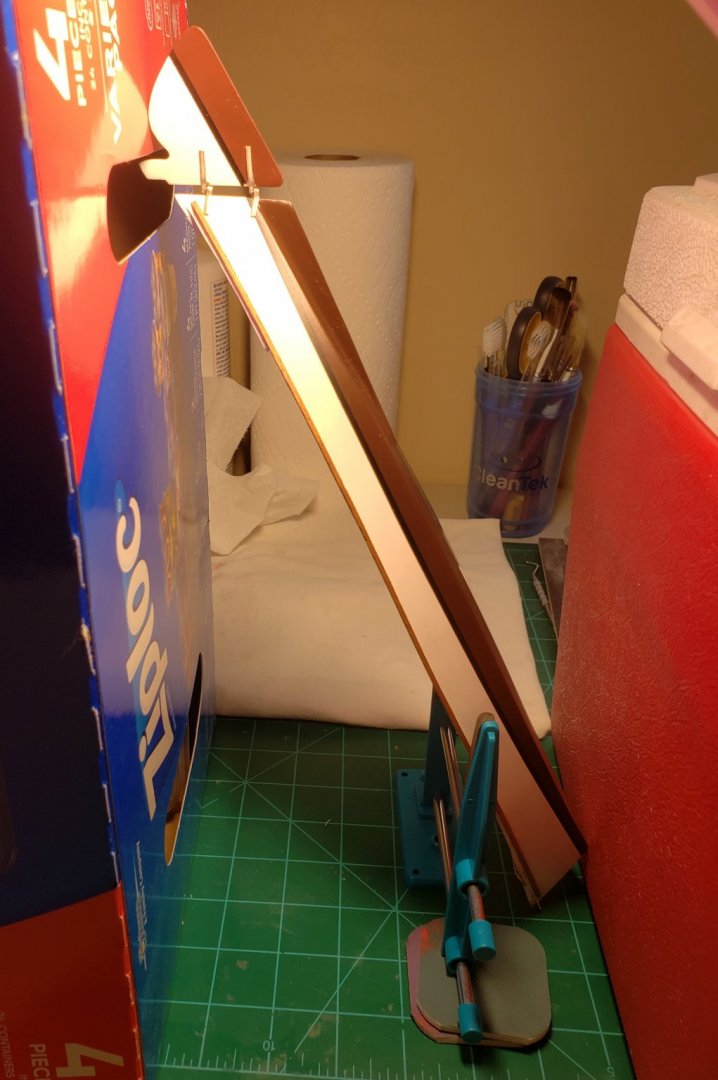
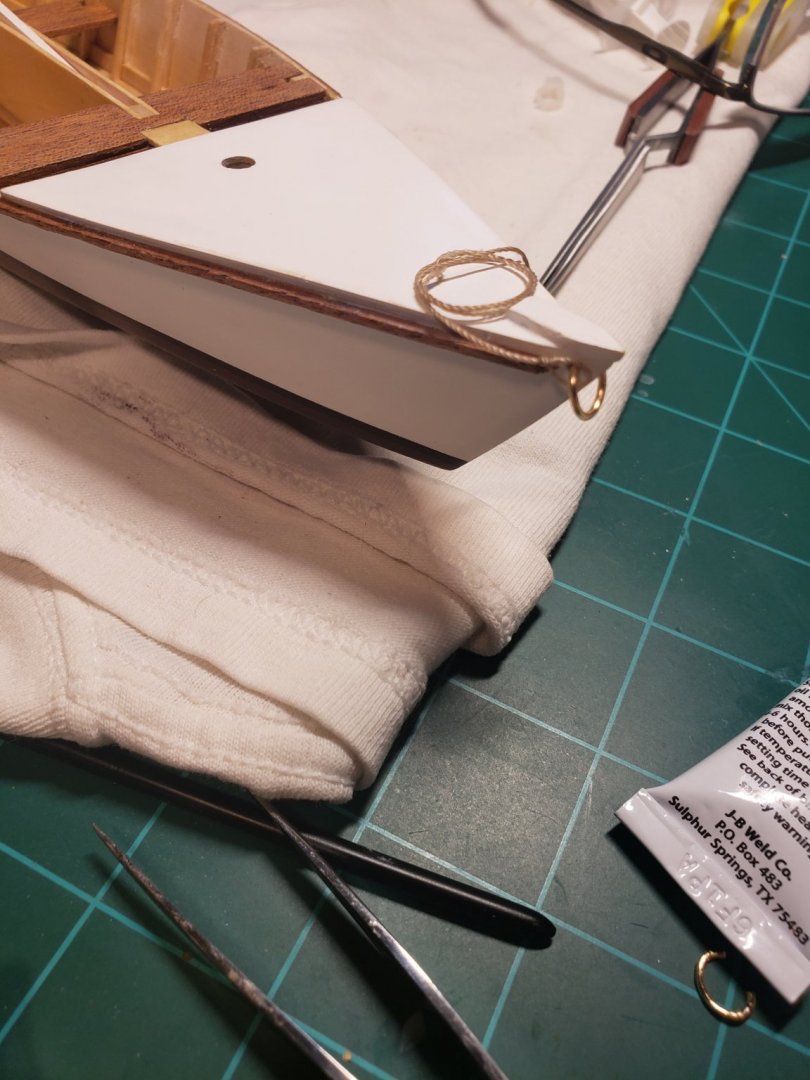
Balancing act... I didn't want to take the time to create a jig to hold the rudder in place while the glue dries, so I jury rigged a setup to hold the sternpost horizontal until it can be moved.
- 120 replies
-
- 6
-
-
- crabbing skiff
- Chesapeake Bay crabbing skiff
- (and 3 more)
-
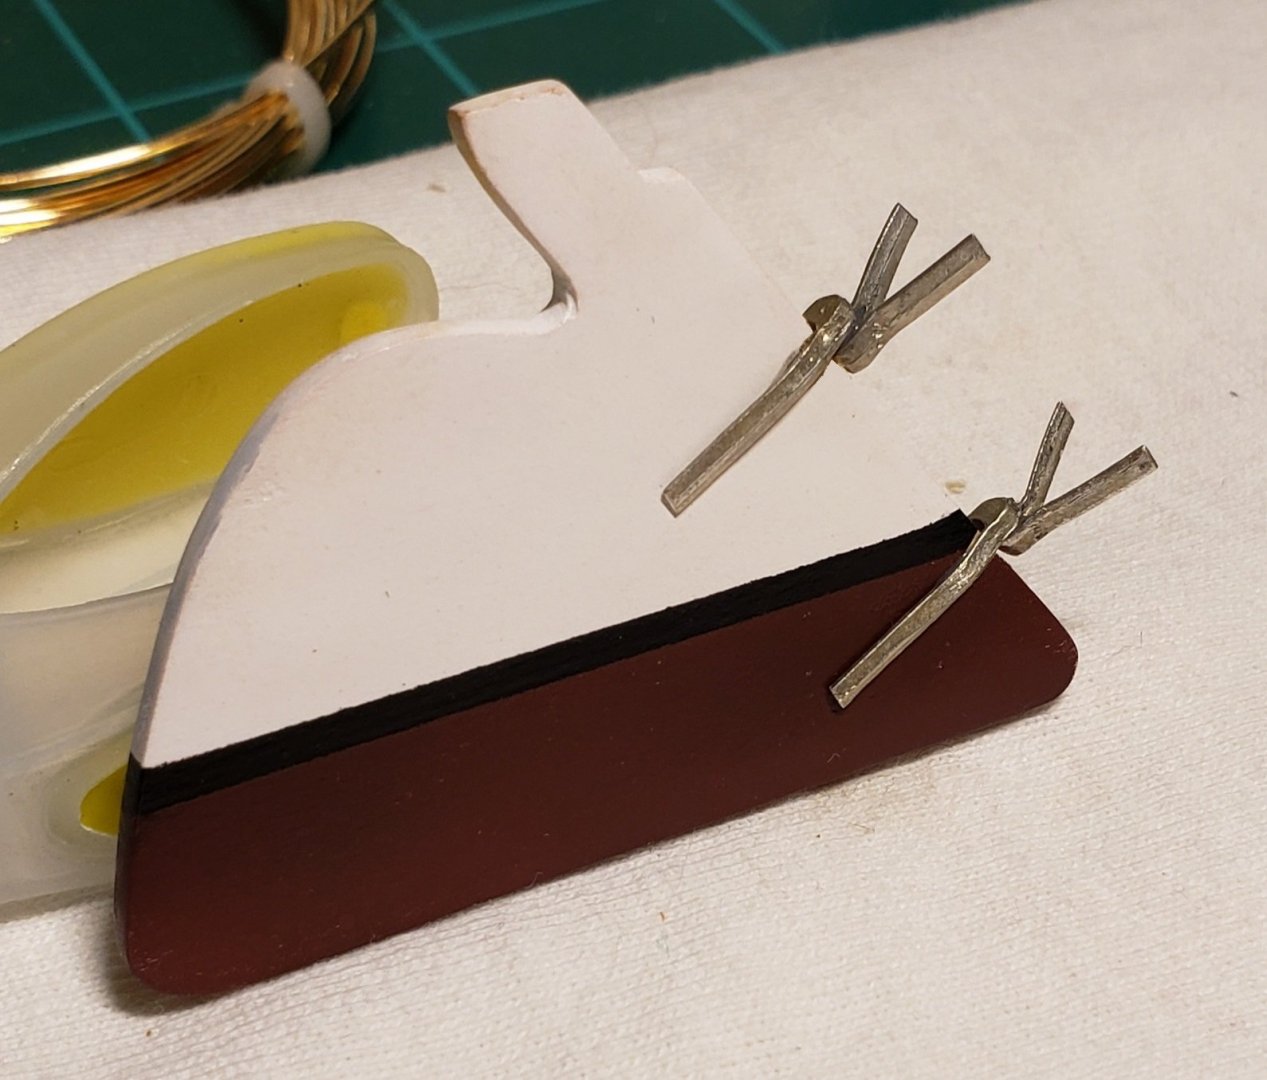
Got the pintles and gudgeons onto the rudder piece. In hindsight it would probably have been easier to attach the gudgeons to the hull first but it's too late now... I actually used JB Weld up to this point due its ability to bond metal well but will probably have to go with a glue that dries clear and is easy to clean off the hull as I'm bound to get a little glue where I don't want it while attaching this assembly... More pics coming soon!
- 120 replies
-
- 6
-
-
- crabbing skiff
- Chesapeake Bay crabbing skiff
- (and 3 more)
-
We're getting closer to done on this little boat. Next up is installing the rudder and tiller (hopefully this week), then work on the display base (this weekend) and finally start on the mast, sail and rigging (next week).
- 120 replies
-
- 4
-
-
- crabbing skiff
- Chesapeake Bay crabbing skiff
- (and 3 more)
-
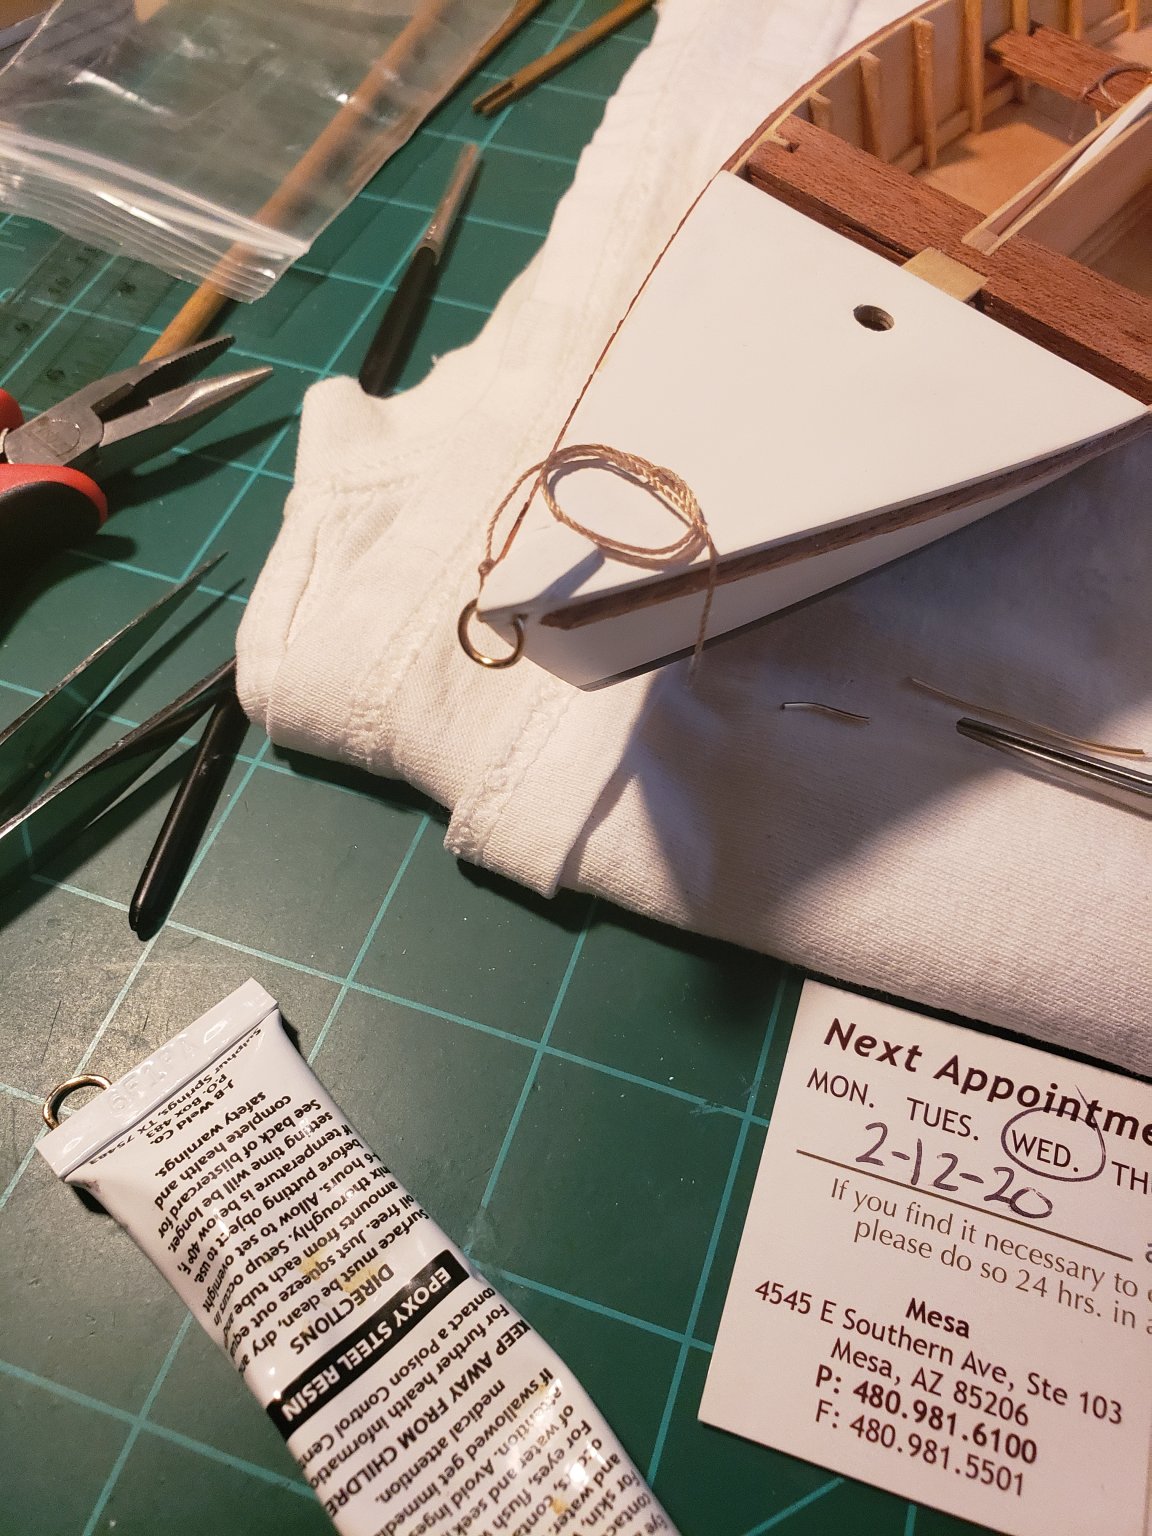
Got the bow line attached. I decided to add a ring fitting rather than just tying the line directly to the stern post. I need to make the rope lay down a little flatter and trim just a smidge off the end that hangs off the side.


- 120 replies
-
- 10
-
-
- crabbing skiff
- Chesapeake Bay crabbing skiff
- (and 3 more)
-
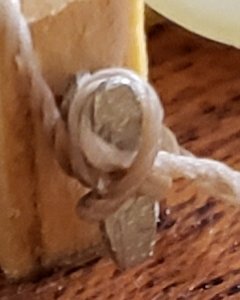
Here is a close up of the centerboard trunk cleat. You can clearly see where the Nylon rope absorbed the canopy glue and looks discolored and reflective.
- 120 replies
-
- 5
-
-
- crabbing skiff
- Chesapeake Bay crabbing skiff
- (and 3 more)
-
You read my mind Frank 😉. I was about to IM you and ask you that very question. I'll stop by the hobby store and pick up some Scenic Glue before I work on the bow line. Maybe it would be worth a re-do on the centerboard trunk as well. I'll think about that. FYI, I was trying to use slightly diluted aircraft canopy glue (because it dries crystal clear) but as you can see it imparts a glossy plastic looking sheen to the rope...which I don't care for.
- 120 replies
-
- 3
-
-
- crabbing skiff
- Chesapeake Bay crabbing skiff
- (and 3 more)
-
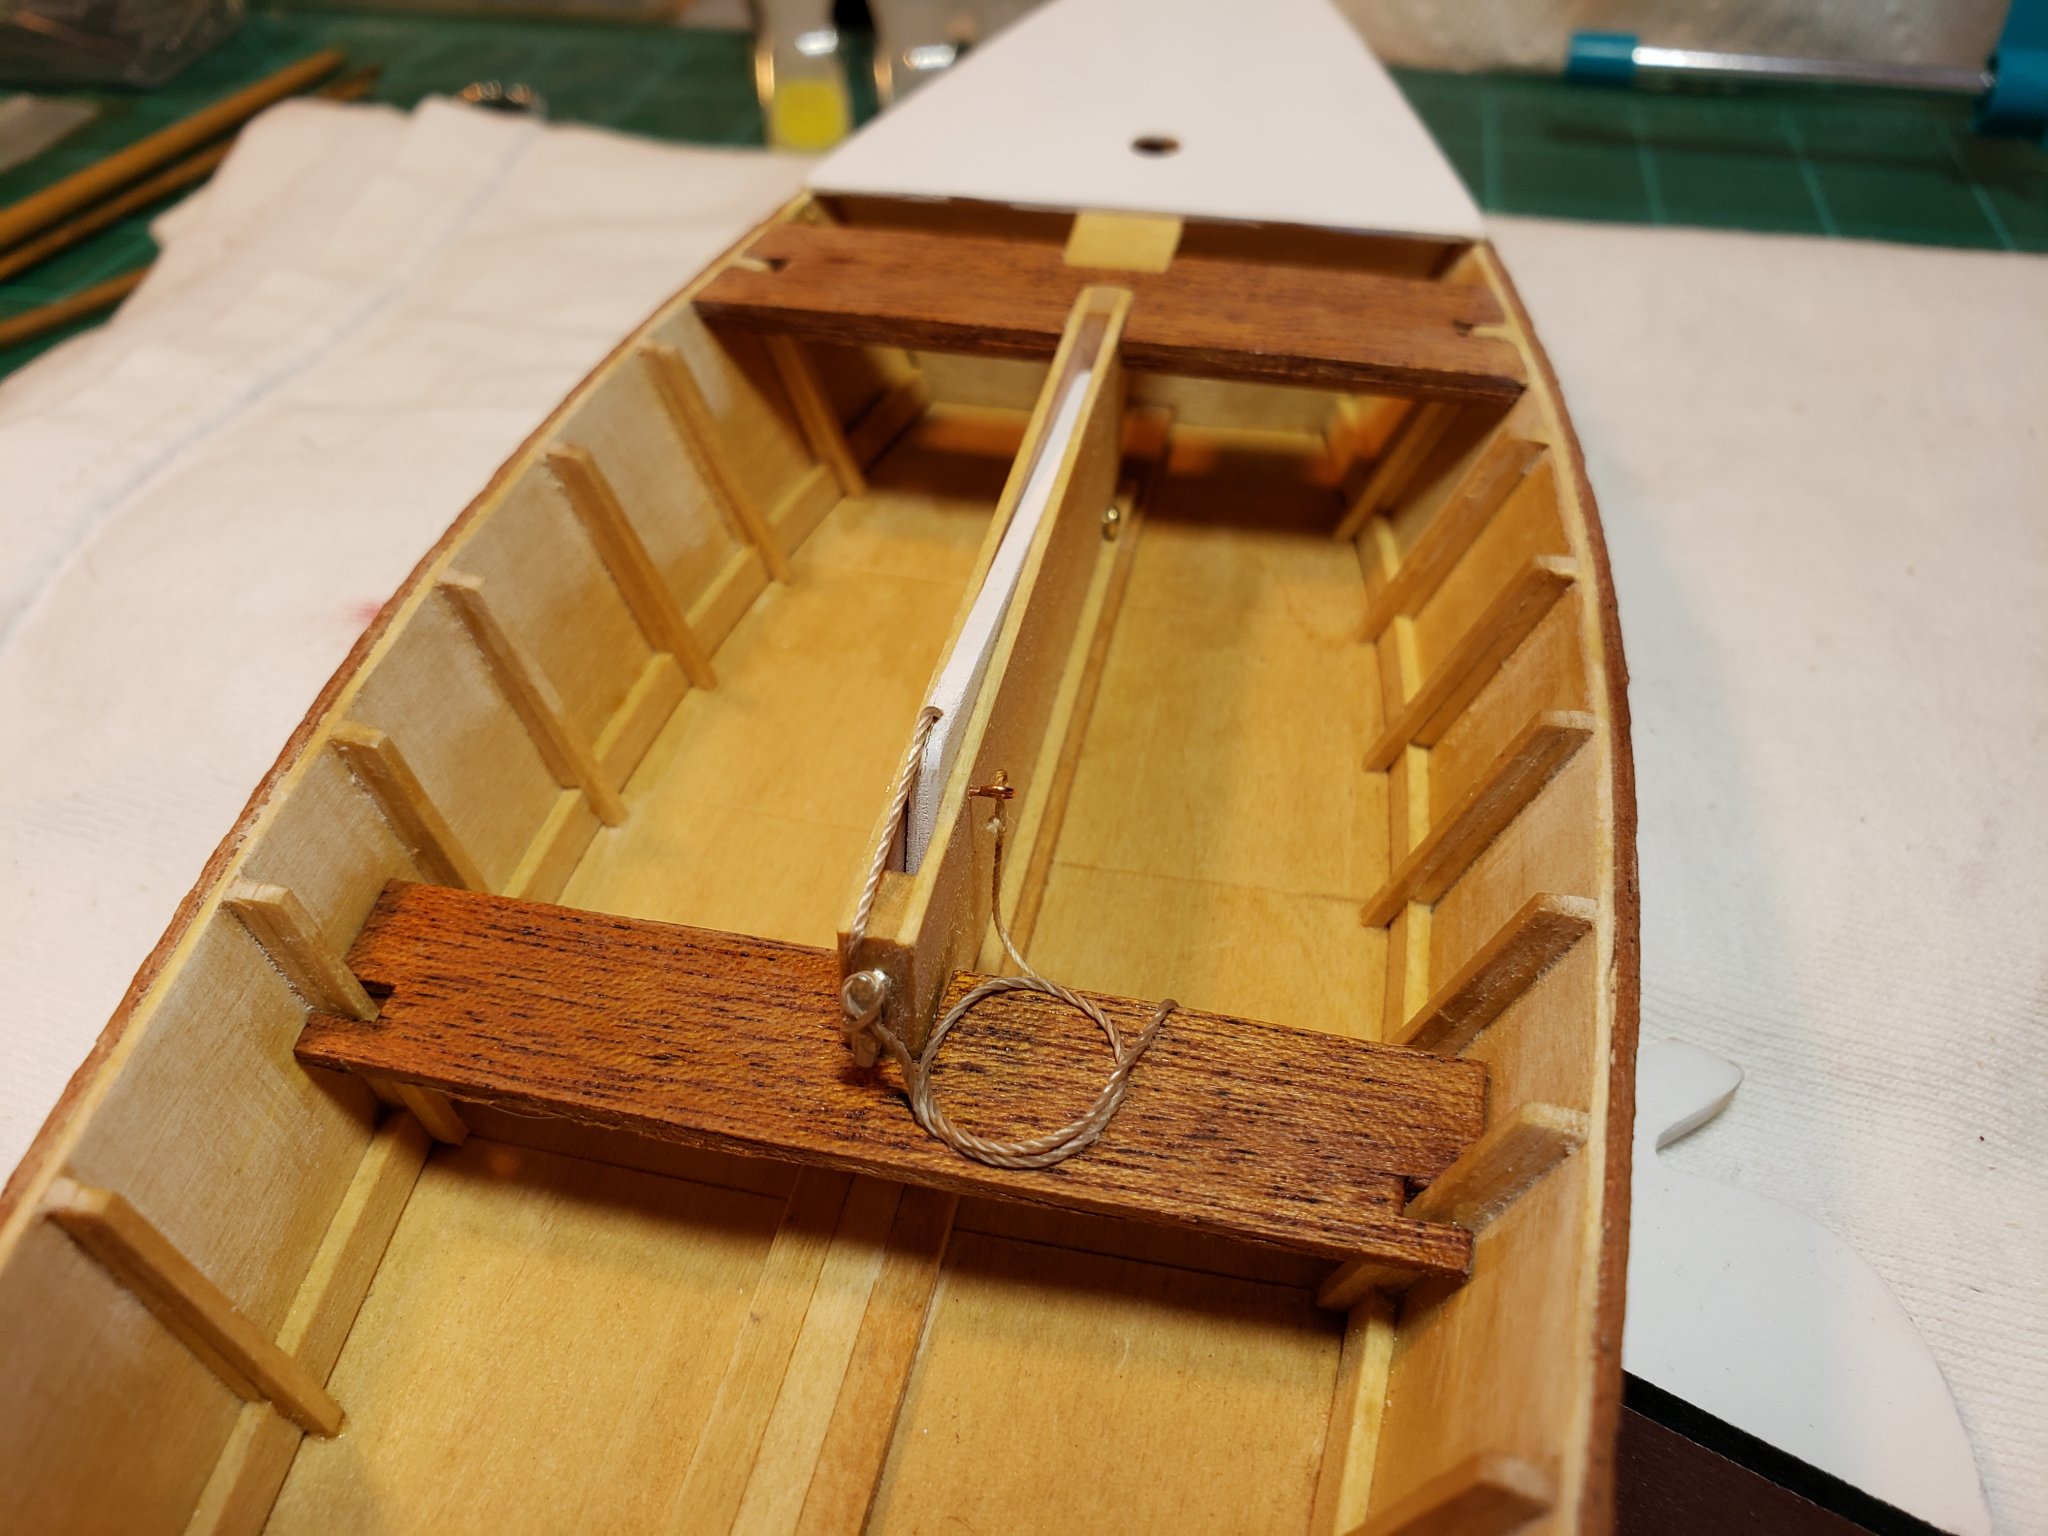
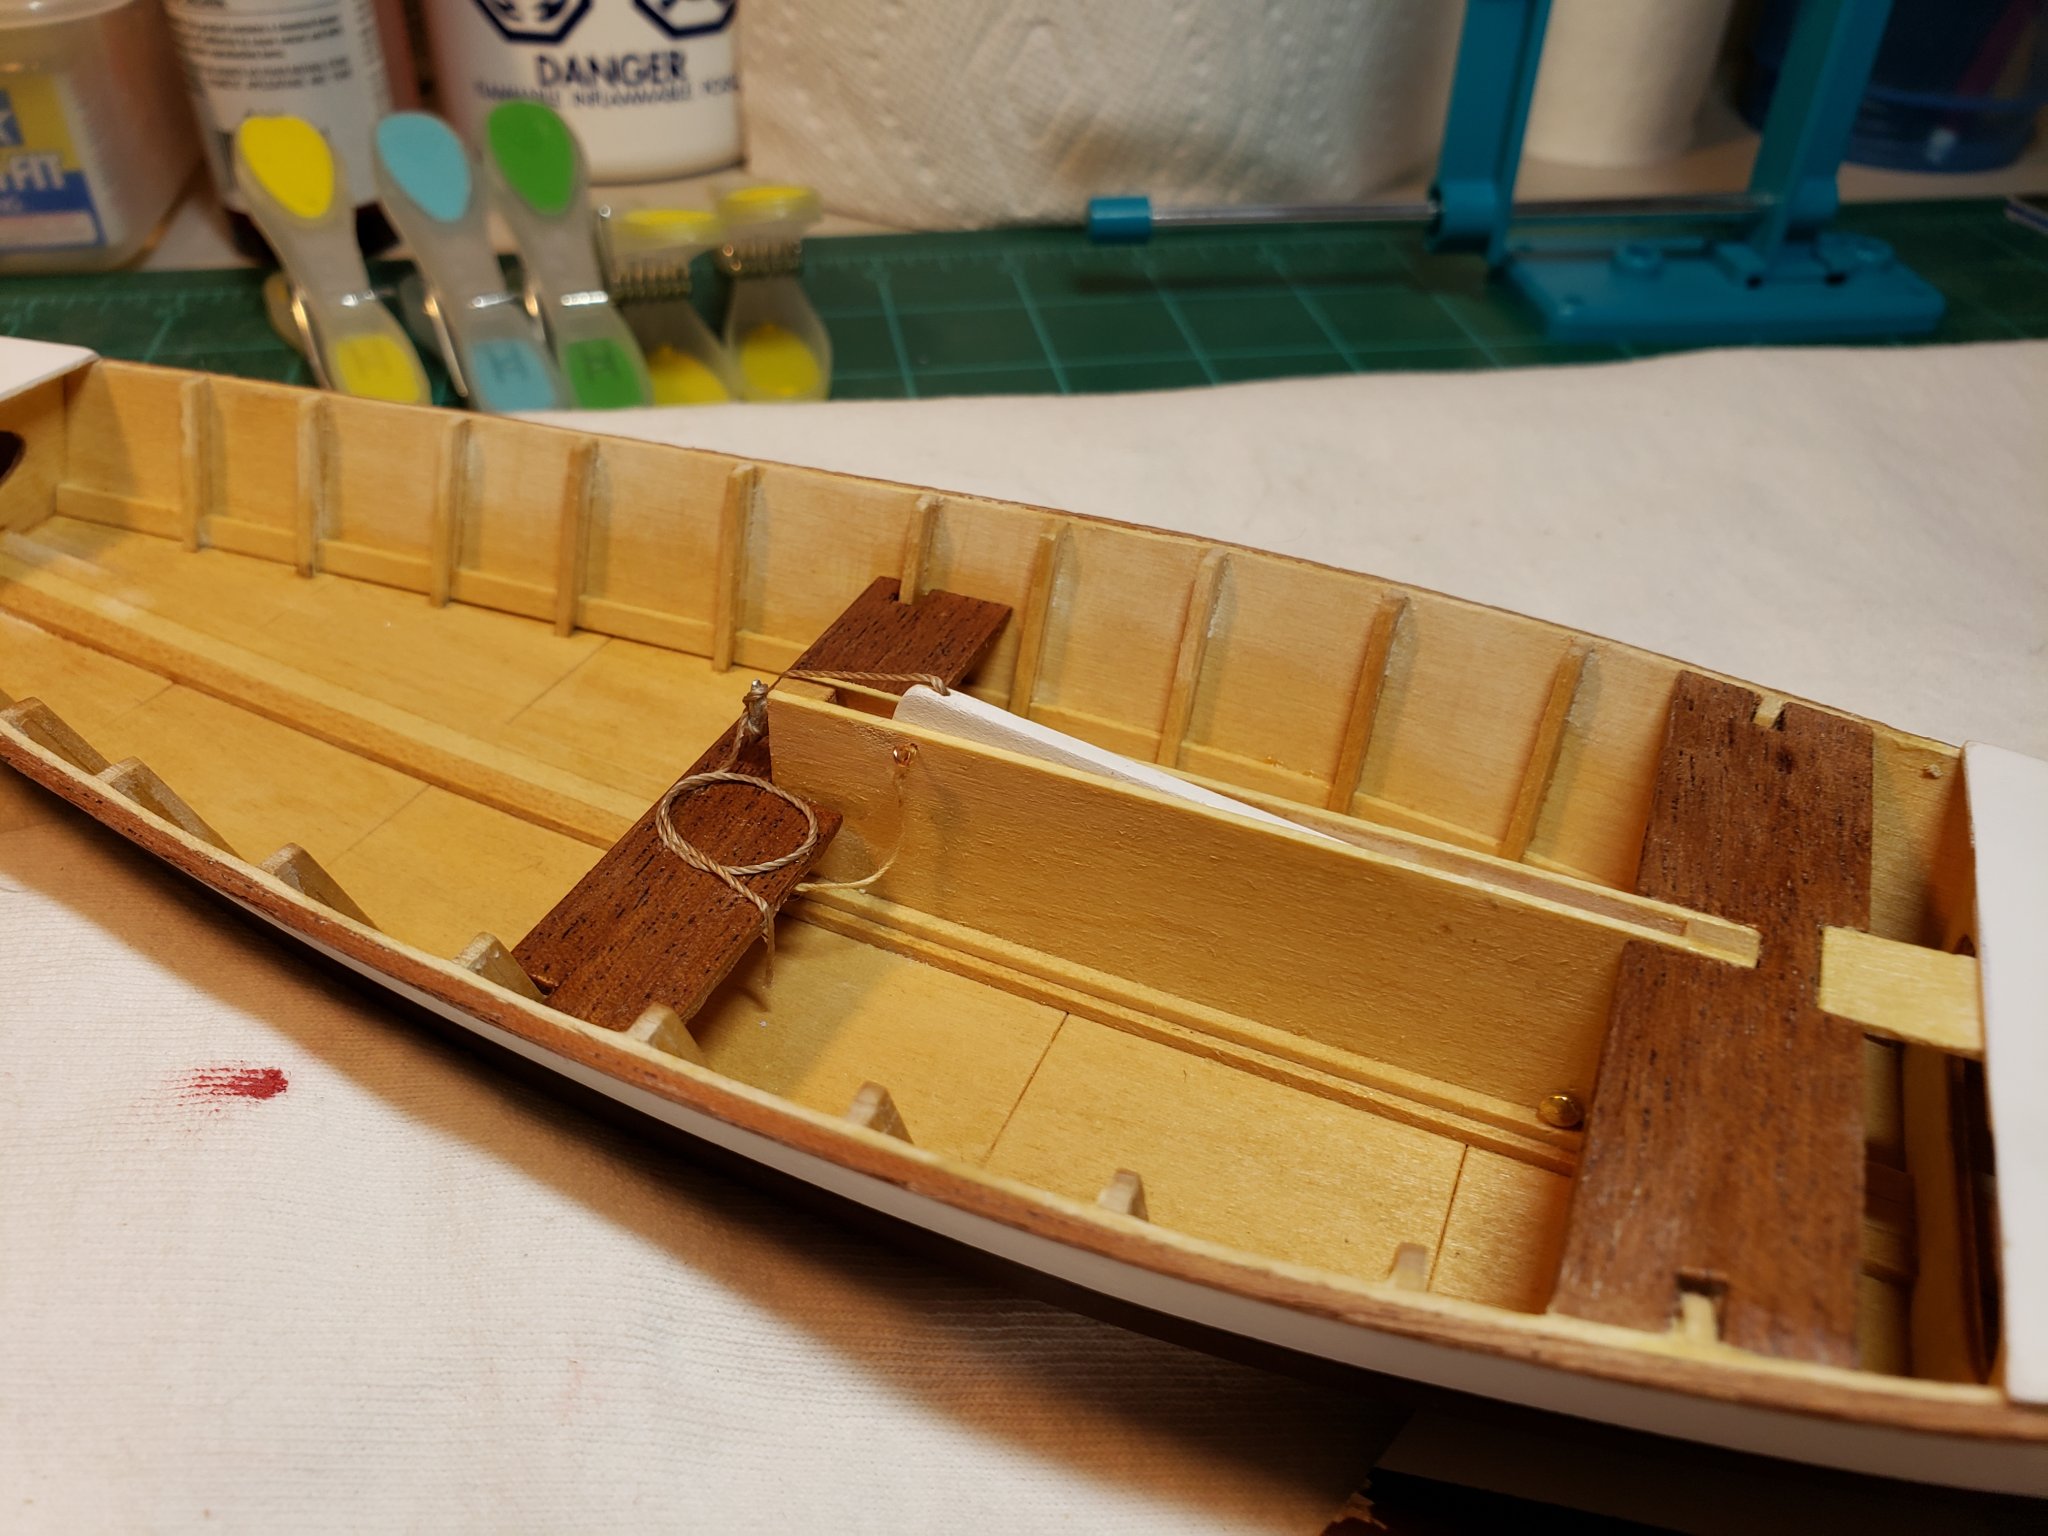
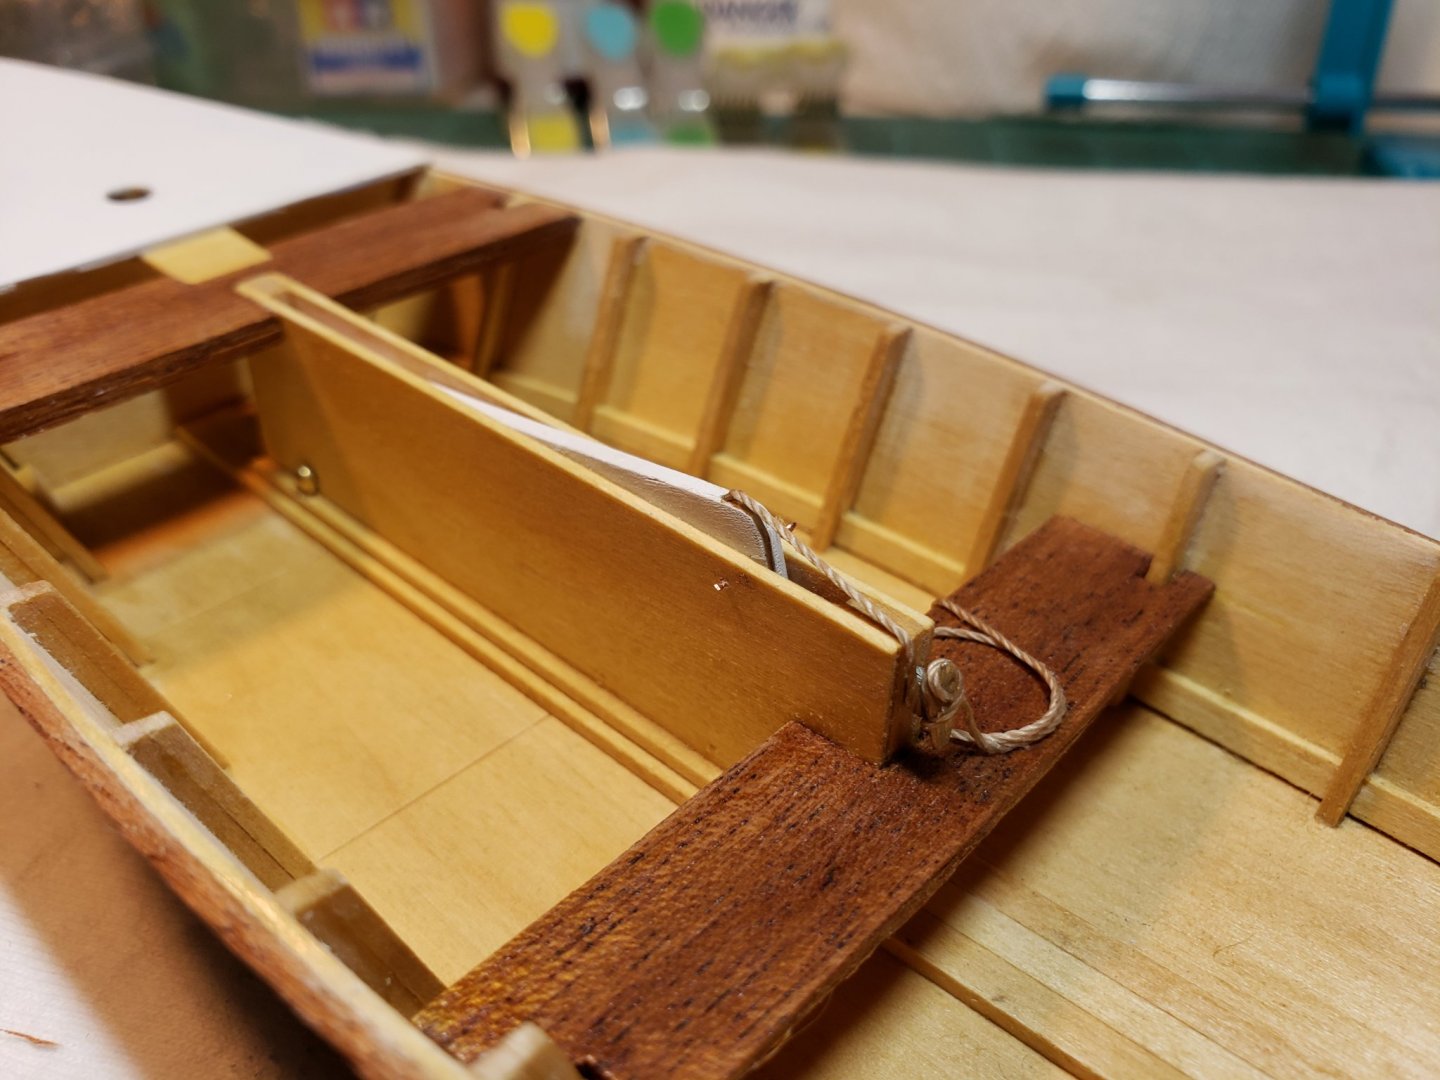
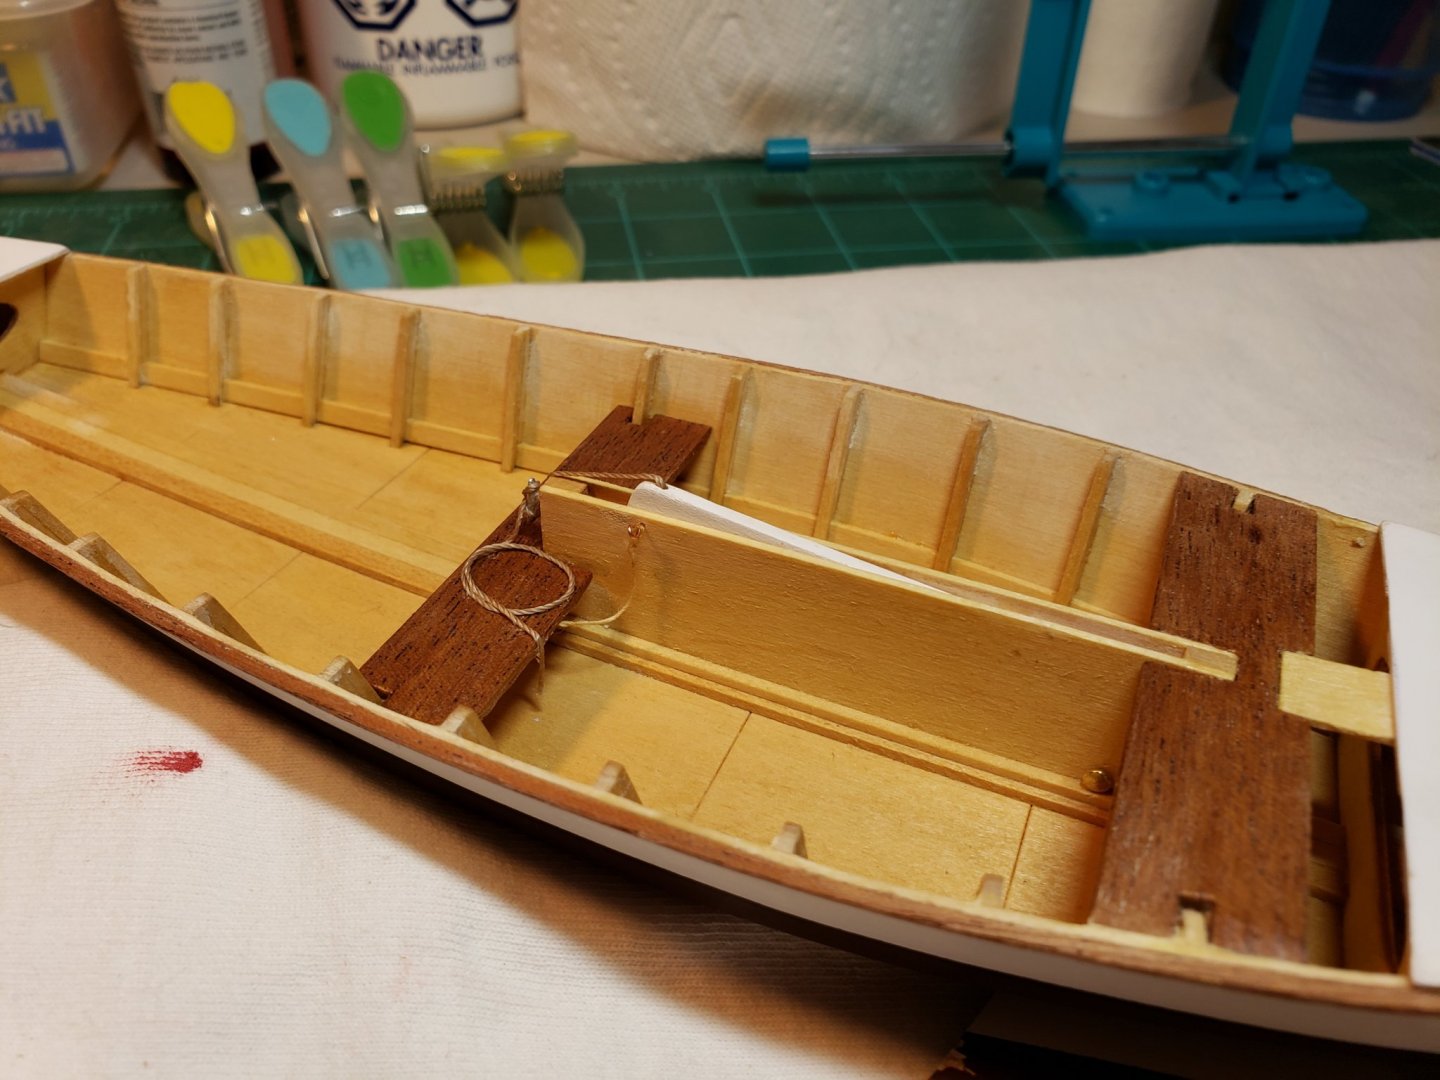
I've been working on getting the centerboard installed into the trunk along with the associated details: I opted for a brass button head nail on both sides for the centerboard hinge pin. I just thought it looked more nautical. I tried to tie off the centerboard line with a correct cleat hitch but when I added a dab of glue it kind of made the whole knot look like plastic. I didn't want to redo it though so I'm chalking that up to lessons learned. From a distance it doesn't look that horrible. The only other issue was drilling the hole for the pin that holds the centerboard up in place. It's drilled at a slight angle do to the side of the hull not allowing me to drill straight across. I could have ordered some finger drills but didn't want to wait. Like the cleat hitch, it doesn't look that noticeable from a distance. Also, what looks like a black line on the corner of the centerboard in the first 2 pics is actually just a shadow.

- 120 replies
-
- 10
-
-
- crabbing skiff
- Chesapeake Bay crabbing skiff
- (and 3 more)
-
Welcome aboard Paul... If it's any consolation, Cutty Sark was actually what's called "composite" construction, meaning she did indeed have a wood hull but it was built over an iron frame. She is one of my favorite ships and I hope to possess enough skill to build an accurate model of her someday. If I'm ever in England again, I will definitely be paying her a visit.
-
I'm a newbie myself and am taking the much more cowardly approach of building some small boat kits before I tackle a full on plank on bulkhead ship kit. I love following builds from people building their first ship model because I know there will be a lot of good questions and therefore a lot of good answers. Best of luck to you!
-
Hello and yet another Syren in progress
DonInAZ replied to Kevin53's topic in New member Introductions
Welcome! LOVE the drawing rack. I might have to copy that...simply brilliant! ...and your Syren is beautiful as well. -
Thank you Arina. Your father was a very talented man who's love affair ships and particularly with "The Glory of the Seas" flowed through his writing.
-
What a wonderful story Bob, thank you for sharing that. Having enjoyed that over my morning coffee, I almost feel like I know you now. So very sad about the Storis. We lose way too many of our nautical treasures to the breakers.
-
Welcome to the MSW! Looking forward to watching your San Ildefonso build.
-
Straightening aftermarket rigging line
DonInAZ replied to DonInAZ's topic in Masting, rigging and sails
Just checked Model Shipways website... and what I have is in fact Nylon, not cotton. And yes heating it up in near boiling water for several minutes and then hanging it under tension straightened it out perfectly. Thank you Chuck! -
Straightening aftermarket rigging line
DonInAZ replied to DonInAZ's topic in Masting, rigging and sails
So it turns out for this particular case, soaking in very hot (almost boiling) water for 30 min and then drying under tension did the trick. -
Straightening aftermarket rigging line
DonInAZ replied to DonInAZ's topic in Masting, rigging and sails
I tried the beeswax first, but it had no effect on getting rid of the "kinks". I didn't try soaking the line before adding the weights... maybe I'll try that next. Thanks for the replies, Don -
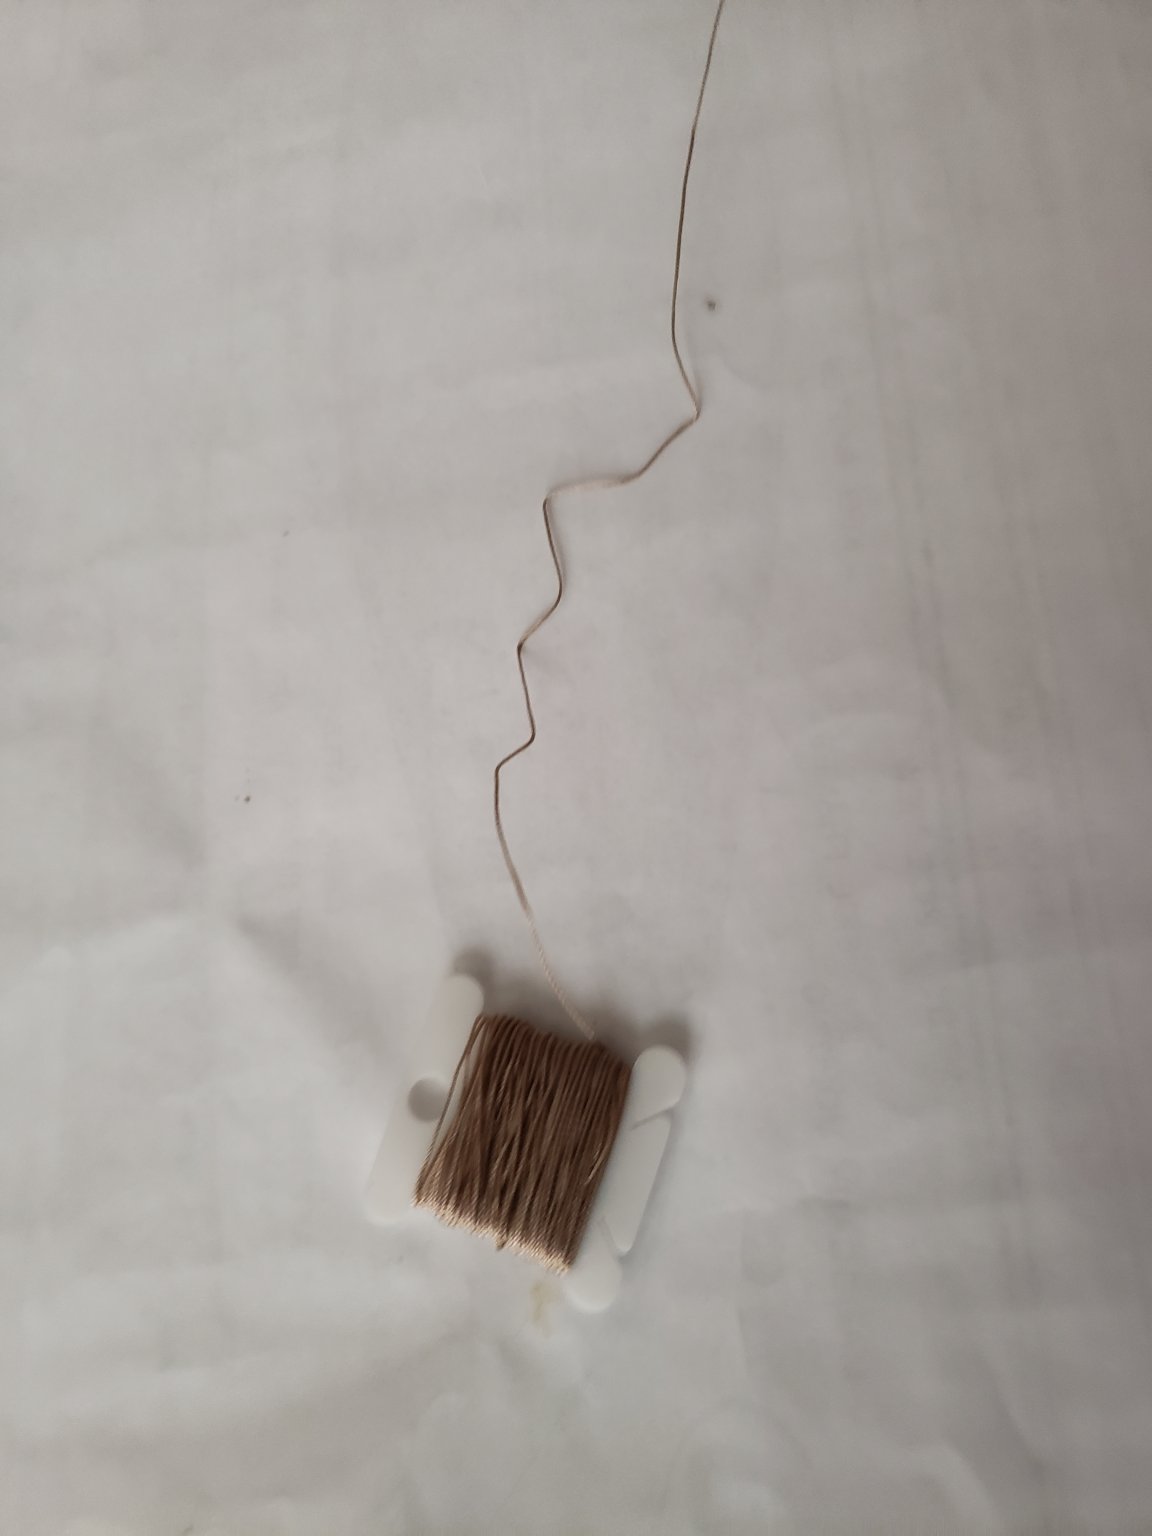
So, is there a preferred method for getting the kinks out of aftermarket rigging line (Model Shipways in this case) ? I am currently just hanging some weights on it because I couldn't think of anything else to try.